What do I think of when I think of stripes? A barber. I remember seeing this little shop when I was small with the red, white and blue stripes turning so smoothly over and over and over again. I used to pass by it just to get mesmerized by it one more time. I think that is when my heart started adoring stripes. Later on in life I realized stripes did not ONLY have to be red, white & blue.
{{go figure}}
I think stripes add a whimsical touch to ANYTHING. I am about to paint BLACK stripes on a wall in my house. Don’t you worry my little Jaderbugs, I will take you with me! (and if it comes out redonkulous, you will still be with me)
A friend of mine gave me these little mirrors with wood around them a few years back. I love them! I just don’t “love” brown that much. So, I started thinking about how I could bring them back to life. Should I do all three and keep them as a little family? Should I separate them and give them their own identity? See! My brain has to think of the best scenario for my family of mirror’s.
DECISION TIME: They decided they were ready to be on their own. Tired of being triplets. So you know what that means right?
THREE. SEPARATE. TUTORIALS. ON. THREE. DIFFERENT. FRAMES.
Today you will be getting the “carnival” theme. There is just something about black and white with pops of bright color! Don’t you agree? Then, you add shabby chic to that.
INSTANT HAPPINESS x 10.
(just saying)
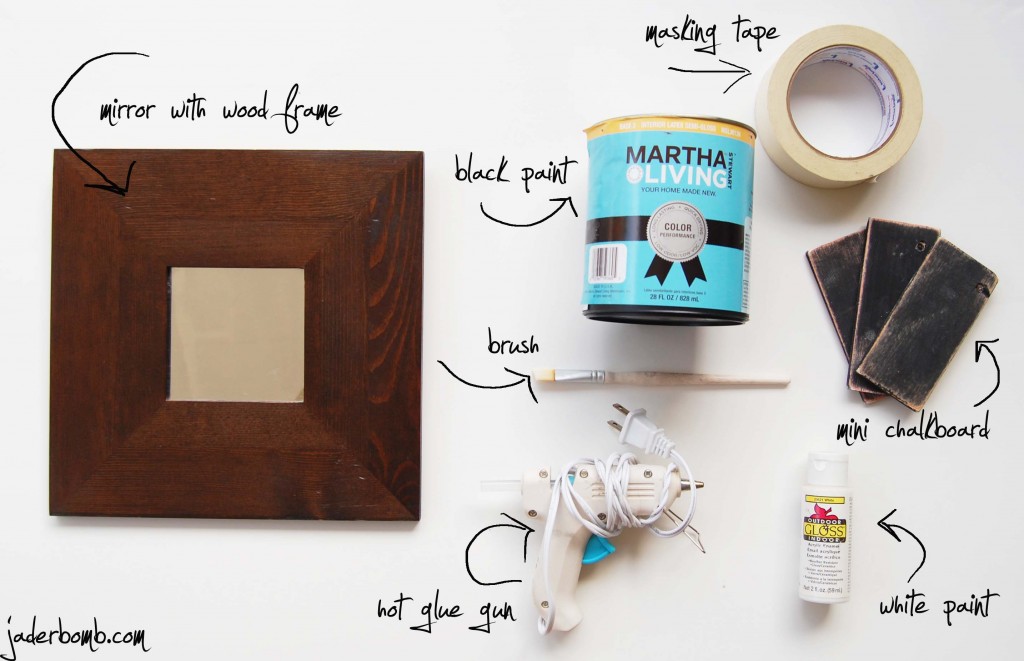
Ingredients:
If you want to use another color instead of black, go right ahead! After all, it’s all about pleasing your eyeballs!
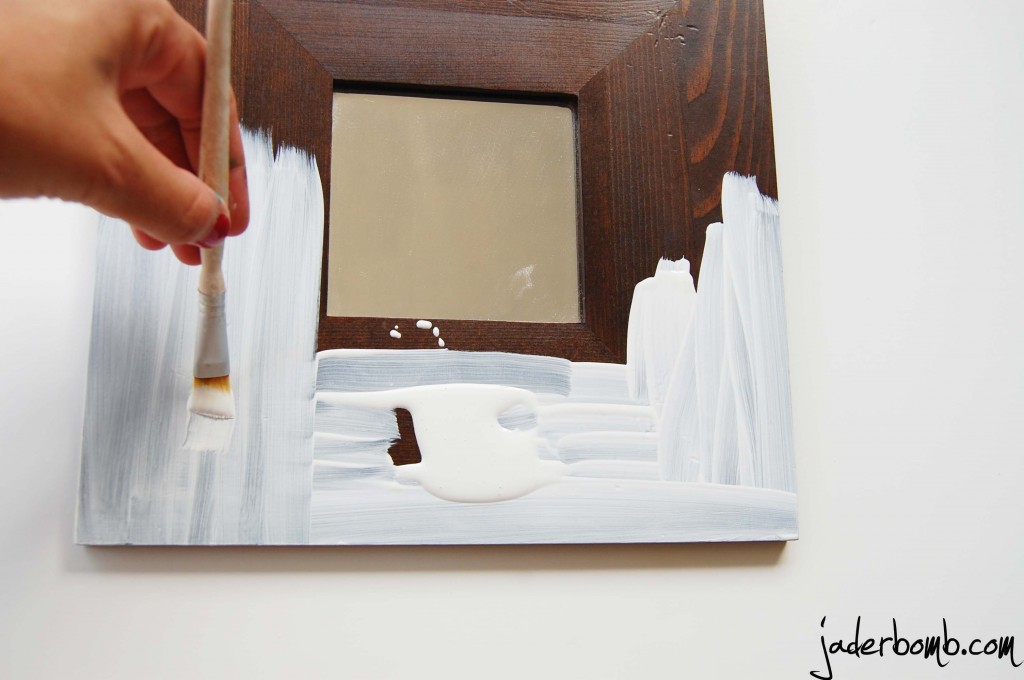
The first thing you need to do is paint your wood white. I used a .99 cent bottle from Michael’s Arts and Crafts store. You can buy these bottles at Wal-Mart too!
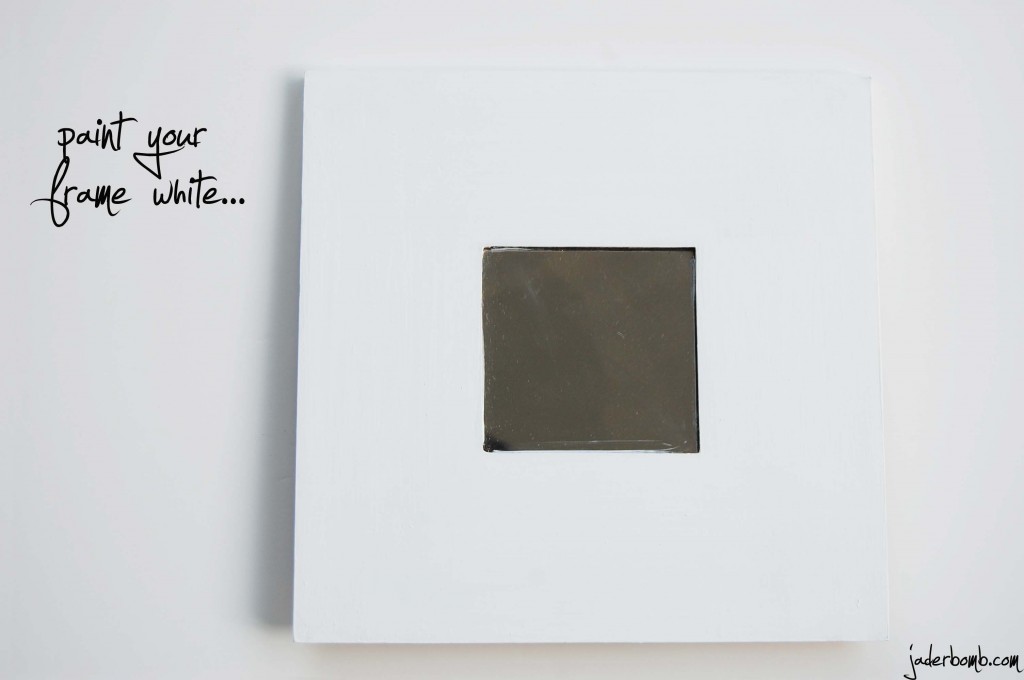
This is how it should look once you put two or three coats. When you are dealing with dark wood like this you want to put enough coats on it!
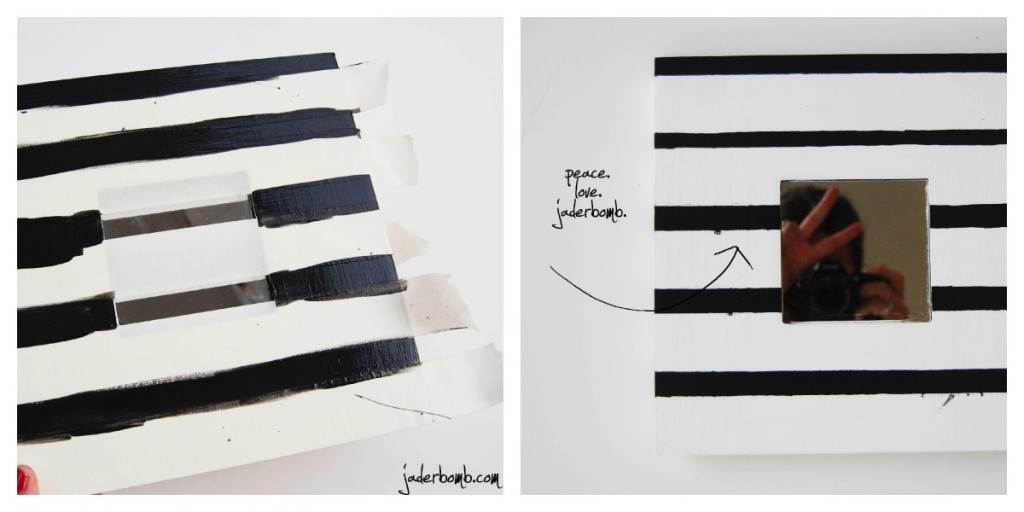
Once you paint it white, you will use masking to tape to make your stripes. I like to make some of mine different widths. Kinda adds that “not so perfect” look to it!
Once you put the first coat of black paint let it dry. After it is completely dry put another coat! When you put your last coat let it sit for about 20 minutes. Before it is completely dry peel the masking tape off. It’s ok if some black get’s on your white strips. We can sand that off later on.
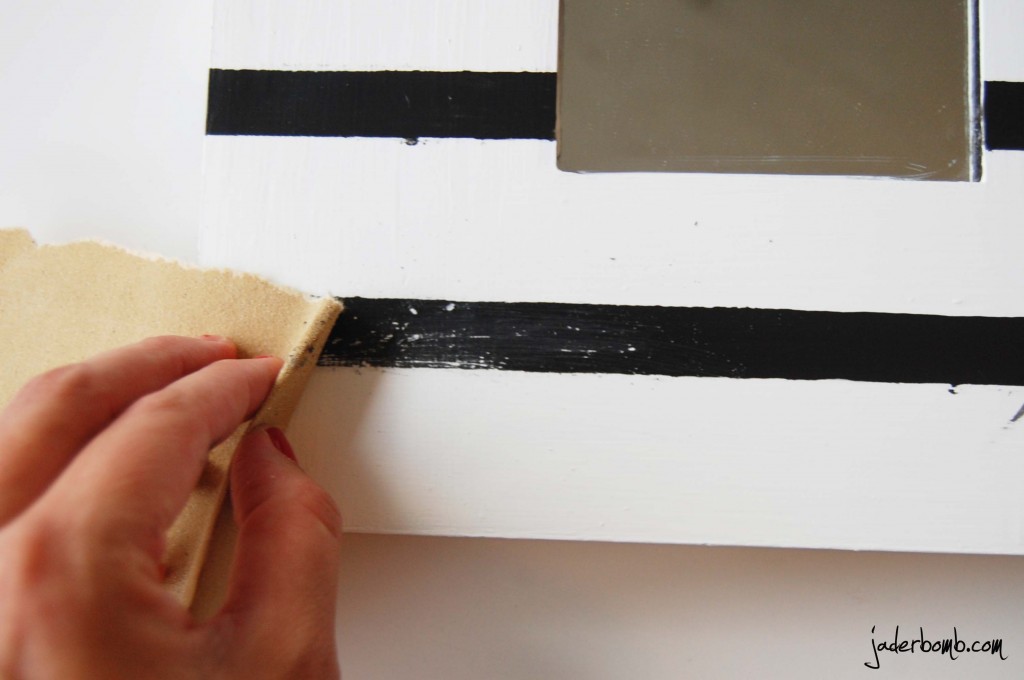
After you peel off your masking tape grab a little piece of sand paper and sand over your black stripes. I like to sand in a horizontal direction. Sanding it will create that shabby chic look. It’s like we are bringing to life something we loved so much already!
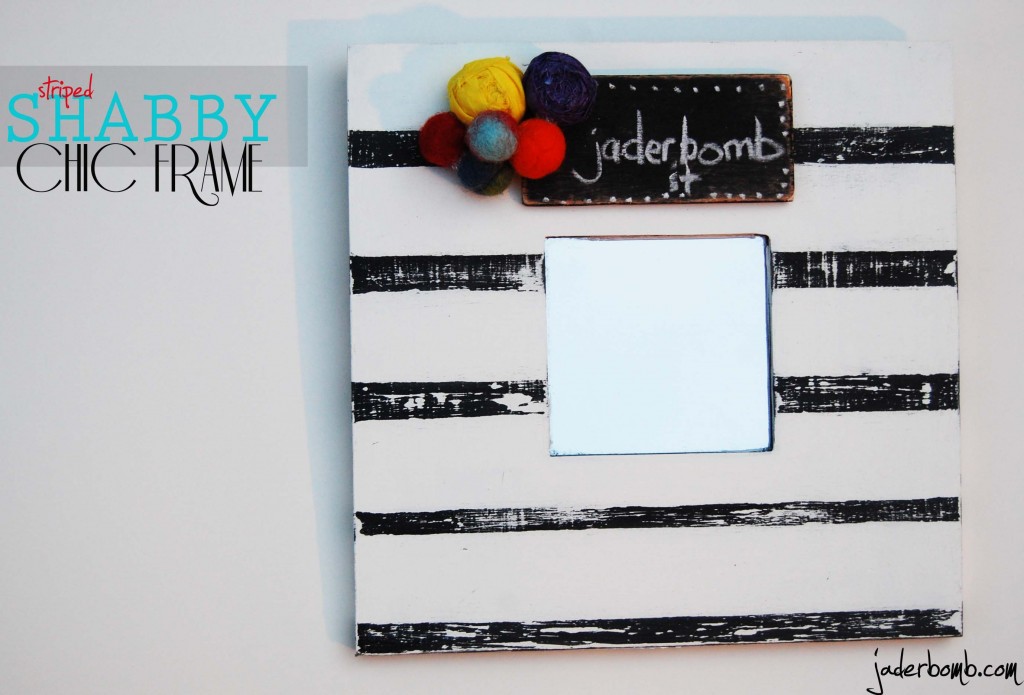
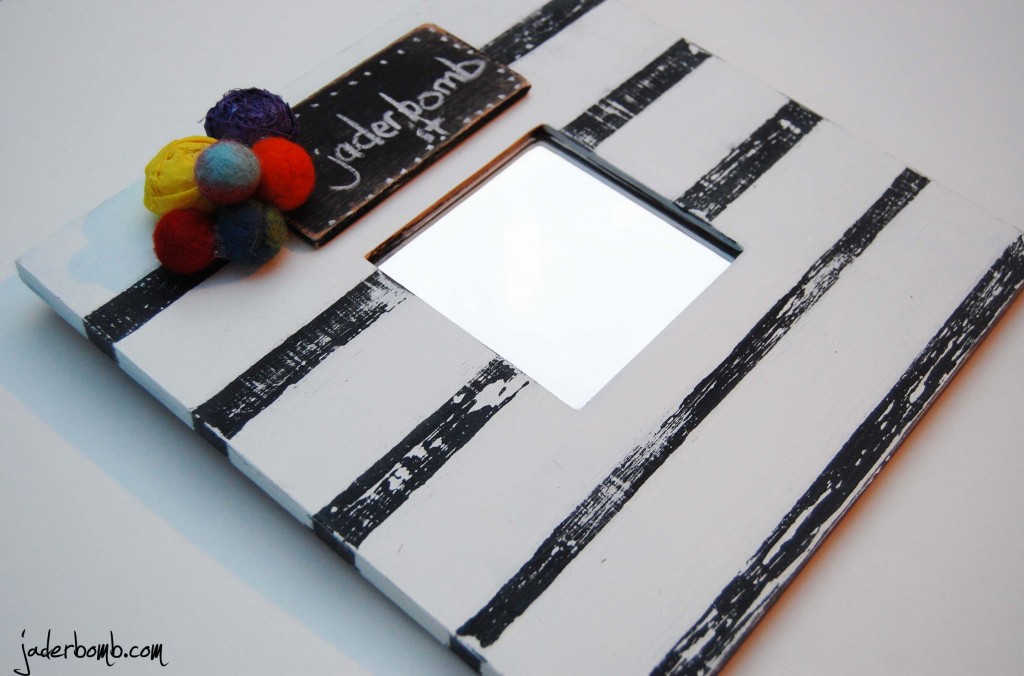
This is what your stripes will look like once you sand it. If you had any black that leaked into your white you can easily sand it off. I added some fun things to it to dress it up! The little chalkboard is cute because you can write fun happy things on it!
If you want to see a tutorial on how I made the little chalkboard labels click HERE.
I also added some Rosette’s and felt balls. I will be doing a tutorial on both of these babies real soon so come back!!!! Don’t forget you can get all of my wonderful posts sent to your inbox by clicking HERE!
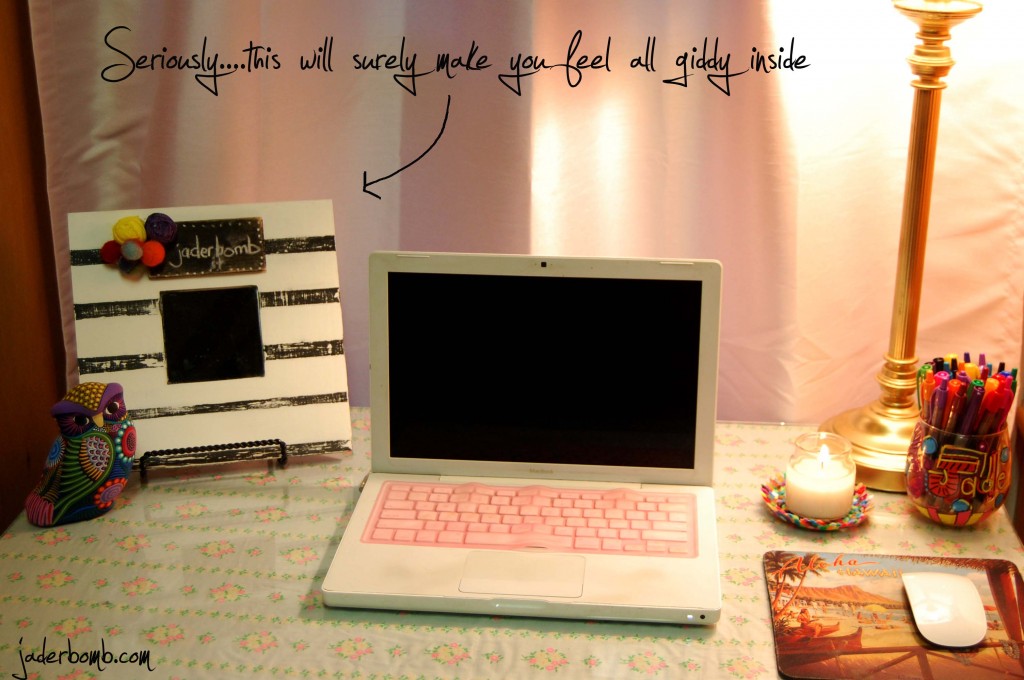
How cute is this! I guess I should of cleaned my laptop before I took this picture! Guess that is to be expected when you craft for a living (fist pumping). hahah
I hope you all had a fun time here and make sure to come back tomorrow! I will be doing a review on MOD PODGE ROCKS!
{{{and will be giving away a book to a lucky winner}}}
If you want to stalk me haha, come here and visit me:
FACEBOOK ME
TWEET ME
PIN ME
GOOGLE+ ME

© Copyright jaderbombllc, All rights Reserved. Written For: JADERBOMB



I love how you roughed up the stripes. Super cute!
Thanks Danielle!
Pingback: JADERBOMB – Fun Fall Decor
Pingback: JADERBOMB - Fun Fall Decor