Tag Archives: diy

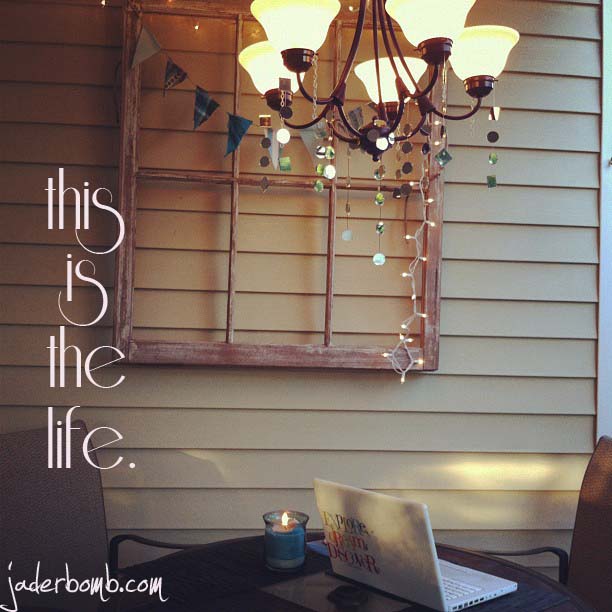
I know we all love making our favorite spaces warm and cozy! Sometimes we look for the most expensive things to make this happen. Today I am going to show you how a simple “vintage” window frame can do the job for you.

If you don’t have any window frames like this check out antique stores of just ask some of your friends. You would be surprised how many people have the suckers stashed away!

INGREDIENTS:

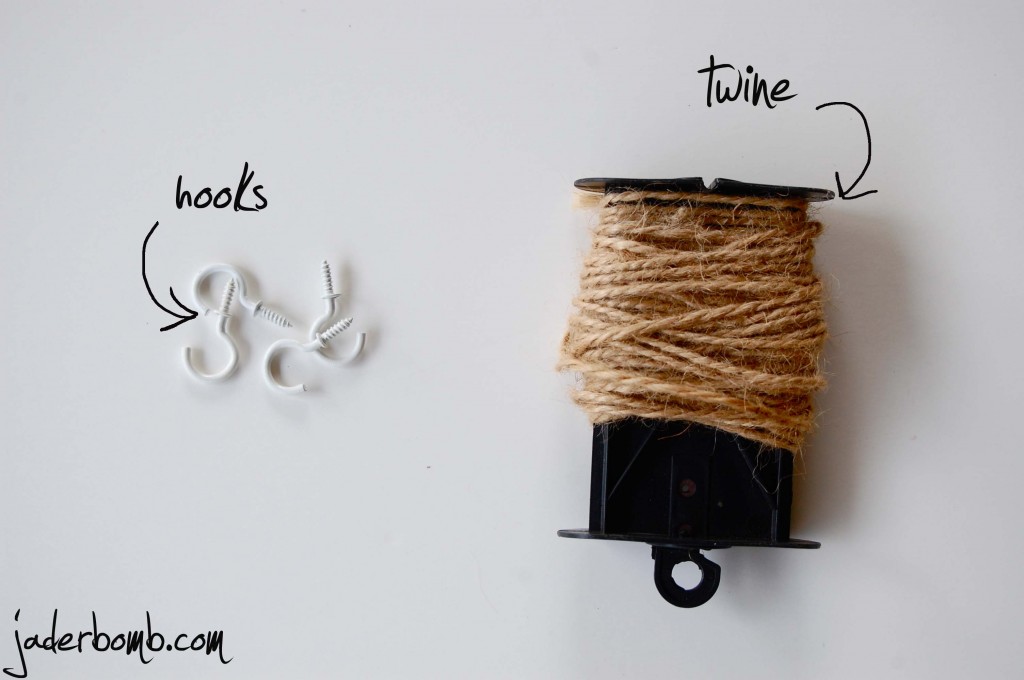
You can use any color hooks that you want, try to use the same color as the ceiling. If you don’t want to use twine you can use fishing string or ANY string you think will work! Chains work great too!

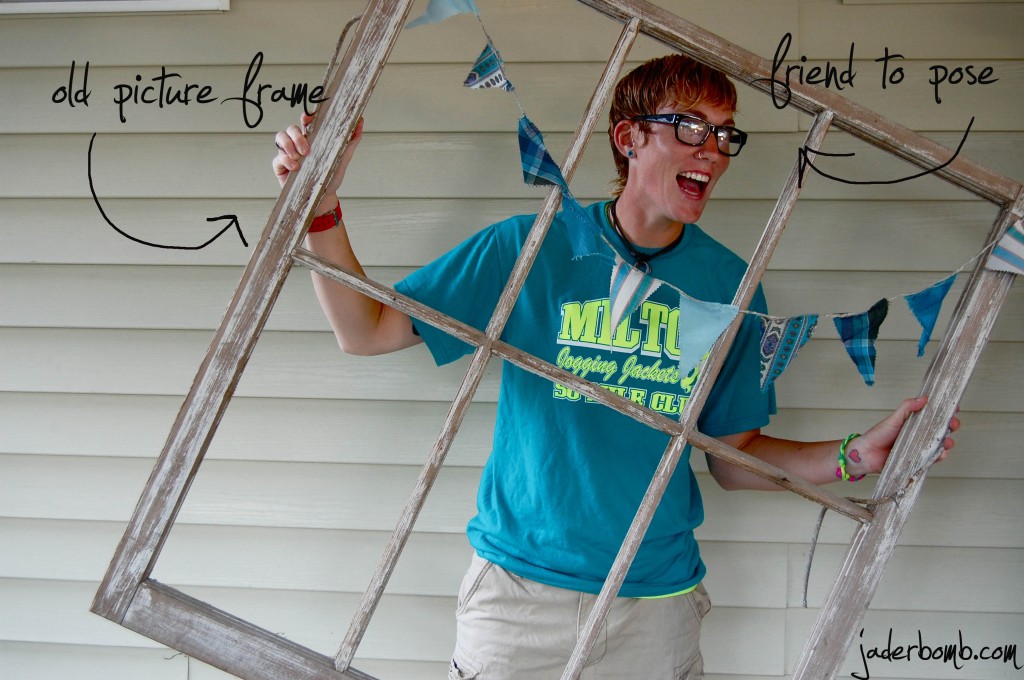
Grab someone you know and make them pose with it first! HAHA

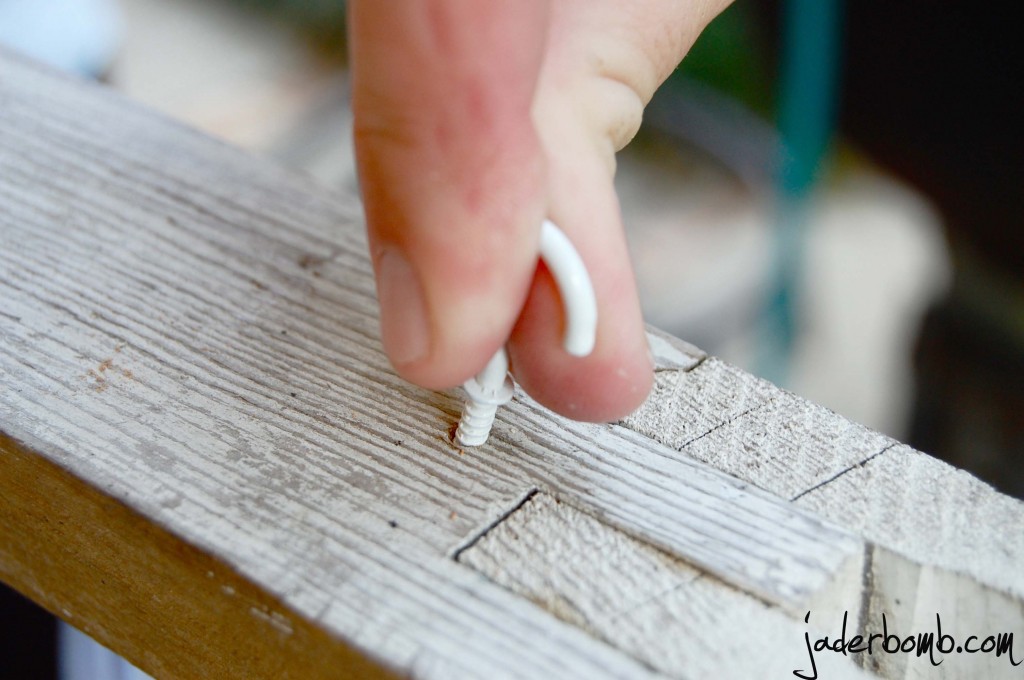
Screw two screws at the top of the window frame on each end then screw the next two into the ceiling. If you measure the distance from the screws on the window frame this should help you determine the width on the ceiling!

That’s it people! It’s that simple! It really dresses up a spot quickly!

OH

You want to see how I made my shimmery chandelier???? Click HERE

Sending you happy thoughts today!

“Mirror Mirror on the Wall, Who Is the Fairest of Them All?”

Hey Jaderbugs! I could not wait to post this craft! I have NOT seen the new movie yet but I absolutely know all about the “original” one! If you wanna check out the website for this AMAZING movie that I can’t wait to see, click HERE. Did I mention that Florence sings in the movie. YEP. The video is on the website and it’s a MUST see!

Let’s start crafting!

How perfect is this! You can see so many different reflections in all of the itty bitty mirrors every time you look at them. It’s like a party in your eyeballs! I have to say I have been using using “mirror’s” for a long time and if you follow me then you know this! There is just a part of me that get’s weak when it comes to:
lamps
christmas lights
mirrors
&
gel pens (preferably Pilot G-2)

It’s kind of fun to pretend your making a “prop” for a big ole movie when your really not. Your just making it for YOUR movie, the movie of your life. (hahaha)

Ingredients:
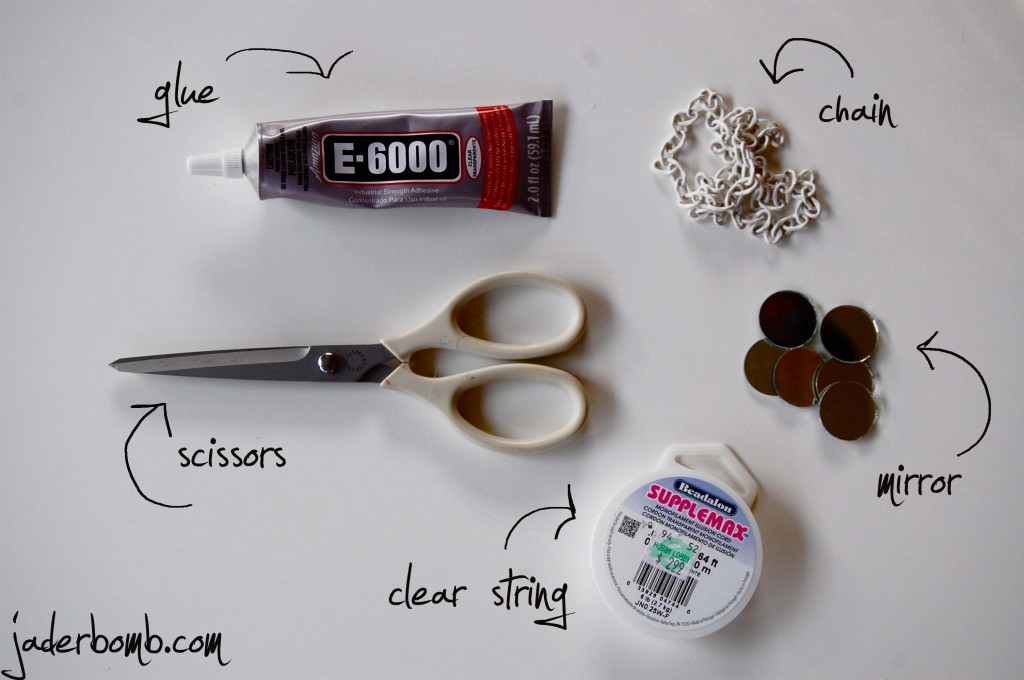
You will also need a old chandelier and spray paint.
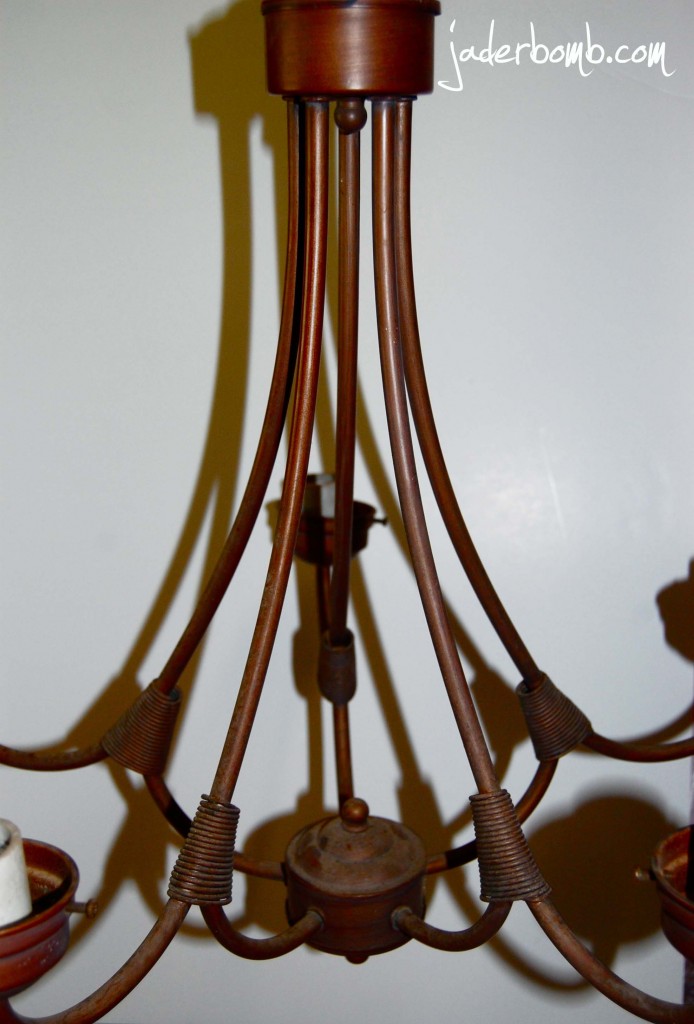
We bought this at a garage sell prolly 2 years ago. It’s been sitting in our shed just screaming to get redone!

We used a pretty purple color for our best friend Taunt C. She just passed away and that was her favorite color. Plus every time we look at it, it will remind us of her!
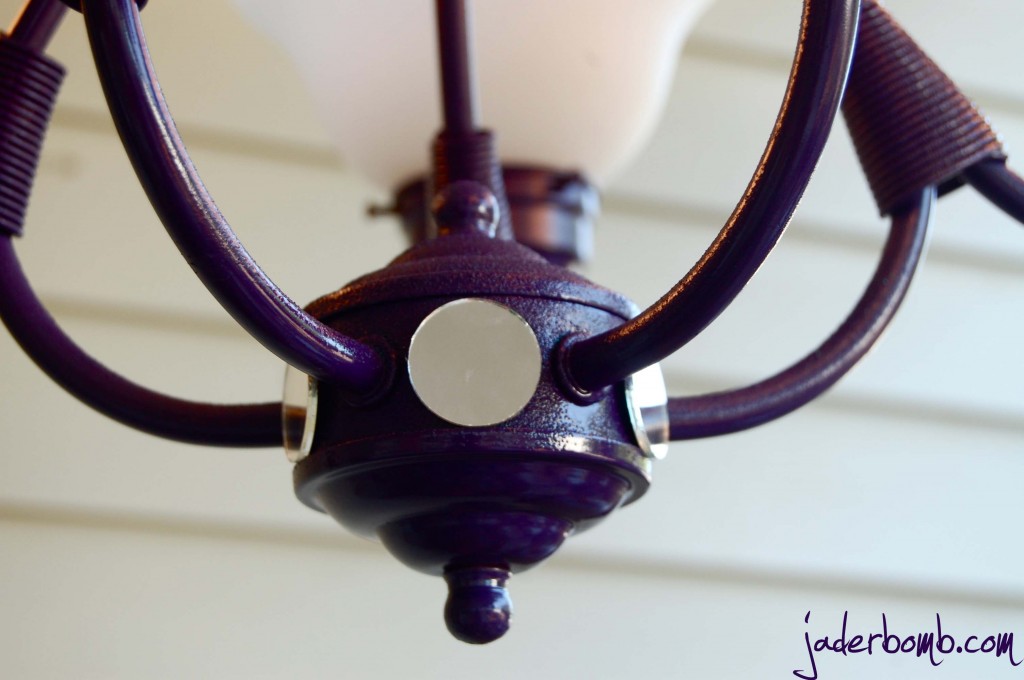
I bought those little packs of mirrors at Michael’s Art’s and Crafts. They are pretty cheap, maybe 1.50 for a pack but you get about 15 mirrors in the pack. You can get tons of different size circles and squares. Keep in mind every chandelier will look different than the one I am using.I thought putting some on the bottom base would add a nice touch to it! I used E-6000.  You can use it on
Glass / Rhinestone
Clay Pottery / Rocks / Sea Shells
Beads / Fabric
Ceramic / Wood
Glass / Metal

It’s really something you should ALWAYS keep around.
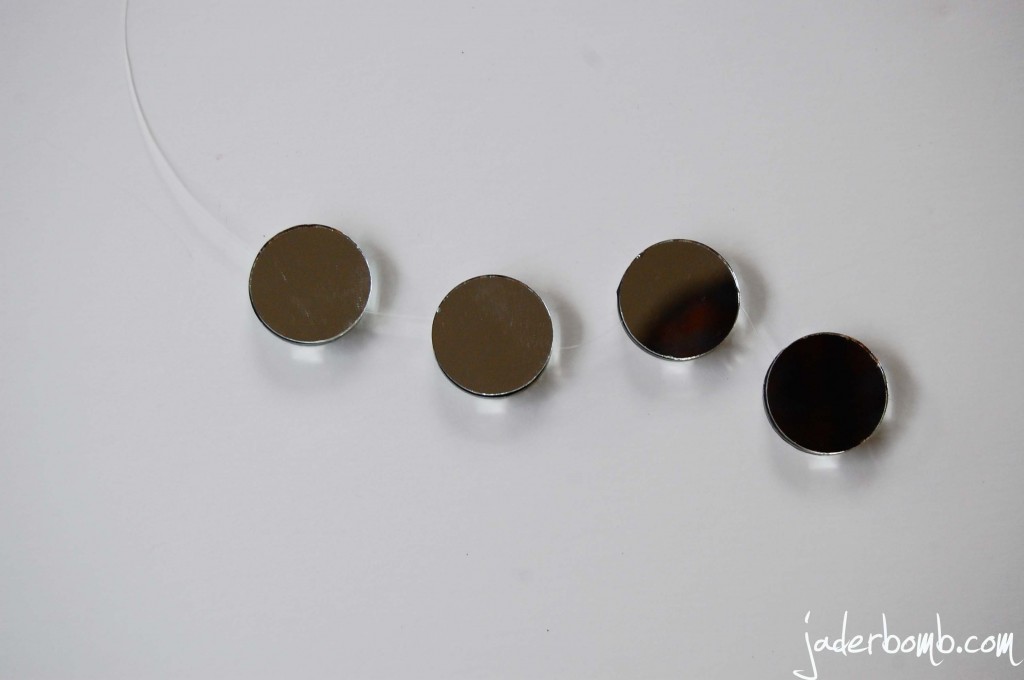
 Remember my tutorial on “strings of mirror’s“? If not check it out. I made these babies the same way  I made those. You just put glue on one circle, put clear string over it and place another circle on top of that. Then let it dry. You can decide how many circles or squares you want to use depending on the size of your chandelier.

Once you get all of your little strings of mirrors done, just start putting them all over! You can hang them at different lengths. I like to stay “consistent” so it looks even.

I hope you enjoy this fun tutorial and leave in the comment section what you think of the movie if you saw it! Could you totally see this in your house! I put it outside because when the sun hits the mirror’s, it makes millions of amazing, fun reflections EVERYWHERE! It’s like stars in the daytime shining! 

I wanted to share with you my exact spot I wrote this blog post! Right under my
Mirror Chandelier!

Wanna see how I hung this HUGE window? Make sure and come back tomorrow to check it out! See you in the next post!

Do you ever look outside and think to yourself, “Hmmmm what can I do to spruce up this dingy back yard”….

Yes.
My
Yard
Looked
Dingy

“LOOKED”….. Not anymore thanks to a little paint and new flowers! I know what your thinking. There is NO way painting a pot and putting new flowers in them will completely change the look of a space. I am here to tell you it DOES!  I have these three terra cotta pots ((and I love me some terra cotta)) which I love so much. I love them because they are cute and can be used in almost ANY spot.

Remember when I posted this picture of them?

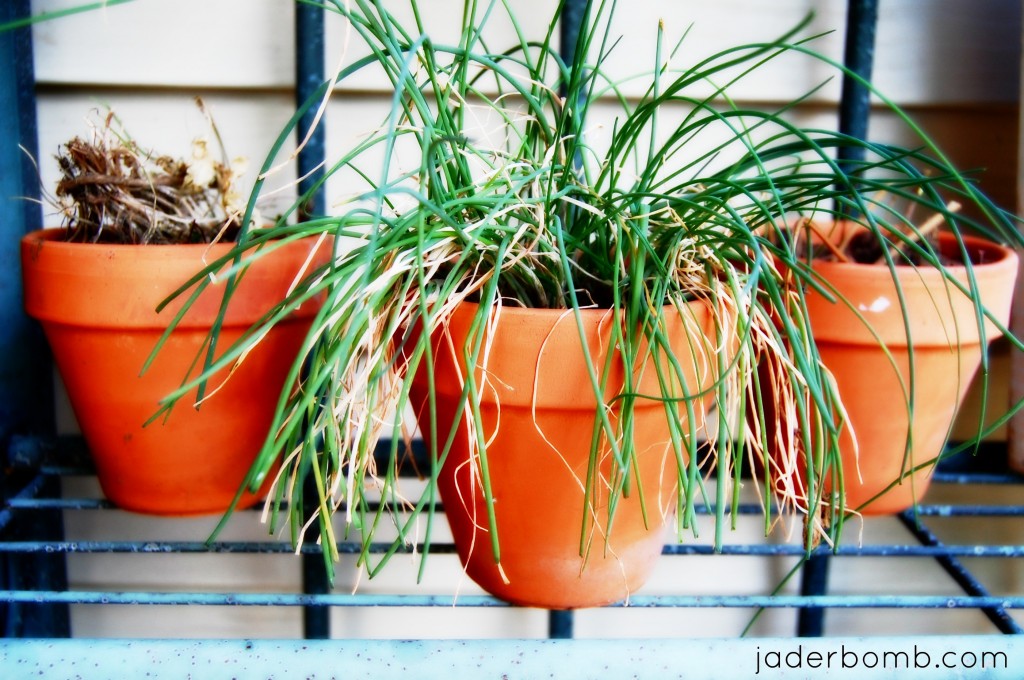
See how pretty they were when my little herbs were in them!!!!

I am sure you know what happened next. I caused them to wilt soooo much that they could not wilt anymore!
(you get the idea, right!)

I thought maybe if I put them “outside” they would come back to life. This is what happened.

Yep. I know. My thumb is pink, not green. I mean I really really tried but the universe just was not on my side with these babies. After staring at them like this for the longest time I figured I would just “spruce” up the pots. With just a little bit of paint you could go a long way.

While I was at Home Depot the other day I ran across these beauties.

So pretty right!

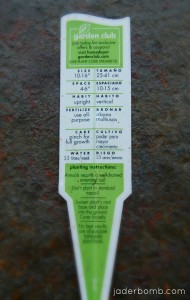
These are the instructions that came with them!
(if you click on the picture you can make it bigger)

It’s an “ANNUAL” and they are called
“COLEUS”.

FYI: they are on sale for $1.24 at HOME DEPOT

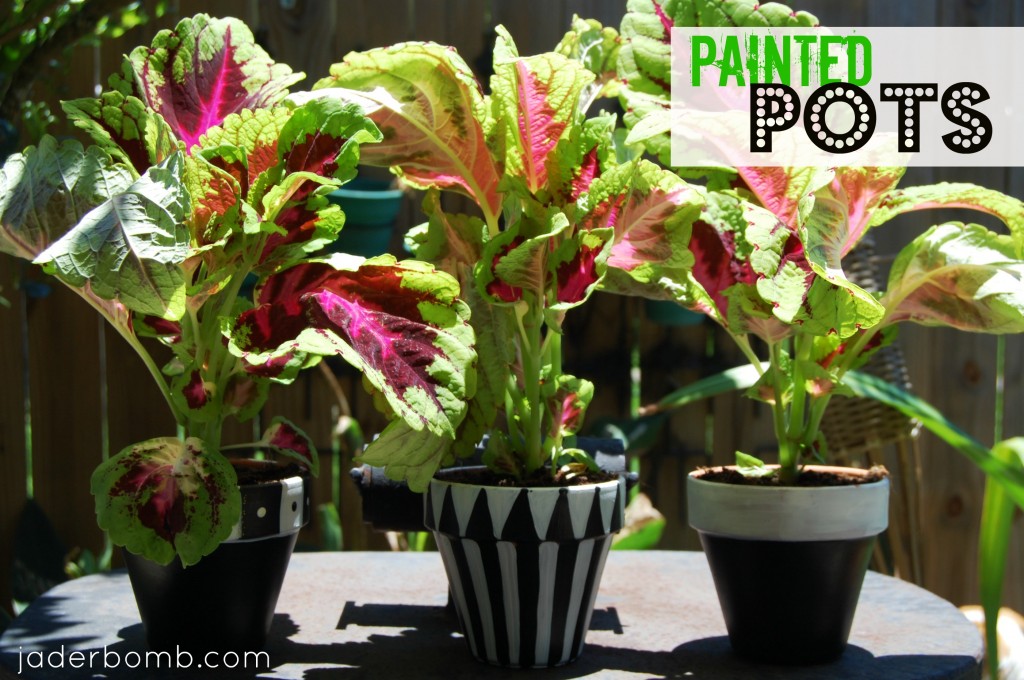
Are you ready to see these pretty suckers! I know I am! I find myself staring at them now. They are so vibrant and bright!

I think now you will agree that with a little paint and new flowers you can spice up any space!

I really did not use any special paint for this project. Just the cheap black and white paint I already had laying around. I always keep cheap paint for projects like this! I know I could of been a perfectionist and used tape for “perfect” lines but that would of taken the fun out of it! I wanted this to be quick and not painful!

Until next time Jaderbugs,

Hellerrrrr, how you derin! Happy “hump” day!

I had the HONOR of seeing my godchildren this week and since they live a goooooood ways from me this was a nice little treat! I told baby girl (god child #2) we would CRAFT! She is just like her Nanny, I swear. I have beautiful Hydrangea’s in my back yard (did I mention BE-YOU-TI-FUL) so we decided to pick some for my house.

See how full they are! Baby girl LOVED them! She said “NANNY, they are pretty like you”… {{melted my heart}}

We picked a BIG bunch of them and headed back to the house. I remember running across this a while back…

I figured this would be the BEST time to get er done. So I said to baby girl “wanna make a FUN wreath to put on my front door” and she said… “NO”. I wanna put them on my picture art. Yep, she said “PICTURE ART”. So guess what we did.

PICTURE ART.

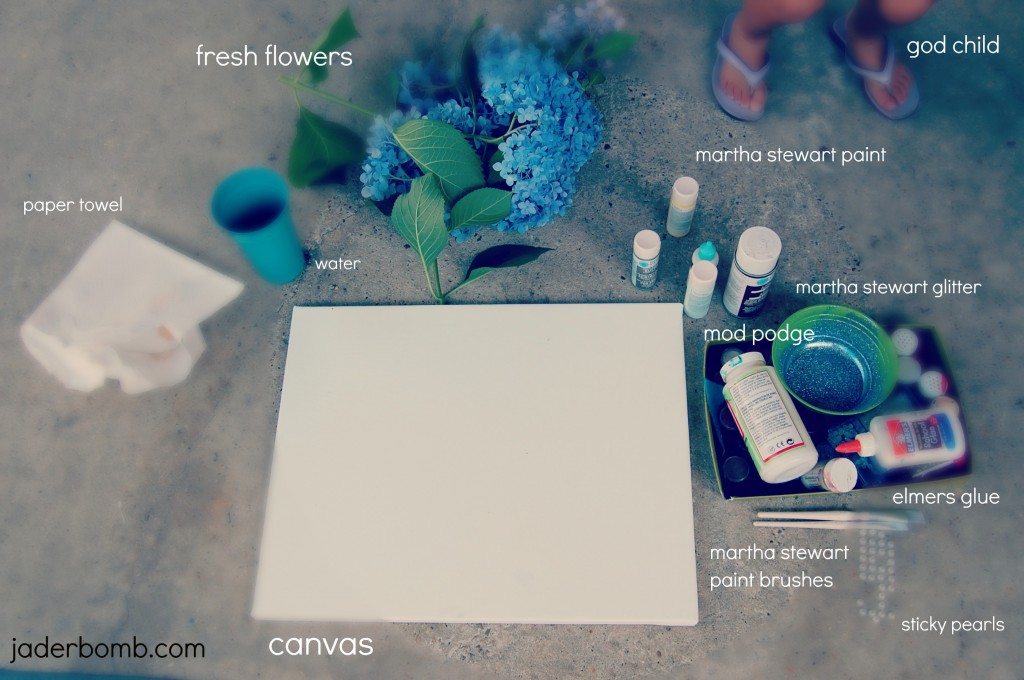
It really was a fun and exciting thing to do considering I have NEVER used fresh flowers before on a craft. We went in my studio and I gave her a shoe box top and said, “get what you want”. These are the things she grabbed.

INGREDIENTS:

I love all of the things she picked. Confirmed to me that she was MEANT to be my GODCHILD!

So we started crafting. Well, I should say SHE started crafting. I let her make all of the rules and she took off! Just goes to show you if you allow your mind to be FREE it could create some pretty amazing things.

Yep! This is part of her “FINAL” piece! How lovely is it! The flowers are all brown now but the memory is still there. I mean, isn’t that what really matters!

I love you Bay!

P.S. Please help us bring
MICKEY SHUNIK HOME!!!

http://findmickeynow.com/


We love you MICKEY!