“Mirror Mirror on the Wall, Who Is the Fairest of Them All?”
Hey Jaderbugs! I could not wait to post this craft! I have NOT seen the new movie yet but I absolutely know all about the “original” one! If you wanna check out the website for this AMAZING movie that I can’t wait to see, click HERE. Did I mention that Florence sings in the movie. YEP. The video is on the website and it’s a MUST see!
Let’s start crafting!
How perfect is this! You can see so many different reflections in all of the itty bitty mirrors every time you look at them. It’s like a party in your eyeballs! I have to say I have been using using “mirror’s” for a long time and if you follow me then you know this! There is just a part of me that get’s weak when it comes to:
lamps
christmas lights
mirrors
&
gel pens (preferably Pilot G-2)
It’s kind of fun to pretend your making a “prop” for a big ole movie when your really not. Your just making it for YOUR movie, the movie of your life. (hahaha)
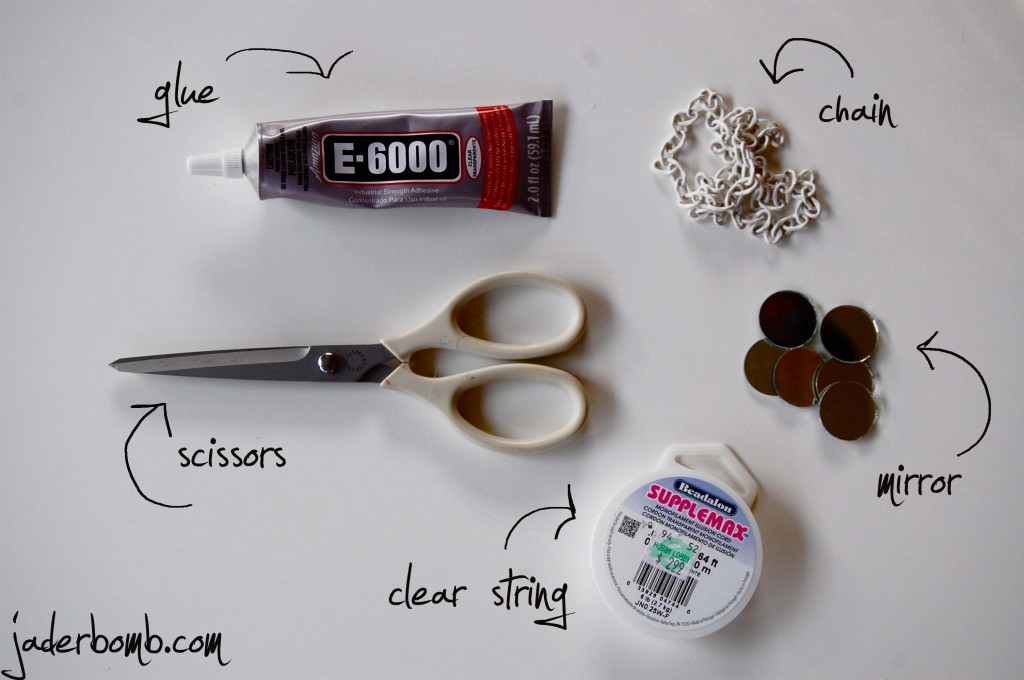
Ingredients:
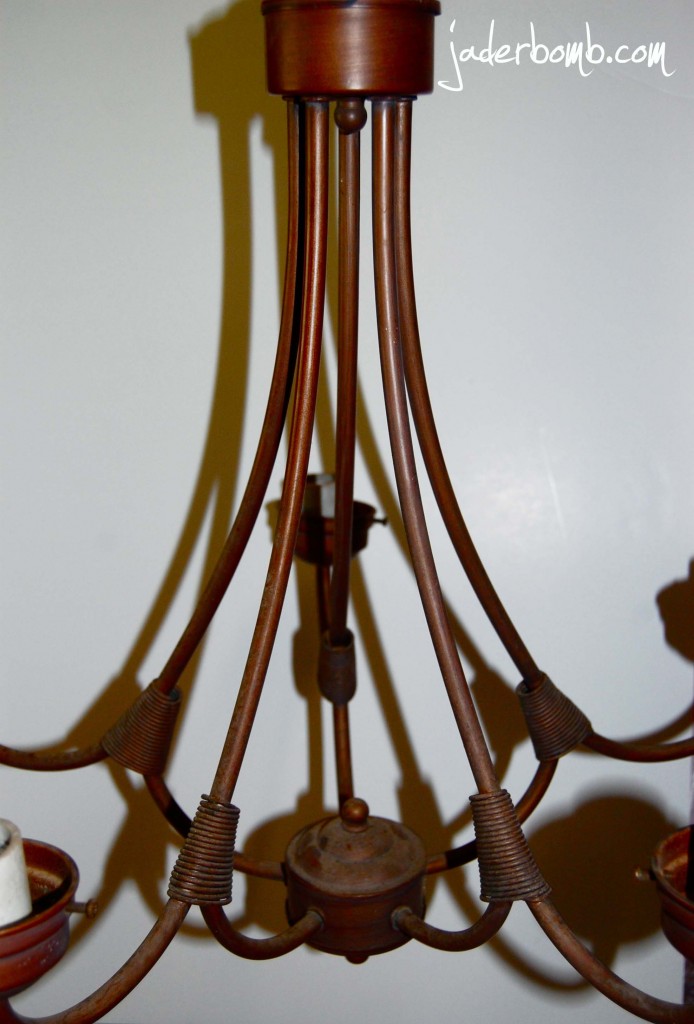
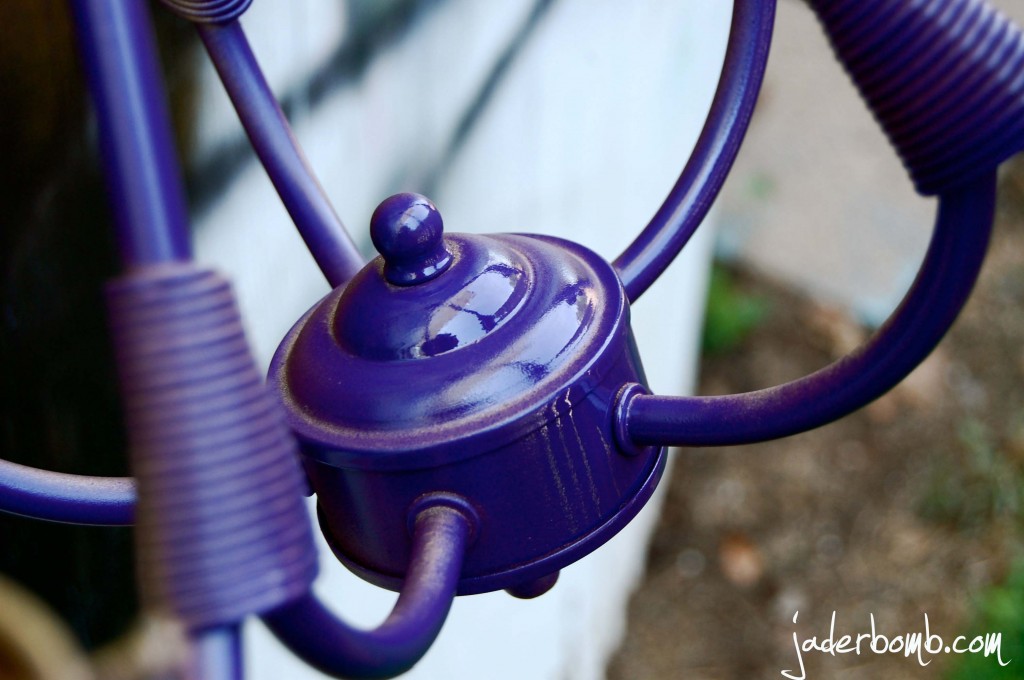
You will also need a old chandelier and spray paint.
We bought this at a garage sell prolly 2 years ago. It’s been sitting in our shed just screaming to get redone!
We used a pretty purple color for our best friend Taunt C. She just passed away and that was her favorite color. Plus every time we look at it, it will remind us of her!
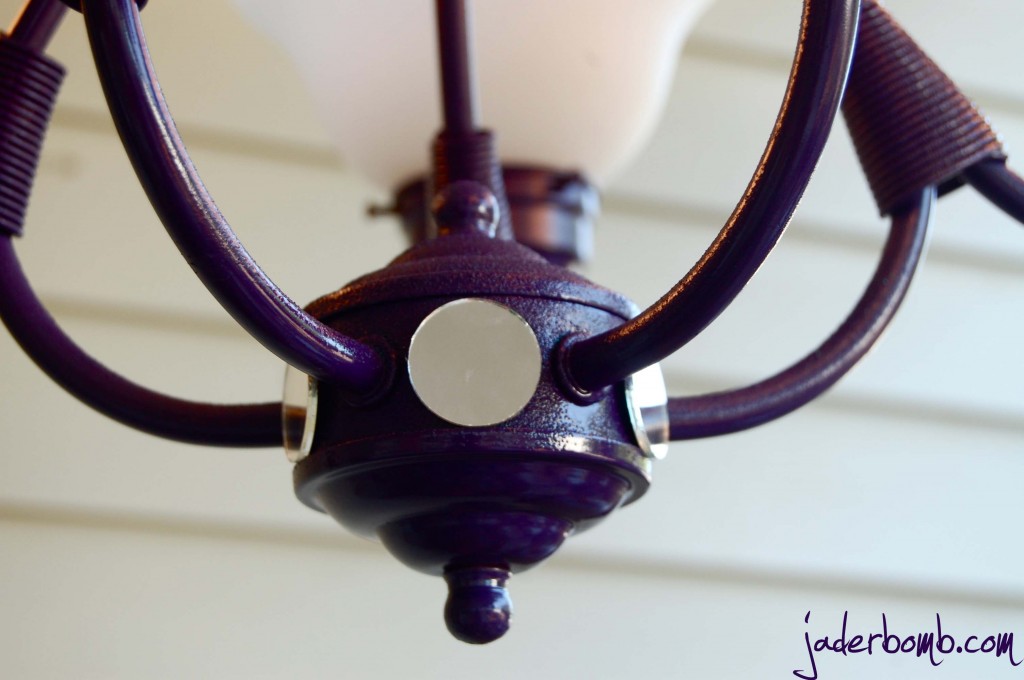 I bought those little packs of mirrors at Michael’s Art’s and Crafts. They are pretty cheap, maybe 1.50 for a pack but you get about 15 mirrors in the pack. You can get tons of different size circles and squares. Keep in mind every chandelier will look different than the one I am using.I thought putting some on the bottom base would add a nice touch to it! I used E-6000. You can use it on
Glass / Rhinestone
Clay Pottery / Rocks / Sea Shells
Beads / Fabric
Ceramic / Wood
Glass / Metal
It’s really something you should ALWAYS keep around.
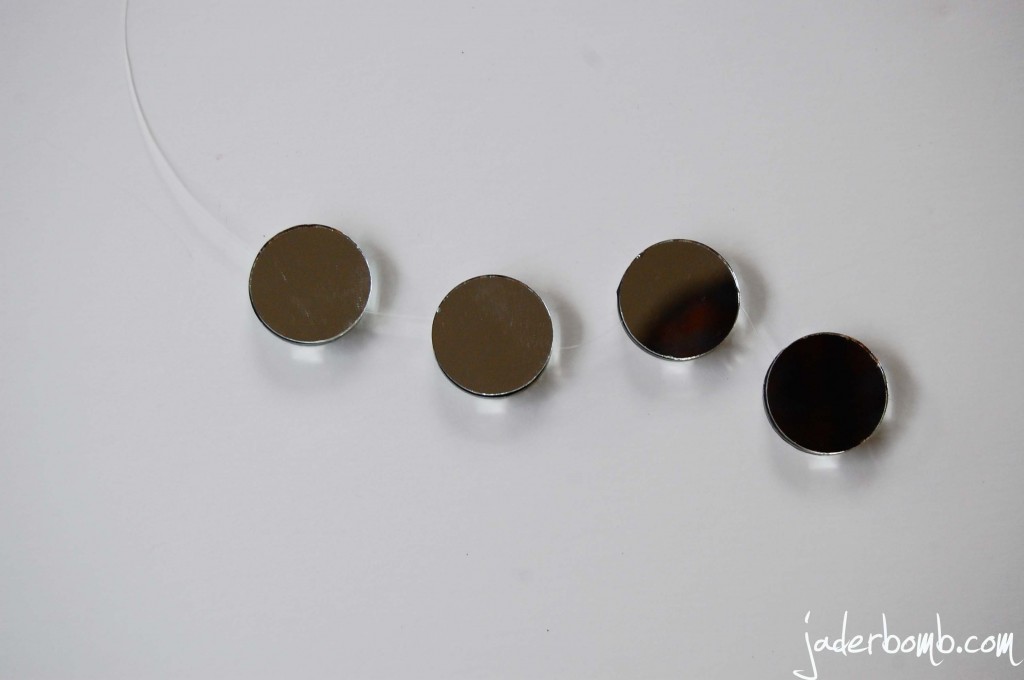
Remember my tutorial on “strings of mirror’s“? If not check it out. I made these babies the same way I made those. You just put glue on one circle, put clear string over it and place another circle on top of that. Then let it dry. You can decide how many circles or squares you want to use depending on the size of your chandelier.
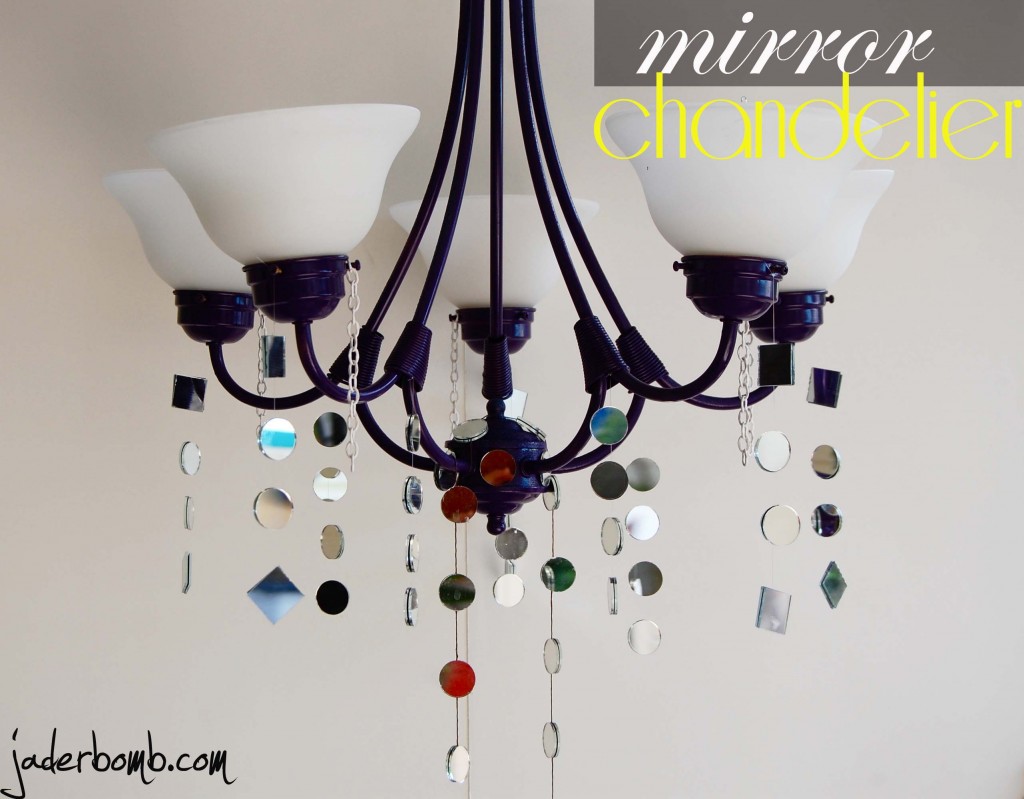
Once you get all of your little strings of mirrors done, just start putting them all over! You can hang them at different lengths. I like to stay “consistent” so it looks even.
I hope you enjoy this fun tutorial and leave in the comment section what you think of the movie if you saw it! Could you totally see this in your house! I put it outside because when the sun hits the mirror’s, it makes millions of amazing, fun reflections EVERYWHERE! It’s like stars in the daytime shining! 
I wanted to share with you my exact spot I wrote this blog post! Right under my
Mirror Chandelier!
Wanna see how I hung this HUGE window? Make sure and come back tomorrow to check it out! See you in the next post!
© Copyright jaderbombllc, All rights Reserved. Written For: JADERBOMB


L-O-V-E how this turned out, love that it’s in memory of a friend, and love your outdoor spot where you wrote this post too!
Hey Laura! Glad you LOVEDDDD out it turned ou! I do too! It is the best thing when you look at something and it reminds you of someone. Such a happy memory! Thanks for the comment! See ya soon!
Such a great refashion! Love the little mirrors!
And what a lovely way to remember your purple-lovin’ friend.
Hey Steph! It was so refreshing making this! It is CRAZY how the mirrors reflect SO many things…..Surely the best thing I put outside!!! Thanks for commenting!!
Pingback: JADERBOMB - How to re-use a window frame
Super cute and I love that it is outside!
Yeah! I am very happy with the way it turned out!!!! Thanks for visiting!
I loved how you re-purposed a chandelier, it looks great. I just saw Snow White and the Huntsman, I hope that you enjoyed it as much as I did! Very good movie.
Pingback: Compleanno Biancaneve e il cacciatore | Feste e compleanni