Halloween is my favorite holiday as you all may know. So I teamed up with Fiskars to create a fun Halloween project just for YOU!
Sometimes I want to be a kid again. I tried it last year but I think everyone knew I was not a kid. Dammit. I lost a little weight in the last few weeks so maybe I will have a good chance this year. Last year I dressed as Frida Kahlo and boy did I look just like her. The guy at the grocery store thought I was a “geisha girl”…
Epic fail. How could anyone not realize who I was!? Moving on.
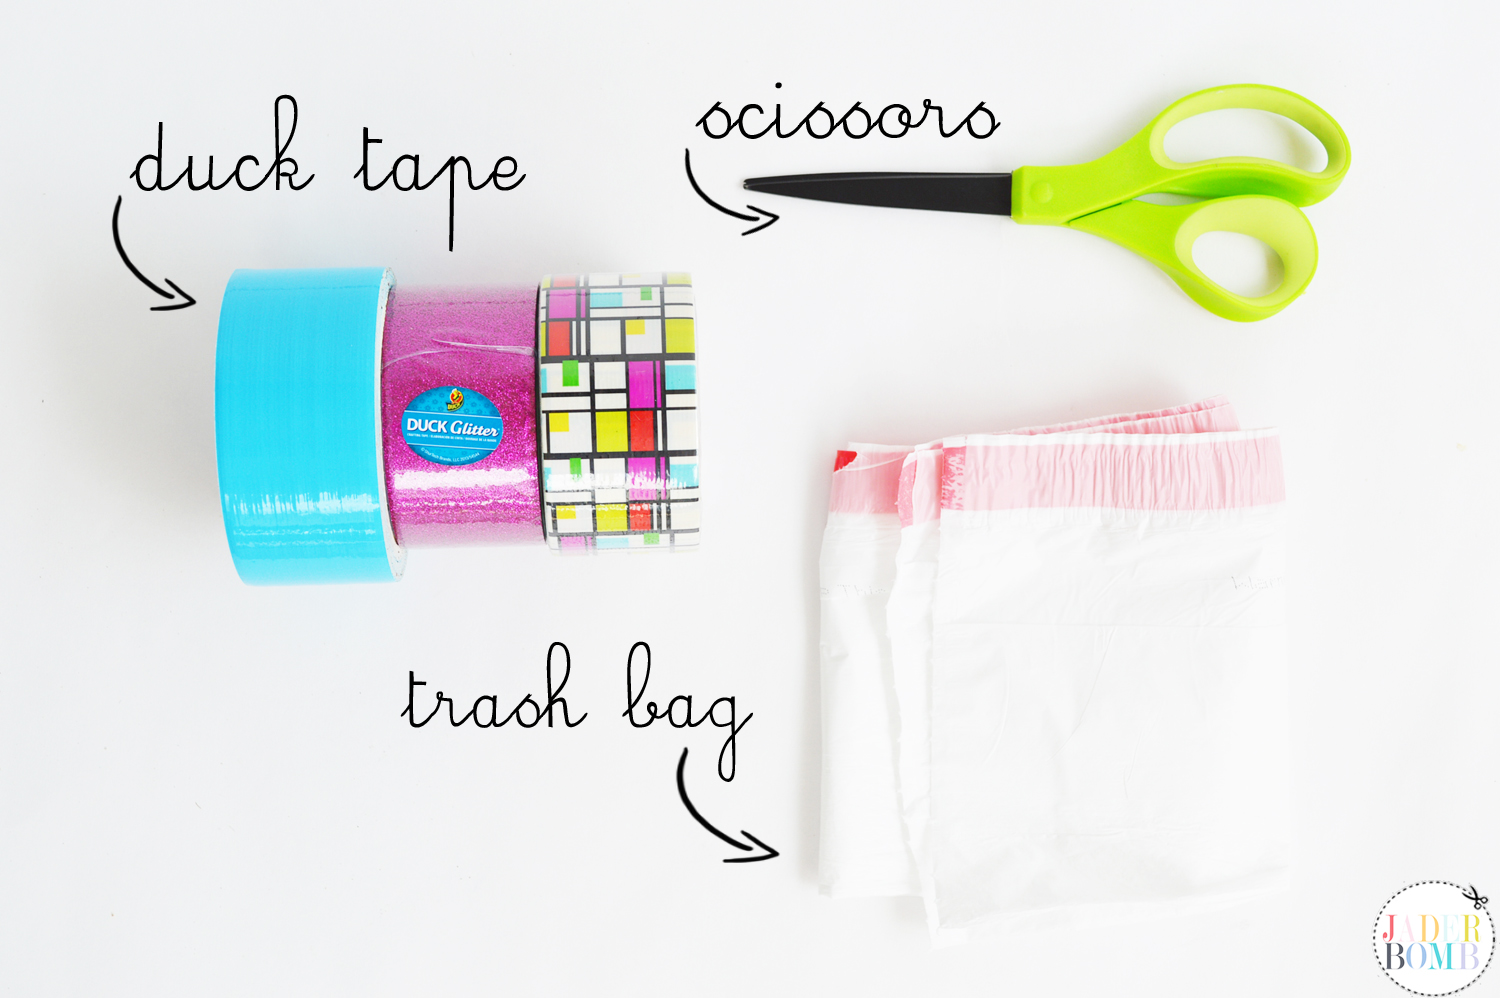
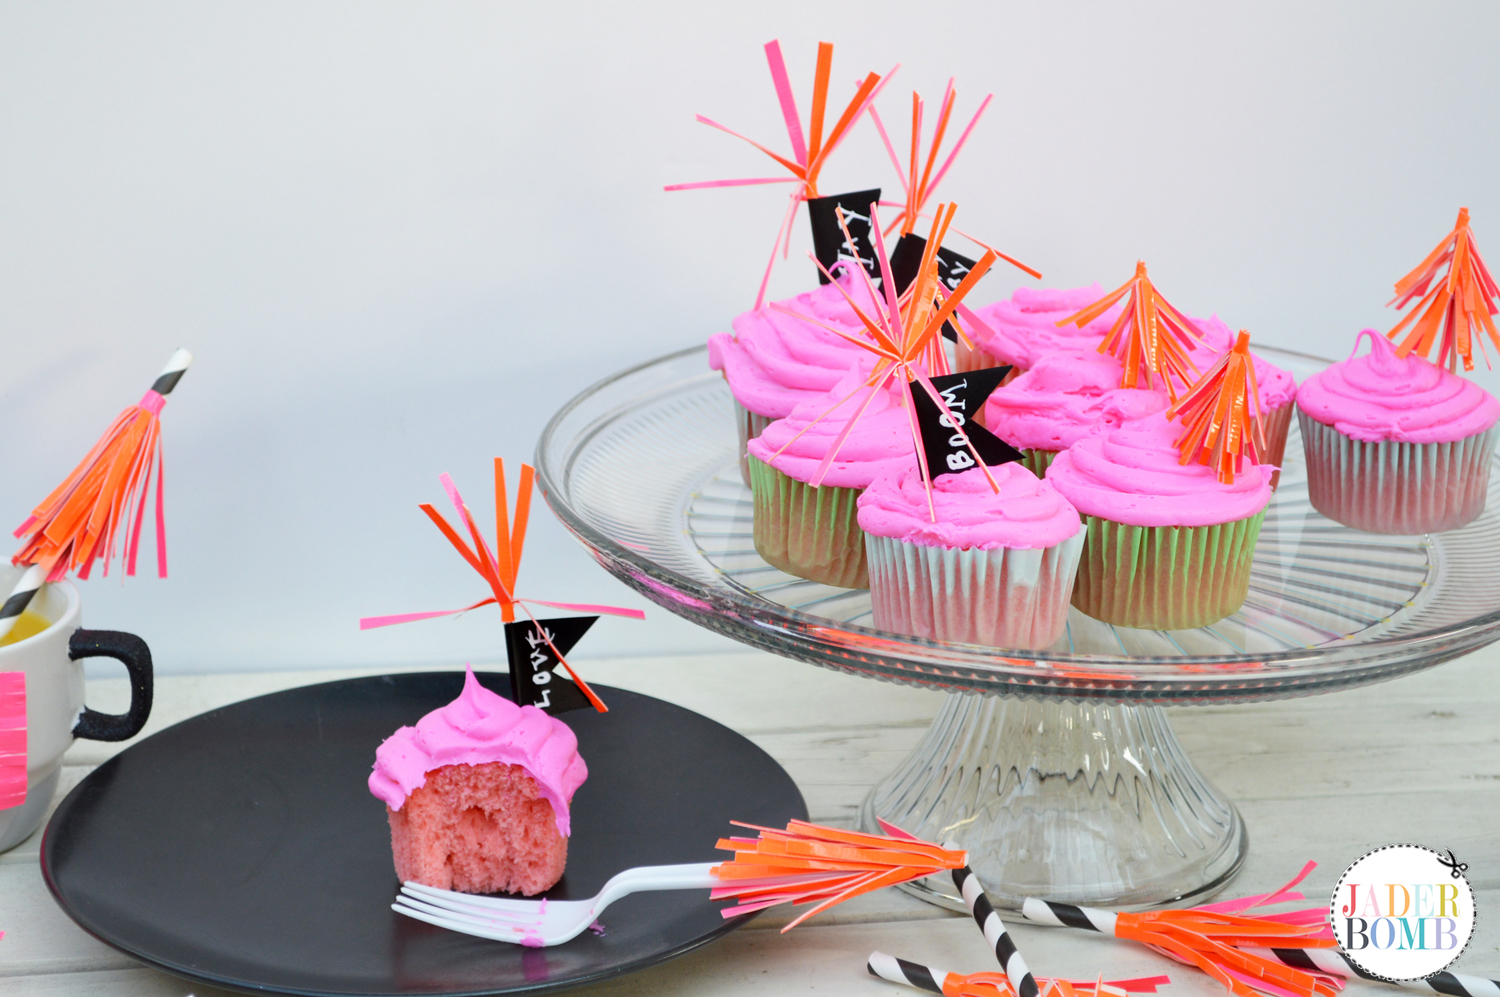
Sometimes when everyone is buying Halloween costumes they might find it difficult to find a matching treat bag to sling on their arm. I am making things super easy for you this year by showing you how to create your very own using Duck Tape! When you get to the Duck Tape isle in whatever store you are in you will realize just how many options you have to choose from. It’s like being in a sticky candy store. If you love bags check out these glittered lunch bags.
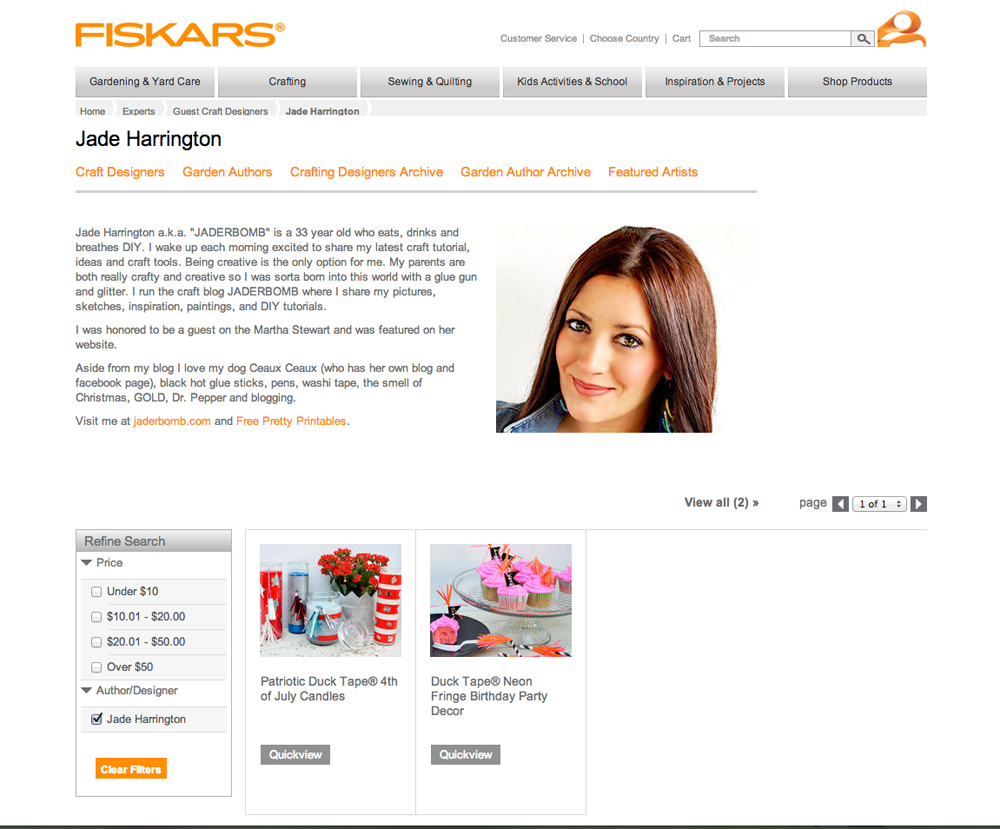
So head on over to the Fiskars website ( See below the picture) and get the full tutorial. You won’t believe what I used to make these bags with, besides Duck Tape. Did I mention the bags are filled with glow in the dark stickers. Yes indeed!
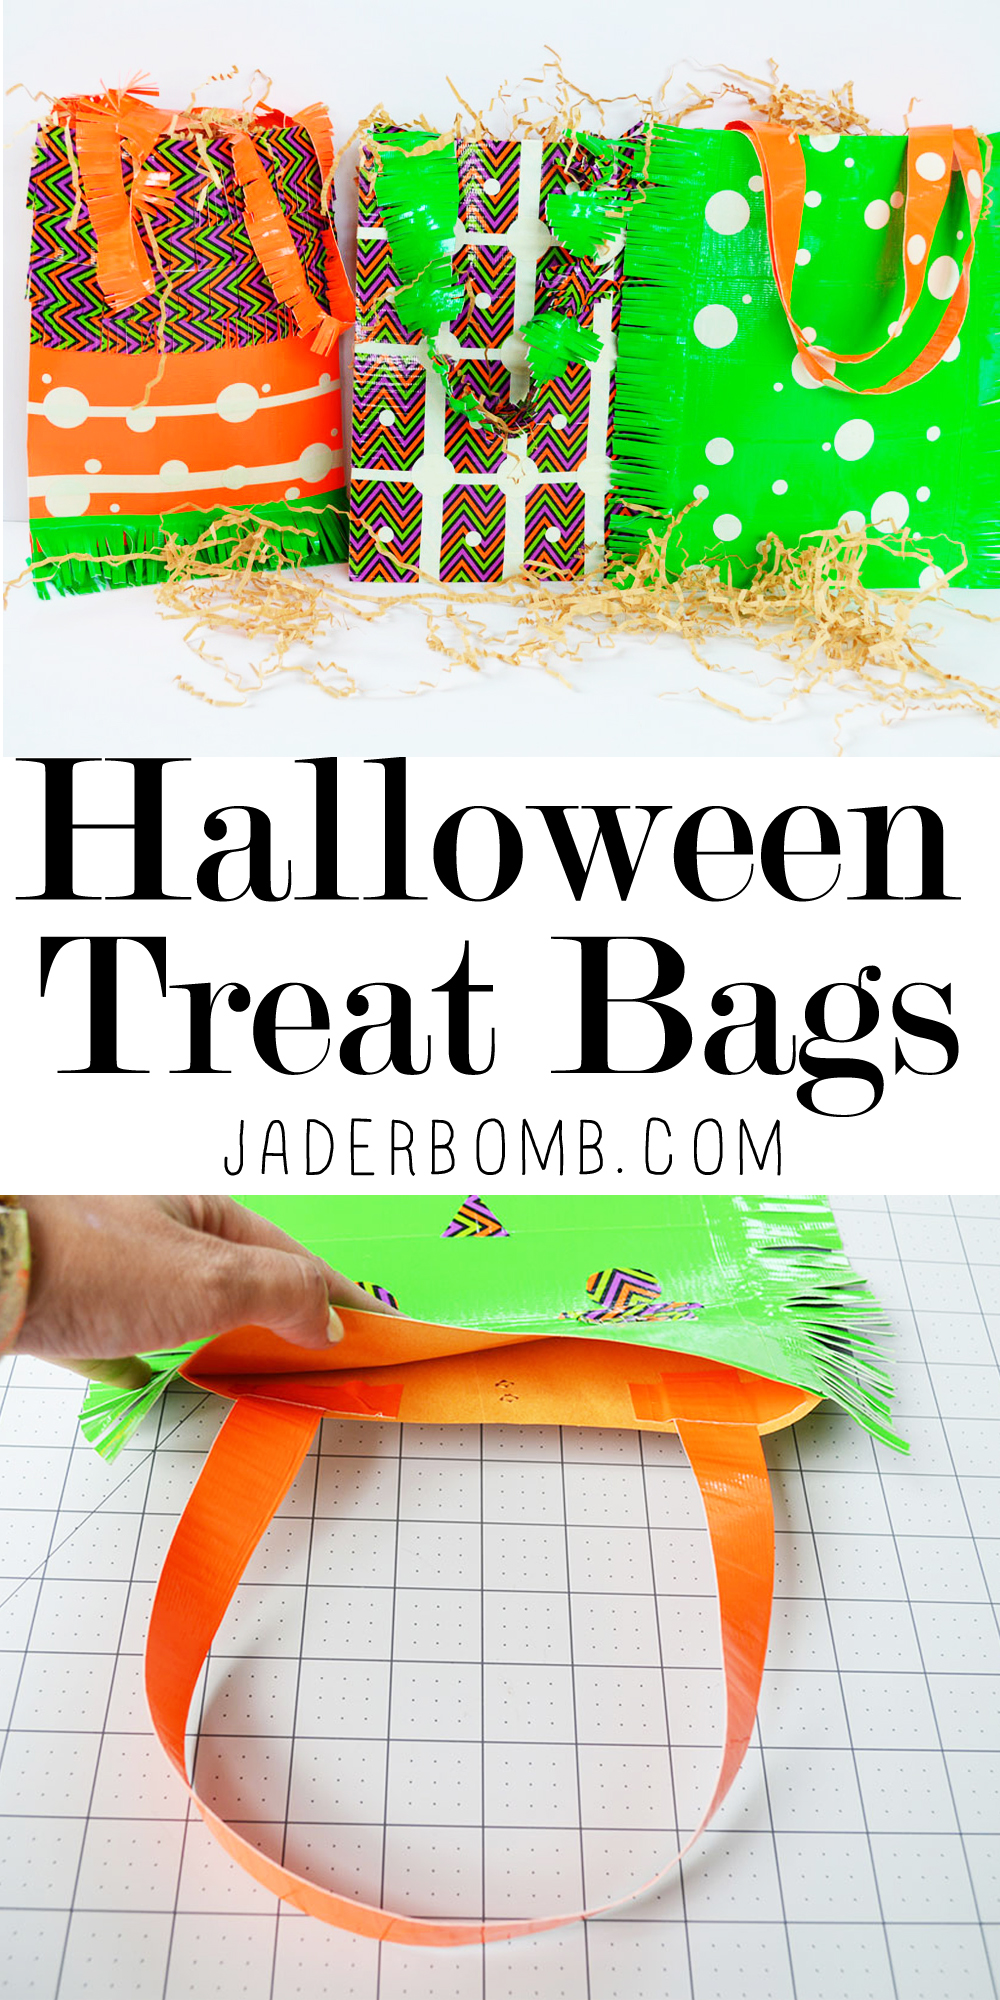 CLICK HERE FOR THE FULL TUTORIAL
I hope you enjoyed this tutorial and it truly inspires you! ![]()
Don’t forget to connect on social media! Make sure to use use the hashtag #JADERBOMB on Instagram or Twitter or Facebookso I can keep track of all your awesome creations! HAVE A GLITTERY DAY! ♥, Jade

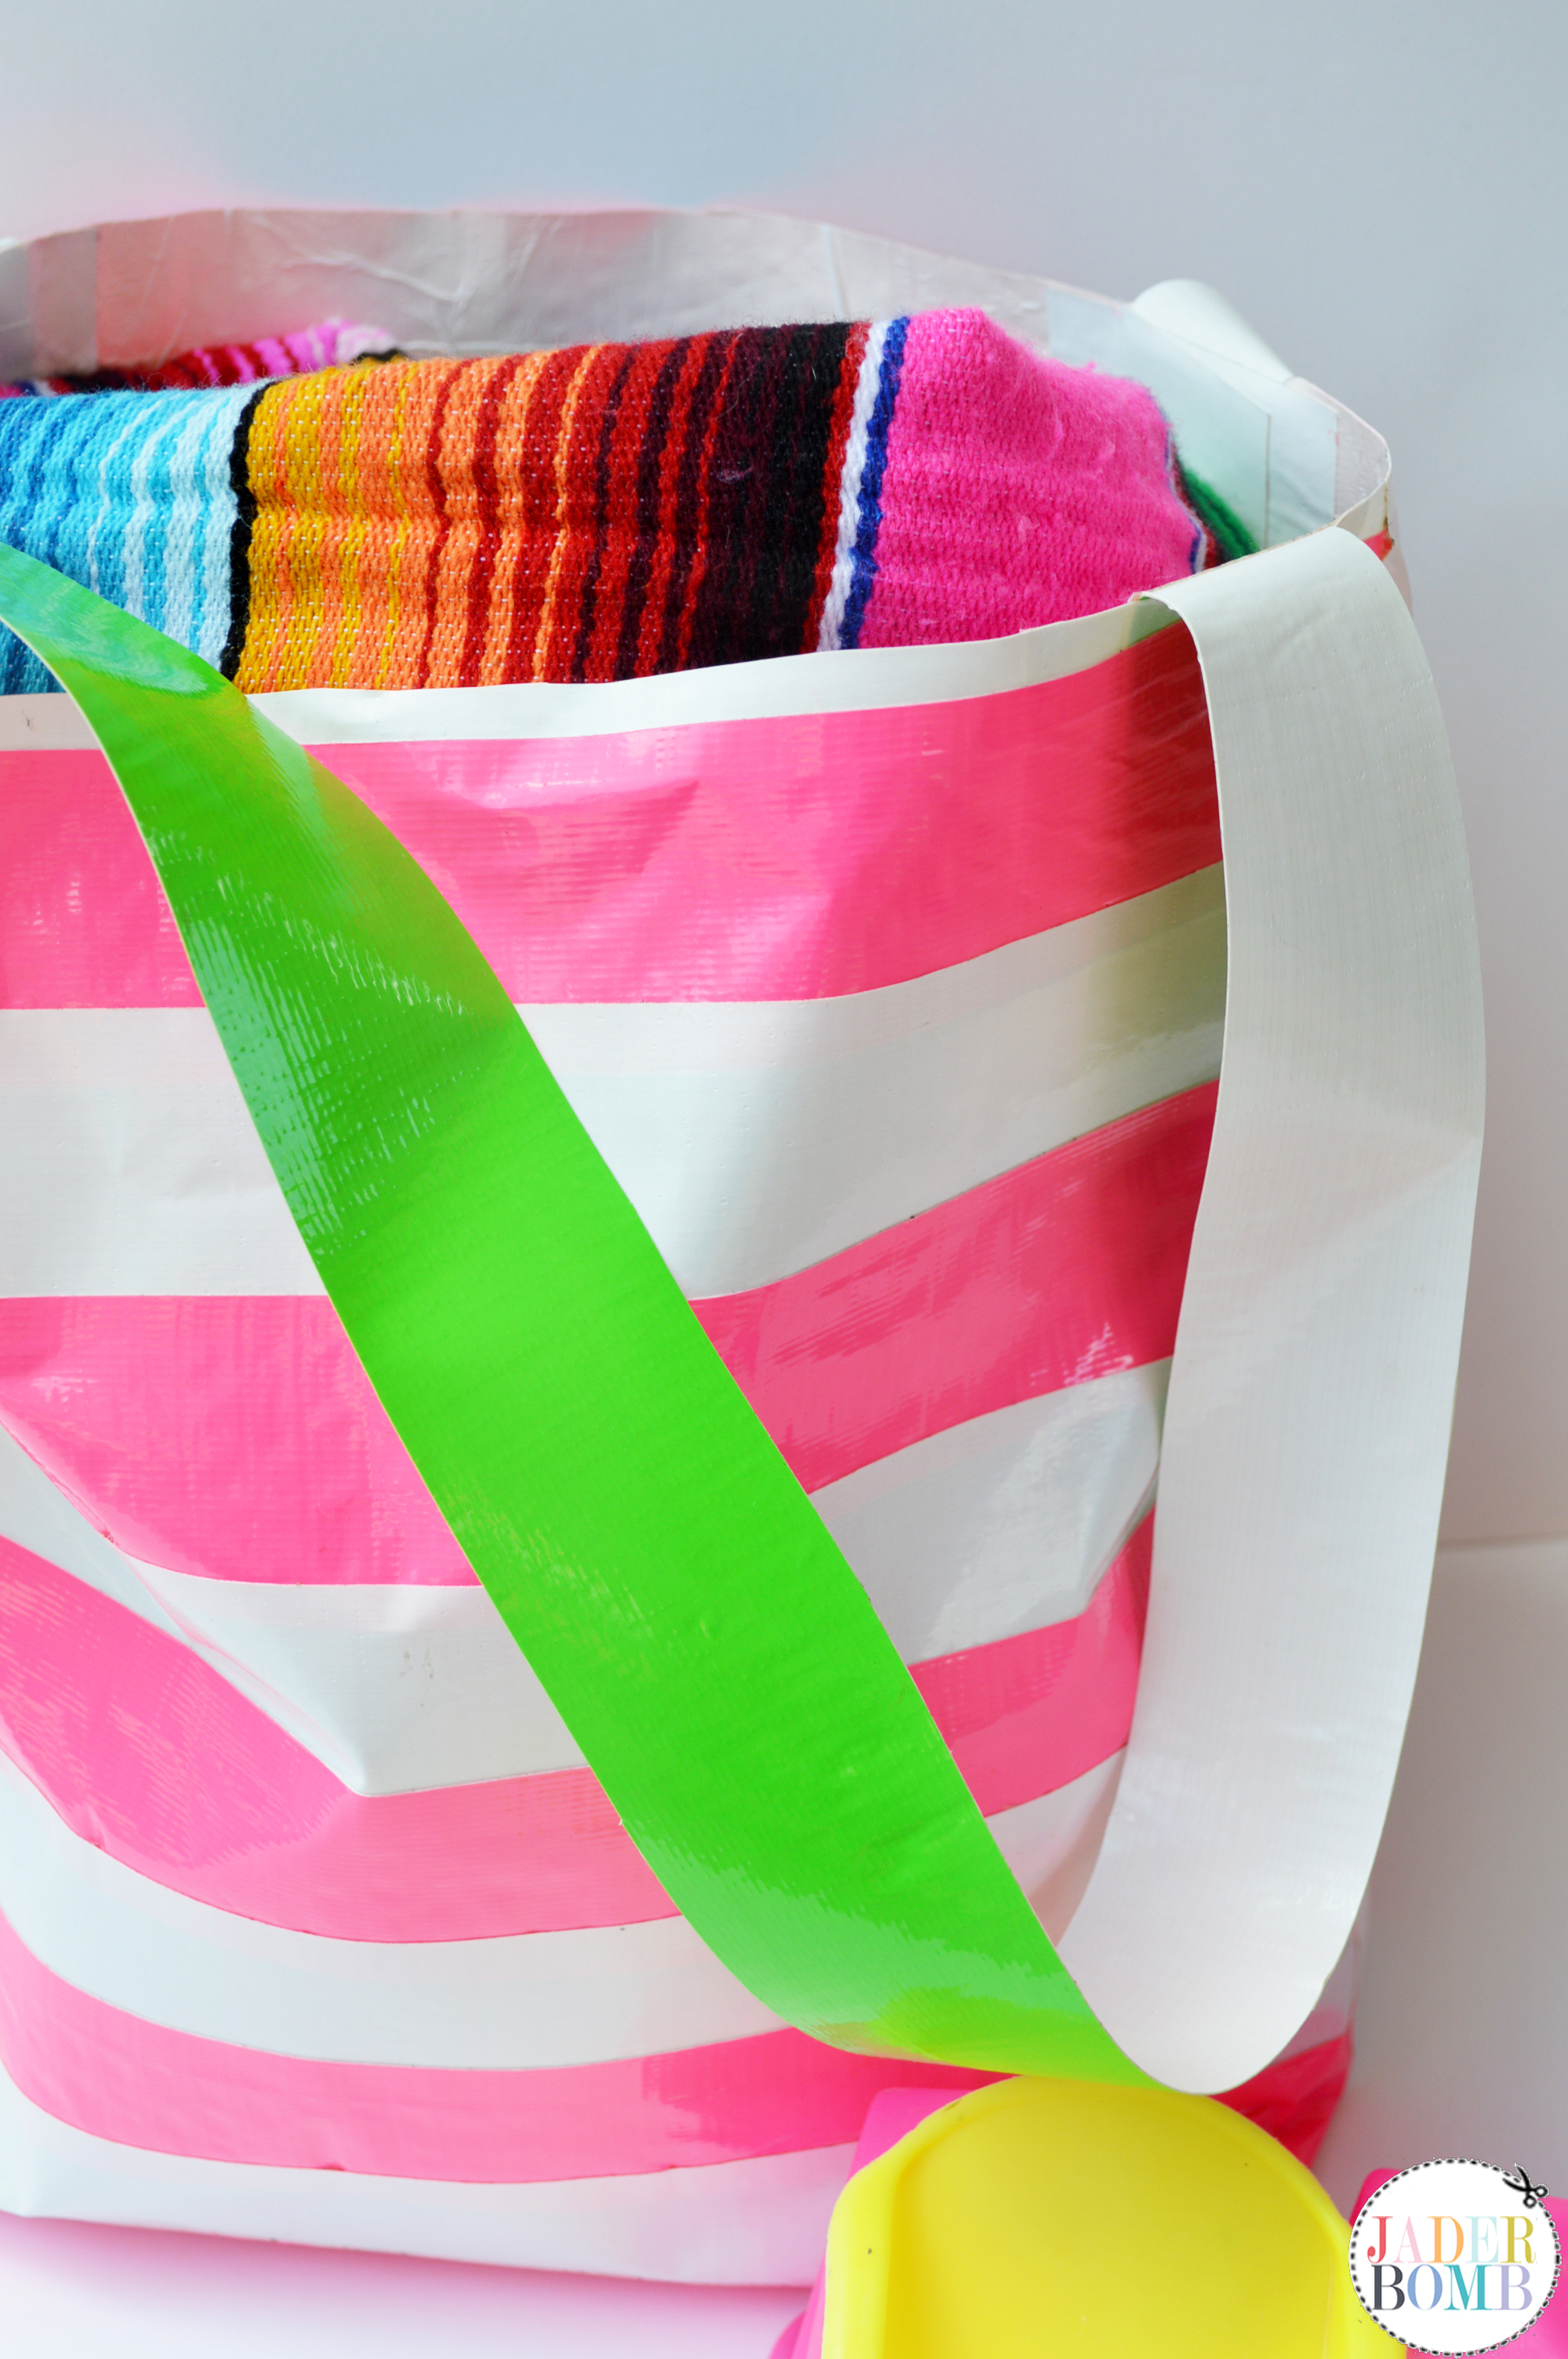


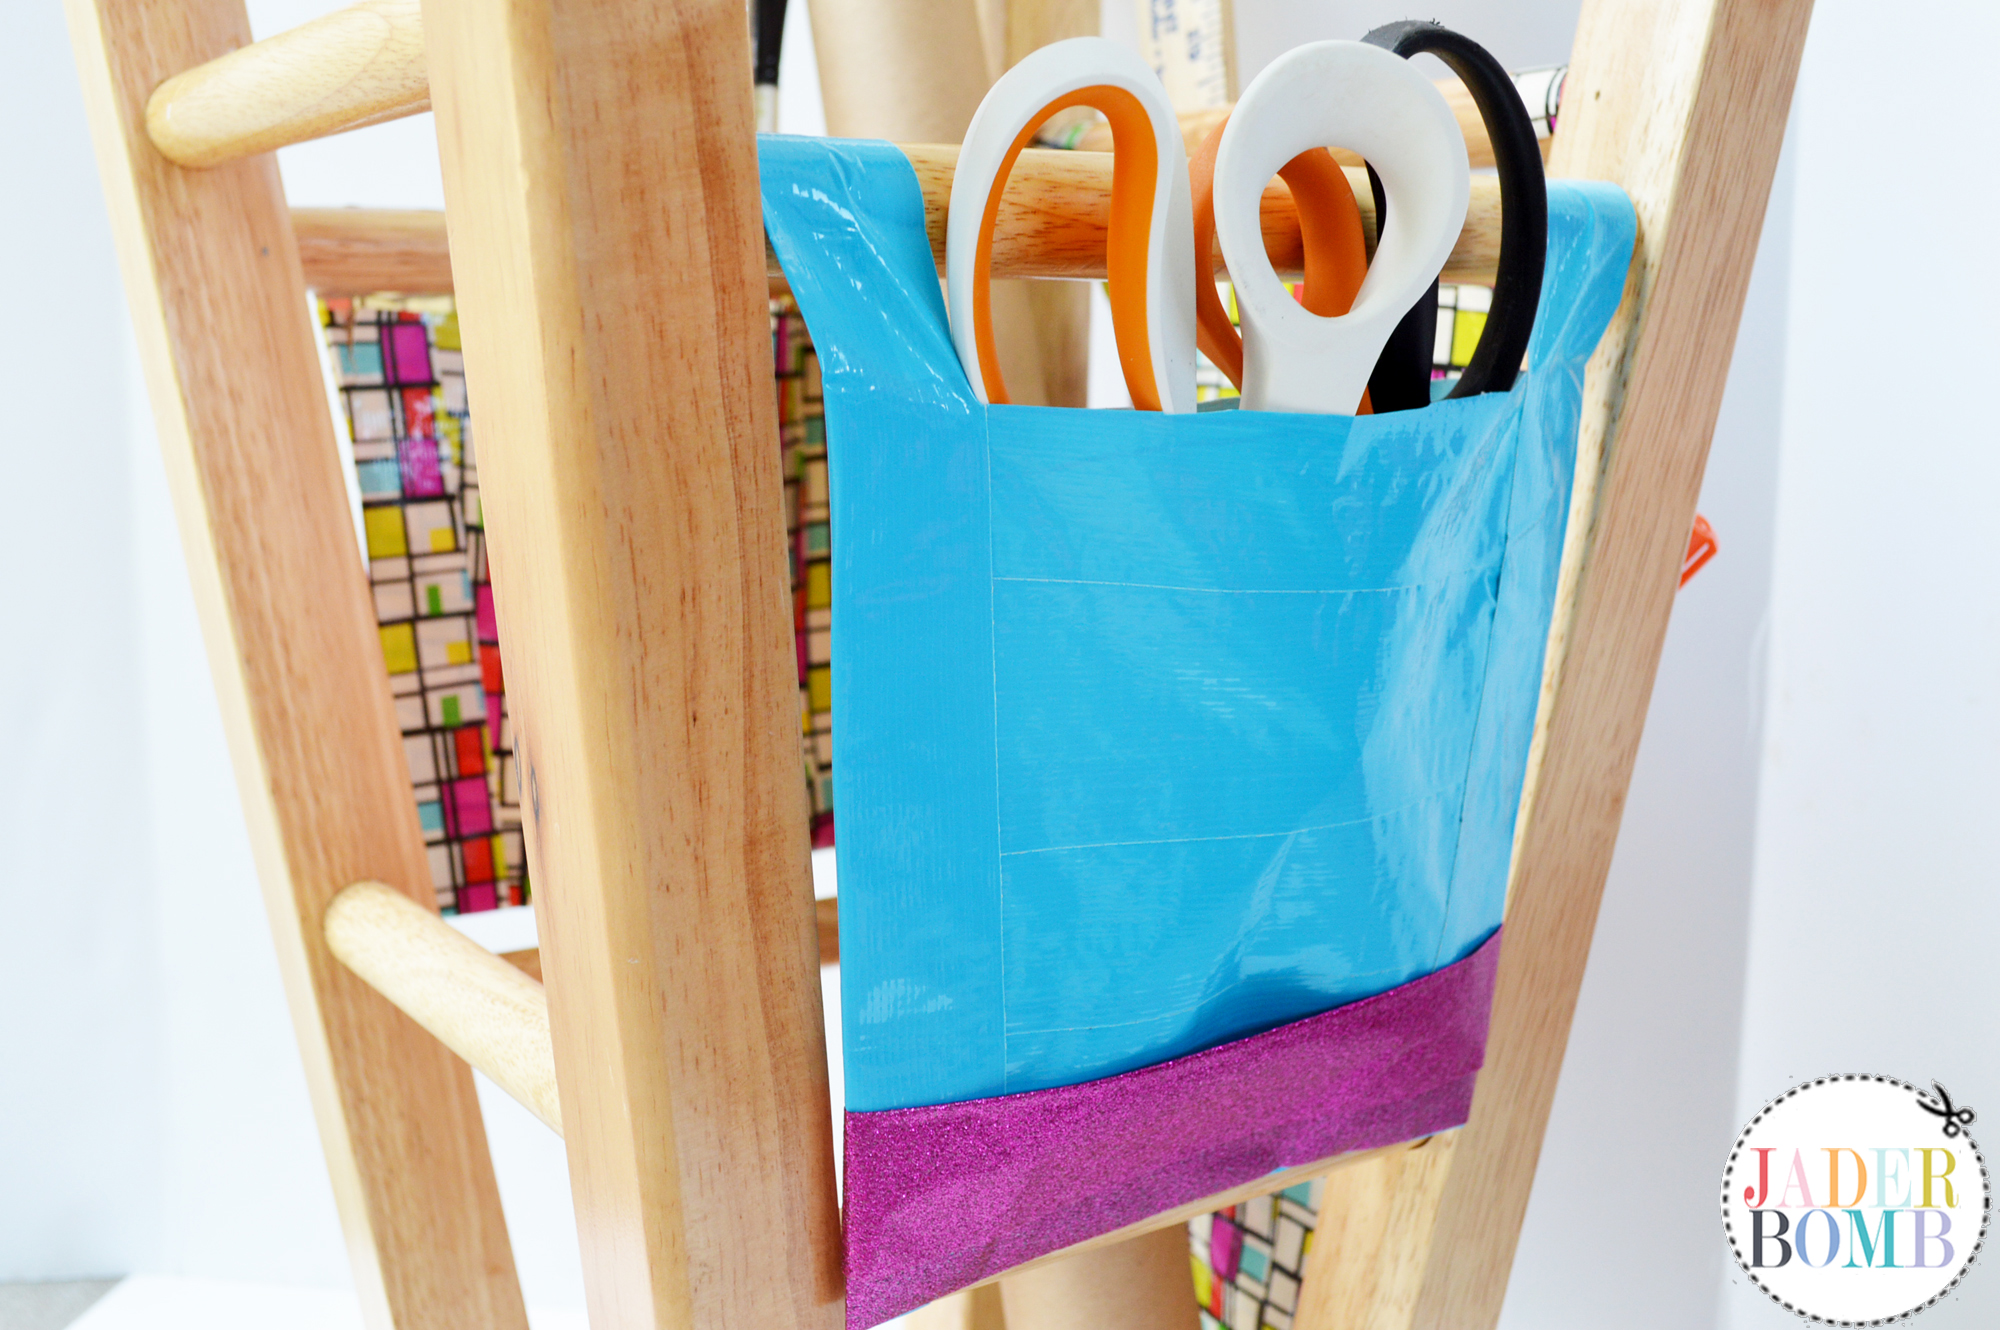
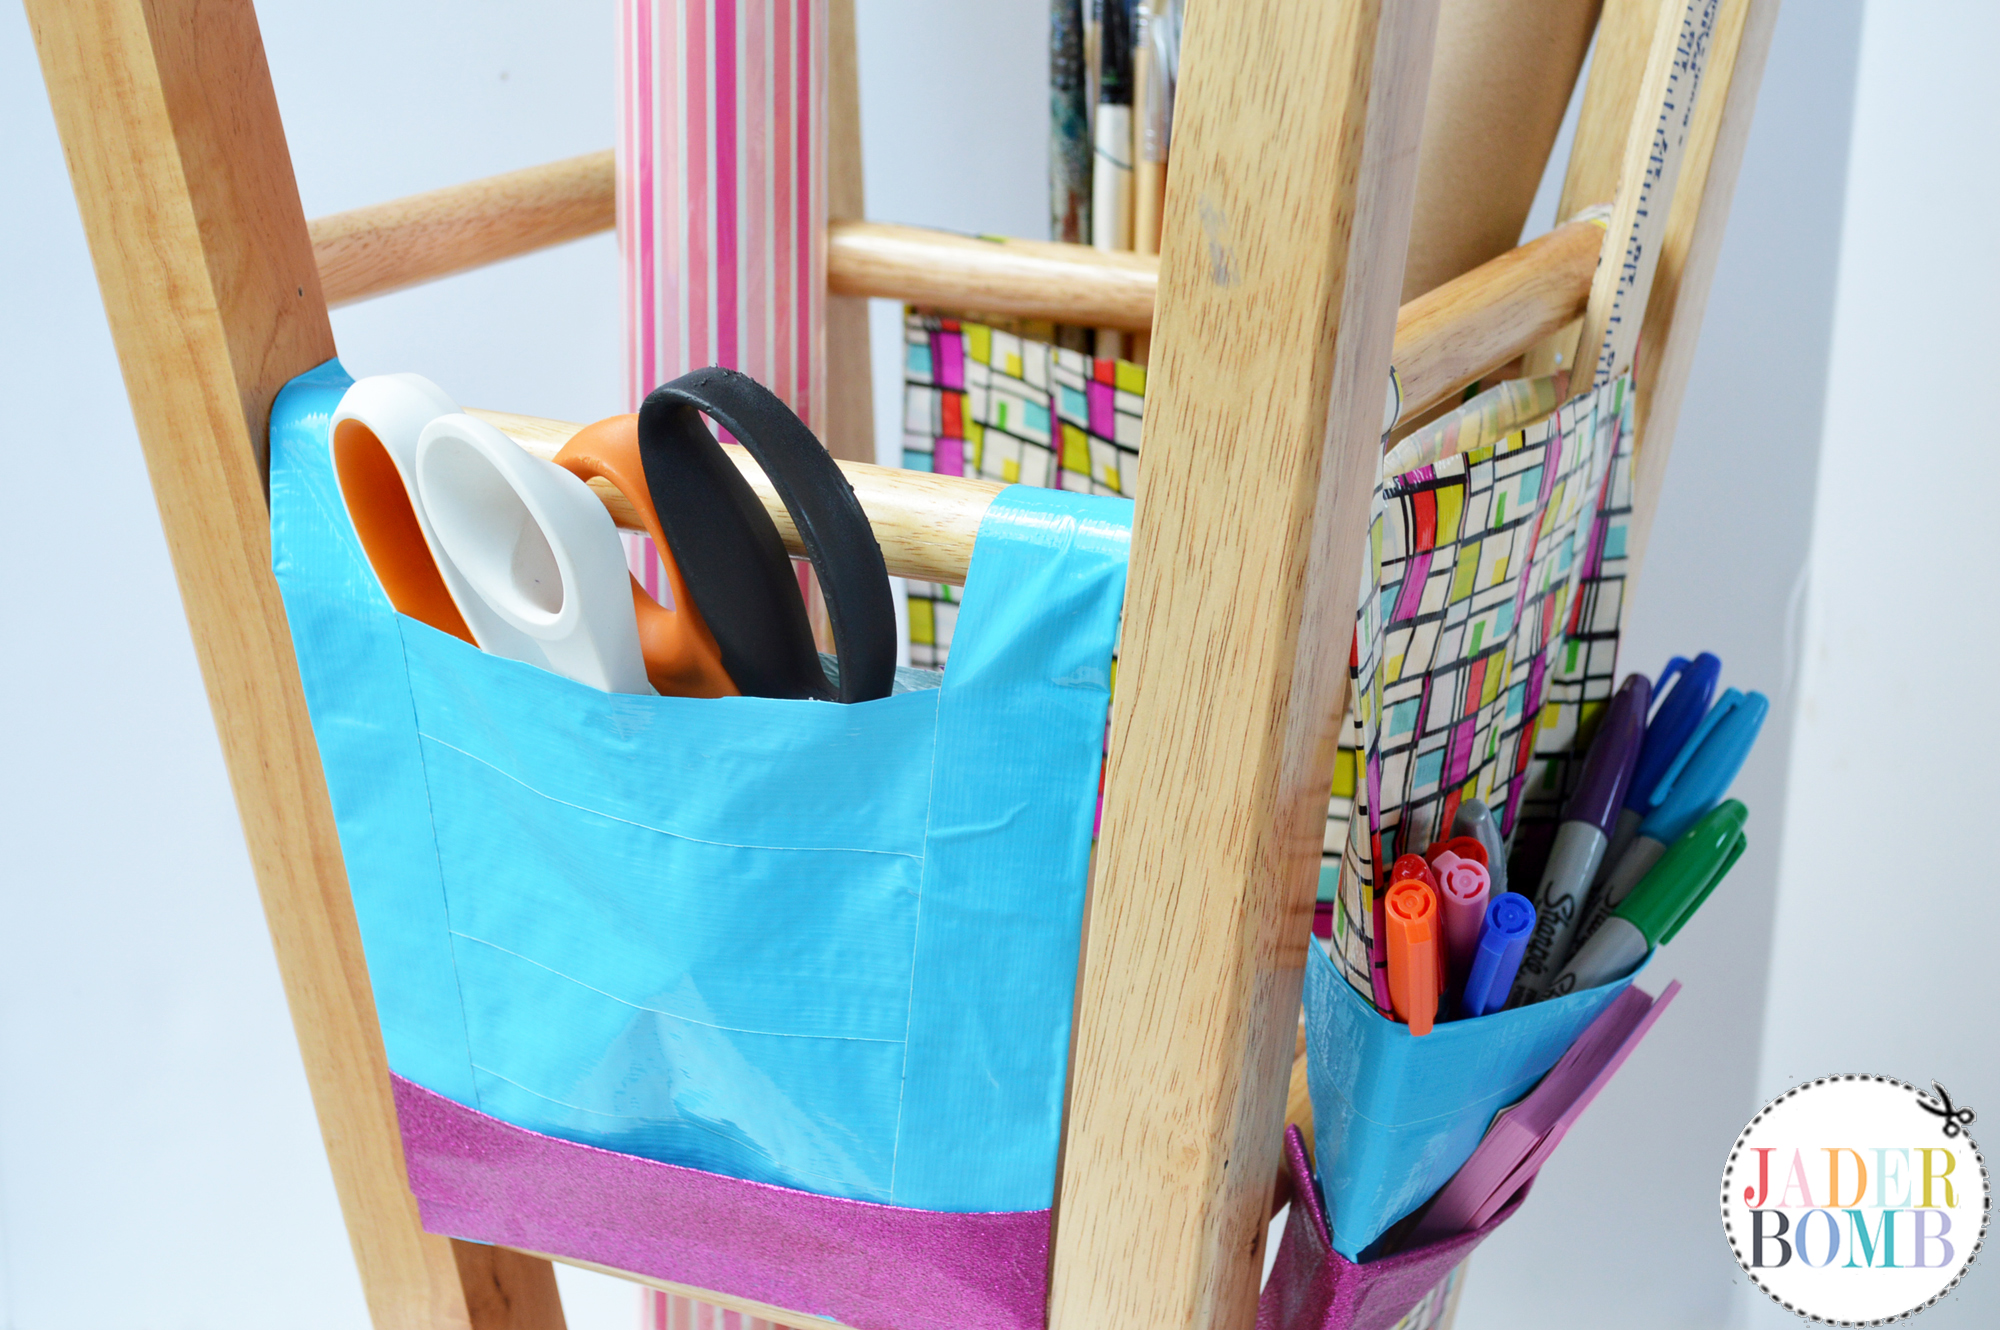
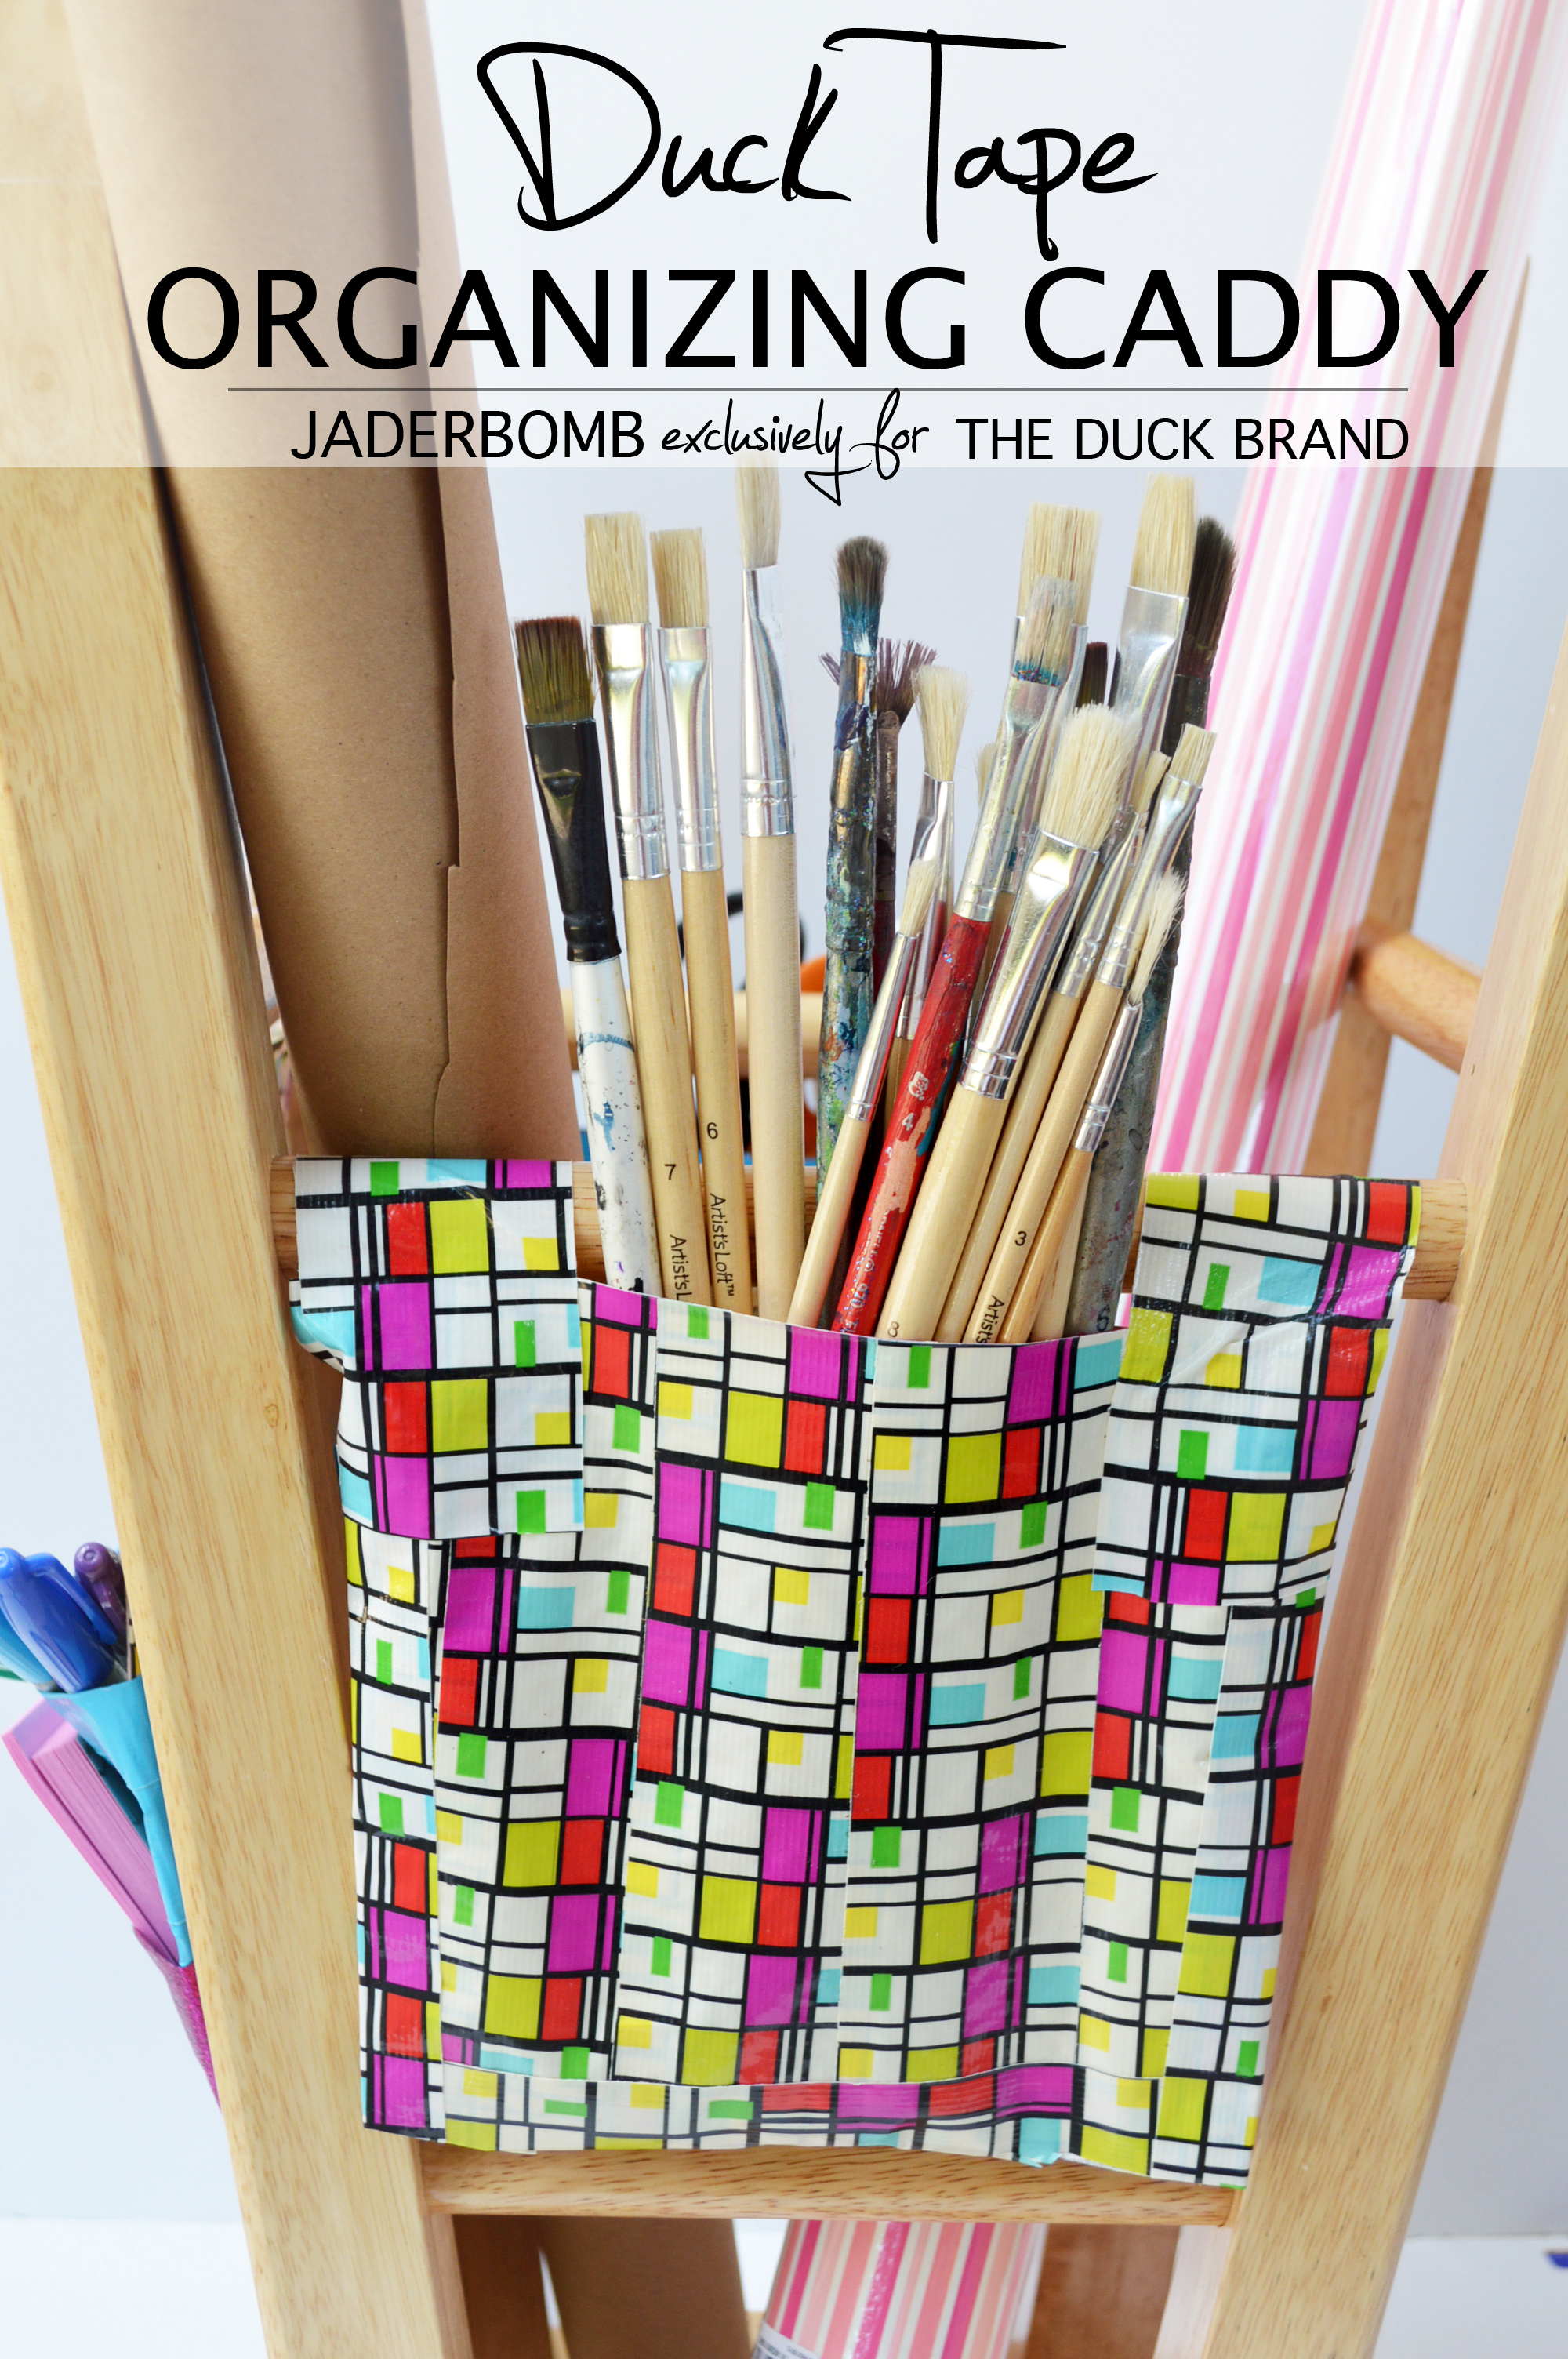
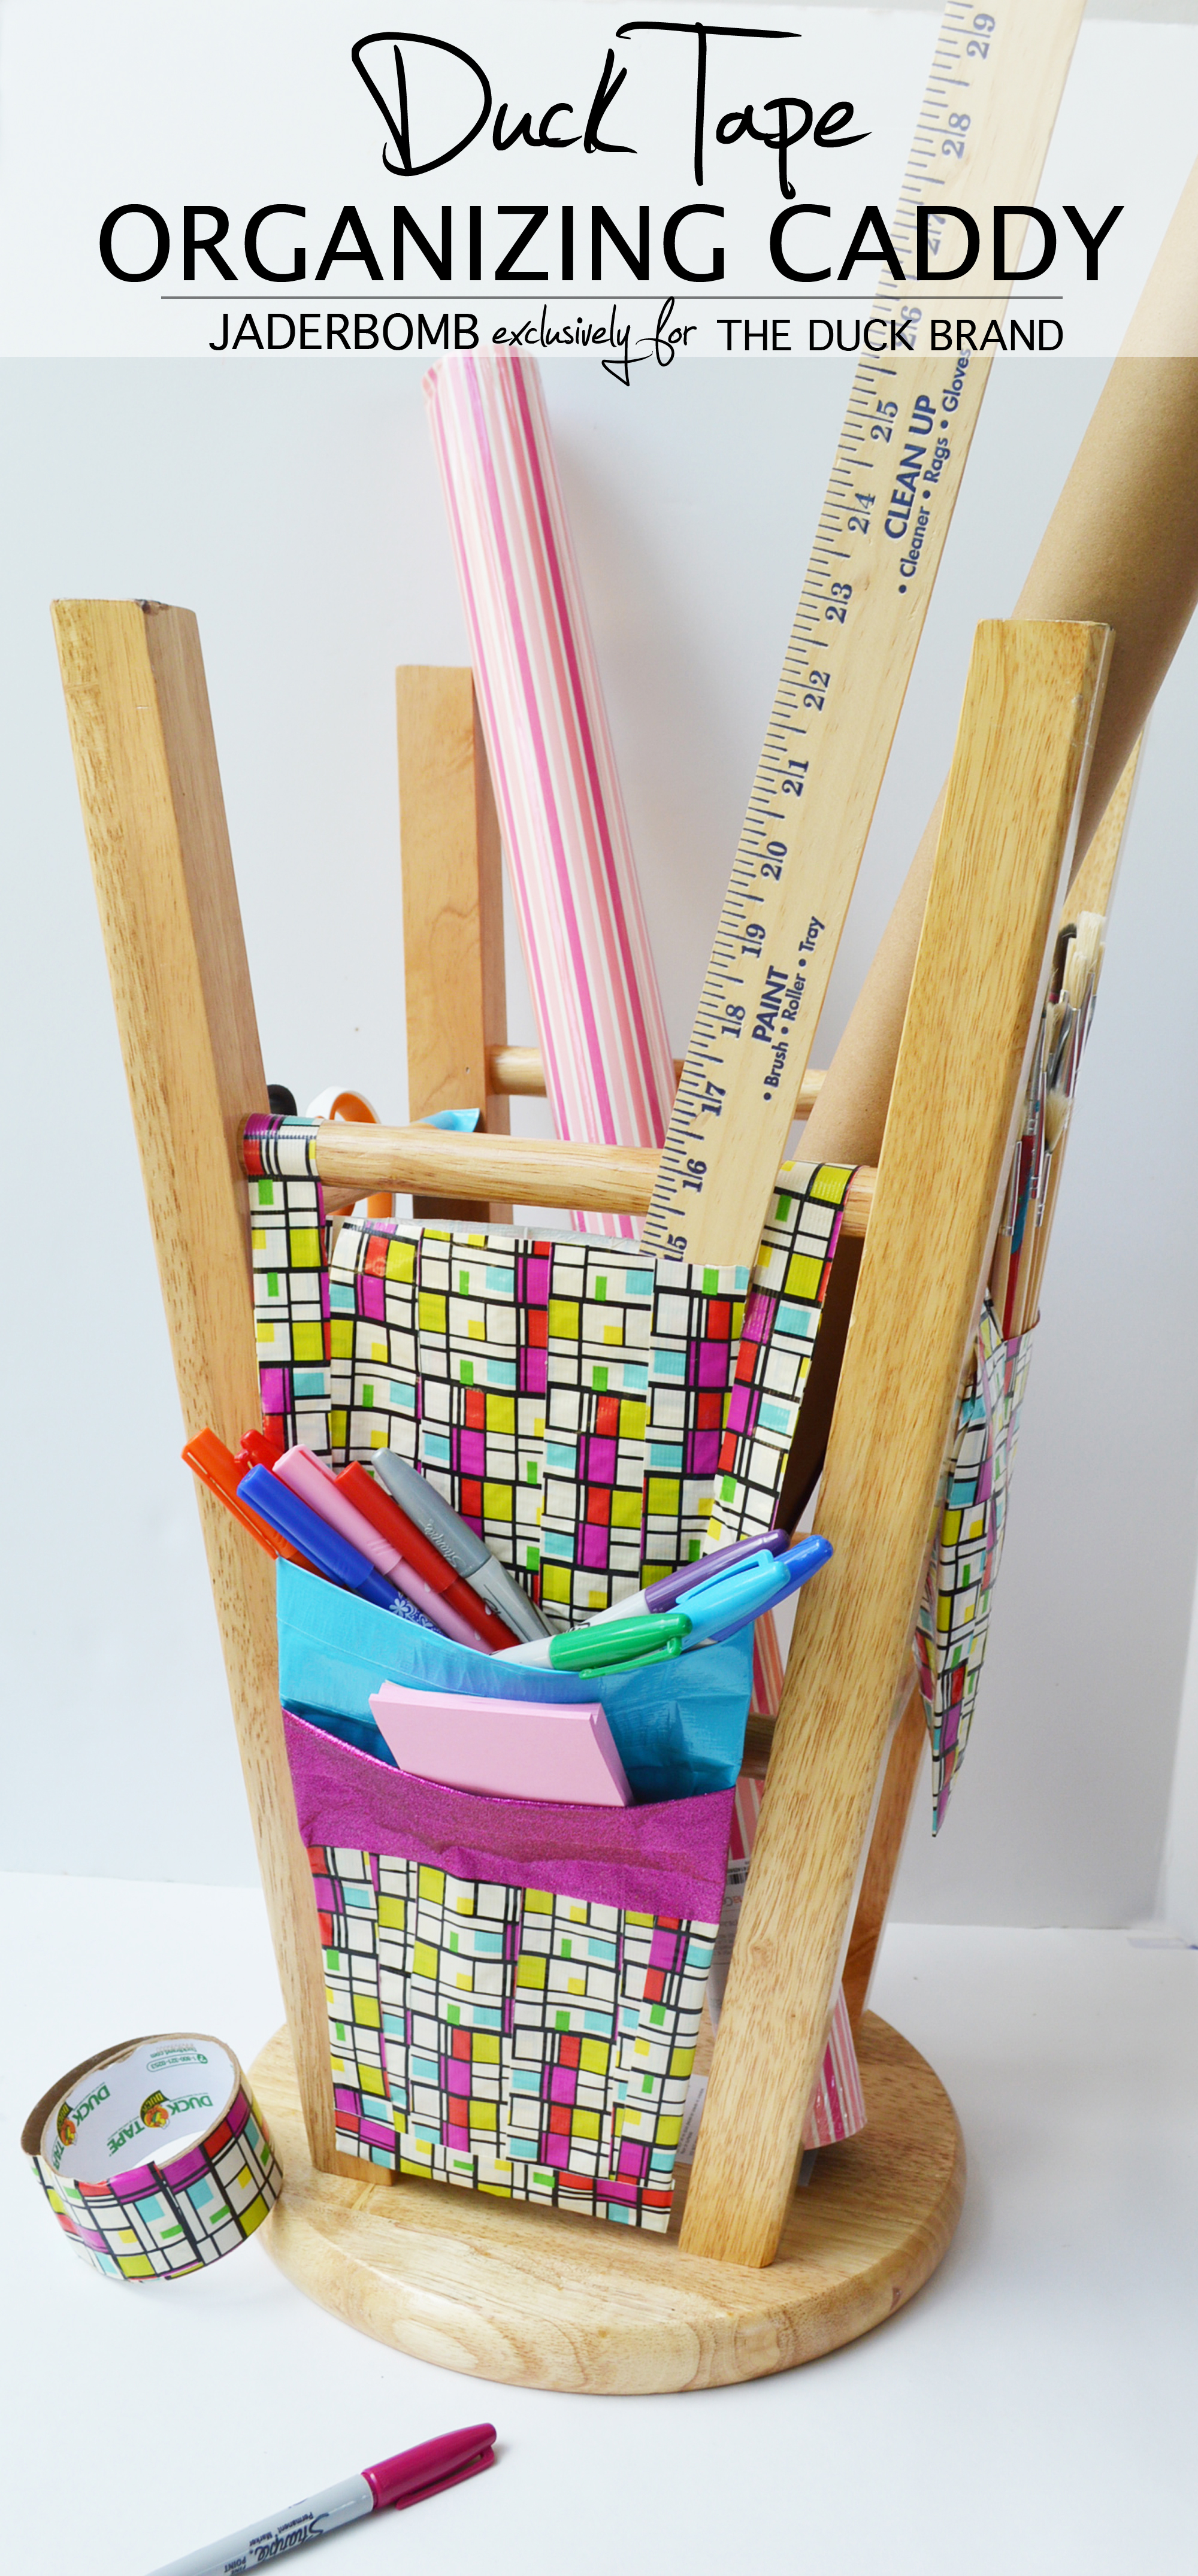
 I don’t know about you but I absolutely love mini organizing stations. Sometimes a good one can be hard to come by which is why today I am going to show you an easy way to create a duck tape organizing caddy. One that can go in any space,literally. The one thing I love about this caddy is you can choose the exact design or color of
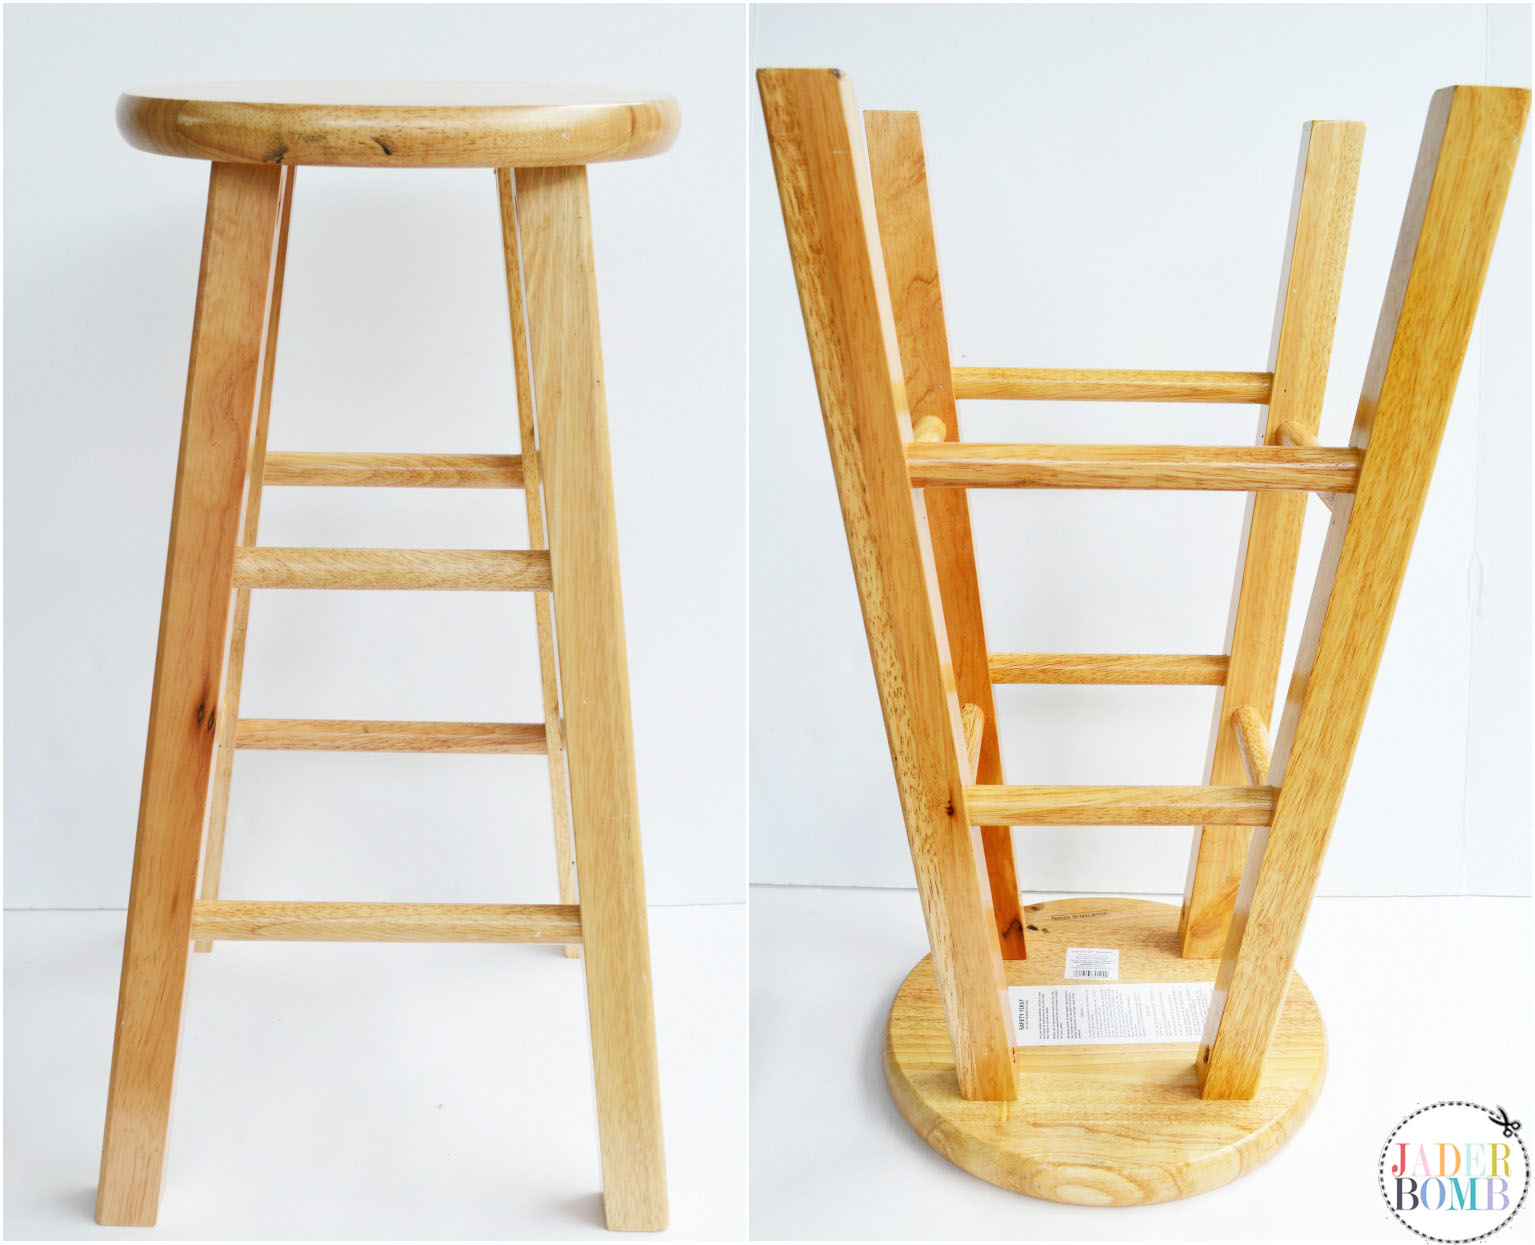
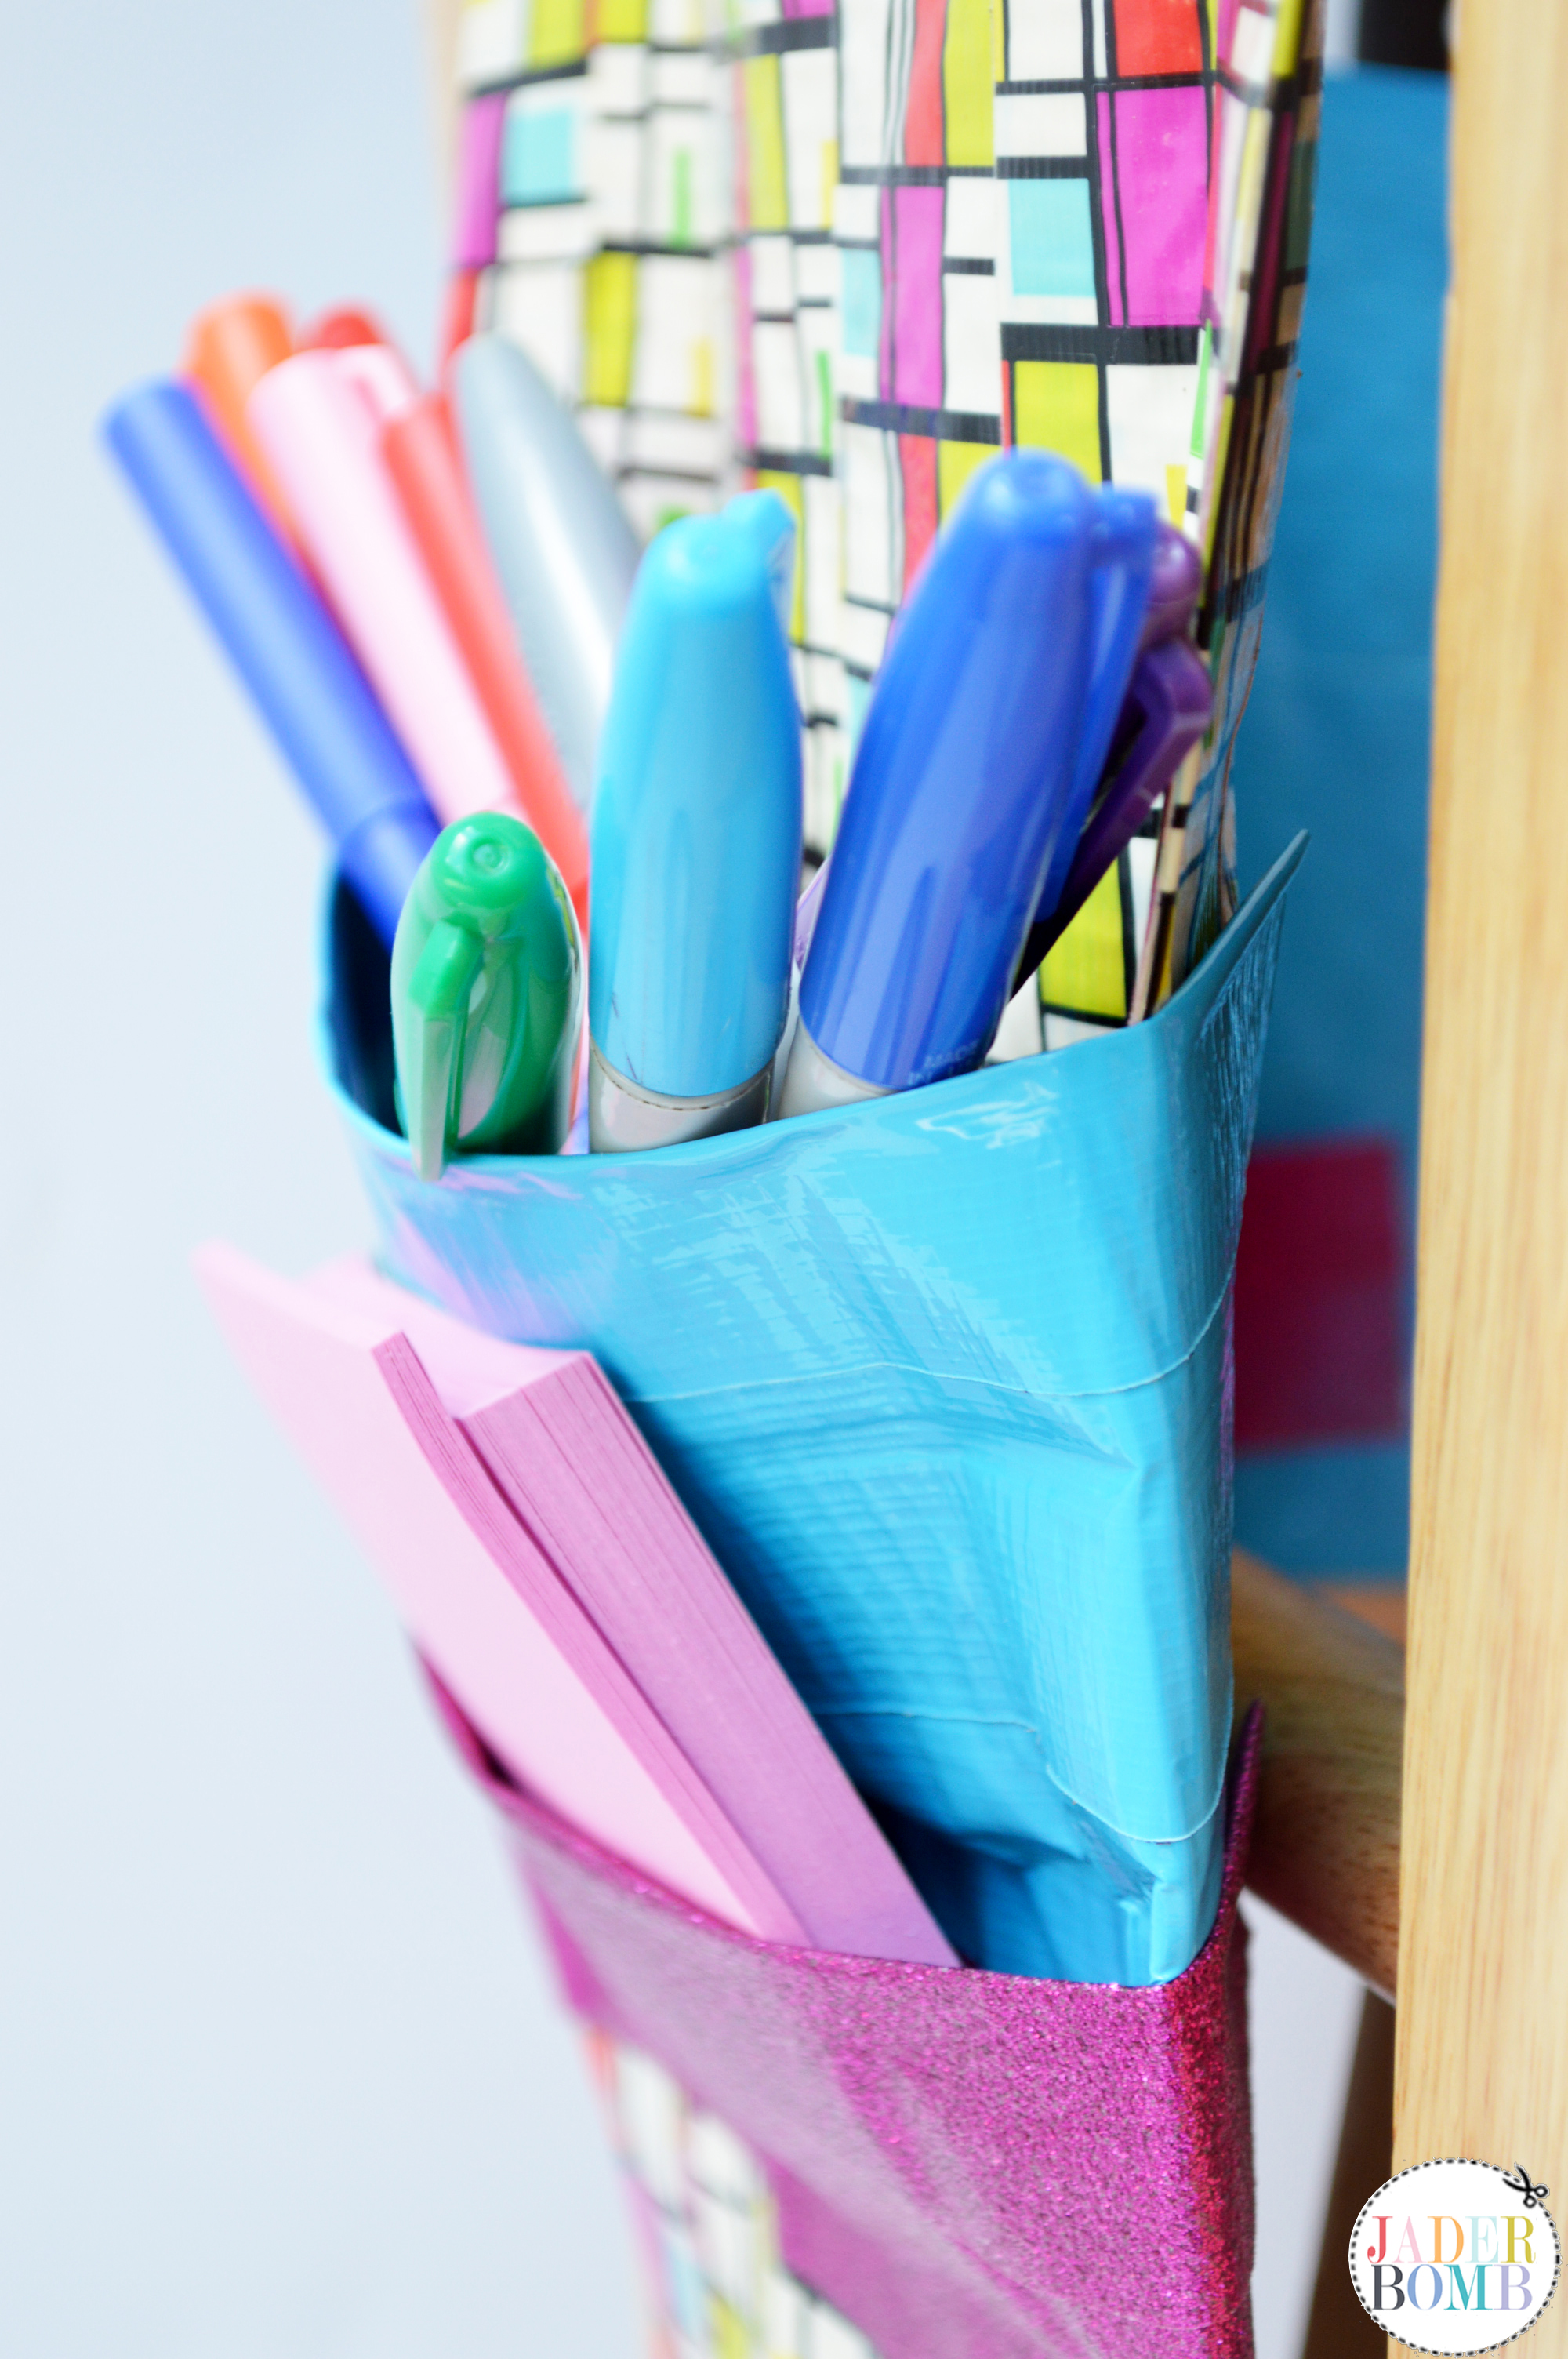
 The great thing about this crafts is choosing the colors you want!
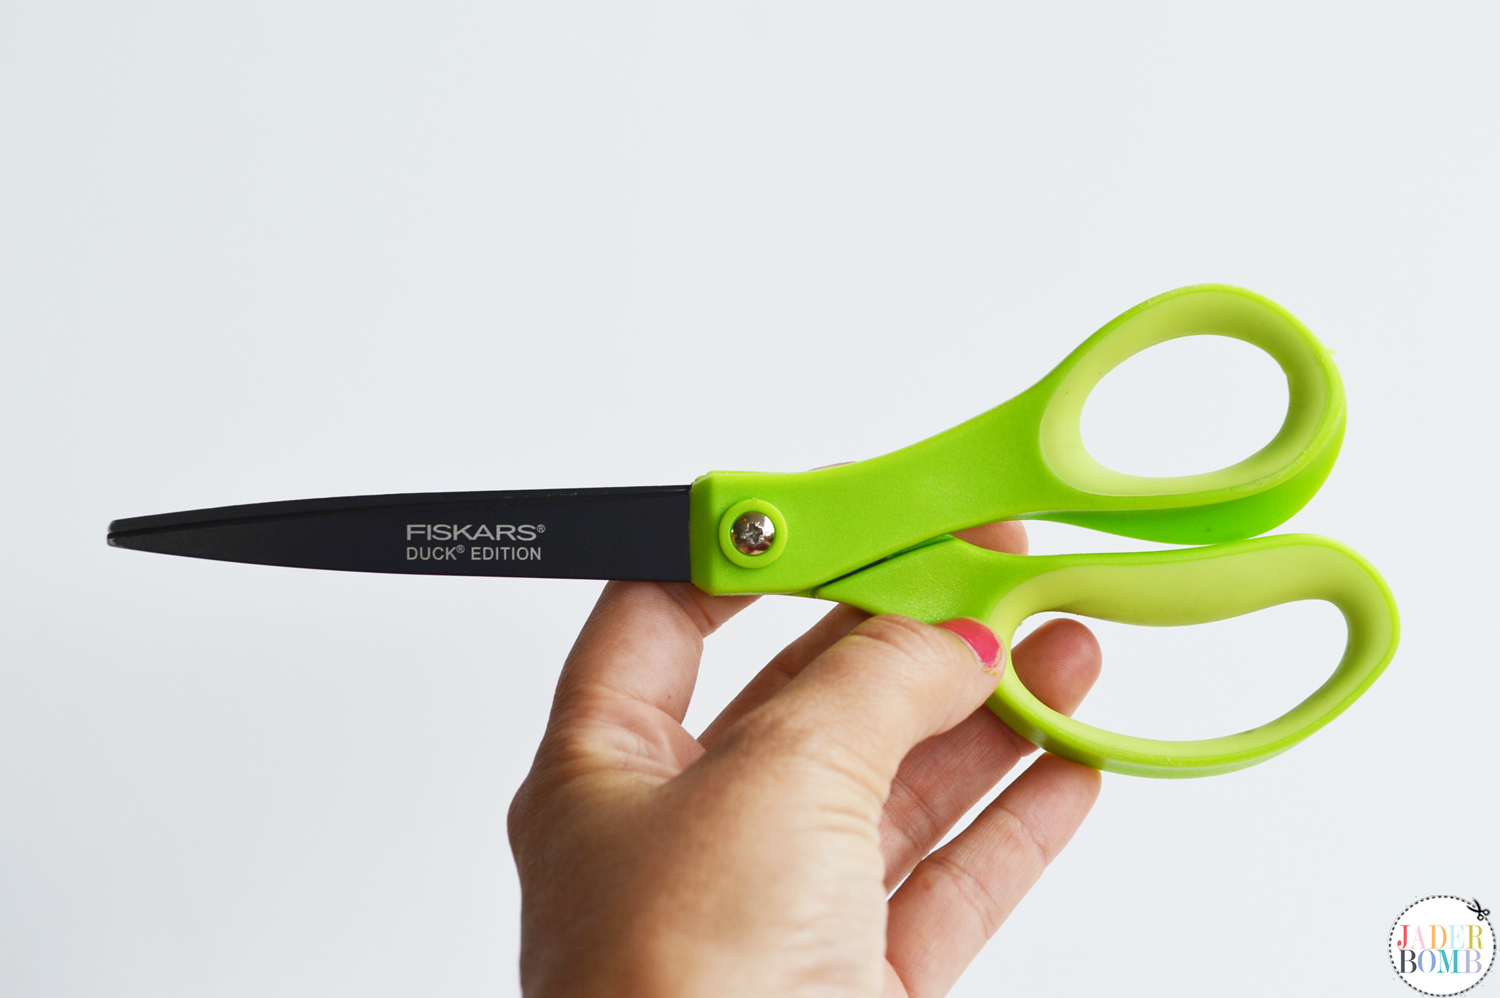
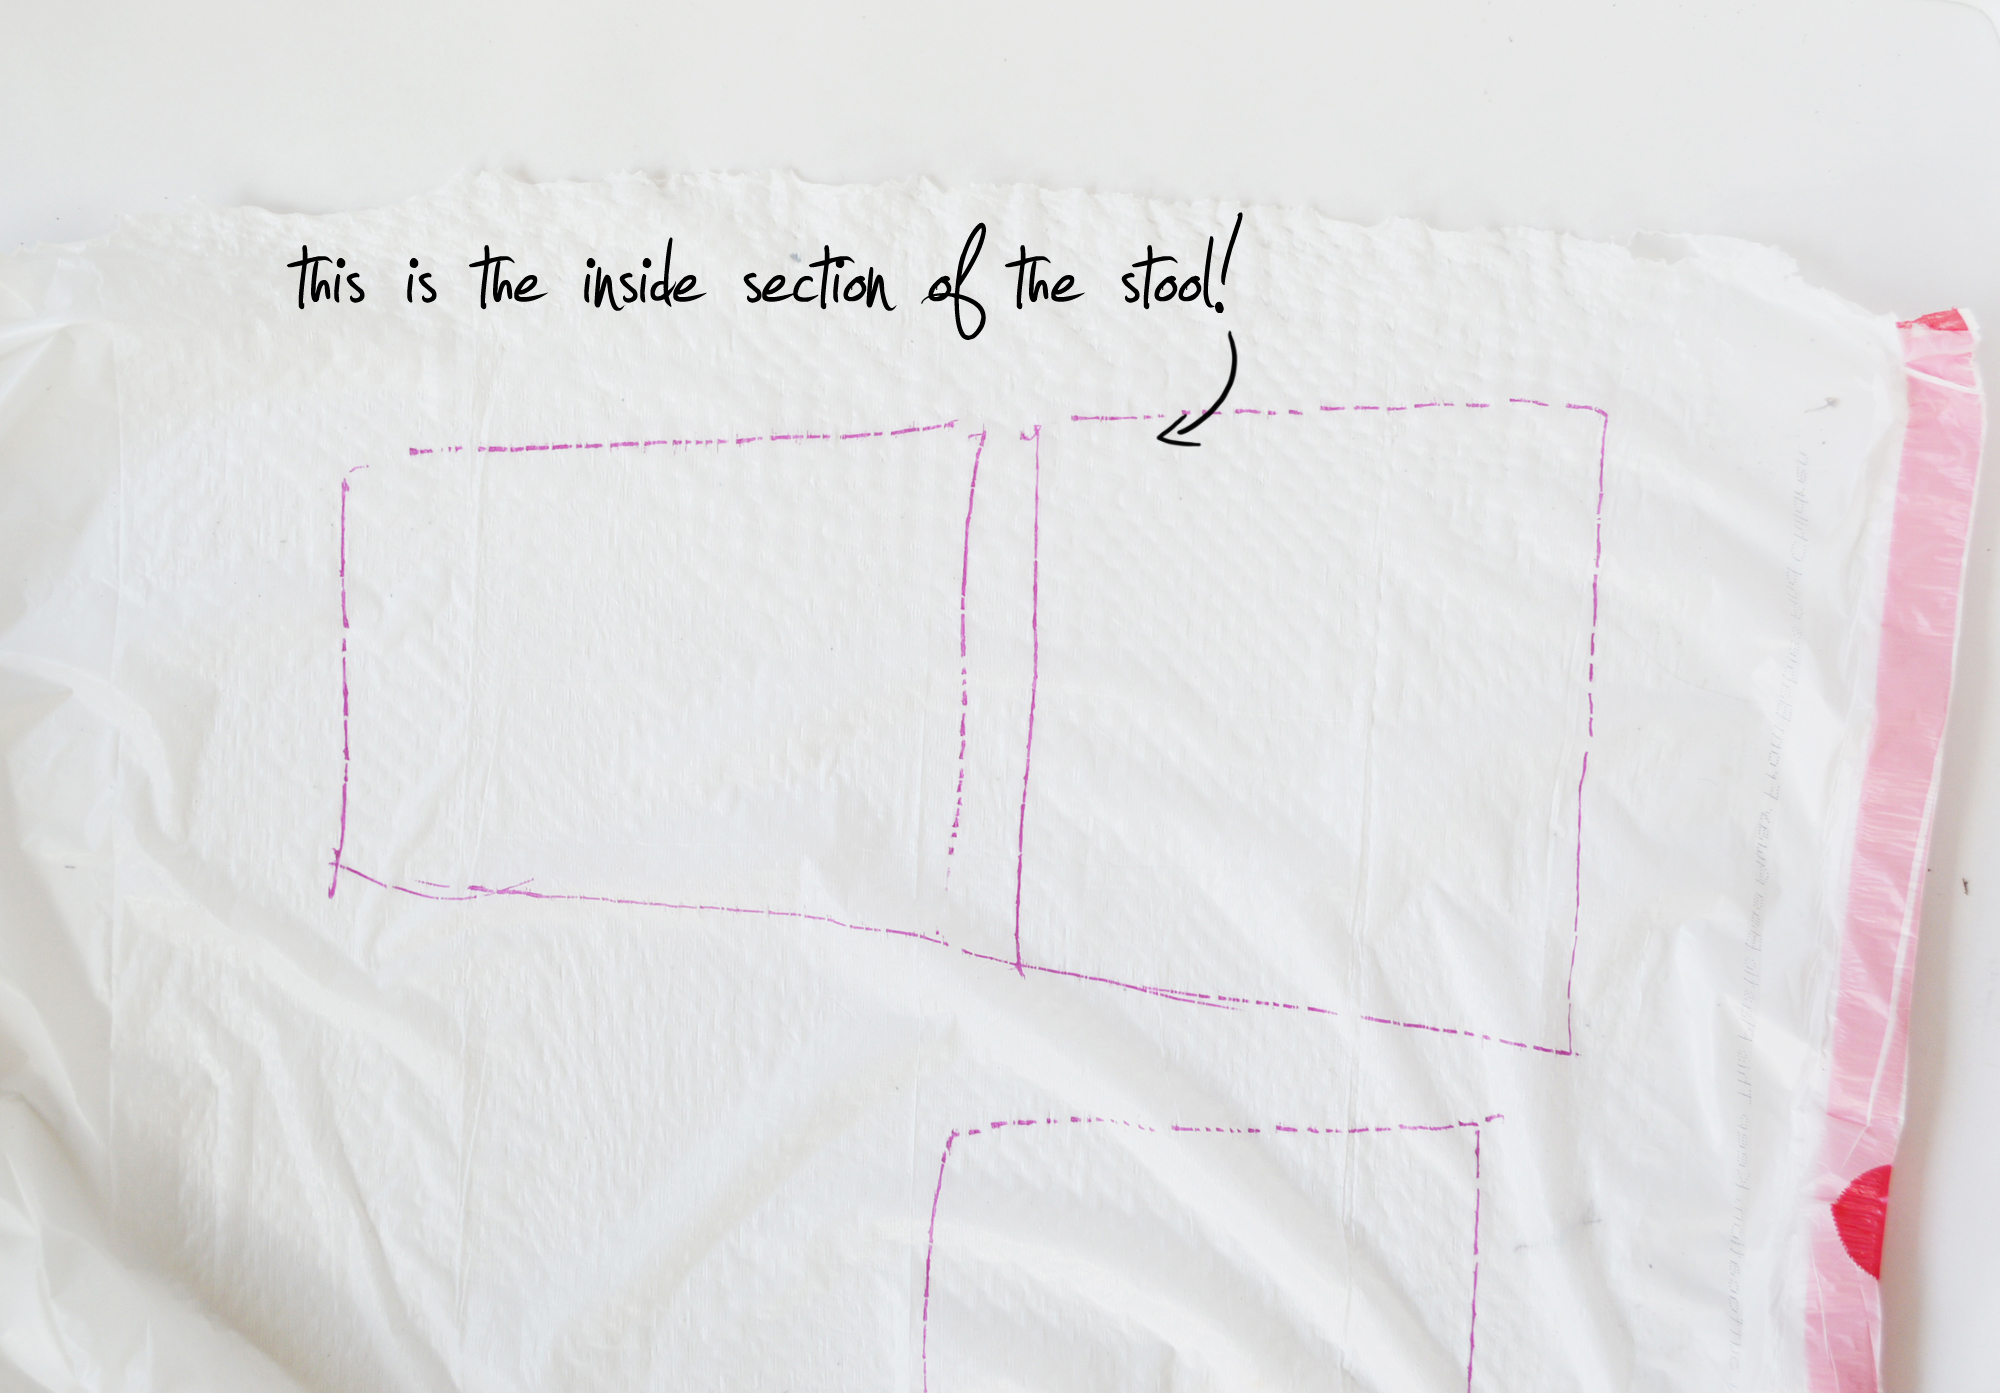
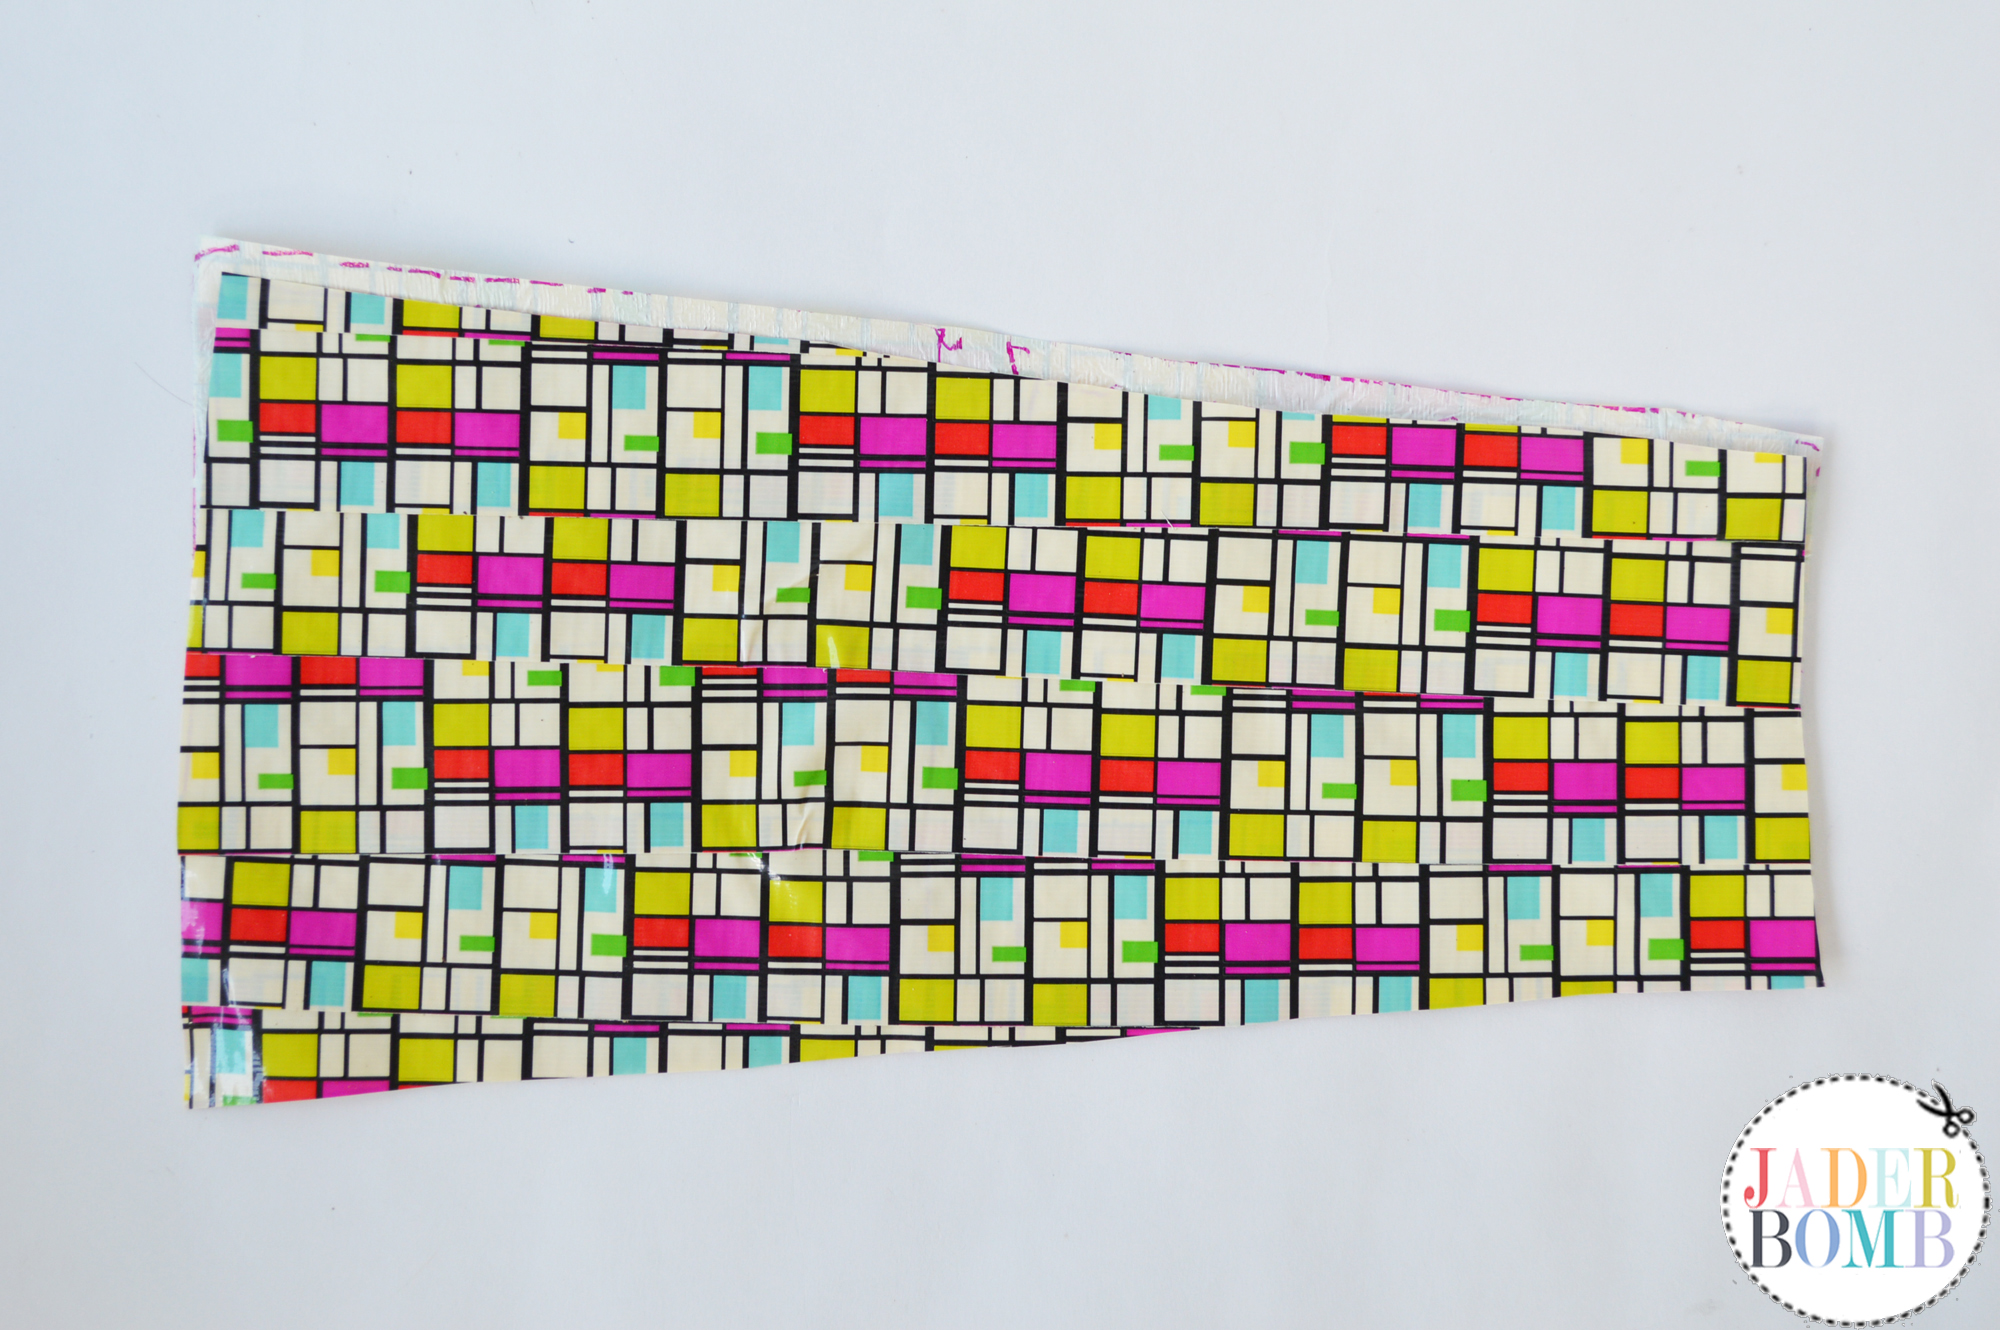
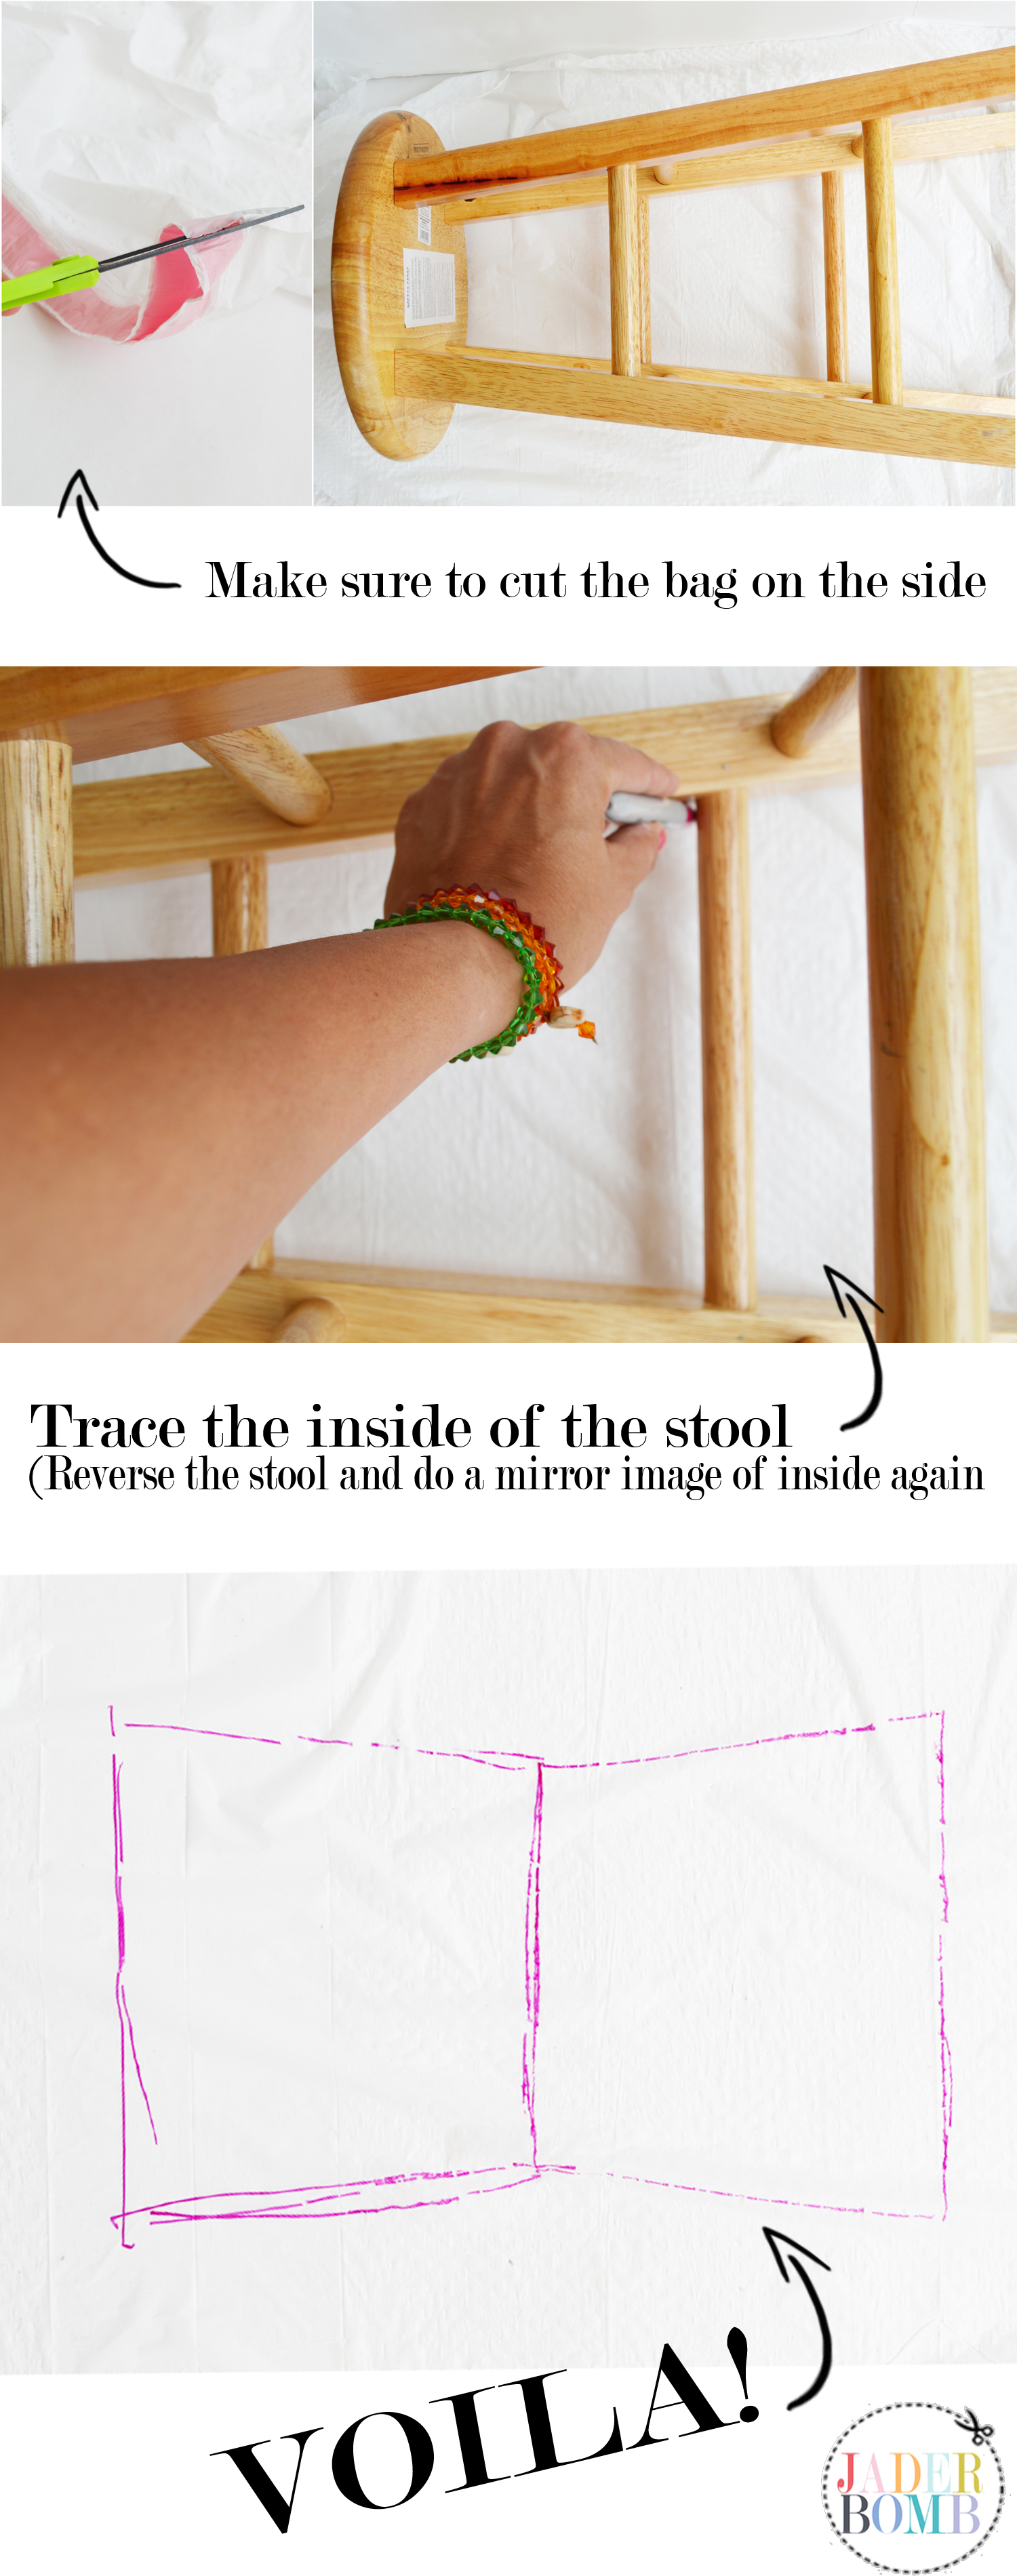 Step 1: Cut the sides of your trash bag and lay it out on a flat surface.
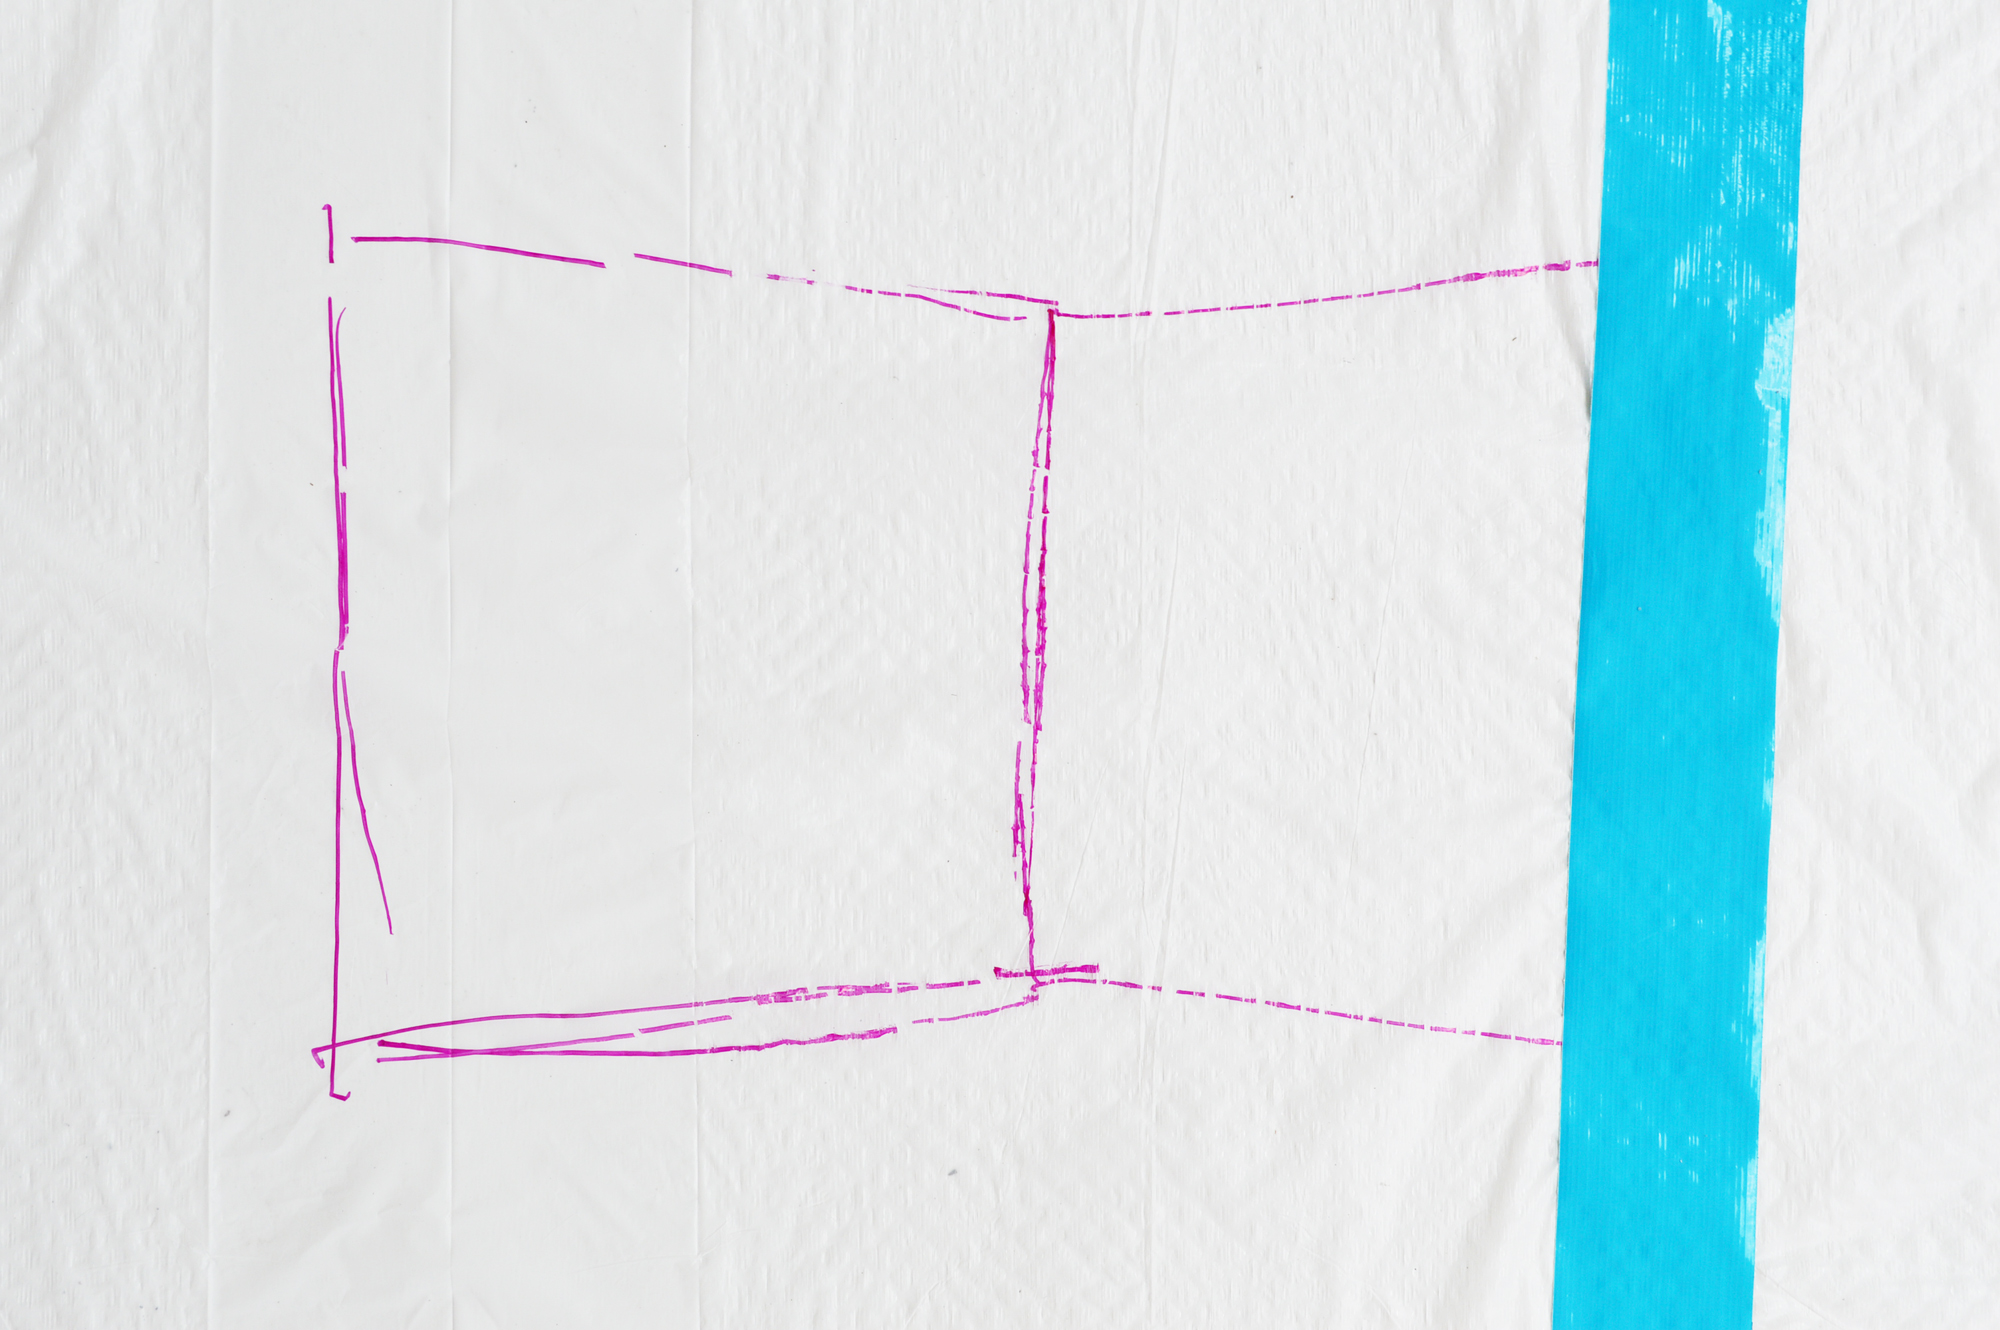 This is what it will look like when it’s done completely filled.
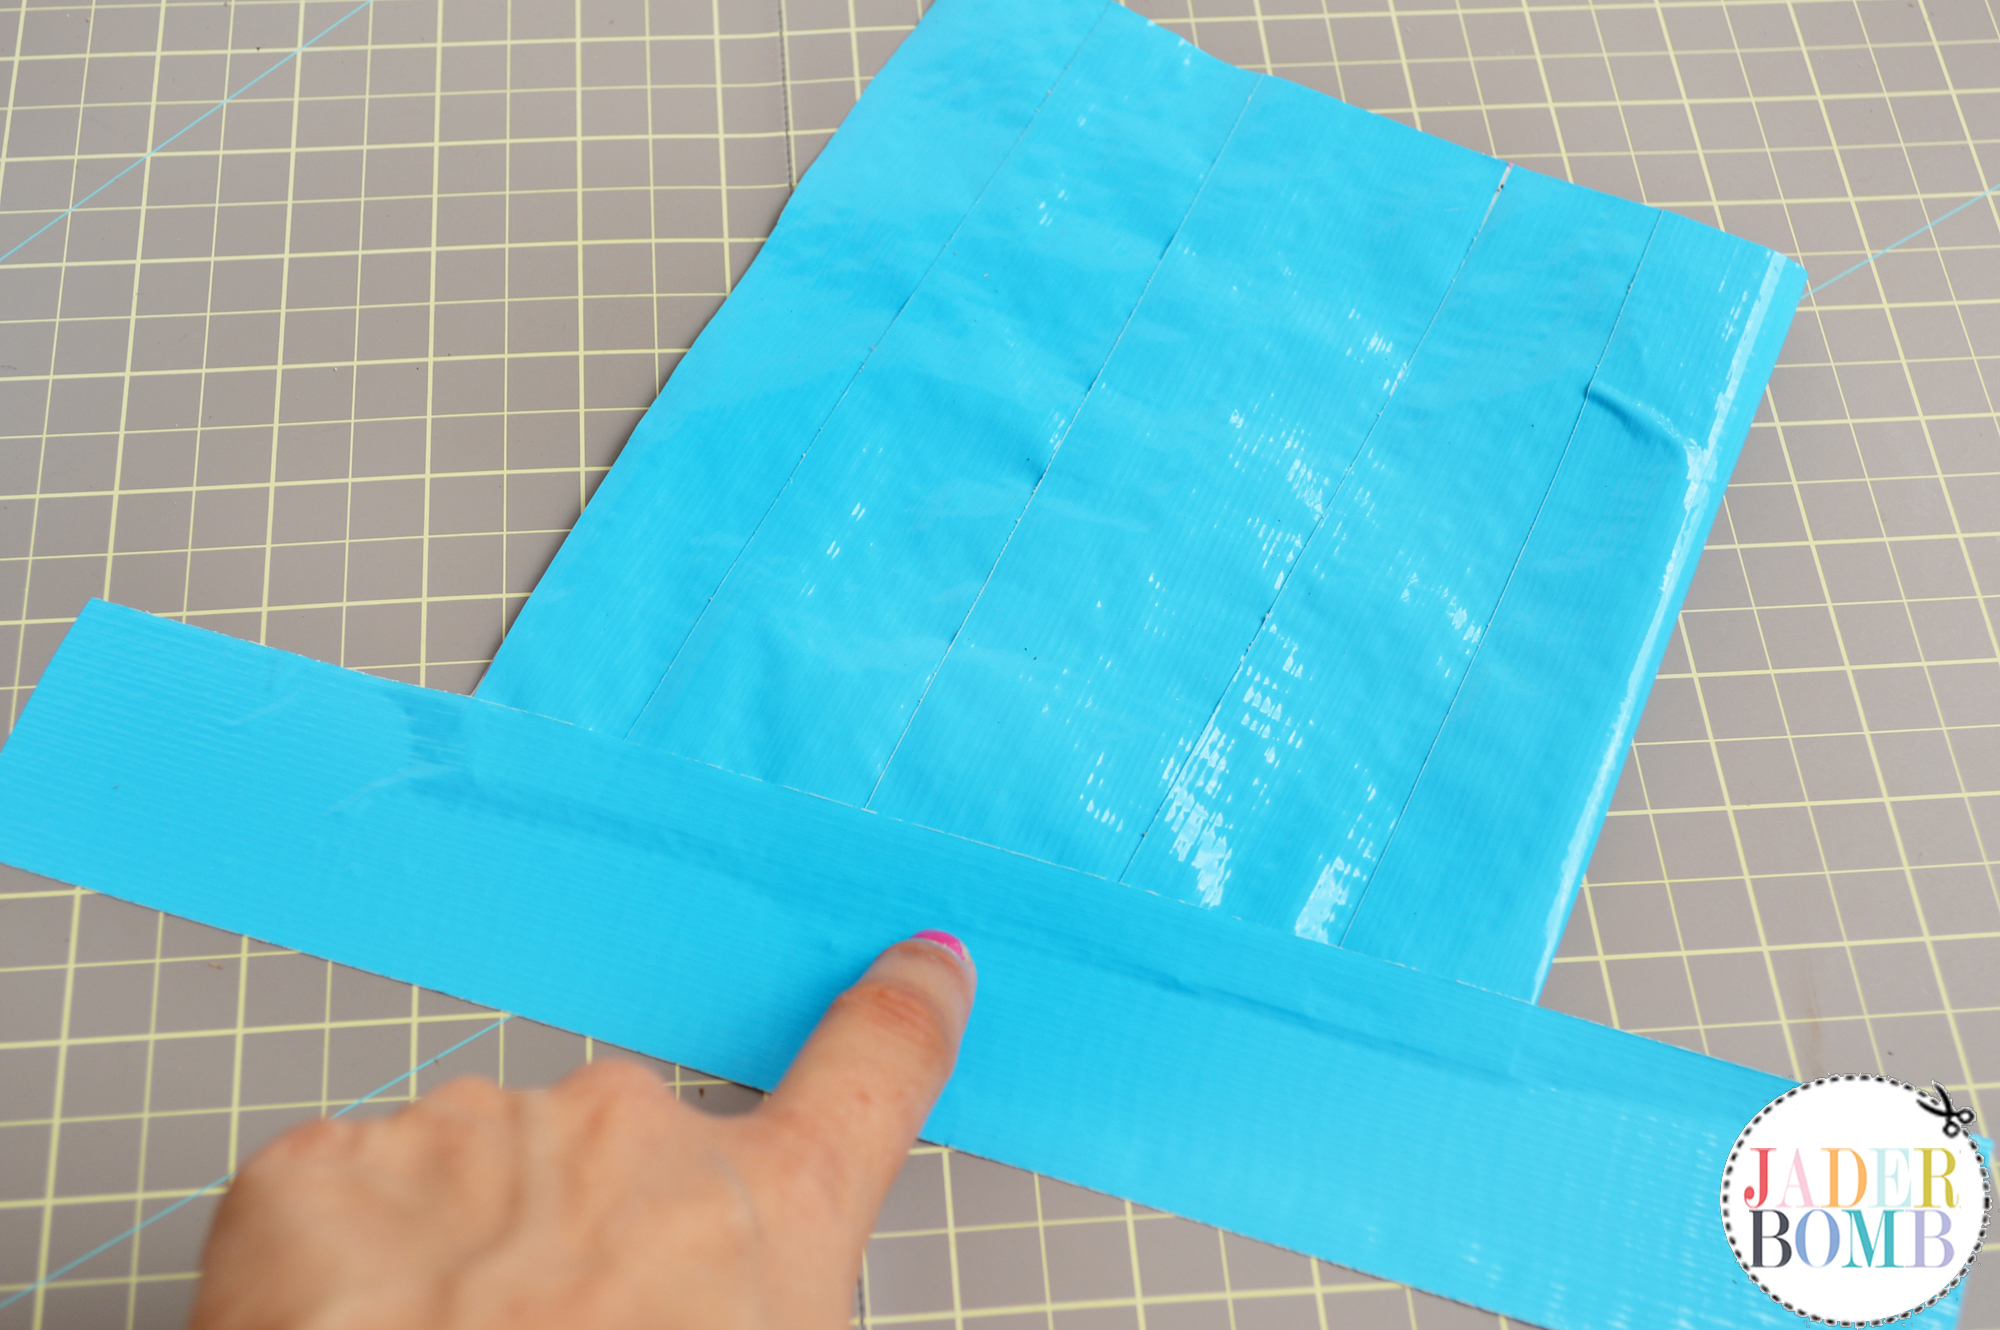
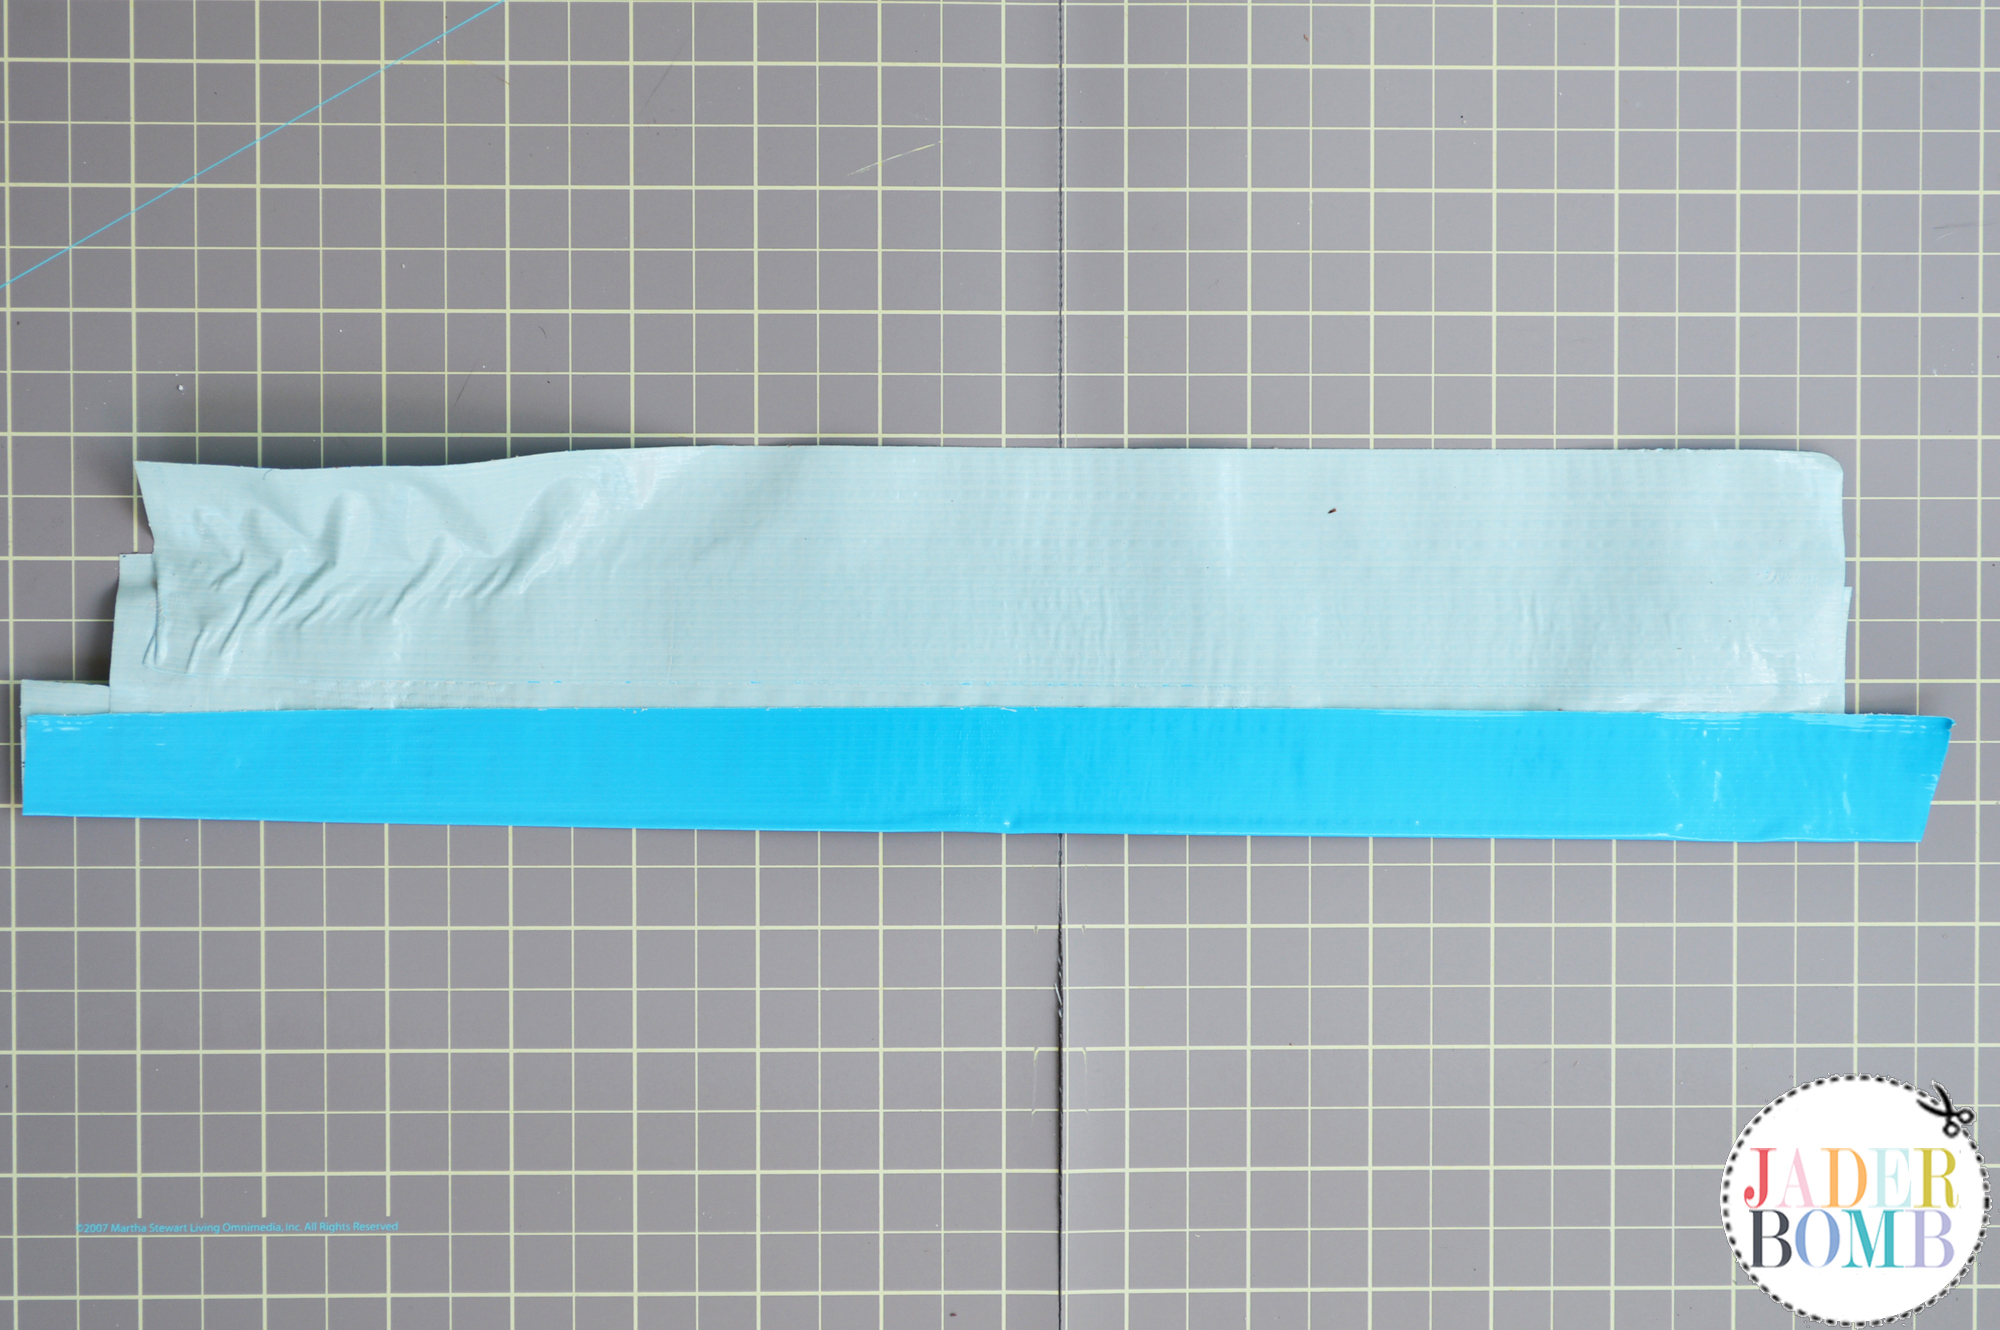
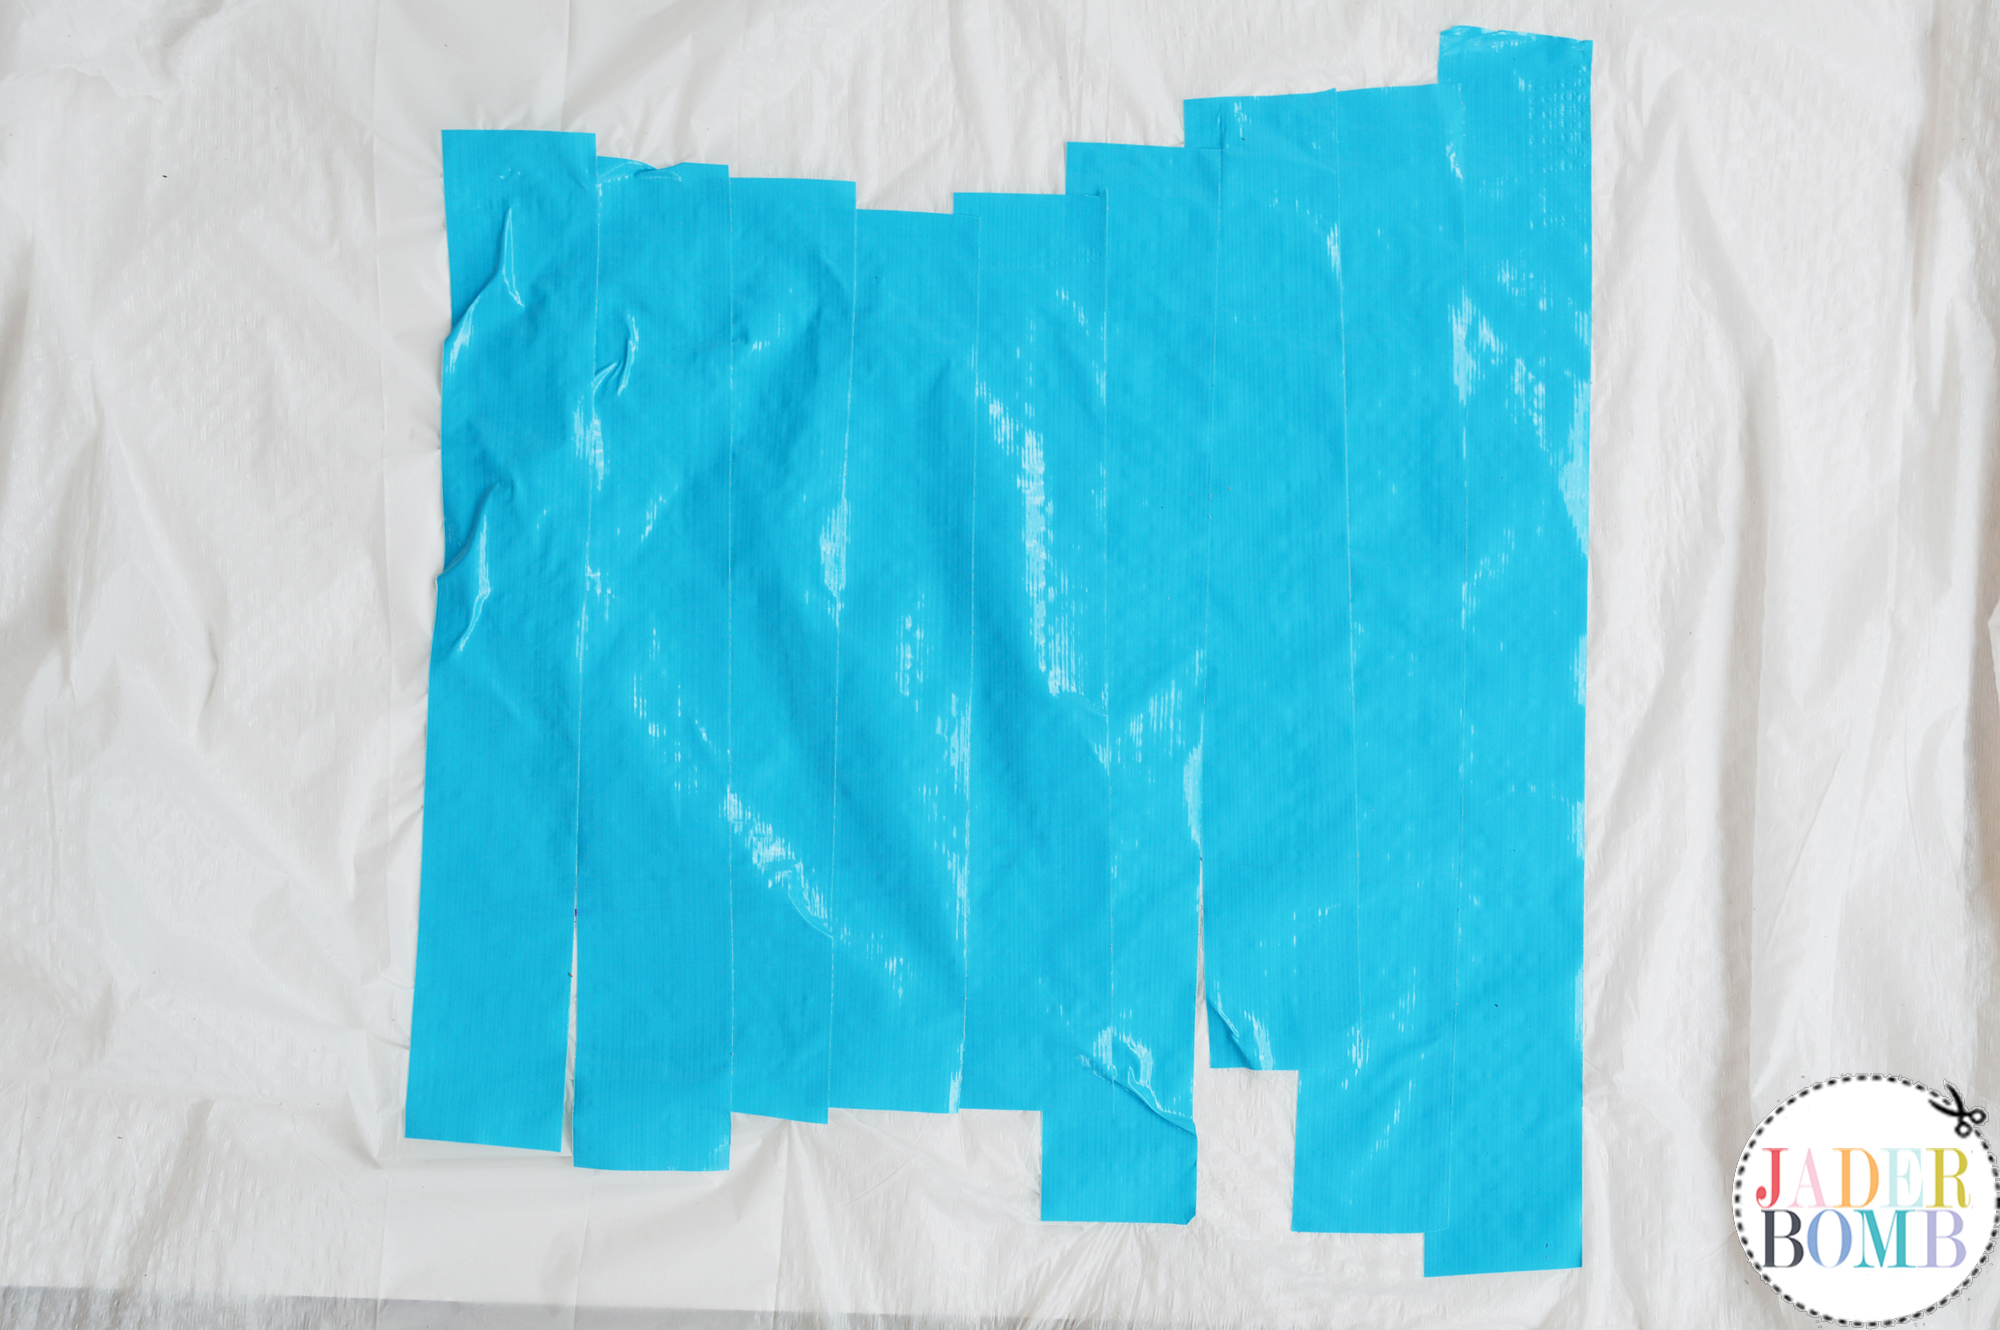 Step 6: Flip your trash bag over. You will still see your sharpie line even when flipped over. Kinda cool huh!
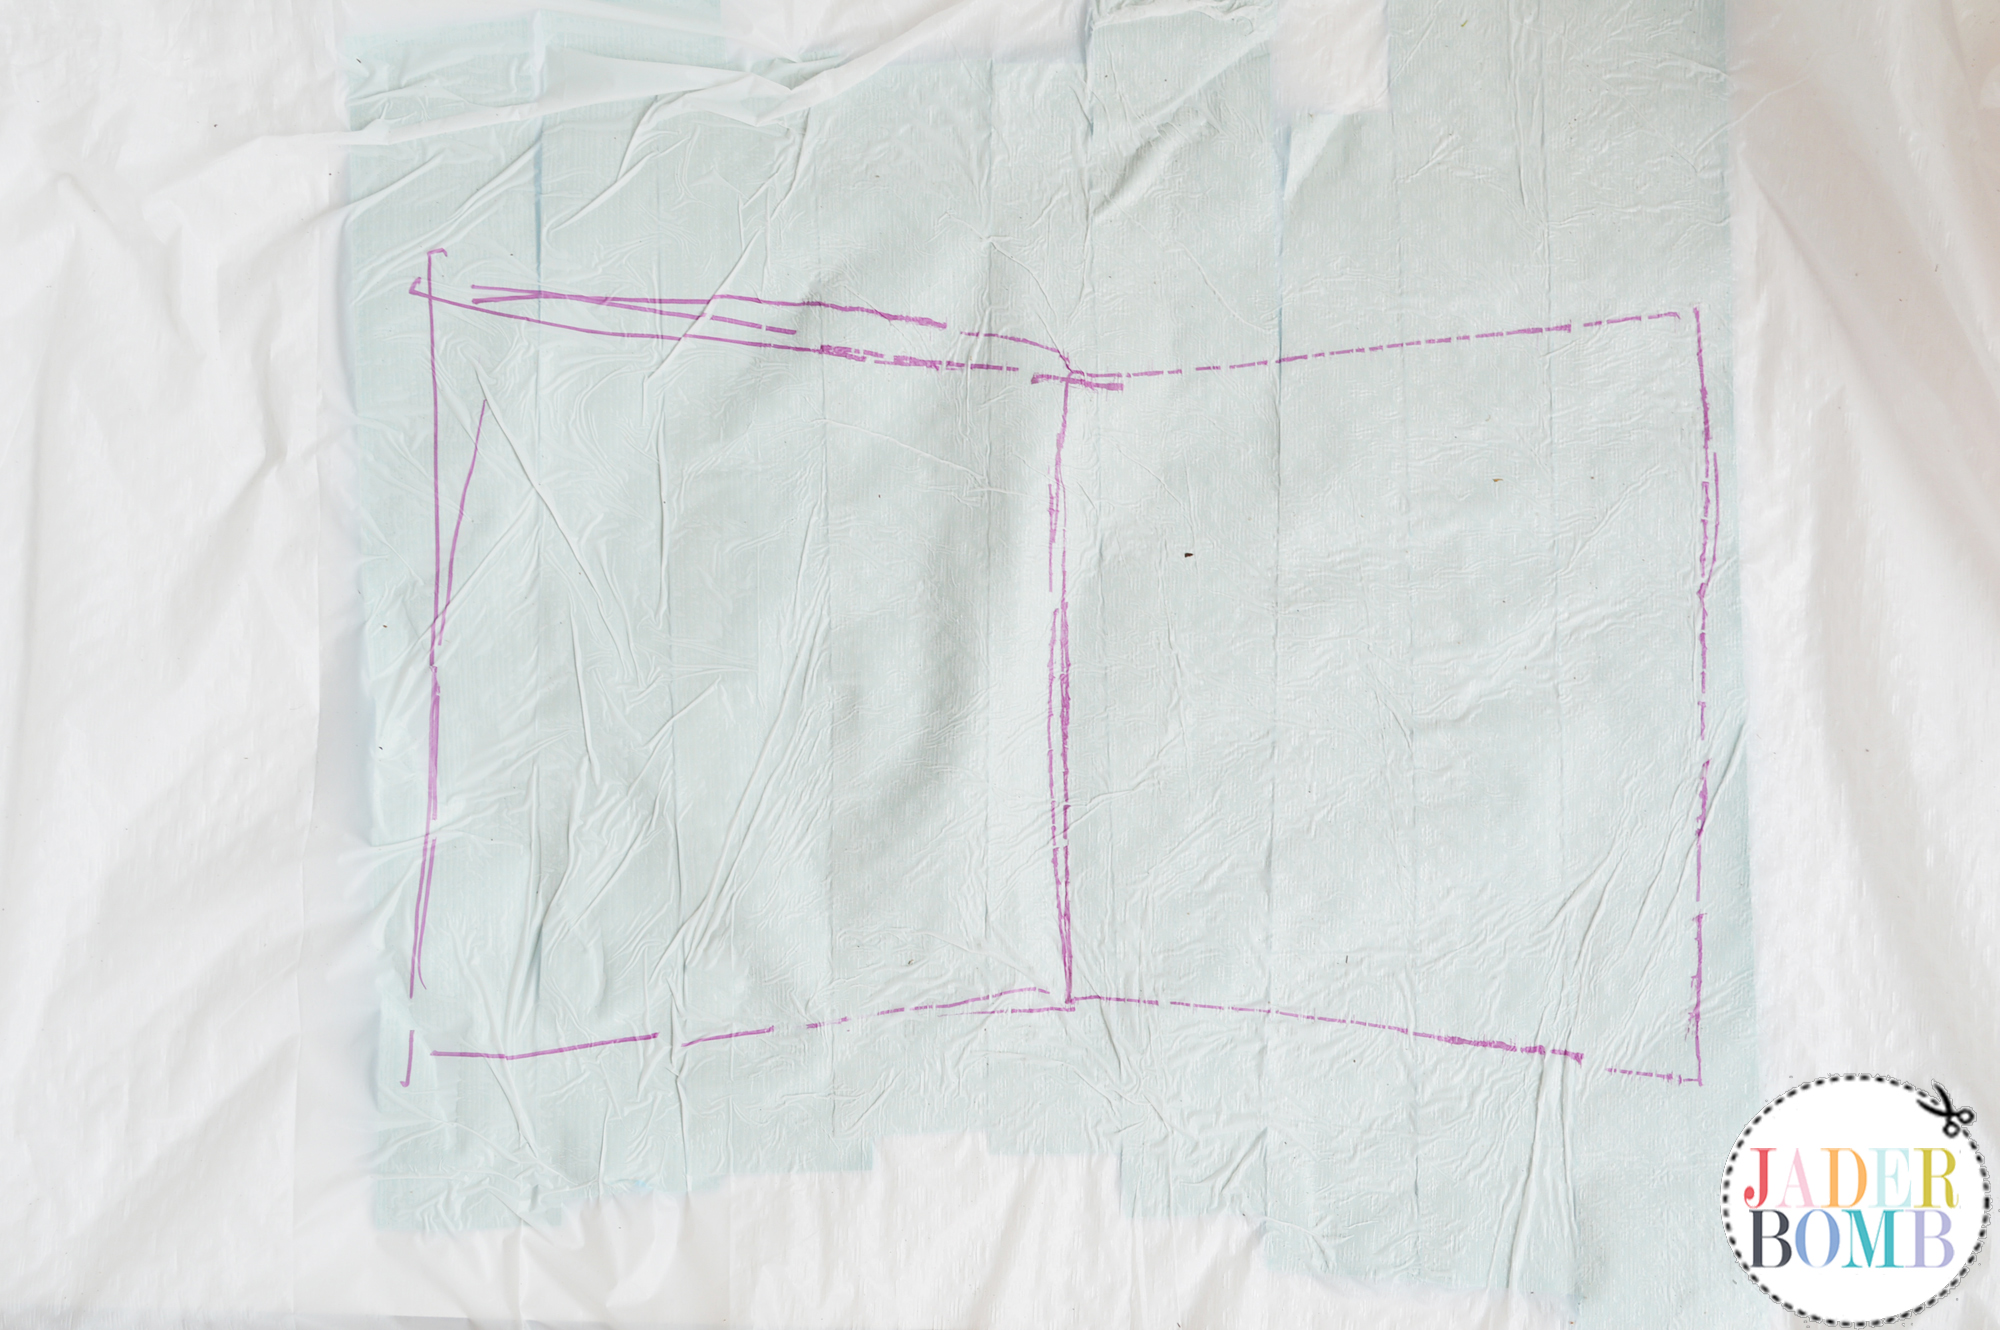 Step 7: Grab your
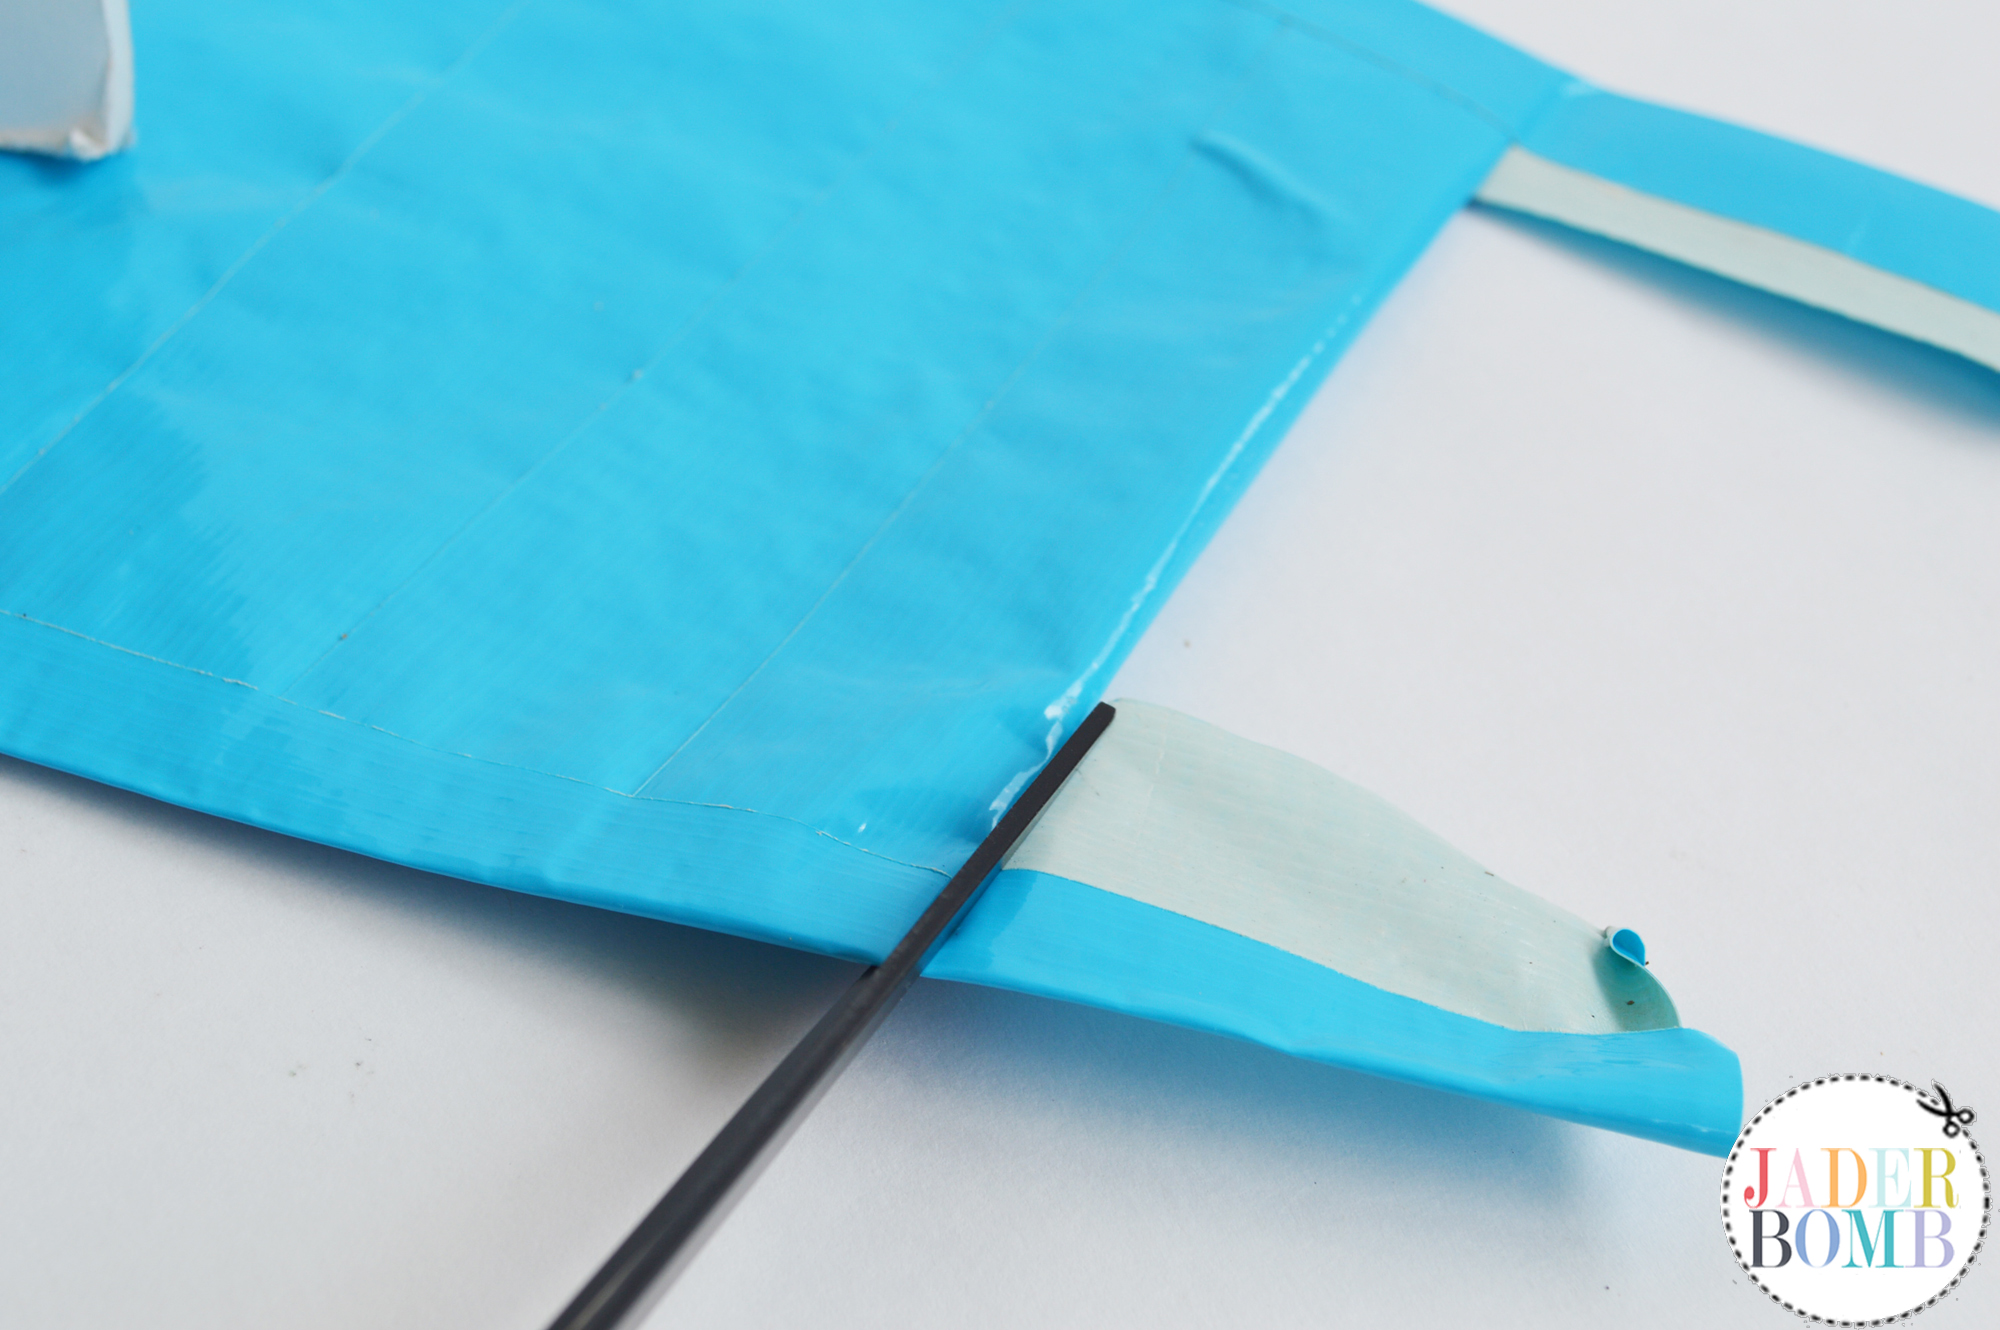
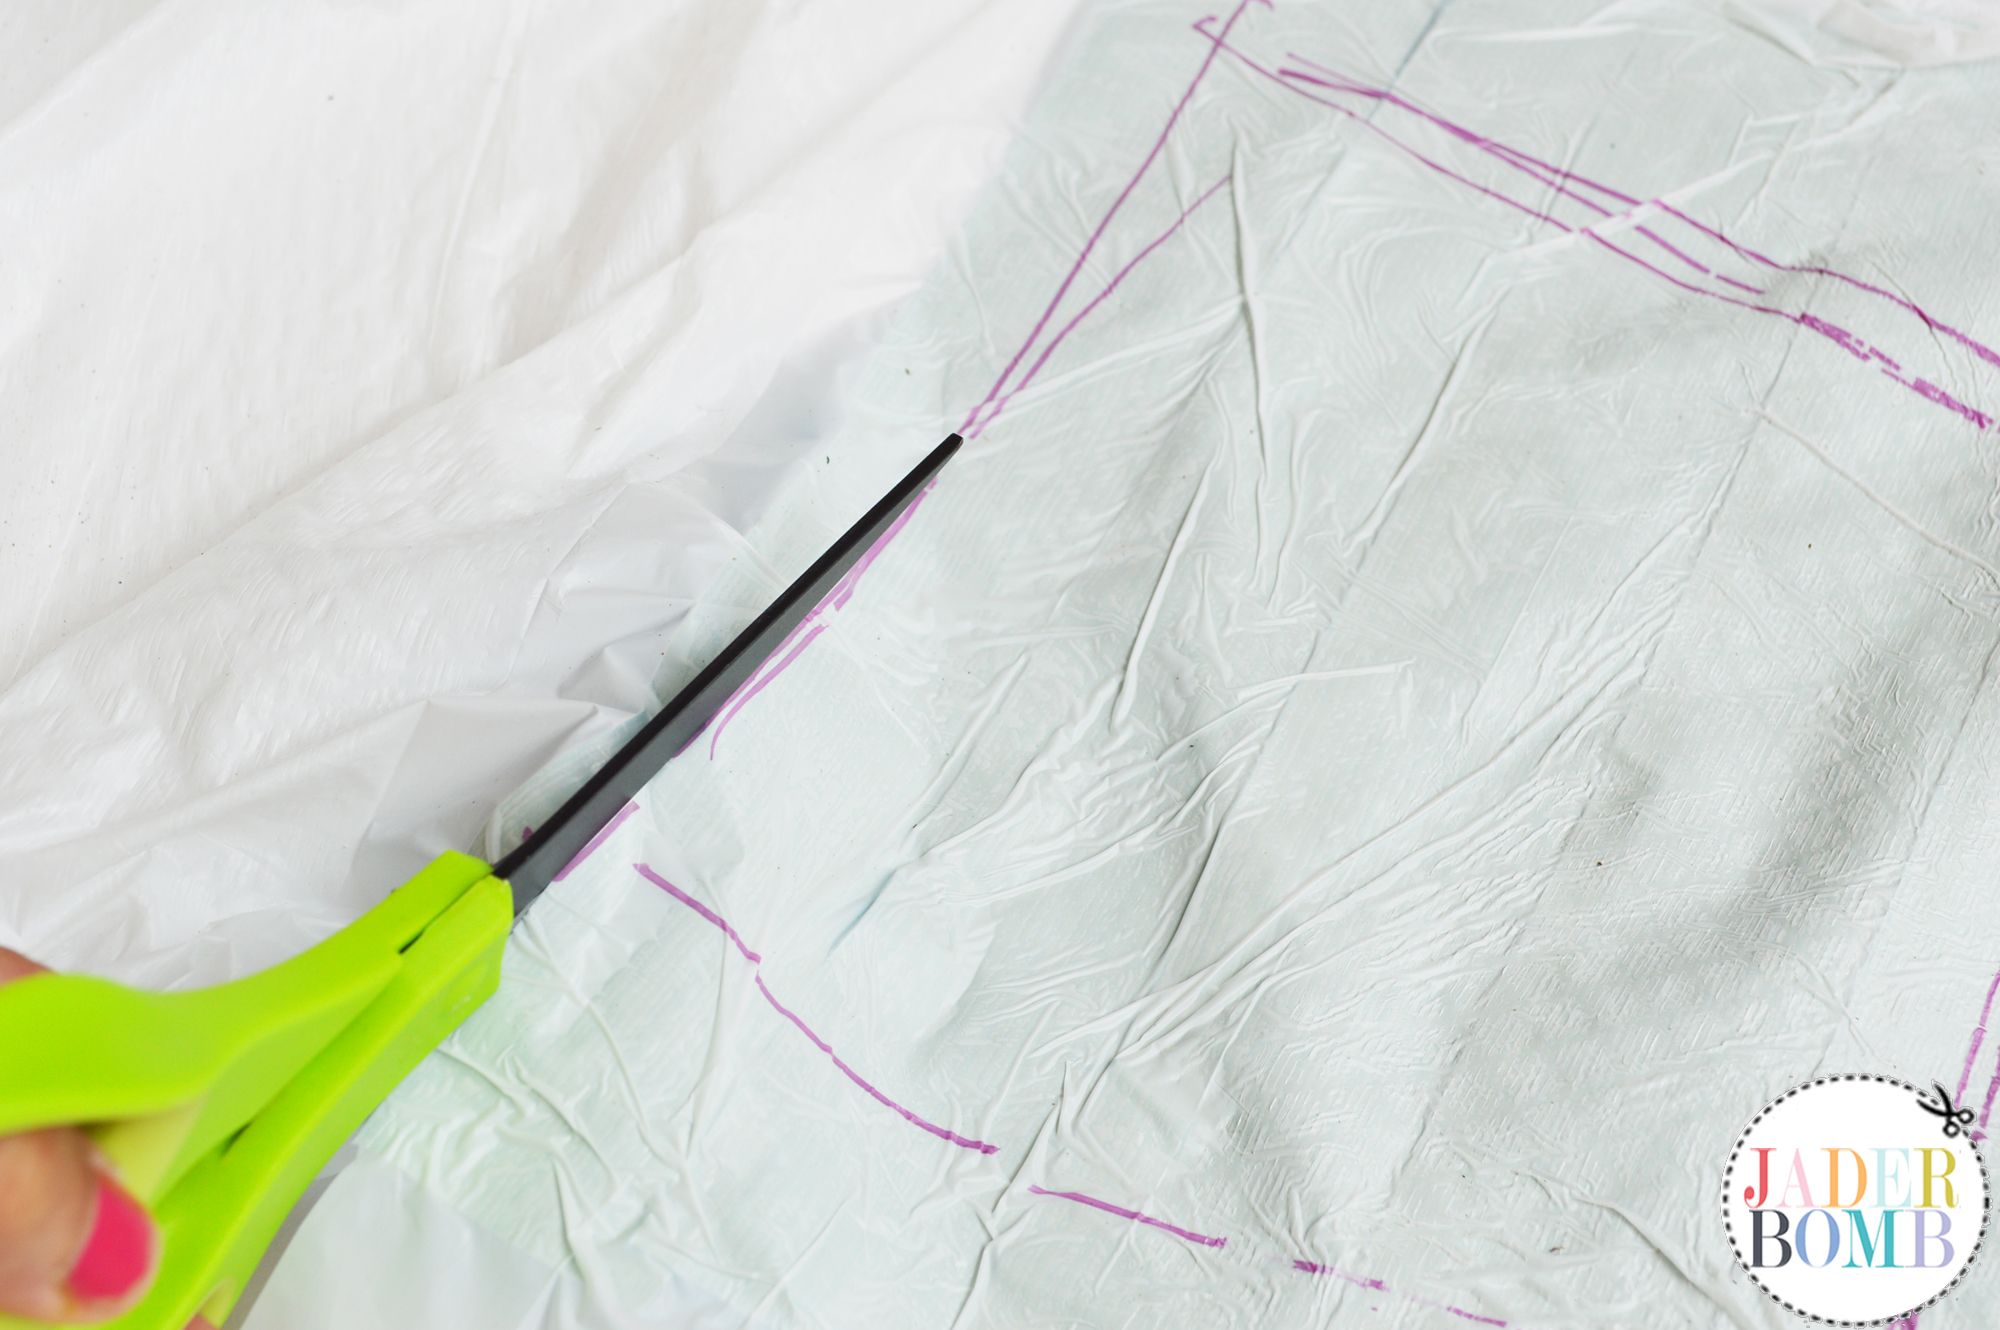
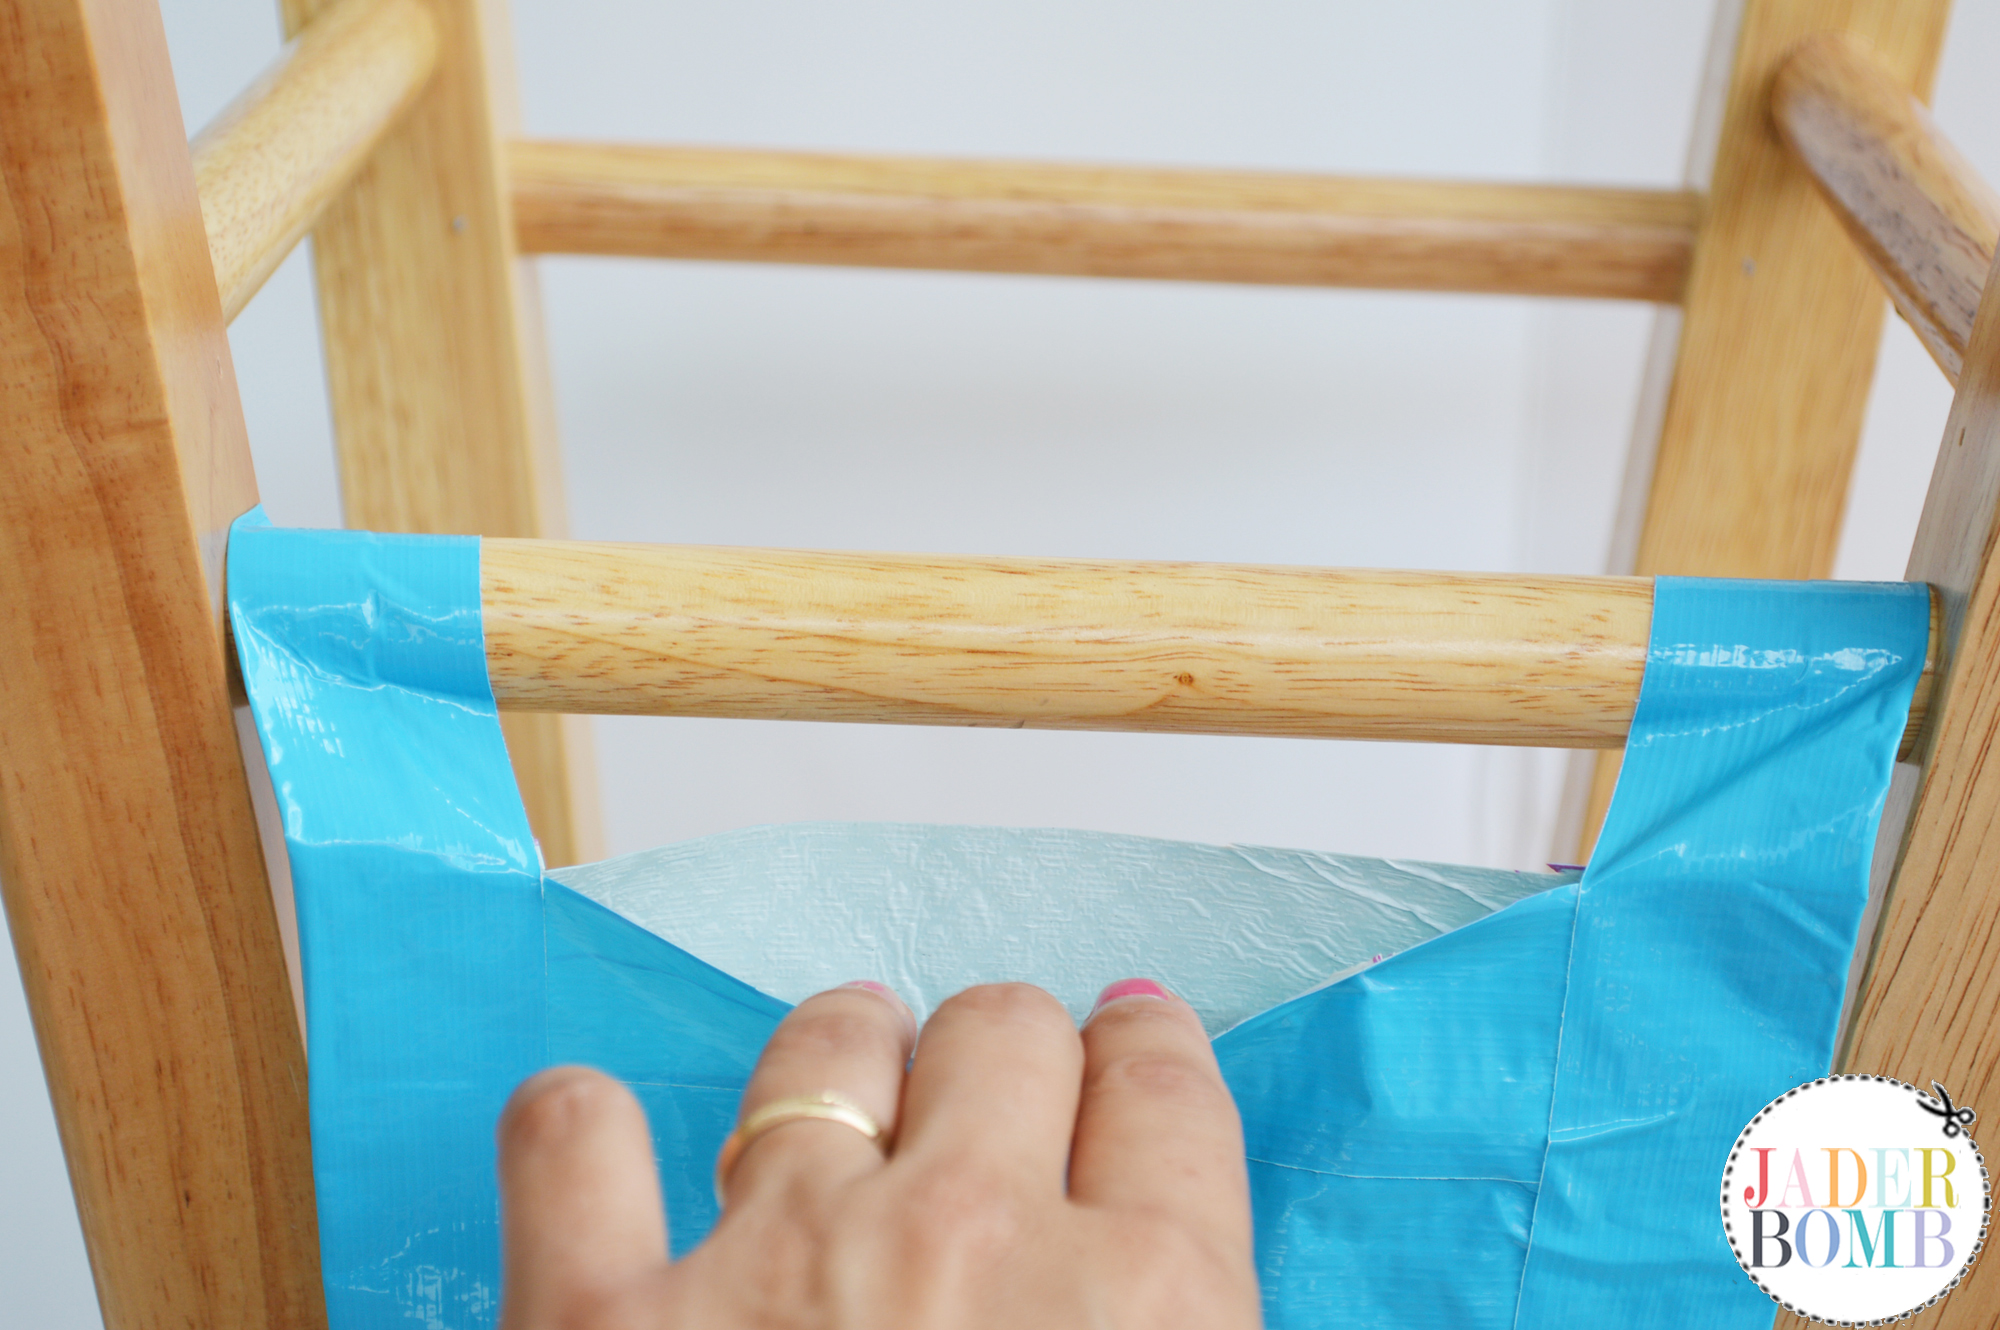
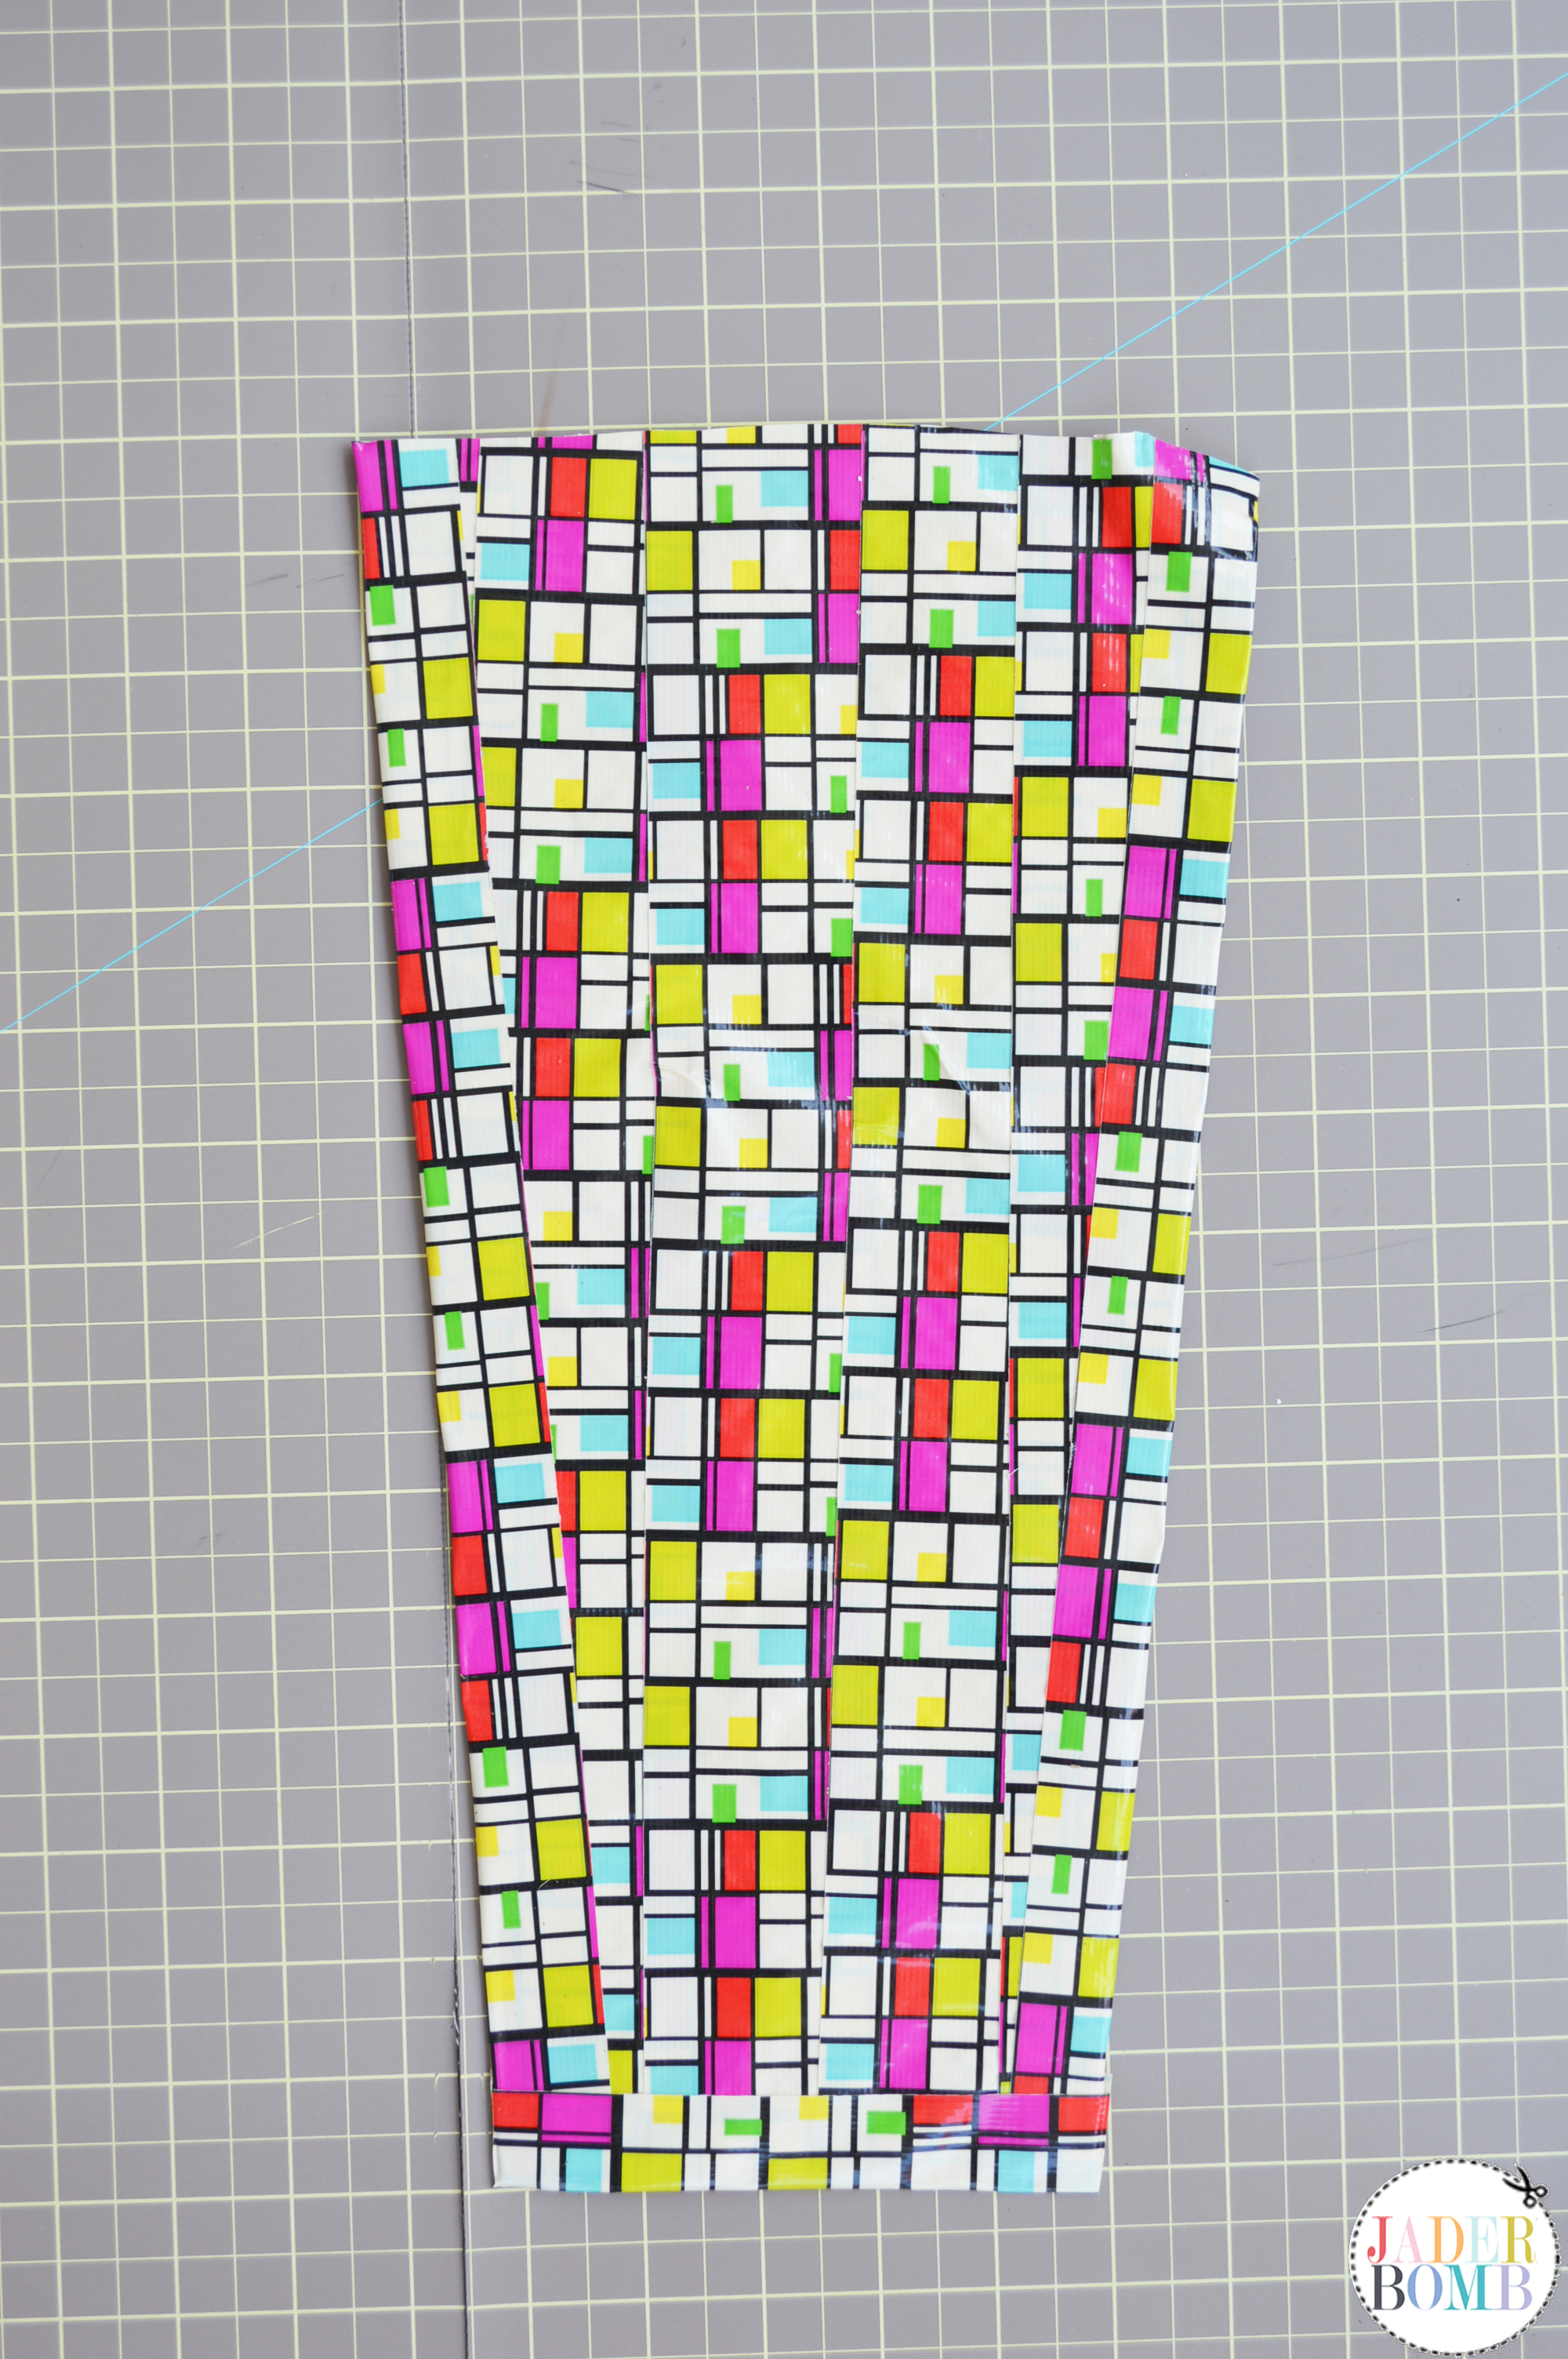
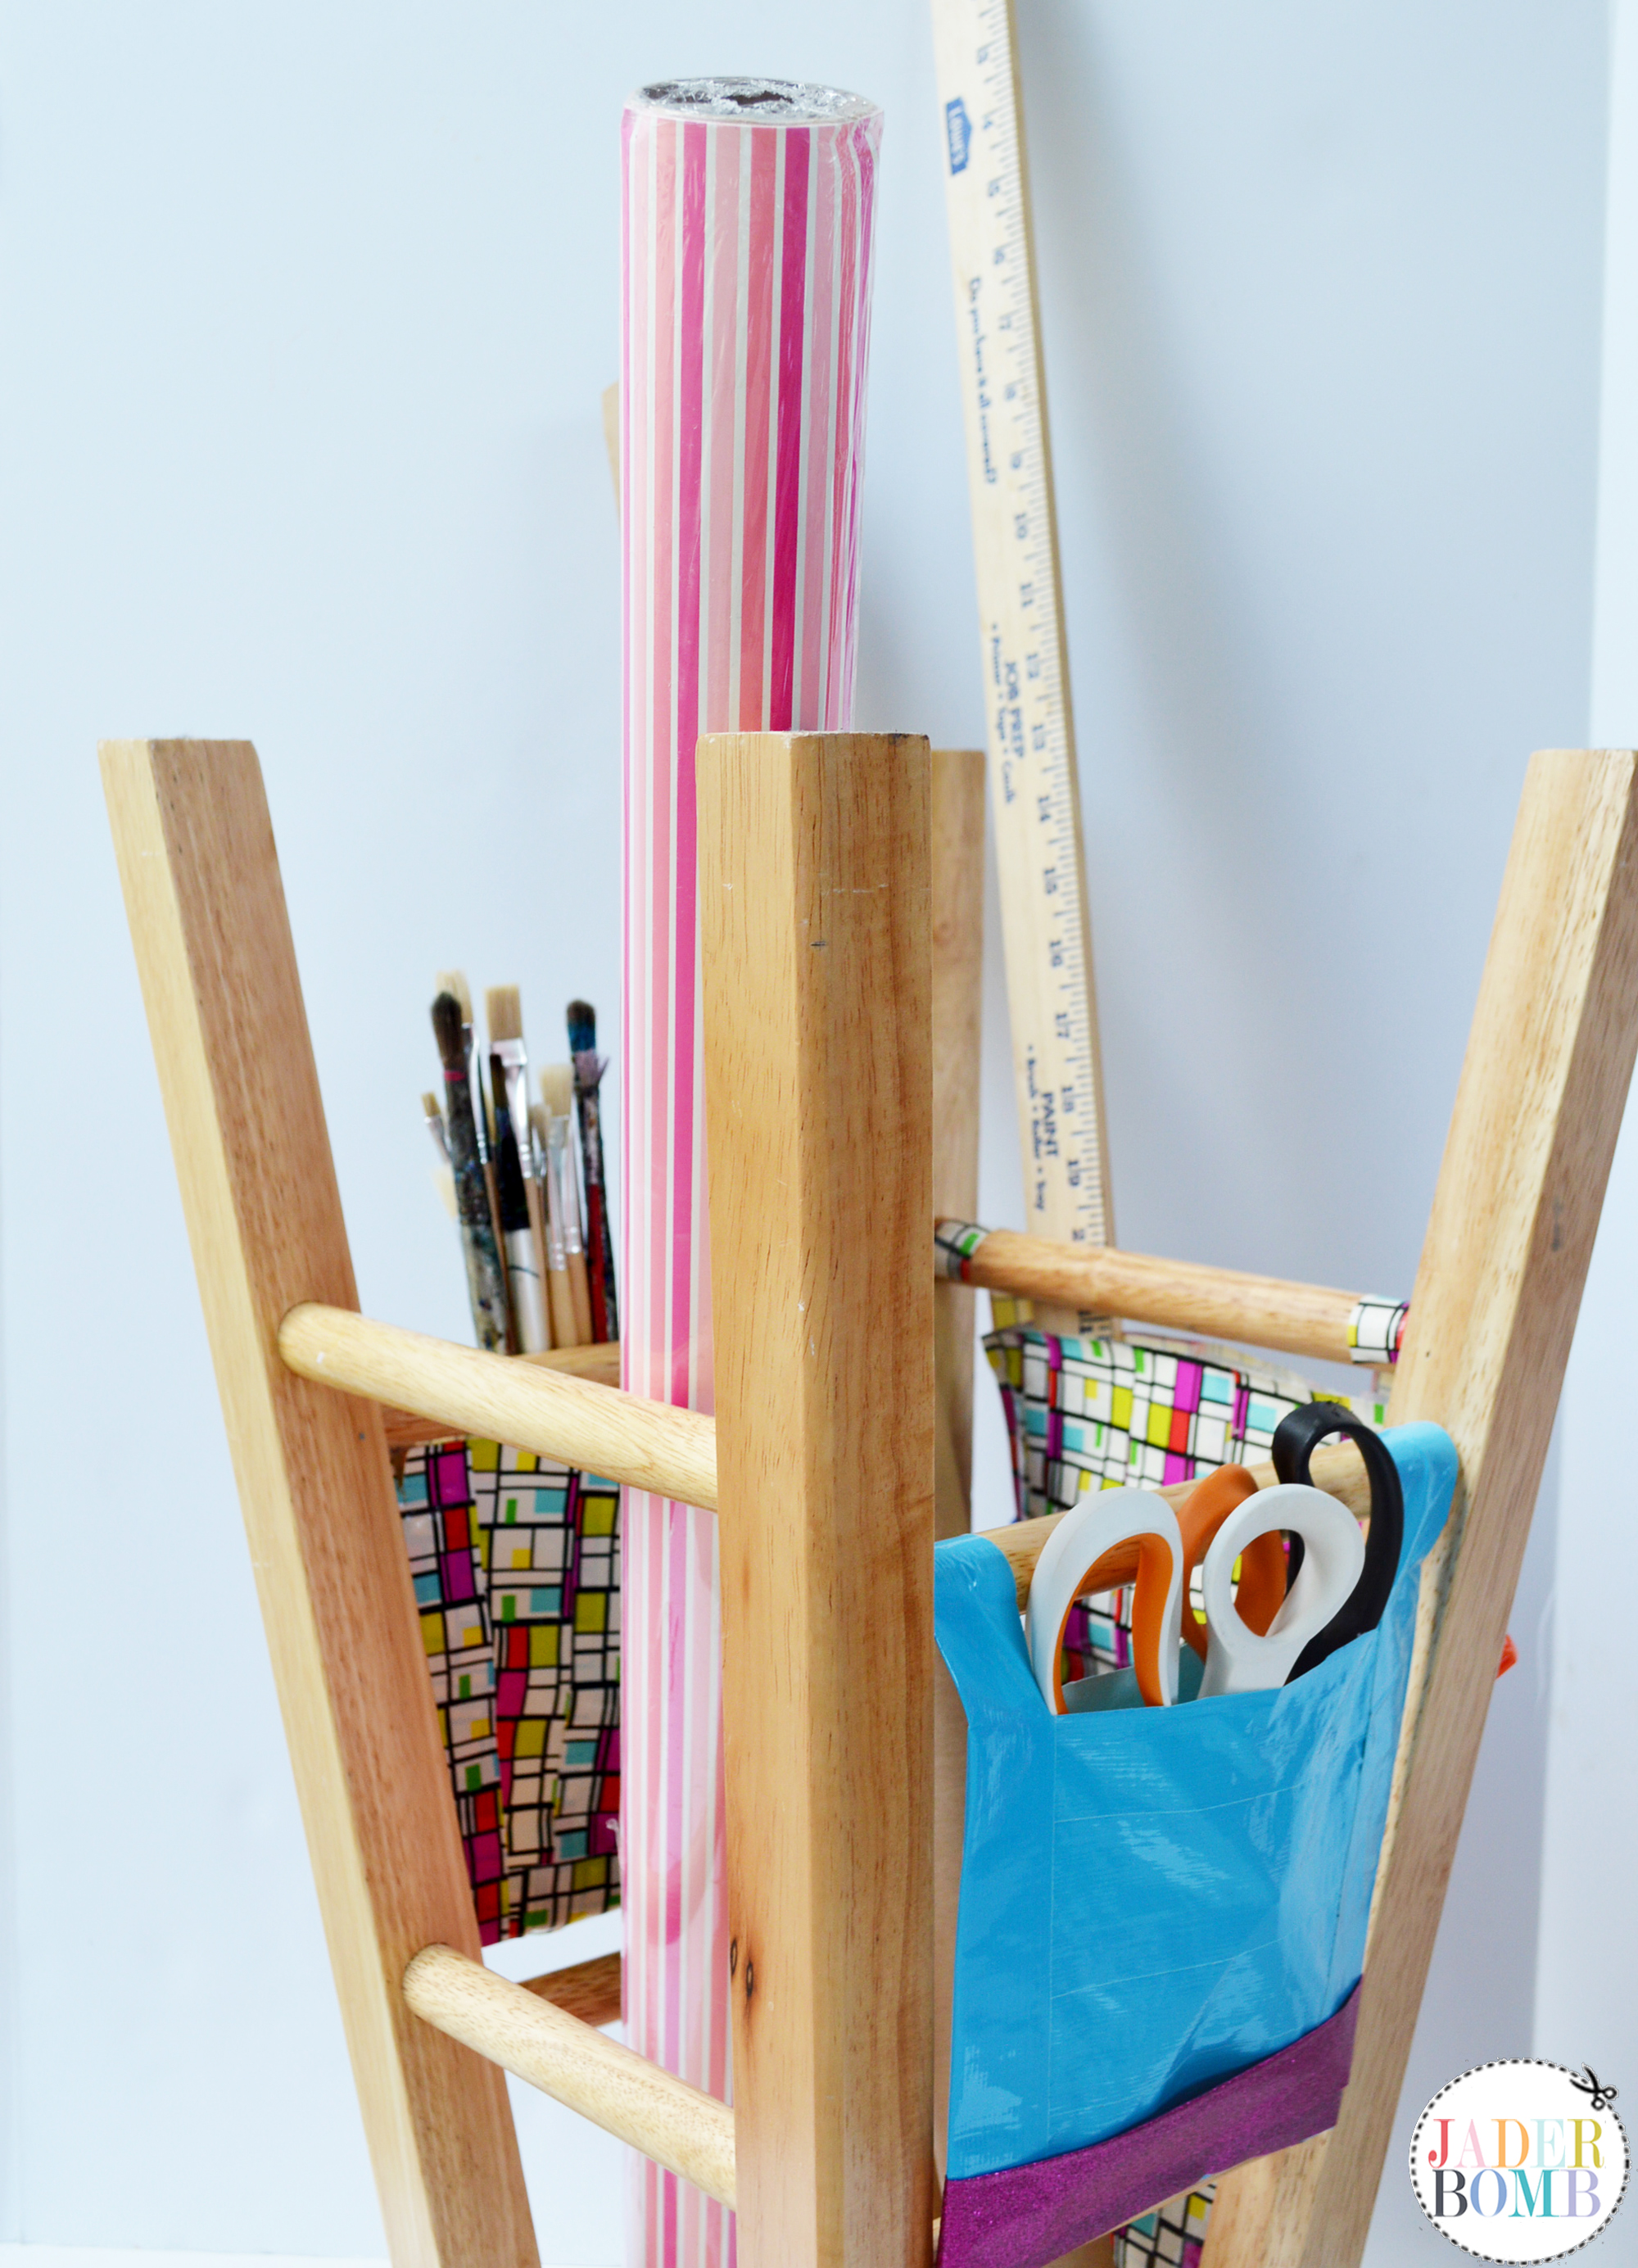
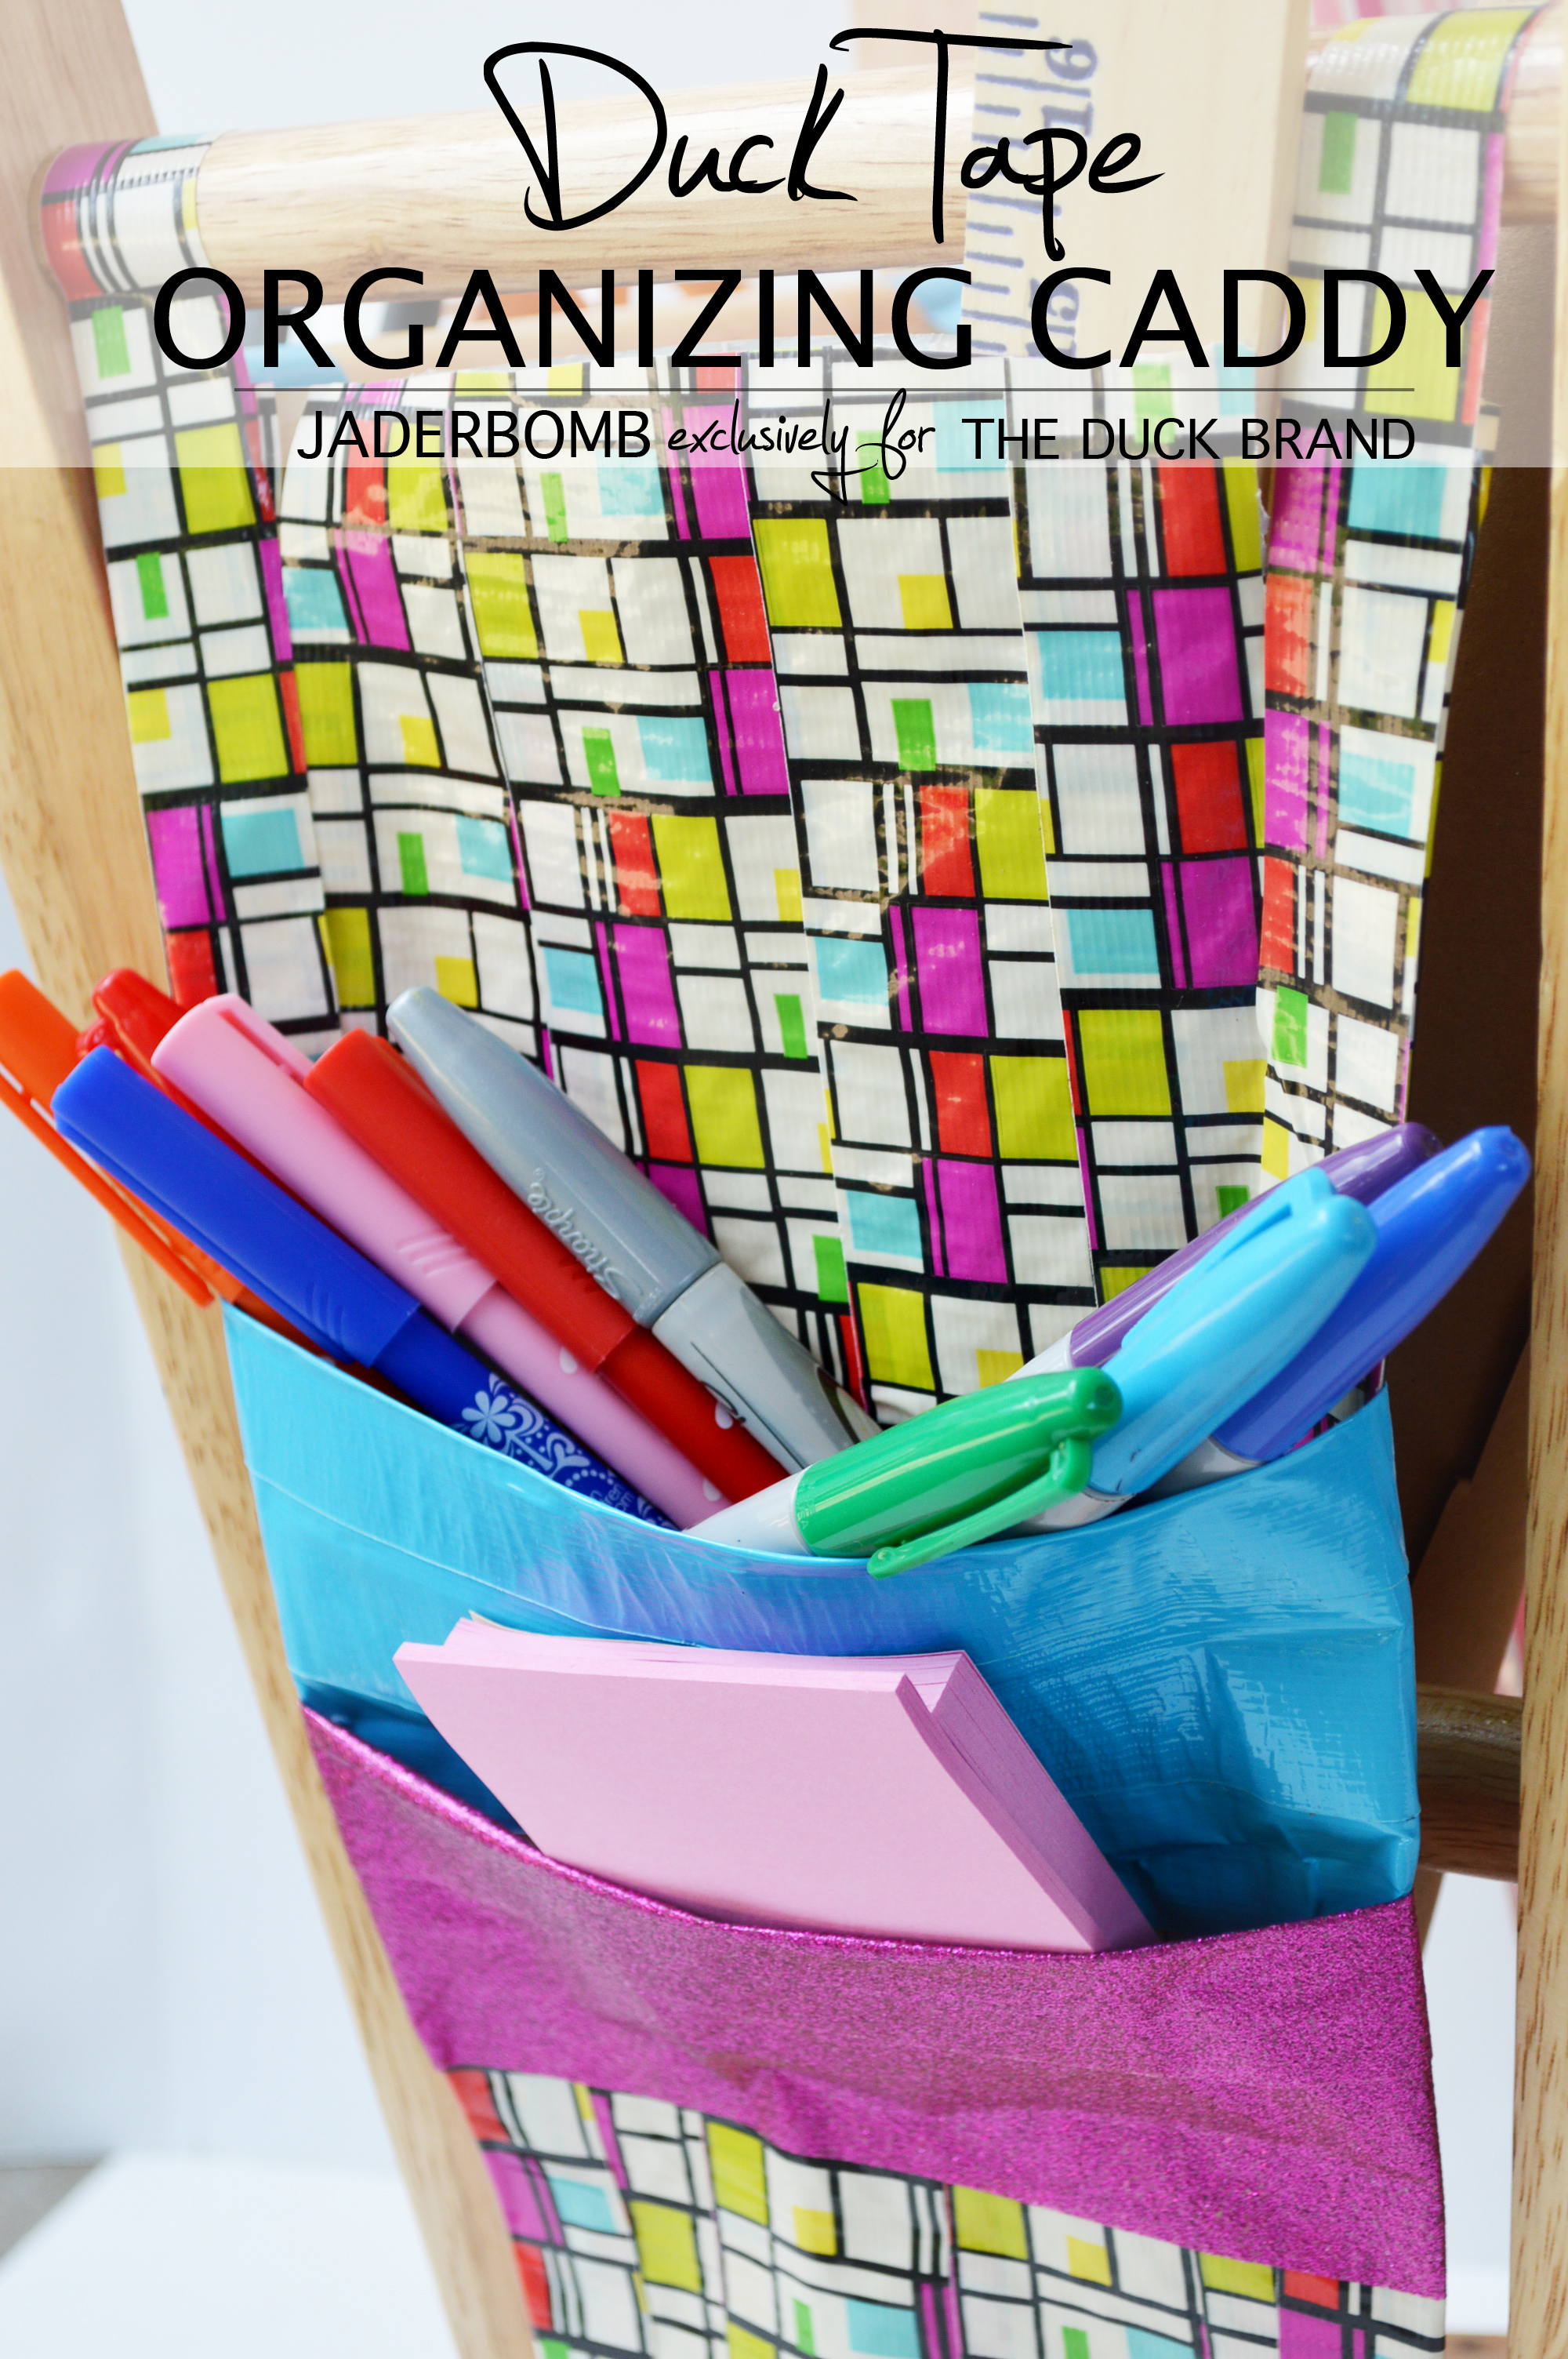
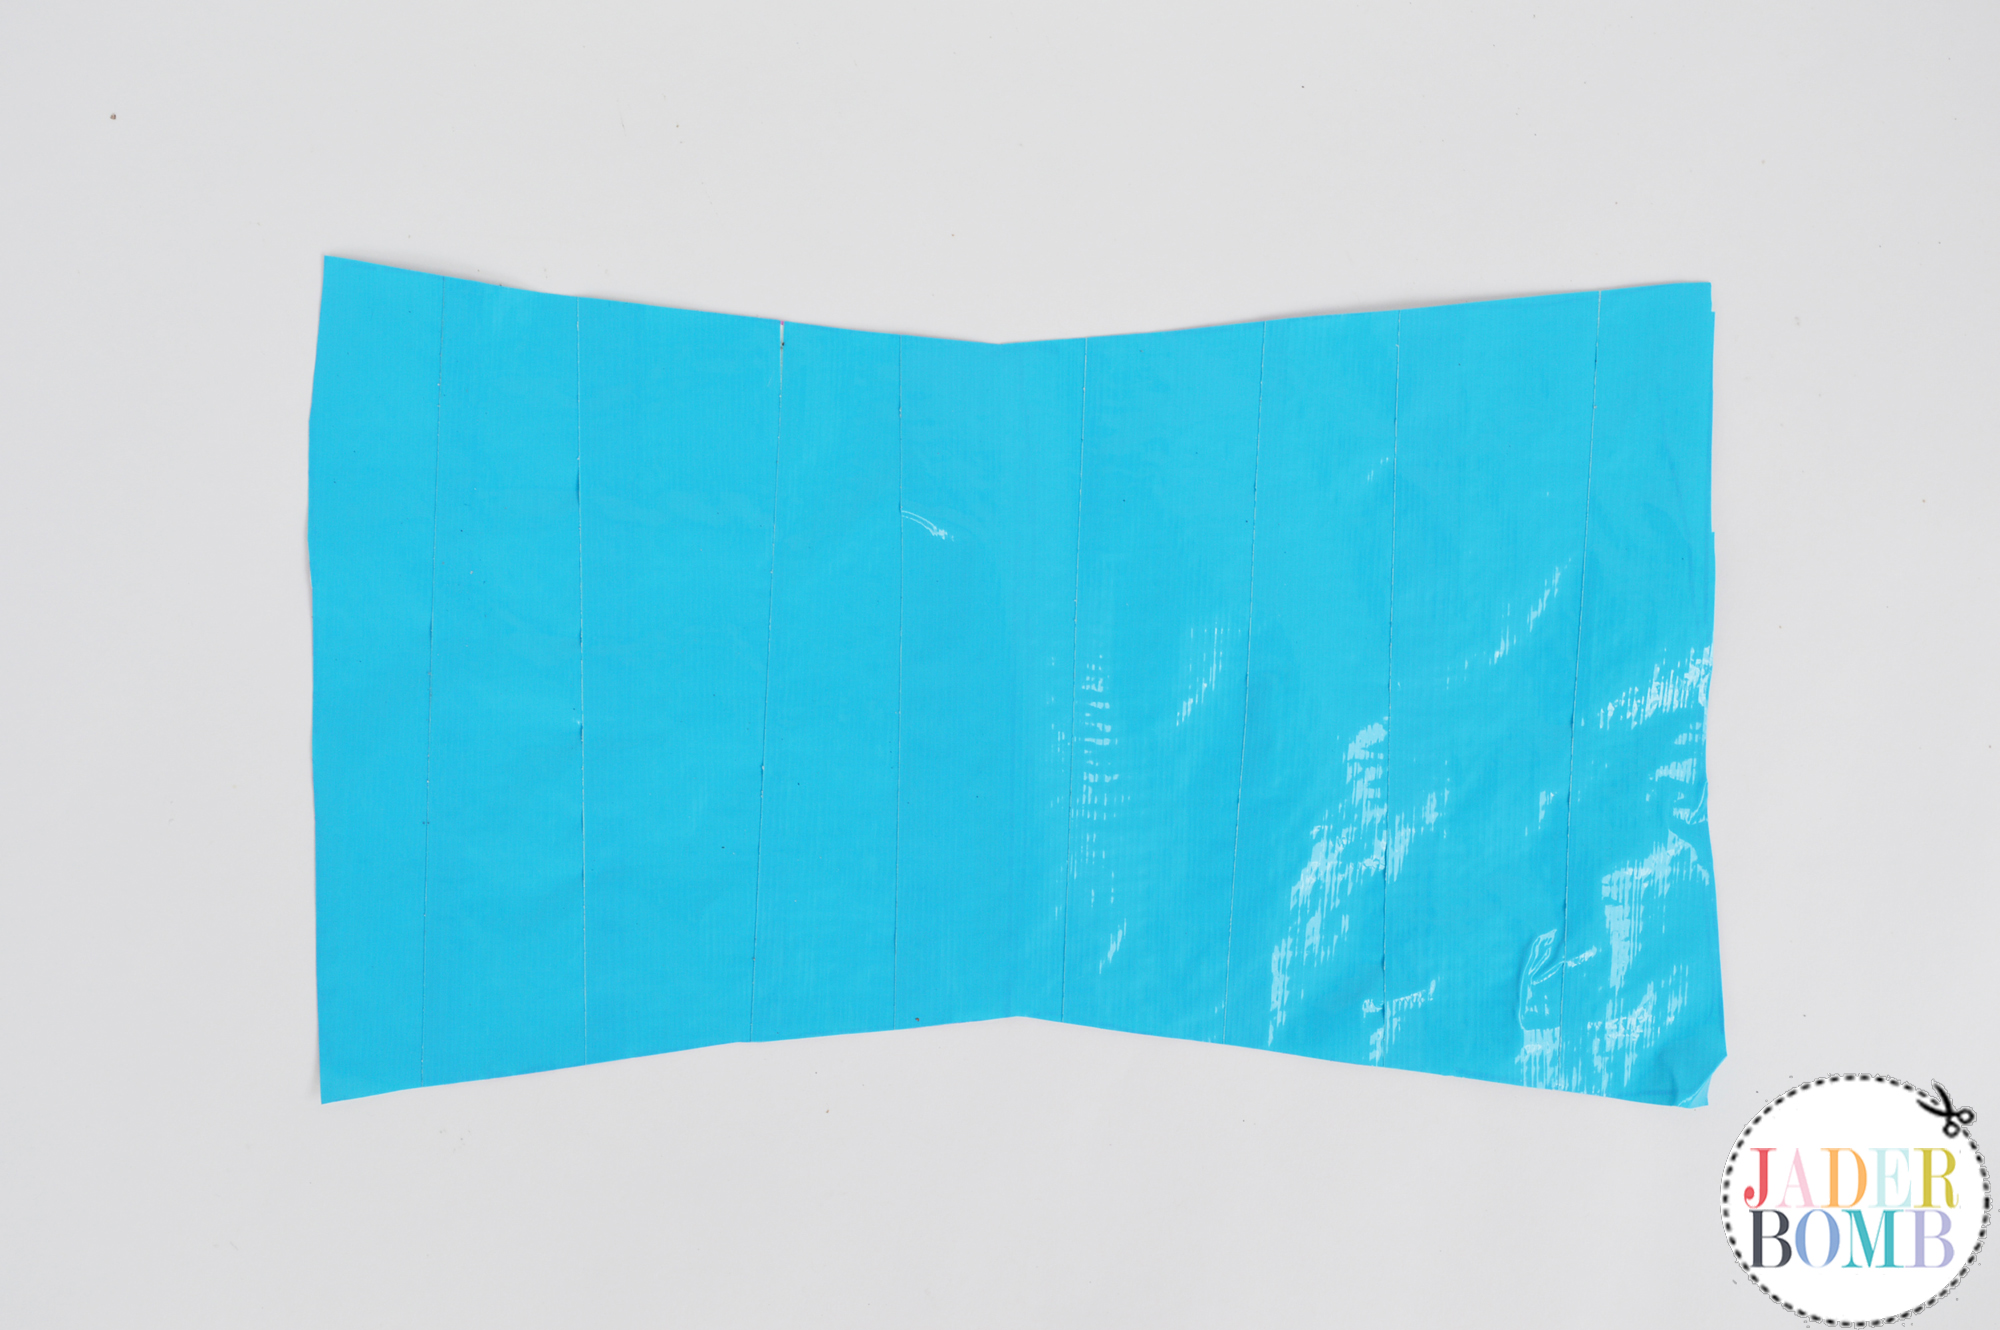 Step 8: Fold your cut out in half. This is the start of a bag that will hang on the stool.
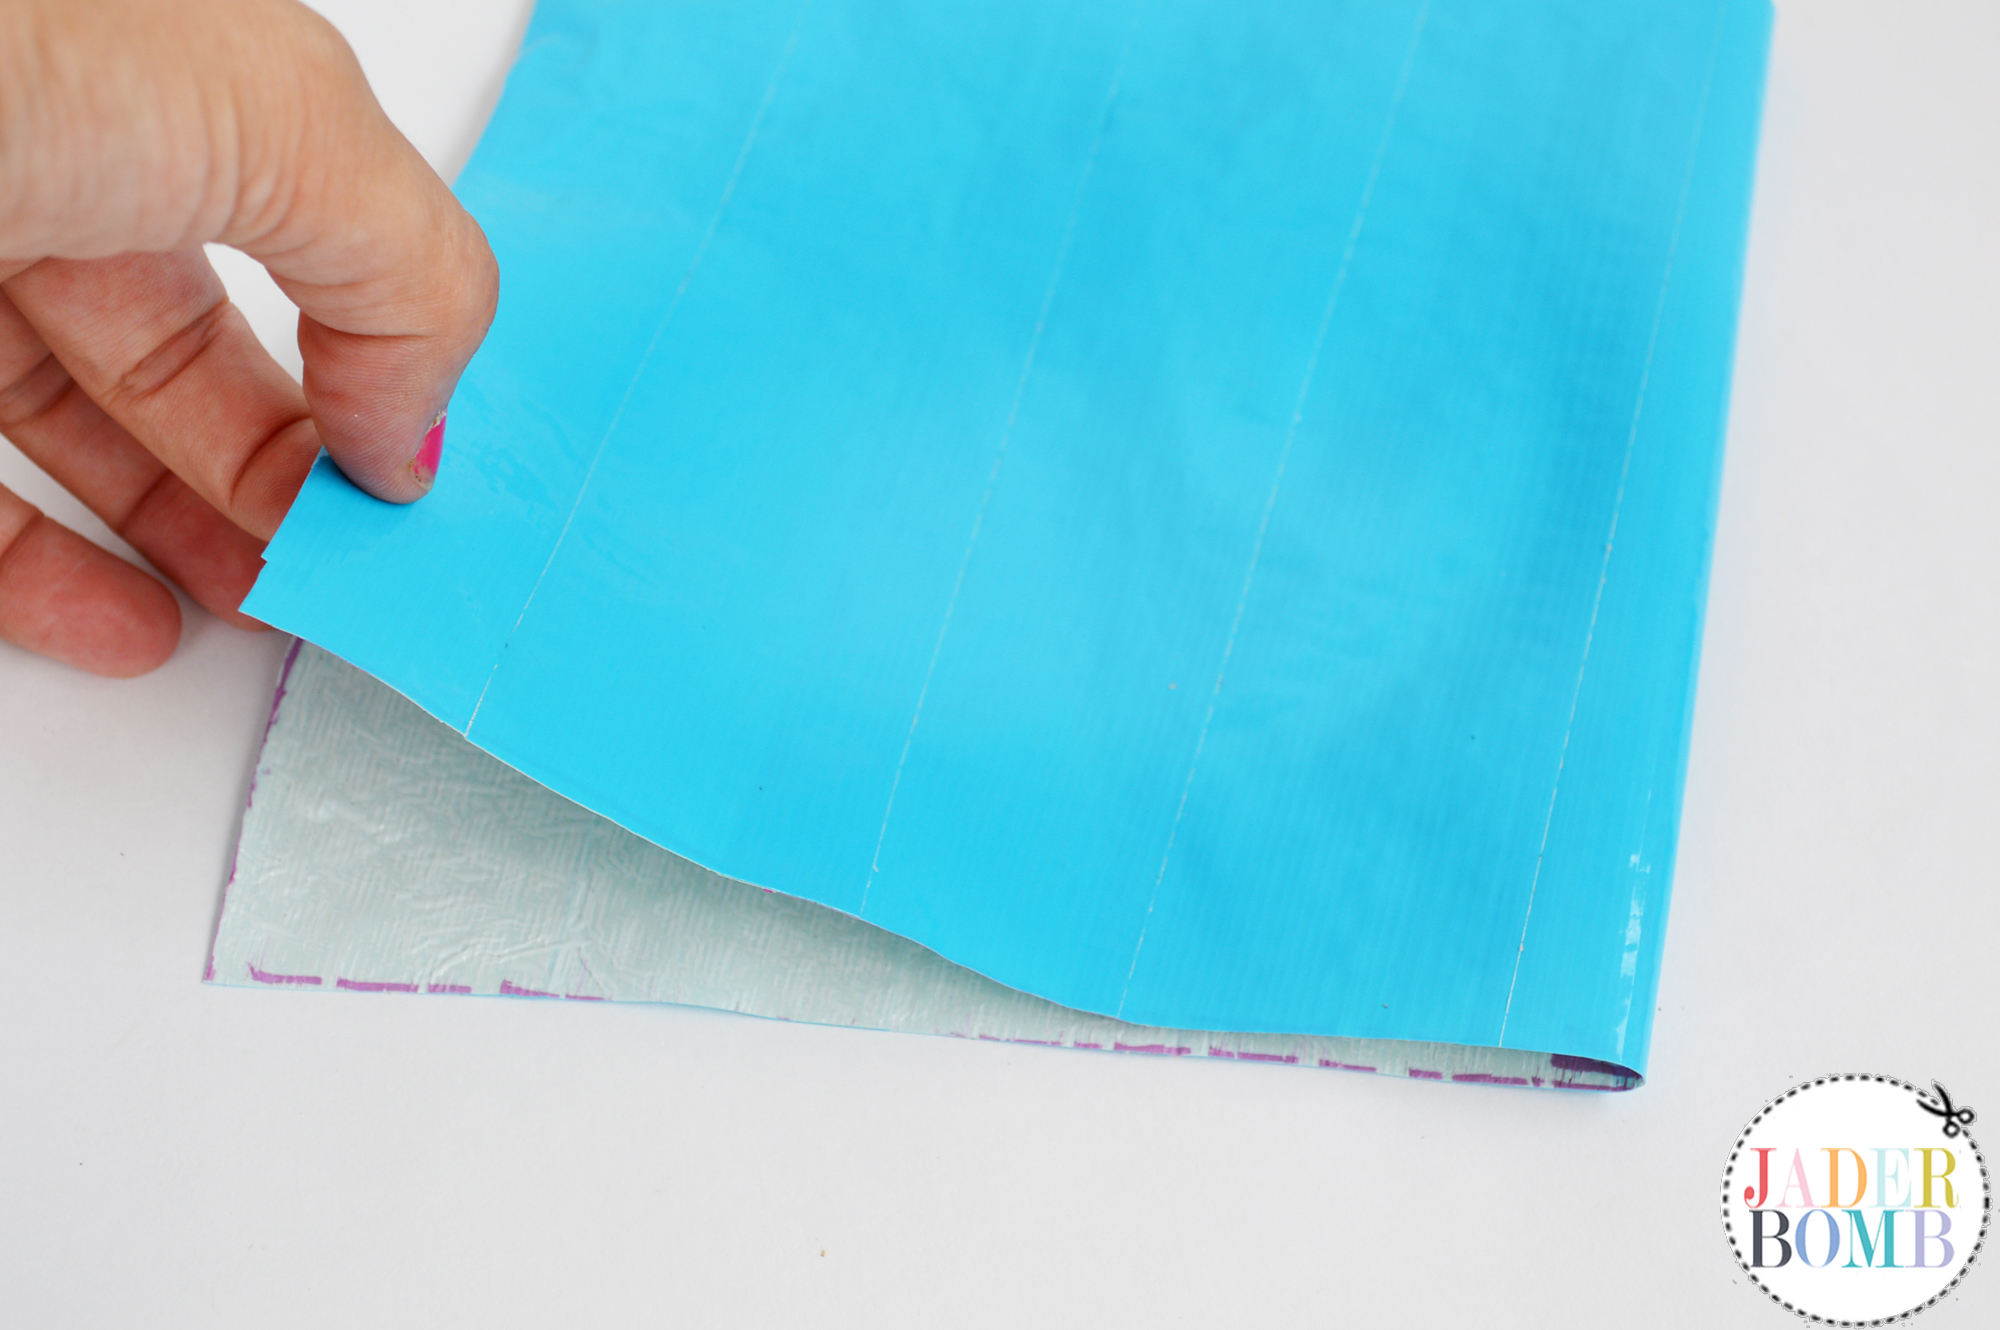
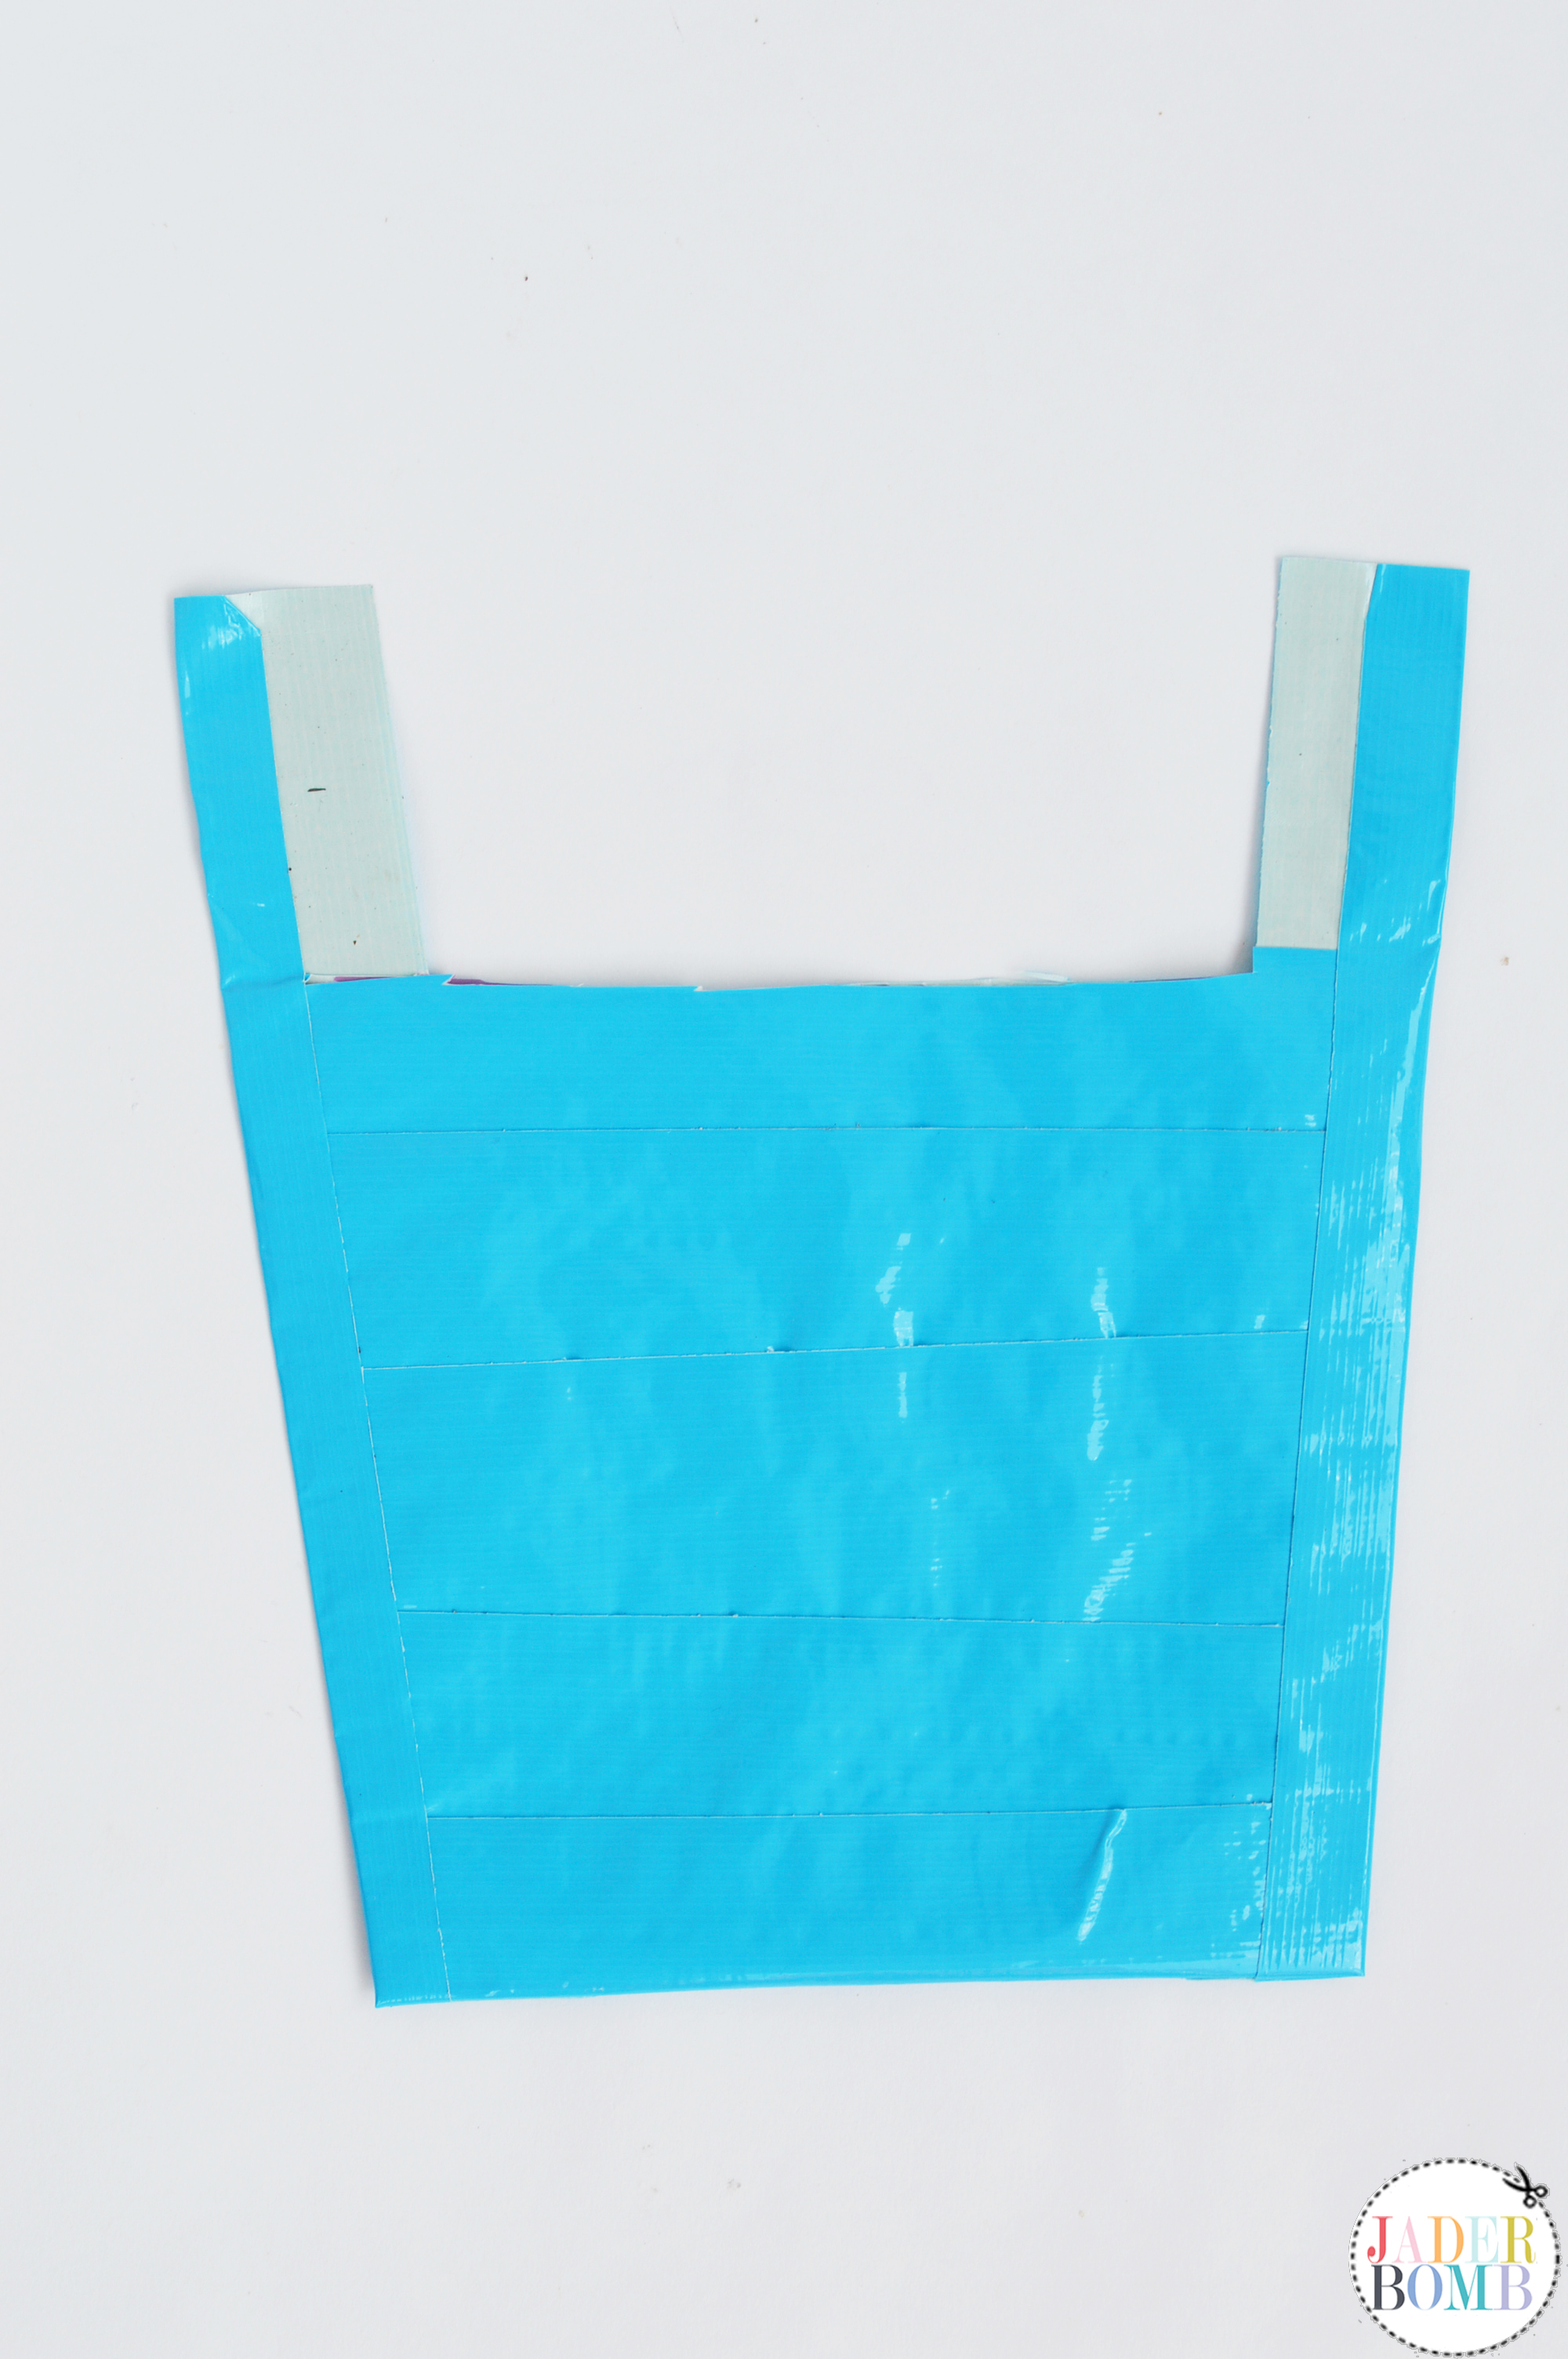
 Fill in the space like you did earlier for the small bag.
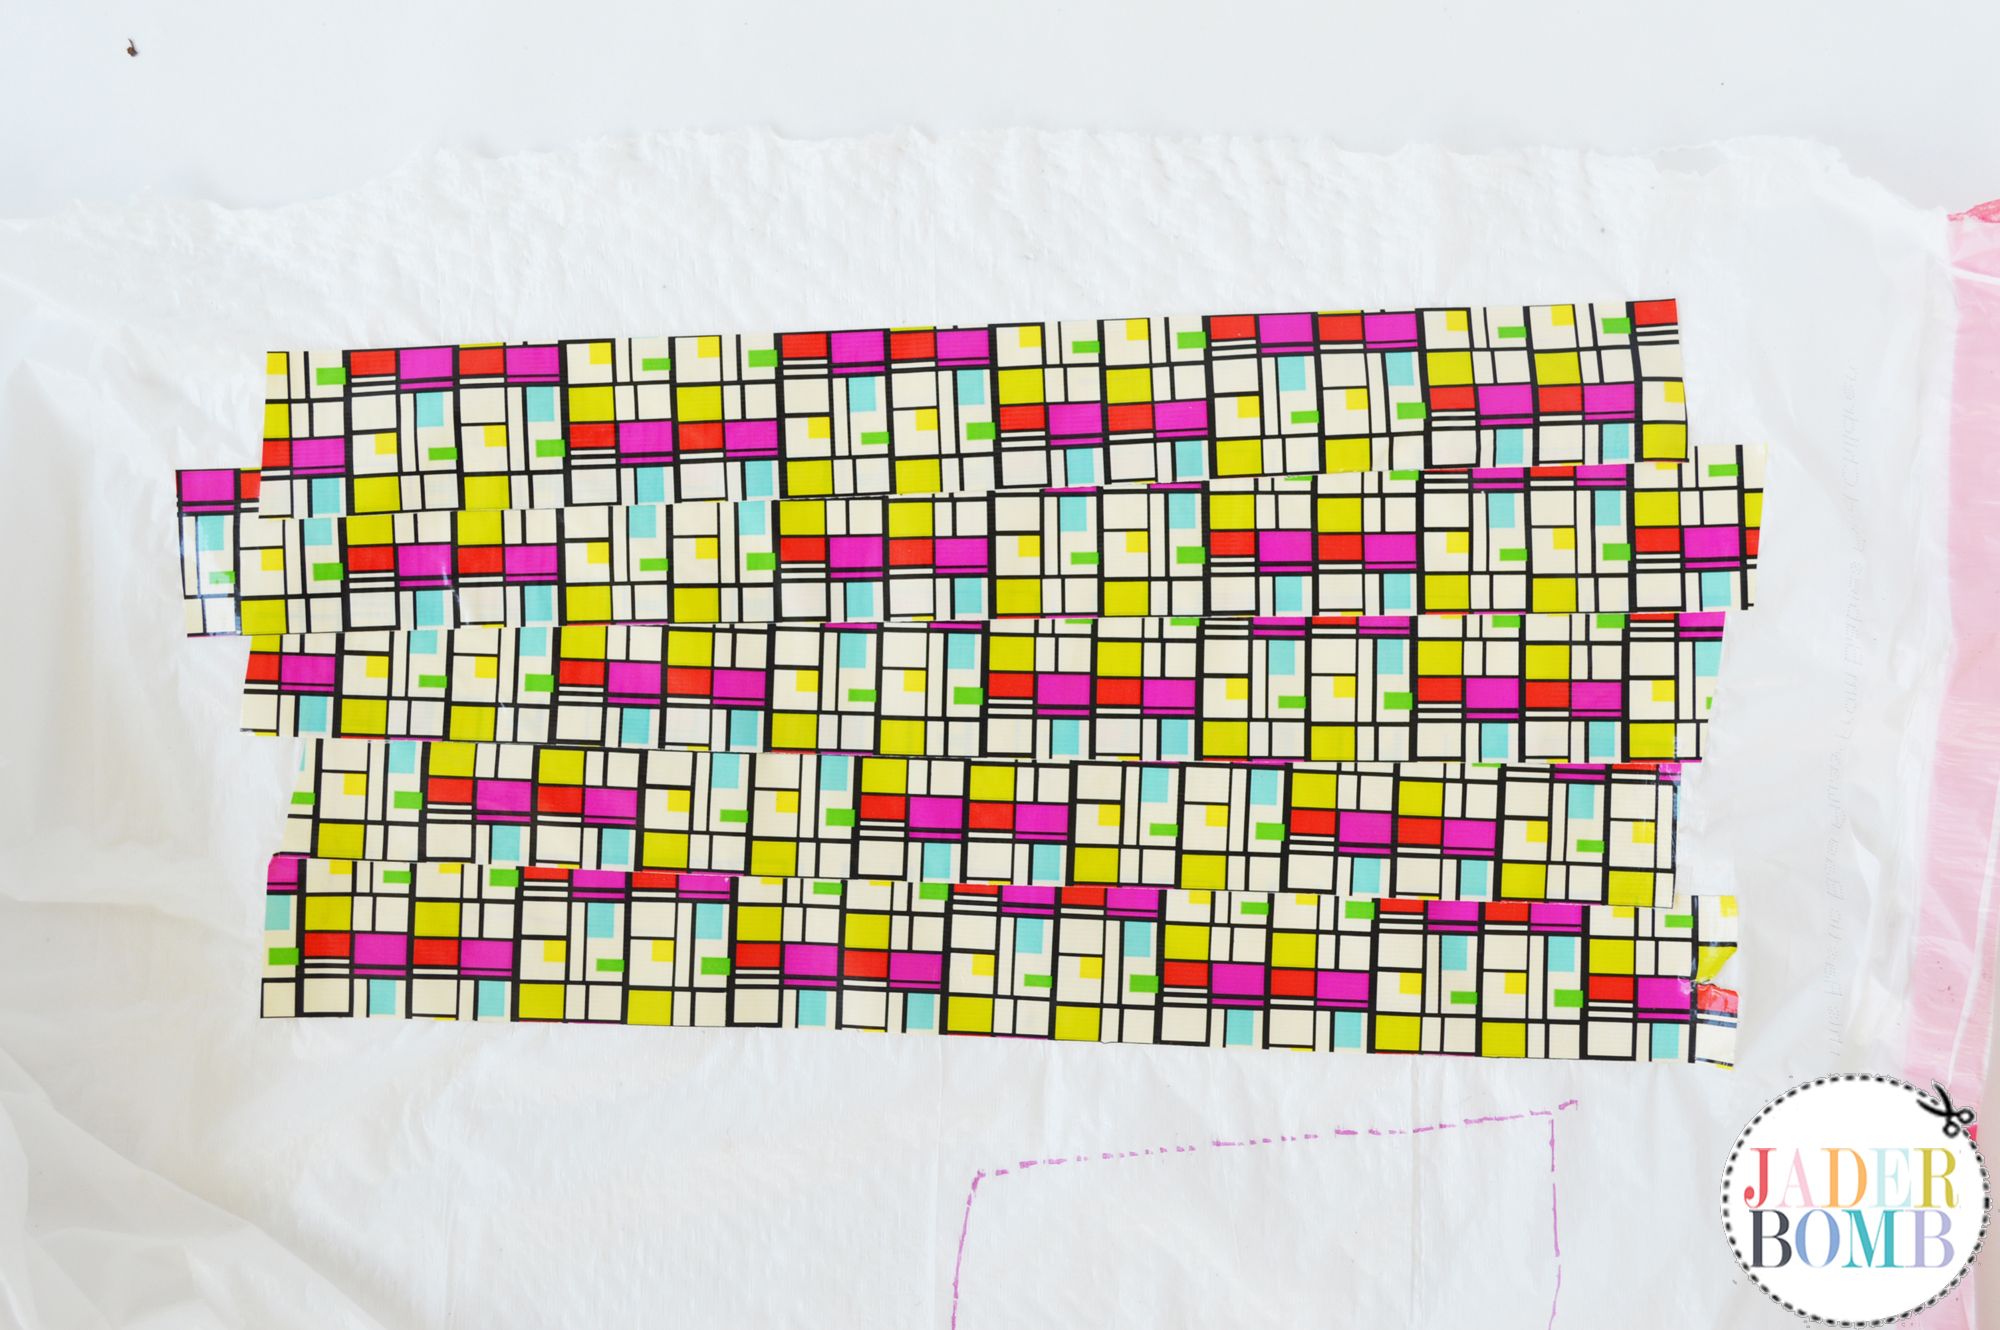 Cut out your pieces making sure to not cut the sections in half. We want this bag to be long! We are doing the same steps as we did for the small bag. Pretty simple ey!
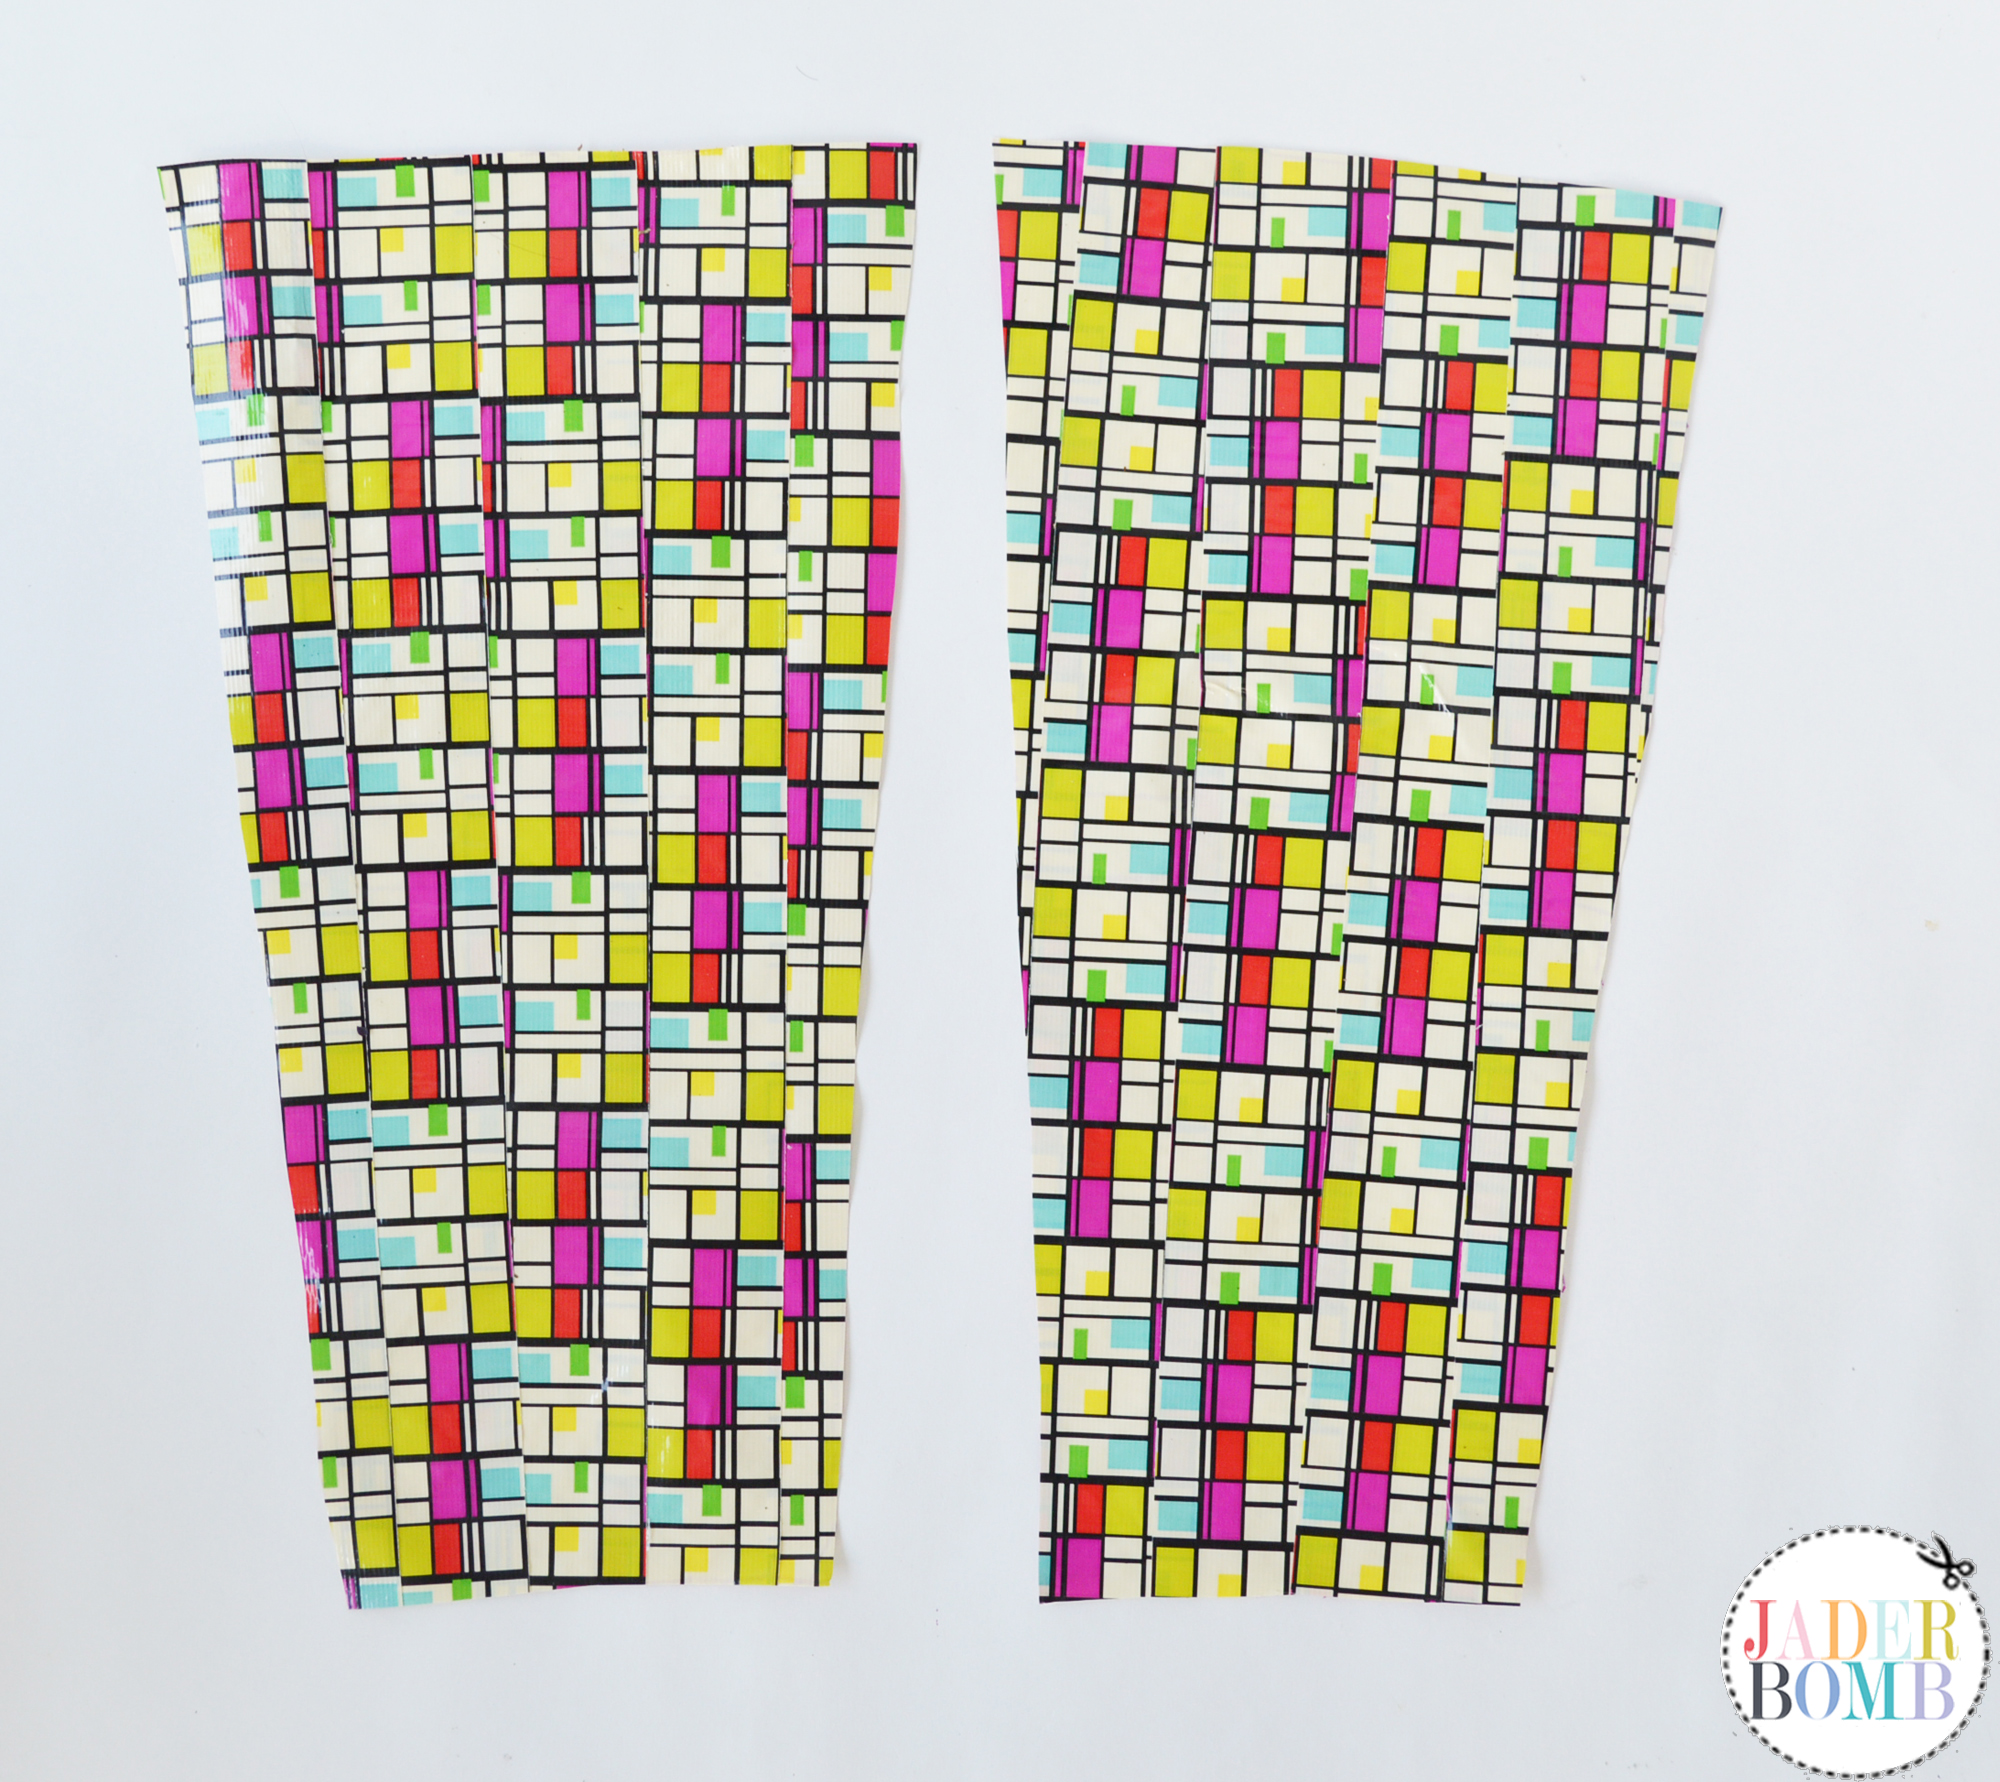

 If you want to purchase a pair of these new scissors you can click on