Tag Archives: duck tape

sponsored postComing to you live from my messy studio with a major quack announcement. There is a new tape out on the loose! That’s right, a new decorative tape called DECO TAPE.

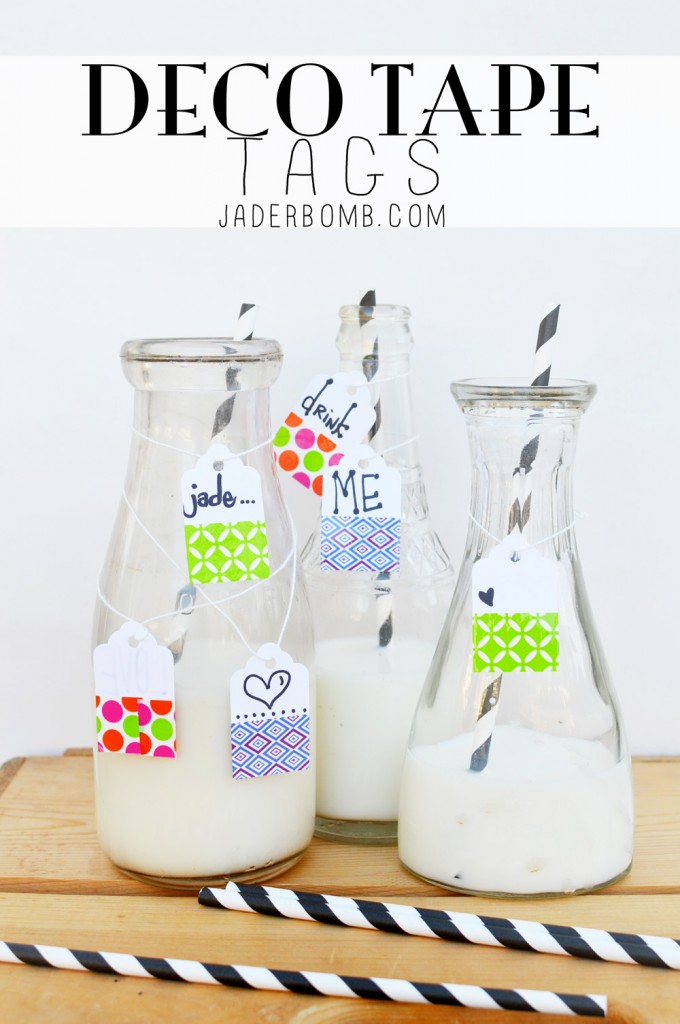
It’s fierce, it’s bold and it will dress up everything in your life. Why be drabby when you can be “duck tape savvy”… (yes I just made that up)

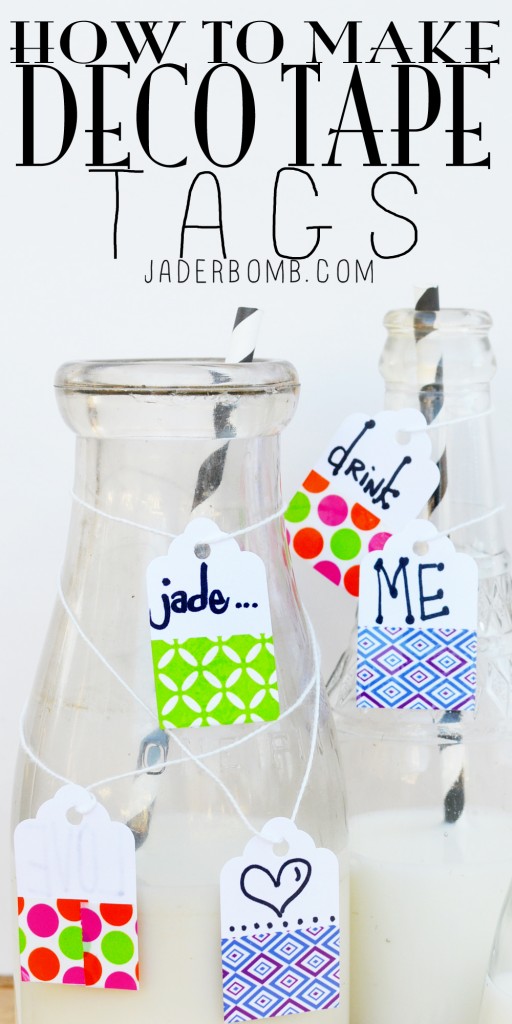
Today I will show you how to transform plain tags into ones that scream “LOOK AT ME”…

DUCK TAPE TUTORIALS
YOUWILLNEED
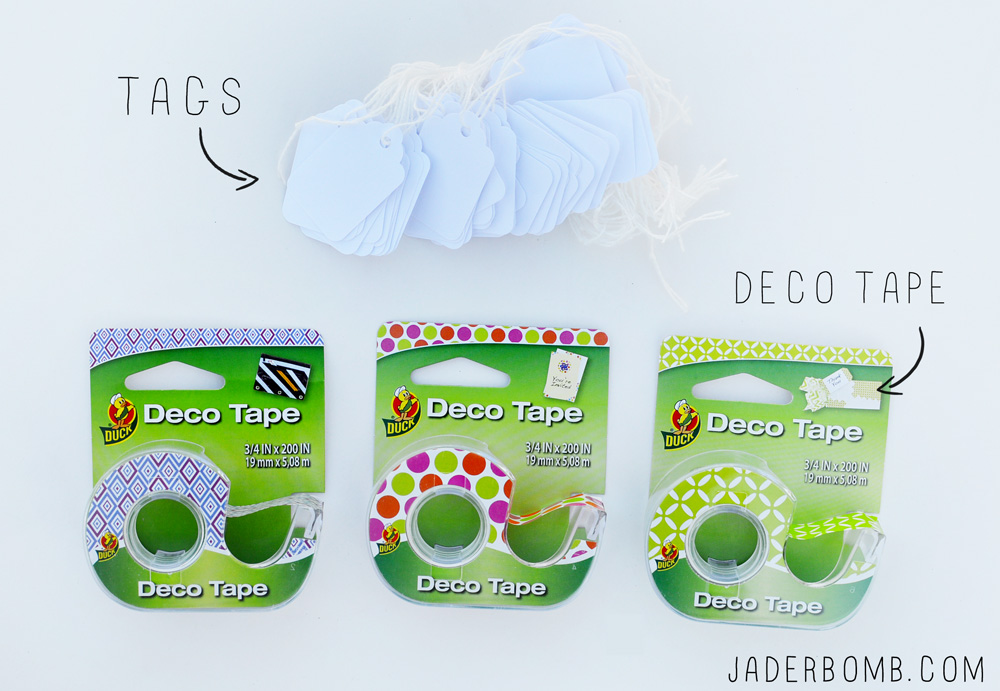
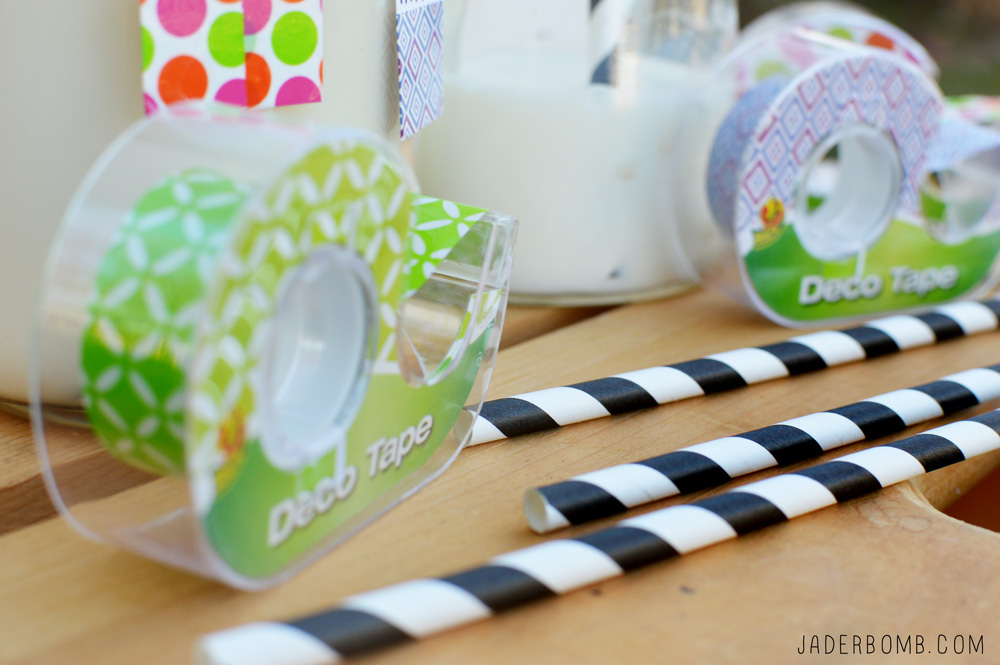
Labels or Tags | Deco Tape

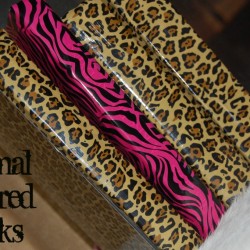
This tape comes in 4 different designs. You can use this tape to dress up anything from stationery to a phone case!

DUCK TAPE DECO TAPE 
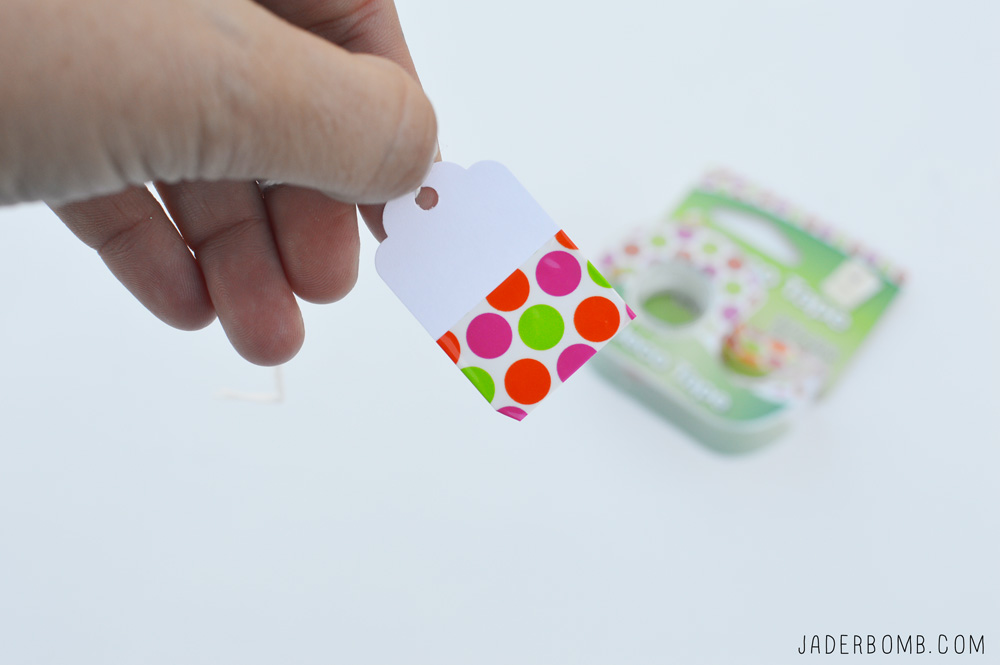
You simply tear a piece off and wrap it around the bottom portion of the tag. I tore a long piece to make sure it wrapped around the back completely then I cut the excess off with scissors. DECORATE WITH DUCK TAPE HOW TO MAKE WASHI TAPE LABELS

You could use these for gifts, a special table setting, bottles or invitations. Endless ideas I tell ya!EASY DIY LABELSDUCK TAPE CRAFTSDECO TAPE TUTORIALS PINTEREST DUCK TAPE TAGS


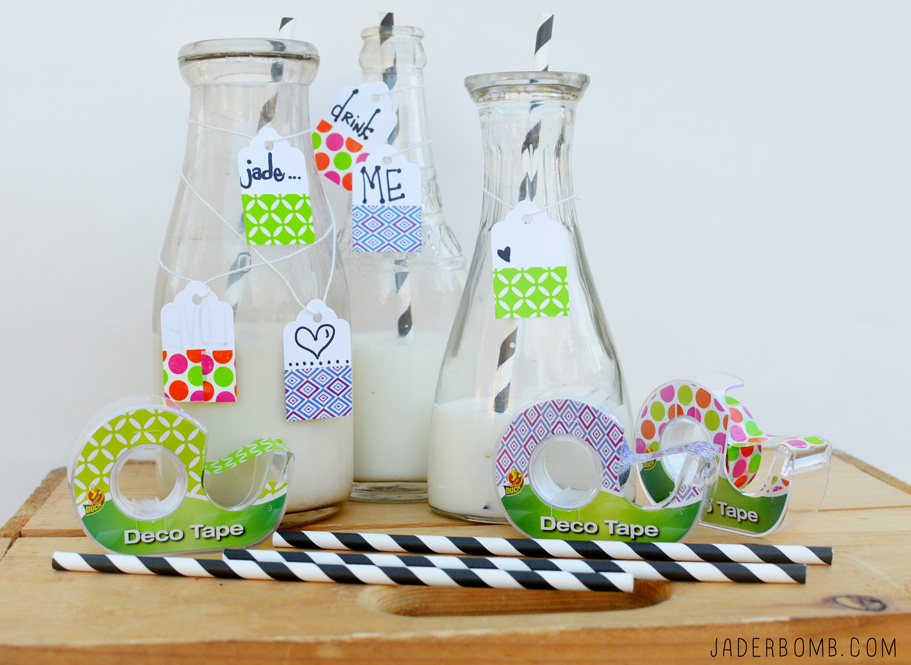
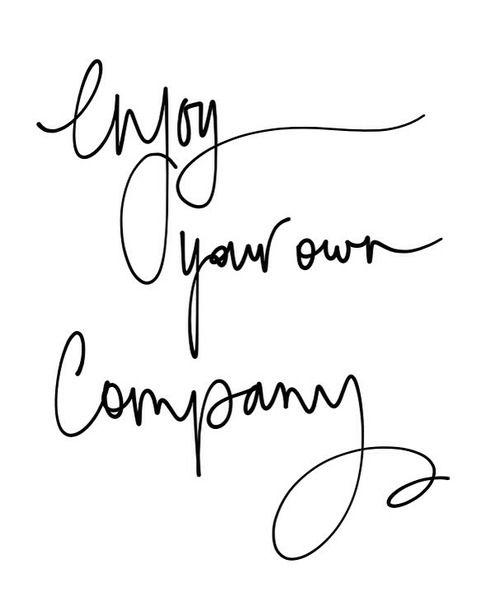
One thing you could do is have a tape party! Have tables filled with blank supplies and let your friends go buck wild with this tape. Make sure you tag DUCK TAPE and they might share it on Facebook or Twitter! I added a fun quote for you to think about. HUGE GLITTERY HUGS!

38cc77ccaec6f4aeb02b184995125114

I hope you enjoyed this tutorial. What would you make with your tape?
jaderbomb

This post is brought to you by the Duck Brand

Well hello you cute little Black and White Striped Fridge!

I was wondering why I keet going back to the fridge lately but maybe i’t’s the stripes! I’ve never been more excited to get eggs and milk than I am now!

Oh and stripes makes all the food inside taste better, hehe. Let’s get started!BLACKANDWHITEICEBOX

YOUWILLNEED*Scissors * Sharpie * Ruler * Dry Erase Laminate *Chalkboard Laminate 
dryeraseandchalkboardlaminate
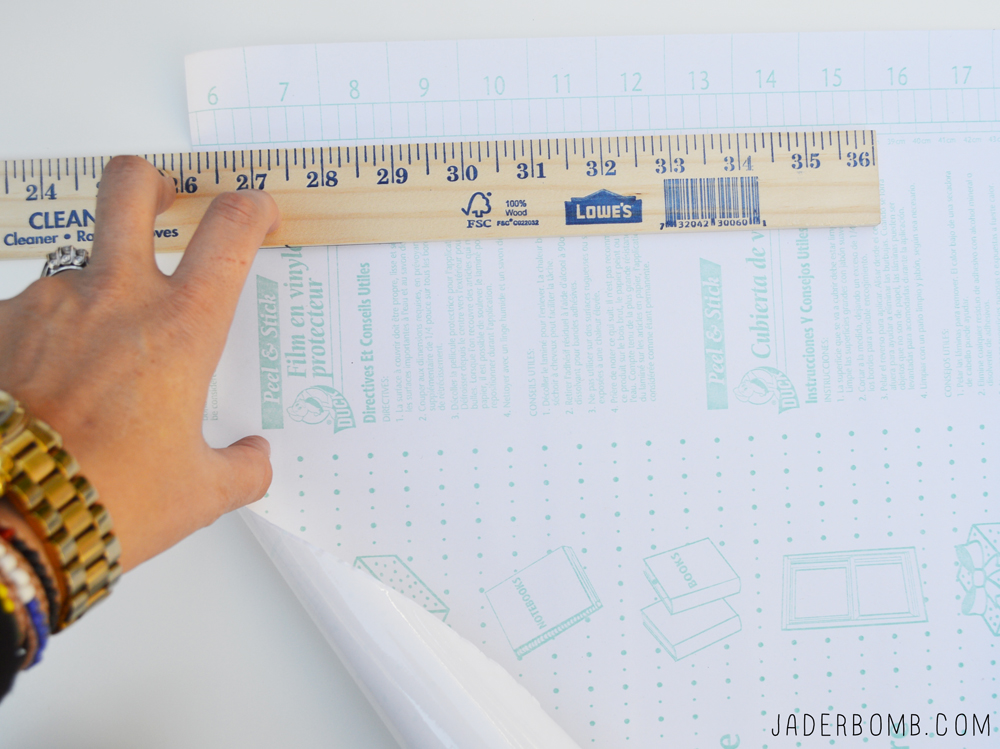
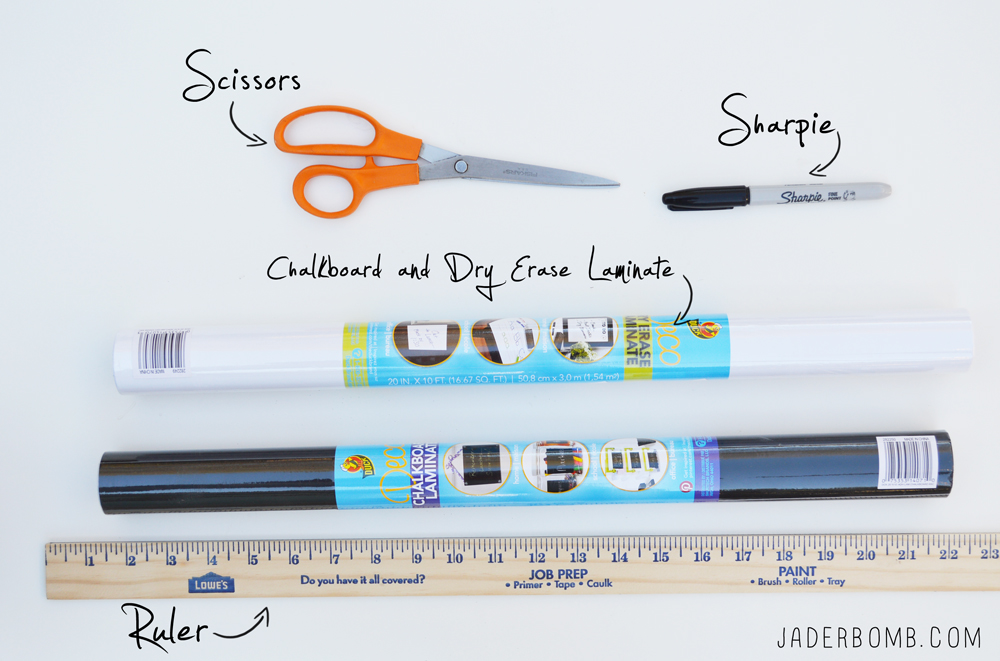
The first thing you want to do is layout your adhesive paper. I love this paper because you can simply peel the back off and voila! duckbranddryerasefilm

Once your paper is flat on a table grab a ruler and place it on the side of sheet. You will see on the sides of the paper (on the back) that there are lines already there for you. I placed the ruler on the second main line. It made my lines about 2 inches wide. dryeraseducktape
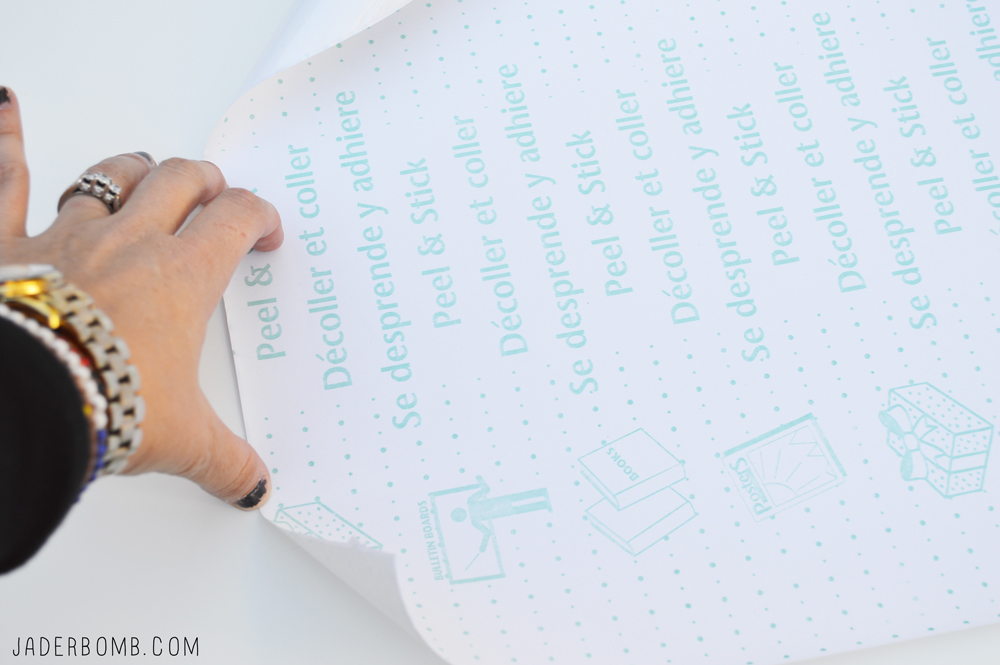
While your ruler is down grab your sharpie and trace over the line. This will just make it easier to cut. If you feel secure cutting the line that is already there then you don’t need to use sharpie.
ducktapechalkboard
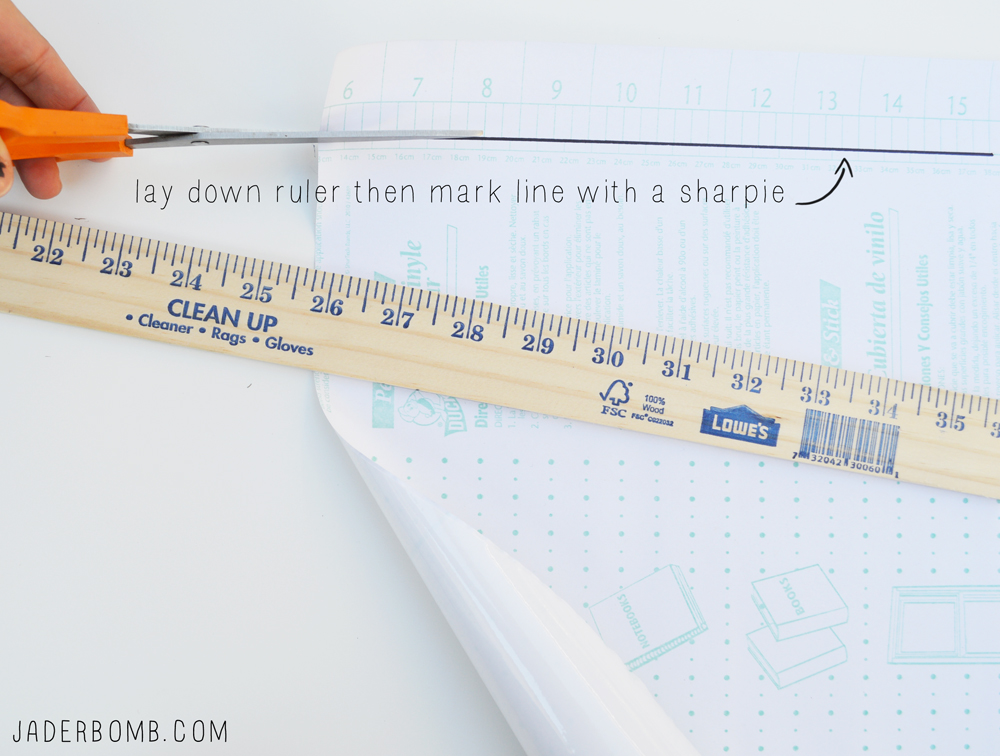
Once you cut your paper this is what it will look like. selfadhesivechalkboardducktape
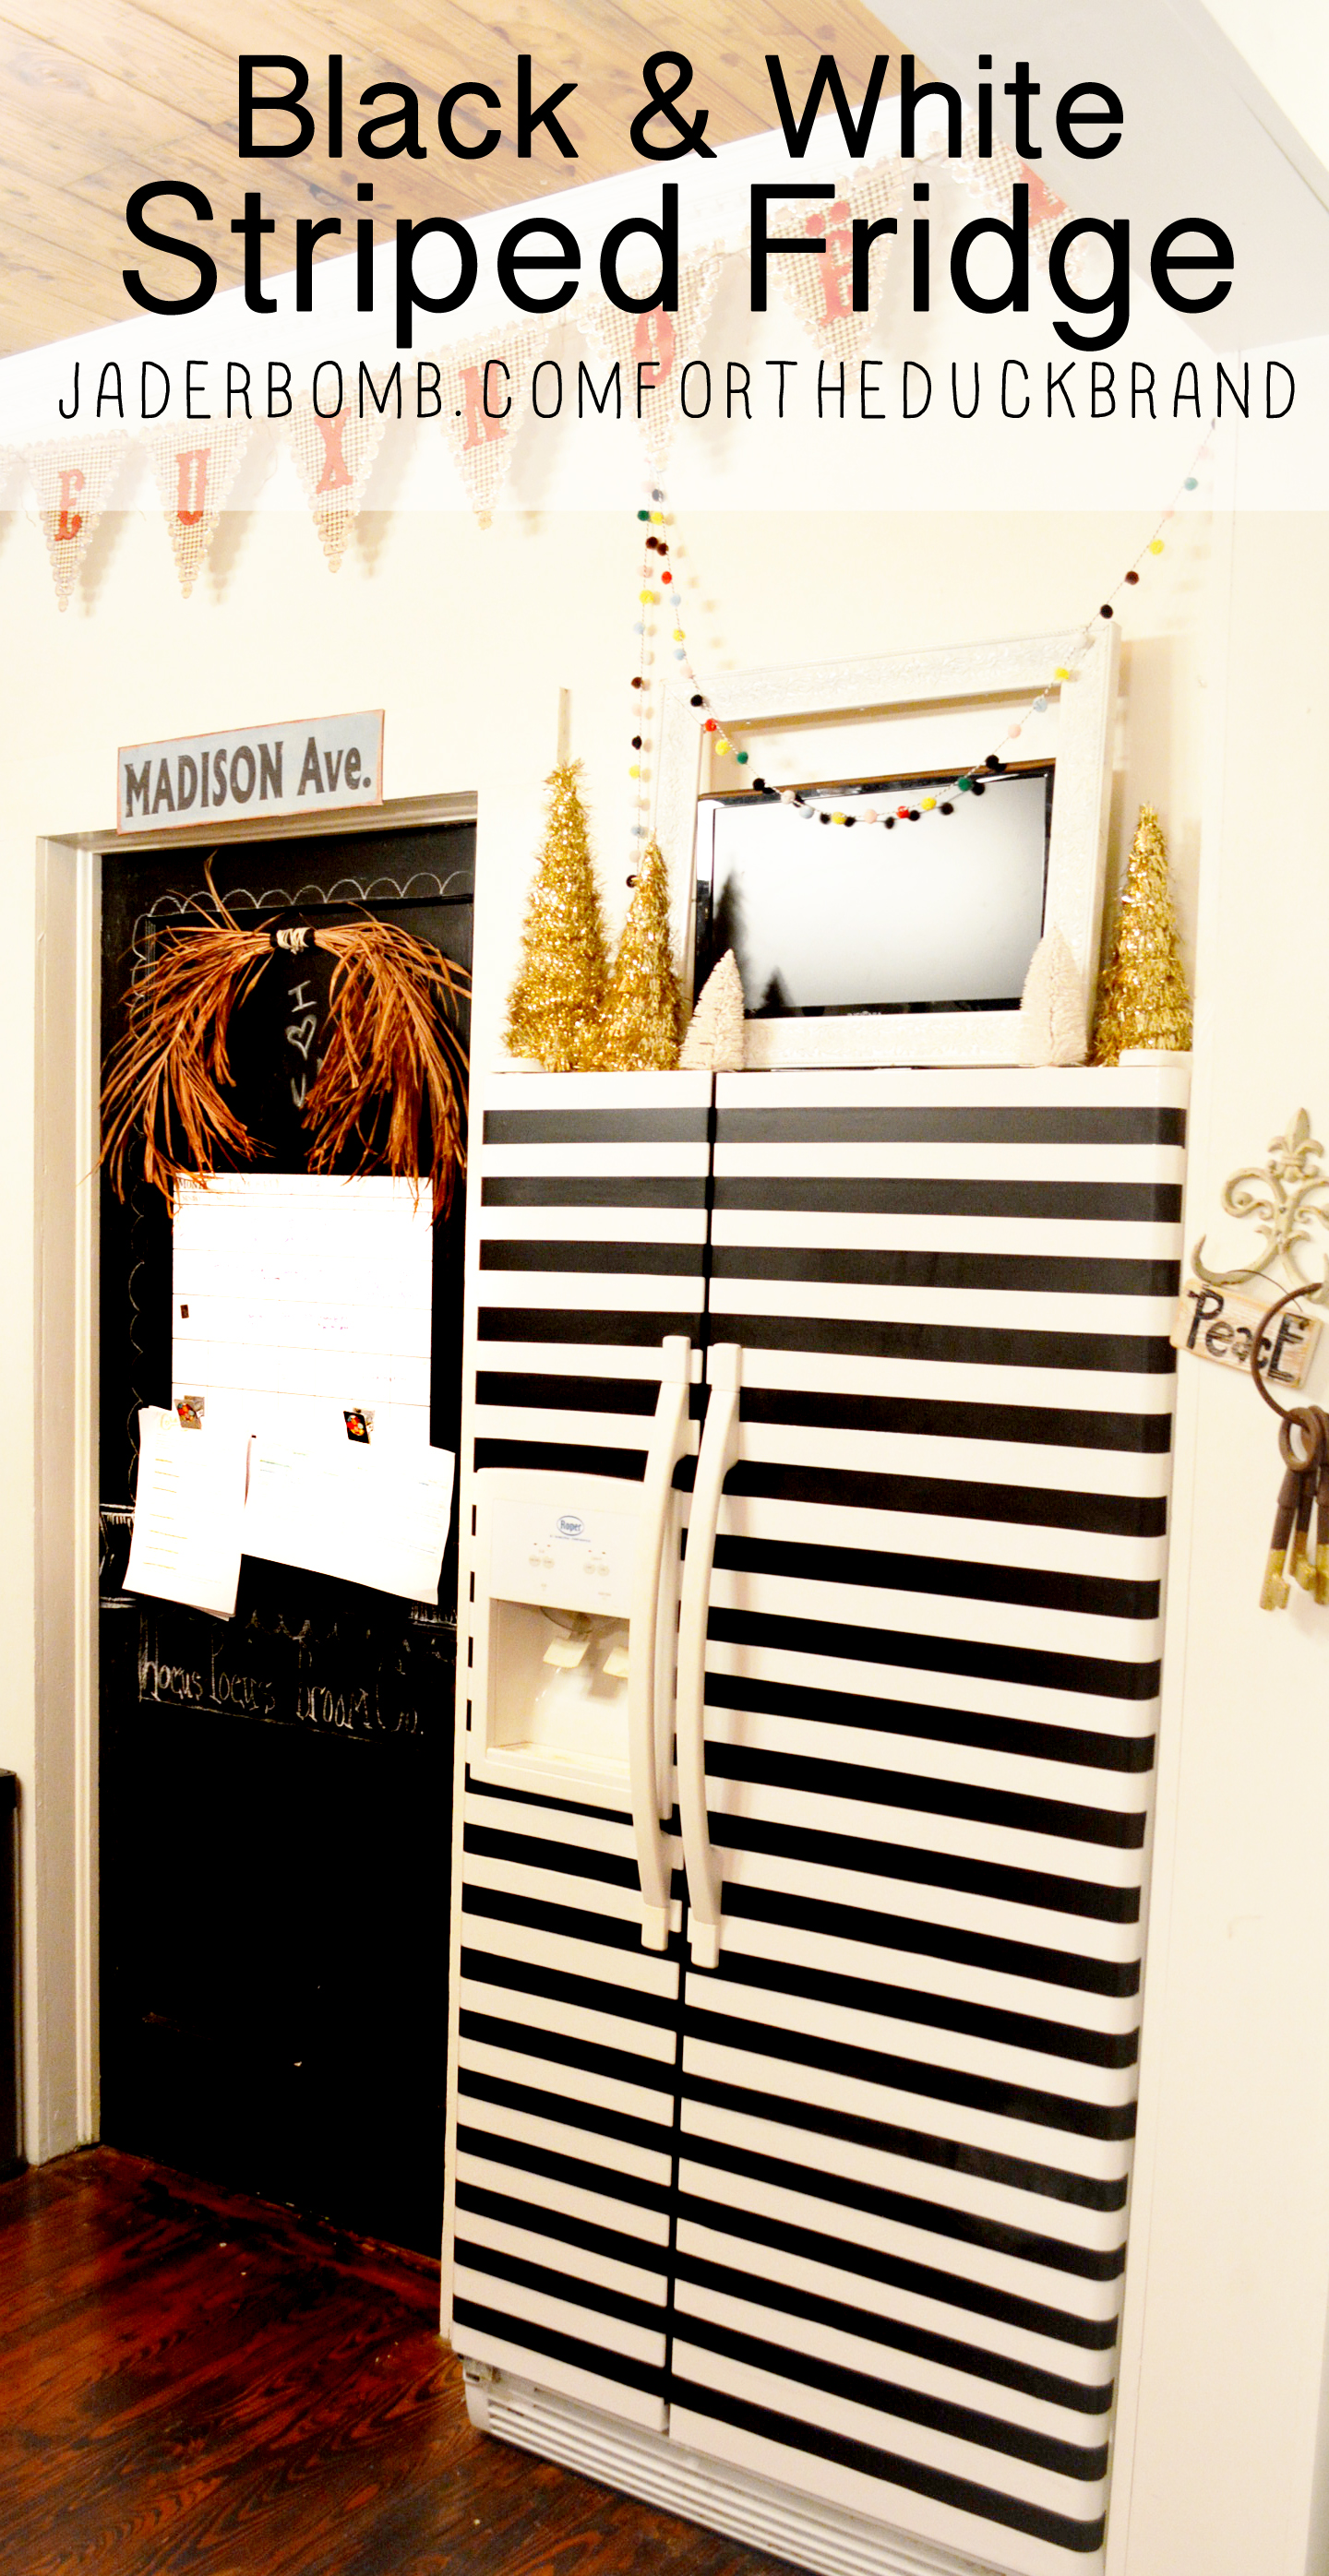
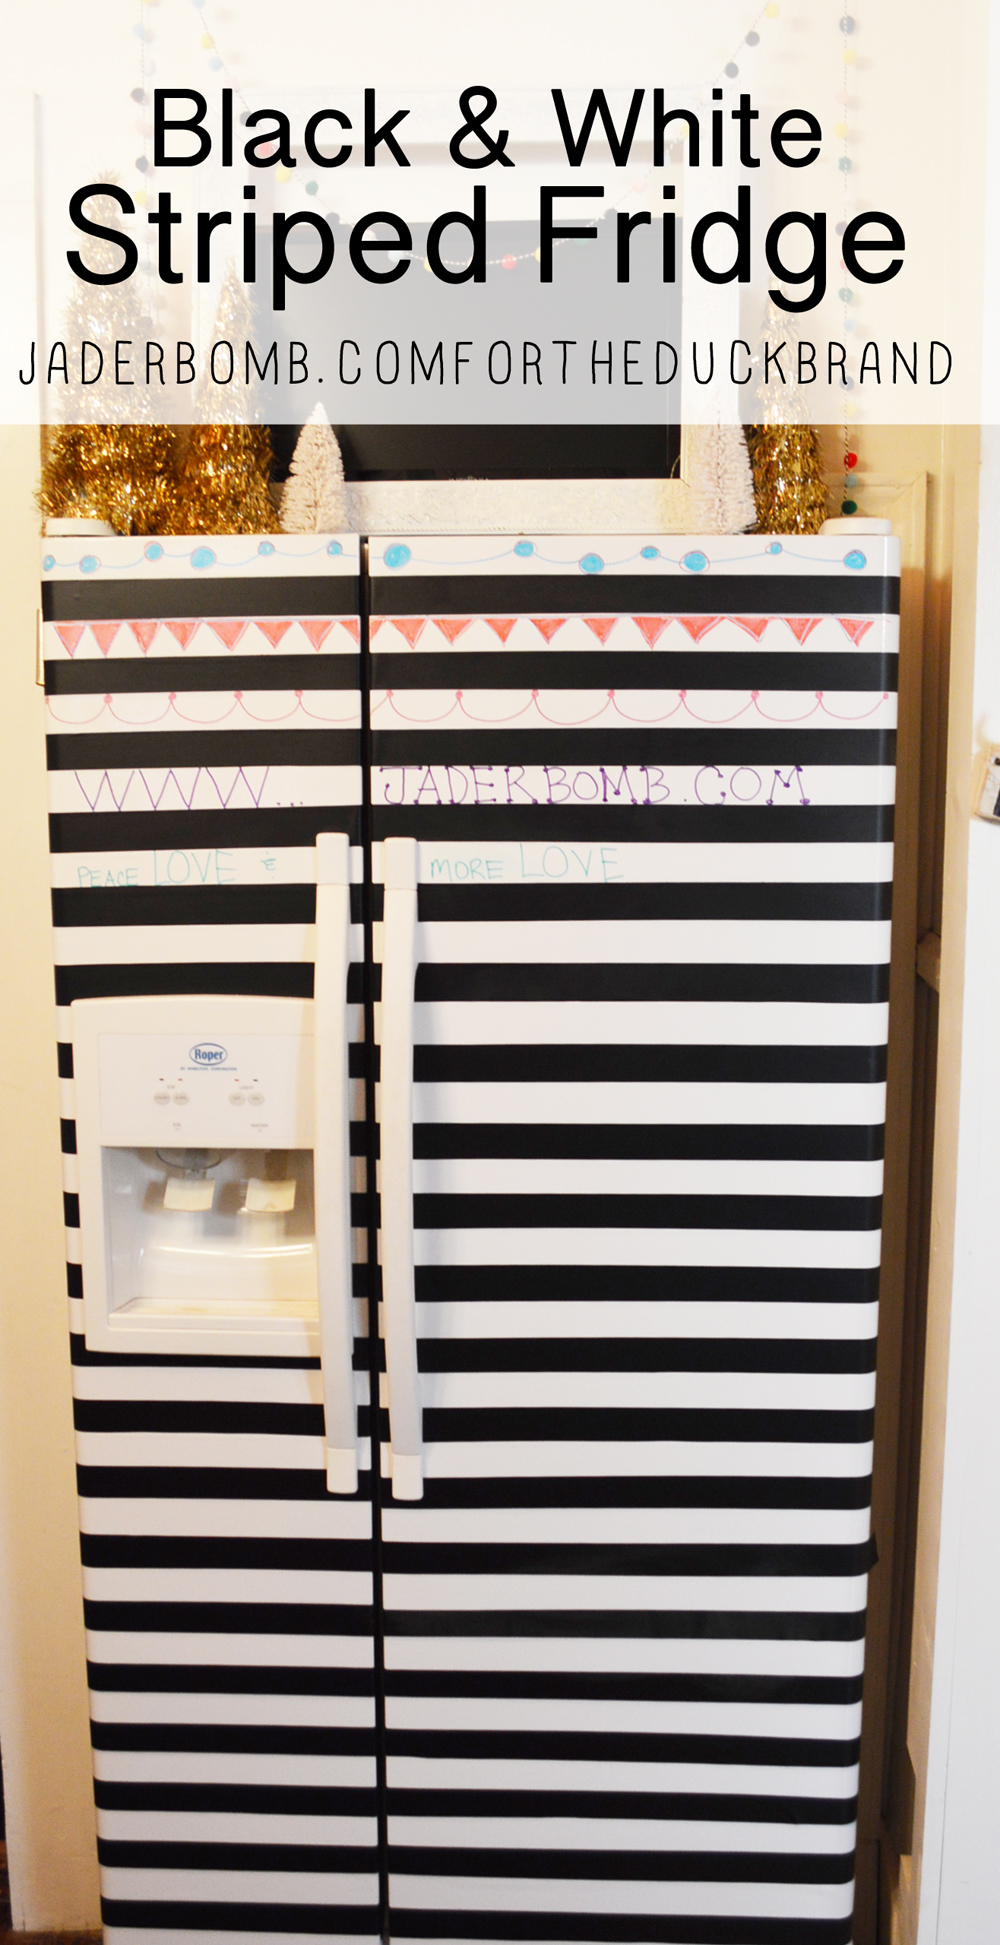
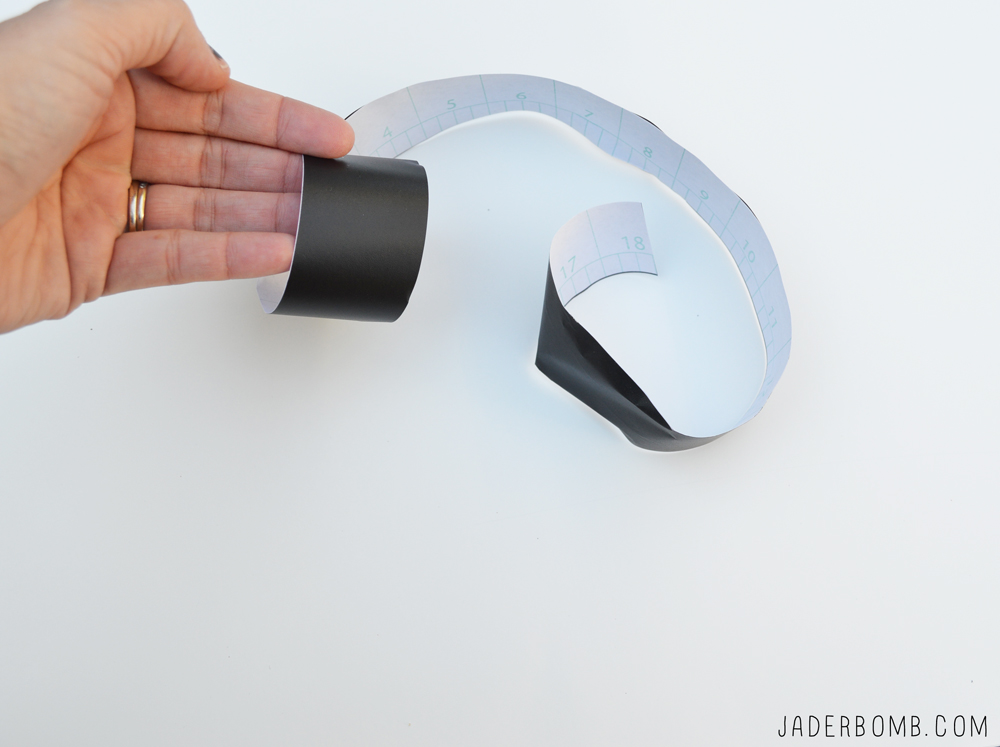
Time to move on to the fridge. Your boring fridge is about to get a complete face lift.
fridgestickers
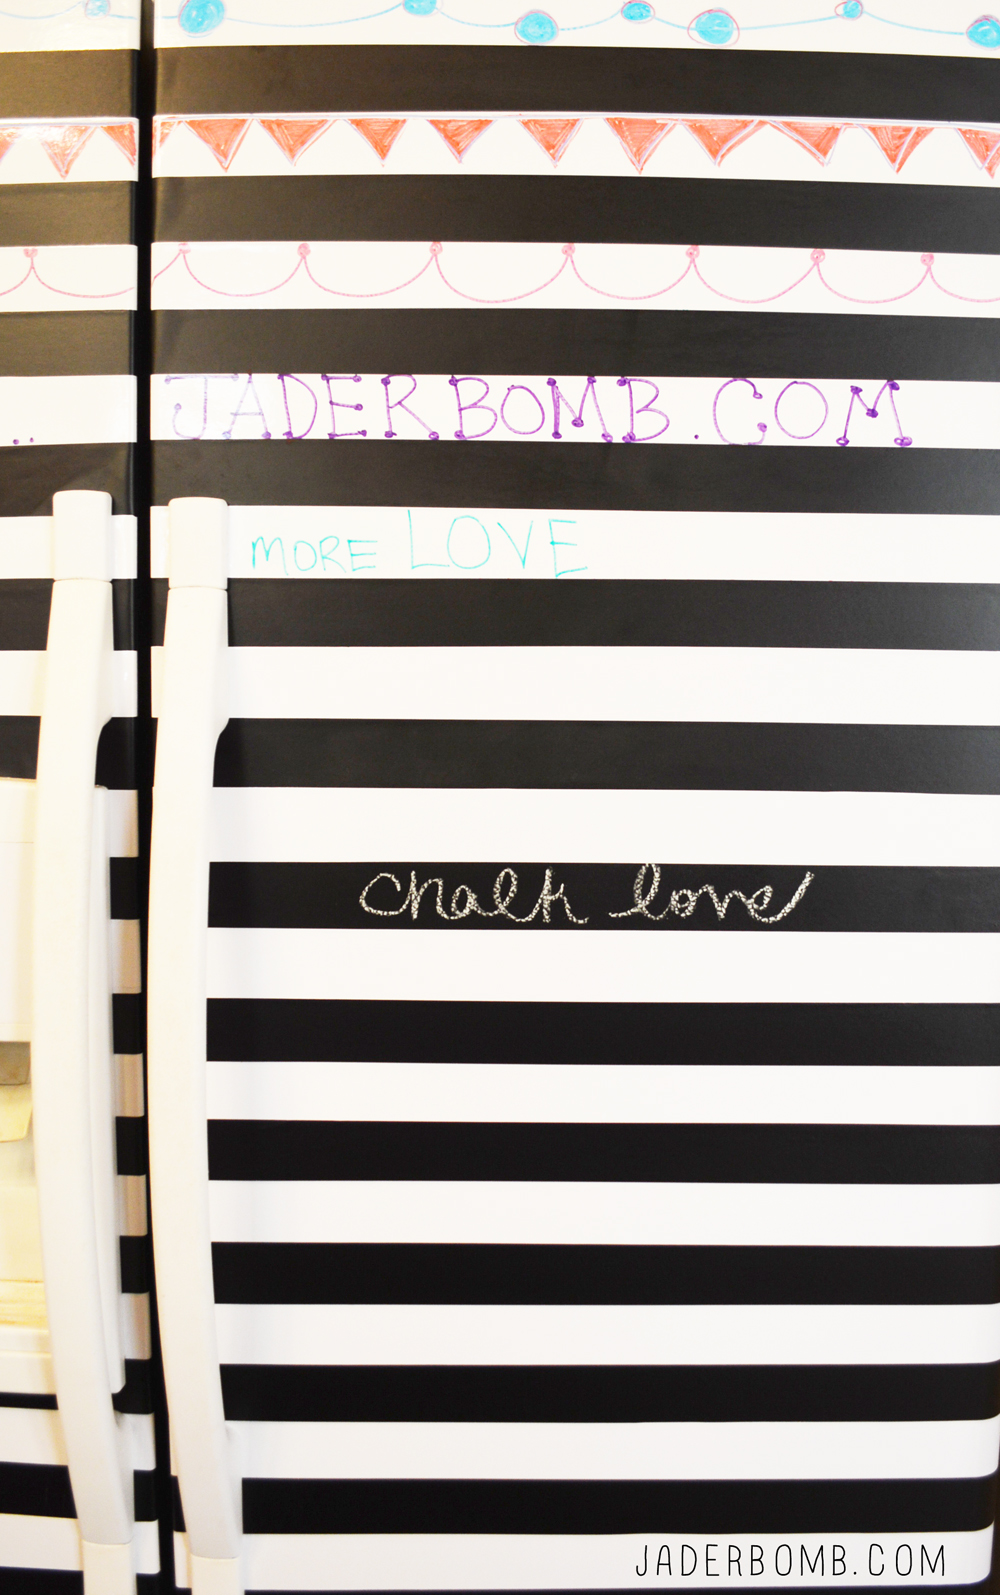
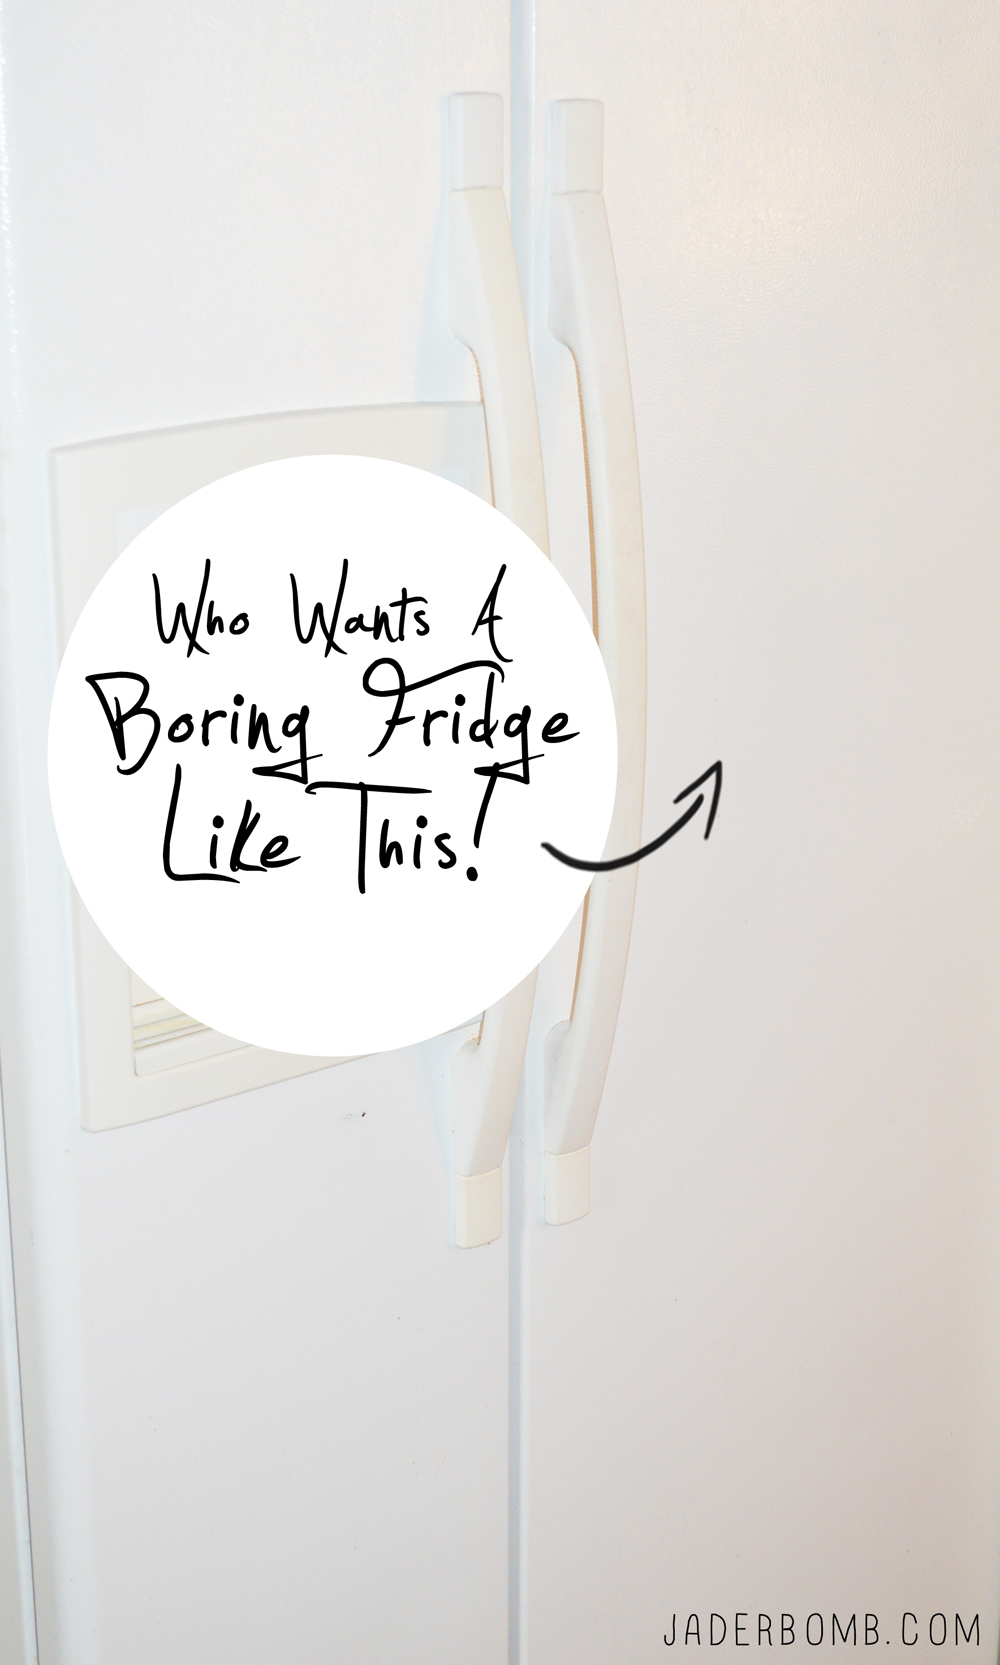
Just start alternating from chalkboard adhesive to dry erase adhesive! It’s that simple. DucktapeFridge
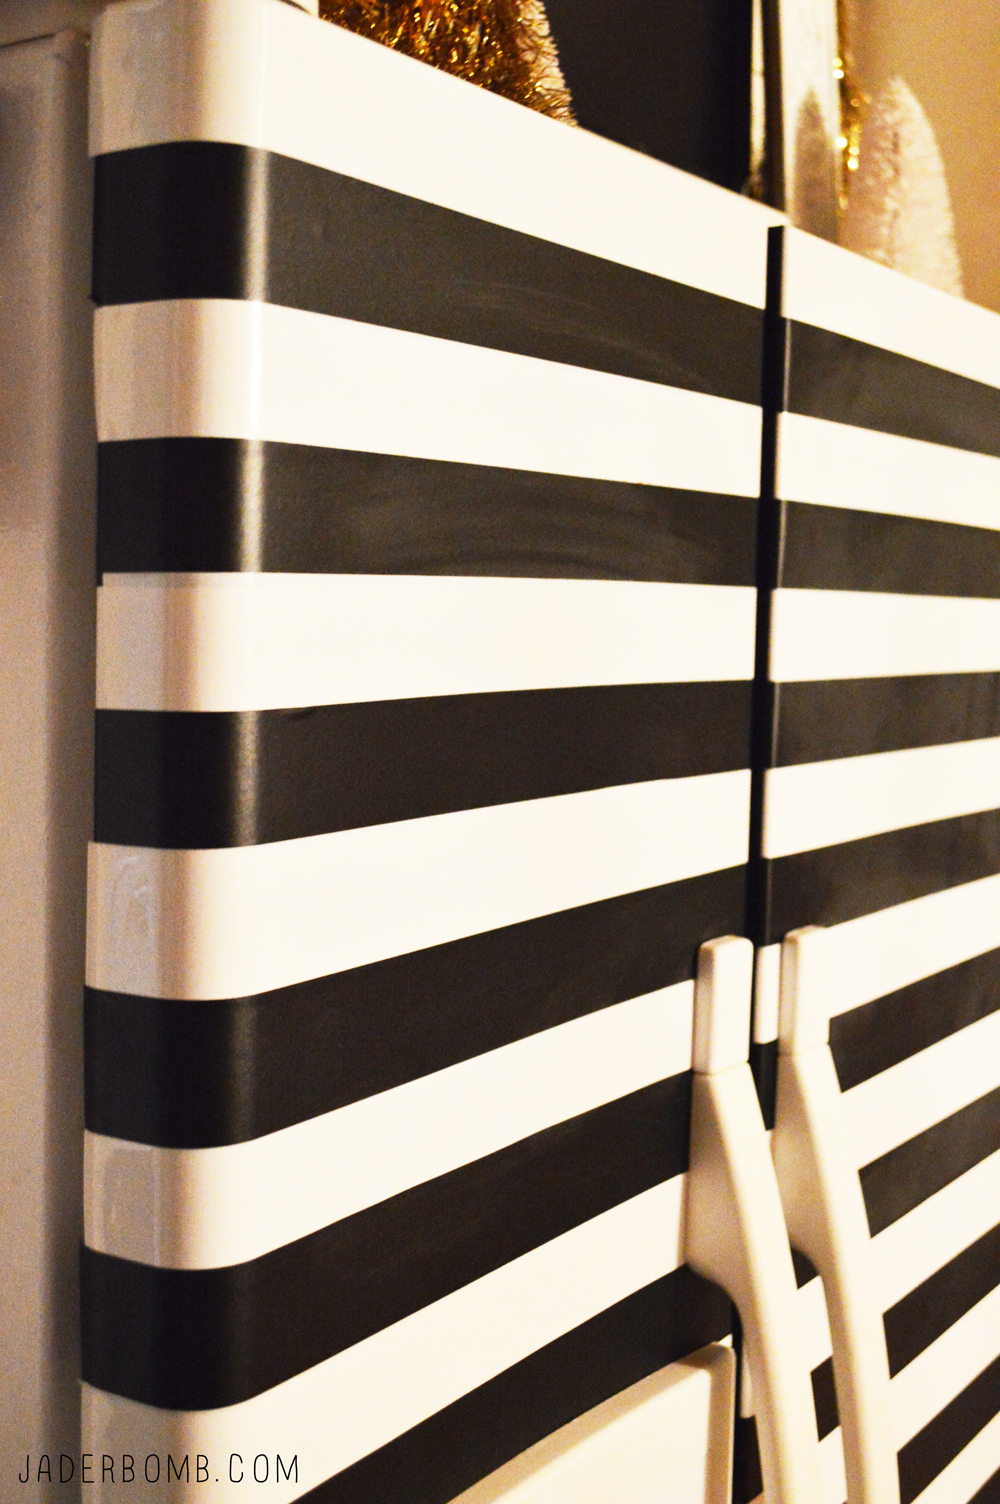
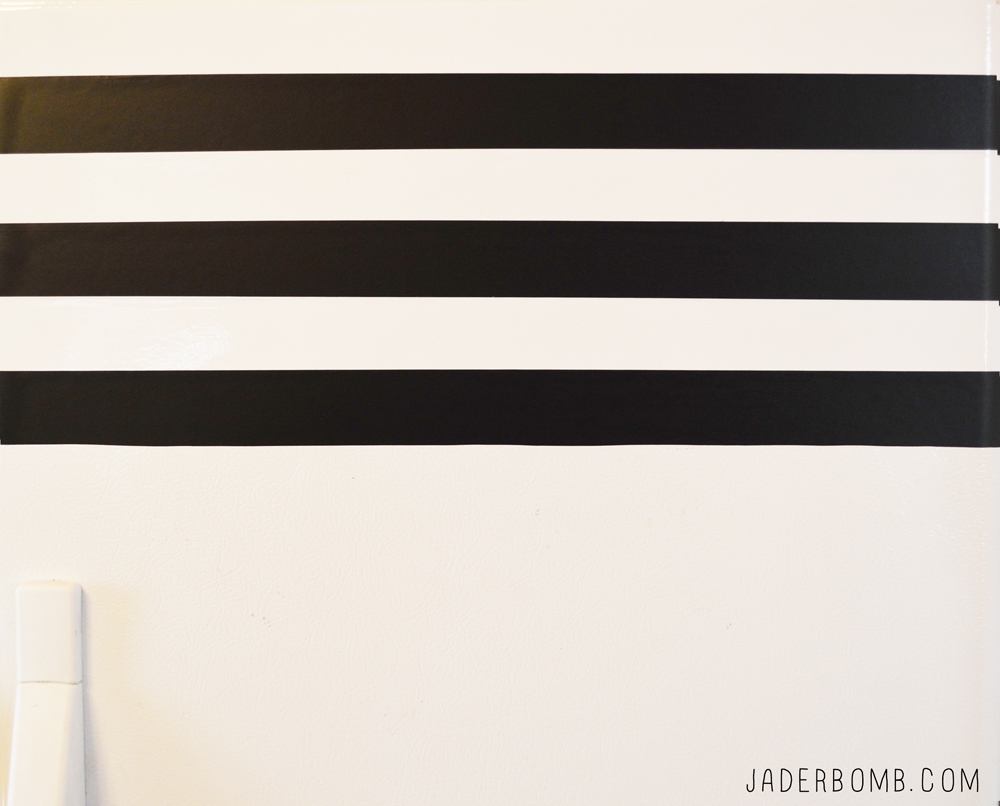
This is what it will start to look like. Are you in love yet? stripedfridge
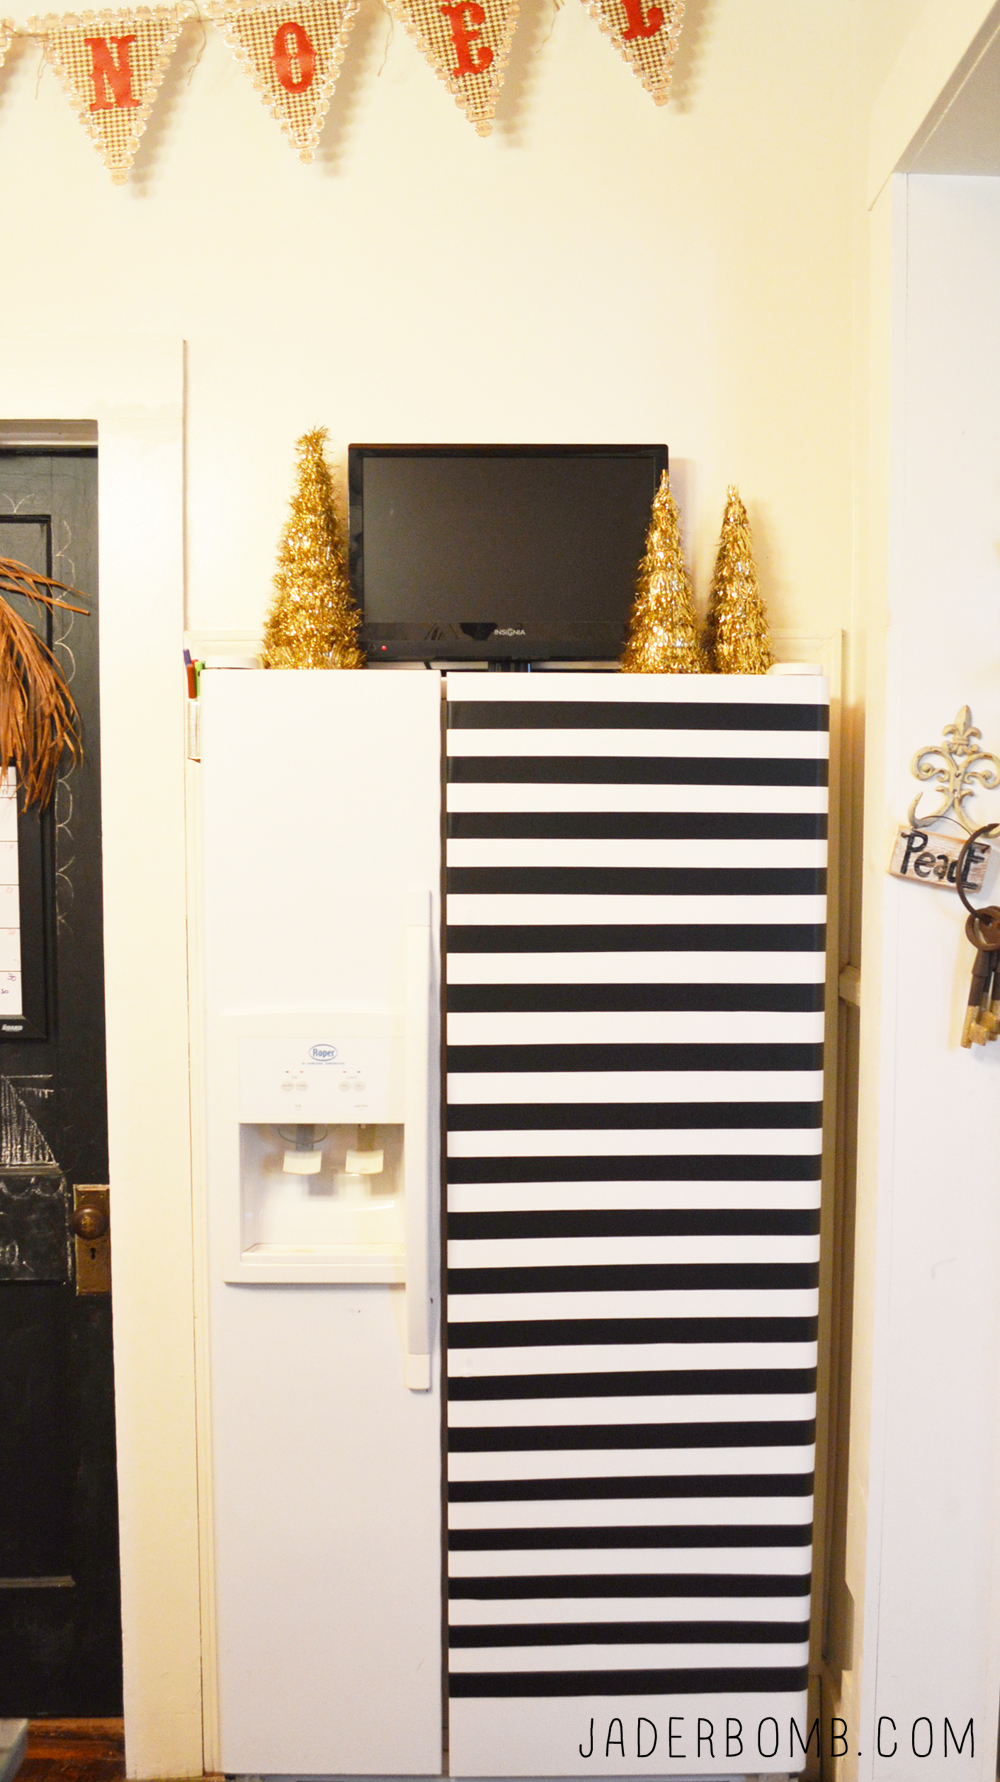
I love drawing on each line. The great thing is this will not damage your fridge at all! You can peel it all off whenever you want. The white is dry erase and the black is chalk board!blackandwhitestripesfridgeblackandwhitefridgeHOWTODECORATEAFRIDGE

I hope you enjoyed this fun tutorial brought to you by Jaderbomb and Duck Brand!
What will you do with your laminate!

ending1

This is a sponsored post however all ideas and opinions are my own!

Ole HAPPY FRIDAY Jaderbugs!

Last week before I went to New York I ran across this fabulous gold duck tape in Target. Have you ever seen the isle in Target with all of the duck tape? I promise the little voice in your head will totally come out in that isle. Forget that you need meat to feed your family that night, because the voice is telling you what YOU need!

Before I start with the directions, I want to tell you something. You might “actually” like this bag and think it’s not a TOTAL failure.  On one hand it’s not a failure because it actually works but on the other hand I think it’s insanely UGLY. Why on earth would I share something that is not a success in my eyes? Well because you might see it and get an idea, you might like it or you might just enjoy knowing that I’m not actually perfect. I should start a blog for all of my “UGLY” projects. You know how many I do that uh…don’t turn out like it did in my head?!

Maybe you will love me a little more after seeing this…

Ingredients:
Duck Tape
Bubble Wrap (I got this from Target)
Imagination

1. Get your bubble wrap and lay a piece down. I just put my laptop on top of one piece.
2.  Cut your bubble wrap but make sure it’s long enough to for the remaining piece to completely fold over the top of the laptop.
3.  After you do step 2 cut the two ends that meet up. Make sure they are even.
4.  This is how much you should have hanging over the top now [not the sides] . You don’t need too much. Honestly. I didn’t measure because I figured everyone has different size laptops, or you want to do this for your ipad and it’s easier to just do the steps for your own device.
5.  After you cut your top pieces and they line up start putting your duck tape down on top of the bubble wrap. Make sure you put it on the FLAT side not the BUBBLE side. I tore strips and added them right next to each other until it was all covered.
6.  You can see in this picture what I meant about step 5. Notice how I am enclosing the sides with duck tape too!
REMINDER! Notice at the top of this picture (6) that there is a little bubble wrap showing. That’s because you want to leave a flap at the top. So just take your piece of duck taped bubble wrap, lay your computer on top of it fold it over once and “pretend” it’s in a case and you will have some left over at the top. This is the flap that goes on the OUTSIDE of case.
7.  Continue to duck tape the sides.

DO NOT DUCK TAPE THE FLAP…

8.  Tadahhhh!!! It’s that simple.

I know. You are probably wondering where did the “leopard” tape come in. When you are completely done you can take the square flap at the top cut some angles on it to make it look like mine, (at the top)…I just added some leopard to the sides after I cut them.

This is JUST for decoration. I swear.

I showed this to a few people and they said it was SUPER cute. Do you think I believed them. NO. Were they serious. YES!

See you in the next post!

DIY: Animal Covered Books

I am so excited about this post. I bought this duck tape a LONG time ago but never really found anything to use it on! Remember me posting it here? I fell in love when I saw it on the shelf. It was just sitting there begging me to take it home, so I did. Ashy just shook her head and laughed because I fall for all of these types of things. Boy am I glad I picked that baby up because look at what I did with it! Totally makes me want to buy tons and tons of more decorative duck tape. It’s endless Jaderbugs. What would you do with duck tape like this?
Are you ready to see this tutorial! I know I am ready to show ya!
Are you in love with this pretty little roll yet? I fall totally in love each time I look at it. Now with this craft I can see it EVERYDAY!
Ashy bought me this one for Christmas and I LOVE it!
Grab some ole books that you don’t really care to destroy… (not really but ya know what I mean)
Tear off a piece of duck tape and place it on the edge of the book just like the picture above.
After you do this across the entire top of book you will have tape hanging off of the edge. Lightly fold each piece of duck tape over to the inside of the book.
Once you do the entire book it will look like this.
Can you believe your eyes! Some things you can do with these dressy books:
1. Put by your bed with a cute candle on top
2. Stack a couple on your book shelf to “spice” it up
3. But 3 or 4 stacked by each other to fill an empty space
4. Buy someone special a book and give it to them all wrapped cute like this
See! You can do so much! If you have not checked out ALL of the designs today is the day you should! Click HERE to see them!
Happy that my books are happy,

These are a few of my Favorite Things

i’m in love with…

leopard ducktape….

hello kitty earplugs

Scentsy Warmer, with a Santa Fe design…

white chedder puffs…omg, with a coke… (got these suckers at walmart)

this amazing video…

and little one taking really cool pictures with my camera.

i hope everyone takes the time to find happiness in little things…