Tag Archives: easy crafts

bloglovethursday.jpg

Happy day after hump day! You know what thursday means! BLOG LOVE! My BFF’S Mark, Cathie, Heather, Kathy and Margot are working it this week! I am in love all of these DIY crafts and I am pretty sure you will too. You have to click on the links to see exactly how they made them because they have tips and tricks that will make your crafting easier. Pinky Promise, Y’all!

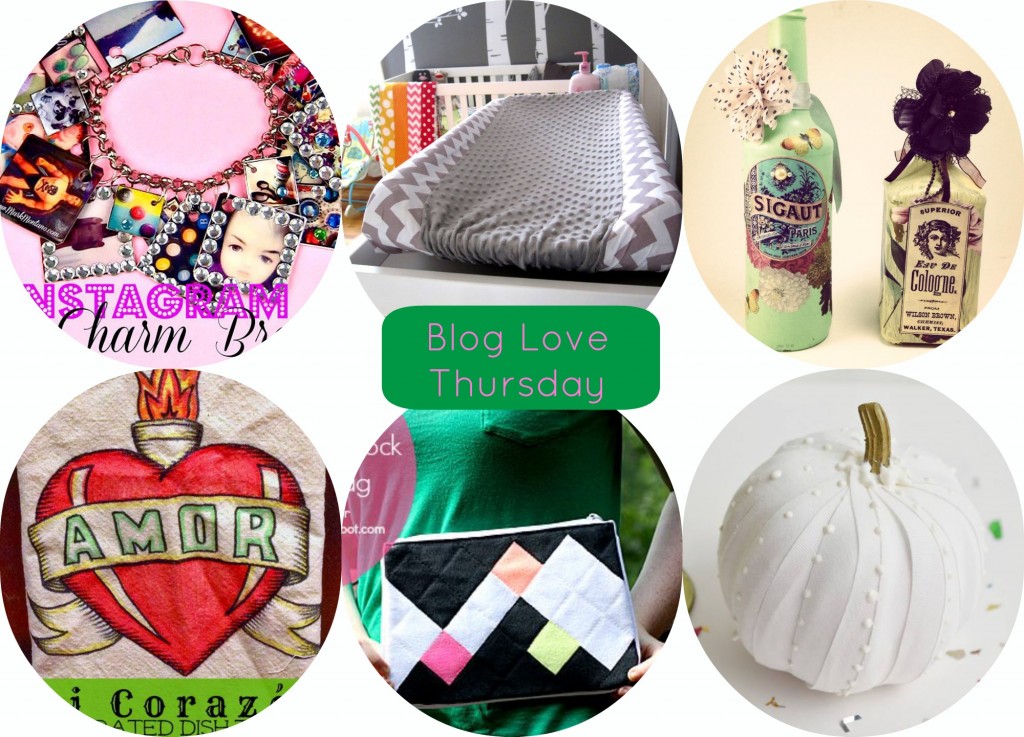
Mark Montano knows everyone is addicted to instagram so he shows us how to make an instant photo album for our wrist with this instagram charm bracelet. Buddy, Smart.

Cathie Filian shows us how to Sew a Diaper Changer Cover and trust me I wish I was the baby laying on there! She is so talented it’s ridiculous!

Heather Mann of Dollar Store Crafts altered bottles in just the right way! They are shabby chic with a little bit of victorian tied in!

Crafty Chica doodles her way into everyone’s hearts with her illustrated dish towels! Insert heart beating fast right here 

Margot Potter swoons the fashion world with her Neon Colorblock Cosmetic Bag. It’s perfect for the Fall season and totally HIP!

Incase you missed my latest tutorial you can check it out on thewww.ilovetocreate.com blog.

I hope you enjoy everyone’s tutorial’s! Don’t forget to drop by everyone’s blogs and give them MAD love, cause they LOVE back!
See ya next week,
Jade

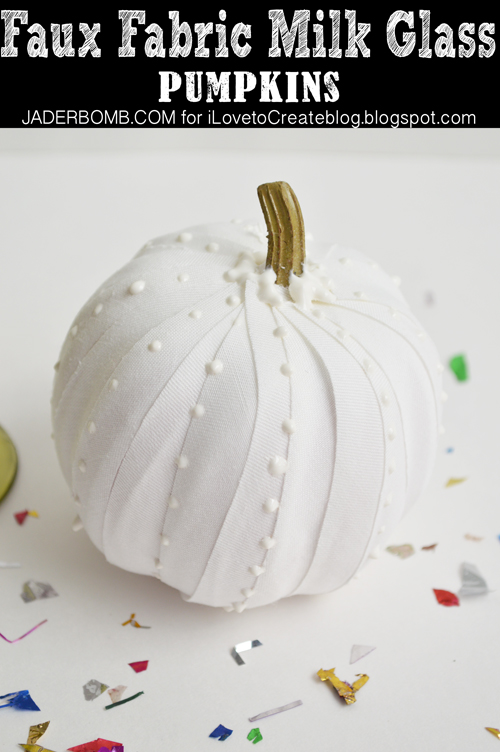
I am not quite sure what I love more white pumpkins, fake pumpkins or a good ole milk glass pumpkin. If you have never heard of a fake milk glass pumpkin then you are in for a real treat. I created some today and they are on the I Love to Create blog. It’s sorta like a “white Fall” instead of a “white Christmas”.

Let’s be real ok. I try my best to think logically when I craft. In other words I think about YOU then ME. 

I know me and Martha are pretty much best friends and all but I am NOT her. With that said I can’t afford to buy 27 real pumpkins and embellish each and every one of them. I have to eat ya know. Which is why I craft with FAKE ones. The kind that you can decorate, store in a huge tupperware then take them out the next year to use all over again. Please tell me I am not the only one who does this. What’s funny is I went in my attic today to look for things I made last year and I couldn’t seem to find anything.

Maybe last year when I was about to put them up I realized it was more work to take down the ladder, walk up the stairs and store them nicely so I just threw them all away. I tend to do cray-cray stuff like that anyways. I will more than likely find what I was looking for when I take down Christams decor.

Milk Glass Pumpkin

All Photos by Jade Harrington / Jaderbomb

Wanna see everything I have created for the I Love to Create blog? Check it out here!

I hope you enjoy this tutorial. Big huge glittery hugs from my fake pumpkins to yours!

Visit me on FacebookTwitter,Pinterest, or Instagram!

jaderbomb love


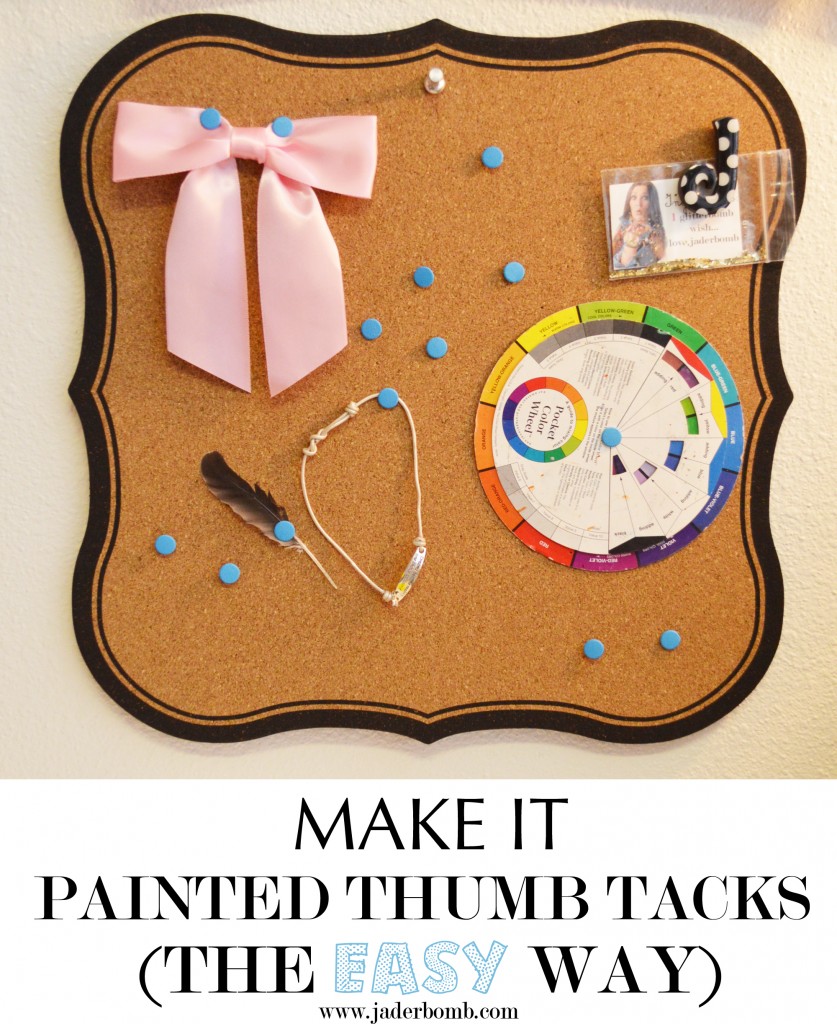
Who wants boring white thumb tacks on a fun bulletin board like this? I know I don’t!

Which is why I made painted thumb tacks. Let’s be real, white thumb tacks cost .99 and colored ones in the store cost 3.99.

I simply love this  because I can change the tacks for holidays, special events or to match a room. I always have multiple bulletin boards in different spots in my house and trust me they are filled up. I use them for inspiration and daily reminders of who I am, what I love and things that always make me smile. For example yesterday was the Wifey’s birthday and she got this awesome card that is now on my board. Yep I stole it. It was a shark sitting in a recliner watching him on television. The quote said, ” It’s ME week”. You get it? SHARK WEEK!

Everyone knows I love shark week and Wifey’s birthday.

Like this board? You can get it here.

 PAINTED THUMB TACKS

spray-paint-thumbtacks

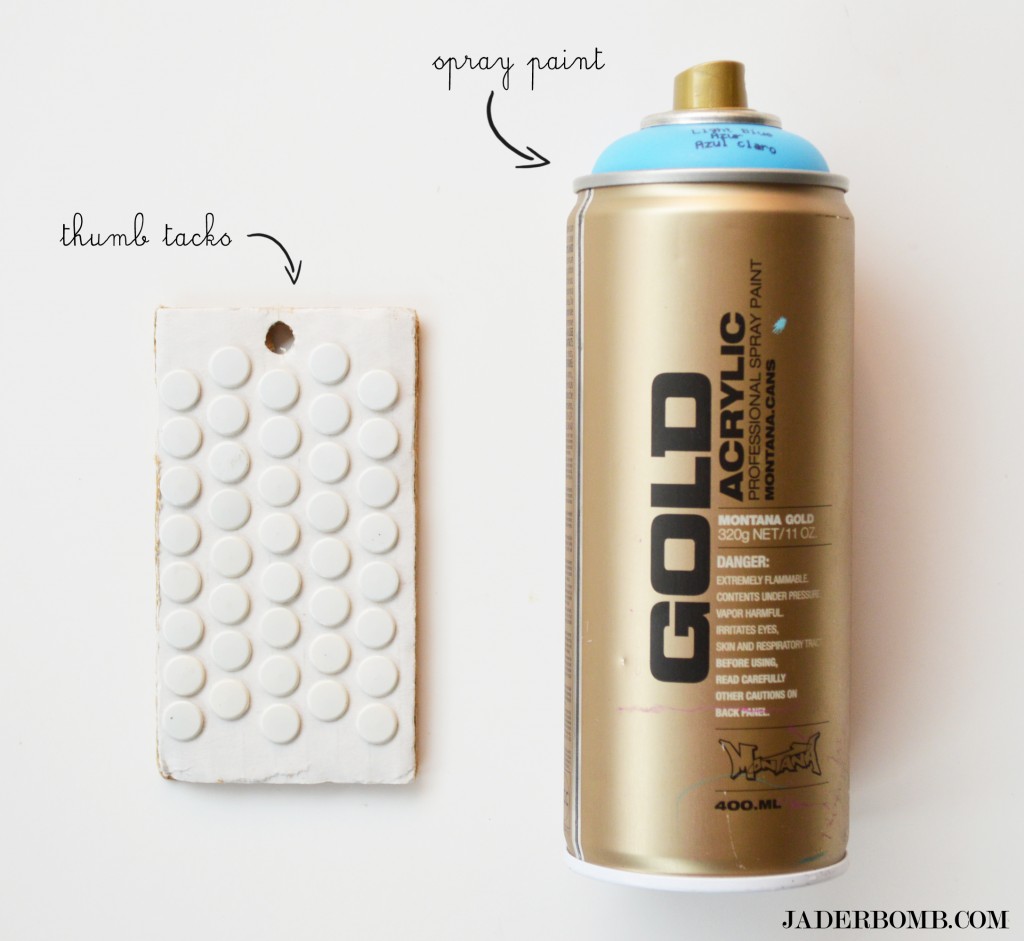
YOUWILLNEED

*SPRAY PAINT
*THUMB TACKS

steps-to-painting-thumbtacks

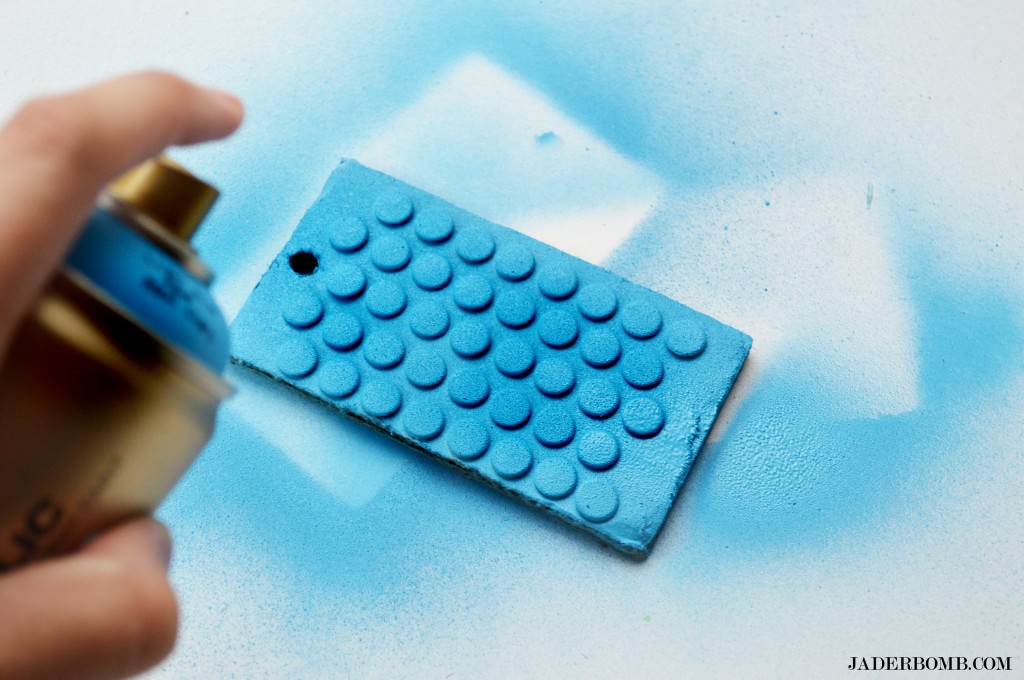
Lay out your tacks in a well ventilated spot and spray away.  I started with a light coat then added another one when it was dry.

painted-thumb-tacks

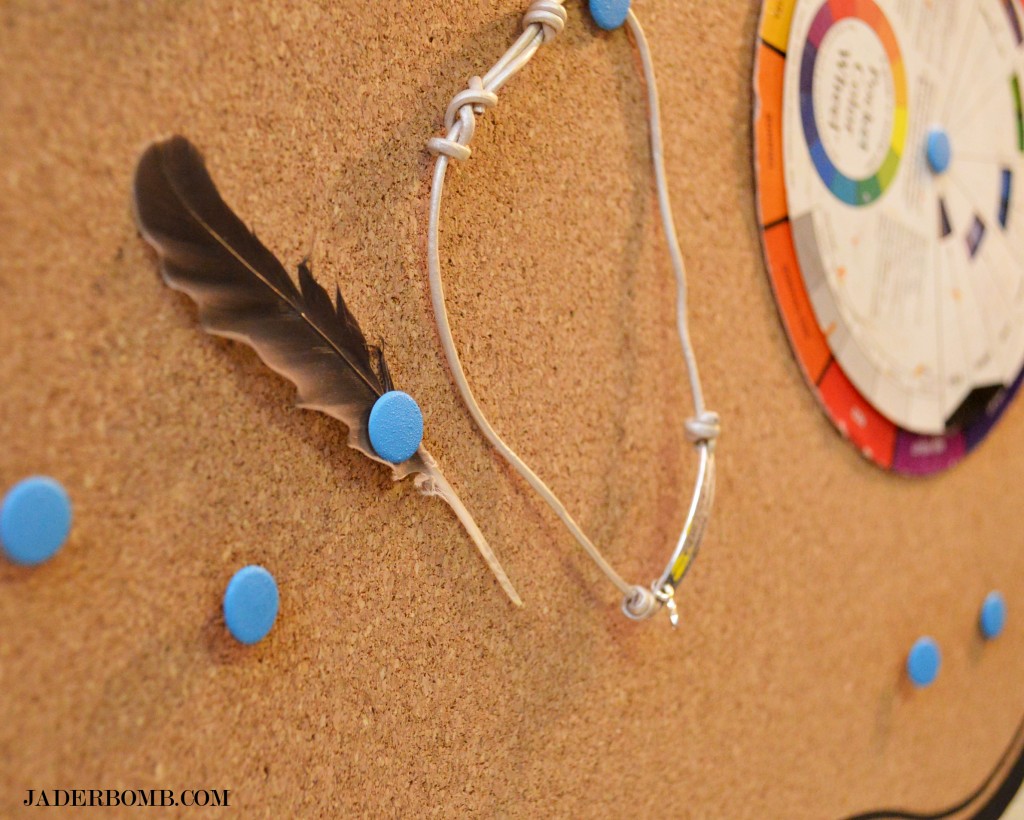
You have to admit this is super cute! I know for me certain colors make me happy which is why I love this tutorial. Everything on the board screams inspiration why not let the tacks do the same.

See you in the next post!

jade

blog-love-jaderbomb.jpg

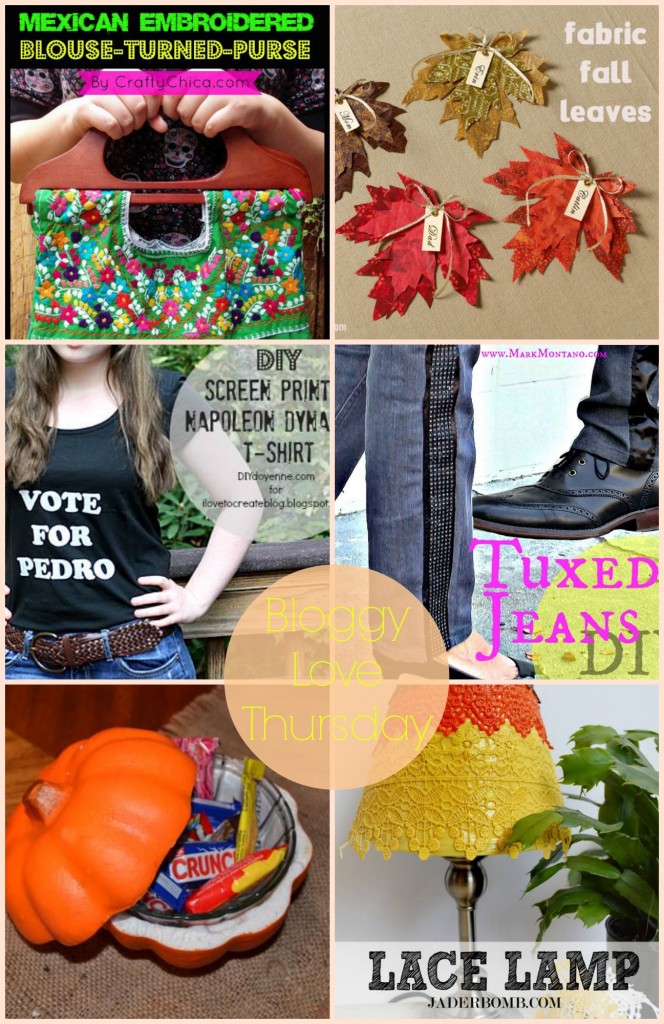
It’s Thursday and you know what that means! It’s all about BLOG LOVE today with my friends! Happens every thursday so come back next week♥ Today we have some fun fall crafts. I know you will enjoy them after all they are by the best bloggers in the CRAFTERVERSE. Ok, I just made that up.

Kathy Cano-Murillo the CraftyChica.com made this amazingly stylish purse from a Mexican embroidered blouse.

Cathie Filian made these stiffened FALL leaves. This will save me money, just wait till you see how easy they are.

Margot Potter made a chic screen printed Napoleon Dynamite T-shirt for www.ilovetocreate.com. This will be cute with a blue jean jacket over it!

Mark Montano flipping rocked my socks this week with his super stylish tuxedo pants. Good news they are for girls and boys!

Heather Mann for Dollar Store Crafts made a cute pumpkin candy dish. You can spruce up your pumpkin by painting it also! This is great for easy Fall decor.

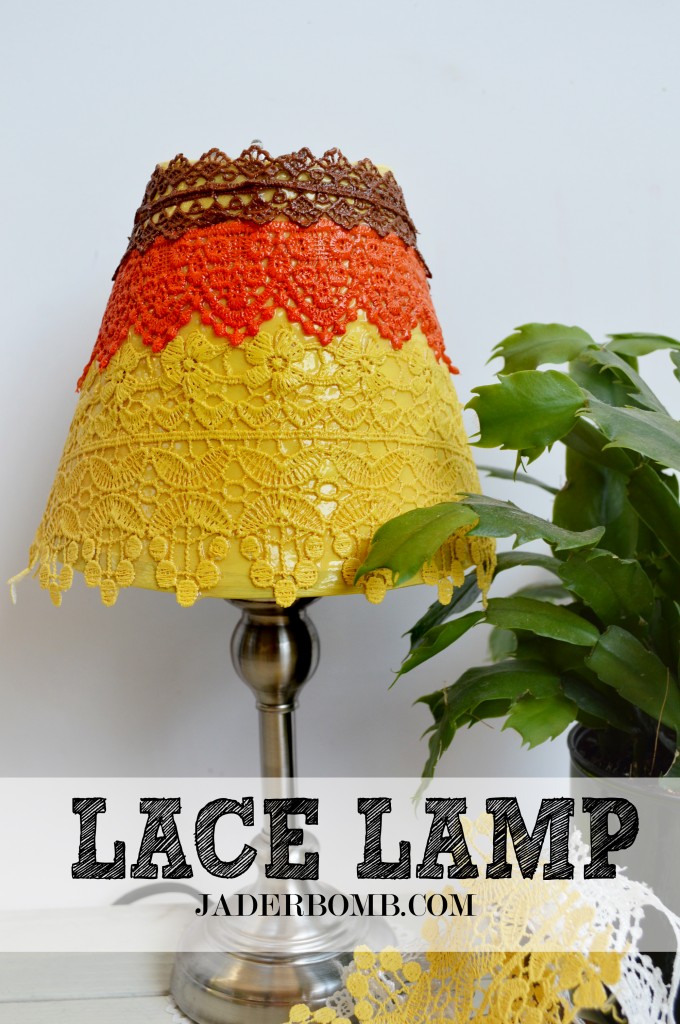
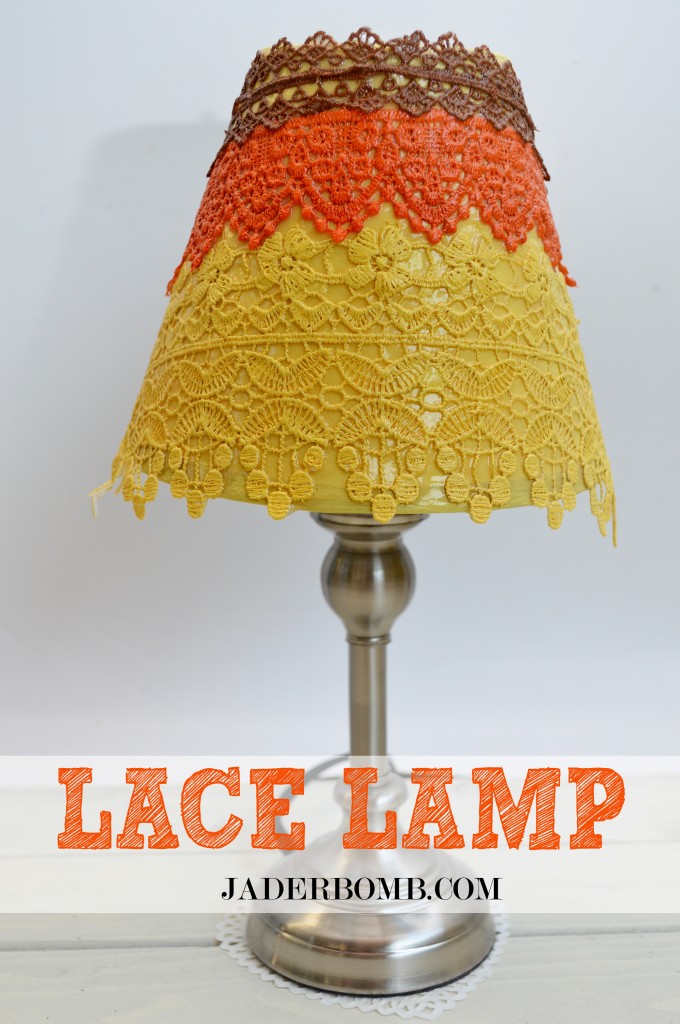
We can’t forget my latest tutorial for the JADERBOMB blog. I made a cute decoupaged lace lamp, and it looks like a big candy corn!

I hope you get ton’s of inspiration from this post! Come back next thursday to see our round up again!

jade

Painted Paper Towel Holder

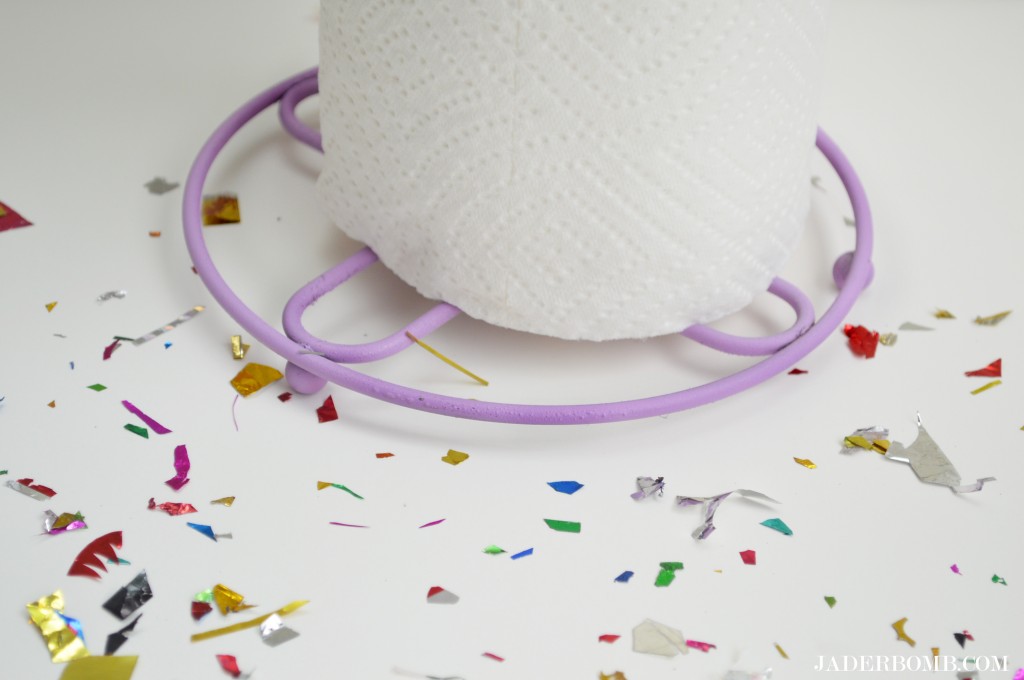
Today I will show you how to change your kitchen decor in 10 minutes. Painted paper towel holders are the new thing, didn’t you know? Especially the kind that look like the Easter Bunny popped out.

Is it just me or does anyone else constantly think of changing things in their house? I am starting to believe I am nuts. Clearly I have a minor DIY problem.

Good news is things will never get boring…right?

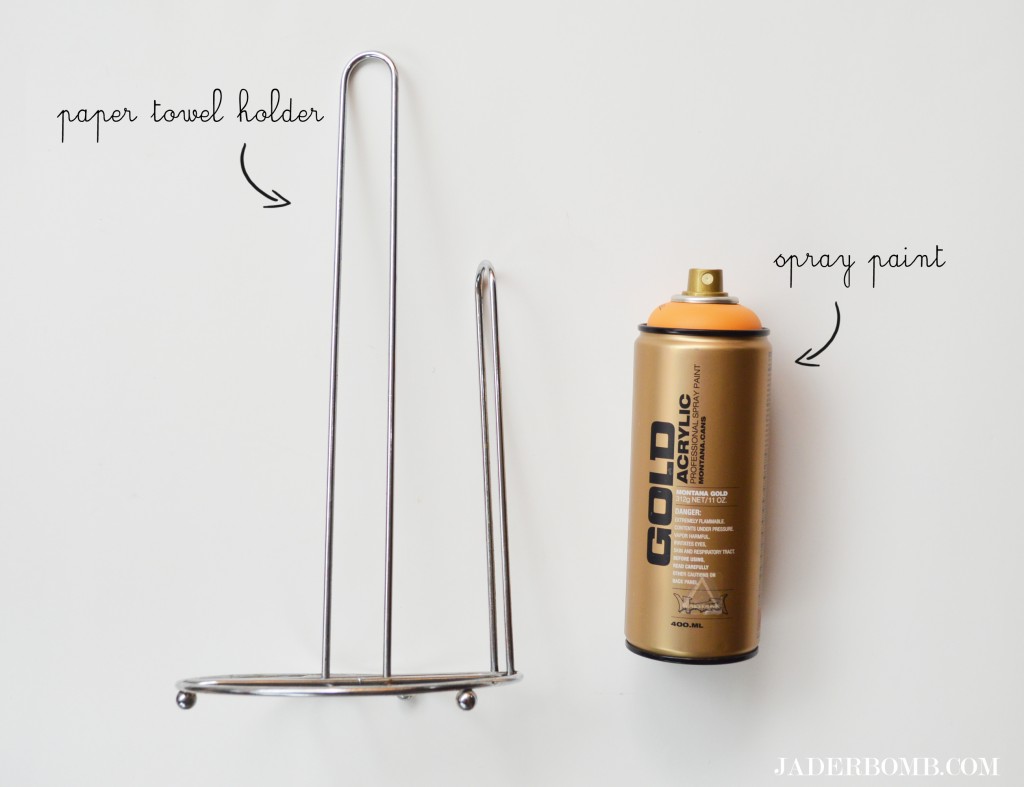
you will needNasty Paper Towel Holder | Spray Paint
painted-paper-towel-holder-materials-jaderbomb

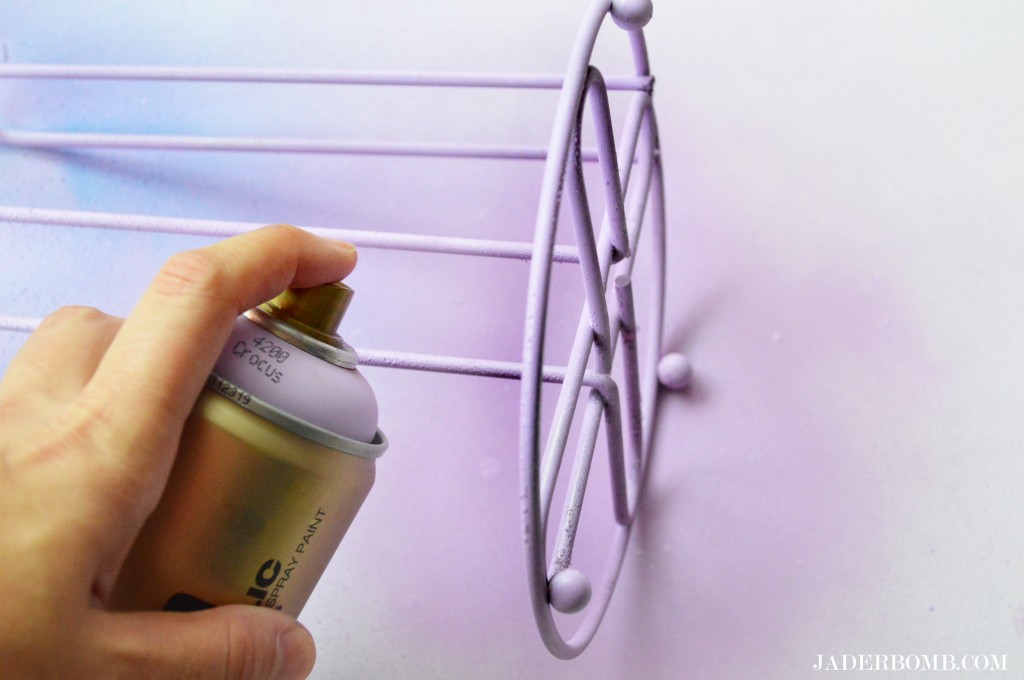
 I know what you are thinking. Why is the spray paint can orange but the the color she is using is purple.

What can I say I change my mind too much. For some reason I was channeling my inner Easter Bunny.

painted-paper-towe-holder-steps-jaderbomb

I am sure next week I will paint it black or white.

Stay tuned.

painted-paper-towel-holder-jaderbomb

I guess my point is showing you that you can take something you have already and change the entire look with a little spray paint. I love that I think with the right part of my brain because I am constantly thinking of ways to show you things like this. Hopefully someone will love my pastel purple paper towel holder as much as me. Let me know what you think!

jade

ST_12_months_of_Martha_Logo-1

How to make a Decoupaged Candy Corn Lace Lamp

Decoupaged Lace Lamp

Happy Monday! It’s all about Martha Stewart Crafts decoupage supplies today

When I think of decoupage I always go back to that day in 1st grade when I coated my entire hand with Elmer’s glue. What was I thinking?

The only thing I was missing was painted lace which is why we are using some today for our lamp.

I mean, doesn’t anything look better with lace wrapped around it? Hopefully it won’t turn out like these tights I bought last year. Oh and incase you missed it check out this lace paper I made.

you will need jaderbomb

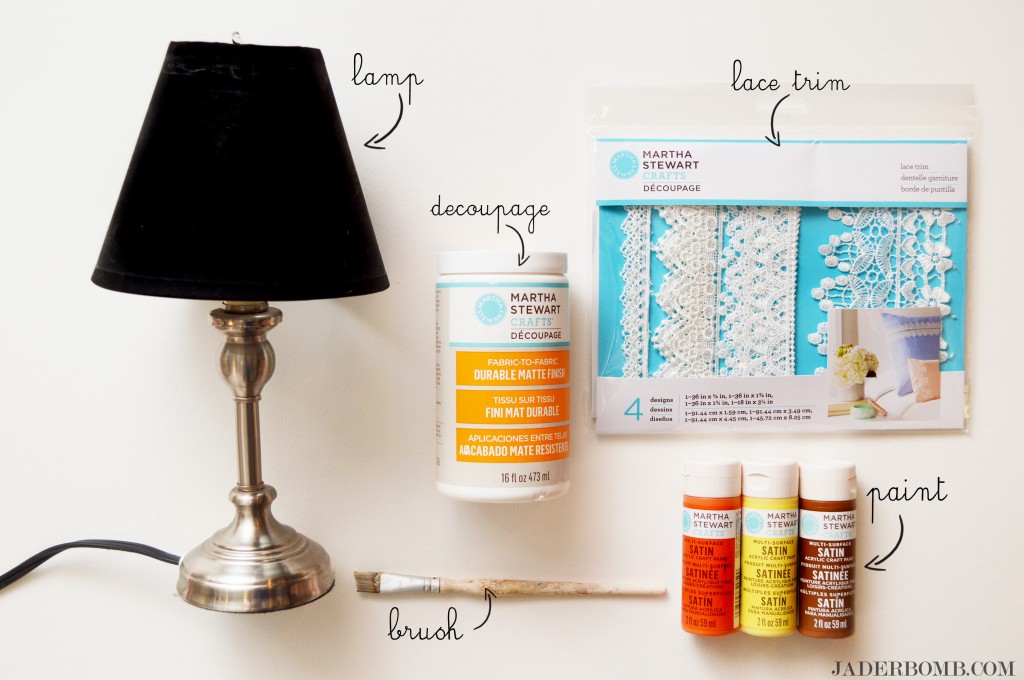
  Martha Stewart Crafts craft paint in JONQUIL, CARROT and CHESNUT BROWNMartha Stewart Crafts Decoupage White Floral Lace TrimMartha Stewart Crafts durable matte decoupage mediumPaint brush | Lamp | Decoupage brush 

See the entire decoupage line here. I don’t think I will have enough day’s in the week to use all of these awesome products.

lace-lamp-supplies

Today we will turn this boring lamp into an oversized lace candy corn. I know, I know that might seem hard but it’s easy with the materials we have.

You know I have not seen a lace candy corn inspired lamp floating around Pinterest lately so I figured I would give it a go.

lace-lamp-steps

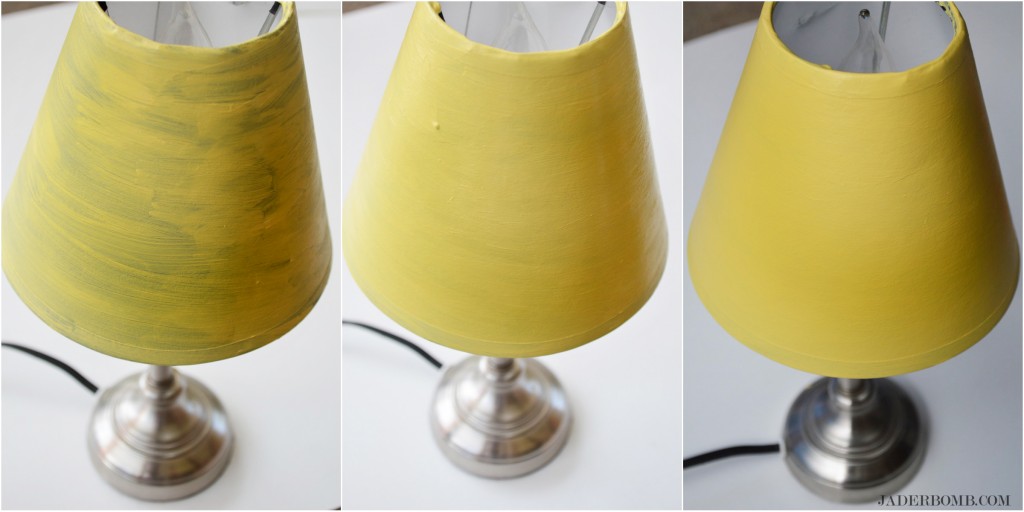
The first thing you want to do is paint your lamp a light background color. Keep it simple because you want the lace to pop and not the lamp shade behind the lace.

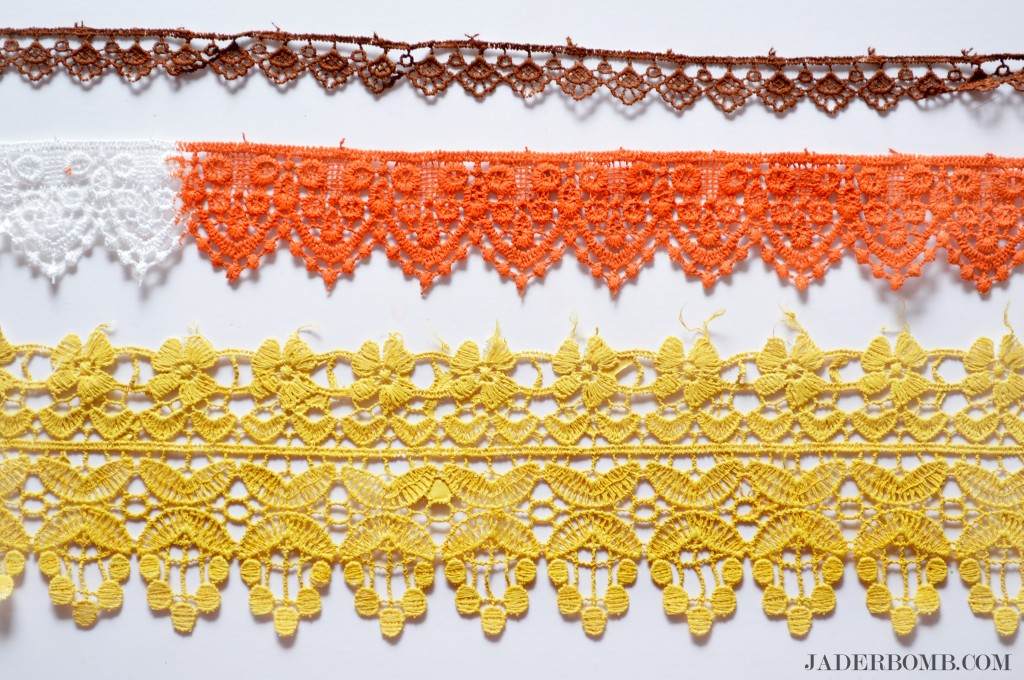
how-to-paint-lace

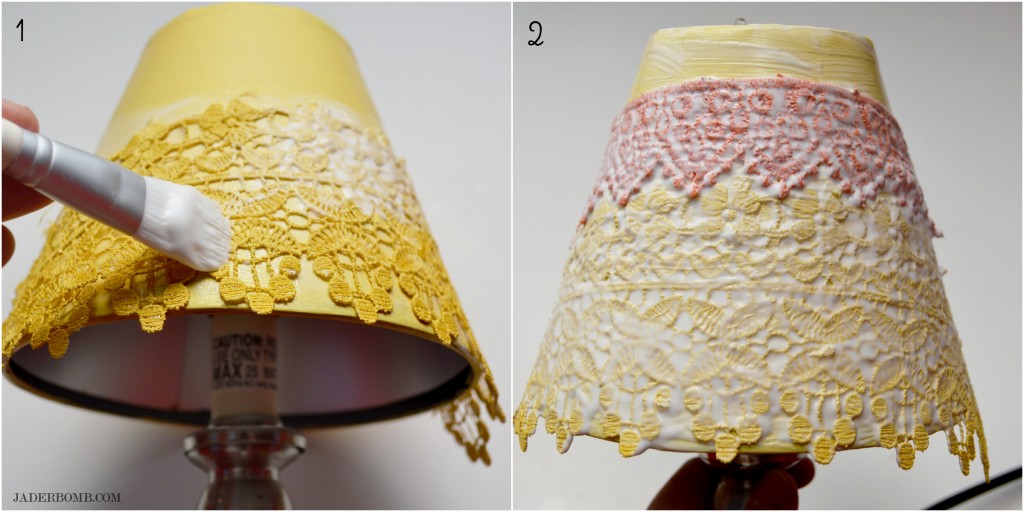
Since a candy corn is bigger on the bottom I tried to mimic that with the lace size. This pack of decoupage lace trim worked perfectly since there were multiple sizes in it.

lamp-lace-painted

how-to-decoupage-lamps

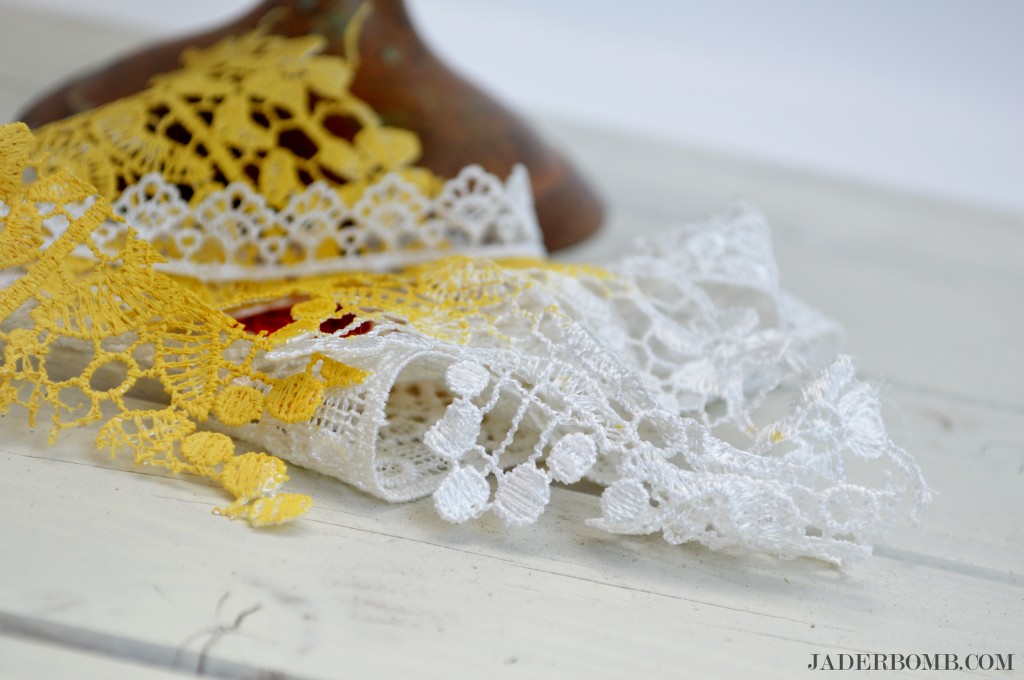
Once your lace is dry it’s time to start applying it to the lamp shade with the decoupage glue. This glue is super smooth and creamy and it’s easy to create a thin even coat with the decoupage brush.

decoupaged-lace-lamp-tutorial

I hope you enjoyed this tutorial and it gives you a ton of inspiration.  I am certain this will look yummy with all of my Fall decor. Maybe I will try to glue lace to my hand later!

Wanna see what else I have done for the 12 months of Martha, check it out here.

jade

marthastewartdisclaimer