Tag Archives: easy crafts

It’s a wonderful day today because it’s all about “do it yourself “. Crafty peeps put on your glitterey seat belts because my friends Mark, Margo, Cathie, Heather and Kathy have some great tutorials for you! You can click on the links below each picture to get to their site. We have been doing this every week for almost 4 months now. I look forward to each week because it feels so good support other crafters like myself.

We are a tight bunch and if you mess with us we will pull out our glittery tools and bedazzle you. Don’t forget this is a linky party so link up your favorite DIY tutorials at the bottom. Every thursday this will take place!

Oh! If you have a minute check out their Facebook pages, blogs, you tube channels and whatever else you can find to give them to love.
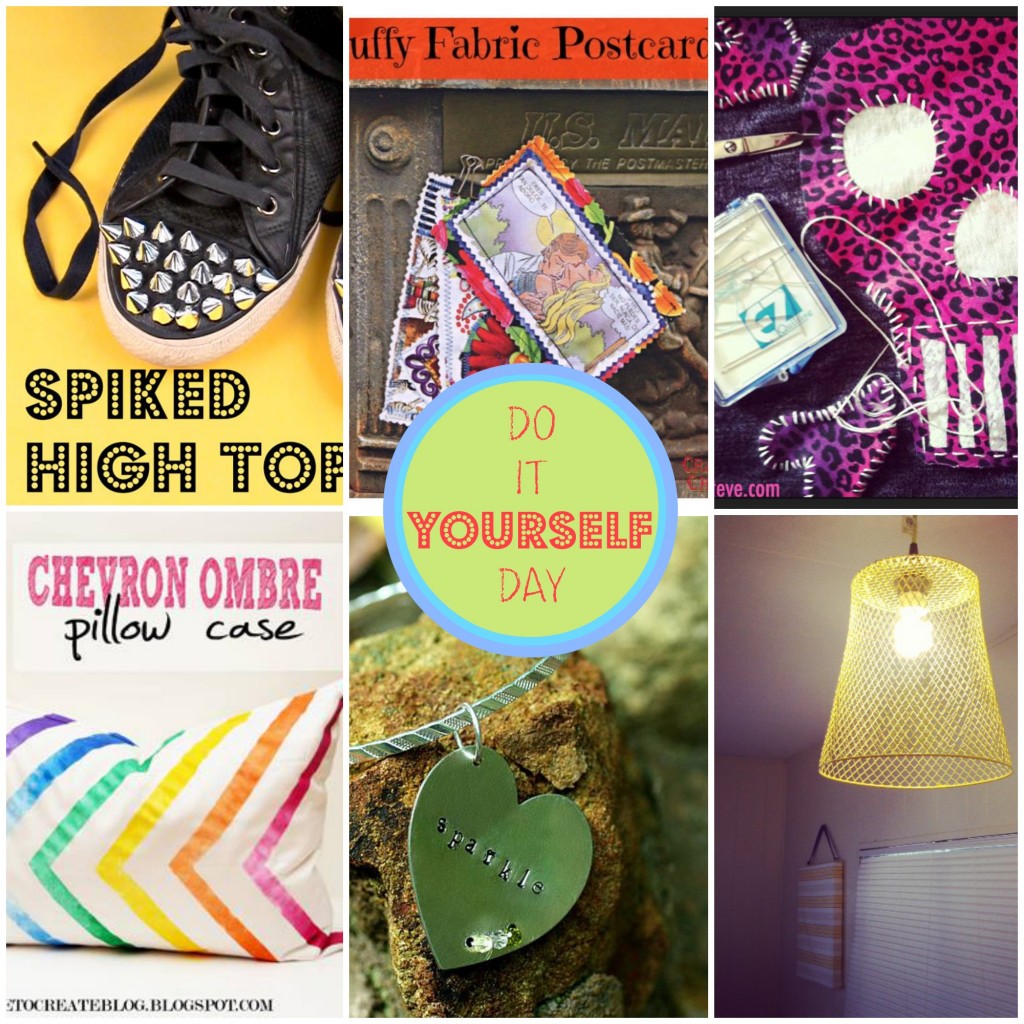
do it yourself jaderbomb.jpg

1079662_584813768226963_879993483_n

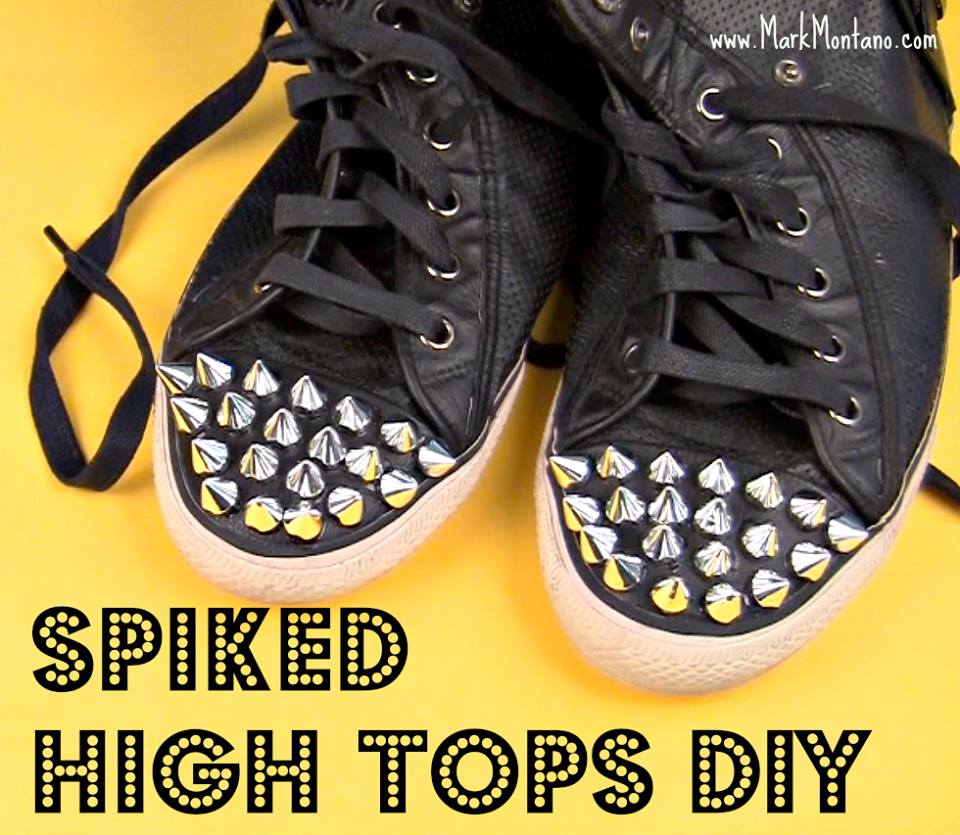
Mark Montano poked my heart today with his crafty high tops. I need these in gold please. I can’t wait for you to see how easy they are to make.  I have this secret passion for spikes. Could you imagine if someone messed with you while wearing these? OUCH!
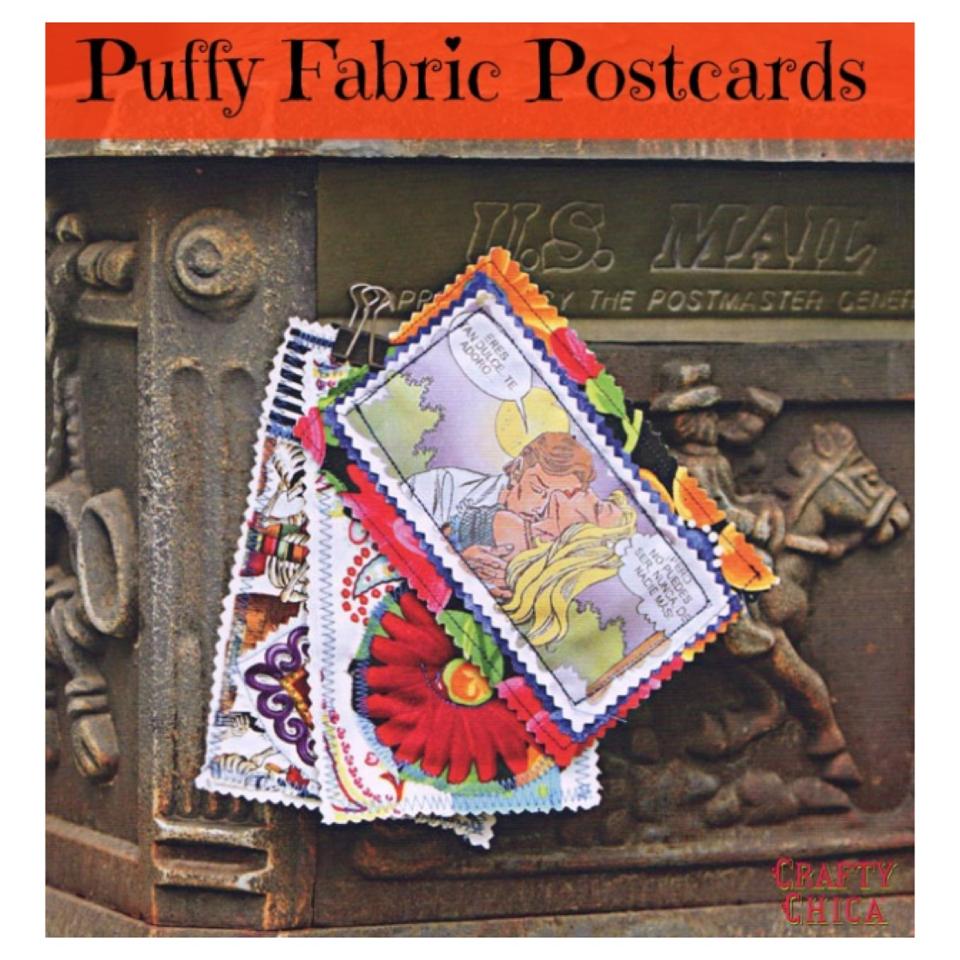
908218_10201379133776193_31795233_nKathy Cano-Murillo puffed up my heart with these fun fabric postcards. Can you imagine someone’s face if they got this in the mail. They could frame it after! How fun would it be to pick your fabric based off of your your trip.
1148269_10151532967895807_1750612897_n

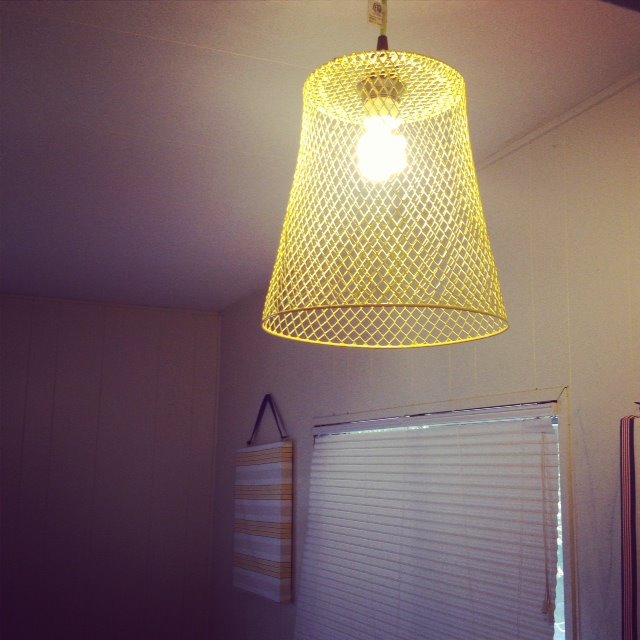
Heather Mann transformed my heart from “trashy” to “wham bam thank ya ma’am” with this waste basket light fixture. It’s so easy to make and would look great in a kid’s room or a dorm room. Great idea!
1082231_10151839237102429_2134284179_n

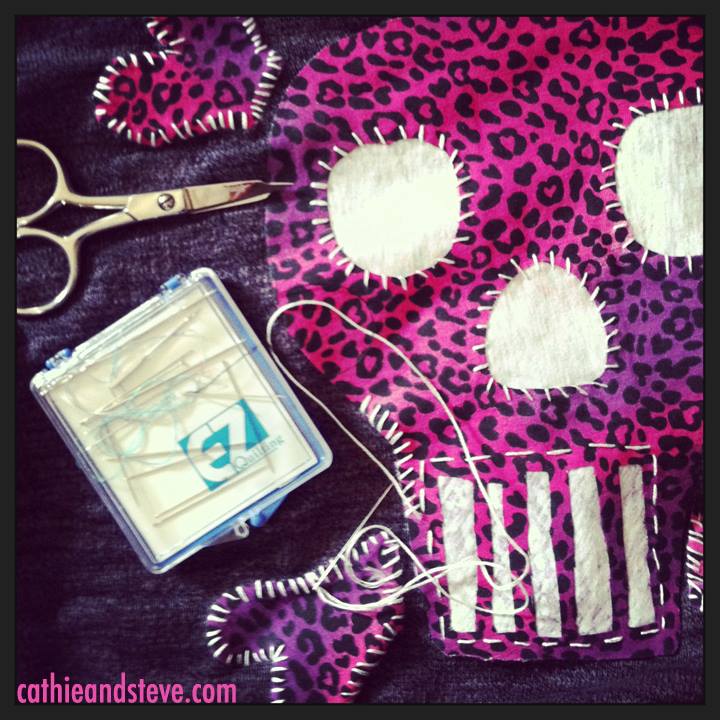
Cathie Filian spooks out heart’s with this fabulous Halloween sweater. I need these in 3 different colors, thank you… Did I mention Halloween is my favorite holiday asides from Christmas. What is your favorite holiday?
1232468_10151871862972774_33786315_n

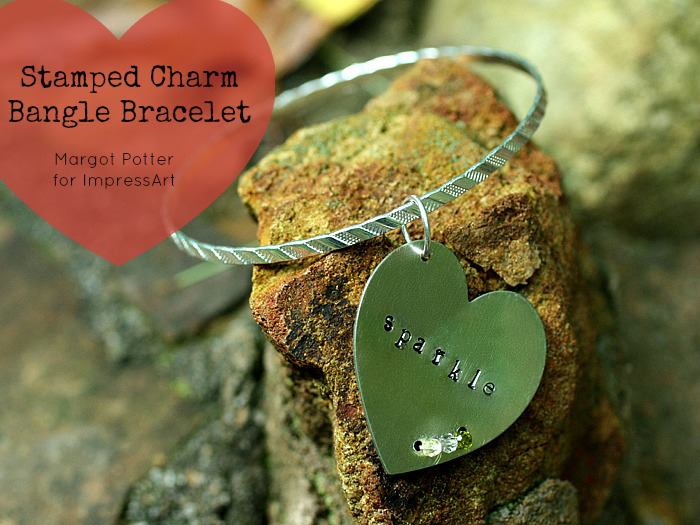
Margot Potter stamped my heart with this crystal embelloshed bangle bracelet for ImpressArt. Christmas is right around the corner, I’m just saying… I know a lot of people who would love this. 
chevron-pillows-jaderbomb

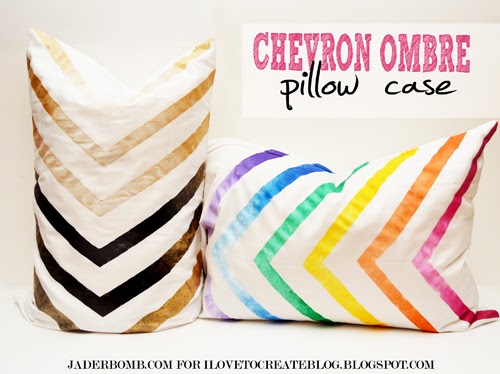
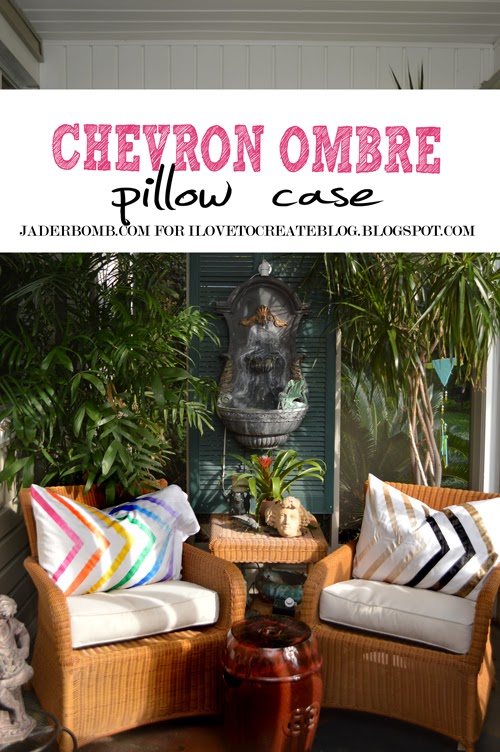
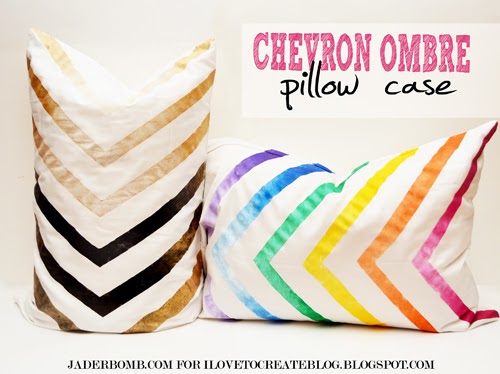
Last but not least if you did not see my latest tutorial for the I love to create blog. I am so happy with these chevron ombre pillow cases. 

Happy hugs on this spectacular Friday. Yippeee Halloween is near, well not really but YAY! See ya in the next post.

jade


Welcome to the happiest place on earth, well besides Disneyland. Today I will show you the chevron pillow cases that I created for the I love to create blog. Incase you do not know already, I am a contributor for them and I post every two weeks. So that is something you can surely look forward to. Click here to get to the site.

First things first. I had a blast making these. I originally planned to make two rainbow ones but the Universe told me to make a more sophisticated one for anyone who is not fond of every color on earth.

chevron pillow cases

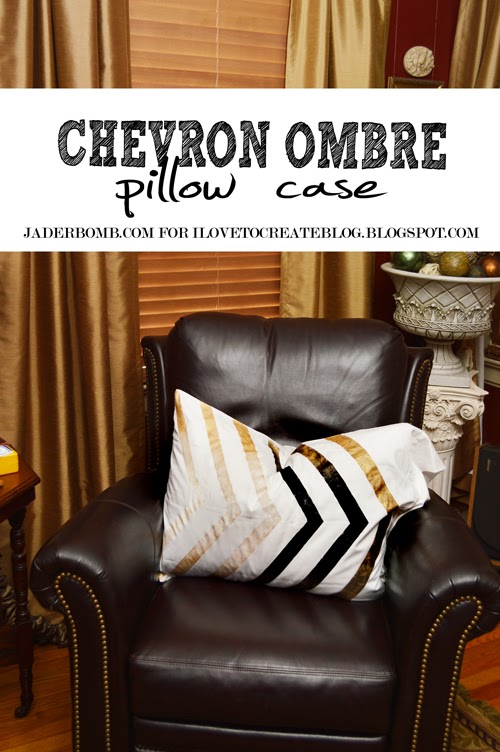
So I did. I am super giddy about the multi-colored one however I am very happy with the black, white and gold one. I hate to even say this because it’s going against my rainbow fairies’ orders but I like it better than the multi-colored one. I know you are shaking your head right now in disbelief. How could I like anything more than rainbow!

Could I use the excuse that I am from Louisiana and I love the Saints? Even if I can’t I am still going to go with that.

diy-chevron-pillows-jaderbomb

After looking at the darker pillow case I realized that it would be so easy to accessorize with a load of chevron pillows. A group of black and white would look so stinking chic. Sheet, I am shaking my head just thinking about it.  How-to-paint-on-fabric

Hopefully you are jumping like a jumping bean right about now. Have fun making these and make sure to send me pics of the ones you make!  I’d love to see what creative colors you choose to use. See you in the next post Jaderbugs!

jade

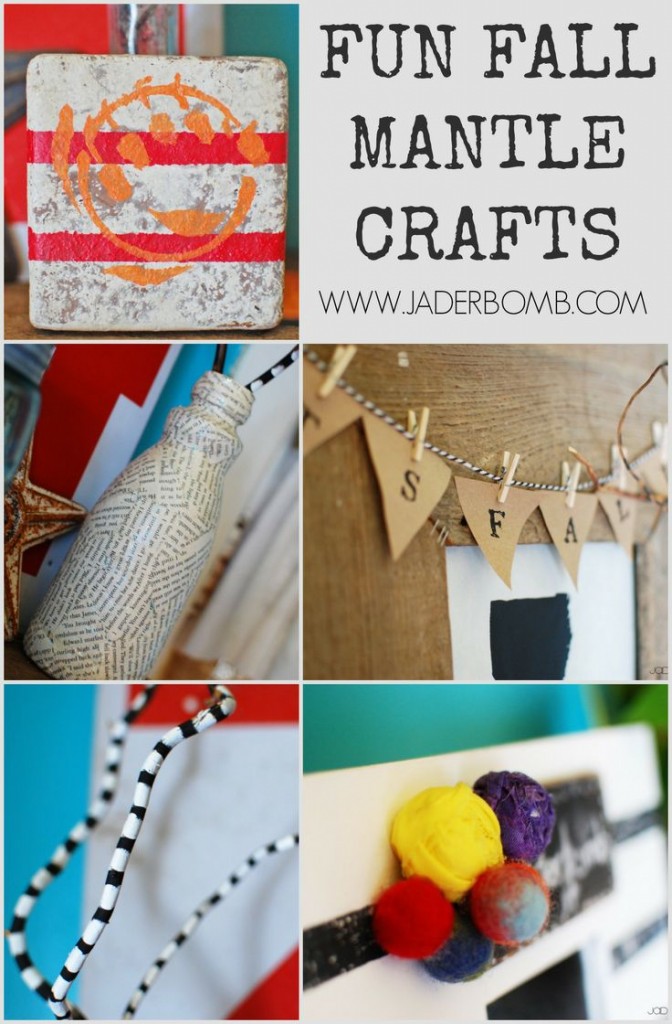
I know what you are thinking, crazy it’s not Fall. I then come back and say “really, it’s not”.  You might even want to insert a crooked smile here. Someday’s I get that because of this unexpected career in blogging. I am a little ahead of my time when it comes to home decor and crafting. That is why I am sharing last year’s fall mantle crafts with you today.

fall mantle crafts

I have to be! I know this sounds cray cray but in August when you are doing back to school shopping and scouring Pinterest for ways to get organized I am trying to create new Fall and Halloween ideas for you, which you will then be seeing all over my Pinterest {click link to follow me} in September. Did I mention that in September I am already starting Christmas things?

Maybe that is why I always feel like I am in a time warp yo. Yesterday I was looking back at my Fall mantle last year and boy oh boy has things changed. For one I must have been in a Easter time warp with the turquoise walls. I mean sure, it fit’s my personality but I am still sitting here shaking my head. I will blame it on being in school full time and going nuts internally. There, I have a legit excuse. Moving on.

Aside from the “let’s pretend we are at a beach house but we are in musky Louisiana”  turquoise walls my mantle was exploding with some really fun unique crafts. Crafts in which I believe could be used for many of you and possibly in different ways. Be open and creative when you look at someone’s mantle. Don’t nit pick it because there might be ONE thing you can take away from it for your own house. For example the painted sticks could be used for Christmas, but you could spray paint them GOLD. See?

Good news! The walls are a different color now, the shelf is gone and there is no sign of fall yet. But no worries I will soon share with you my non fall mantle crafts. Just get ready because in a DIY blogger’s house things change quick! CLICK HERE TO SEE ALL OF THE CRAFTS IN ACTION.

Big huge glittery hugs from my ex mantle to yours,
jade


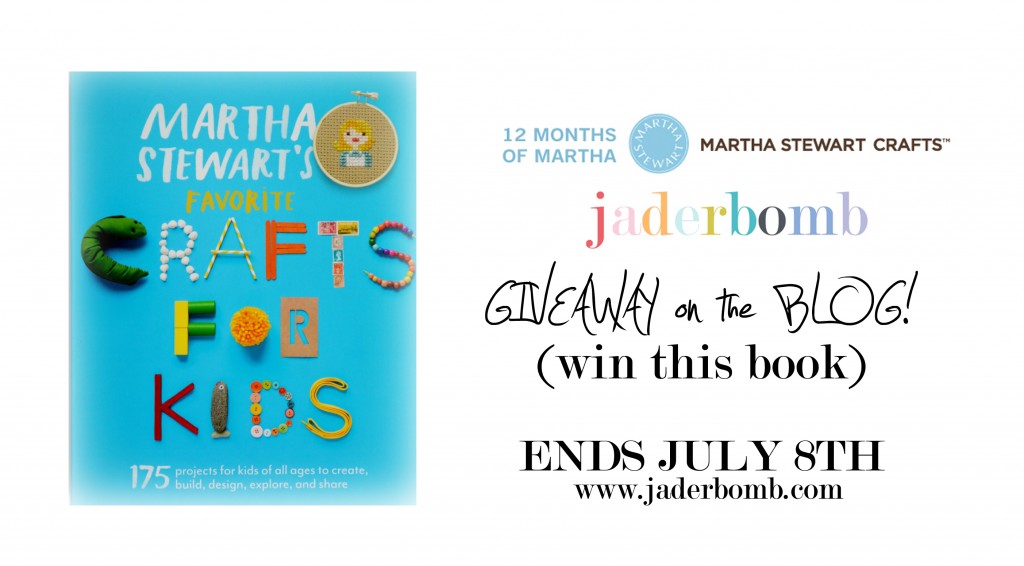
Happy Tuesday Jaderbugs today we will be making a paper bead bracelet.The big suprise will be at the bottom of this post so make sure you read till you get to the end. This month’s box of goodies was a little different than normal. If you are not familiar with the #12monthsofmartha let me tell ya. Each month Martha (well maybe it’s not exactly her but I will pretend it is) sends me a box of goodies for me to review and share on the blog. I also make something fascinating with the goodies. This month she sent her new book. Read more about it here.

12monthsofmartha

martha-stewart-giveaway-jaderbomb

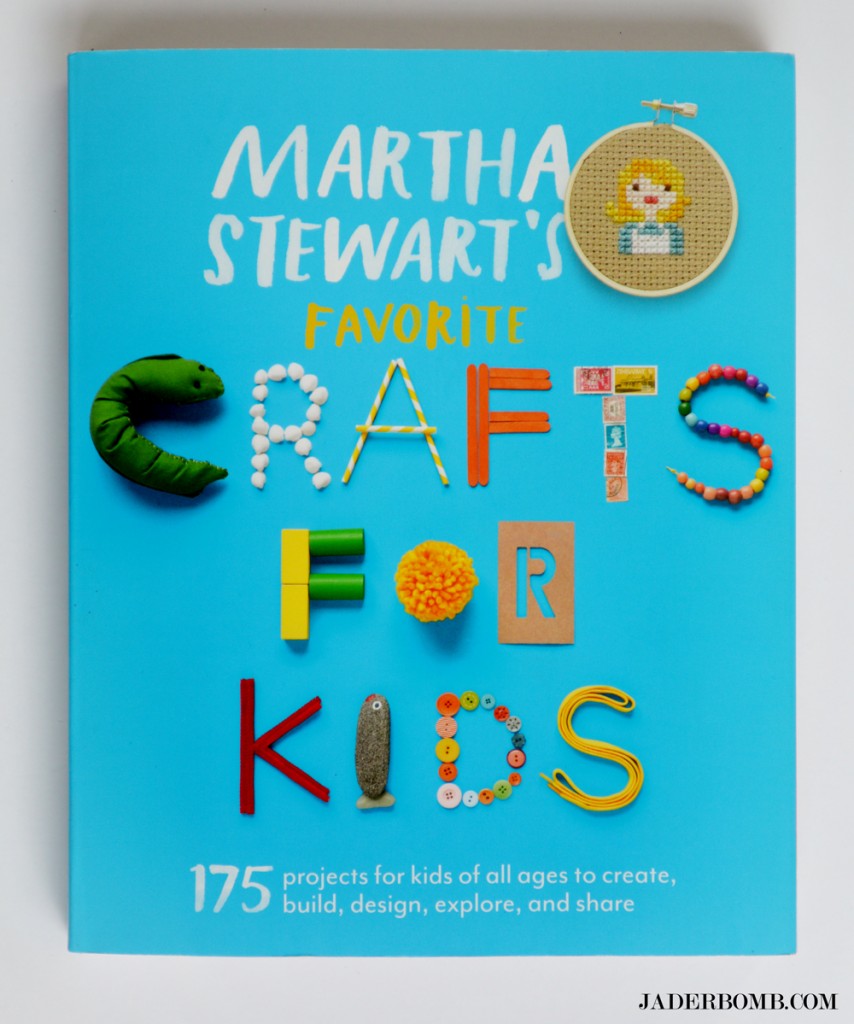
Martha Stewart’s Favorite Crafts for Kids: 175 Projects for Kids of All Ages to Create, Build, Design, Explore, and Share

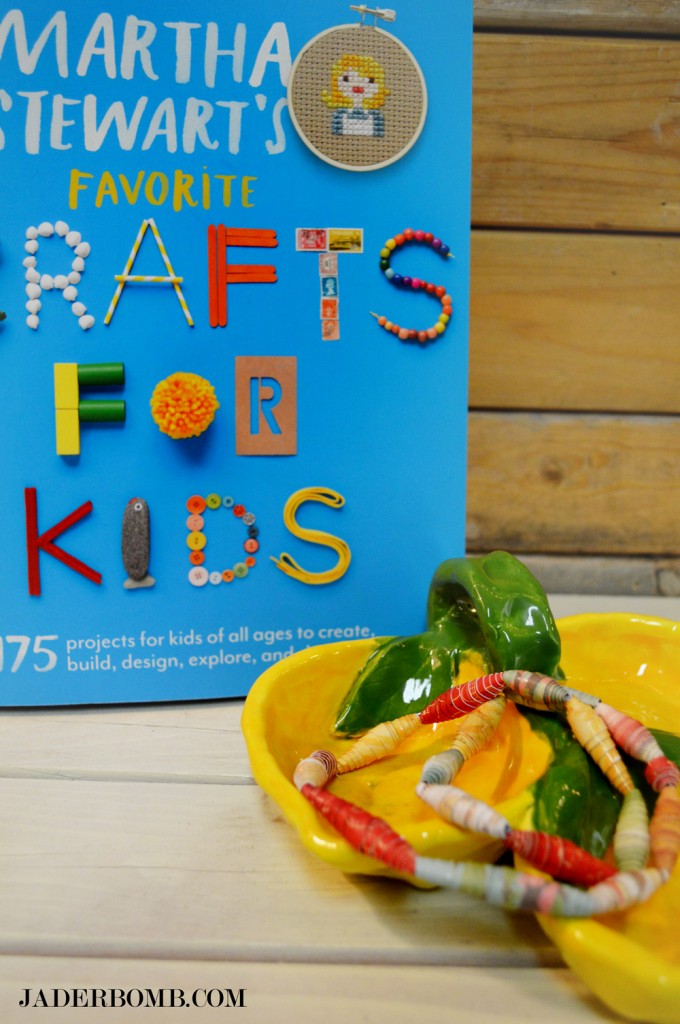
I had to re-create a craft in the book so I chose the paper bead necklace except I made a Paper Bead Bracelet instead. I will admit right away that making jewelry is not the one thing I am really good at. You know the fancy kind, with beads and clasps and all those little things involved. I will shock you now and say that today’s tutorial was FUN and EASY. Did I mention “wearable”.

Martha, if you are reading this… YOU ROCK
{{ok, this is asking a lot but if you do read this just shoot me a comment and let me know what you think or just text me, hehe}}

diy-paper-bead-bracelet

“Fashion is not something that exists in dresses only. Fashion is in the sky, in the street, fashion has to do with ideas, the way we live, what is happening.”
― Coco Chanel

I am so pleased with the outcome!

diy-paper-bead-bracelet

This is the cover of the book and the bracelet I re-created. Let’s get started!

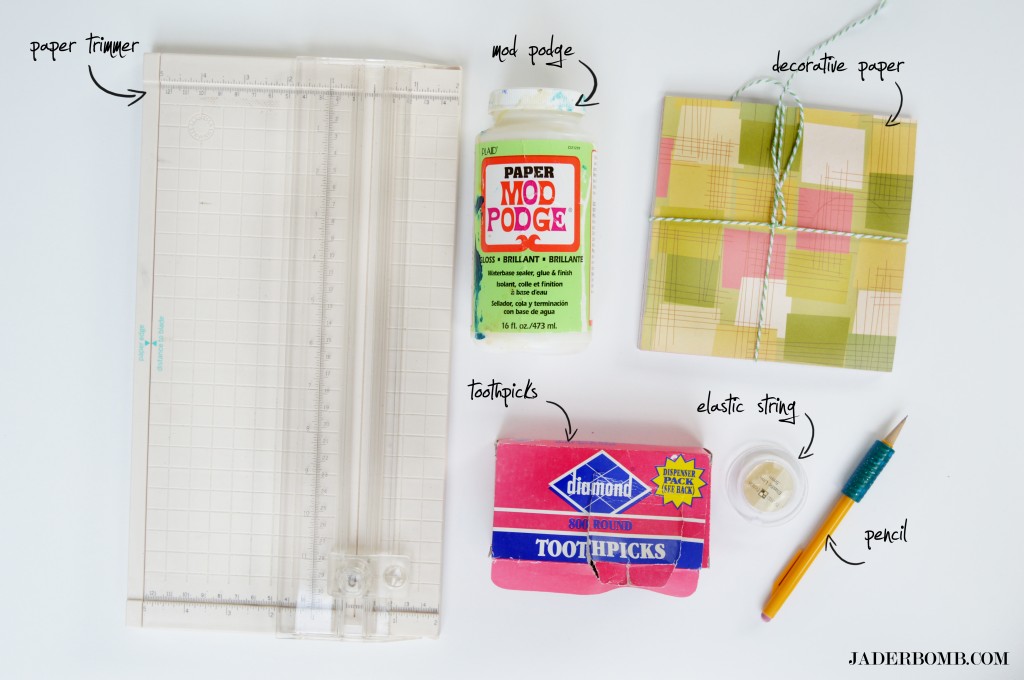
you will need

 paper trimmer|mod podge|decorative paper|toothpicks|elastic string|pencil

//P.S. You can purchase all of the items I used by clicking on the above links. These are affiliate links so if you click and buy you will help feed me more eggs and grits! Just saying, it’s my favorite.

diy-paper-bead-bracelet

Some of the items I used you might have already so take advantage of that. Oh, I used decorative paper to make my beads but another alternative is using magazine pages. I actually started one and can’t wait to show you.

diy-paper-bead-bracelet

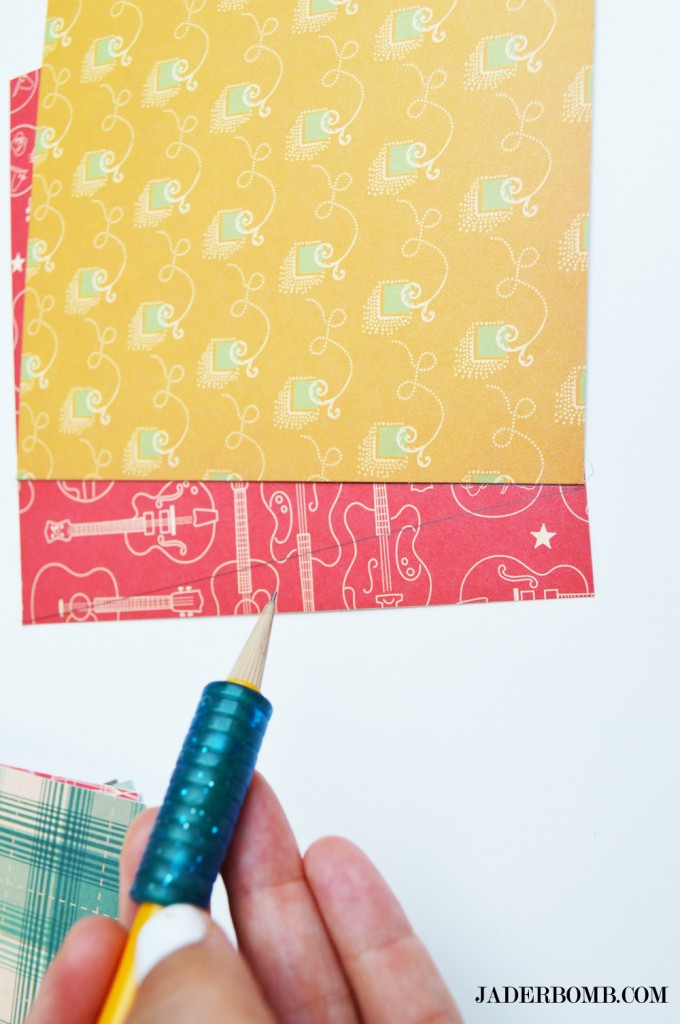
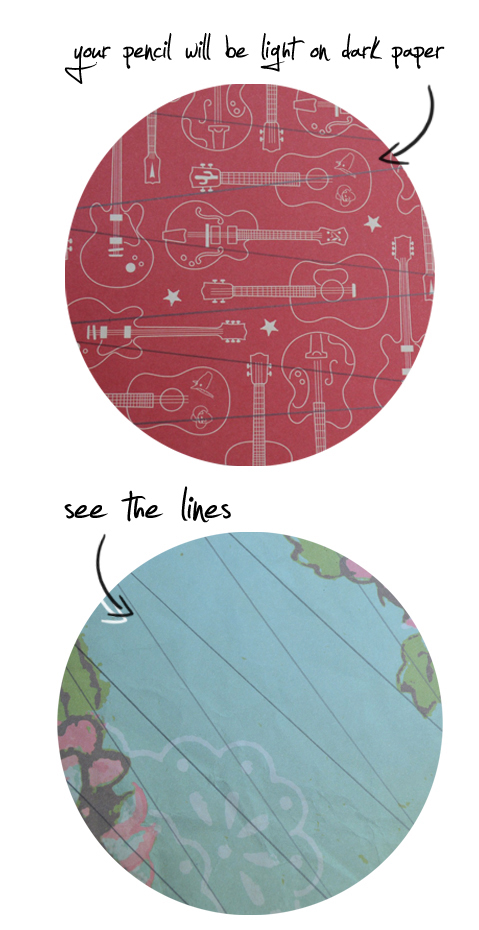
The first thing you will do is take a sheet of decorative paper and place it on top of another one. Use the edge of the one on to to draw your lines, or you can use a ruler. You will be drawing triangles and the bigger the triangle the bigger the bead. Keep that in mind. I like to make around 5 different sizes so it’s a little more unique.

265

This is what the lines will look like on the paper. Depending on the paper some lines may appear lighter or darker.

diy-paper-bead-bracelet

Once you draw your lines then you can cut them. If you don’t have a paper cutter you can use scissors.

diy-paper-bead-bracelet

Your triangles should look like this. Unless you have a shaky hand, haha! Which is why I don’t use scissors to get a strait line!

diy-paper-bead-bracelet

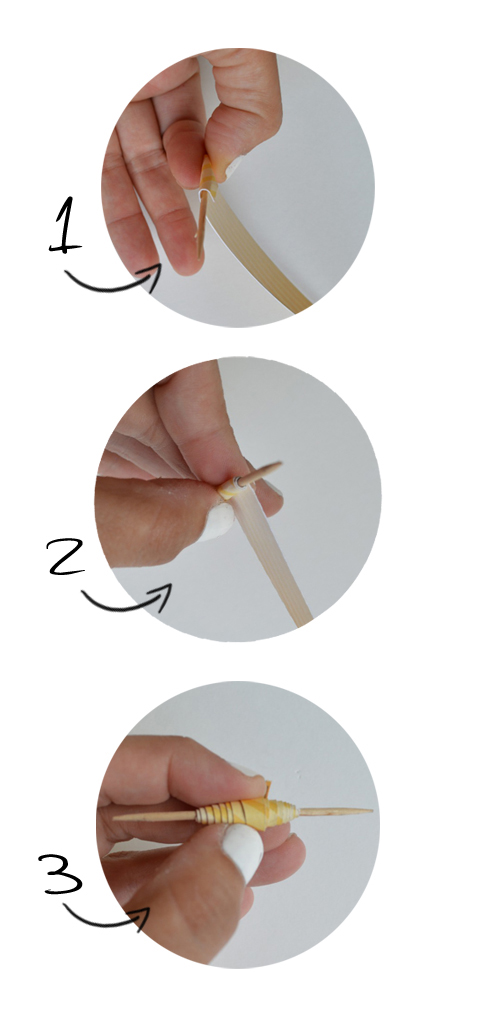
1. Grab a toothpick and place the paper on the bottom of it.
2. Start wrapping the paper around the toothpick.
3. This is what your paper bead should look like once it’s all rolled.

diy-paper-bead-bracelet

Mod Podge the end so it all stays together.  You can even coat the entire bead with mod podge to make sure it is all secure.

diy-paper-bead-bracelet

Your bead should look like this when you are done. As soon as the mod podge is applied take the bead off of the toothpick. You don’t want to leave it because it could dry on the toothpick and we surely don’t want that!

diy-paper-bead-bracelet

diy-paper-bead-bracelet

Start stringing your beads with the elastic string. The good thing about this is you can put as many beads as you want!

diy-paper-bead-bracelet

Now onto the BIG news! I am giving away a copy of the book. WAHOO!

kids-craft-book-including-diy-paper-bead-bracelet

kids book winner martha stewart

 *JANUARY craft HERE
* FEBRUARY craft HERE and HERE
*MARCH craft HERE
*APRIL craft HERE
*MAY craft HERE

Check out some of my other crafty friends doing the 12 months of Martha also!

A  LITTLE TIPSY
A NIGHT OWL
DIY DREAMER
DOLLAR STORE CRAFTS
ECLECTICALLY VINTAGE
YOU ARE MY FAVE
FIREFLIES AND JELLYBEANS
DAMASK LOVE
MODERN DAY MOMS
SEW WOODSY
SOMETHING TURQUOISE
STUDIO DIY
SUGAR AND CLOTH
THE ALISON SHOW

marthastewartdisclaimer


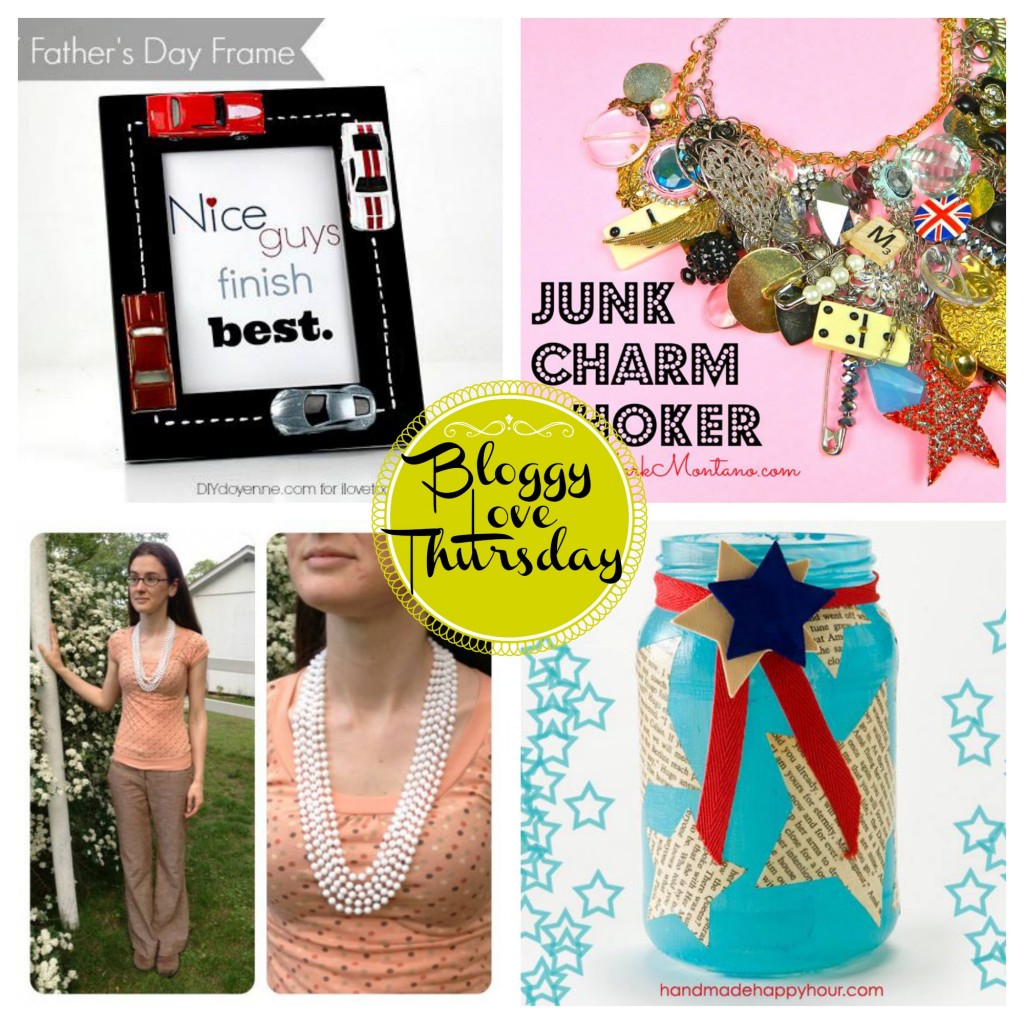
Upcycled Crafts - JaderbombHappy “show me something mister” Thursday! You know what today is. Time to show you what my crafty peeps Mark, Cathie, Margot and Heather have been cooking up this week. I am excited about all of them and I know you will too! This week it’s all about up-cycled crafts. We have a little charm love, pearl love, jar love and road rage love. 

Upcycled-Crafts-Jaderbomb

DIY Father’s Day Frame   by Margot Potter at Diy Doyenne.
Margot Potter The Impatient Crafter shows us how to run the roads the right way! Check out this awesome picture frame she made using toy cars. Perfect for Father’s day this weekend.

Upcycled- Crafts- Jaderbomb

Chunky Junk Charm Choker  by Mark Montano.
Mark Montano sent me to heaven with his chunky junk charm necklace. I think I will make a bracelet to go along with my neck decor. Perfect way to use all of those memorable little things laying around, right!

Upcycled-Crafts-JaderbombCoco Chanel Inspired Necklace for $1 by Heather from Dollar Store Crafts.
Heather shows us how to dress like a star with her CoCo Chanel inspired necklace for $1. Yes you heard that right! You can absolutely wear this necklace with anything I tell ya.

Upcycled- Crafts- Jaderbomb

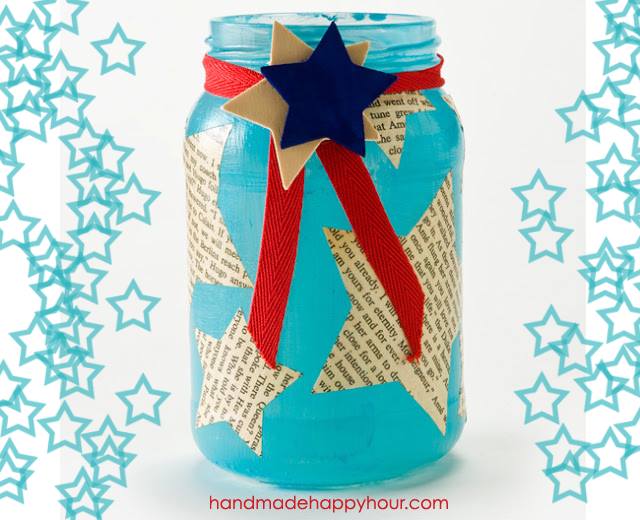
Recycled Jar Candle Holder by Cathie Filian at Handmade Happy Hour.
Cathie Filian  shows us how to bring the party to our back yard. I love anything recycled especially jars. You can do so much with them.

Make sure to check out my latest cupcake liner party hat!

I hope you enjoyed all of these crafts and you make each one of them. What is something you have you have up-cycled lately?

jade

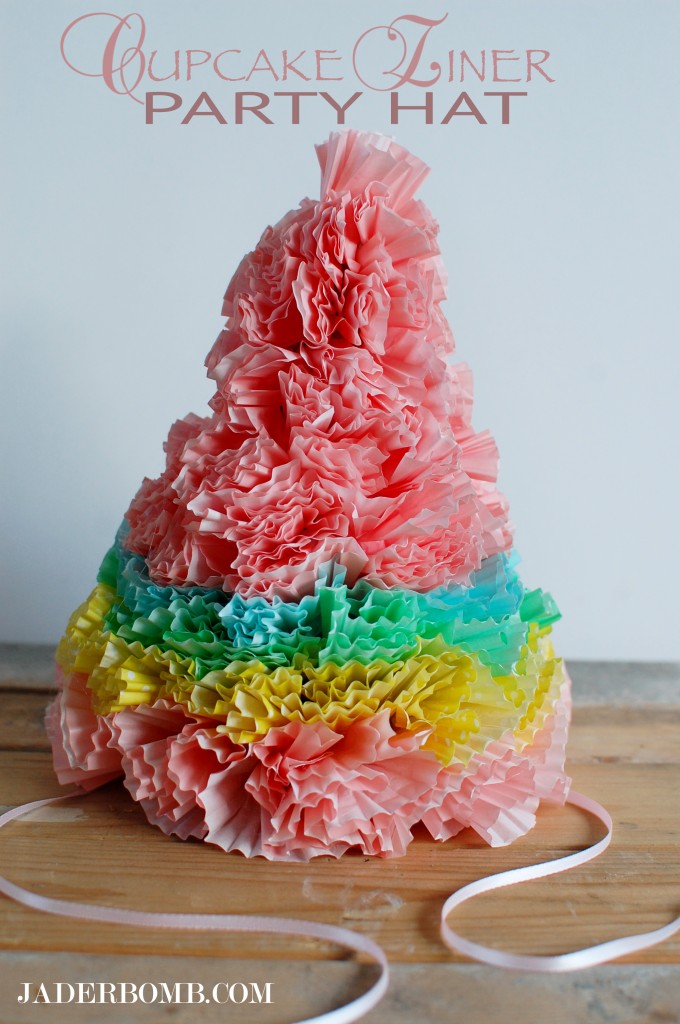
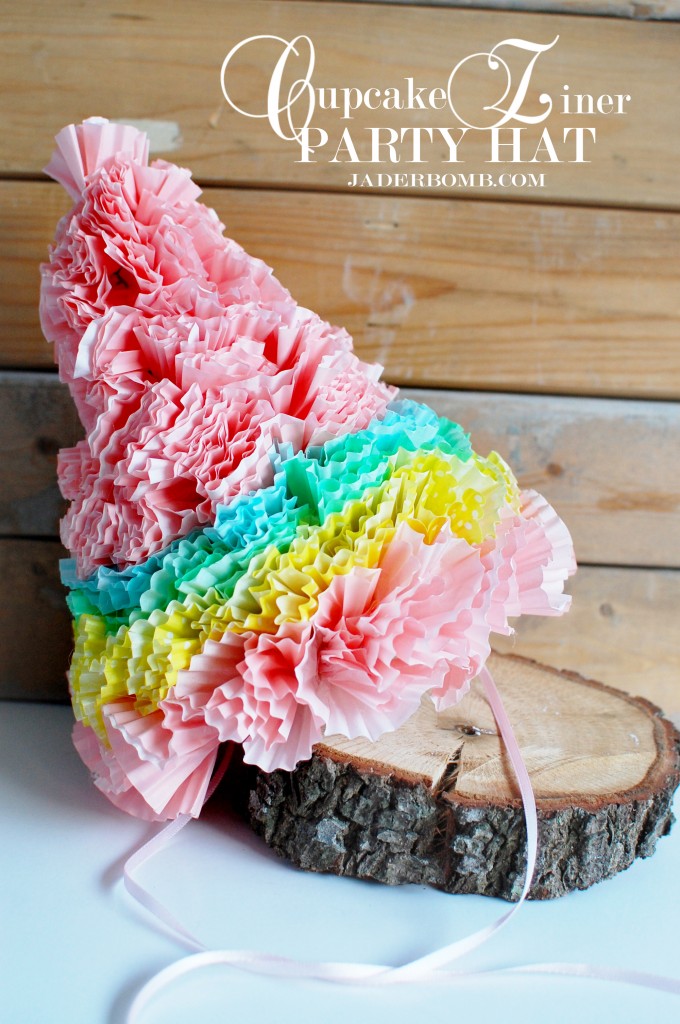
WHAT! I party hat made with cupcake liners. The other day while running into Fred’s to get something I bumped into cupcakes liners. Well technically I didn’t “bump” into them. I walked over to get my washing powder, grabbed it and headed to the register. The line was long and there was only one person checking everyone out. I will never understand why stores do that in the middle of the day. Now I understand why they put magazines and yummy goodies by the registers. I really believe the store managers do this on purpose so you “have” to wait in a long line which will make you buy more things and in return the store makes more money, right!

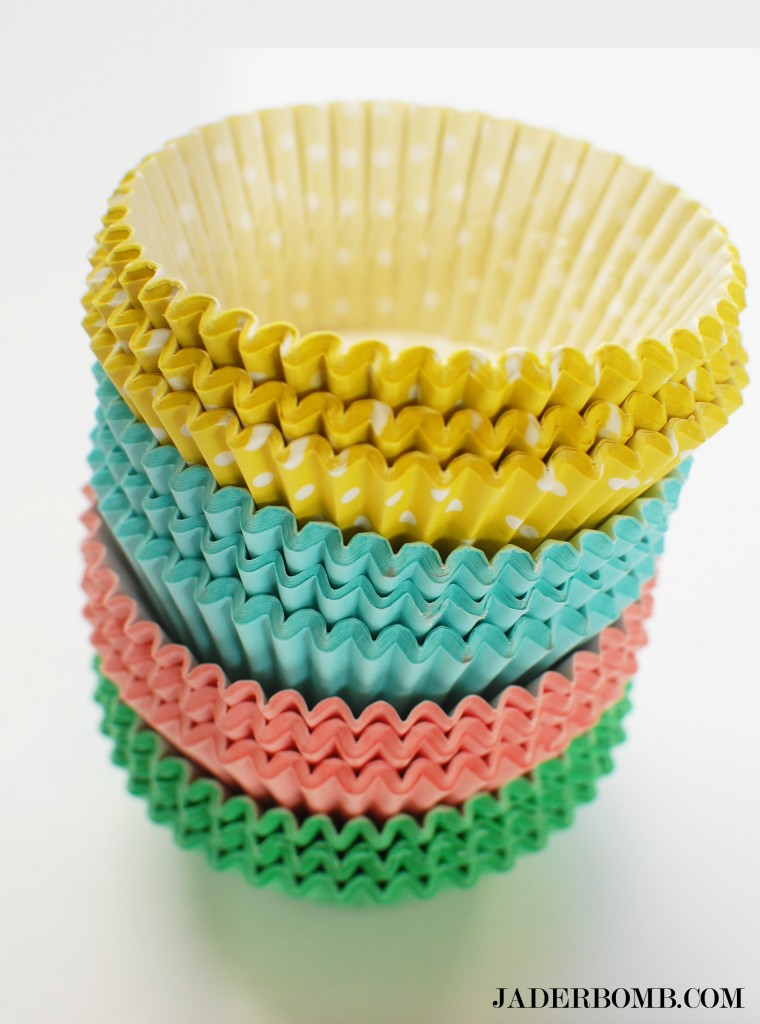
Anyways, I turned around and my eyes saw the party isle. They always have the same things but this time they had pastel cupcake liners. I immediately turned my body to go check them out then it dawned on me how long I had been waiting in line. There was no way I was giving up my spot to get cupcake liners. I would have to be pretty ridiculous to do that! Guess what happened? I had no control over my body and left the line. It’s ok because after I stood there deciding which colors I wanted to get I turned around and the line was gone. So you see sometimes it pays to get out of line.

Wanna see what I decided to do with my cupcake liners from Freds
cupcake-liner-party-hat-jaderbomb

 I just loved the way it turned out. Jaderbug’s it will only cost you around 3 bucks to make this!

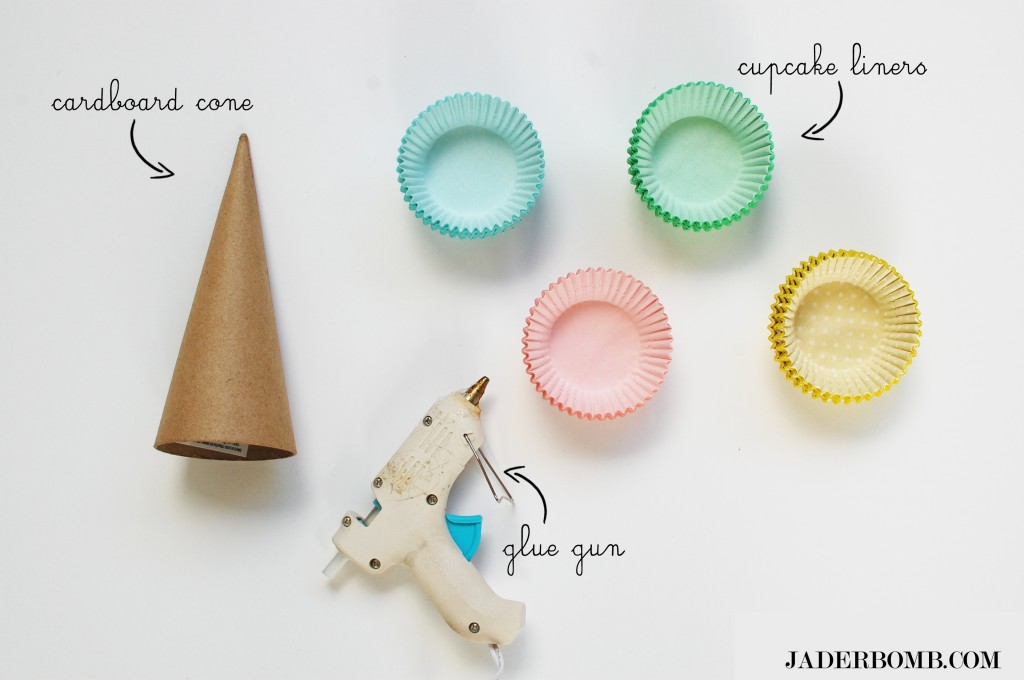
ingredients

cupcake-liner-party-hat-jaderbomb

cupcake-liner-party-hat-jaderbomb

 How stinking cute are the polka- dot ones! Speaking of dots check out this post.
cupcake-liner-party-hat-jaderbomb

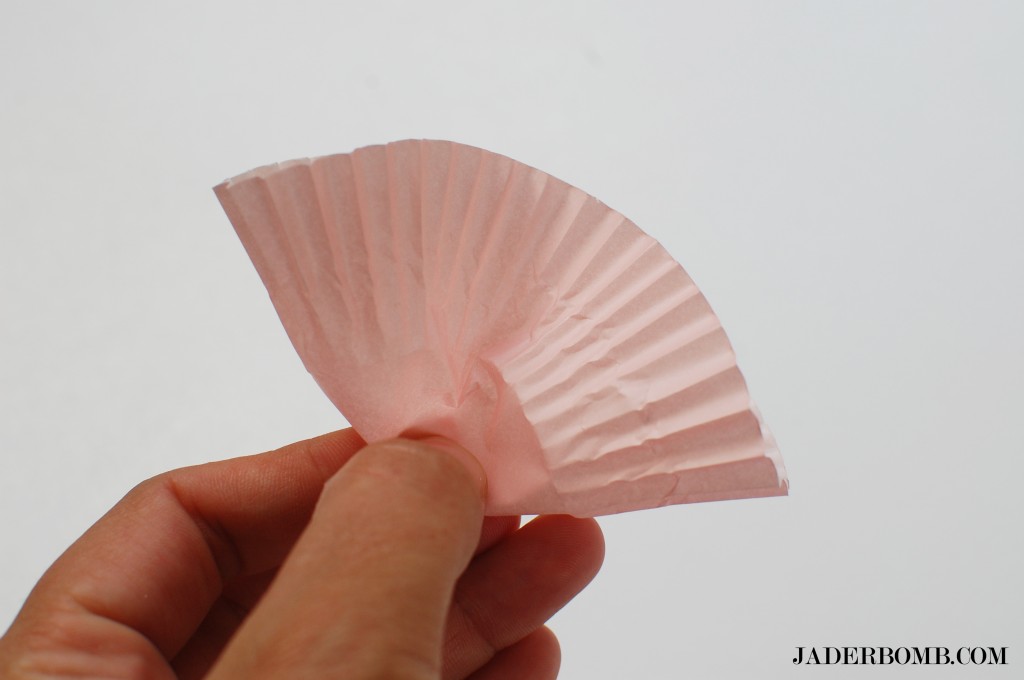
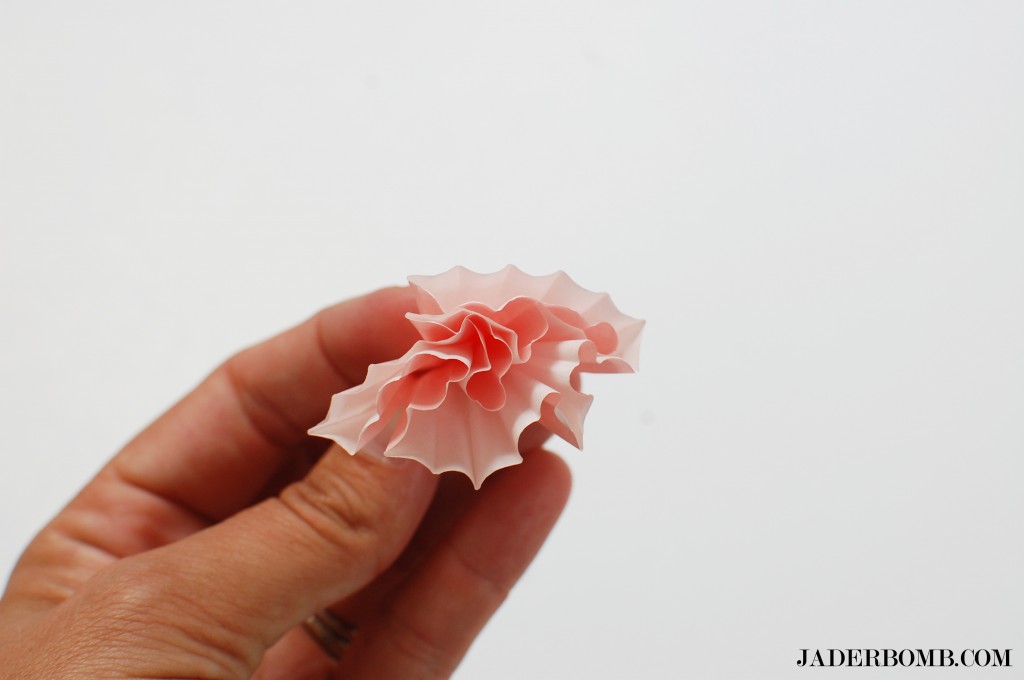
The first thing you want is fold your cupcake liner in half.

cupcake-liner-party-hat-jaderbomb

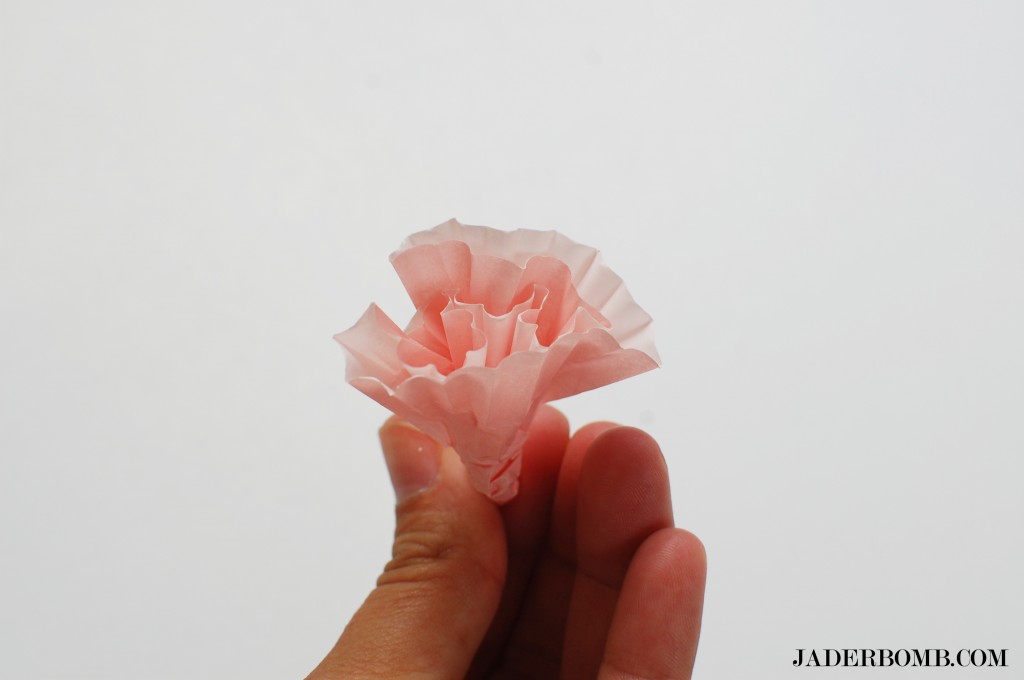
 Then fold that half in half.

cupcake-liner-party-hat-jaderbomb

 I kind of squish it together with my fingers then it’s time to glue this baby down.

cupcake-liner-party-hat-jaderbomb

I like to put a little dot of hot glue on my card board cone and place the cupcake liner right on top of it. || See above.
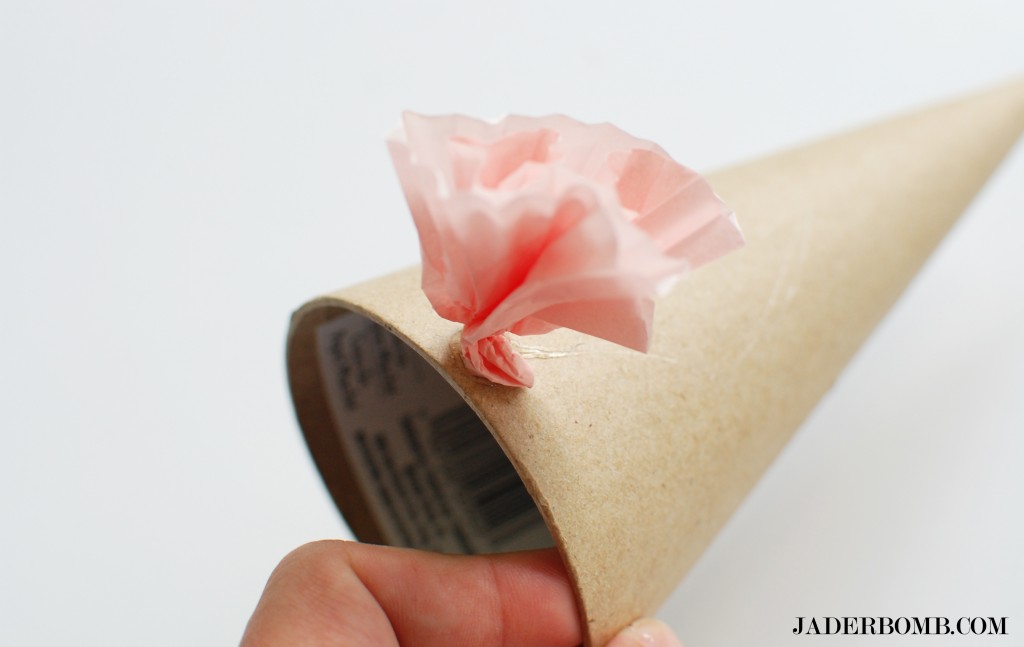
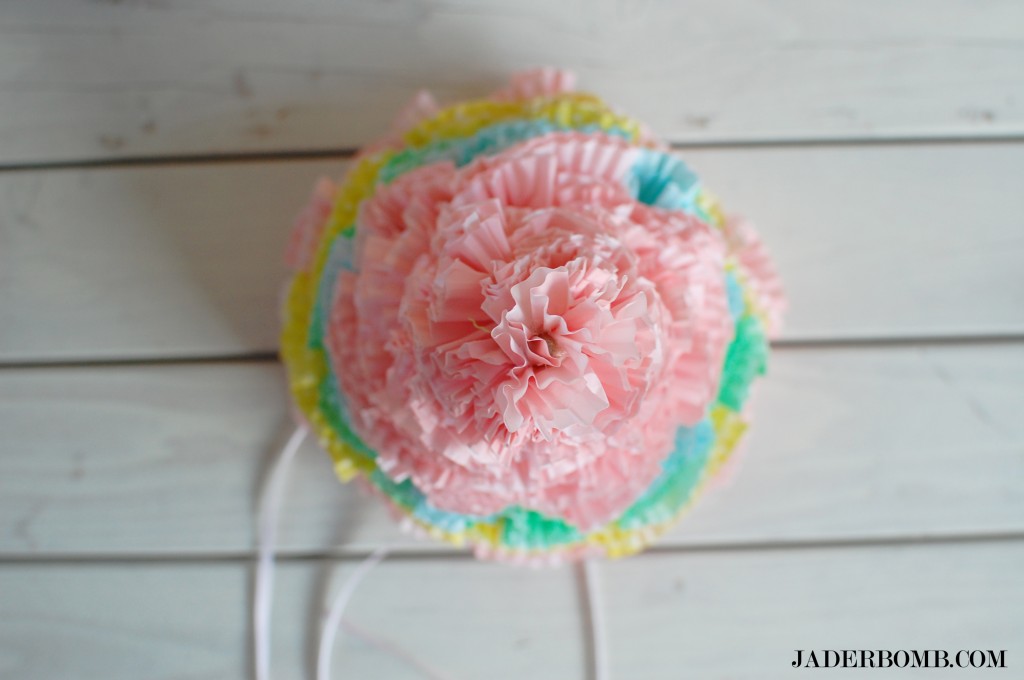
cupcake-liner-party-hat-jaderbomb

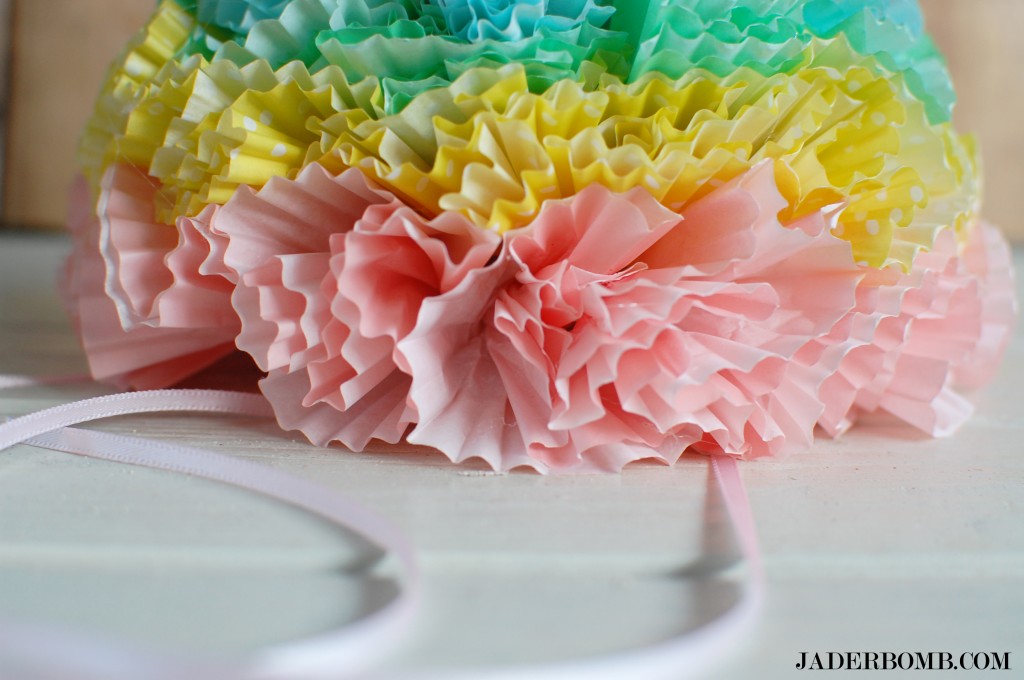
 I love how whimsical it turned out!

cupcake-liner-party-hat-jaderbomb

It’s like a big fluffy cotton candy hat.

cupcake-liner-party-hat-jaderbomb


I will not lie, I am super excited to wear this. My birthday is quickly approaching and this might just come in handy. I hope you enjoyed this easy tutorial, see ya in the next post!

It’s a DIY kinda DAY!
jade