Tag Archives: halloween

Quote of the day:
“When rungs were missing, I learned to jump.” -William Warfield

Today I found myself stuck in YouTube. Looking at some of my old Halloween favorites. It’s kinda crazy to think a movie can take you back in time. I remember watching Practical Magic, circa 1998 over and over. Hocus Pocus is an all time favorite. I am especially happy right now with ABC Family playing the 13 nights of Halloween. We cook egg sandwiches at night and all watch tv in the kitchen. Kinda like a country cozy moment. It’s sometimes odd to think that I watch the same shows with my own family now. Lil one loves when we all watch movies together!

So earlier today when I STARTED this post I put in Julie and Julia. Almost two hours later I realized I didn’t type anything but I sure finished that dang movie! I remember when Martha Stewart’s The Family Room wrote a post about me.  They compared my “Martha Countdown” to Julie and Julia but with glitter and a glue gun. . Maybe that is why I feel so happy when I watch that movie.

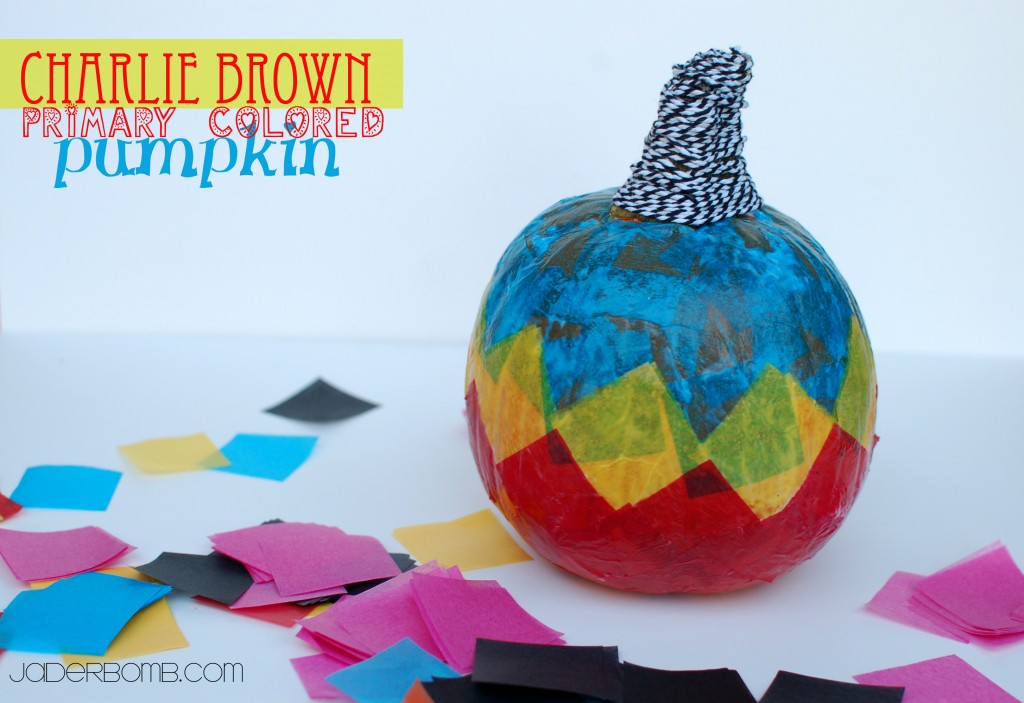
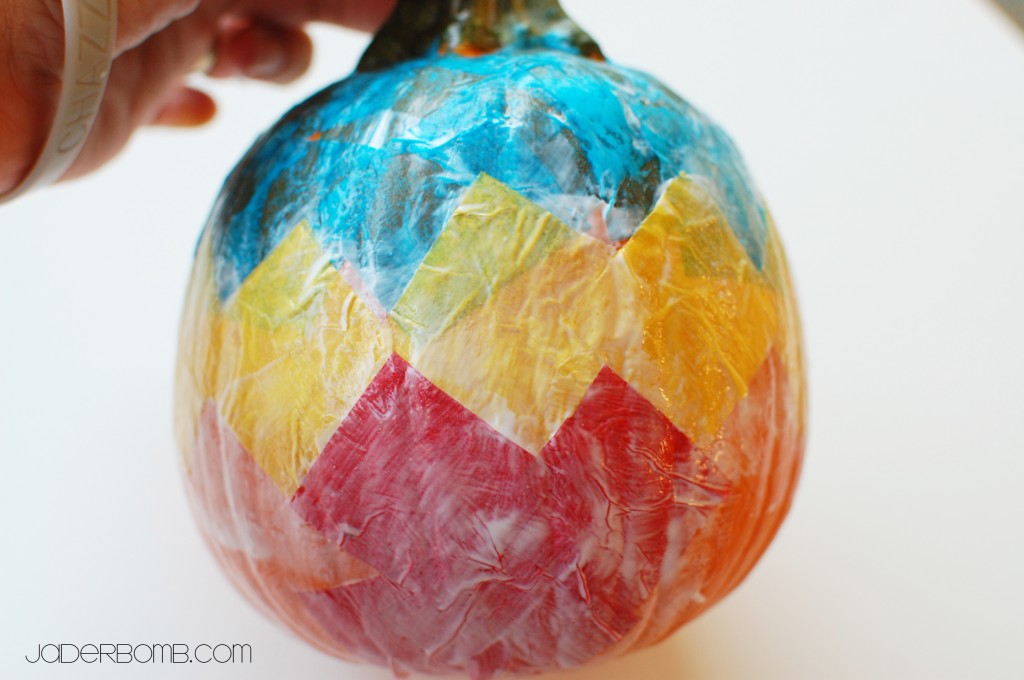
This here is my vision of what a “Charlie Brown” chevron pumpkin would look like. See, when I think of Charlie Brown not only do I think of a chevron pumpkin but I also think of PRIMARY colors. There ya have it Jaderbugs!

My video inspiration comes from this AMAZING video that Sesame Street made. It says it all plus it has a good beat! Enjoy
{{tipyrooo: play the video while sifting through the post, it’s sure to make you tap your foot}}

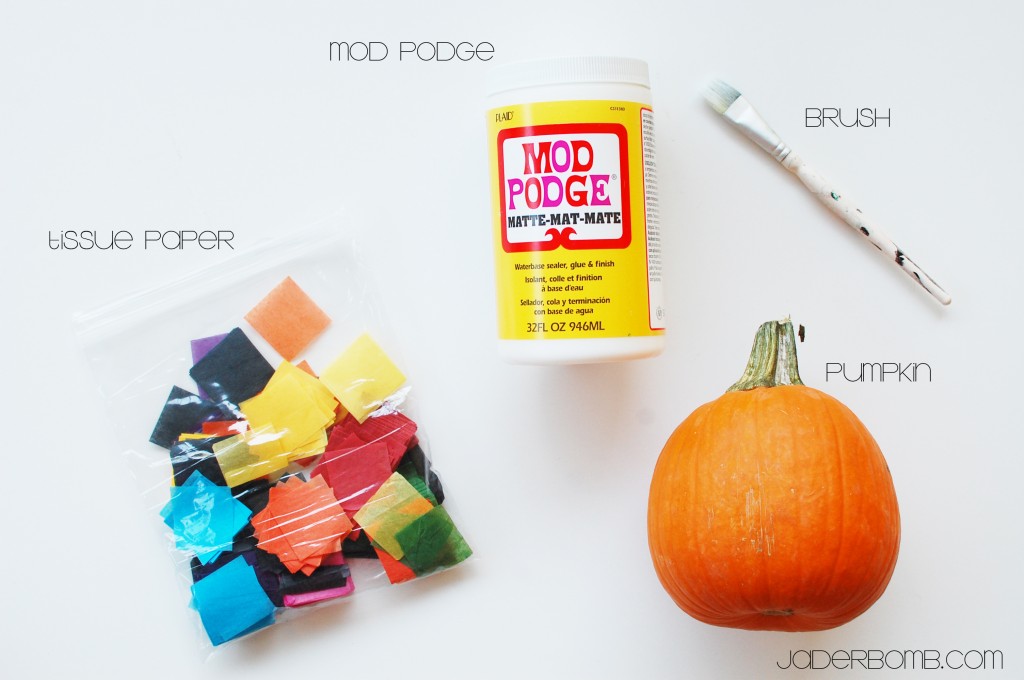
INGREDIENTS:

*Mod Podge
*Craft Brush
*Tissue Paper
*Pumpkin

P.S. You can click on any of the links (up above) to order these ingredients.

Let’s get started making our chevron pumpkin!

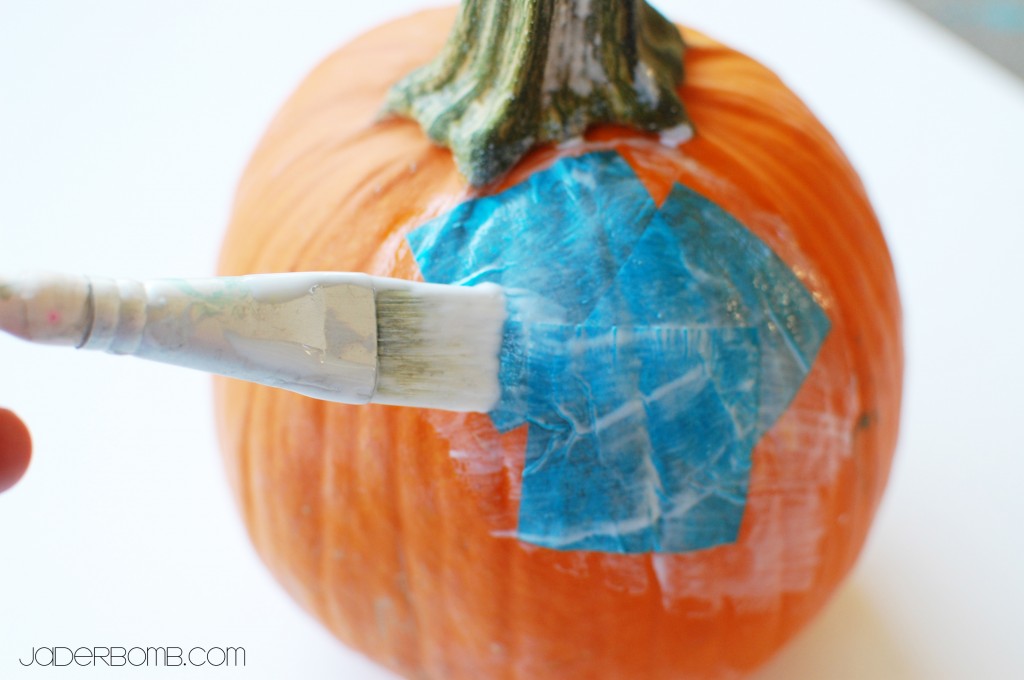
The first thing I do is brush on a little Mod Podge then start placing my tissue squares on top of it. After the tissue is applied I pass my brush over it again, with a little Mod Podge. Remember, if you don’t have the pre cut squares you can use ANY tissue paper you have. I just keep these babies stocked in my studio because they really come in handy. You can get them from Michael’s or any craft store.

Keep in mind that video I posted. When you place the blue tissue over the yellow you will get shades of green. Red and Yellow will give you orange. You could keep going with the colors and get some really beautiful shades like I did HERE.

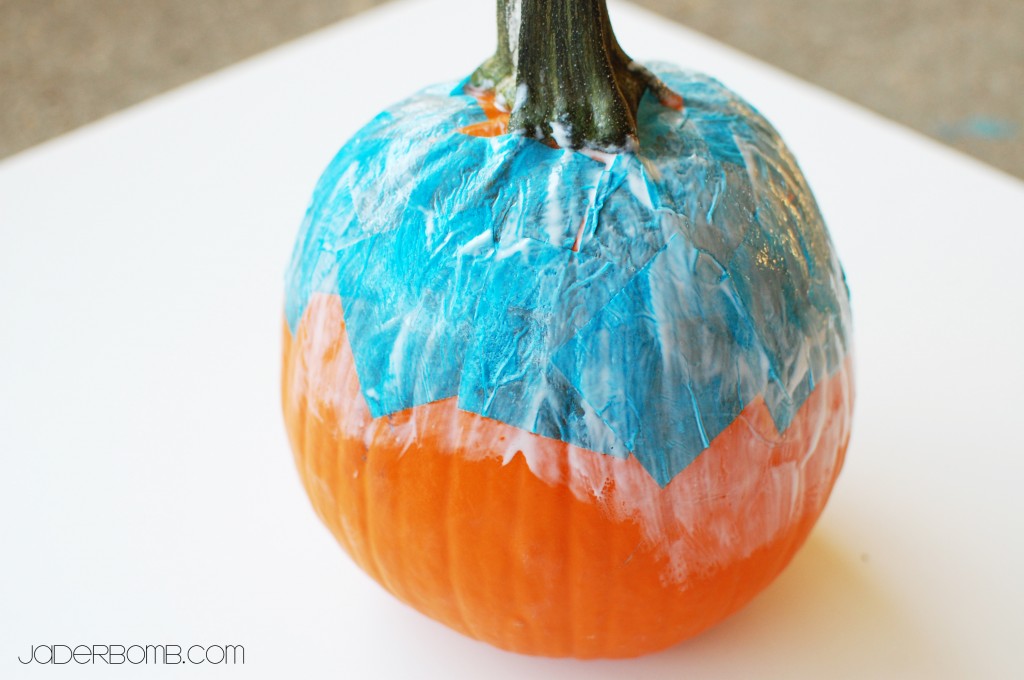
I went all the way around the top of the pumpkin first with the blue. I continued down with the yellow then red. Notice how I placed the yellow pieces of tissue paper. It’s important you get an organic chevron shape. Be creative too! If you don’t want to do the design have fun with it and make it your own. You will be surprised when you see all of the amazing colors the tissue make once you start layering them.

Gotta run, see ya in the next post!

{p.s.  stay tuned for my string pumpkin and homemade washi tape this week}

Quote of the day:
“After hard work, the biggest determinant is being in the right place at the right time.” -Michael Bloomberg
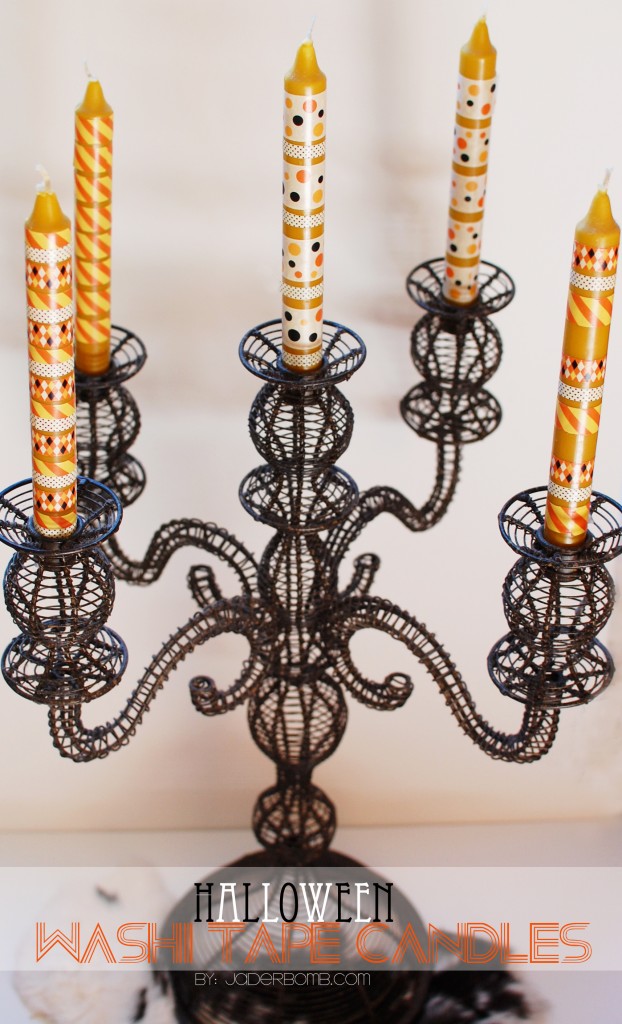
Are you ready to make Washi Tape Candles? I know I am so let’s get started!

I really love making crafts that are easy, affordable and easy. Yeah, I know I said easy TWICE because that is my favorite part about it!
Since your candles are made of wax when you are ready to take off your washi tape it will come right off. You won’t have to worry about damaging your candle. I used long thin candles because I wanted to dress up my centerpiece on our table. I keep this baby up year round. So, when Christmas comes around guess what I will do…prolly grab some white pillar candles and put Christmas washi tape on them. Wanna see how easy it is to do this? If you want to see how I made HOMEMADE WASHI tape click HERE.

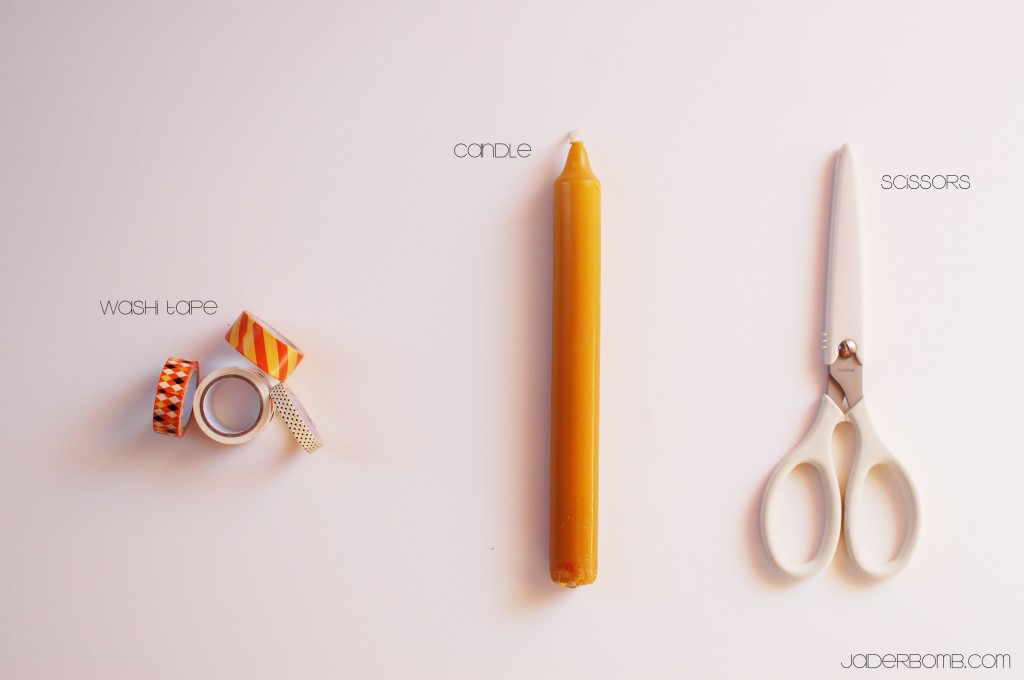
INGREDIENTS:

*Washi Tape
*Scissors
*Candles

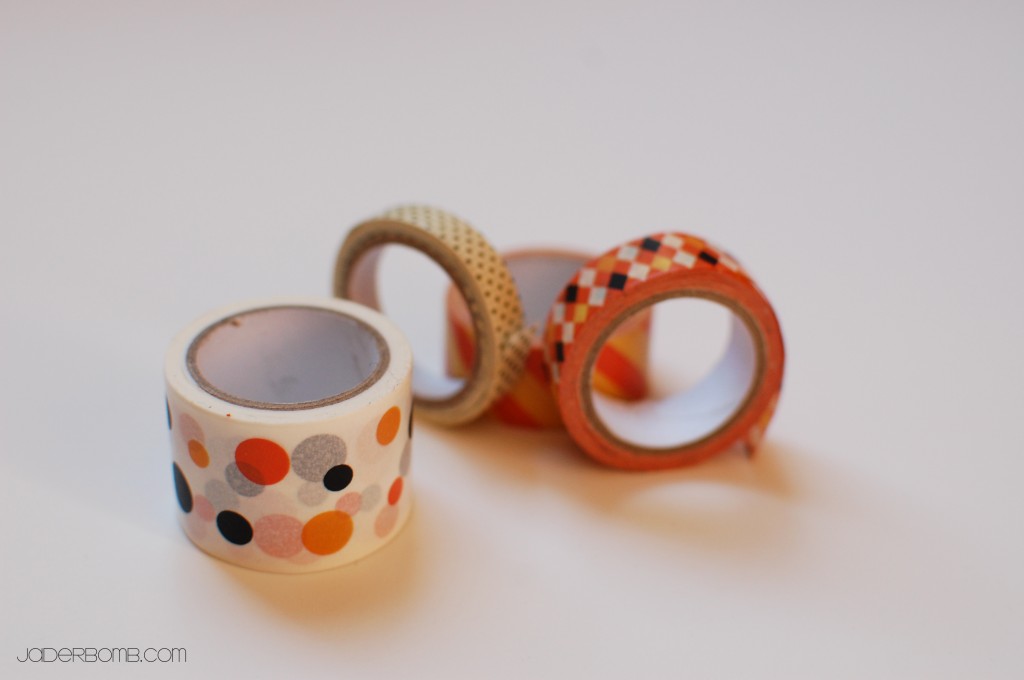
I am using Halloween washi tape by Martha Stewart. You can buy directly from the link under my ingredients (above).

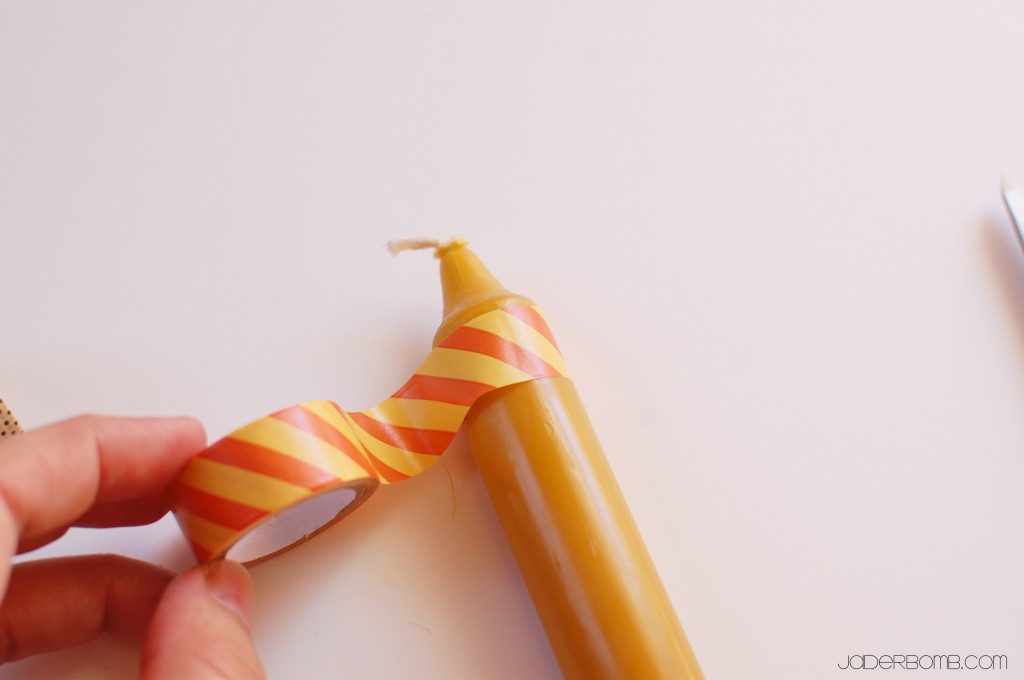
The first thing you will do is stick the end of the washi tape on the candle.

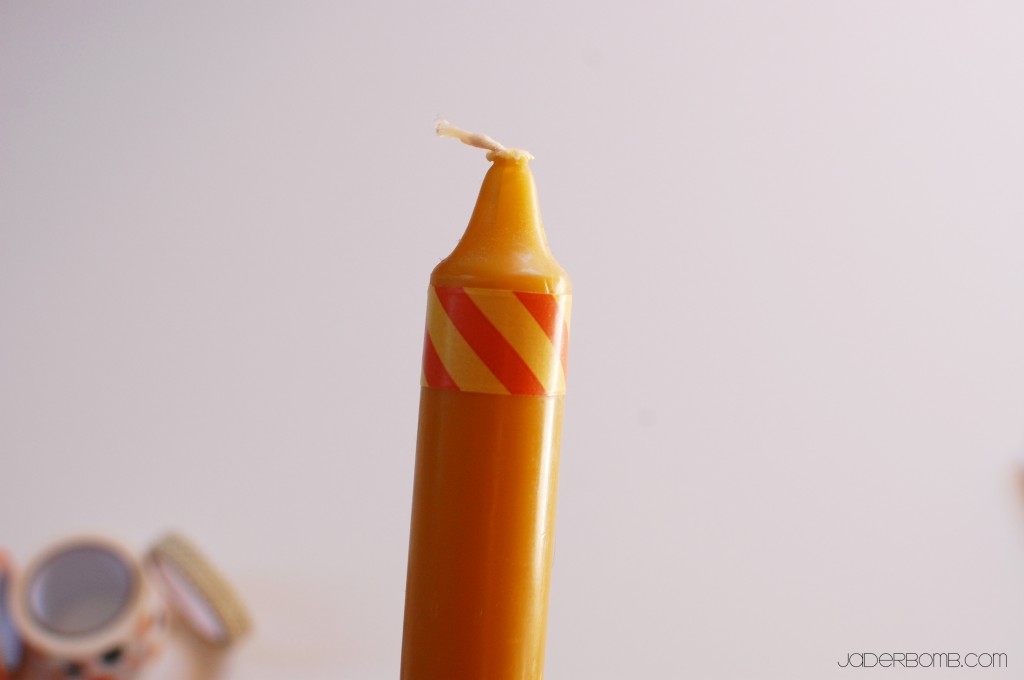
Wrap it till it meets the other end of washi tape, then SNIP it!

Tadah!
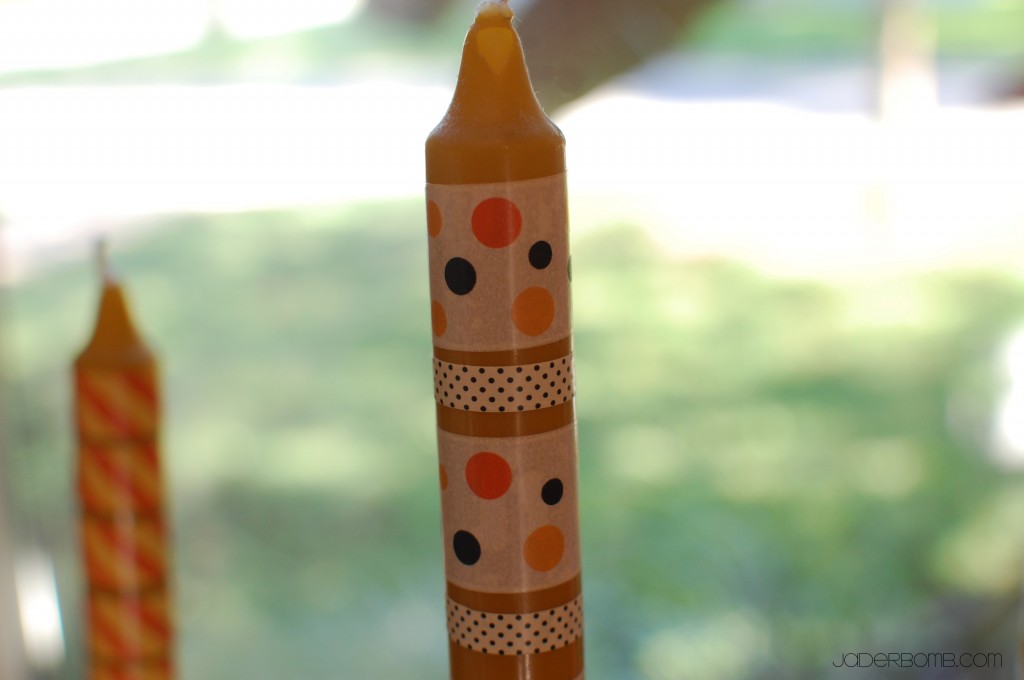
This is the end result! The fun thing about this craft is you can use whatever washi tape you want and this is practically good for ANY occasion. A simple candle can turn into a work of art with this tutorial.

I hope you enjoyed it… See you in the NEXT post.

*Have you seen my vintage CHRISTMAS lights printable. Click HERE to download it!

Quote of the day:

“Lose not courage, lose not faith, go forward.”

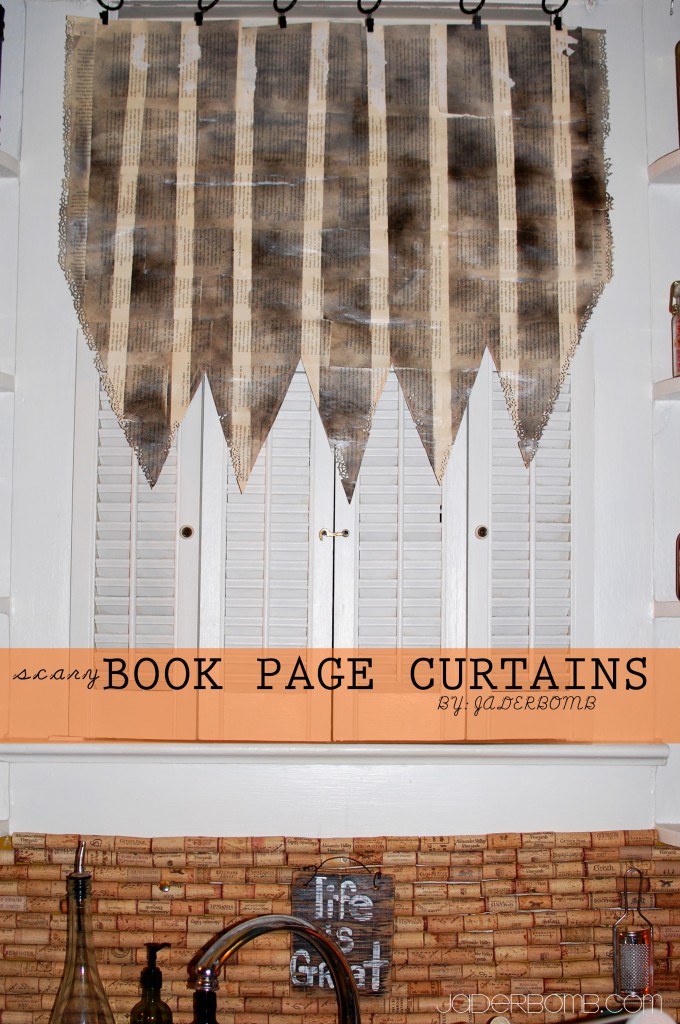
How much fun are these spooky book page curtains! I have to say I never every thought I would make curtains for my kitchen using pages from a book. But, why not?If it’s temporary until Halloween is over then we need to bring the spirit indoors!Let’s get going so I can show you how I made them!

INGREDIENTS:

*Book
*Adhesive Spray
(I love this one)
*Masking tape z
(Do you realize all that you can do with this tape?)
*Black spray paint
(you do NOT have to buy the most expense one either!
*Mod Podge
(I wish I could eat this stuff.)
*Brush
(not used a spoon for the Mod Podge)
*Martha Stewart Halloween Punch

The first thing you need to do is tear pages out of a book. I am using the FIRST twilight book because it will NEVER get old reading those pages. (I know I know I’m a sap)

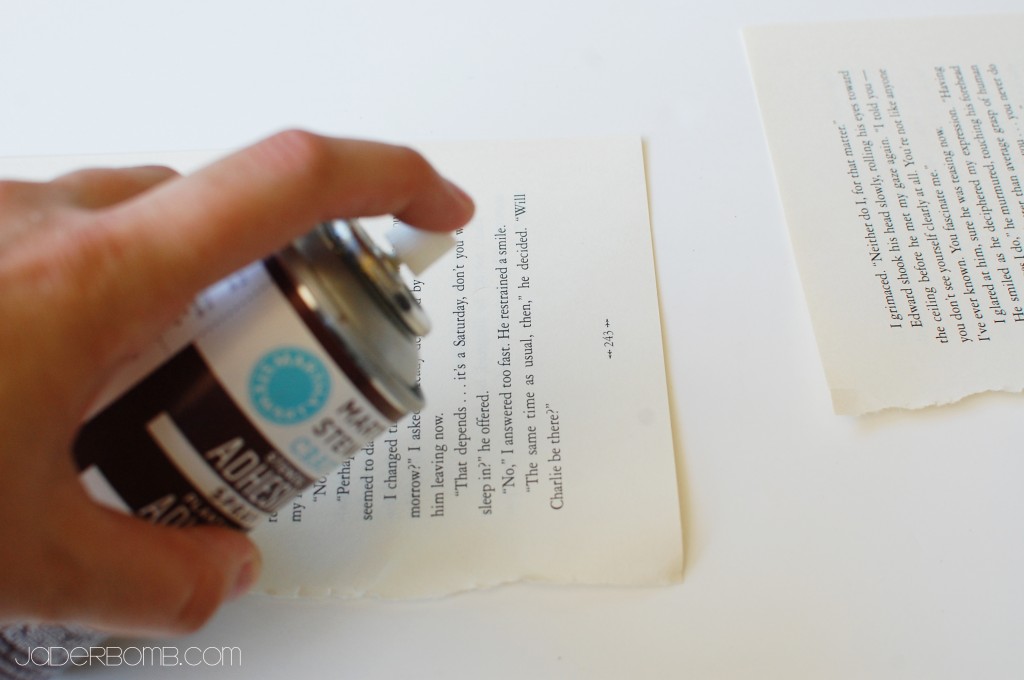
Spray the edge of your book pages with adhesive spray.

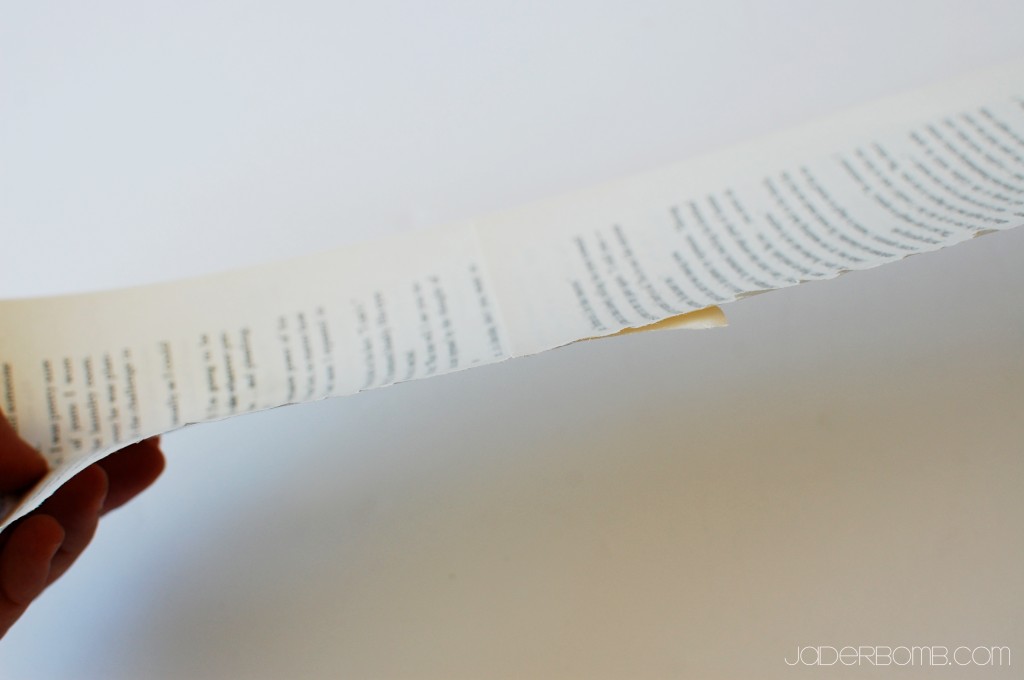
Then stick another book page on top. Just like this! (below, haha)

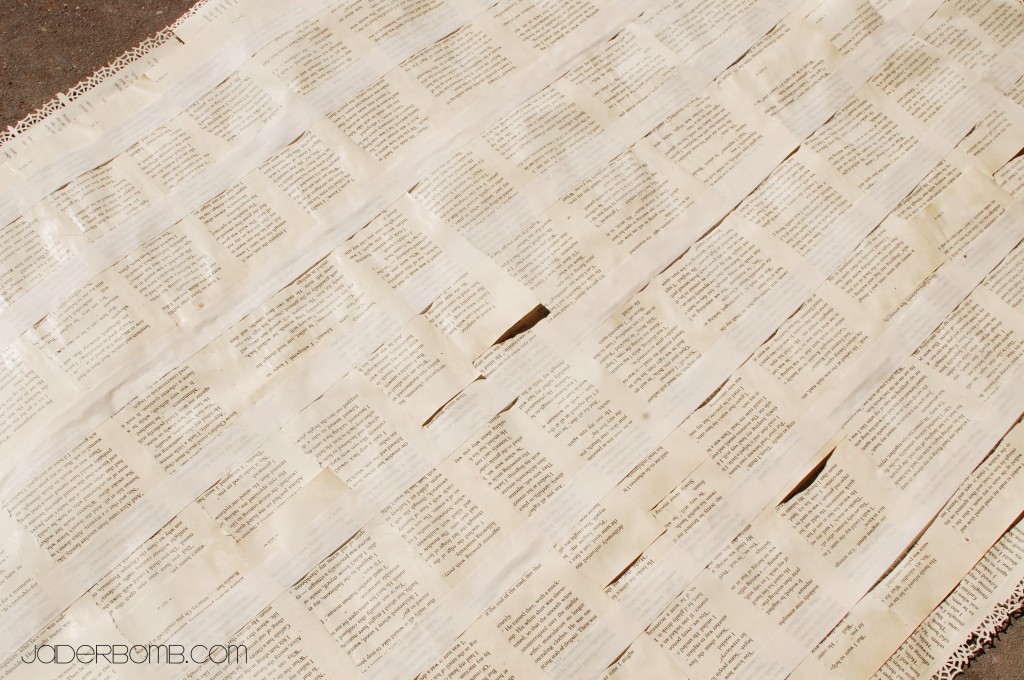
This is what it will start to look like once you get rolling! Hint: Once my sheet got large enough I would bring it in the house and place it on top of the window to see how much bigger it needed to be. I could of measured it and done it the “correct” way but that’s no fun! Notice the edges are punched with my Martha Stewart HALLOWEEN puncher!

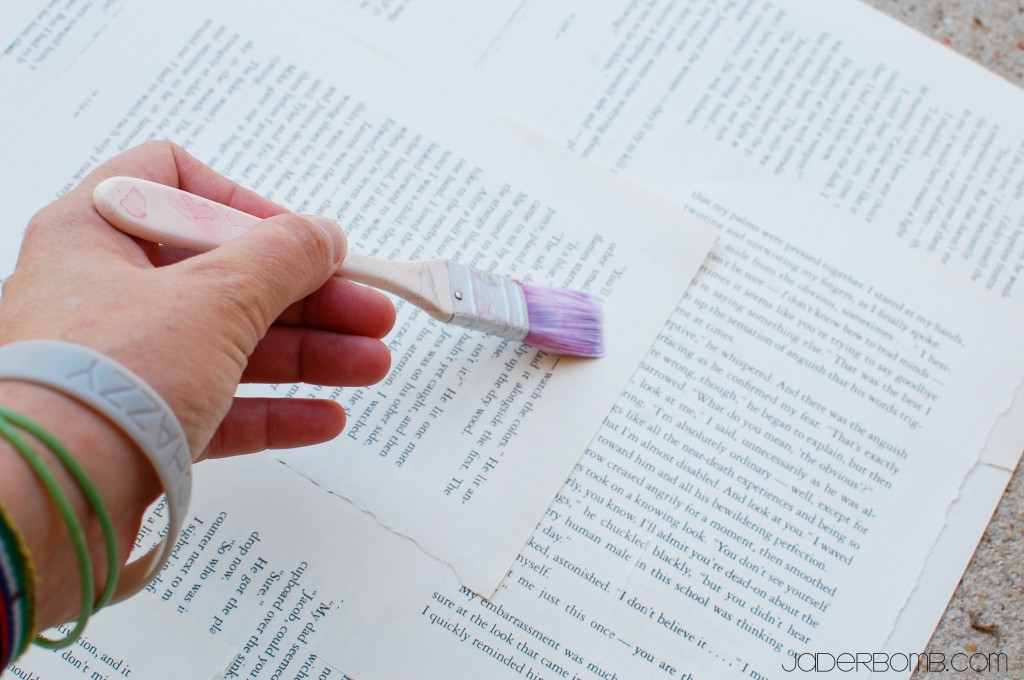
Once you have the correct size and you are done sticking pages together it’s time to break out the MOD PODGE! This is where you insert a BIG wahoooo.

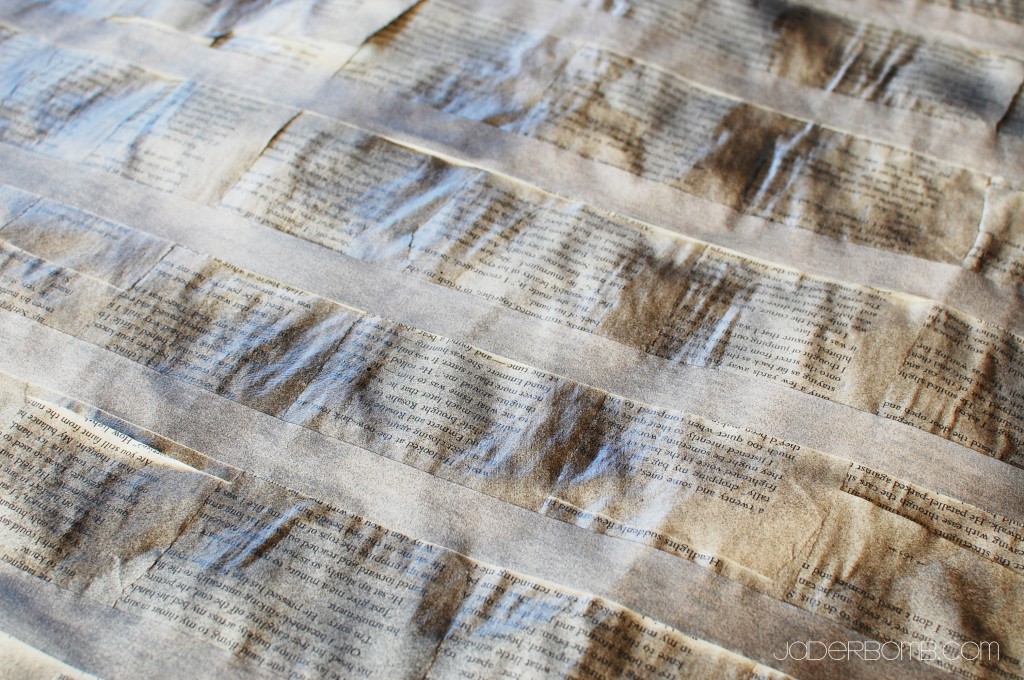
When your Mod Podge is completely dry lightly add strips of masking tape on top of your book pages. (see below)
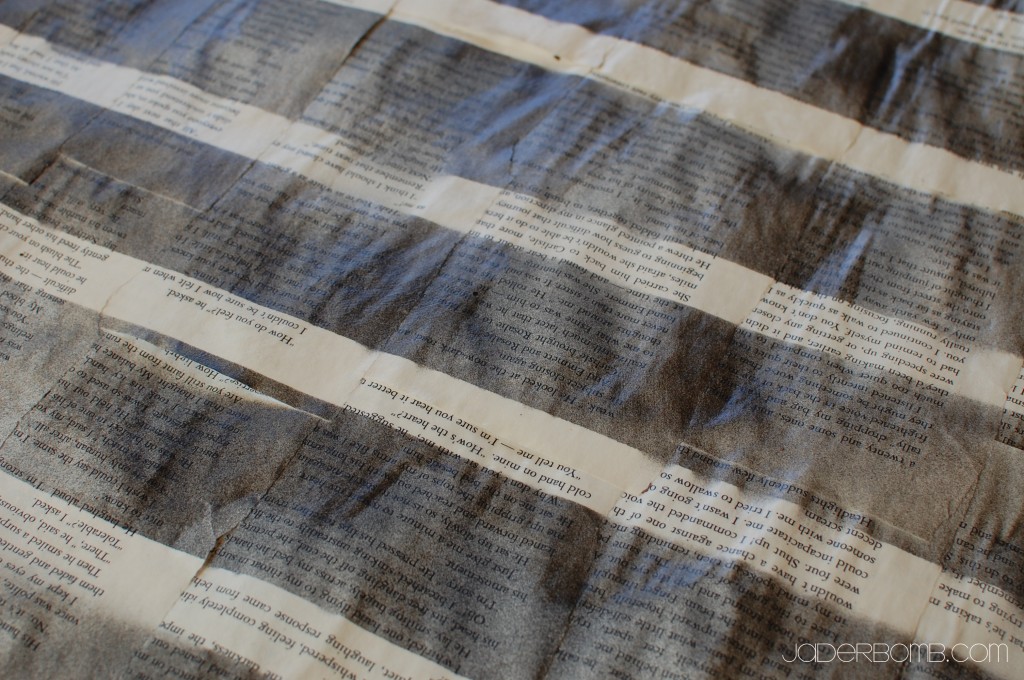
You don’t want to press too hard because it will tear the pages when you peel if off. Spray your pages with black spray paint. I didn’t spray a super thick coat because I wanted a washed, vintage look. You could spray it till it’s completely black if you want that look.

Keep in mind you can spray with whatever color you like.

When the spray paint is dry peel off the tape~ Be careful. I ripped a couple of my pages because my tape was pressed really good to them. (craft fail)

Thank goodness this was a scary Halloween look otherwise I would have “tossed” this project into the trash.

When I was completely done with all of the steps I put it up in my kitchen like the picture below. I drew where I needed to cut with a piece of chalk.
I then took it down and VOILA! A spooky HALLOWEEN curtain! What I love the MOST about these curtains is how they look with light coming through them. It really makes our kitchen feel spooky.

The great thing about this project is it’s practically FREE. It’s easy for anyone do to AND when the spooky holiday is over you can toss it without feeling bad. Although I might just keep mine up and stencil letters on it for THANKSGIVING. Yes, I love them that much.

See ya in the next post Jaderbugs!

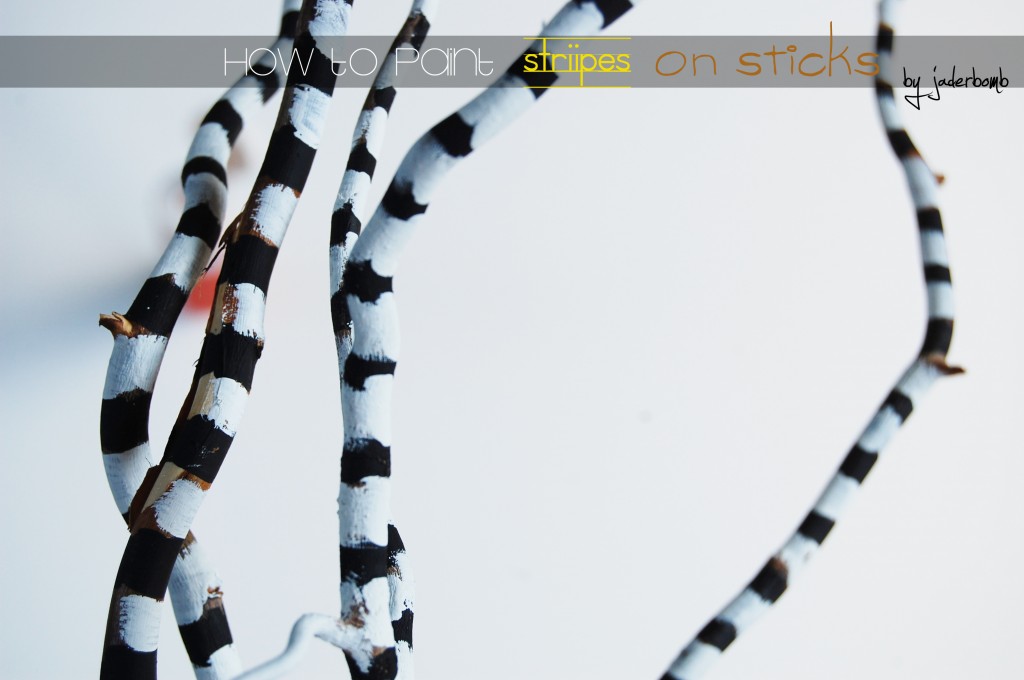
I am truly in love with this CHEAP stick painting craft.  My crafty buddy Stephen Brown has a lot of “black and white” stripes in his new book Glitterville’s Handmade Halloween: A glittered guide for whimsical crafting!

So, I figured I would do the same thing using sticks or branches. It really is so much cheaper than buying things in the store and it adds that whimsical touch to your home! Stick Painting can be very addictive so be careful, haha! I love to decorate my home or any space I visit with painted sticks. You can spray paint a ton of them one specific color and stick them in a gorgeous vase. That would fix any home decor problem and it is practically free. Unless you go steal the sticks from your neighbors yard because you can’t even keep your own trees alive.

Quote of the day: 

“I am BOLD enough to say, though not in a literal sense, that I almost prefer striving without success to success without striving.” 
-Georges Vanier

 stick painting

Let’s get started…

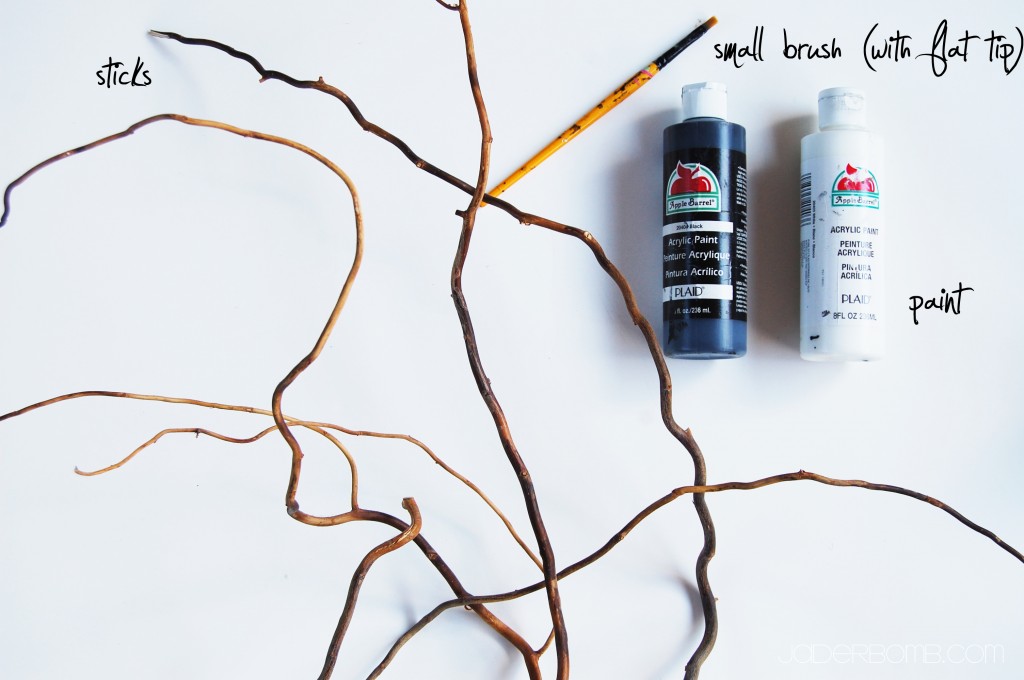
INGREDIENTS:

*PAINT

*BRANCHES or STICKS

*PAINT BRUSH

The first thing you need to do is squirt some paint on a saucer.

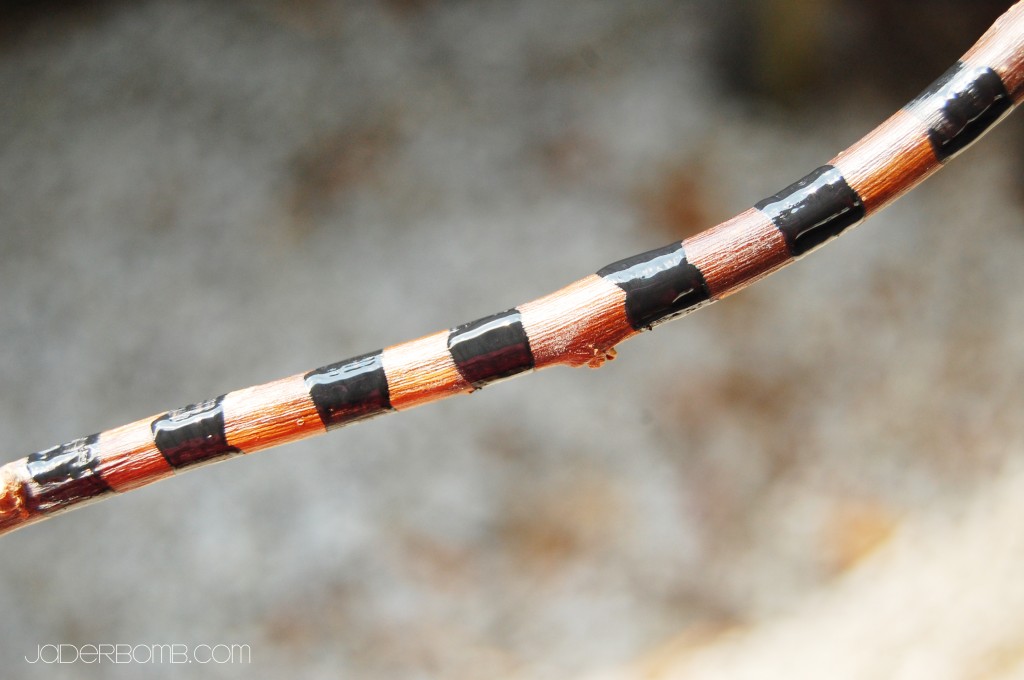
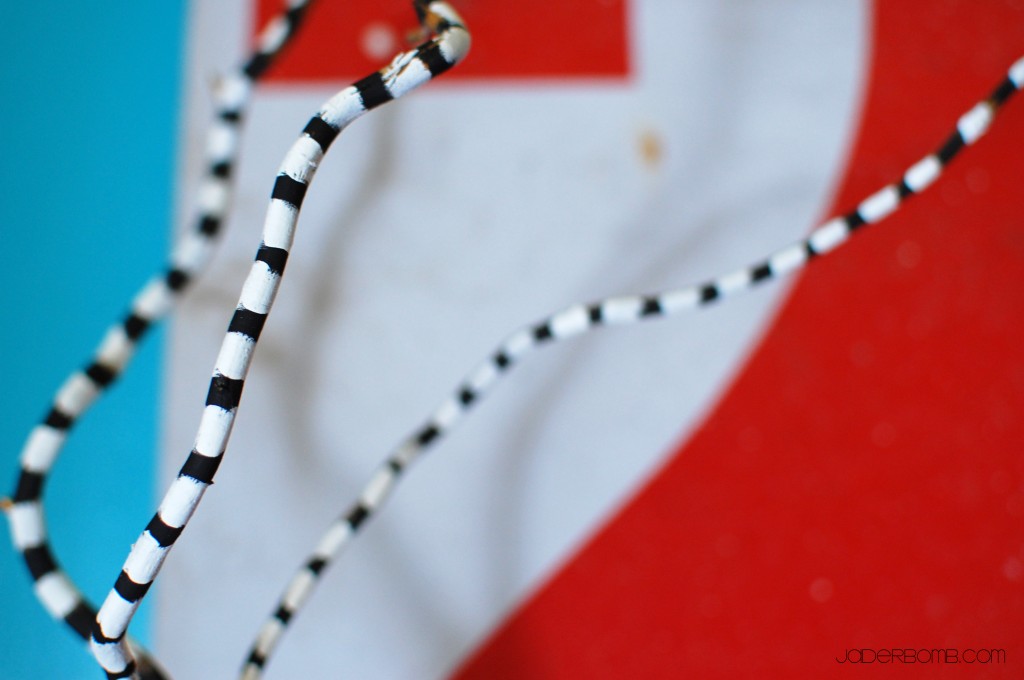
Next you will paint black stripes around your branches. I like to hold my brush on the branch and just slowly spin the branch.

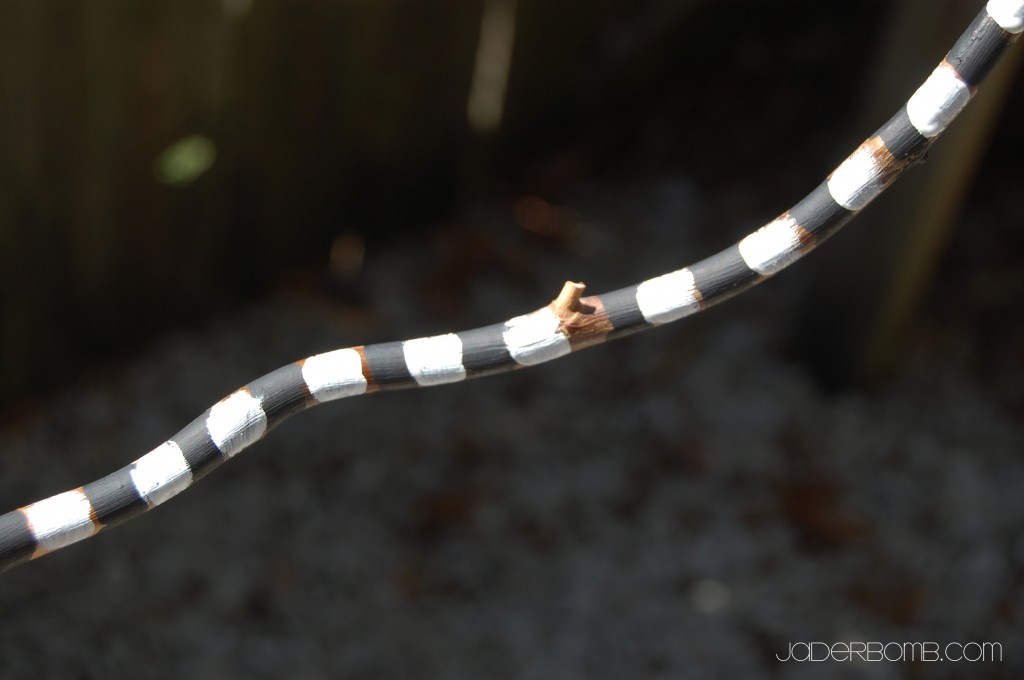
After you add your black add your white! It’s that simple.

Huge Glittery Hugs, Jade

Quote of the day: “Elbow grease is the best polish”

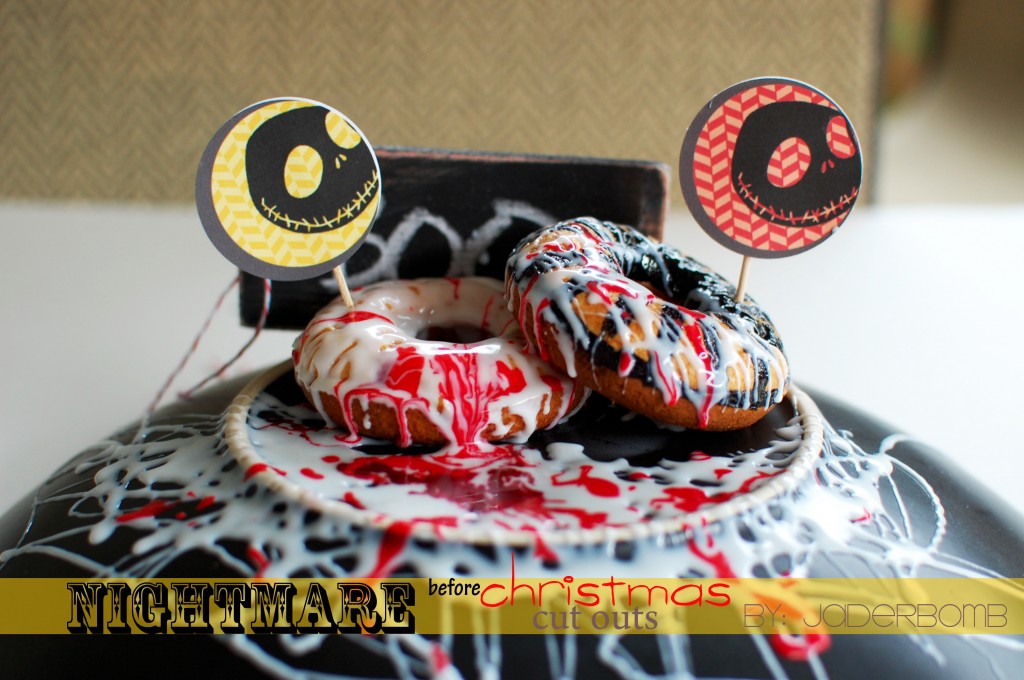
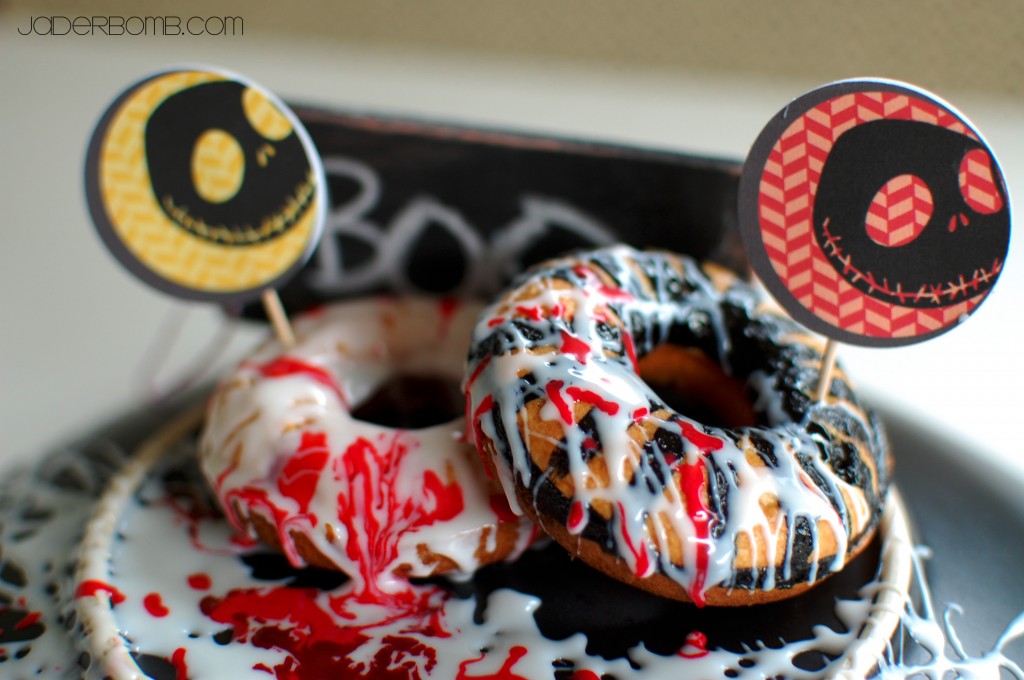
Happy Monday Jaderbugs!  I made these  SCARY {halloween} treats this weekend and everyone loved them! Our friends said the icing on the plate looked like a SPIDER WEB and I agreed!
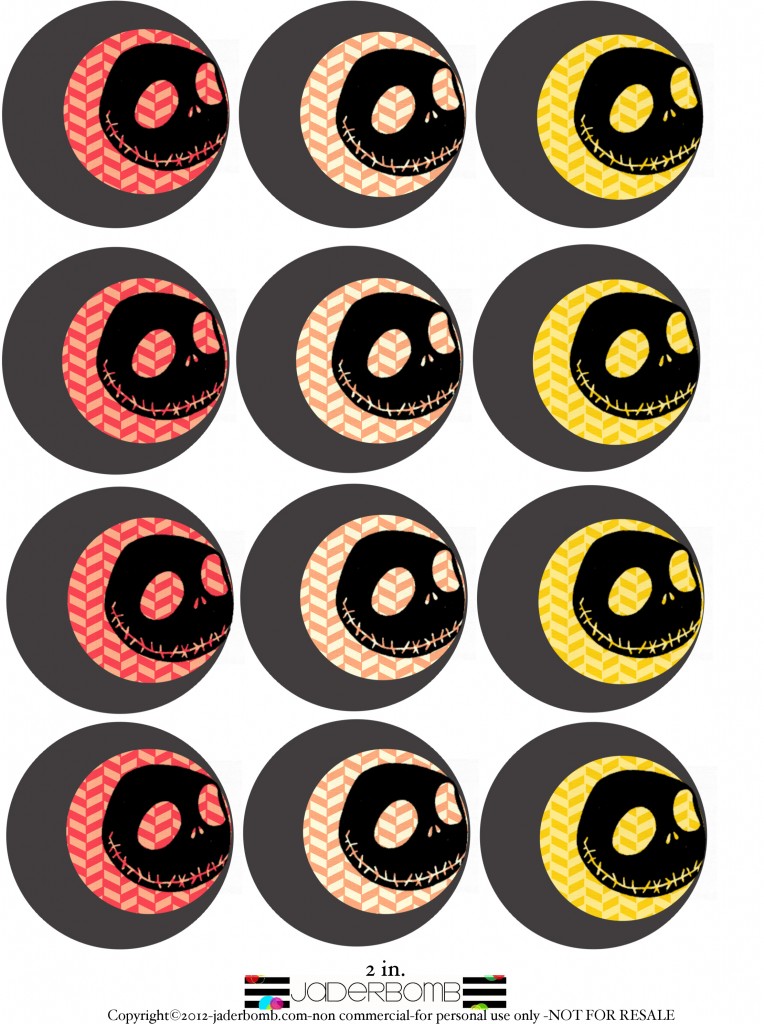
Today’s FREE printable is inspired by The Nightmare before Christmas. I love that movie and I think it adds a whimsical touch to Halloween, even though “Christmas” is in the title.

All you need is a circle puncher for these babies. They are made for a 2 inch circle punch but I used a 1 3/4 circle punch. I didn’t want them that big for my treats. You can get a circle punch at any craft store or Wal-Mart.

Do you see the gray MOON in the cut outs? Cute huh!

Don’t forget to print out this other free printable I made to MATCH. I always recommend printing on card stock.

DOWNLOAD THE FREE PDF FILE BELOW:

Nightmare before Christmas cake toppers


There is nothing better than a fun fall mantle to dazzle up your home. I personally love taking advantage (badly) of every single holiday or special occasion. Check out what I made with things I already had laying around the house!

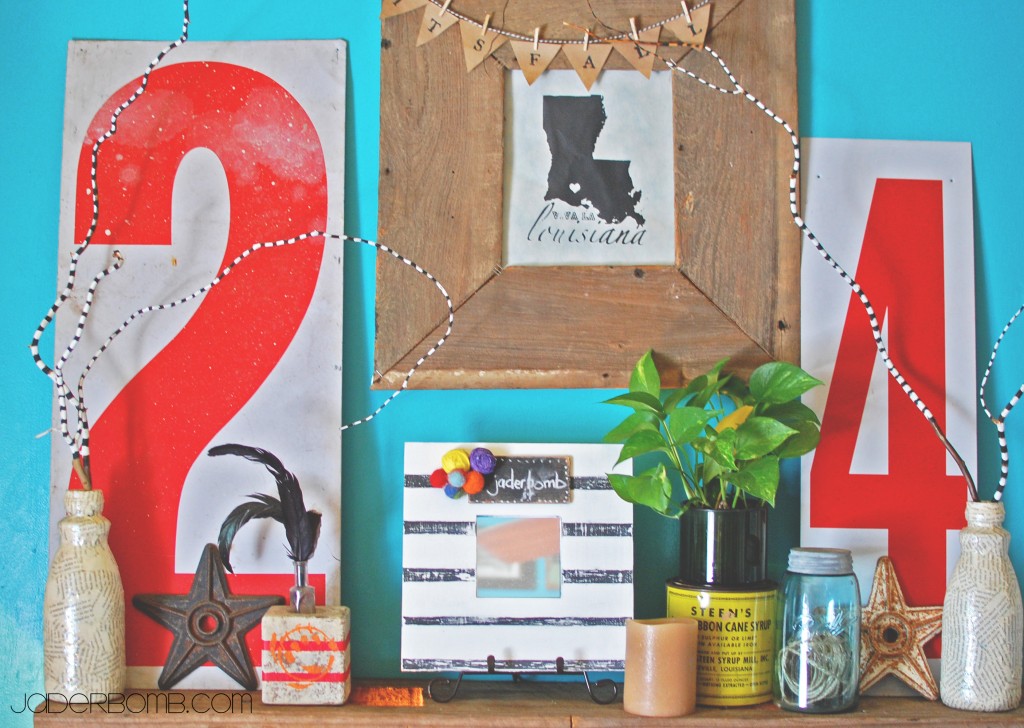
Happy FALL YALL! I am finally showing you my shelf that I decorated in the kitchen for the Fall holidays. I’ve been showing little tid bits of different projects on Facebook and Instagram so I am excited to be done with this shelf. Fun part will be getting in the attic and decorating the rest of our house!

Monday is almost over and guess what? That means we are are closer to the weekend! Sometimes I find myself counting down the day’s till the weekend. I mean what’s so bad about the week? I think it’s because of work. (haahaa)

I’ve been seeing a lot of Fall decor lately so I figured I would follow the trend. I mean it is FALL YALL! There is only ONE problem with Fall. I am not a huge fan of all the “traditional” Fall colors. EEEK. Did I just say that? When I was growing up our house was always decorated, especially for the holidays. For some reason I only remember my mom decorating in the “traditional” Fall colors, which was really pretty but a little boring to a bright and whimsical girl like me. I swoon over FALL colors every time I see them but I just can’t do it. I mean, look at my kitchen wall color. It’s turquoise. I also added some rustic stars, vintage jars, a vintage “yellow” can and some vintage gas station numbers to my  kitchen decor.

Let take a look at what FALL look’s like in my head…

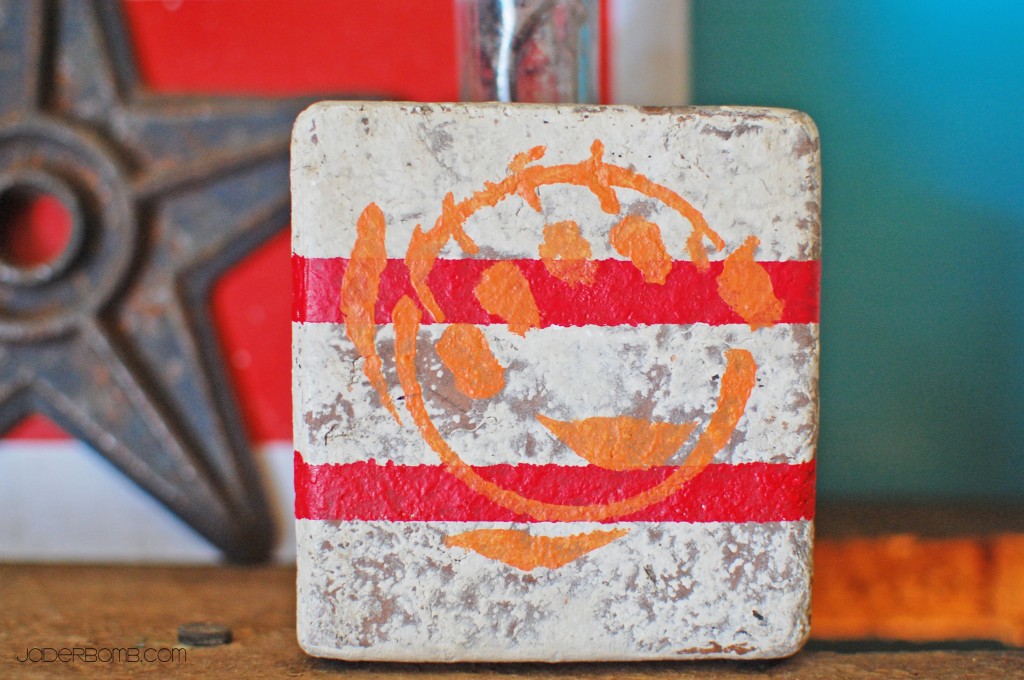
I am loving red and orange together lately! Check out the candle holder here.

I was totally inspired by my [friend] Stephen with this. Stephen is one of the judges on TLC’S craft wars and he does ton’s of this in his new book “Glitterville’s Handmade Halloween”. Trust me you NEED this book! Buy it here.  I think the black and white make everything else in my kitchen POP. I painted on real wood so it feels warm and cozy when I look at them. (tutorial coming this week)

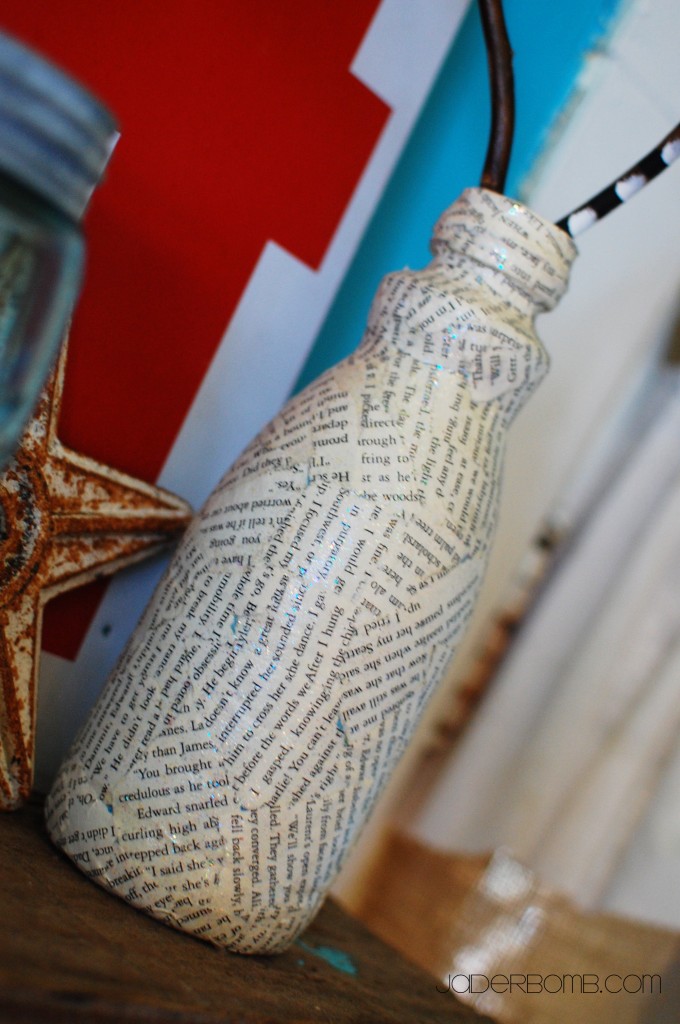
I love my homemade vases because you can actually add water in them! I will be posting a tutorial this week on how I made them.  I can’t even express how inexpensive this craft is. When I think of Fall I think of natural things. Paper feels natural to me and that is why I used this on my shelf.

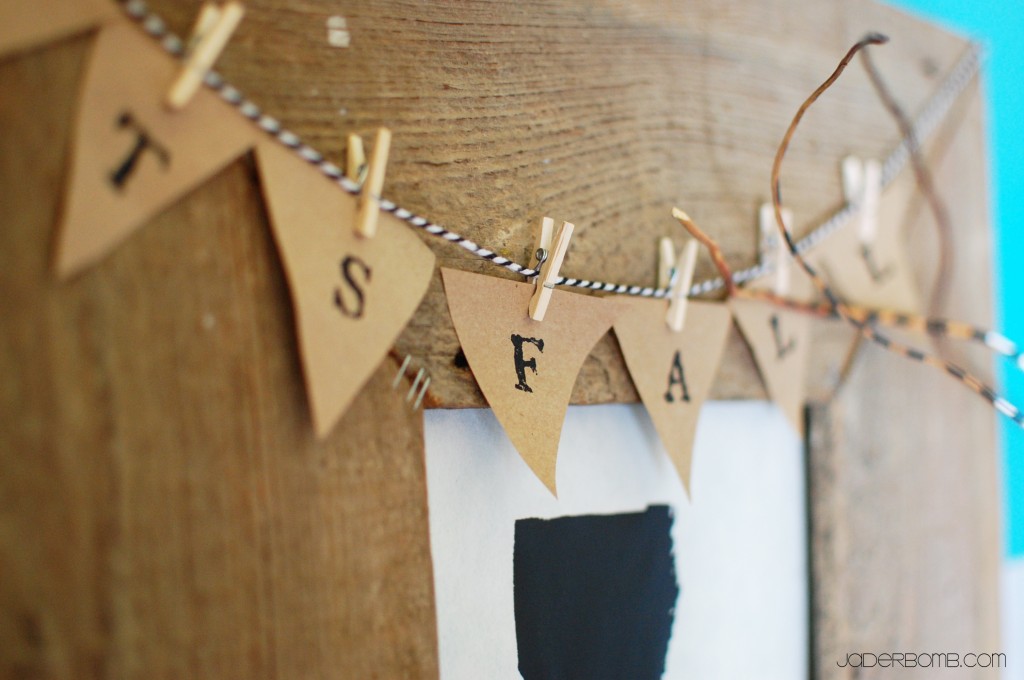
What else SCREAM’S FALL like mini flags with mini clothespins! Again I went with natural colors here since I have ton’s of other things bursting with color. I used black and white bakers twine to go along with my black and white FALL theme. You can order mini clothespins in my ETSY shop.

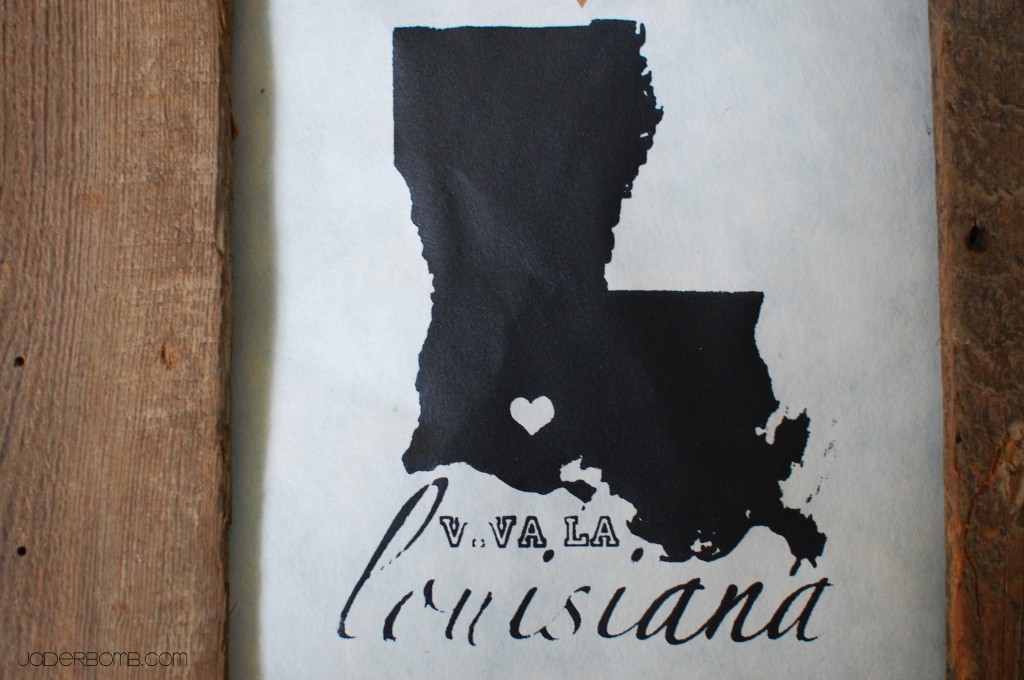
I am loving this print I made the other day. Yes it’s a silk screen. Yes I made it at my house. Yes you can too. Stay tuned for this tutorial because all I will say is you will be purchasing the machine I made it with!

This is a mirror I made a while back but I thought the black and white went with my theme. See the tutorial here.  If you follow my blog then you already know my LOVE for black and white. I think I love it because it allows me to add POP’S of color all over! Remember my bedroom walls and my napkin flags?

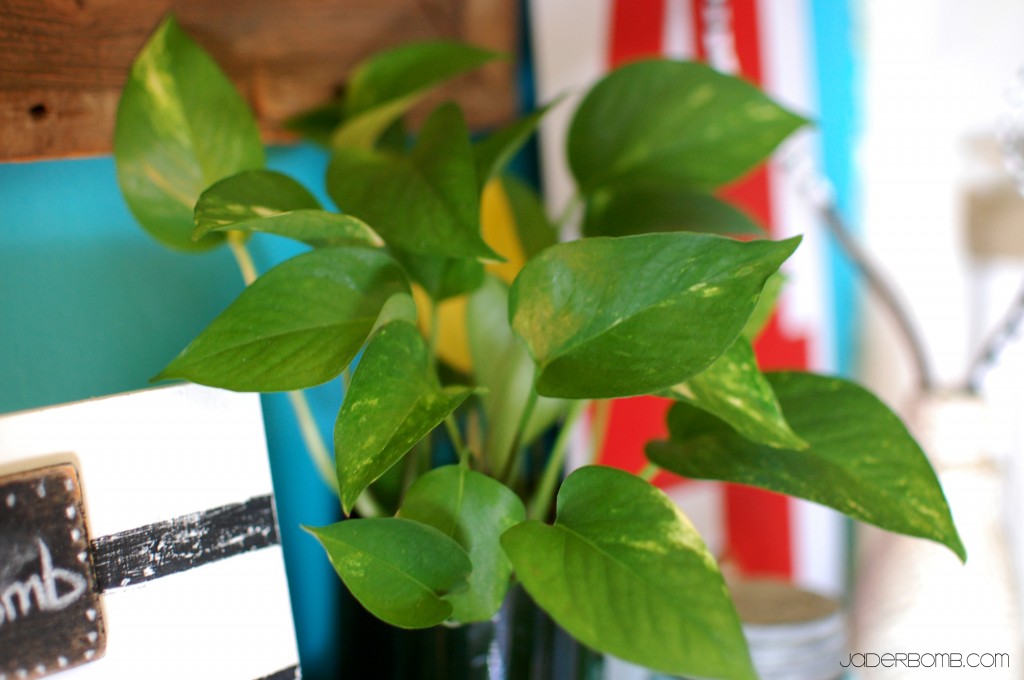
How could a live plant not feel like FALL! The fresh green just makes me smile plus it adds good energy in the house!

The rest of the week I will show you tutorial’s on everything I made for my kitchen decor so make sure and come back!

Huge Glittery Hugs, Jade