Tag Archives: halloween crafts

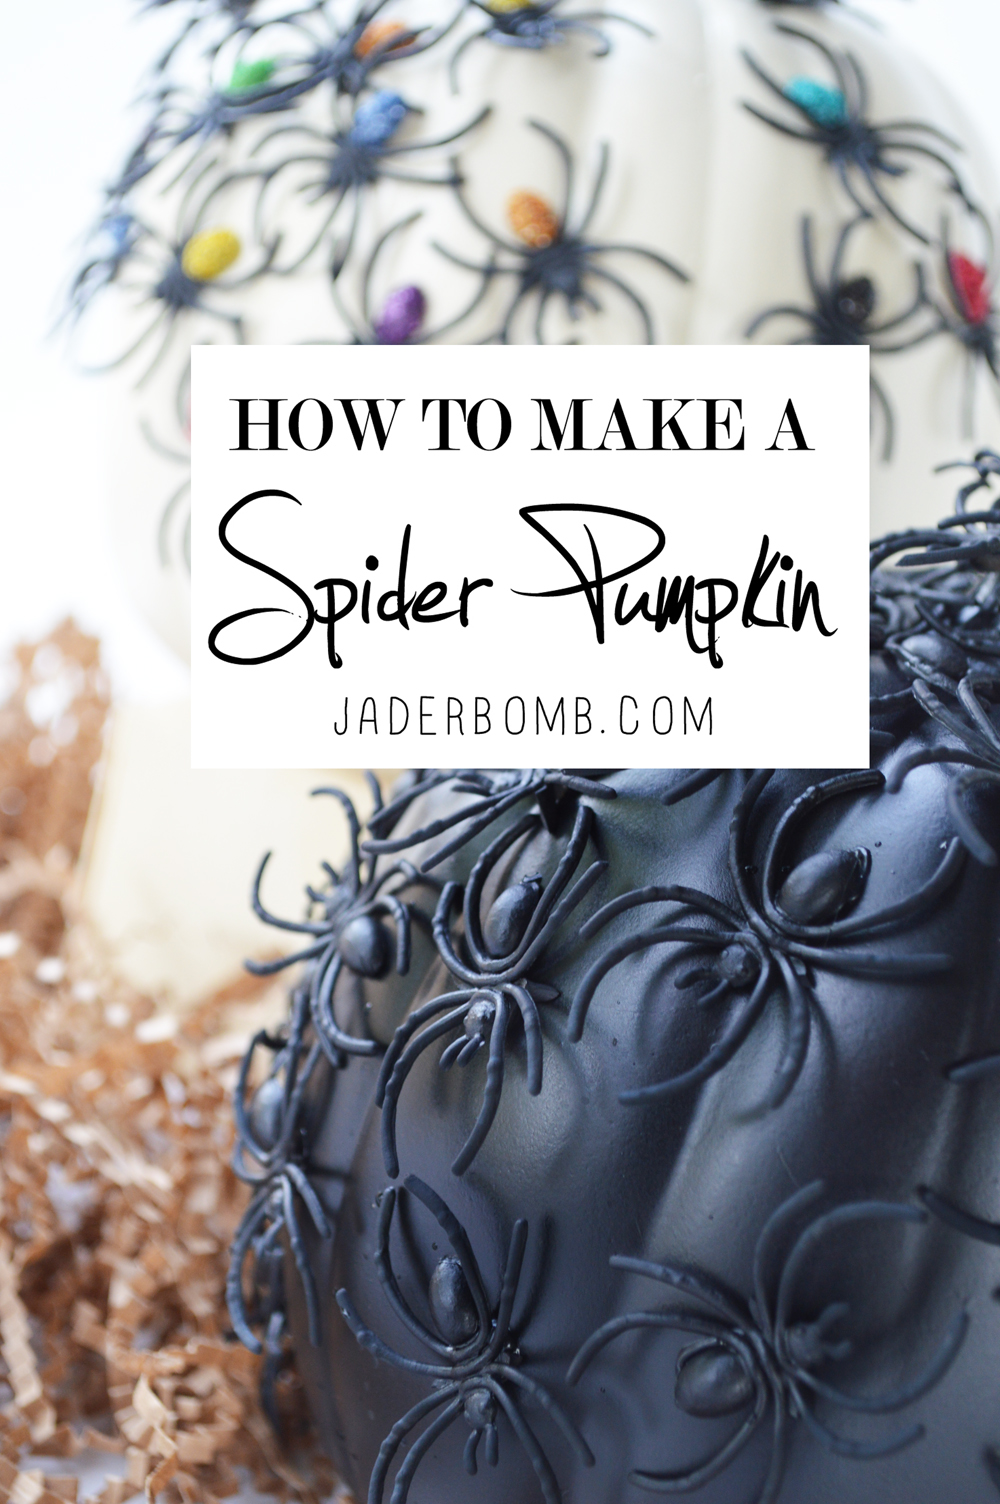
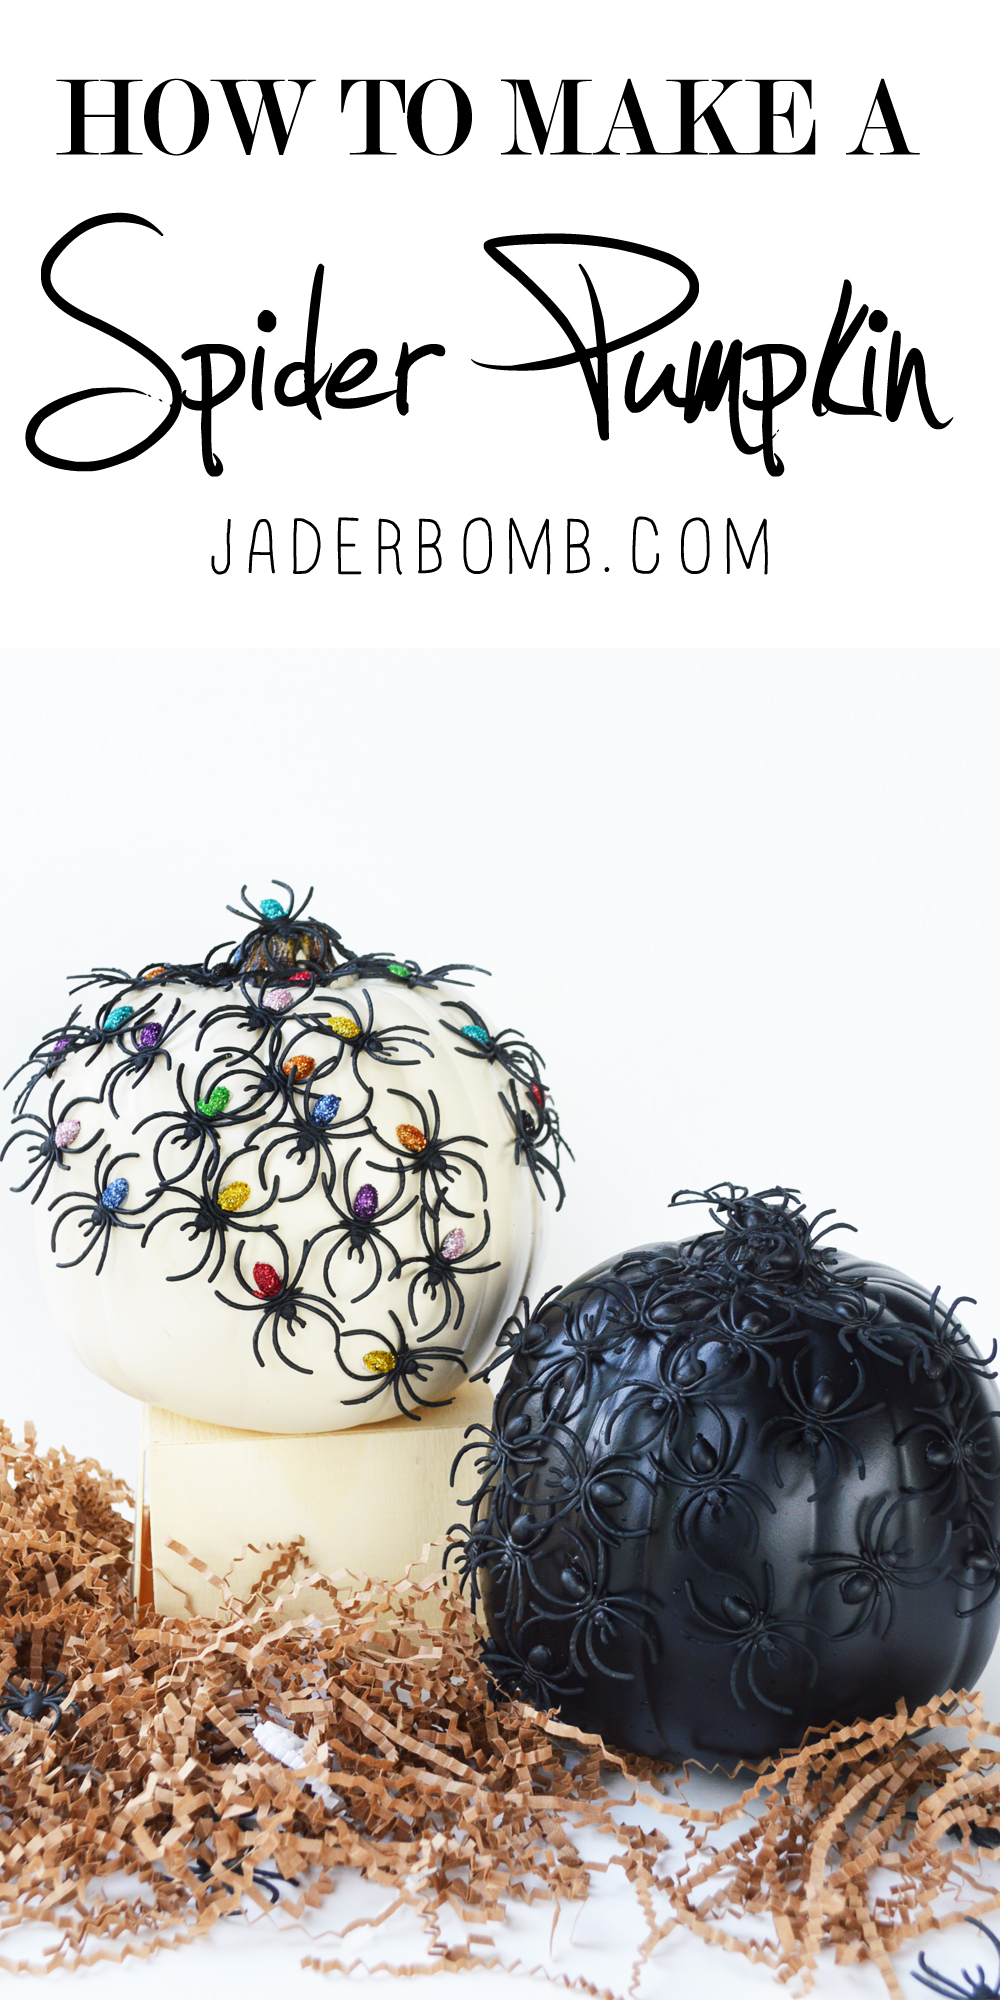
WHO’S READY TO MAKE A SPIDER PUMPKIN! 
I am excited to share with you the #TrickYourPumpkin sweepstakes that will be going on Oct. 4 through 31 for a chance to win a $250 Michaels gift card and Plaid products each Friday throughout the month of October. 

HERE ARE THE RULES:
Post your pumpkin project on Instagram using hashtag #trickyourpumpkin, #sweepstakes and tag Michaels.

If you are having trouble figuring out all the different ways to keep this sucker up all year long then you and I are on the same page. It’s funny because when I started doing the rainbow pumpkin I really fell in love with it until…the matte black one was born.

…There is something sleek and sexy about an all black pumpkin, don’t you agree!

Spider Pumpkin

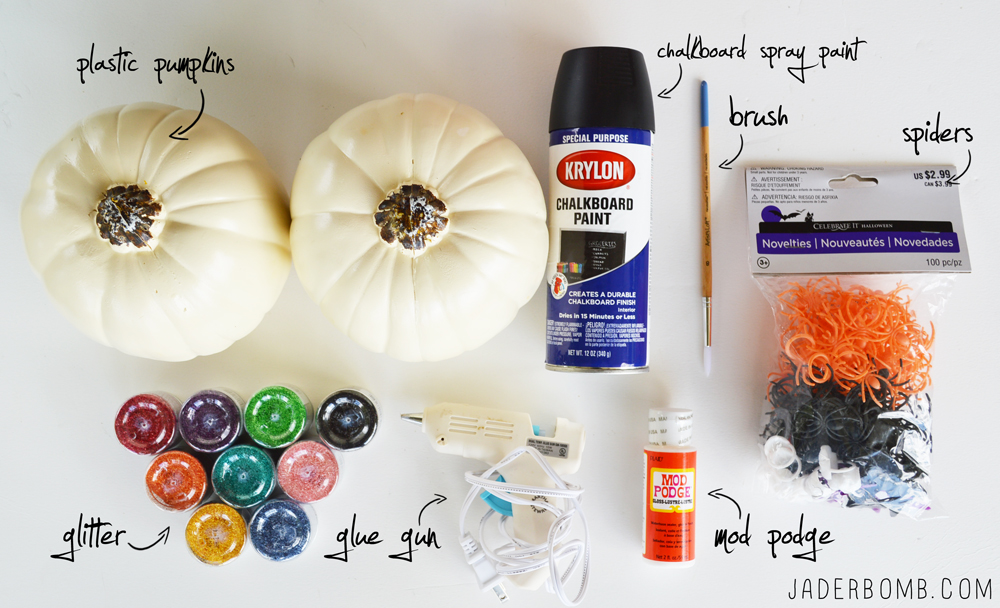
What You’ll Need (You can purchase all of the items I used in this post by clicking on the links below. These are affiliate links so ordering from them helps me buy more glitter and glue)

spider pumpkin diy

I love this glitter. It has a matte look to it and it goes perfect with the shiny spiders!
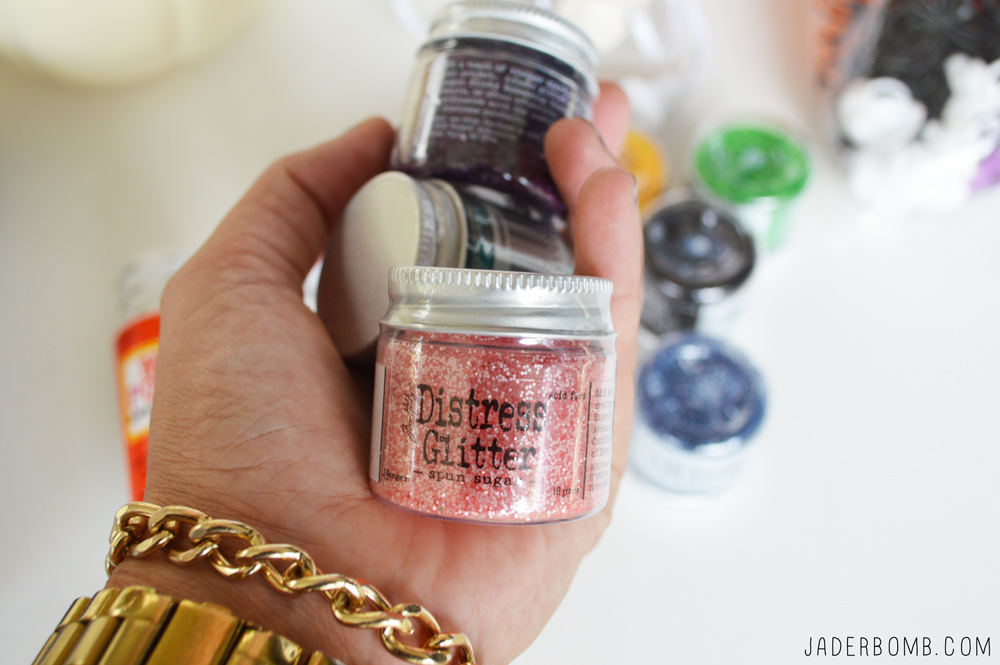
vintage glitter

The first thing you want to do is place the spider on your finger, add mod podge to the end then sprinkle glitter on top.
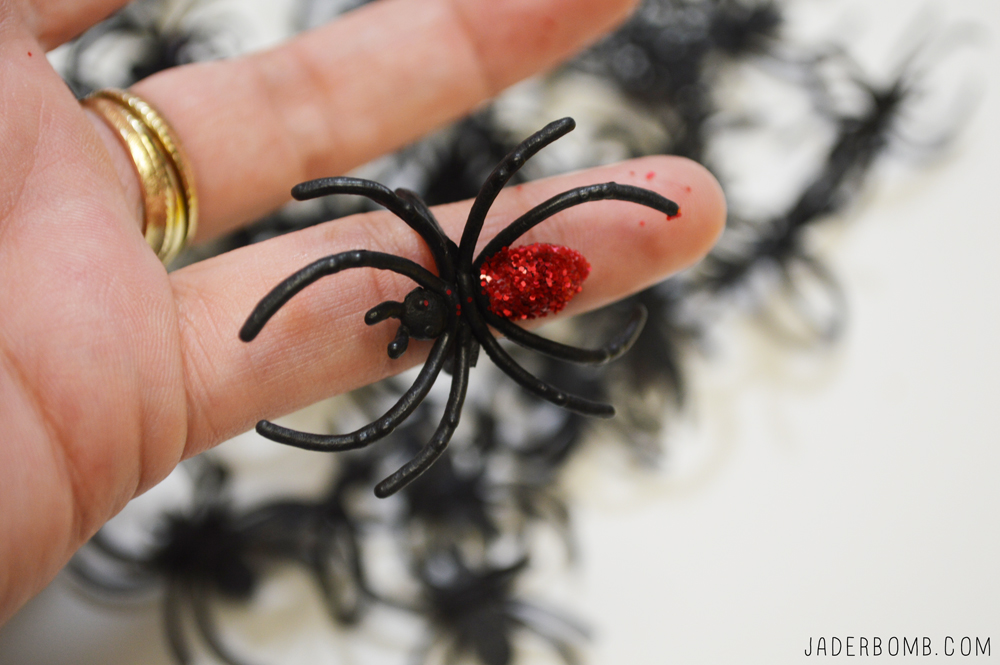
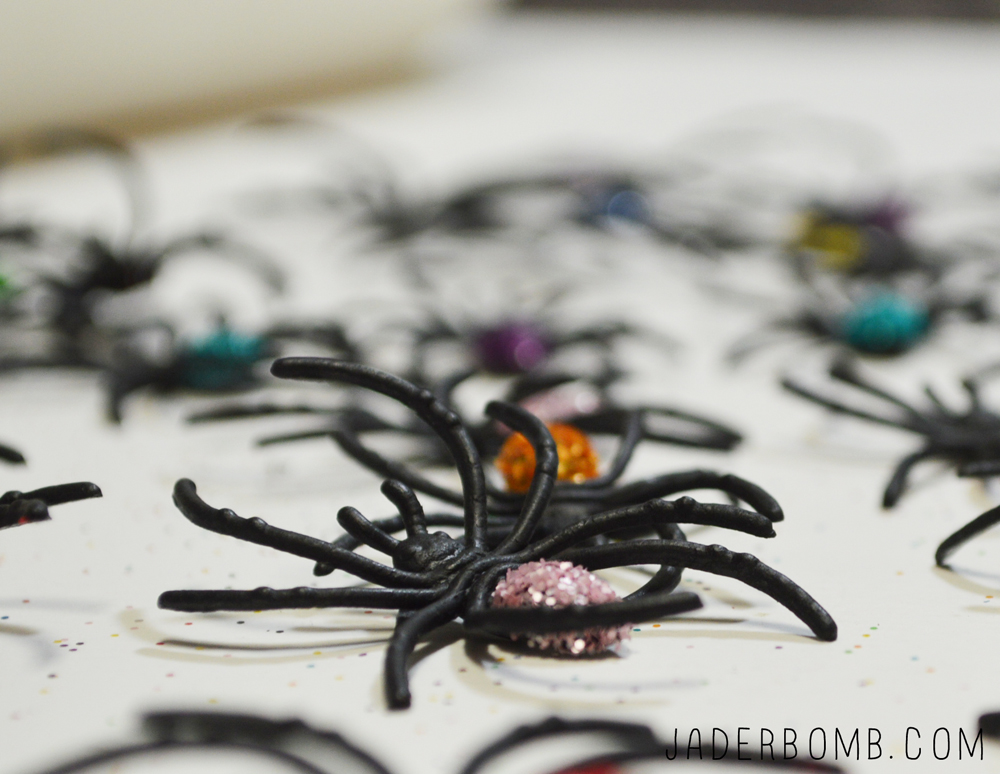
glittered spiders

Once your spiders are dry, grab a pair of scissors and cut the ring section off.
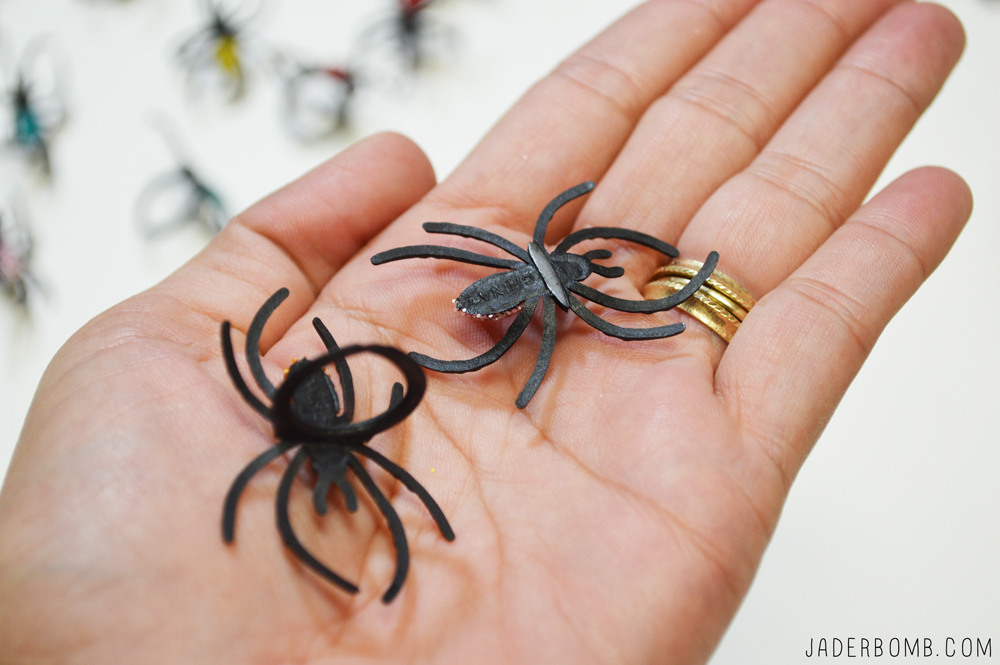
spider diy

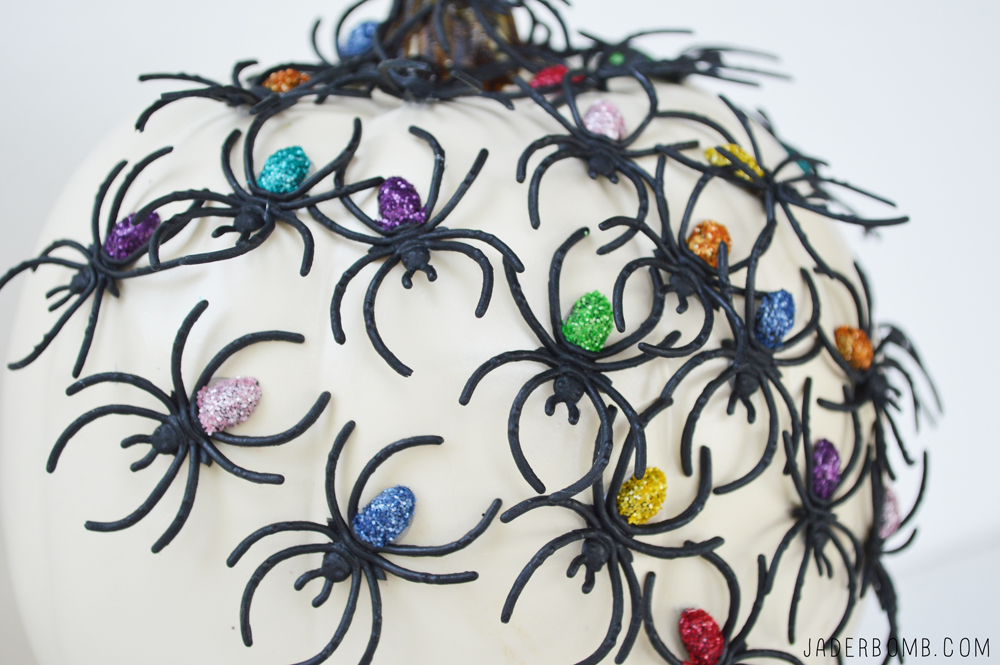
How gorgeous are these spiders…

halloween tutorials

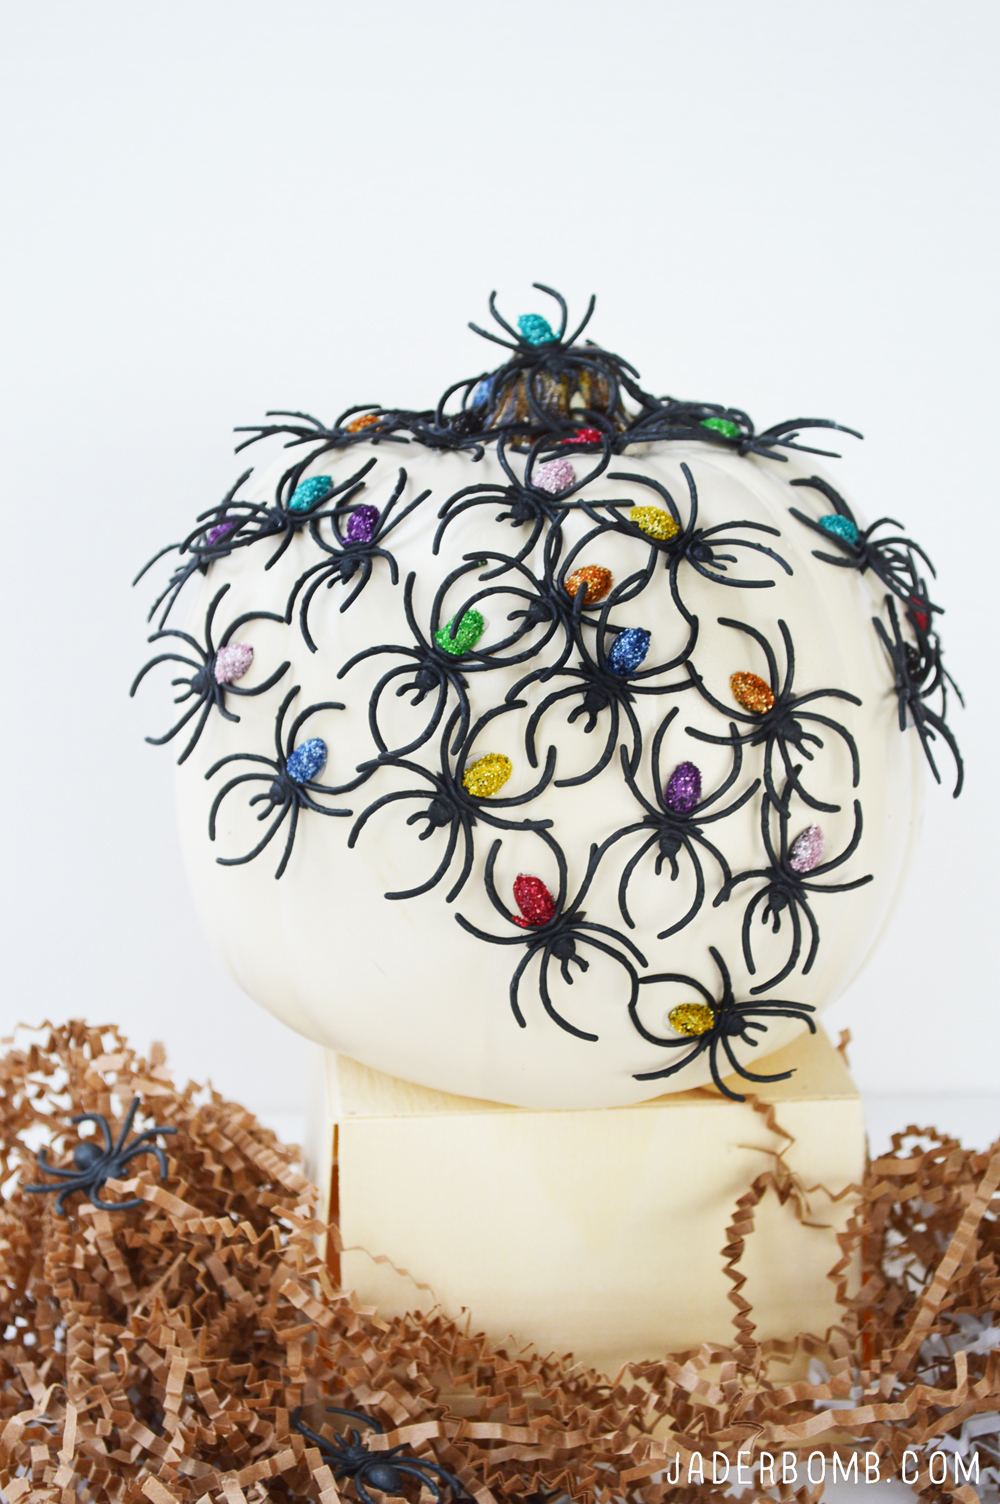
Start applying the spiders on the pumpkin by adding a little hot glue to the back of them, then placing on the pumpkin. That simple. This is all we are doing with the cream pumpkin.
DSC_0565

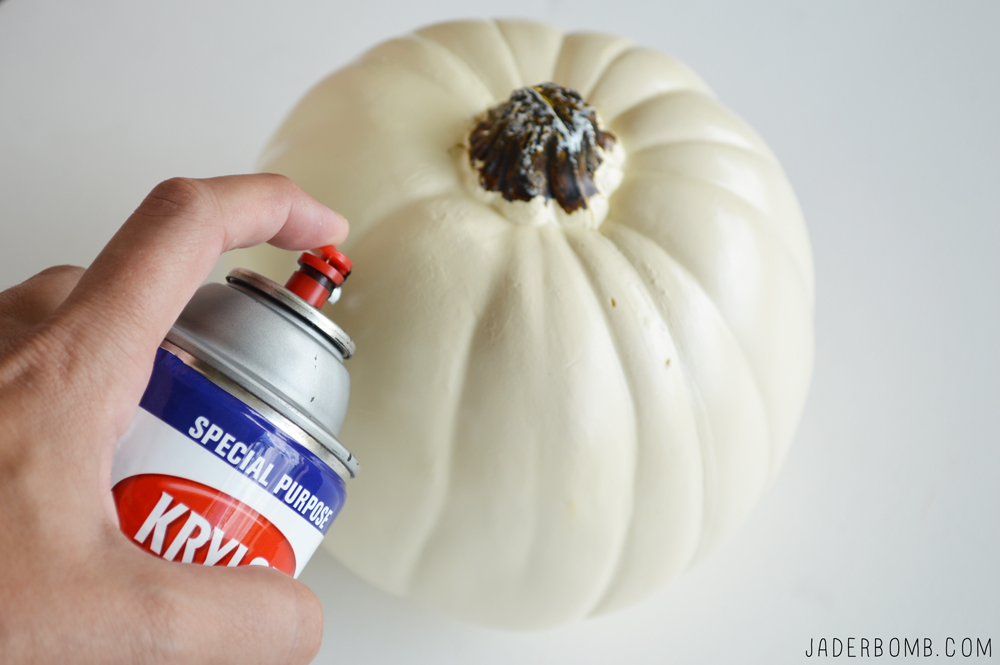
For the matte black pumpkin you will start by spraying the pumpkin with Krylon chalkboard paint. Make sure to do this in a well ventilated space.
DSC_0540

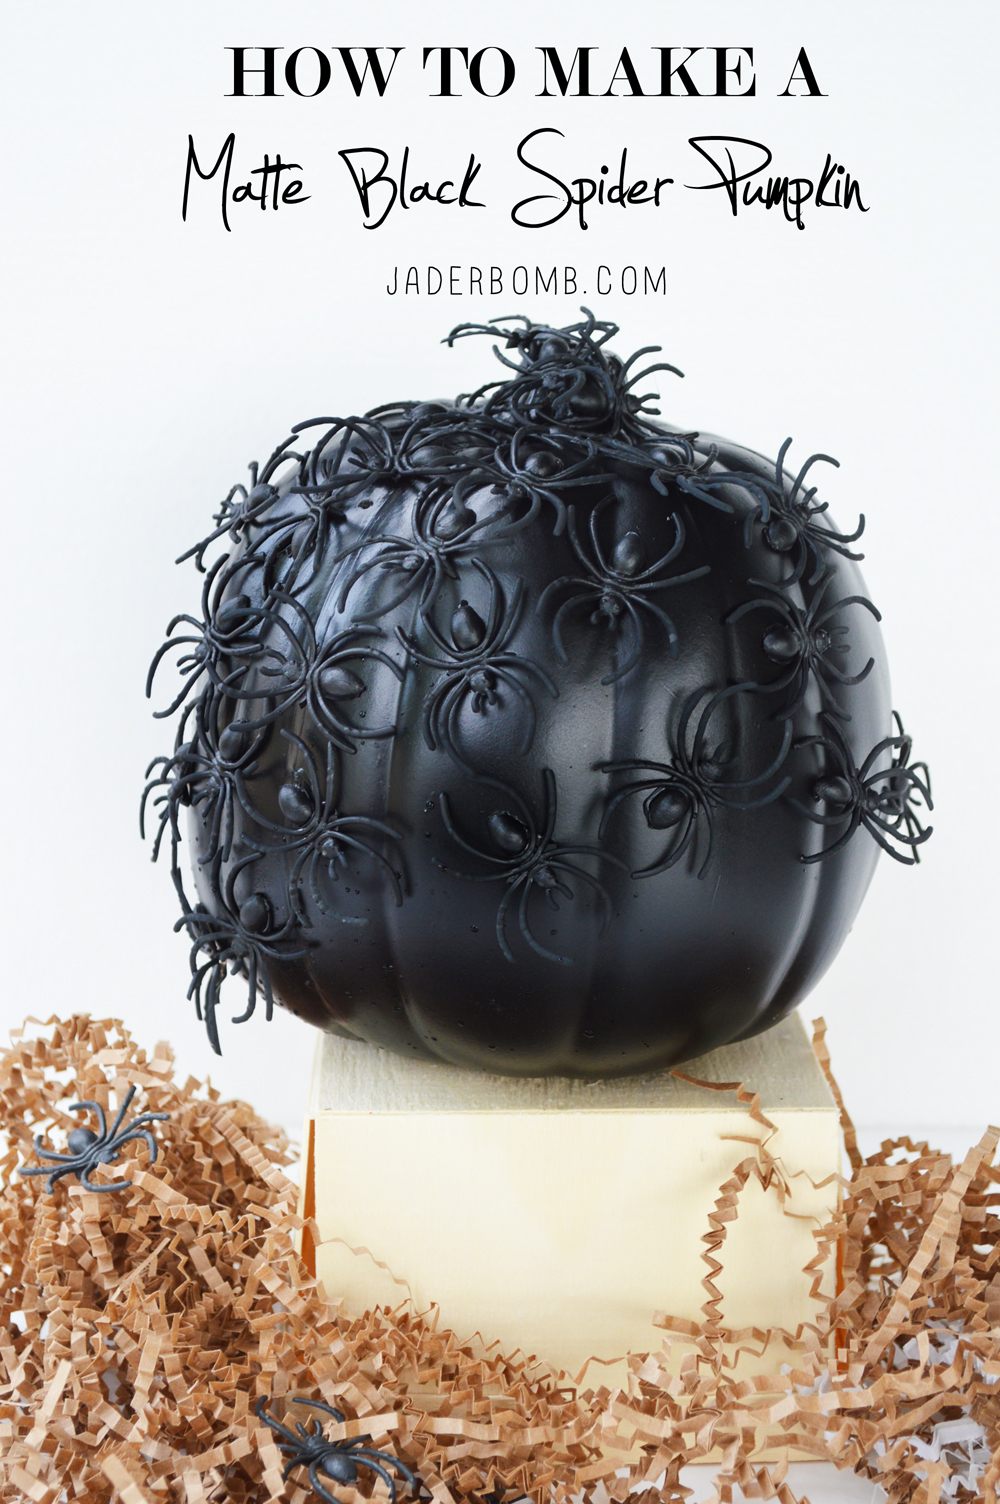
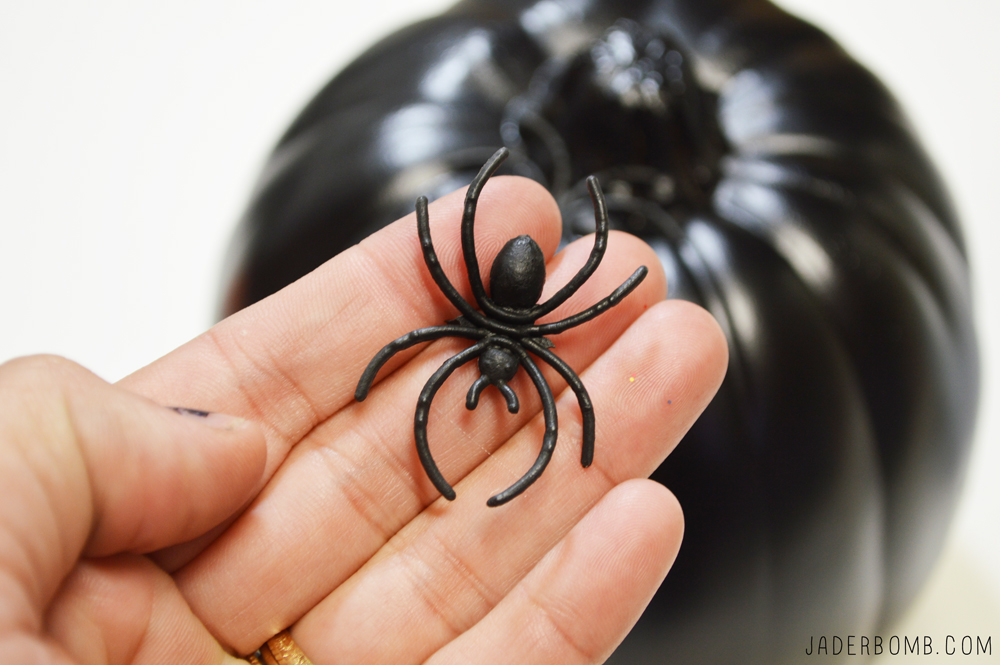
Take your black spiders and repeat all the steps from the cream pumpkin. Once all of the spiders are glued on spray your pumpkin again with the chalkboard paint.
DSC_0559

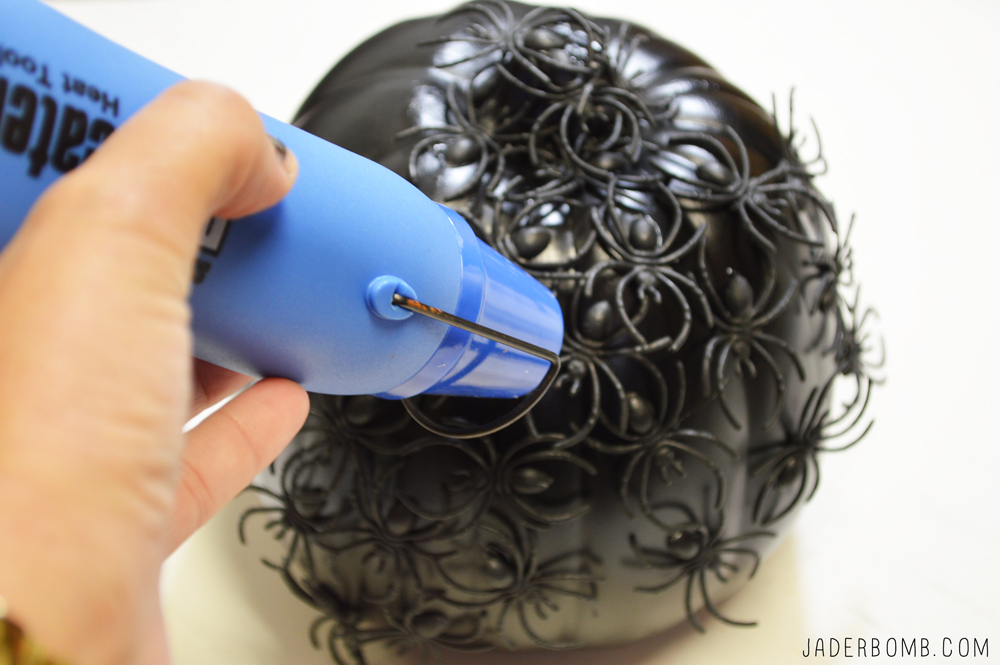
Here is a quick tip: Remove loose strands of hot glue with a heat gun, or a blow dryer. It heats up the thin strands then they magically disappear.
DSC_0561DSC_0571DSC_0566

matte black spider pumkin

I hope you enjoyed this post and you make ton’s of fun spider pumpkins!HASHTAG LOGO

Don’t forget to connect on social media! Make sure to use use the hashtag #JADERBOMB on Instagram or Twitter or Facebook so I can keep track of all your awesome creations! HAVE A GLITTERY DAY! ♥, Jade

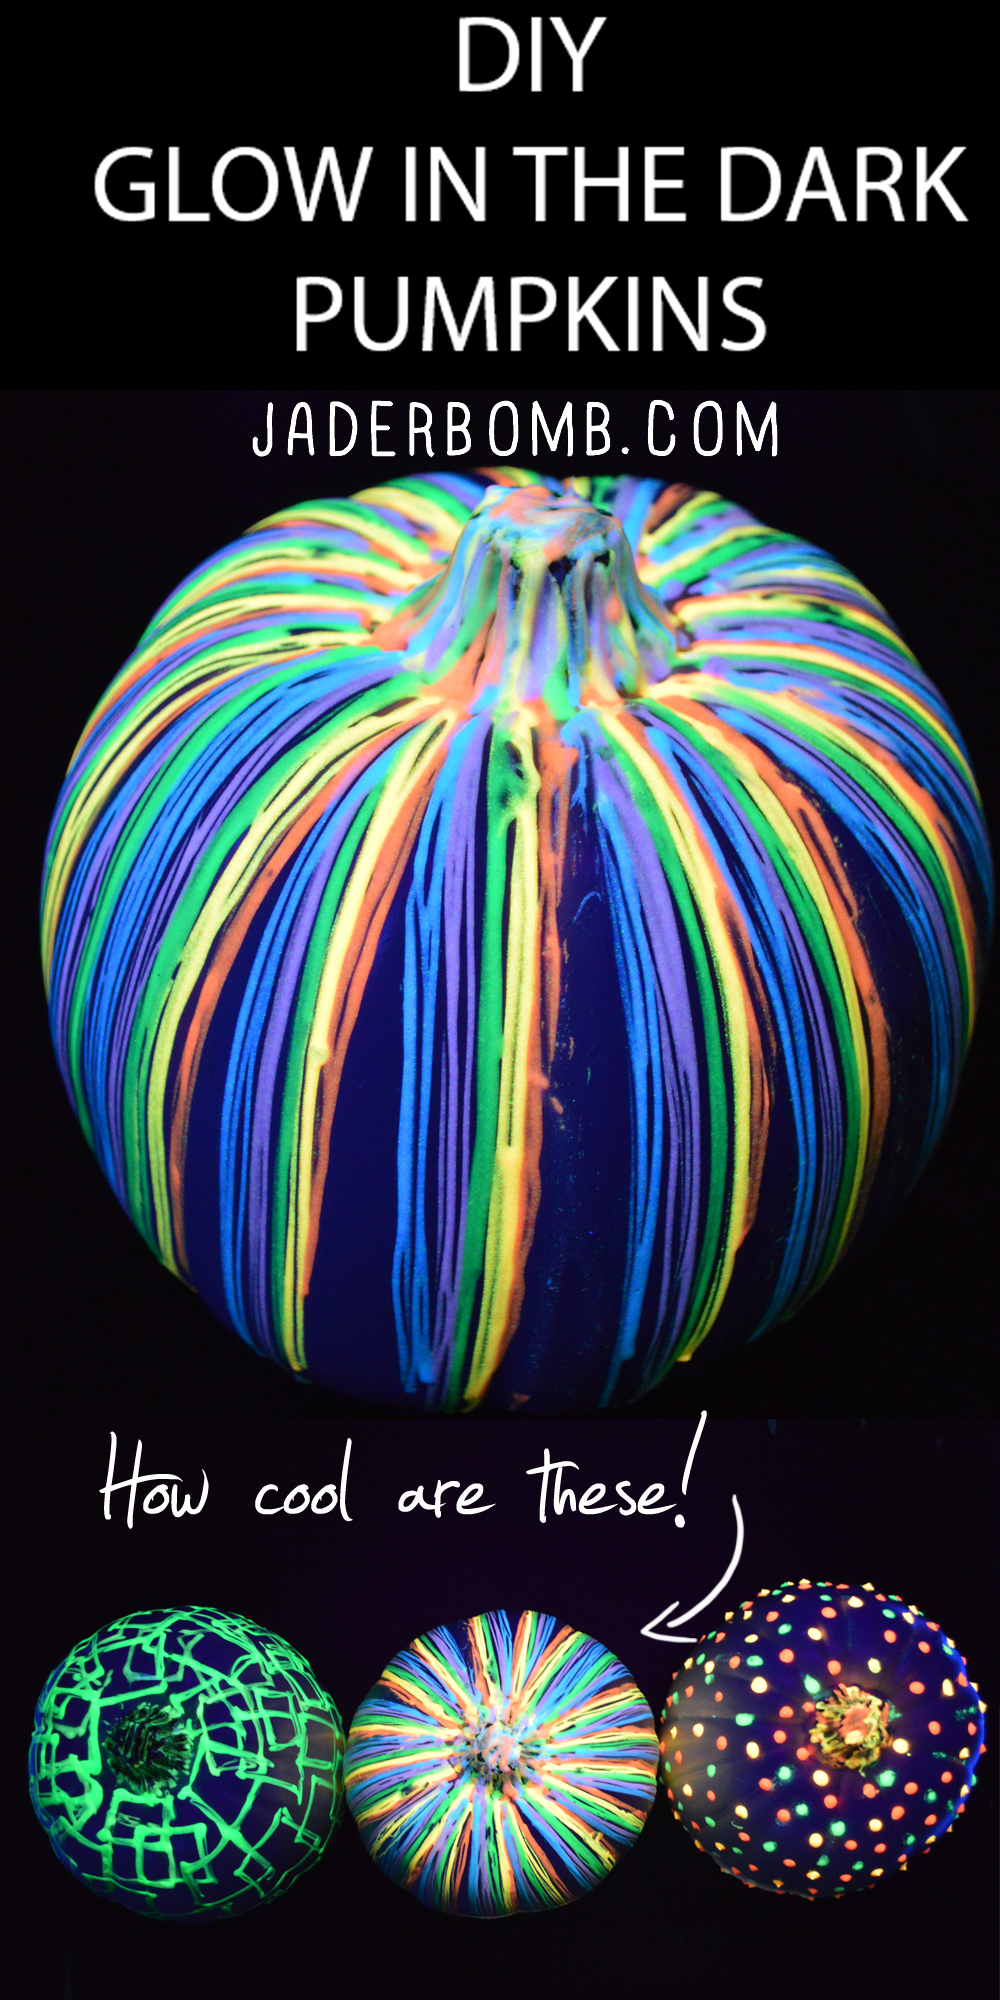
Today it’s all about Glow in the Dark Pumpkins. I have always loved Halloween so I figured I would get a little creative with my pumpkin decor. I don’t know about you but I am over carving pumpkins, which is why I resort to artificial ones. For one, they last a heck of a lot longer (heller, saving money 101) and they are simply gorgeous the second you purchase them. Have you seen my pumpkin roundup, if not you have to check it out. It’s 20 fabulous ways to decorate your pumpkins!

I get all of my pumpkins from Michaels and right now they are 50% off! I know, I think I will go back again today and get more. This tutorial is good for everyone to do. It’s the kind of project that just makes you feel good! Plus creating is a good way to release anger and and it relaxes you in the process! For the full tutorial click on the link below! Come check out all of my past Halloween crafts here.

Glow in the Dark PumpkinsCLICK HERE FOR THE FULL TUTORIAL!!!

HASHTAG LOGO

Don’t forget to connect on social media! Make sure to use use the hashtag #JADERBOMB on Instagram or Twitter or Facebook so I can keep track of all your awesome creations! HAVE A GLITTERY DAY! ♥, Jade
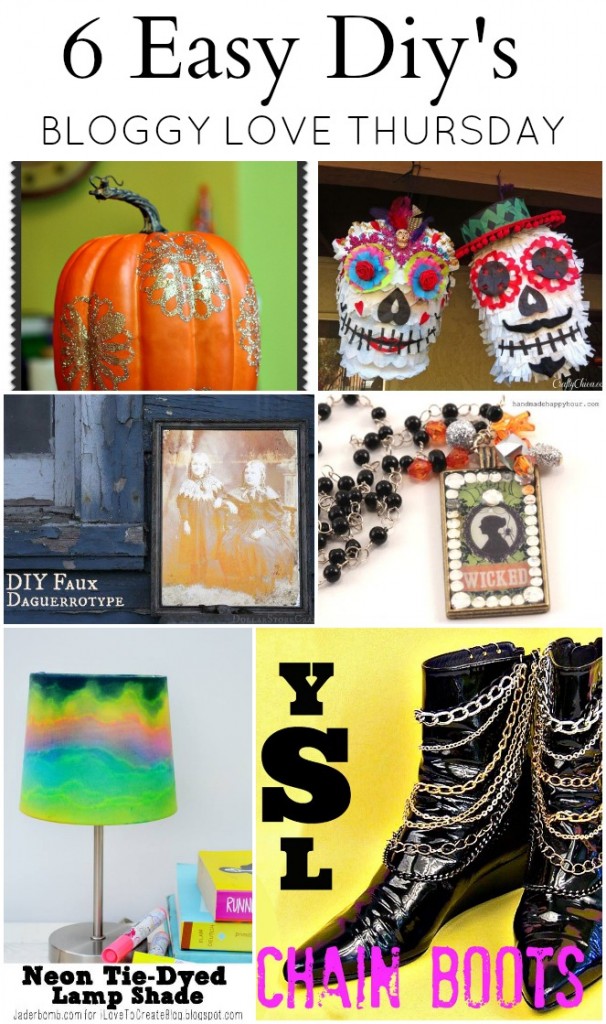
6 EASY DIY TUTORIALS It’s all about 6 EASY DIY TUTORIALS  today for Bloggy Love Thursday! I don’t know about you but anything fun, functional and easy makes me happy. Let’s see what everyone is sharing today!
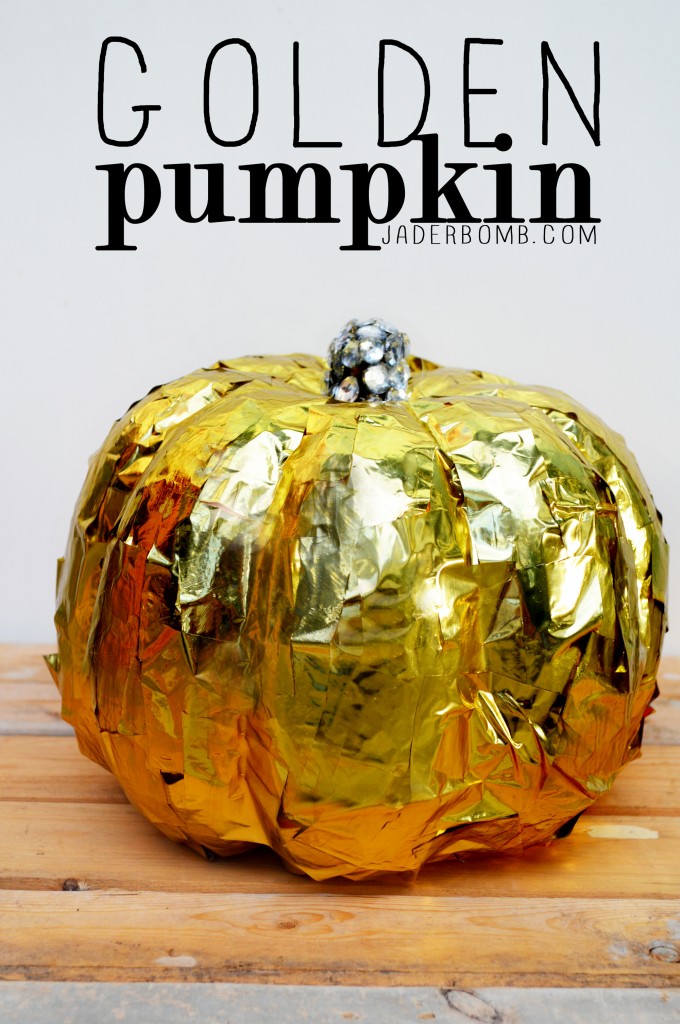
Margot Potter shows us that gold is glamorous with this Gilded Pumpkin .

Cathie Filian shows us how to make a WICKED Halloween necklace with their products that are at Walmart (wahooo)

Mark Montano brings me to HEAVEN and back with these DIY chain boots!

Heather Mann just made my day with this DIY. Learn how to make a Faux Daguerreotype.

Kathy Cano-Murillo shows us the EASY way to make a PIÑATAS, and a sugar scull at that!

In case you missed my latest post for www.ilovetocreate.com check it out here! I show you how to make a COOL NEON LAMPSHADE!

I hope you enjoyed this roundup today!

ending1

Yes my dear, I went into an enchanted forrest and came out with a golden pumpkin. Today’s post is all about pumpkin decorating ideas. Golly, this is a good one!

Now I know what you are thinking. The only thing I am familiar with is a golden egg. You know for Easter that one golden egg that everyone is dying to find. I don’t think I ever found it. Maybe my brothers cheated and saw where our parents put it.

Sheesh now that I am thinking about it. Maybe they jipped us and never even put out a golden egg. If you like GOLD then you will love these gold glittered paper bags I made. You could use the bags for your Halloween party.

Who cares because today I will show you how to make a super fancy golden pumpkin that will be all yours.

Don’t forget to enter your dog in the Martha Stewart pet contest, they could be FAMOUS!

Pumpkin Decorating Ideas

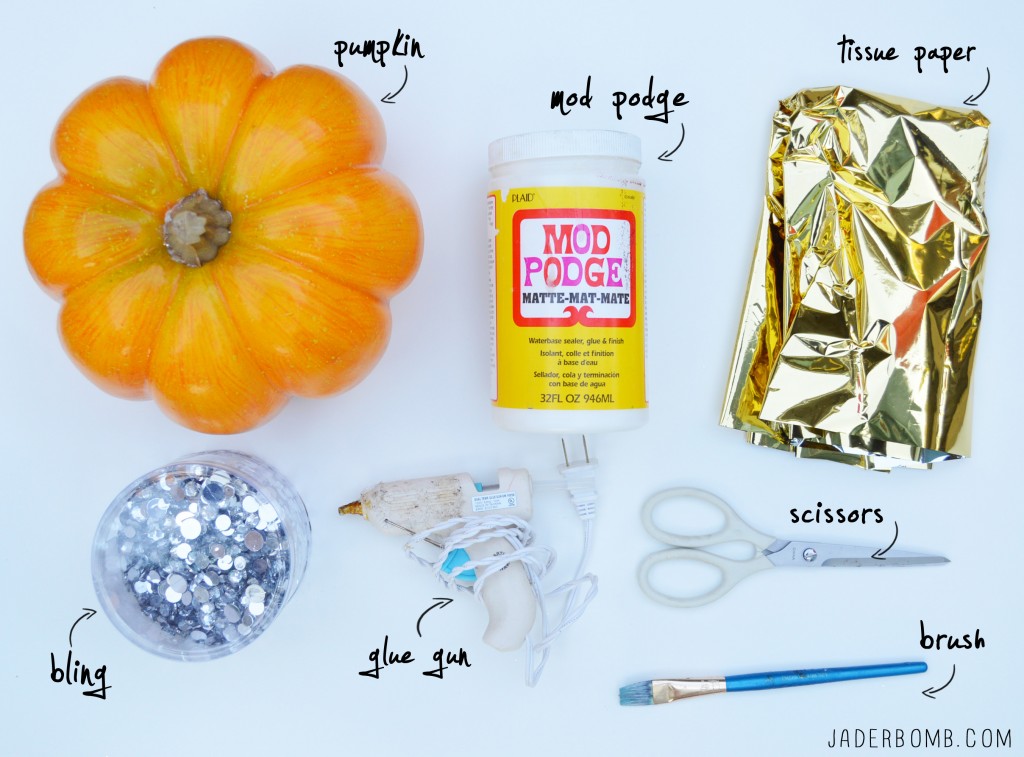
YOUWILLNEED
Funkin PumpkinMod PodgeGold Tissue Paper | Jewels | Glue Gun | Scissors | Craft Brush

If you can’t find any of these products you can click on the links to order them. These are affiliate links so if you buy something you will only help me buy more vienna sausage. <—– not really.
goldpumpkinsupplies

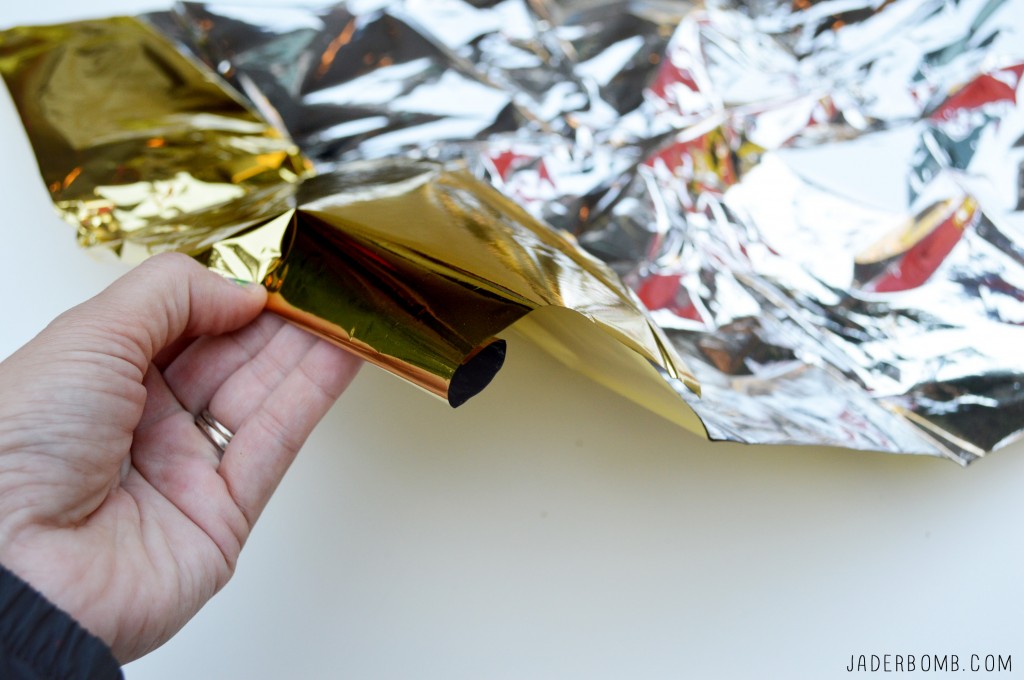
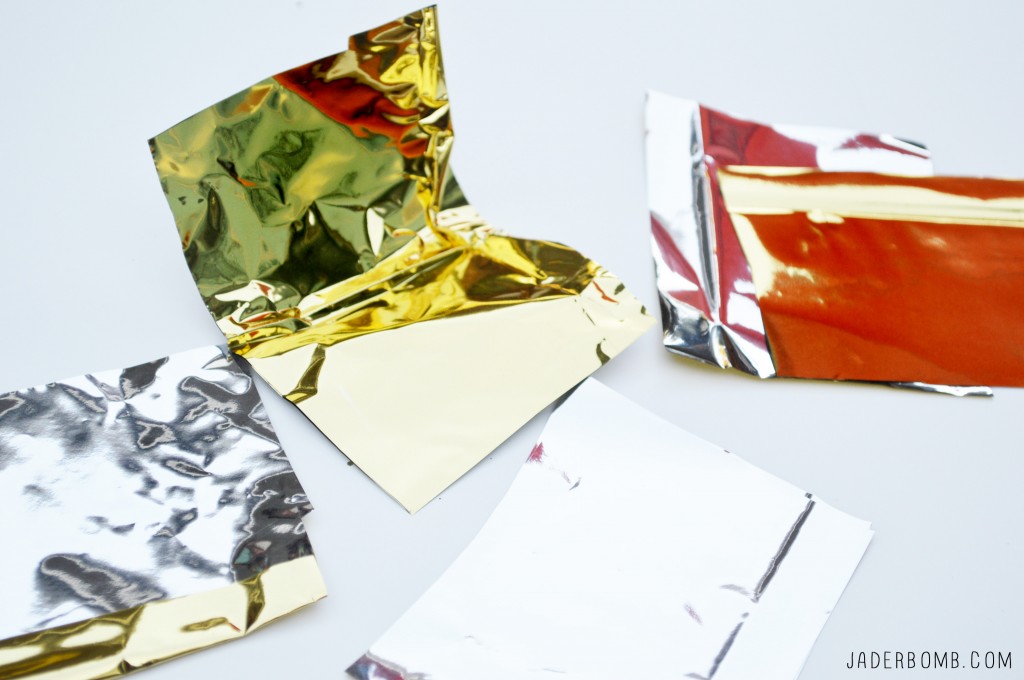
The paper I am using for this project was pretty easy to find. I think I got it from Walgreens. It’s with all of the tissue paper (near cards) but it’s not like normal tissue paper. It’s like a shiny metallic film. The coolest part is one side is shiny gold and the other side is shiny silver.

goldtissuepaper

You will start by cutting a sheet into squares. The size of the squares does not matter. I actually recommend cutting them in different sizes.

tissuepapergoldpumpkin

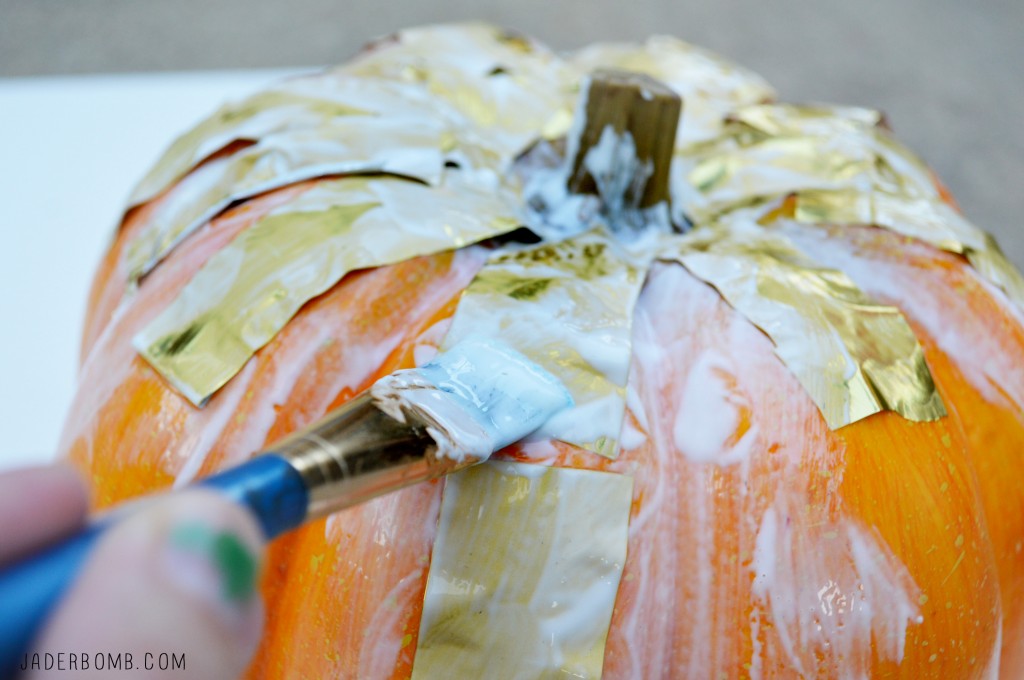
Grab your brush and mod podge and start applying the tissue to the pumpkin. I started from the top/center and worked my way down to the bottom. Make sure you overlap the squares so it doesn’t look too “perfect.”

howtomodpodgepumpkin

This is what it will start to look like once you work your way down. Now I will warn you that this paper is thick so in the beginning you might have to apply Mod Podge with a brush but rub your fingers over each strip to make sure they stick to the pumpkin good. If you see pops of orange showing just add a square on top and Mod Podge away.

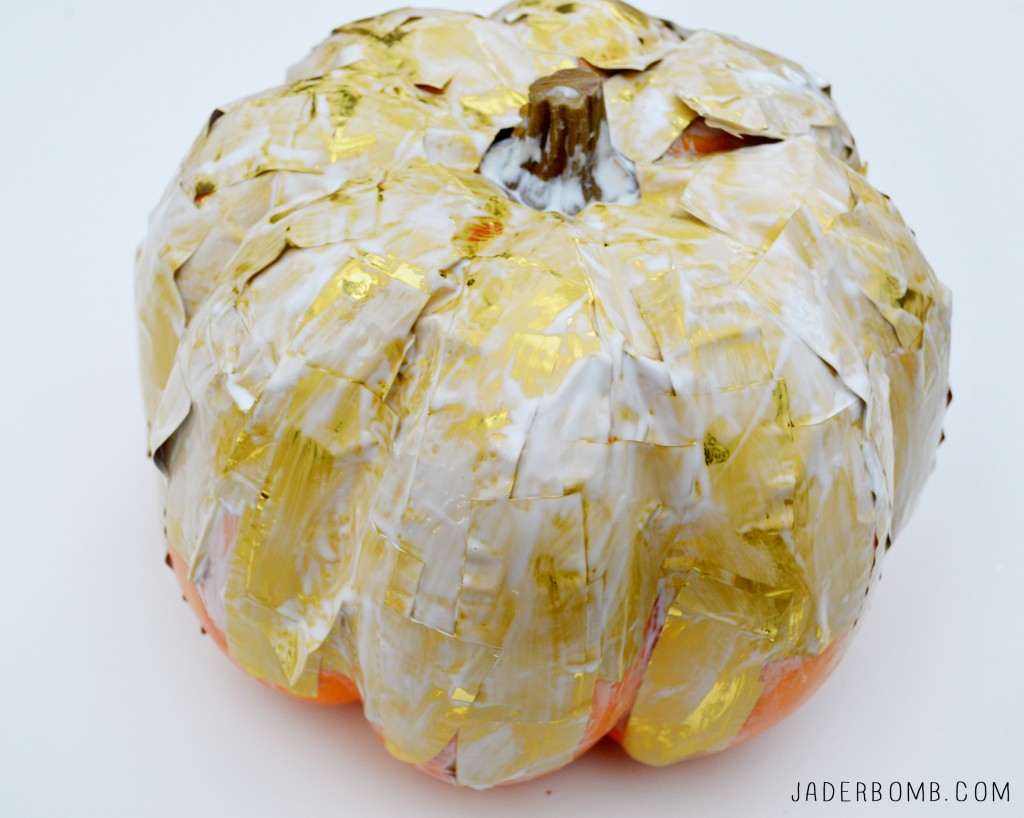
When you are done covering the entire pumpkin let it dry over night. If you are not familiar with Mod Podge it will look “white” in the beginning but I pinky promise when it dries it will be translucent.

modpodgedgoldpumpkin

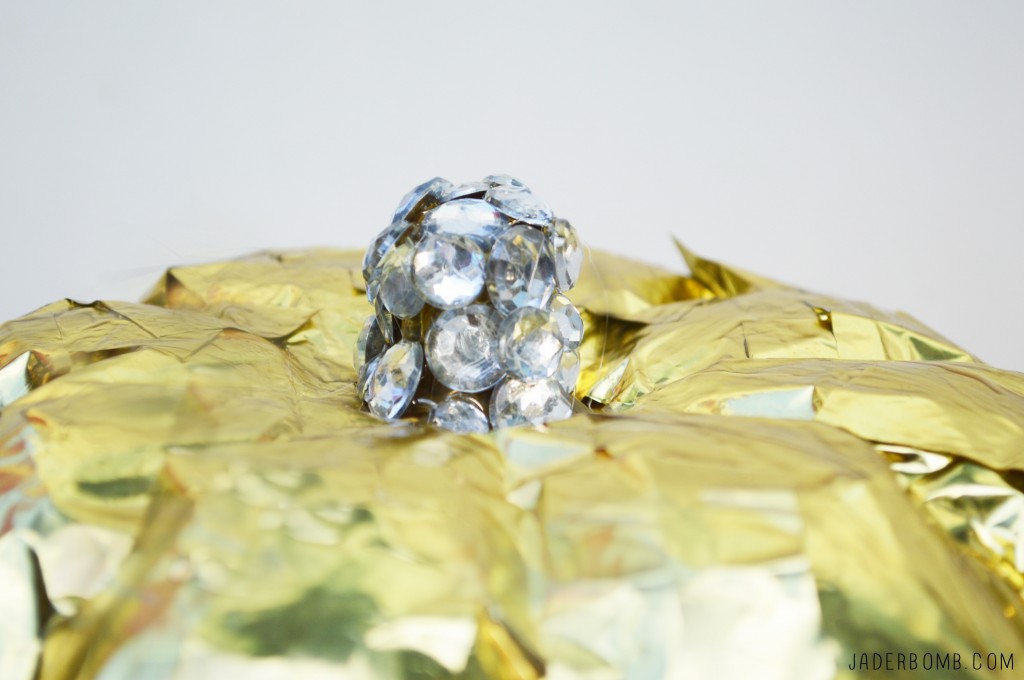
To dress up my stem I added a few flat backed jewels to it. If you don’t have jewels you can sprinkle glitter on top or wrap it with bakers twine. The stem could be like that epic moment when you decorate a Christmas tree and add the STAR!

blinged out gold pumpkin

I hope you enjoyed this tutorial! See you in the next post. I have some exciting things coming so stay tuned! Huge glittery

ending1


Whoa Nelly! It’s almost Halloween already. Where does the time go? I know this sounds CRAY CRAY but I am already working on Christmas crafts!

SHAKING MY HEAD. I will tell you I have some wonderful things coming up and I can’t wait to share them with you!

HALLOWEEN CRAFTS

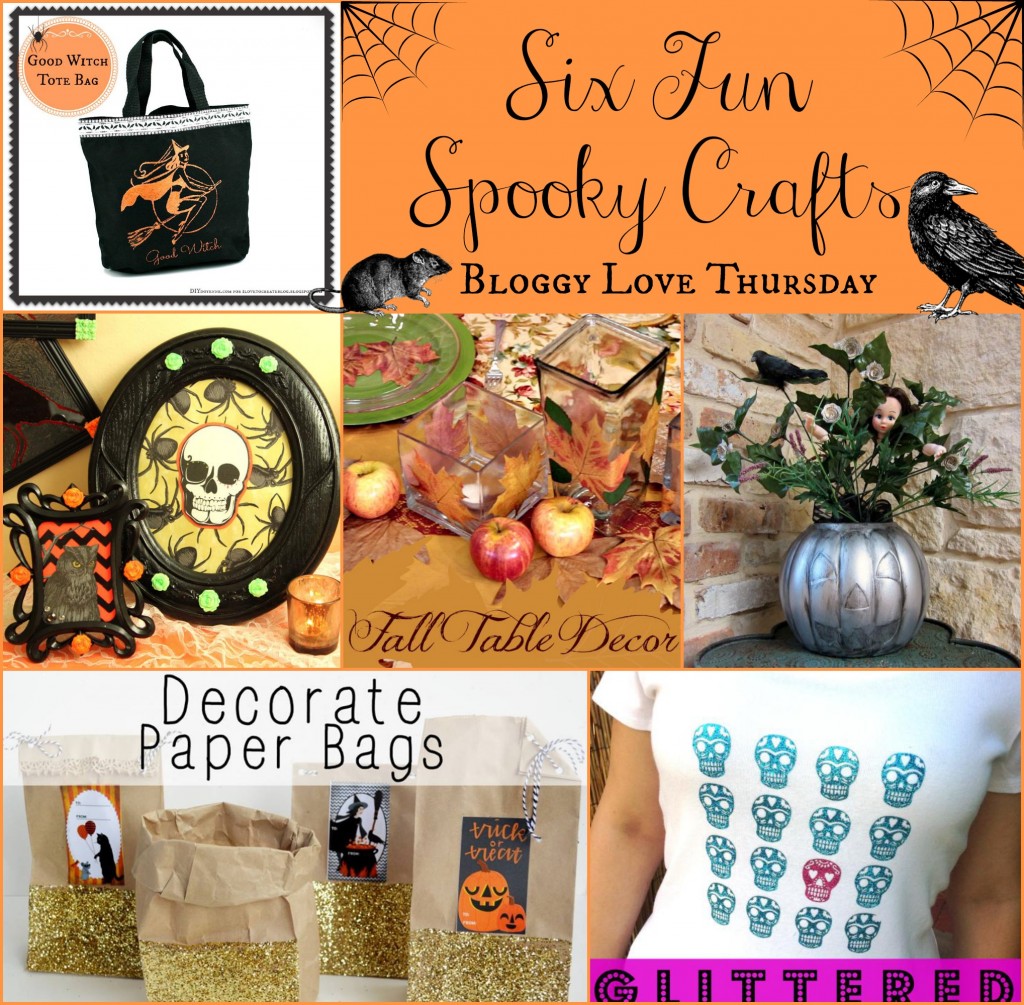
 I have some great Halloween Crafts to show you ! My friends rocked out glitter and glam this week.  

My, oh my Margot Potter is rocking my socks today with this silk screen witch tote bag. I wonder if I am a good witch or bad witch…

Cathie Filian and Steve Piacenza show us an easy way to decorate any mantle. Don’t worry if you don’t have a mantle, you can still use all these crafts somewhere else in your home!

Mark Montano takes our tables to a whole new level with his great fall table setting. Wait till you see what he did with LEAVES!

Heather Mann takes plastic pumpkins to pewter heaven this week. I love the head in this arrangement!

Kathy Cano-Murillo brings glitter and “sugar” together in this fun tutorial. I can’t wait to jazz up some shirts!

If you missed my tutorial on decorative paper bags check it out here!

Happy Crafting!ending

I have to admit I love everything about this time of year. Pumpkins on porches, windows open (well not yet), soups and the smell of yummy cinnamon in the air.

You can’t lie, you love this too.  Oh, and I love candy corn and this candy corn banner!

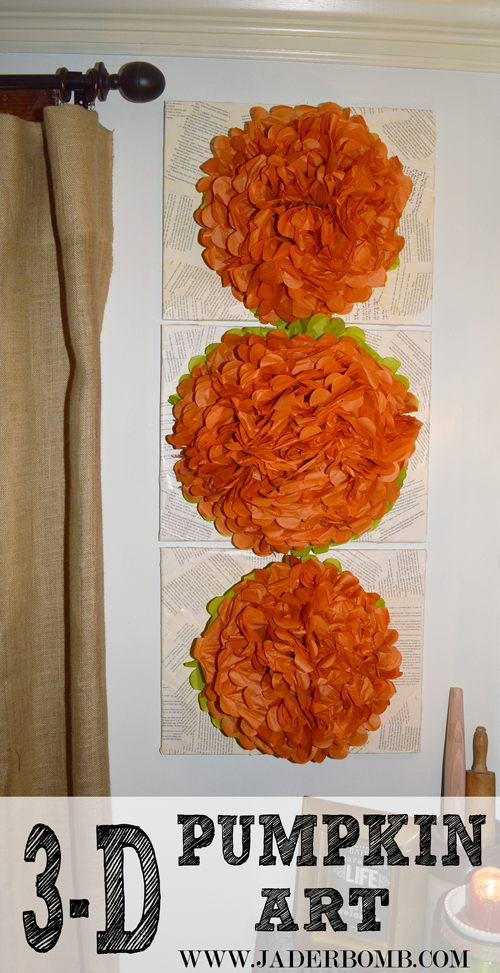
So I did something really stupid this weekend. I am just like “Whuh”…. I made this wall art and did NOT take any pictures. I have NO idea what was going on in my brain but I figured it was cute and easy enough to explain without pictures.

It’s very cute and ads a little dimension to your walls. What I love about this is I can replace the tissue pom pom’s for different occasions.
3-D PUMPKIN ART

you will need

*Pumpkin Pom Poms
*Canvases
*Old Books (I used one of my twilight books)
*Martha Stewart Decoupage: Multi-Surface Durable Gloss Finish
*Paintbrush
*Hot Glue

  • Get three blank canvases.
  • Tear pages out of a book and secure them on the canvas with your decoupage. Allow time for this to dry (3-4 hours)
  • Create your paper pom pom and secure it on the canvas with hot glue. If you purchase this set from the link above the instructions are in it. Super easy.

If you are interested in making your own tissue paper pom pom check this out. These tissue pom pom’s are meant to hang but I left the back flat so I could place it on the canvas.

Huge Hugs and Glittery Love,

jade