Tag Archives: home decor

Quote of the day: 
“Bigger than life is not difficult for me.  I AM bigger than life.”-Rita Moreno

Well that quote fit me quite perfectly I tell ya! If you ever wonder where I get my quotes from or how I choose them I will tell ya. I have always kept a calendar on my desk where you can tear a page off every day and each day has something new on it. I get them from Barnes and Noble. They usually have a HUGE table to choose from and they range from puzzles, cat’s, dogs, inspirational, sports, funny and anything else you can think of.

Last year Ashy bought me a really great inspirational one.  However this year, I got a really funny one. It’s sorta inspirational but it’s about inspirational WOMEN. I will post a link below to show you the calendar I got because it’s still early in the year and you need this one. Super funny!

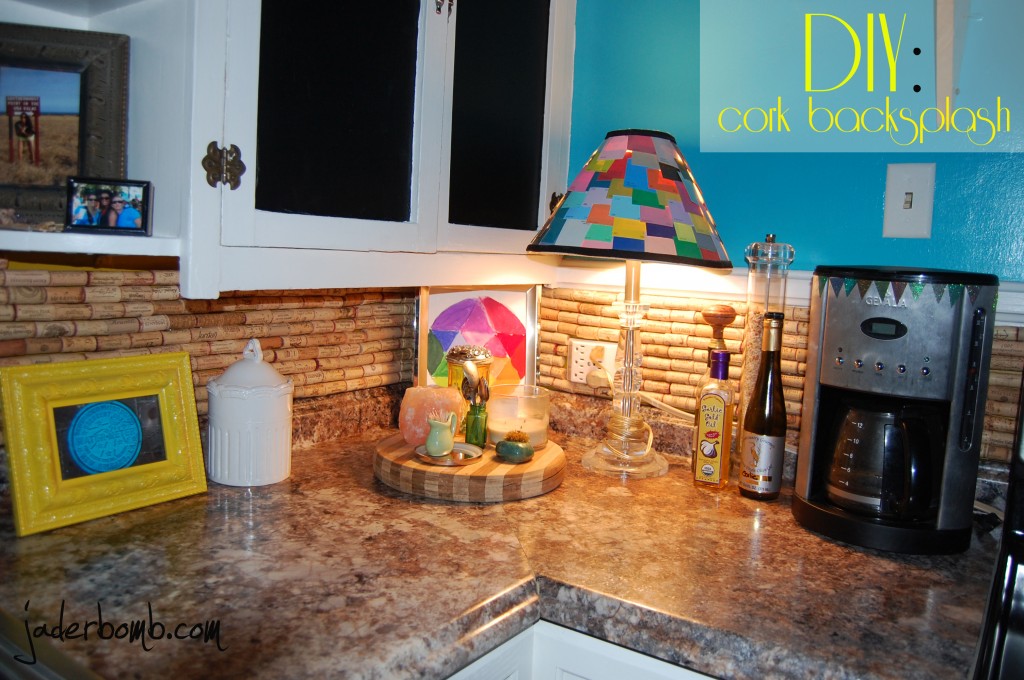
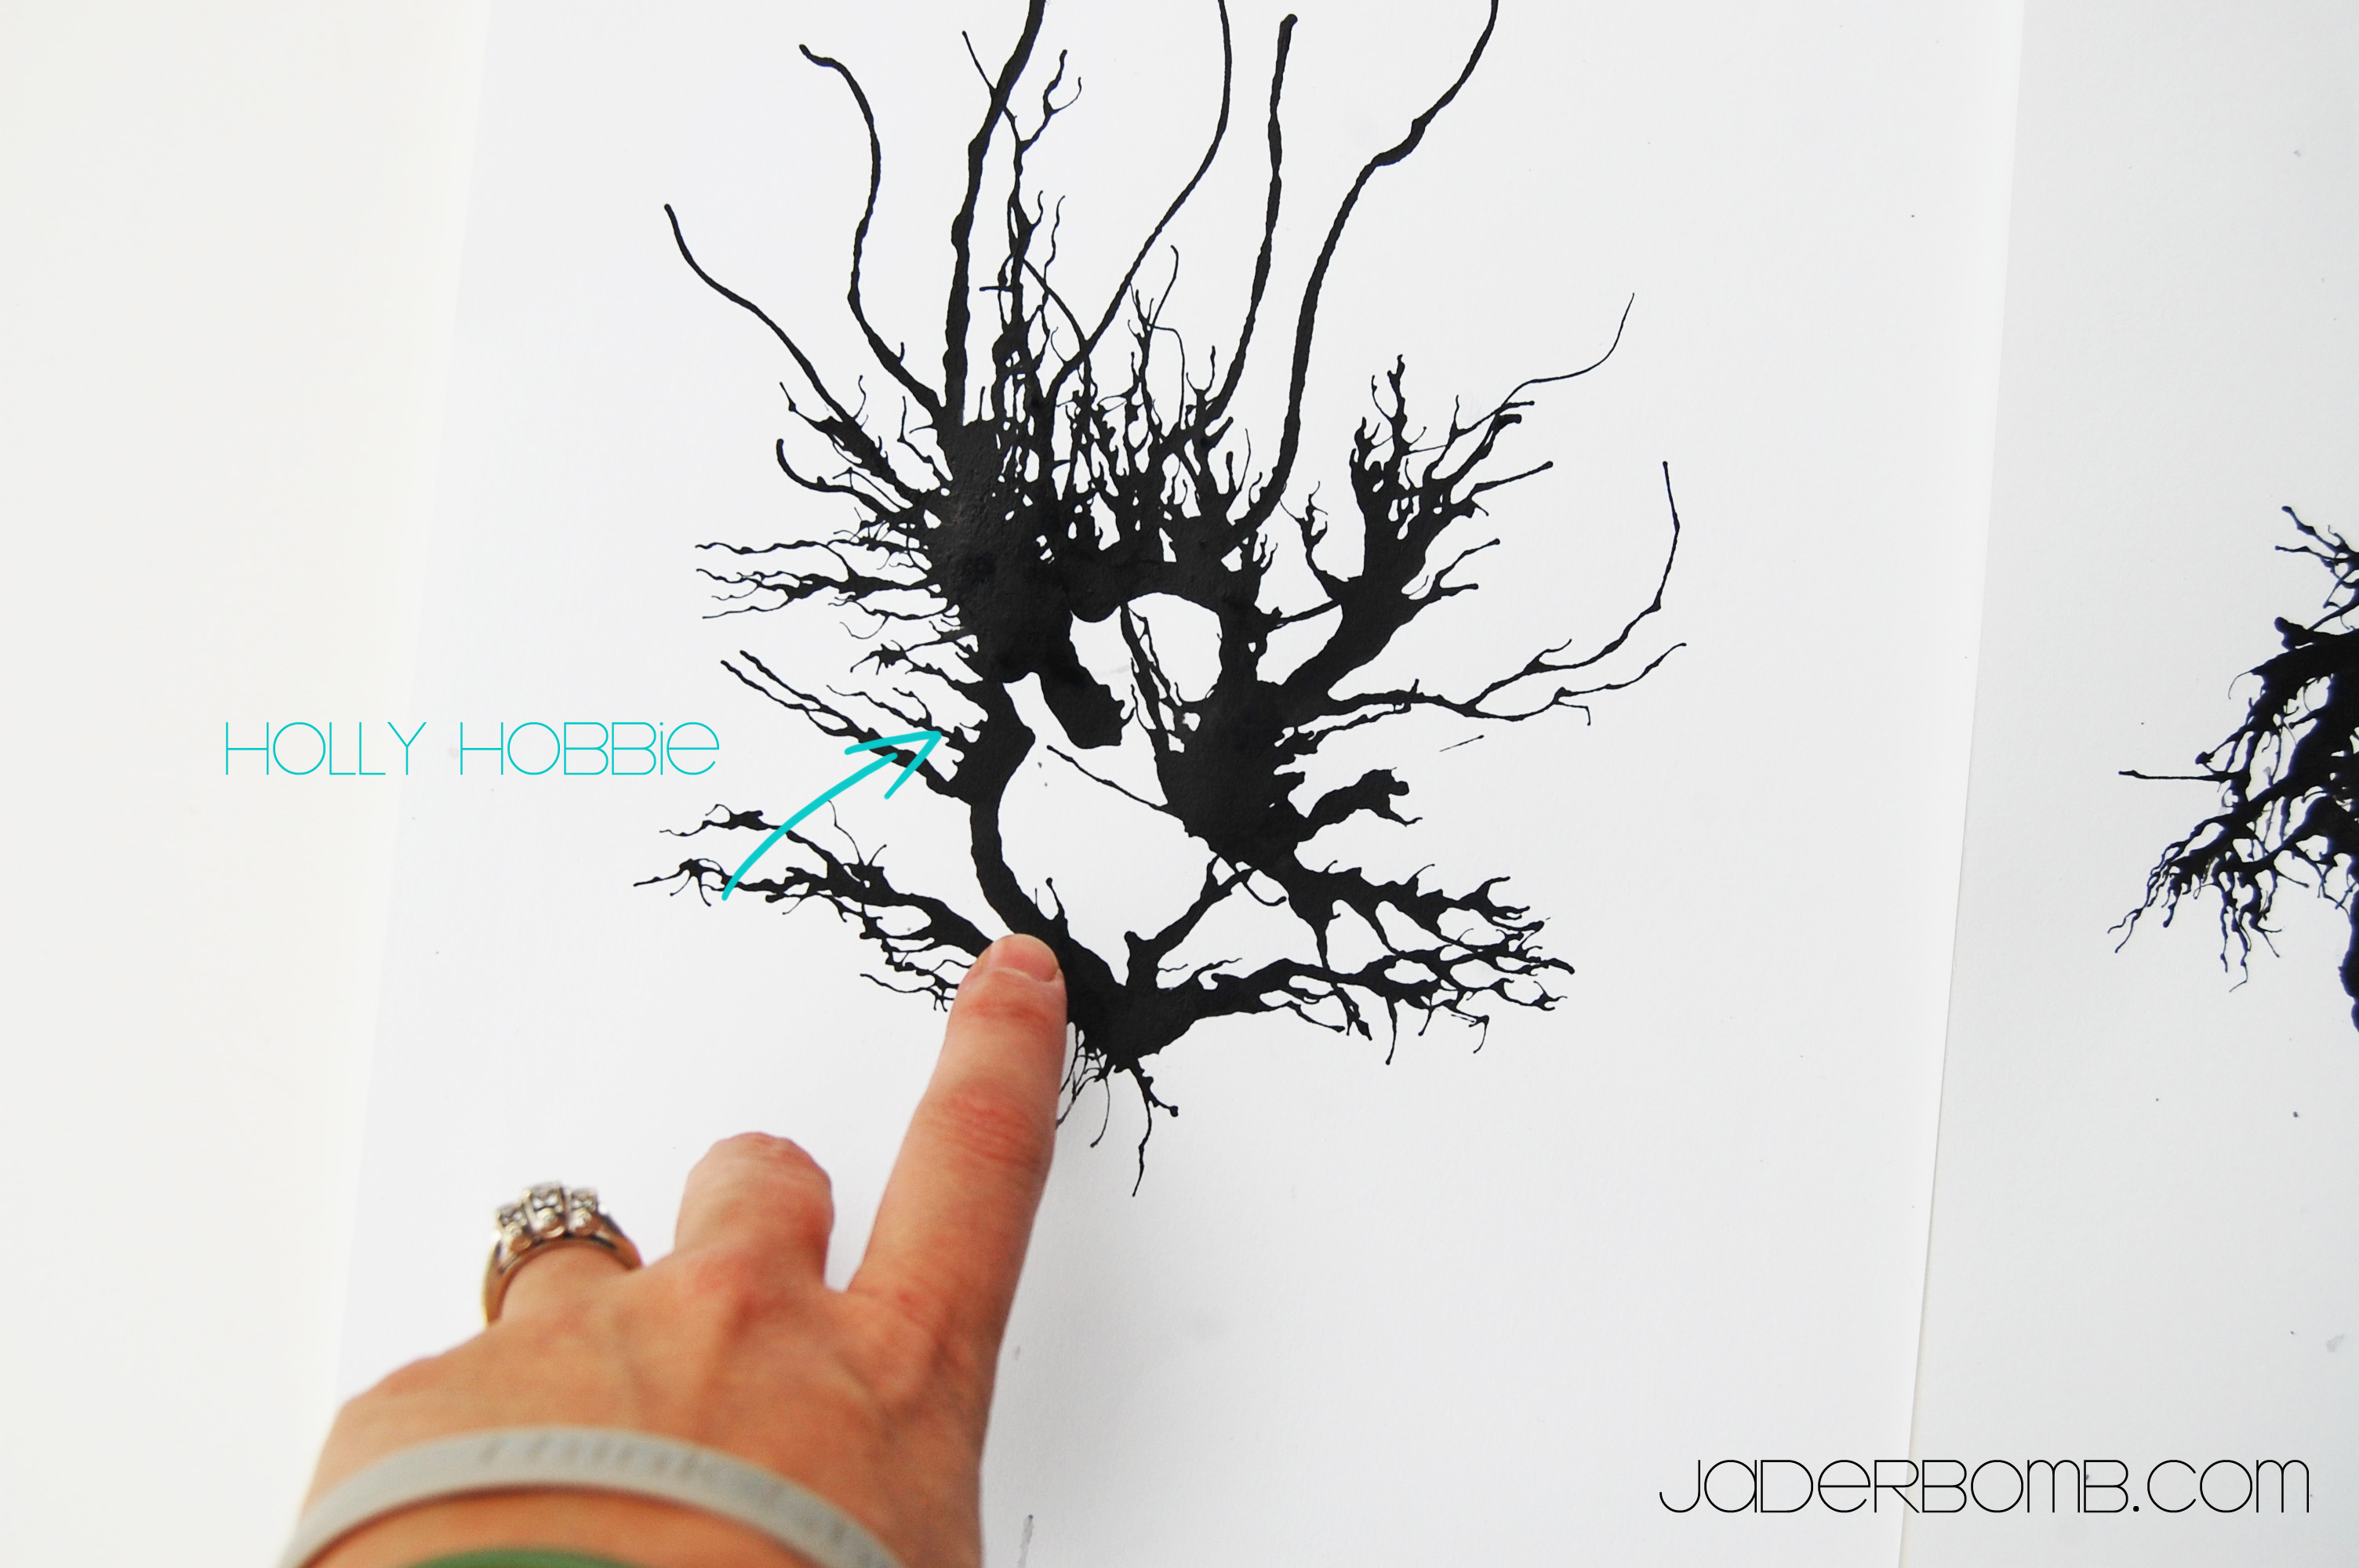
Today’s craft is very inspirational. Why you ask? Well because when you water color it relaxes you in a way that you won’t understand unless you do it. I should say enjoying your time doing it will relax you, not if you hurry. It’s magical when you mix two colors together and they blend so easily. For me crafting isn’t just a job, it truly grounds me and gives me a place on this earth.
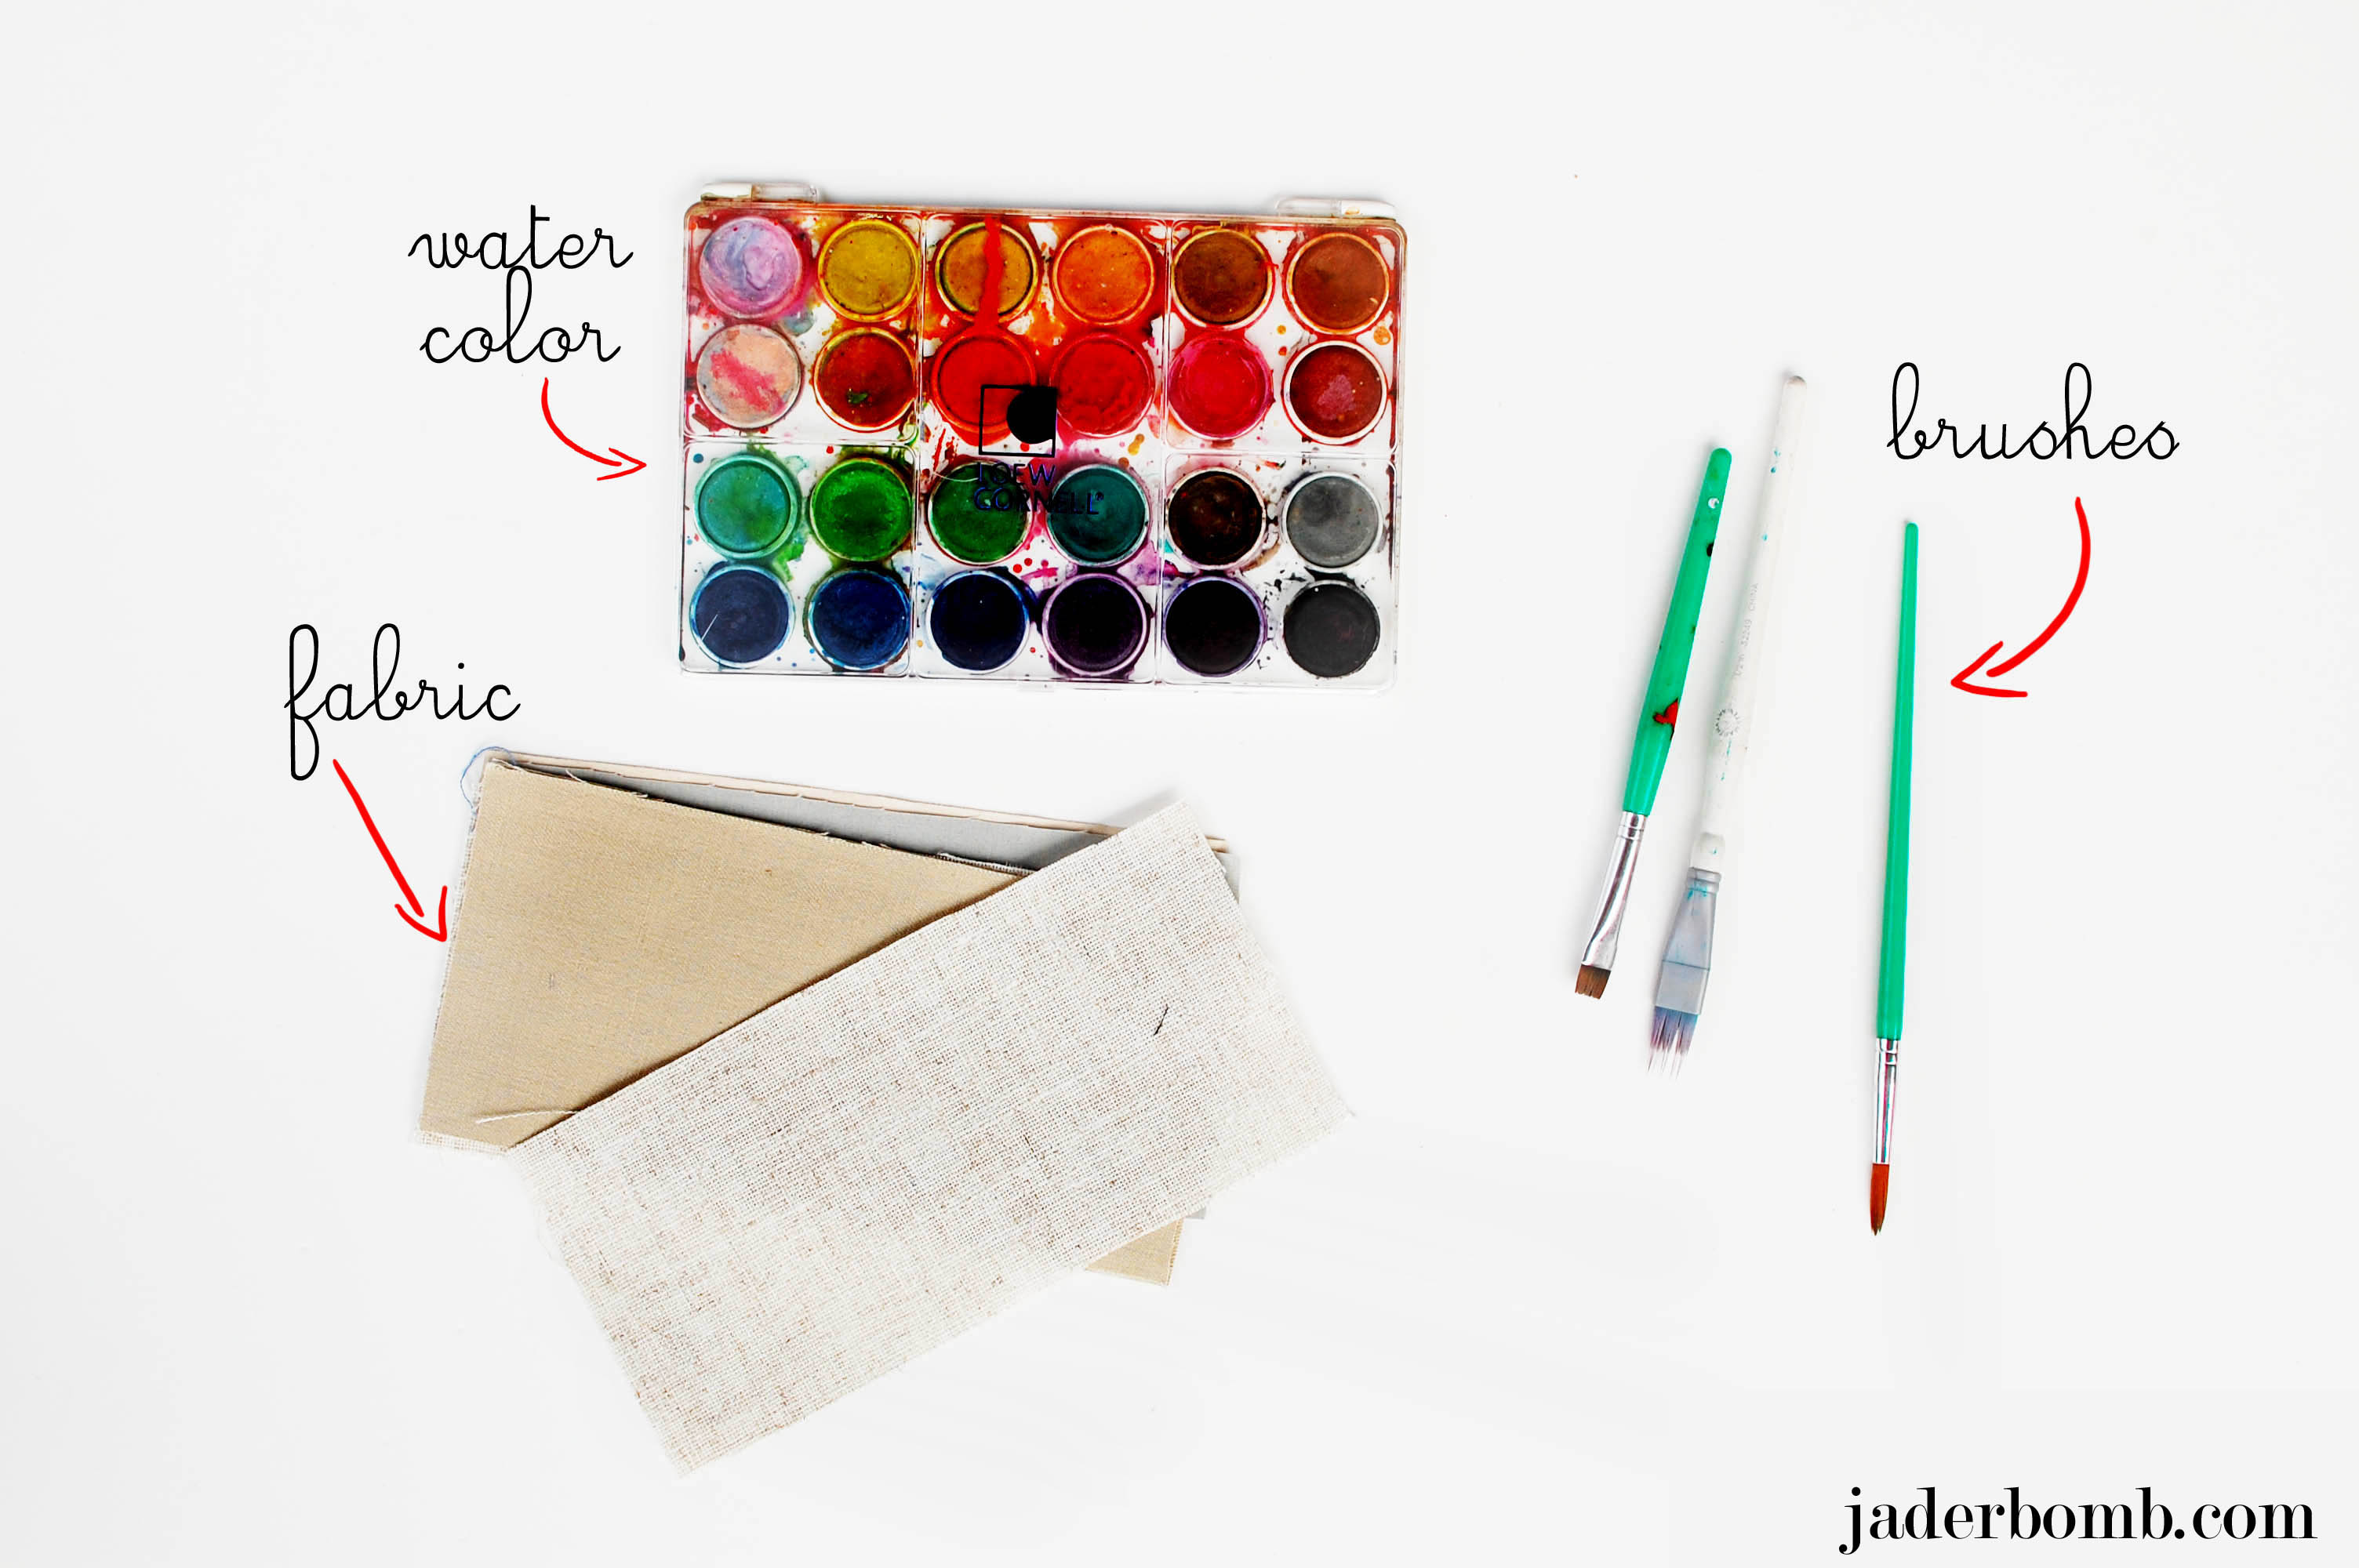
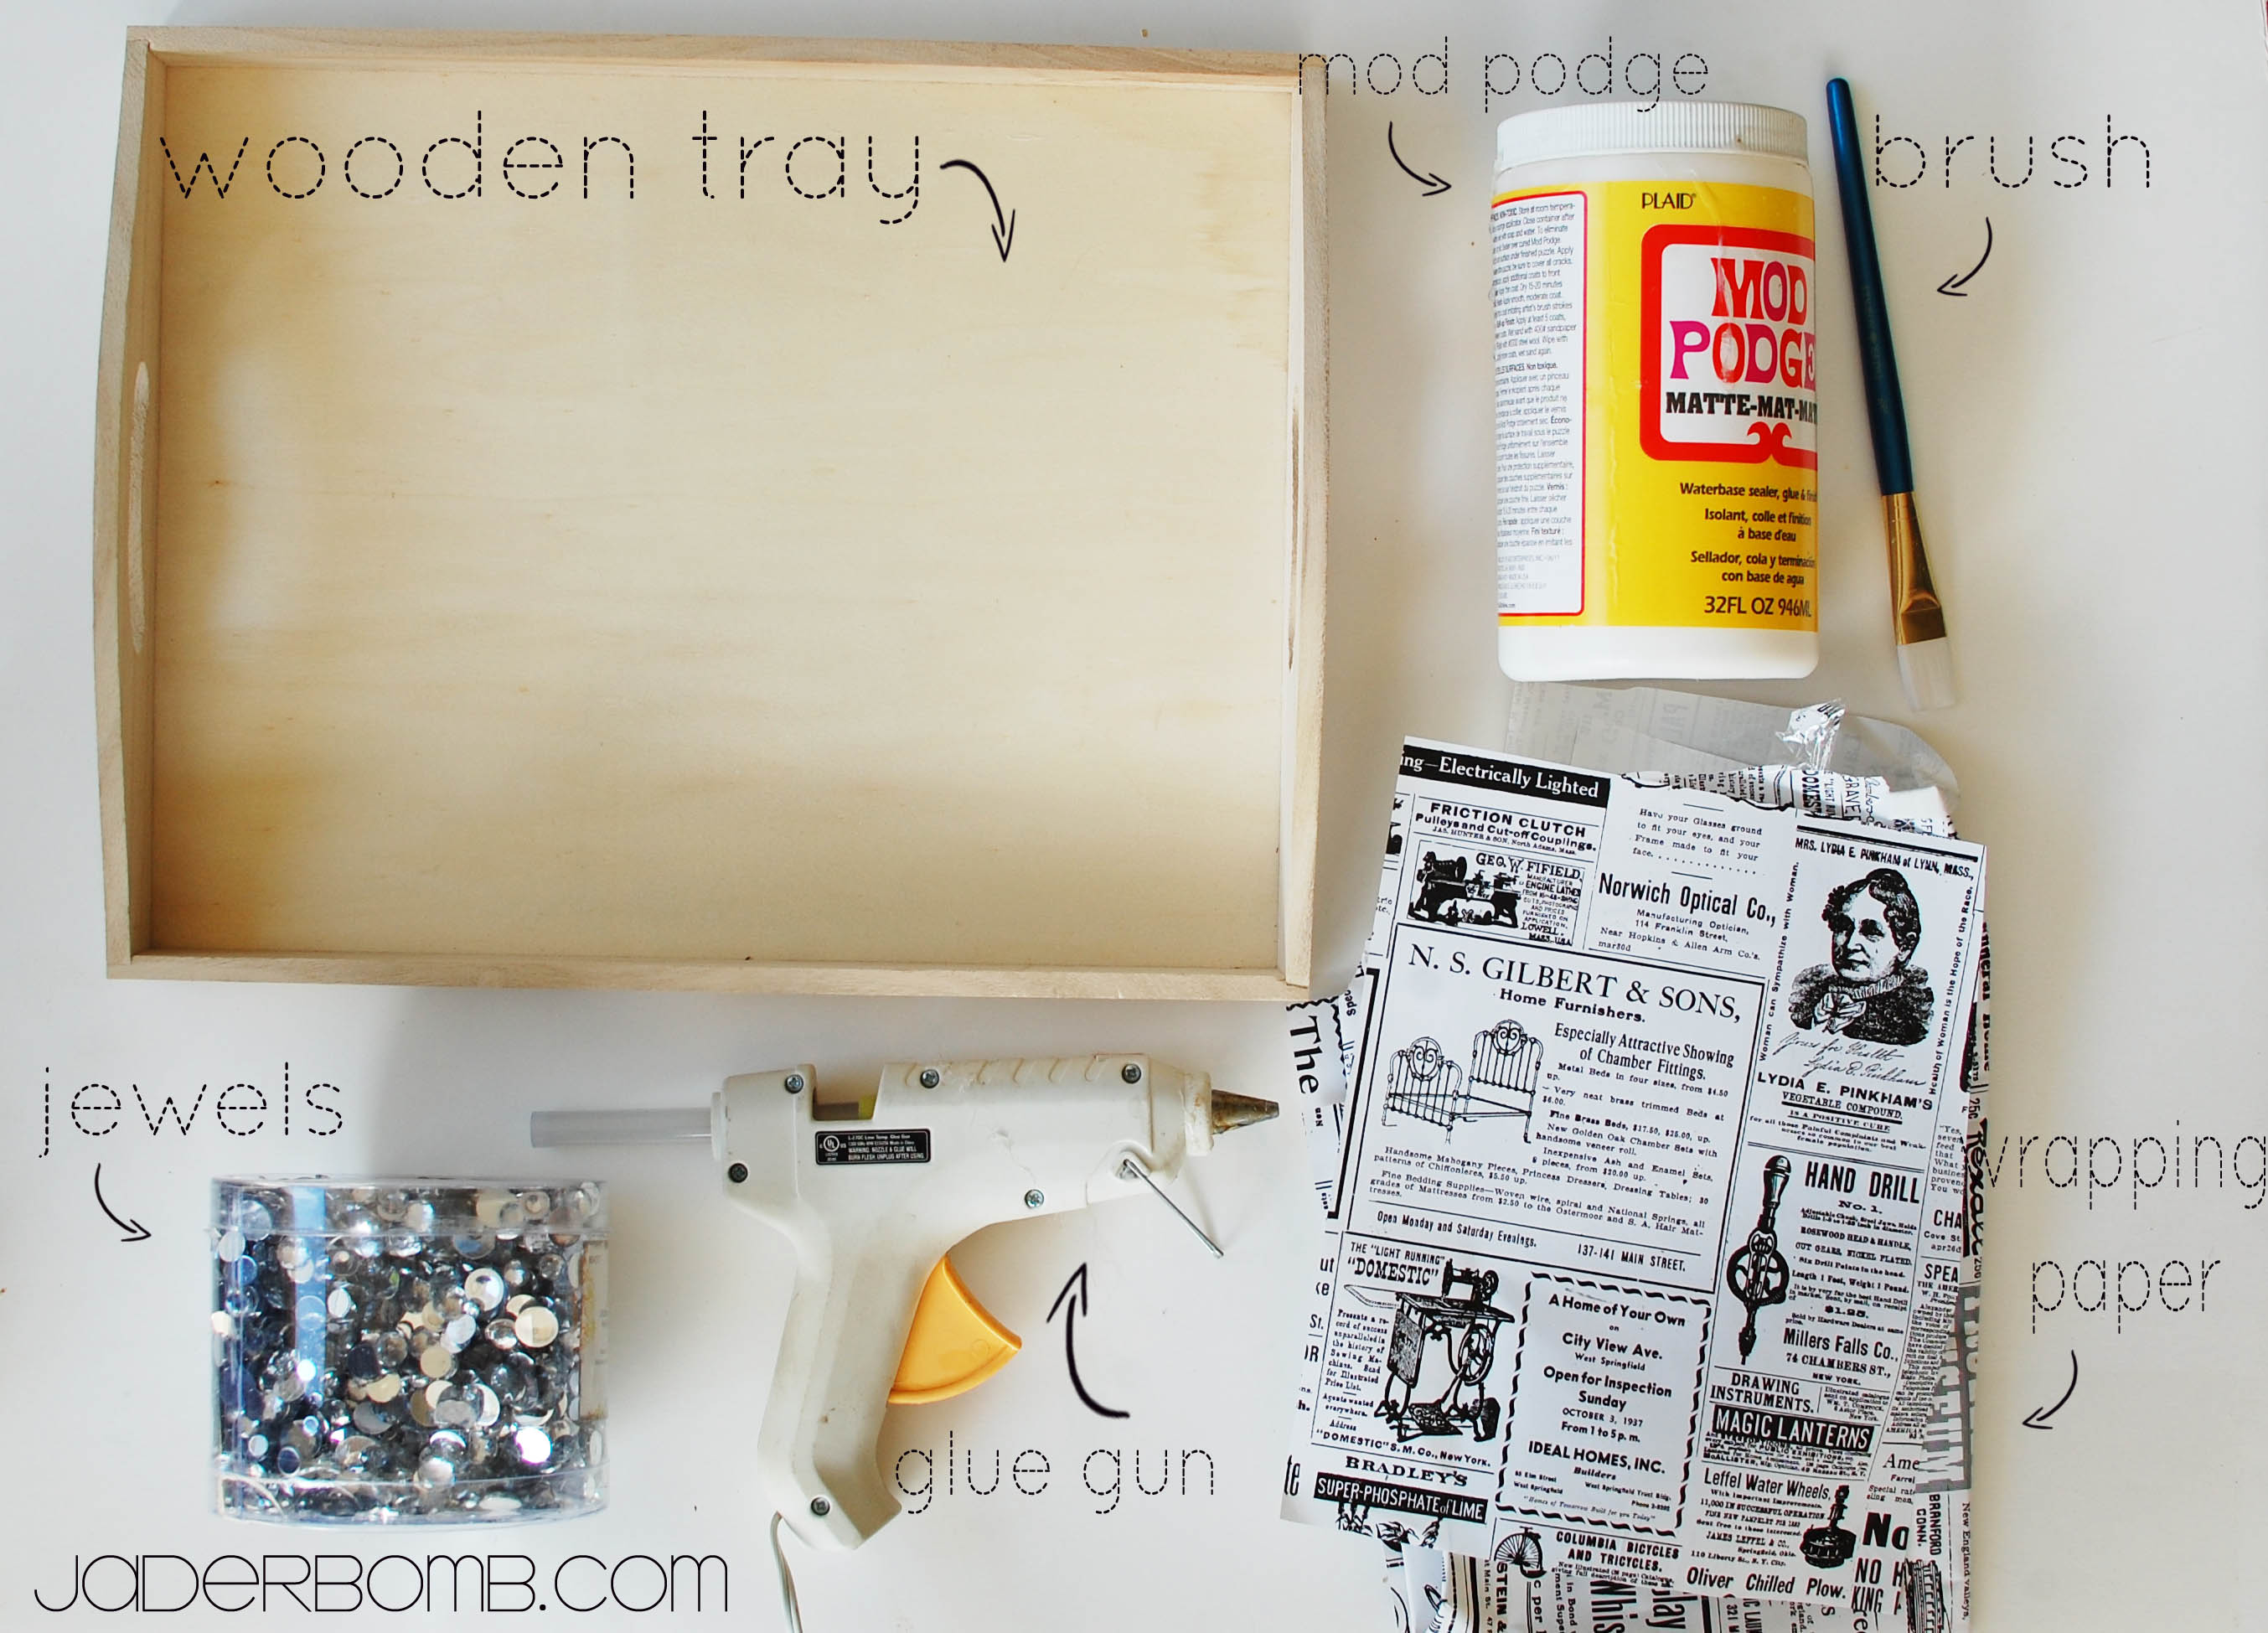
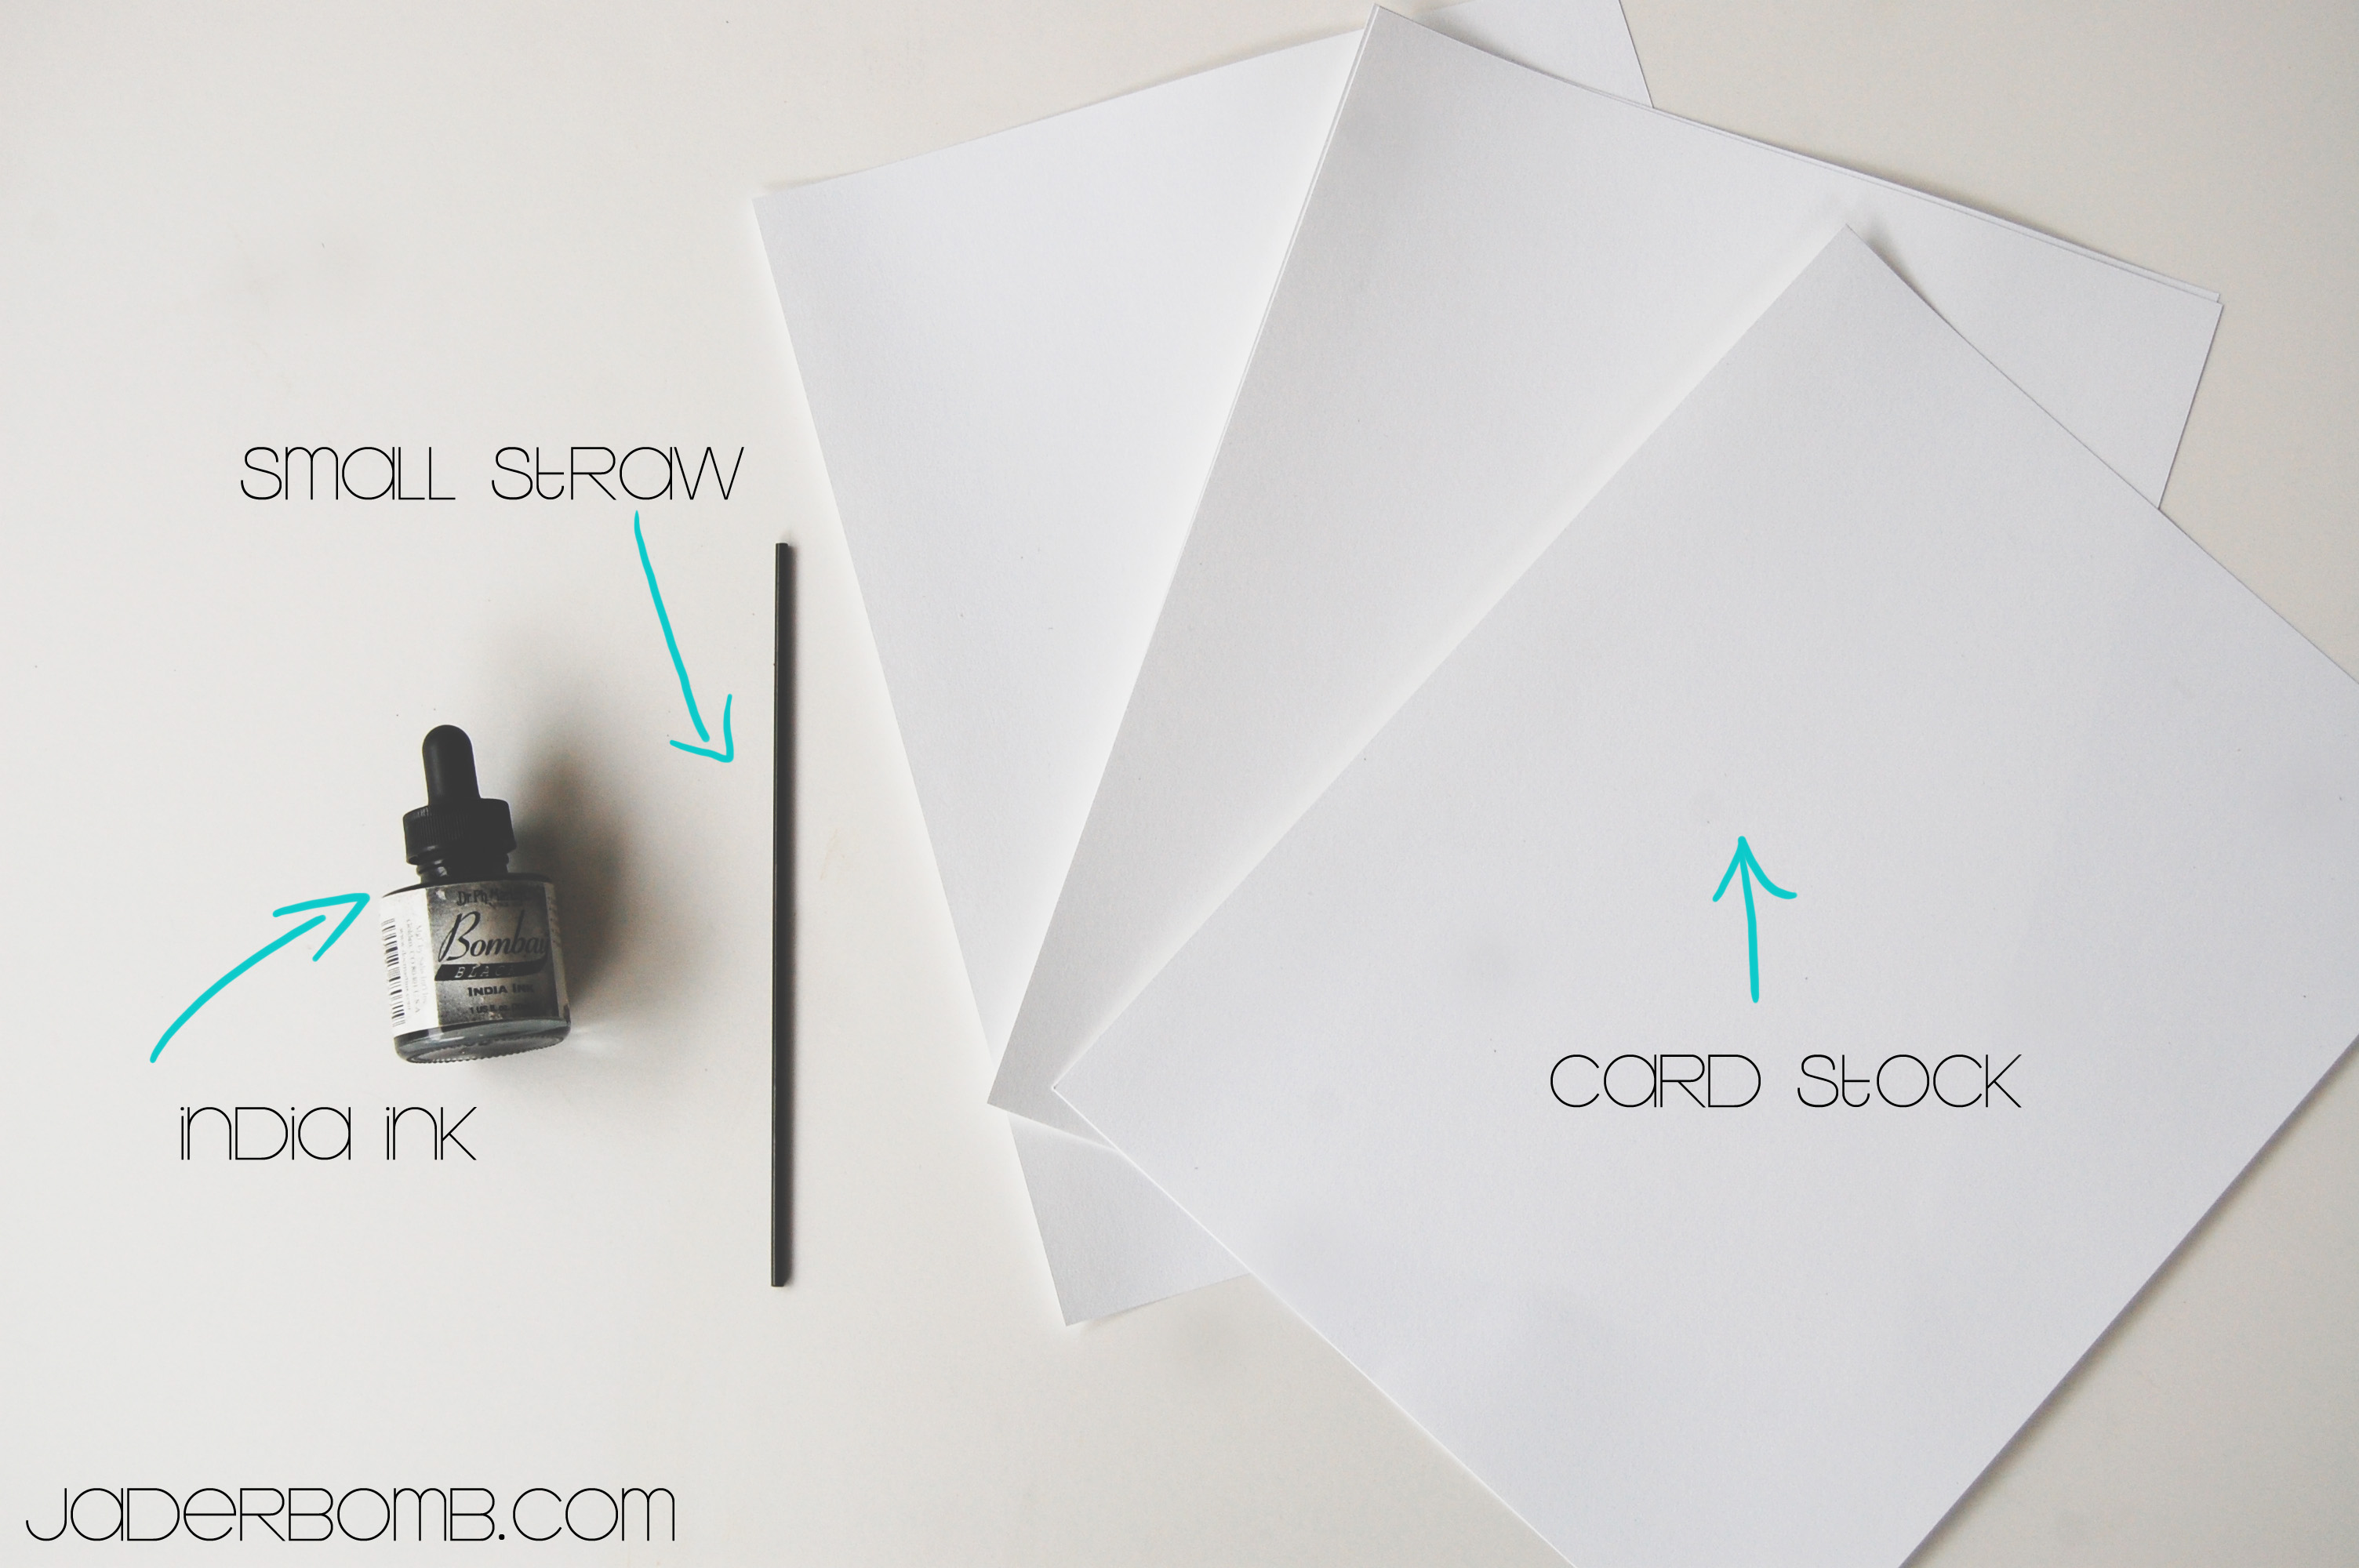
water_colored_flag_bunting_valentines_jaderbomb

INGREDIENTS:

*Water Color Paint
*Brushes
*Fabric

If you click on the ingredient links you can purchase these items all in one place.


water_colored_flag_bunting_valentines_jaderbomb


water_colored_flag_bunting_valentines_jaderbomb

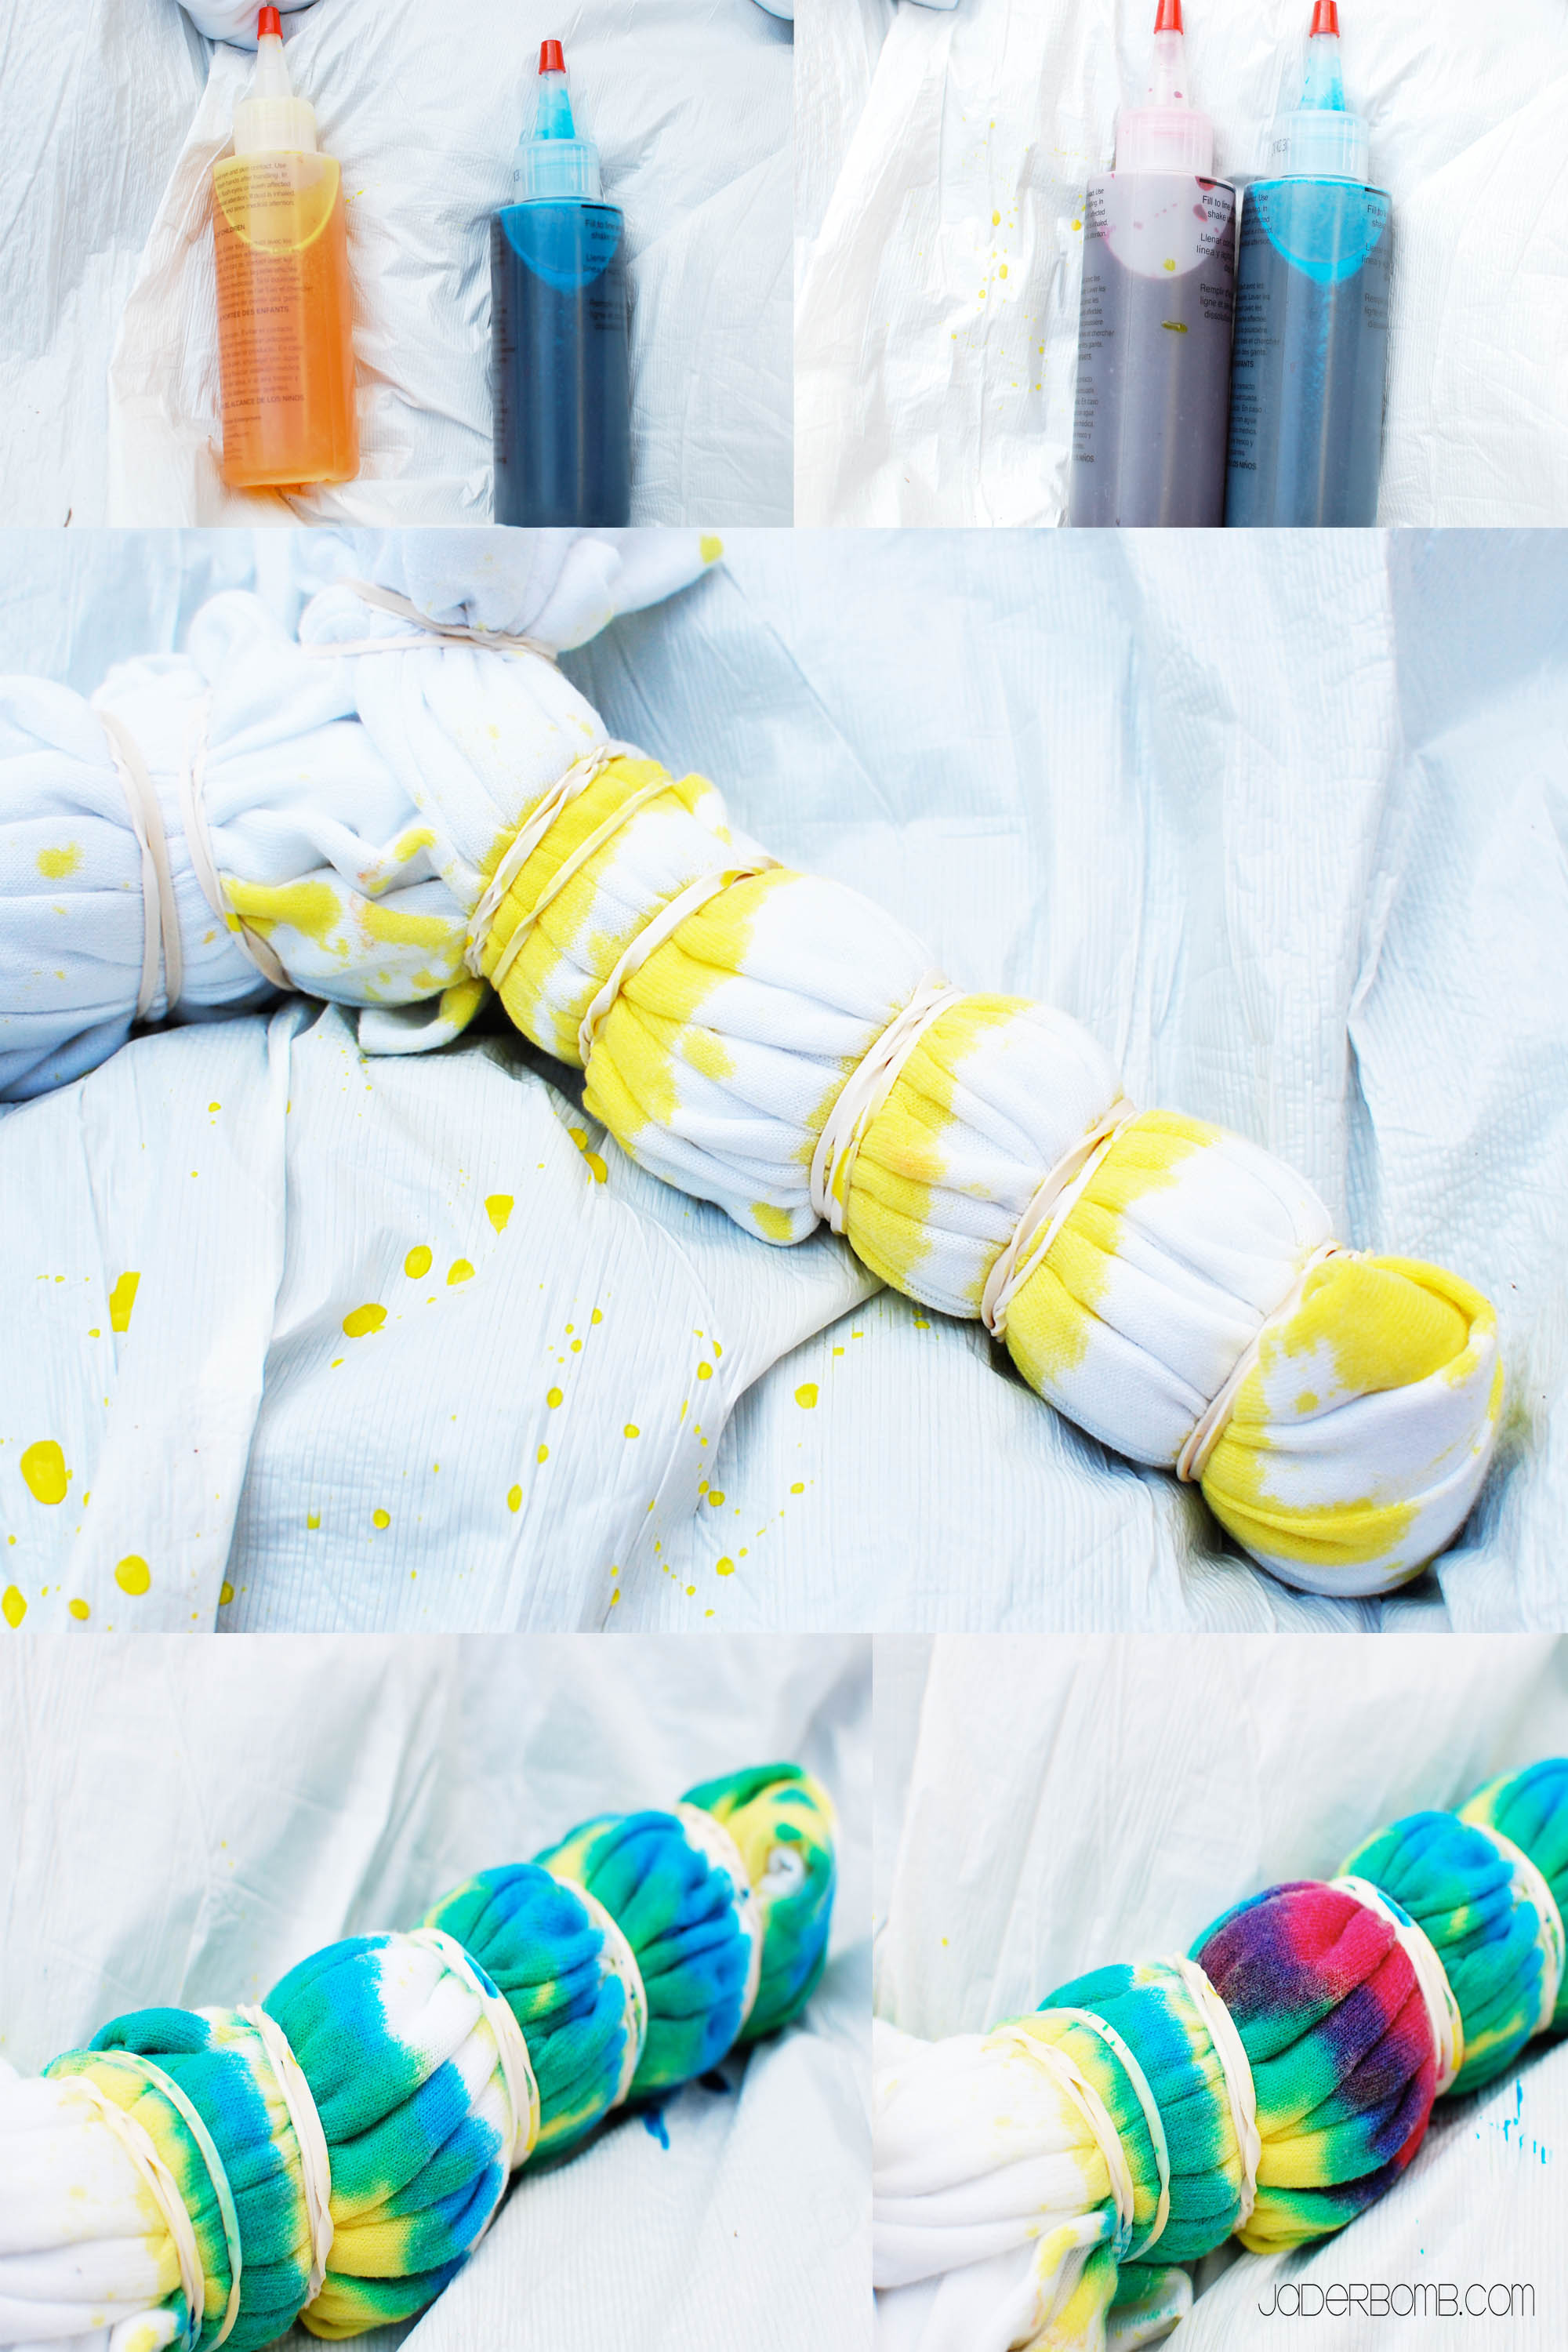
The first thing you will do is get strips of fabric ( use a light color so the water color’s show) and start painting whatever you like on it. I wanted to do some geometric shapes and patterns on mine. I will suggest one thing. When it comes to water color the cheaper ones you buy will not have a lot of color pigment in them. I suggest buying the more expensive one because it will be worth it. Don’t worry even the expensive ones are not that expensive.
FYI: you could also buy the ones with 7 colors and mix your own shades!


water_colored_flag_bunting_valentines_jaderbomb

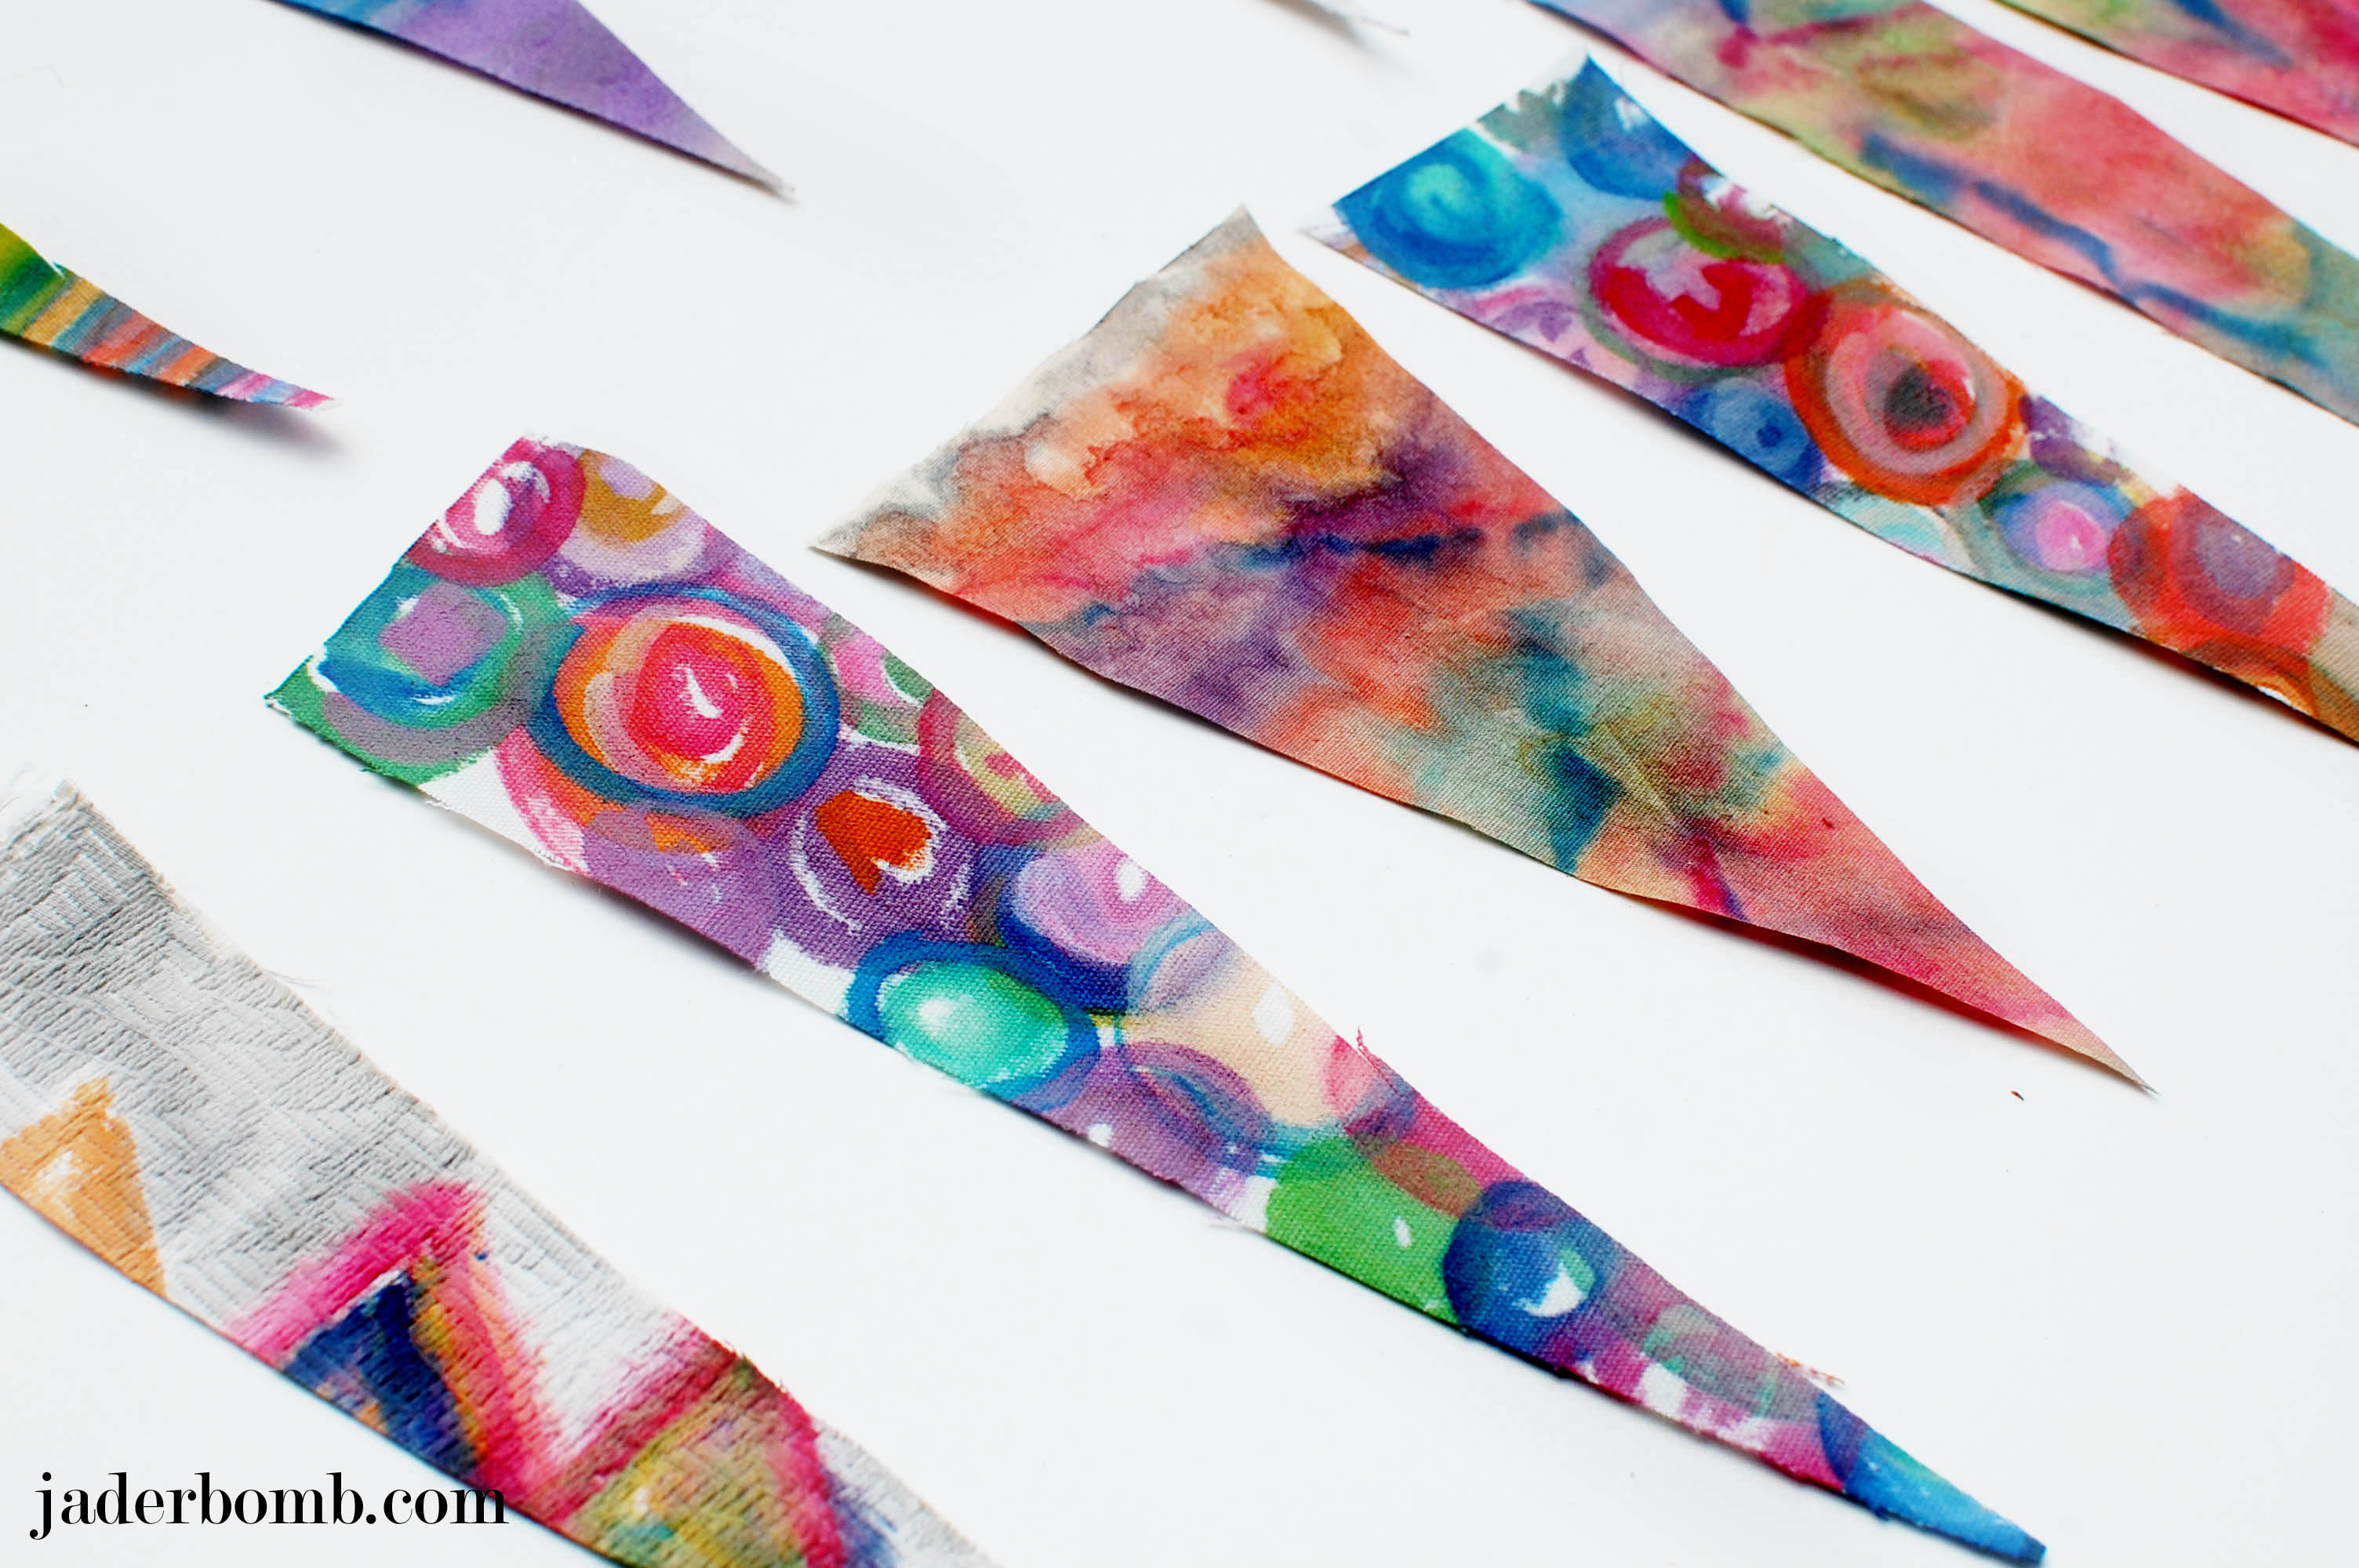
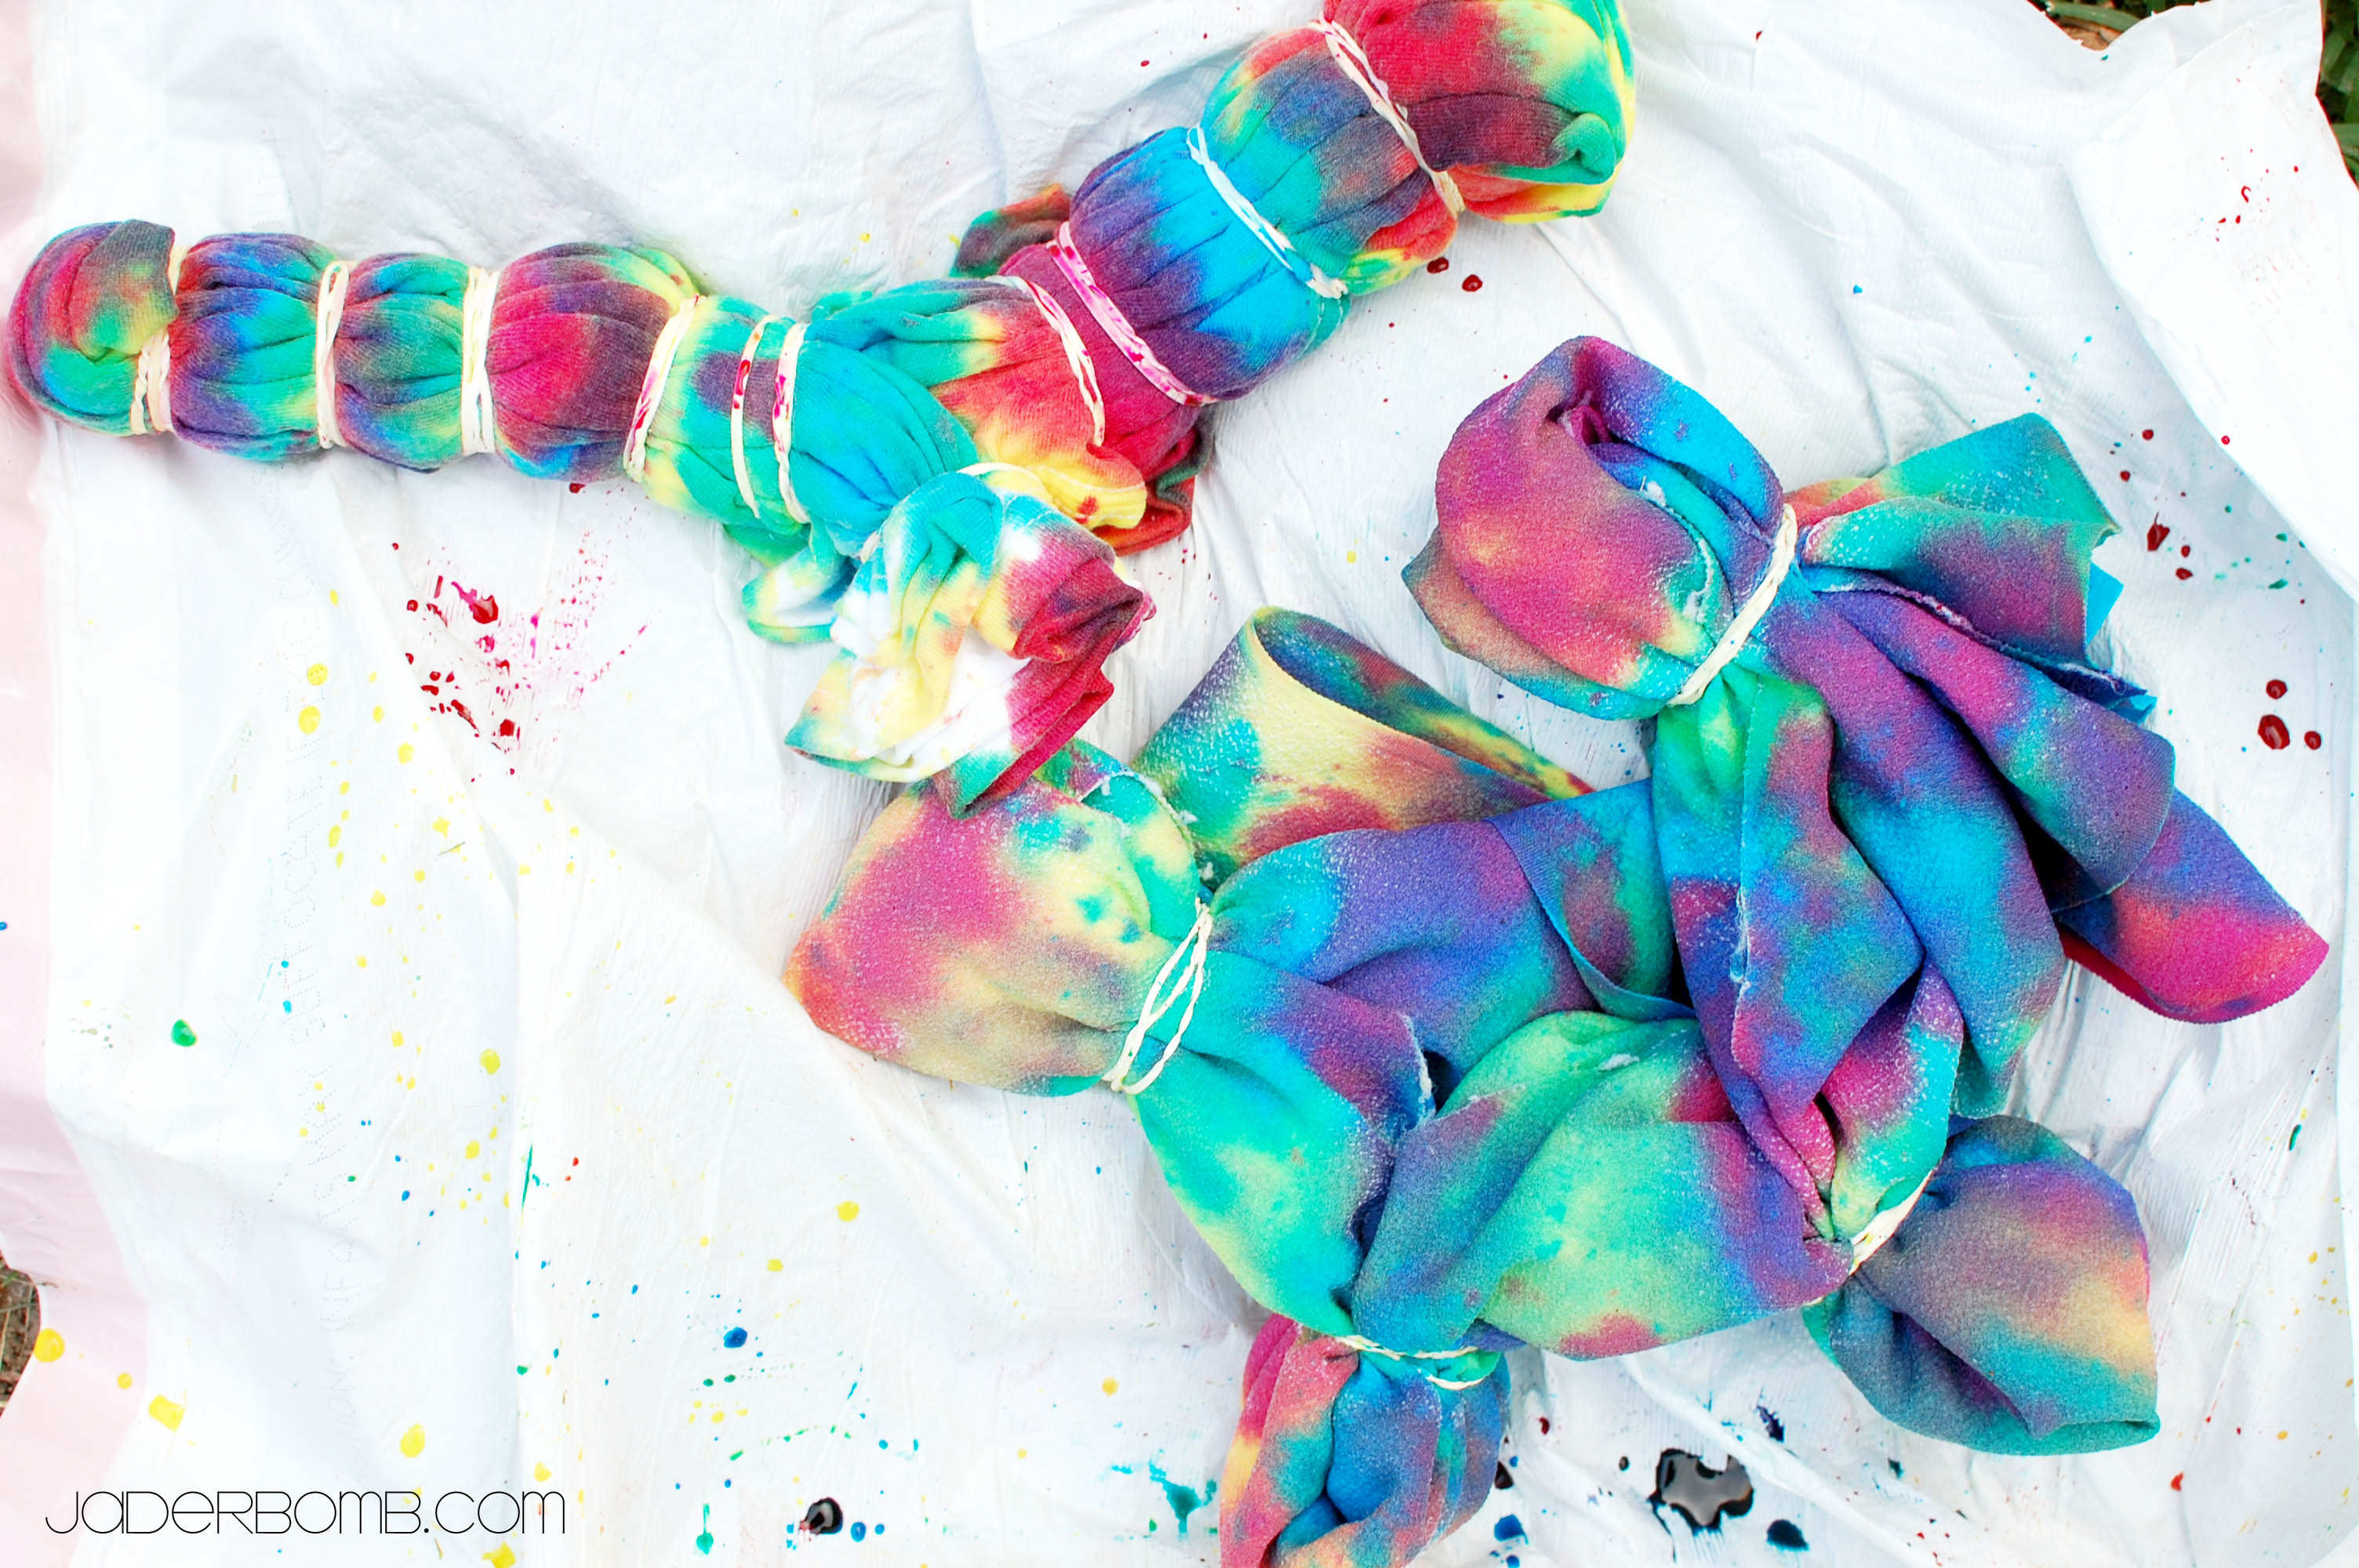
Once you paint on your fabric let them dry over night. When dry cut out triangles. I didn’t measure mine because I wanted them to be different sizes.

water_colored_flag_bunting_valentines_jaderbomb

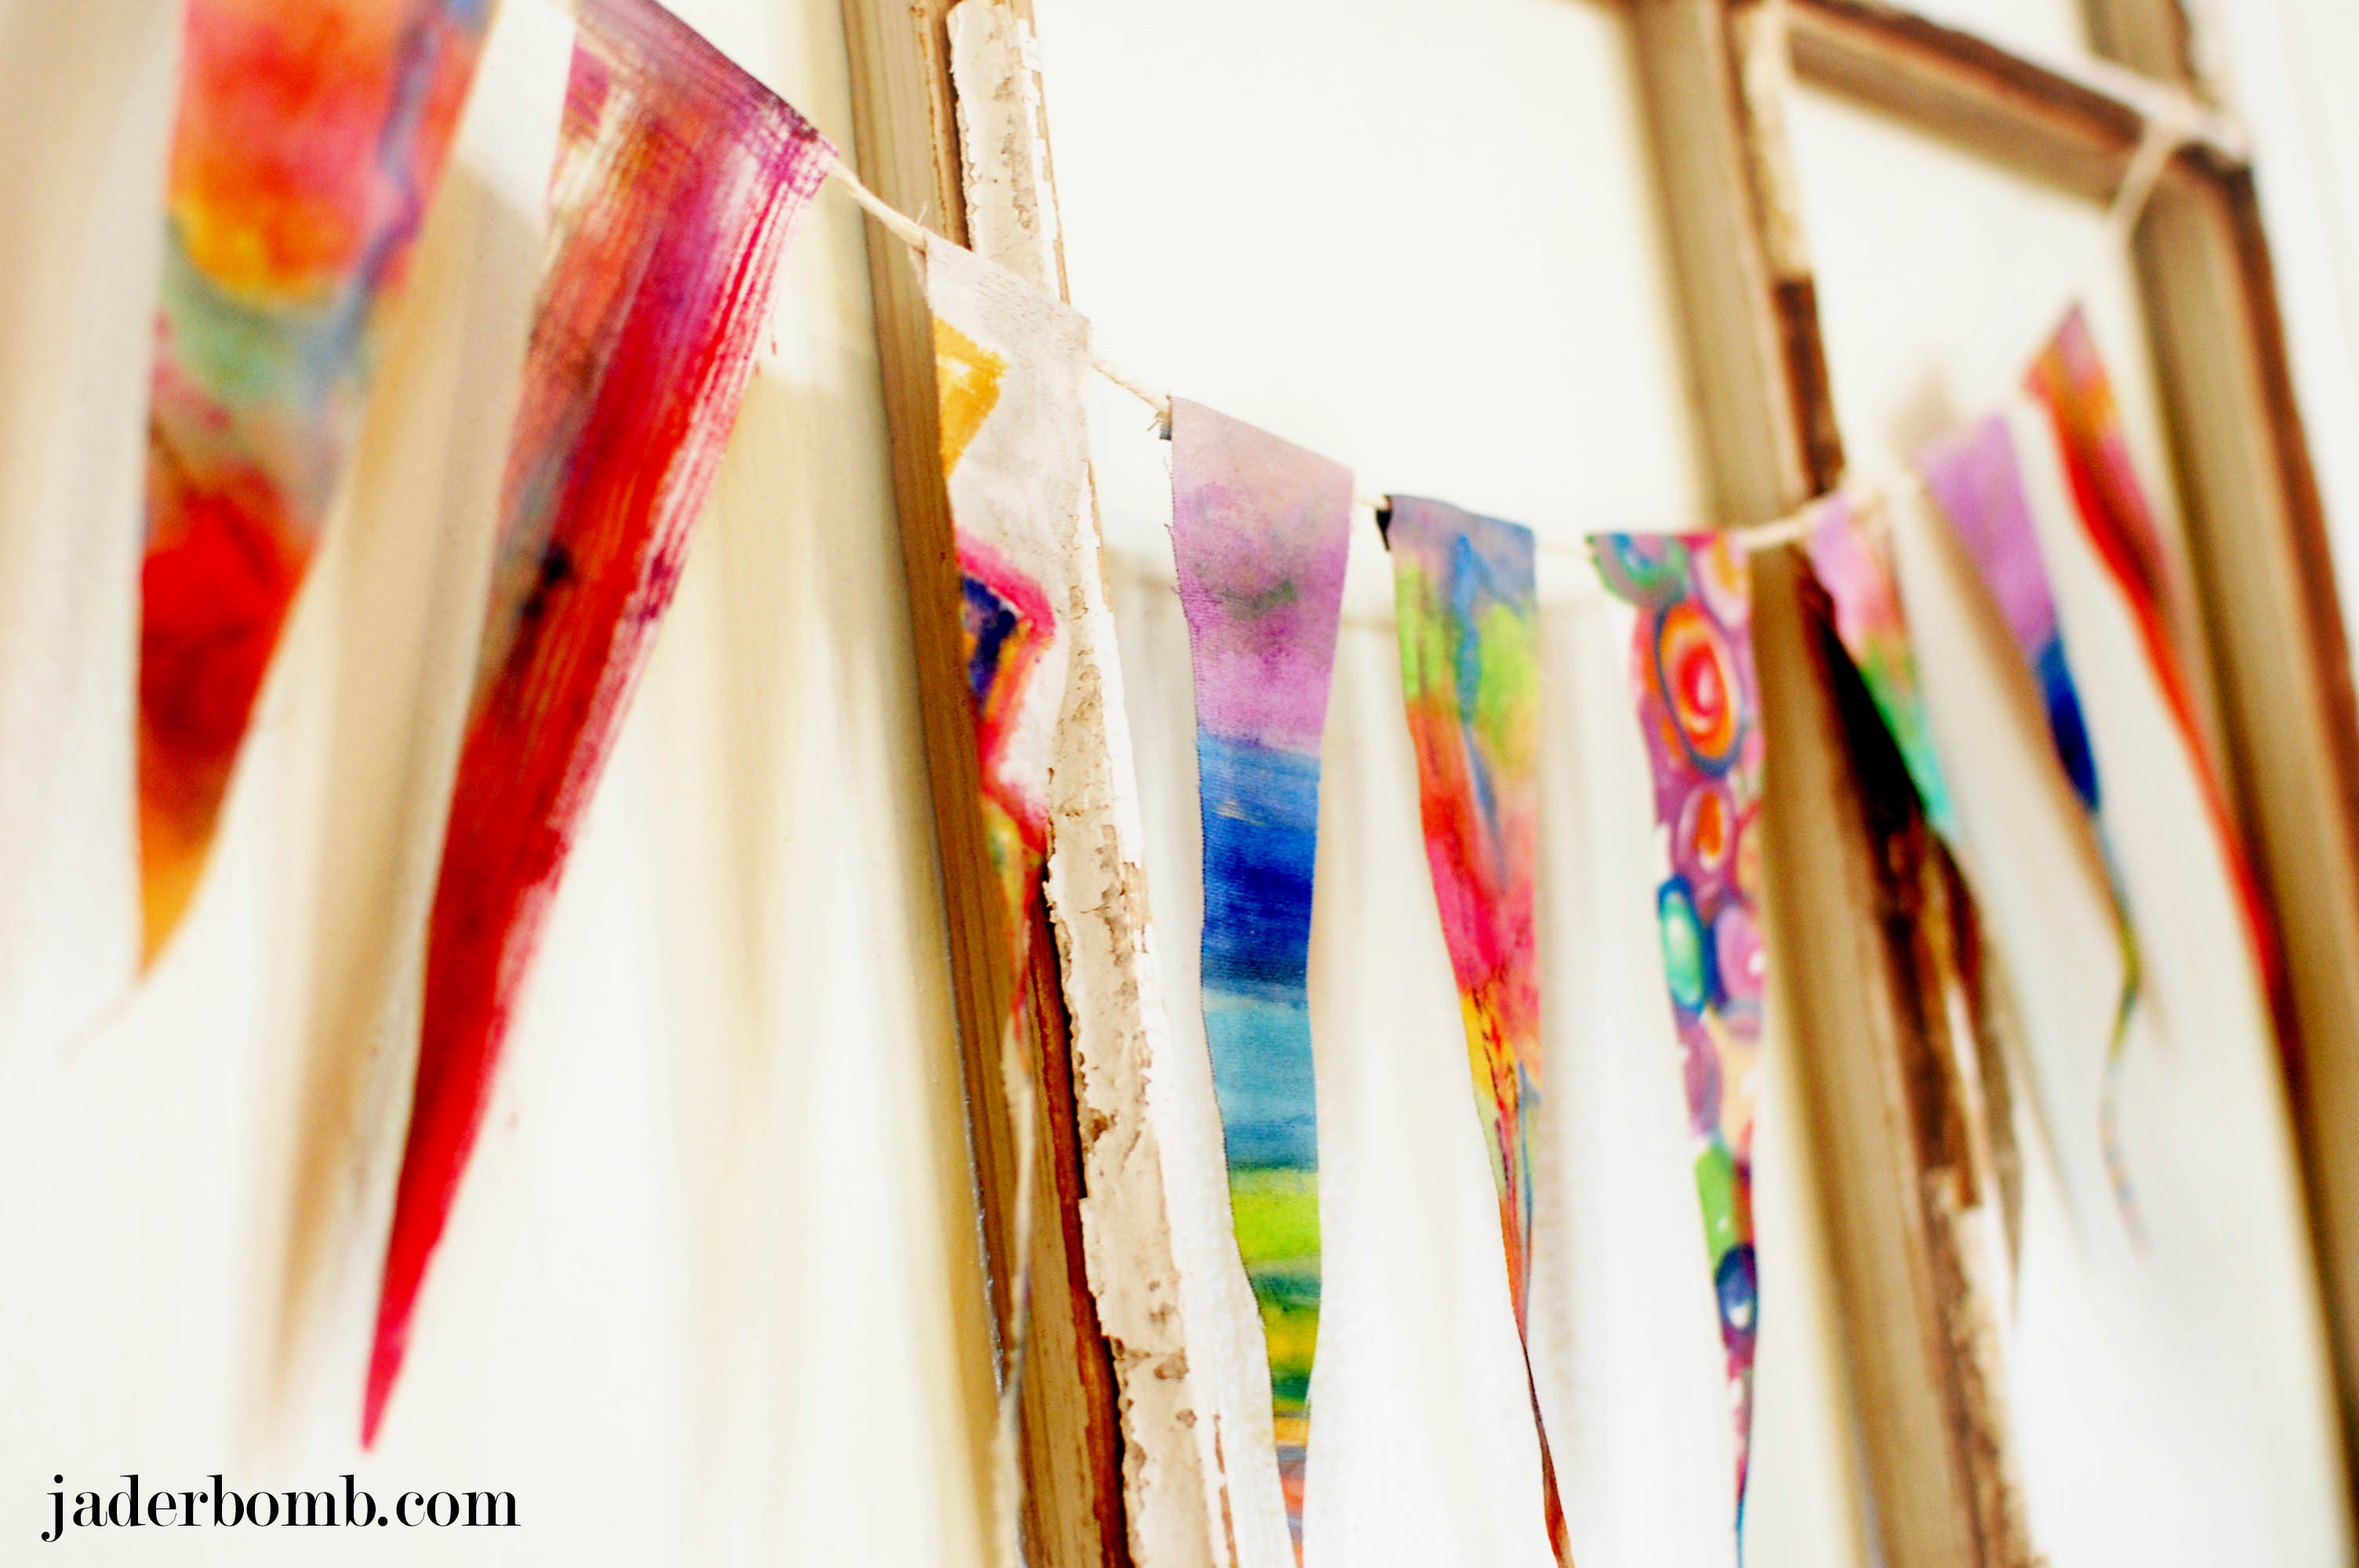
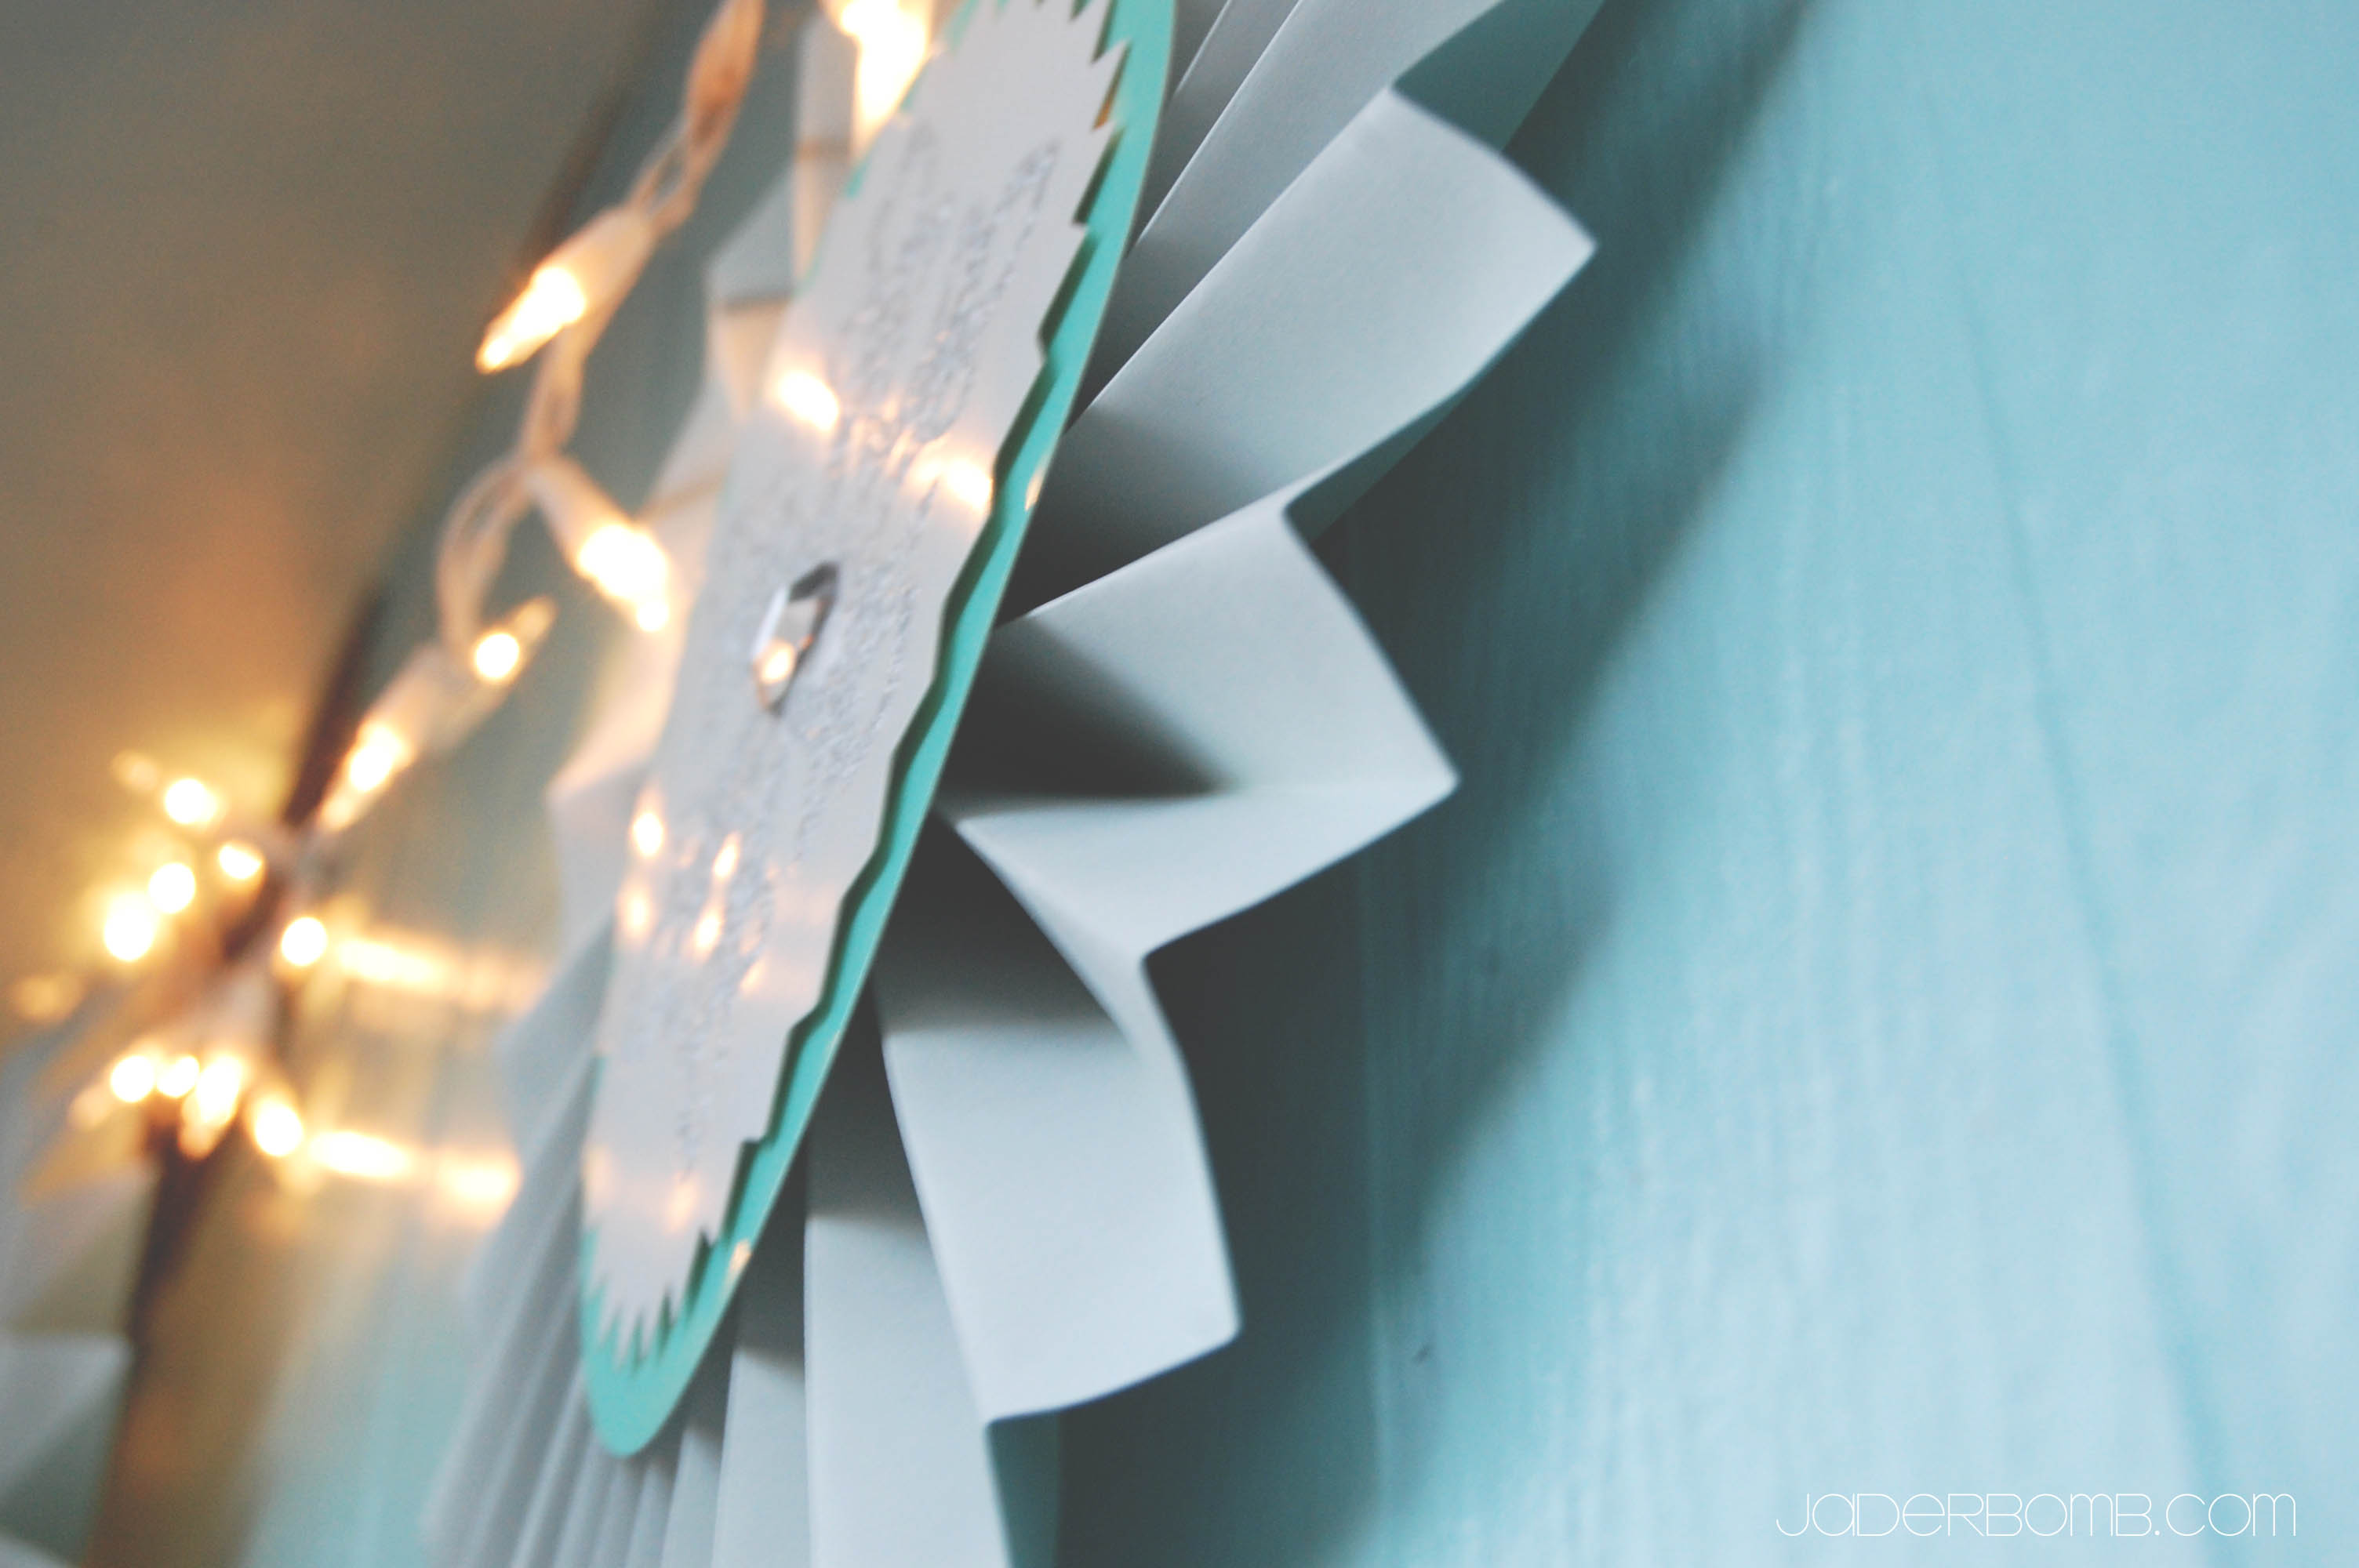
Once you are done grab your glue gun and some string or twine. Add a little glue to the top of the flag (the back side of your flag) and just place your twine on top of the glue. That’s it!

water_colored_flag_bunting_valentines_jaderbomb

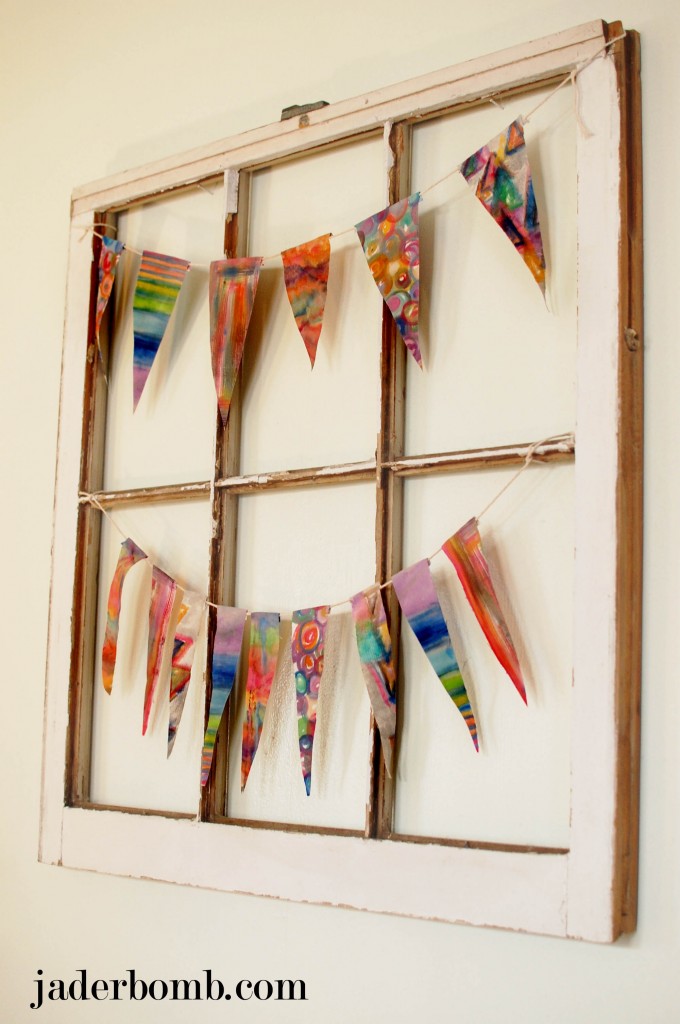
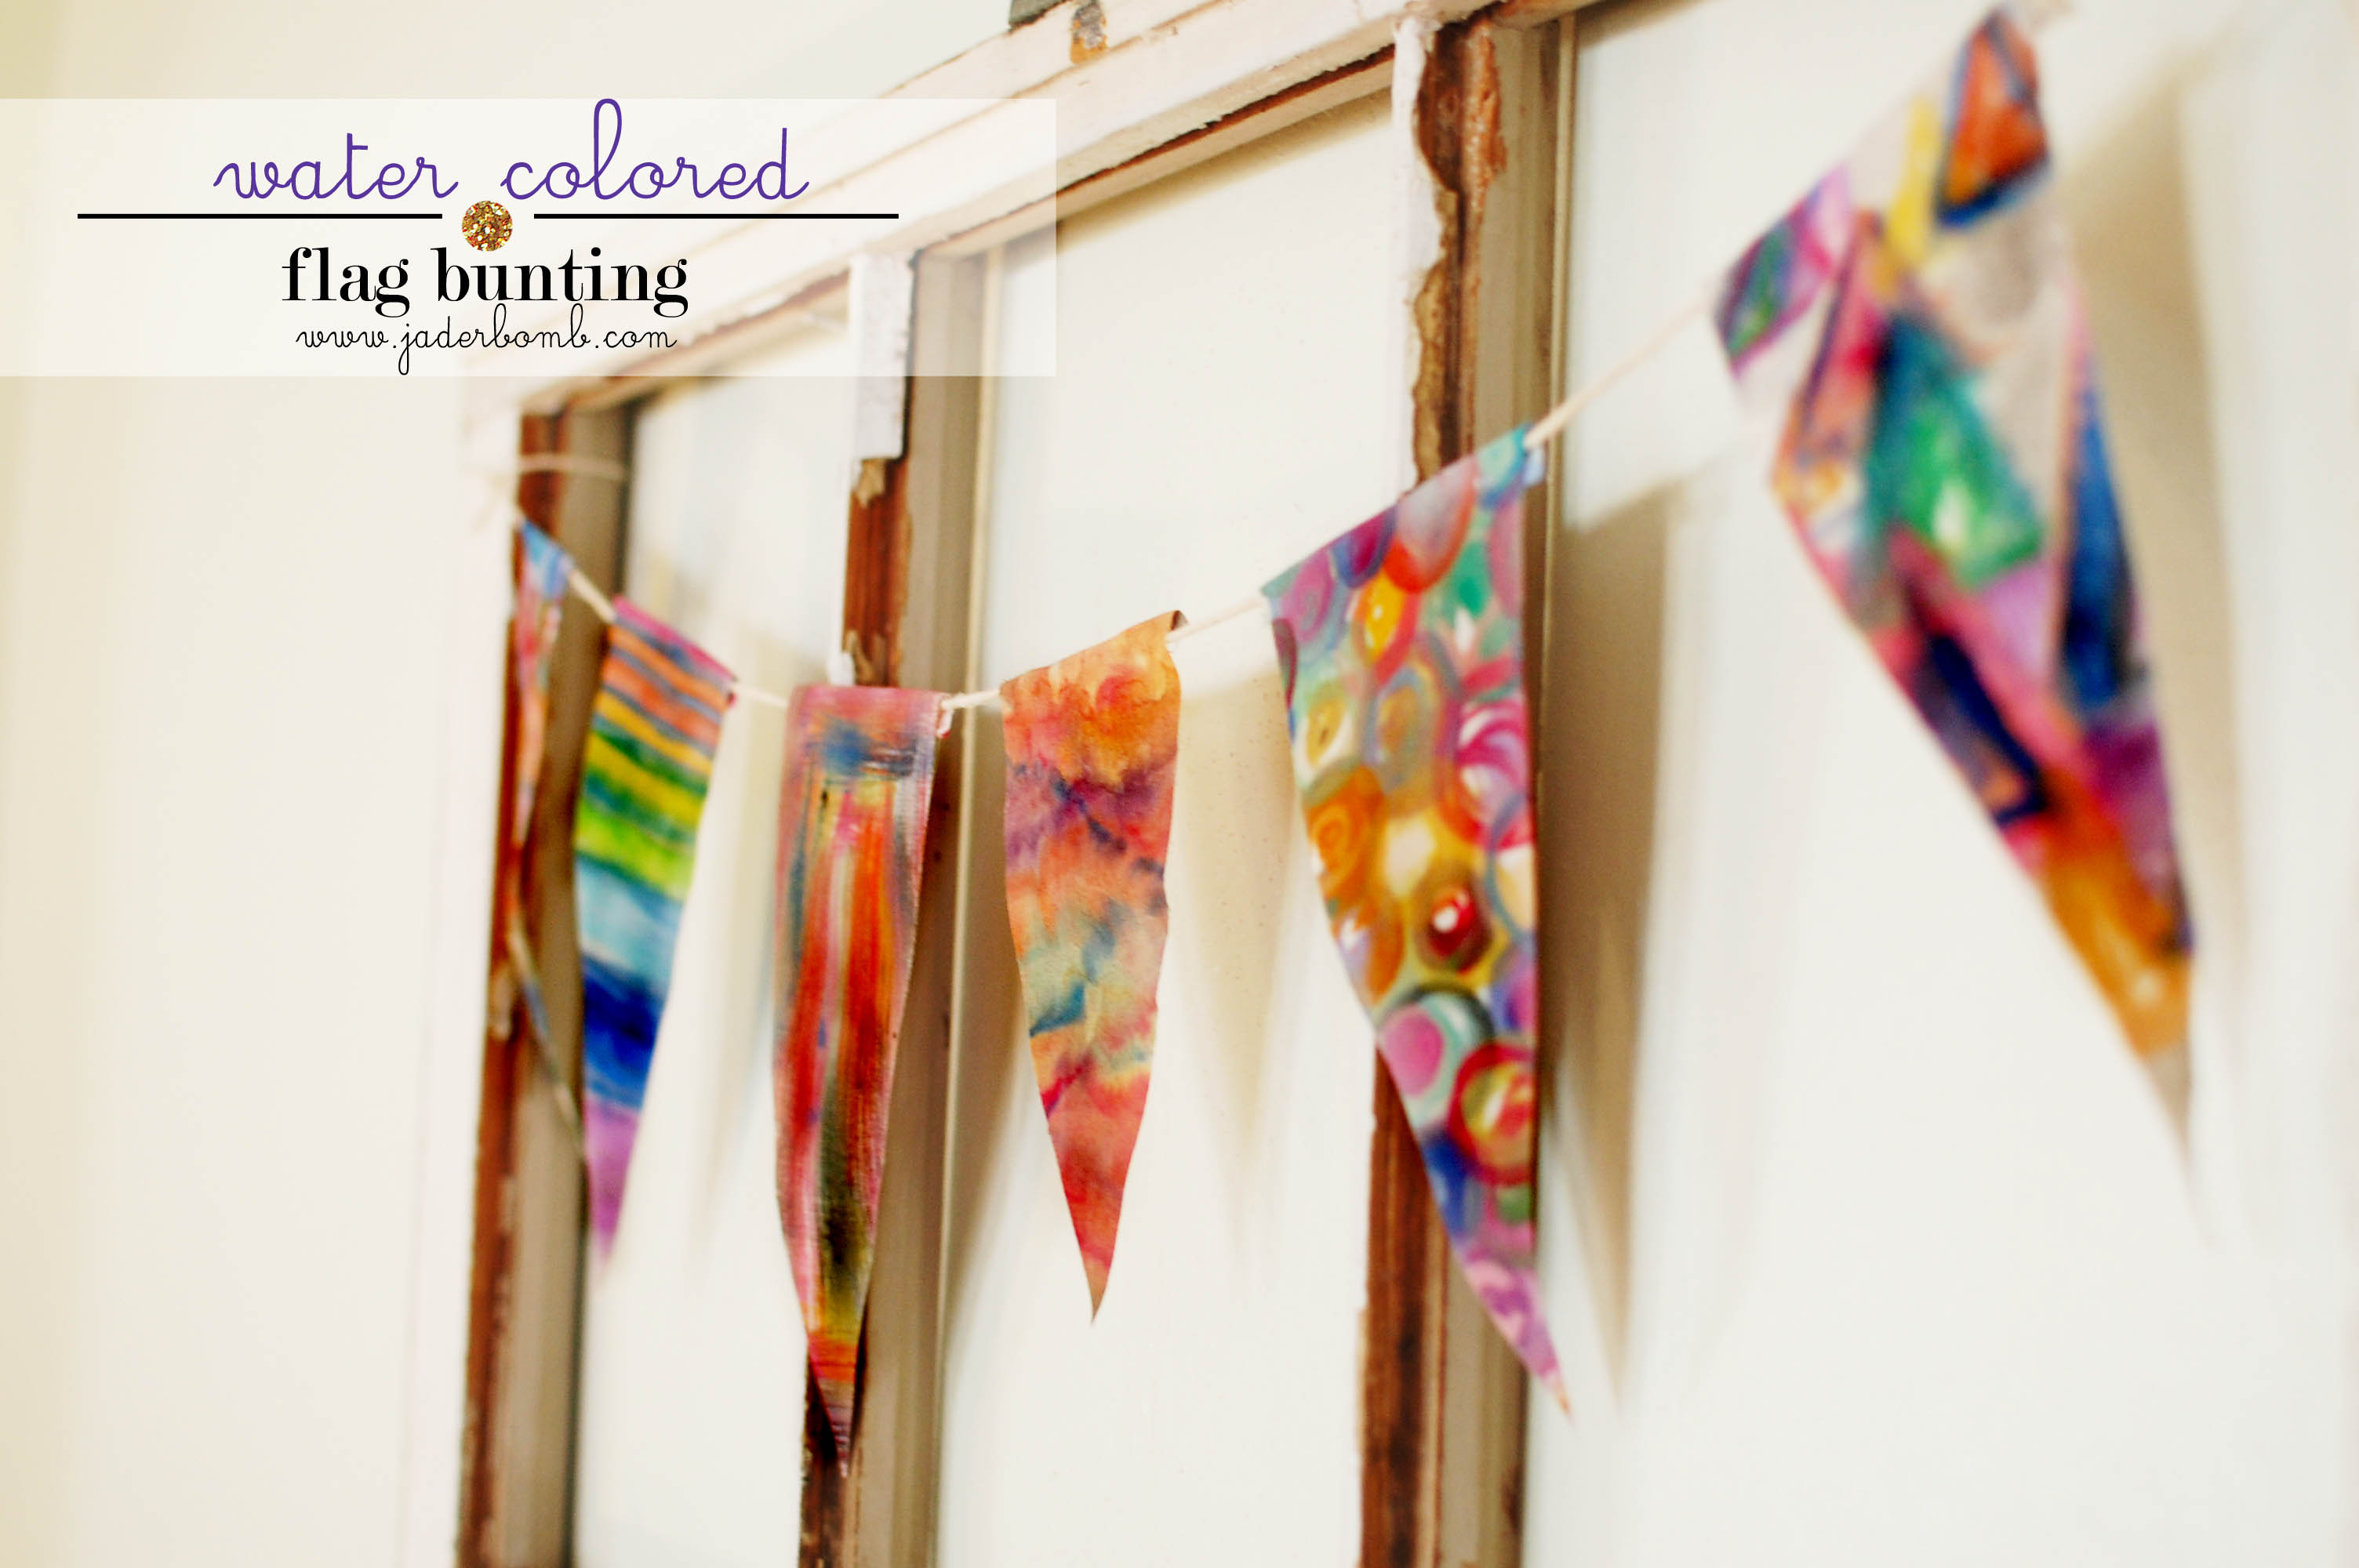
I just love the way they came out. I figured I would start early with my Valentines decor and I think this is beautiful.


I hope you enjoyed this post and you can look forward to new VALENTINE’S day crafts!

Huge hugs, see ya in the next post!

jaderbomb.com

 
Quote of the day:
“We must go and see for ourselves.” -Jacques Cousteau
 
Wow! what an amazing year it has been. To start off the new year I have a cute last minute New Year’s treat for ya! I always love decorating around a holiday so New Year’s is full o’bling and I love that. Today I will show you how to turn a 3dollor wooden tray into pure bliss. Let’s get started!

How To Decoupage a Wooden Tray

Ingredients:

*Wooden Tray
*Mod Podge
*Brush
*Jewels
*Wrapping Paper
*Glue Gun

How To Decoupage a Wooden Tray

How To Decoupage a Wooden Tray

You will continue to Mod Podge until the entire tray is covered. Don’t worry if this is your first time using Mod Podge. It looks Matte when you paint it on but dries clear. Thanks goodness! This is why I use this on the “daily”.

How To Decoupage a Wooden Tray

Once you have it all covered with your material you are using and it’s dry you can start gluing on your jewels.

I just make a line of hot glue then place my jewels down. Don’t do a super long line because it dries pretty fast.

How To Decoupage a Wooden Tray

This is what it will look like when you are done. I think it’s gorgeous and the good thing is it’s super affordable! You can make these for someone and give it to them as a gift! 
How To Decoupage a Wooden Tray

Here are a few ornaments I put in my tray. I hope you enjoyed this tutorial. Can’t wait to see ya in the next post!

Don’t forget to make it a DIY kinda day!


DSC_00028

I am still in shock that it’s “that” time already. Time to share my top 10 posts of 2012. Where did this year go? Am I the only one who feels like it FLEW away? Well let’s get it!

Top 10 post of 2012- jaderbomb

Happy Saturday Jaderbugs! I know I tell you often how much I love all of you but let me remind you again today. I LOVE YA and I mean it! Seriously, I wouldn’t be typing this today if it were not for you. My amazing readers who faithfully come back to see what is going on in my life! I am so excited for 2013 and I surely hope you are too. I have LOT’S of exciting things happening in 2013 and trust me I wish I could tell them all to you right now but don’t worry I will soon {fist pump}.

So here ya have it, thank’s to you these are my TOP 10!

10. Homemade Laundry Soap Detergent

I love making my own detergent because I feel like I know what is going into my water, clothes and eventually touching my skin. It feels a litter better using ingredients that I can actually pronounce.

Homemade Laundry Soap Detergent

9.  How to make a cork backsplash for your kitchen: tutorial

Wow. What can I say about this. TIME CONSUMING but WORTH IT!

How to make a cork backsplash for your kitchen: jaderbomb

8.  Free Mason Jar Printable

I am so happy that this free printable I made, made it into my top 10. I fell in love with this when I made it and I hope it brings joy to more people in the future.

Free Mason Jar Printable- jaderbomb

7. Anthropologie Coffee Cream Bottles Tutorial

I am happy this was in my top 10 but shocked a little. I think I did this about 2 years ago and I didn’t realize it was still going strong! But that makes me HAPPY! Oh and this made it into my top 10 from 2011.

https://jaderbomb.com/2011/02/08/diy-anthropologie-coffee-cream-bottles/

6. DIY: Homemade Reed Diffusers

When I made this my intention was to save money. I have issues spending money on these in the stores so I figured I would make my own. Not only is it cheaper but completely affordable for anyone!

DIY: Homemade Reed Diffusers

5.  STRIPED SHABBY CHIC MIRROR

If there was one craft I did this year that I am STILL in love with it’s this one. I think it’s because anything that is black and white with a splash of color wins my heart.

STRIPED SHABBY CHIC MIRROR

4. Tutorial- Mexican Folk Art with Martha Stewart Crafts Glass Paint and Stencils

What better way to dress up a boring plain plate than to add a little silk screen to it. Make sure and check out this tutorial because it’s truly amazing!

Tutorial- Mexican Folk Art with Martha Stewart Crafts Glass Paint and Stencils

3. 100 things to do this SUMMER PDF

I had so much fun making this and I am already adding new things for Summer 2013. I had a lot of great feedback from this post. It’s kinda fun to see just how much you can actually get done!


100 things to do this SUMMER PDF

2. Picture Holders that ROCK

Yep, I reused some old dingy rocks and turned them into these magnificent beauties. Check out how I made them by clicking on the picture!

Picture holders that rock

AND THE NUMBER ONE POST OF 2012 is….

1. How to cut glass

PHEW! What can I say except WOW. I am still in shock at how many people viewed this, shared it, pinned it, and made it! Thanks YOU!

How to cut glass- jaderbomb

I am still in awe of the numbers from my #1 post of 2012!!

Twitter: 234 tweets

Facebook: 2.5 thousand likes

Stumble Upon: 442 thousand stumbles

Google Plus: 163 shares

Pinterest: 19+ thousand pins

jaderbomb top 10 post of 2012

I really hope you had a great time looking through my posts!

Some things to look forward to in 2013 from me:

*I really want to redu my studio so you can look forward to seeing that
*I want to start using more “vintage” items in my makeovers
* Working on a new site as we speak so stay tuned… only thing I will tell you is it will be “YUMMY”
*I want to makeover more furniture

Wanna see my Top 10 of 2011? Click HERE!

I am sure I can go on and on for day’s but that is a quick vision I have for you.

I hope you have a GREAT NEW YEAR, LOVE YA!


DSC_00028

Sharing with Southern Hospitality

Quote of the day:
“Glad we are still alive to enjoy this pillow tutorial” -jaderbomb

Oh what a happy day! I had so much fun making this pillow and I know you will too. It’s obvious I love doing crafts that an adult or child could do by themselves or possibly together. I think there is something special that happens when you craft with your little ones. Trust me, they remember it!  I can’t tell you the last time I Tie Dyed something. I didn’t want to make a “shirt” because that is what everyone does. Making a basic tie dyed pillow sounded like the thing that would put a smile on my face!

Let’s get started with our Tie-Dyed Pillow.

Tie-Dyed-Pillows-By-Jaderbomb.com

This is what you will end up making. I like our bed to be completely white but every now and then it’s fun to give it a PUNCH of color!

Tie-Dyed-Pillows-By-Jaderbomb.com

I used the Tulip one step Tie Dye Kit.

Tie-Dyed-Pillows-By-Jaderbomb.com

It’s super easy to do because the bottles already come with powder in them. All you have to do is fill them up with water. Make sure to stop at the line. You don’t have to wear gloves but your hands will be stained if you don’t. Be creative when you put your rubber bands. After all, the bands are the things that break up the color so make it fun!


Tie-Dyed-Pillows-By-Jaderbomb.com

You can see I just started squeezing color onto my shirt in different spot. Remember that color chart from when you were a kid.
Red + Blue = Purple
Yellow + Blue = Green
Red + Yellow = Orange

The reason whey I want you to know this is because even if you only have a few colors you can make so many more by pairing them up with other colors. This is my favorite part.

Tie-Dyed-Pillows-By-Jaderbomb.com

This is my mess when I was done. You want to let it dry outside over night or 7-8 hours. I did mine in the afternoon so checking on it in 7 hours would of meant me getting up in the middle of the night….
Well. I decided it wouldn’t hurt a few more hours, haha. When you let it dry rinse it out, then wash it. Don’t wash with other clothes.

Tie-Dyed-Pillows-By-Jaderbomb.com

When you are done washing and drying lay your shirt out on a flat surface. Make sure you turn the shirt inside out. Lay your pillow down on top of the shirt. Get a piece of chalk and outline the pillow. Sew all of the sides except one. Cut all of the edges then turn the shirt right side out.

Stuff your pillow inside and then hand sew the side that we didn’t sew.
That’s it Jaderbugs!

I wanted to include this fun print for you. I thought it was so cute and perfect for this time of year!

Sending you and yours and HUGE hug from my family to your’s….

jade-26

Quote of the day:
“Climb the mountains and get their good tidings.”-John Muir

Oh HAPPY day! It’s gloomy outside and we have not had sun for a few day’s. Most of the time this weather makes me feel just like it looks! However, since it’s Christmas time I couldn’t even imagine the sun beaming through my windows right now. It actually feel’s like what you would imagine “Christmas” would look like here in Louisiana. Well…minus the snow, cold weather and fire places burning. Good news is we are supposed to get a cold front tonight.
{{insert a loud YAYYYYY}}

The other day I got home and found a NICE brown box sitting at my front door. I got super excited and couldn’t wait to see what it was. When I finally got to it I was pleased to see it was from my friends at Martha Stewart.

As I started to open it I realized it was all great things to use for the Holiday’s and GREAT last minute items to pick up for your holiday decor.  I will post some now and some later today so make sure to come back. Let’s get started!

The first thing are these babies!

Martha-Stewart-Christmas-Decor

Martha Stewart Crafts™Wonderland Christmas Light Window Clings
Easily add a festive decoration to windows and mirrors with these Martha Stewart Crafts™
Wonderland Christmas Light clings. Glittered bulbs stick without adhesive and peel off for use year after year. Includes 12 pieces, each approx. 4in long.

(you can get these where Martha Stewart craft products are sold)

Martha-Stewart-Christmas-Decor

I absolutely love the way they look on our window. I put them above our kitchen sink so I can feel happy every time I look out of the window. What I love about them is they will not stick to your windows like stickers do,  which makes it super easy to take off. Since they are window clings you can store them in a bag for the next year and use them all over. You can even put them in your vehicle to add some Holiday spirit. At night when I light all of the candles on the window seal they look so pretty!

Click HERE to see how I made my Monogram candles.

———————————-

Martha-Stewart-Christmas-Decor

The next thing that was sent to me were these beautiful Martha Stewart Crafts Snowflake Hanging Rosette’s.
You can purchase them HERE.

*Makes 3 decorations: one 19.5-inch and two 13.5-inch
*Coordinates with other holiday party decorations
*Perfect for winter parties and holiday celebrations

Martha-Stewart-Christmas-Decor

Martha-Stewart-Christmas-Decor

The color palette for them are soft and delicate. I love the jewel in the middle of them.

Martha-Stewart-Christmas-Decor

I put them outside on one of our sheds. It added a little “Holiday-ness” to it and I love them!
They are so easy to make which is why you could go grab some and put them up in 10 minutes!

See ya in the next post! Don’t forget to make it a DIY kinda day!

Facebook Twitter Gplus Pinterest YouTube E-mail RSS

jaderbomb

Disclosure: I received products from  Martha Stewart Crafts ,however all of the opinions in this post are my own.

Quote of the day:

“Animals outline their territories with their excretions, humans outline their territories by ink excretions on paper. ” Robert Anton Wilson

Happy Monday Jaderbugs! I hope everyone had a ridiculously good weekend. Here in Louisiana it was rainy and gloomy. But that didn’t stop the crafting I tell ya. I have always been a fan of line drawings. They capture things that paint couldn’t ever capture which is why I am so excited to share this craft with you today. The thing I love the most about this craft is ANYONE can do it. It’s super simple and they turn out fabulous. Who would of ever thunk it?

You can have some ideas of things you want to create before you start or you can just go with the flow. I had a few images in mind that I wanted to create. You can lightly draw on your card stock with a pencil so you have a simple guideline to follow.

Ink-Blown-Art

INGREDIENTS:

*Card Stock
*India Ink
*Small Straw or Big Straw

Purchase all of the items I used by clicking on the links in the ingredient section.

Let’s get started!!

Ink-Blown-Art

Here are all of the things you will need. If you use a small straw know that it will give you FINE lines, if you use a big straw it will give you THICK lines. I used a small one.

Ink-Blown-Art

This is the india ink I used. I purchased it at Hobby Lobby.

Ink-Blown-Art

The first  thing you will do drop a little drop of India ink on your card stock.

Ink-Blown-Art

This is what it will look like.

Ink-Blown-Art

Grab your straw and start blowing. The harder you blow the more you will see the ink blow in every direction. If you wiggle the straw back and forth while you blow the lines will really take off.

Ink-Blown-Art

The picture above is “supposed” to be a woman with her hair all around her. Do ya see it?

Ink-Blown-Art

Do you see Holly Hobbie in the picture? My Holly Hobbie is reading a book. I love her.

Ink-Blown-Art

This is the trash can that Ash used to have. I found this one on Etsy, you can buy it HERE.

I love this because it’s completely affordable and it will spruce up ANY space!

I hope you enjoyed this tutorial! Don’t forget to make it a DIY kinda day,

jaderbomb