Halloween Party 101. Well not really but let me just tell you I have a thing for crows. I remember when I used to freak out by the thought of a black crow. Now, I smile really big and give them names. I think many people associate a black crow with death and bad luck but shoots, I will go with the positive aspects of them. Here are a few incase you are “dying” to know!
- Life magic; mystery of creation
- Destiny, personal transformation, alchemy
- Intelligence
- Higher perspective
- Being fearless, audacious
We all cool now? Remember these book/magazine holders I made? Well today I will show you how to spruce up those lovely white pillar candles that you get from Walgreens for 3 bucks. You know which ones I am talking about right?
The religious ones. But I get the plain white ones. I will gladly assume they are blank so I can create my own spiritual fairy on it and pray to “whoever”. Today we are praying to the black crows, and not the band. Even thought I rocked out to them 10 years ago. I wonder if the “Black Crows” (the band) is throwing a Halloween party.

YOU WILL NEED: PILLAR CANDLE | ADHESIVE DOTS | SILK RIBBON | SCISSORS | HALLOWEEN STICKERS
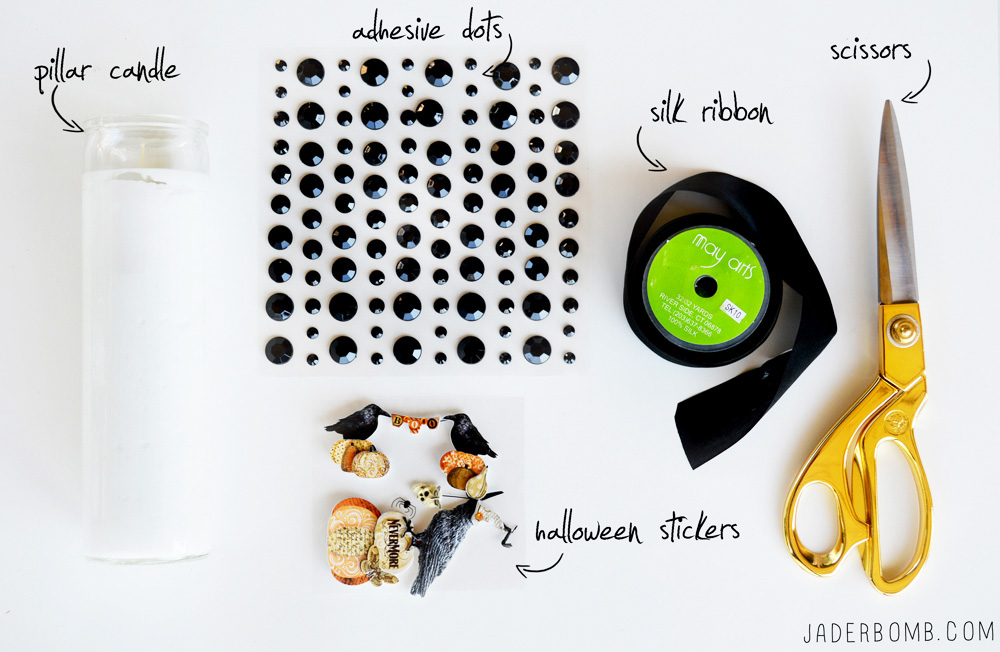
Don’t get me wrong. I love glue. BUT I love adhesive jewels any day. Granted they will not be as durable without glue but for projects like this they rock my world. I got this sheet from Michaels and they were one whole dollar.

Step ONE: Apply the sticky jewels to the outside of your candle. BAM NO GLUE!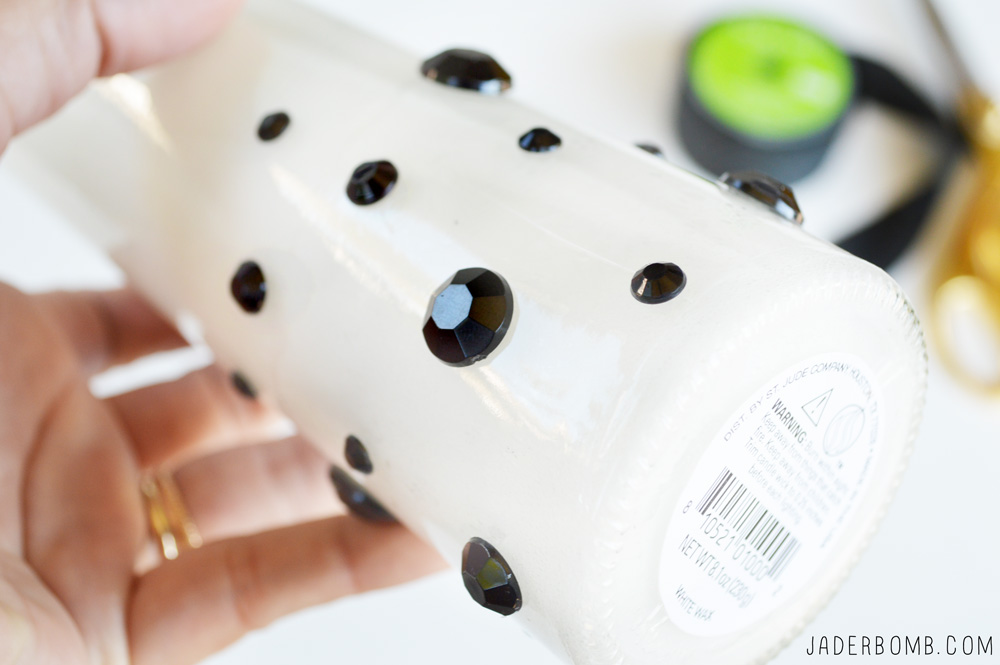
Step TWO: Cut a piece of silk ribbon. Look, if you are a die hard fan of ribbon then you know this is the LAND ROVER of silk land. Well, at least I think so. This stuff is 30 something a roll but let me tell you it’s worth it! It’s as soft as a…..bunny’s tail. 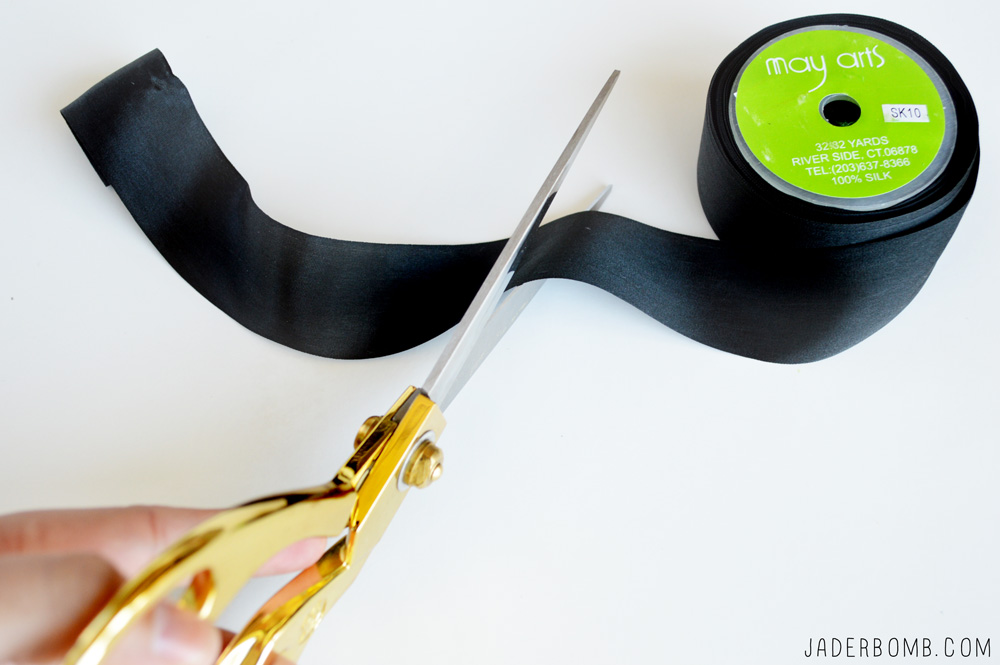
Step THREE: Tie three pieces of ribbon around your pillar candle (above the jewels).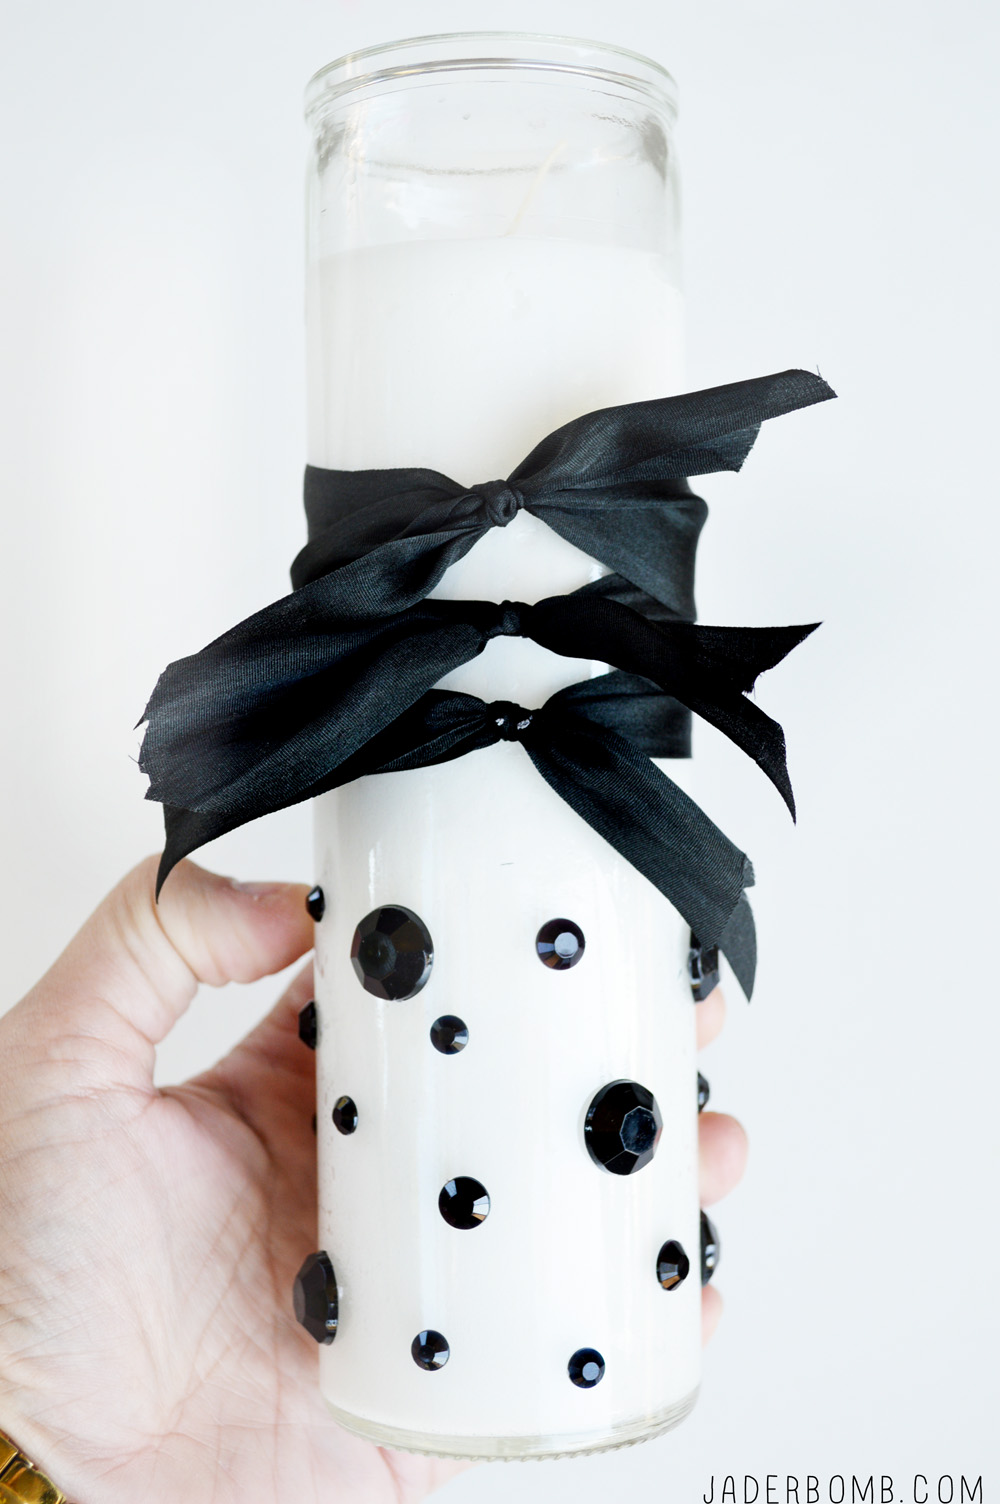
Step FOUR: Admire these unique stickers from jolee’s boutique. Are you familiar with this line? I know I am and you will love them too!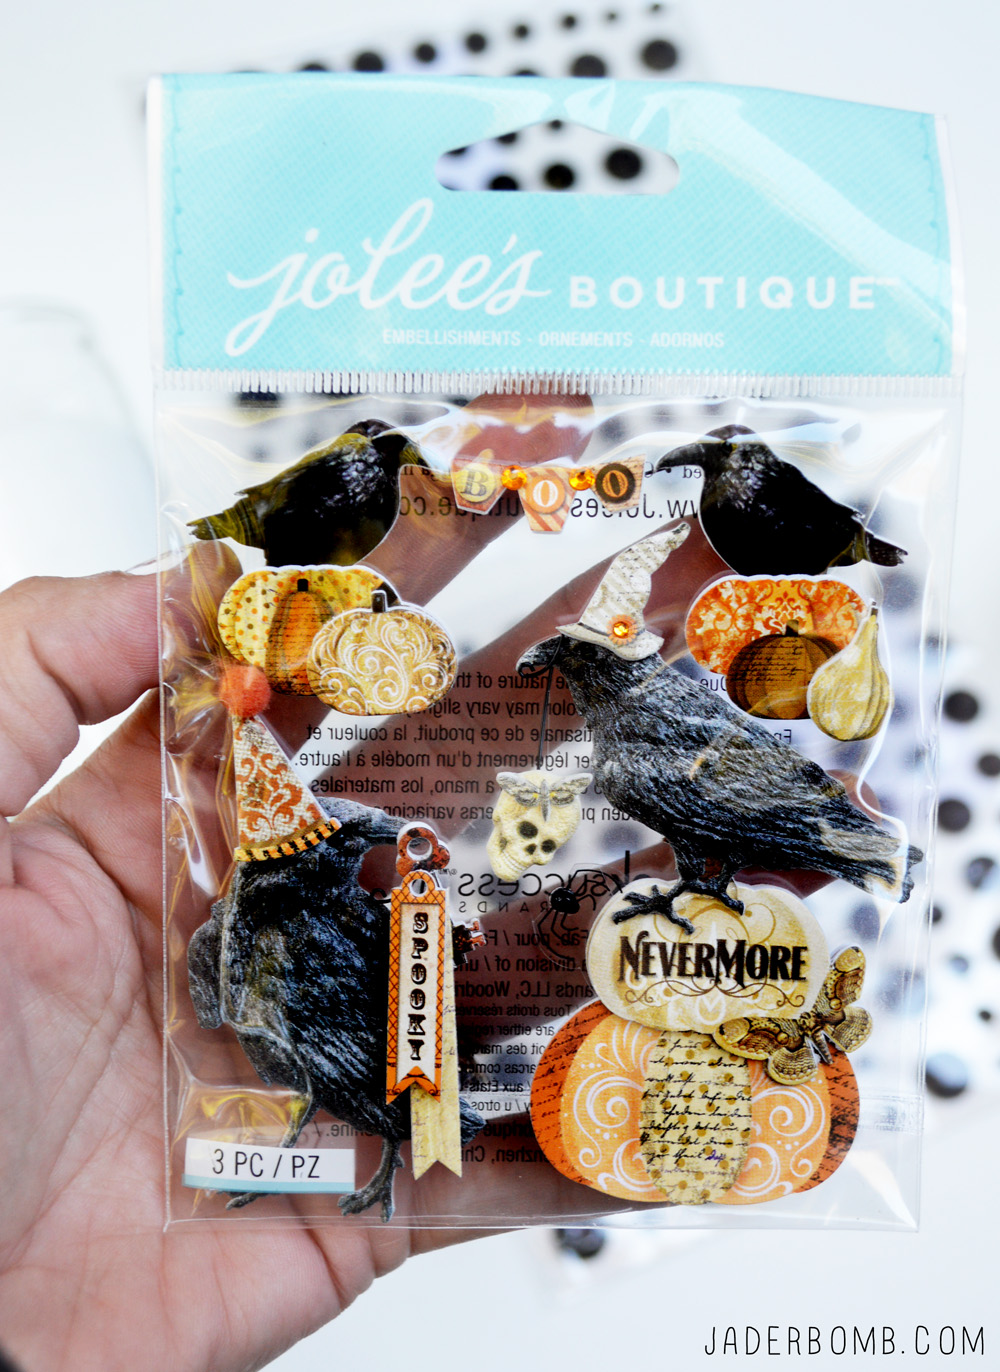
Step FIVE: Grab your favorite sticker and place it directly on top of the ribbon. VOILA YO. 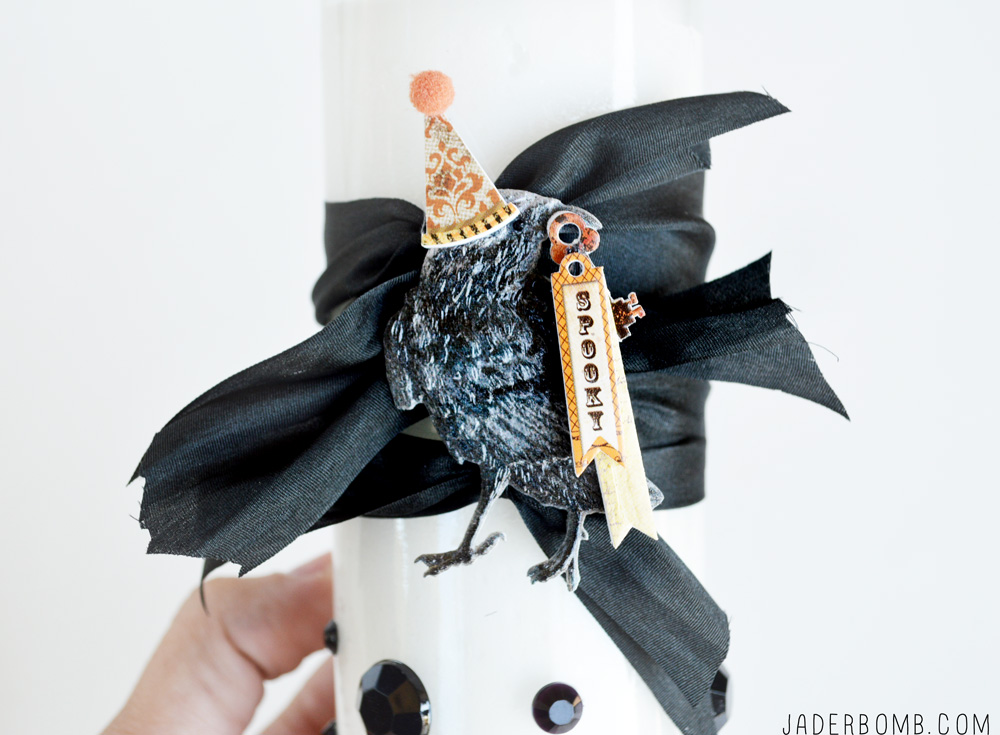
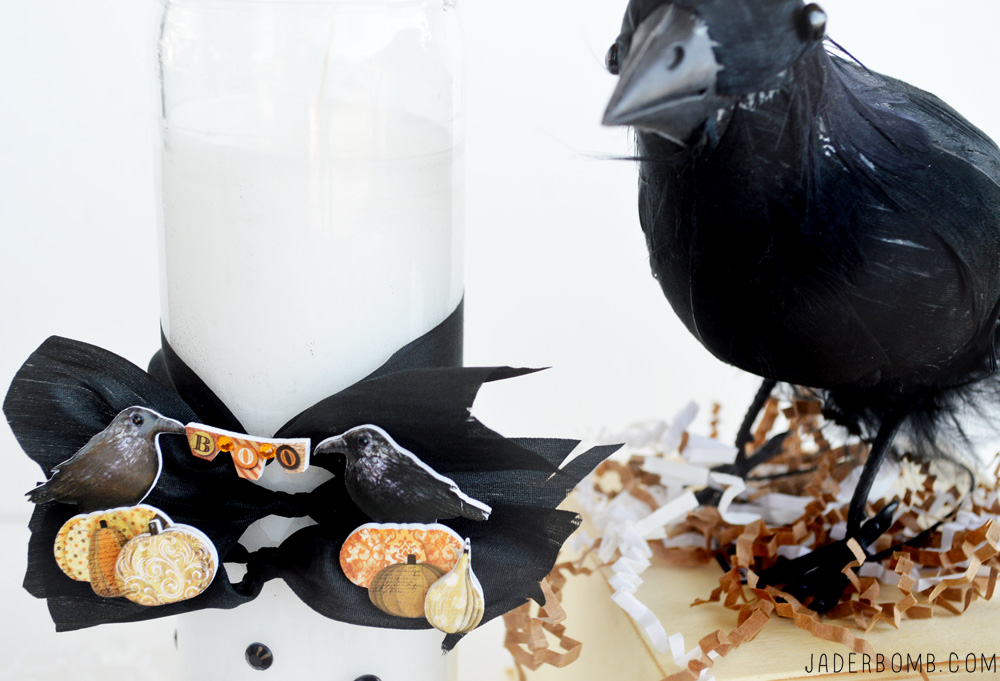

Super easy and quite elegant if you ask me. Now elegant in my world is 30 dollar ribbon so to each his own! Don’t forget to check out how you can still win a nice little gift card to Michaels HERE.
Don’t forget to check out my latest post for Michaels below!
HALLOWEEN PARTY IDEAS
I hope you enjoyed the post today and I am giving you all HUGE glittery filled hugs from my computer to yours! ♥, Jade
![]()
Don’t forget to connect on social media! Make sure to use use the hashtag #JADERBOMB on Instagram or Twitter or Facebook so I can keep track of all your awesome creations!
 STEP TWO…
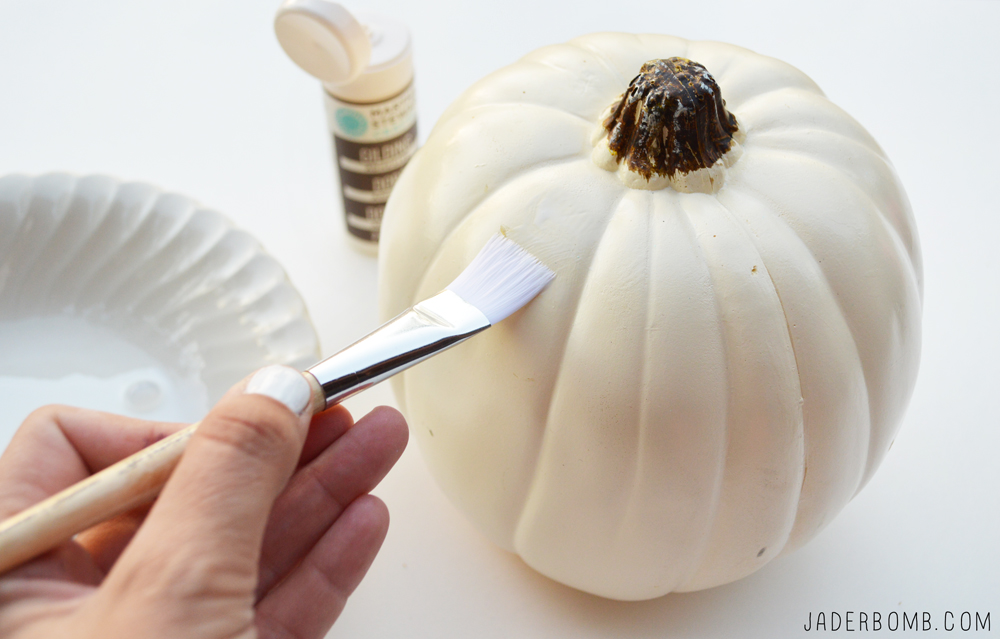 STEP THREE…
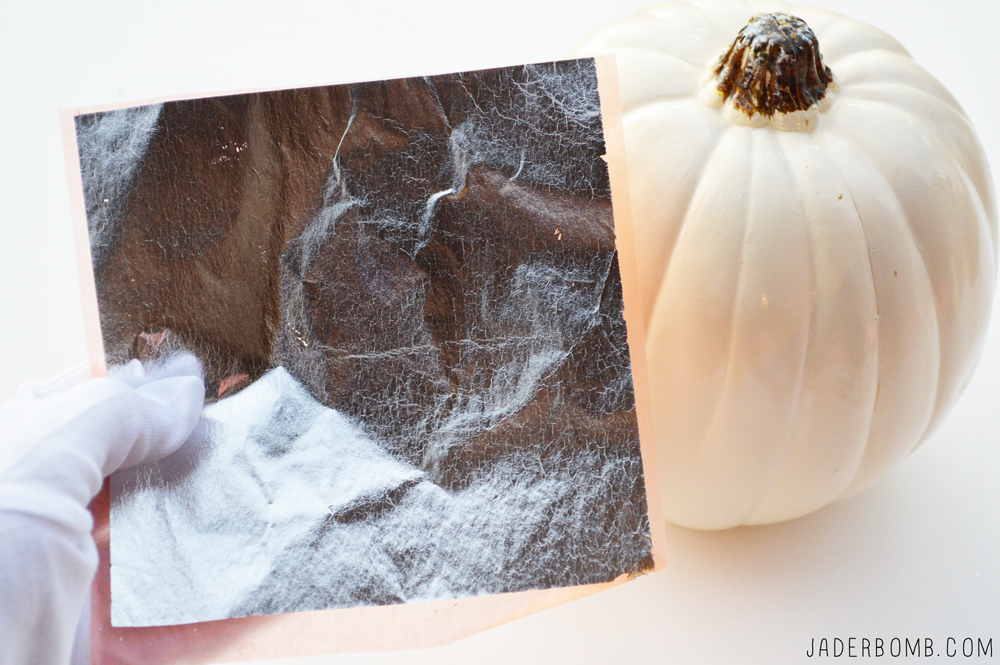 STEP FOUR…
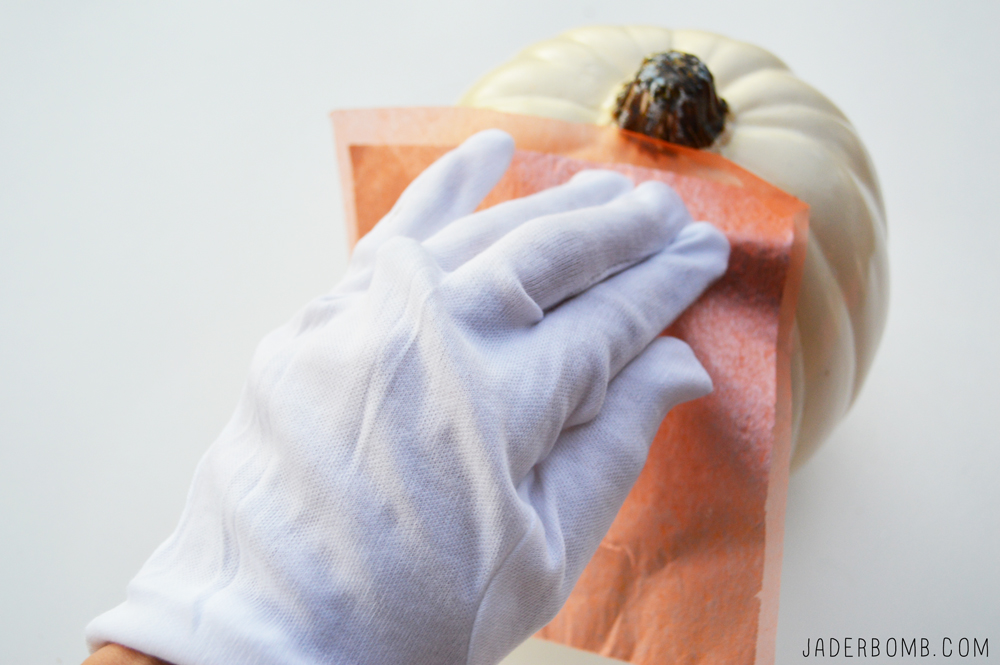 STEP FIVE…
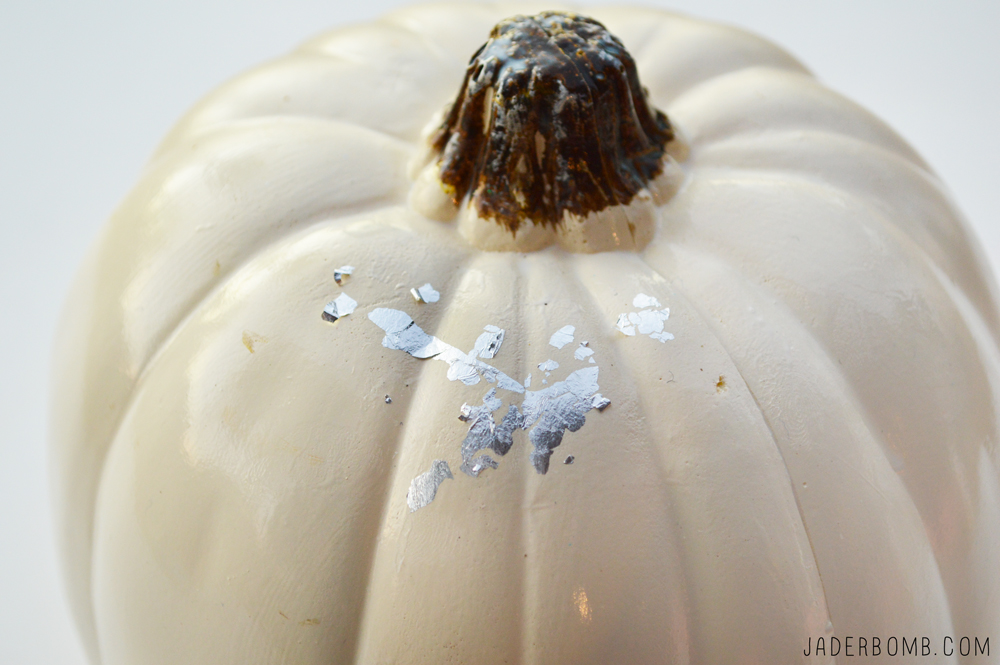
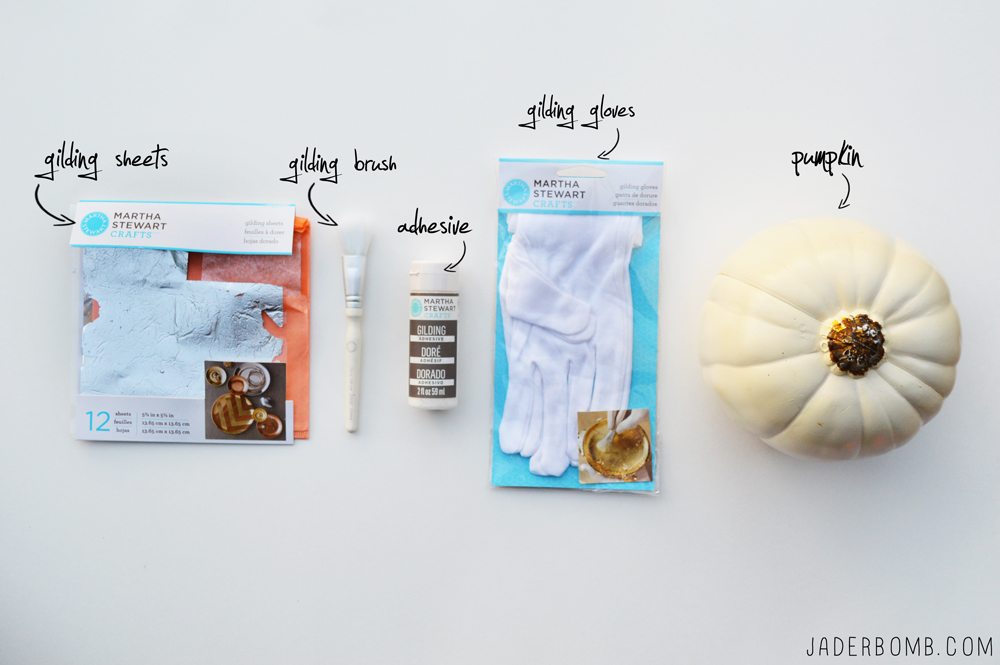
 You will need:
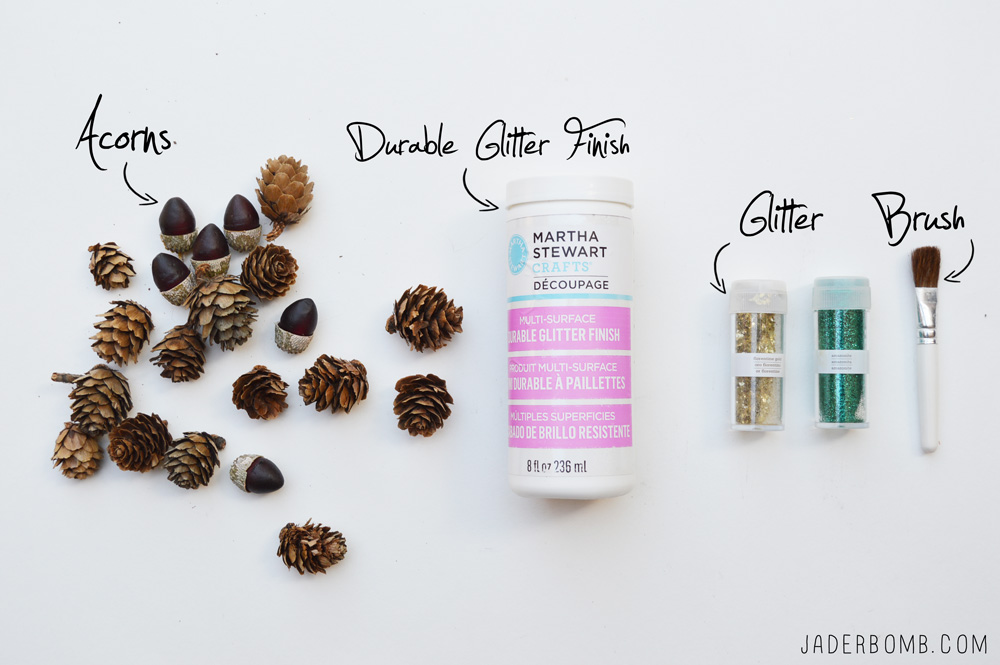 Step One: Lay out your goodies and stare at them for a minute. Worship them because they are simply that adorable.
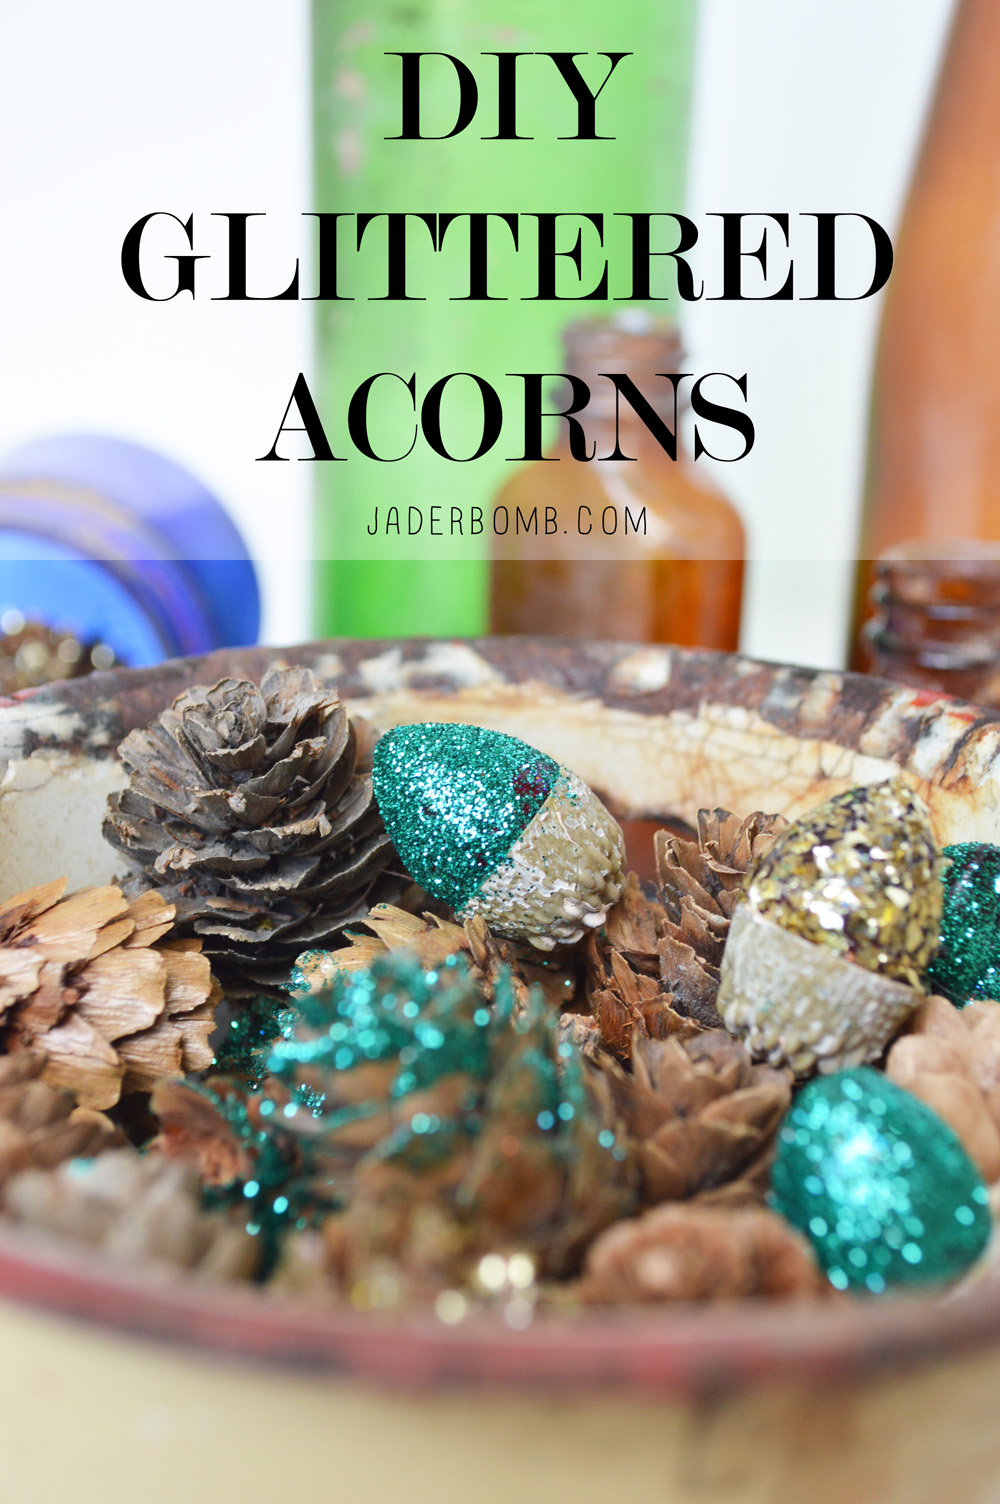
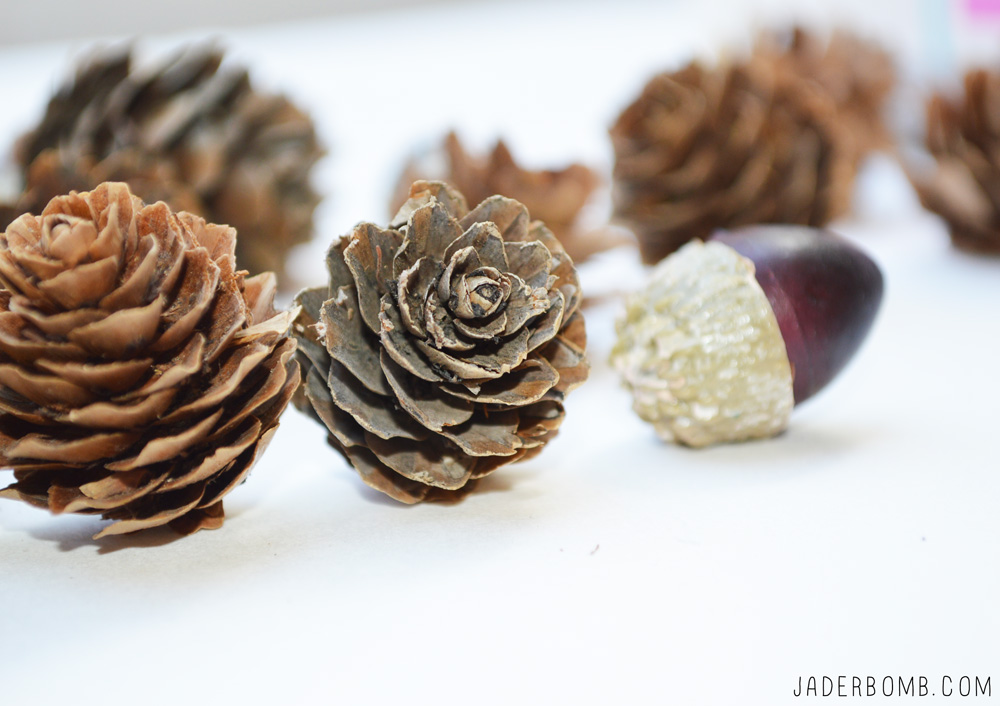 Step Two: Grab the glitter of your choice and shake them like a salt shaker. Preferably on top of your head. I am using Martha Stewart glitter in Florentine Gold & Wintermint.
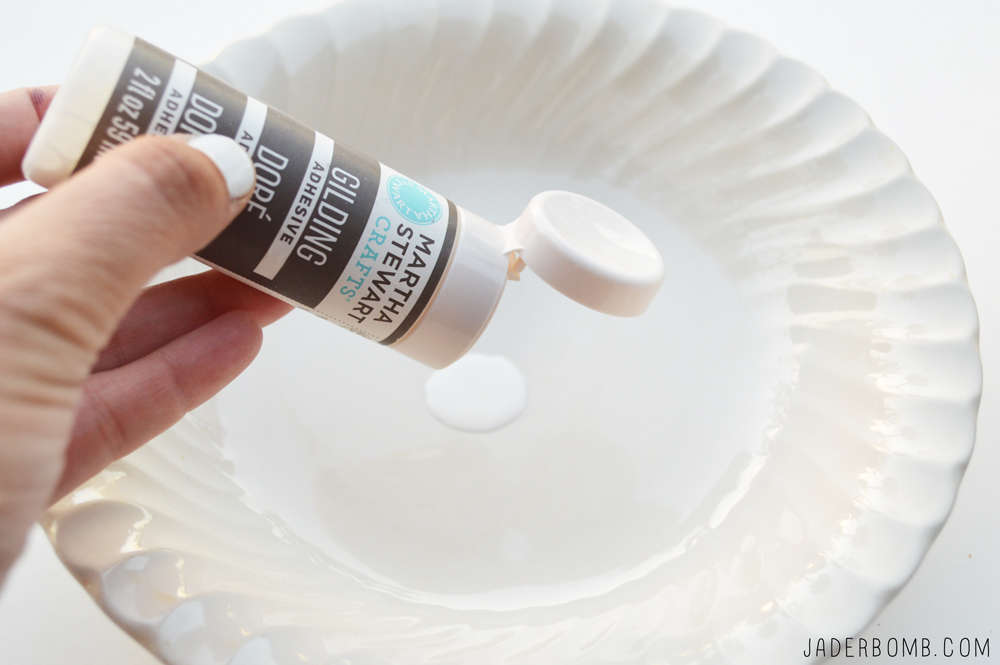
 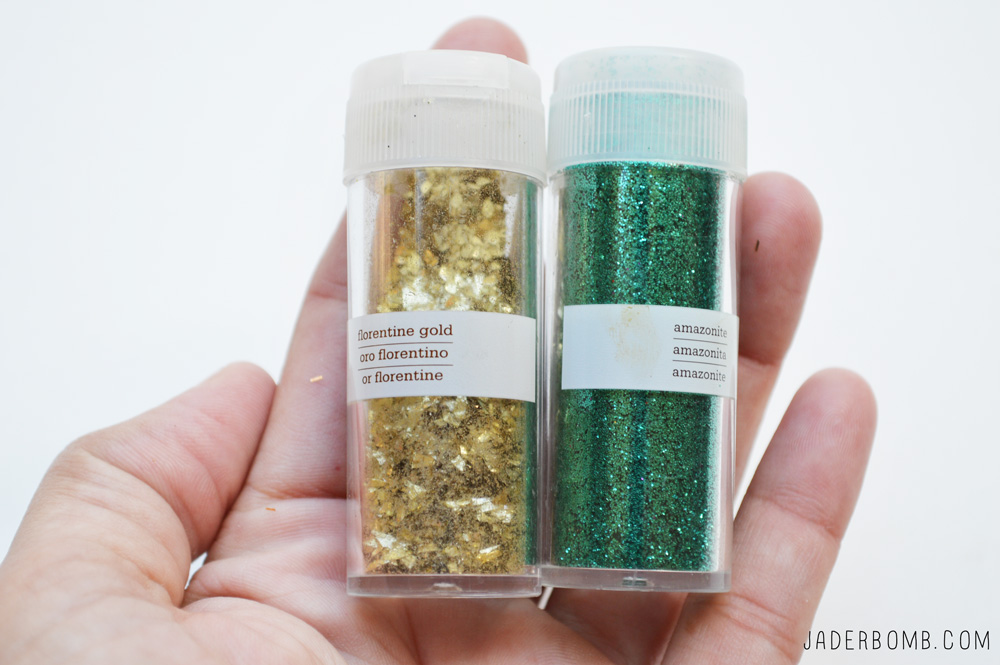 Step Three: Get your bottle of decoupage and roll it on a flat surface to wake it up. We need to make sure everything is mixed together well inside of the container.
 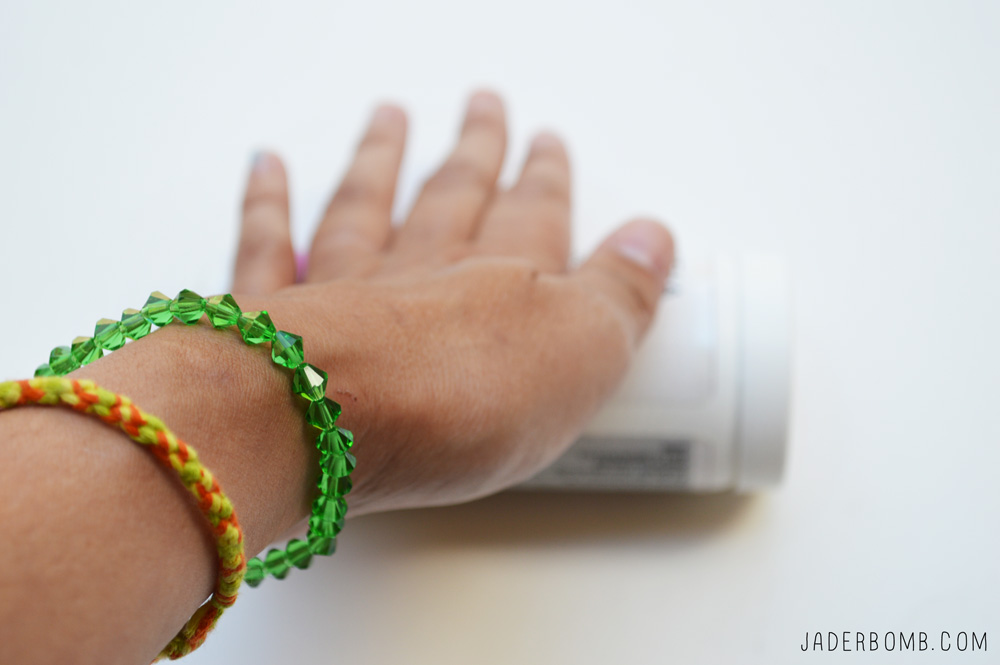 Step Four: Apply a small amount of decoupage on your brush and add it to your acorns and pinecones. While wet sprinkle a little glitter over the glue. Hint: I like to place a sheet of paper under my items to catch the glitter, then I can pour it back into the bottle.
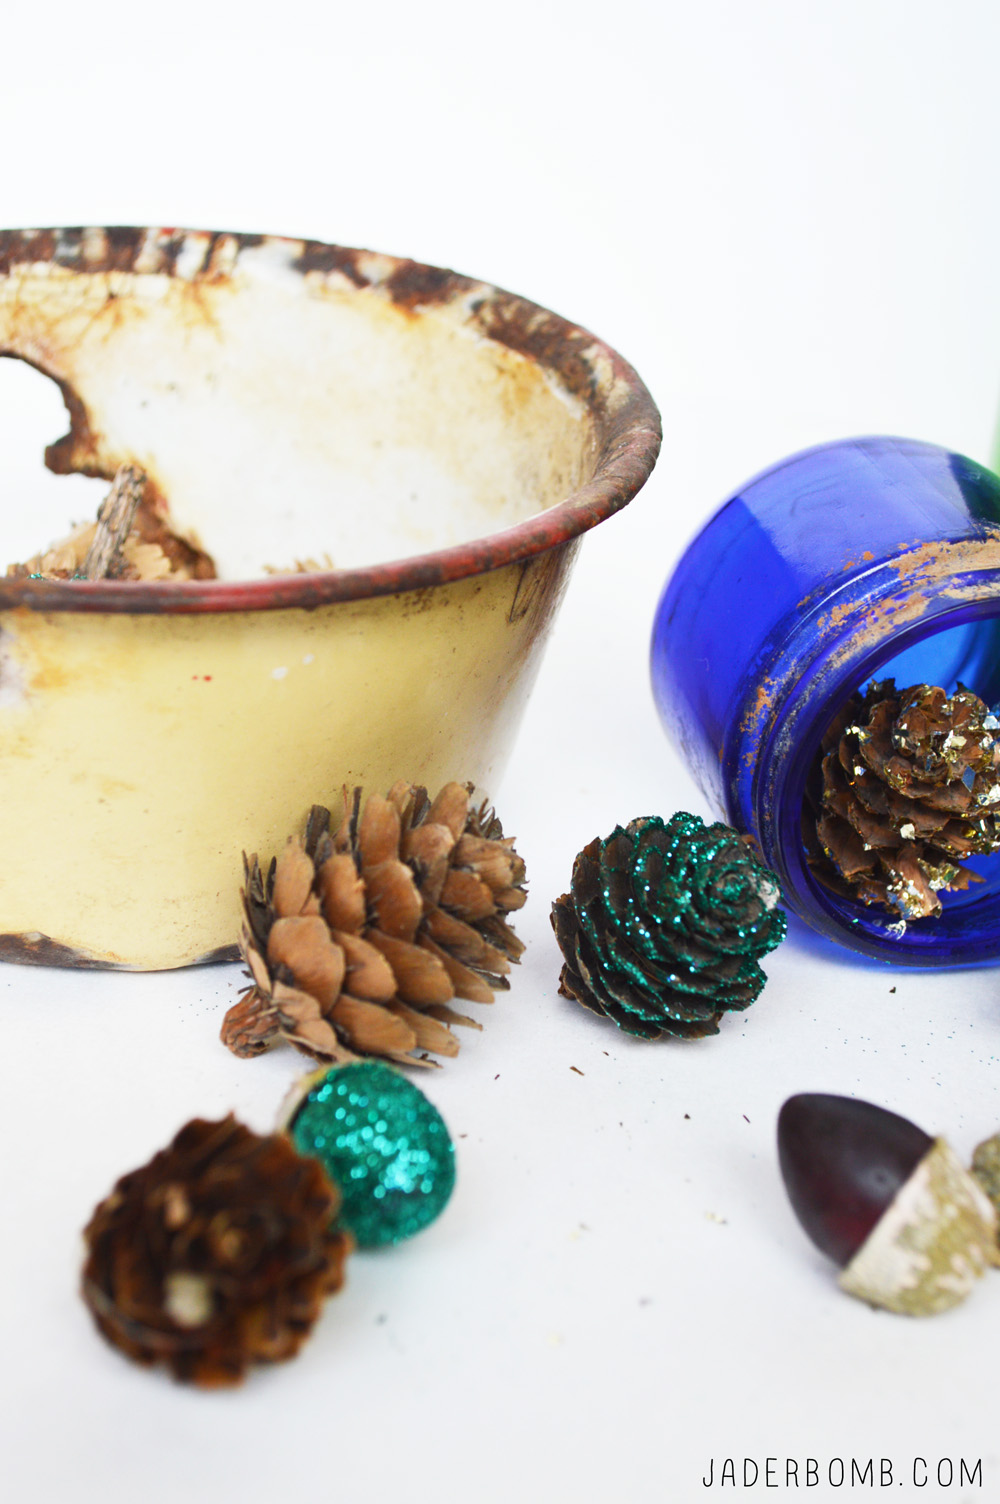
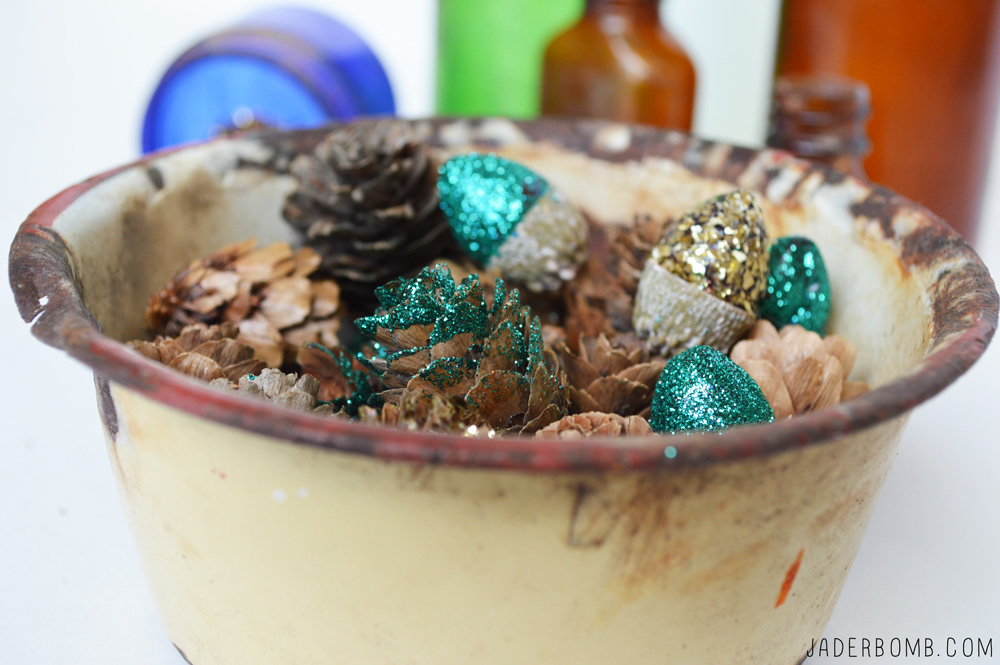
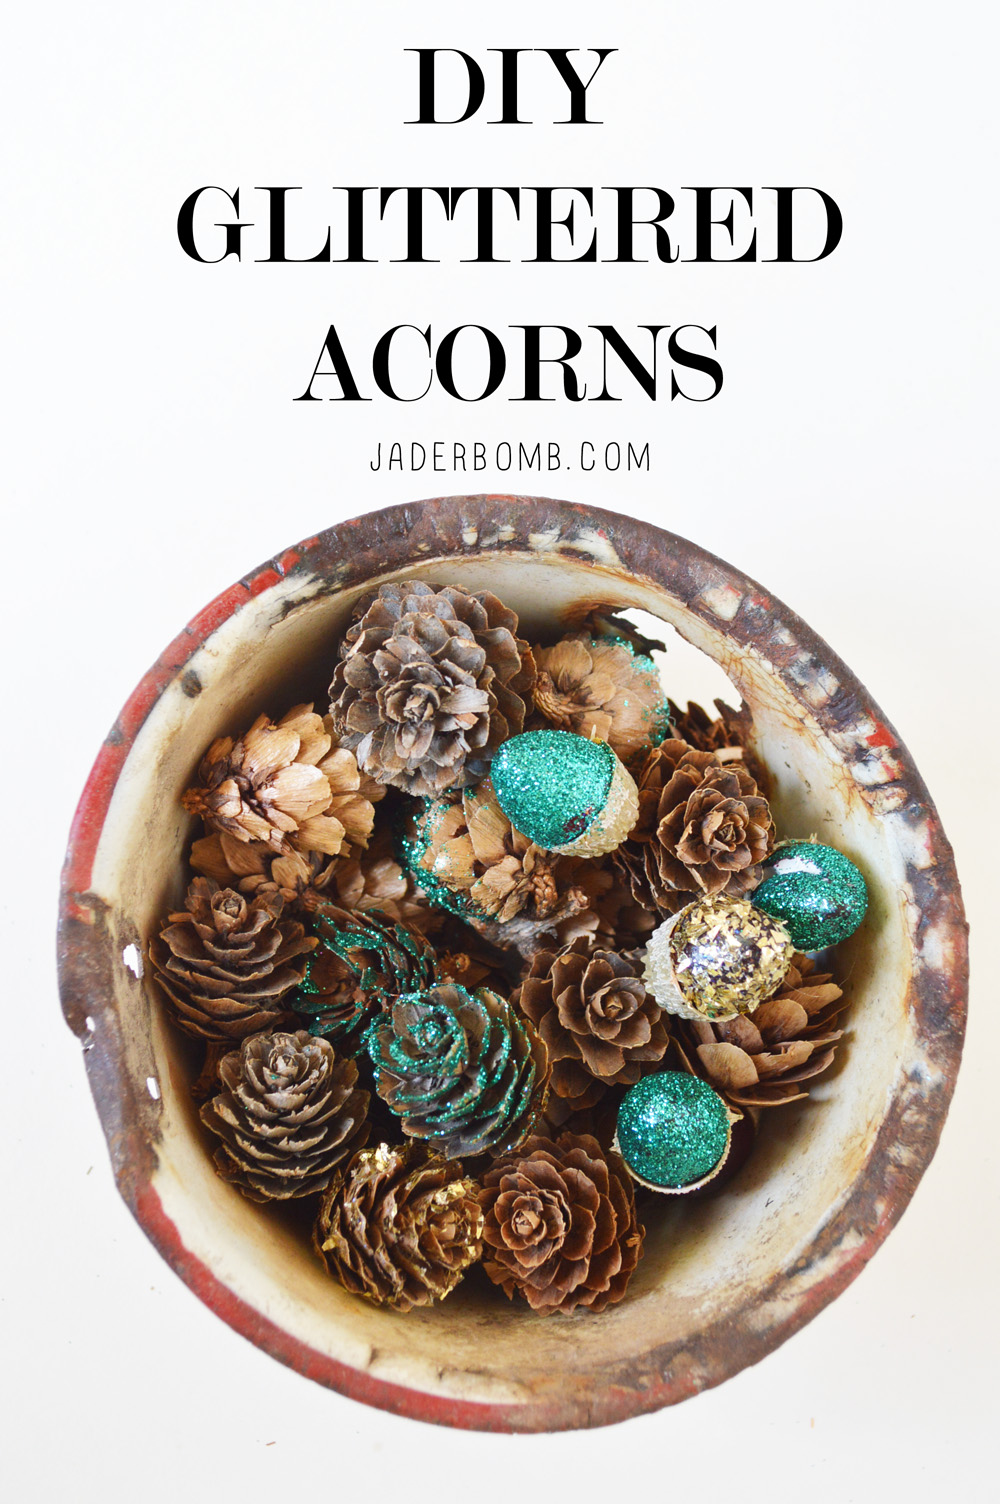
 I love the way they came out. Did I mention this is the perfect craft to have your kids do? Seriously it takes about 10 minutes to do them and it dries really fast. I think I will make rainbow ones next. What cha think! See ya in the next post Jaderbugs!
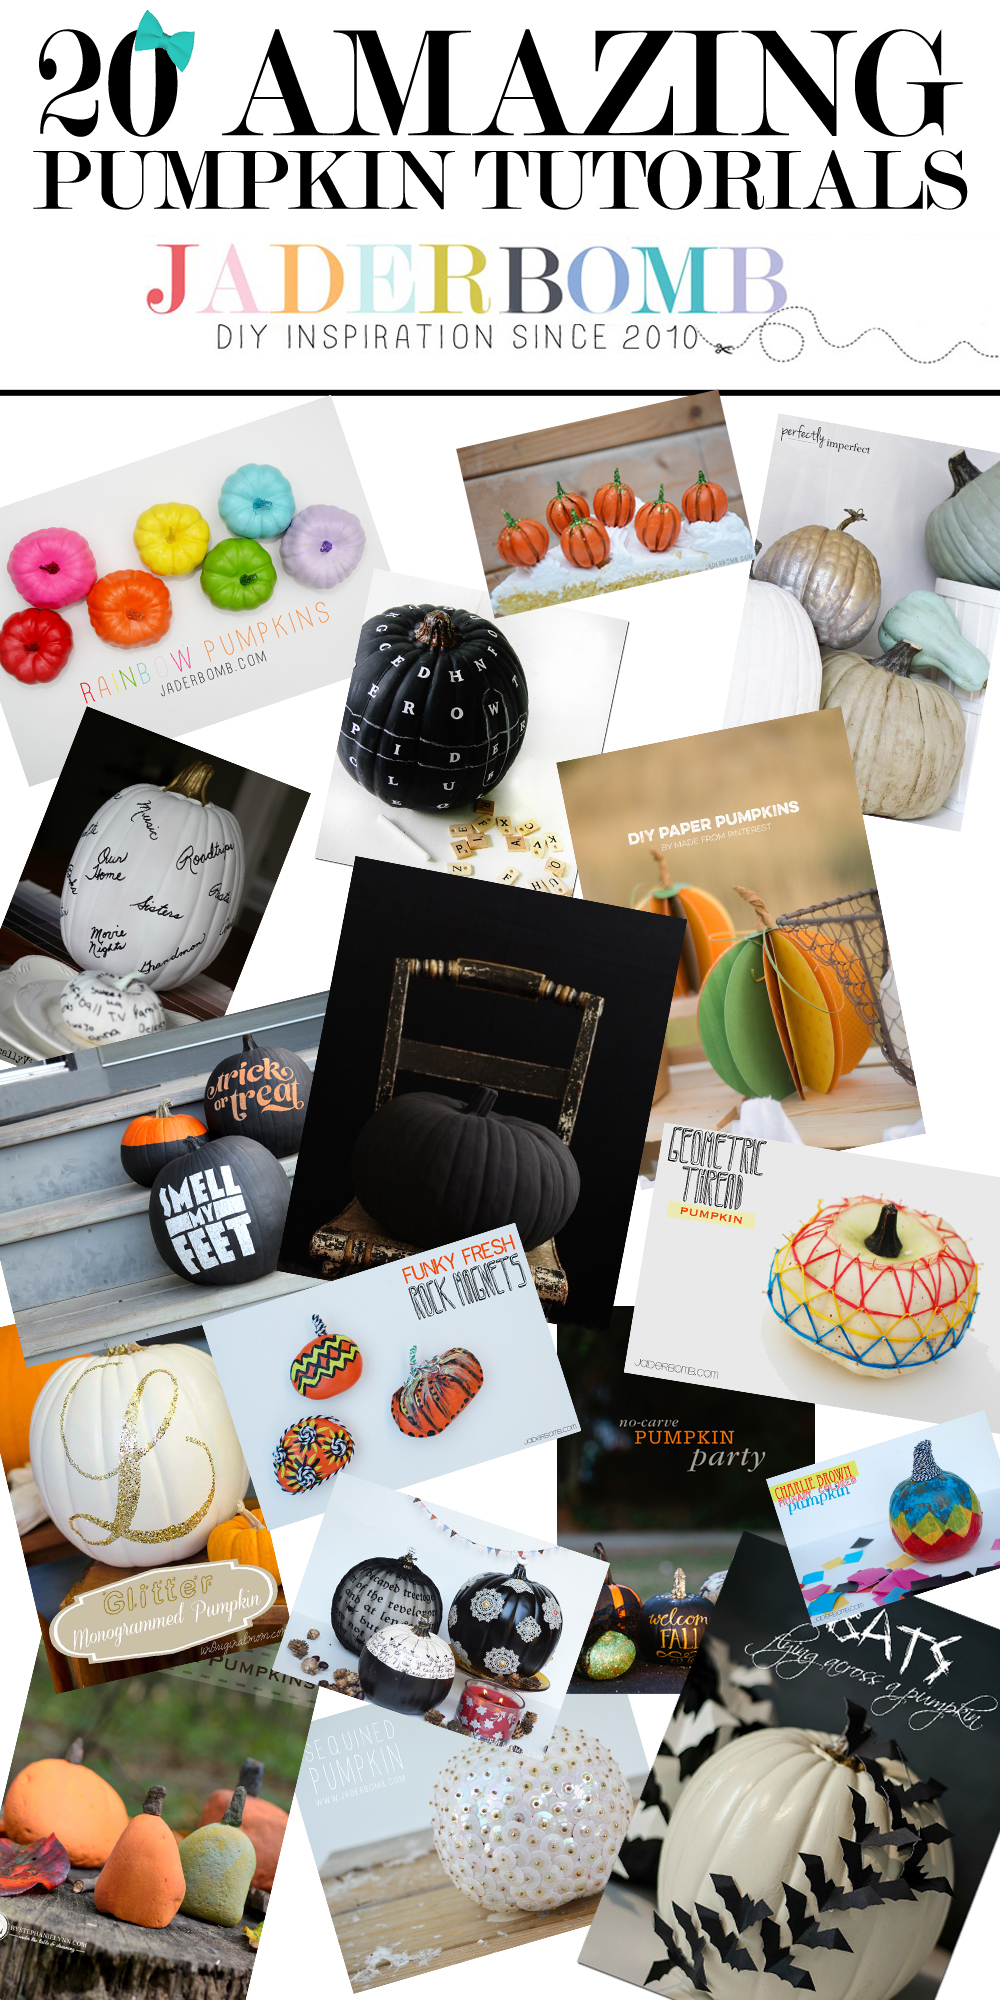


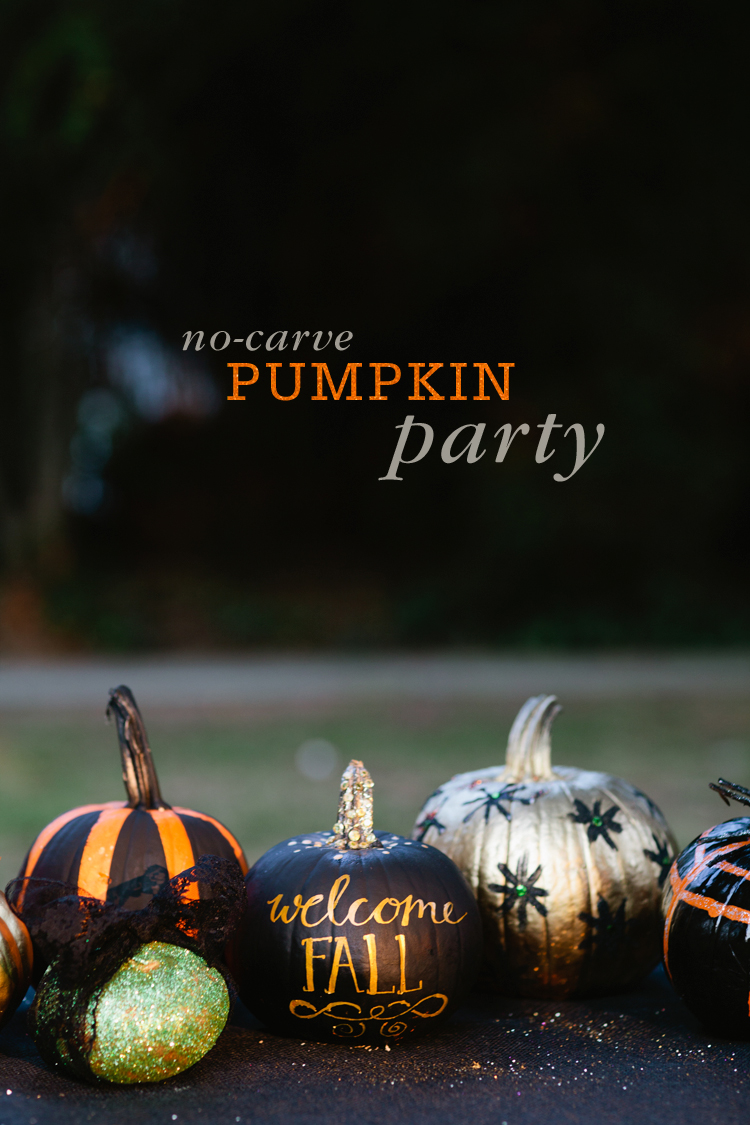
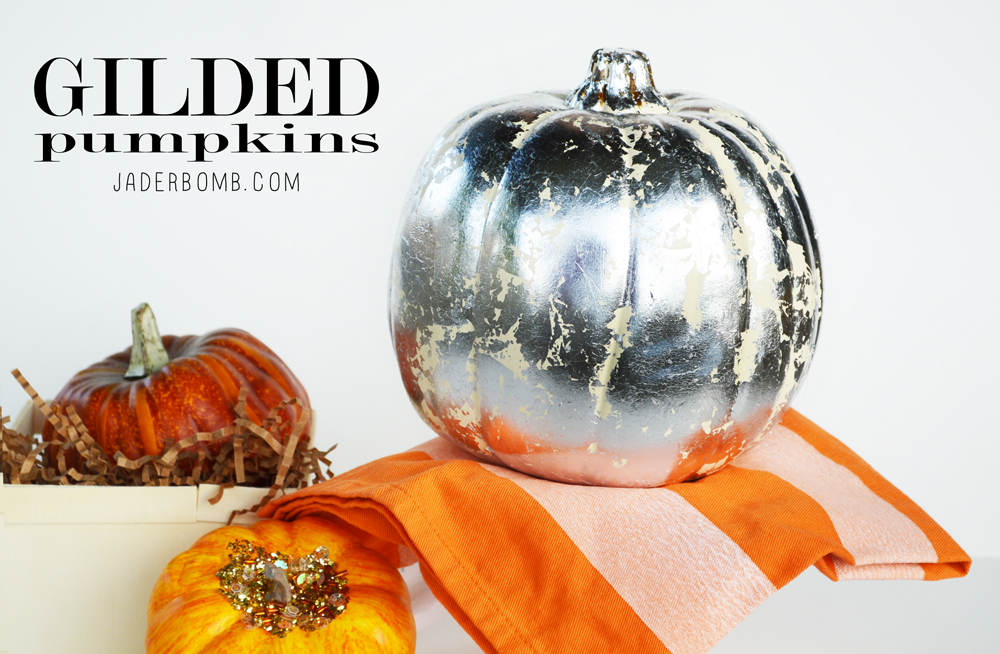
 This month’s theme for
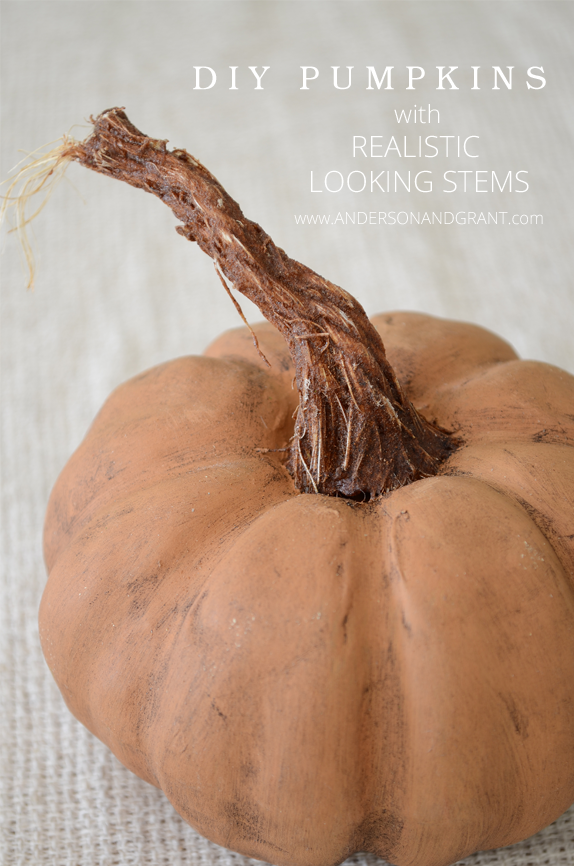
 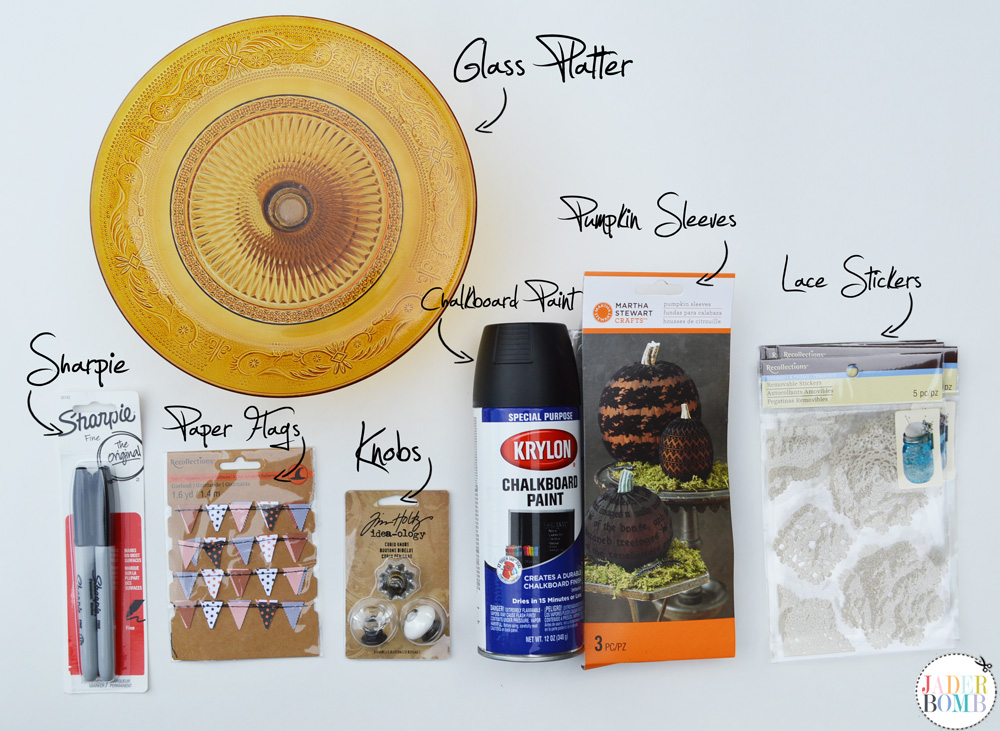 These pumpkins come in different colors so you don’t have to spend time painting them, my kinda pumpkin. They are on sale right now at Michaels so go grab a few. You can do so many different things with these pumpkins. The best part of these pumpkins is they will never rot! So you can bedazzle your hearts away and save them for next year.
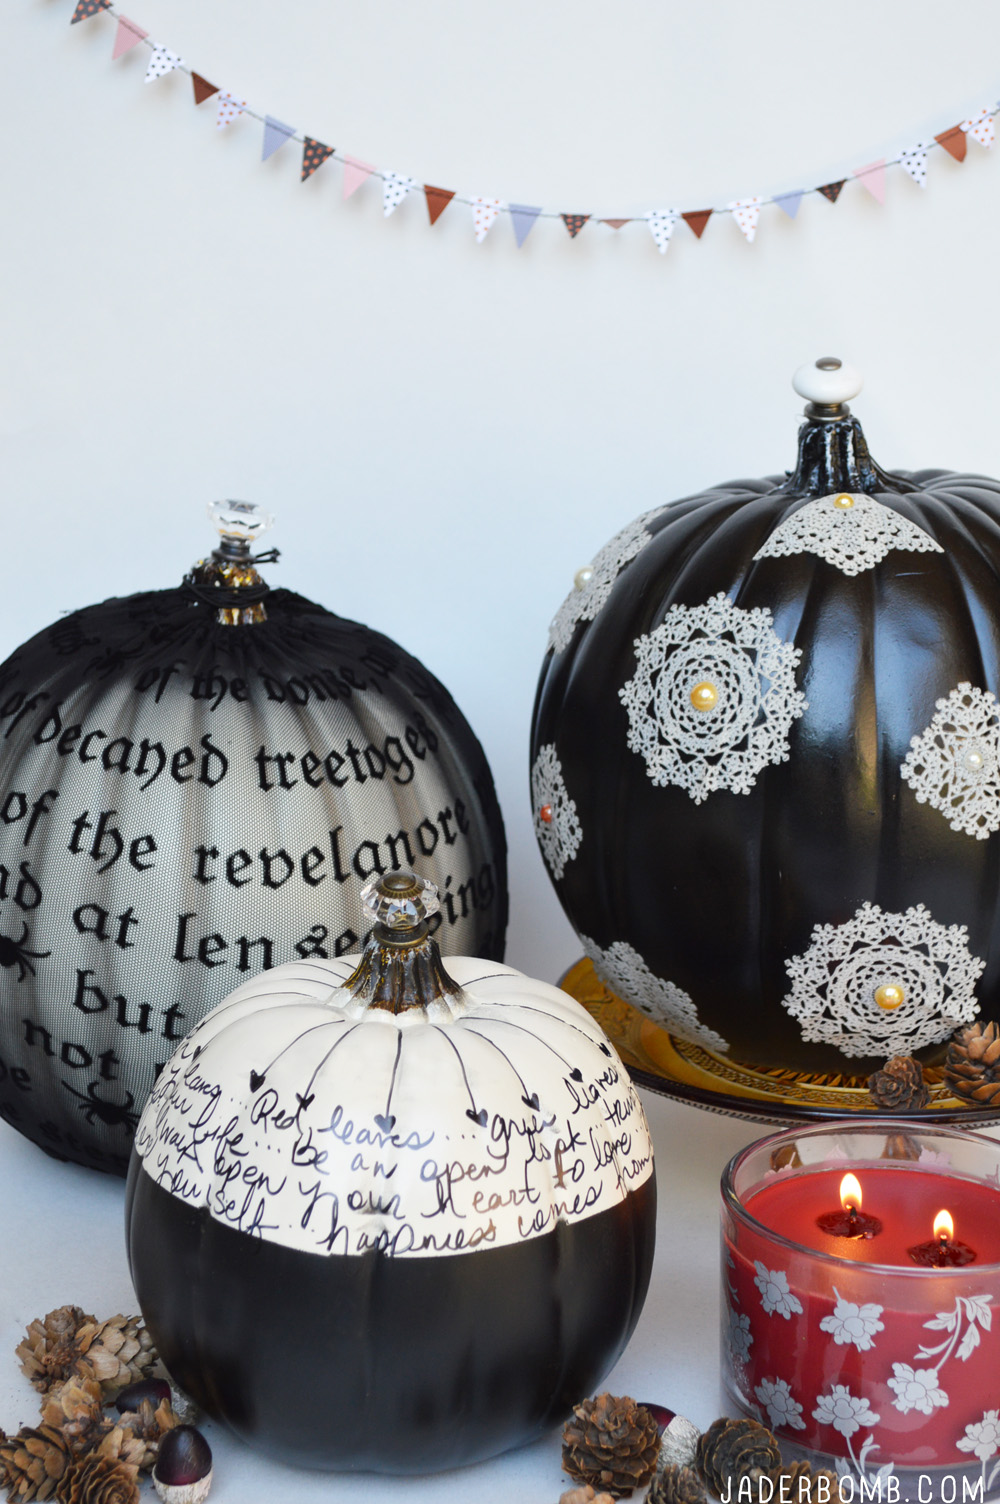
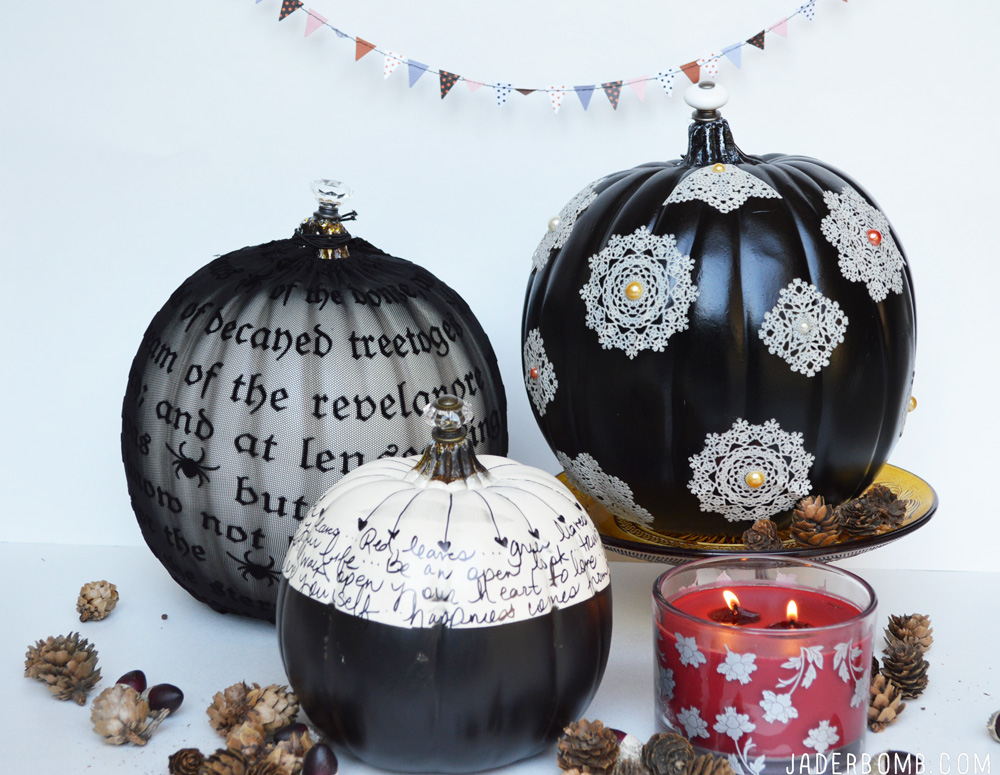
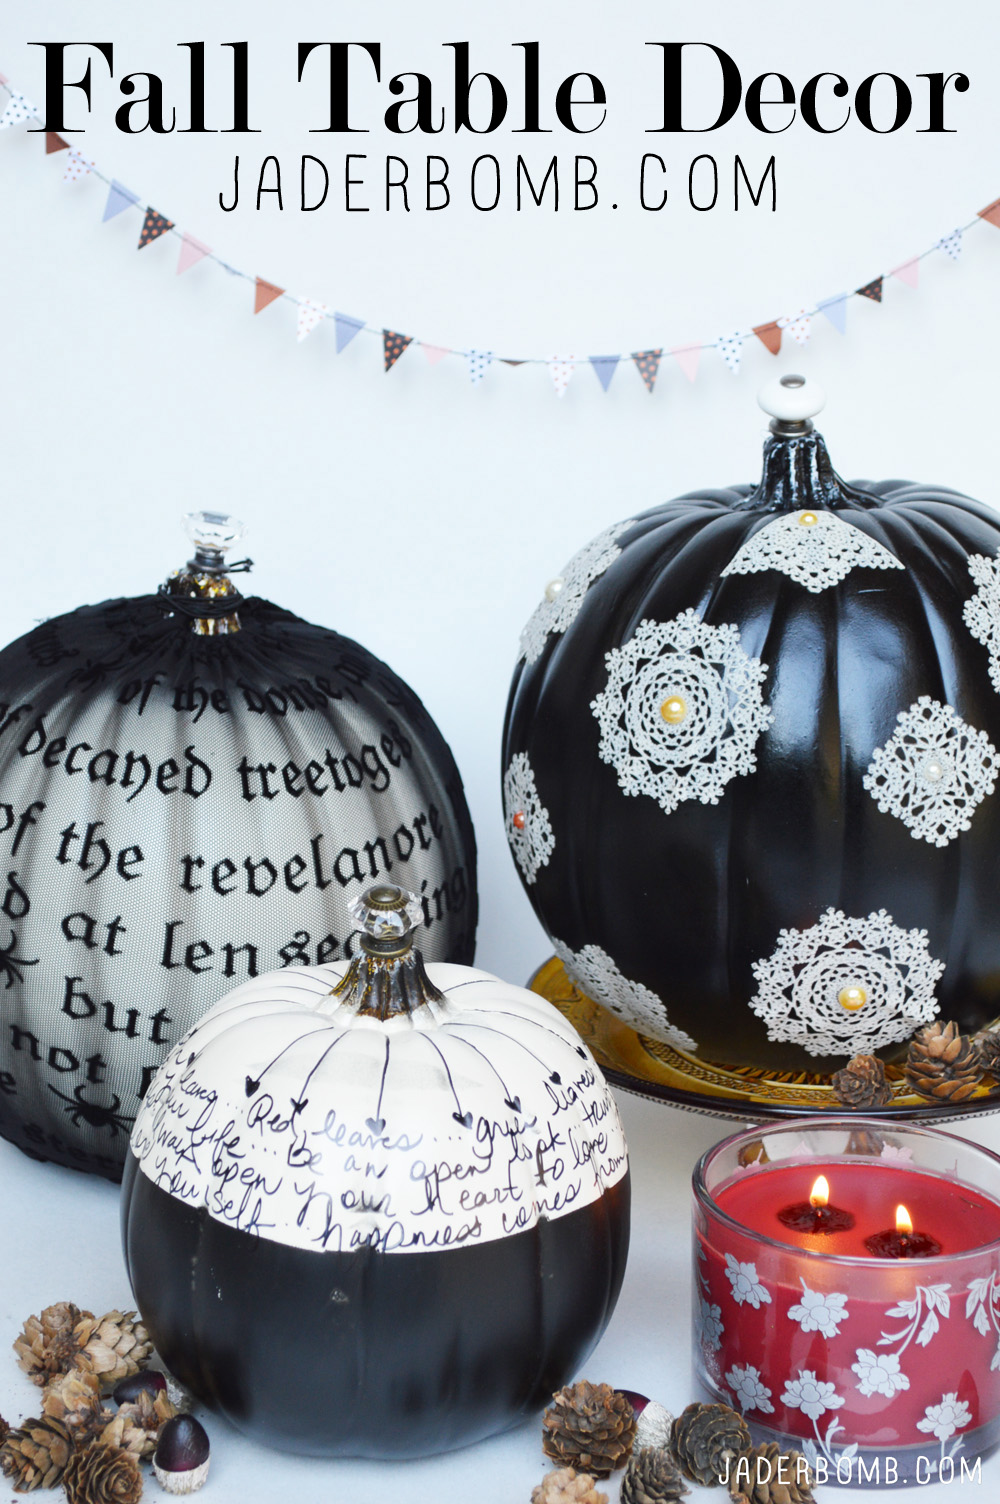
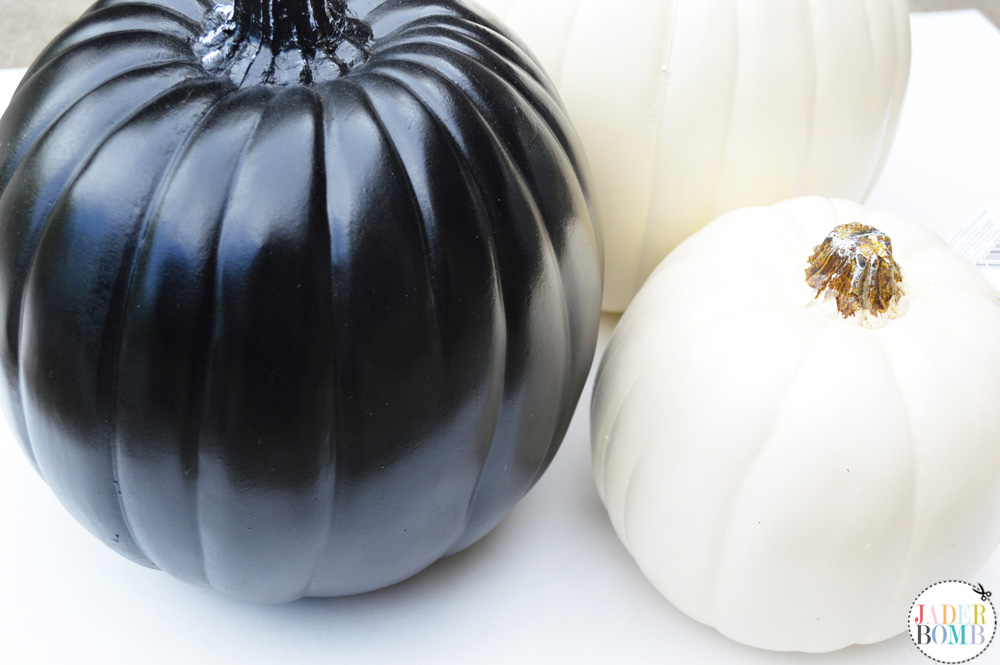 These Martha Stewart pumpkin sleeves are phenomenal. They are made from a stretchy mesh material that can cover a pumpkin in no time. The best part is you can take the sleeve off when you get tired of it, leaving you with a blank canvas!
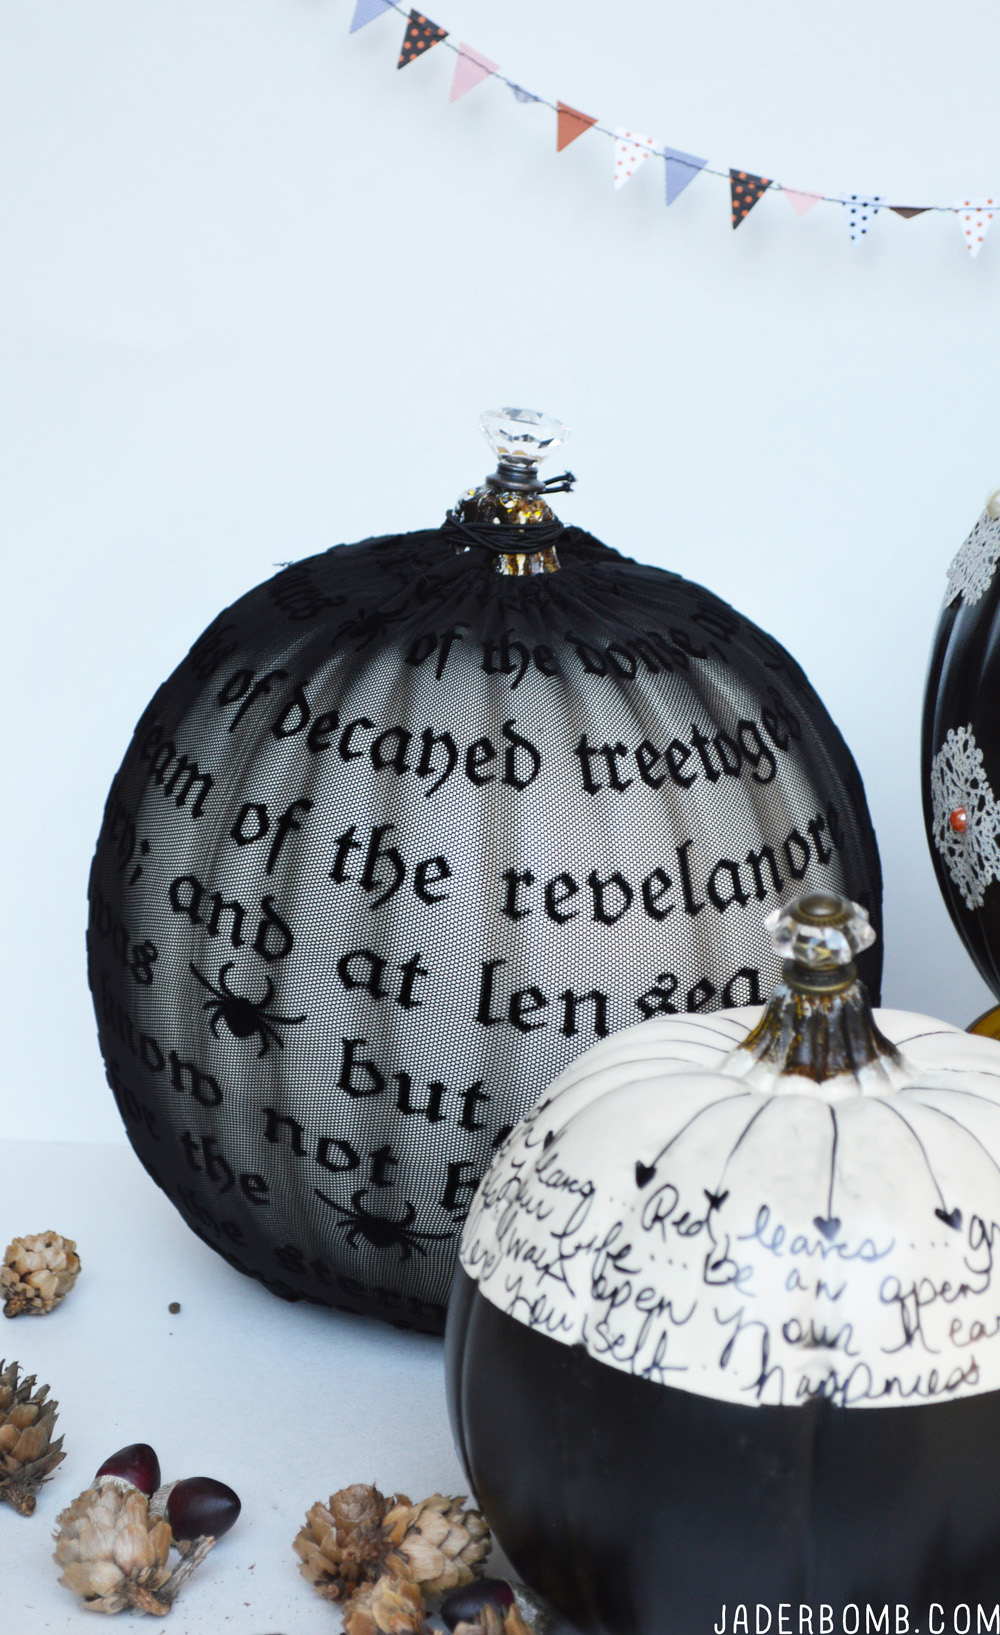
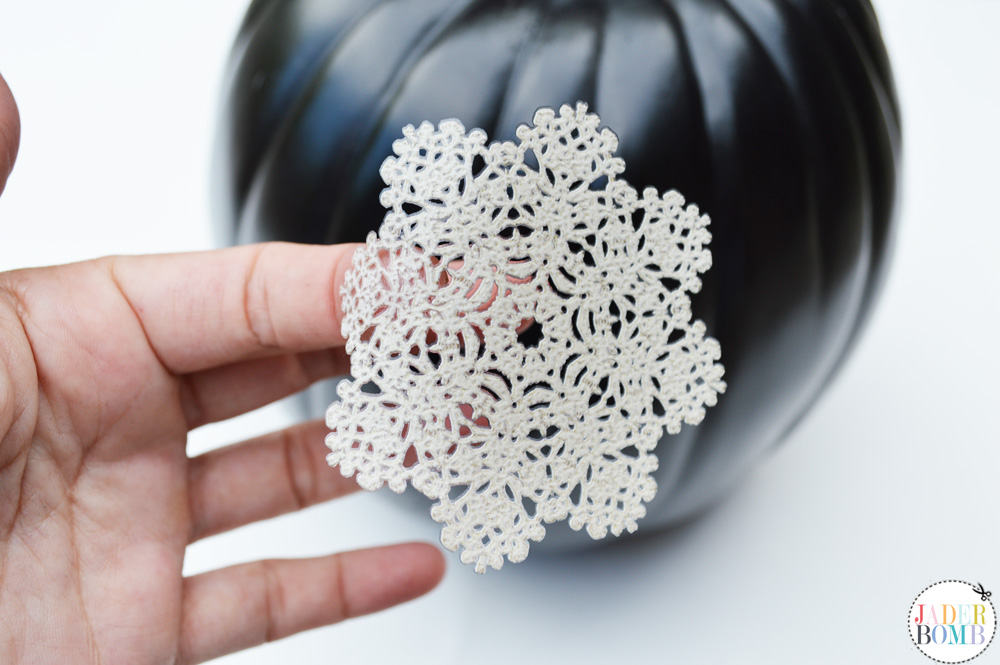
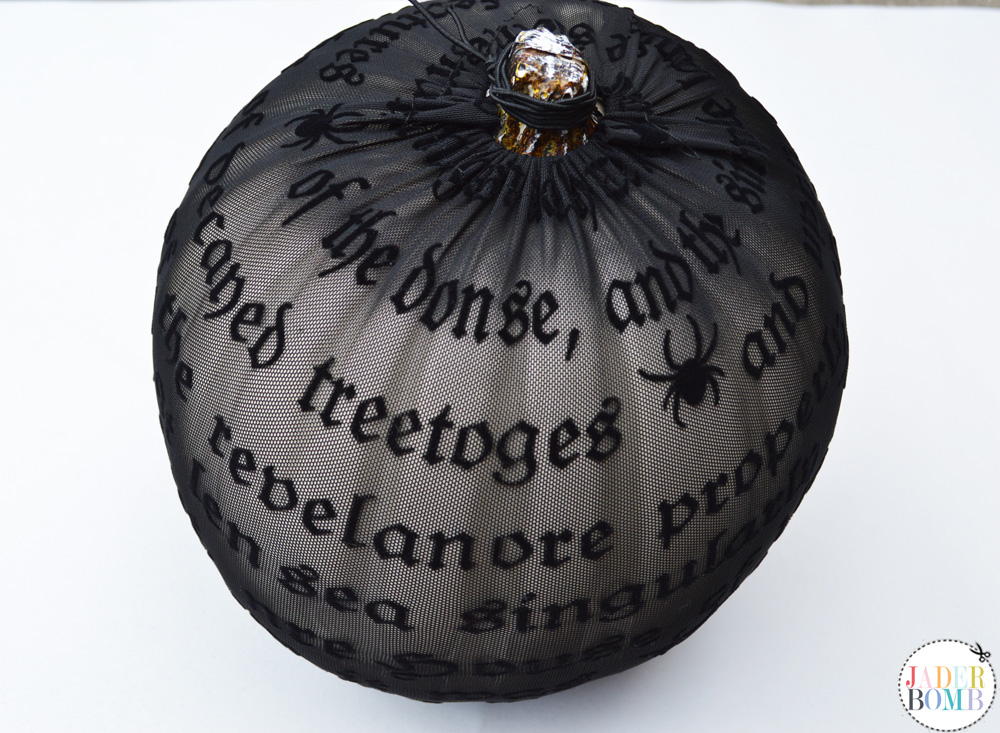 I love the lace design on this pumpkin sleeve.
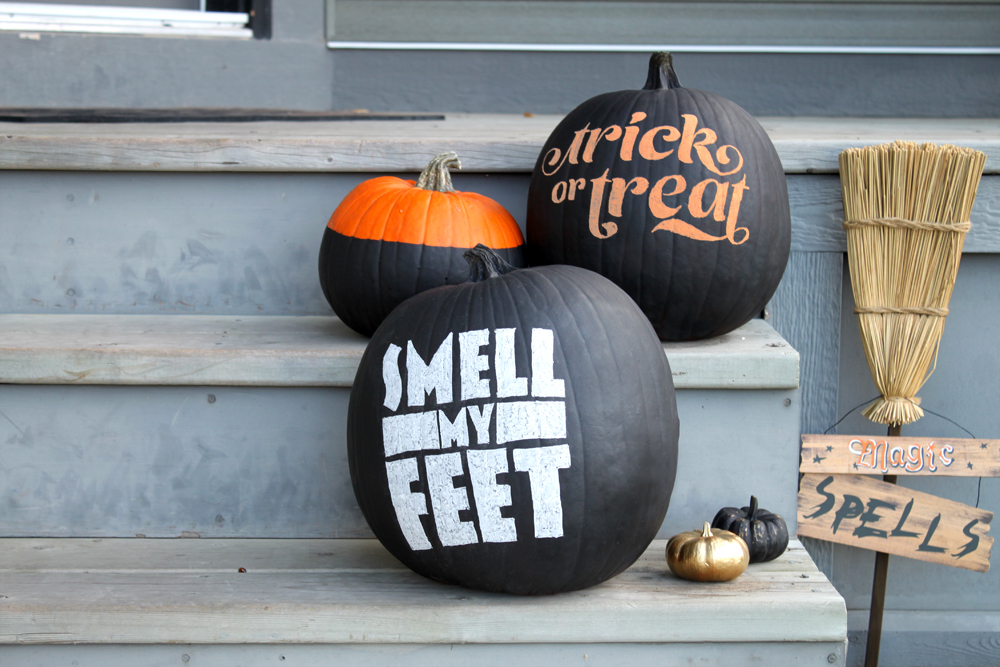
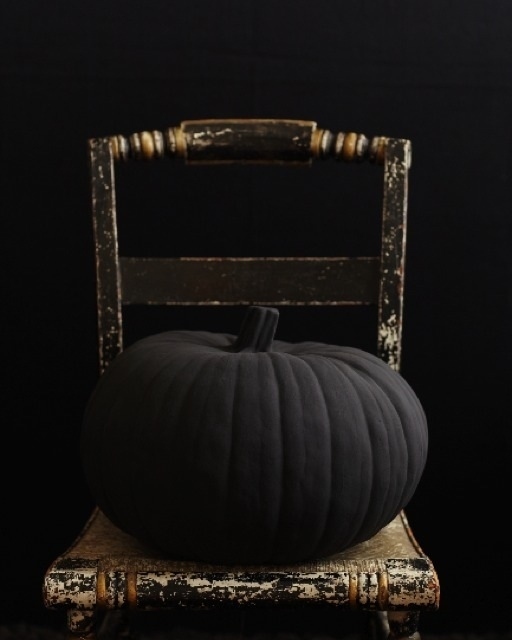
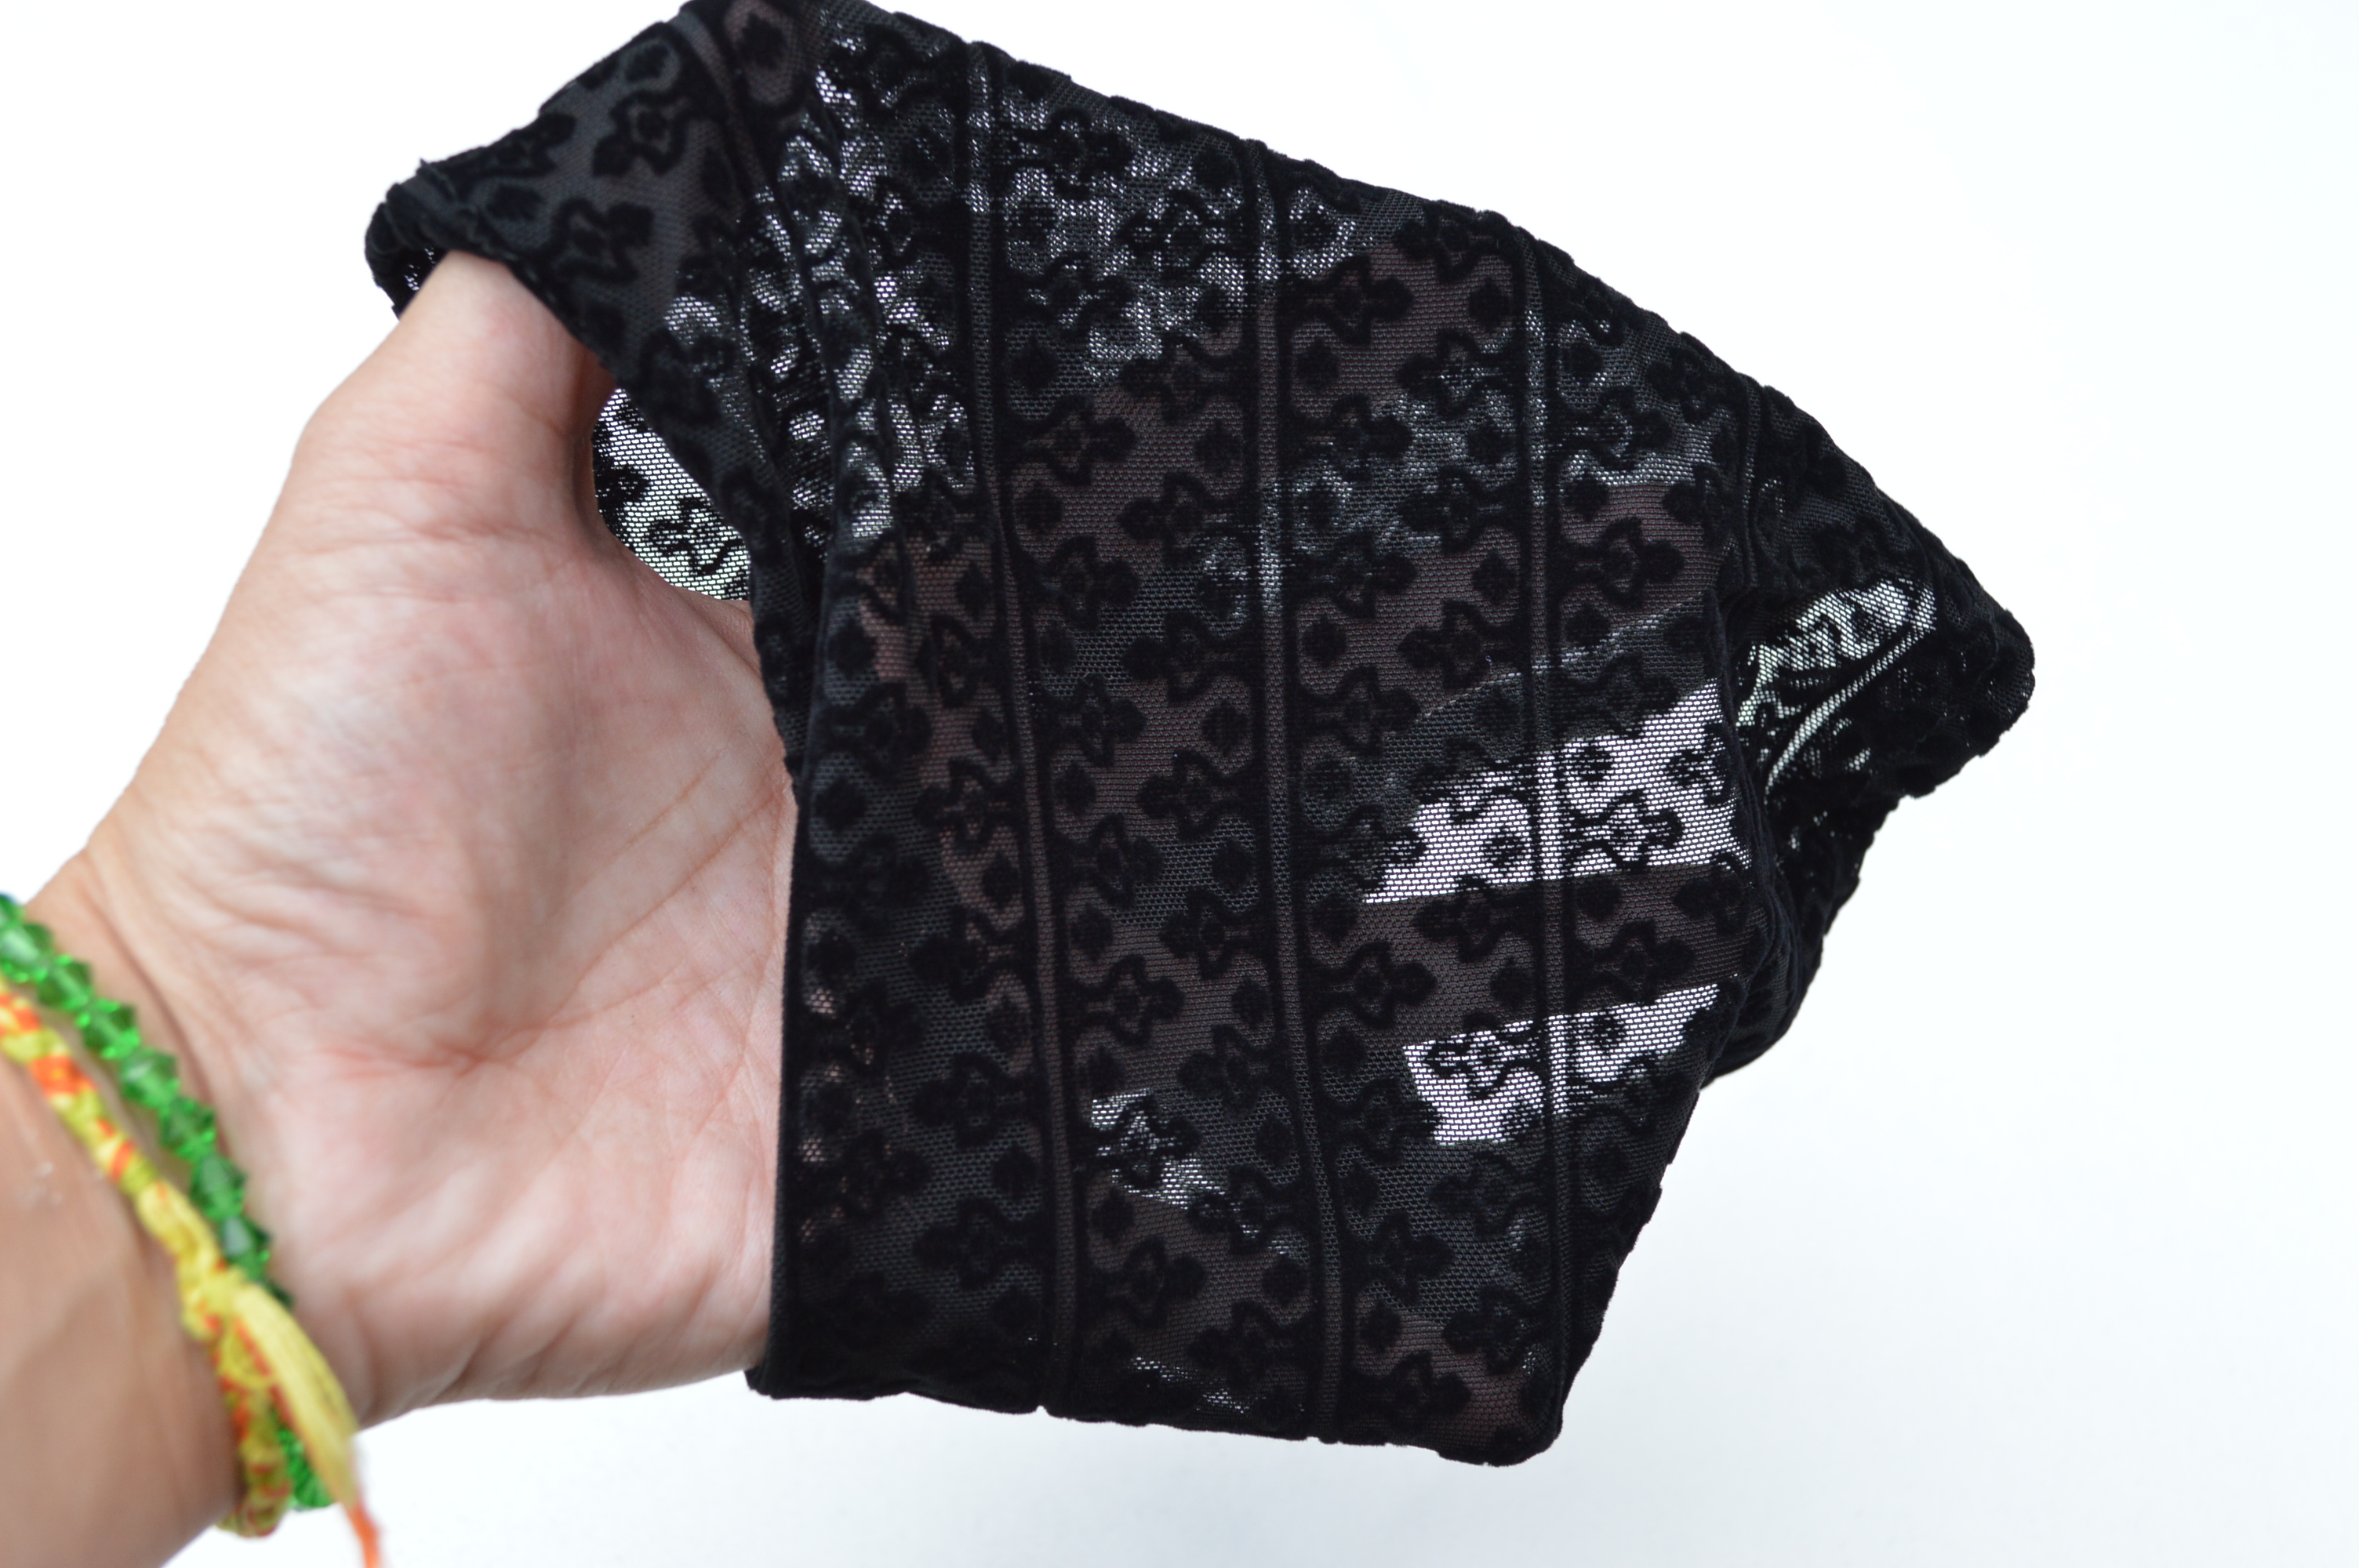 To make our chalkboard pumpkin, tape off the top part of your pumpkin. I am using tape from Martha Stewarts line.
 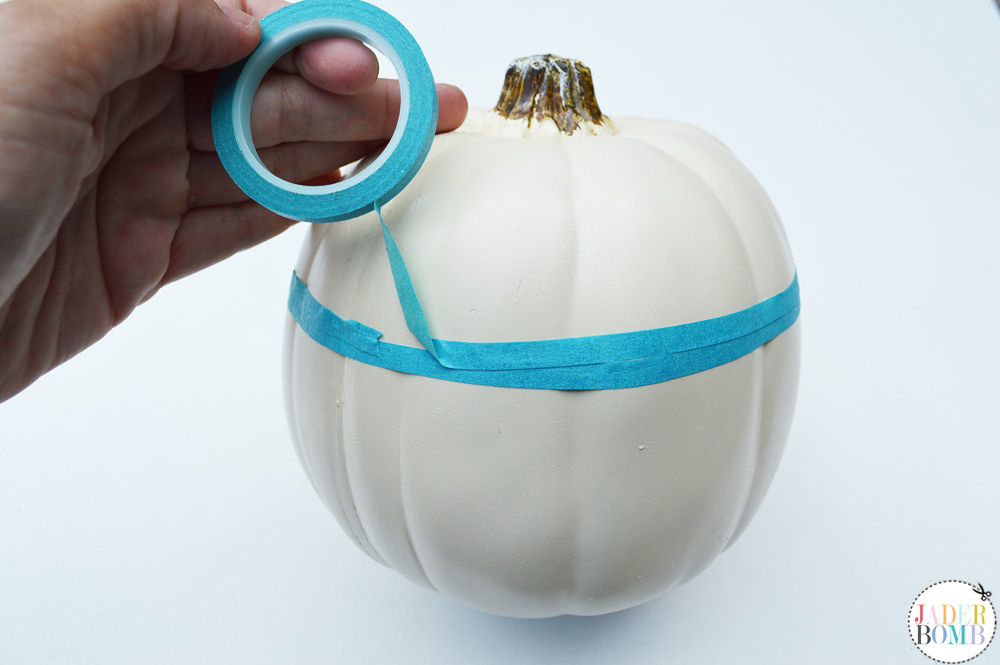 Once you have it taped off you can spray paint the bottom portion of your pumpkin with chalk board spray. Make sure you do this in a well ventilated spot.
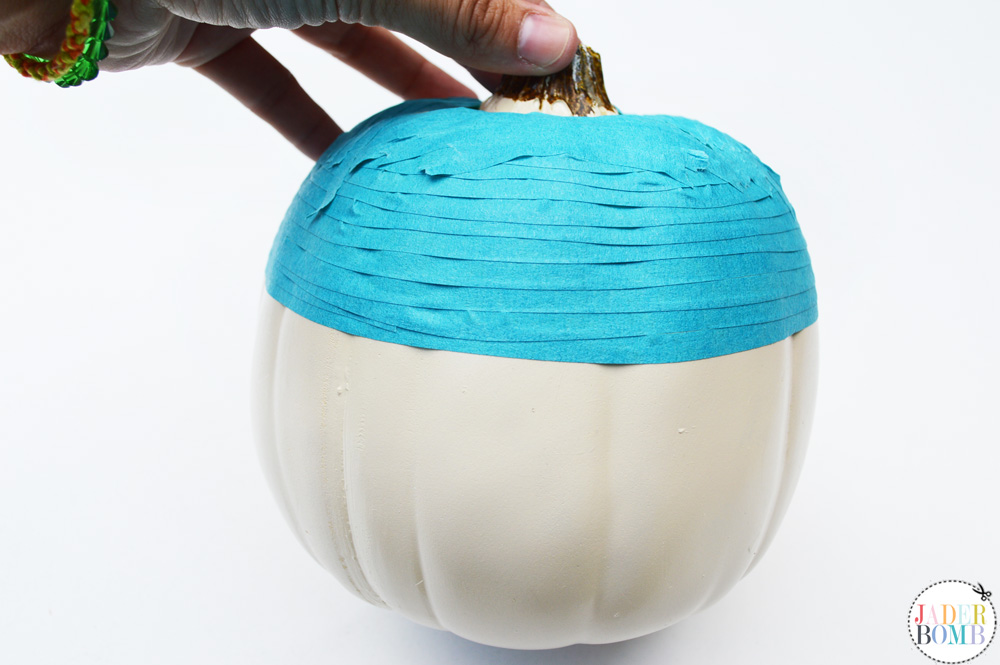 Add some E-6000 to the top of your pumpkin and place the knob on the top of it. This will make your pumpkin look a very classy.
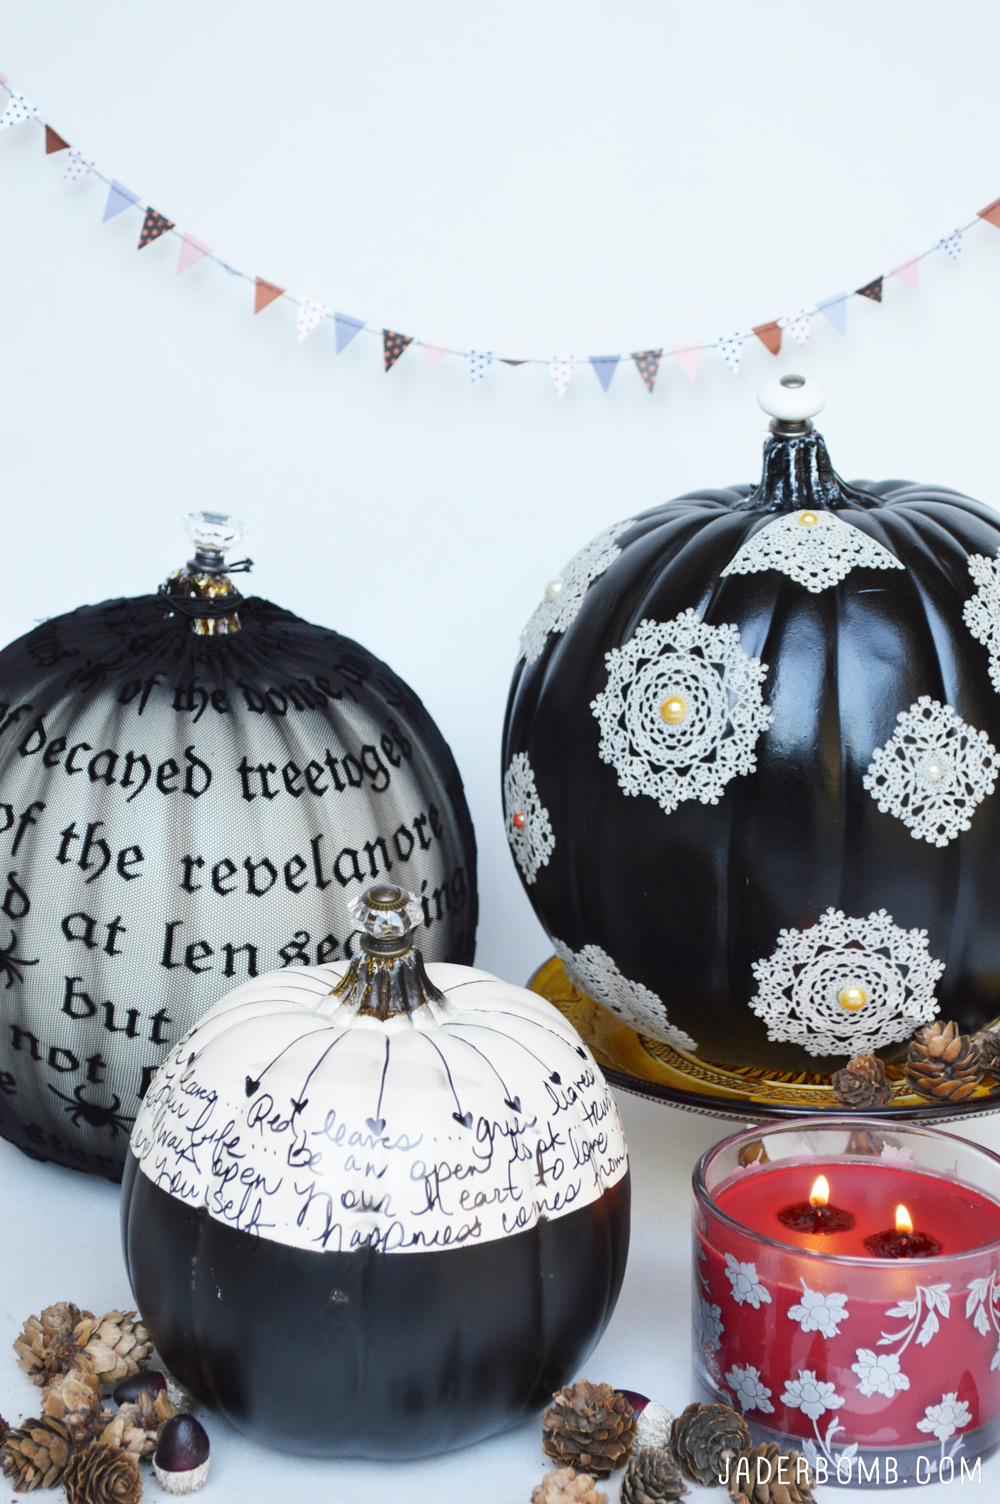
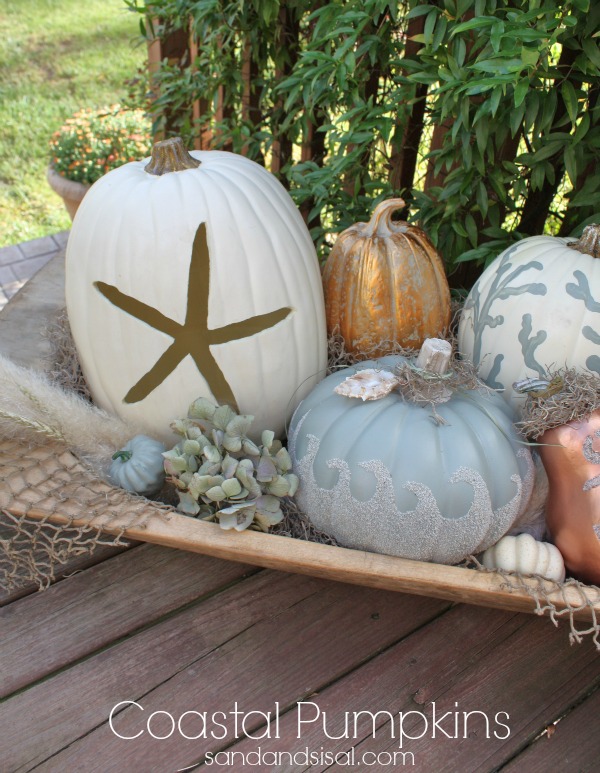
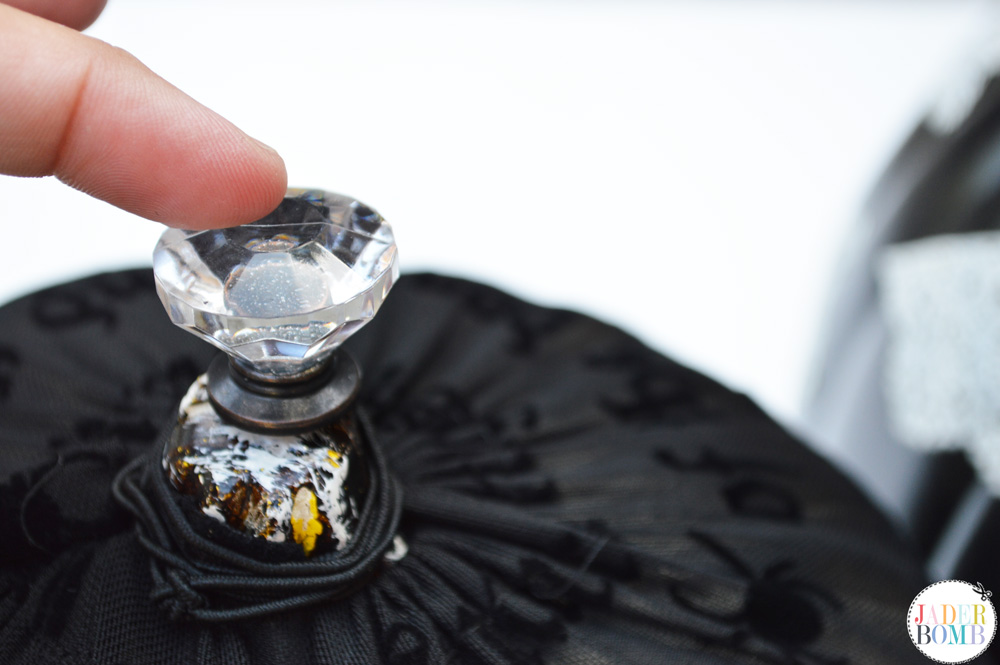 On one of your plain pumpkins we will apply these lace removable stickers to them. It adds a pop of class to them.
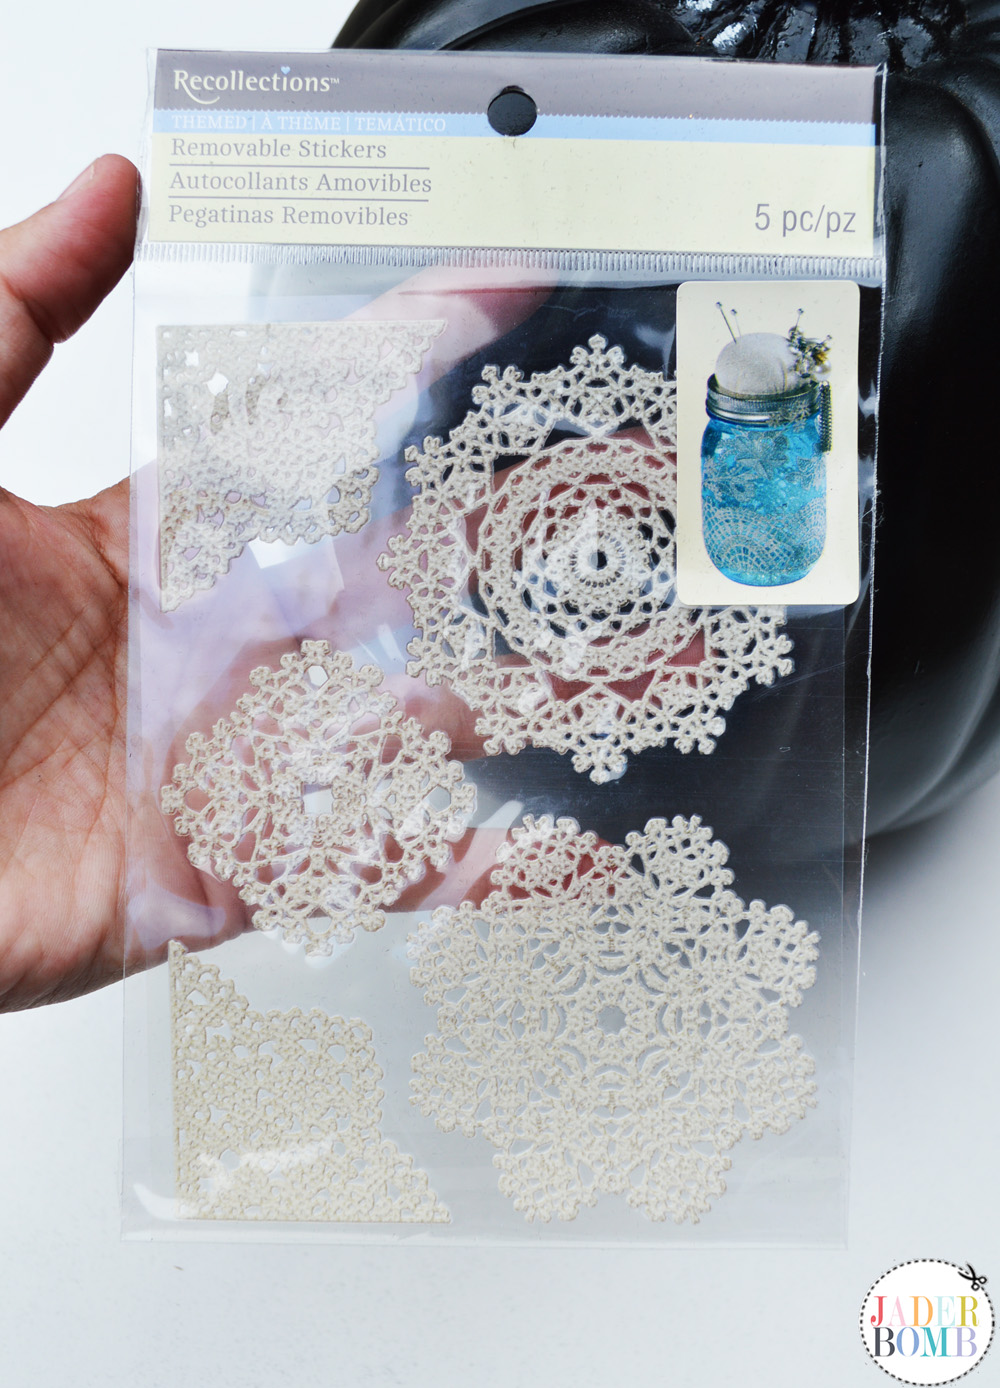
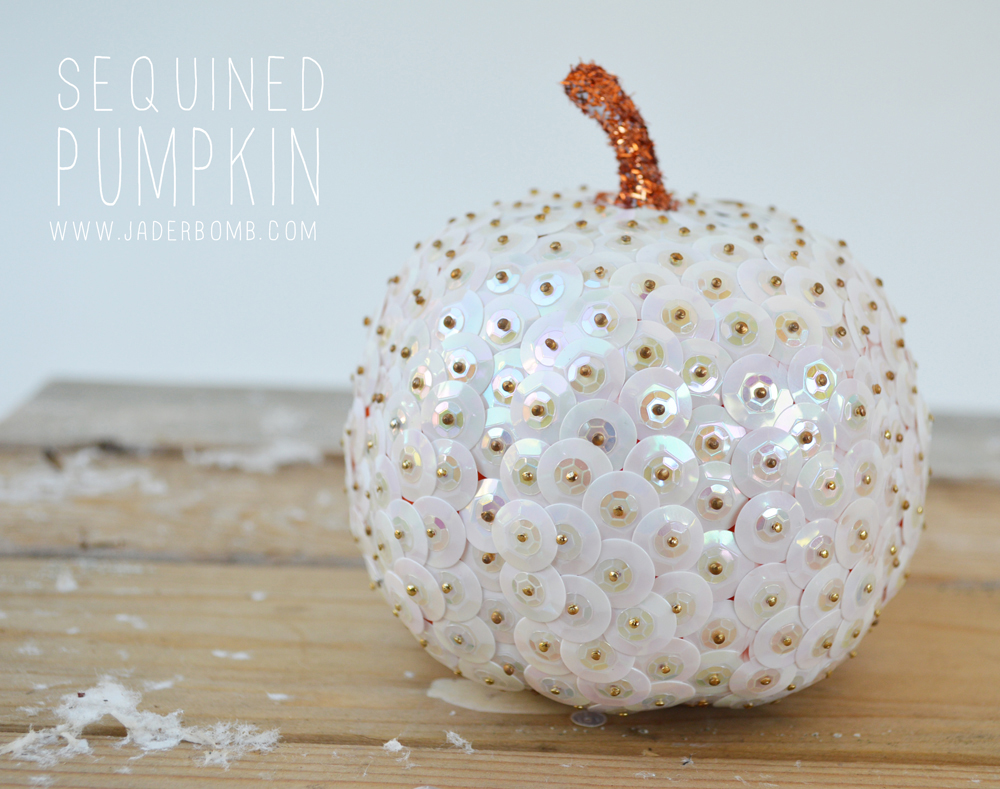
 I am placing these adhesive dots on top of each lace sticker. The great thing is you can purchase these in multiple colors. Did I mention this whole sheet is only $1.
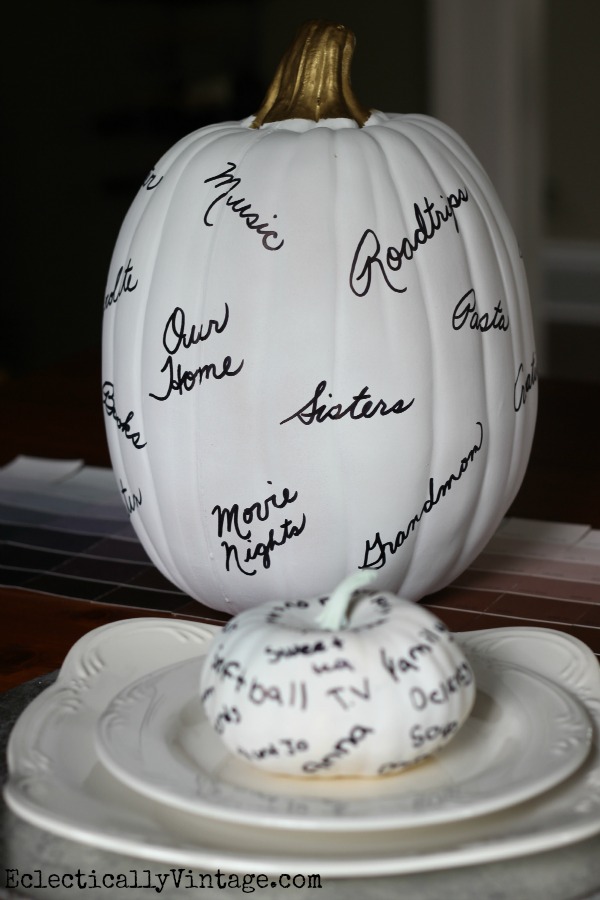
 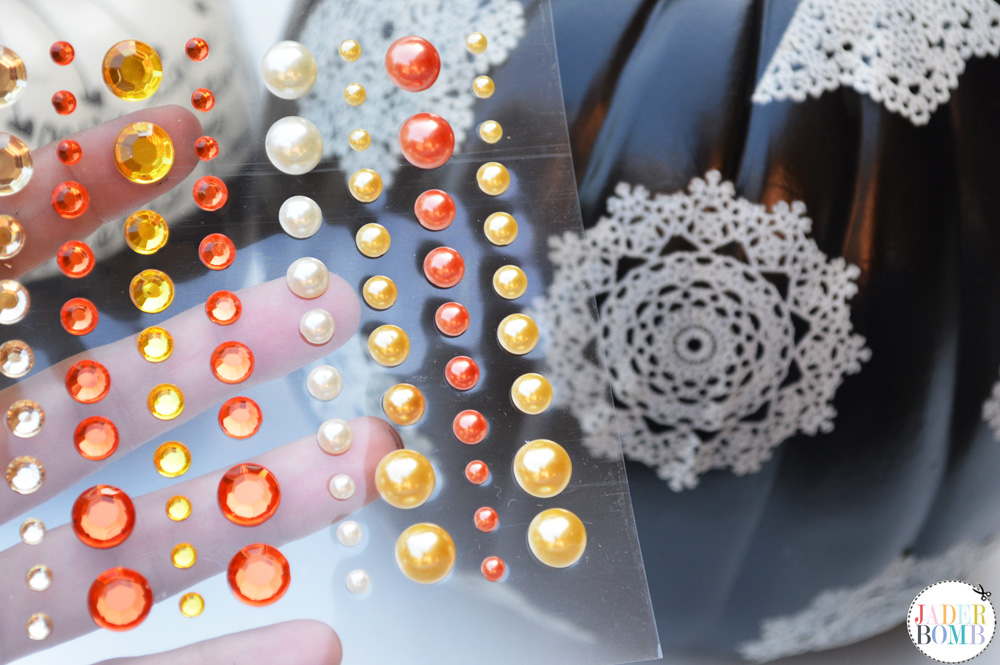 On your chalkboard pumpkin, grab your Sharpie and write whatever inspires you on the top portion. This is a great time to grab your favorite quote or poem. Don’t forget to grab some chalk for the bottom part.