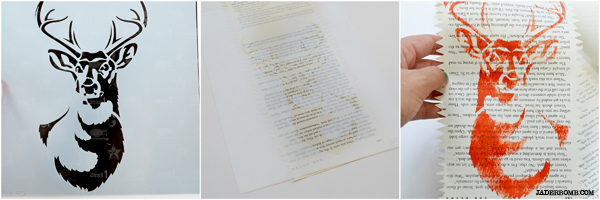
Today we are getting all urban country making a Stencil 1– Deer Stencil Table Liner using my best friend Ed Roth’s banging stencil line.
♥Check out these rainbow coasters I made using some of his stencils with Plaid! OH WAIT: Check out this ginormous yarn bombed deer that will stare at you till you are blue in the face. Literally.
Not only does he have the cutest face on the planet but he gives the best hugs in the world.
Now if you know me then you know I live in the South, specifically Louisiana which means everyone here loves a good deer in their life. I sometimes pretend I am living in New York with the sounds of horrific traffic in the background and the only chance I will see any deer is by using a stencil like this. I guess I’m not the kinda girl who likes to eat them or hang them on my wall as “decor” but more power to those that do. Today I am showing you how to use this stencil in a spectacular way. So put on your boots because we about to get COUNTRY, urban country that is. On another note check out this business that really is called “Urban Country”. It’s legit.
Stencil1 has collaborated on DIY events with high-profile brands, like The Gap, Converse, Sharpie, and Etsy, to engage their customers and grow their base through interactive, creative, hands-on experience. Ed is an engaging host who knows his stuff and is equally comfortable in front of a crowd and a camera.
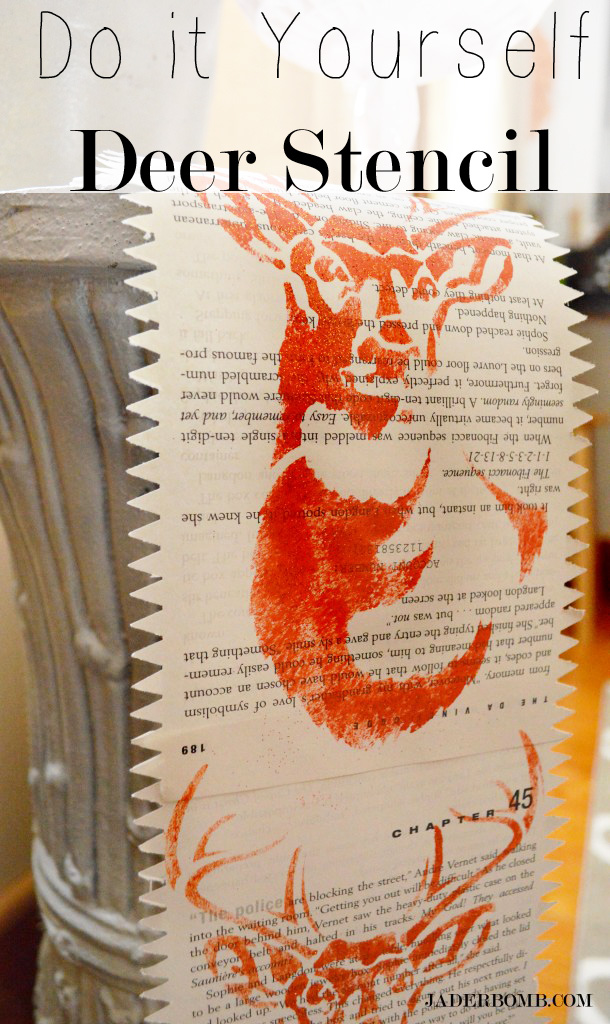
 Ed Roth Deer Stencil // Book // Craft Paint // Glitter // Craft Knife // Scissors // Tape // Pouncer // Fiskars Paper Punch

Step ONE: Tear out a few pages from a book. You can use any book that you have laying around but for some reason I always crafts with pages from Twilight. I guess I am still a die hard fan. Yes. I still dream of turning into diamonds like Edward did. Go ahead, judge.
You can rip the pages out or use your crafting knife to get a nice fine line. If you don’t have one just grab your trusty pair of scissors.
Step TWO: Get your paper punch and punch those pages till they can’t be punched anymore. Notice I am only doing the sides of the sheet. It’s kinda like edging your hairline or your yard. I think. I don’t edge either of those so it’s just a guess.
Step THREE: Line the pages up on top of each other and tape them down on the back side.
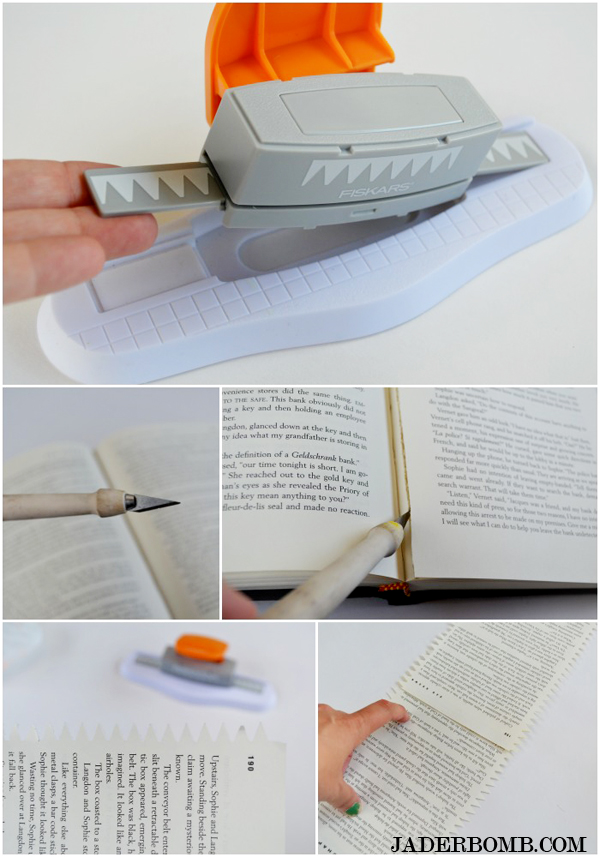
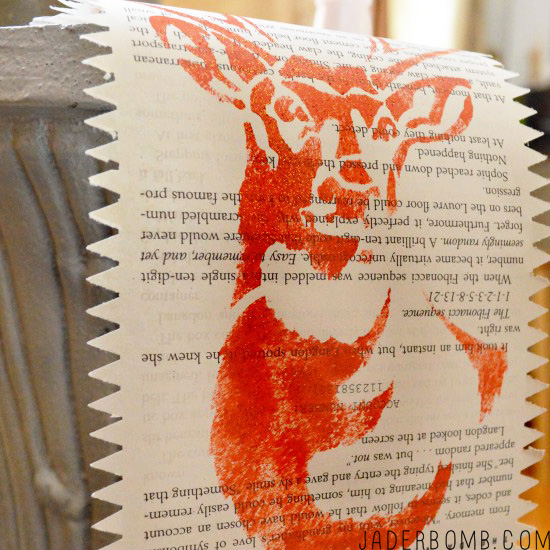
Step FOUR: Grab your deer stencil and place it on the bottom of your “book sheet table liner”. Grab your dauber and pounce your little heart out with your color of choice.Continue doing this until your get to the end of your liner. I liked the masculine look of orange or I just thought it’s was sorta “Urban Country” looking. While your paint is still wet sprinkle a little bit of glitter on top and let it dry till the cows come home. That is about 20 minutes.
♥Or if you are impatient like me you could blow dry that baby.
Note cards are always fun to make which is why you have to see what I made on some precious rainbow cards!
Don’t forget to connect on social media! Make sure to use use the hashtag #JADERBOMB and you might see your stuff on Instagram or Twitter or Facebookor Pinterest.
HAVE A GLITTERY DAY! ♥, Jade
![]()
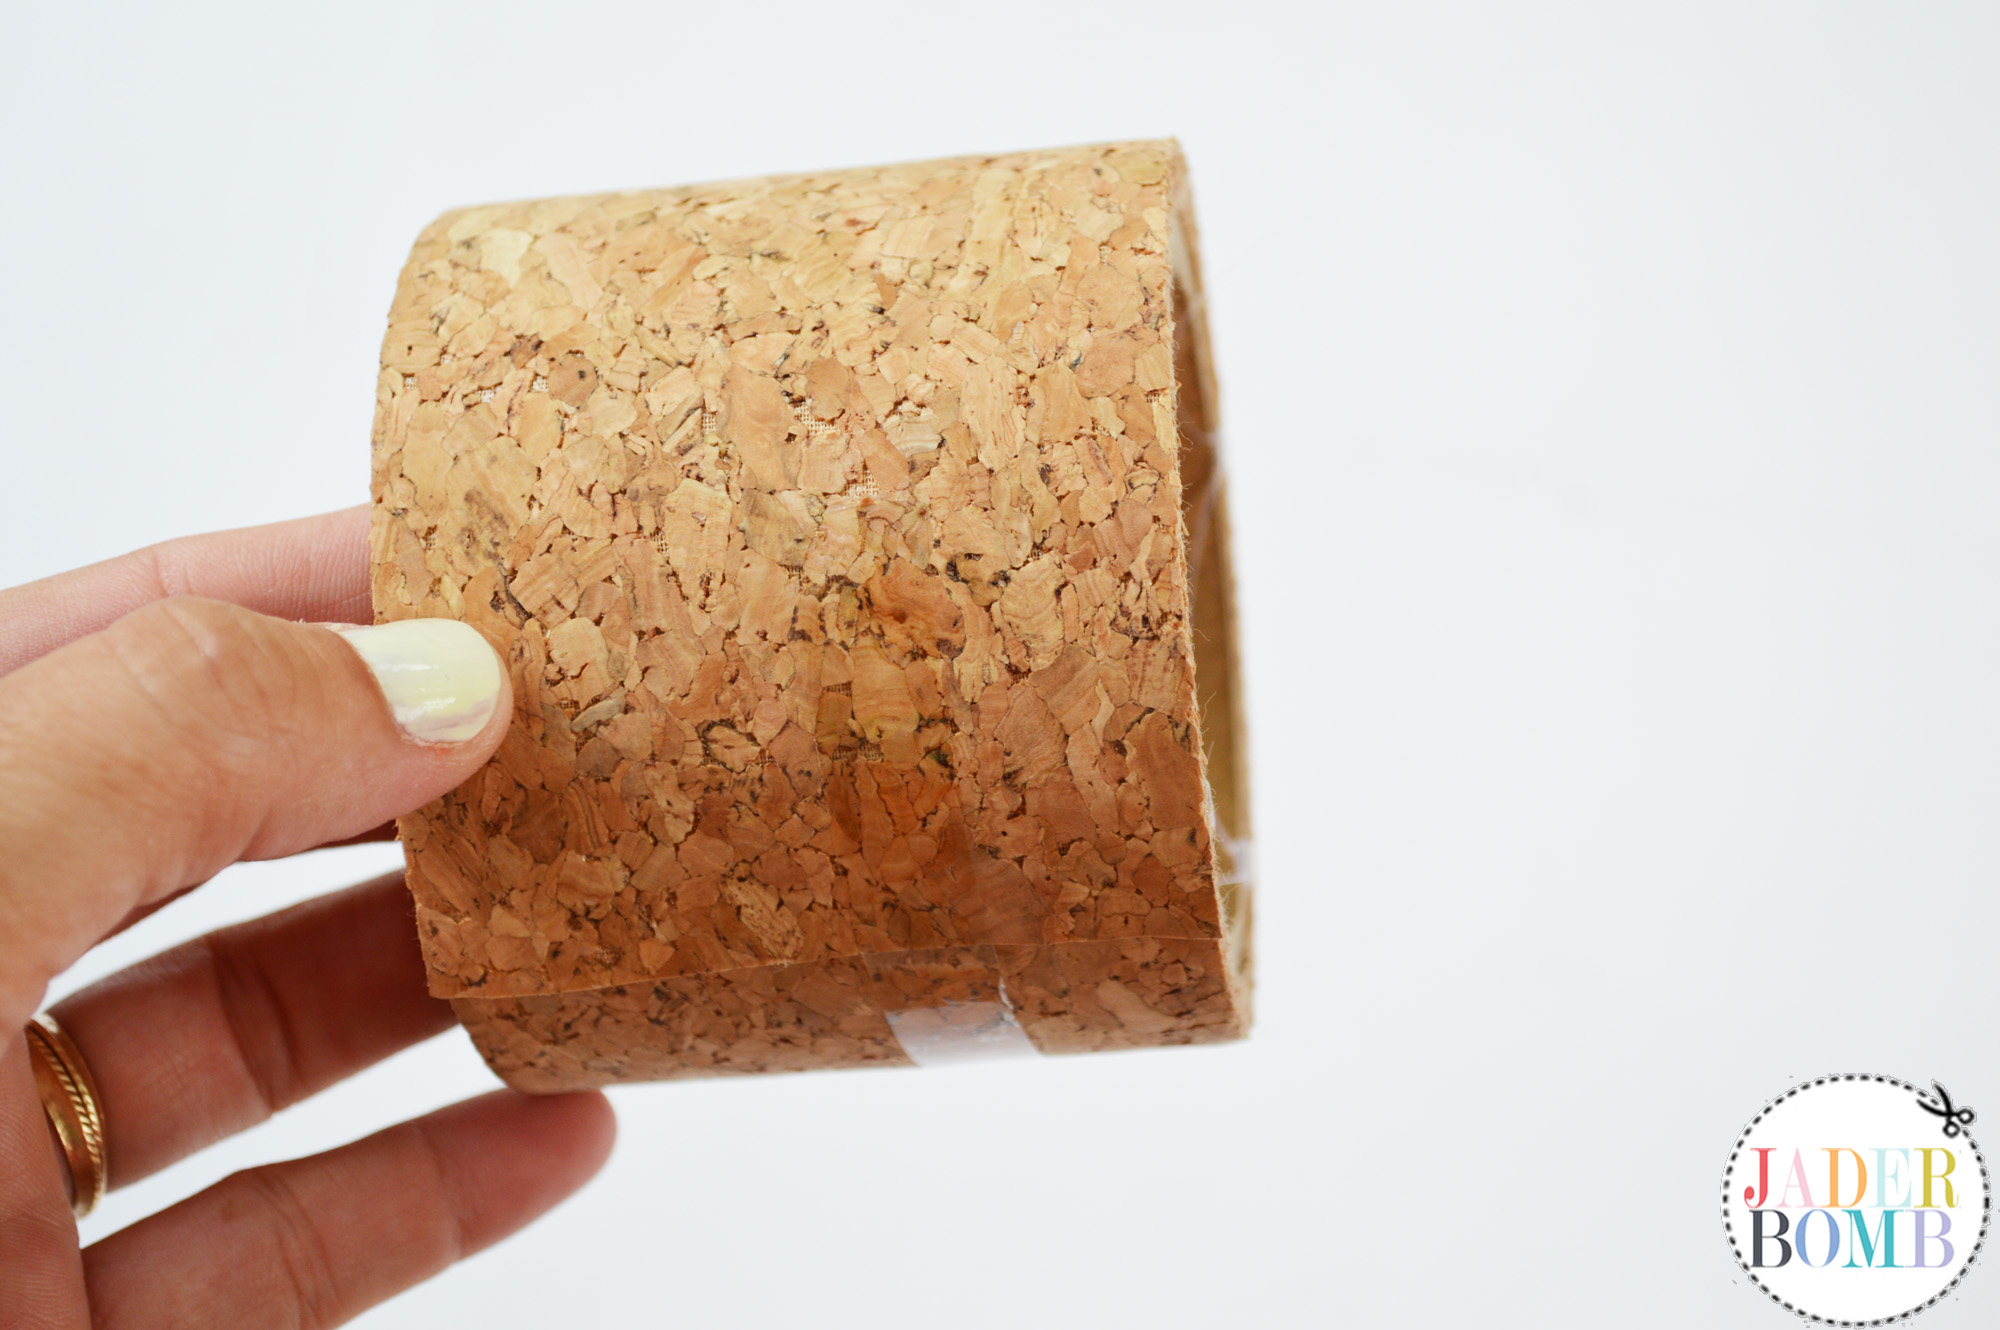
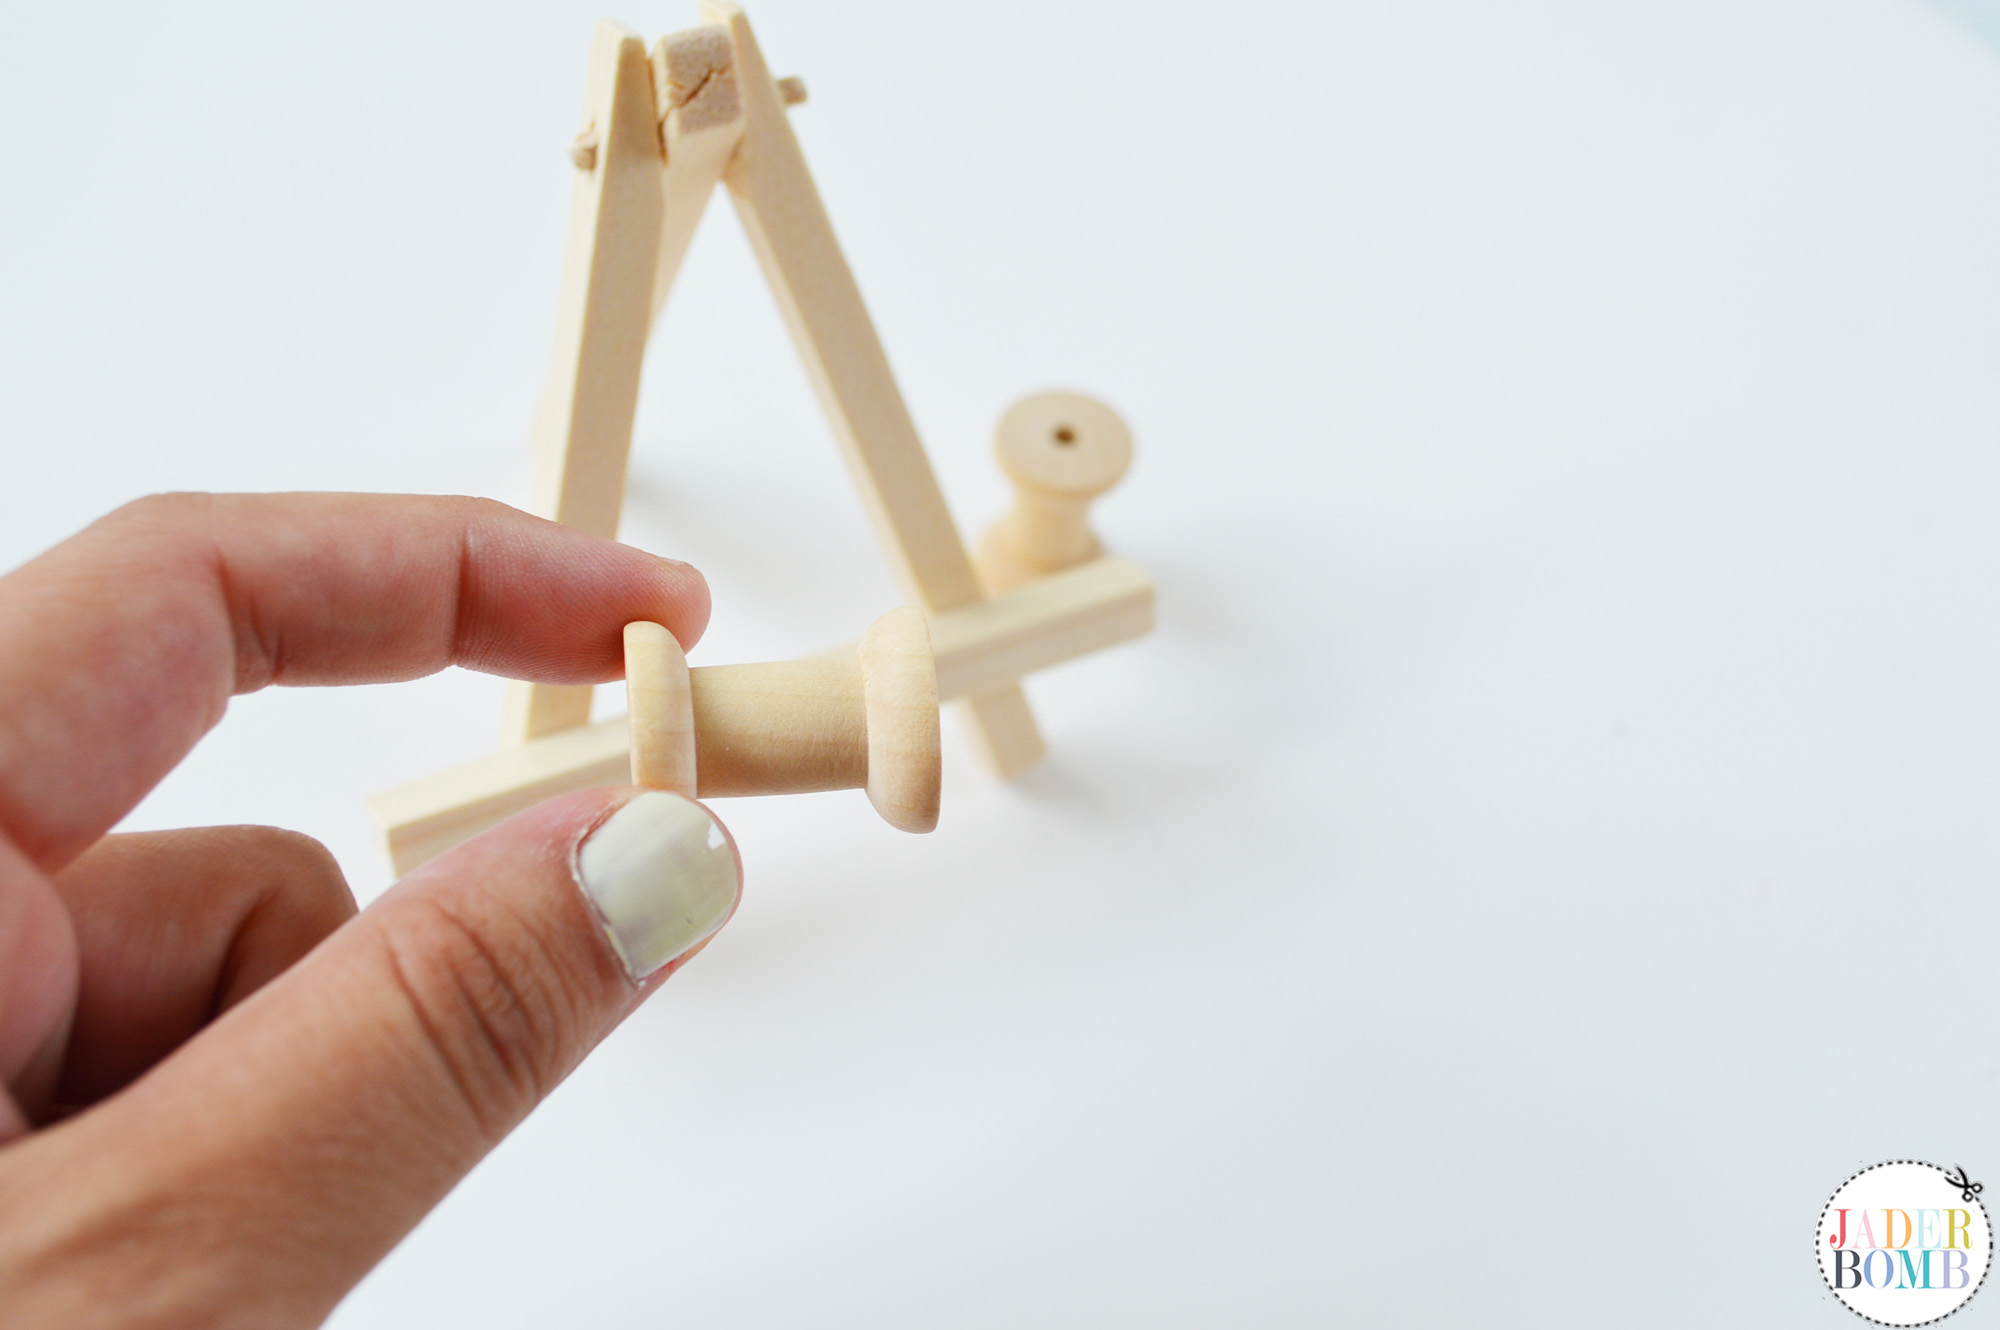
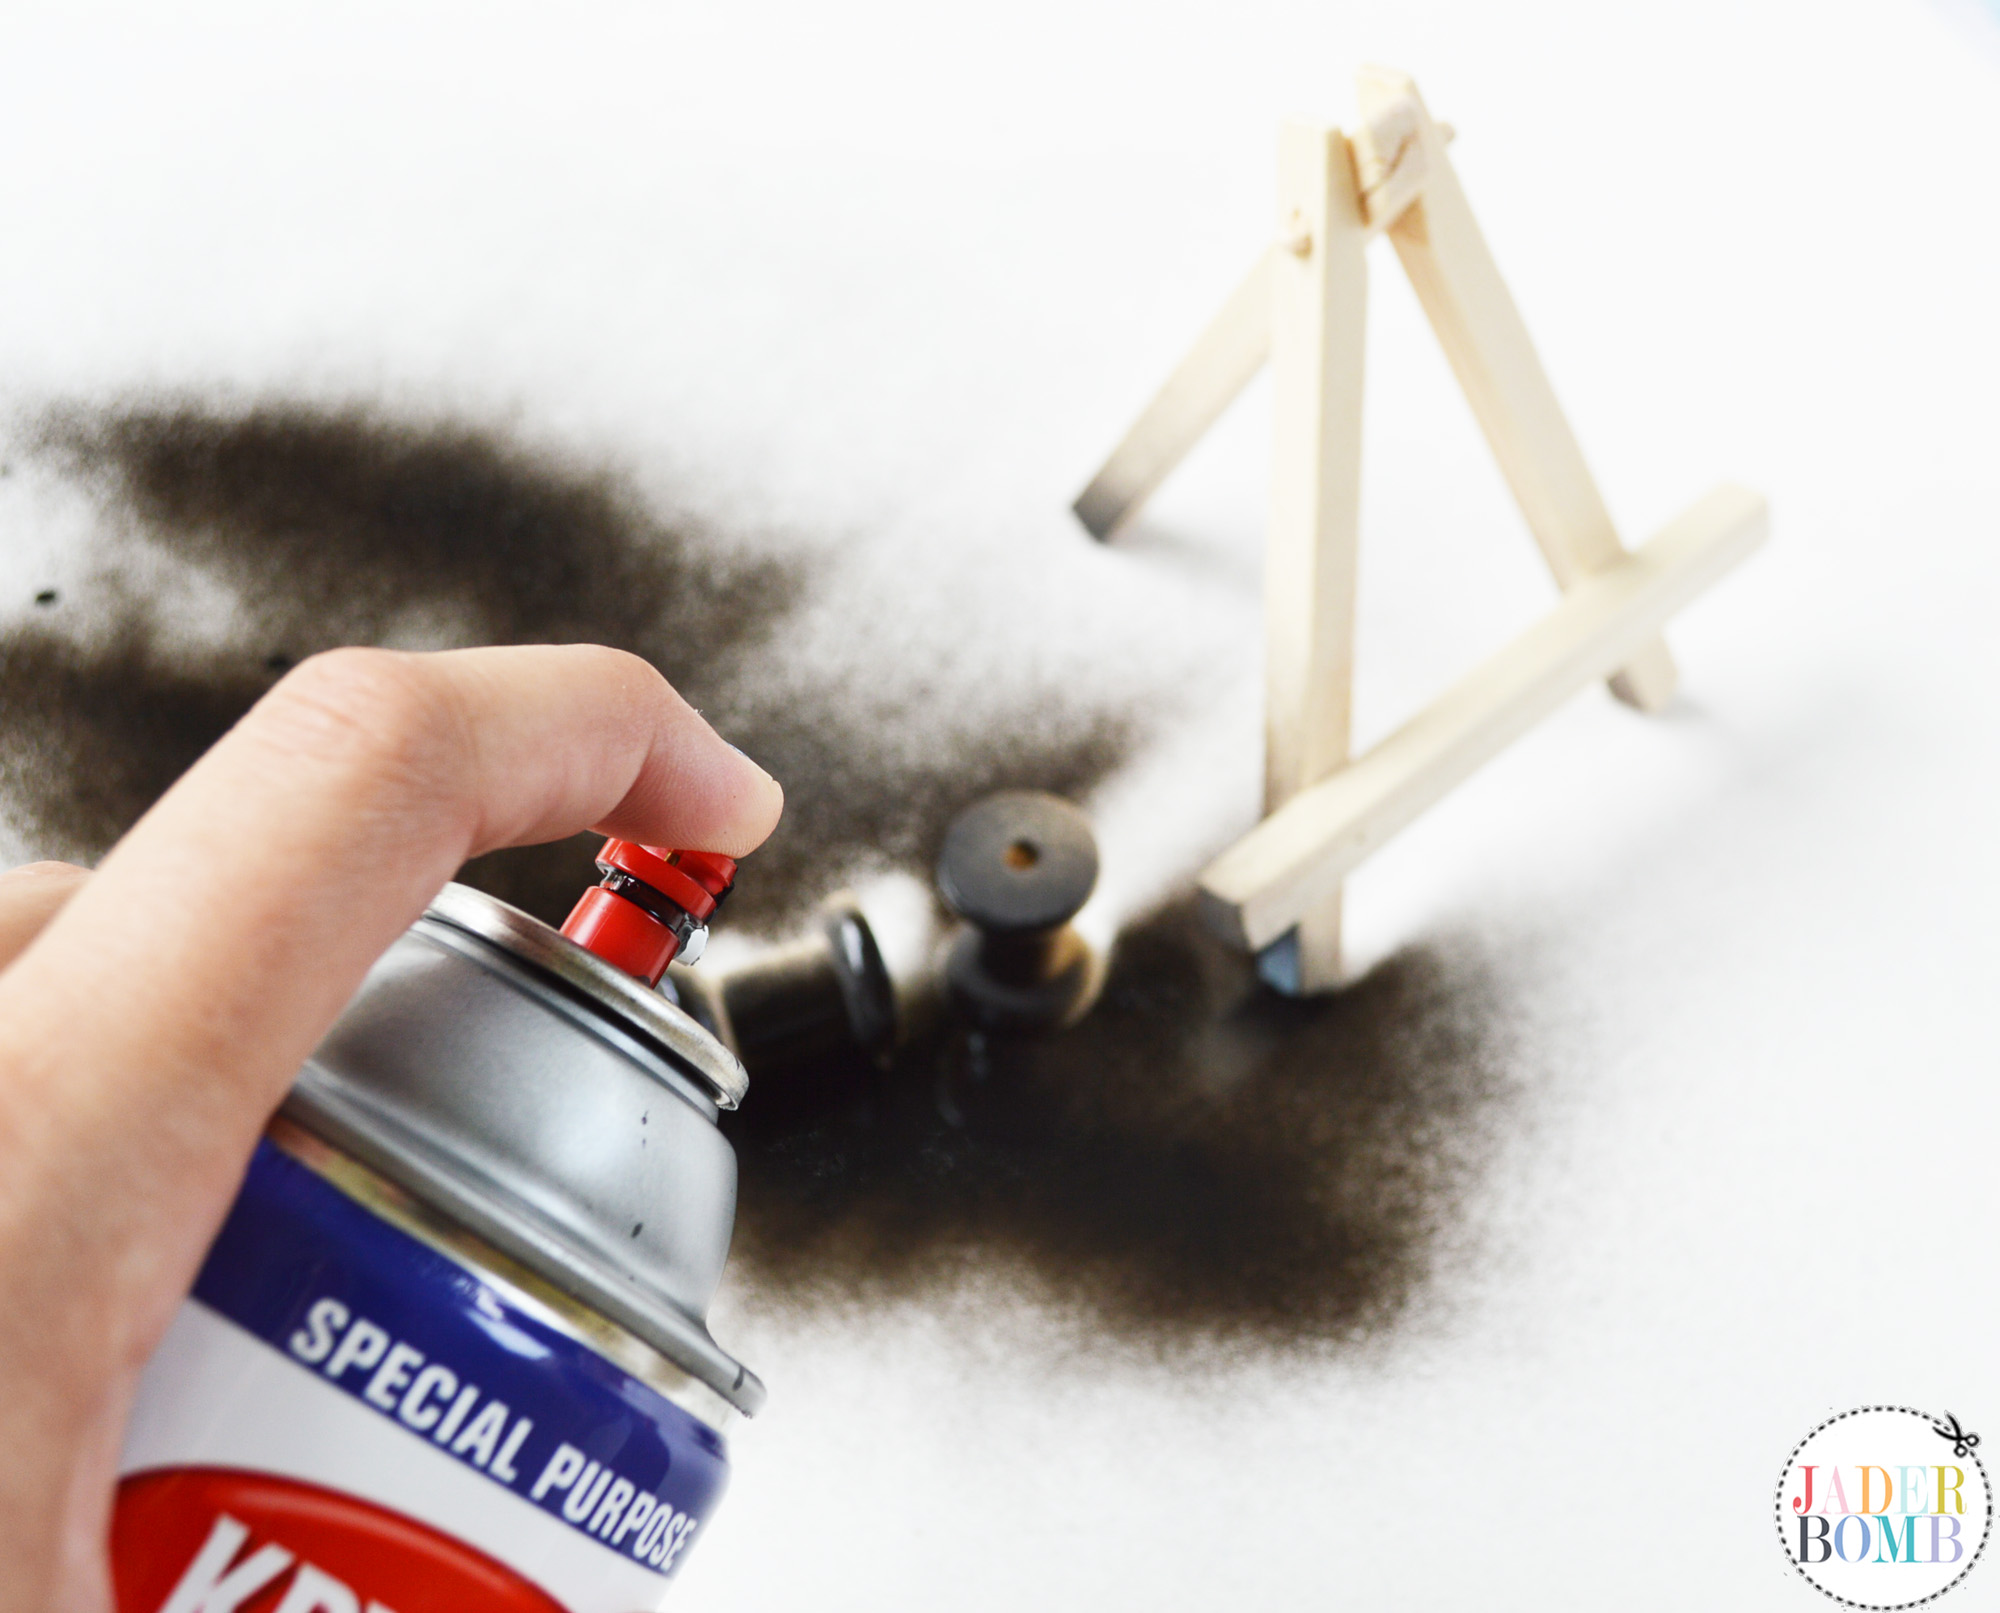
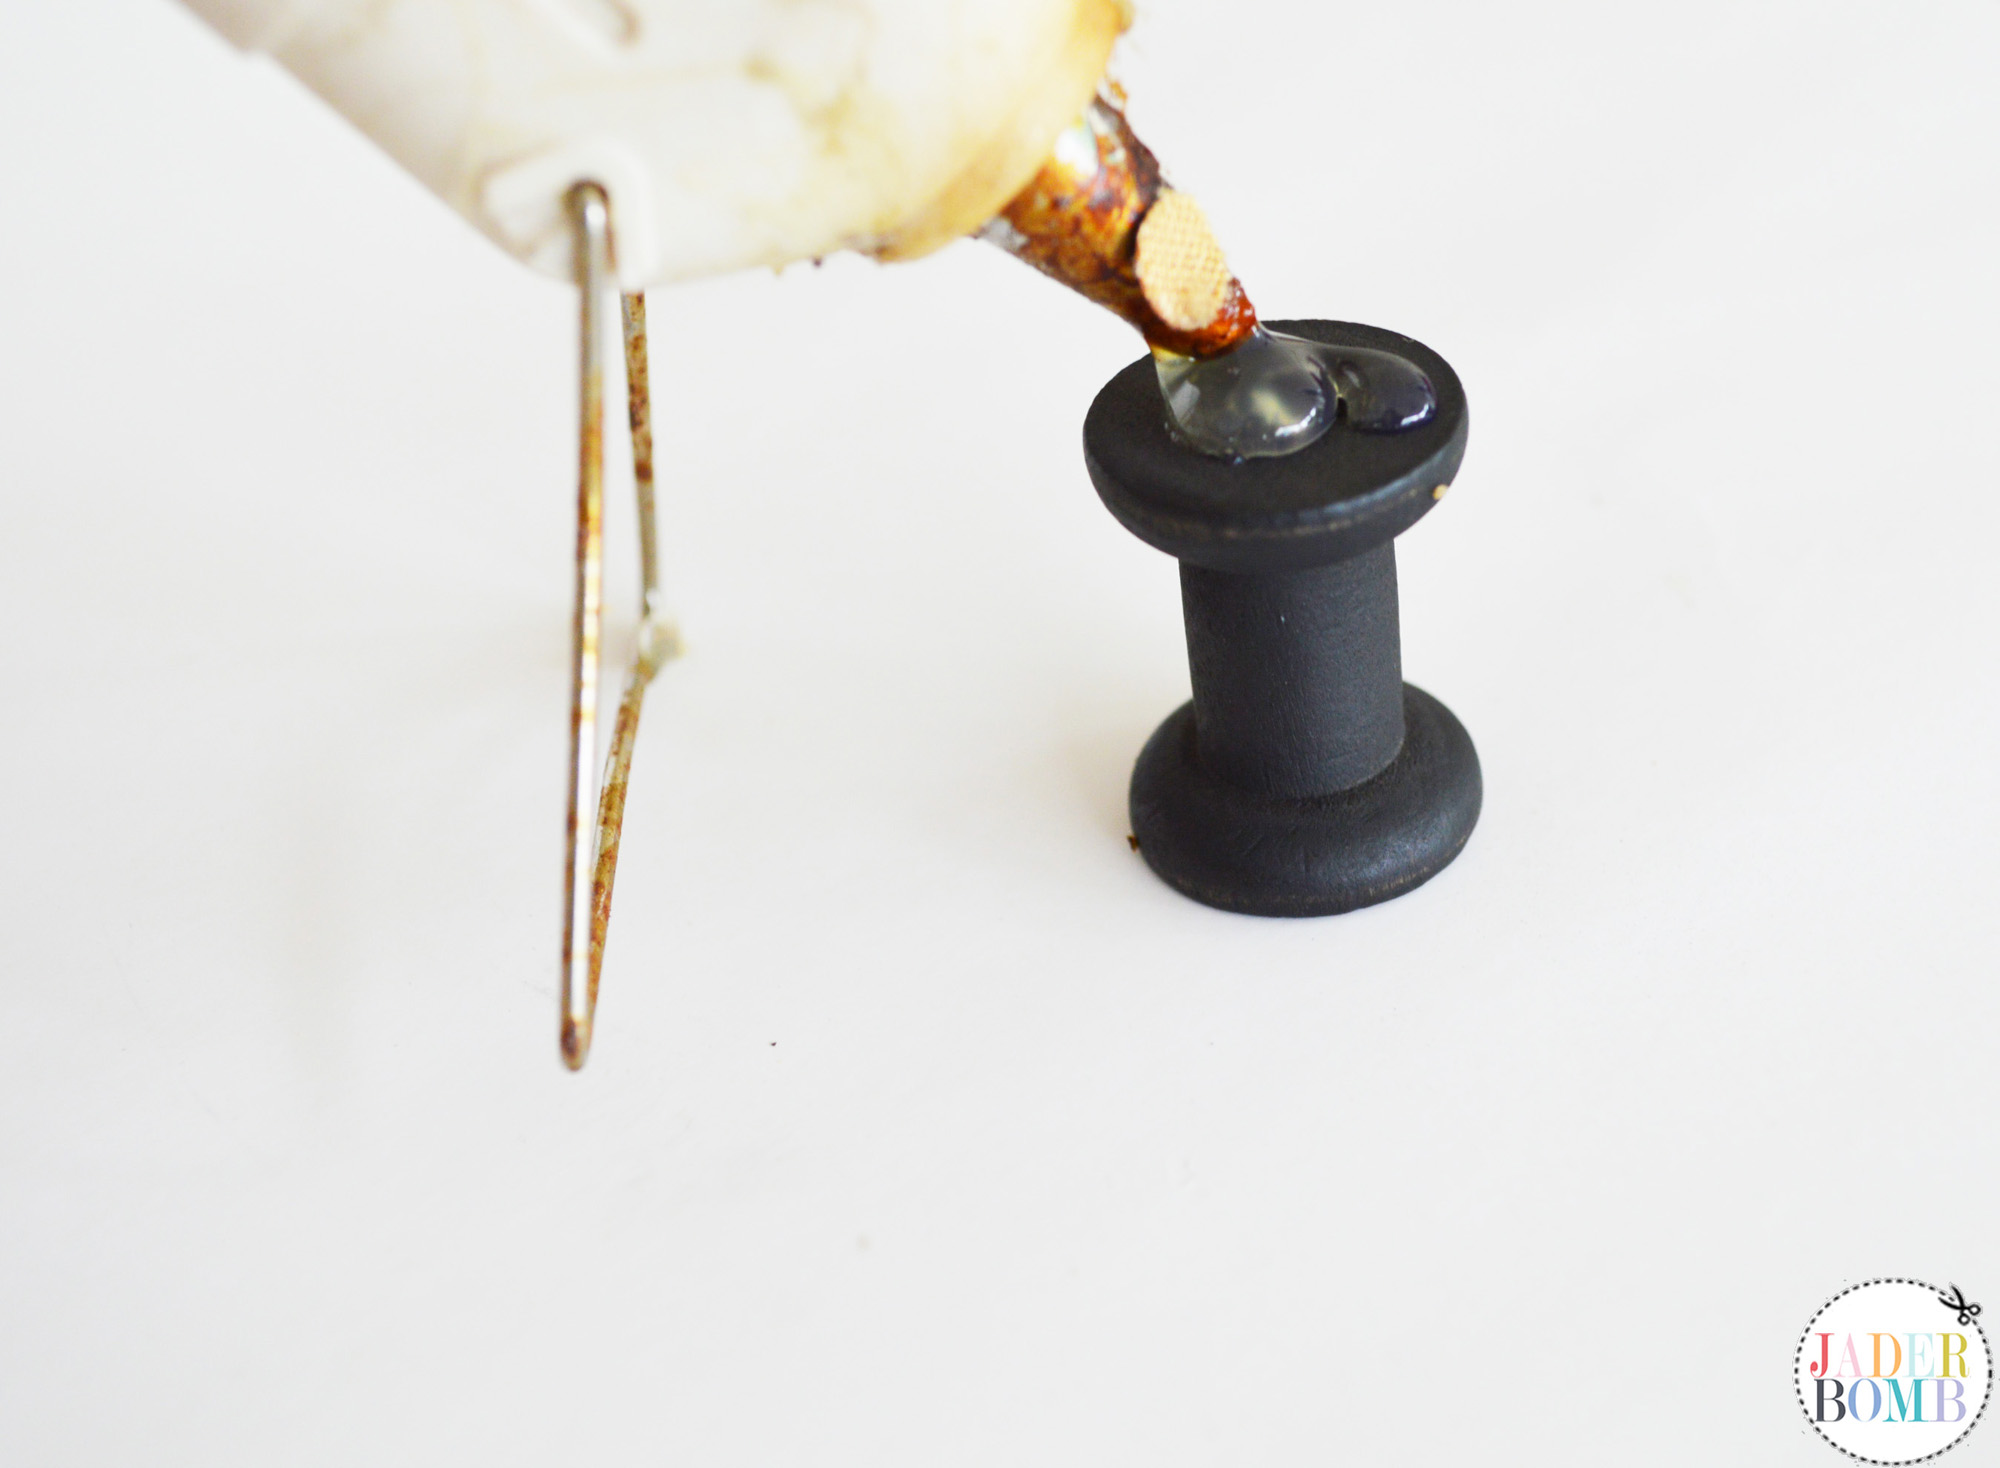
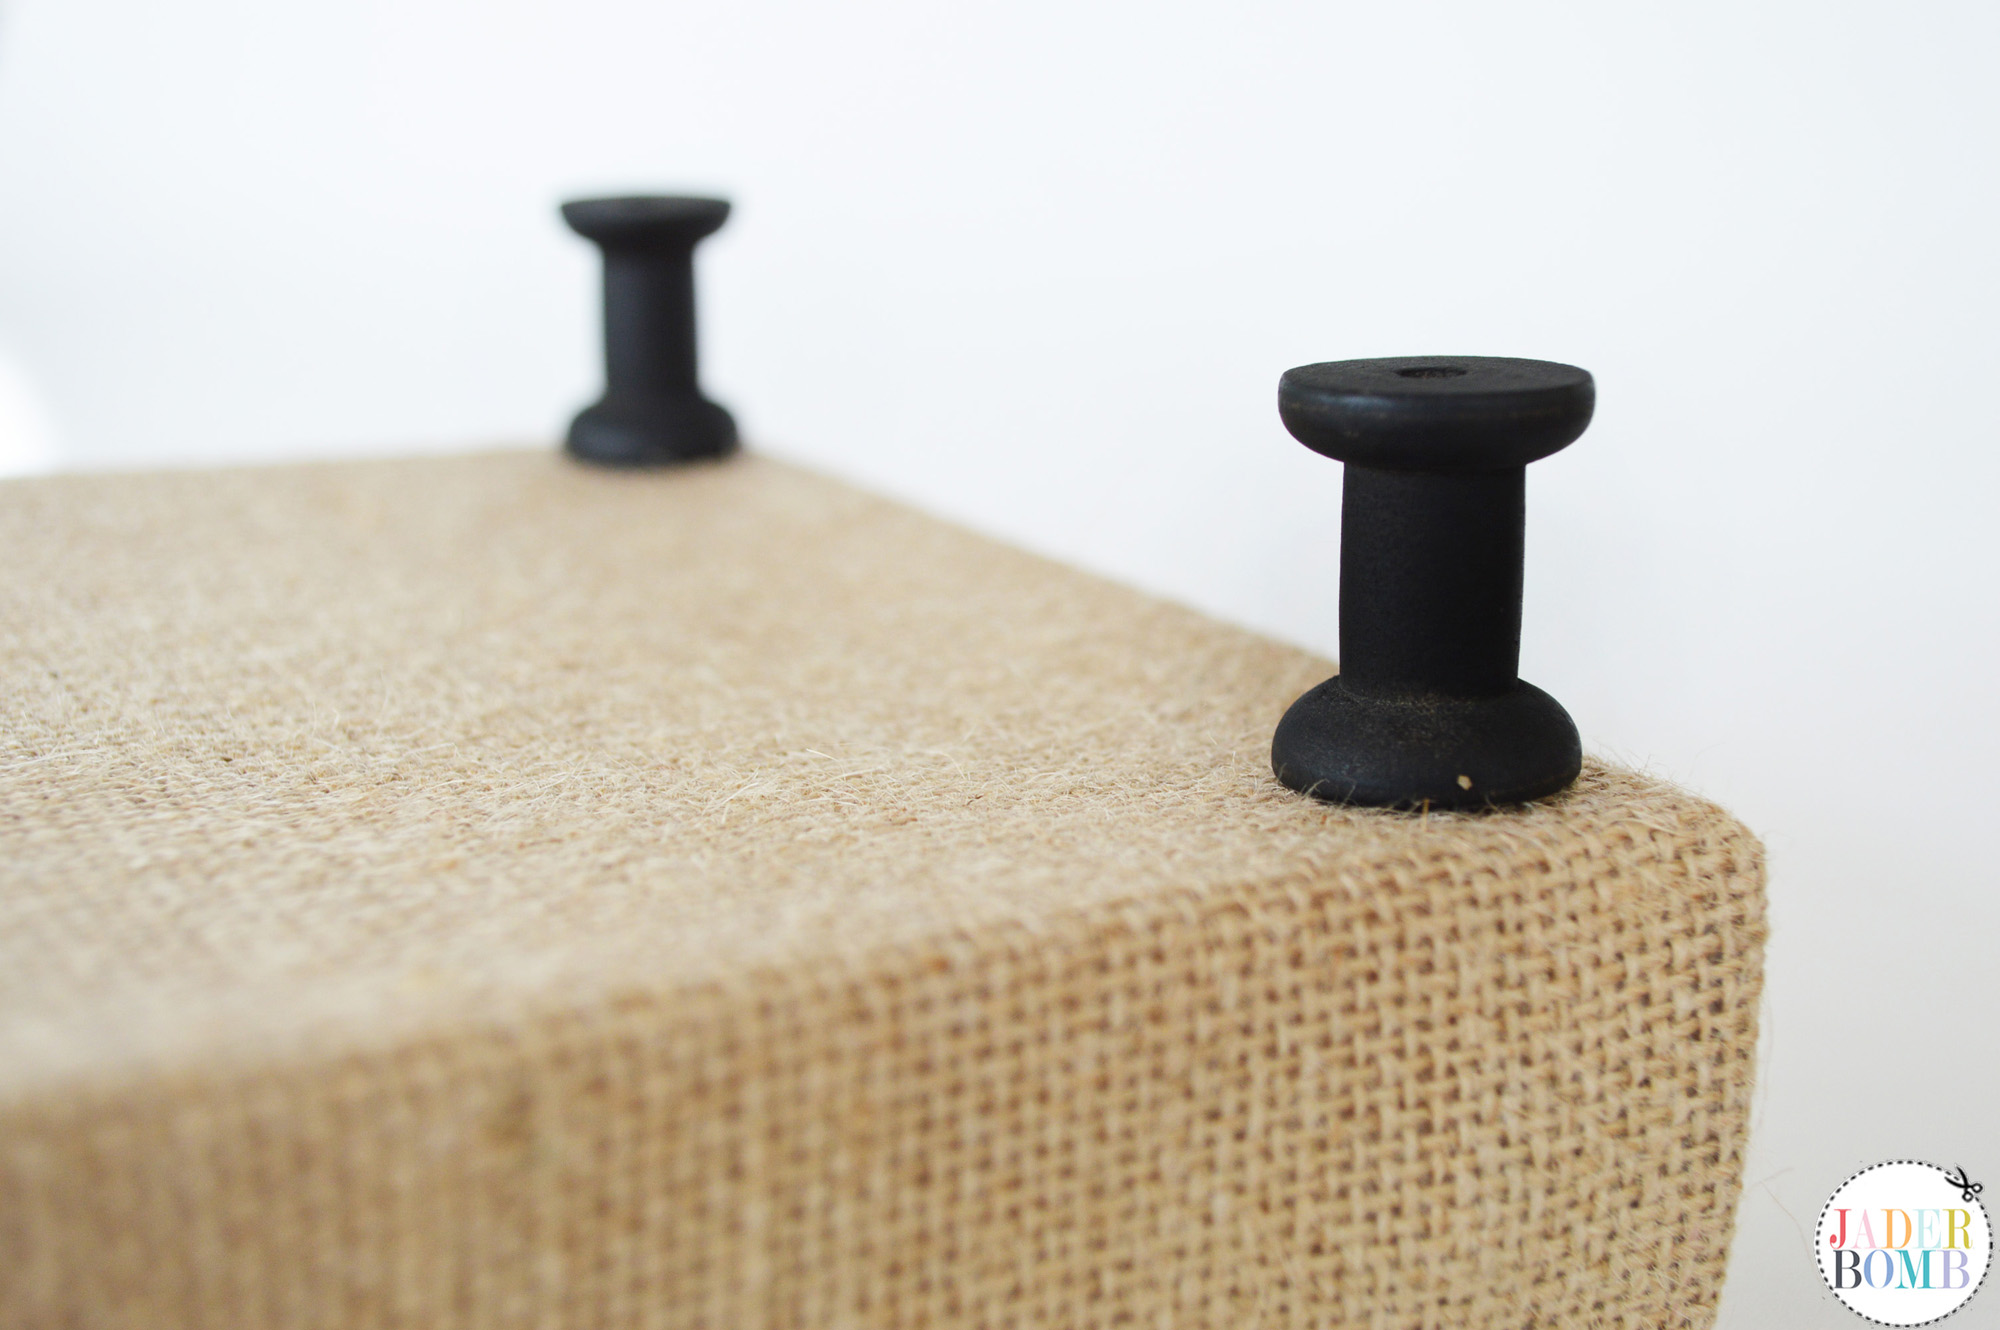
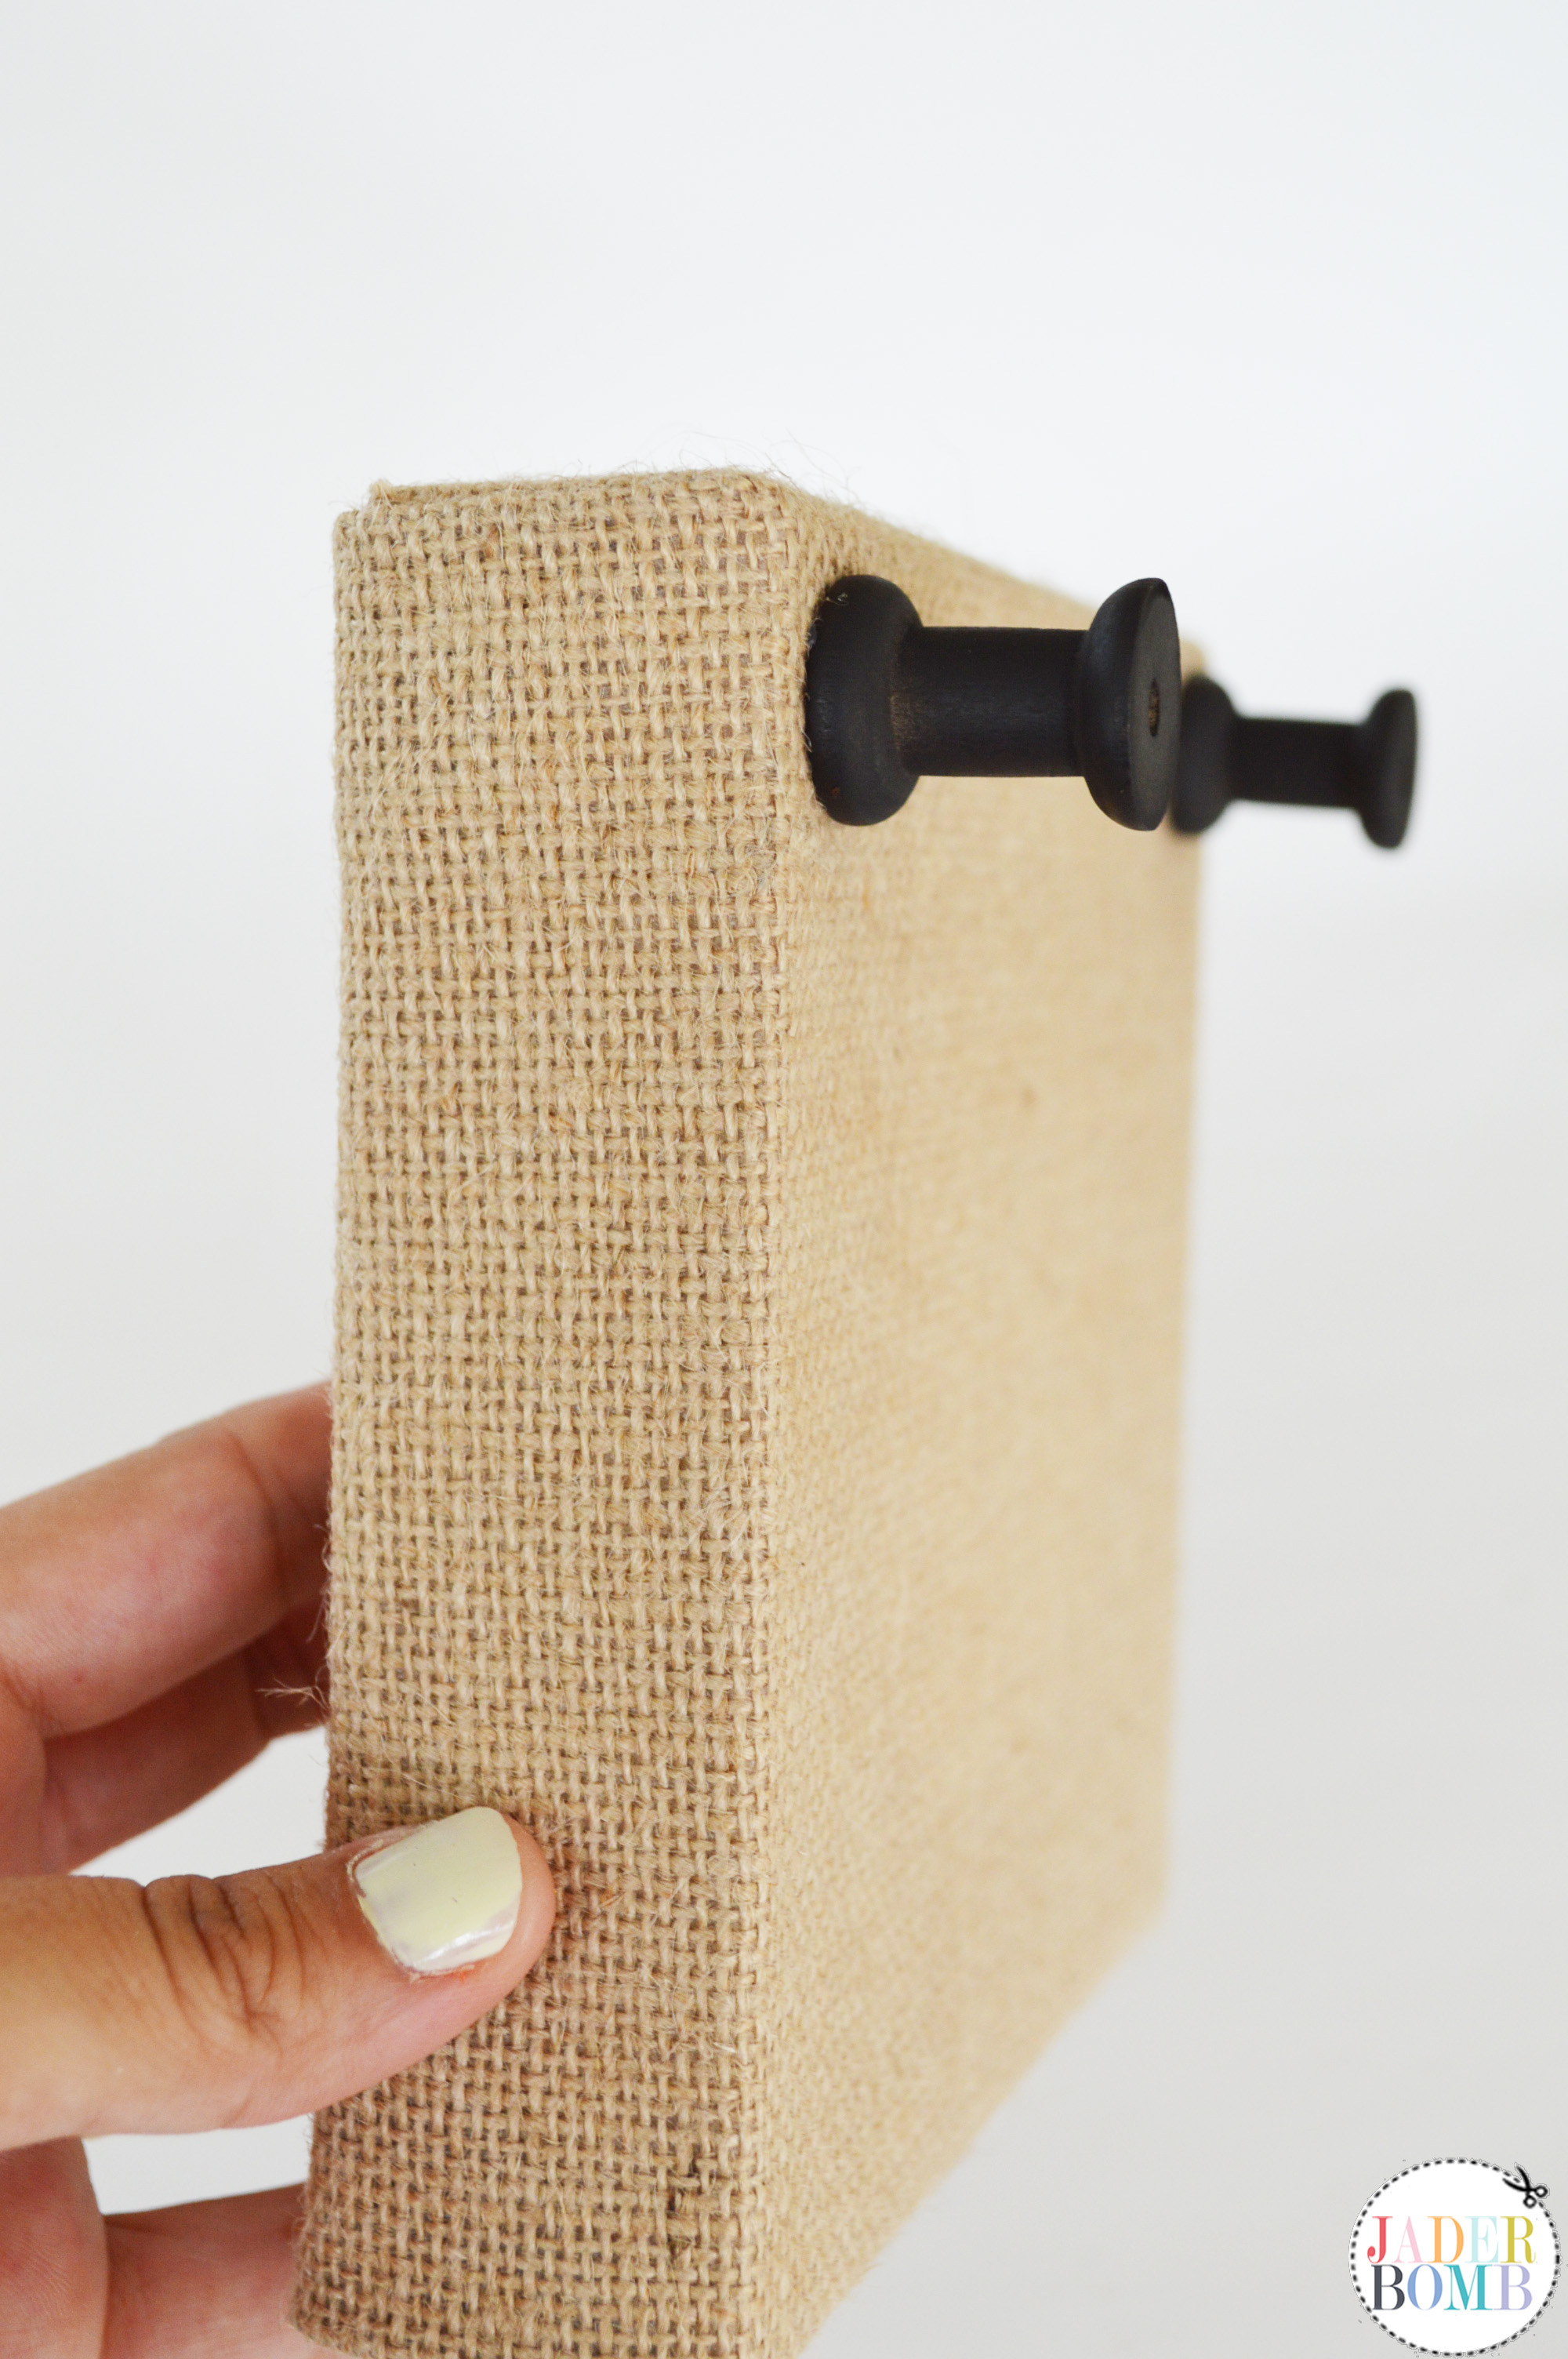
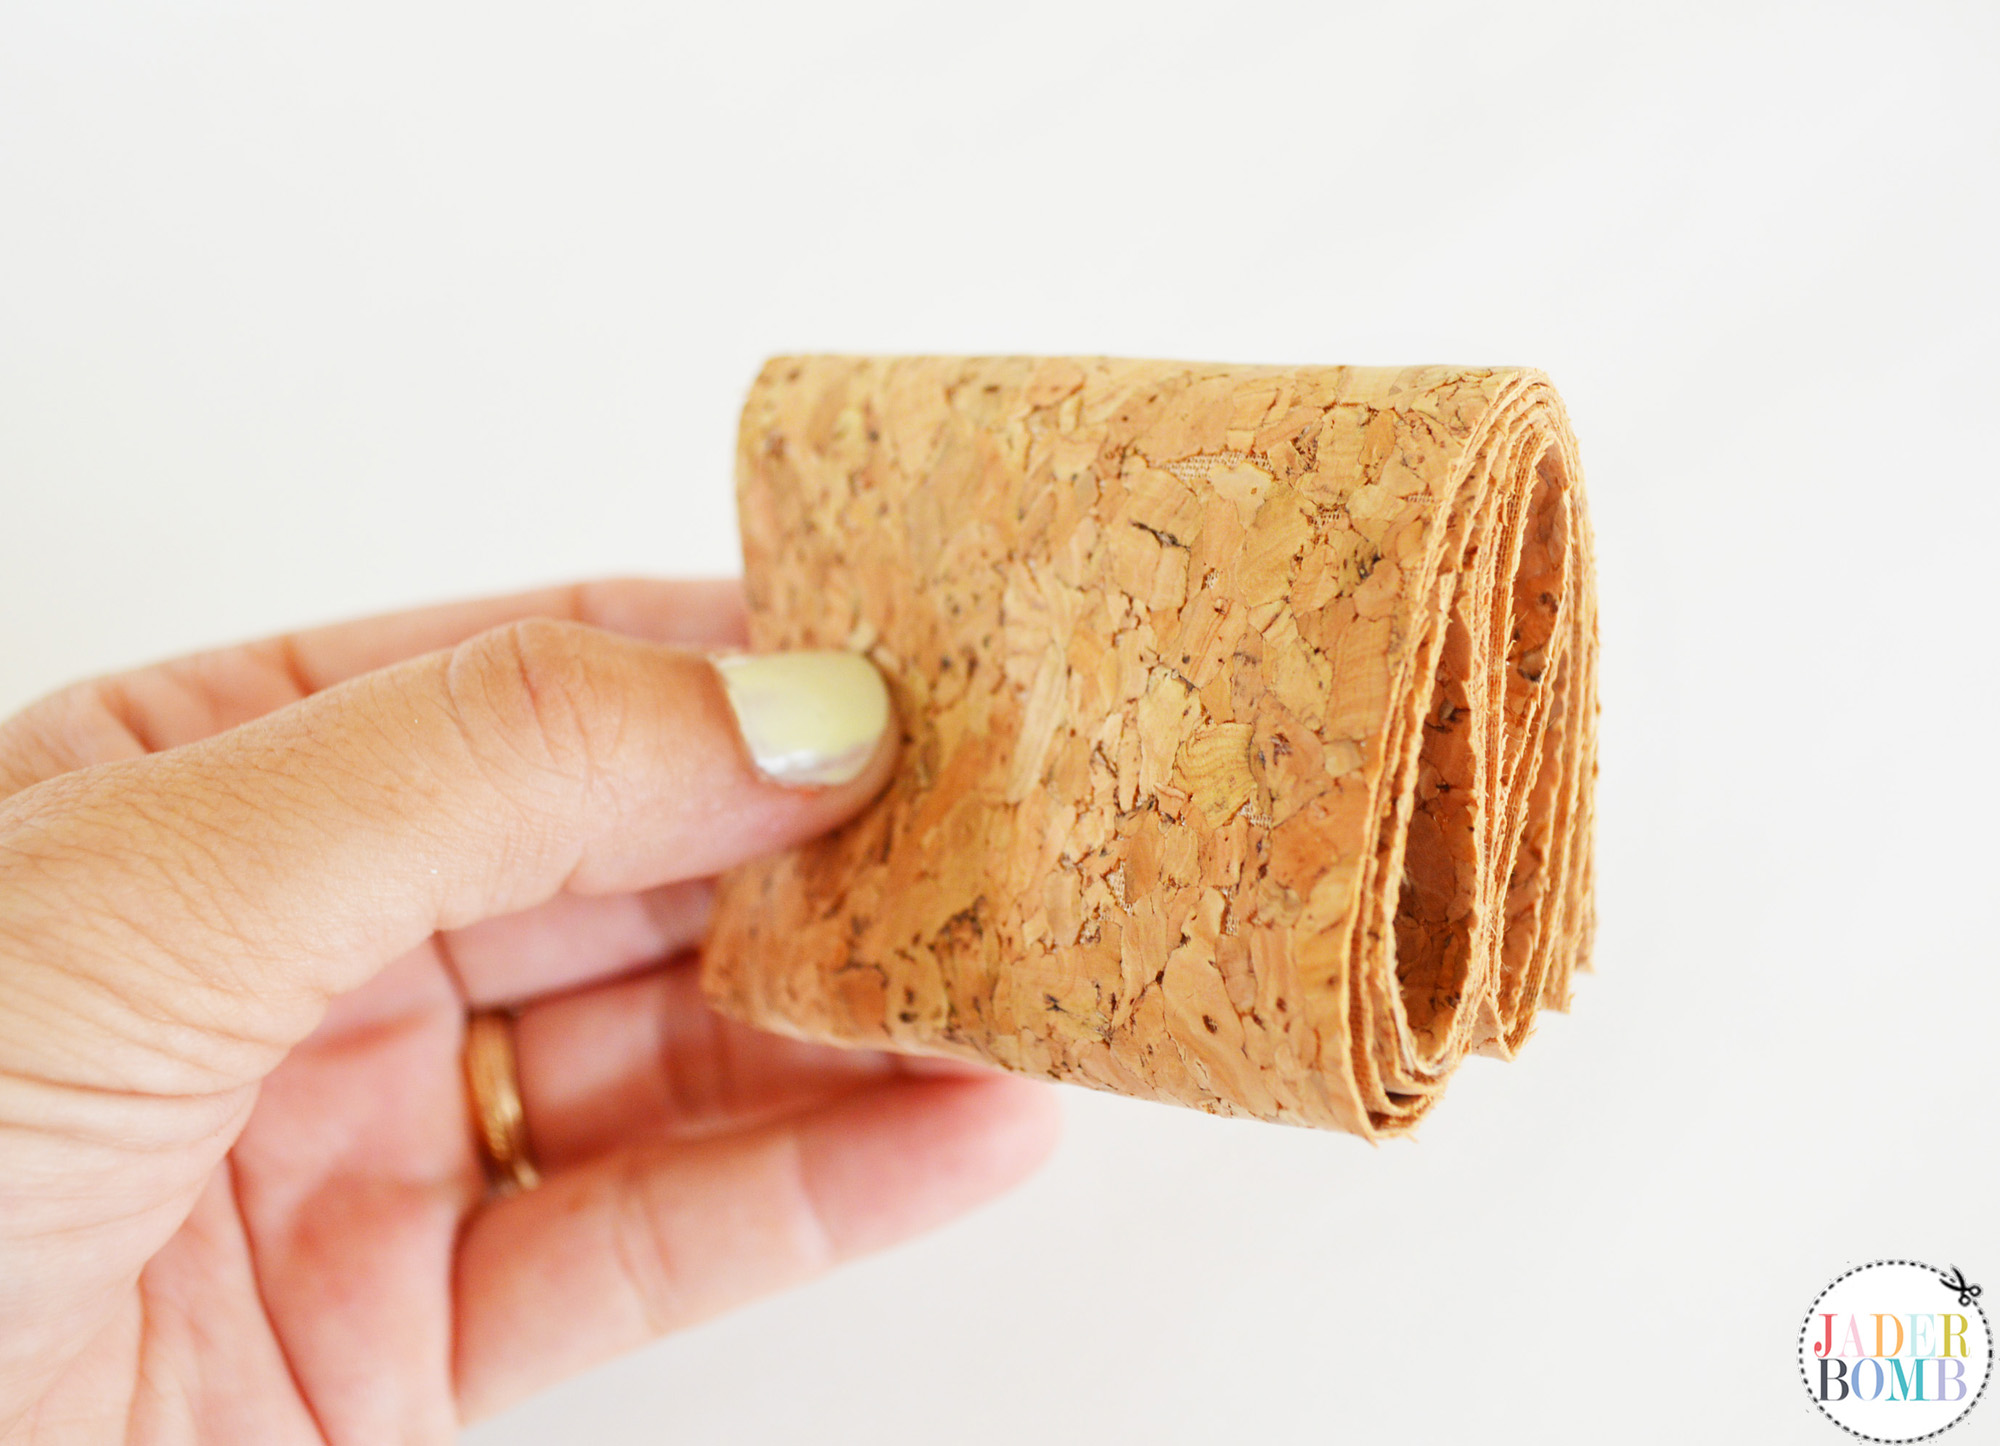
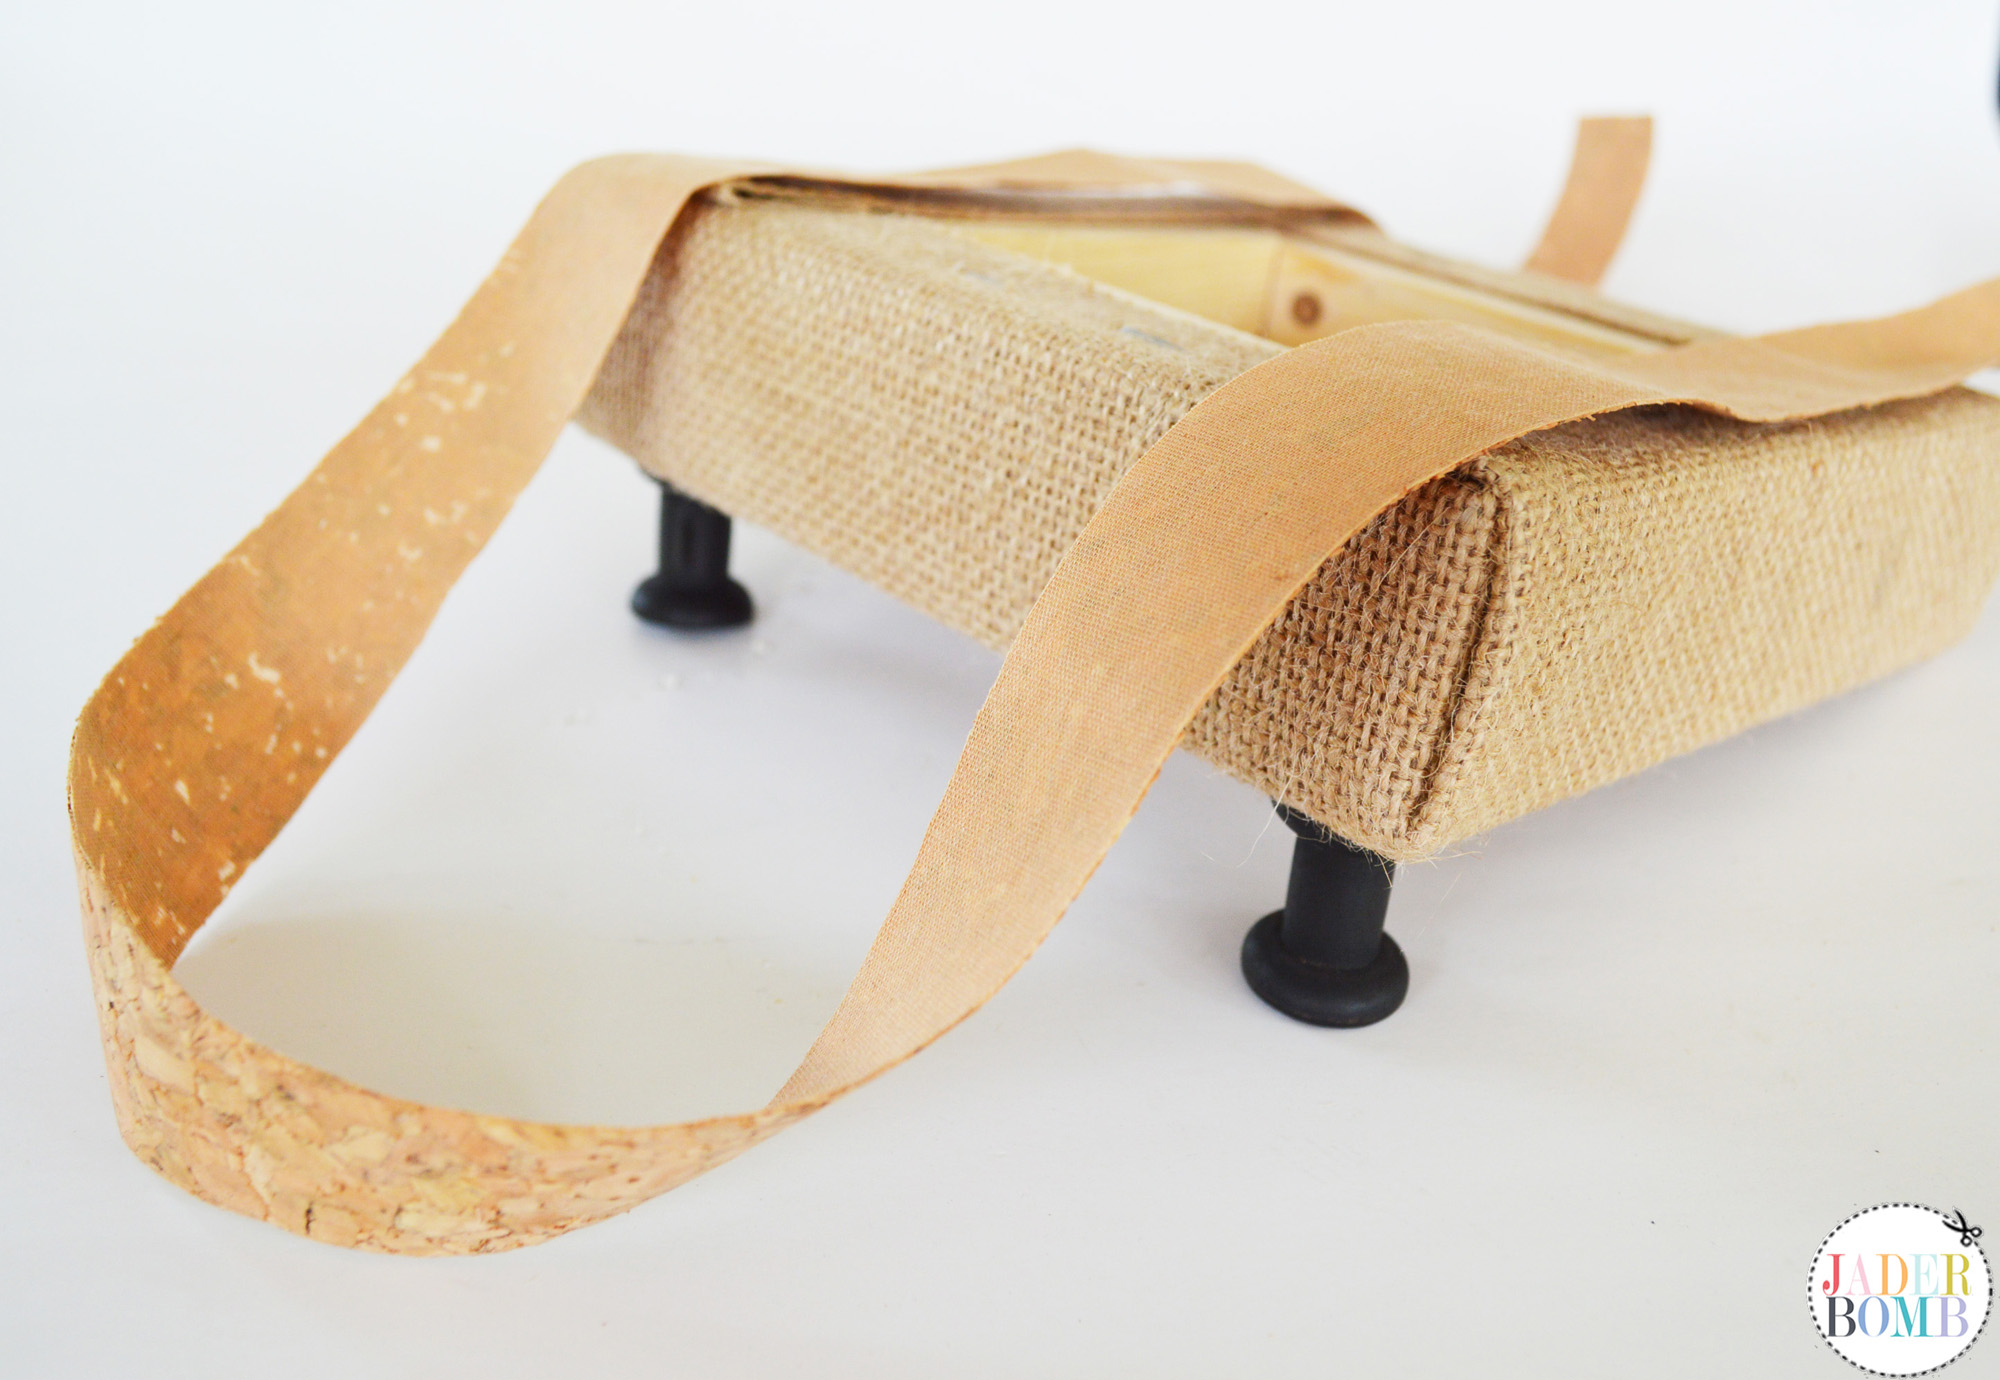
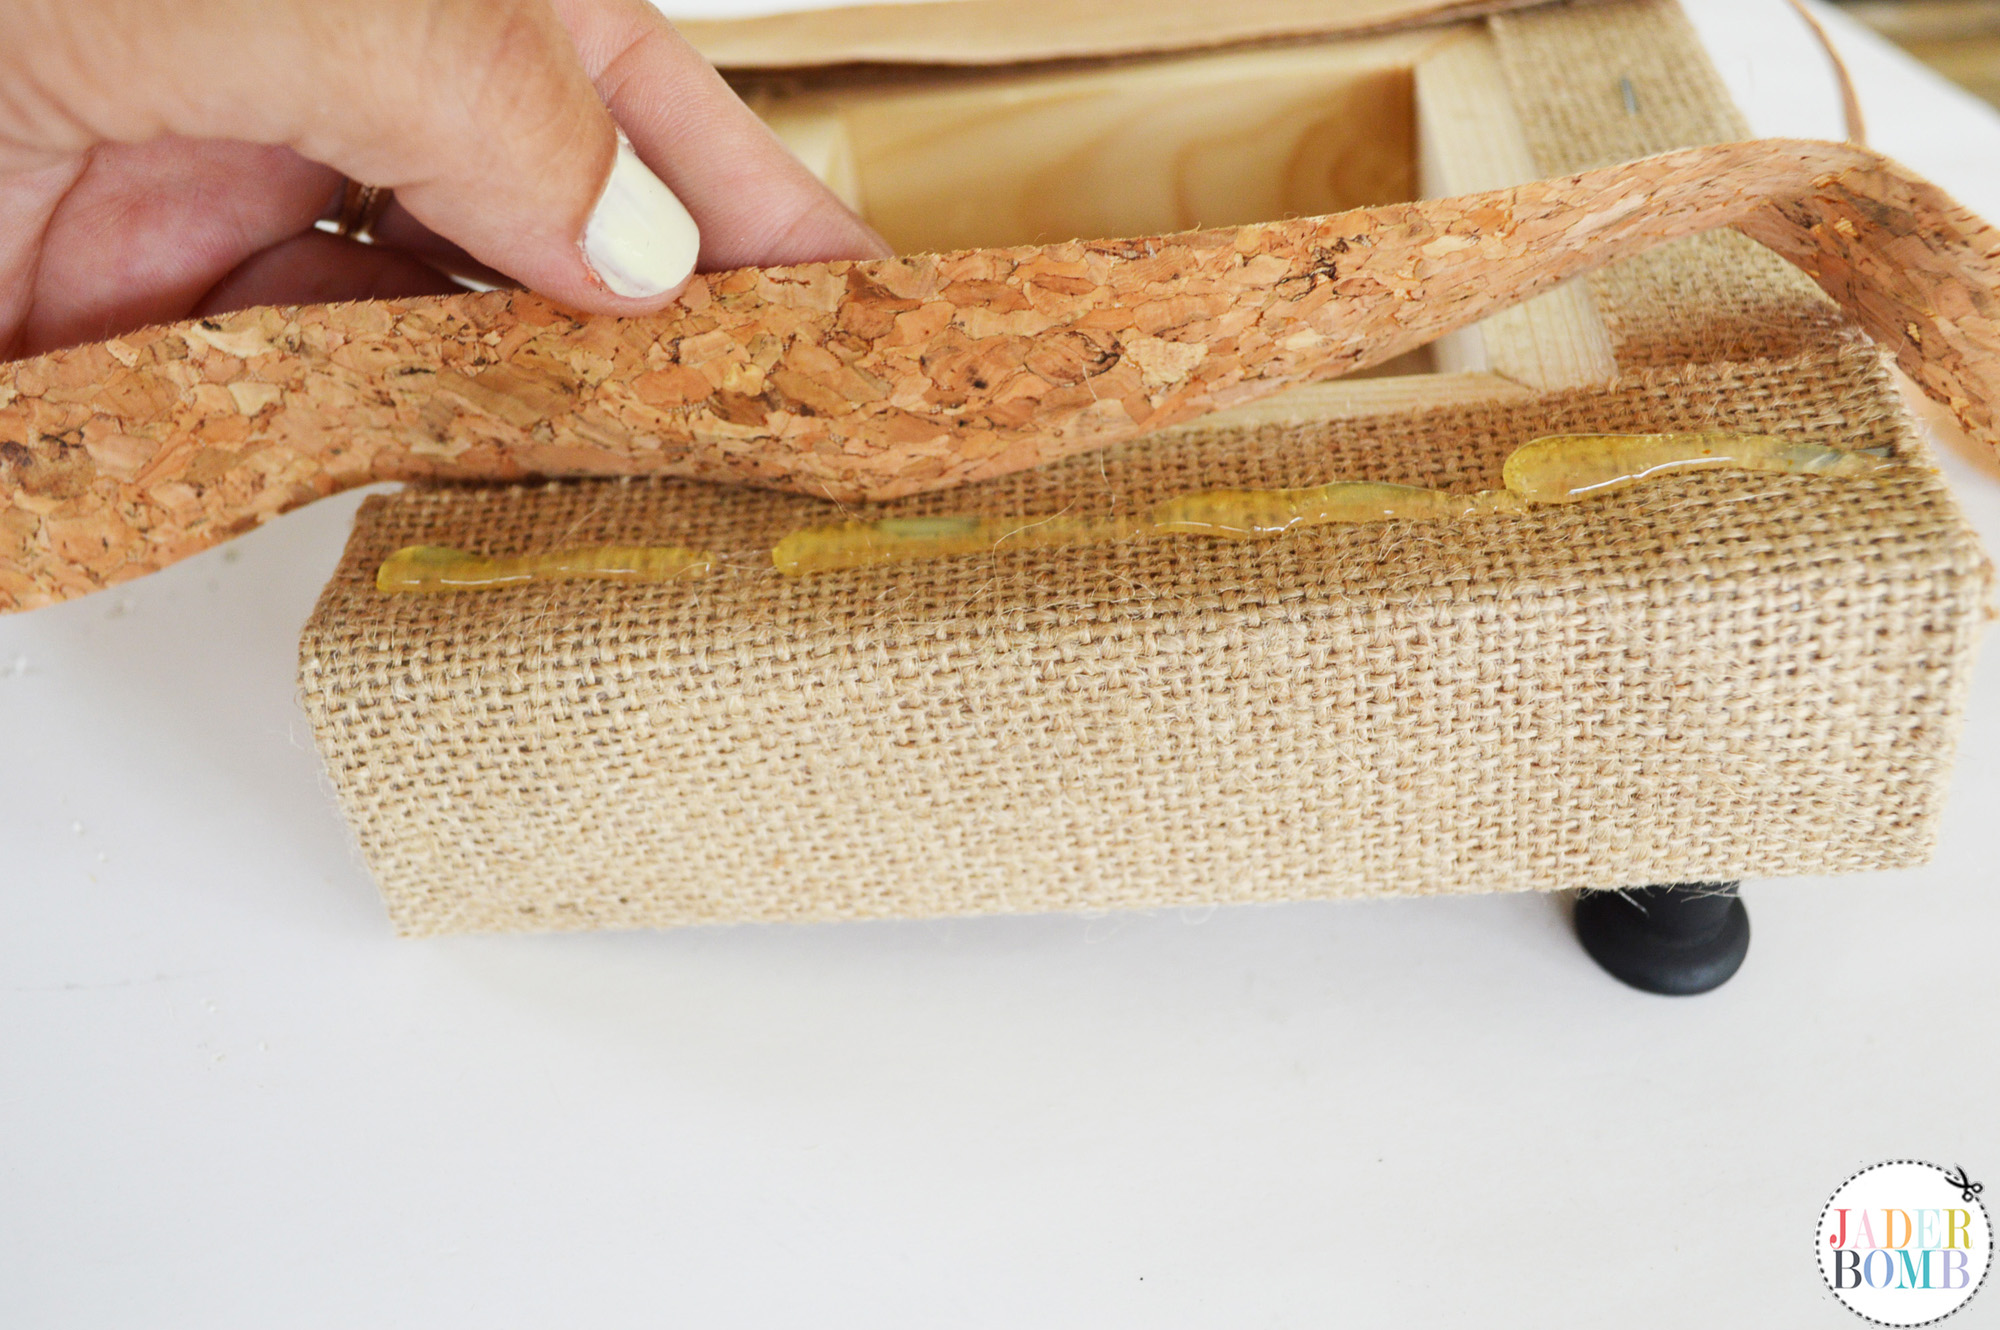
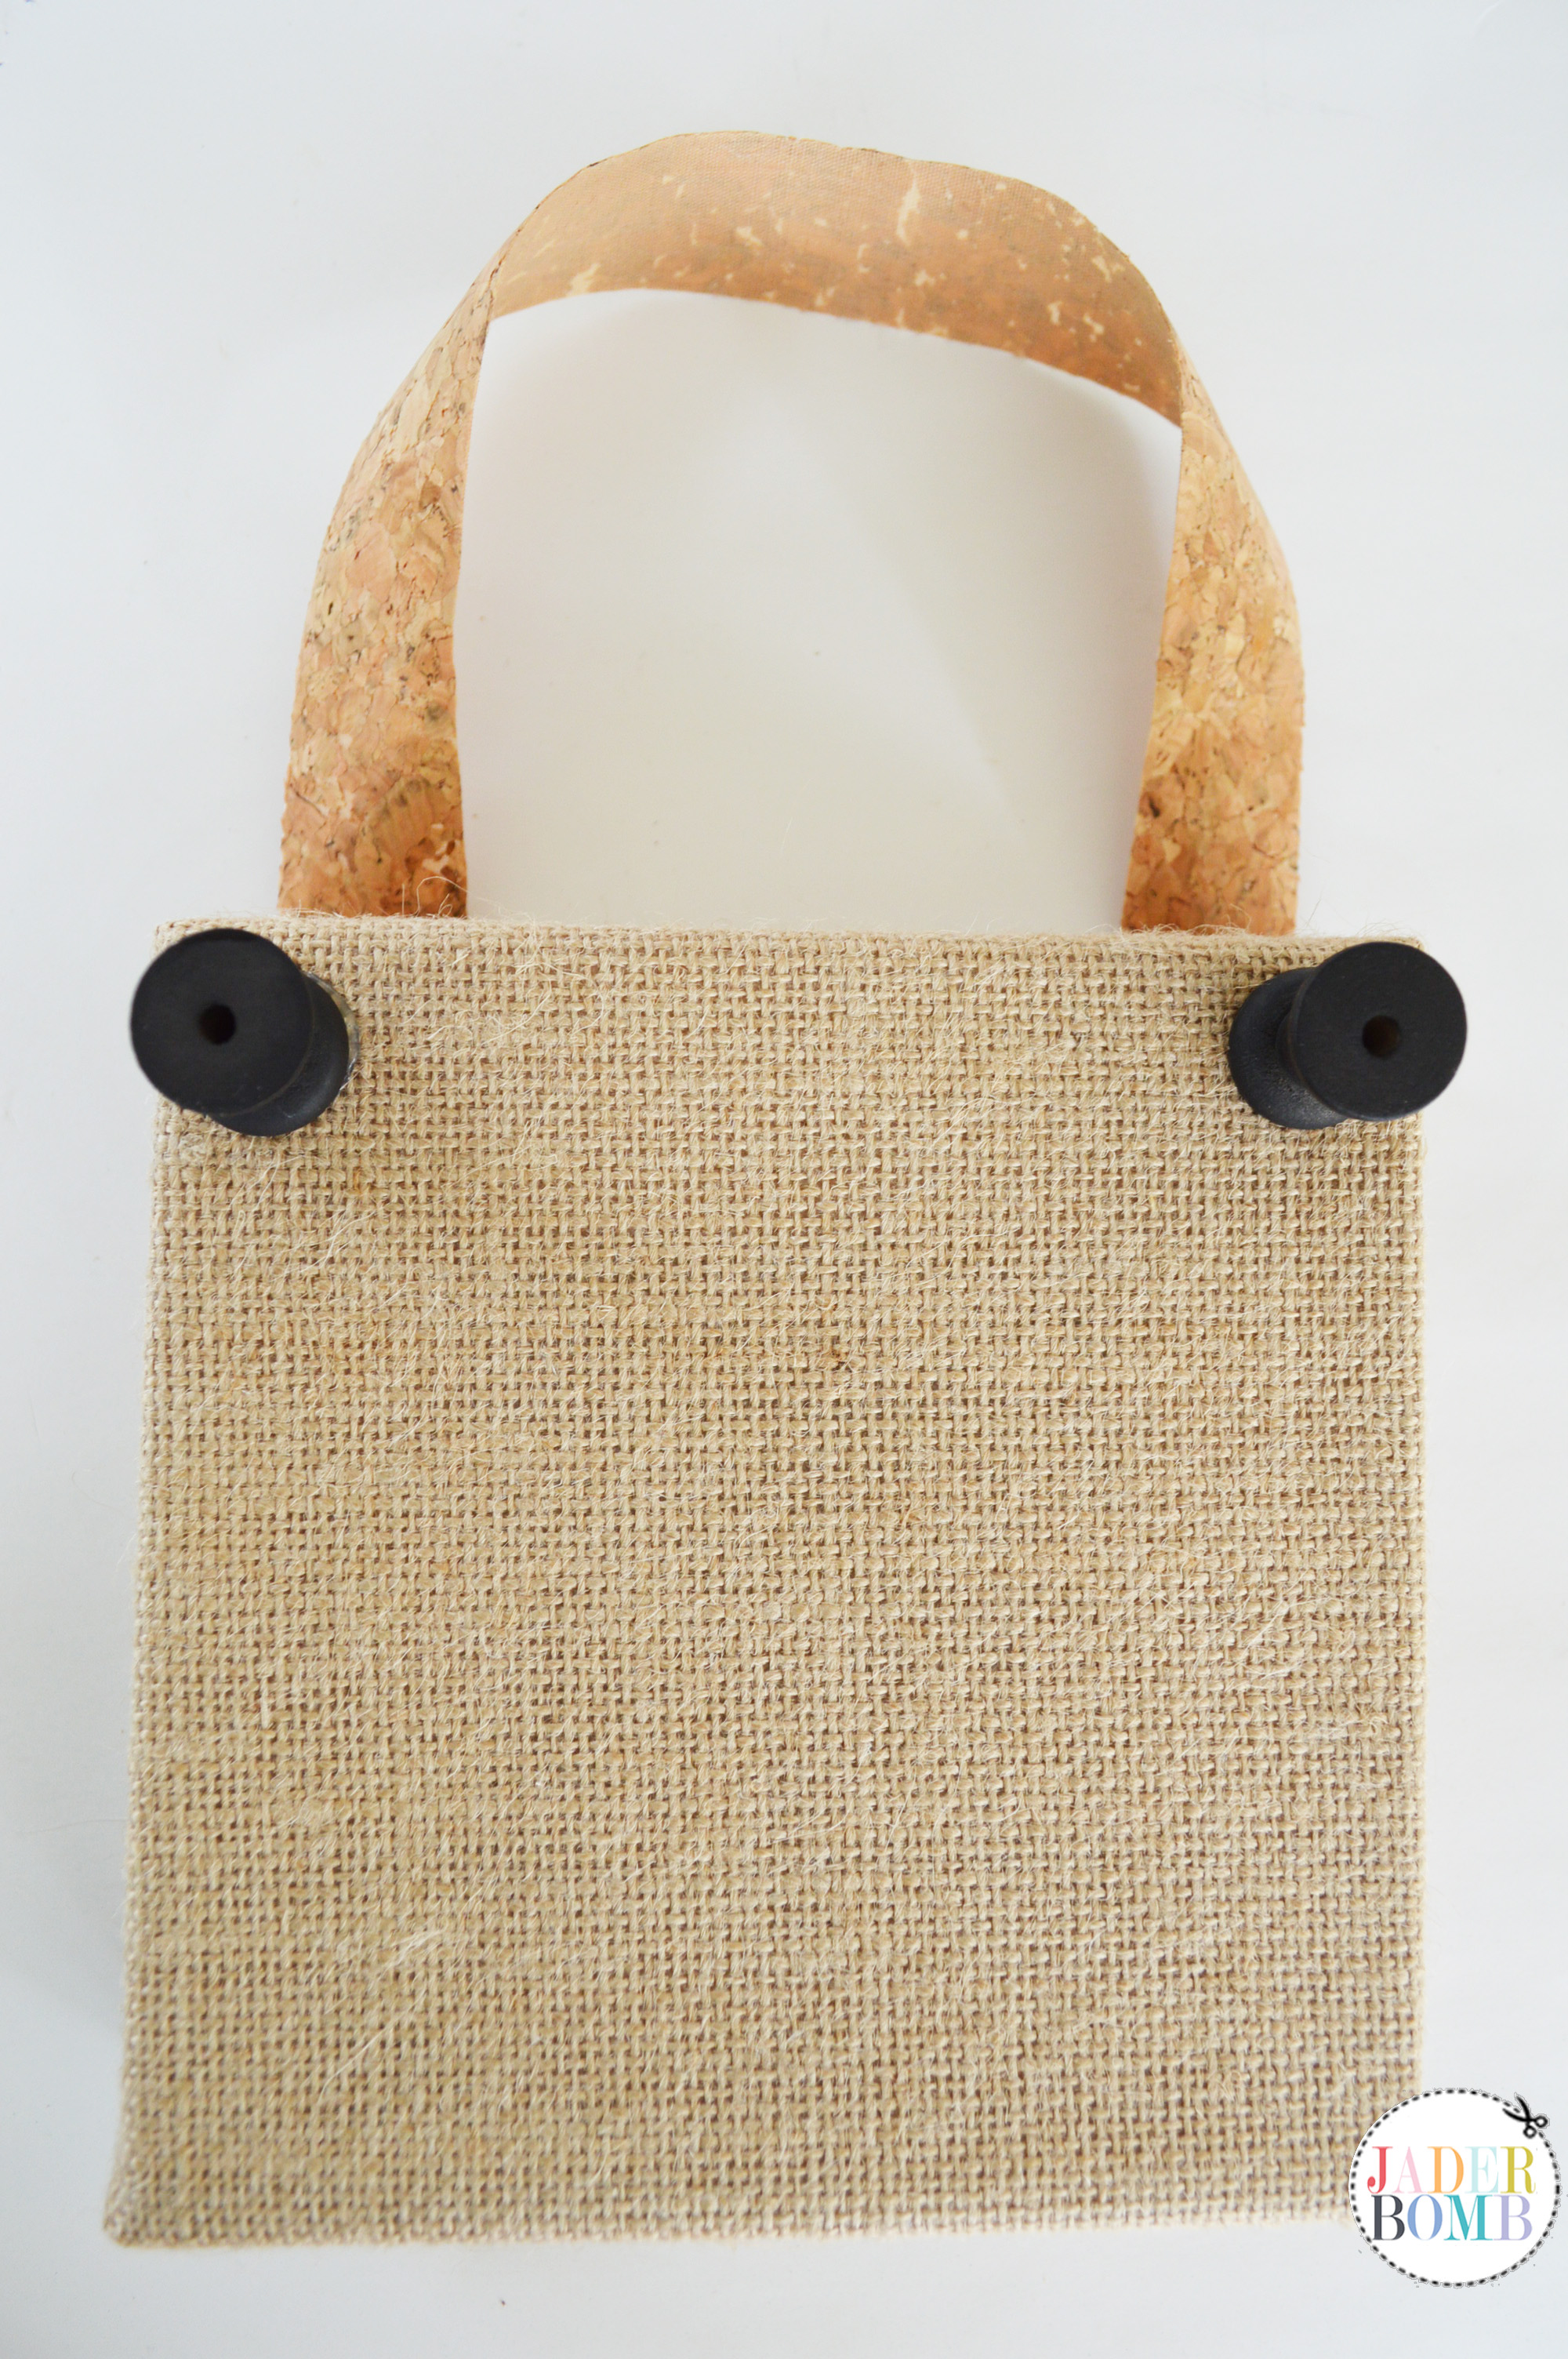
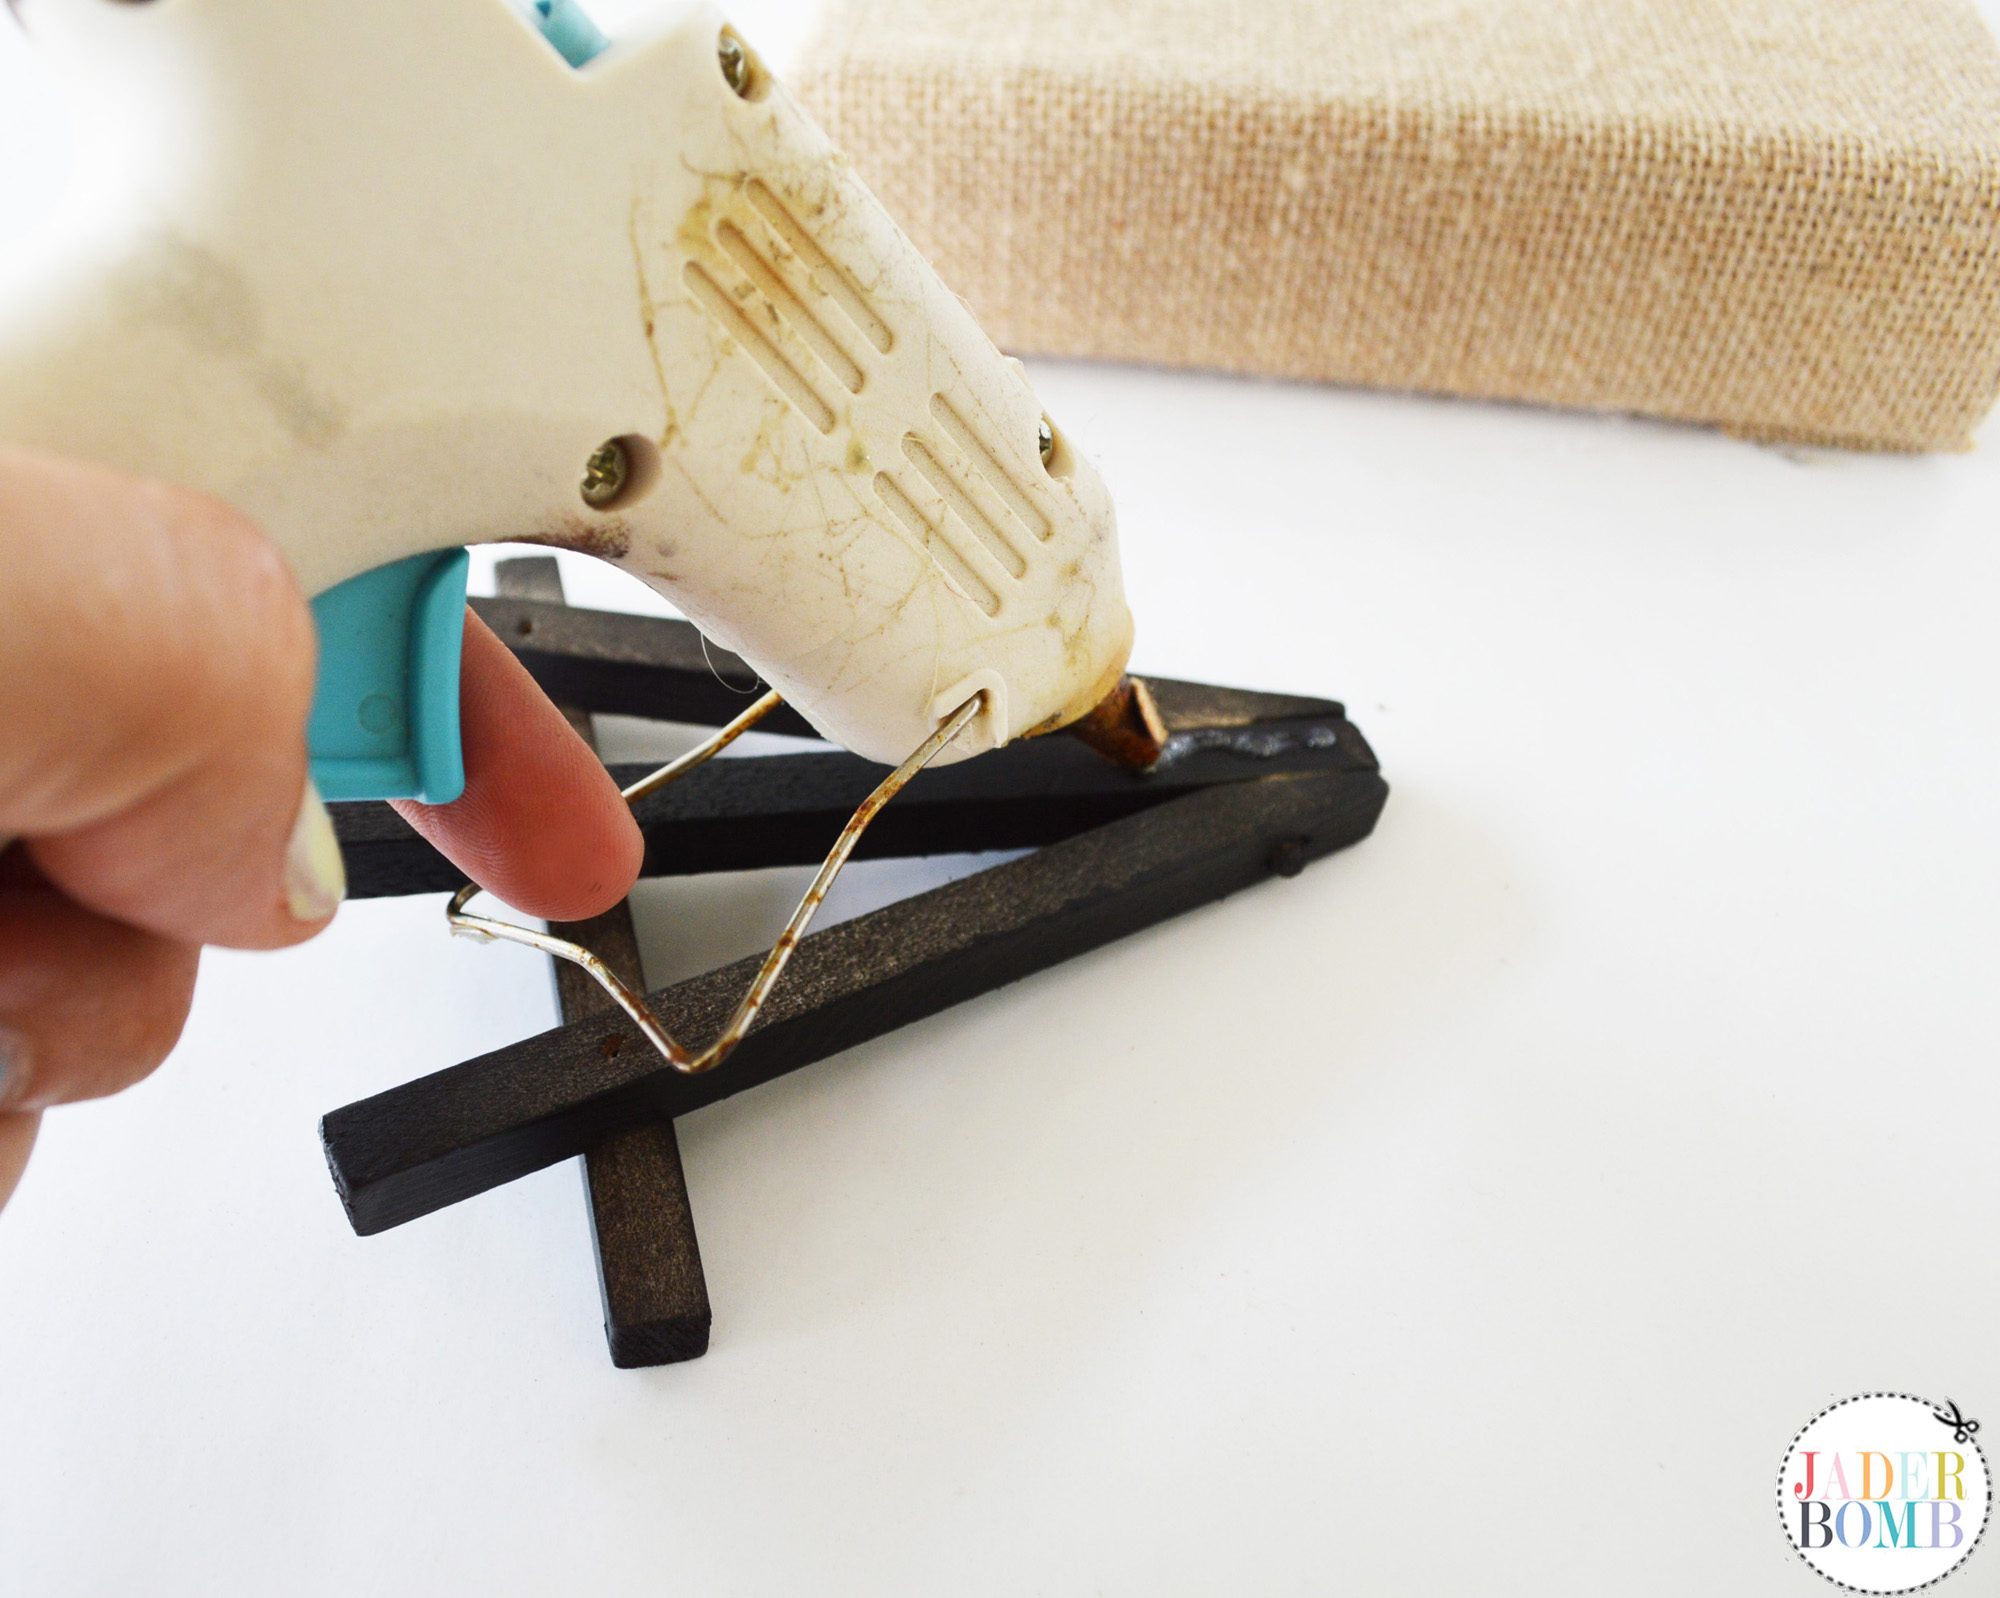
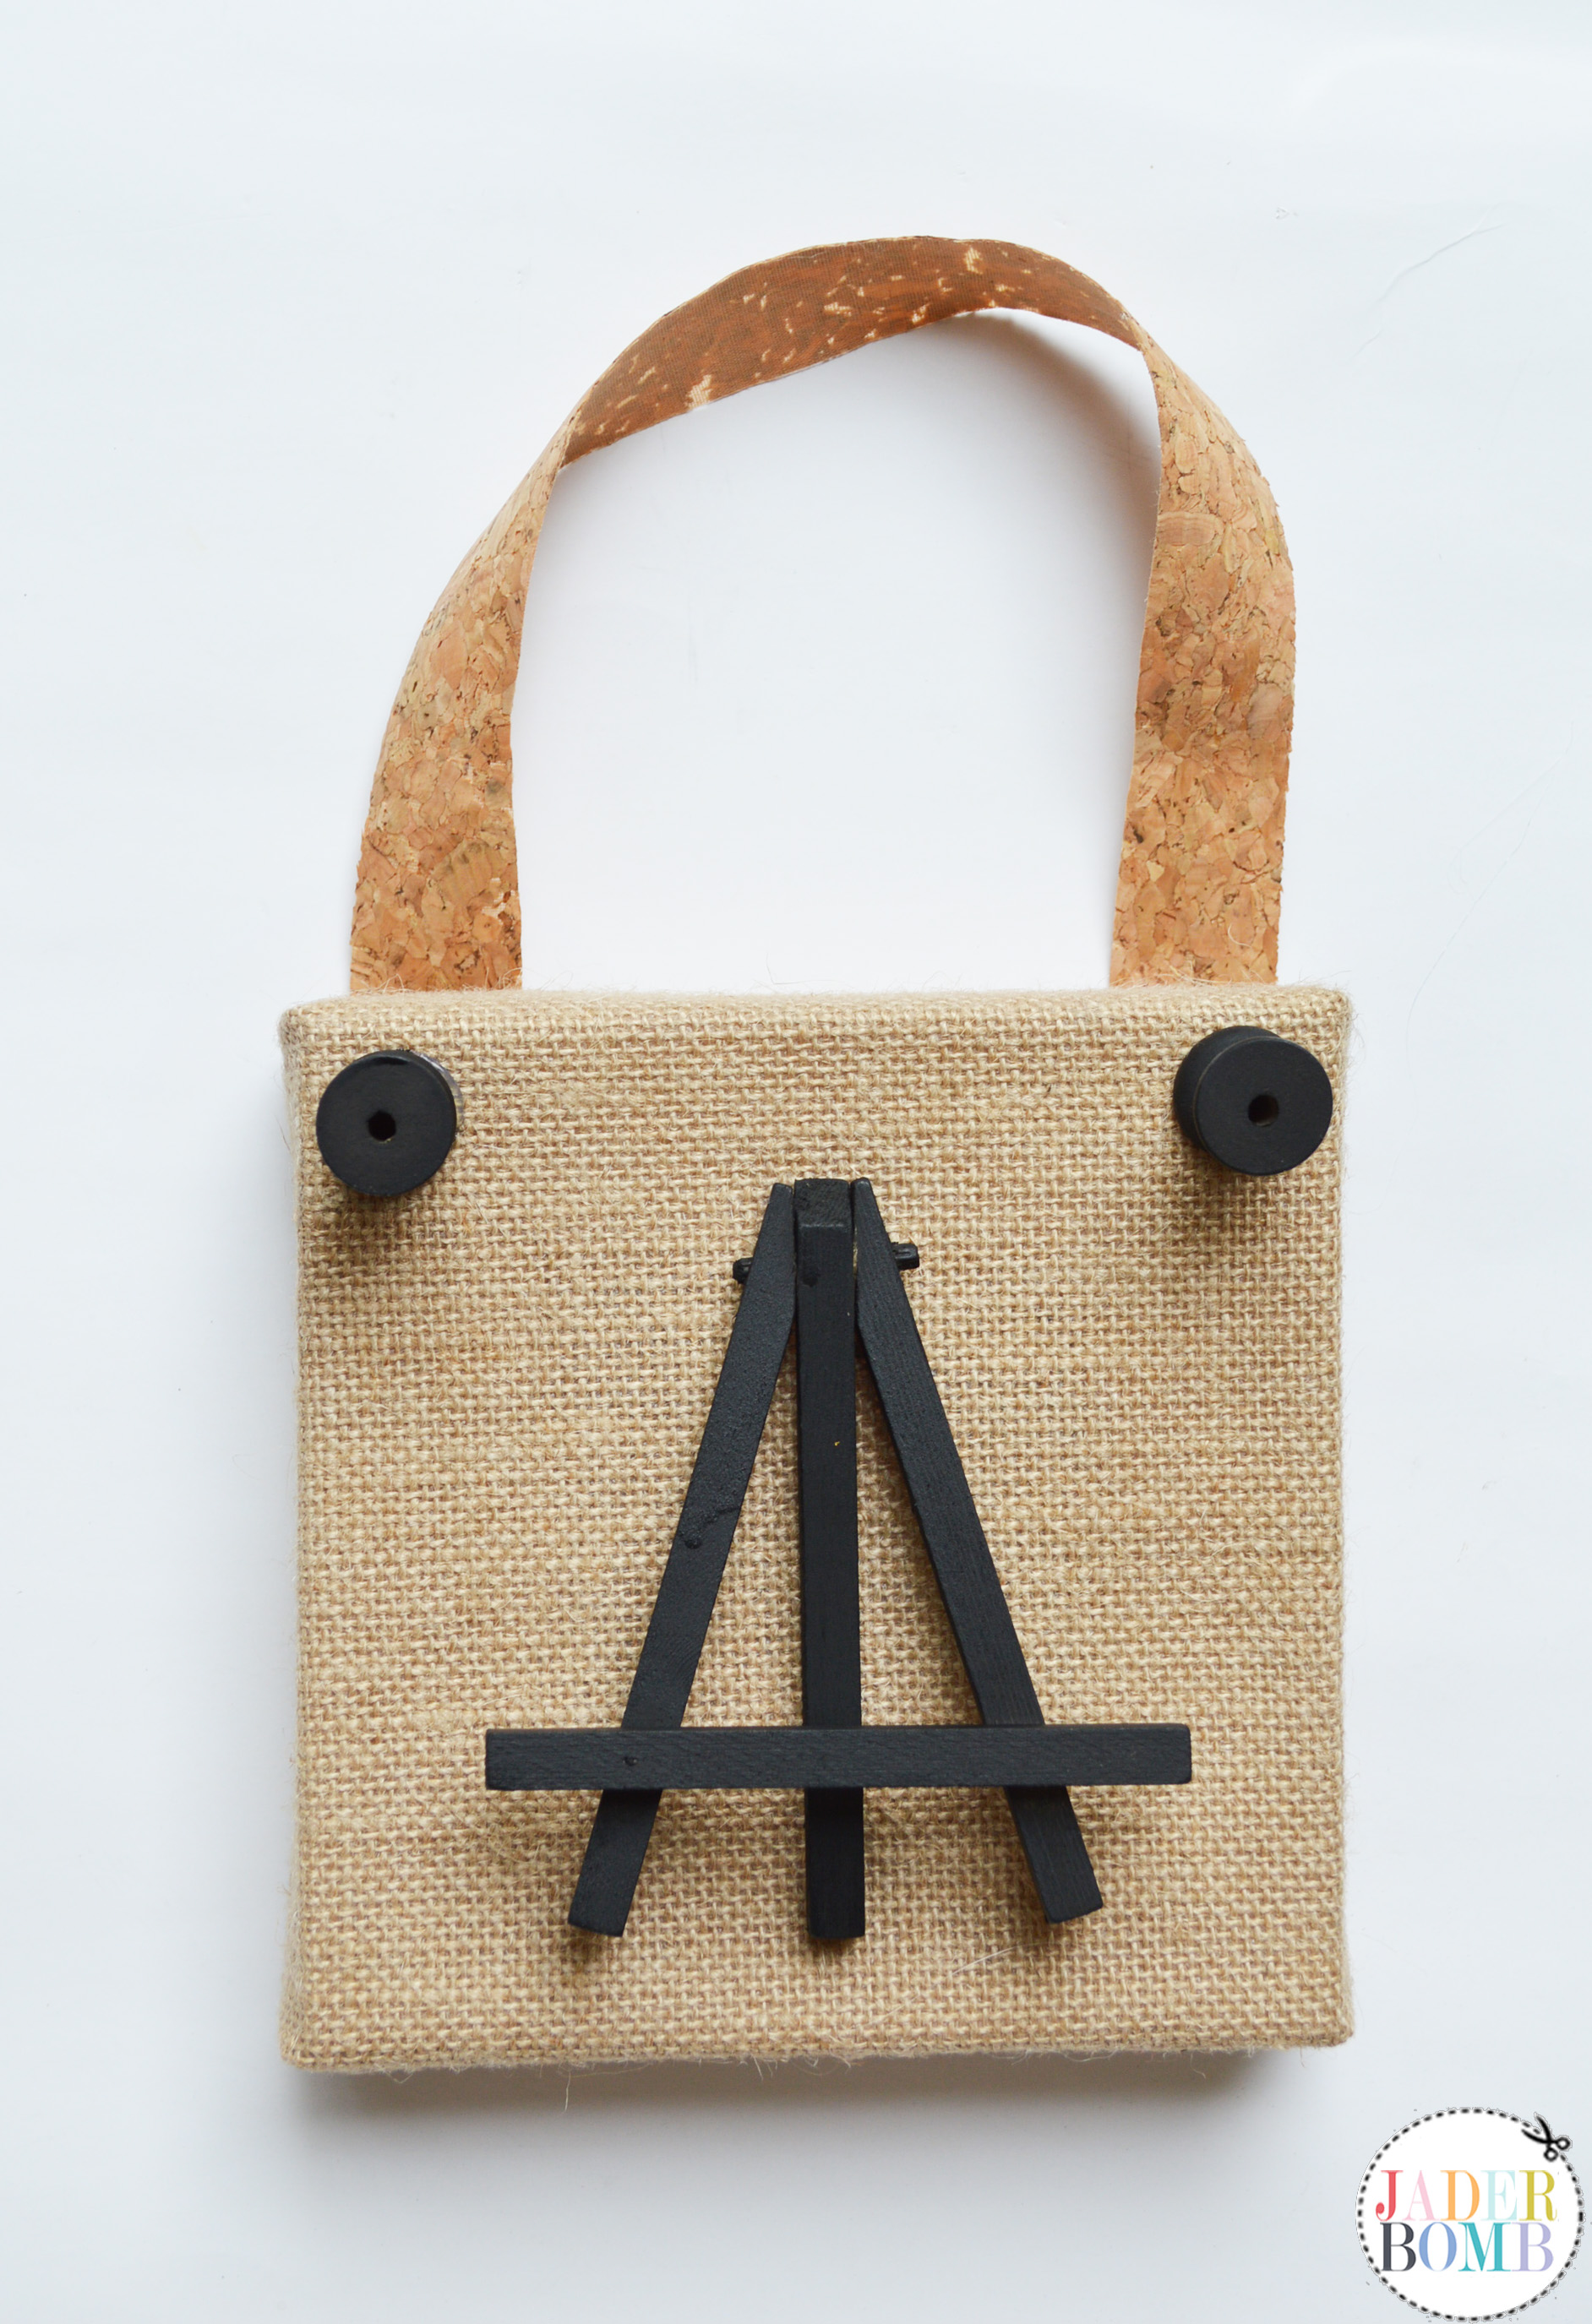
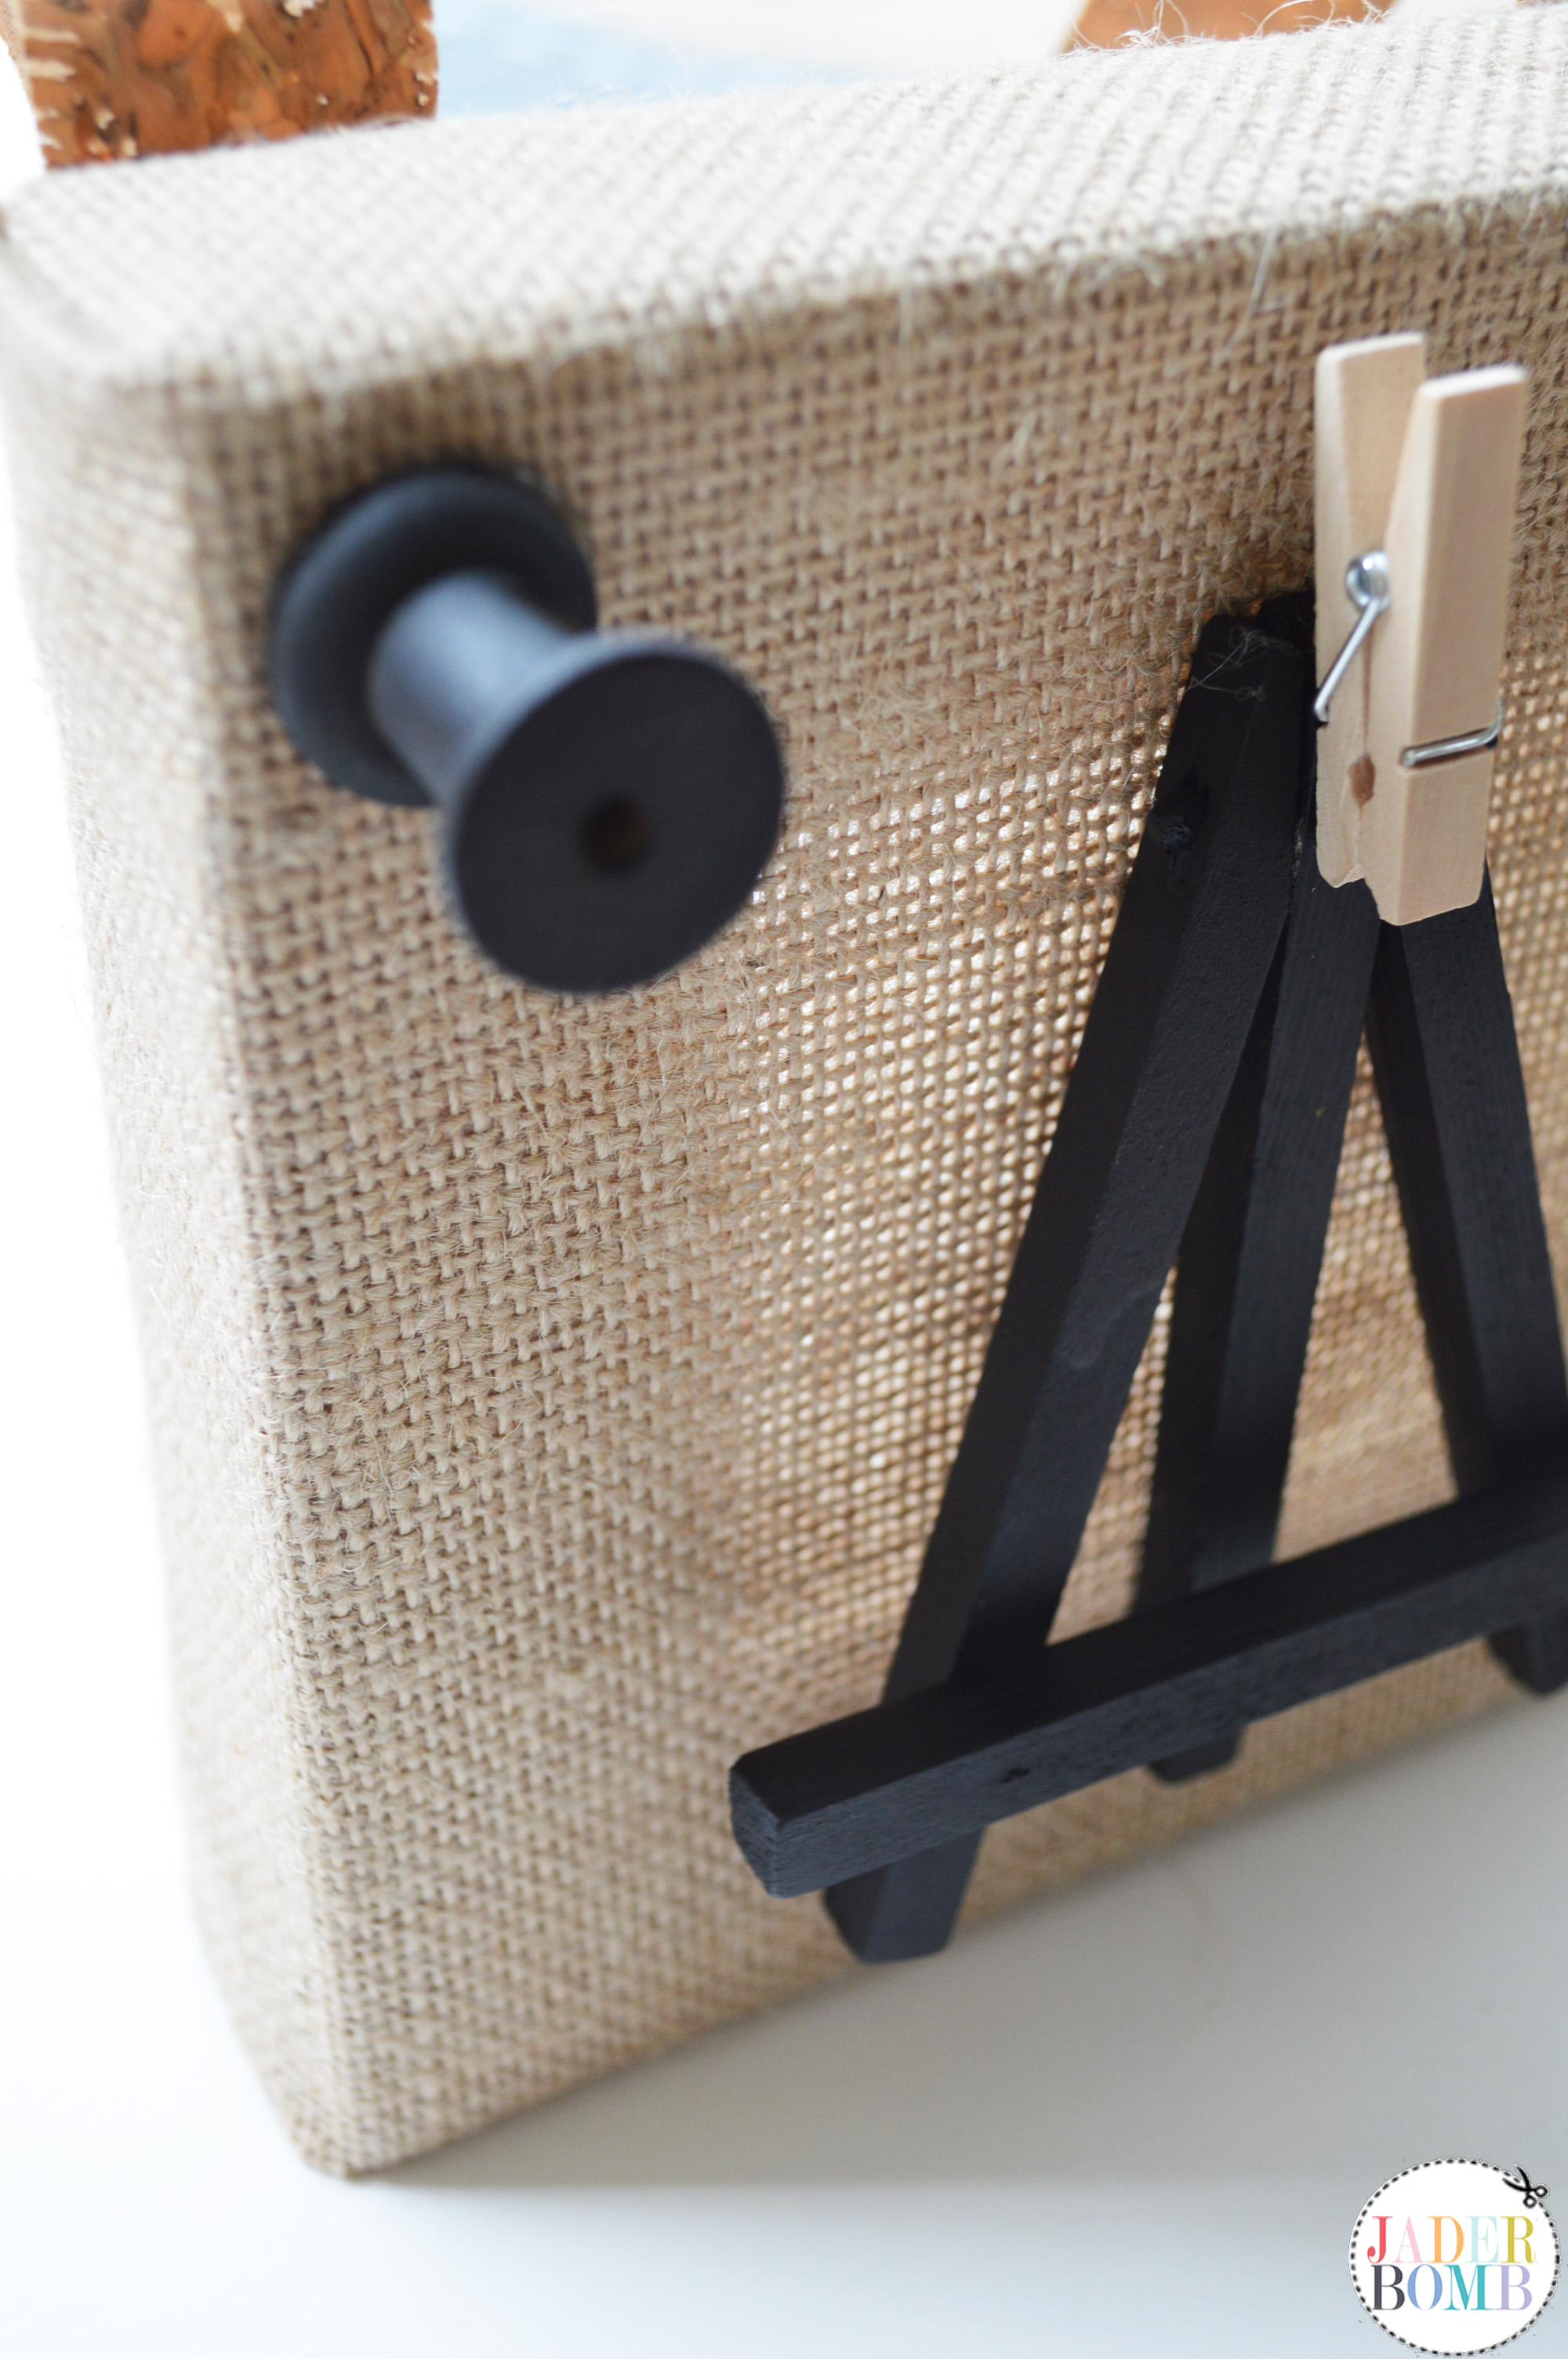
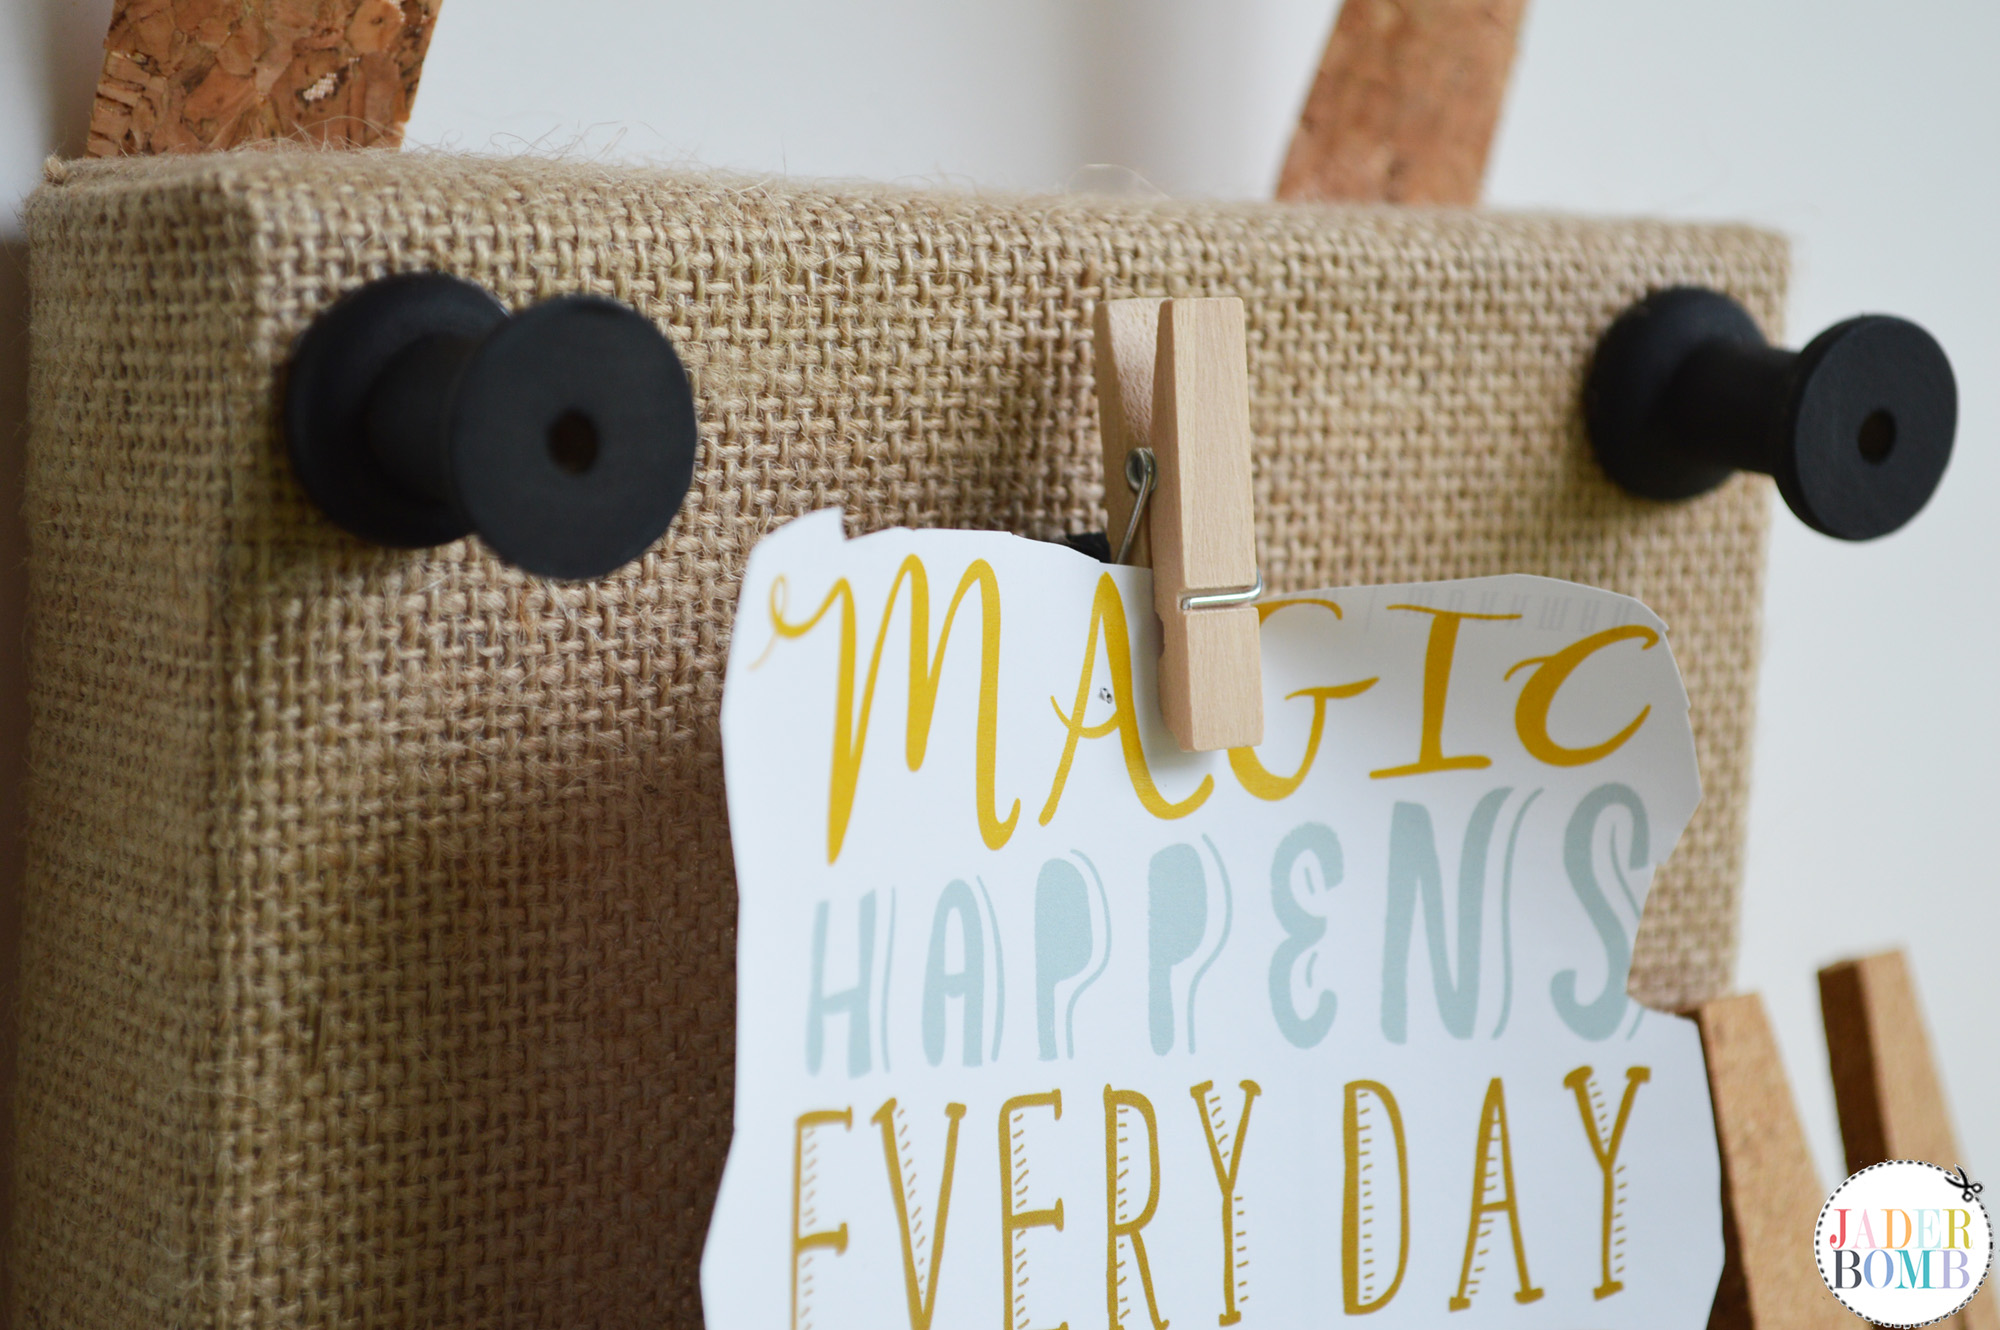
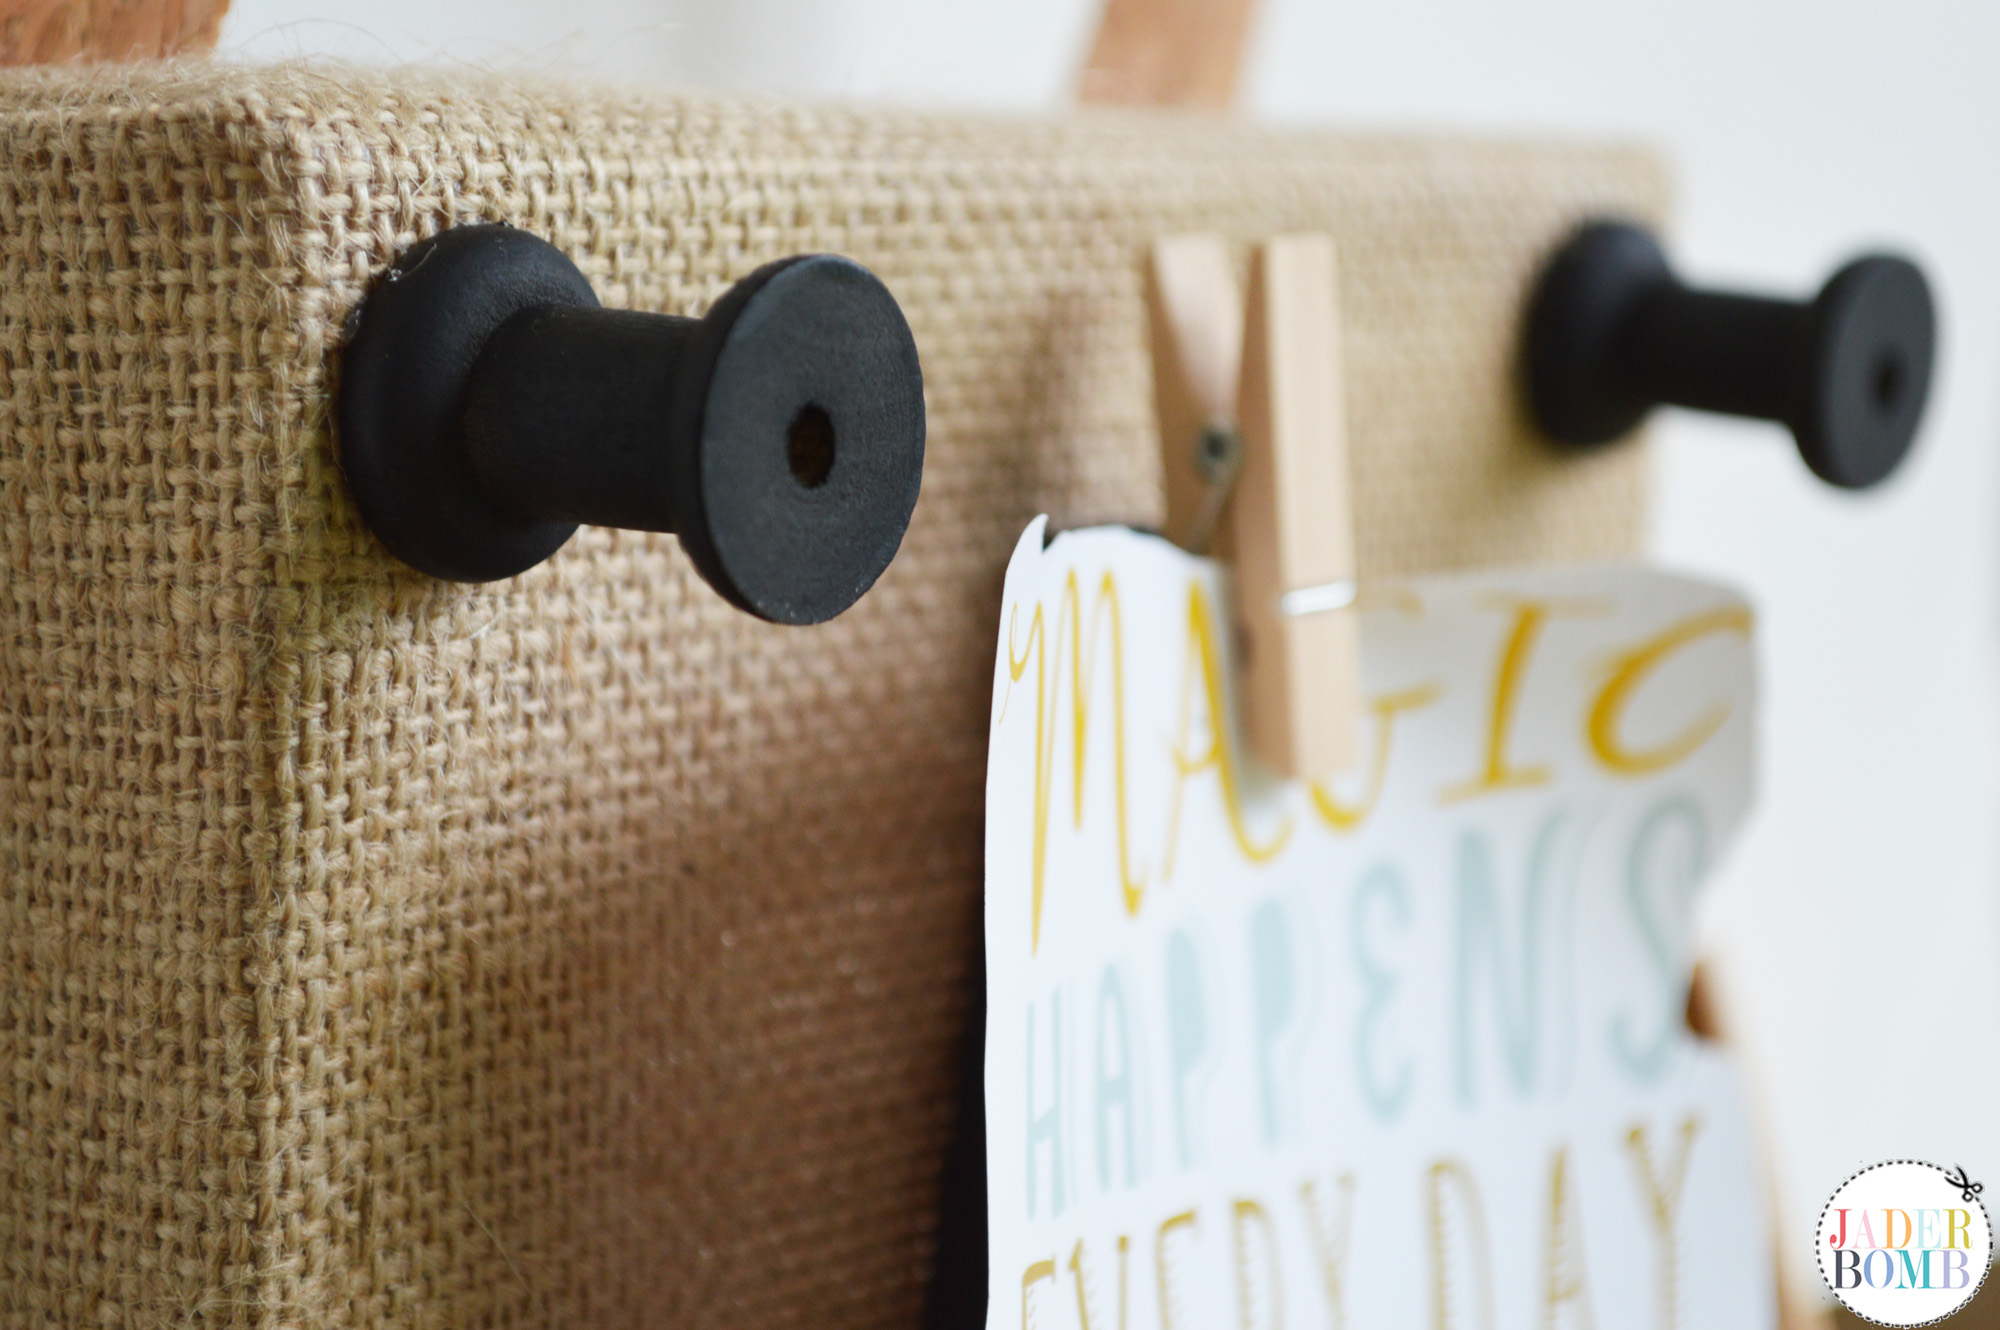
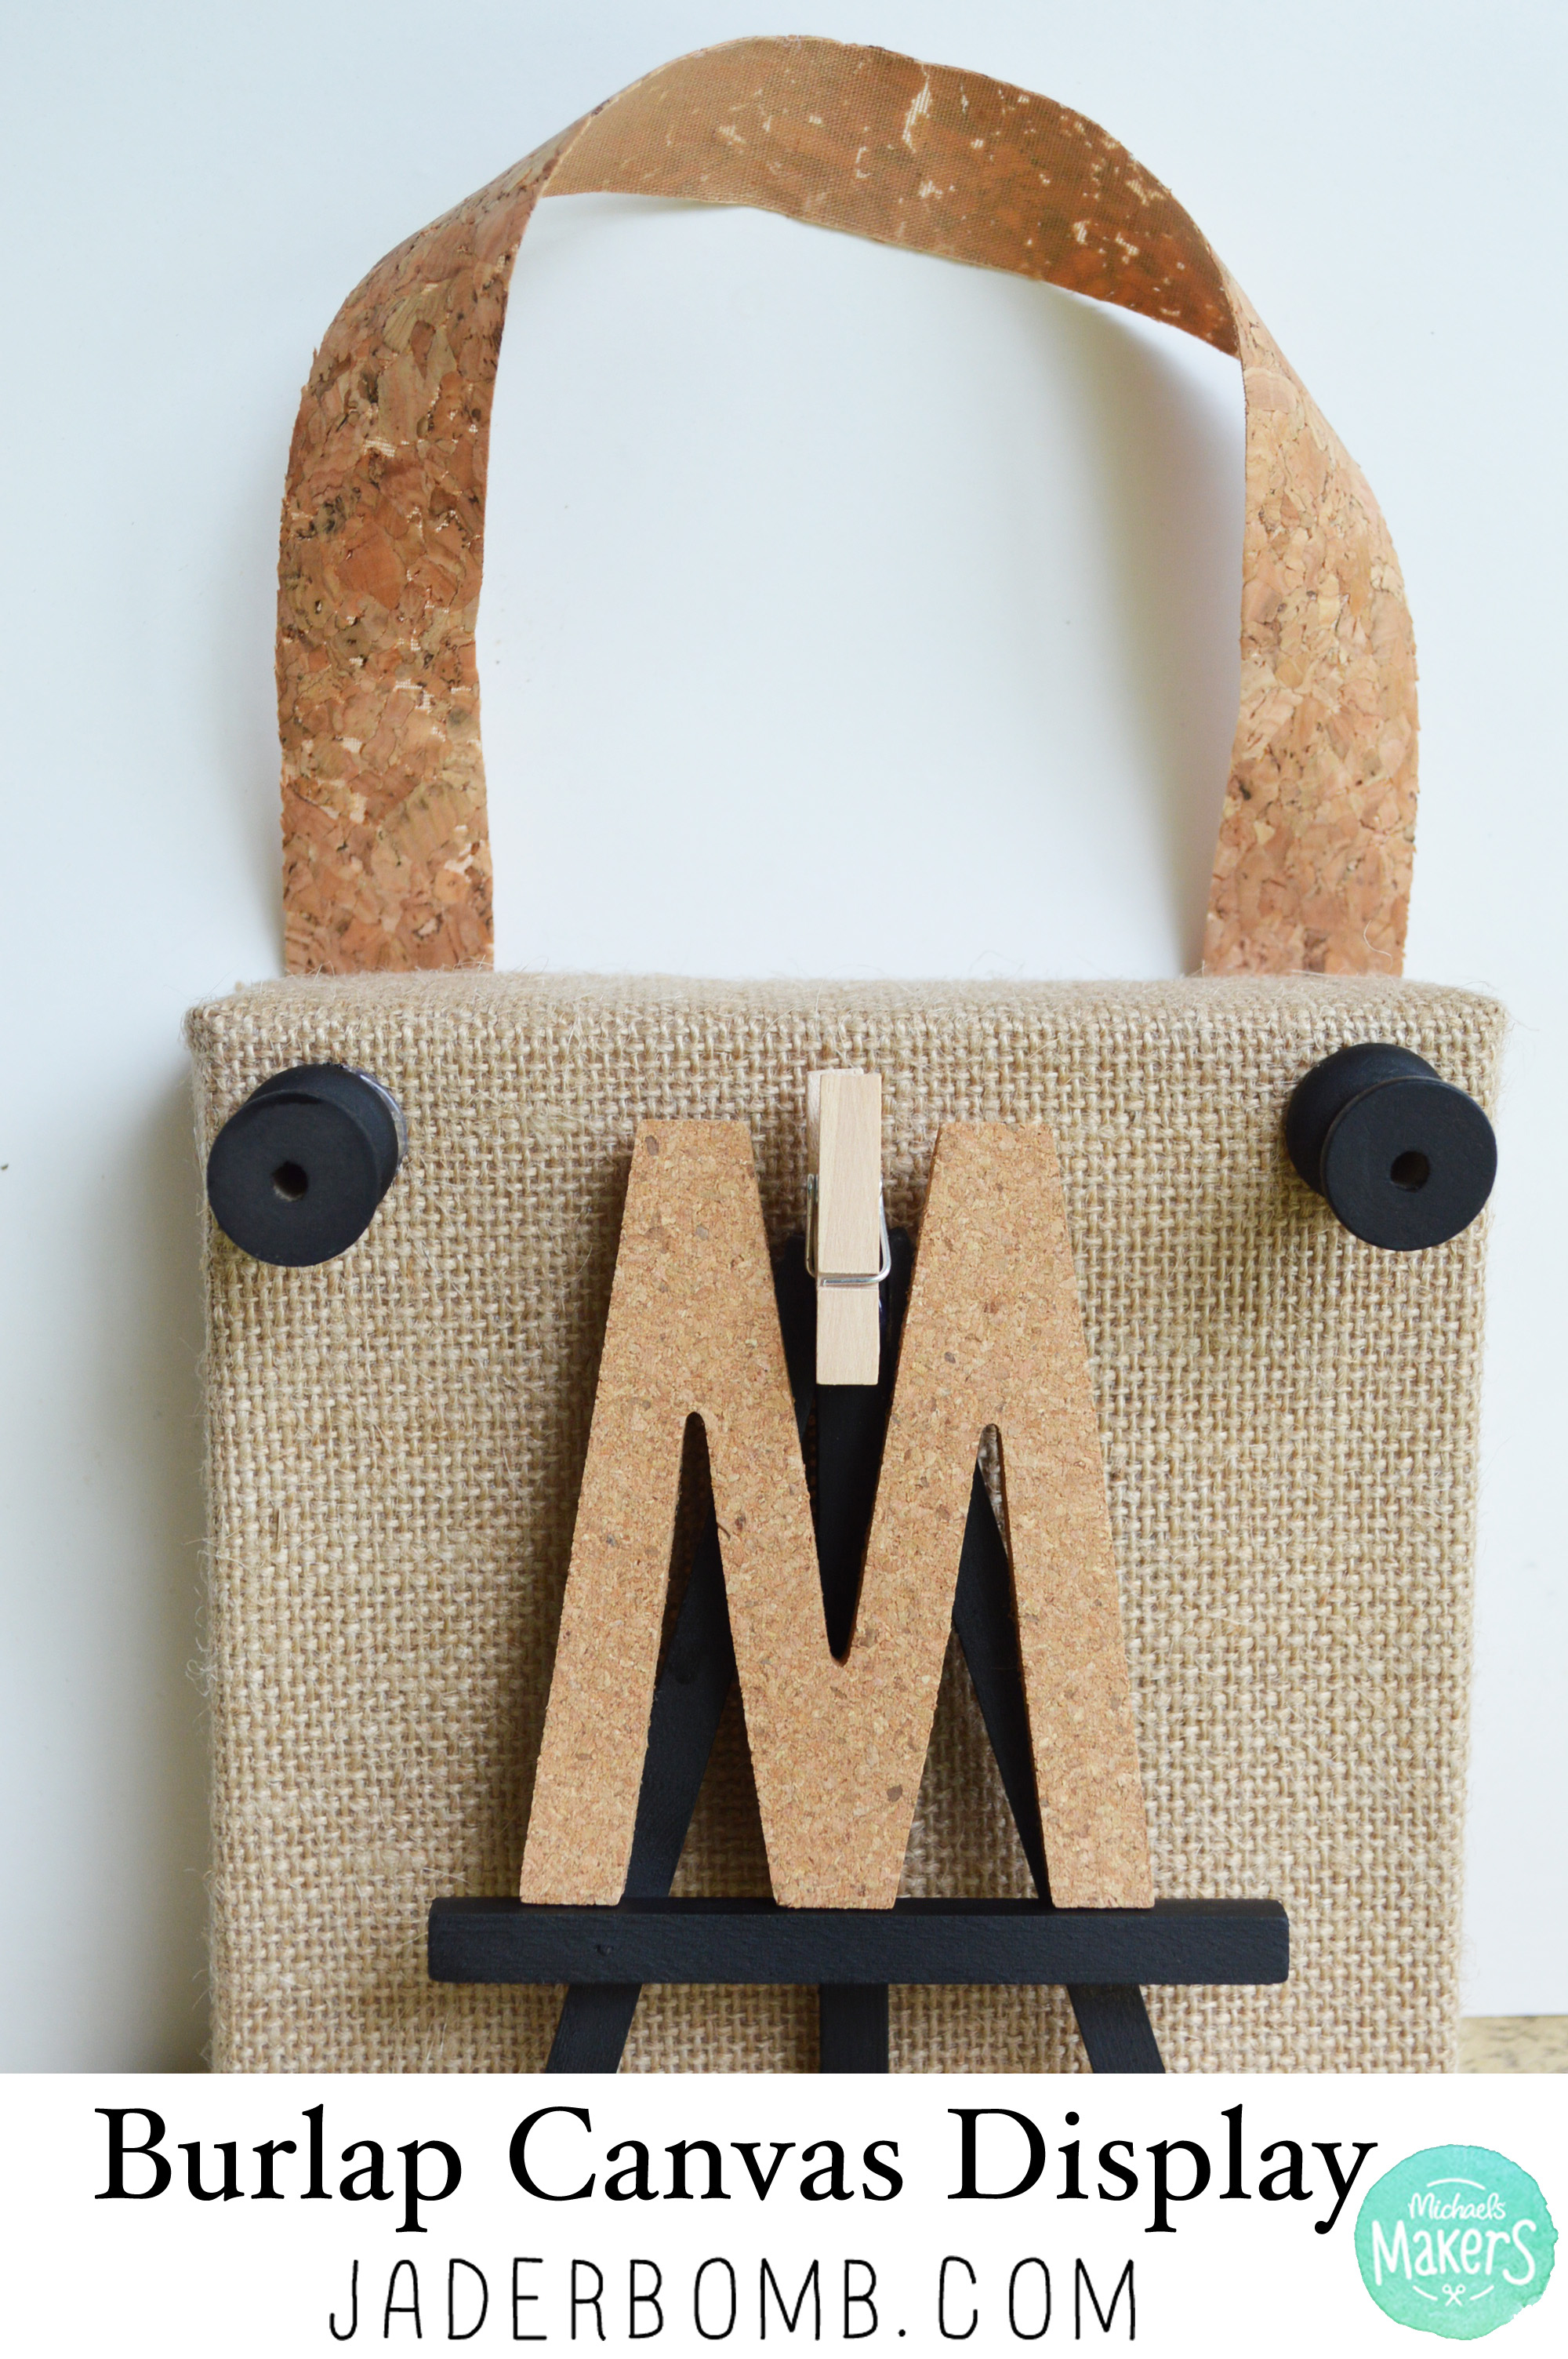
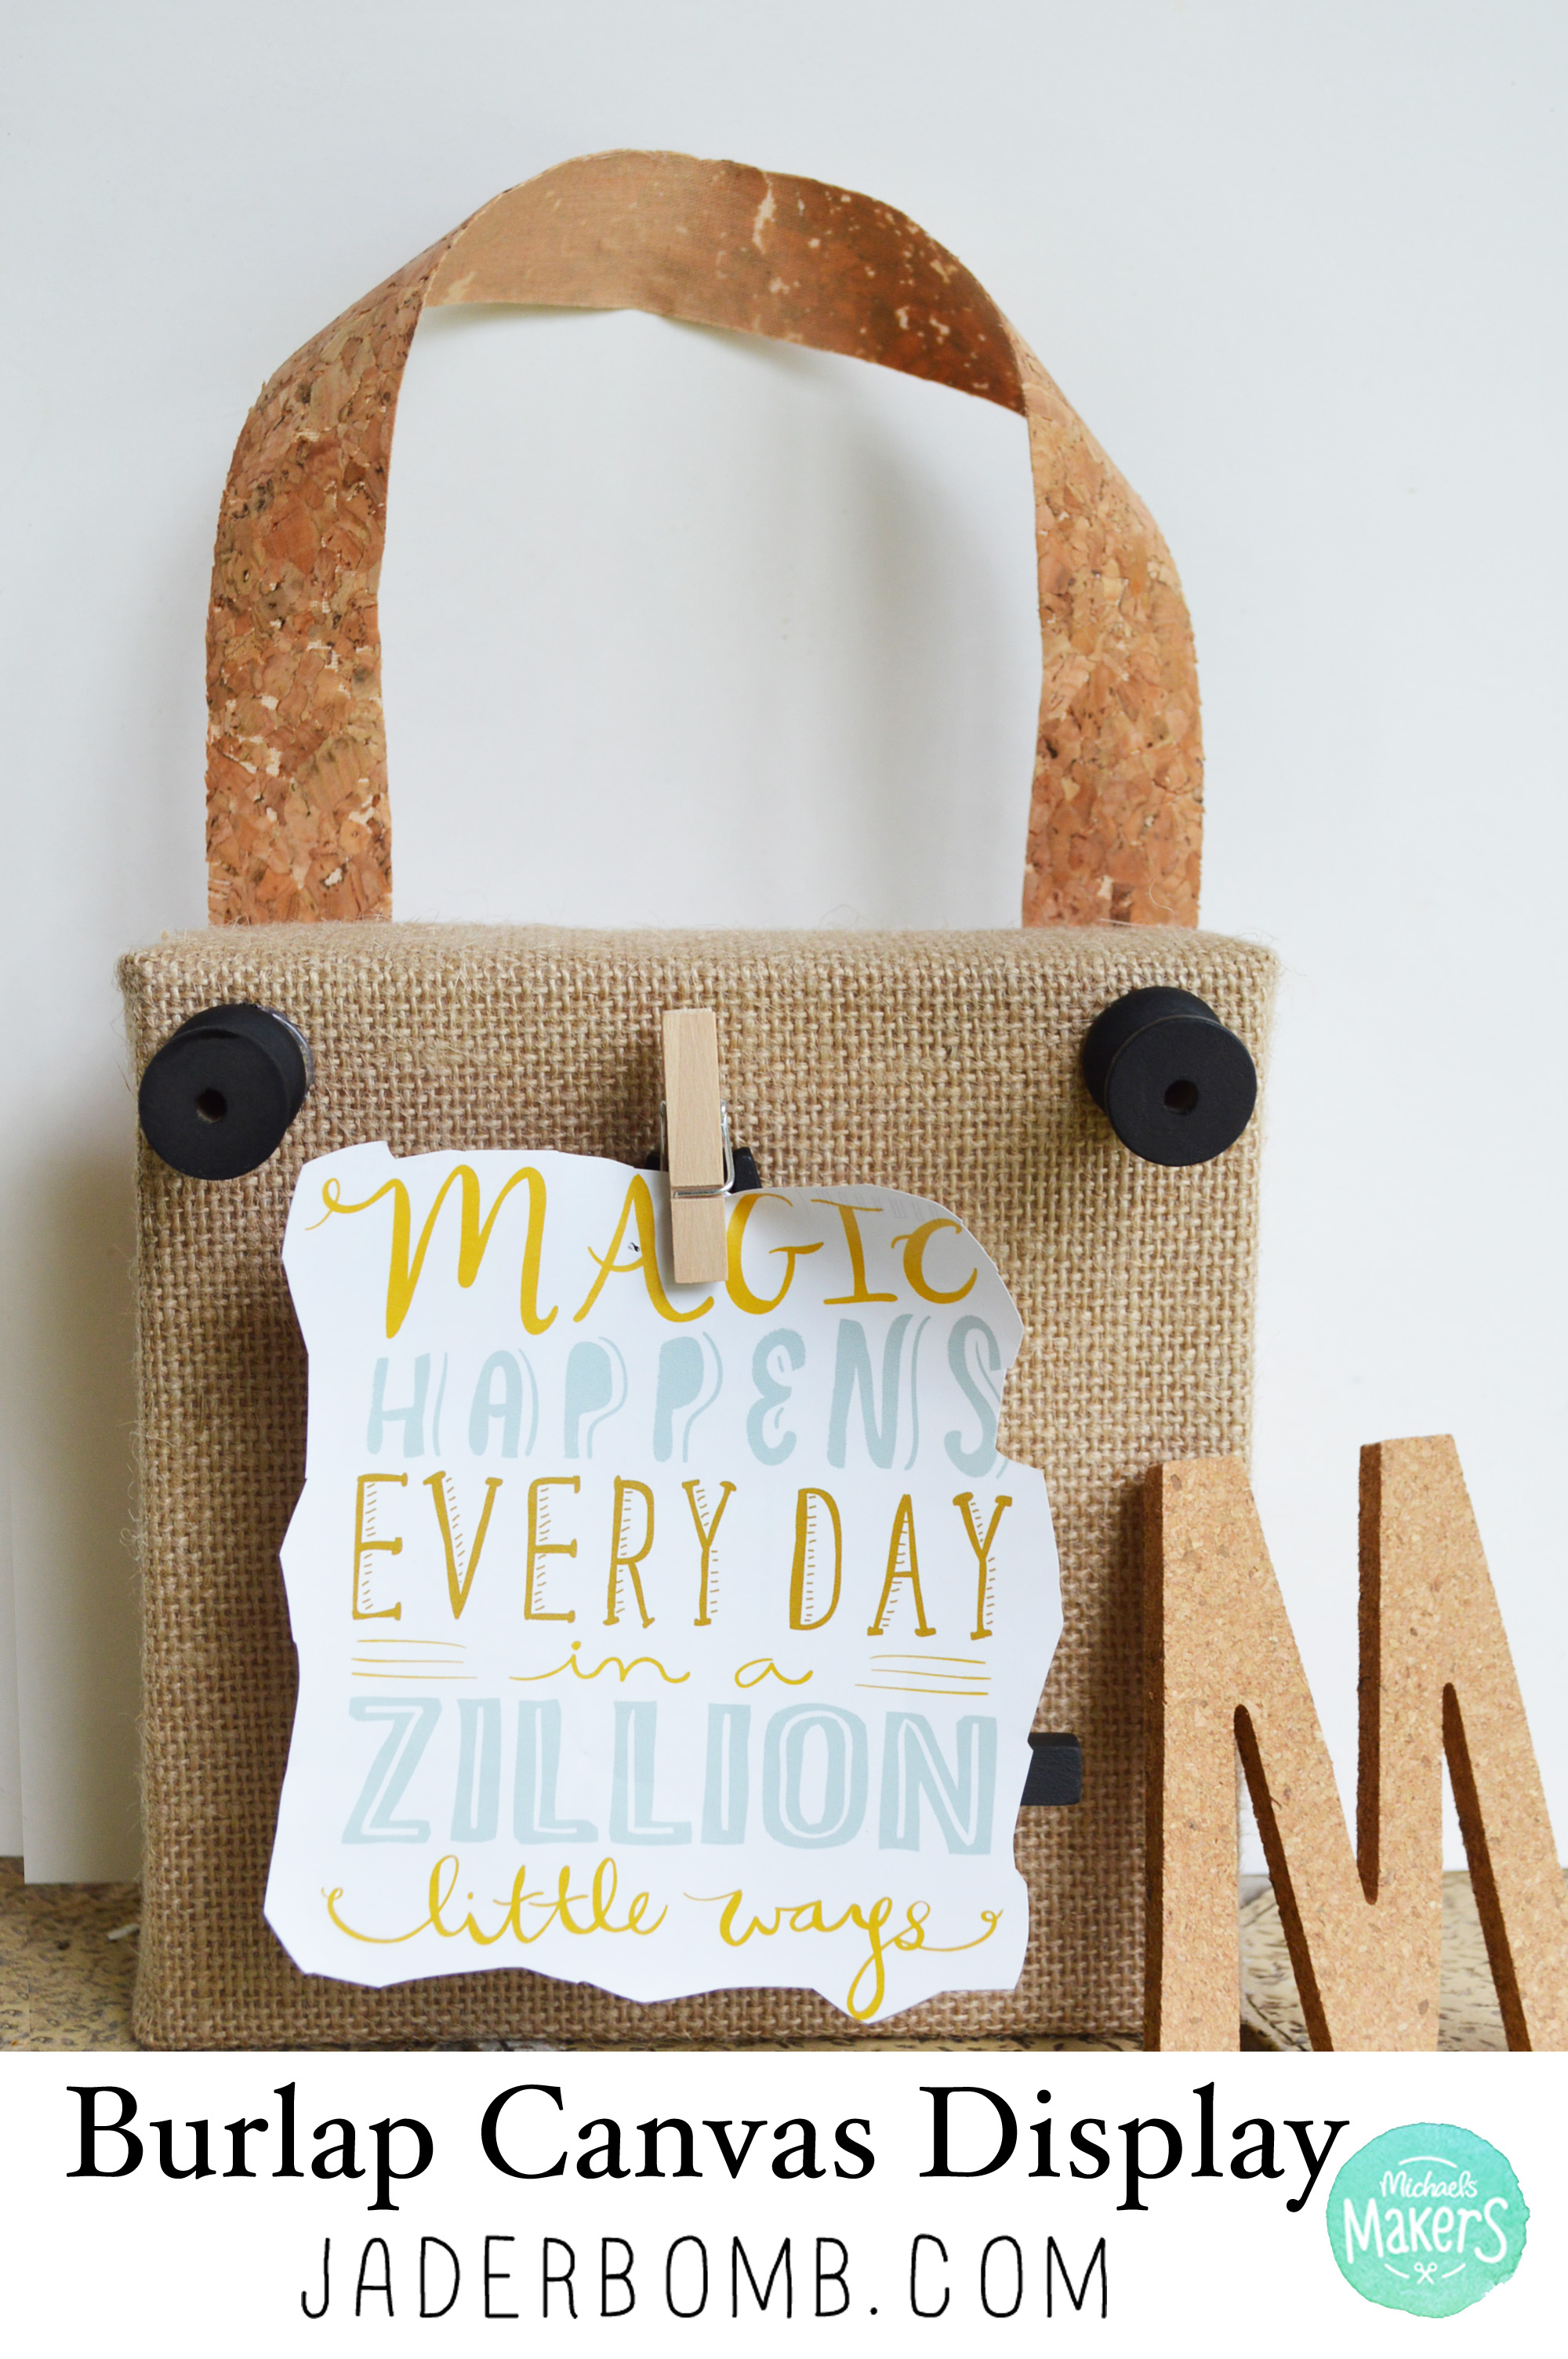 As part of the Michael’s Makers team I will be creating crafty challenges each month. The challenge this month was to choose a product from the raw bar and and I chose the burlap stretched canvas to create a Burlap Canvas Display.
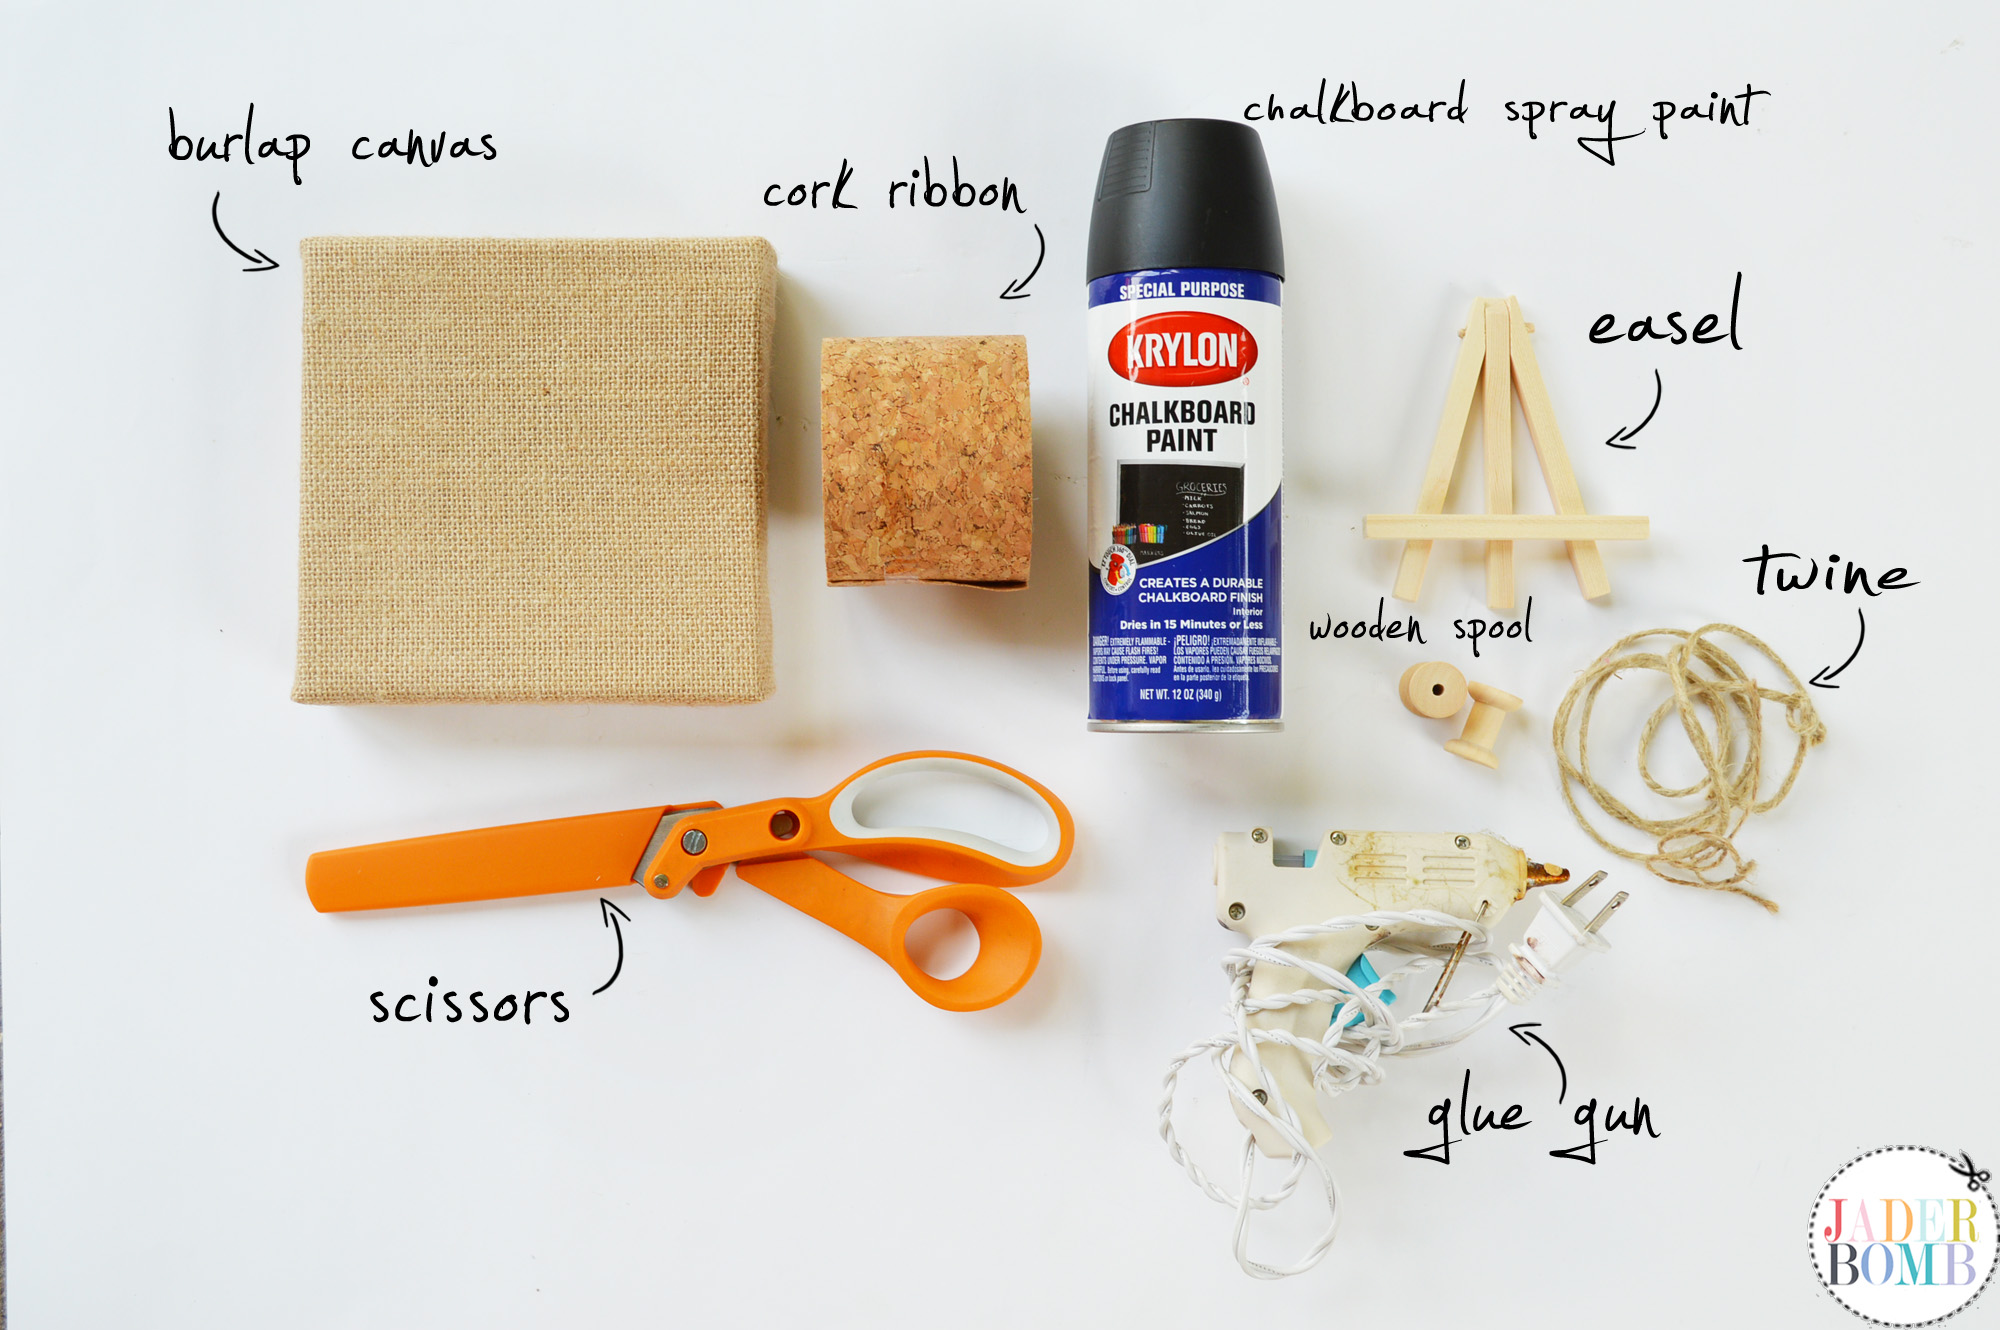
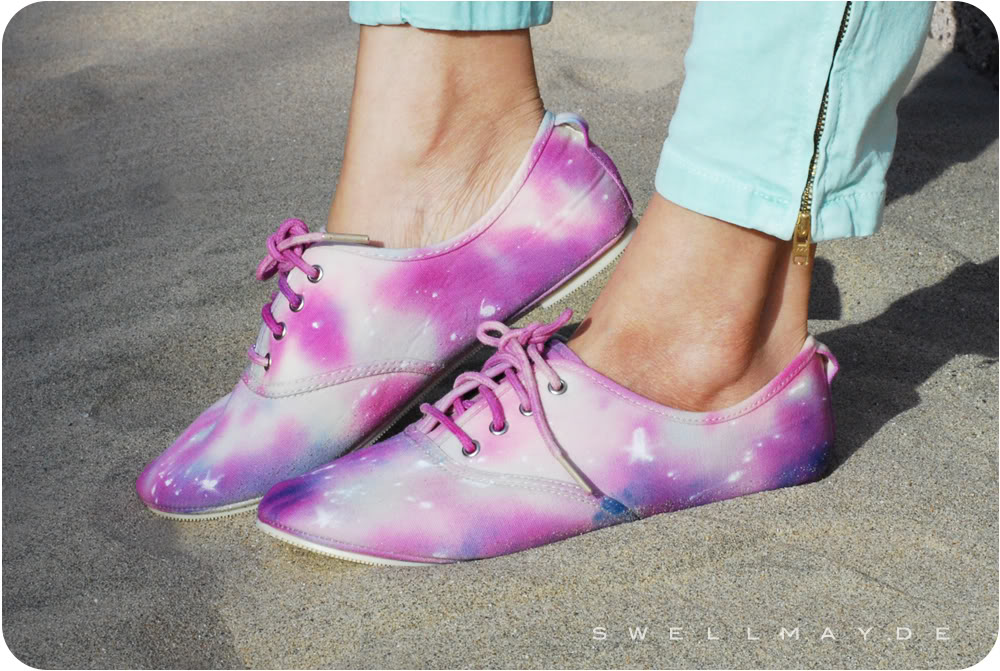
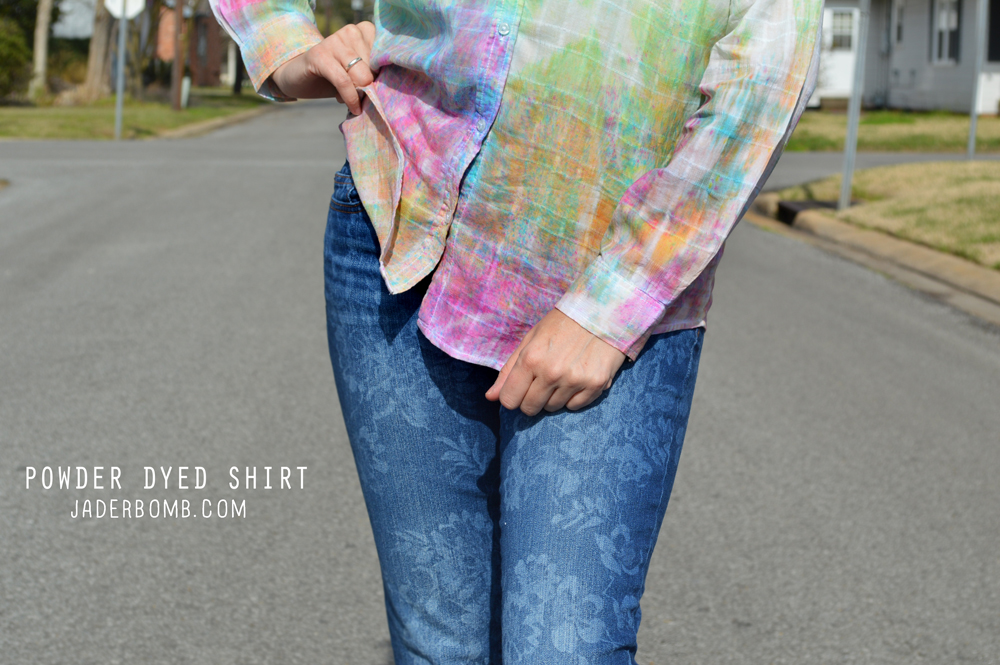 1. Spice up your wardrobe with this
 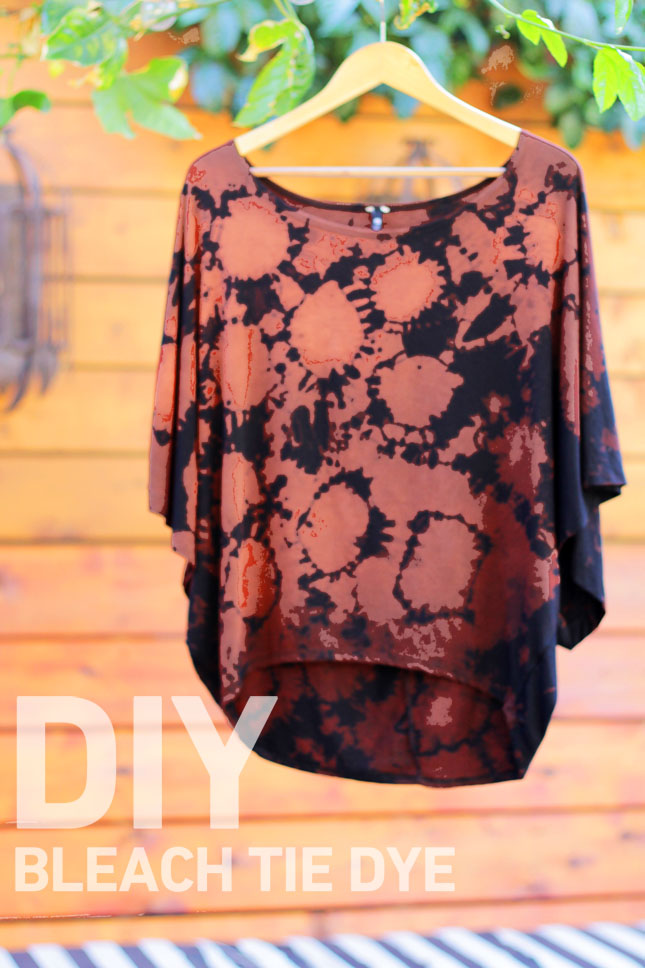 2. This shirt would look fabulous with a pair of leggings or some skinny leg jeans.
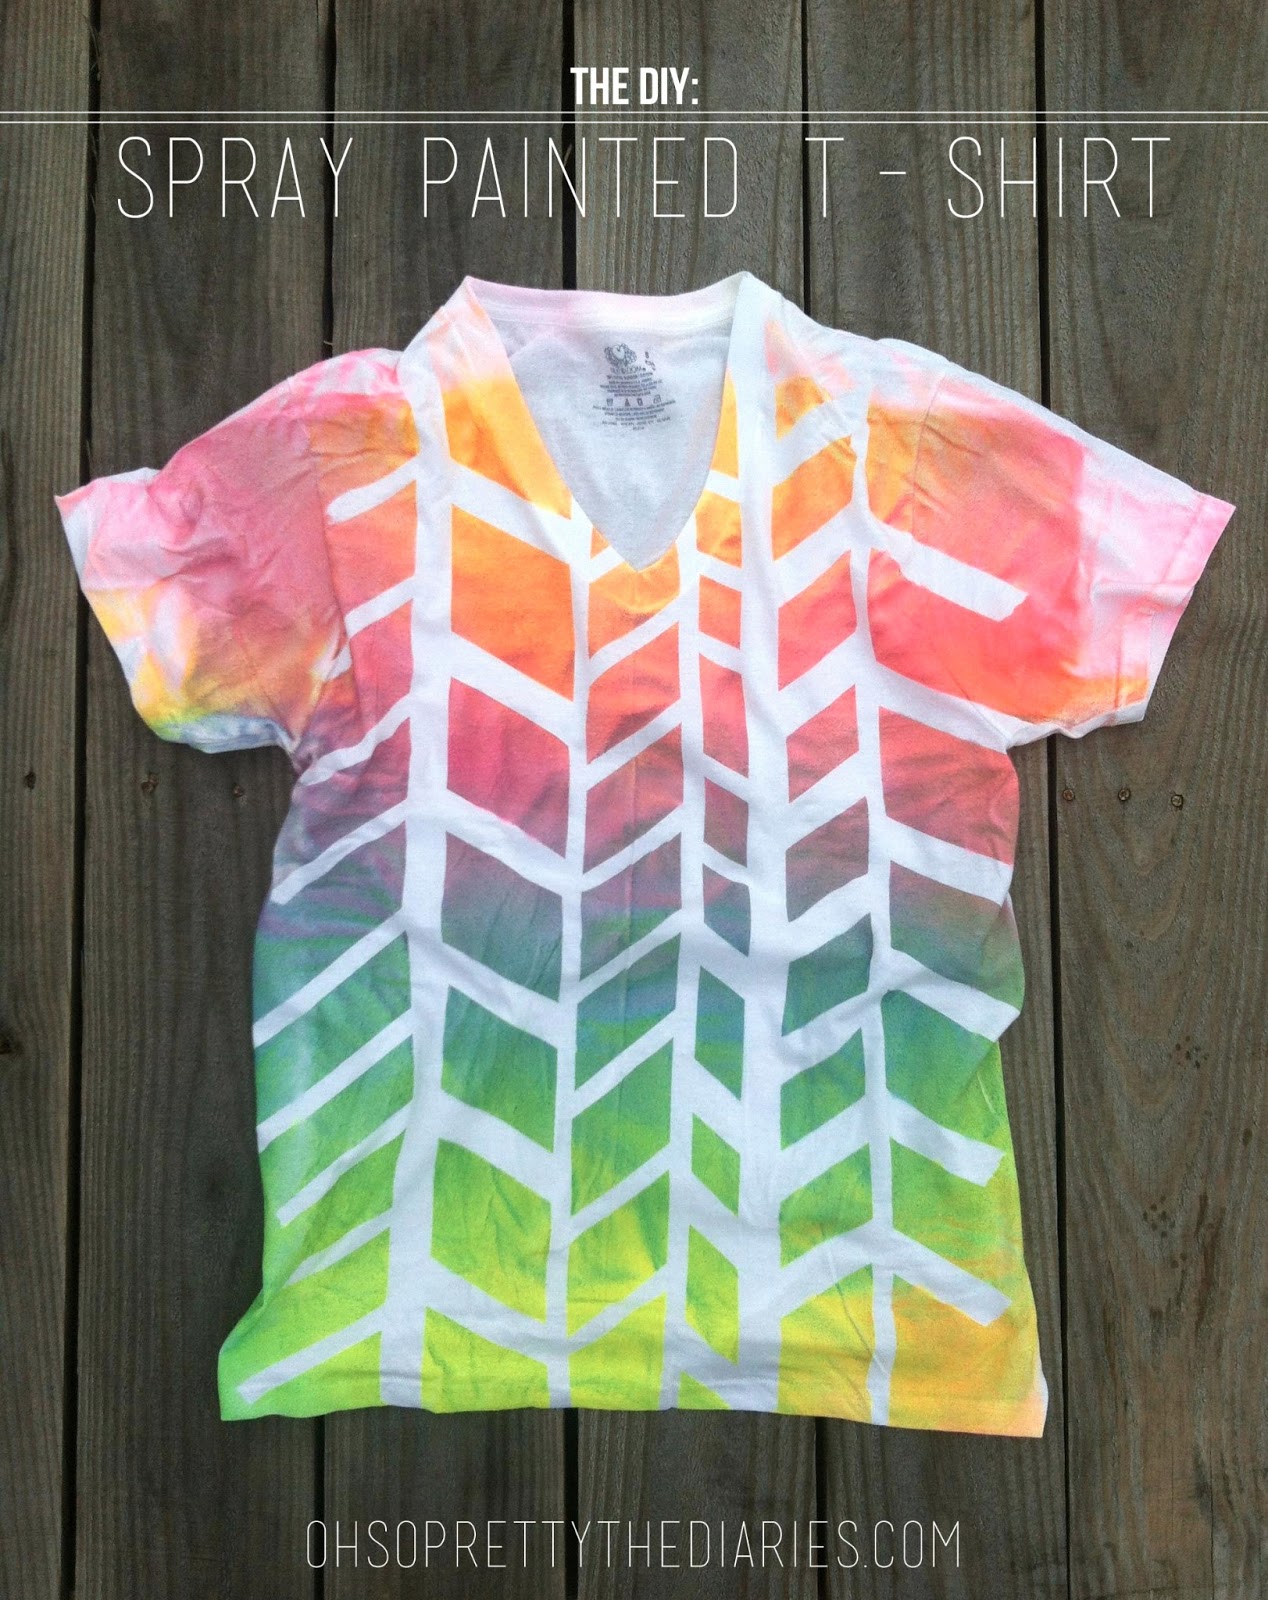
 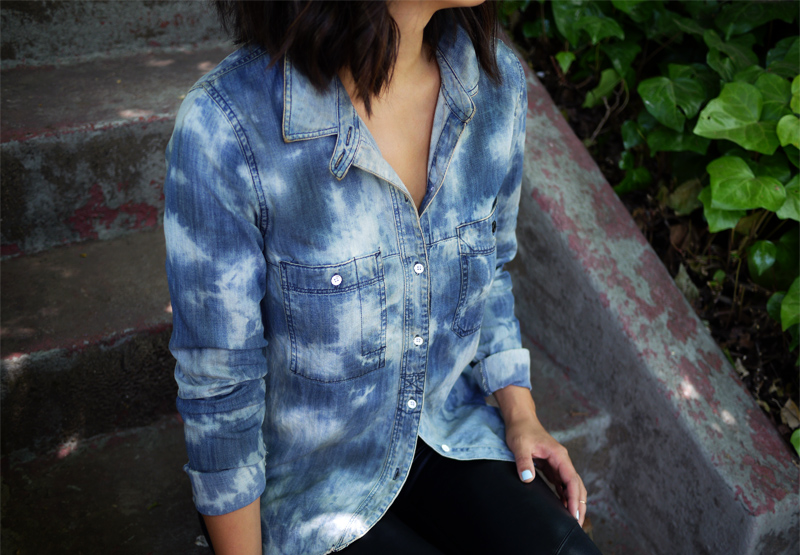 3. Why be boring when you can sport a
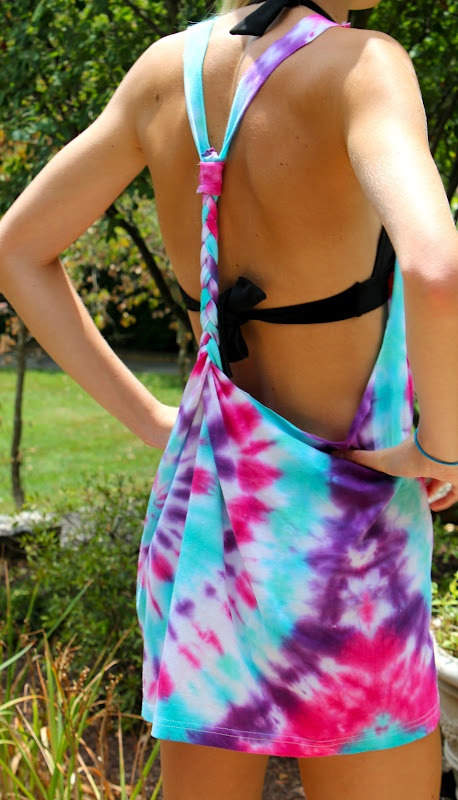
 5. These
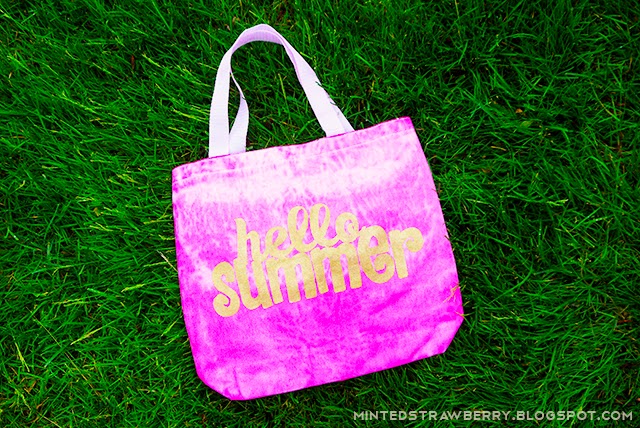
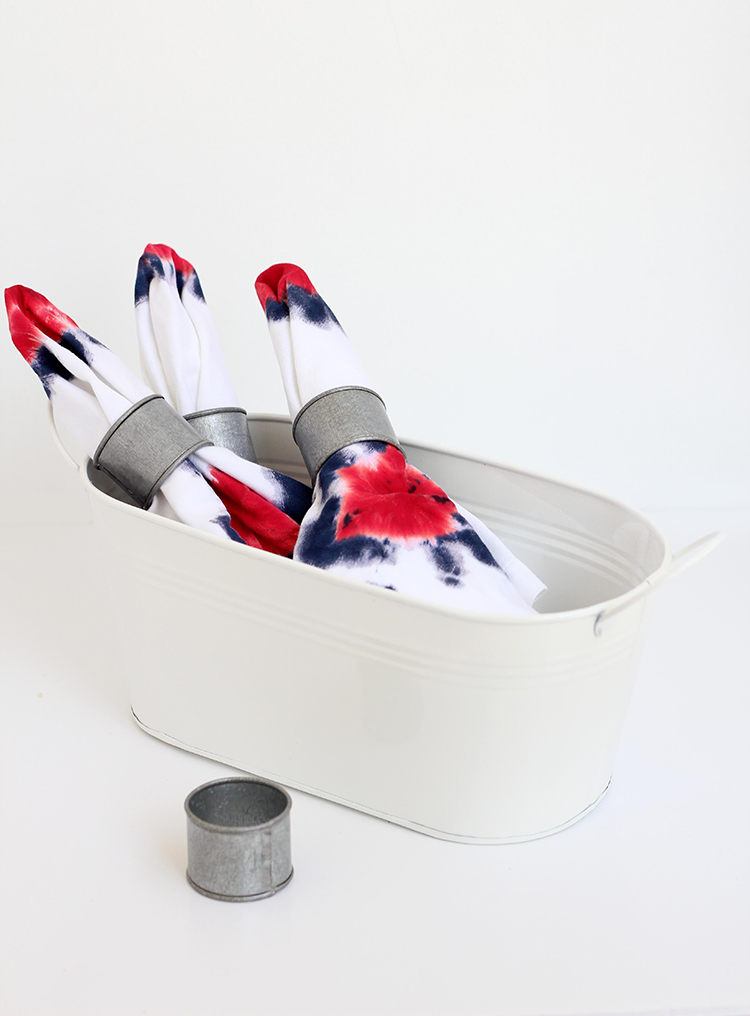
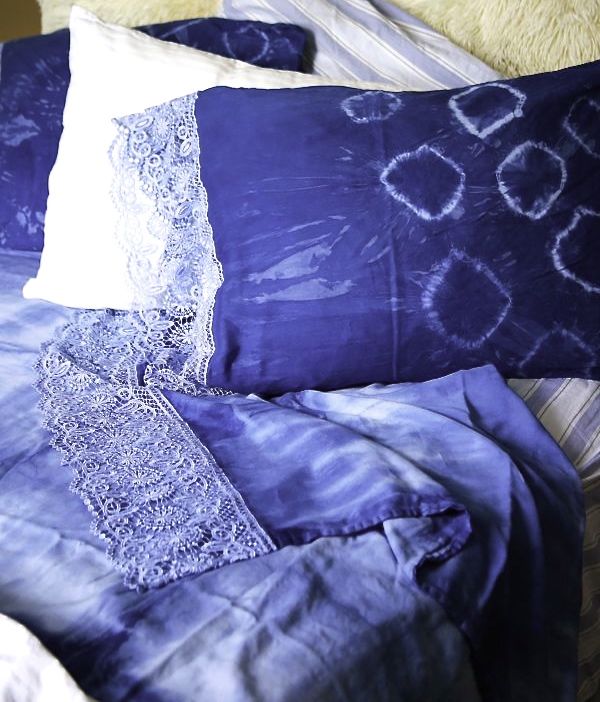
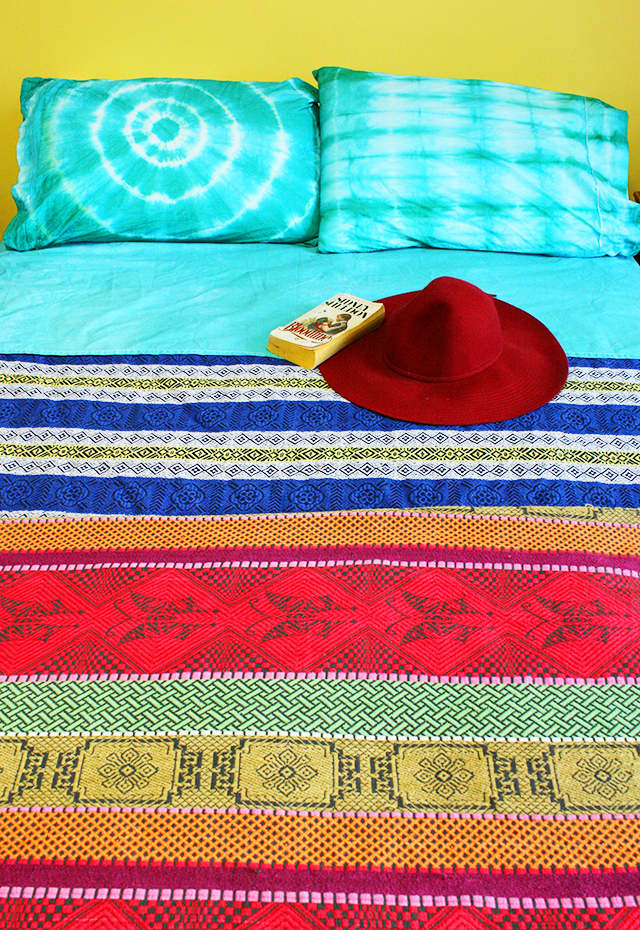
 7. Whether you are filling in space on your walls, looking for that perfect gift or just in the mood to craft then these
 9. Why shop in the store when you can make your own
 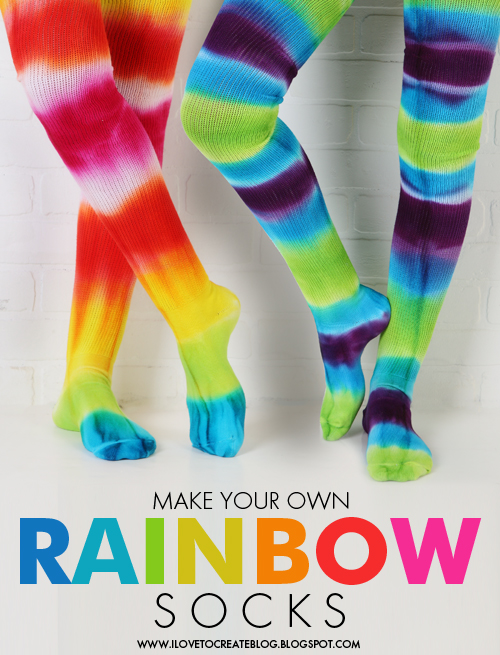 10.
10.  11. These
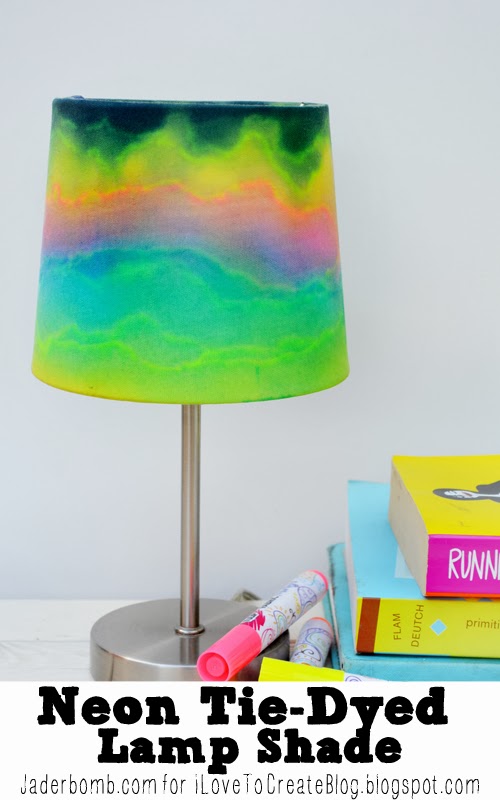
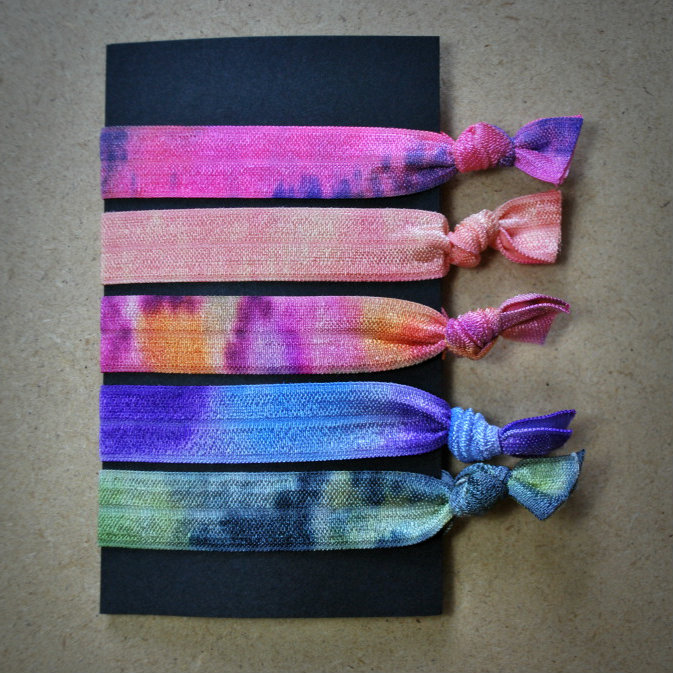 13. I love adding pops of color to my hair. These
 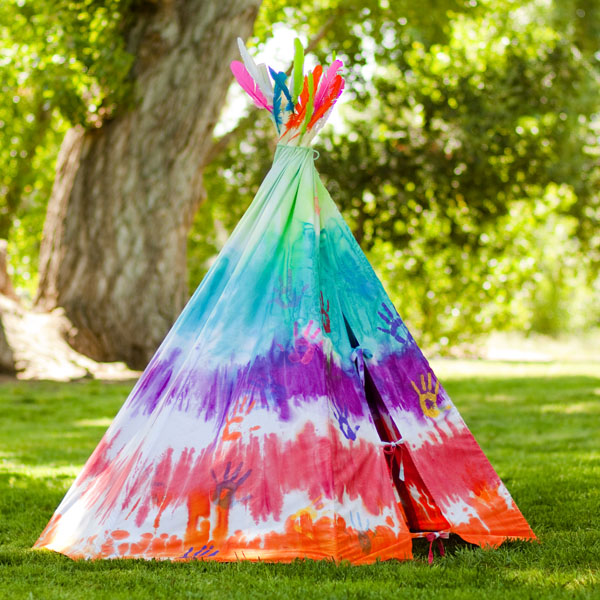 14. How amazing is this
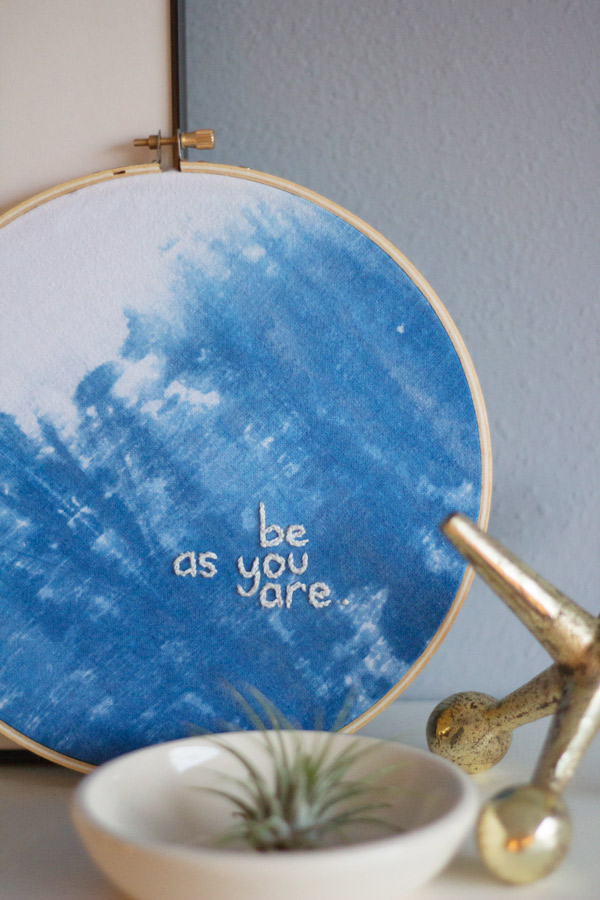
 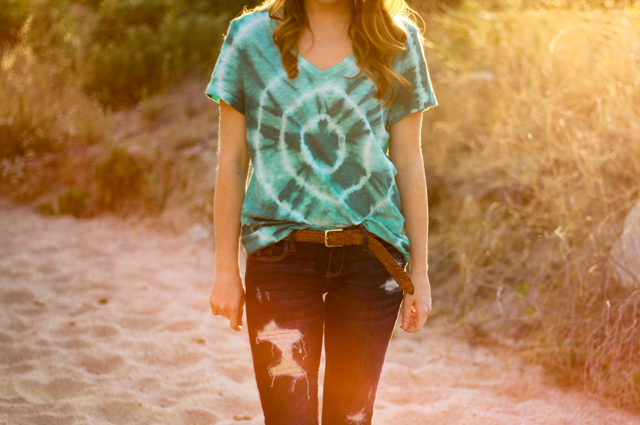 15. Learn how to make this
  16.
16. 

 20.
20.  21. This
  22. You will never walk around with a plain tote once you see how easy it is to make this
 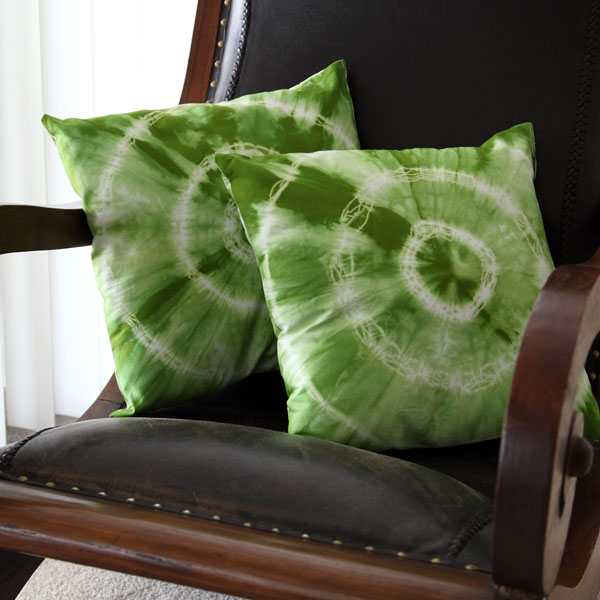 23.
23.  24. What a bold fashion statement when wearing these
 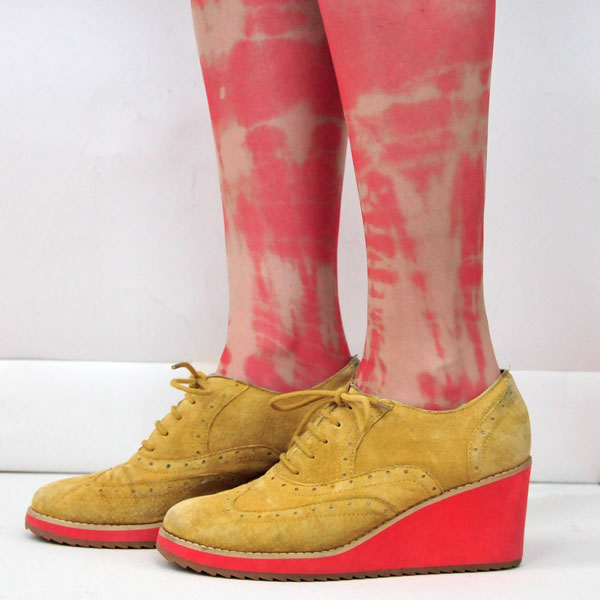 25. I promise these
 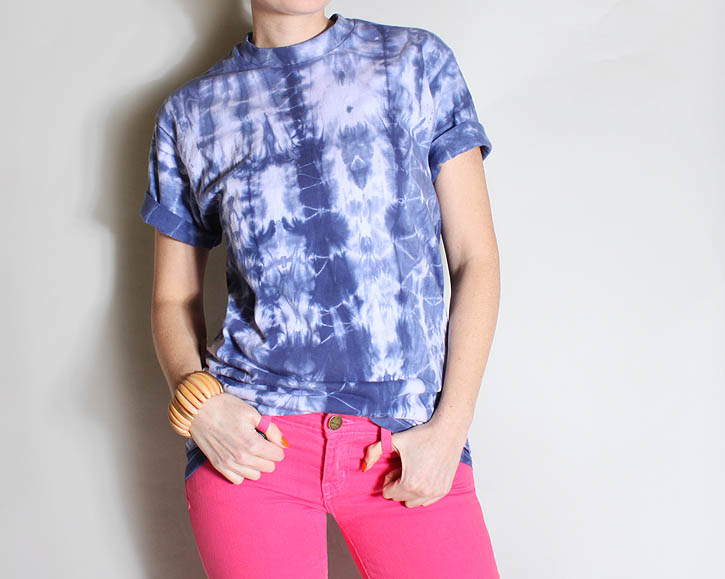 26.
26.  27.
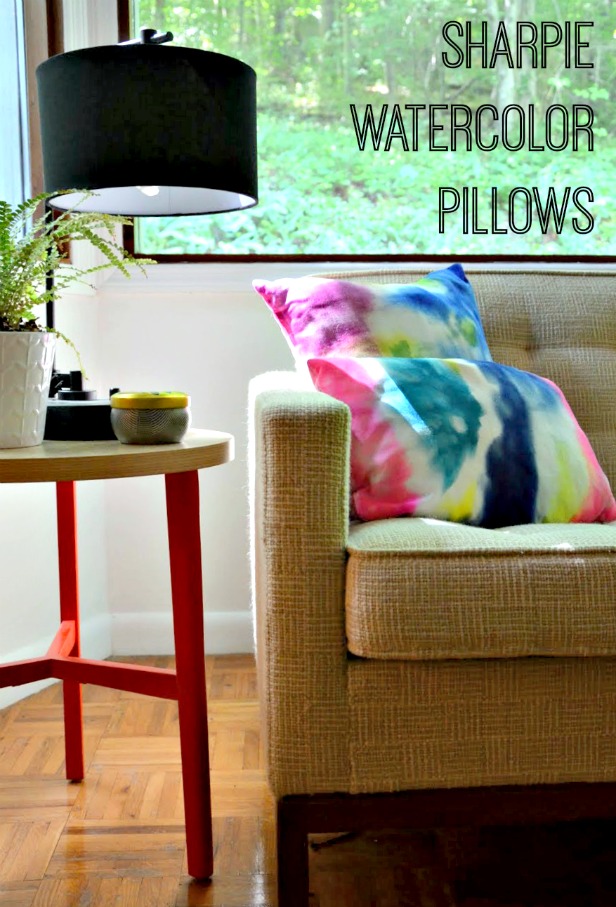
27.  28. I love that I can finally put all my sharpie markers to a good use while making a
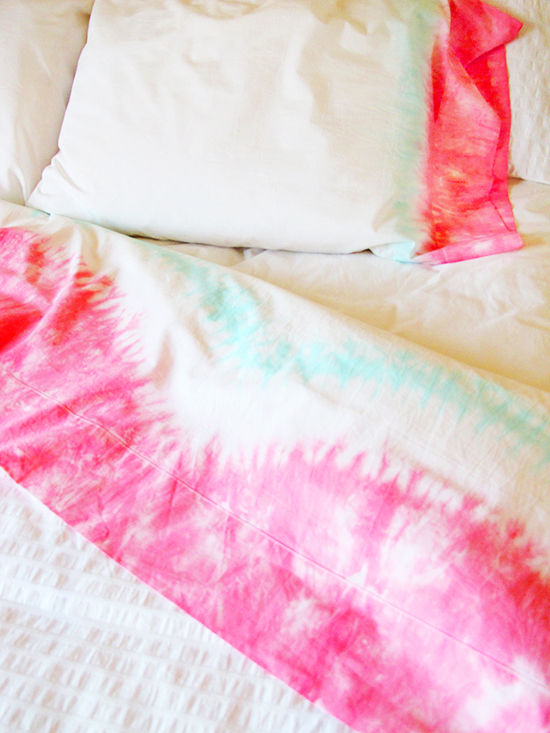
 30.
30.  31. Get creative and make a
  32. Make this
 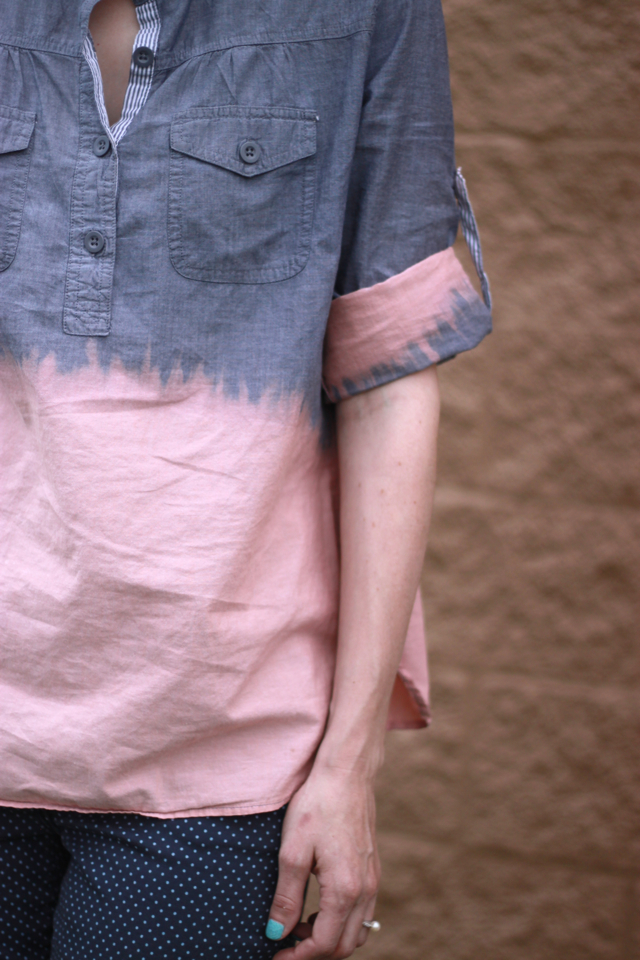 33. This
  34.
34.  35. Looking for an easy way to “
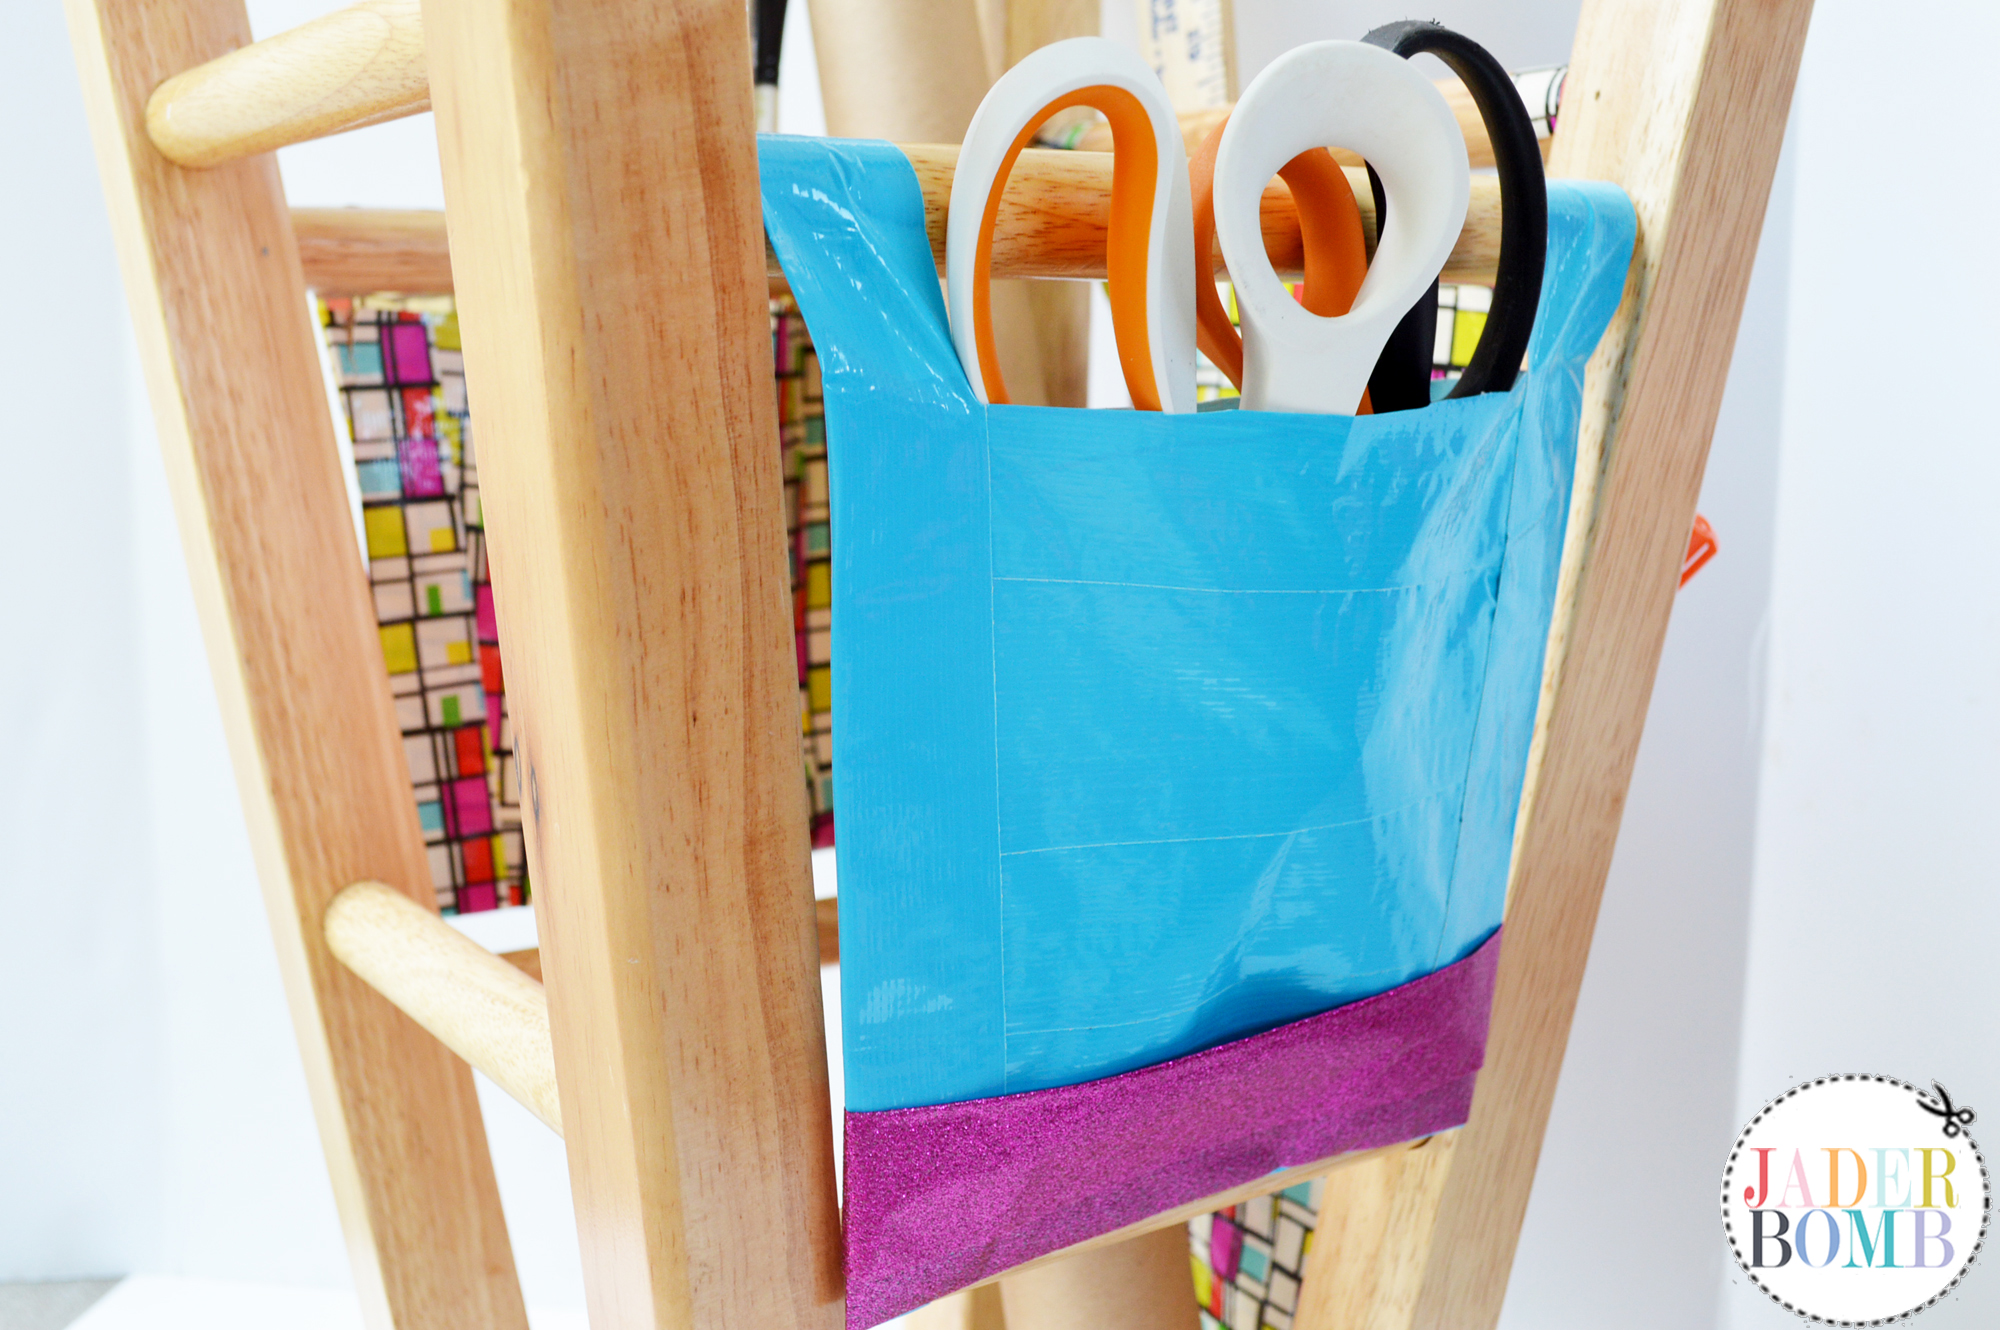
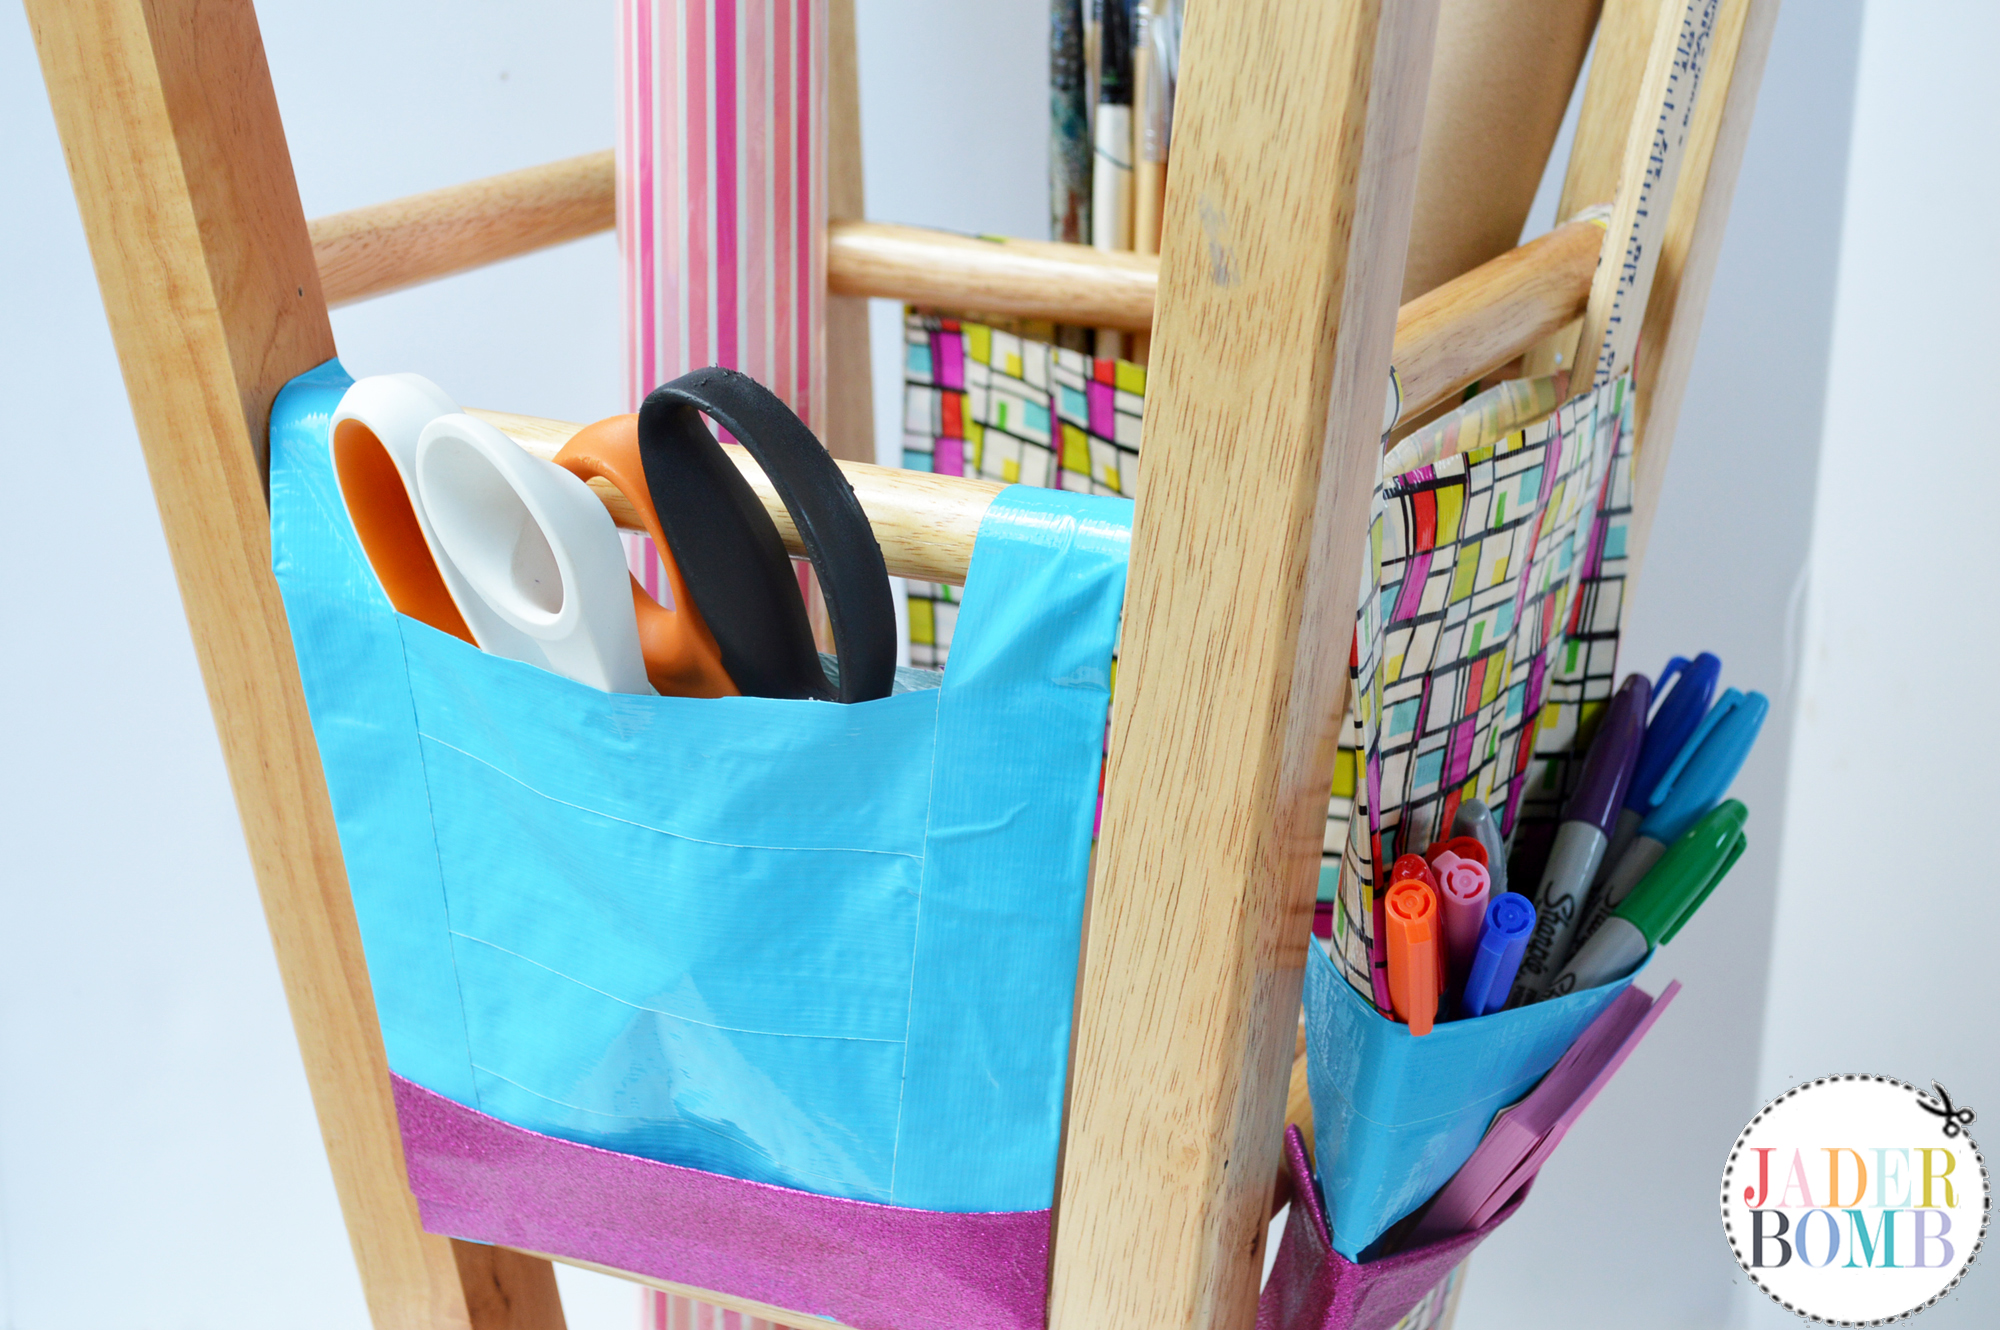
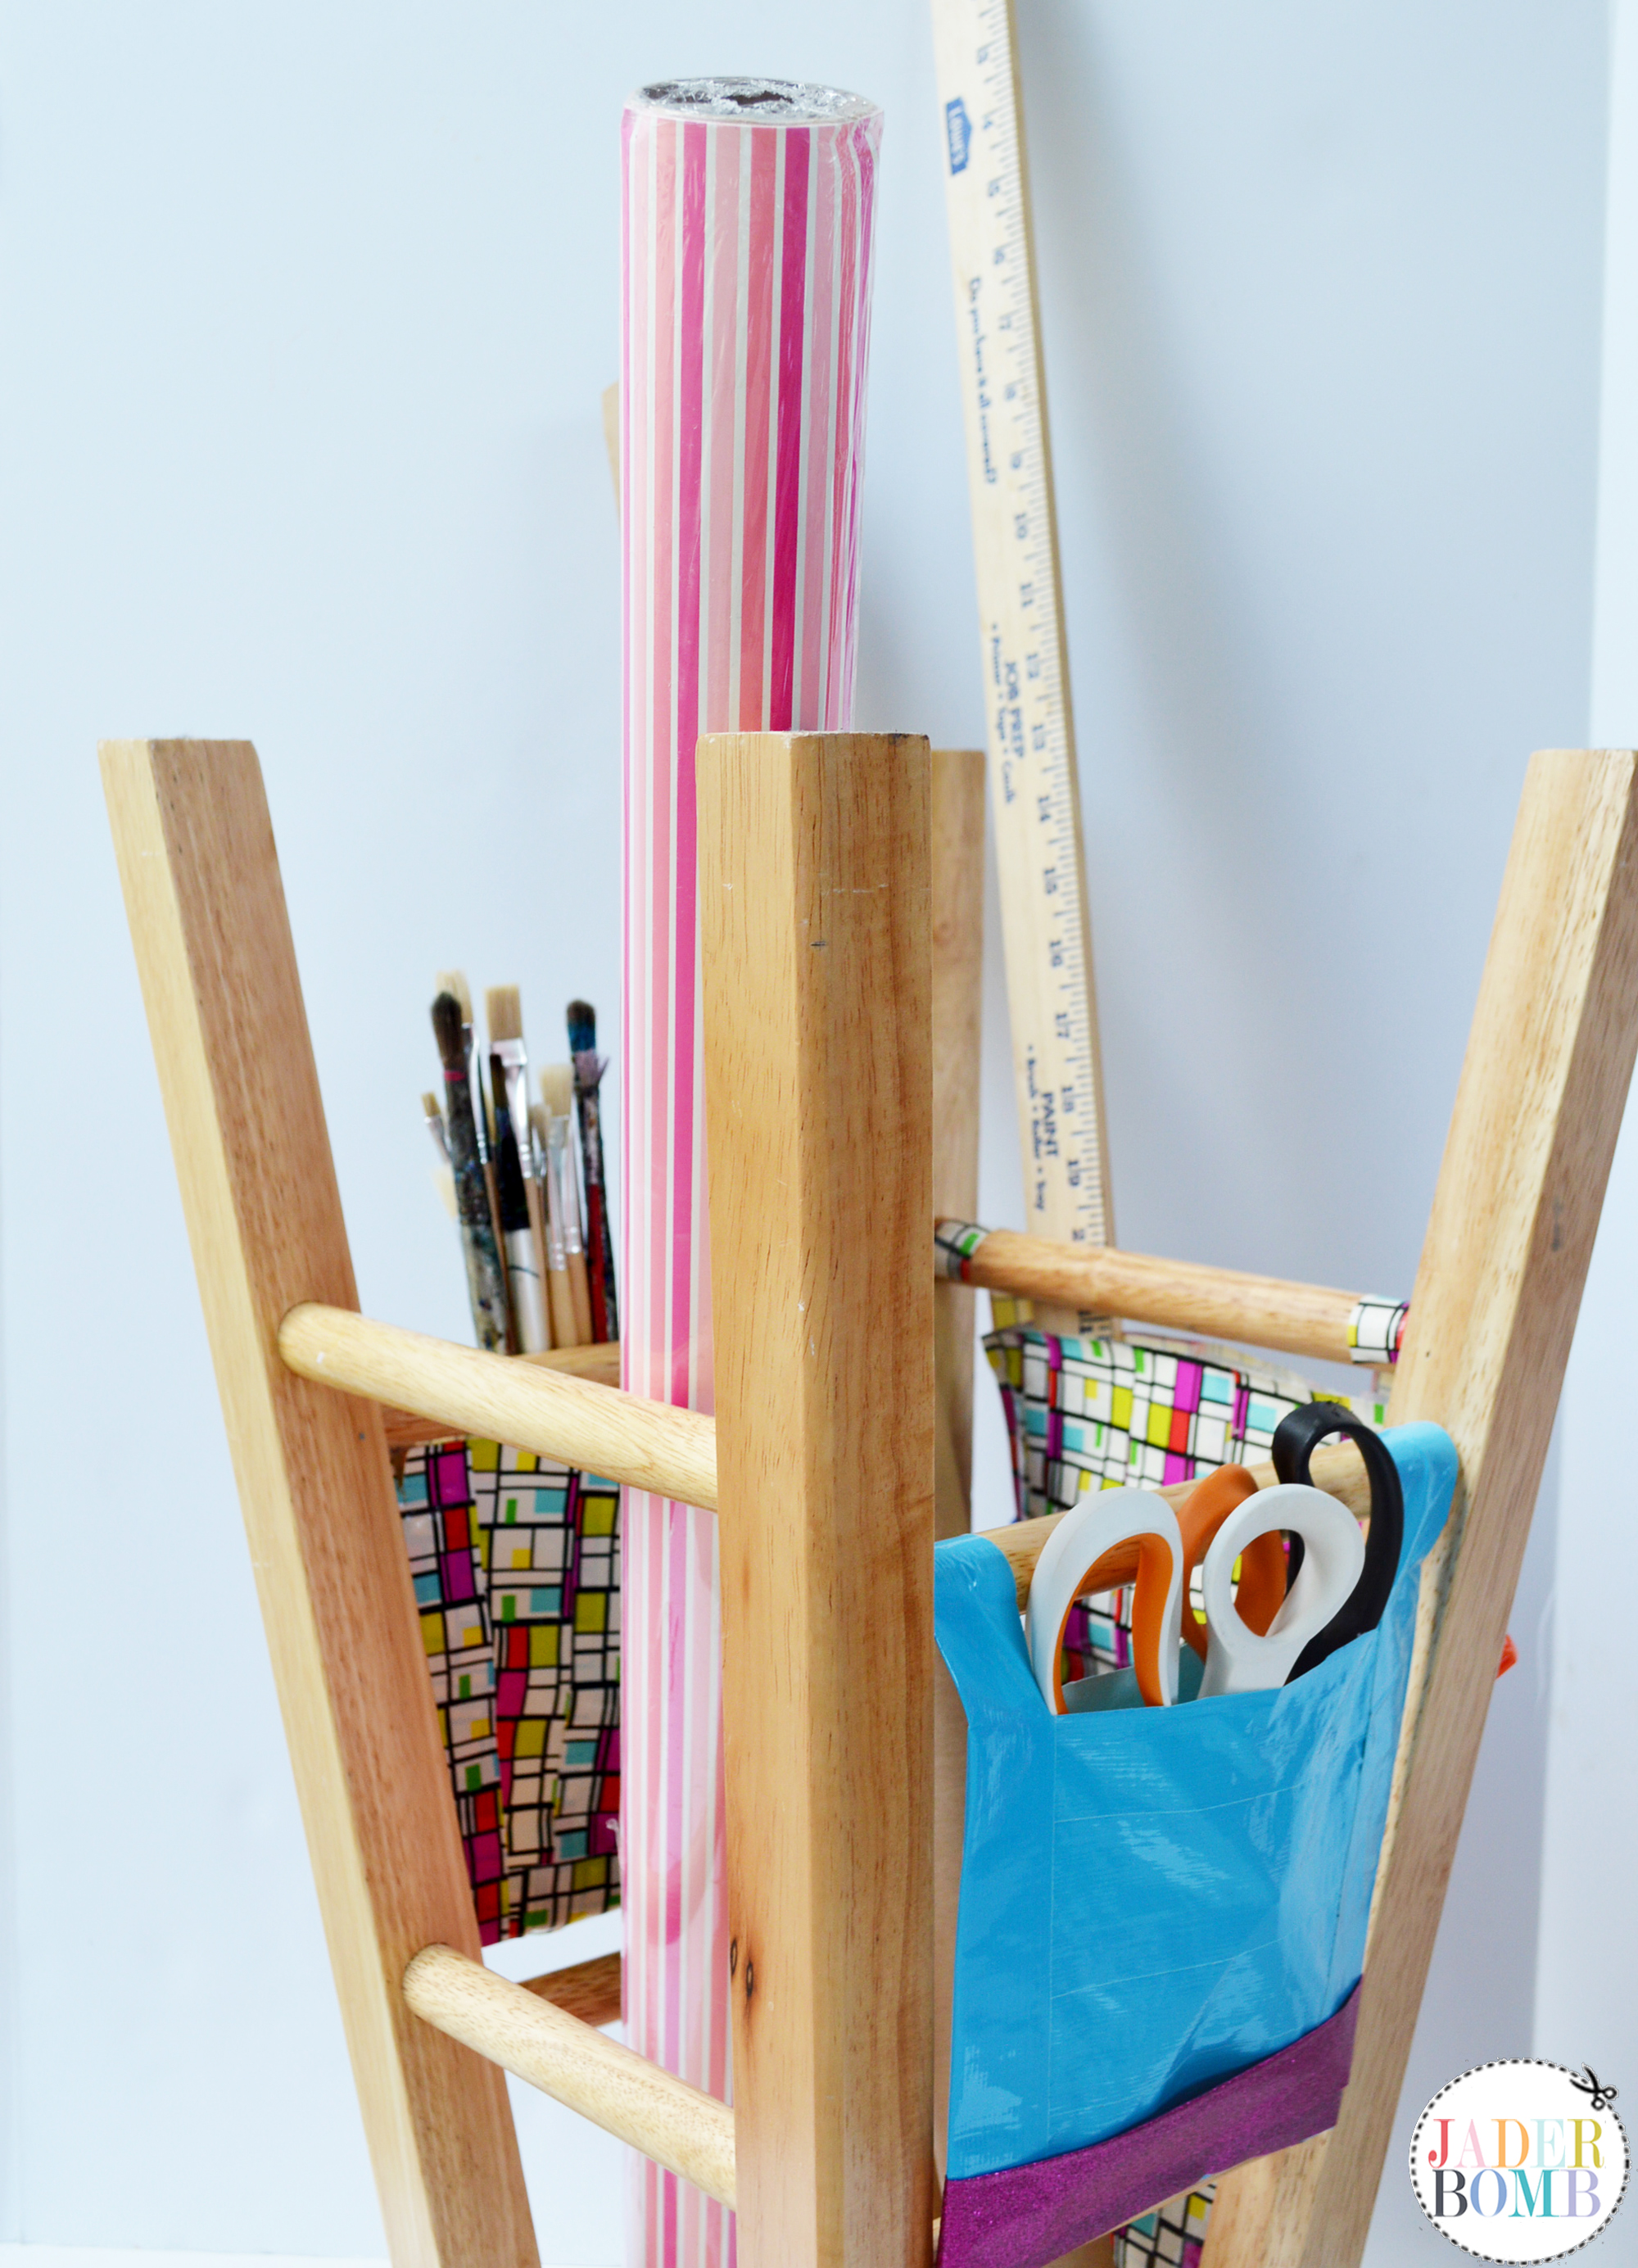
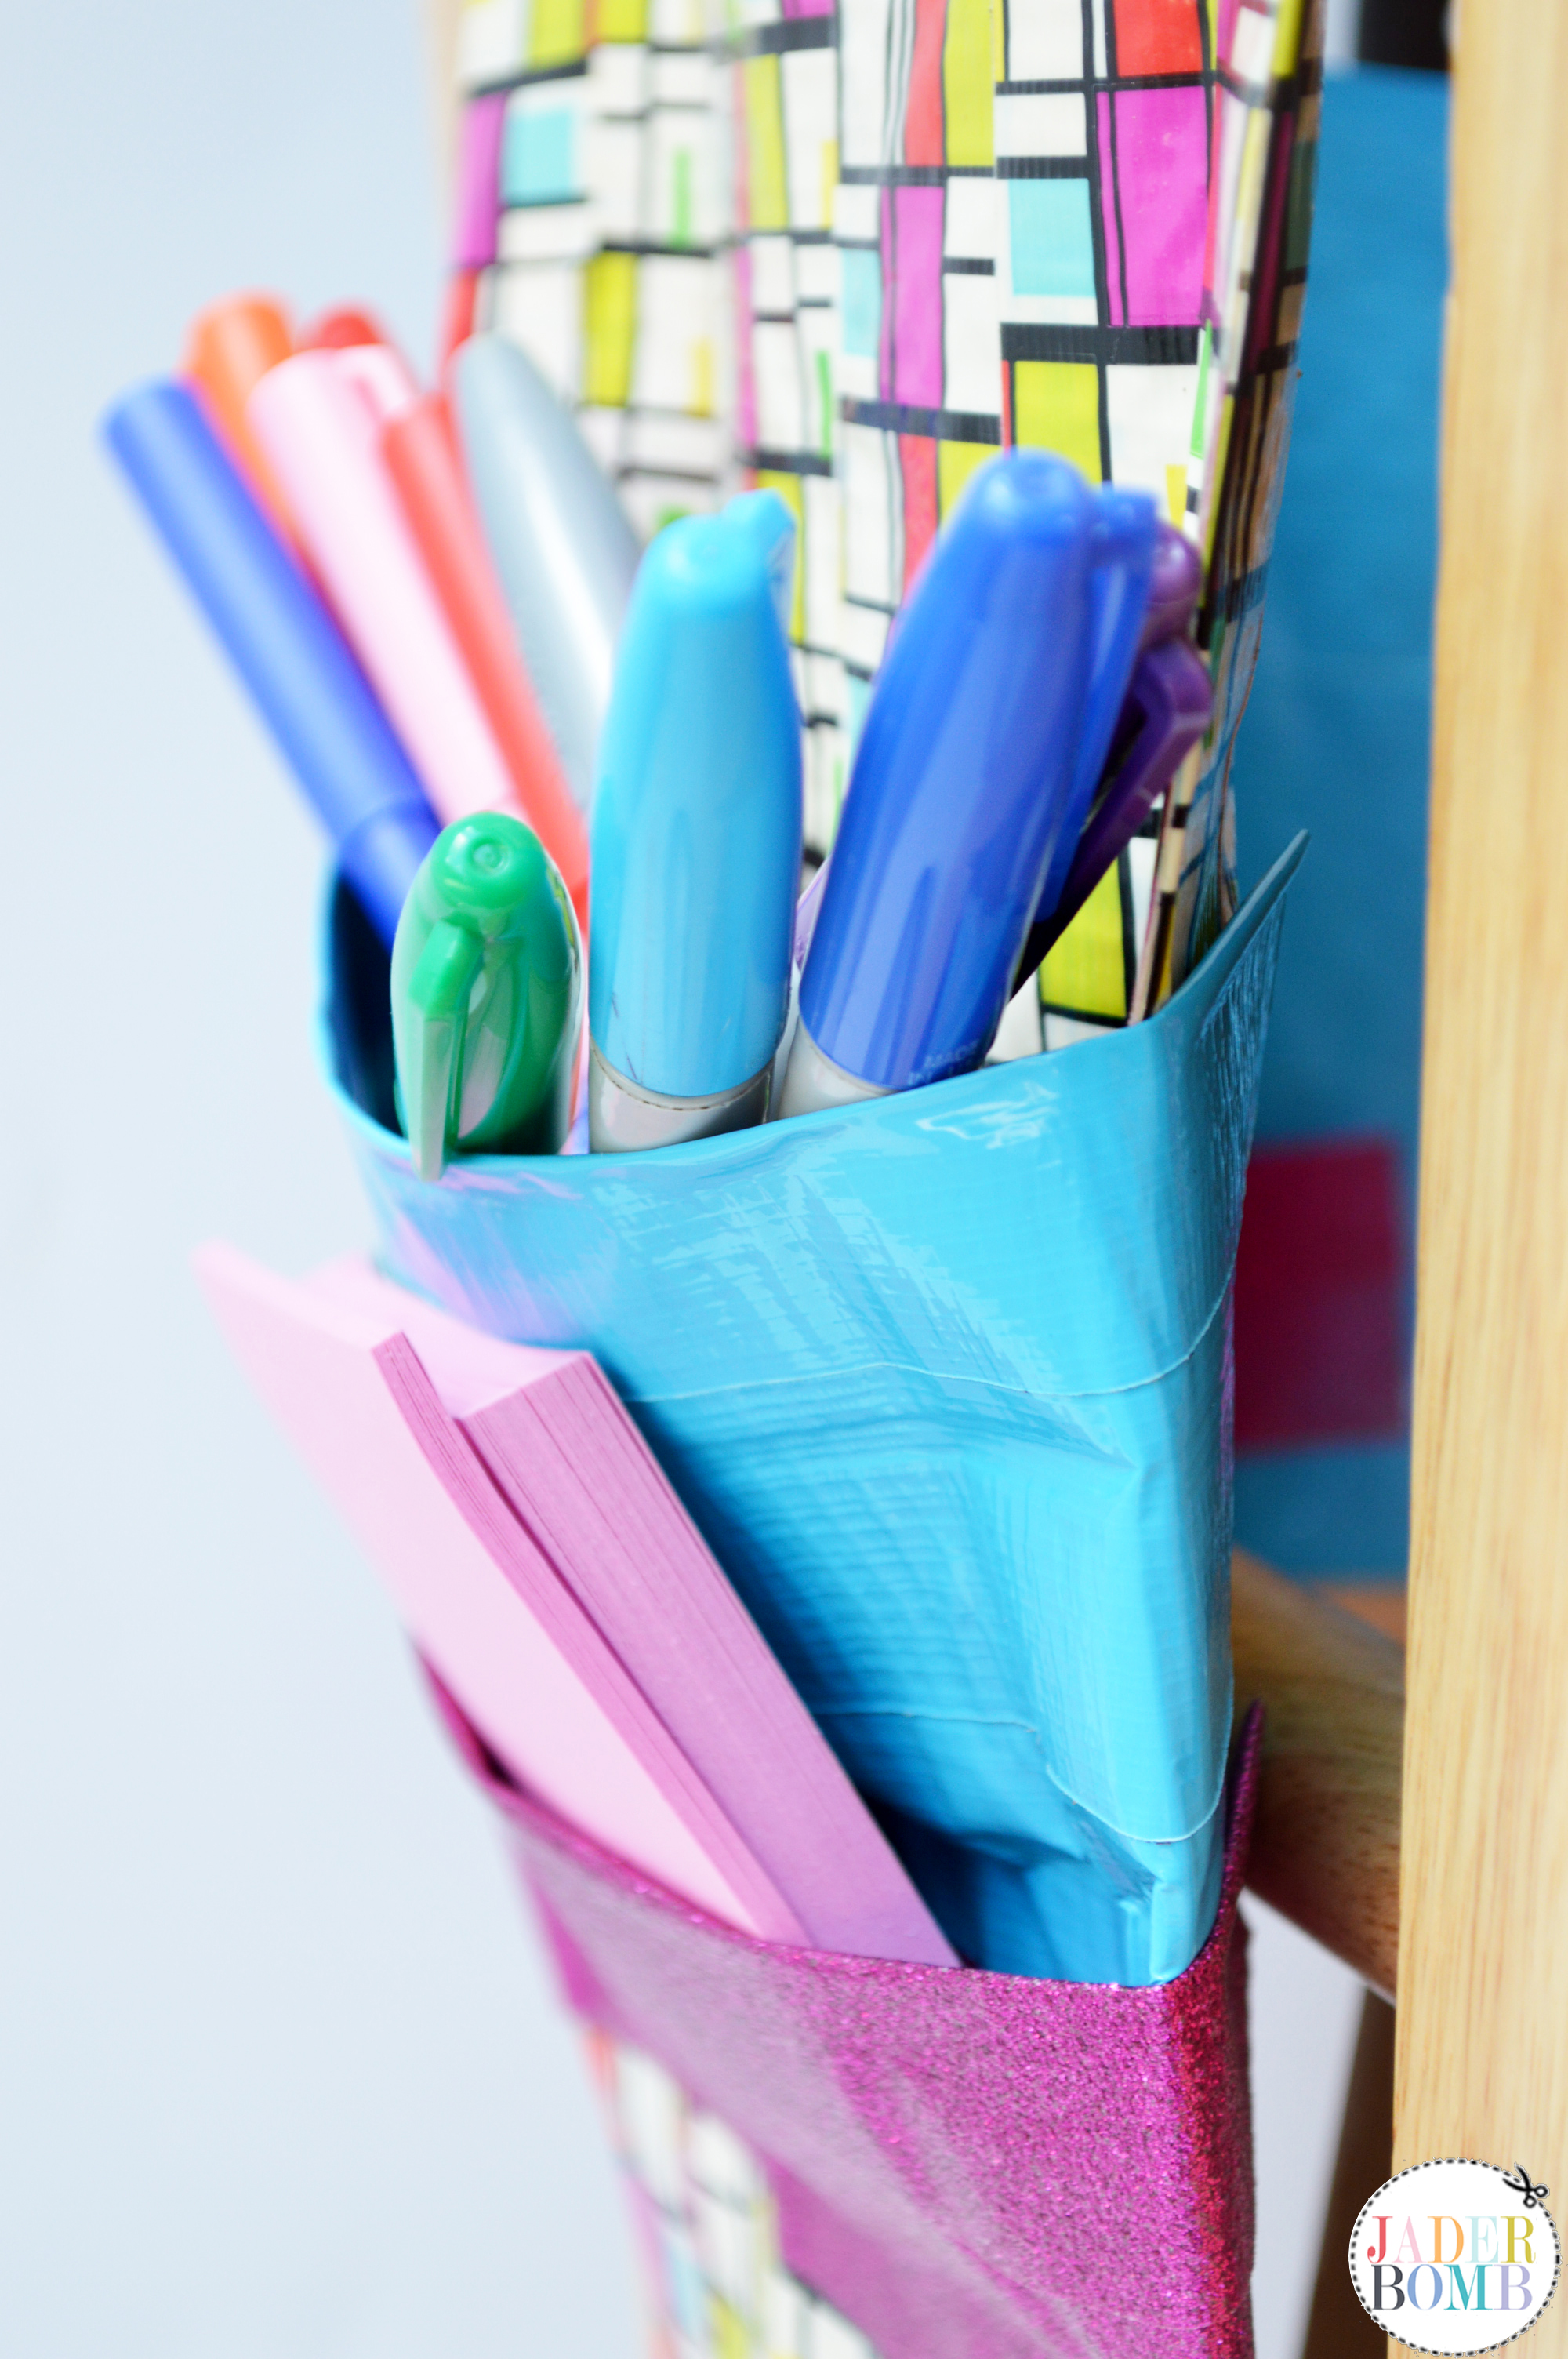
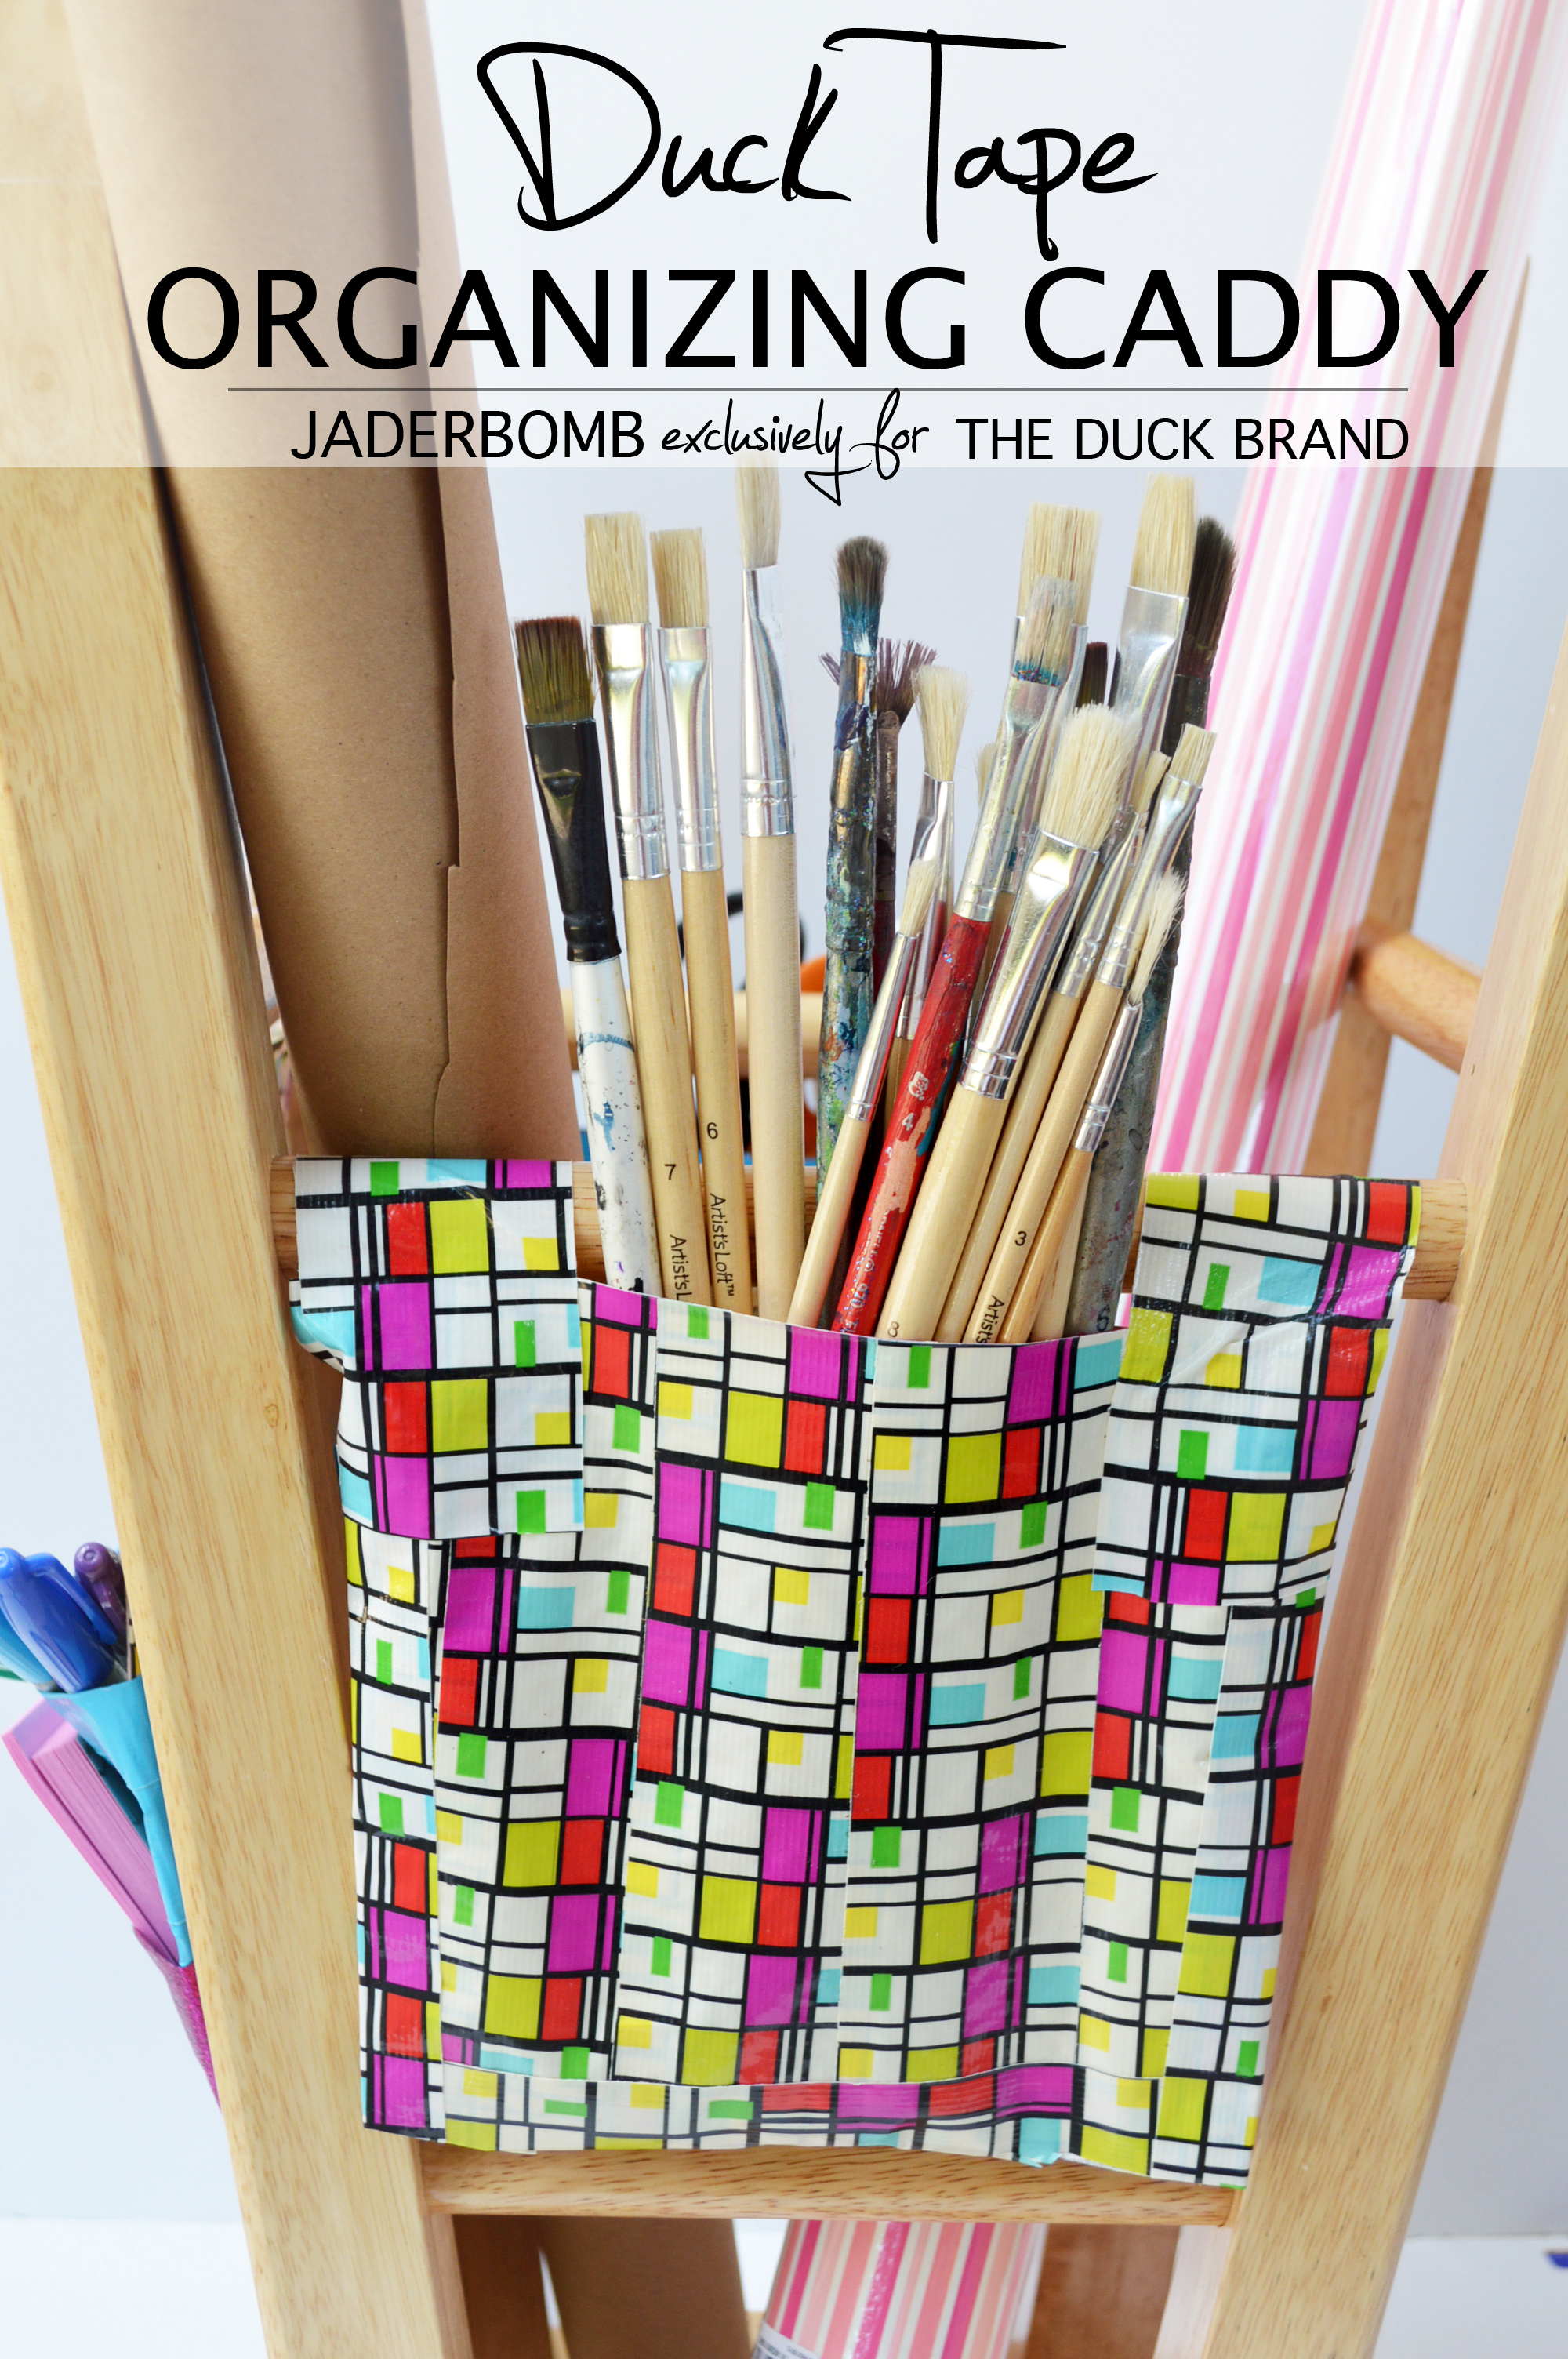
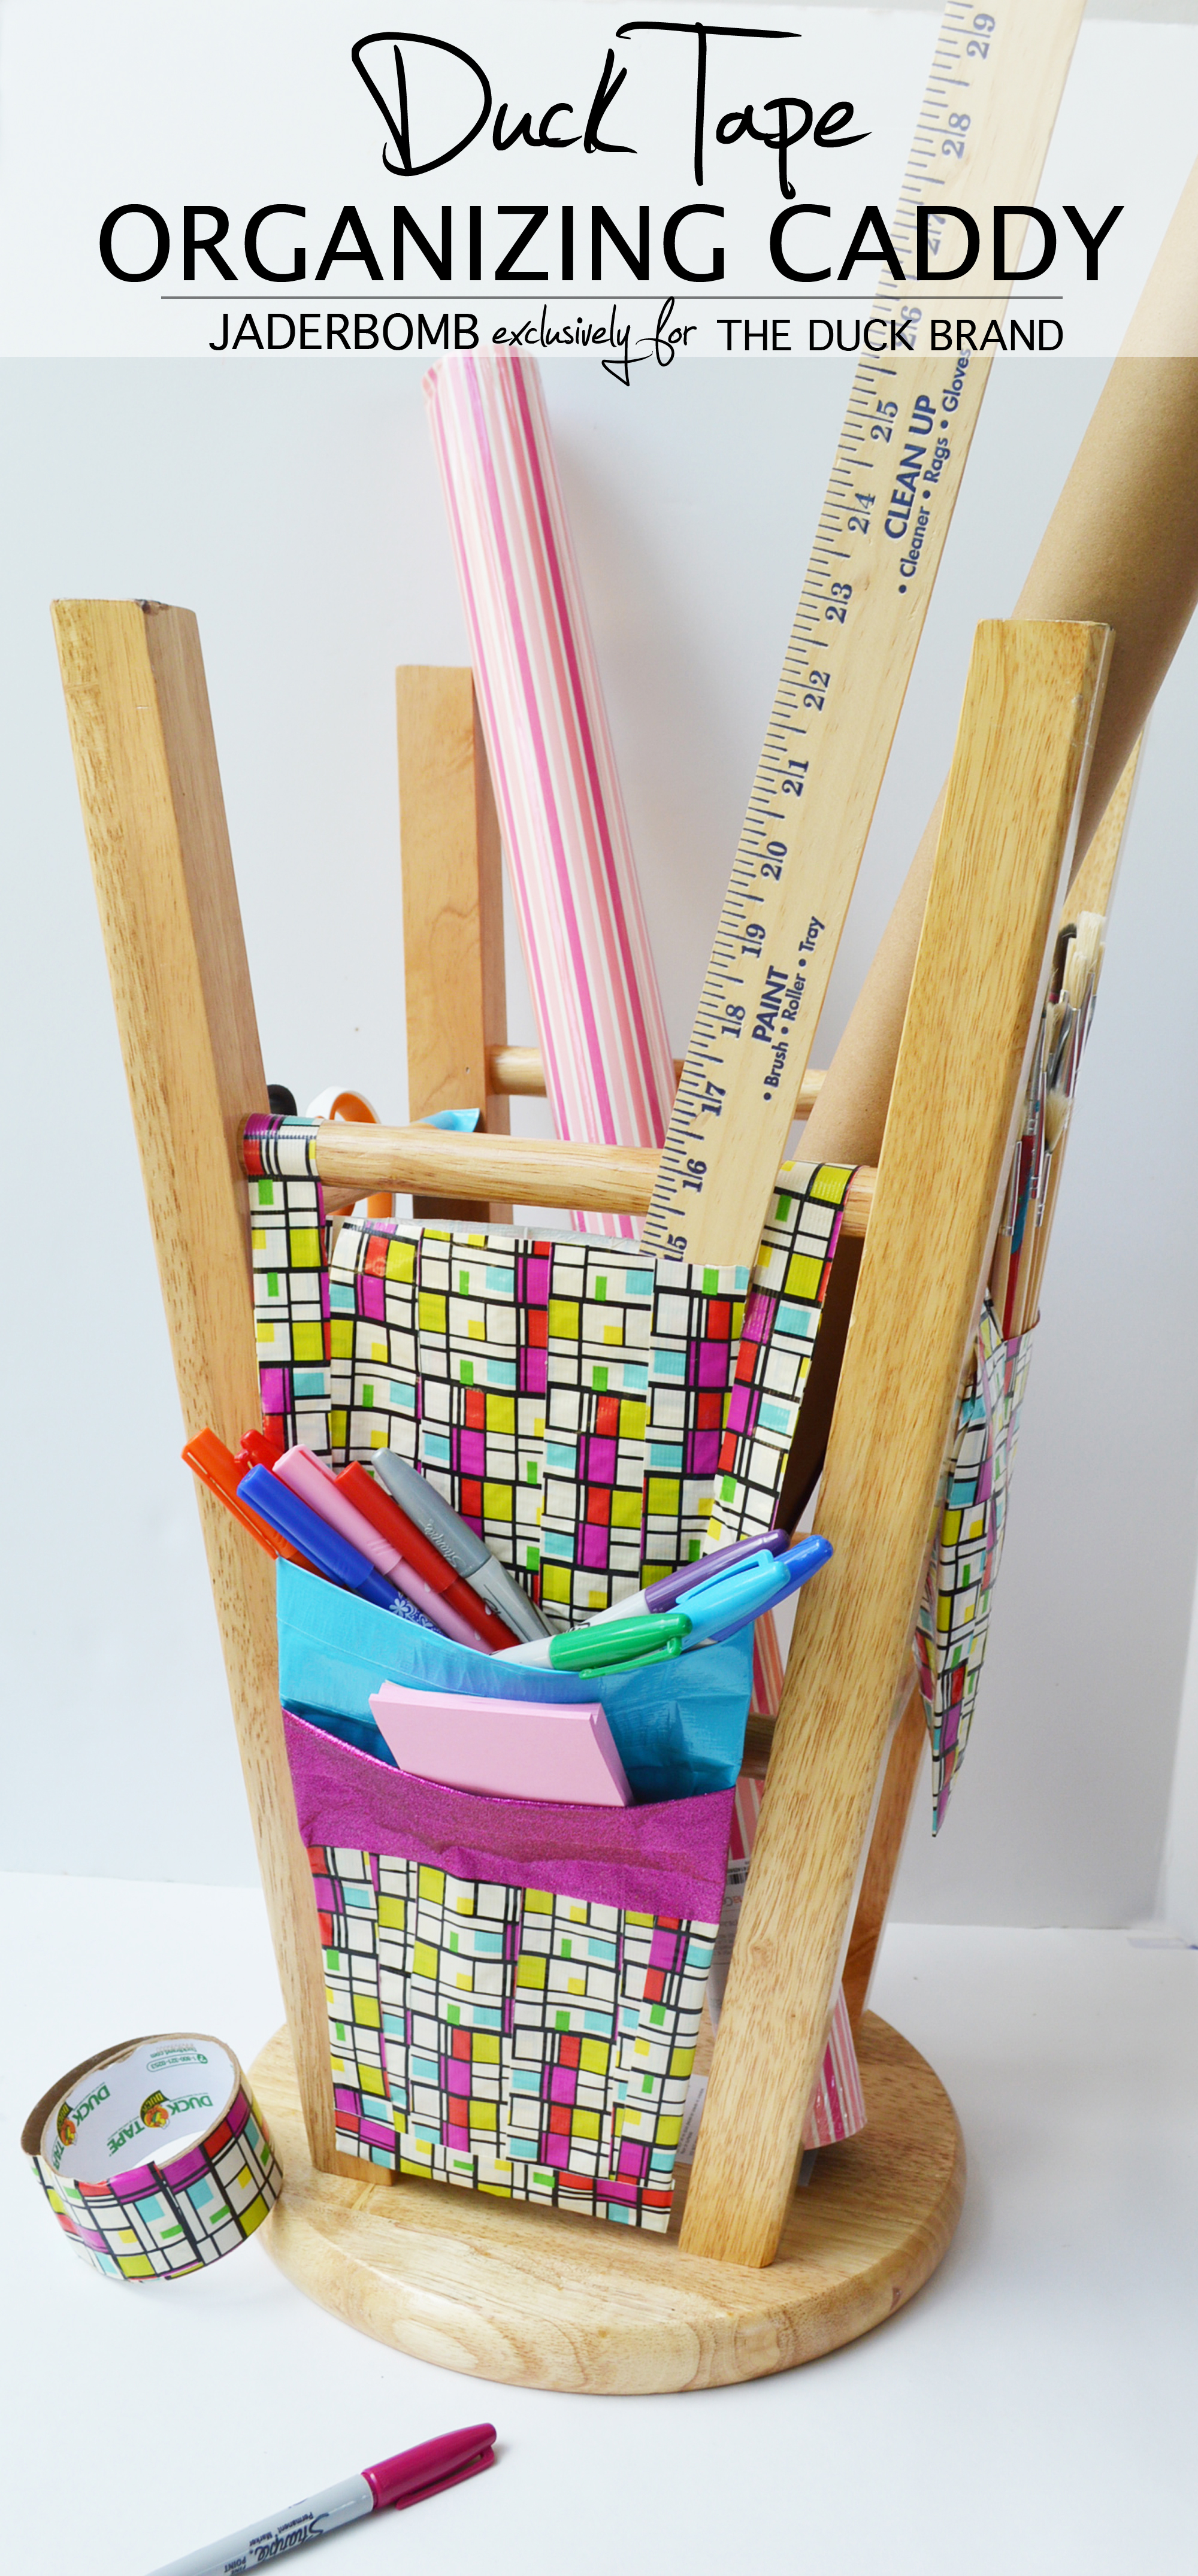
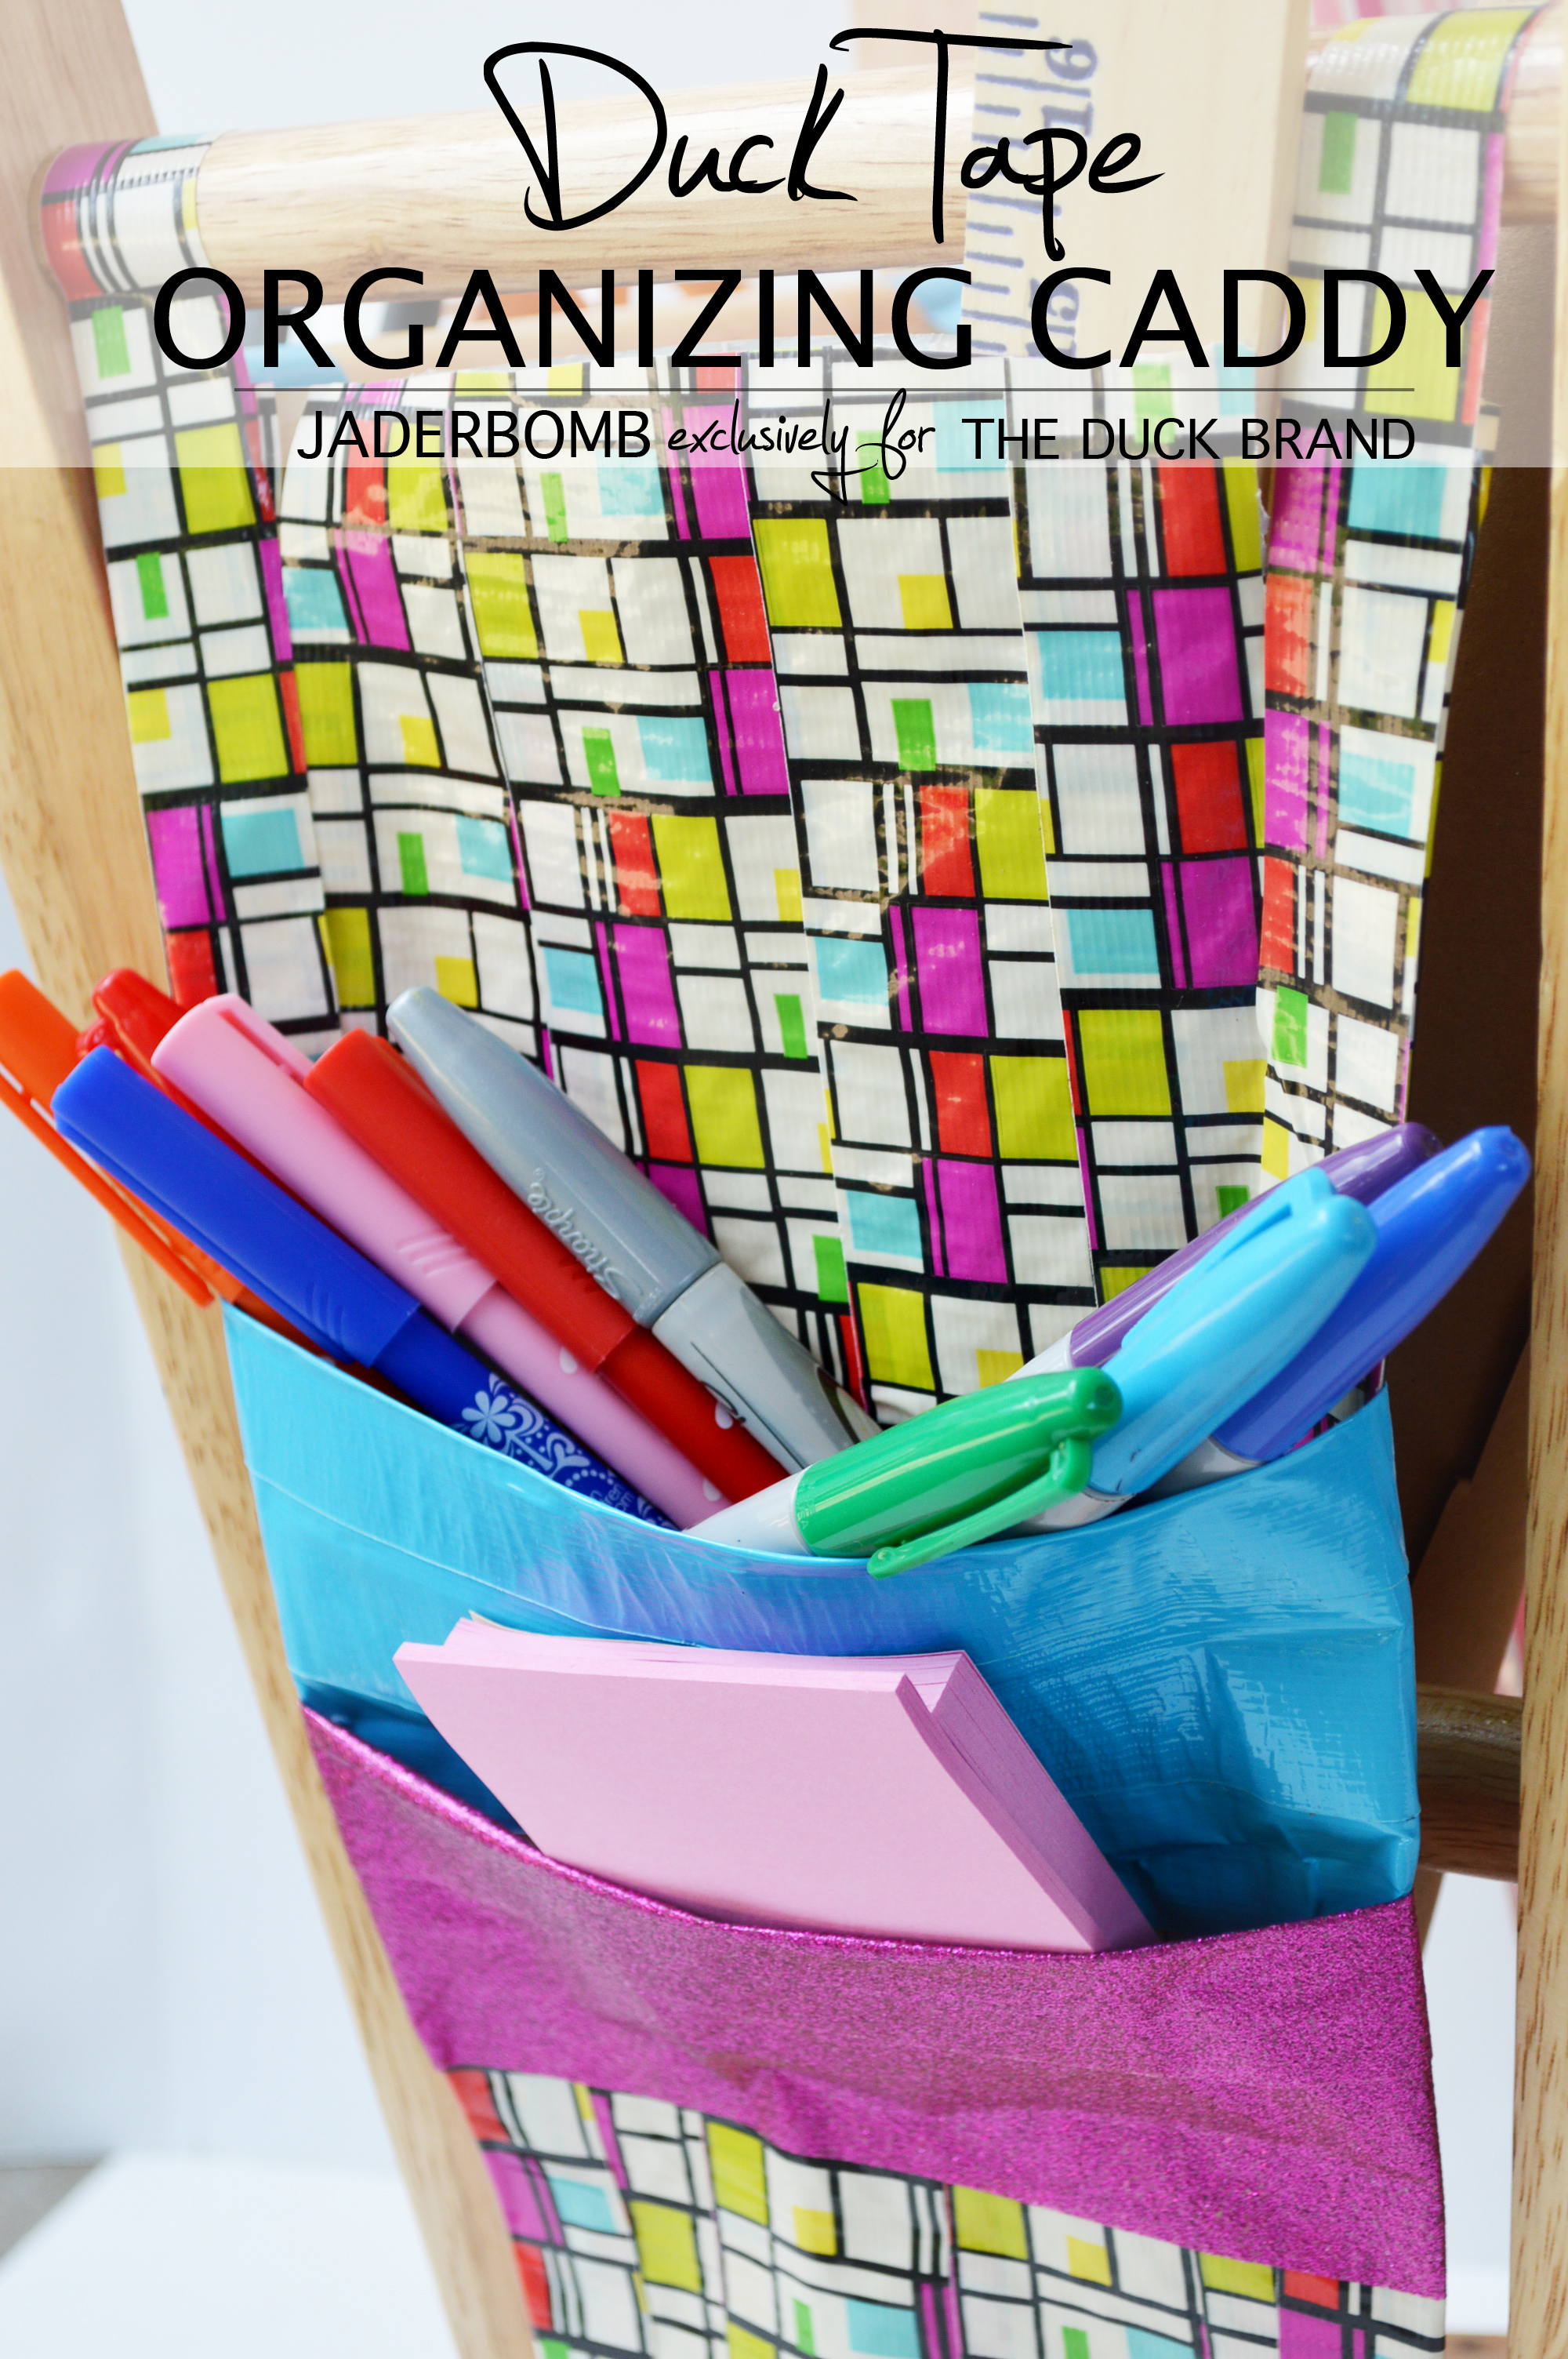
 I don’t know about you but I absolutely love mini organizing stations. Sometimes a good one can be hard to come by which is why today I am going to show you an easy way to create a duck tape organizing caddy. One that can go in any space,literally. The one thing I love about this caddy is you can choose the exact design or color of
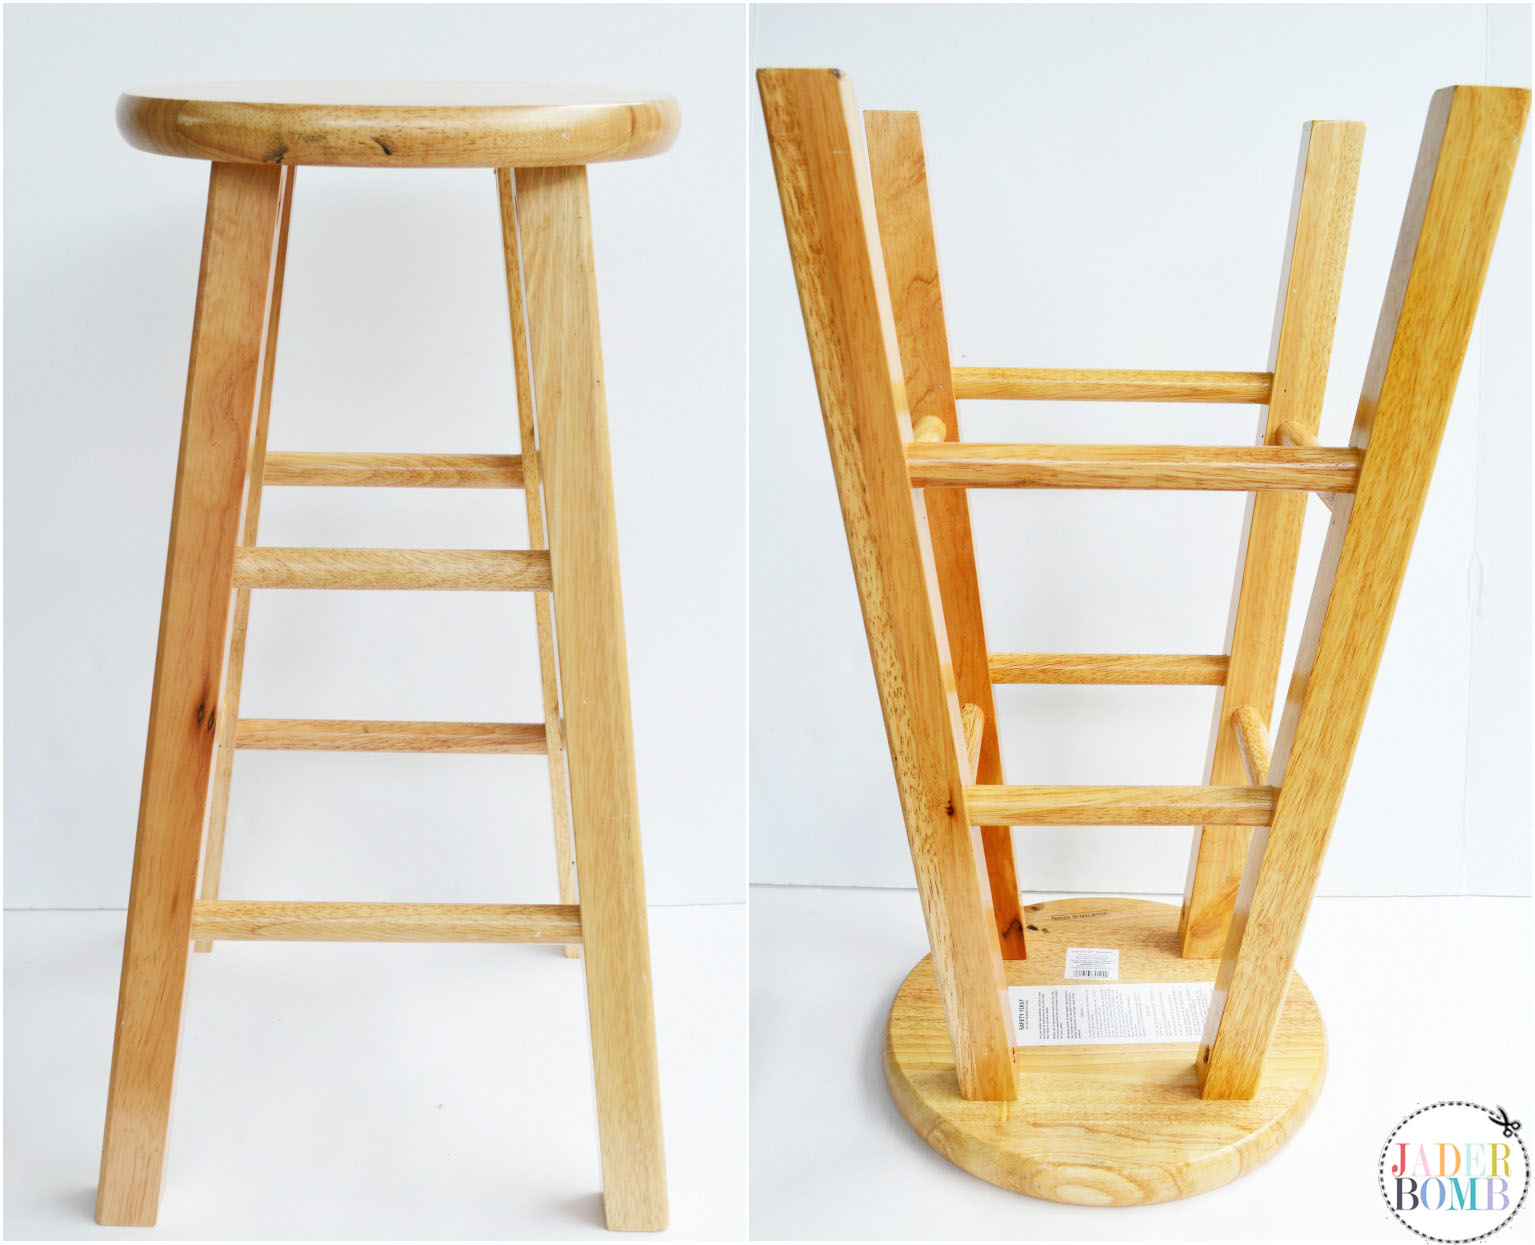
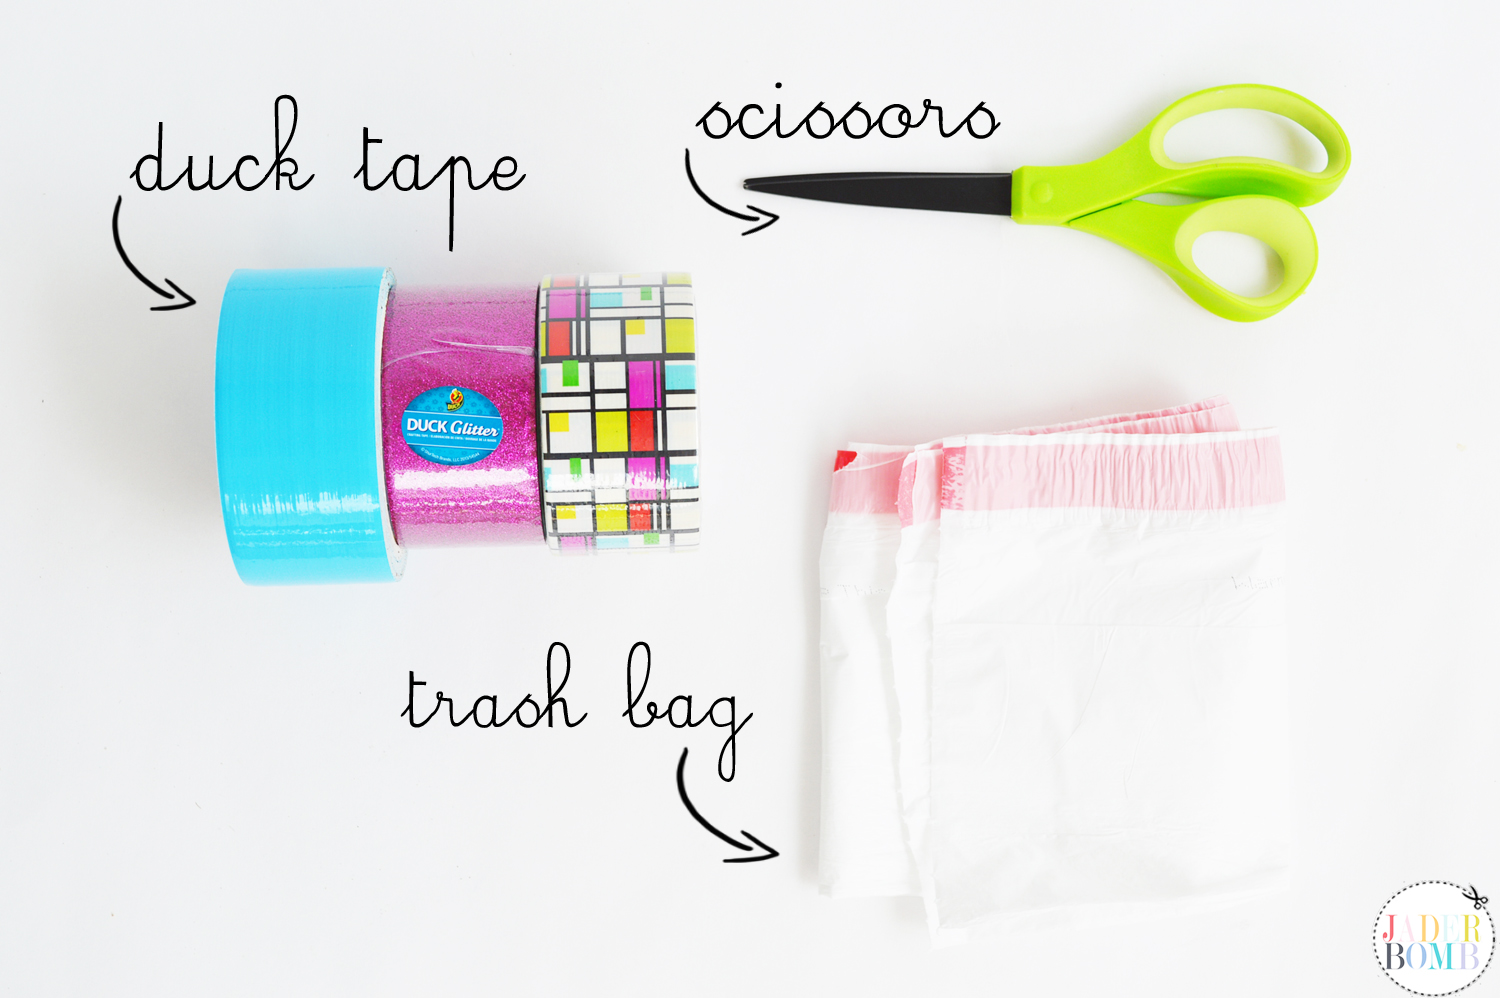 The great thing about this crafts is choosing the colors you want!
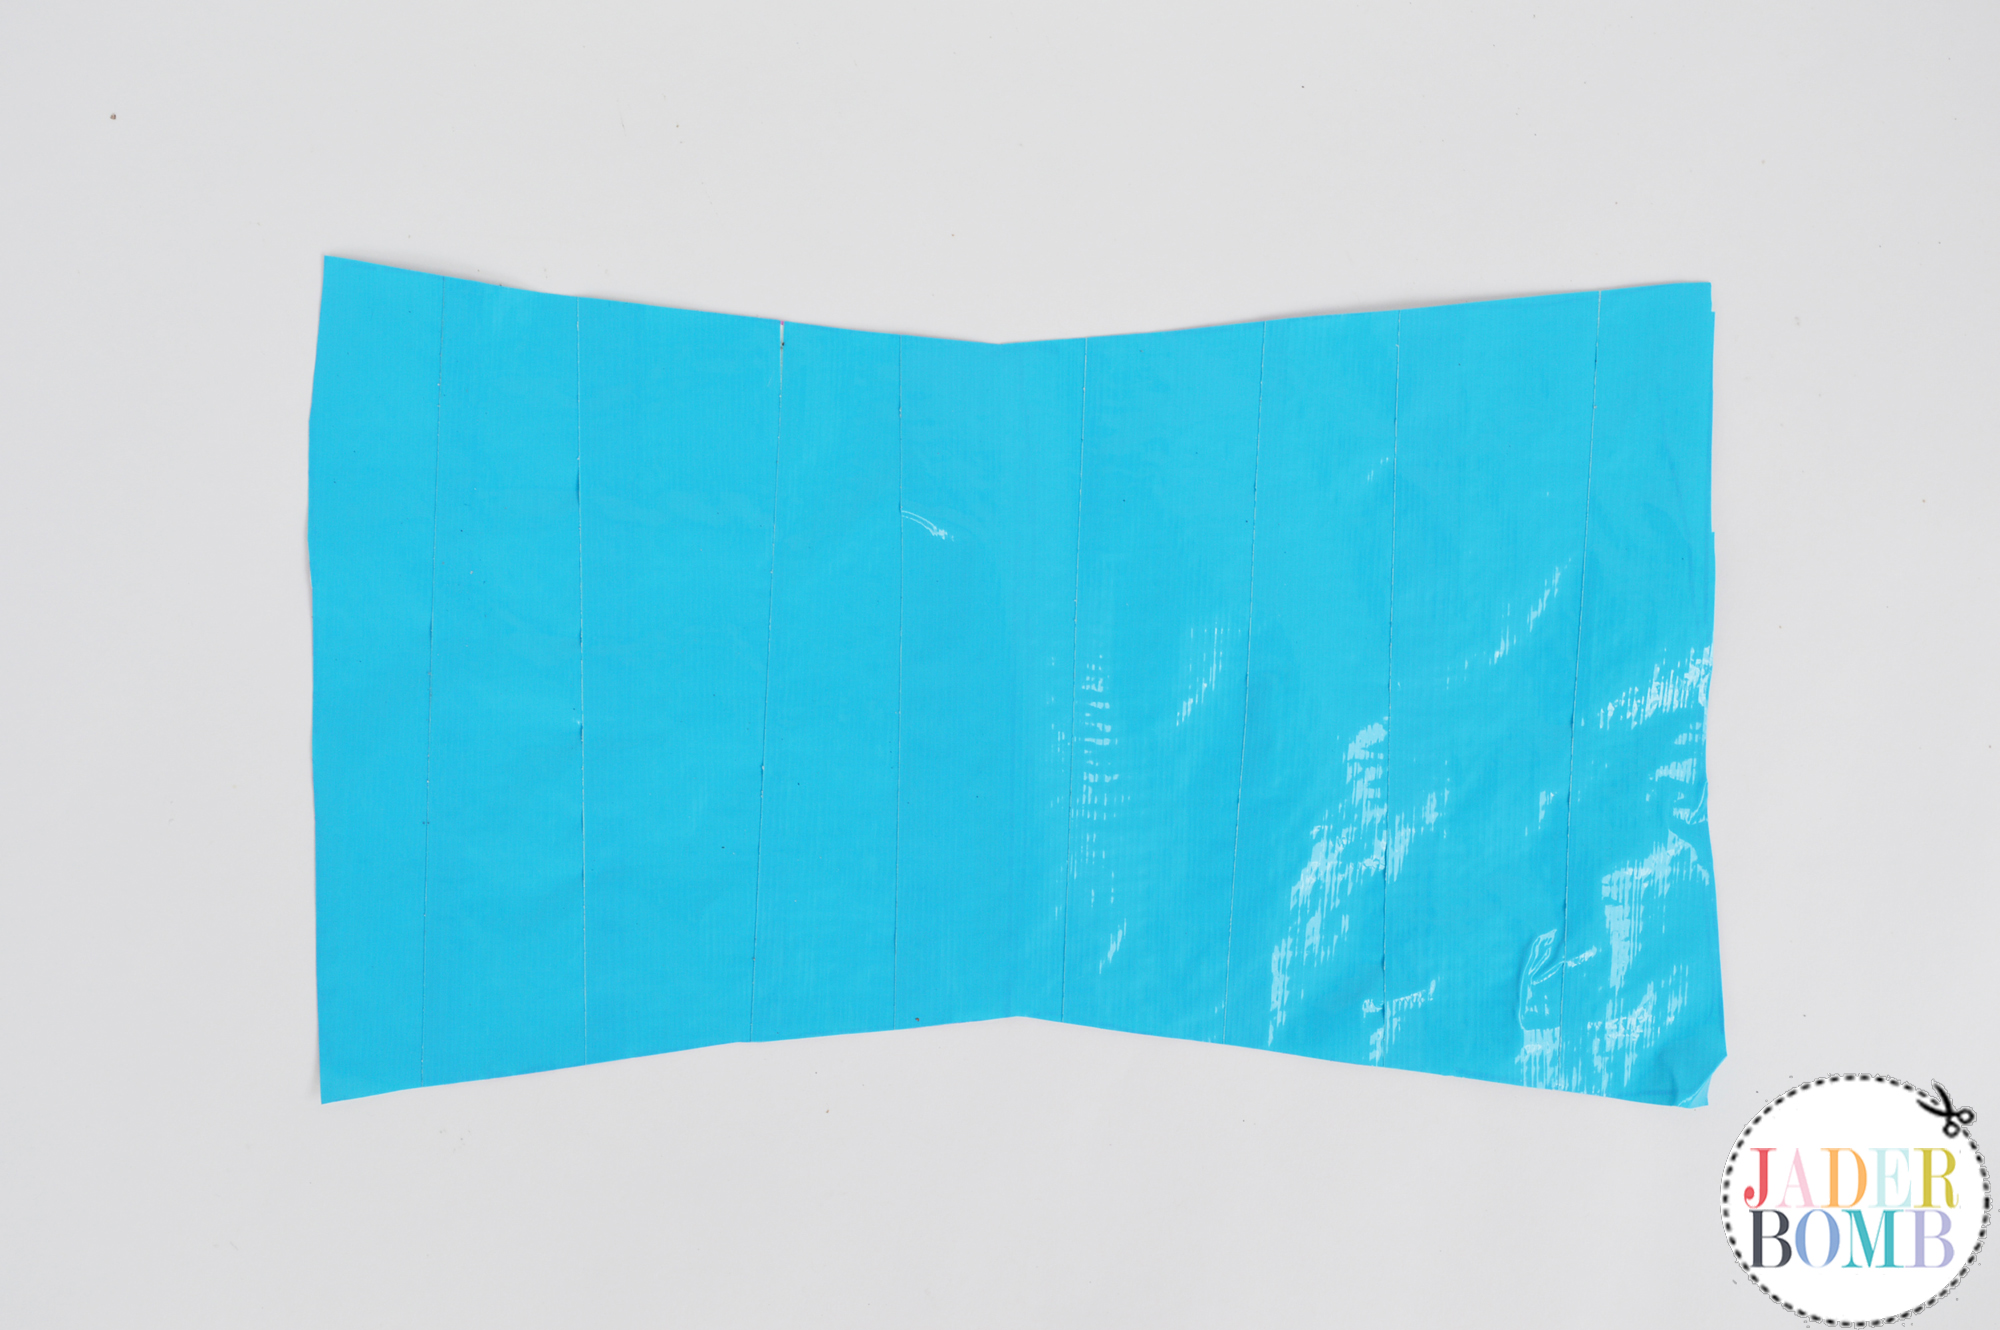
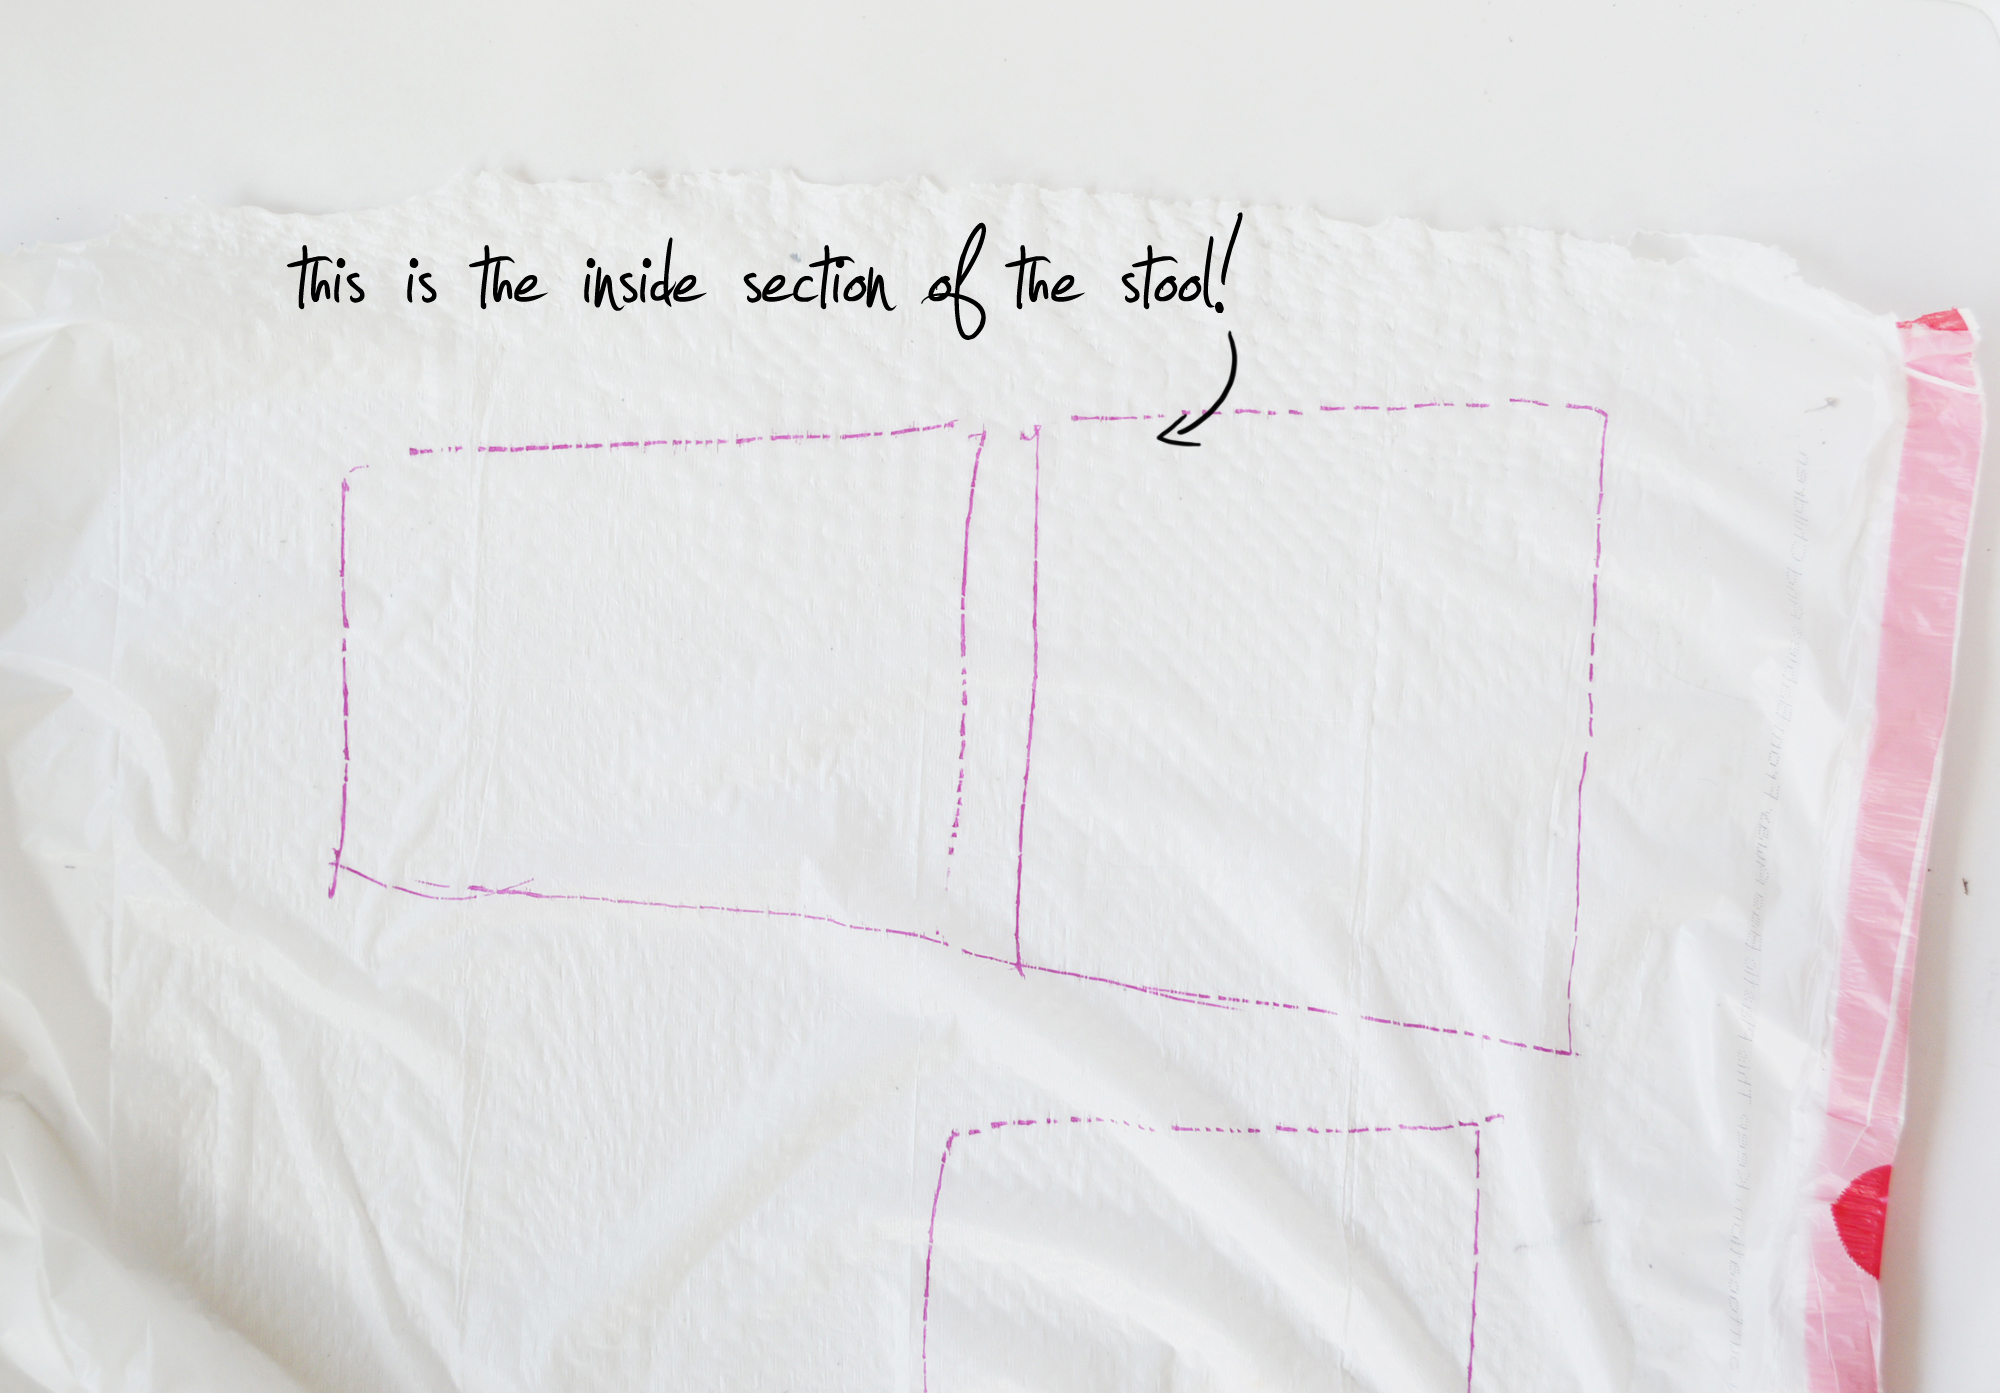
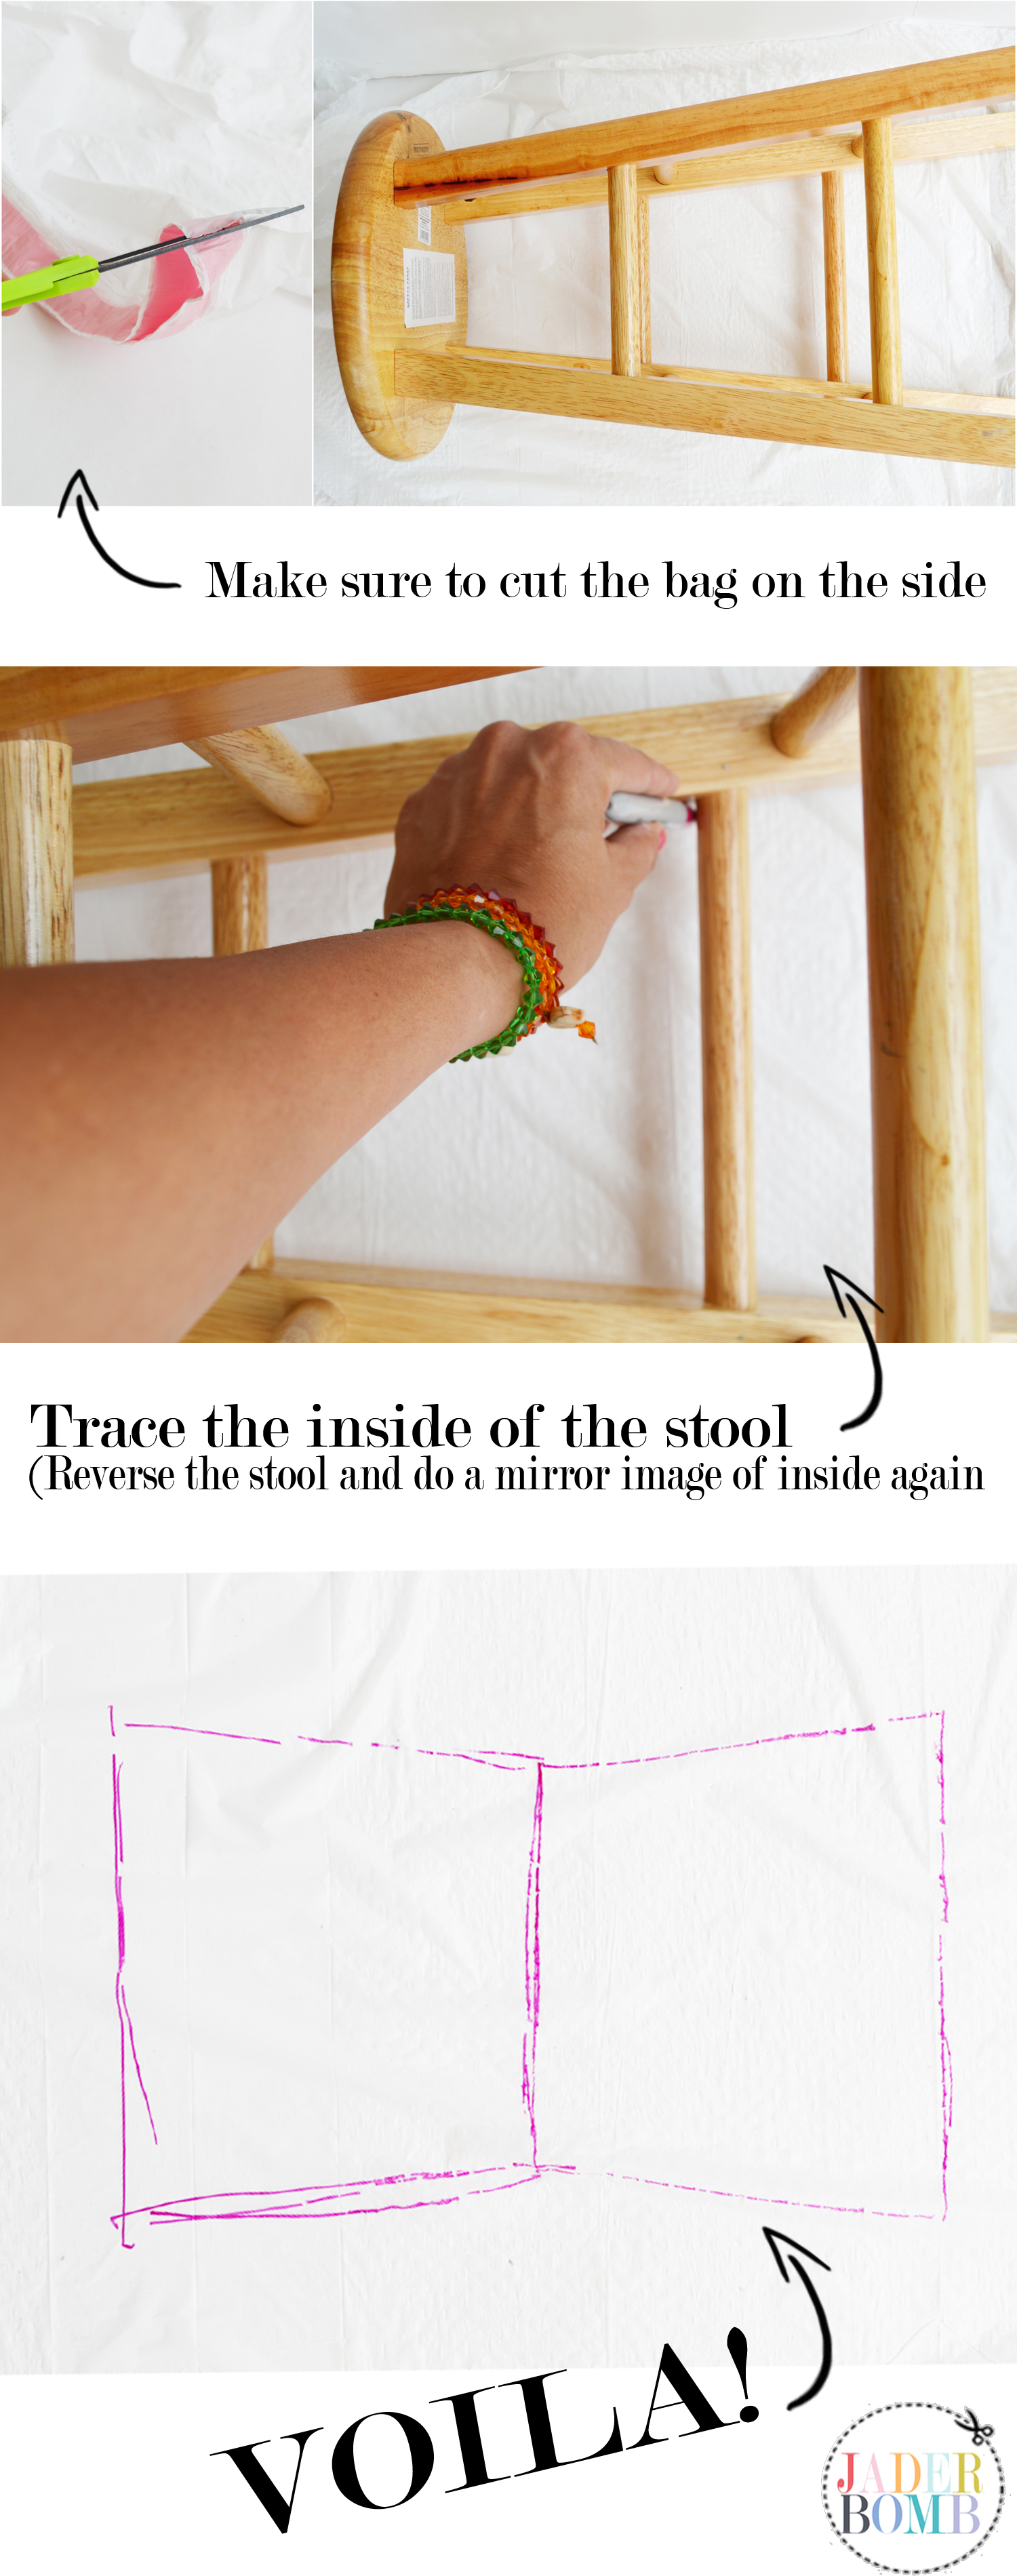 Step 1: Cut the sides of your trash bag and lay it out on a flat surface.
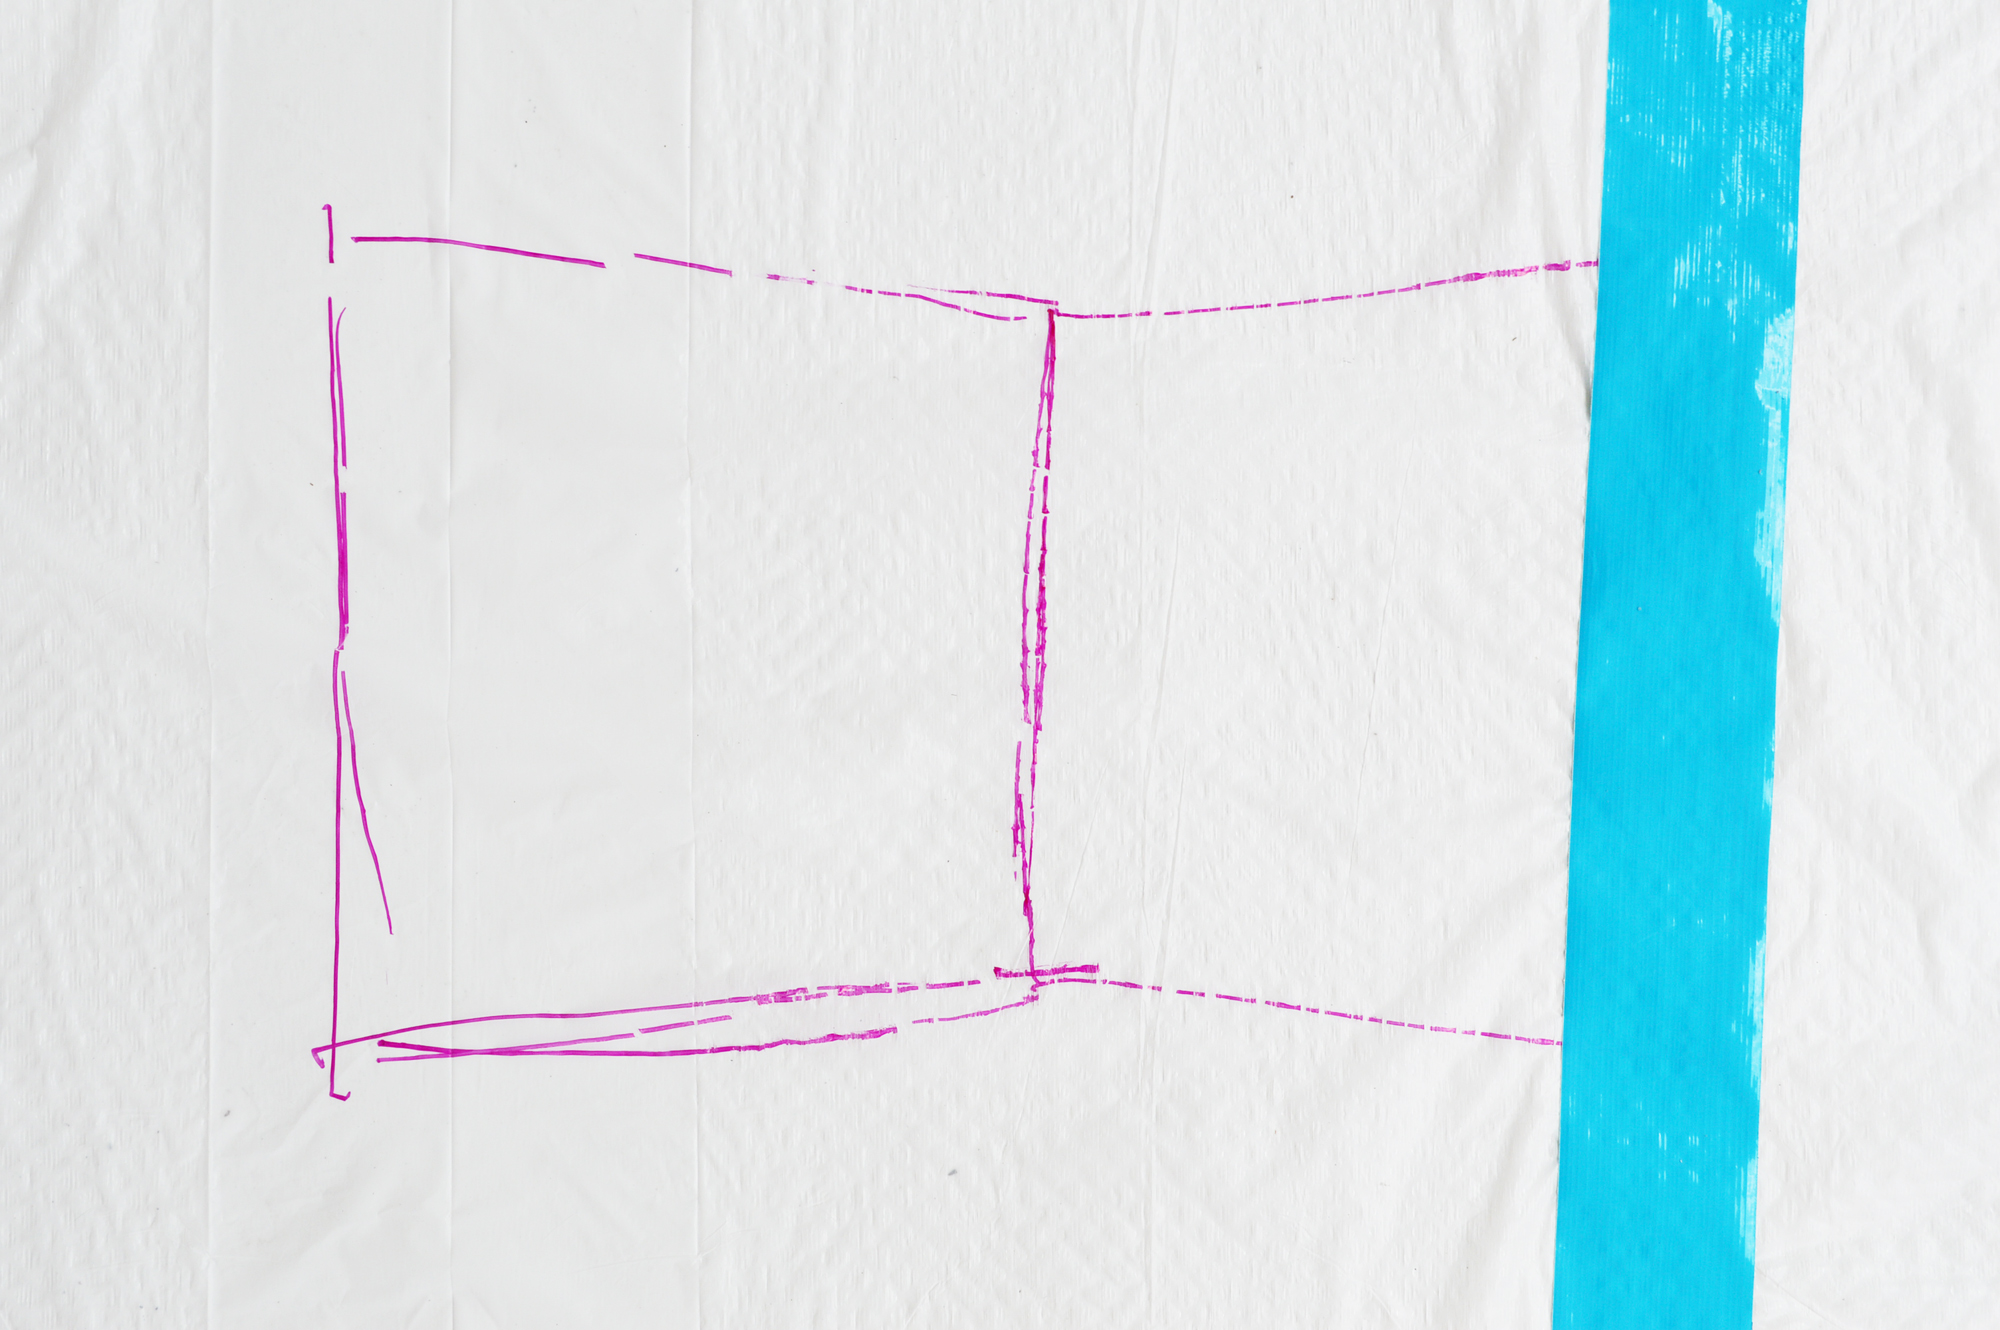 This is what it will look like when it’s done completely filled.
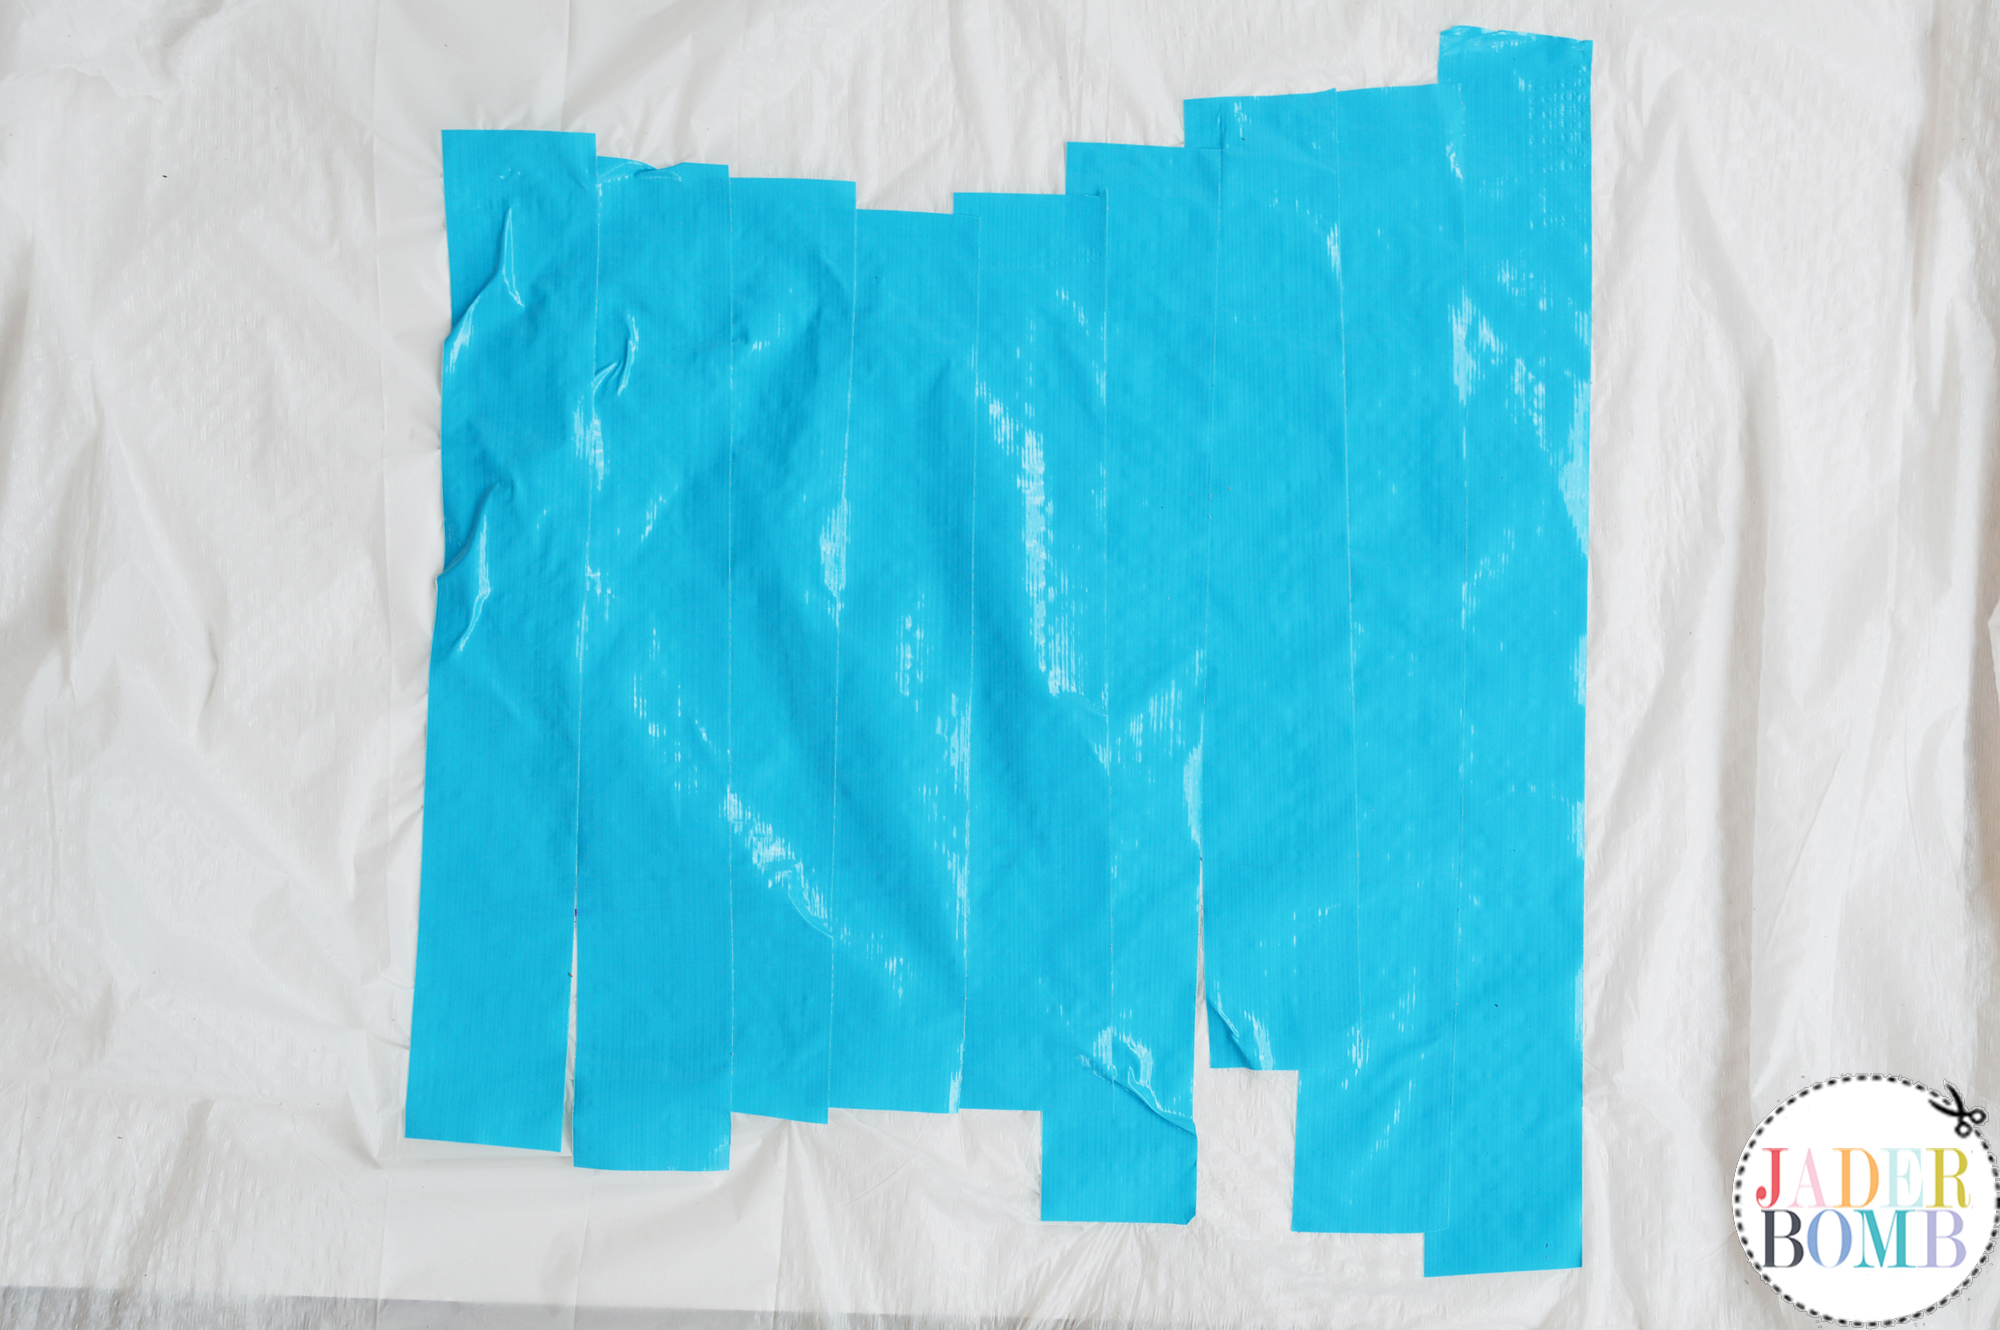 Step 6: Flip your trash bag over. You will still see your sharpie line even when flipped over. Kinda cool huh!
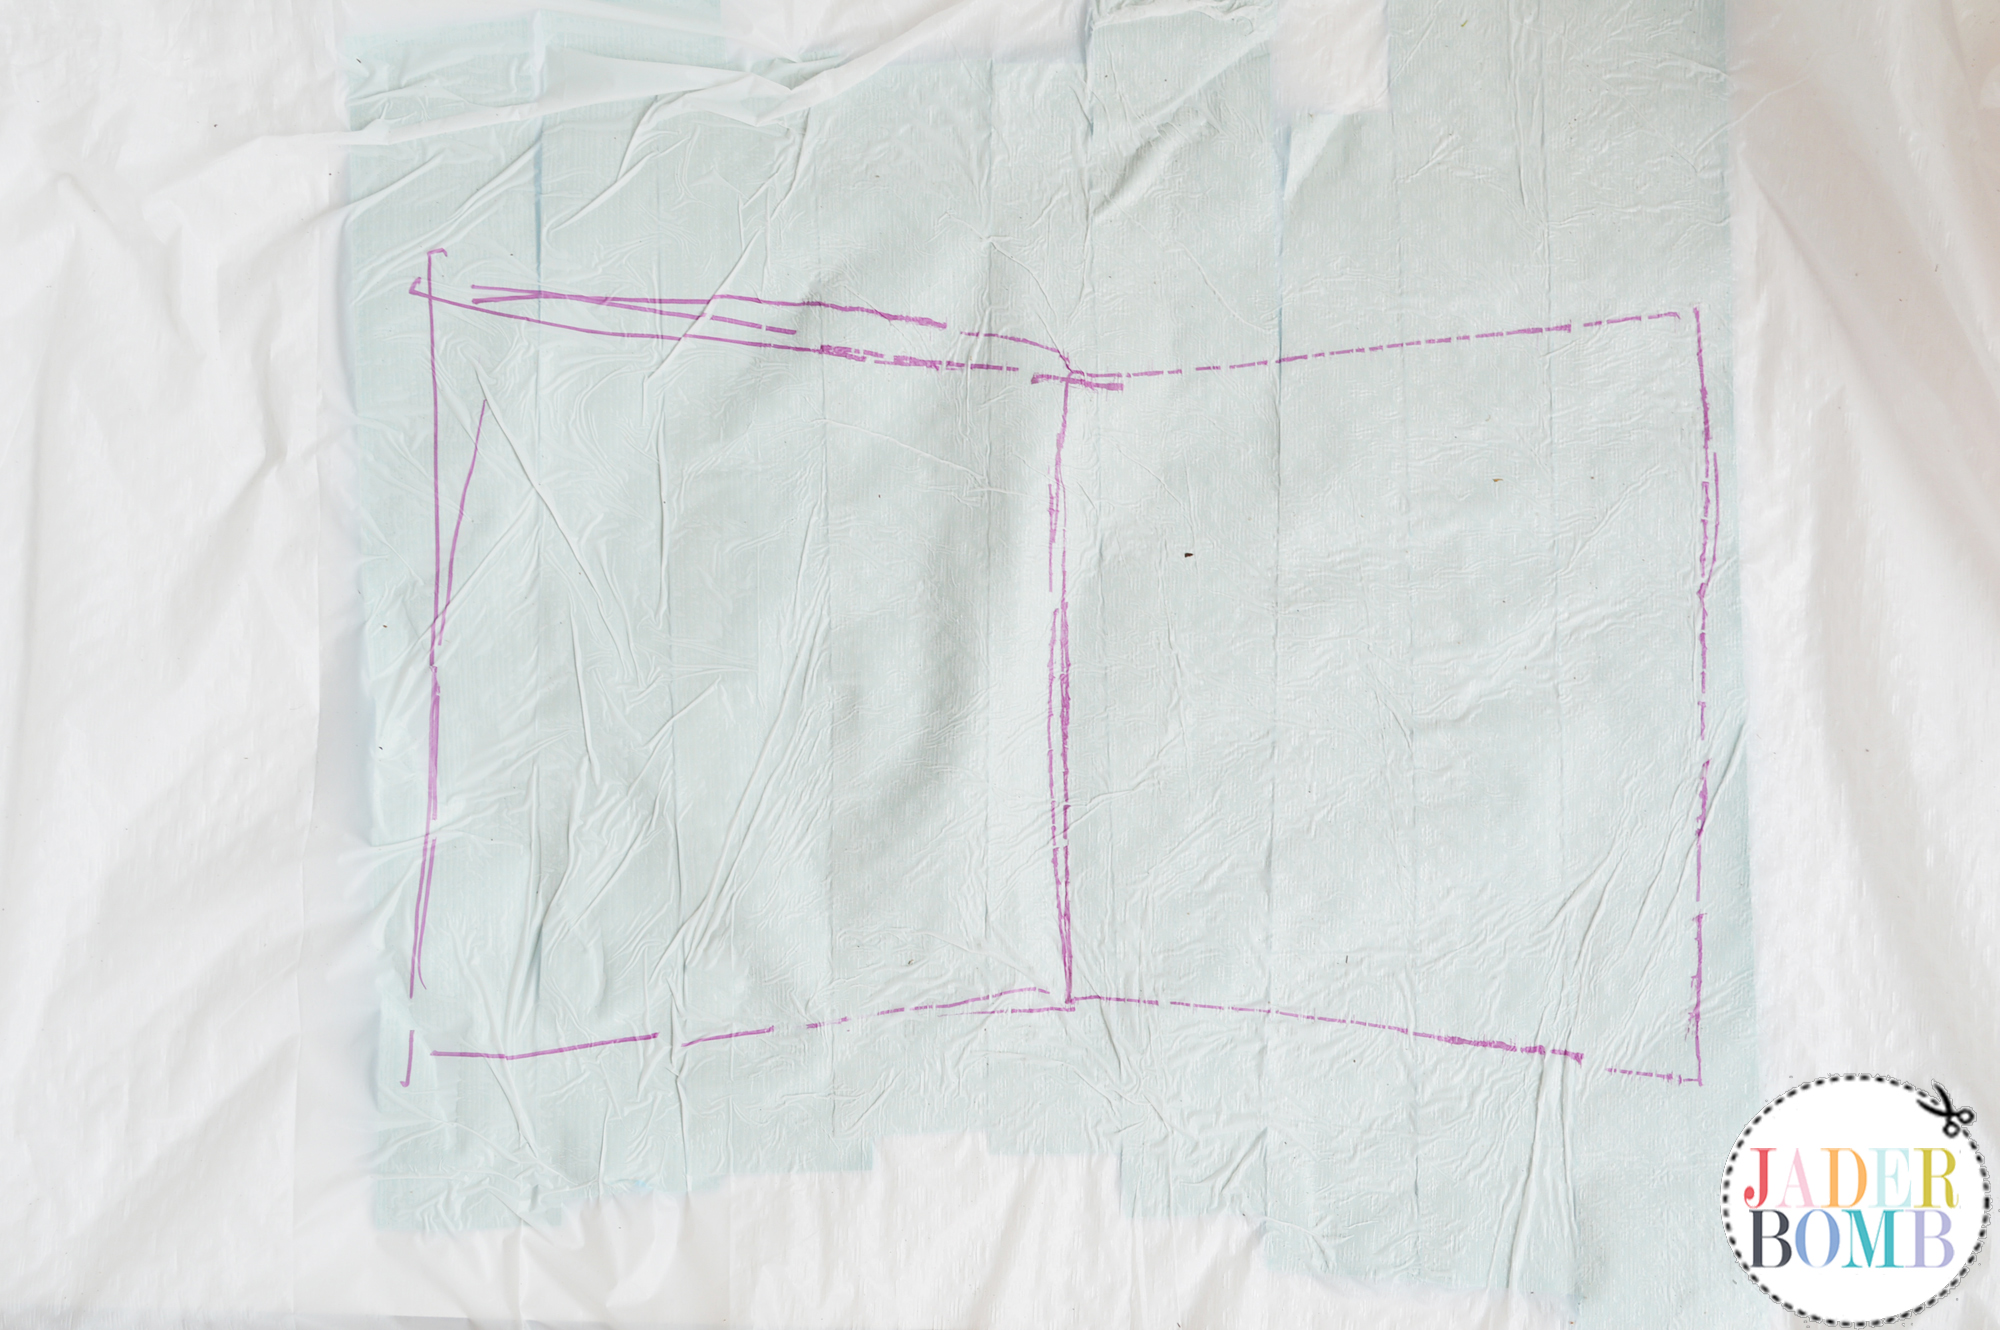 Step 7: Grab your
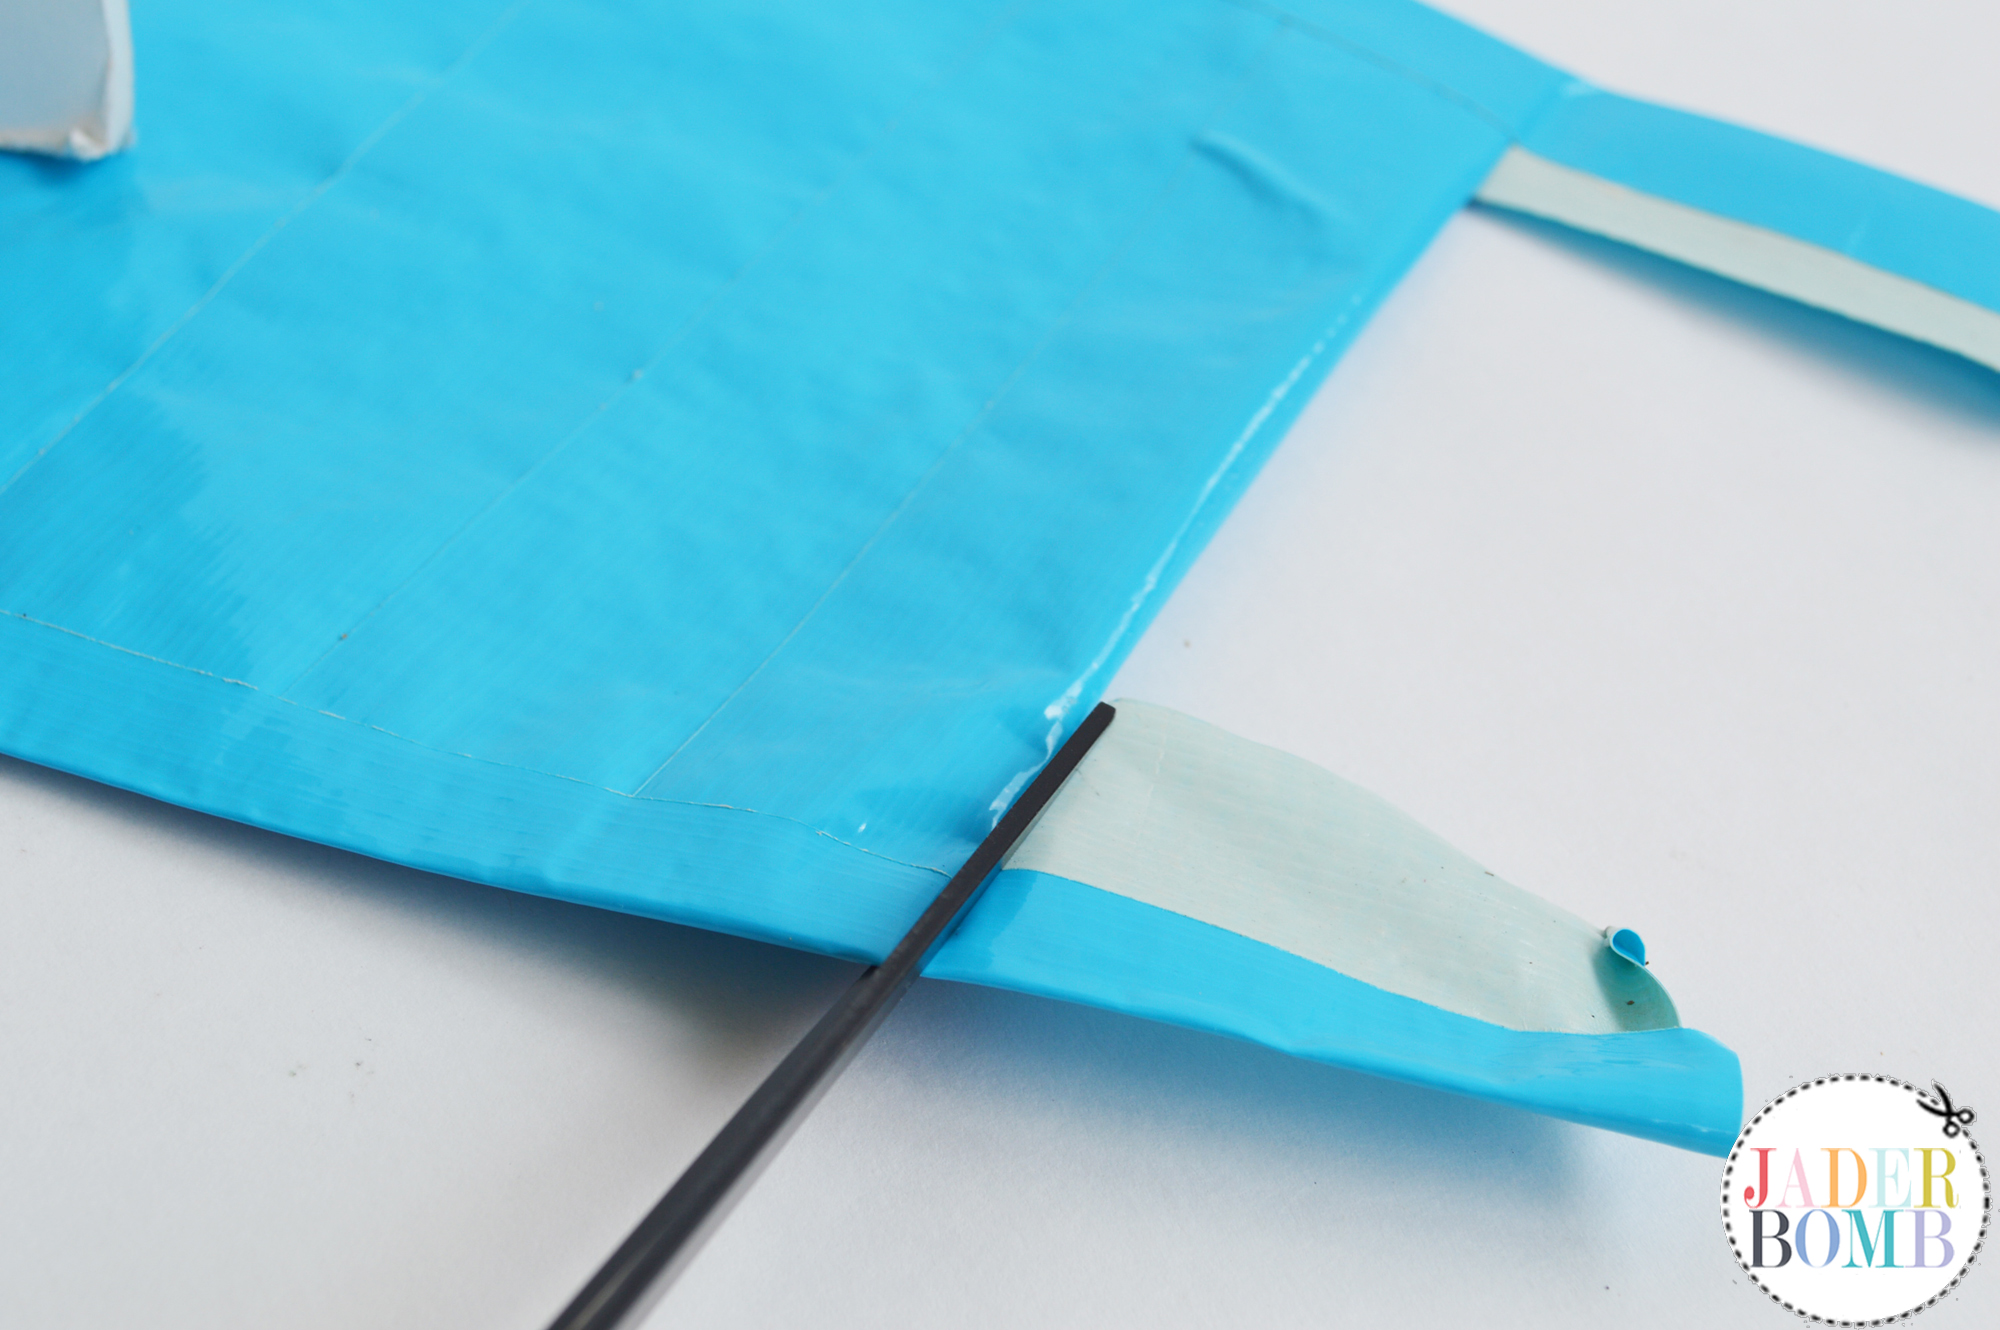
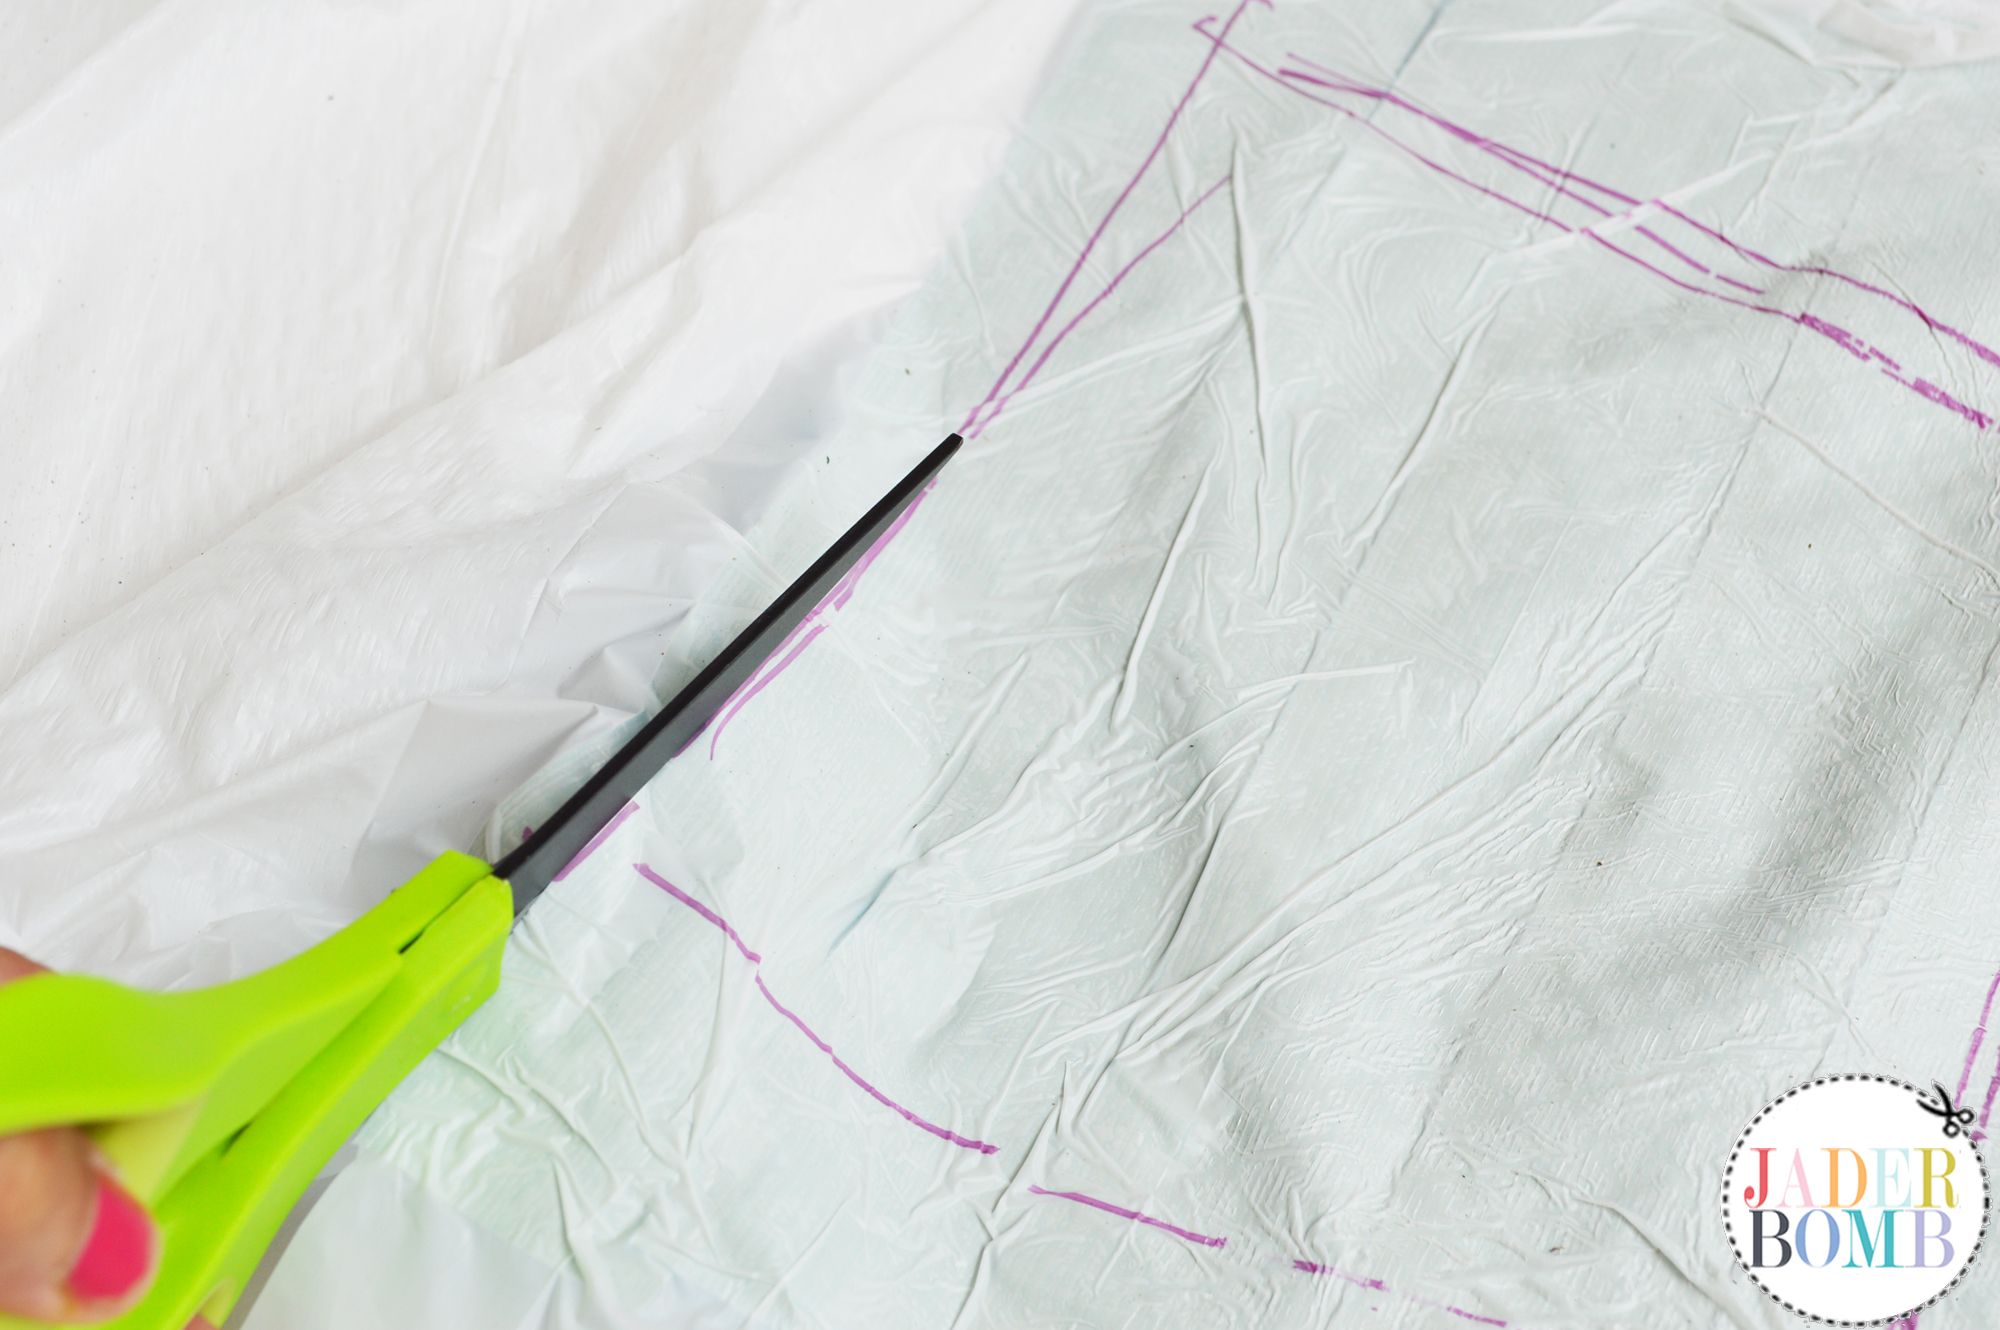
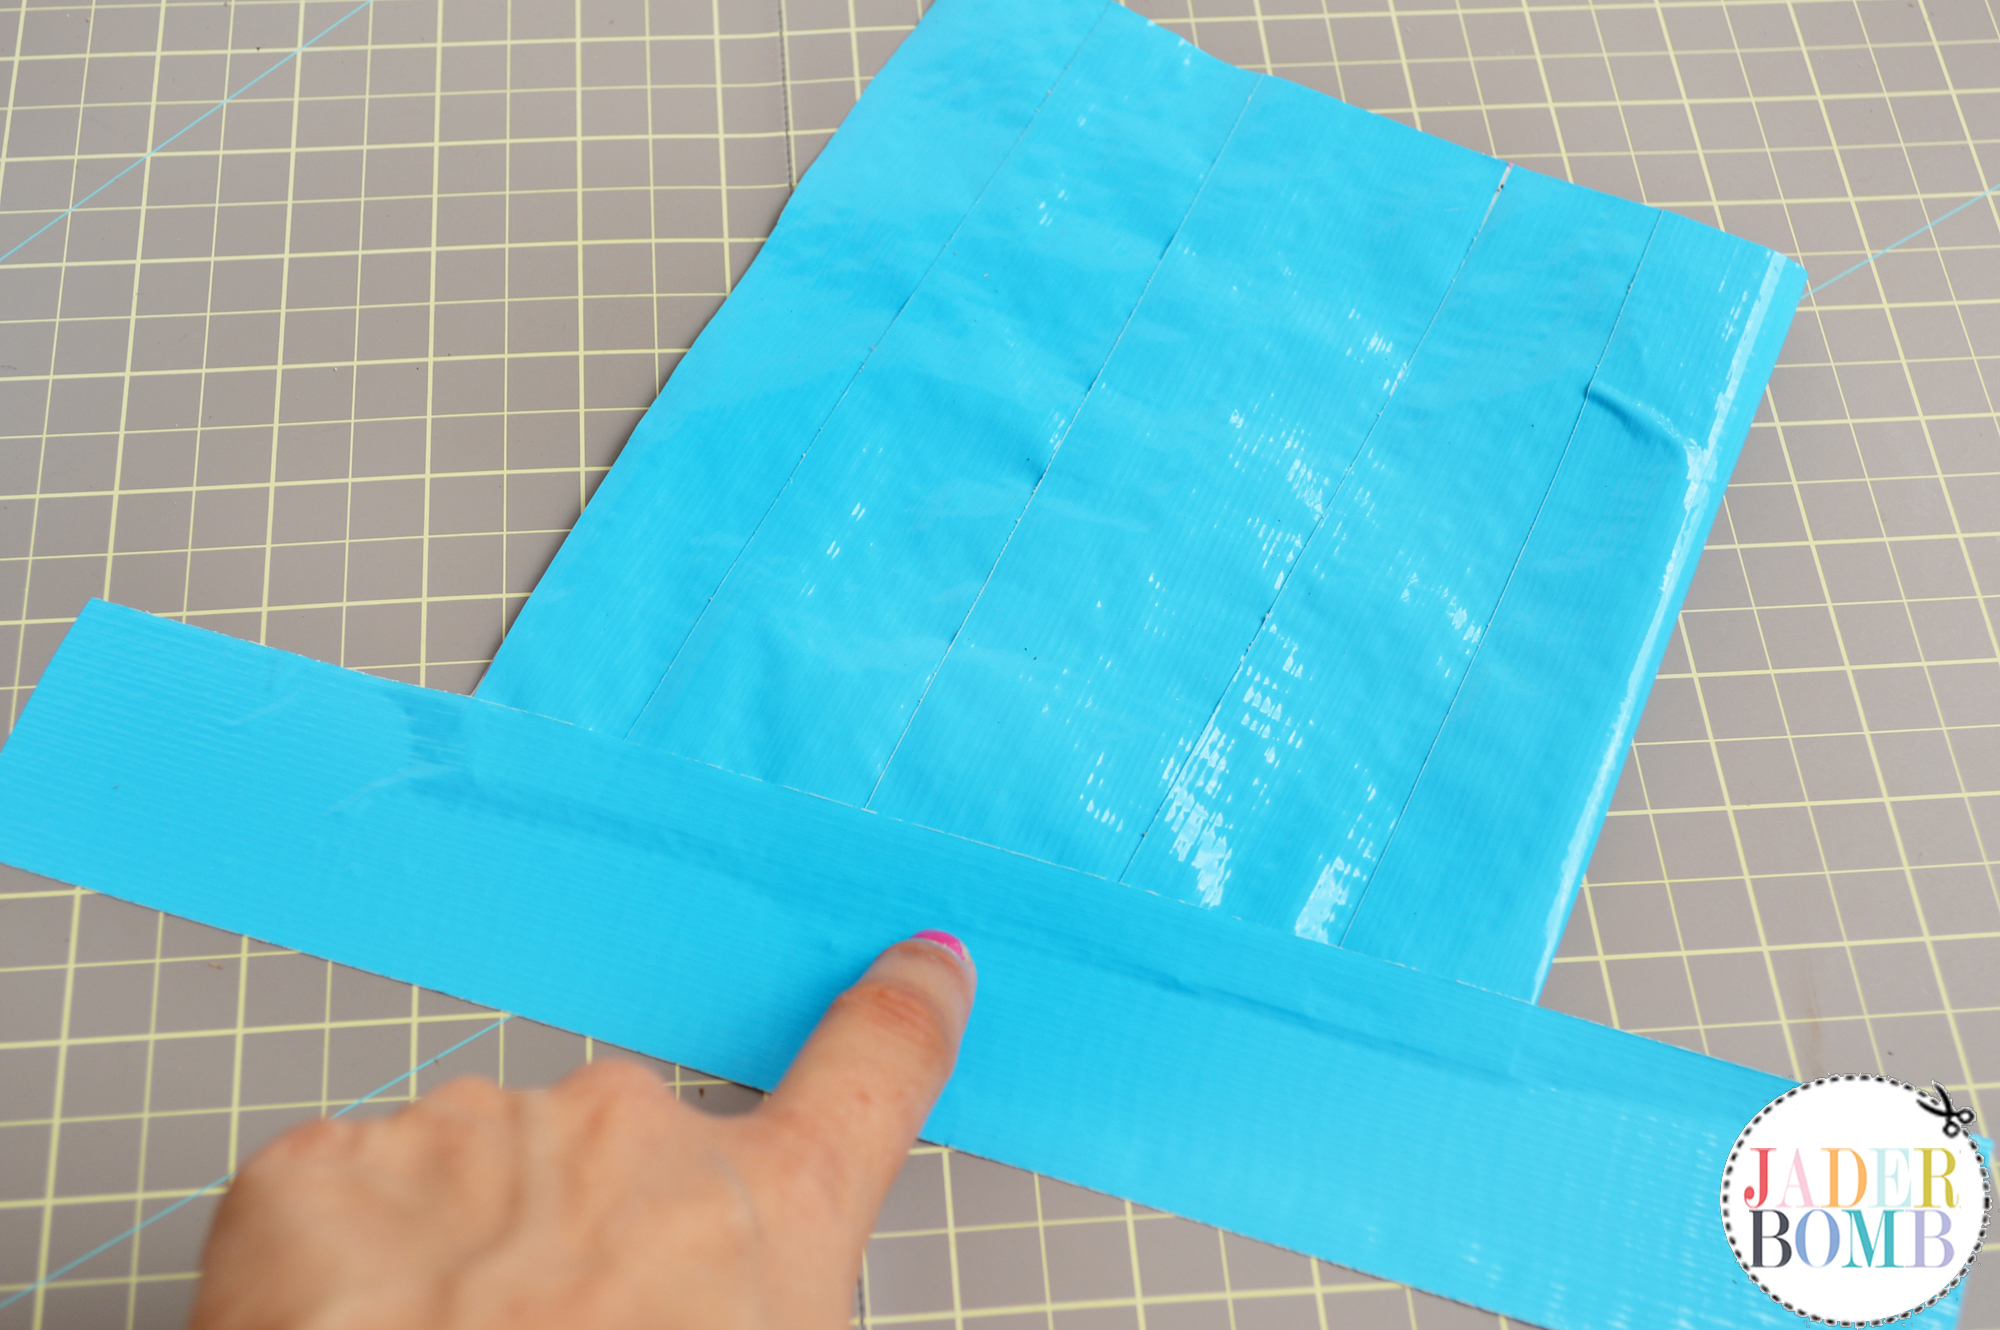
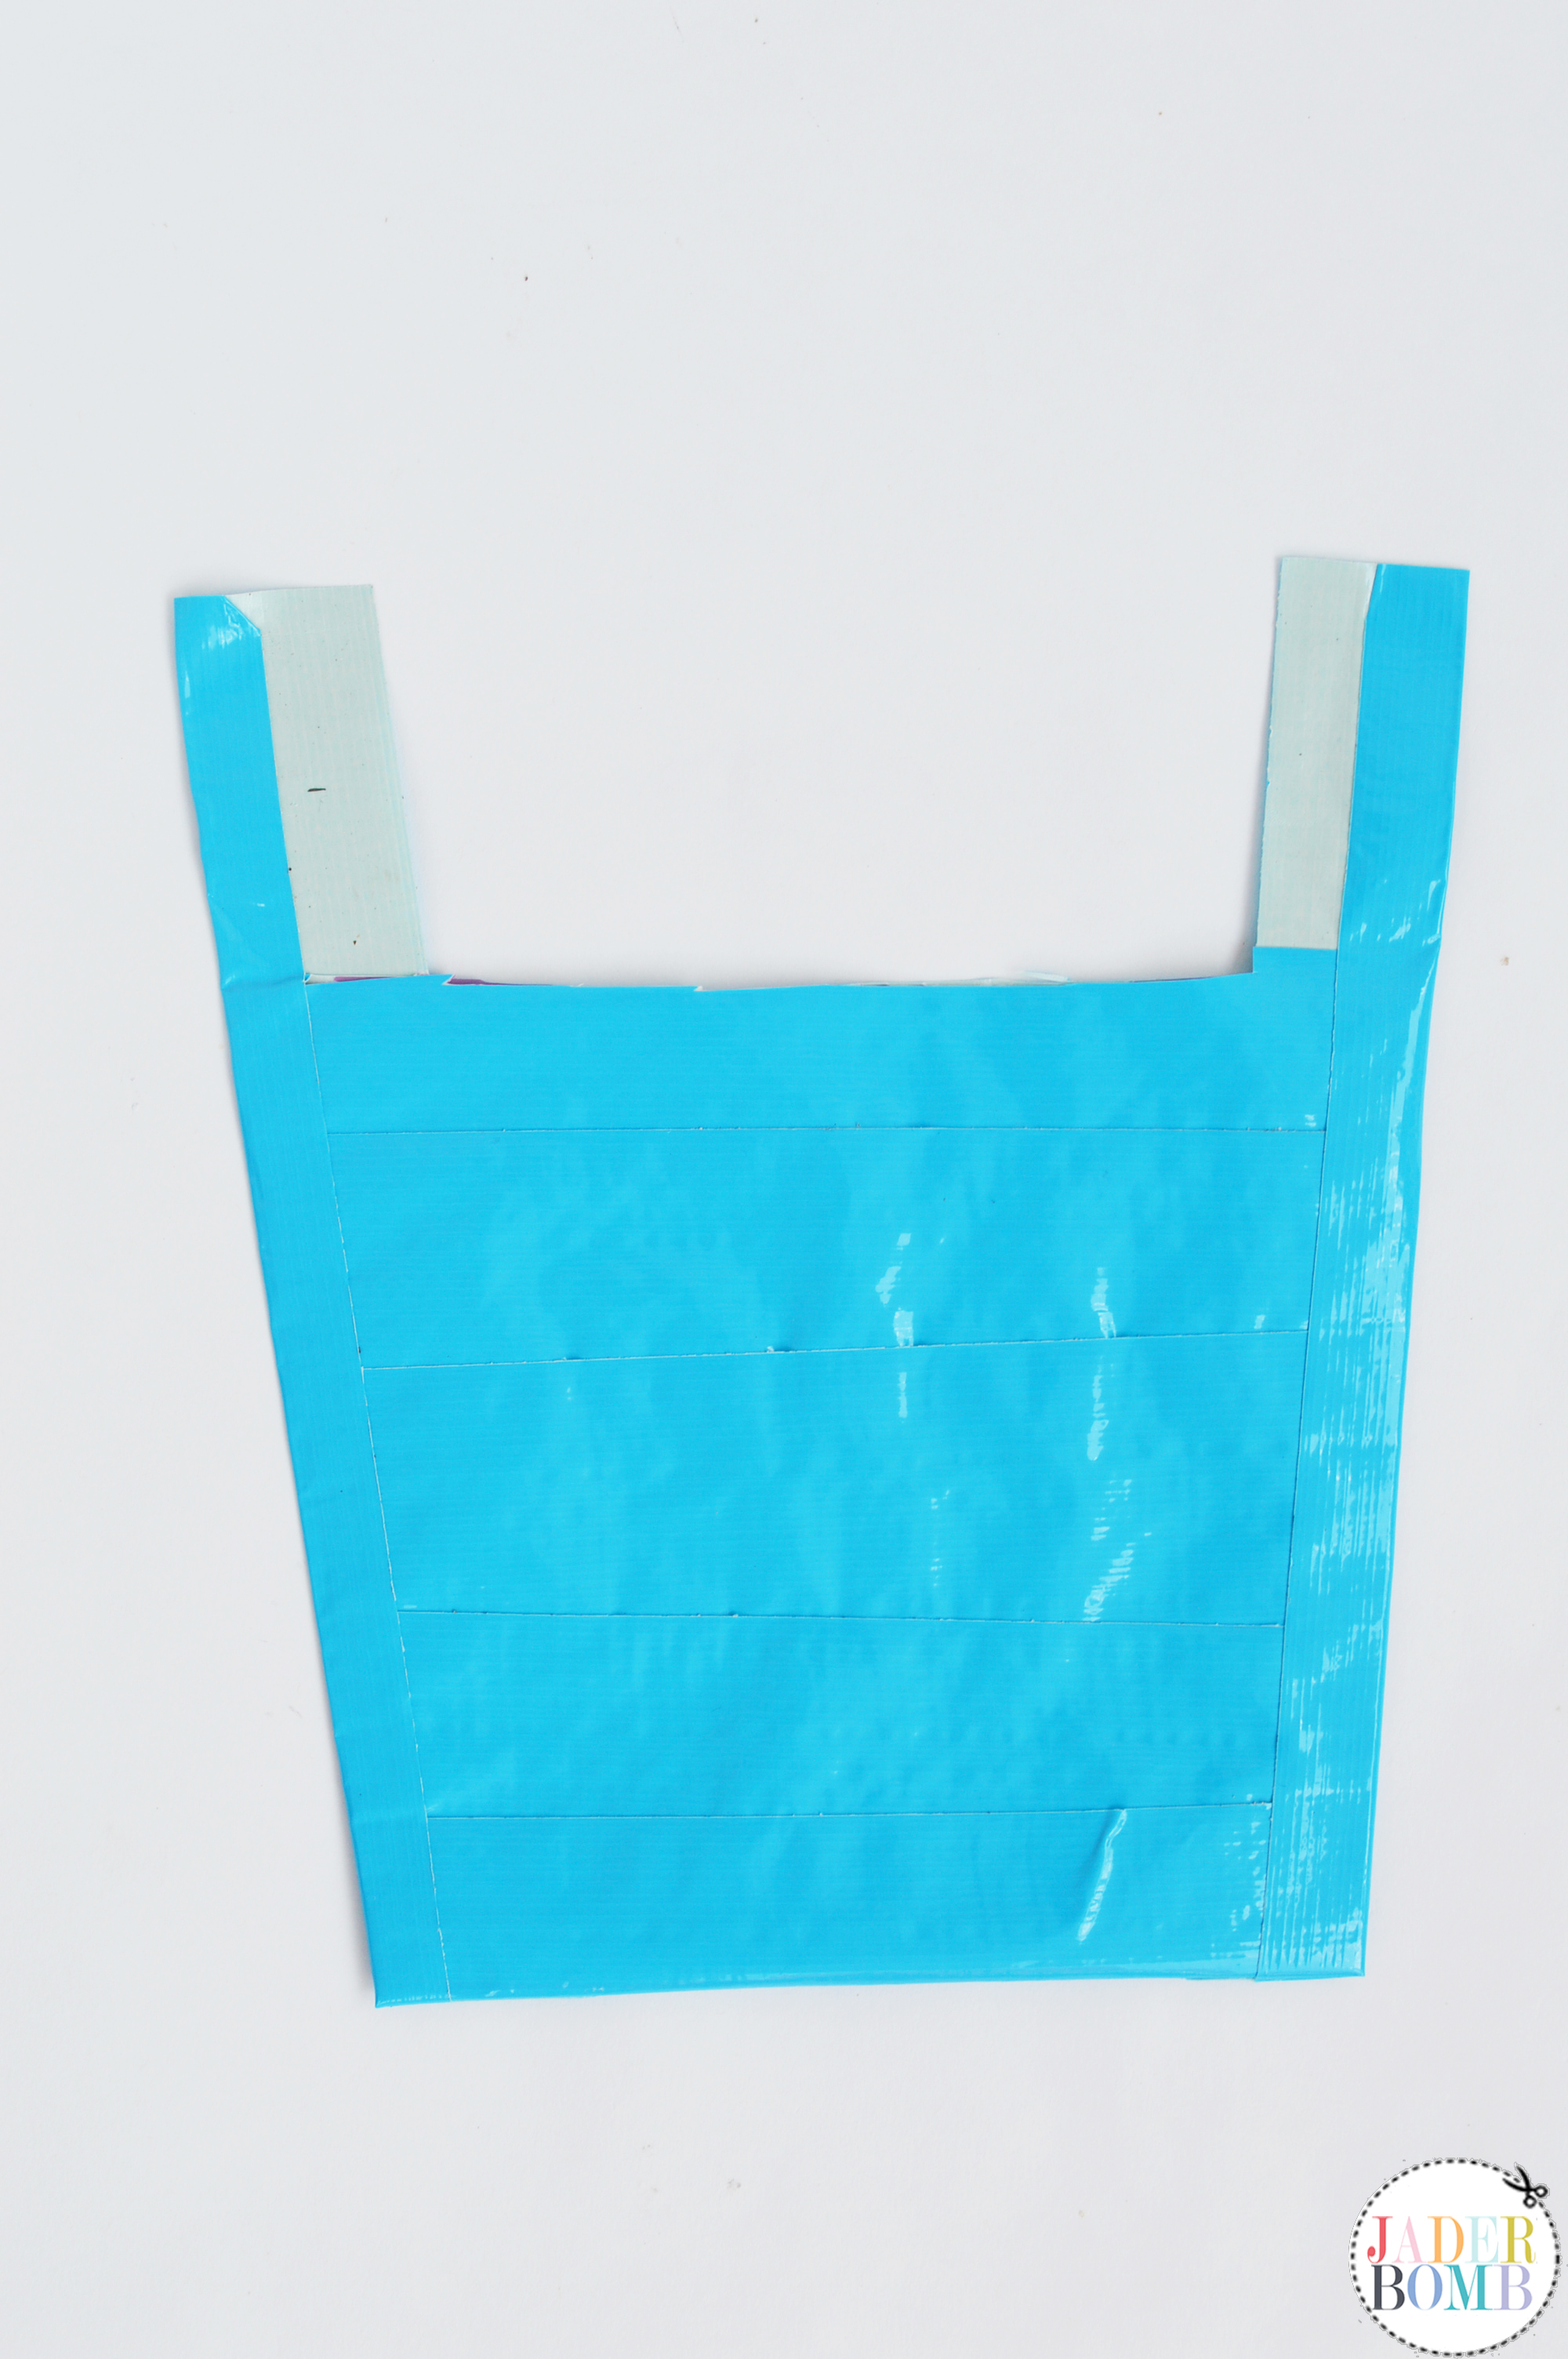
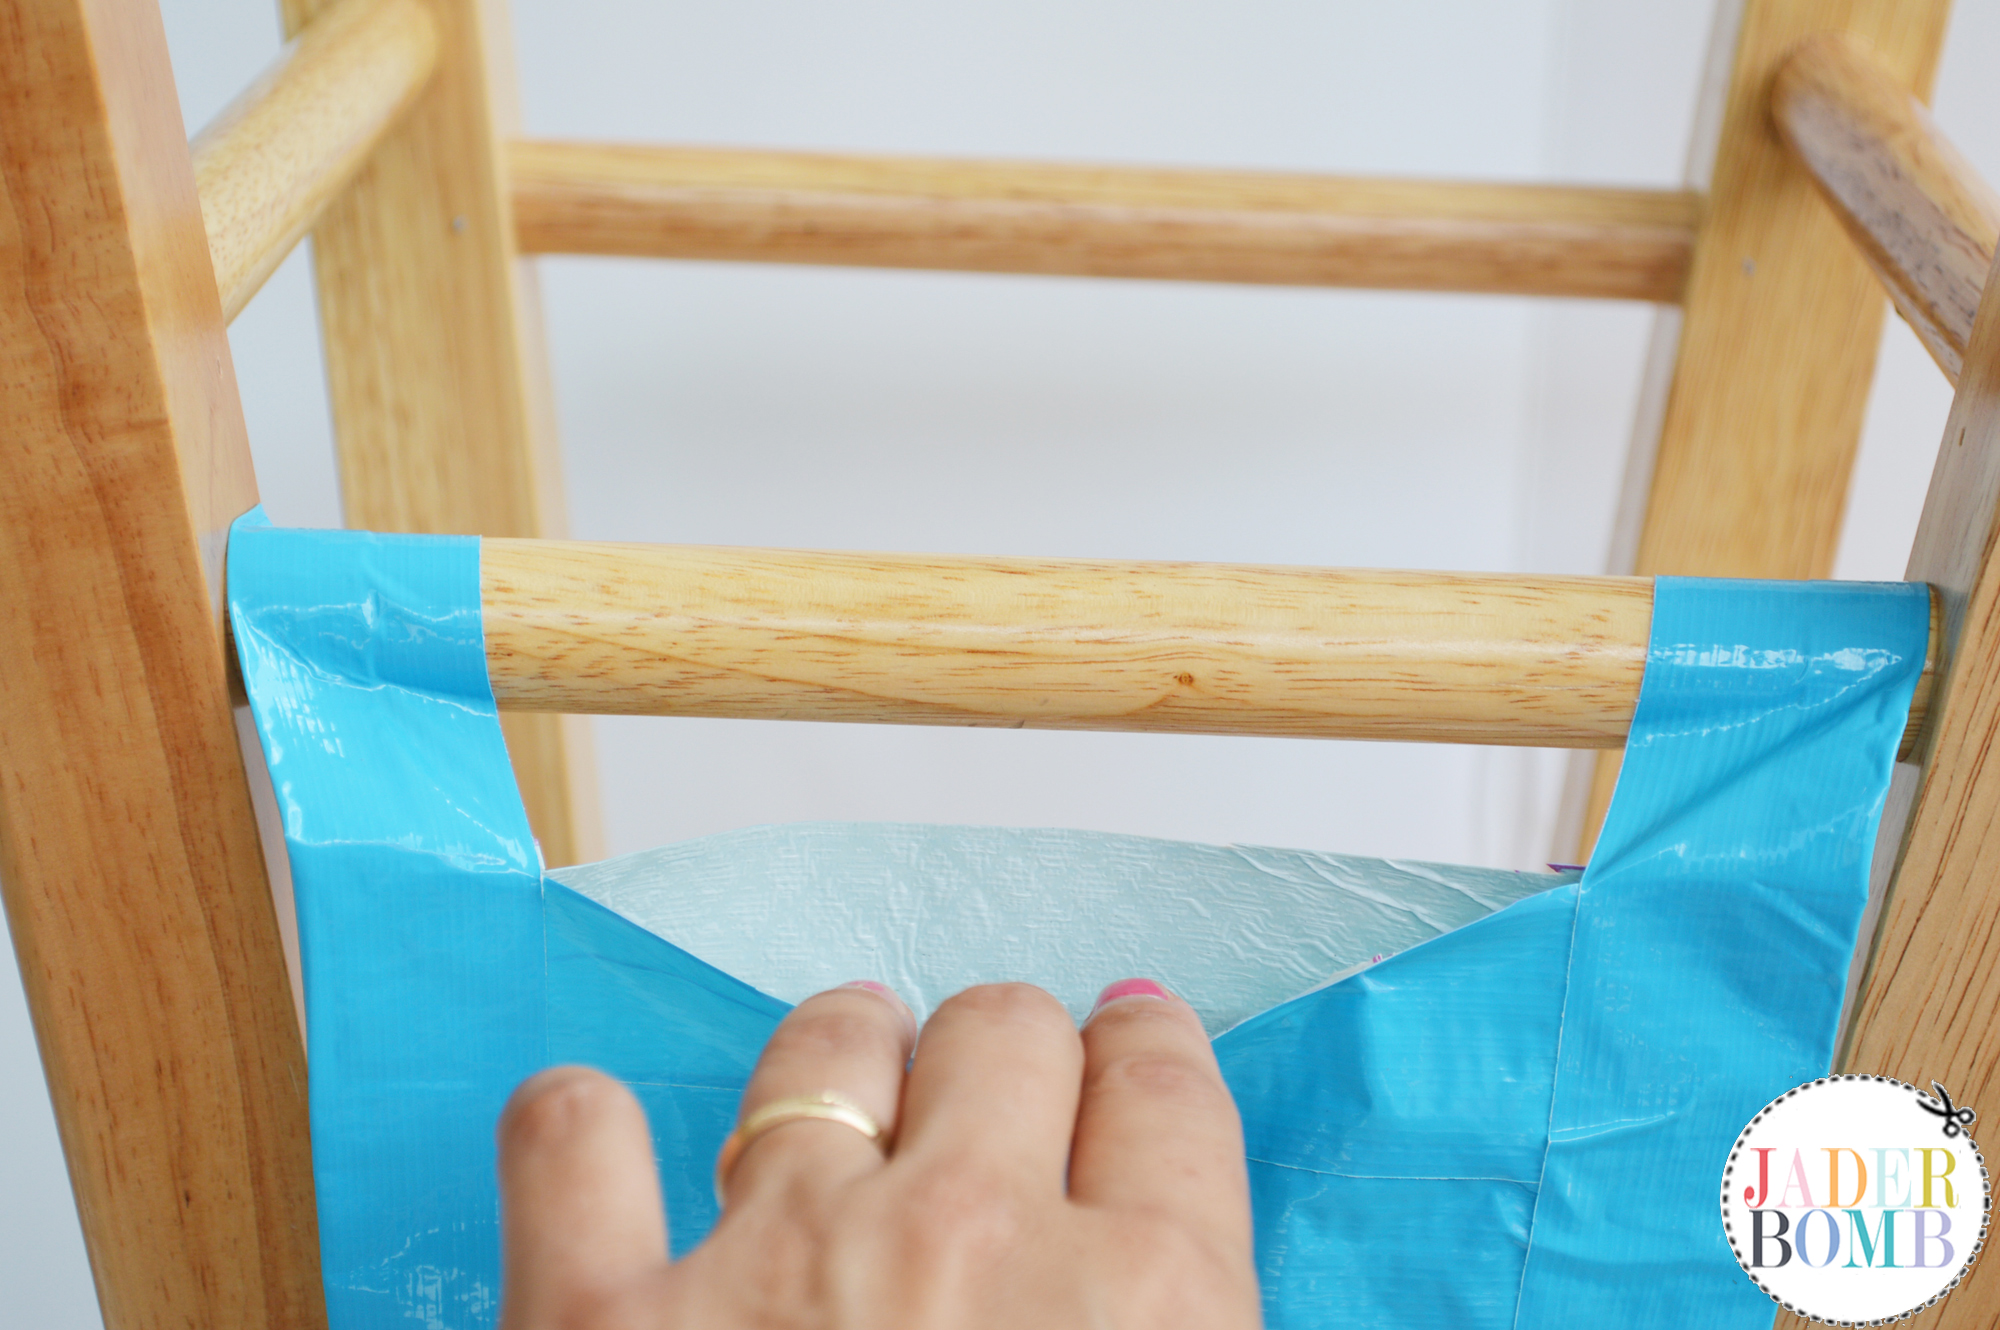
 Step 8: Fold your cut out in half. This is the start of a bag that will hang on the stool.
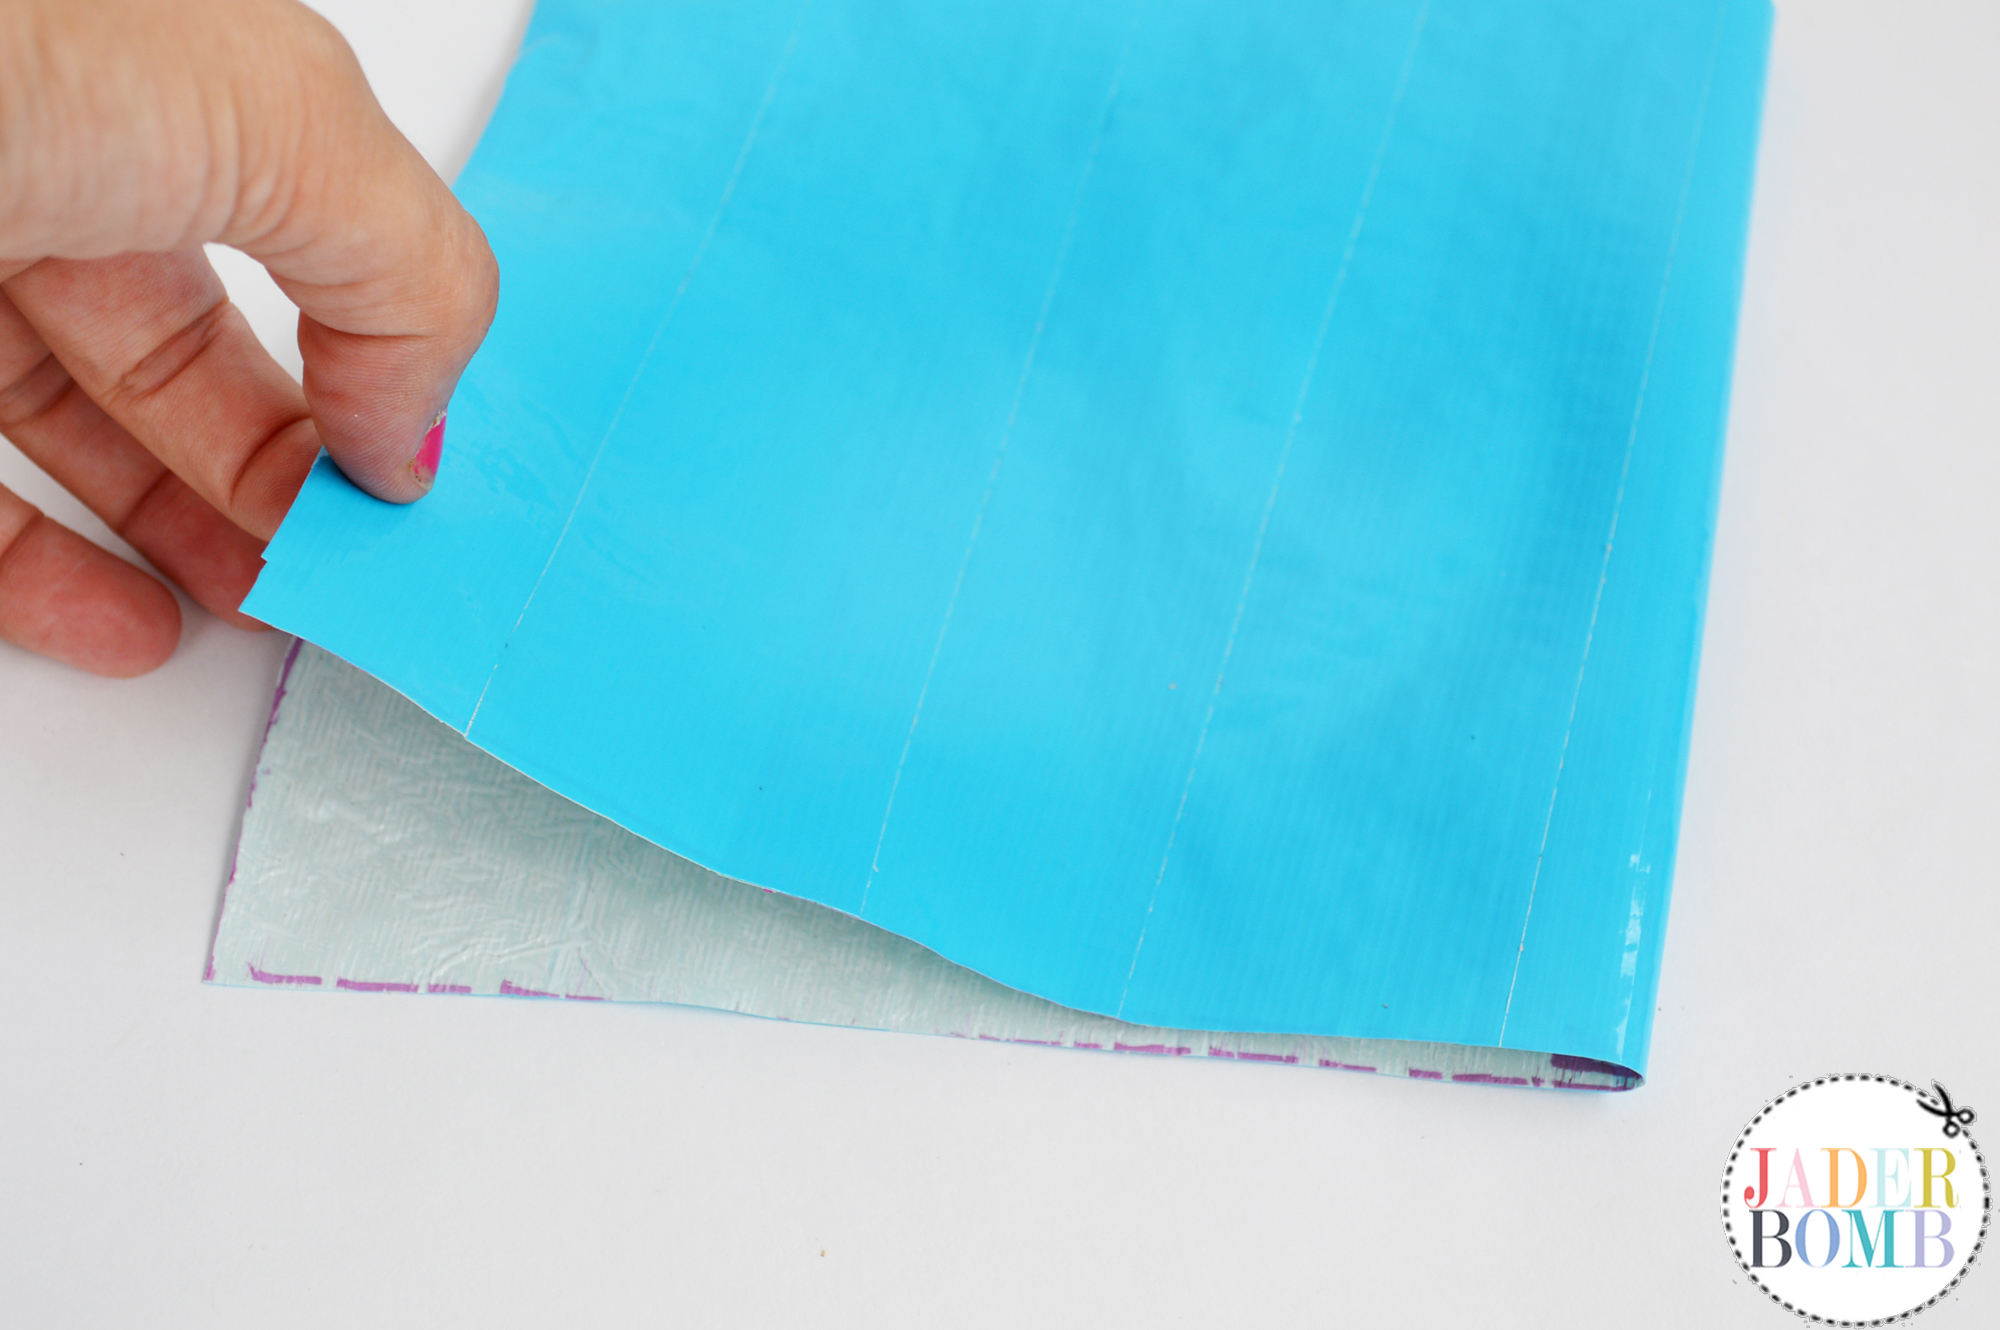
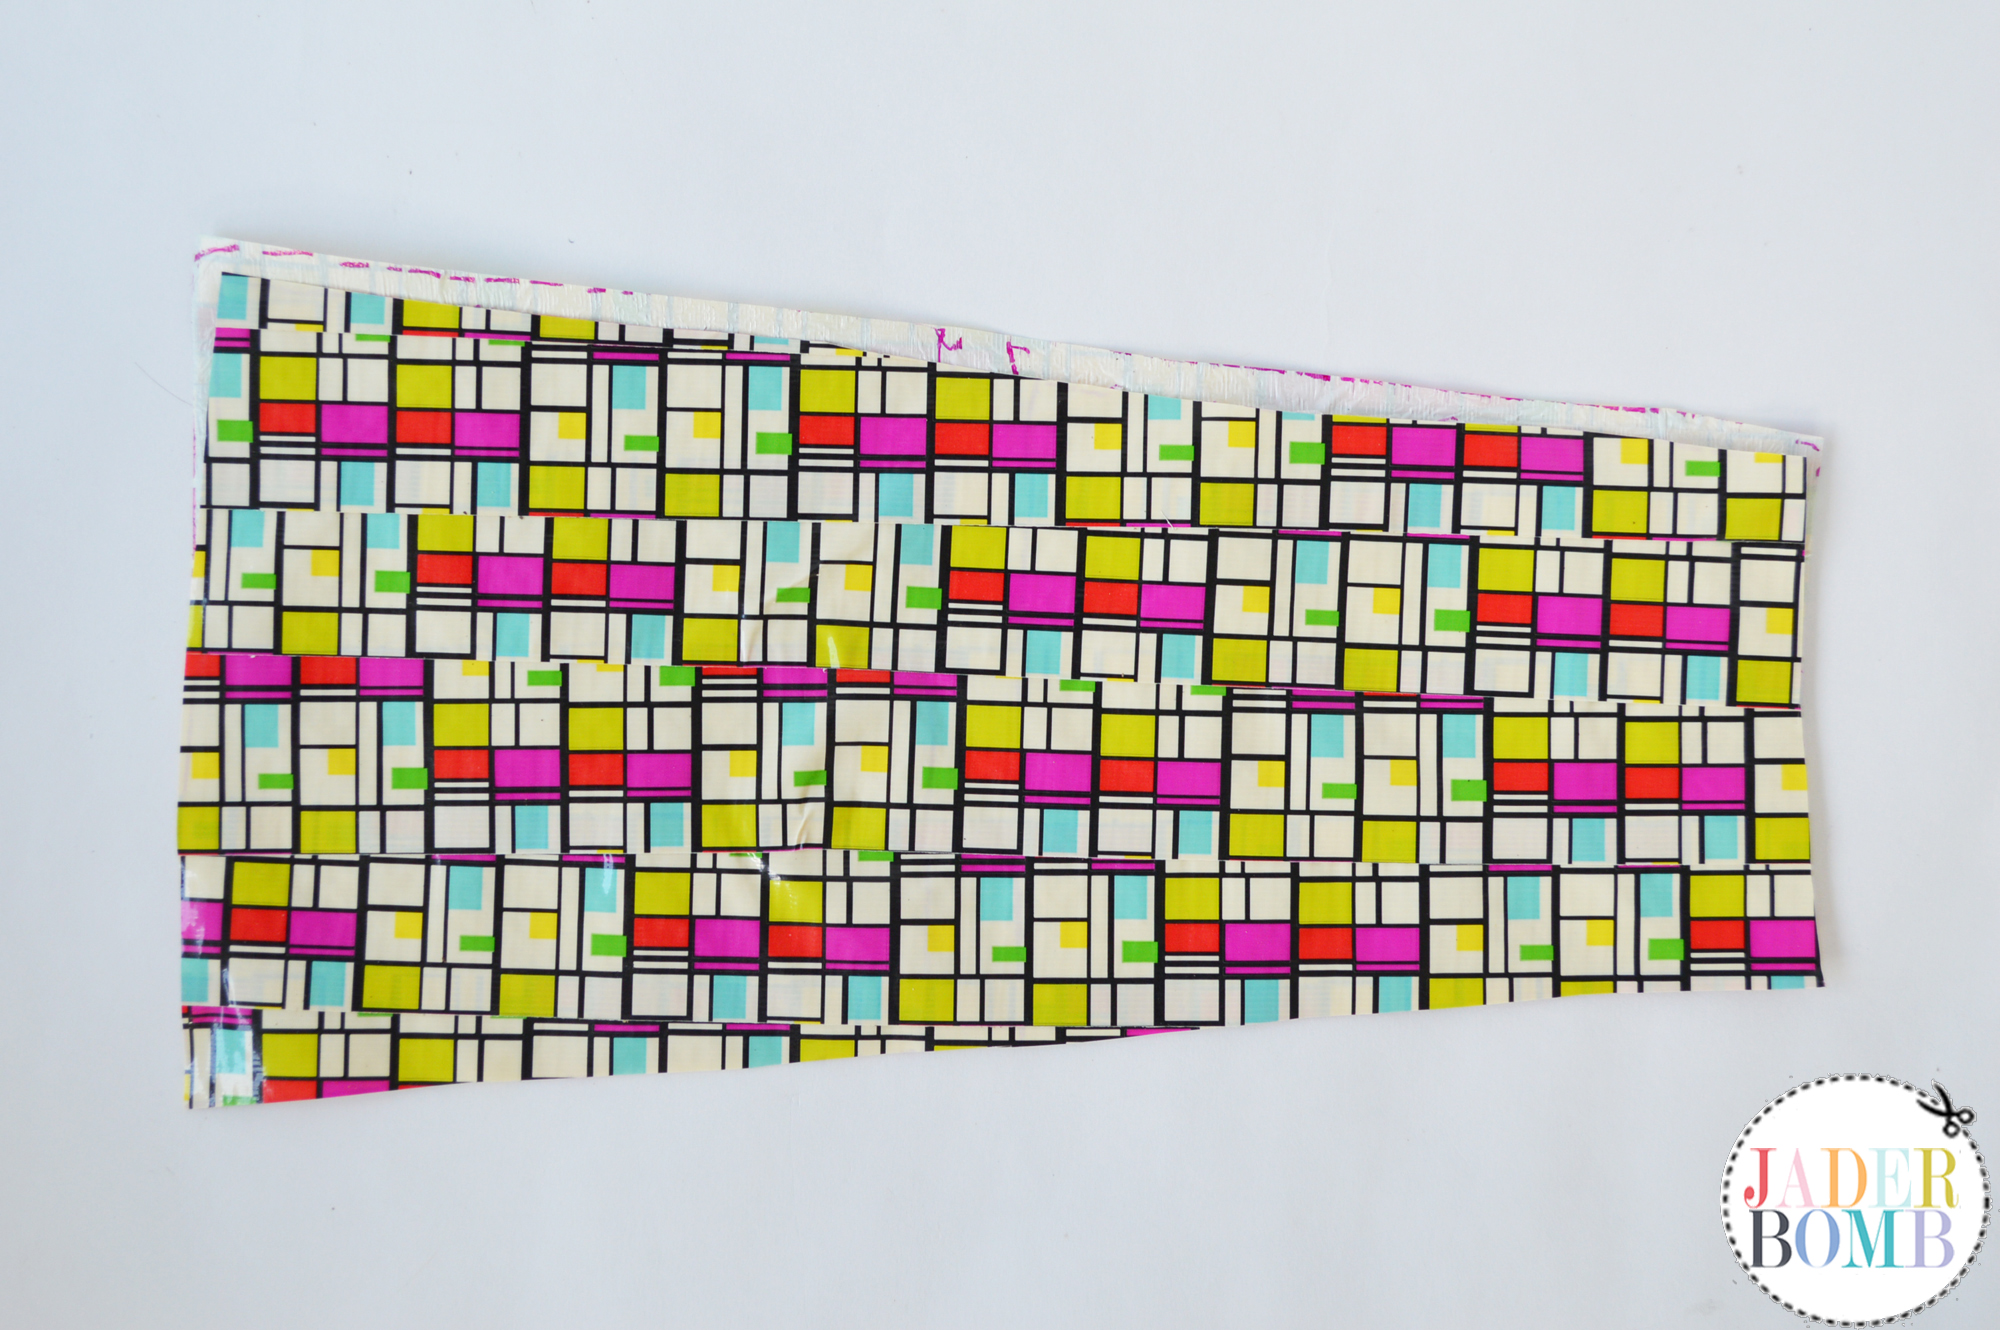
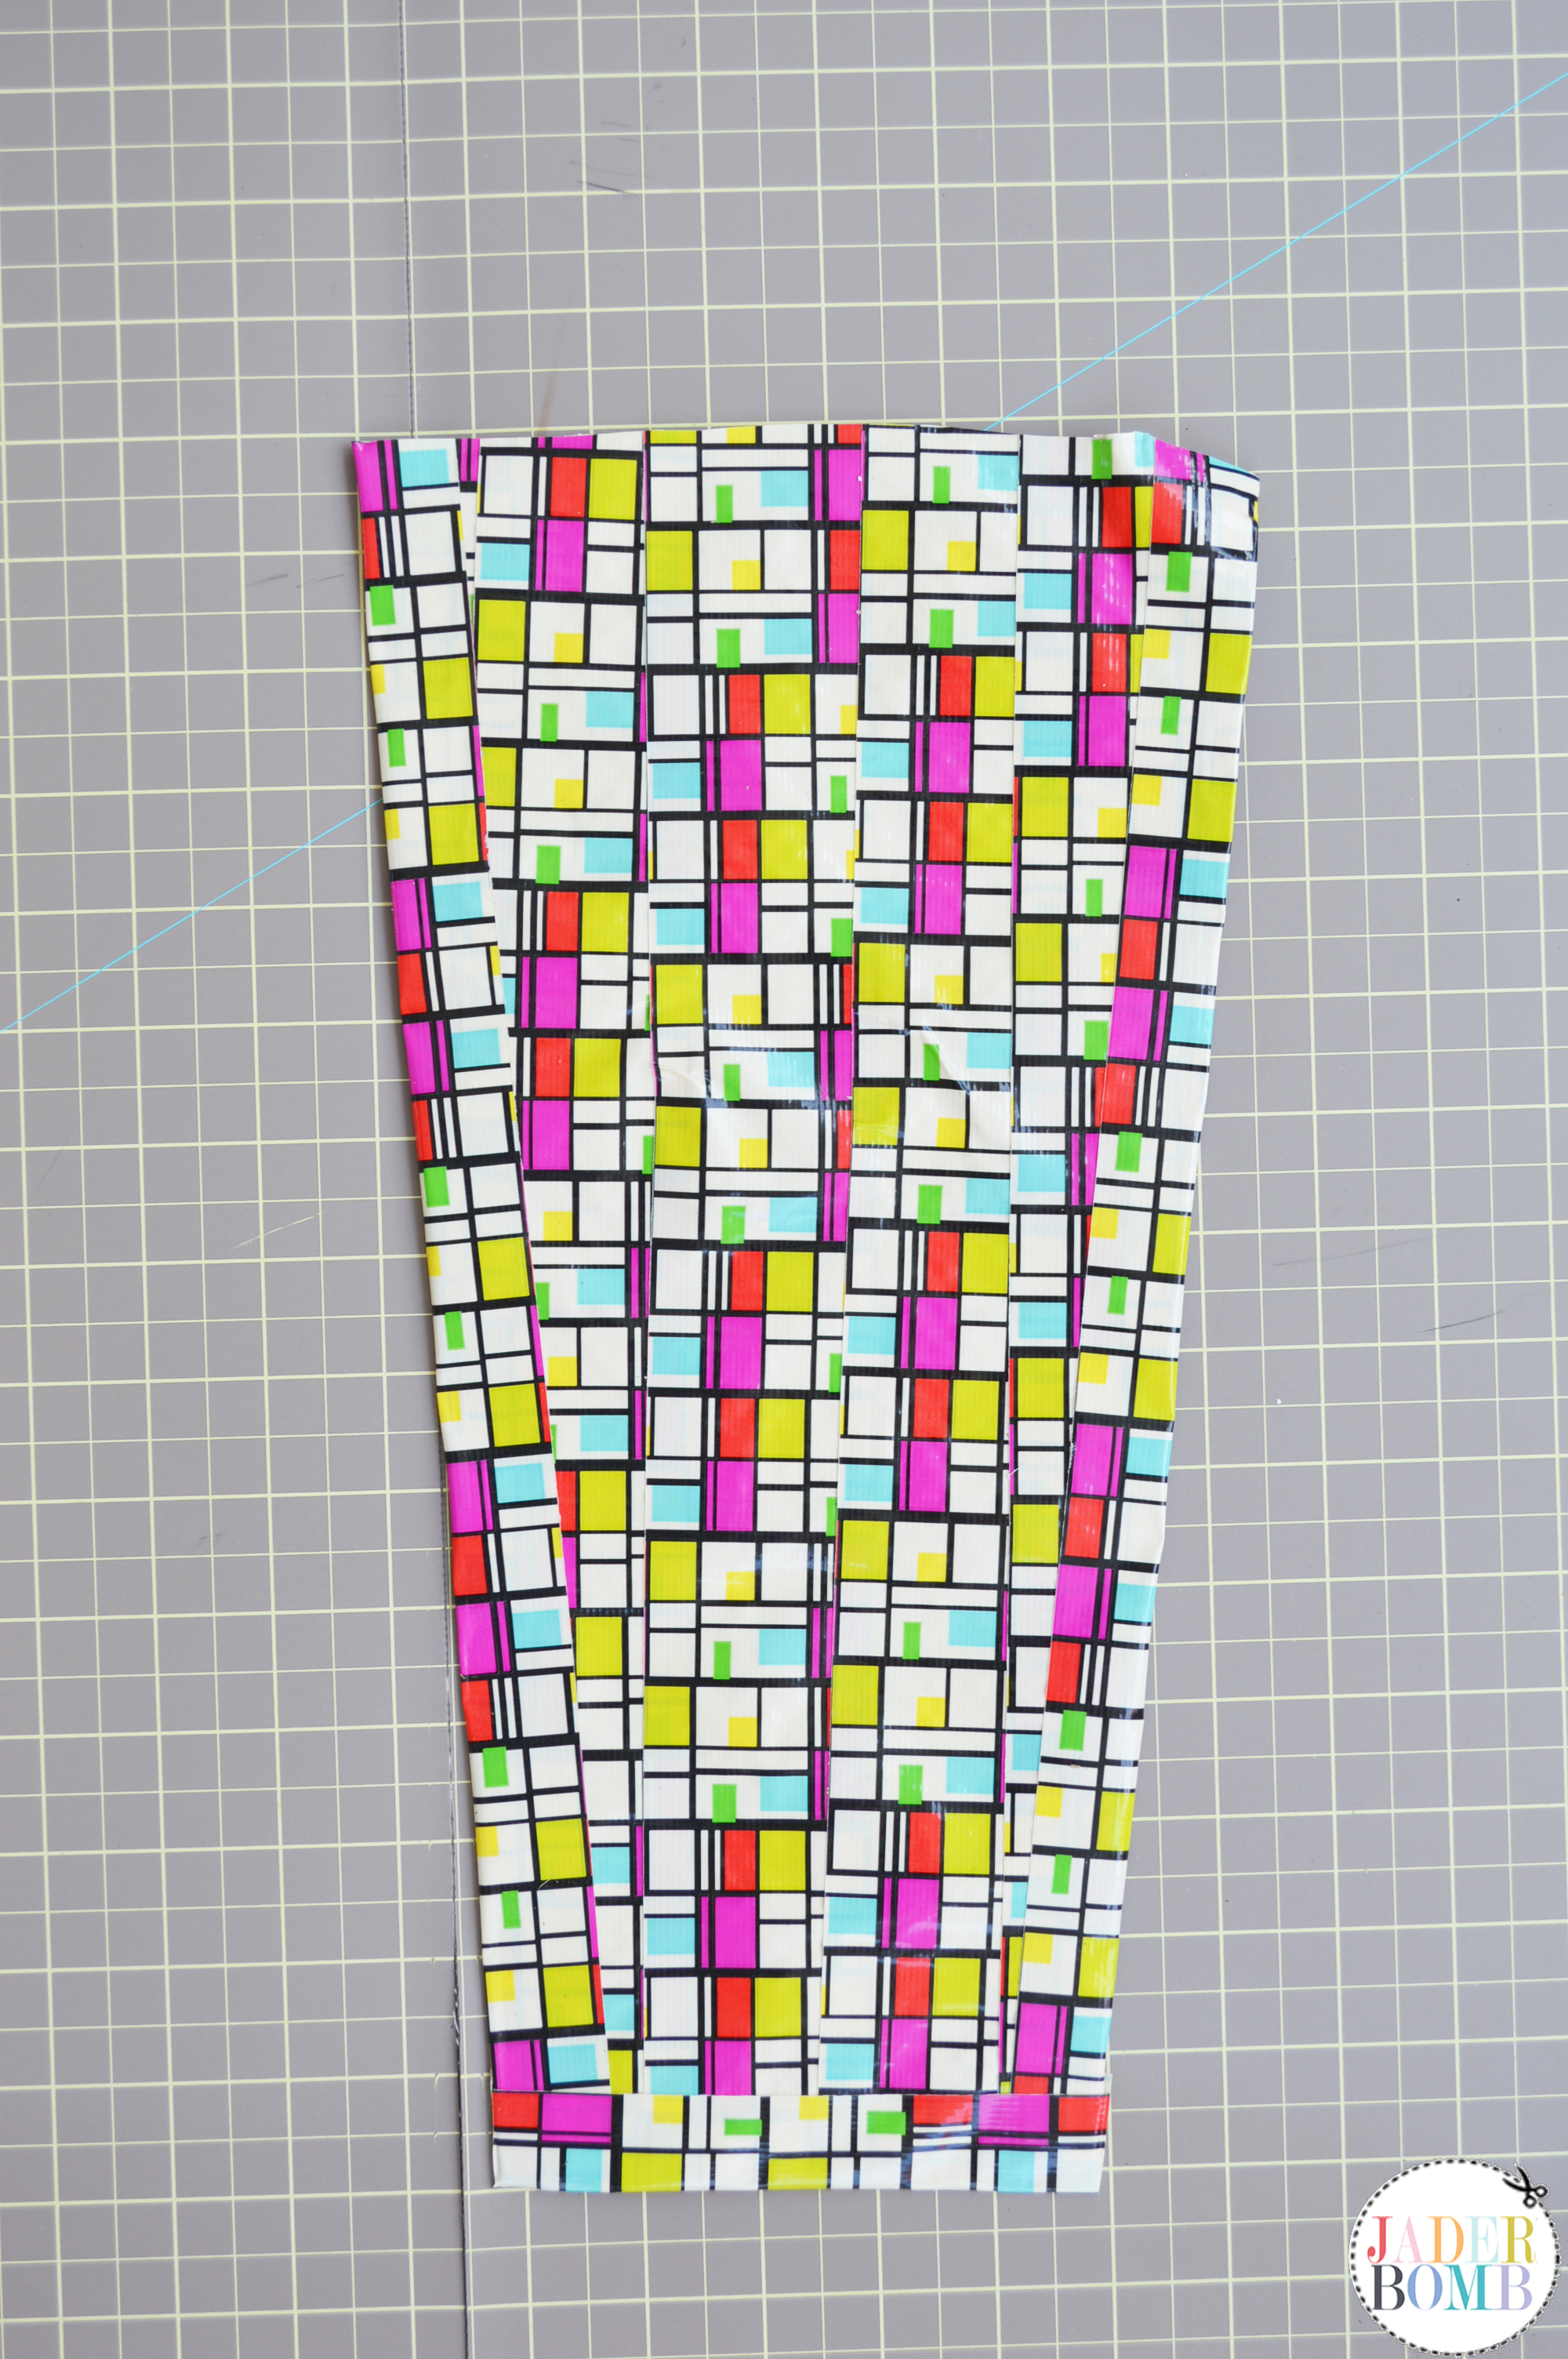
 Fill in the space like you did earlier for the small bag.
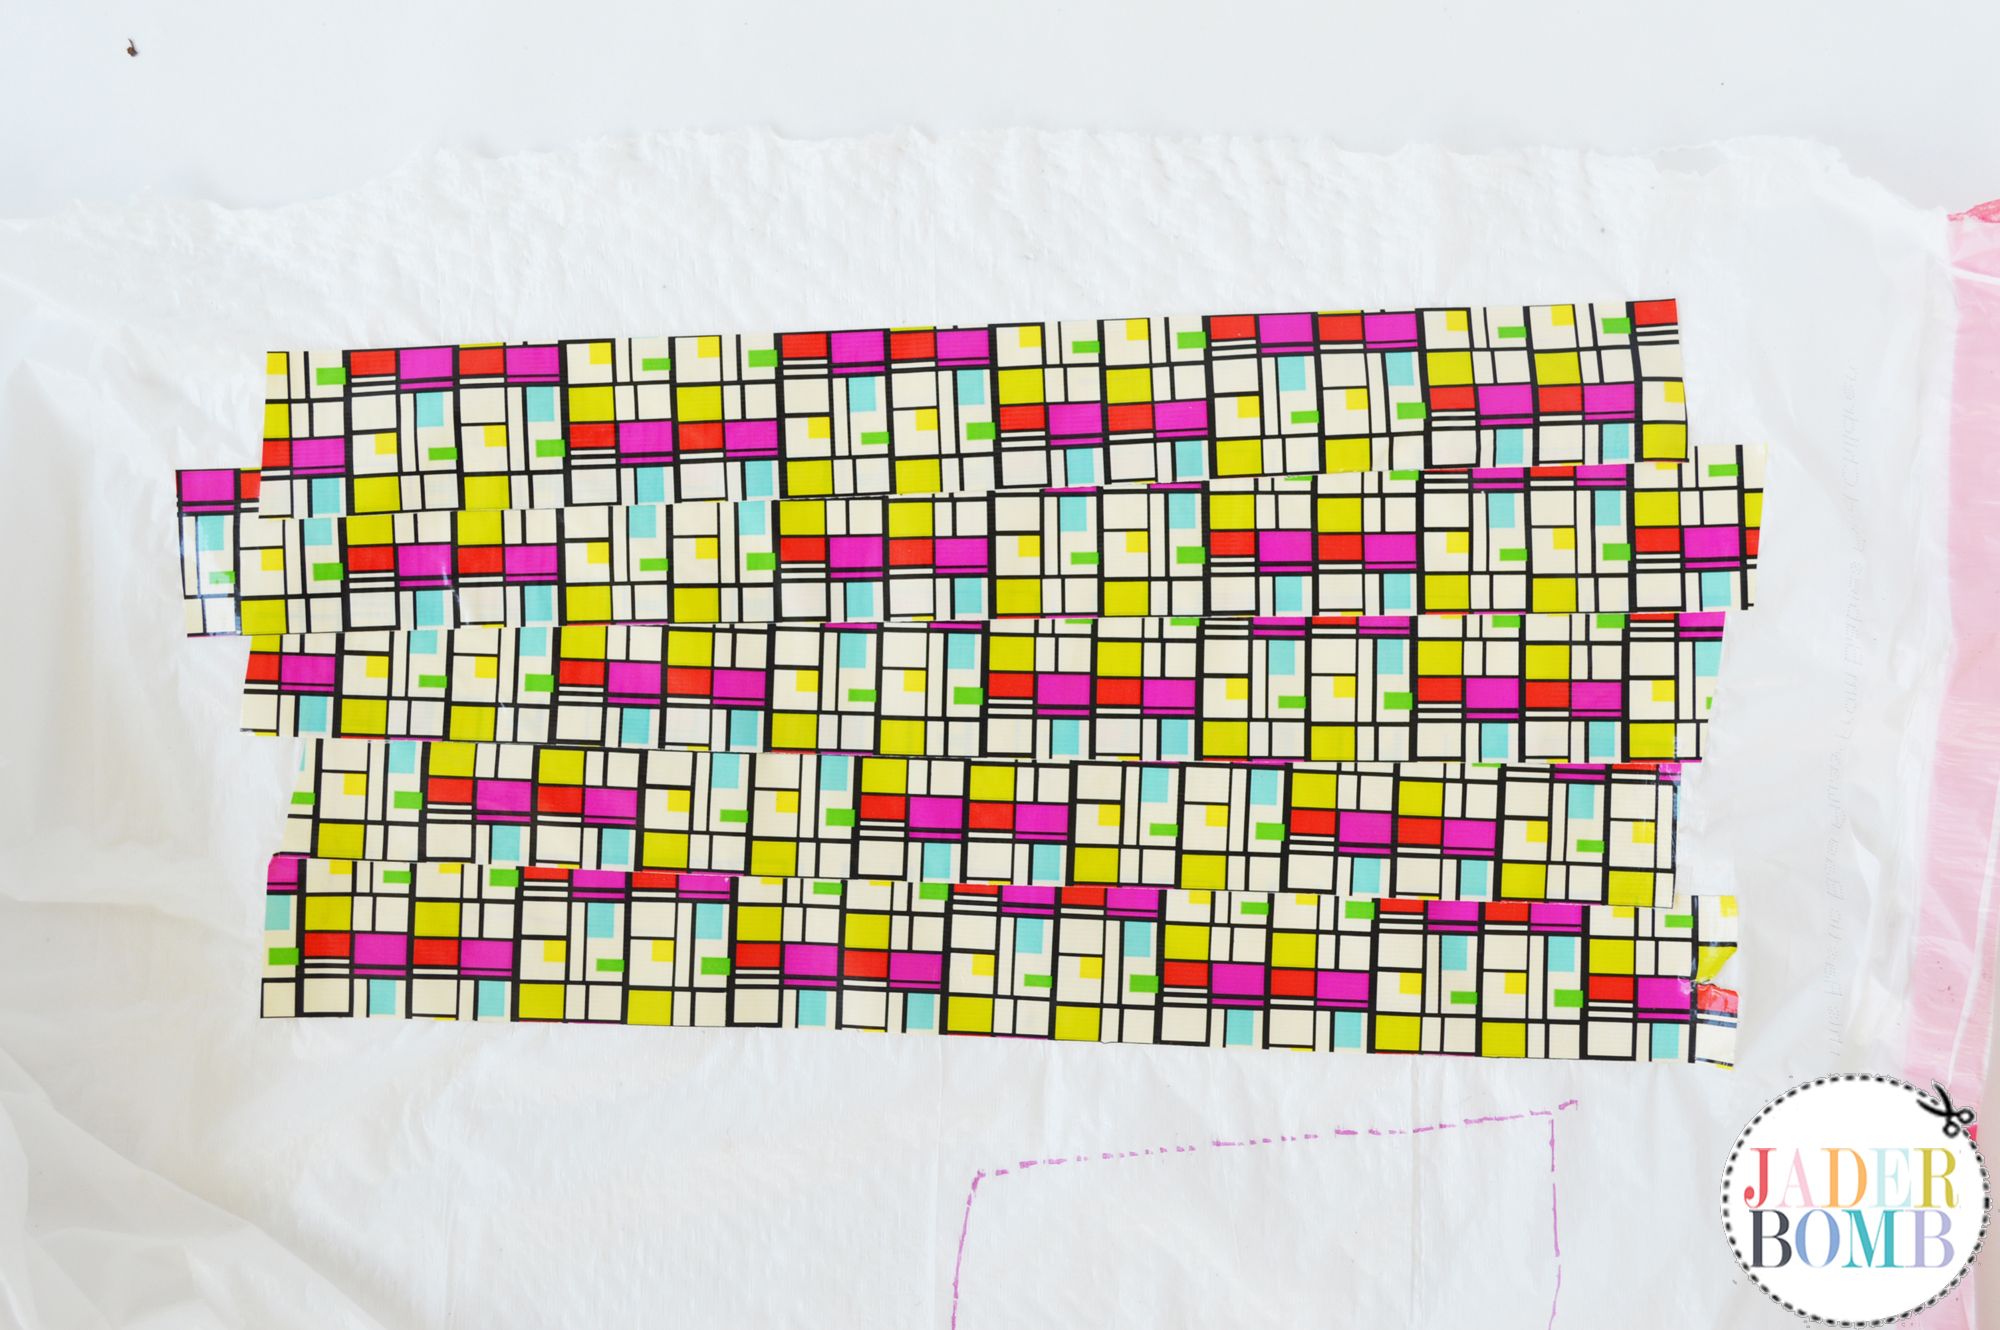 Cut out your pieces making sure to not cut the sections in half. We want this bag to be long! We are doing the same steps as we did for the small bag. Pretty simple ey!
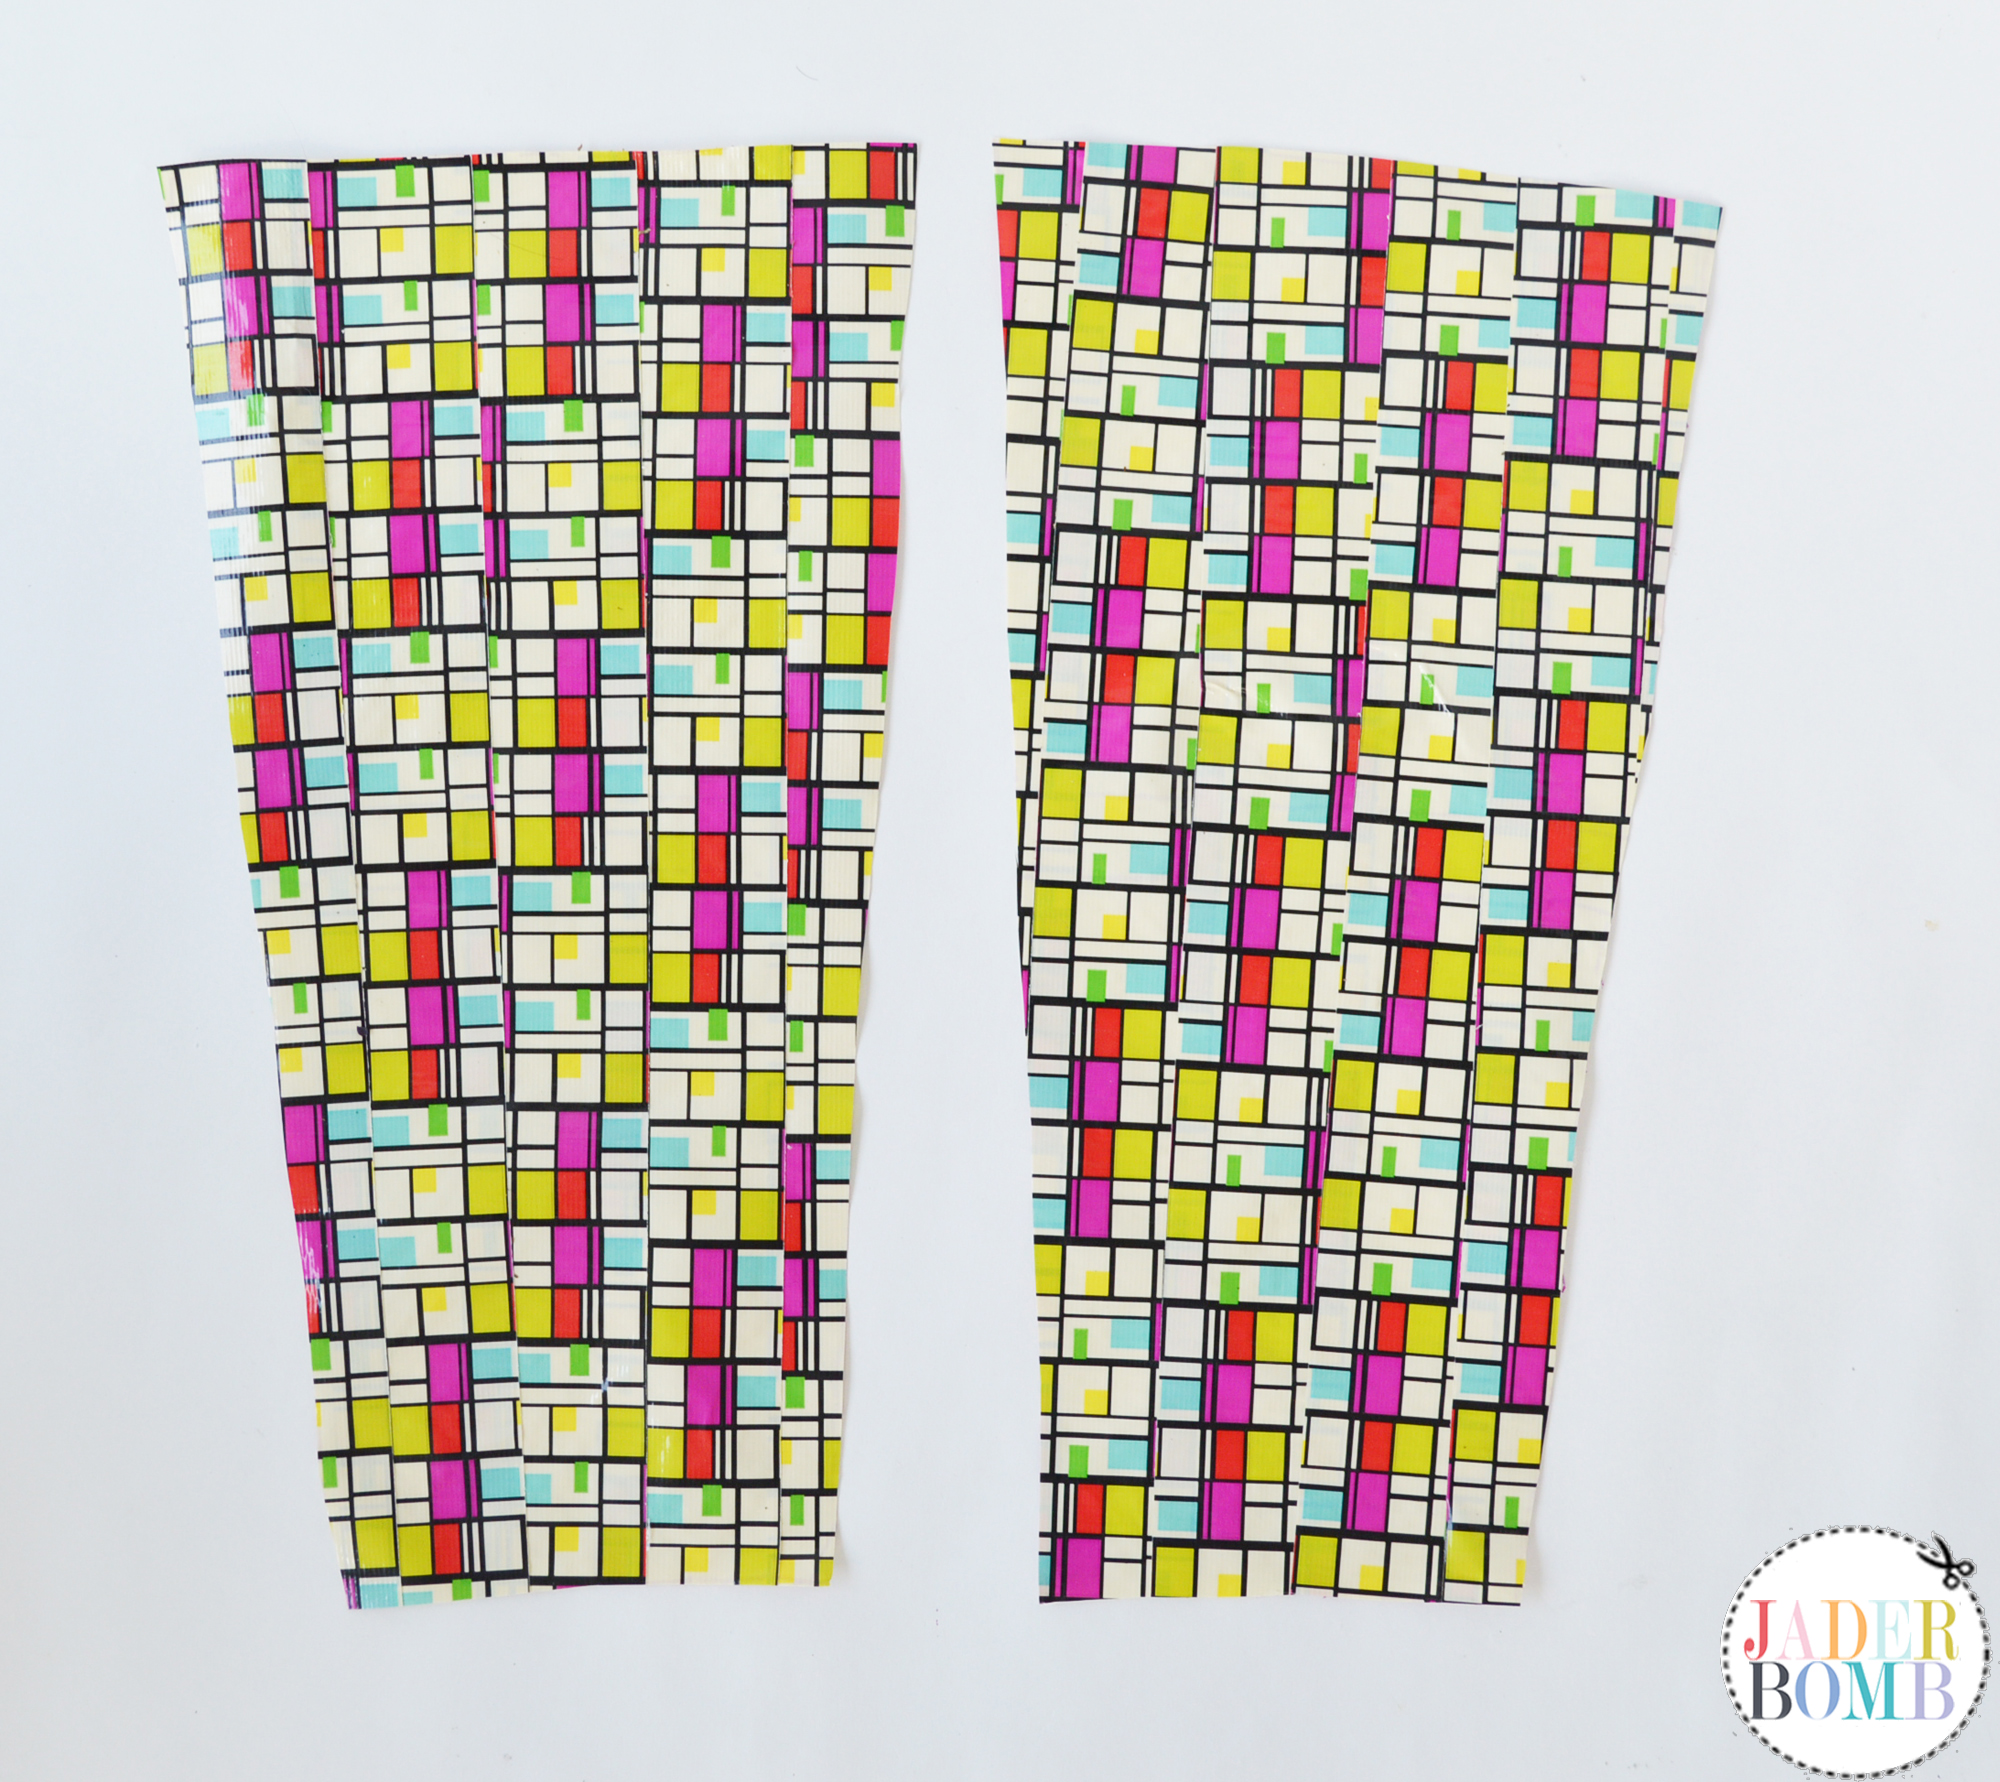


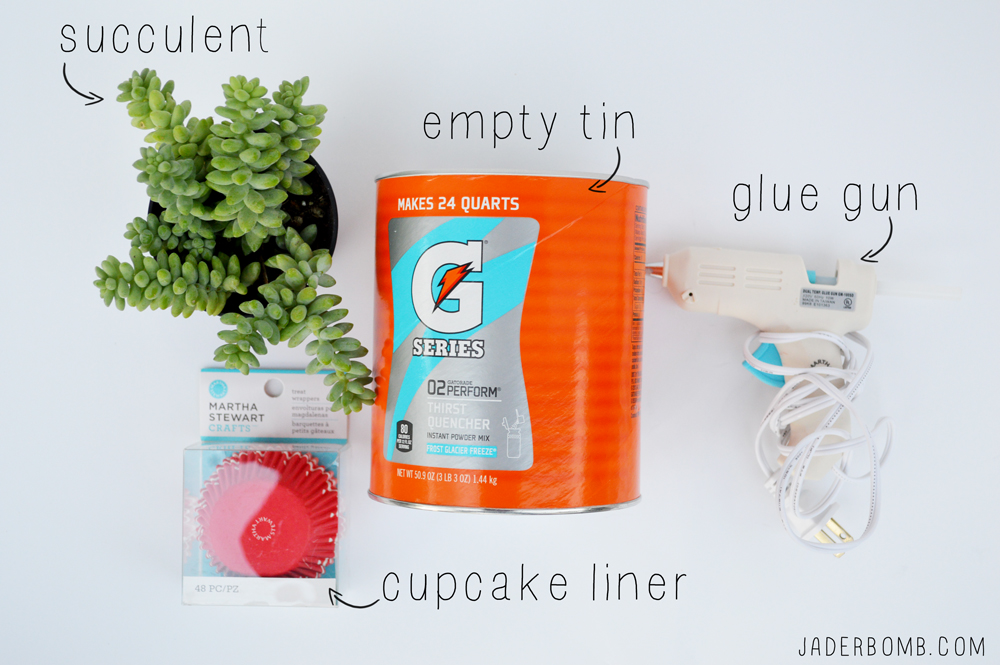
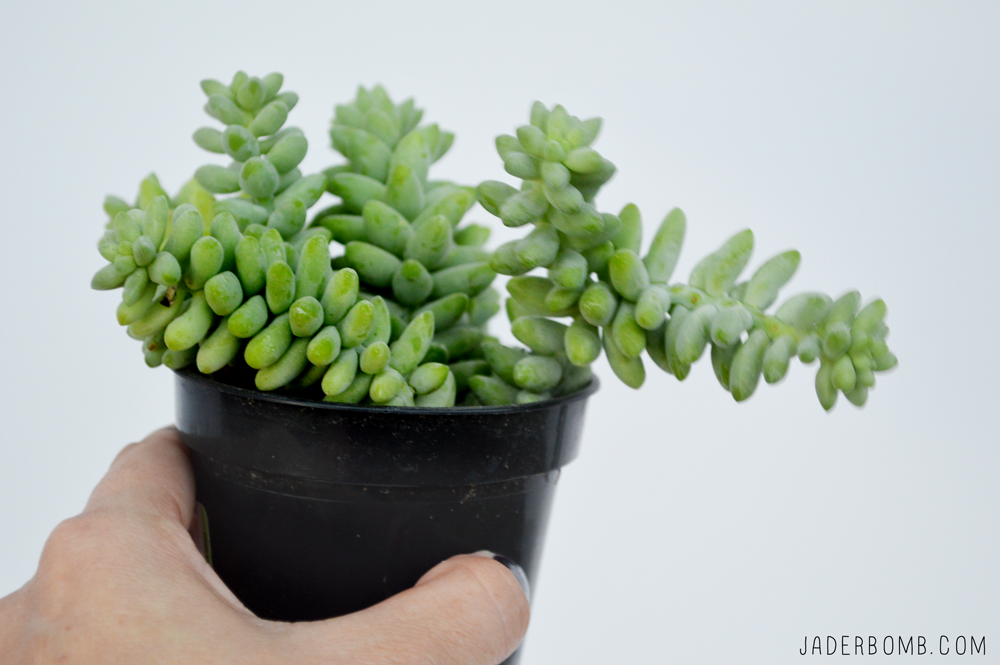
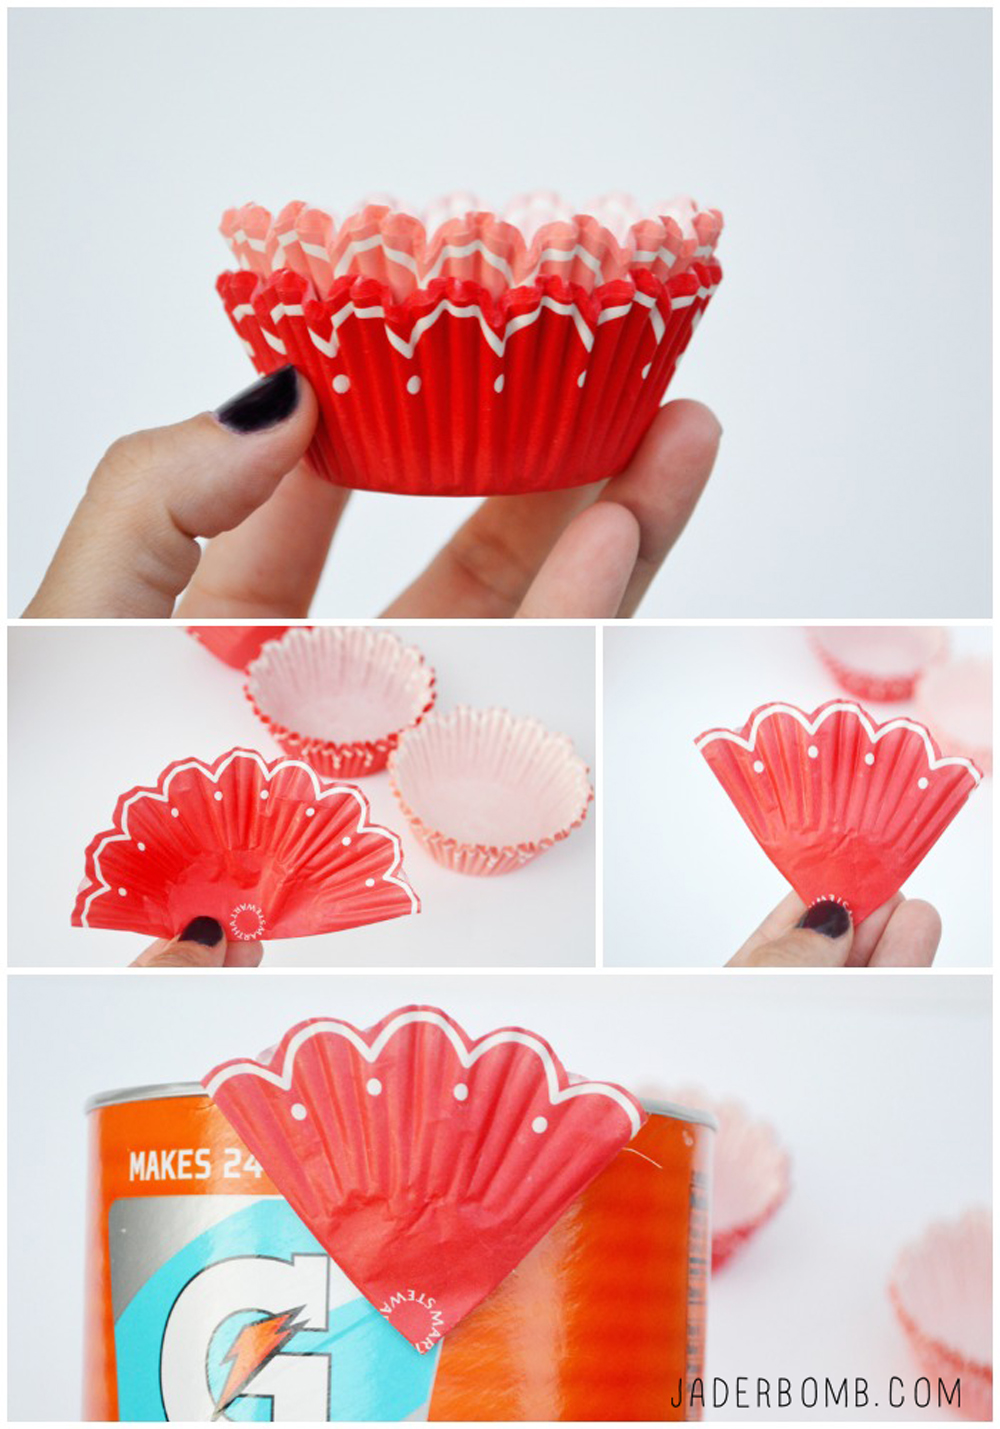
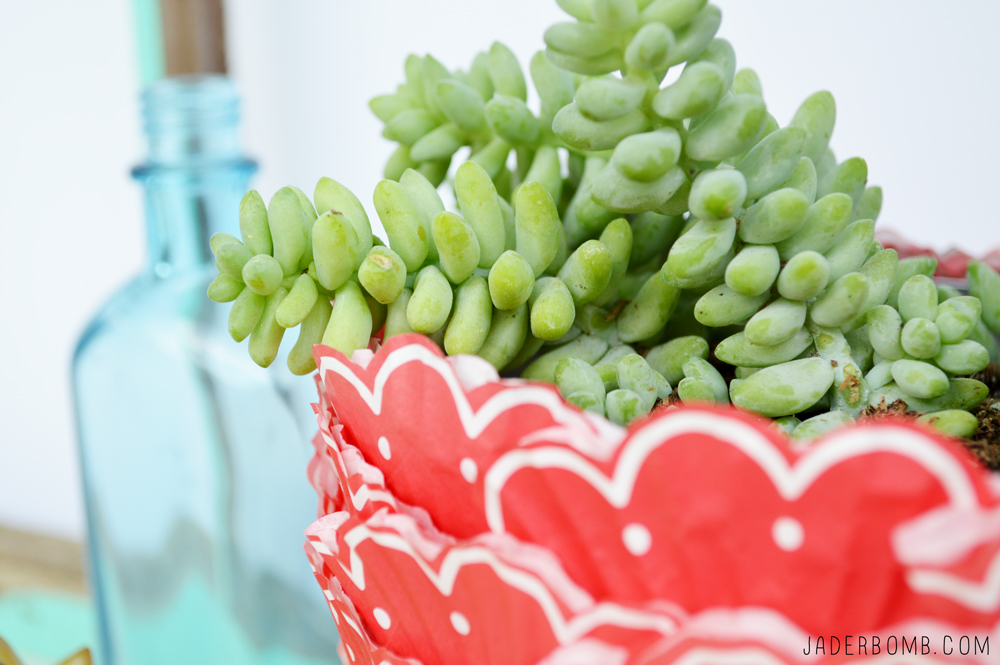
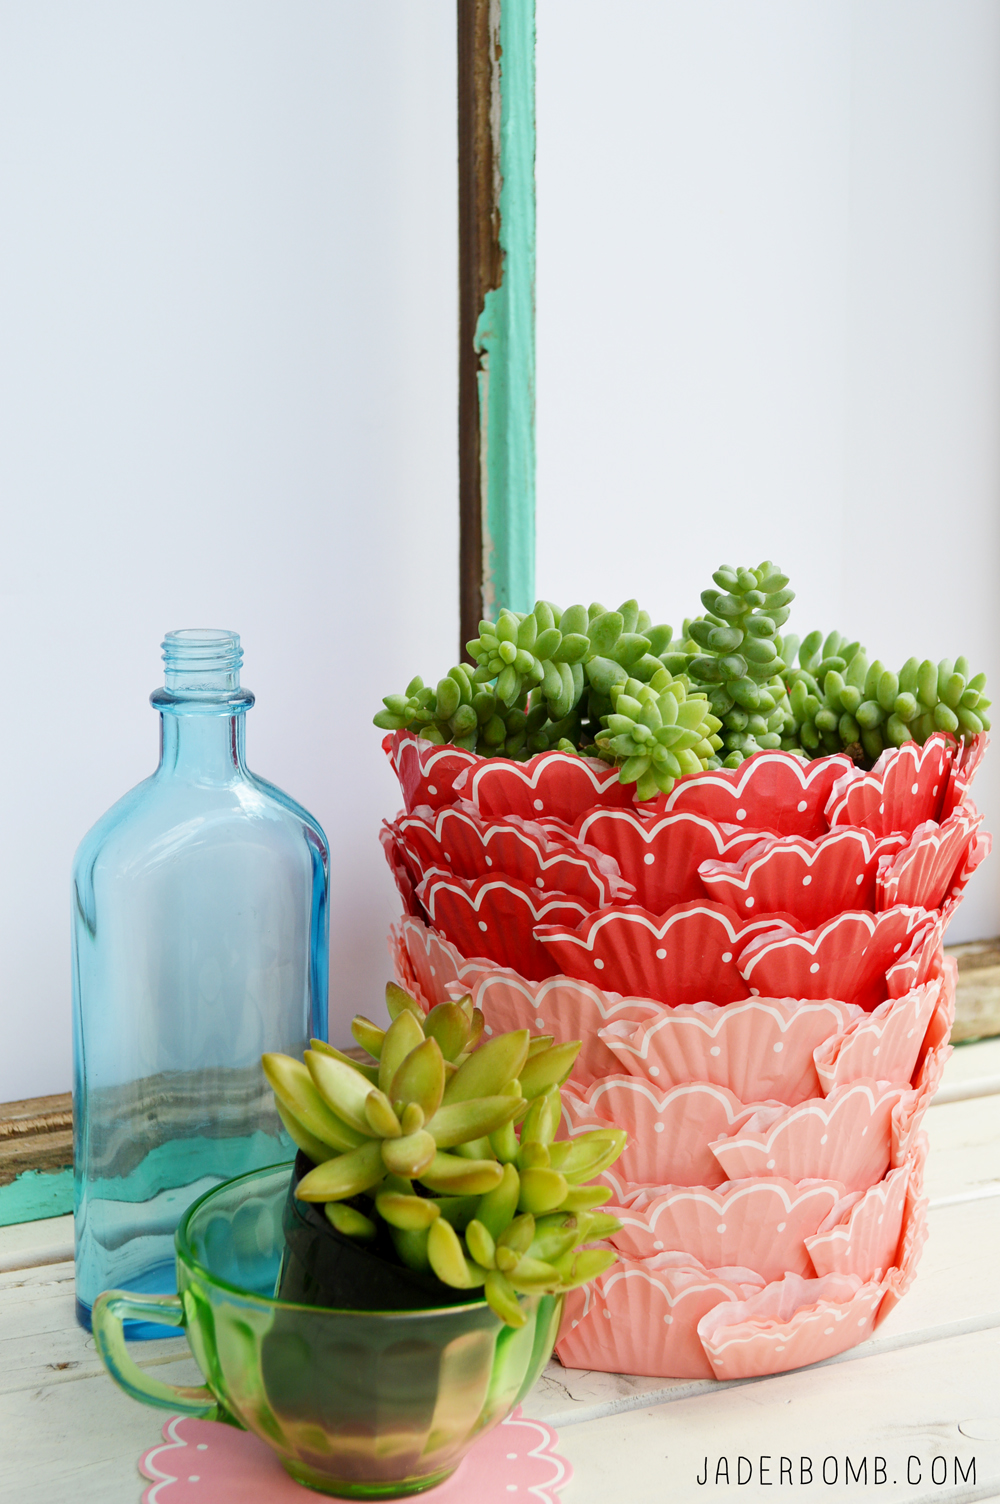
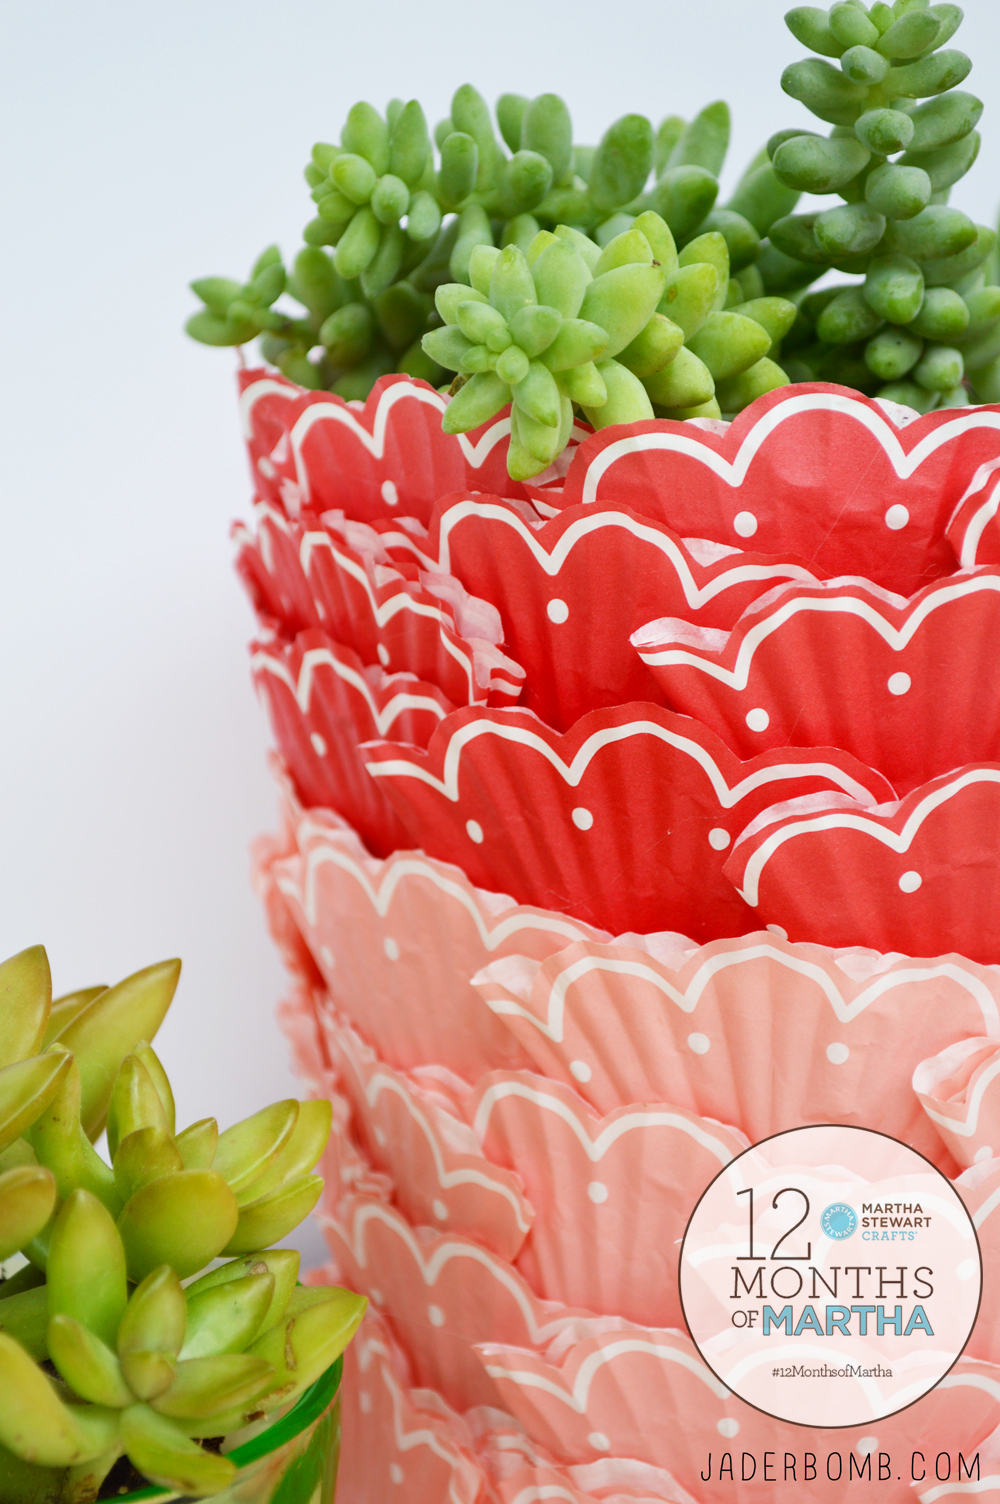
 Happy 12 MONTHS of MARTHA day! What? You didn’t know I blogged for my best friend? Martha just left and I gave her this cupcake liner planter that I made, she loved it…. (hehe) Check out all of my posts
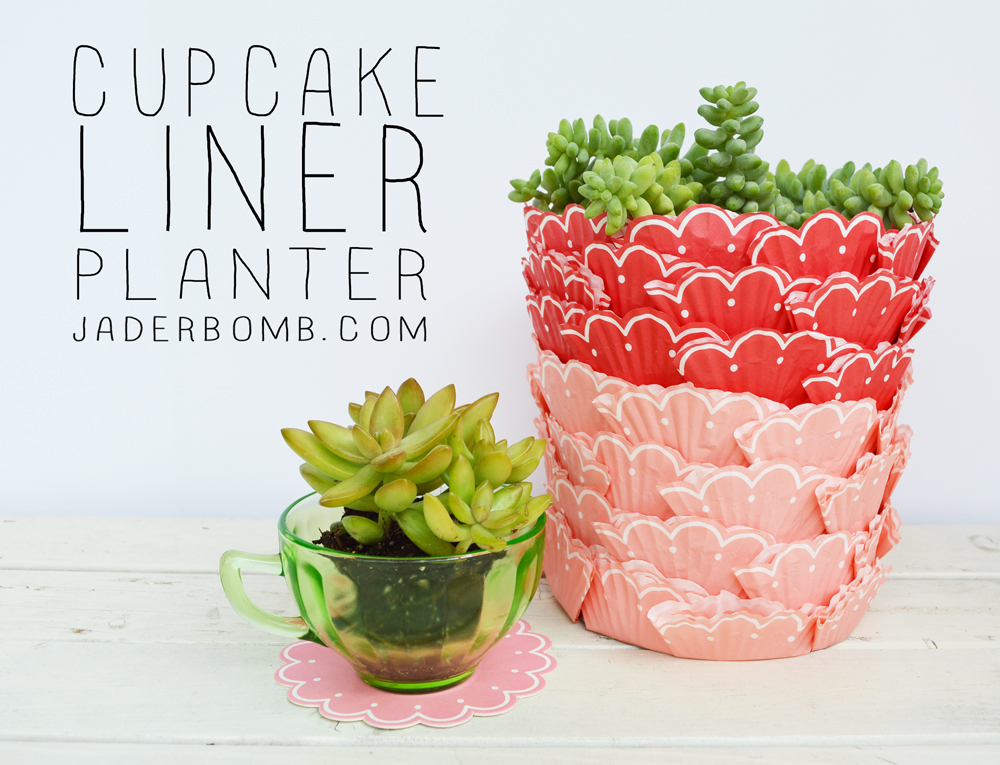
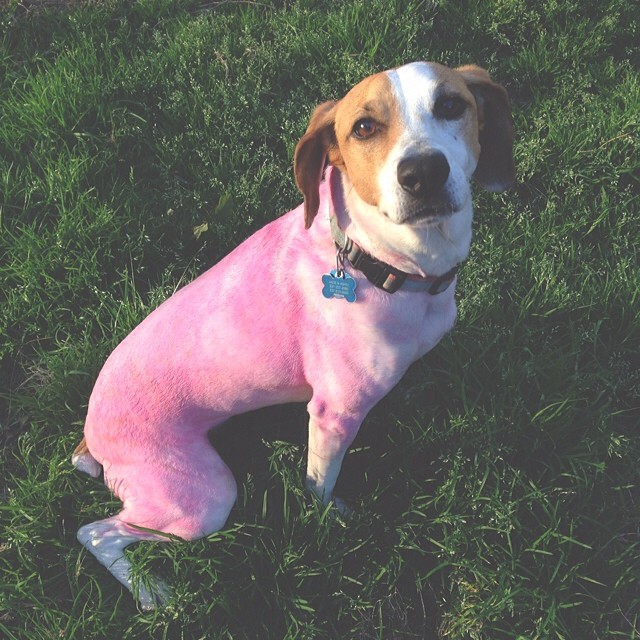
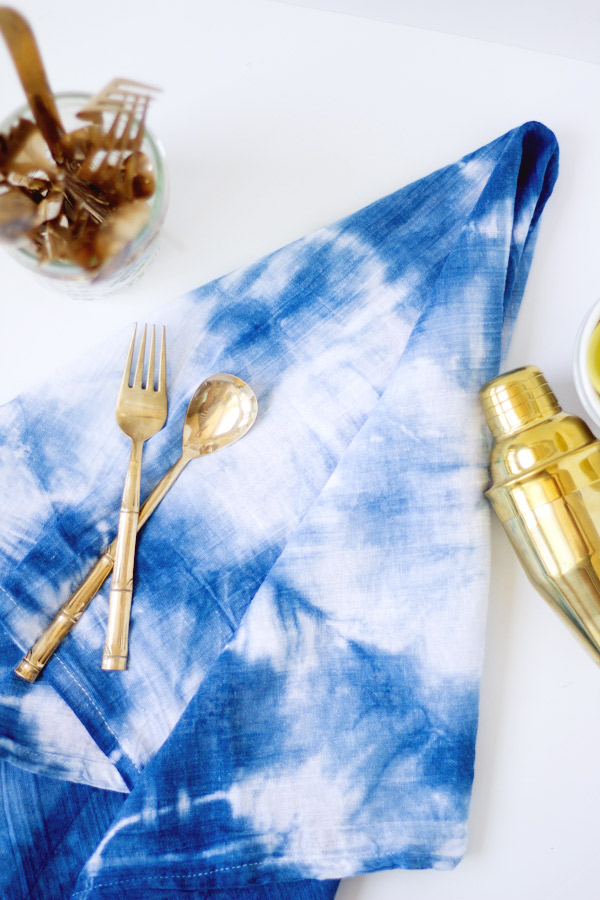
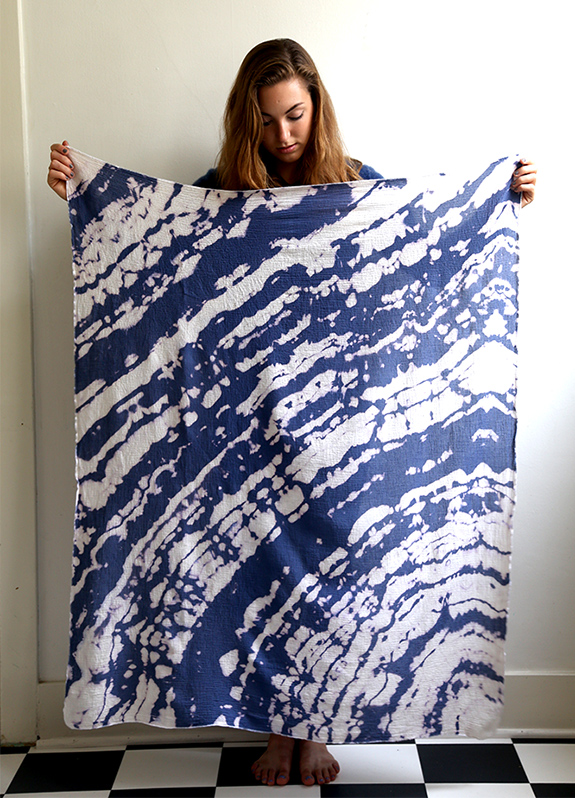
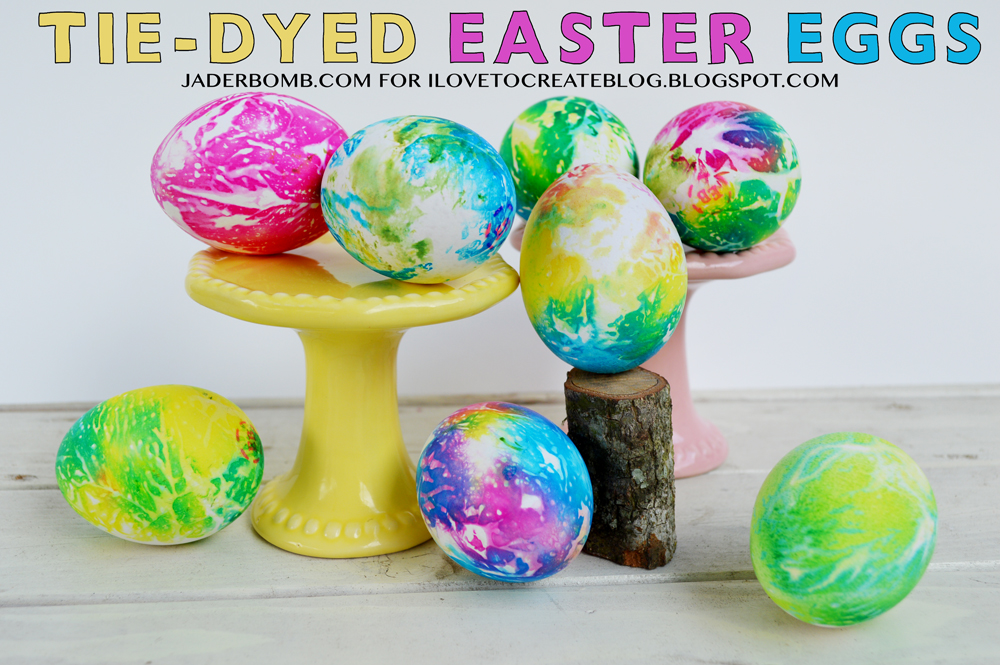 My fur child got jealous when I was making these eggs and just begged for some tie-dye on her pure white fur. Don’t worry it’s all NON TOXIC! That alone rocks!