Happy Holidays friends! I am so excited to participate in the 12 Days of Christmas this year for PNC. The PNC Price Index ® is a really cool way to see the price of my project from the actual 12 Days of Christmas song.
This is PNC’s 35th year calculating the cost of purchasing the gifts in the holiday classic “The 12 days of Christmas.”

I was stoked when I found out I was doing the 1st day of the 12 Days of Christmas, A Partridge in a Pear Tree. This year I will show you how to make a DIY version of the gift. This craft will roughly cost you $30. Who’s ready to get started, because I am! You will love this DIY project! 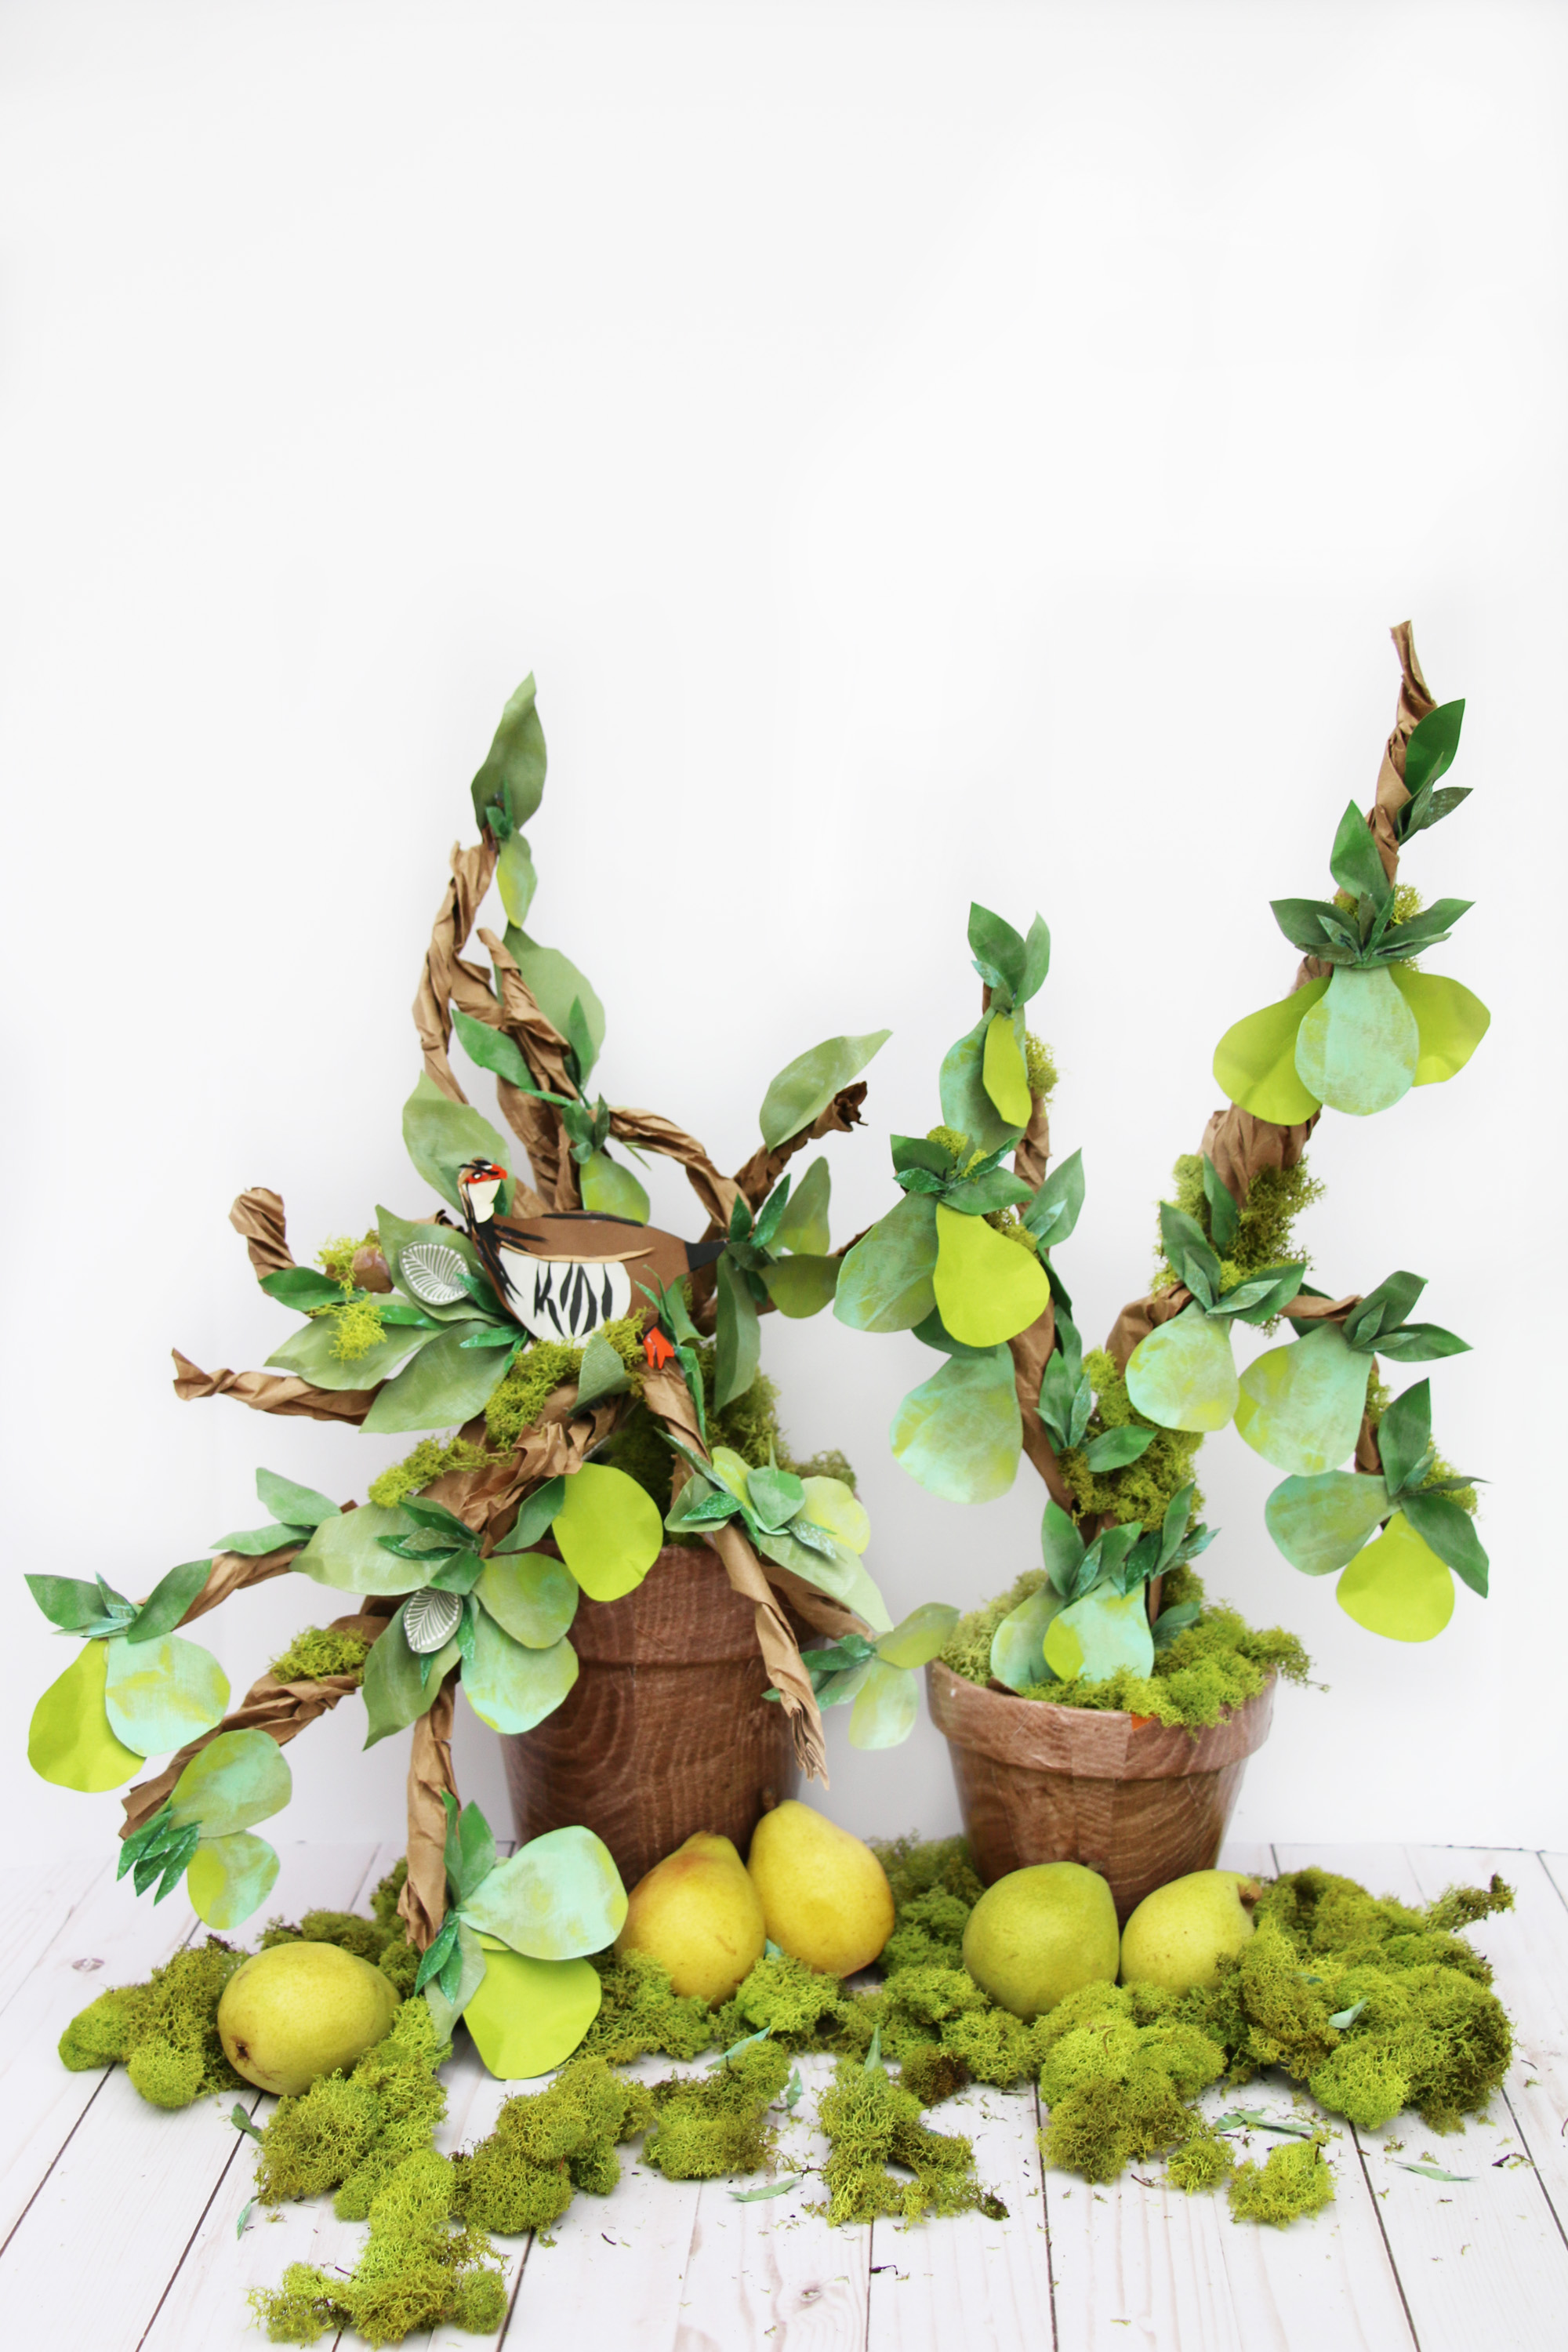
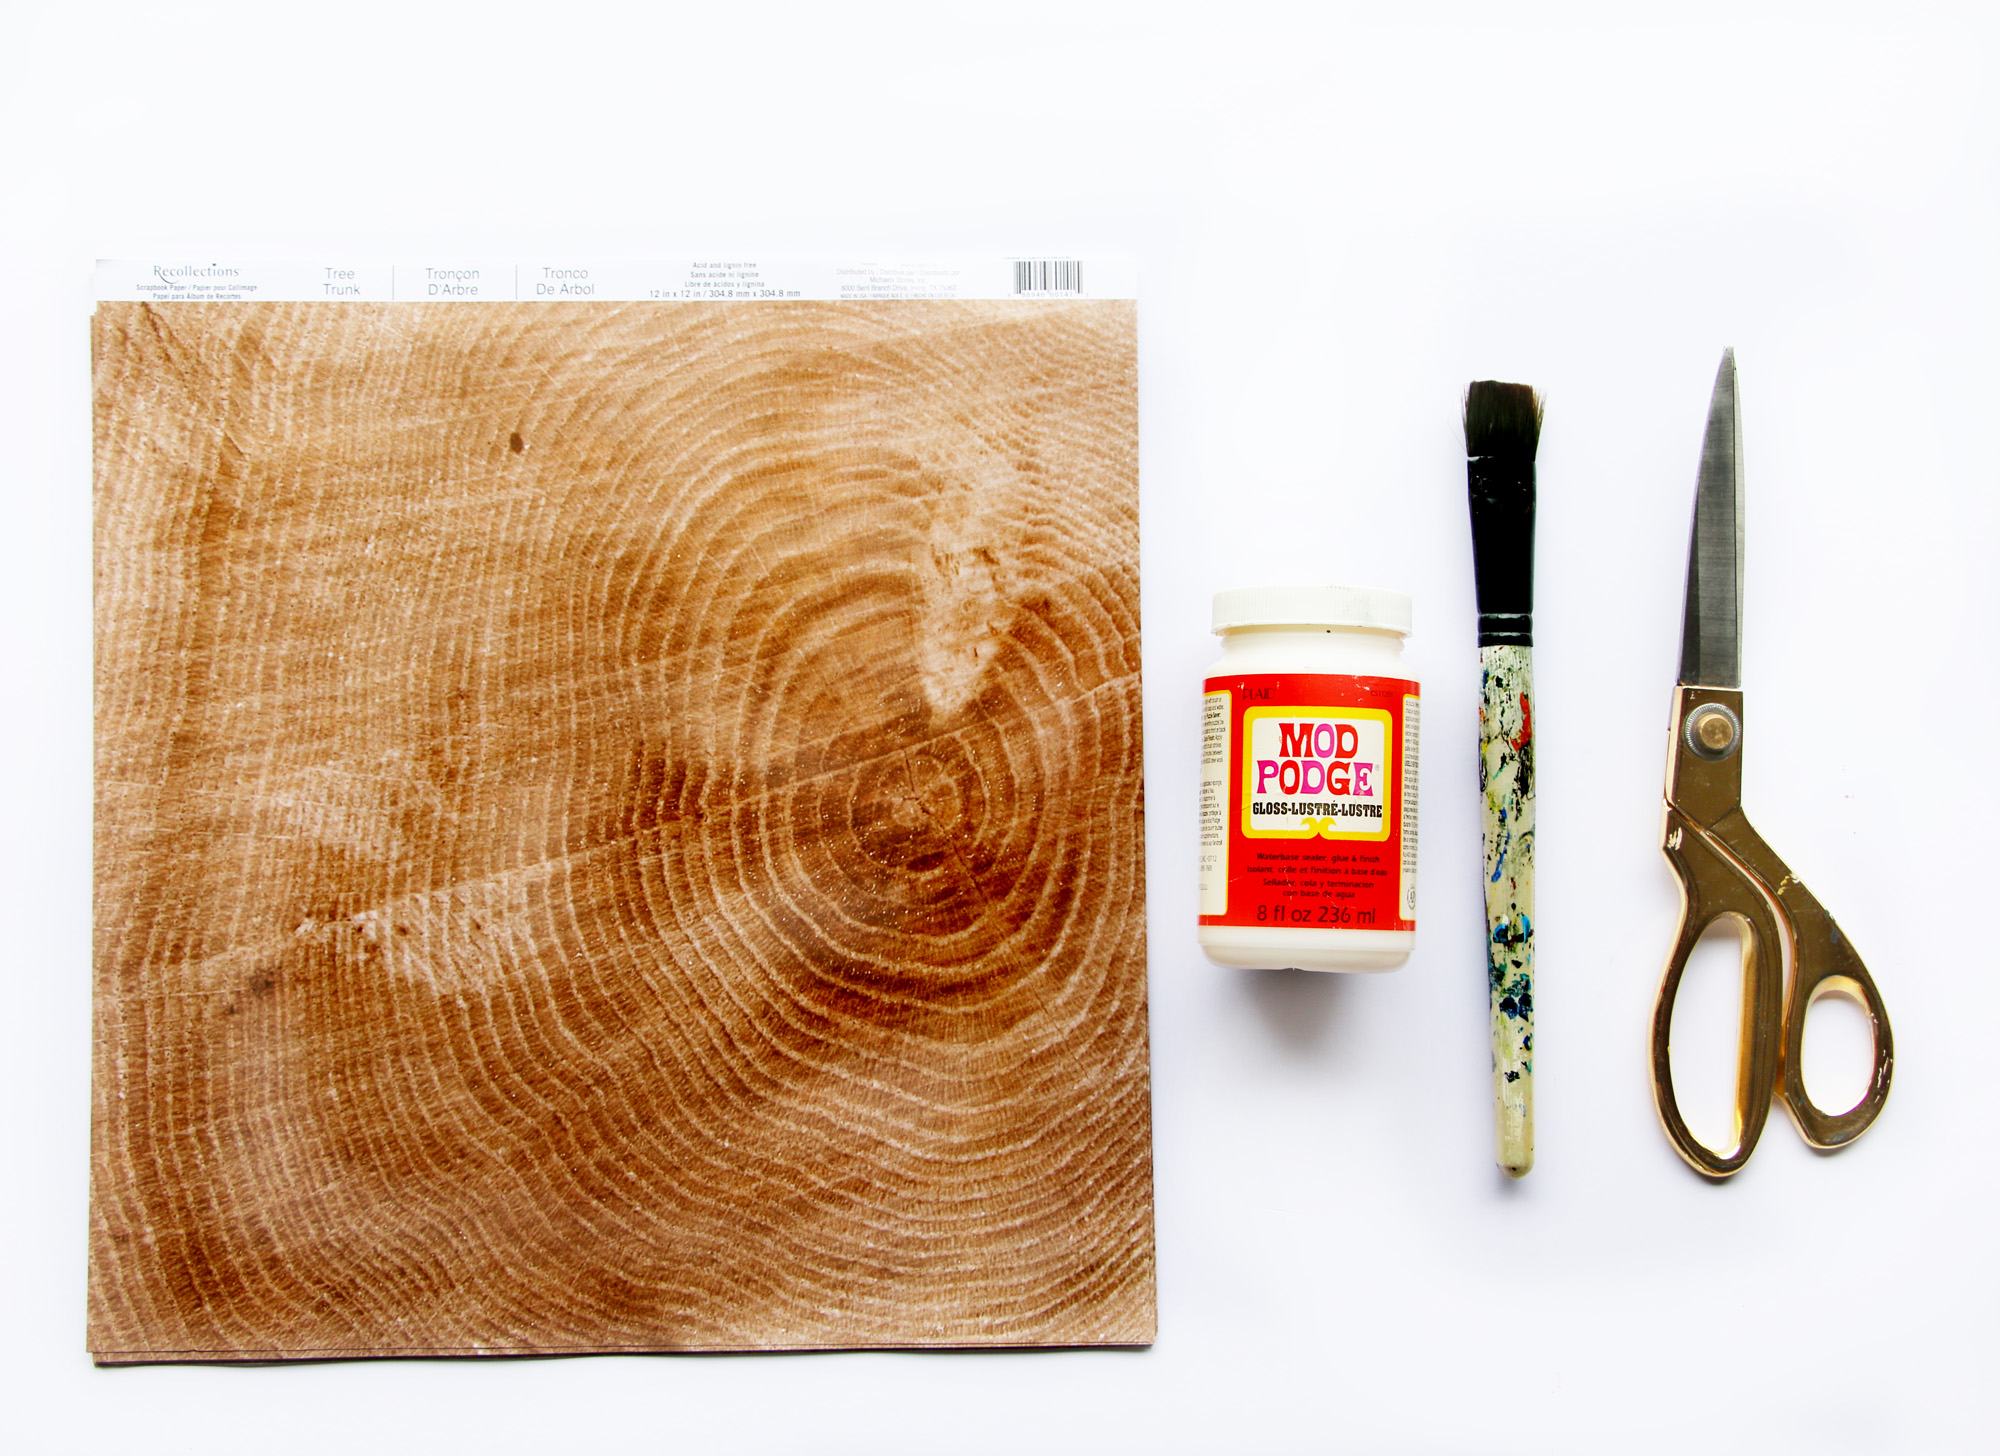
Supplies for FIRST step:
*Terra Cotta Pot
*Scissors
*Mod Podge
*Craft Brush
*Scrapbook paper that looks like woodgrain Make sure you get enough sheets to cover all of your pots if you intend on doing more than one pot. I like to do more than one because it looks better in a group plus you never know when a friend will come over and you might want to send them home with “Partridge in a Pear Tree.”
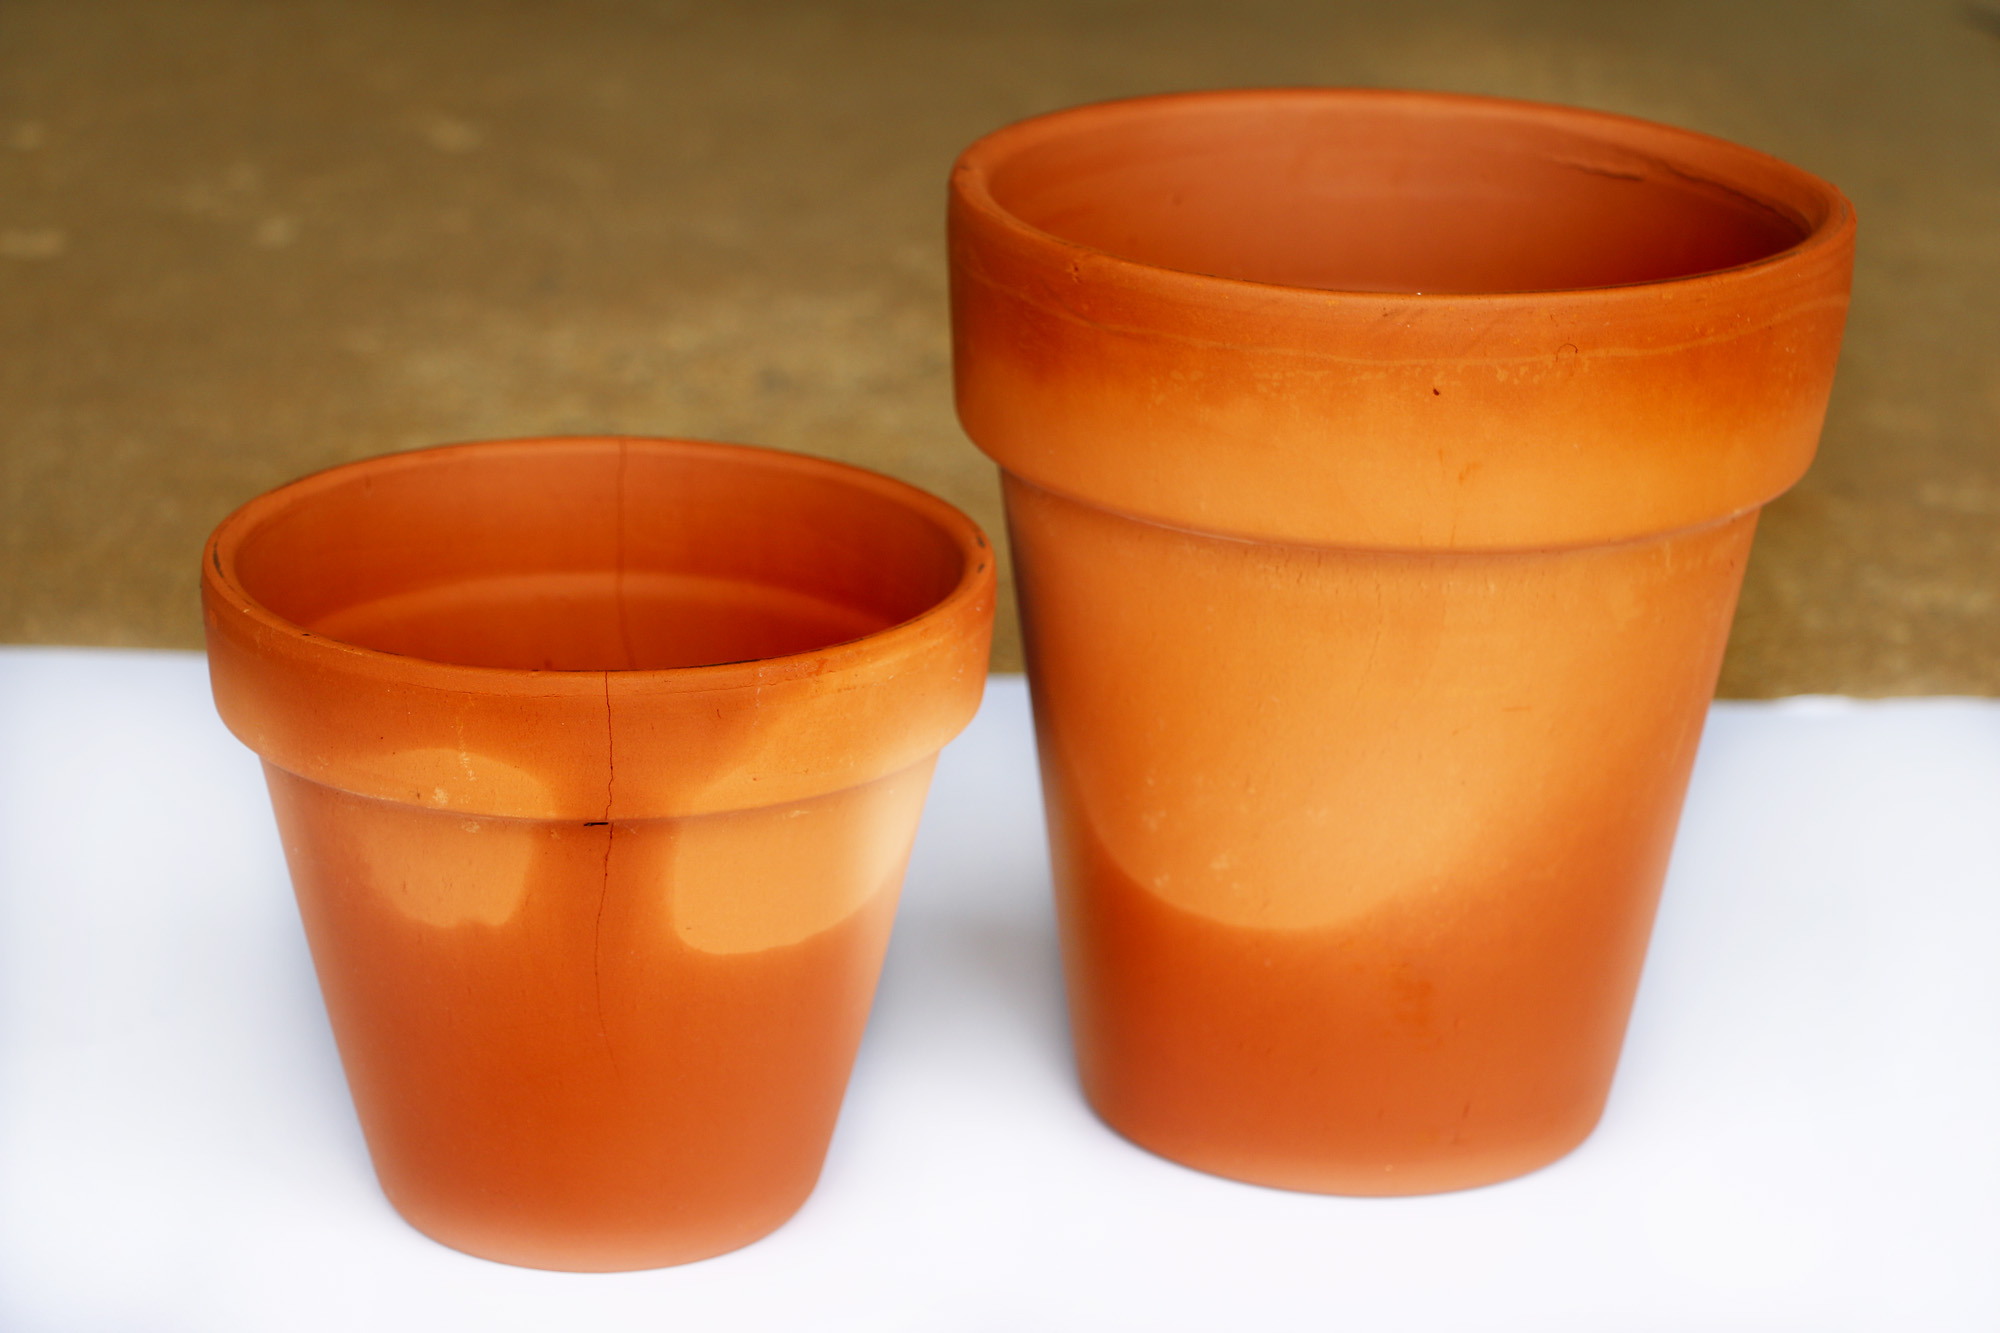 Step One: Get a damp cloth and wipe down the entire surface of your terra cotta pots. Did I mention how affordable these pots are? Terra Cotta pots are the best pots to craft with because of this!
 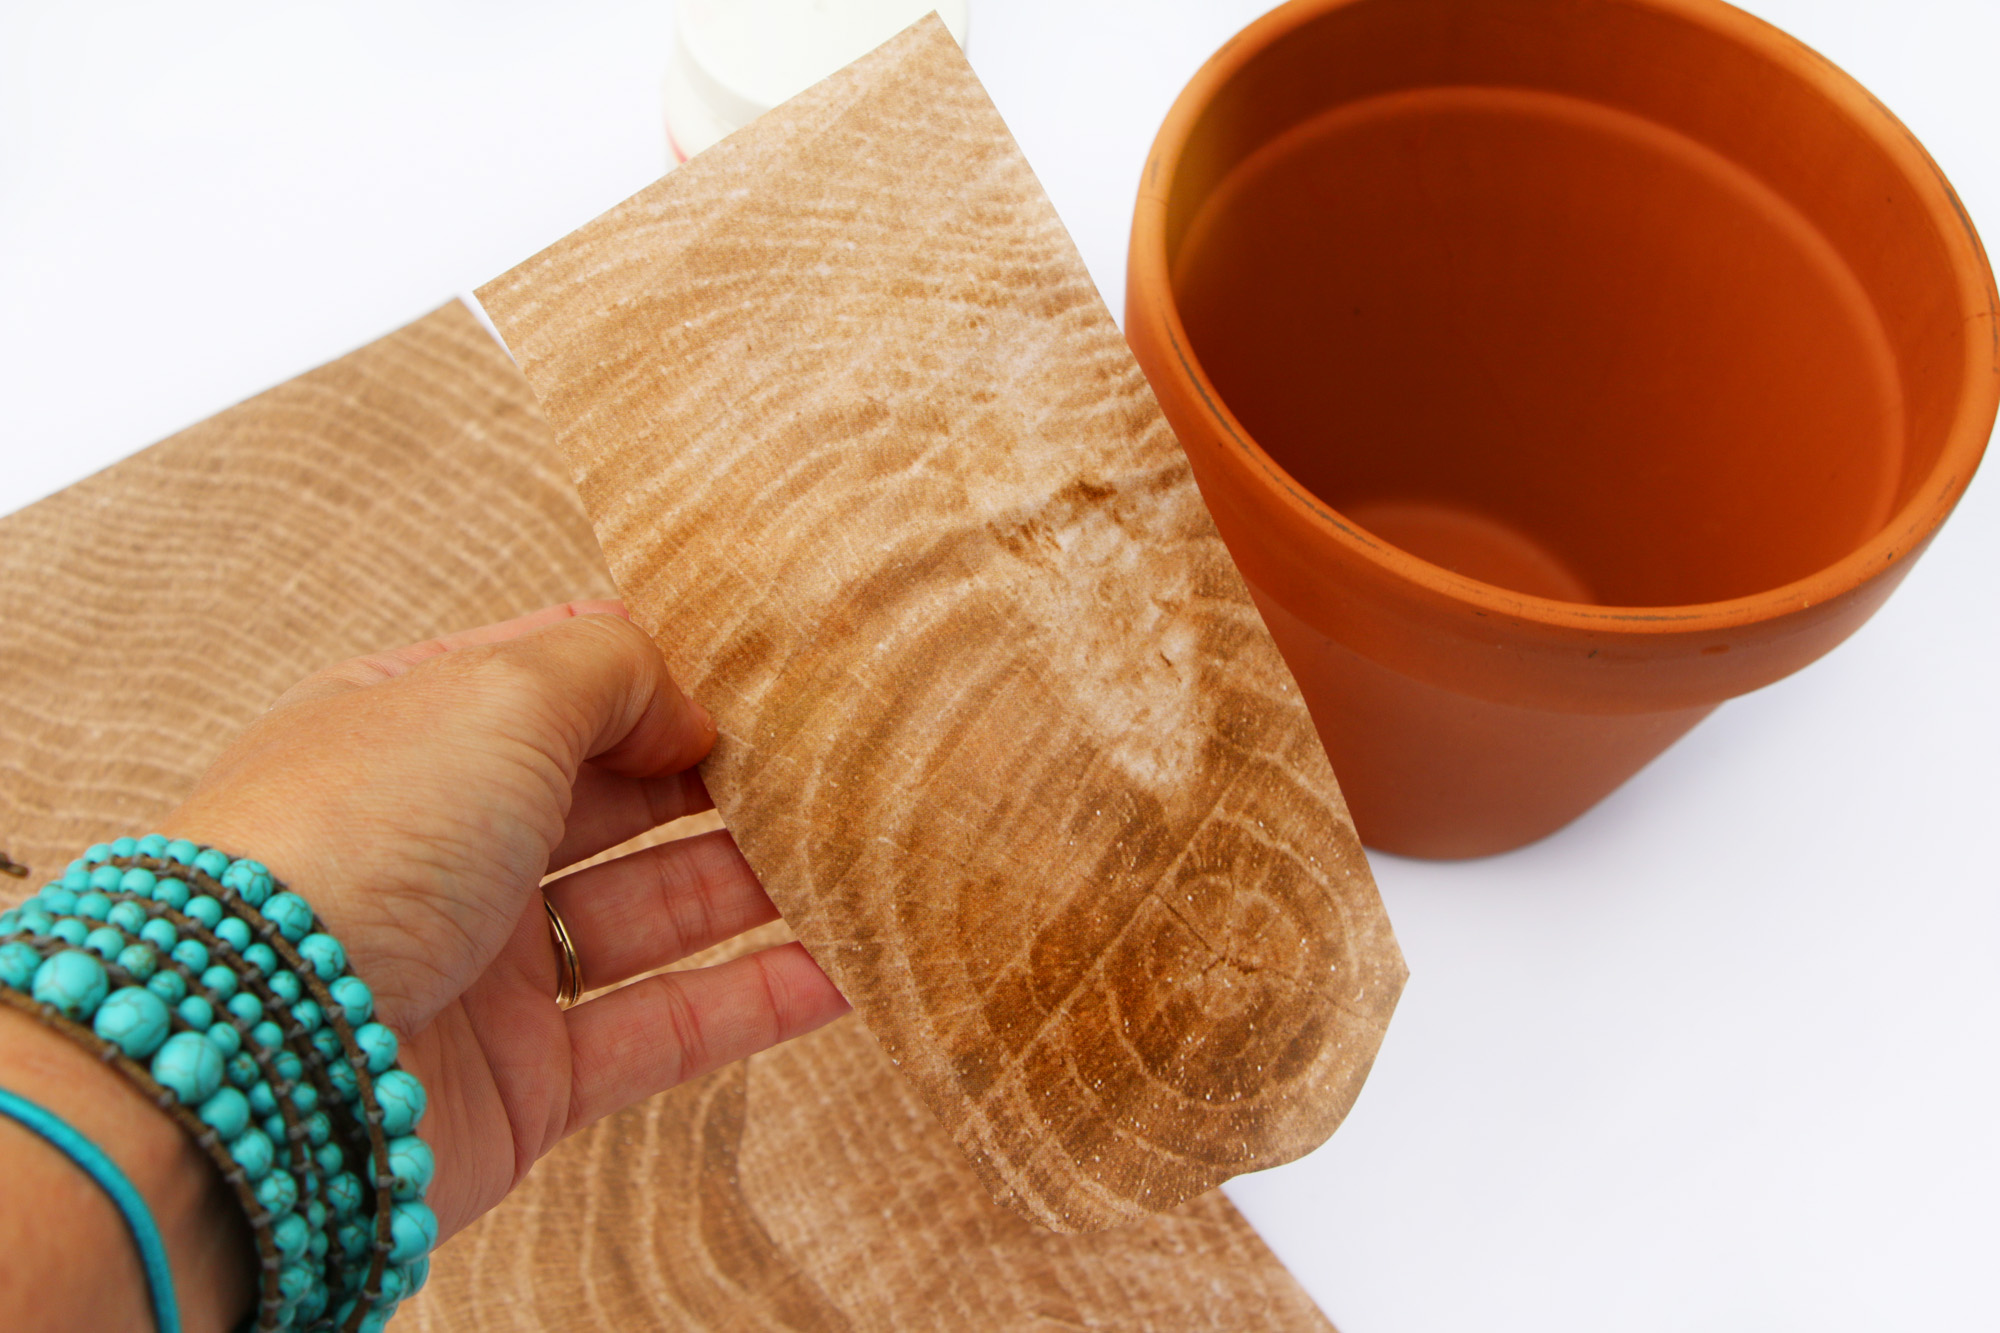 Step Two: Cut pieces of your woodgrain paper longways to ensure one strip fits completely vertically. We want this to look as real as possible in the end. Lay down a whole sheet and cut long strips while leaving them in the correct order. Apply them in the order you cut them so once they are all on, everything will line up properly!
 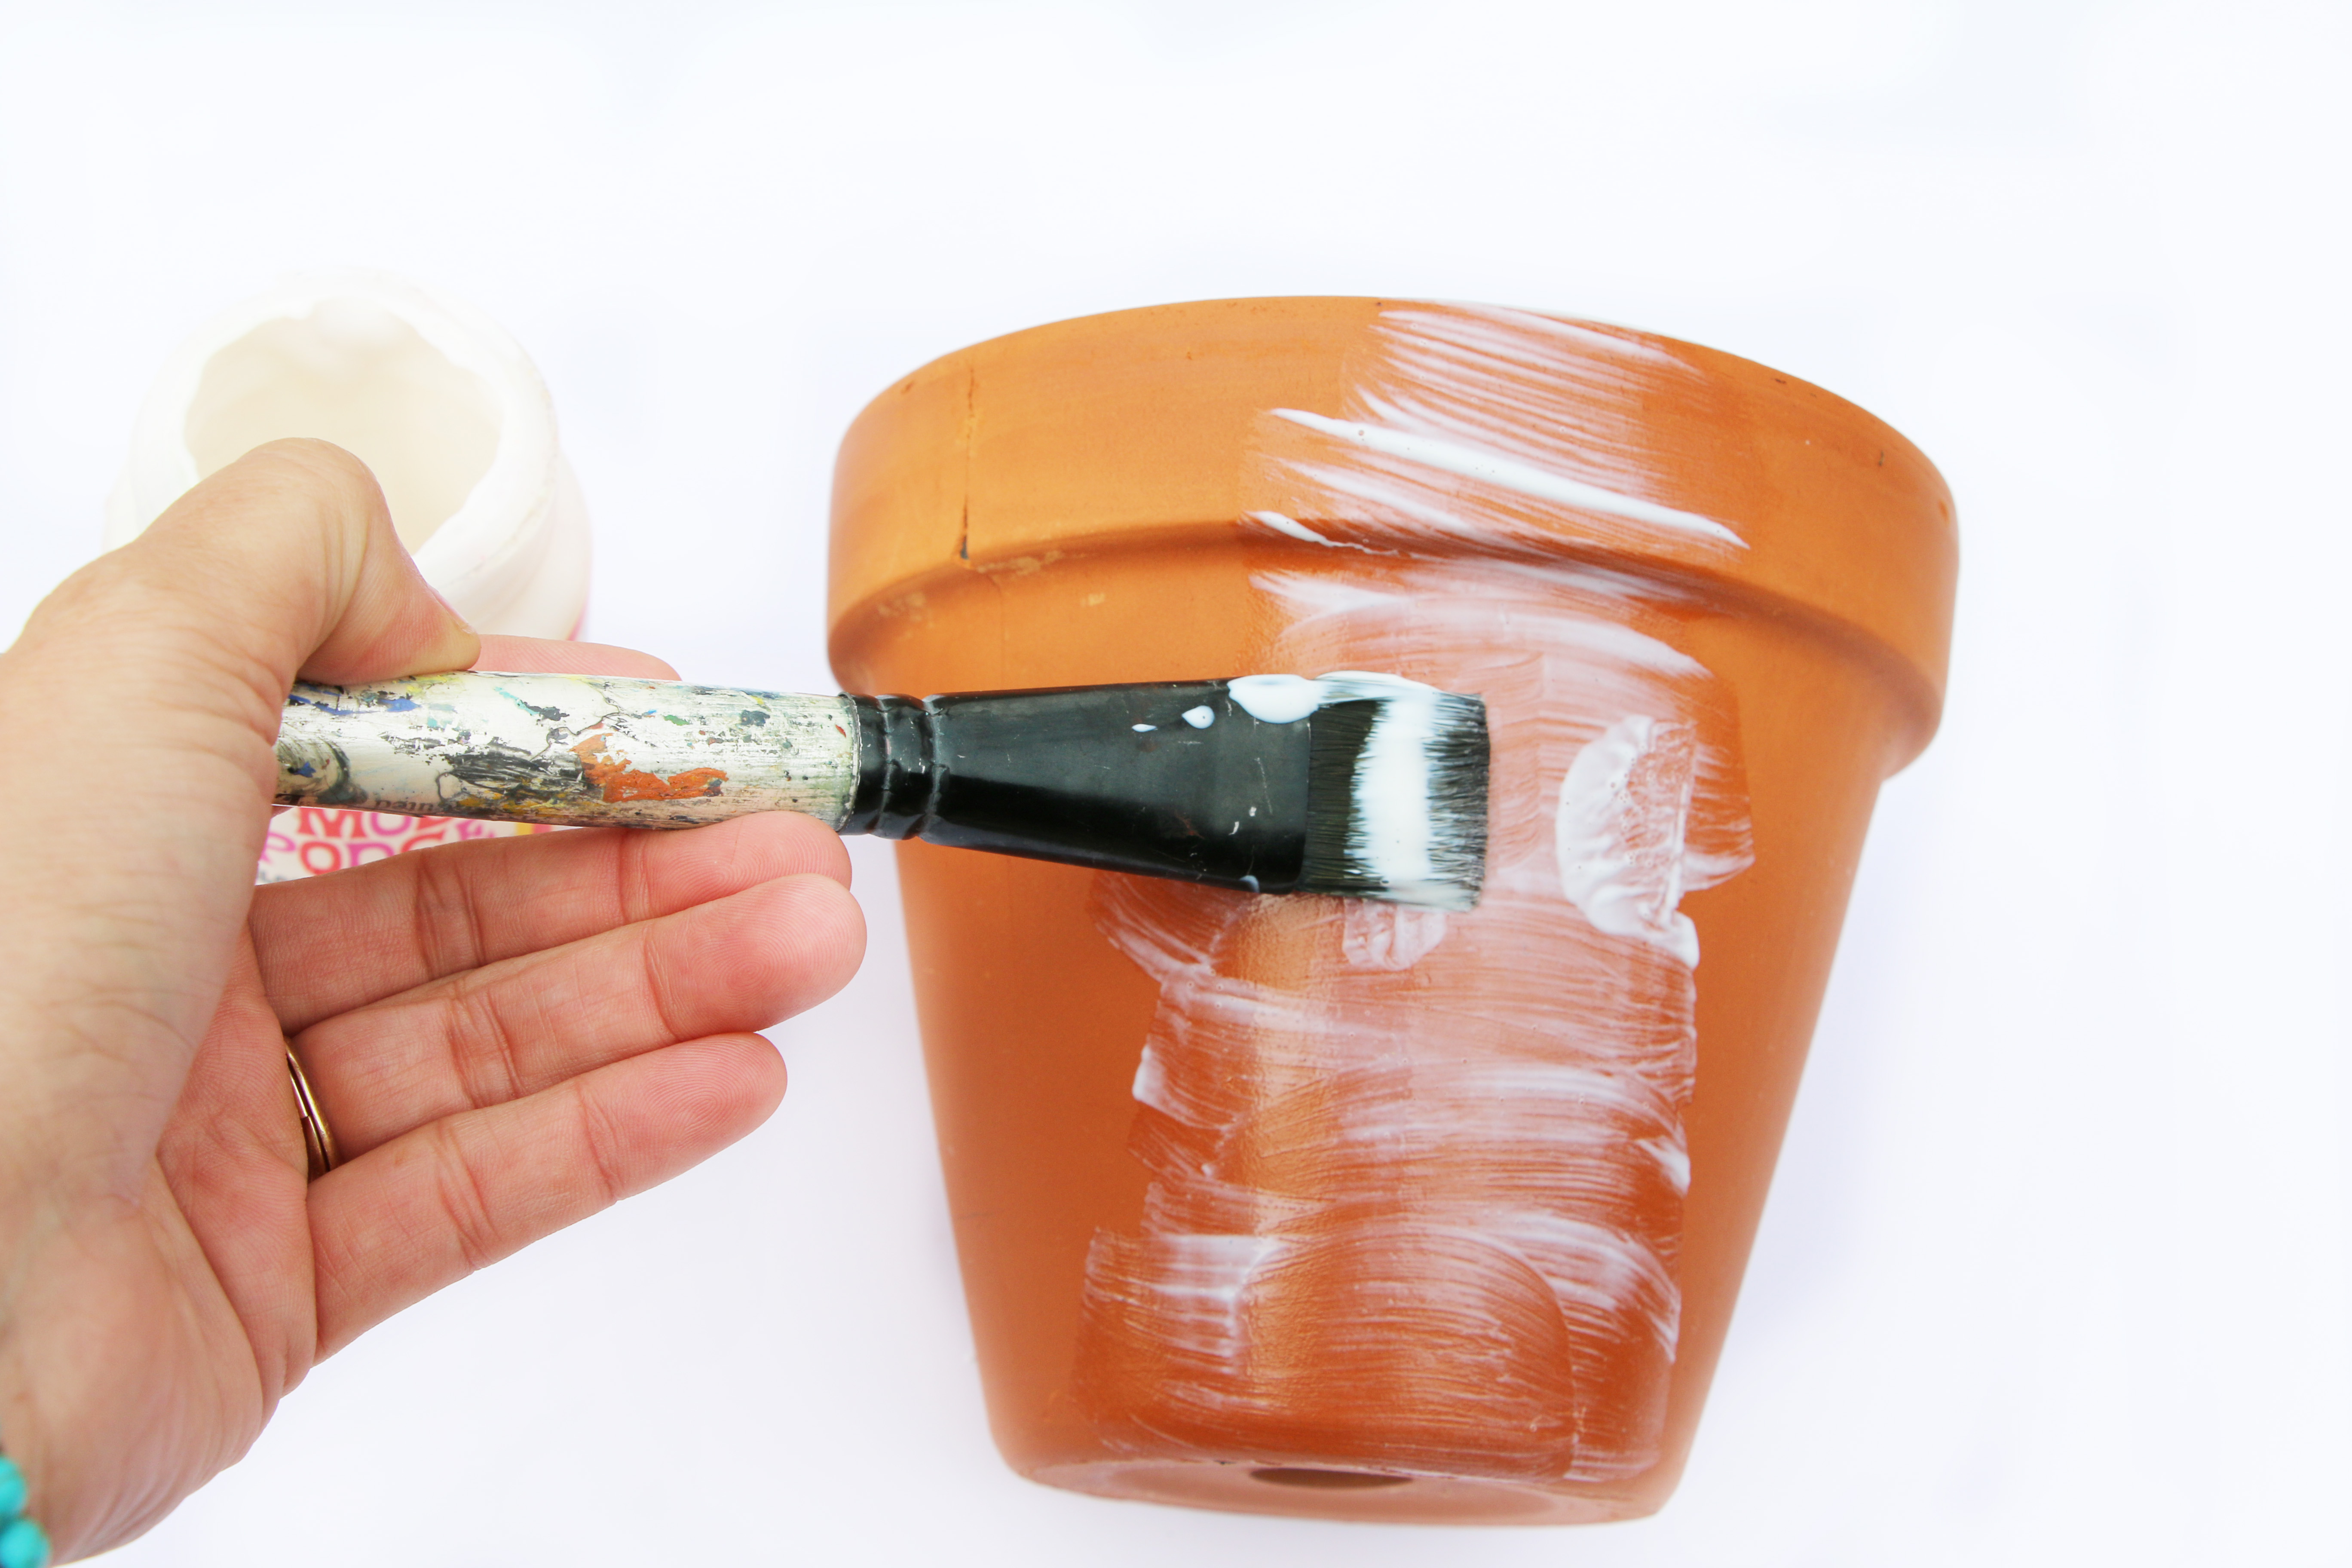 Step Three: Apply a coat of Mod Podge onto one strip of your terra cotta pot. Make sure your strip is ready to place on the pot because we don’t want this to dry.
 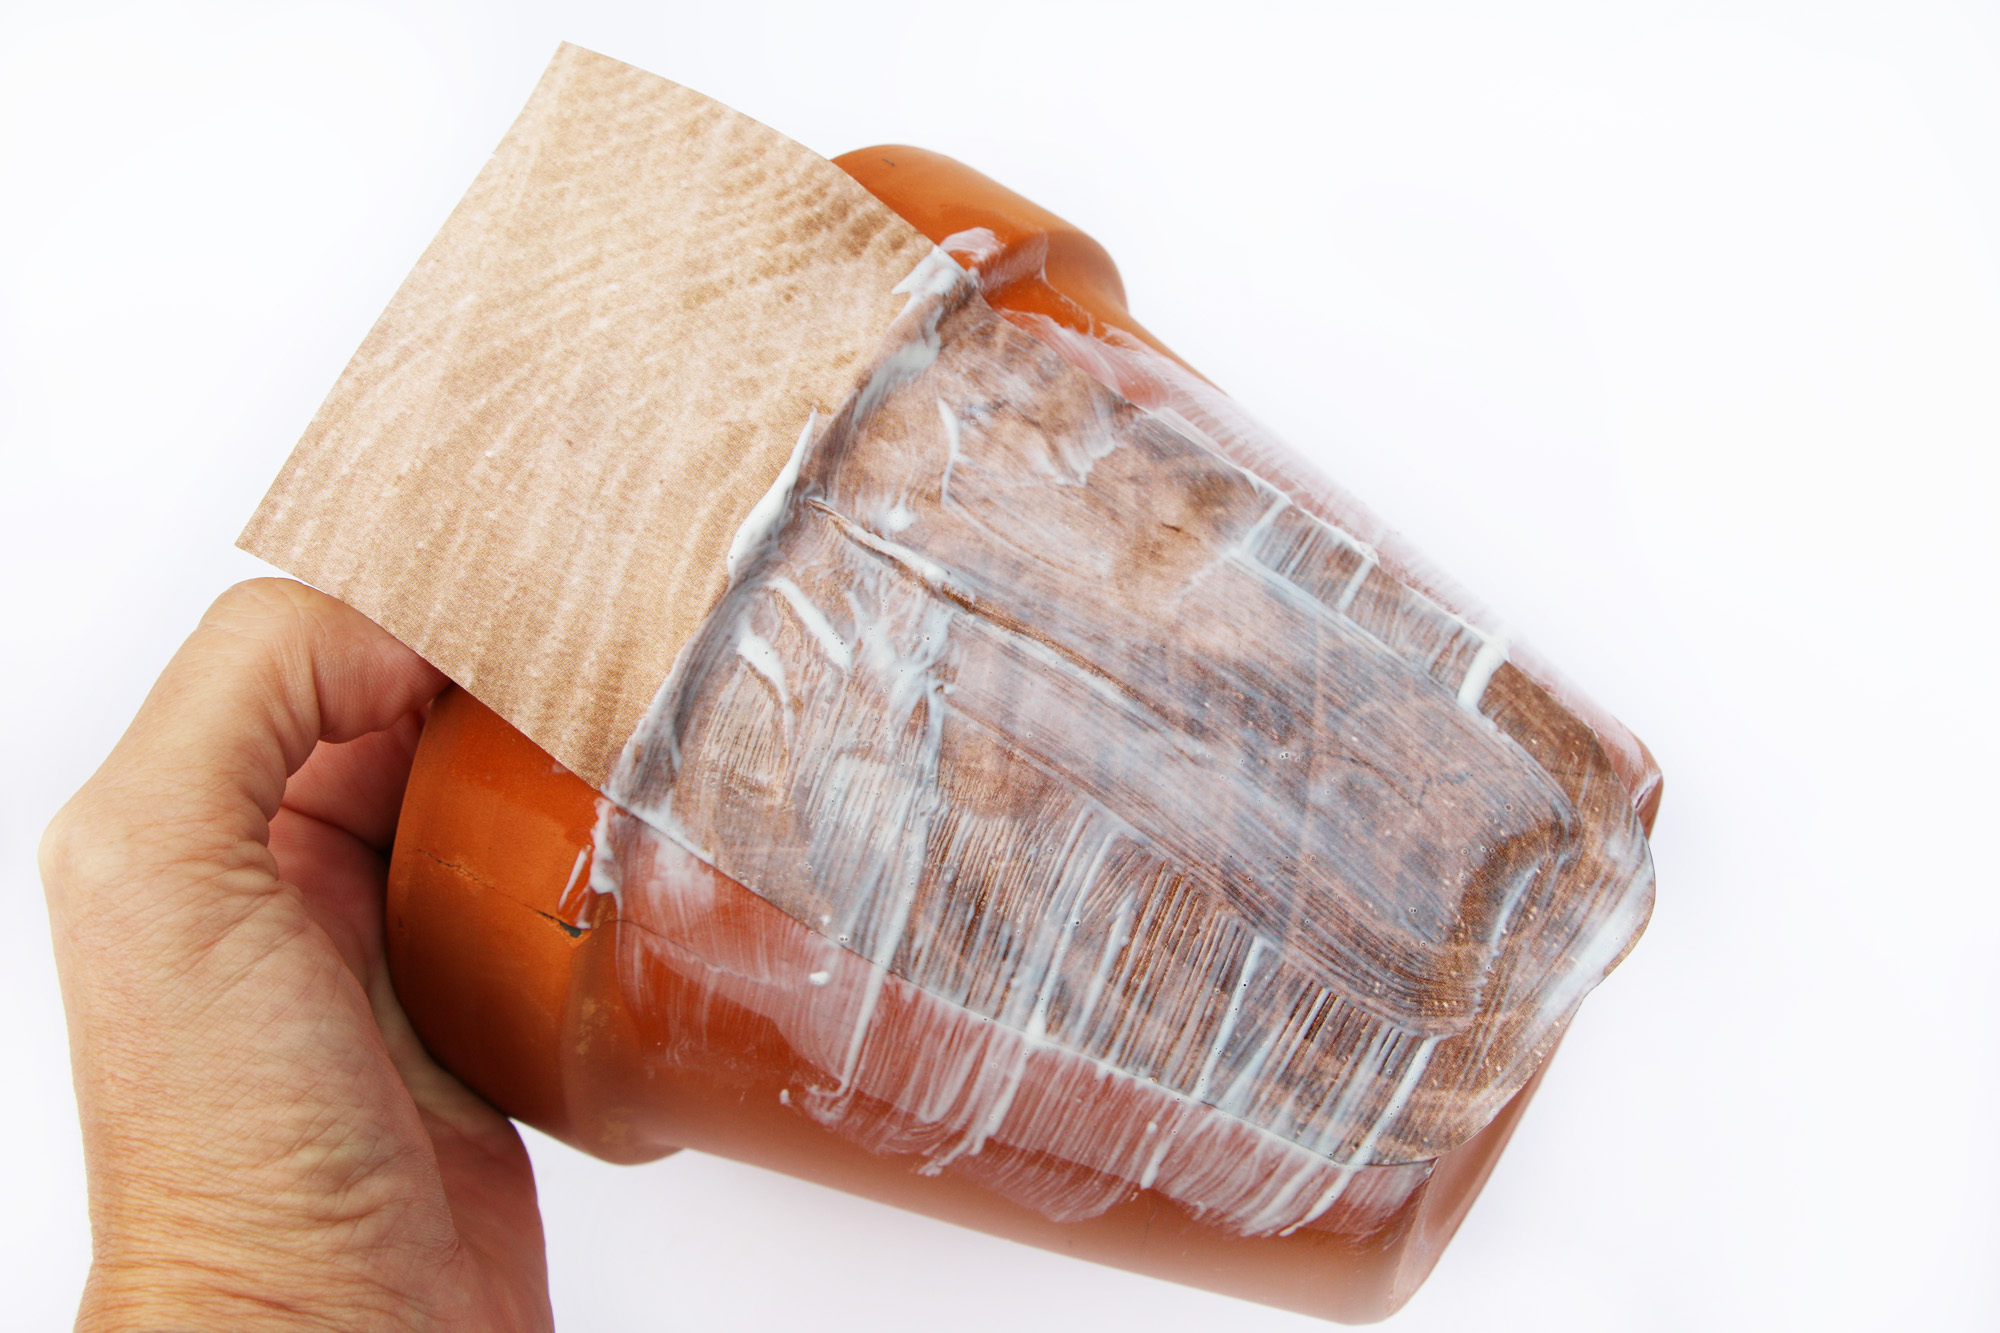 Step Four: Once you place your strip on the pot, apply more Mod Podge on top of the strip. Initially it looks white but once it dries it will be clear. Use your finger to rub in the Mod Podge and push down any cracks or pieces of paper that’s not flat.
 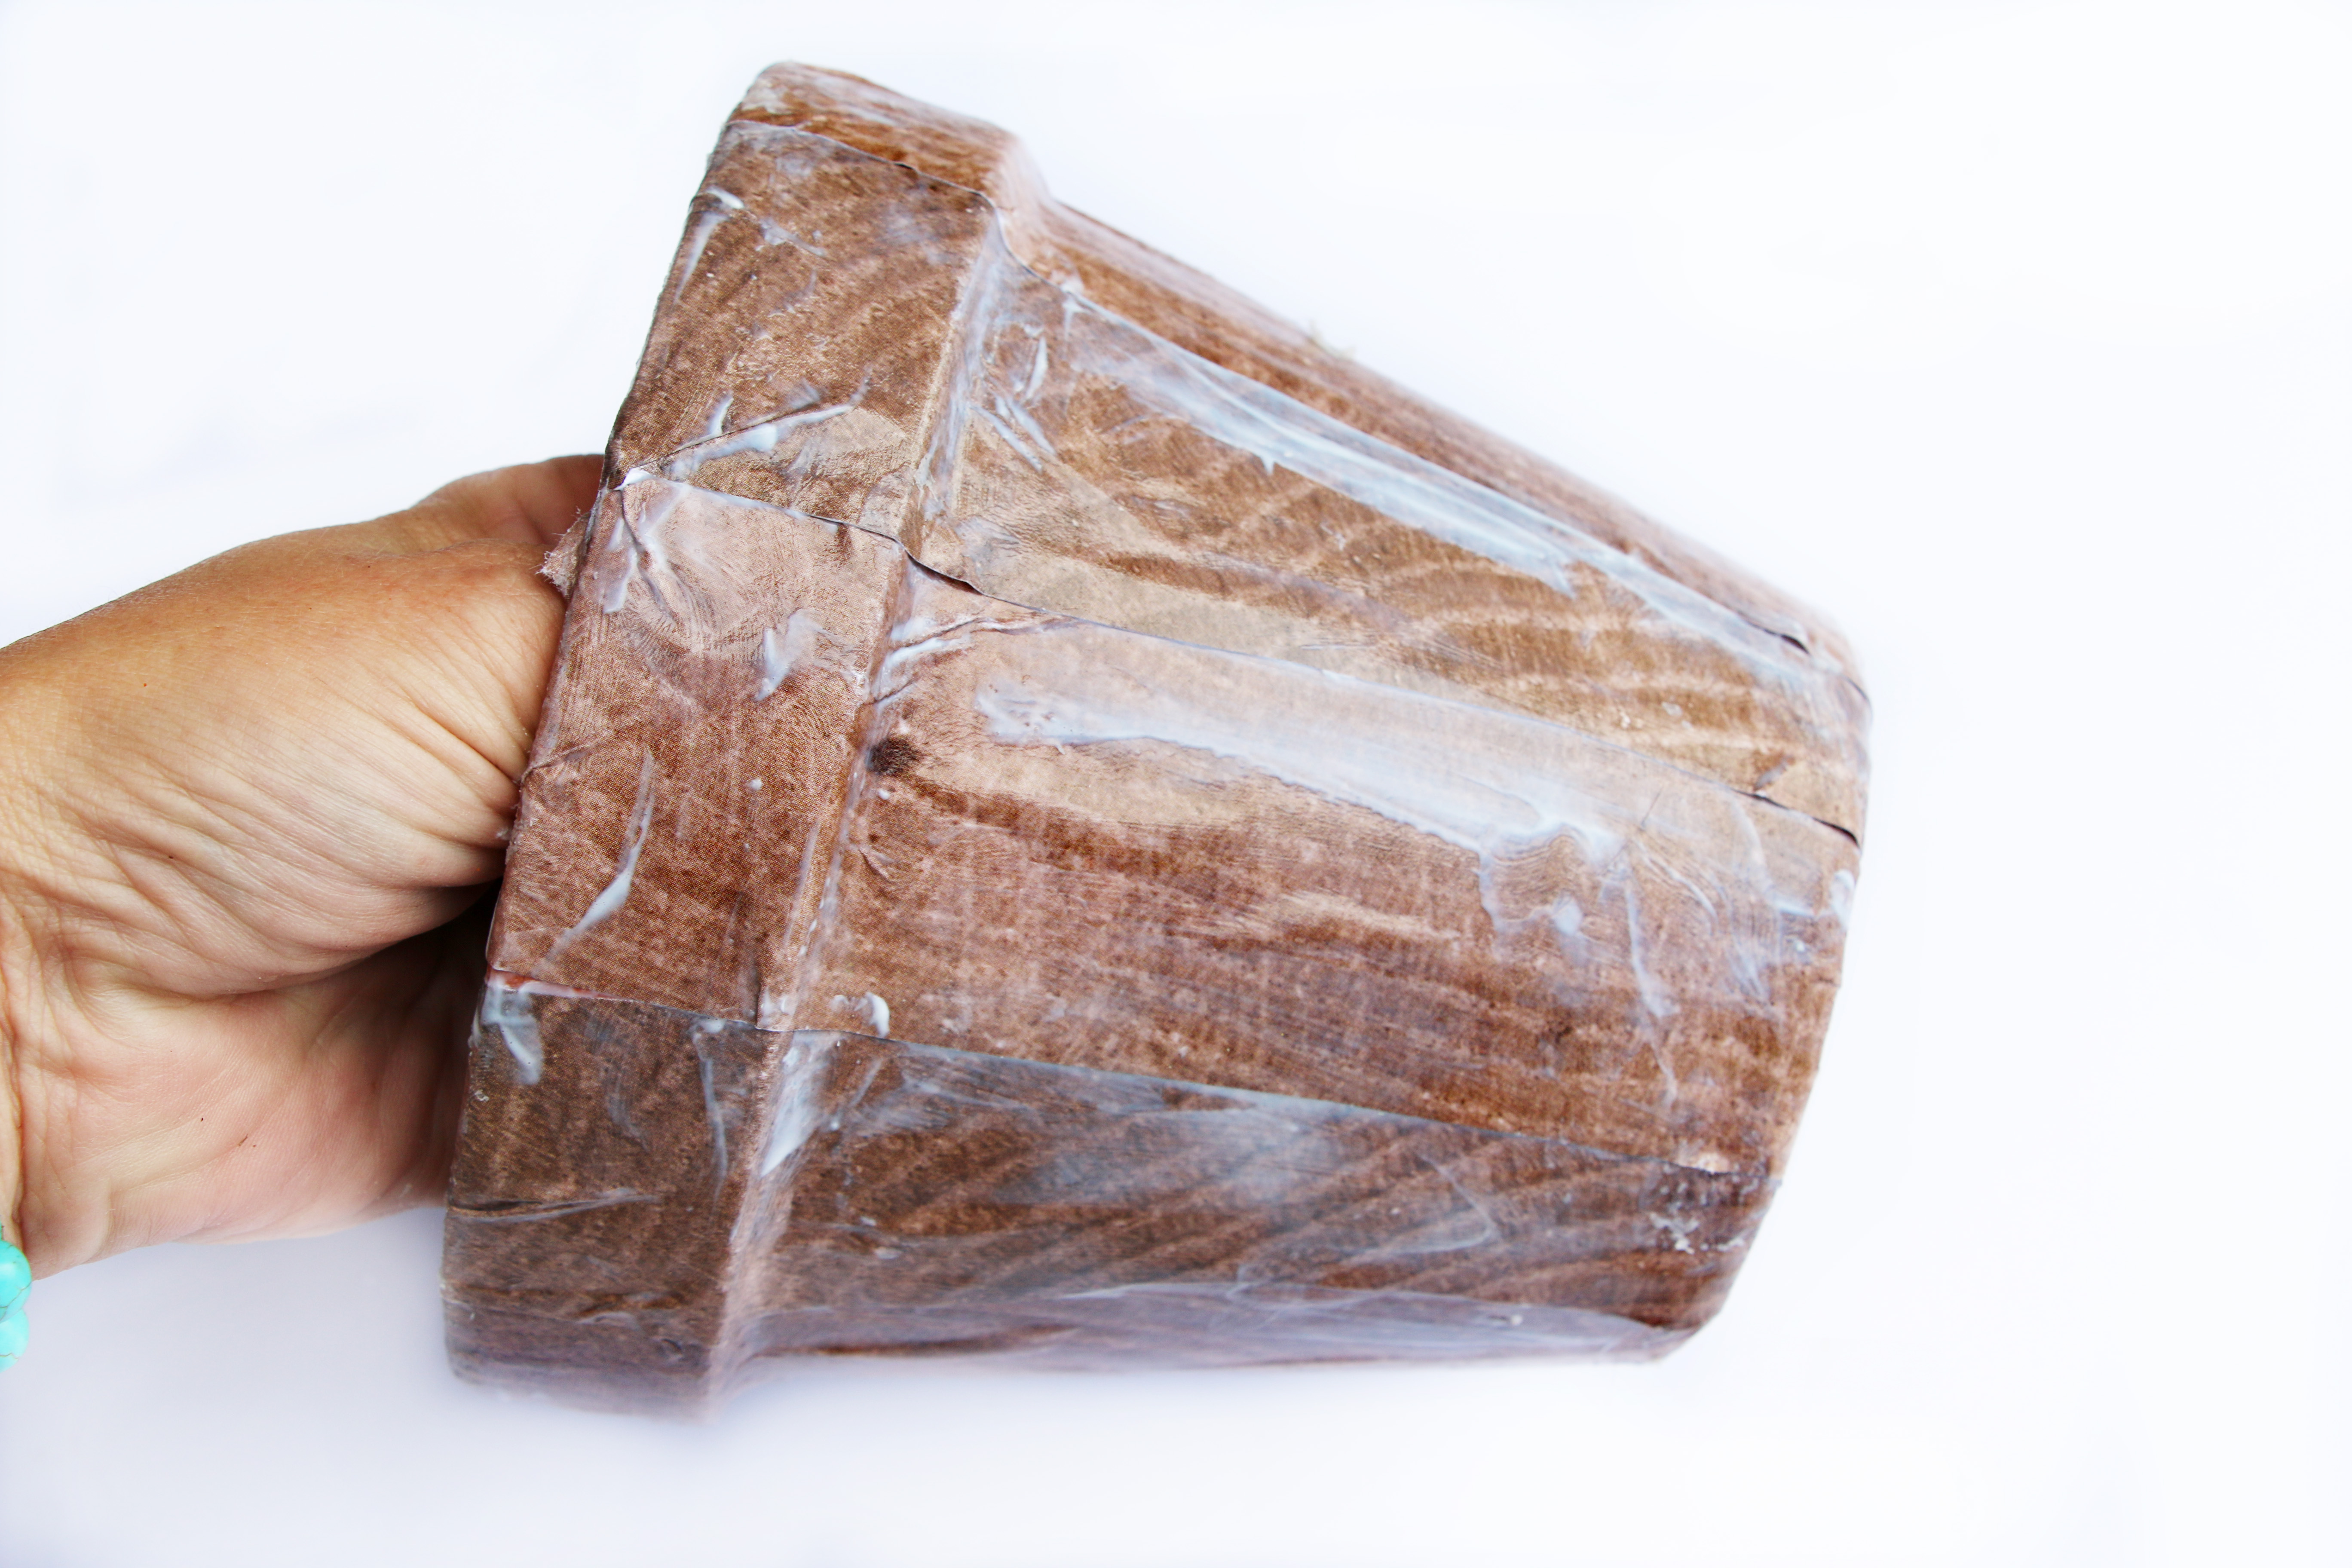 Step Five: Continue until your entire pot is covered. Just a quick tip, if your strips of paper aren’t lining up 100% perfectly don’t stress about this ok…I promise it will look fabulous once it’s completely dry!
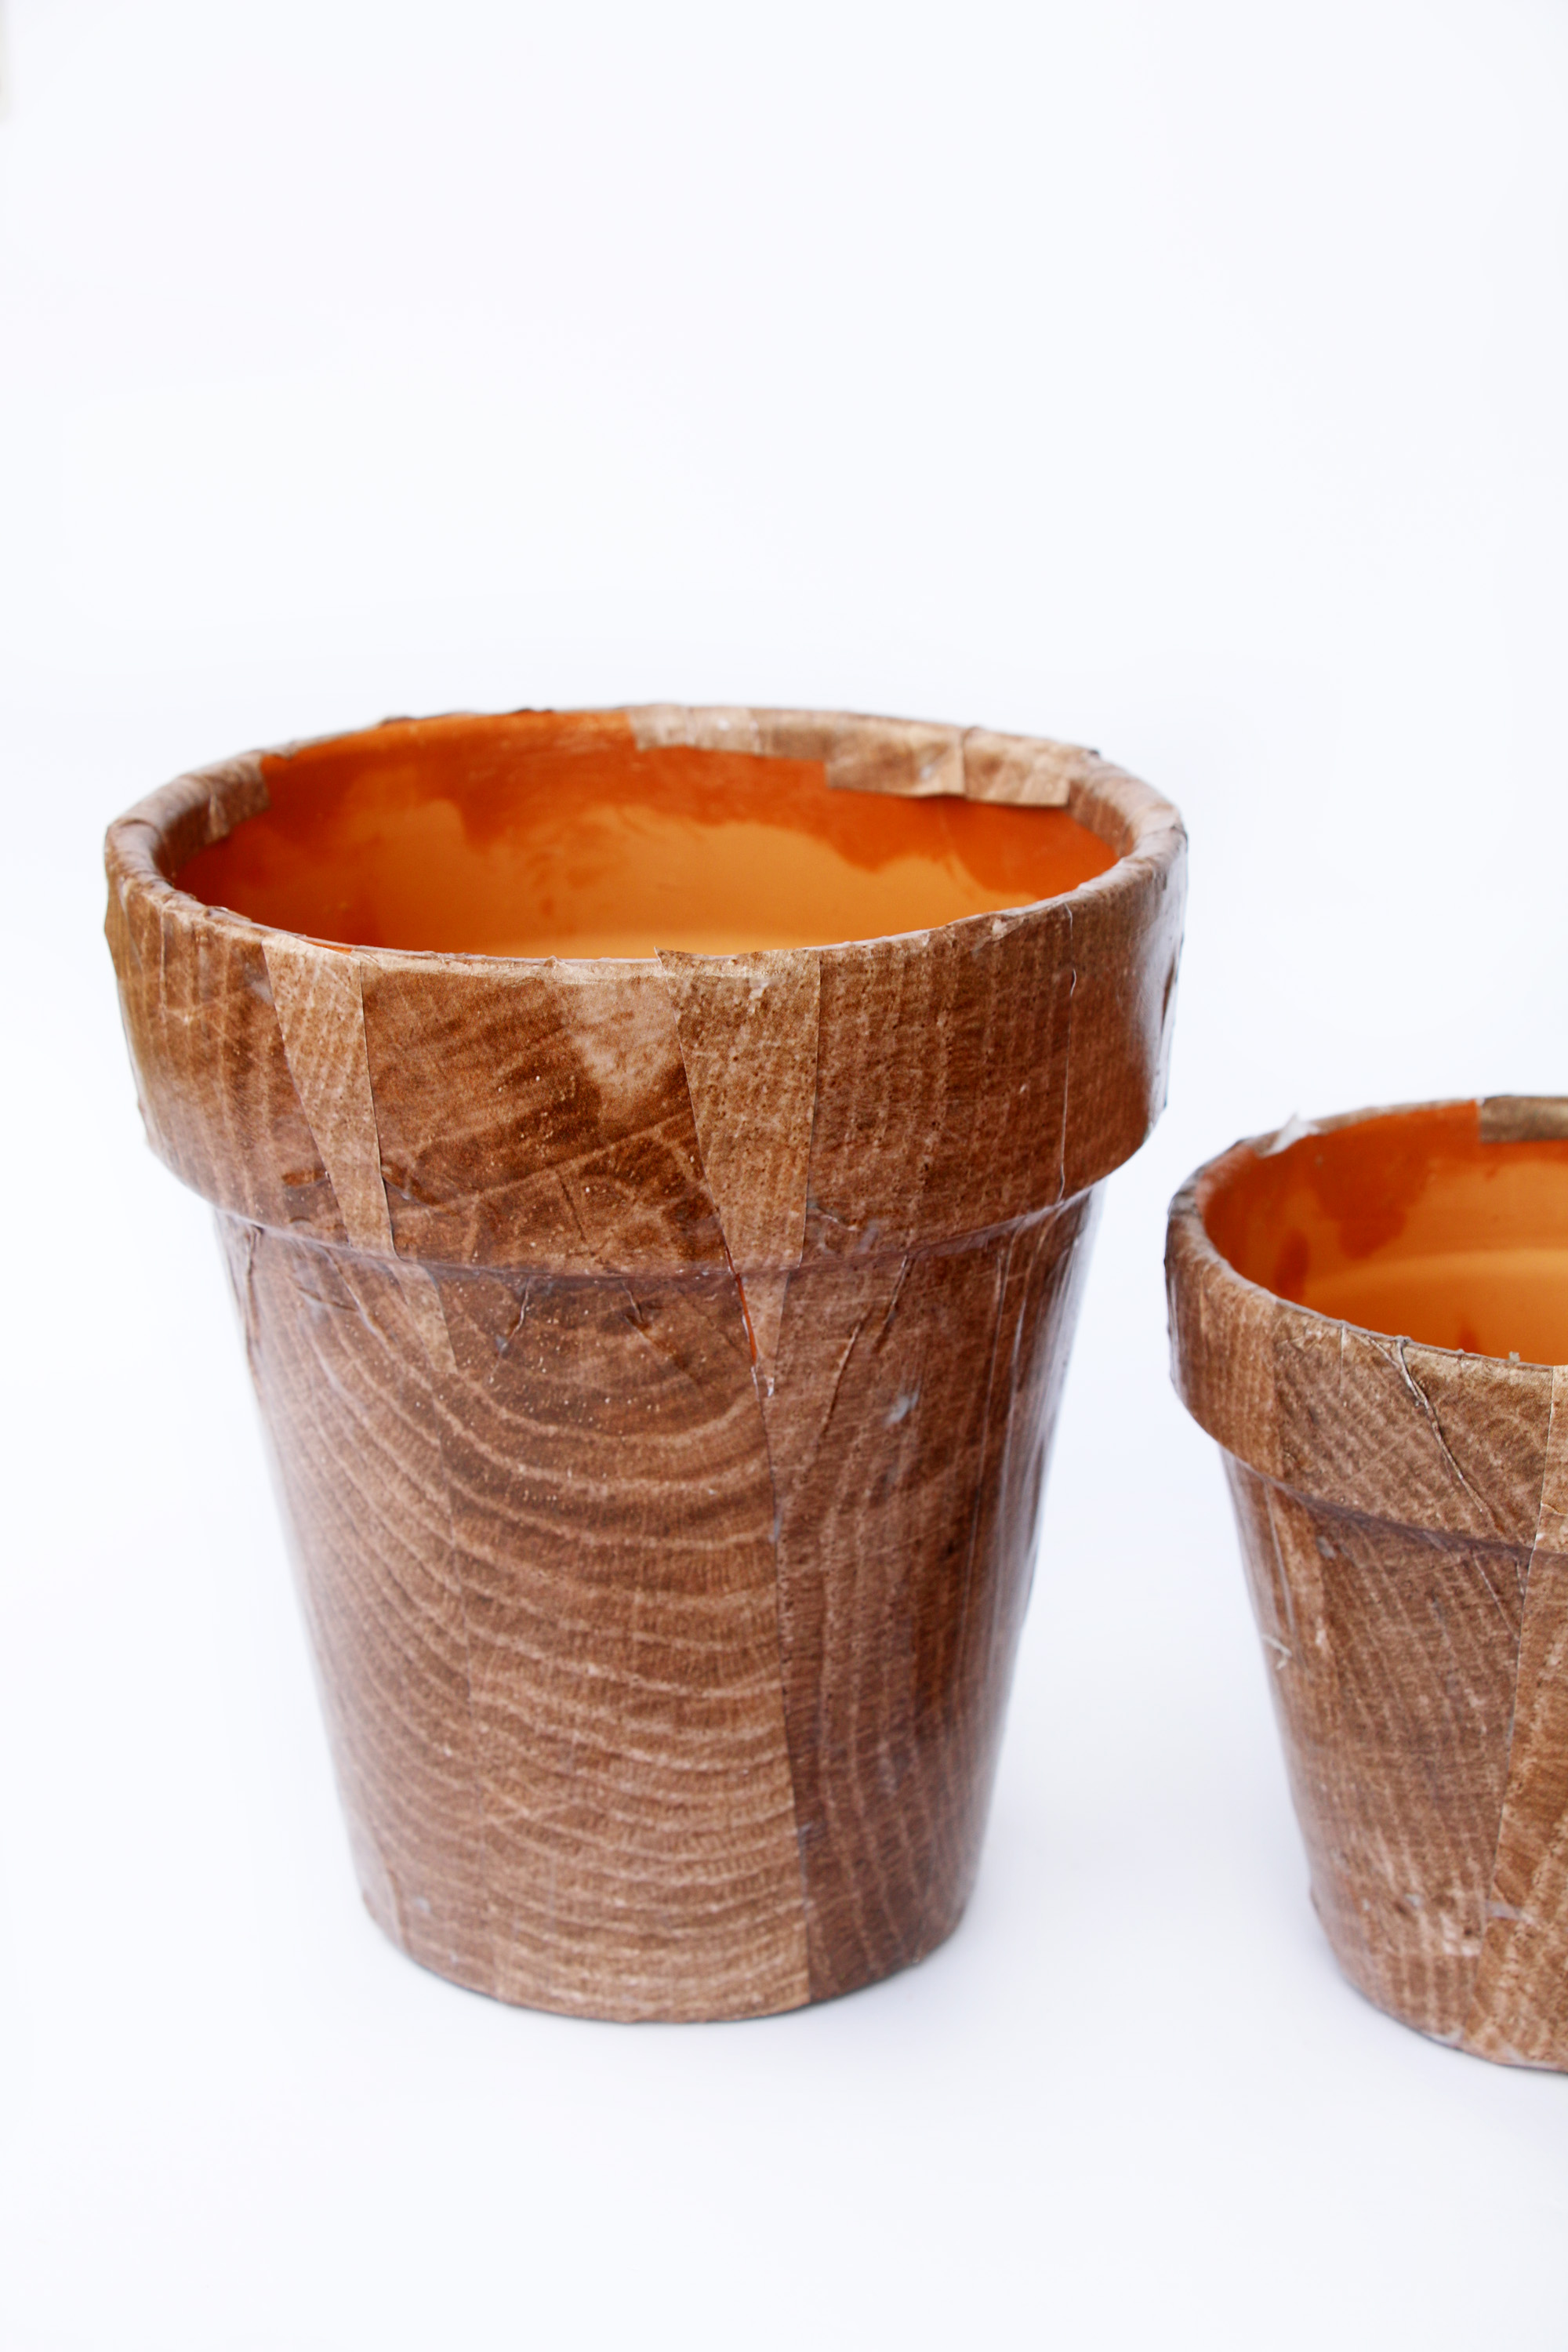
How amazing are these woodgrain pots! I am still in awe at how beautiful they came out. Such a quick and affordable way to dress up a plain pot, right! I didn’t add paper to the inside of the pots because it will be filled with paper.  Supplies for second step:
*Brown Craft Paper
*Stapler
*Clear Tape
*Stapler (Optional)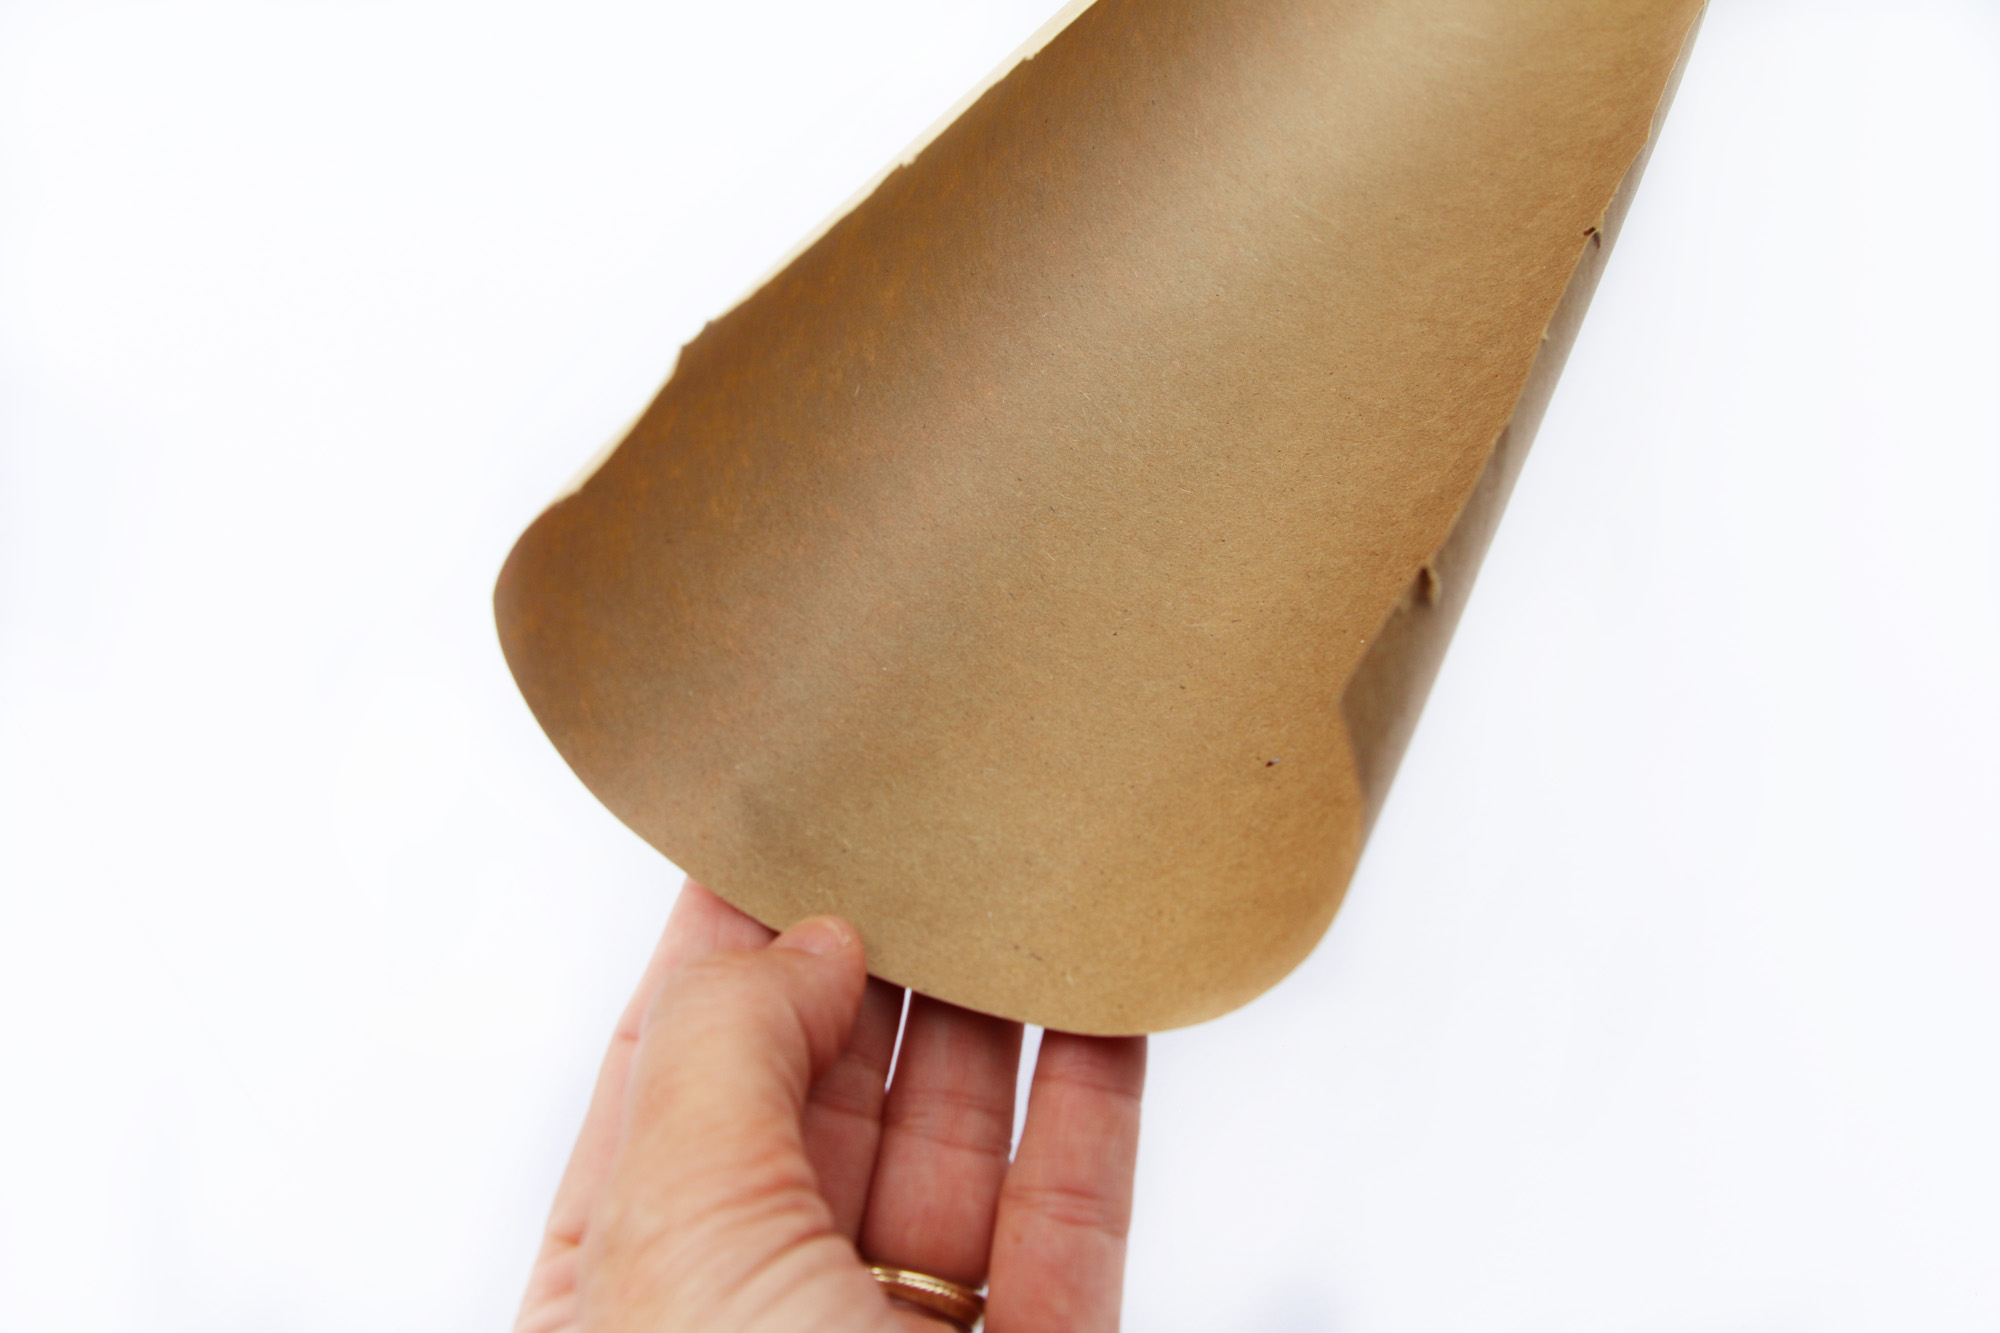 Step One: Cut long pieces of the brown craft paper so we can have a stack ready to roll. Don’t worry if the strips are too long we can always cut them when we are done.
 Step Two: Carefully twist the paper using both hands. Don’t be too rough during this step because you will tear the paper. For the main branch (that goes in the middle) I twisted one piece and continued adding more strips around it till the width and thickness was where I wanted it.
It’s important to get that first piece really strong since we will be adding other branches, leaves, pears and moss to them.
Step Three: Make sure to roll multiple sizes of branches.  Step Four: Grab your big branch and tape it down to the inside of the pot. I added a few pieces of tape to just make sure it was really secure. Continue doing this with as many branches as you want.
  This is what it will look like when you tape them down inside the pot. Keep in mind we will be filling the negative (empty) space with crunched up craft paper so that will also keep your branches secure. You can also use a stapler or clear tape to add branches onto other branches. It will all be covered in the end!
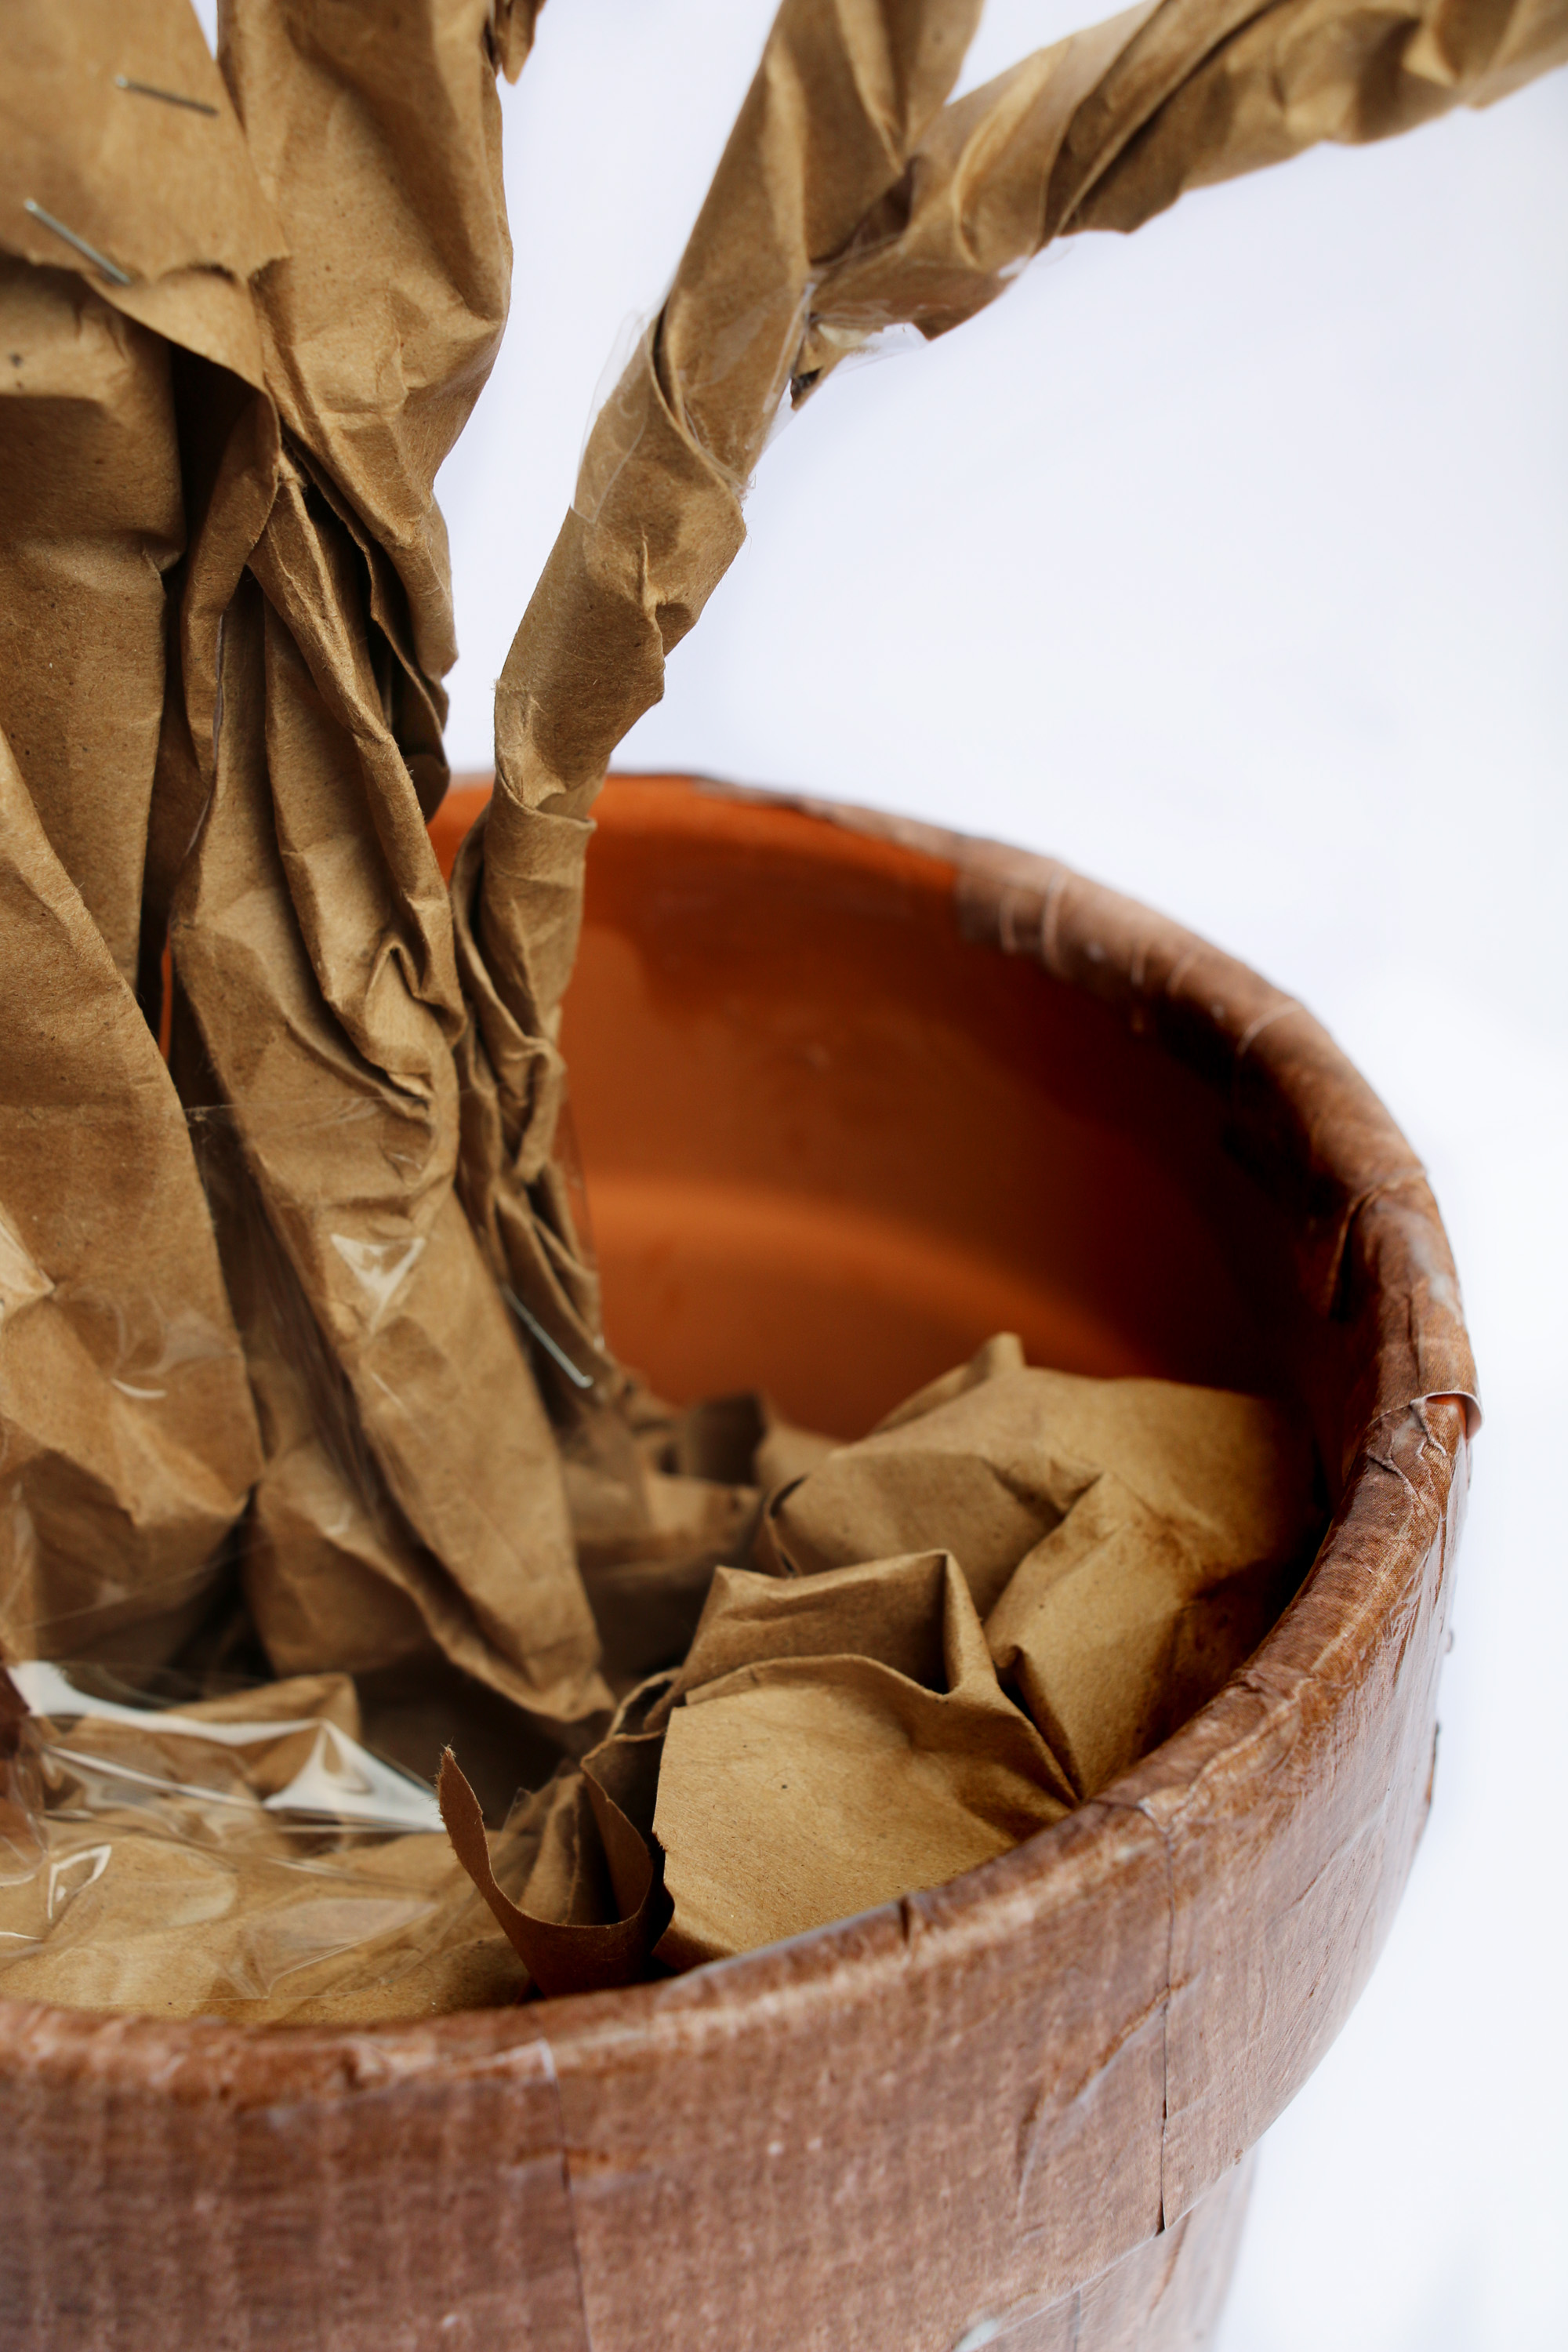 Step Five: Start crumbling paper and filling it inside the pot. Also, notice that I used some clear tape to bunch up the base of all my branches so it looks like one massive tree on the bottom.
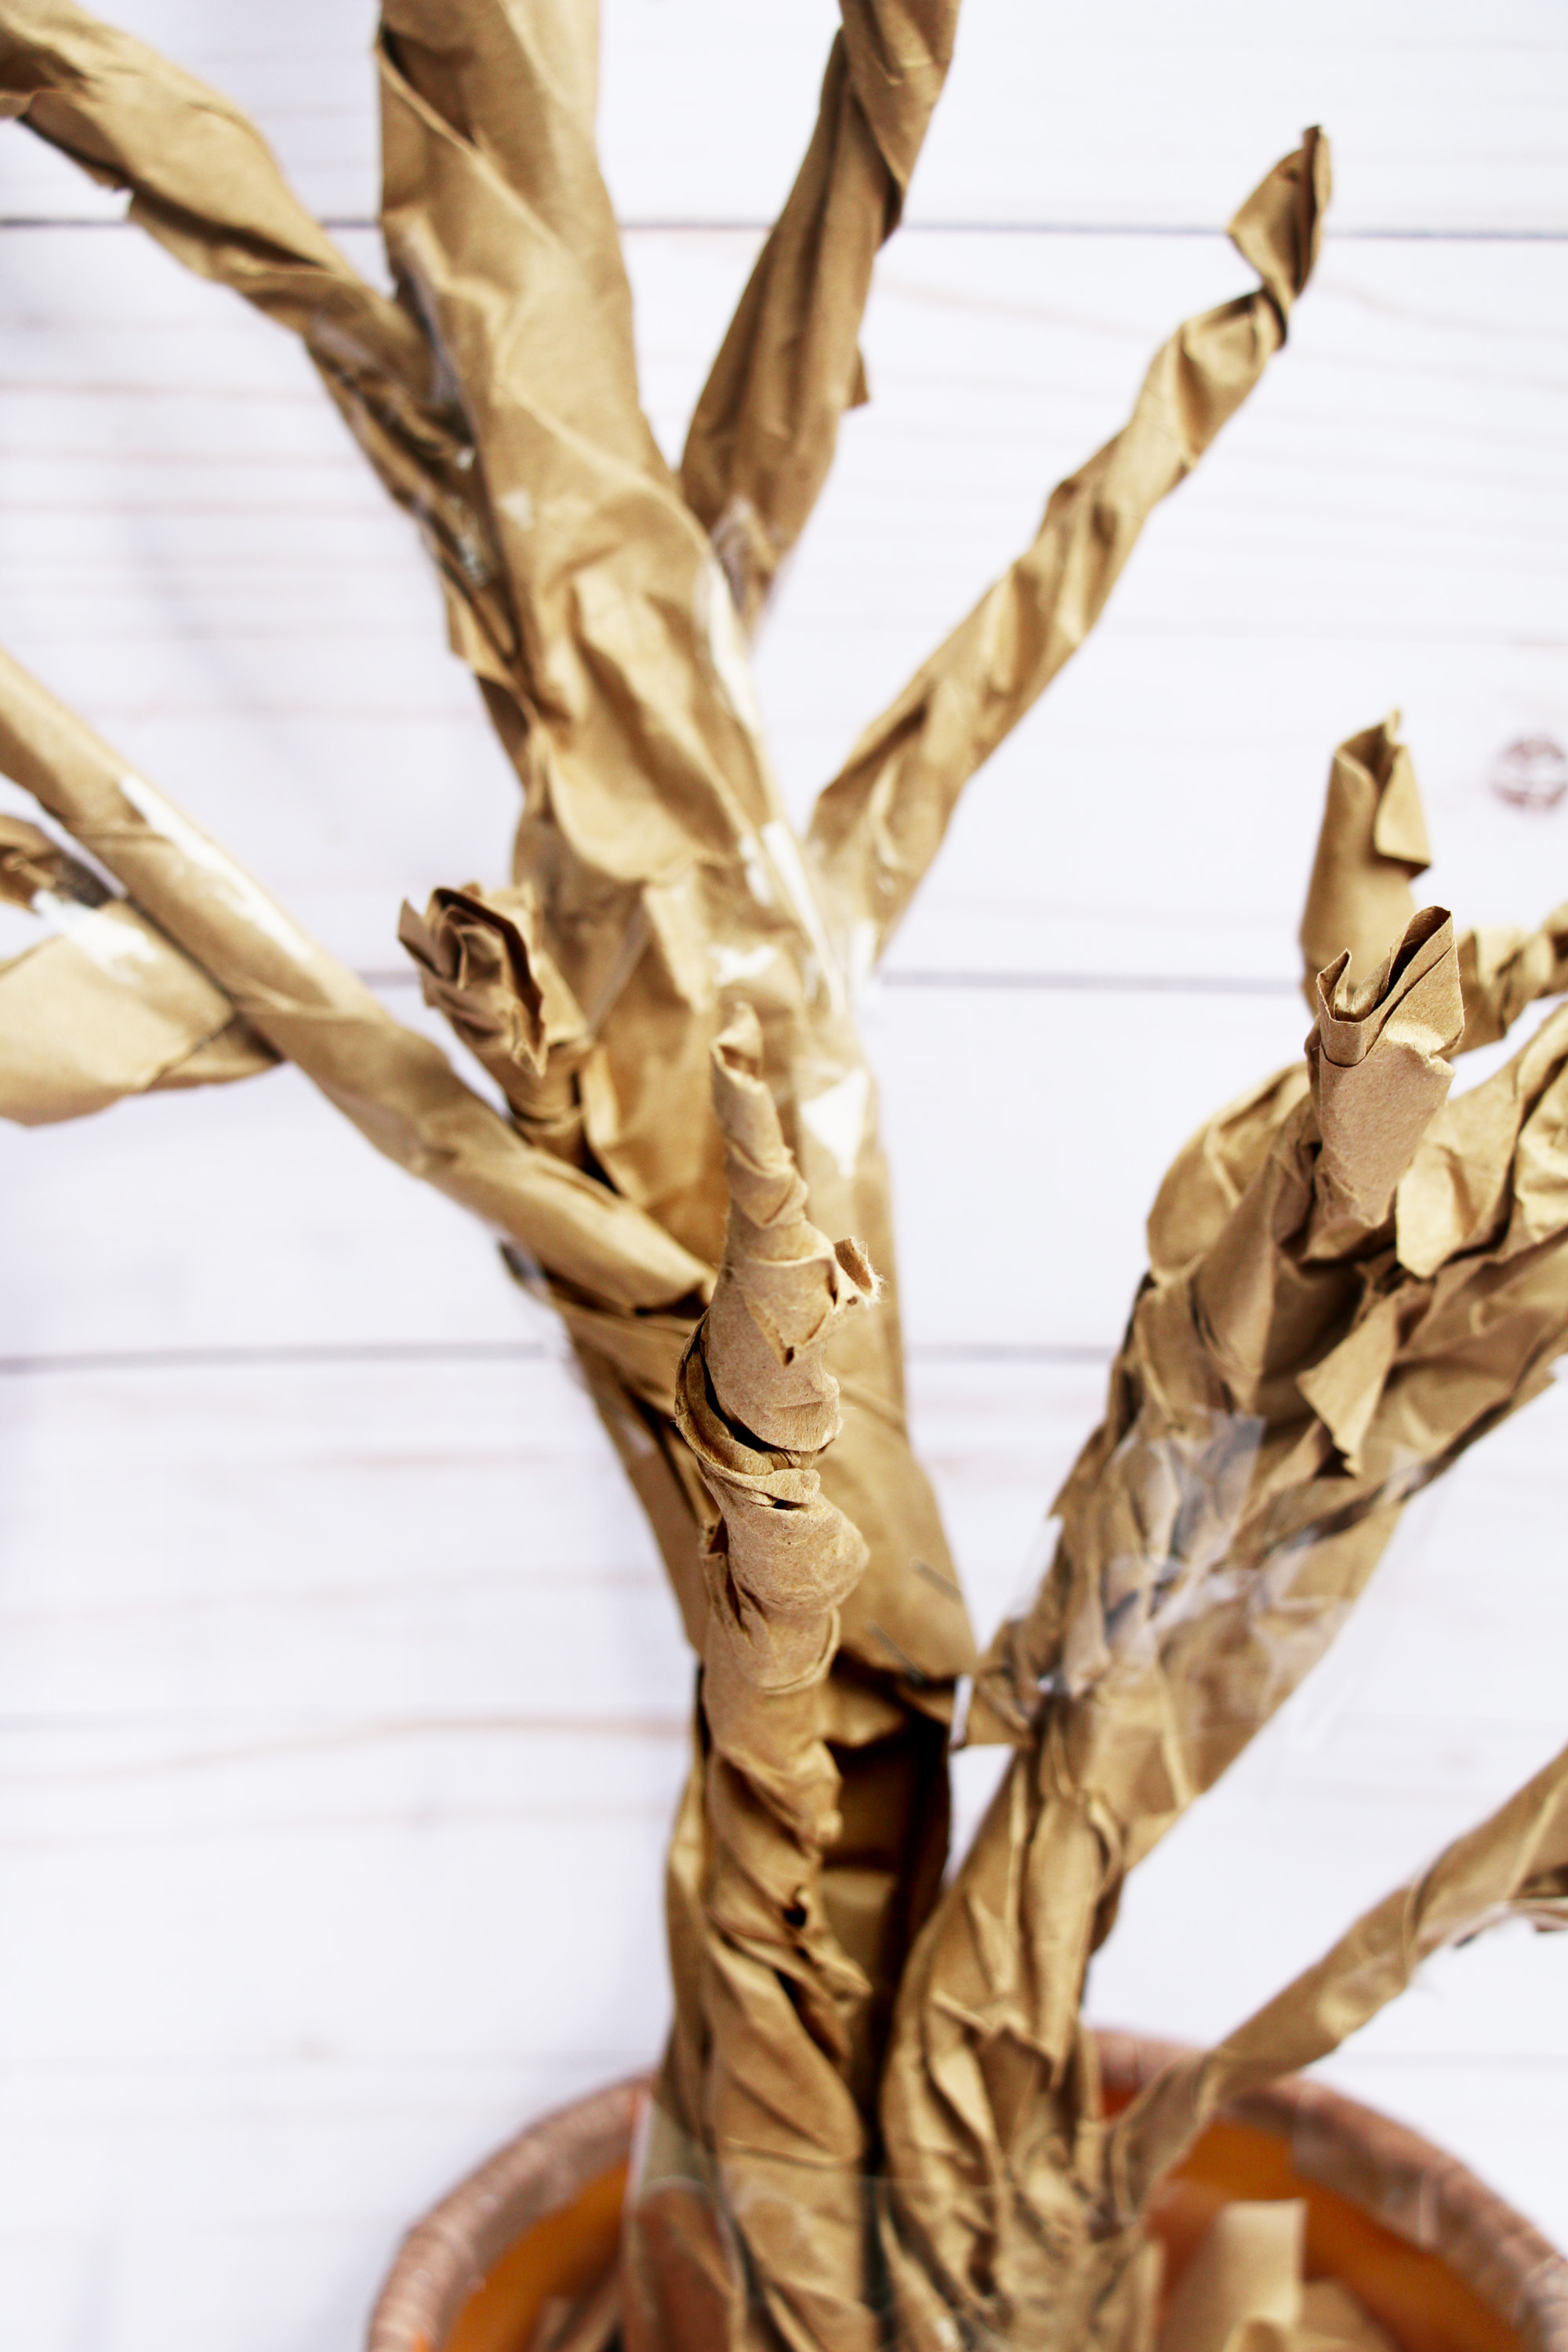
Wow y’all! It’s starting to come together!
Supplies for third step:
*Different shades of green craft paper (Make sure to get the paper that has texture/lines on them)
*Different shades of green ink pads
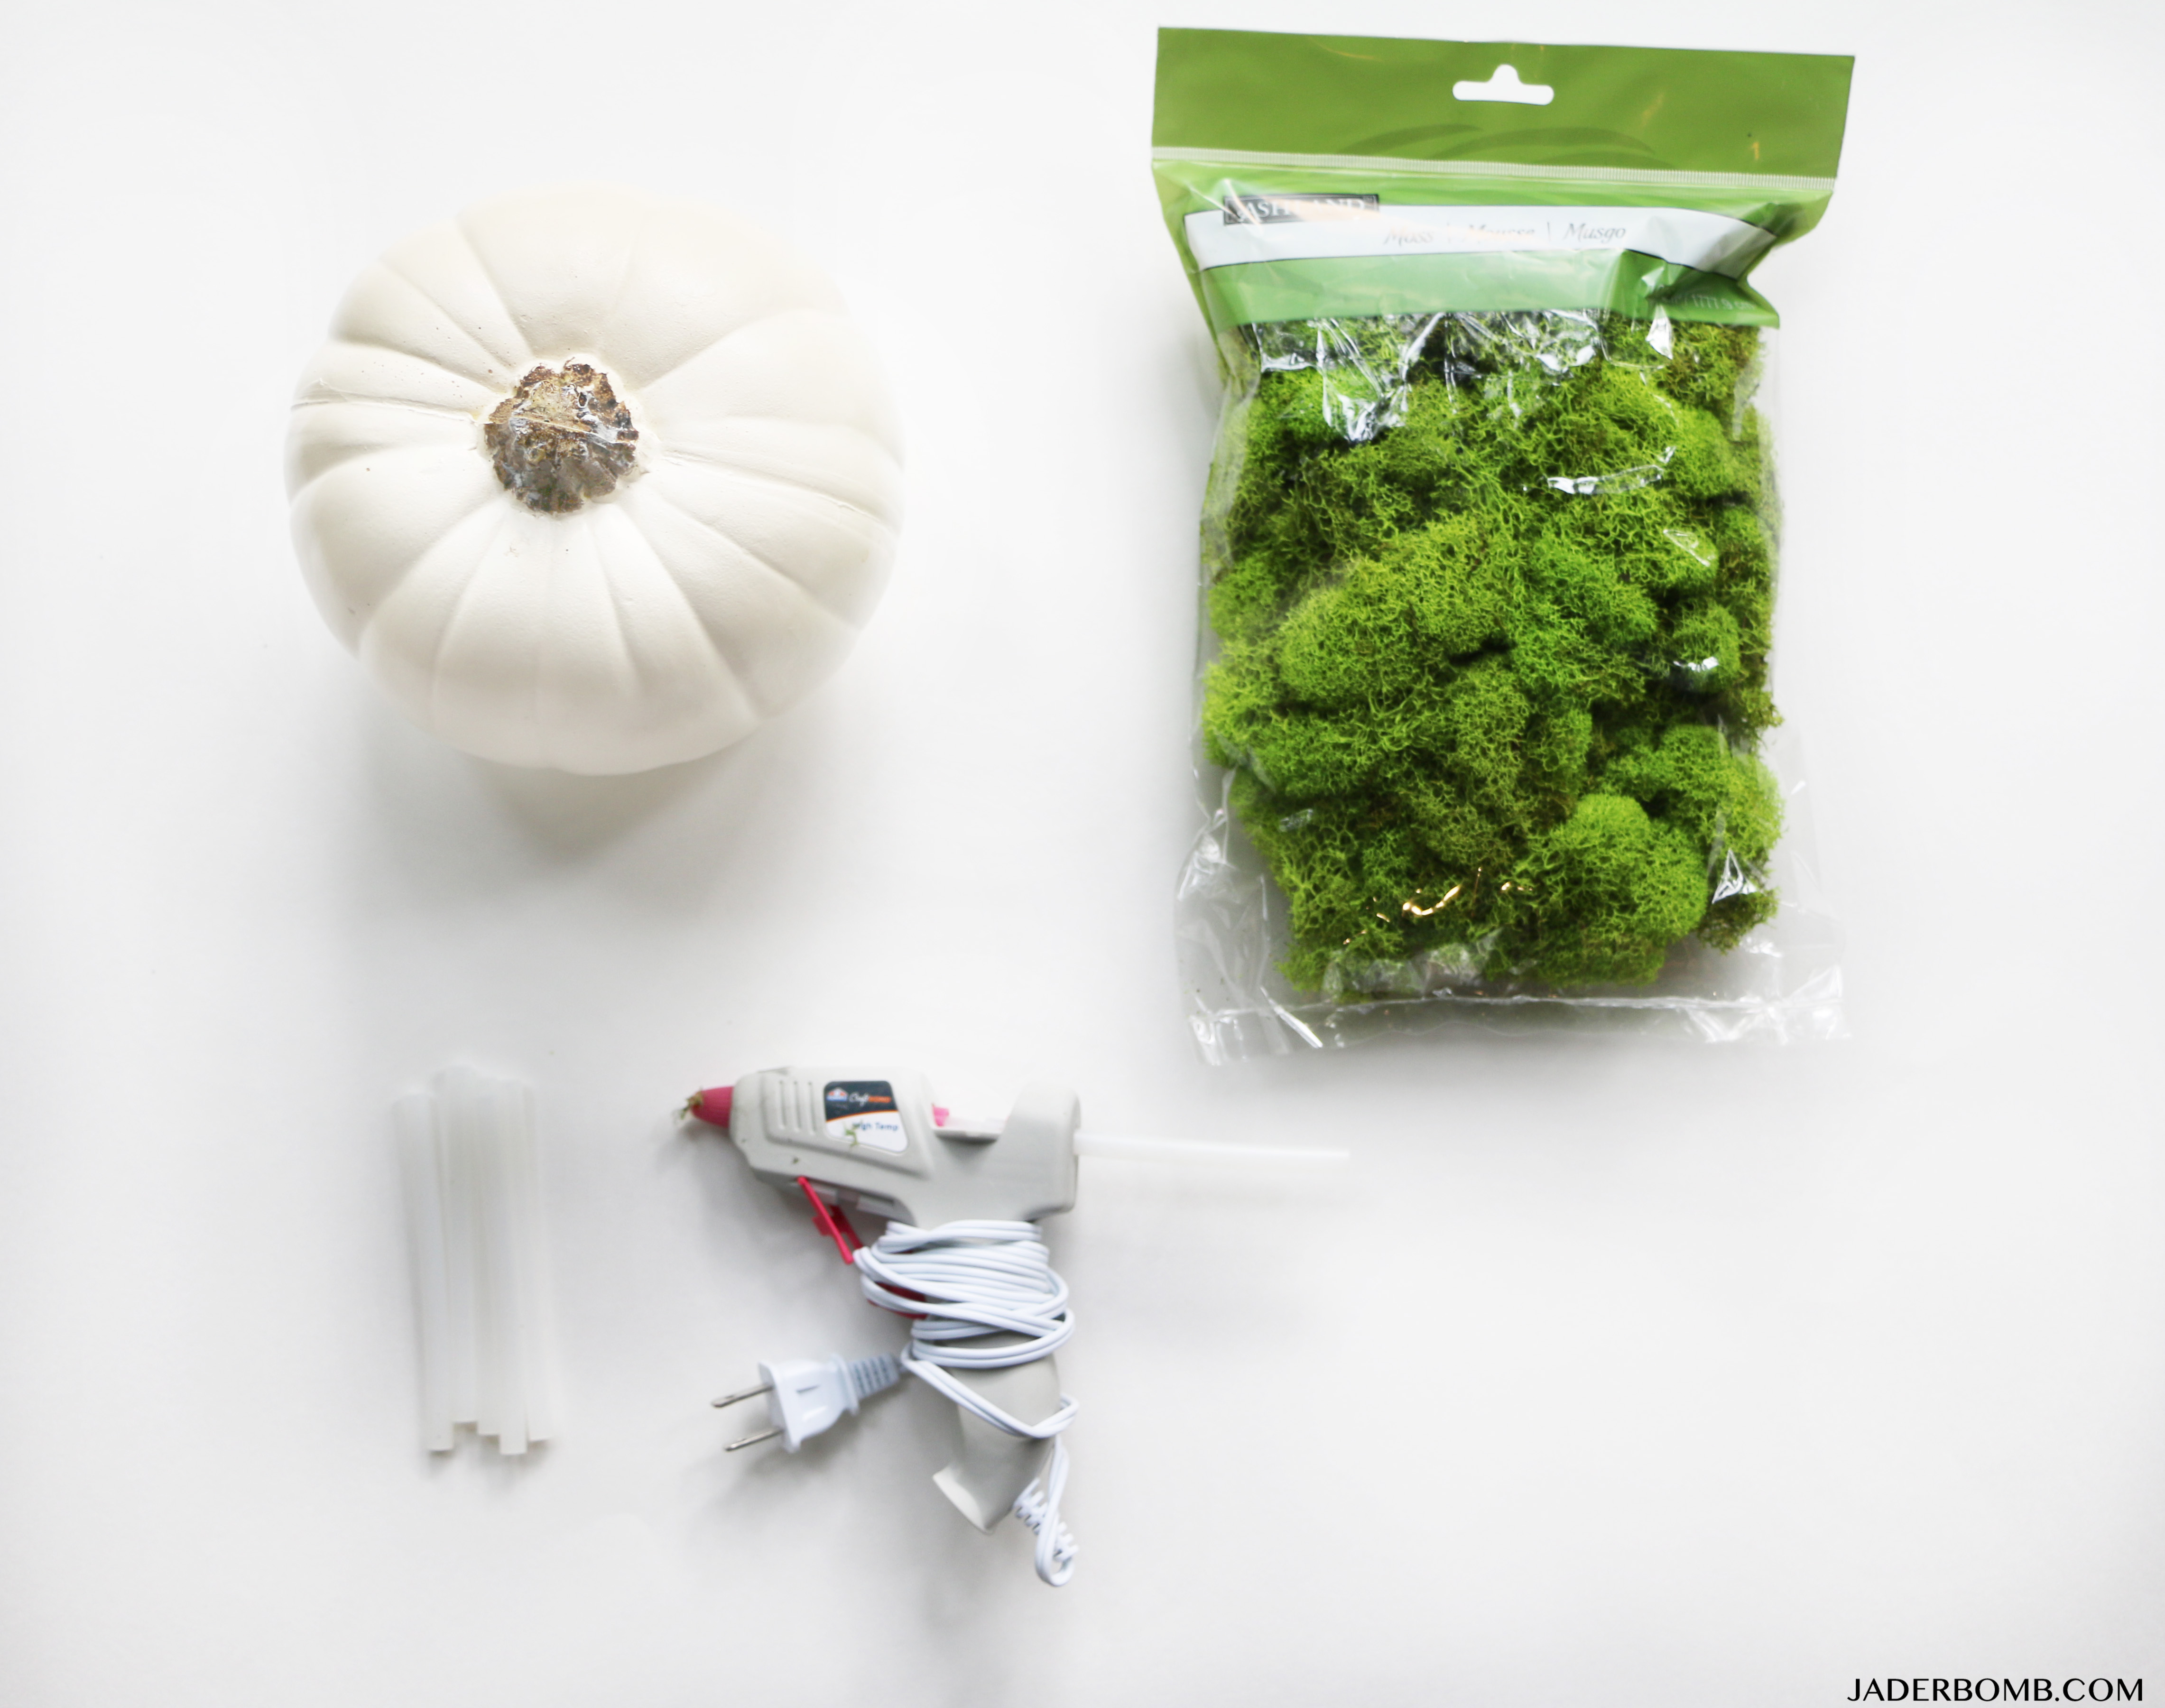
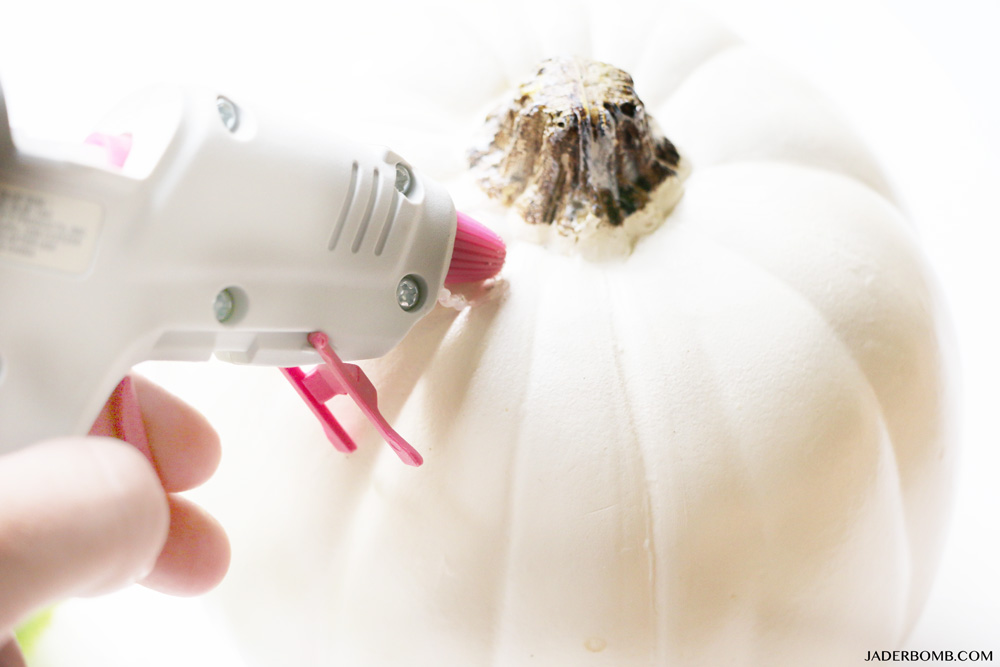
*Hot glue gun
*Scissors (Kids can use kid friendly scissors)
*Faux Moss Step One: I actually eyeballed cutting out my leaves because I knew in the end once I bent them up with my hands they would look like different shapes.
This is a great step to have your kids do! Put a good movie on and let them cut leaves for days, haha! 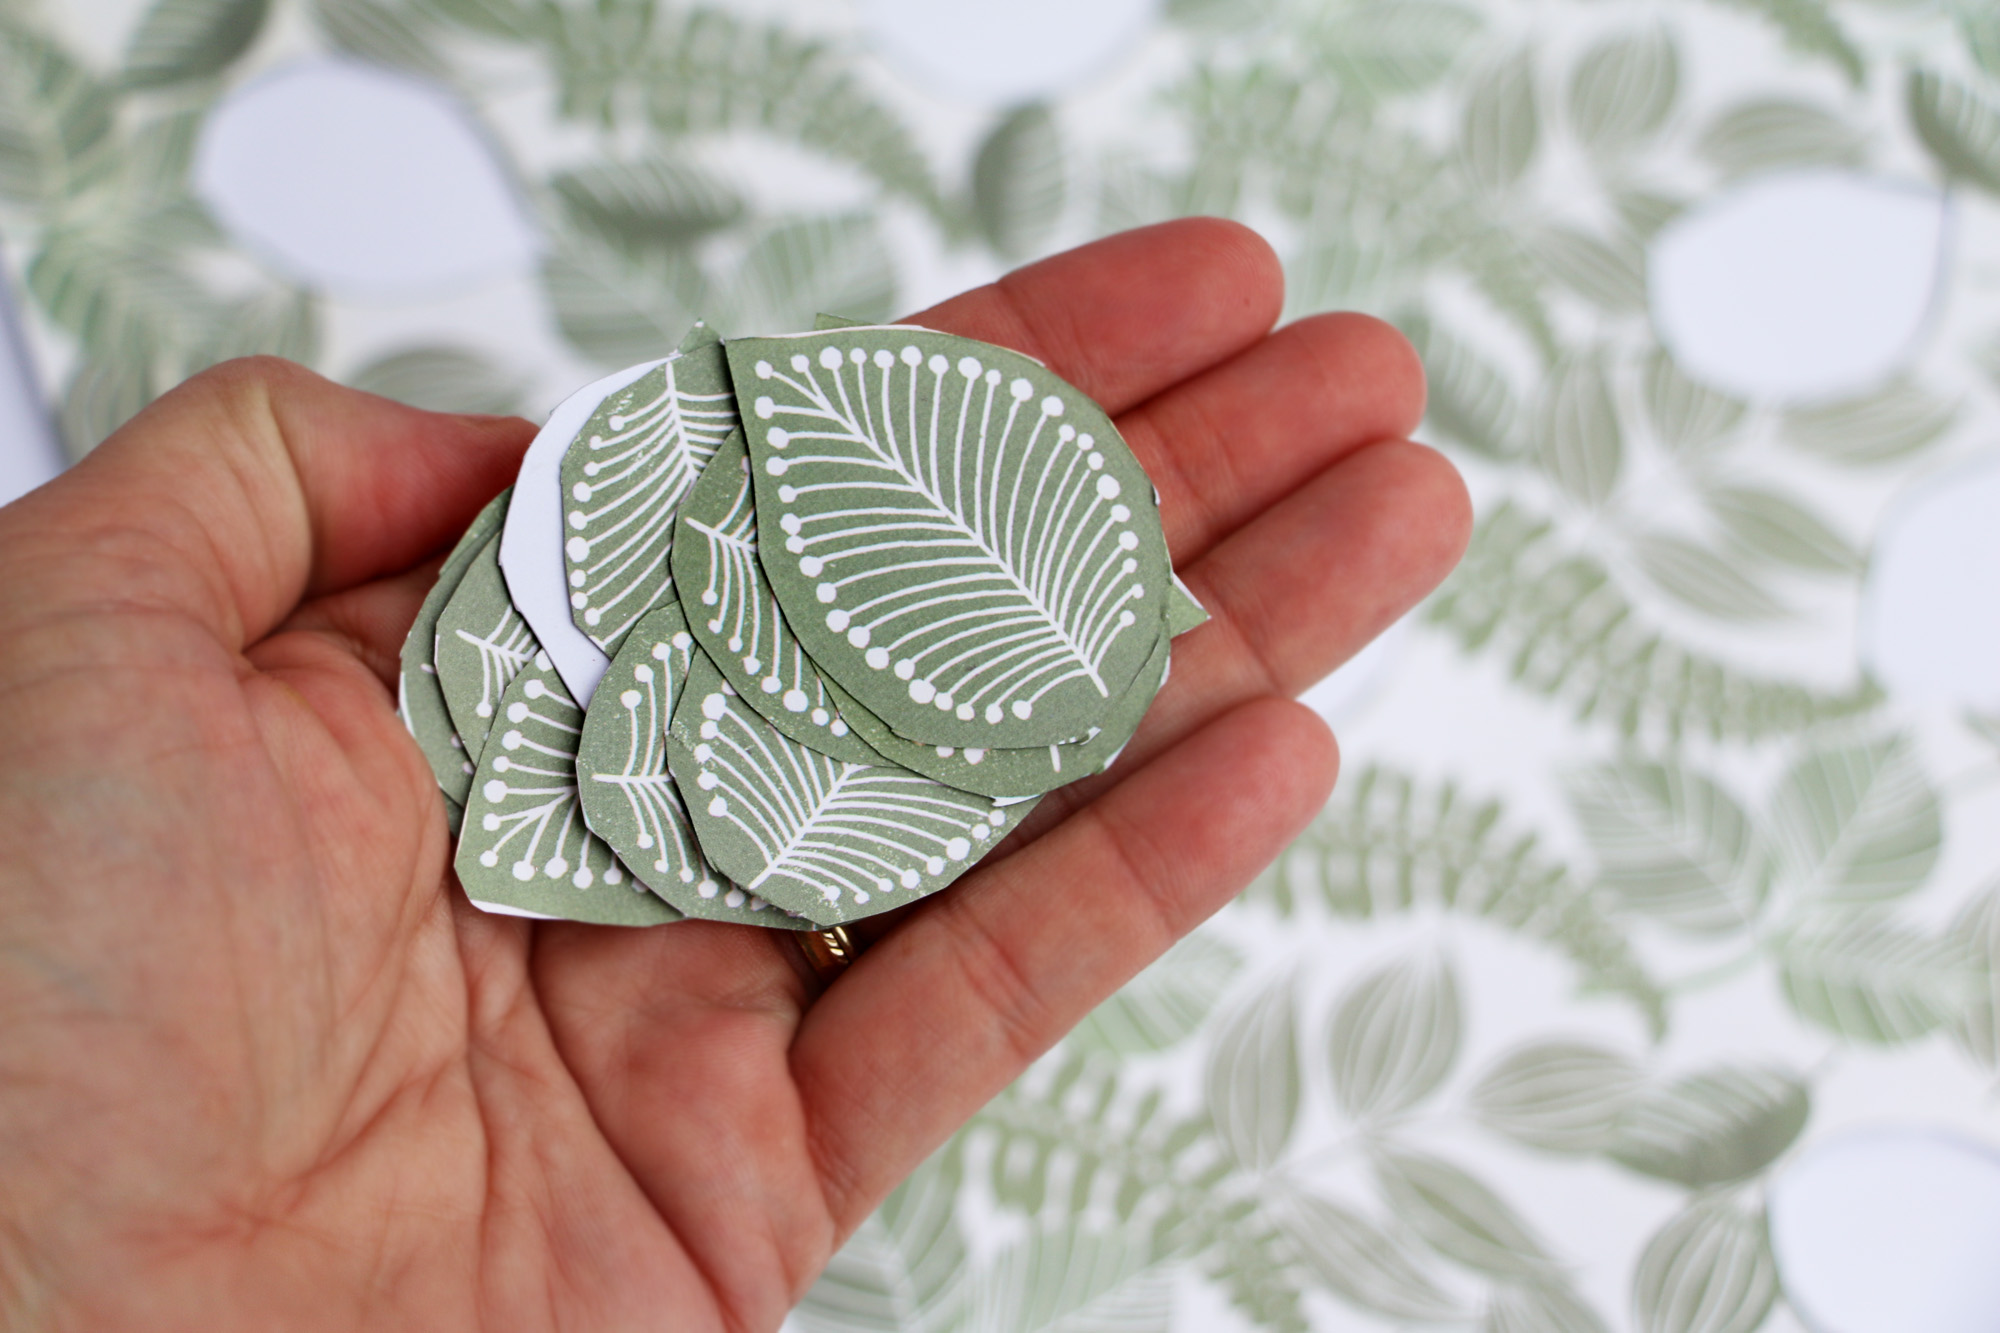 Step Two: Make sure to grab some craft paper that is pre-printed with leaves like this because they will be nice to add in random spots to add some texture!
 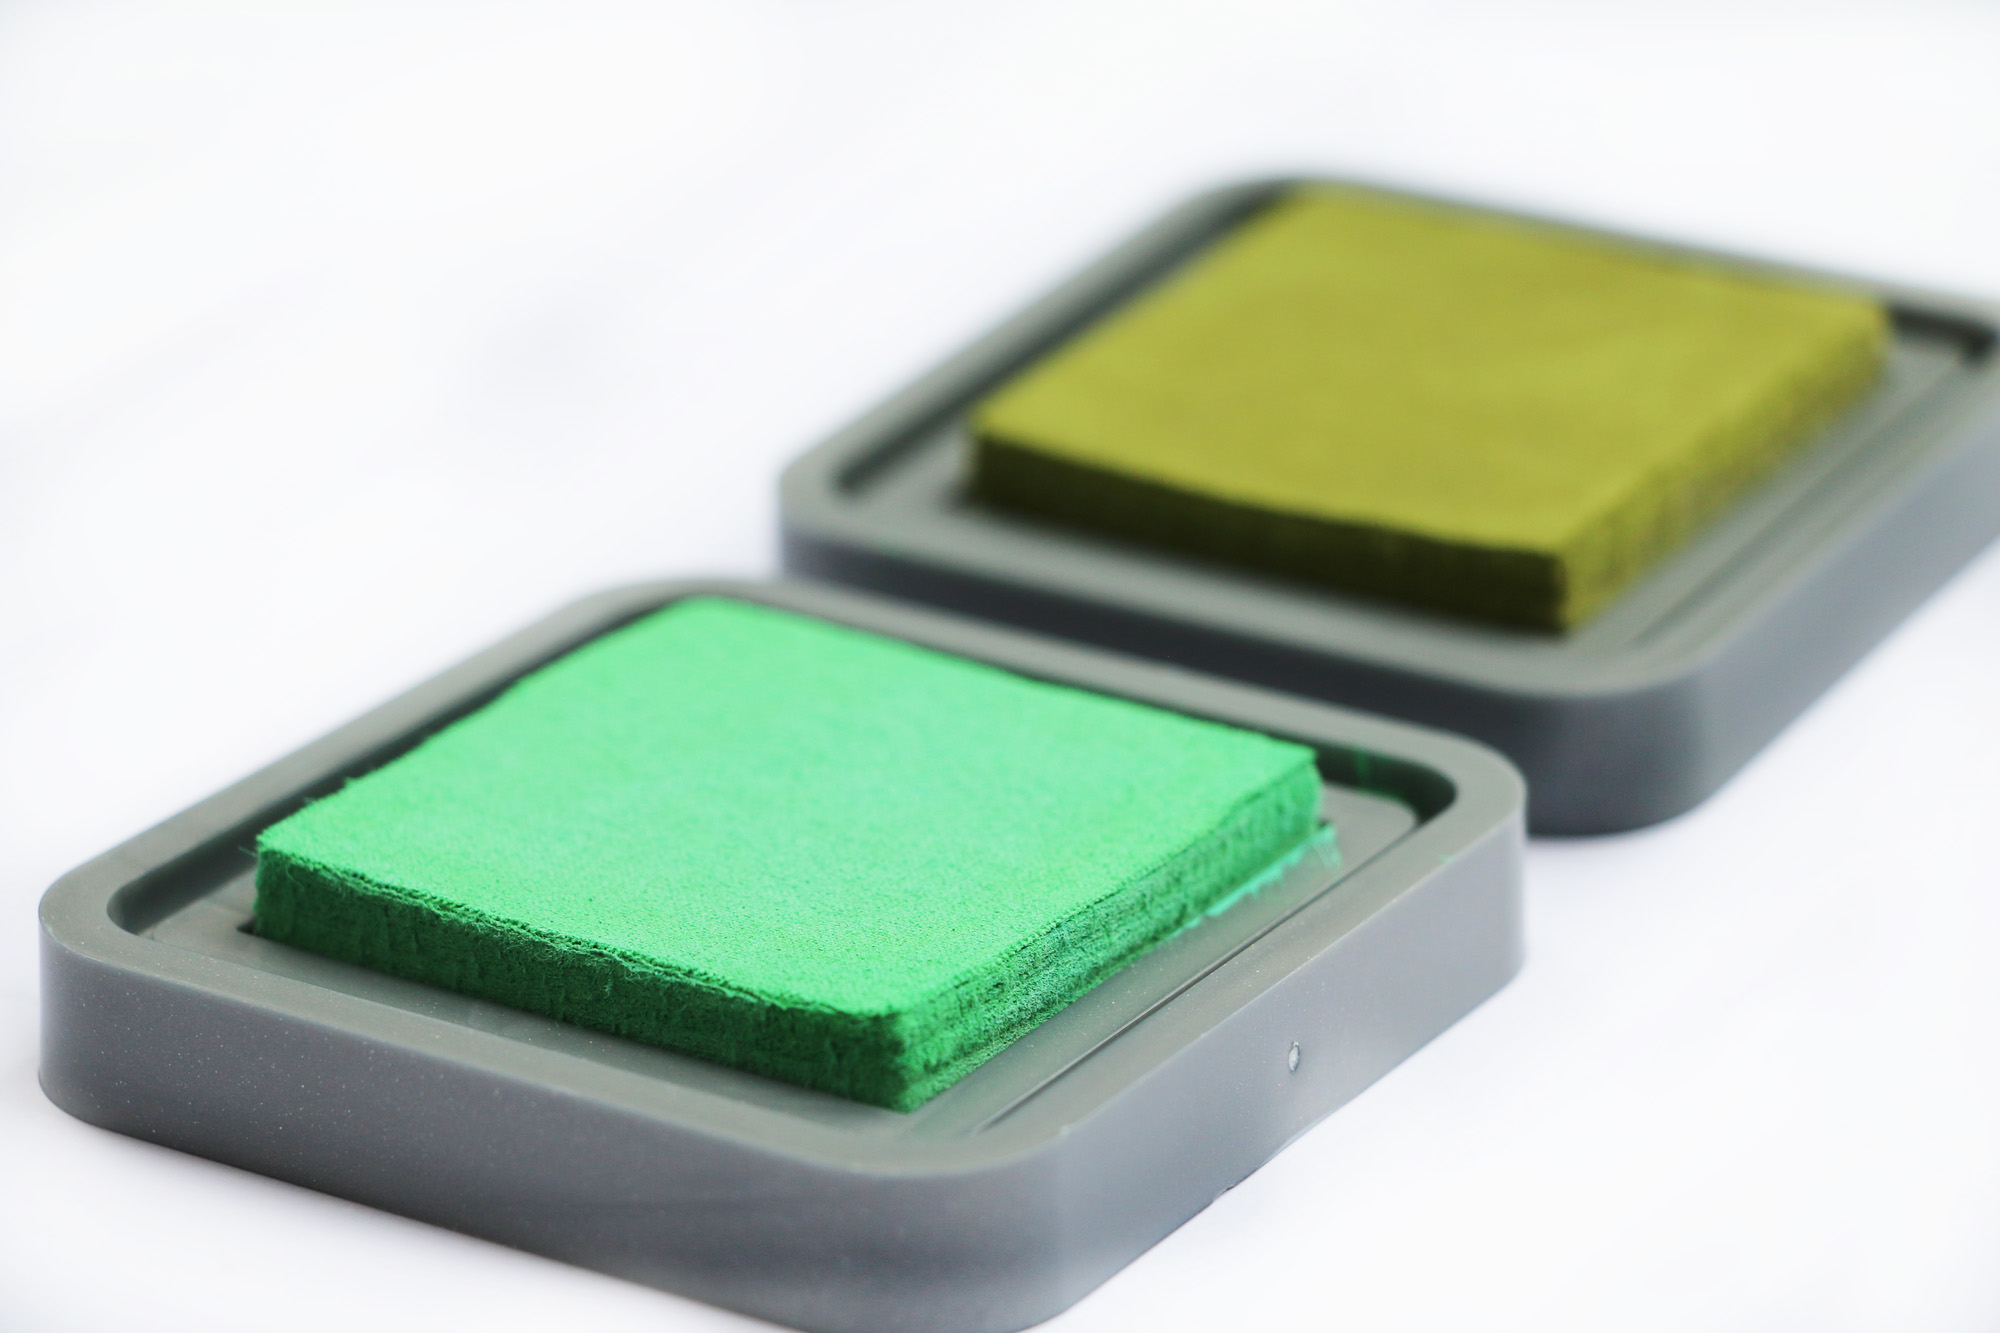 Let’s just take a second to look at how beautiful these ink pads are.
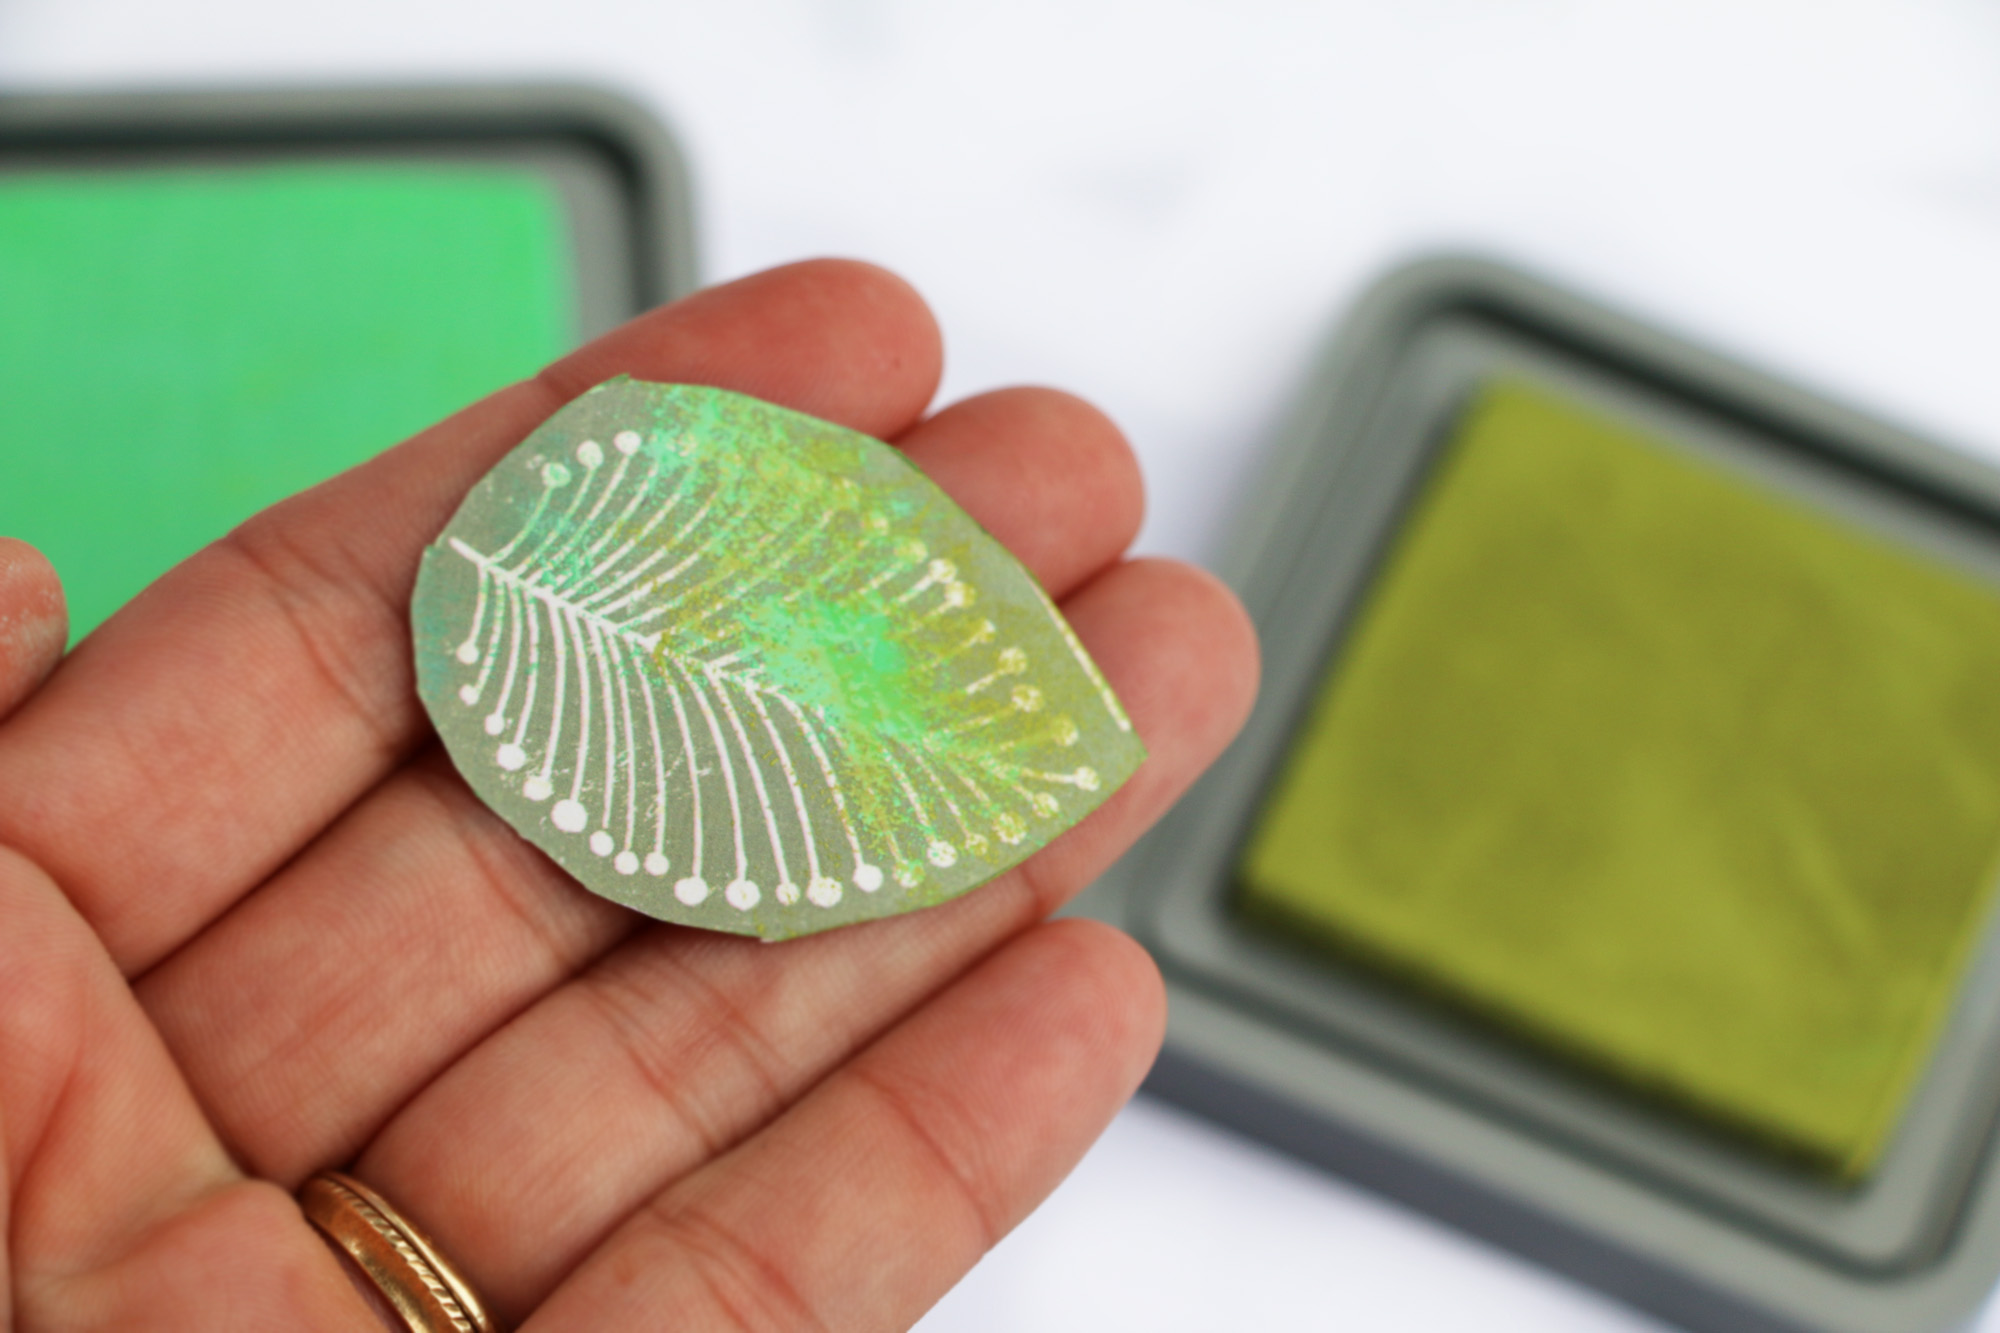 Step Three: Add multiple shades of ink onto your leaves to make them look realistic. P.S. Make sure you cut all different sizes in different shades of colors.
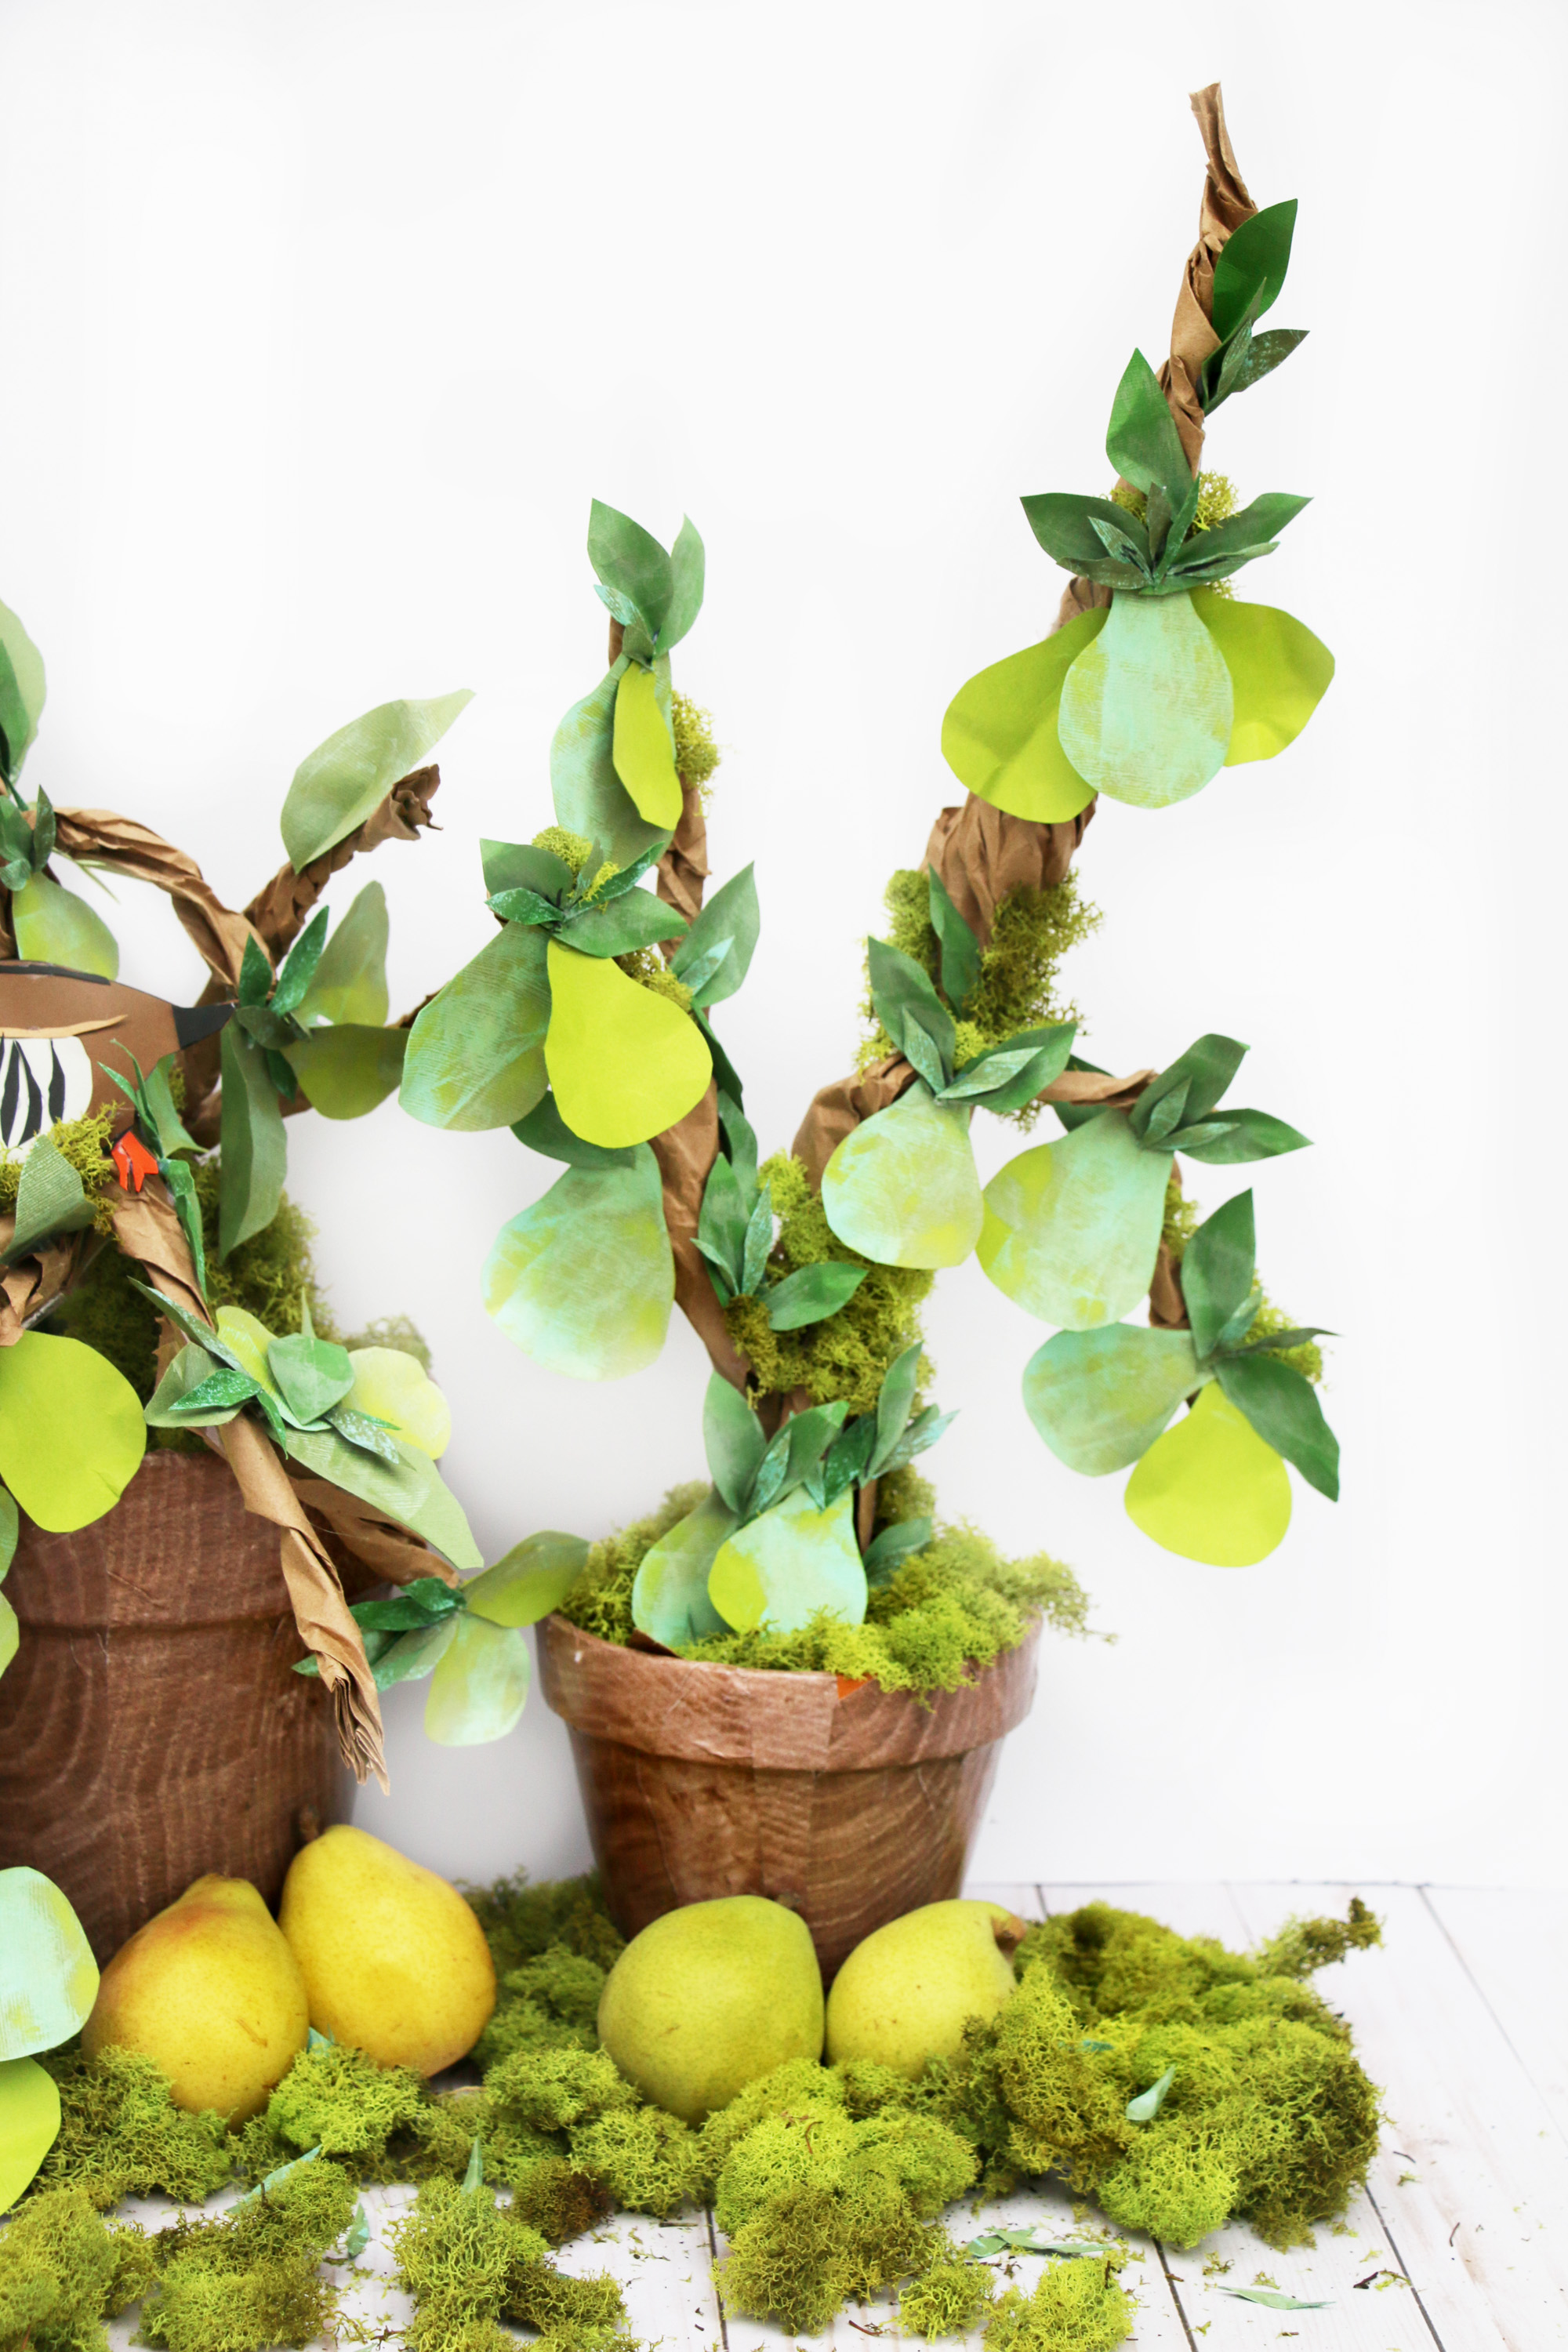
For the pears I eyeballed cutting one out until I was happy with it then I just used that one as my template to cut around to make the rest of them. 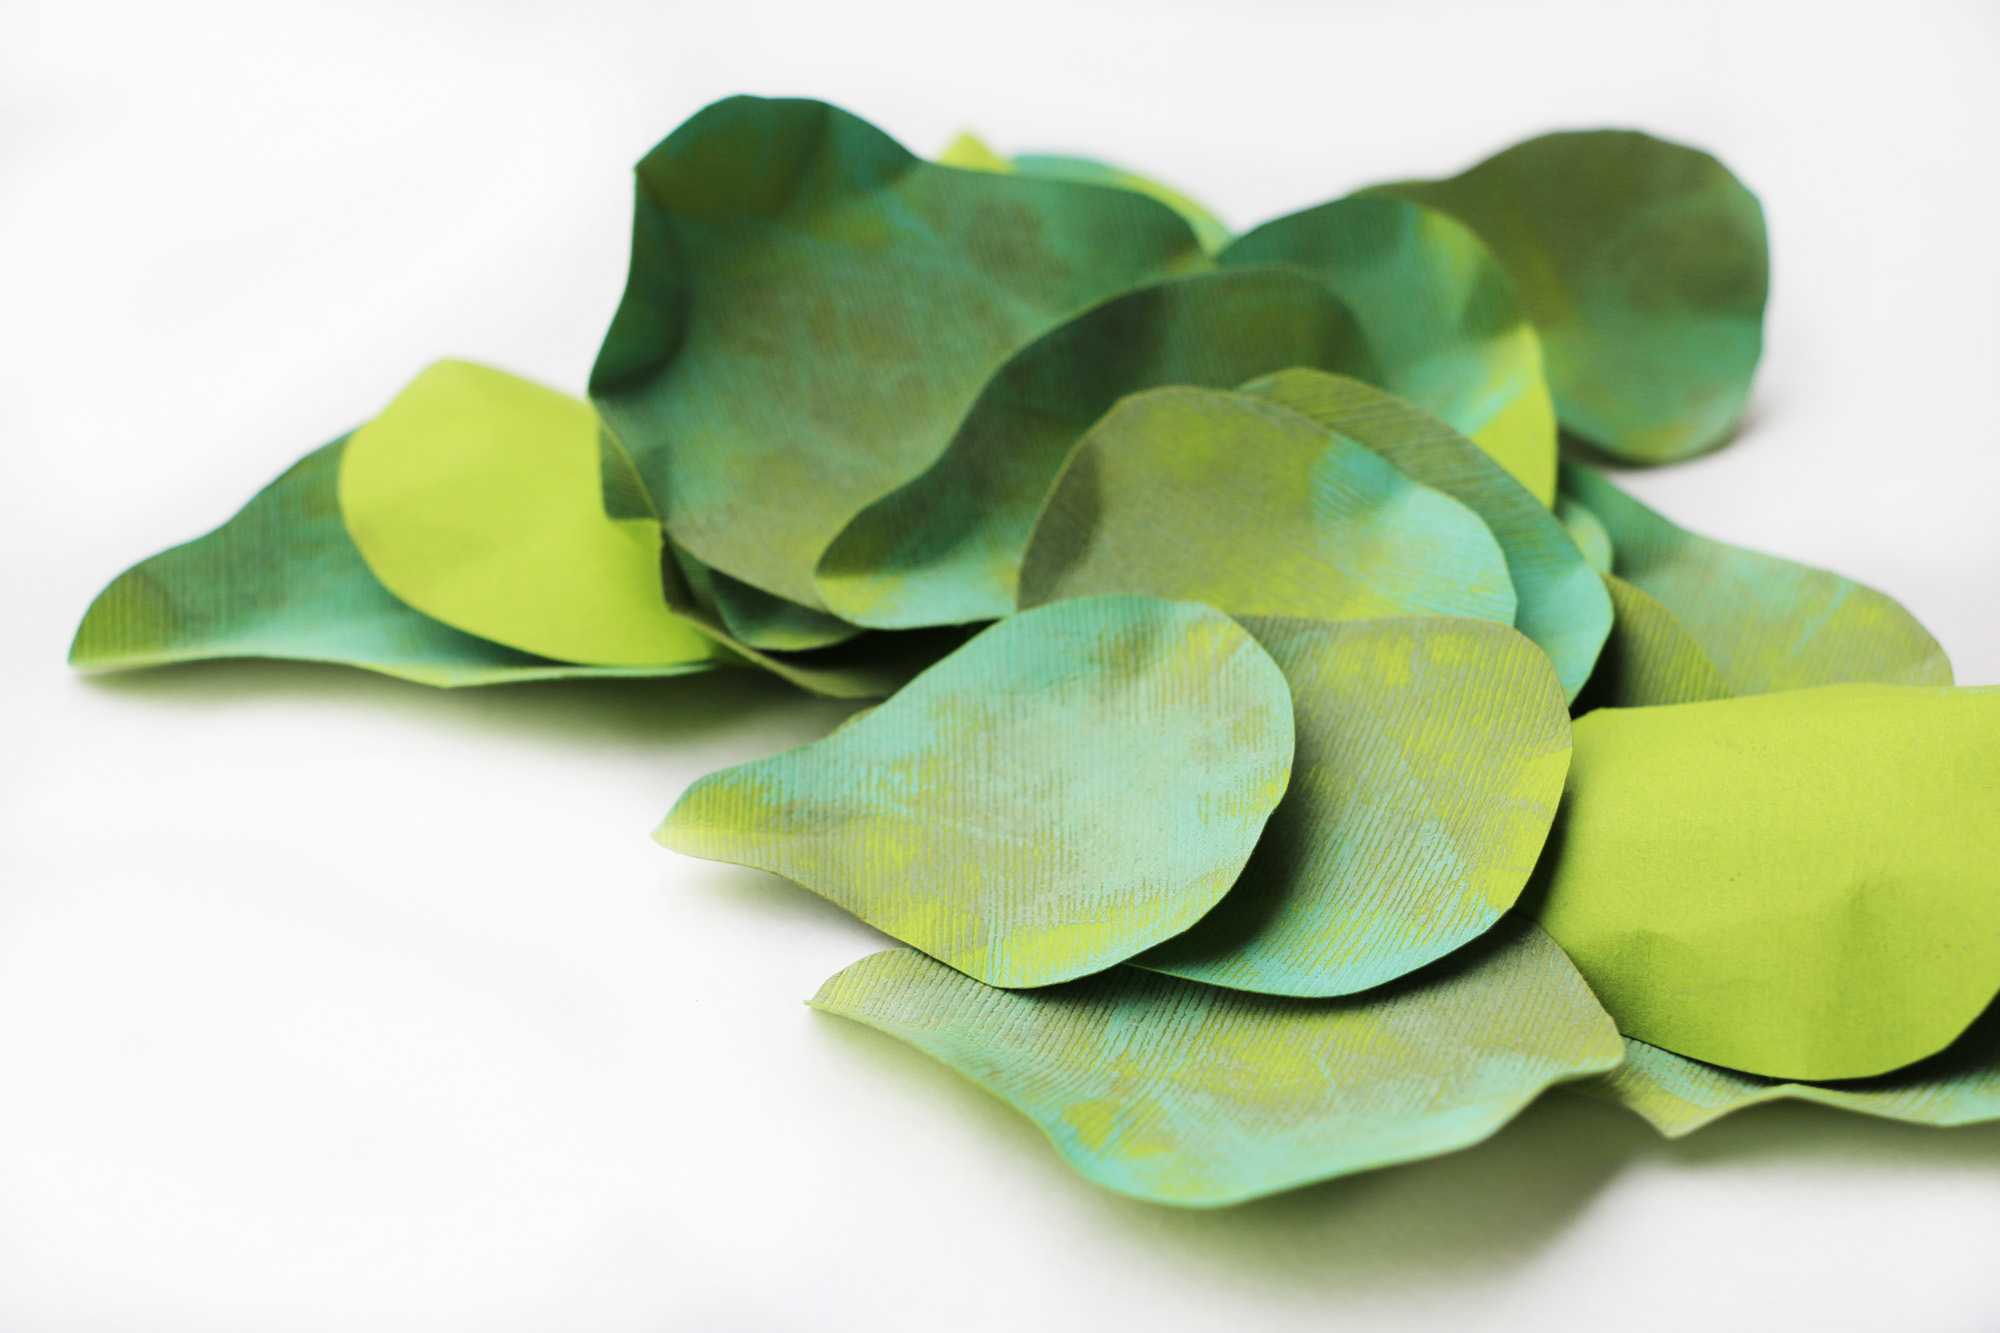 Make sure you use a bright green paper for the pears, we want to make sure they stand out against the other green shades. I love how they look a little real, at least from one angle!
Bend the edges with your hands over and over until they are not flat anymore. 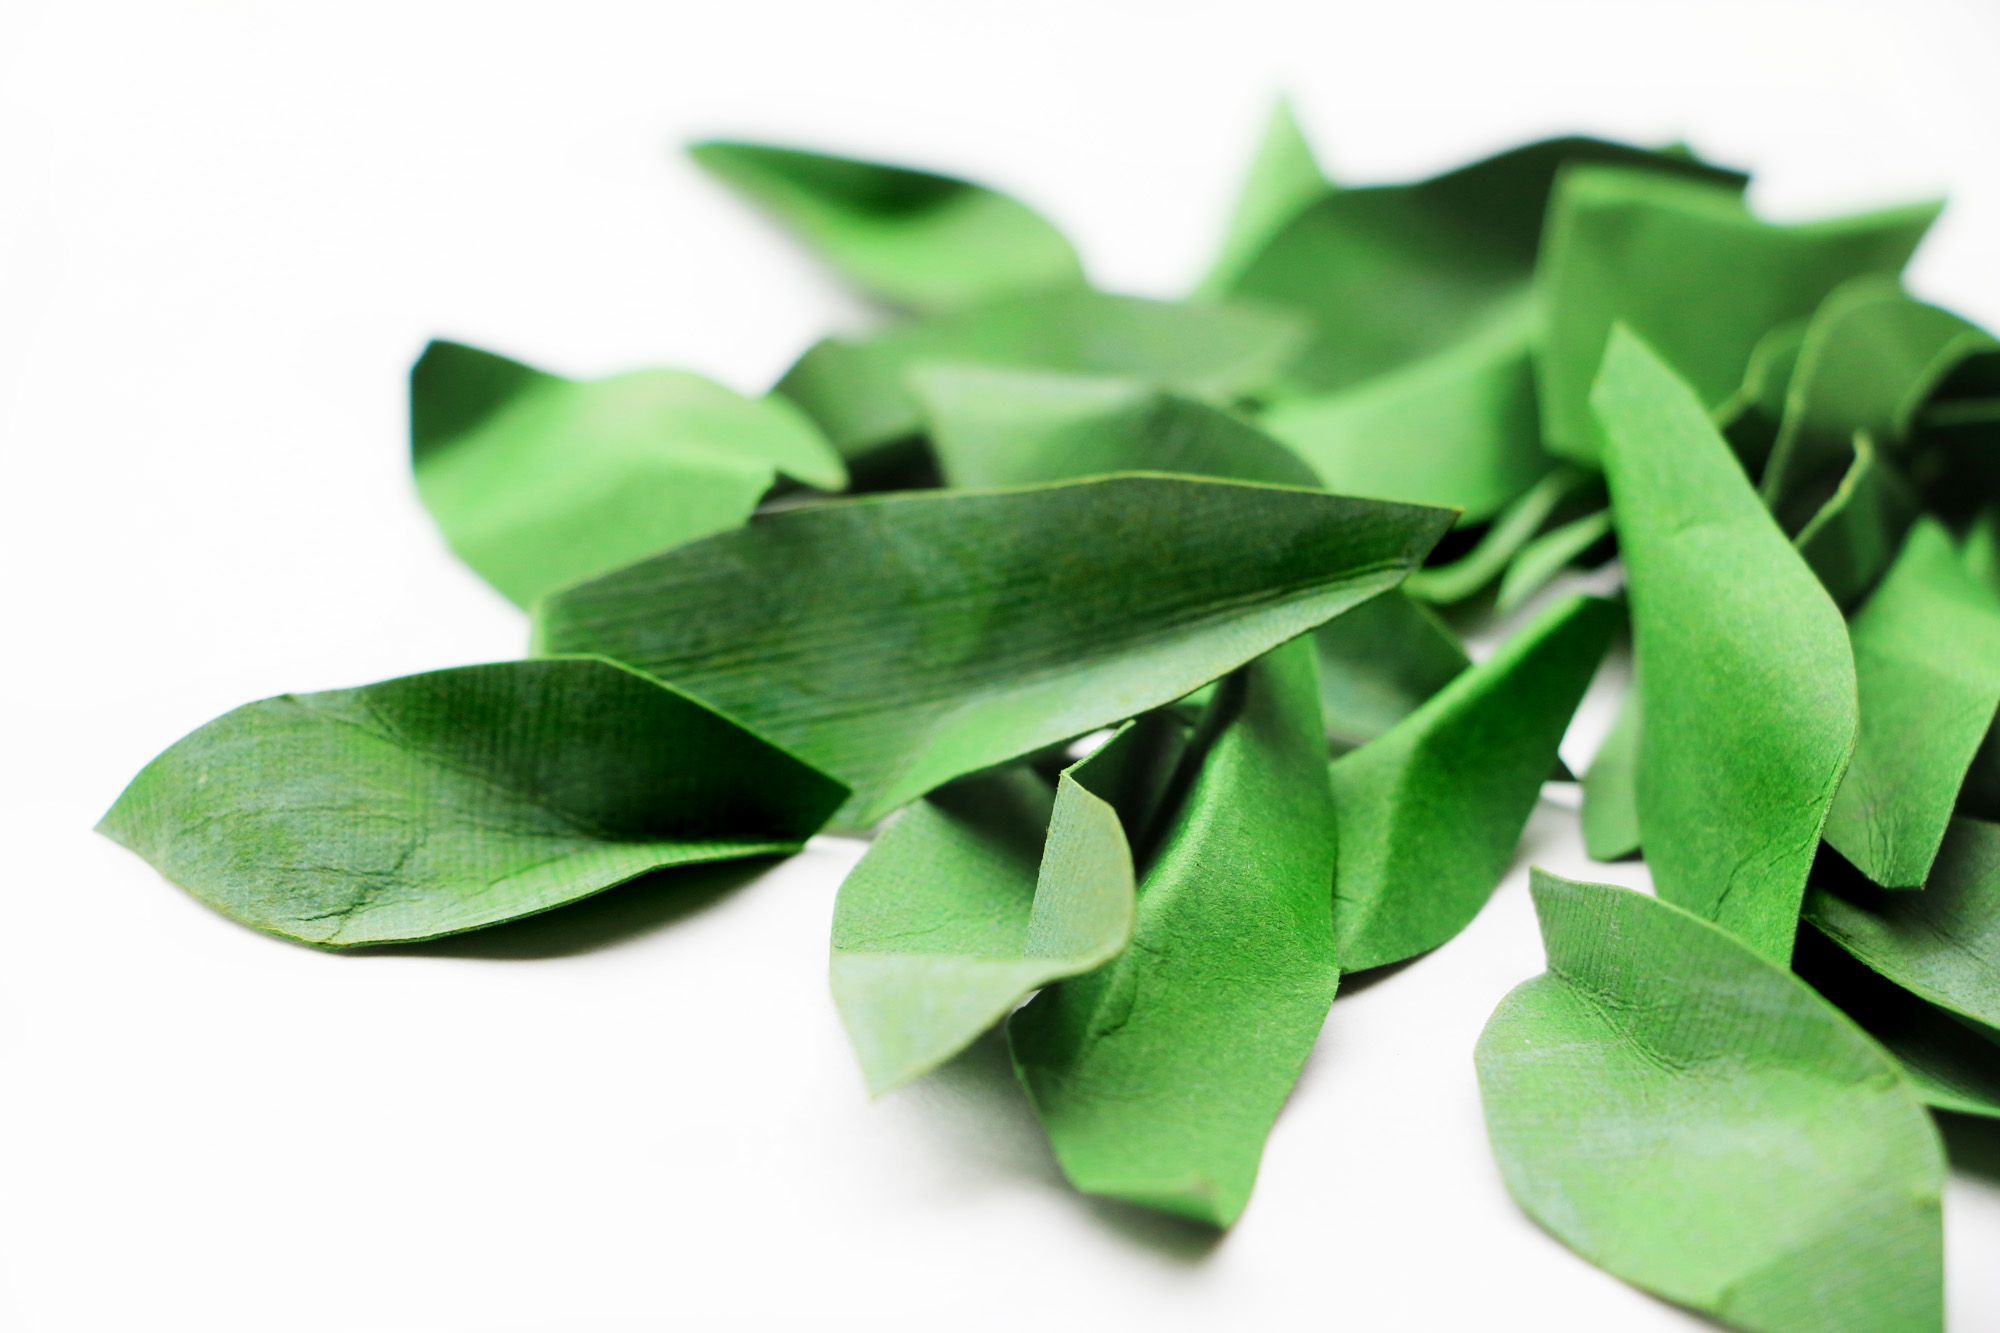 You will do the same thing for the leaves. I found pinching one end of the leaves inward then folding the other end backwards, made them look extremely real.
 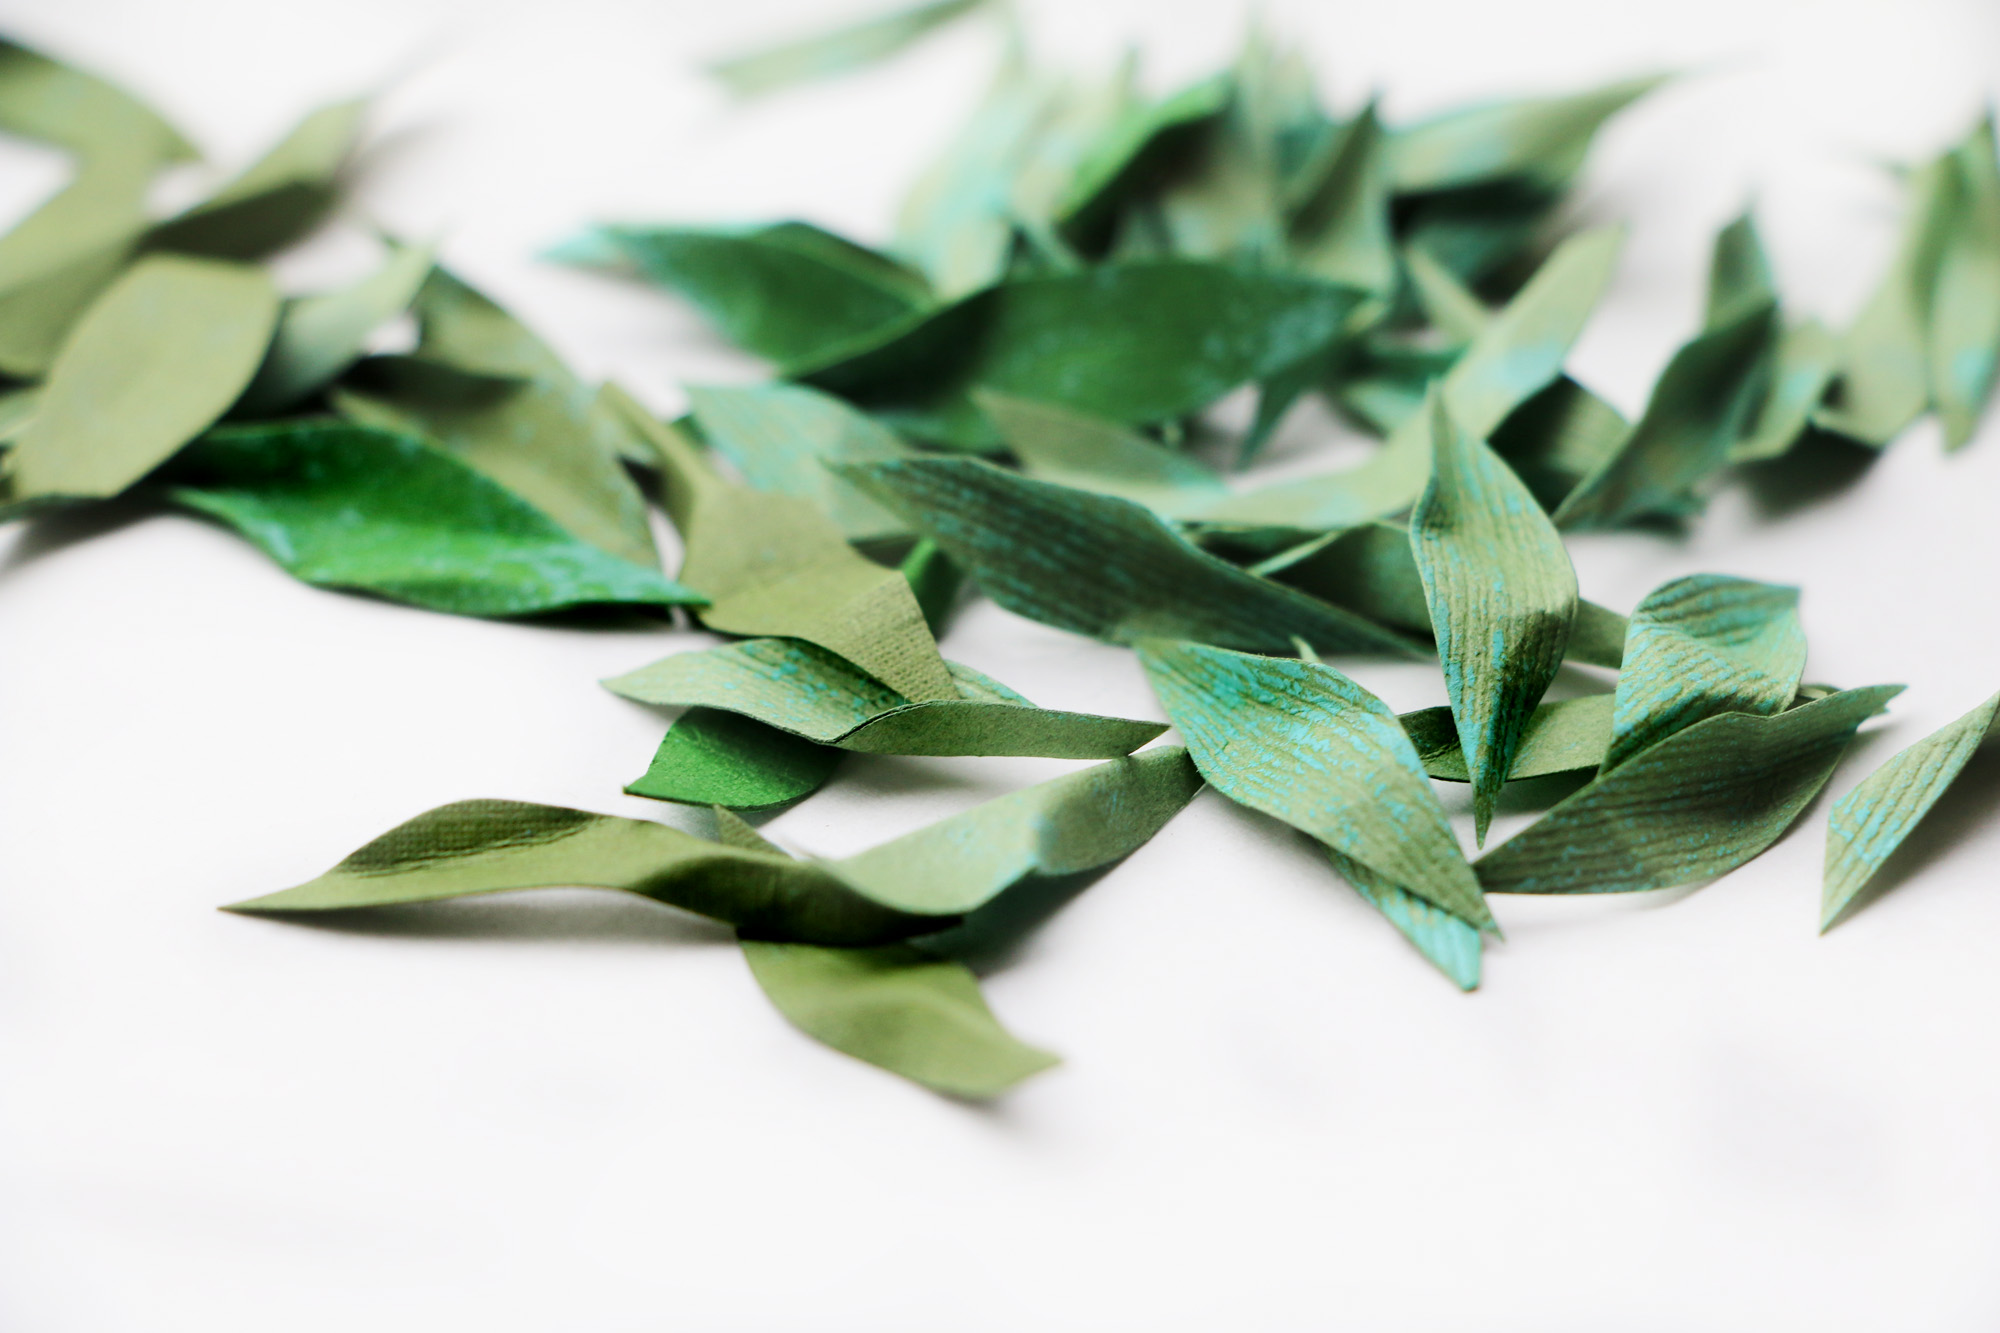 I am super happy with the way the different leaves and pears came out! Make sure you cut MORE leaves than you think you will need because you will need a lot! It’s always better to have more than less, plus a real pear tree has lot’s of leaves!
 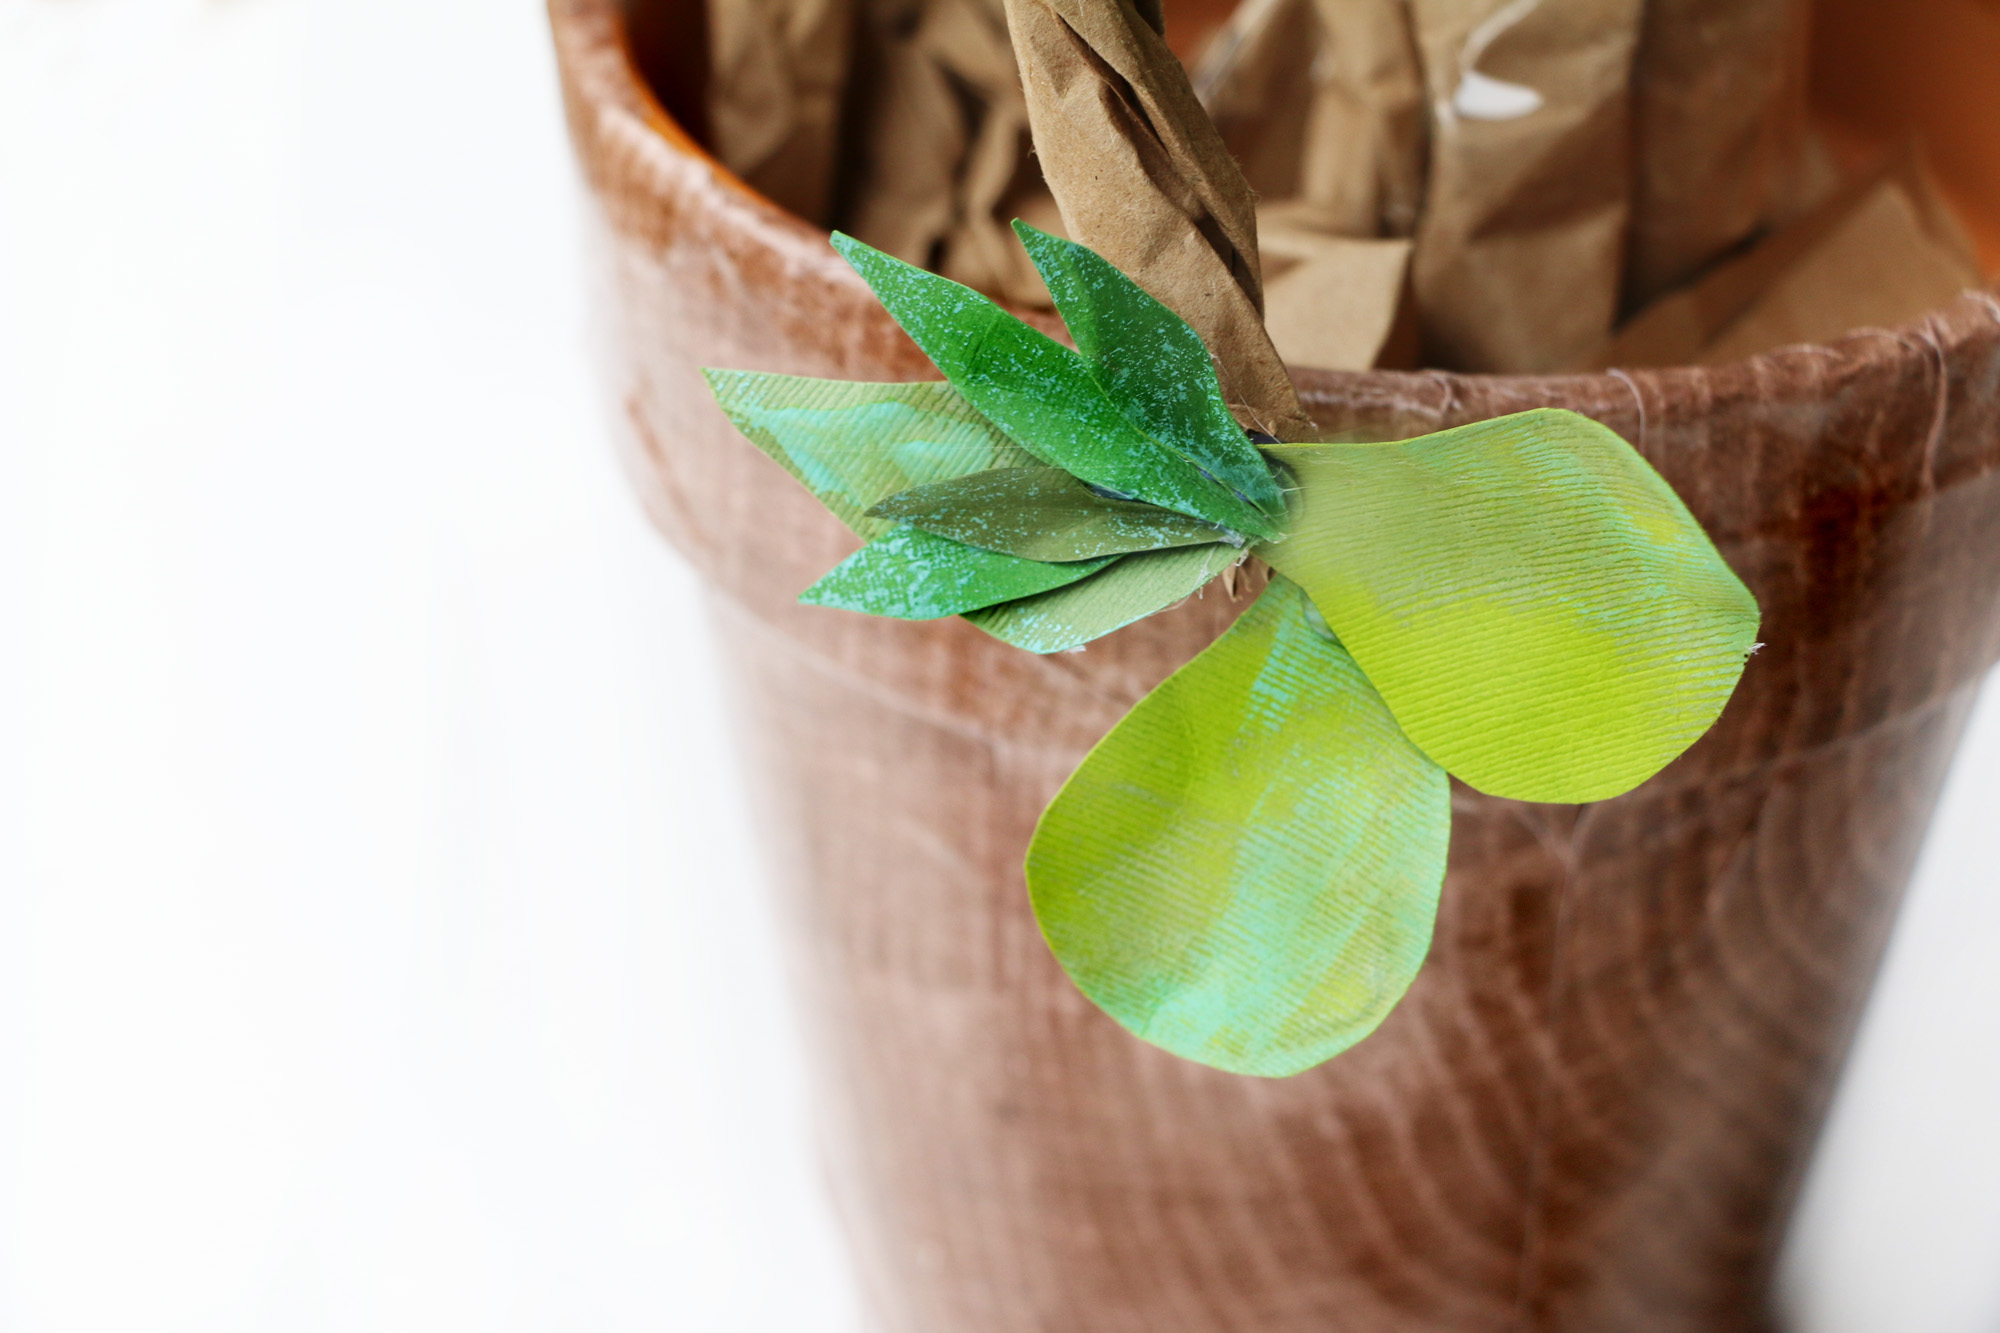 Step Four: Grab your glue gun and start gluing a pear on one of the branches then adding leaves around the tops of them. If your kids are helping, make sure to monitor this step. Kids can use glue for this step.
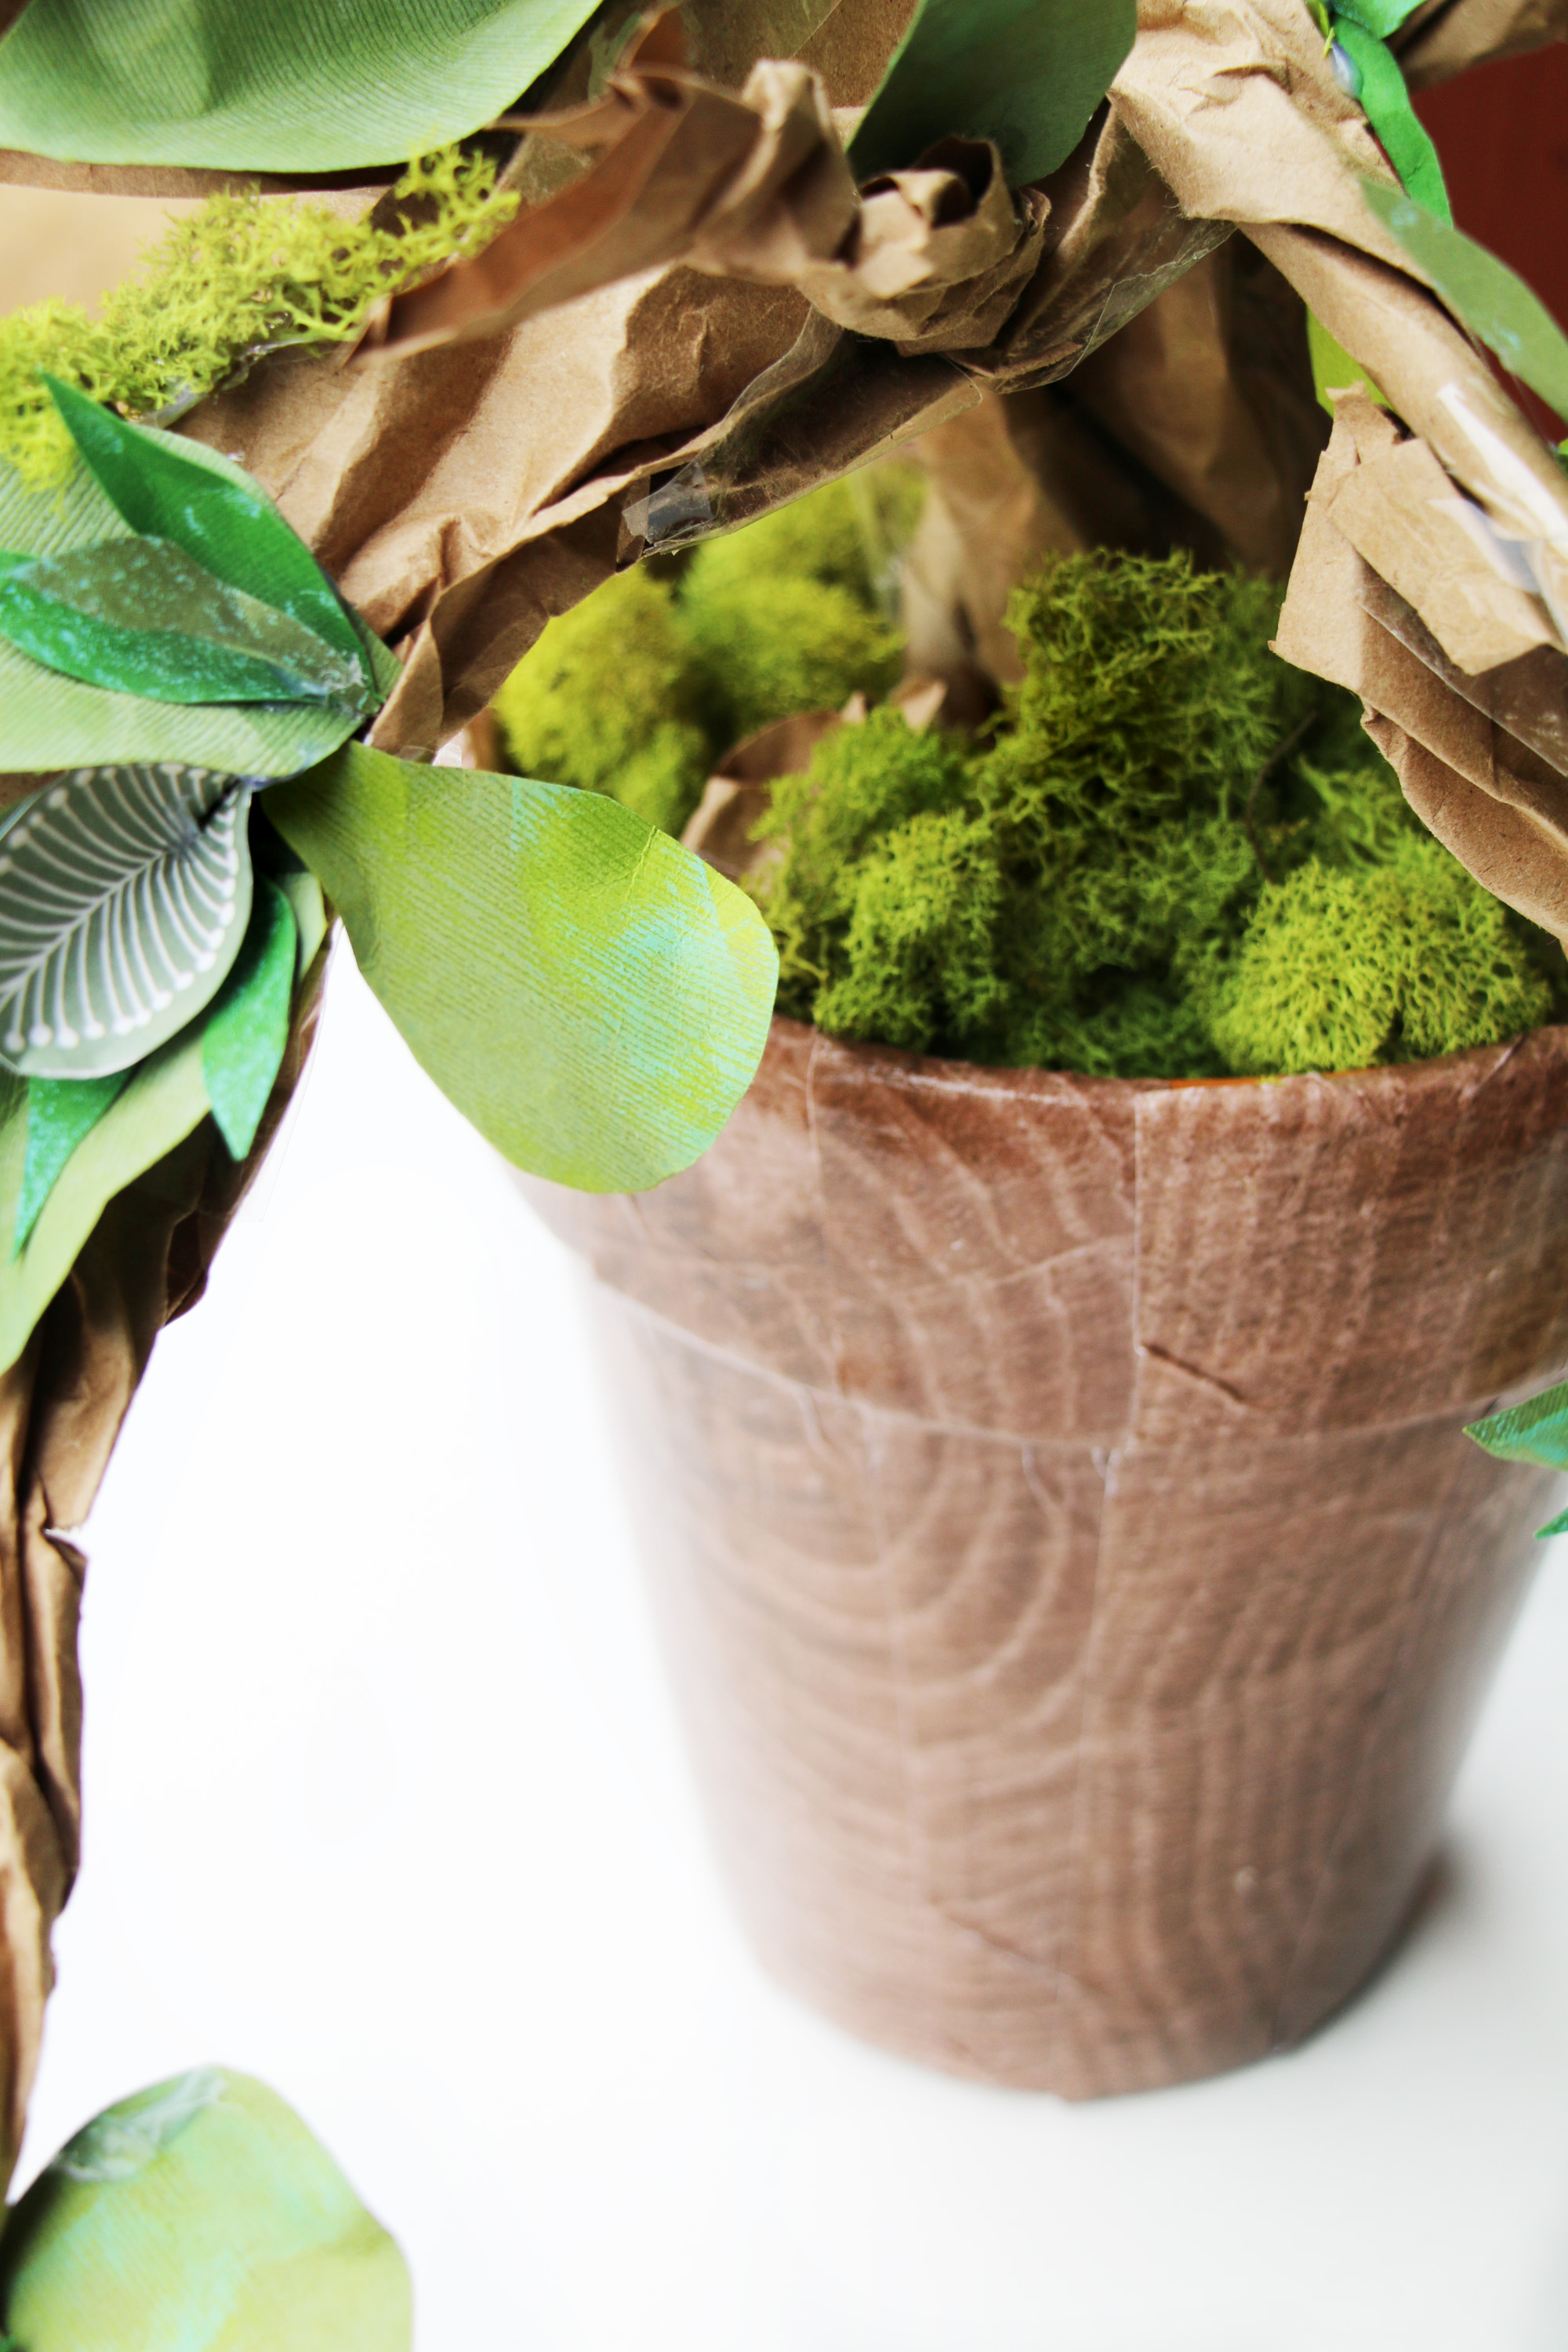
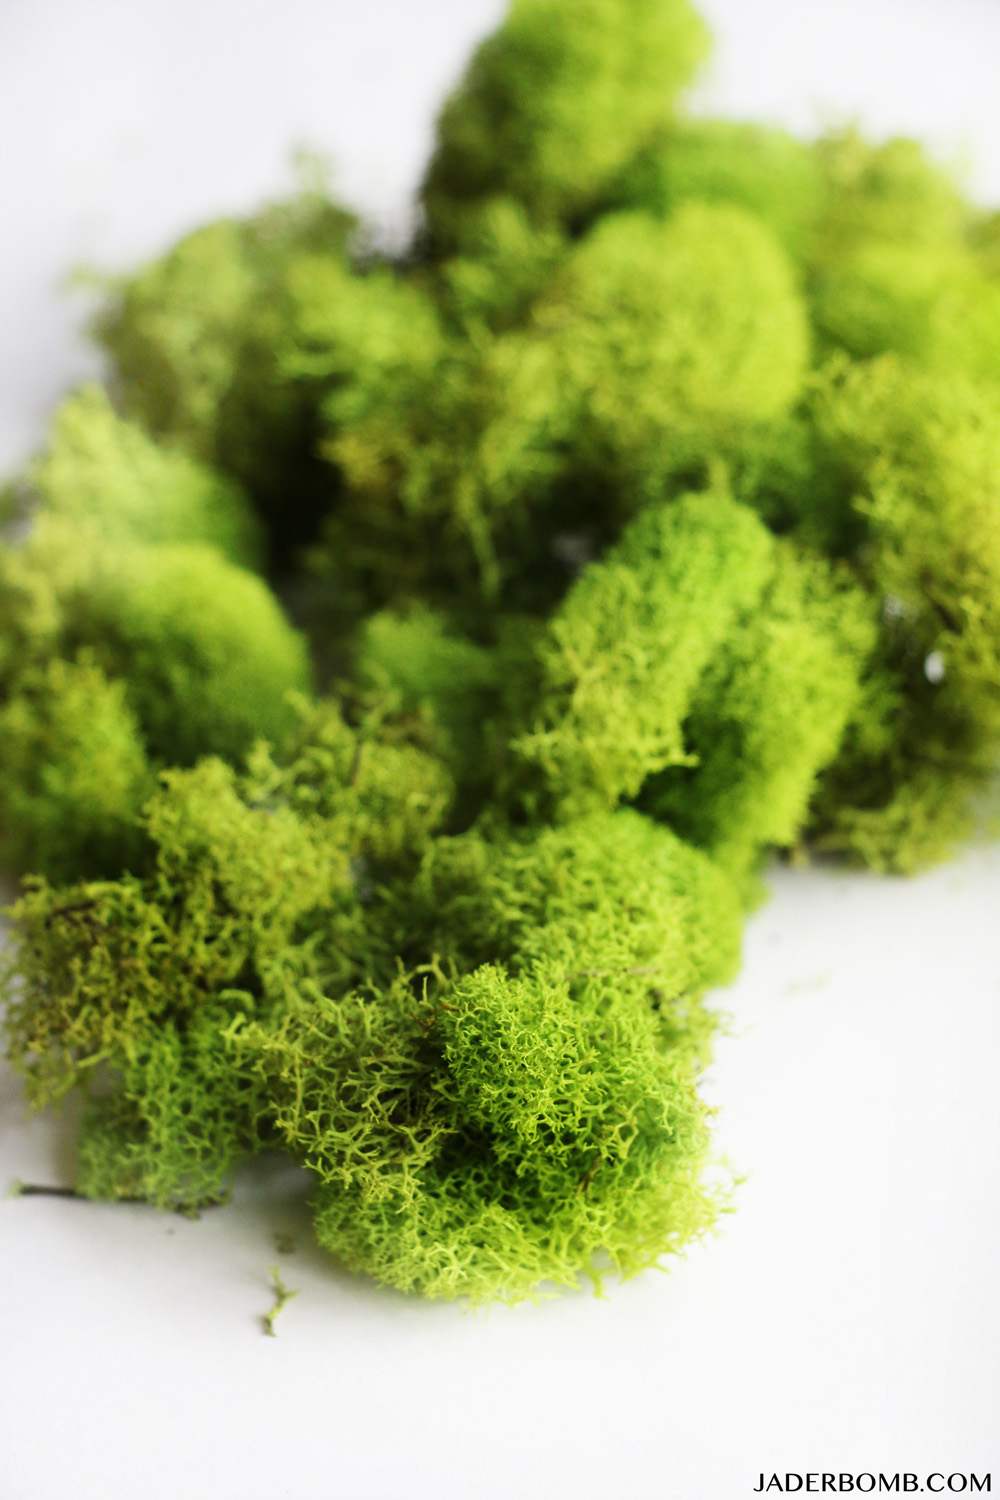
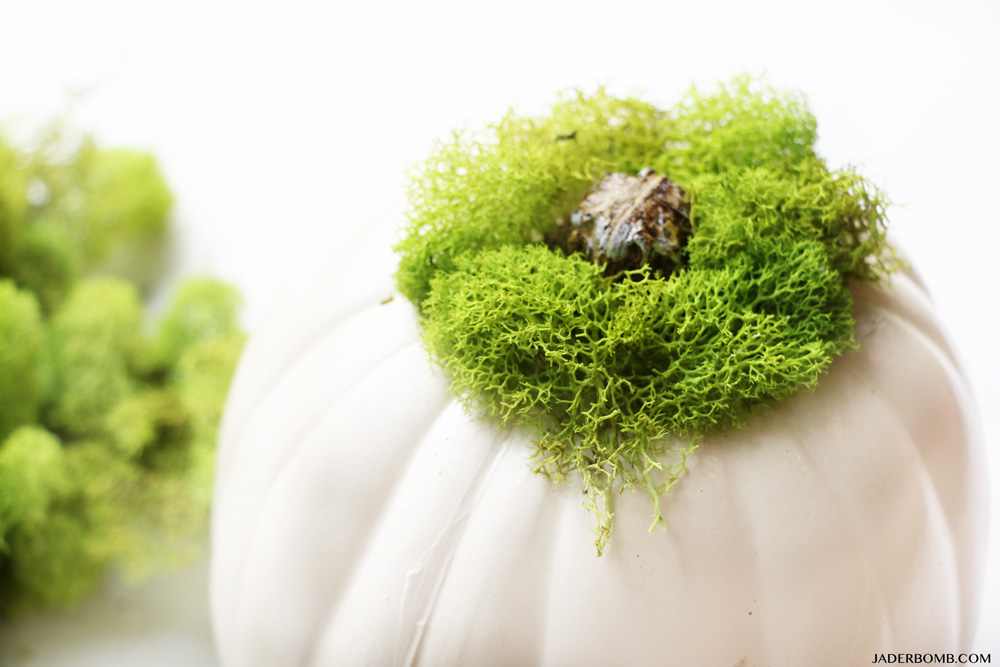
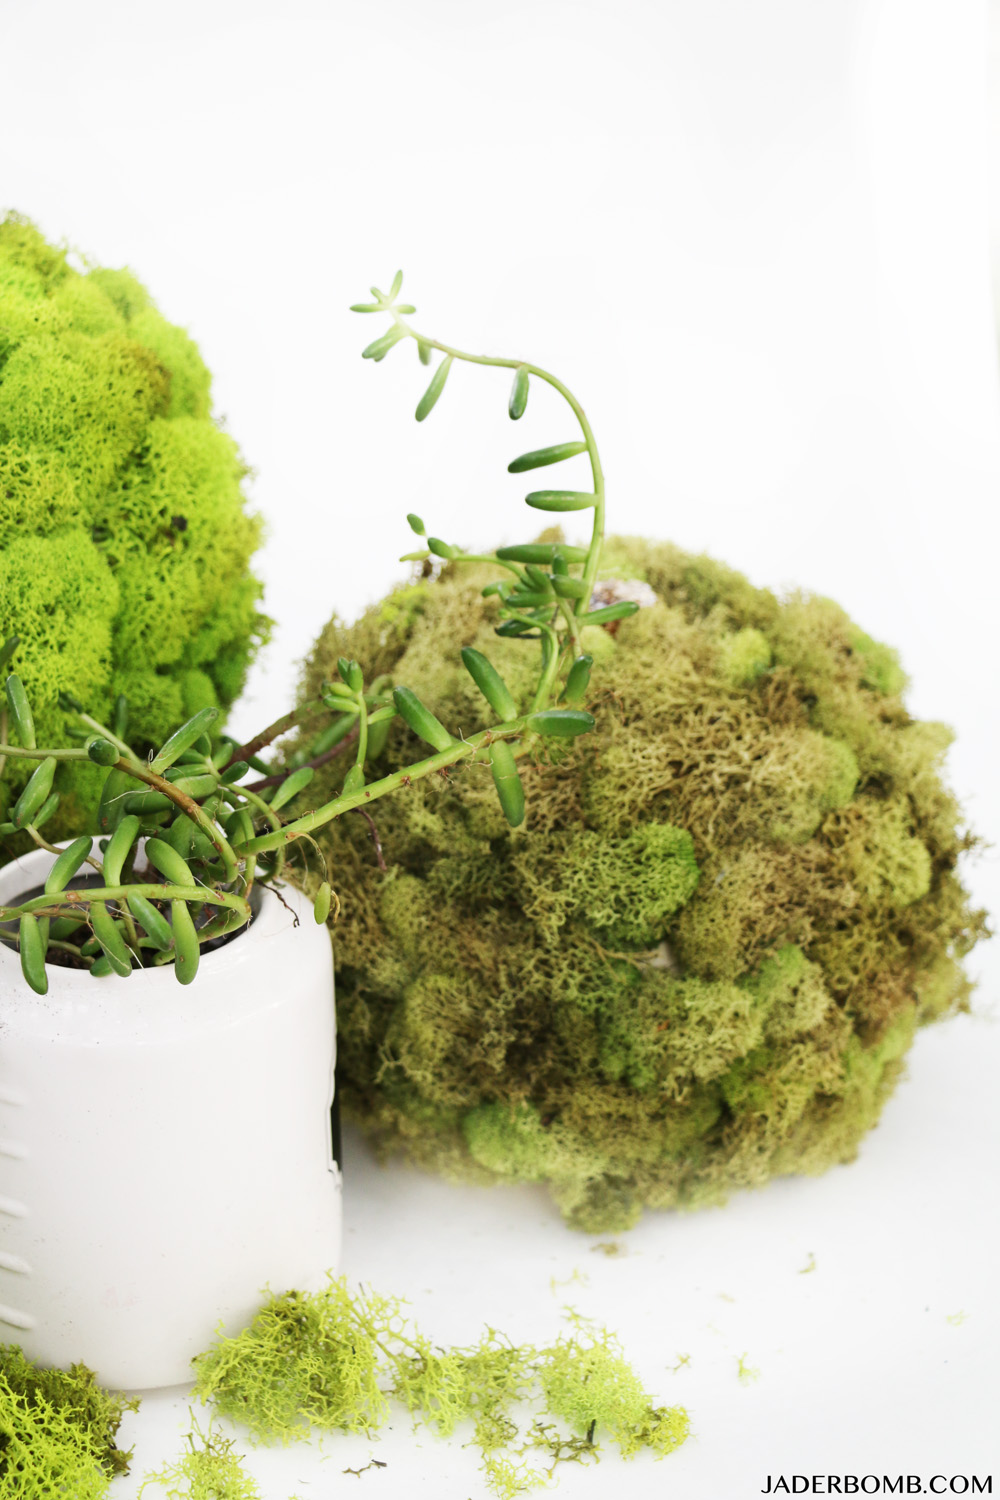
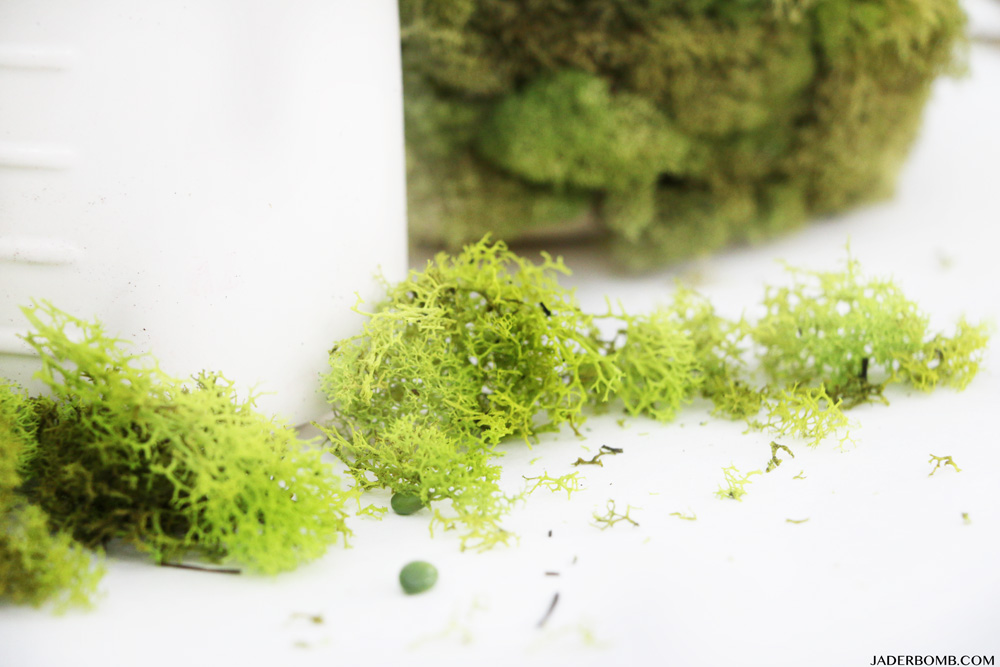
Step Five: Add faux moss to our gaps and holes. Since we are making a real tree, we want to add ton’s of texture to it. Cover the spots of tape with moss! You can’t go wrong with this step, just be careful with the hot glue!
Supplies for fourth step:
*Colorful pack of craft paper
*Scissors
*Hot Glue Gun
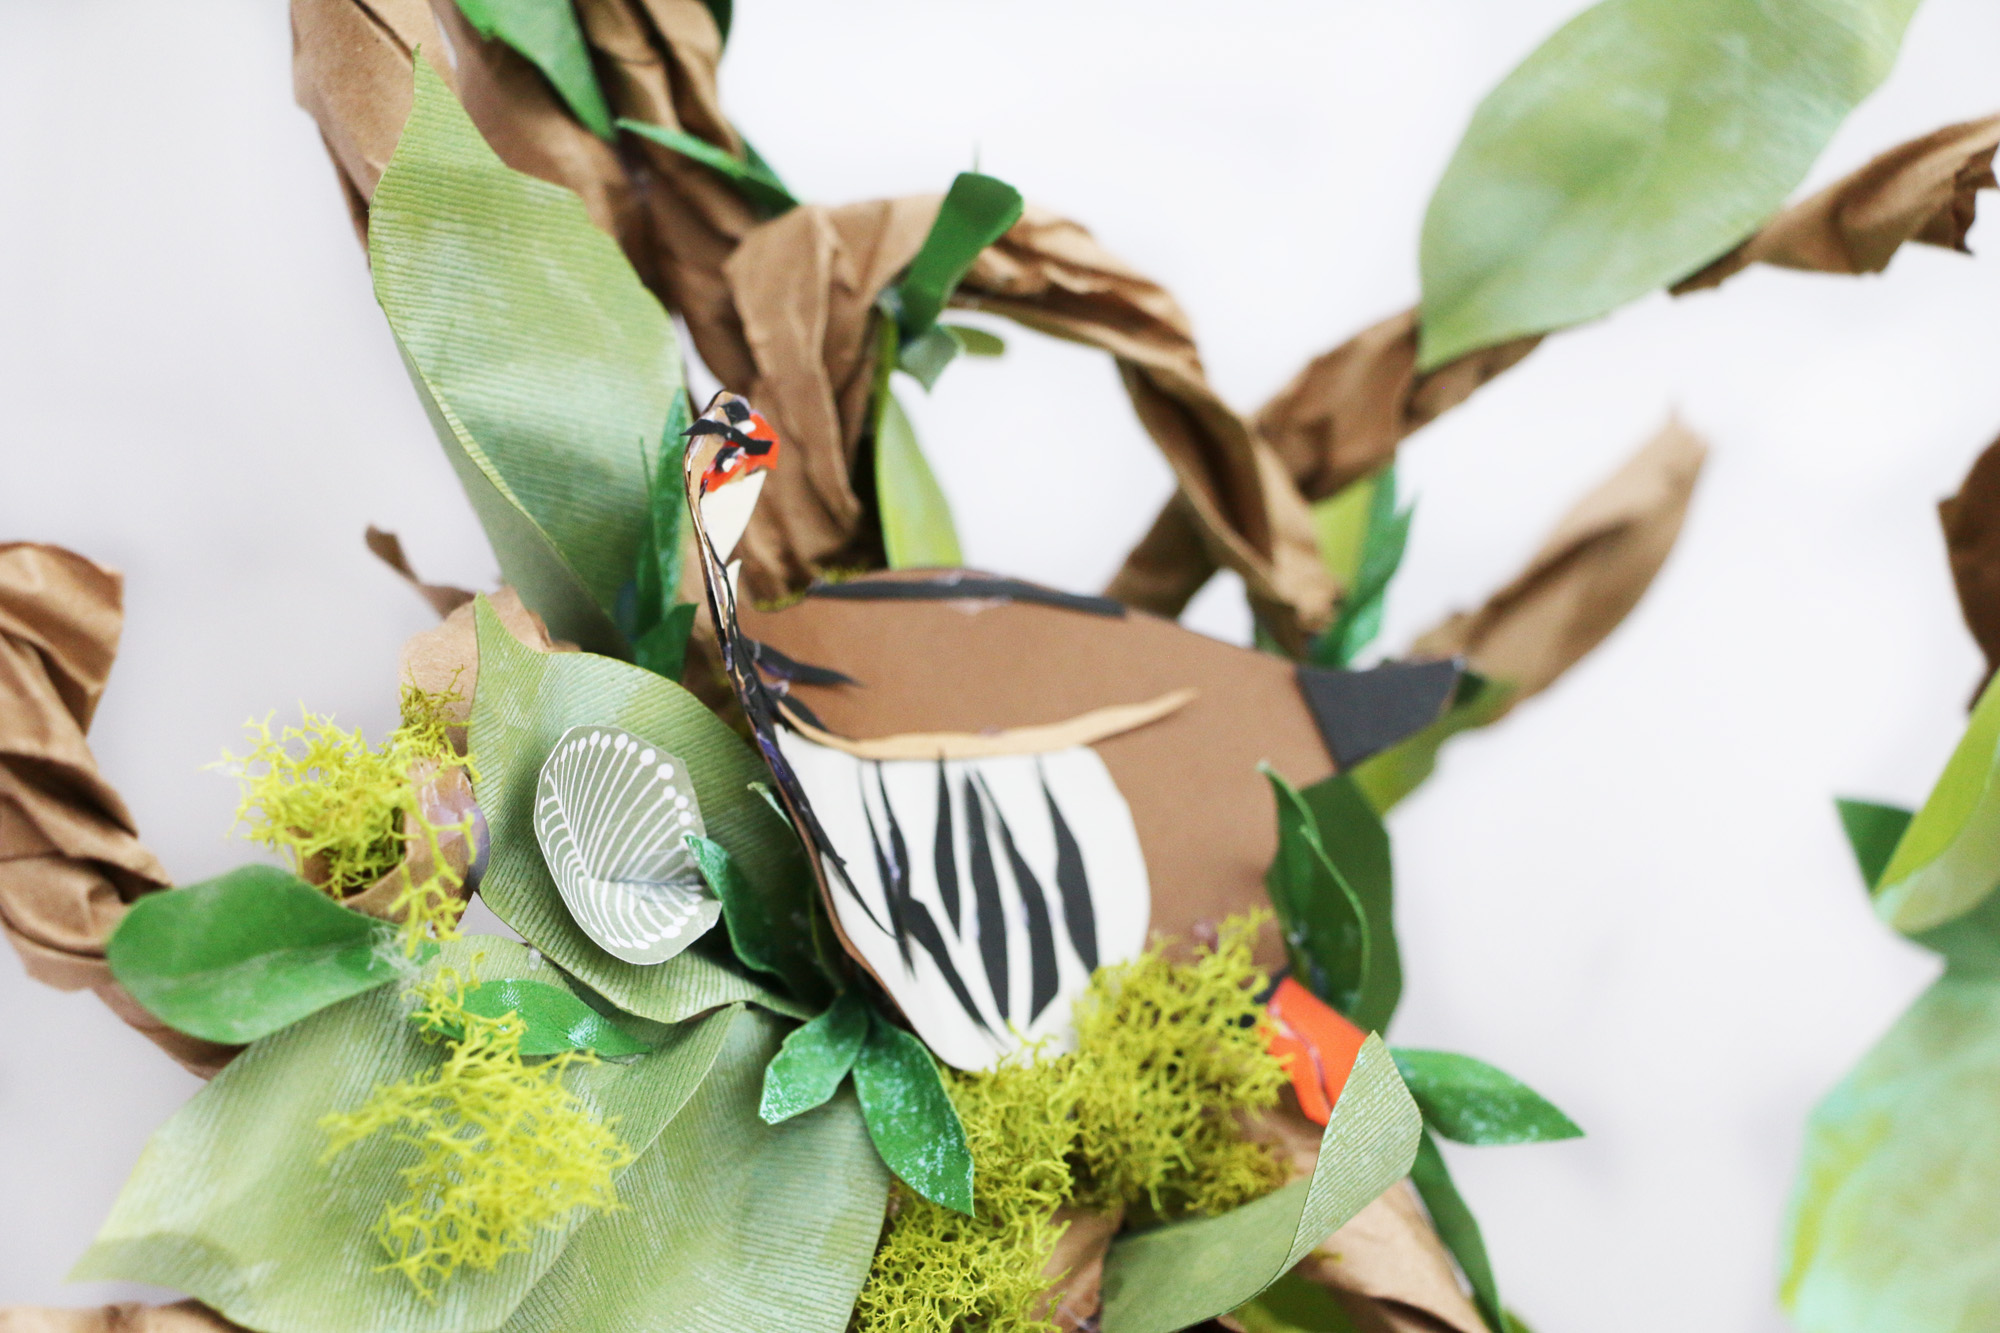
*Print out of a Partridge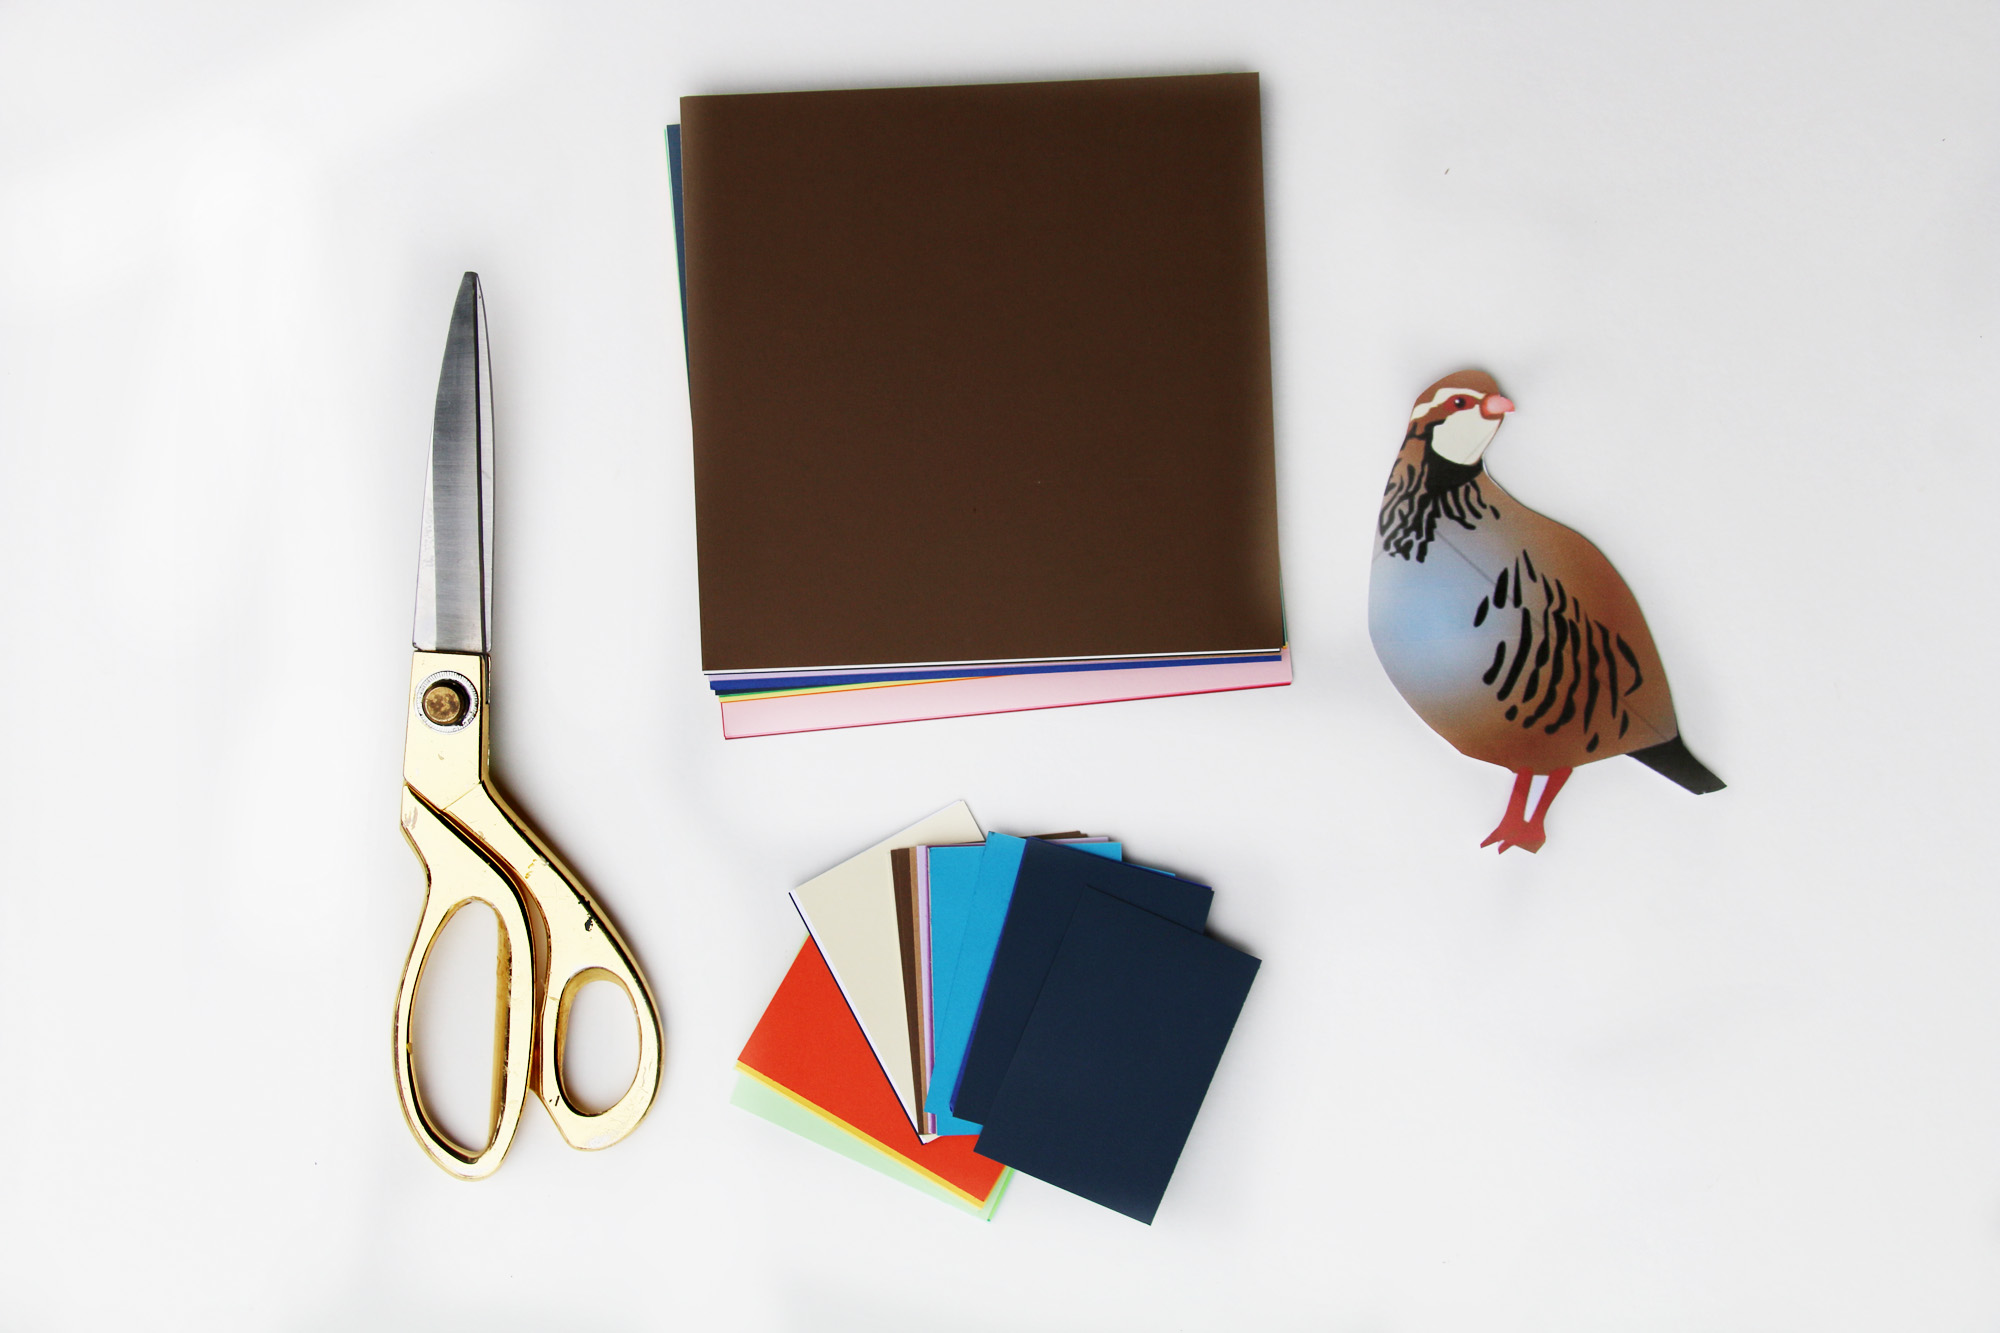 Step one: Print out a picture from the internet of a Partridge just to use as reference.
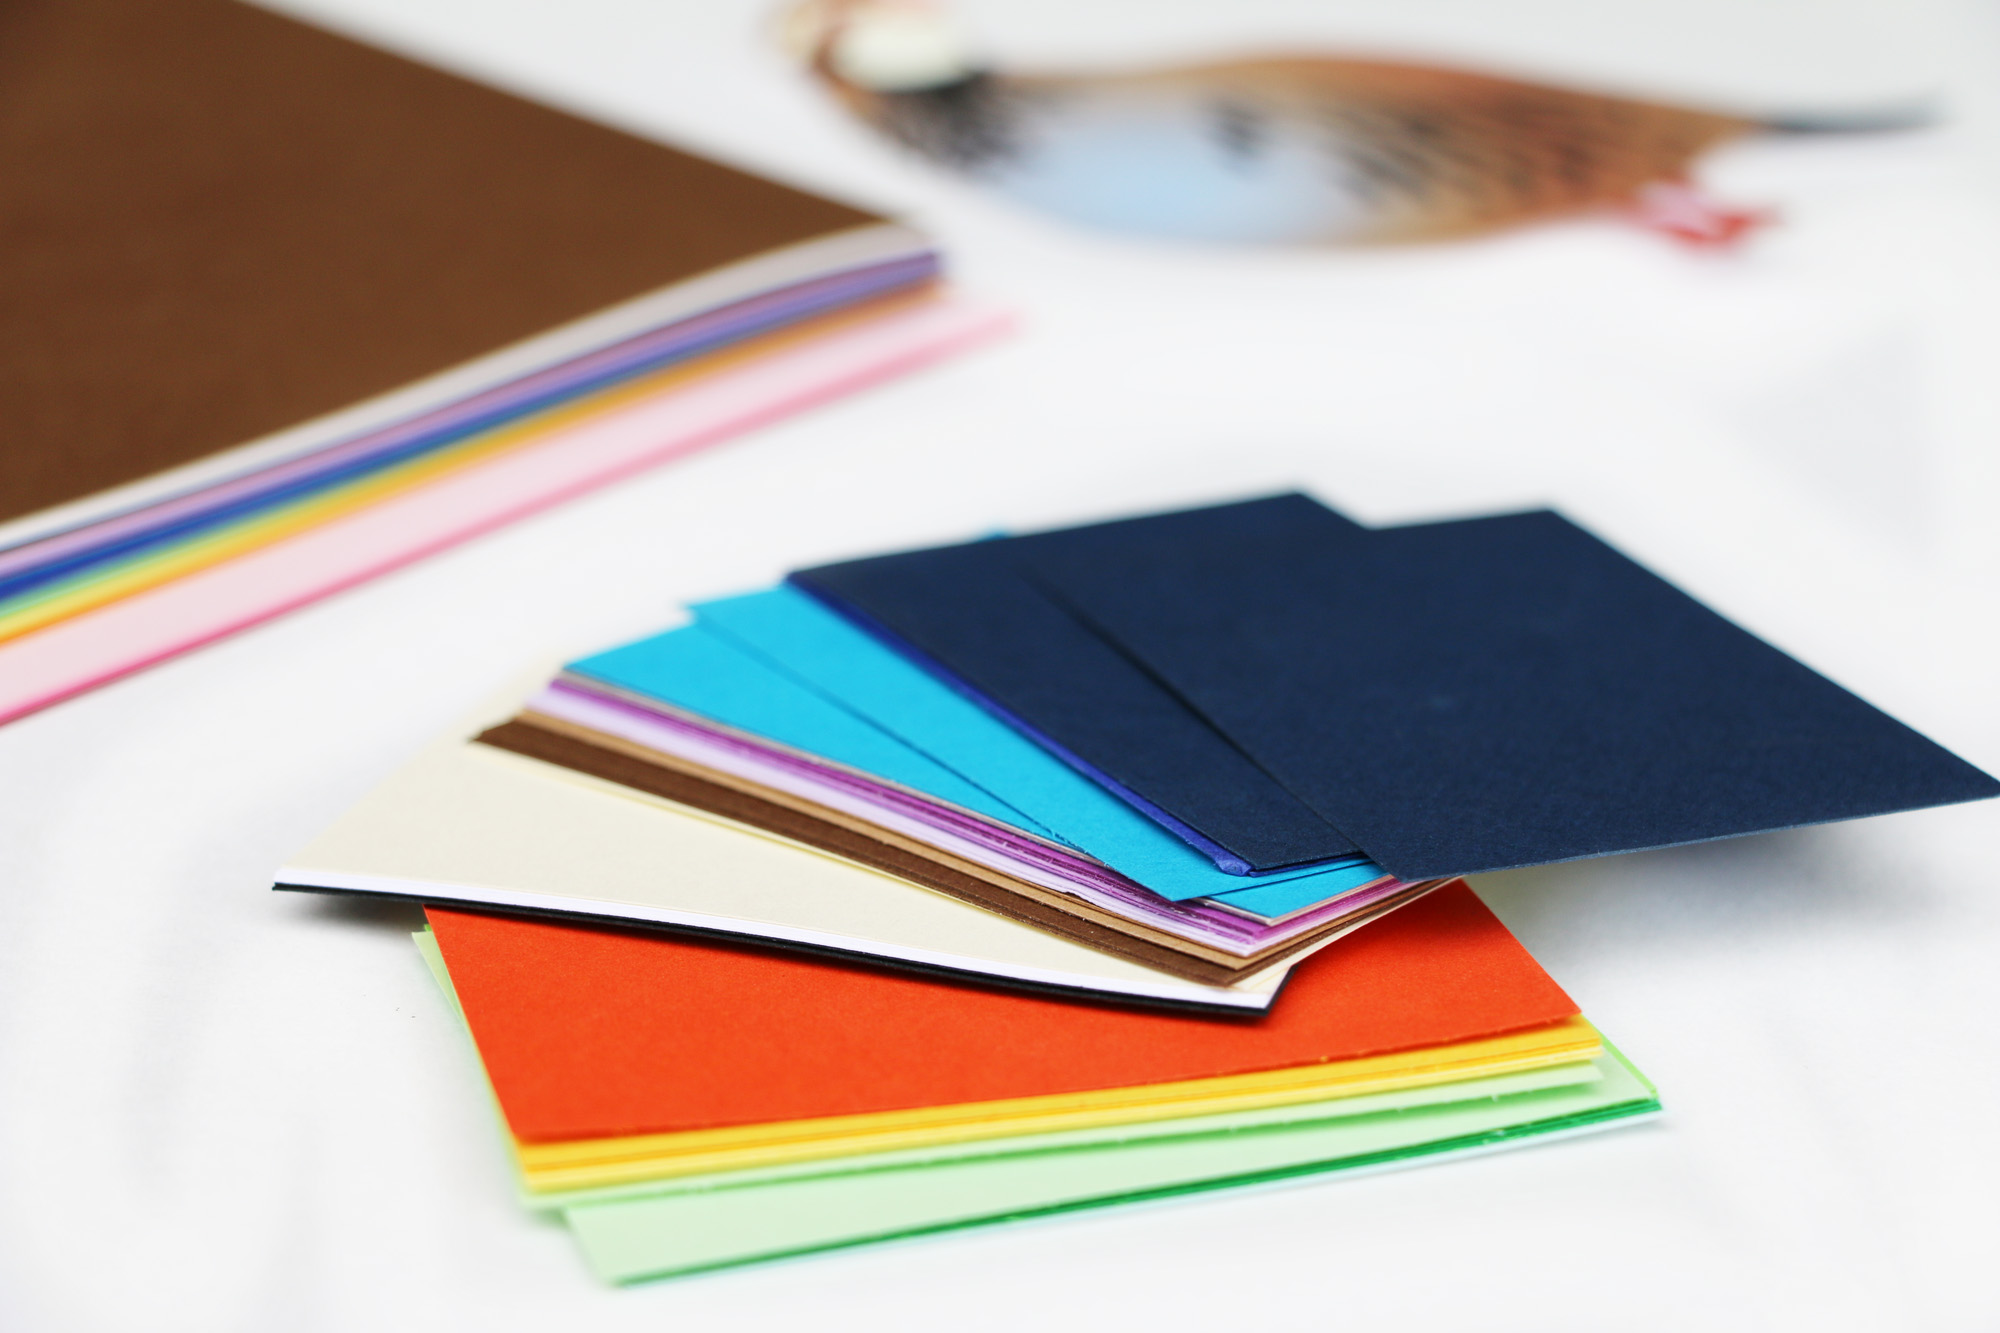
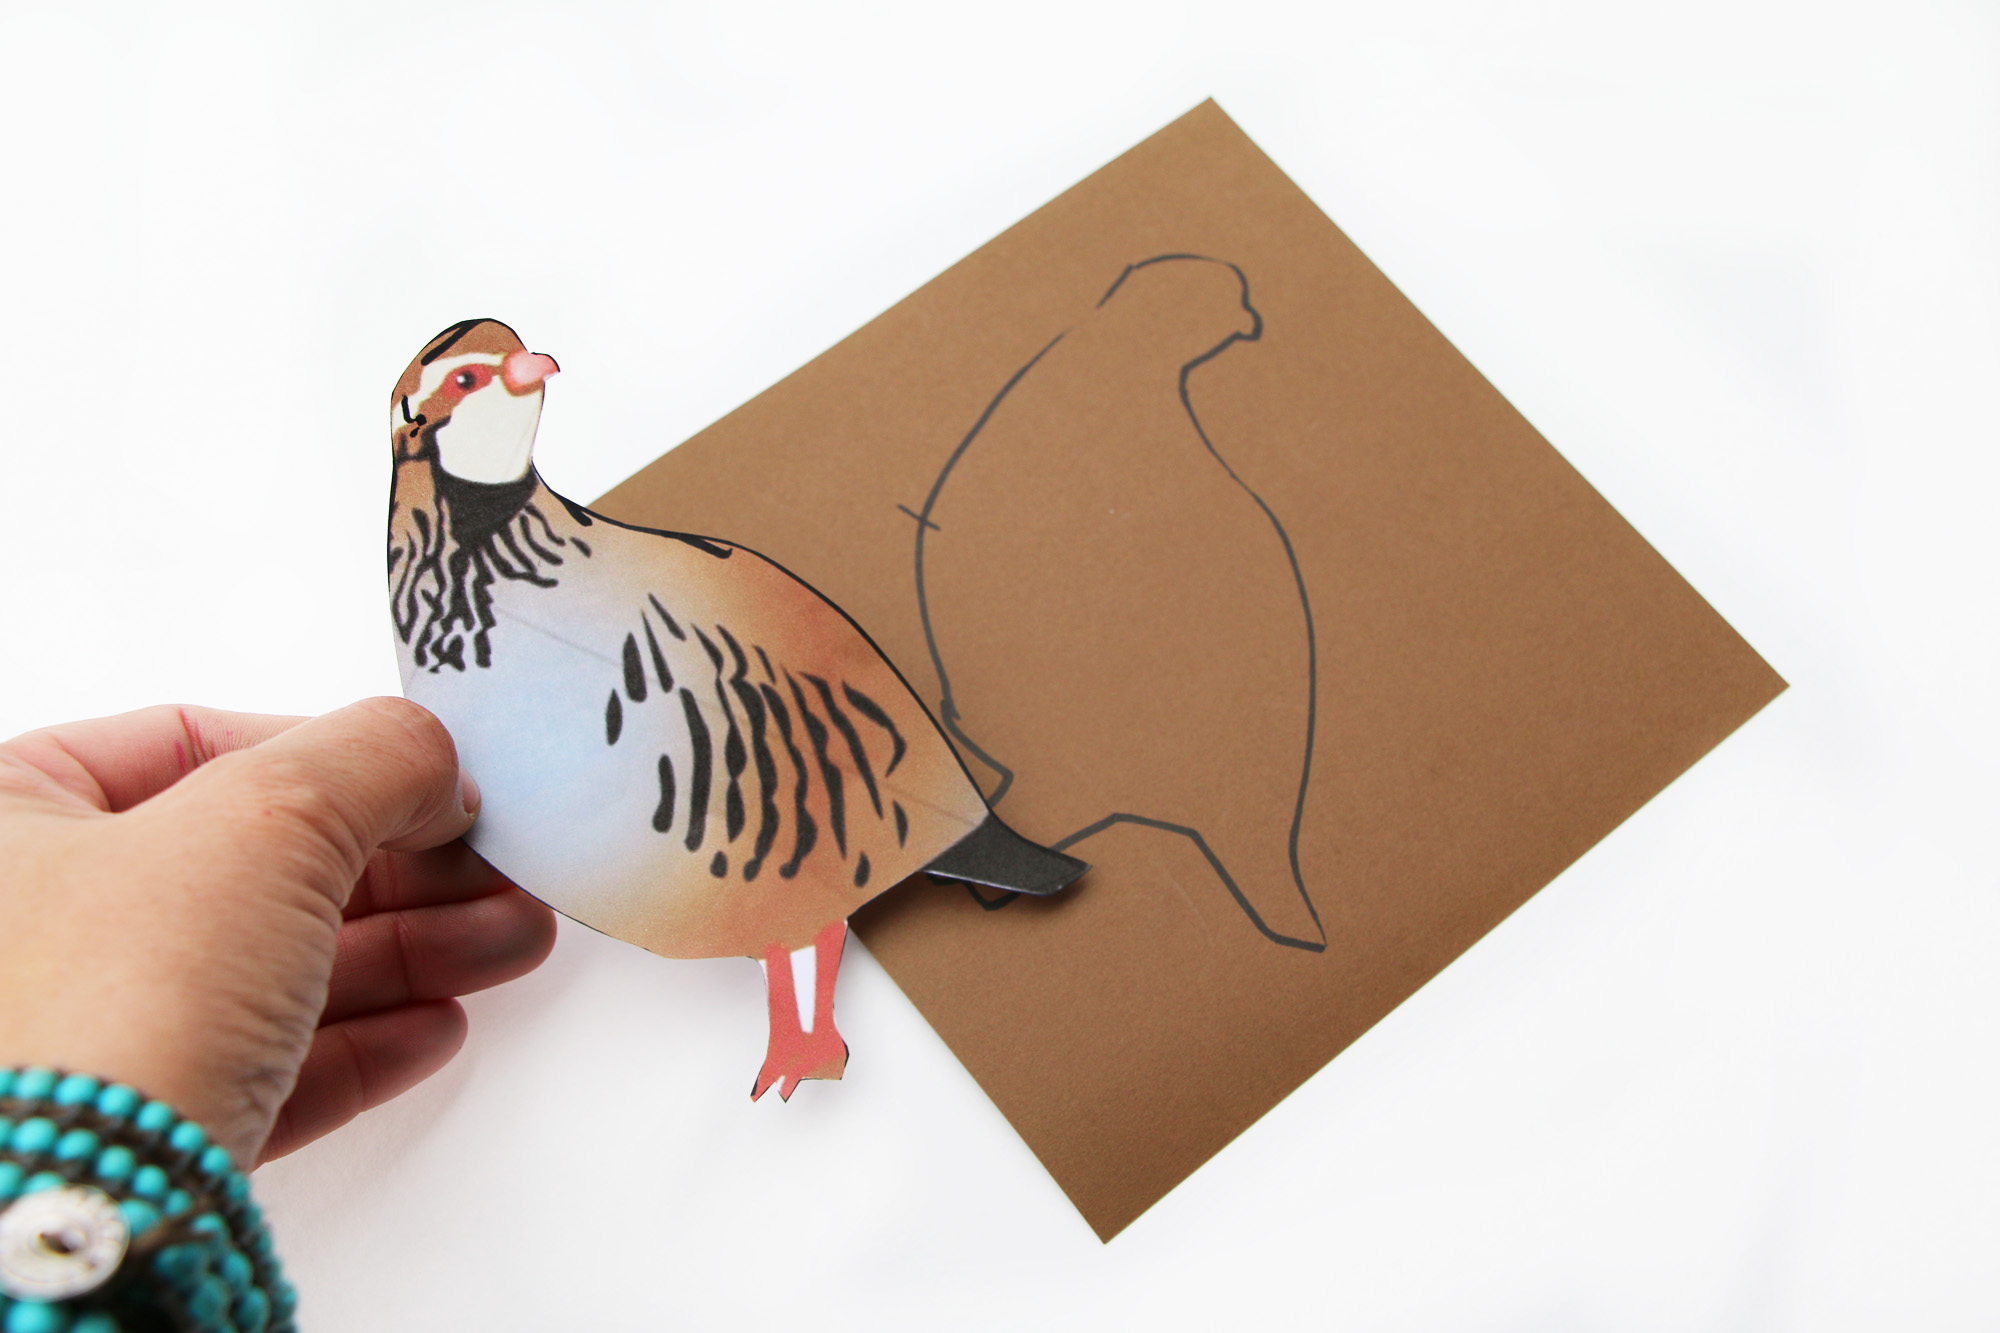 Step two: Take your print out and trace it onto a dark brown piece of craft paper.
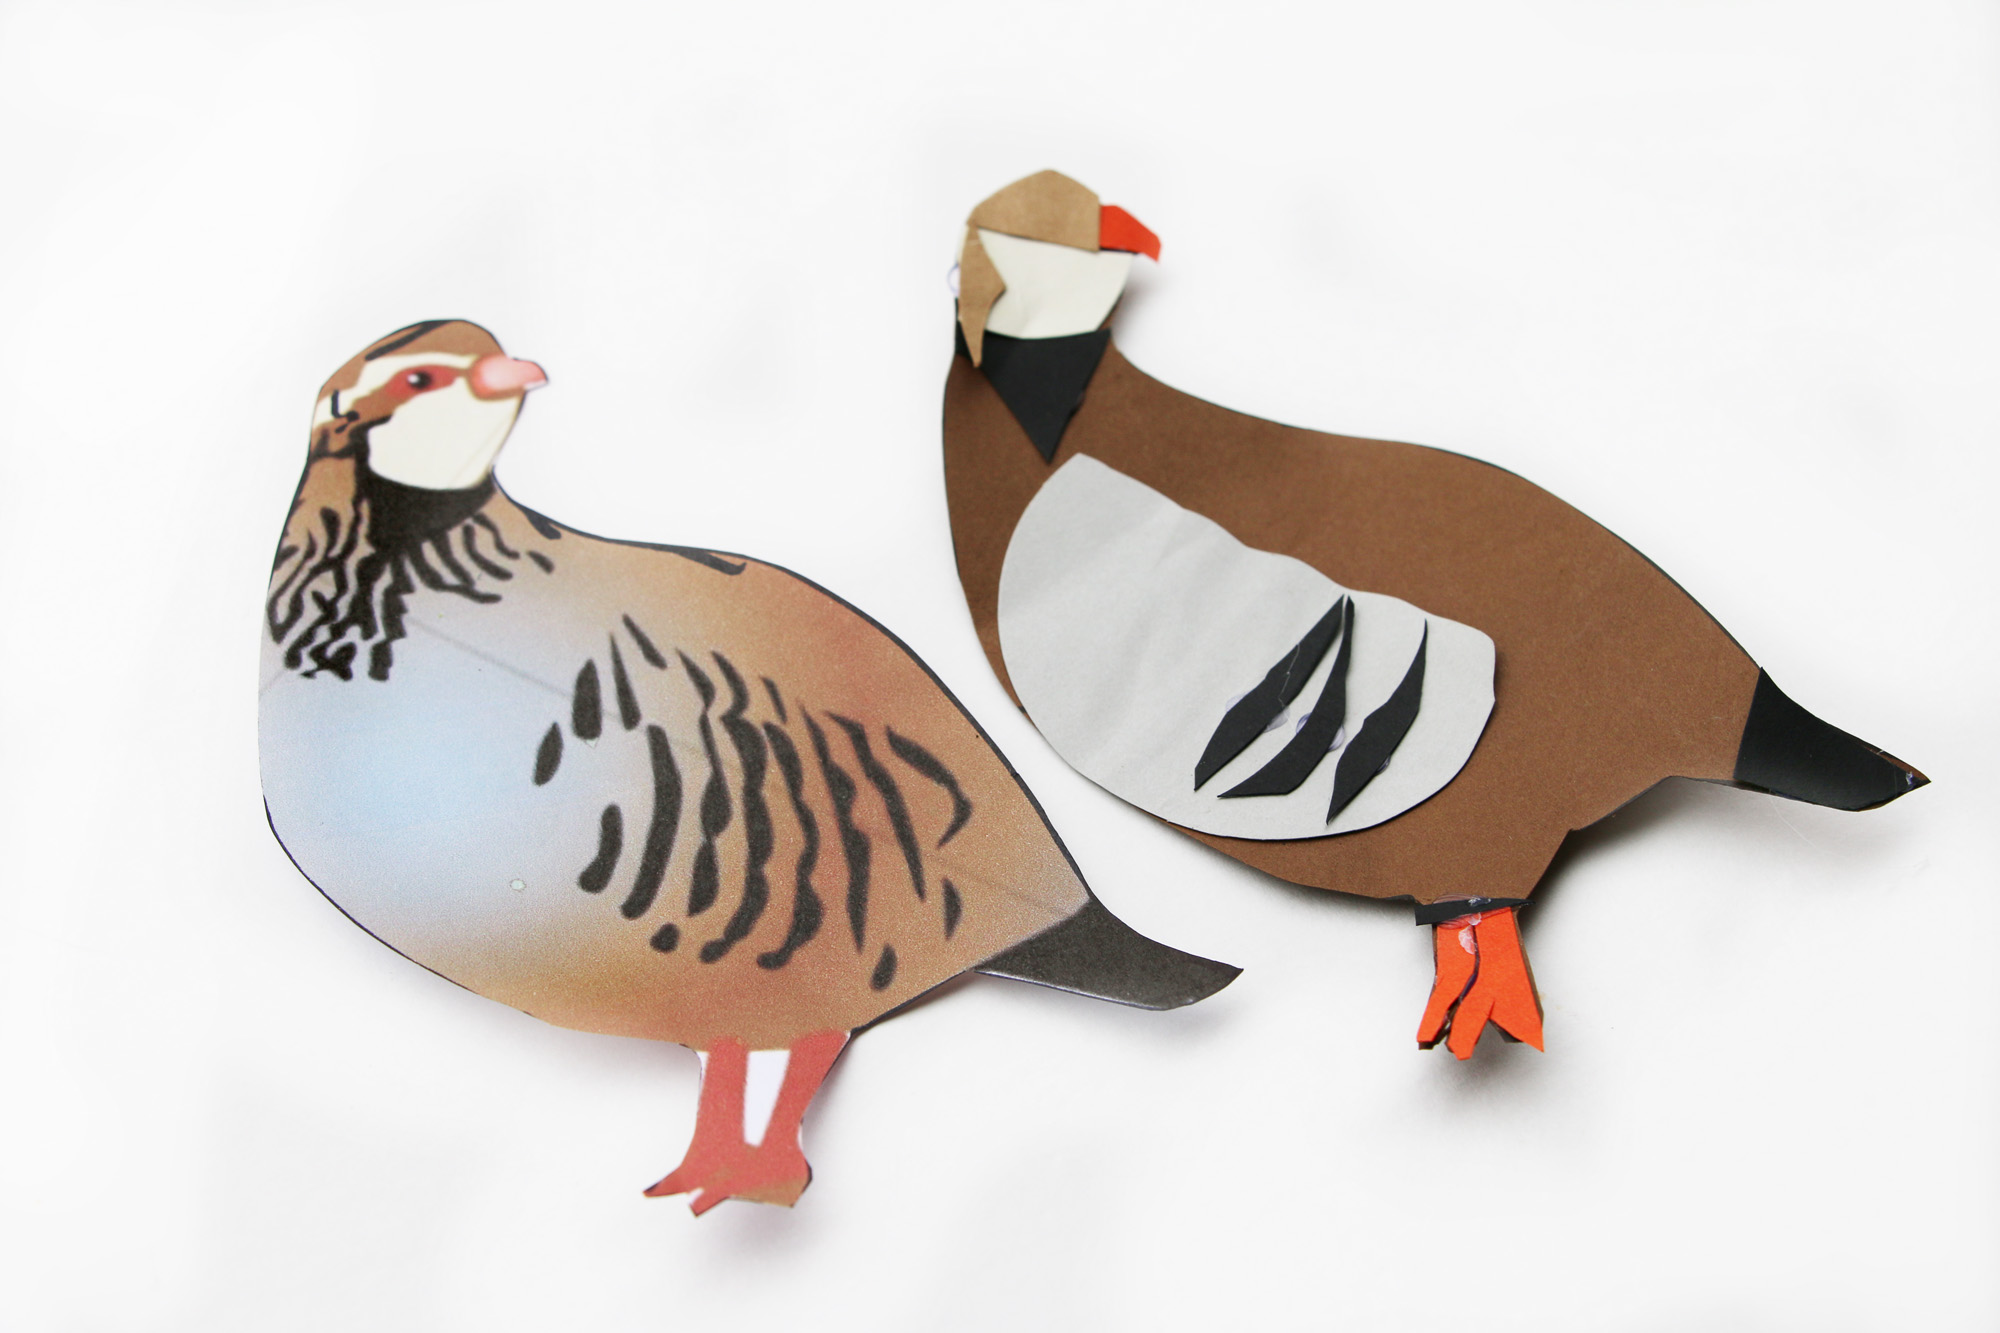 Step three: Using the print out as reference, start cutting all the shades you see out of your stack of craft paper and hot glue them down onto your brown cutout.
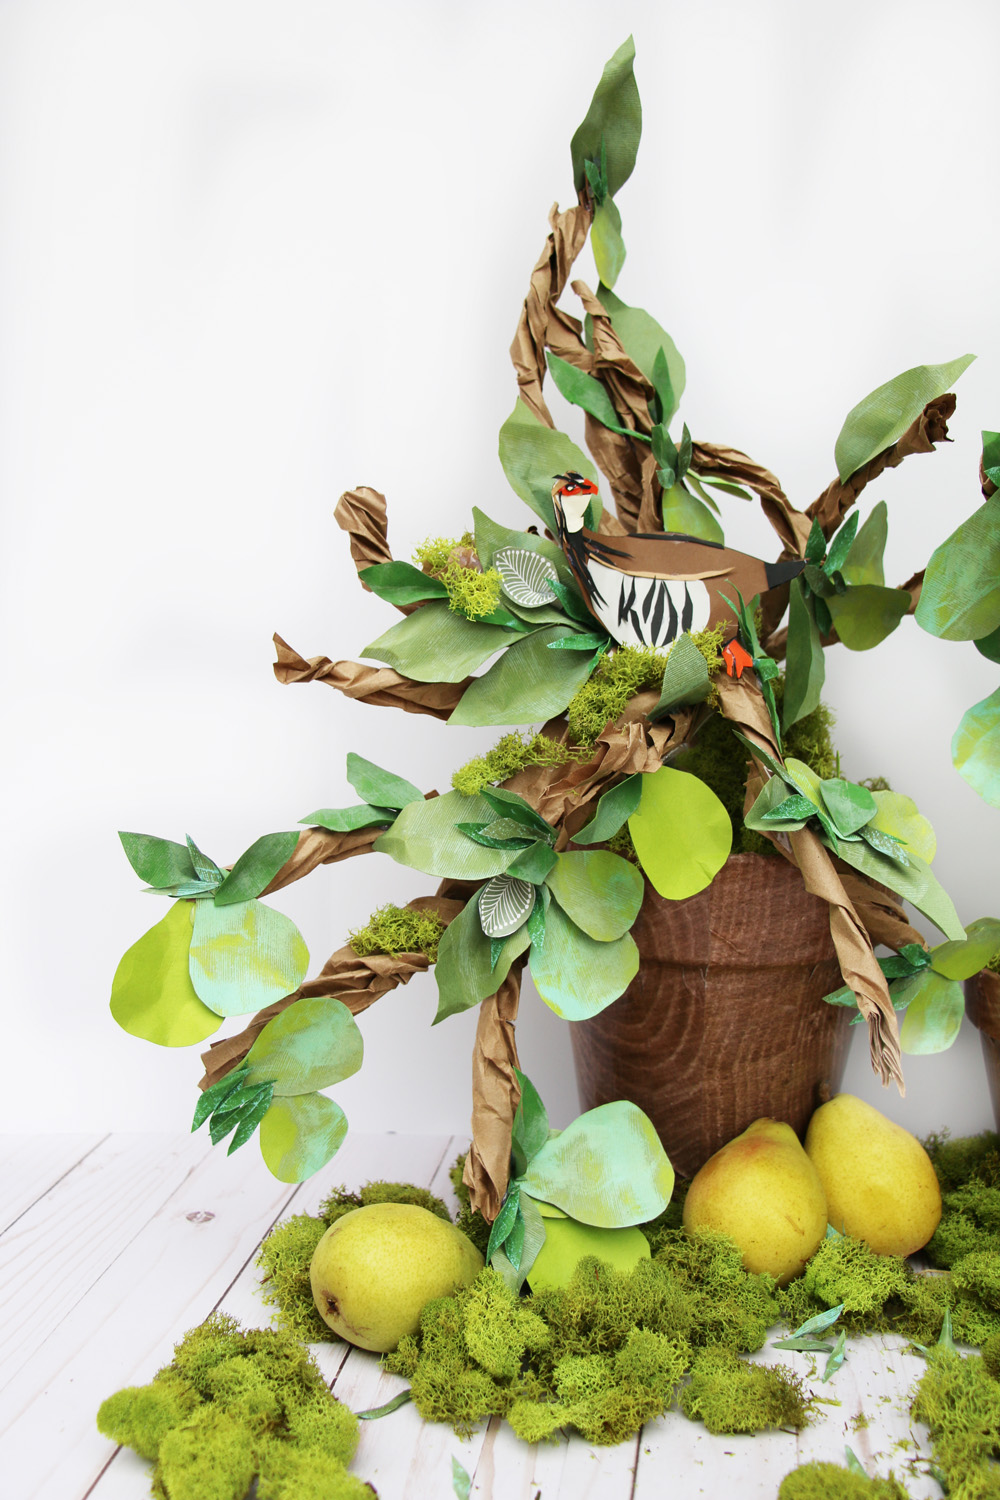
Now it’s time to add that Partridge in our Pear tree! How fantastic is this tree!
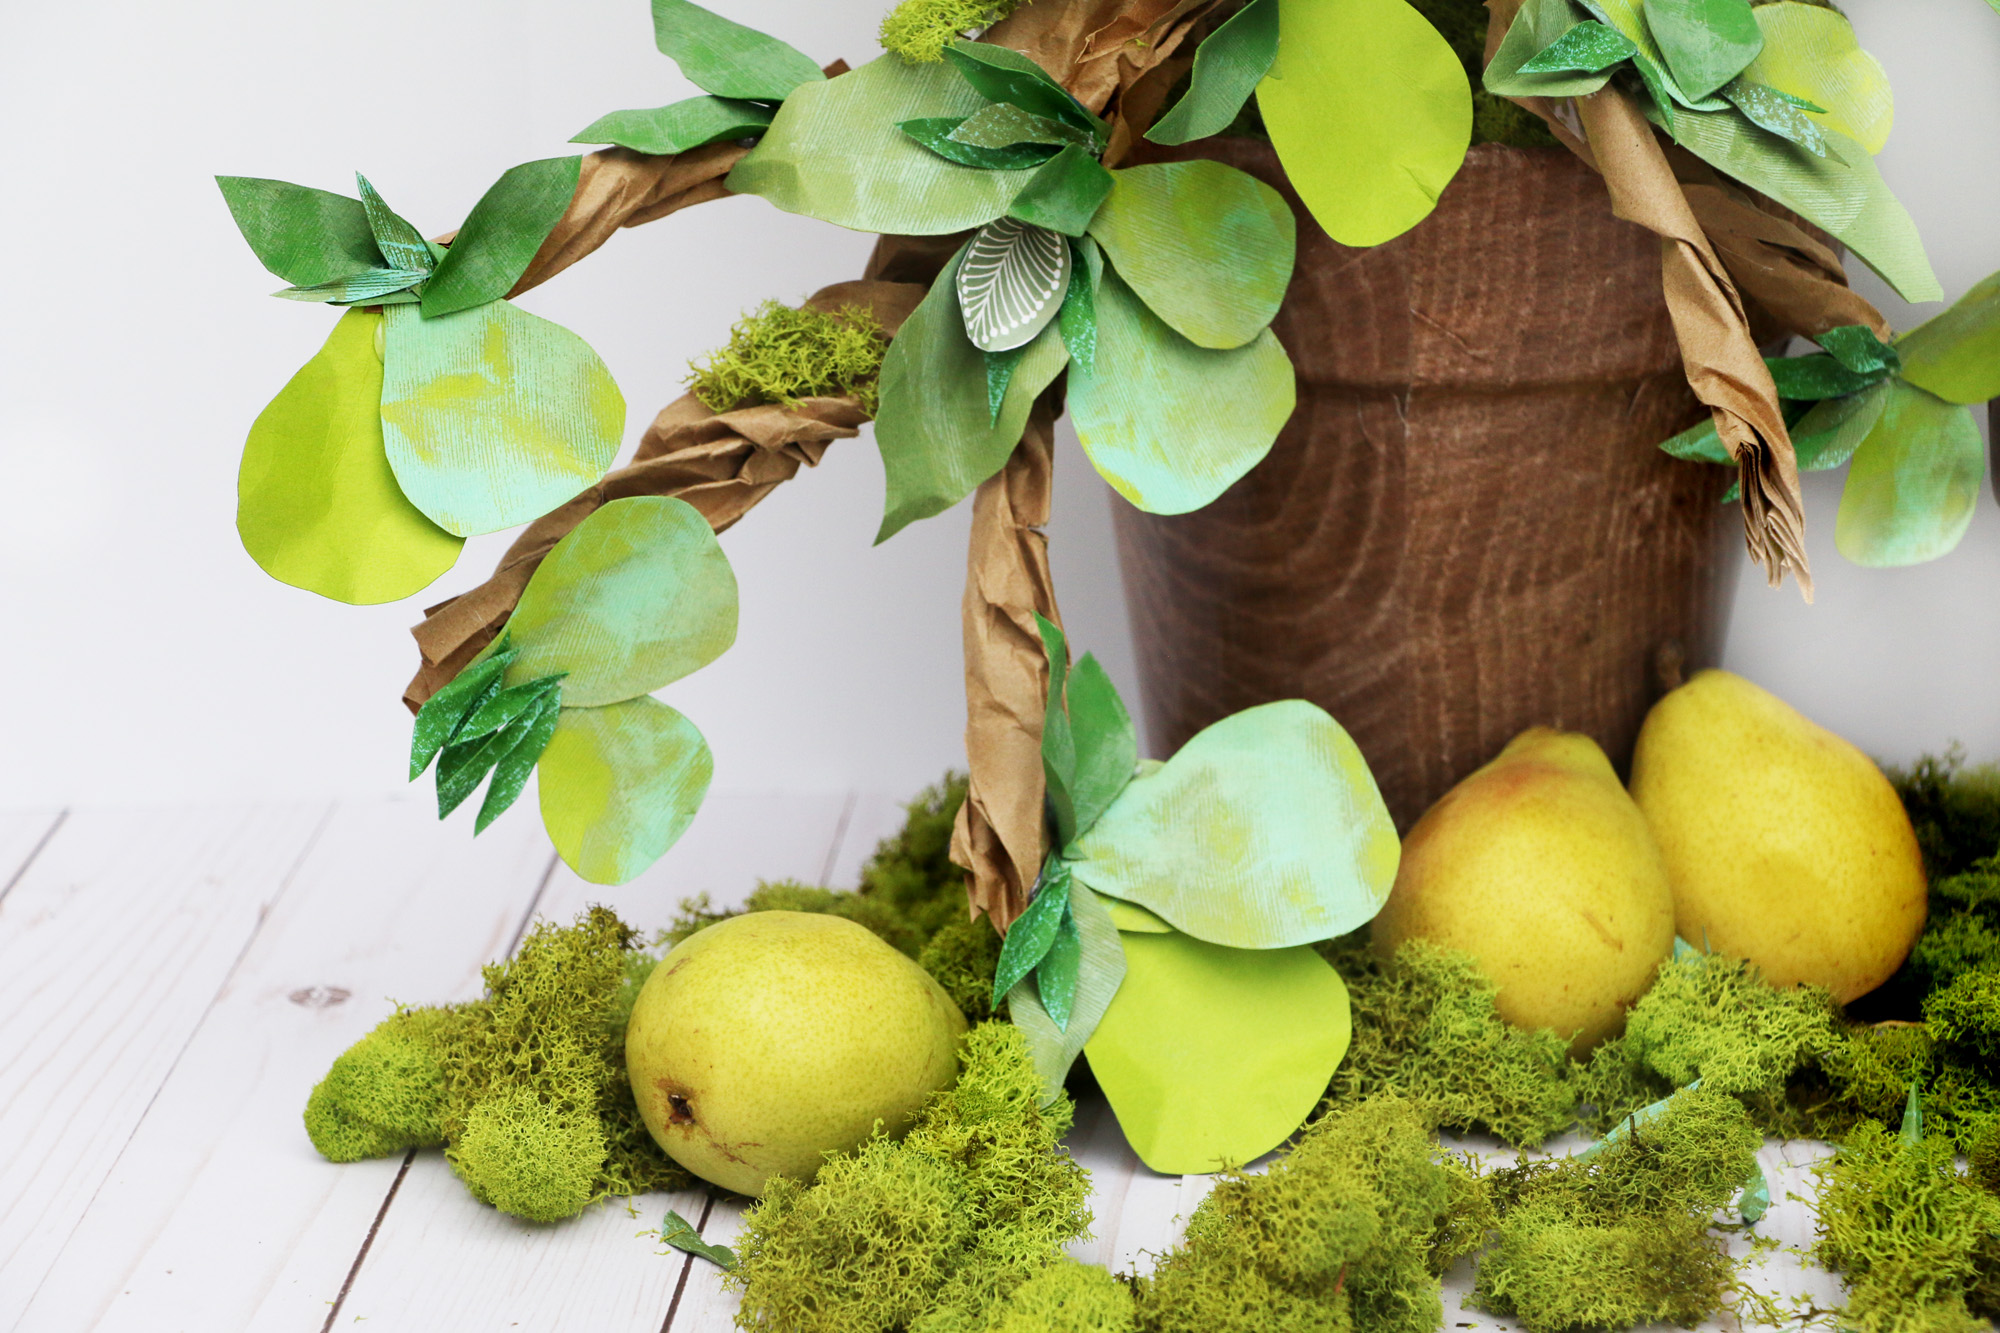
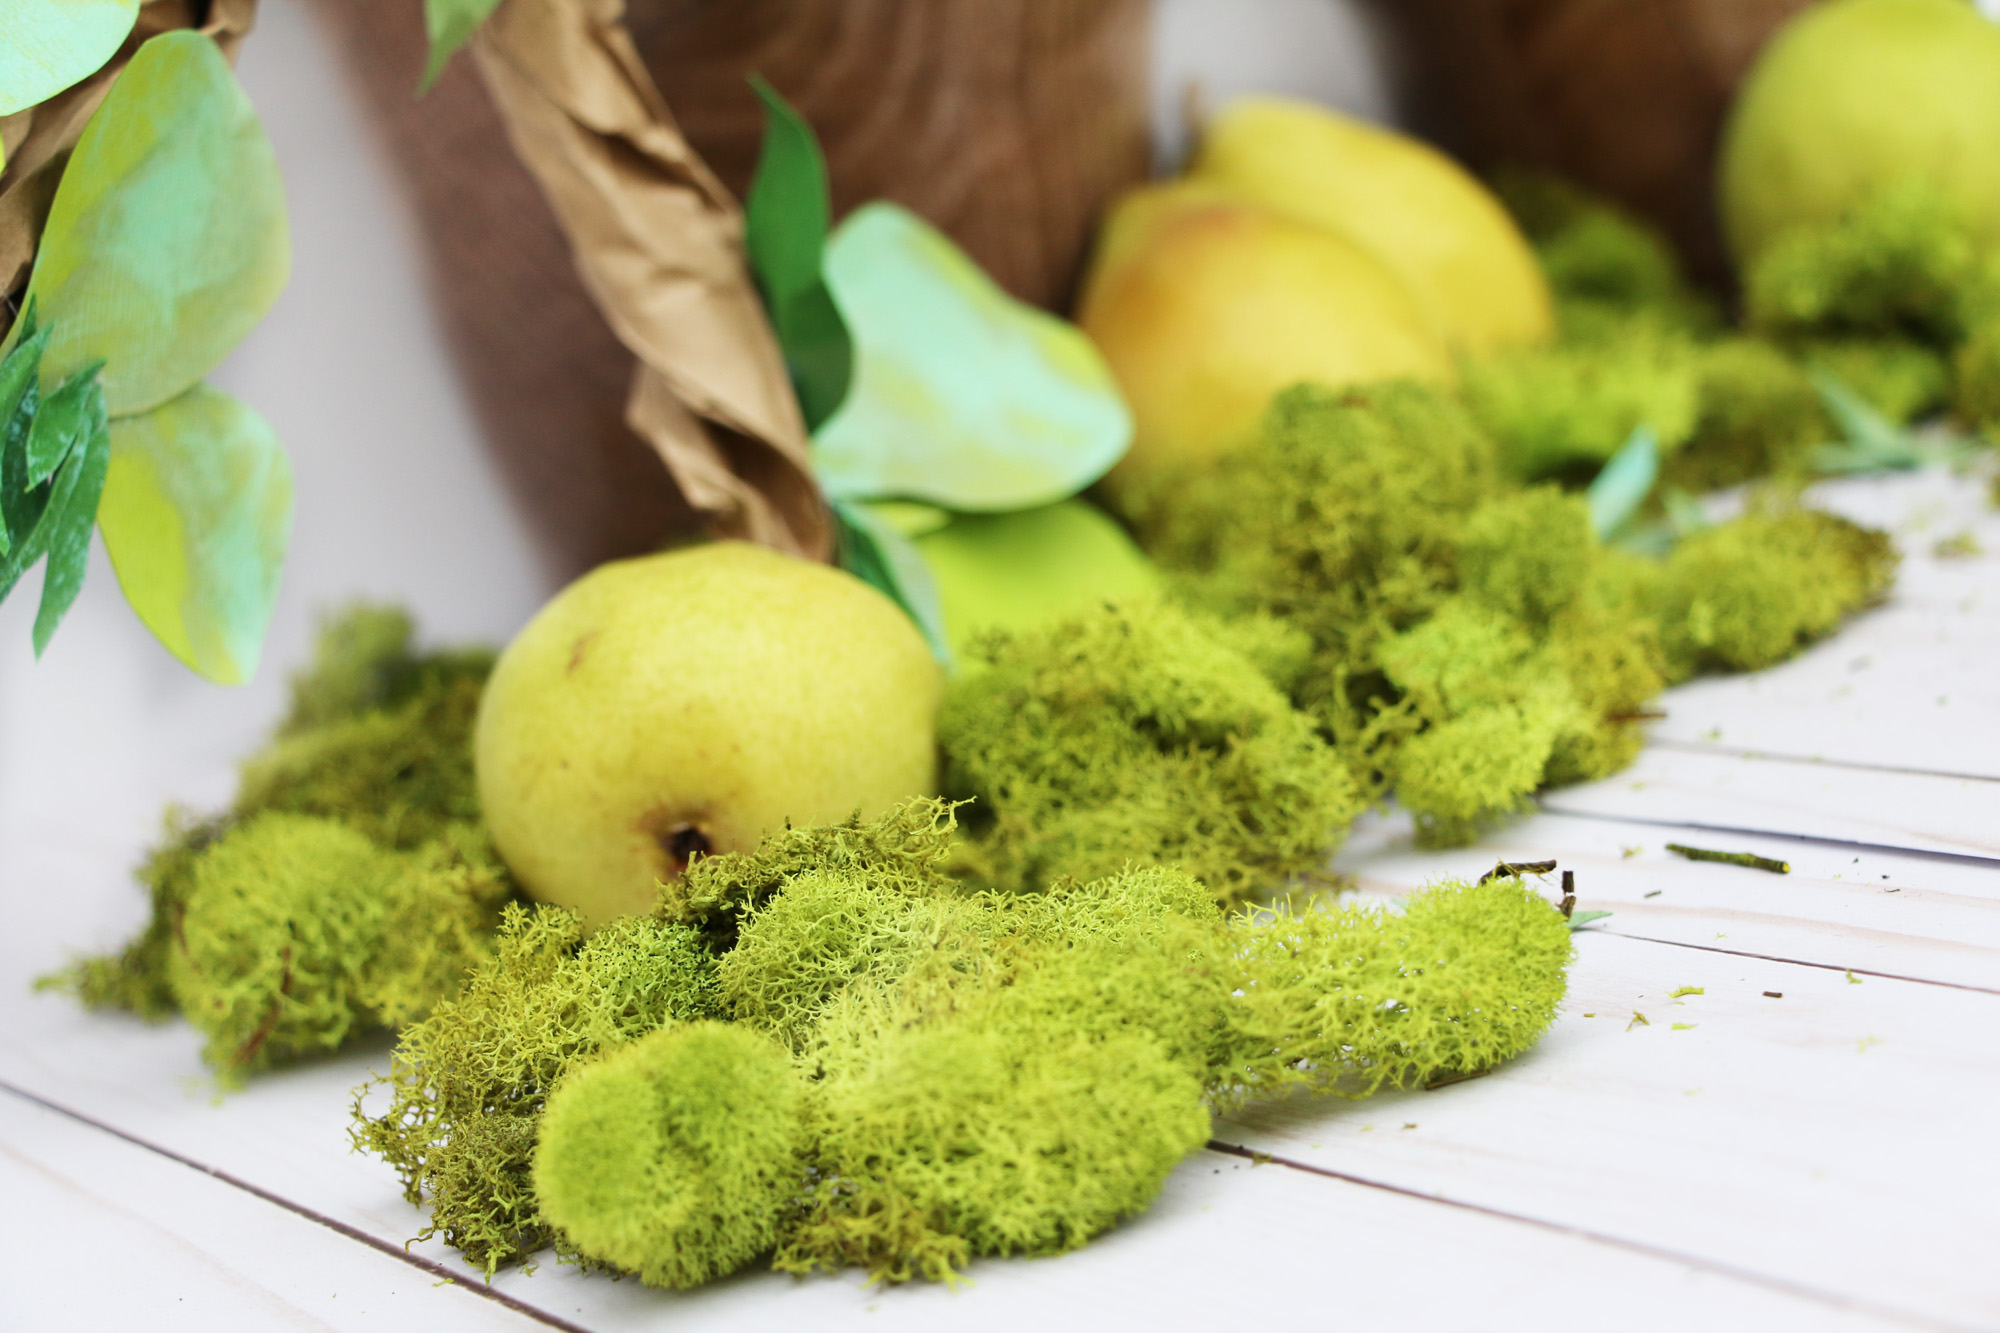 I had to add a few real pears to bring to life the “Pear Tree.” Plus you will have a snack to eat after you are finished with these trees.
 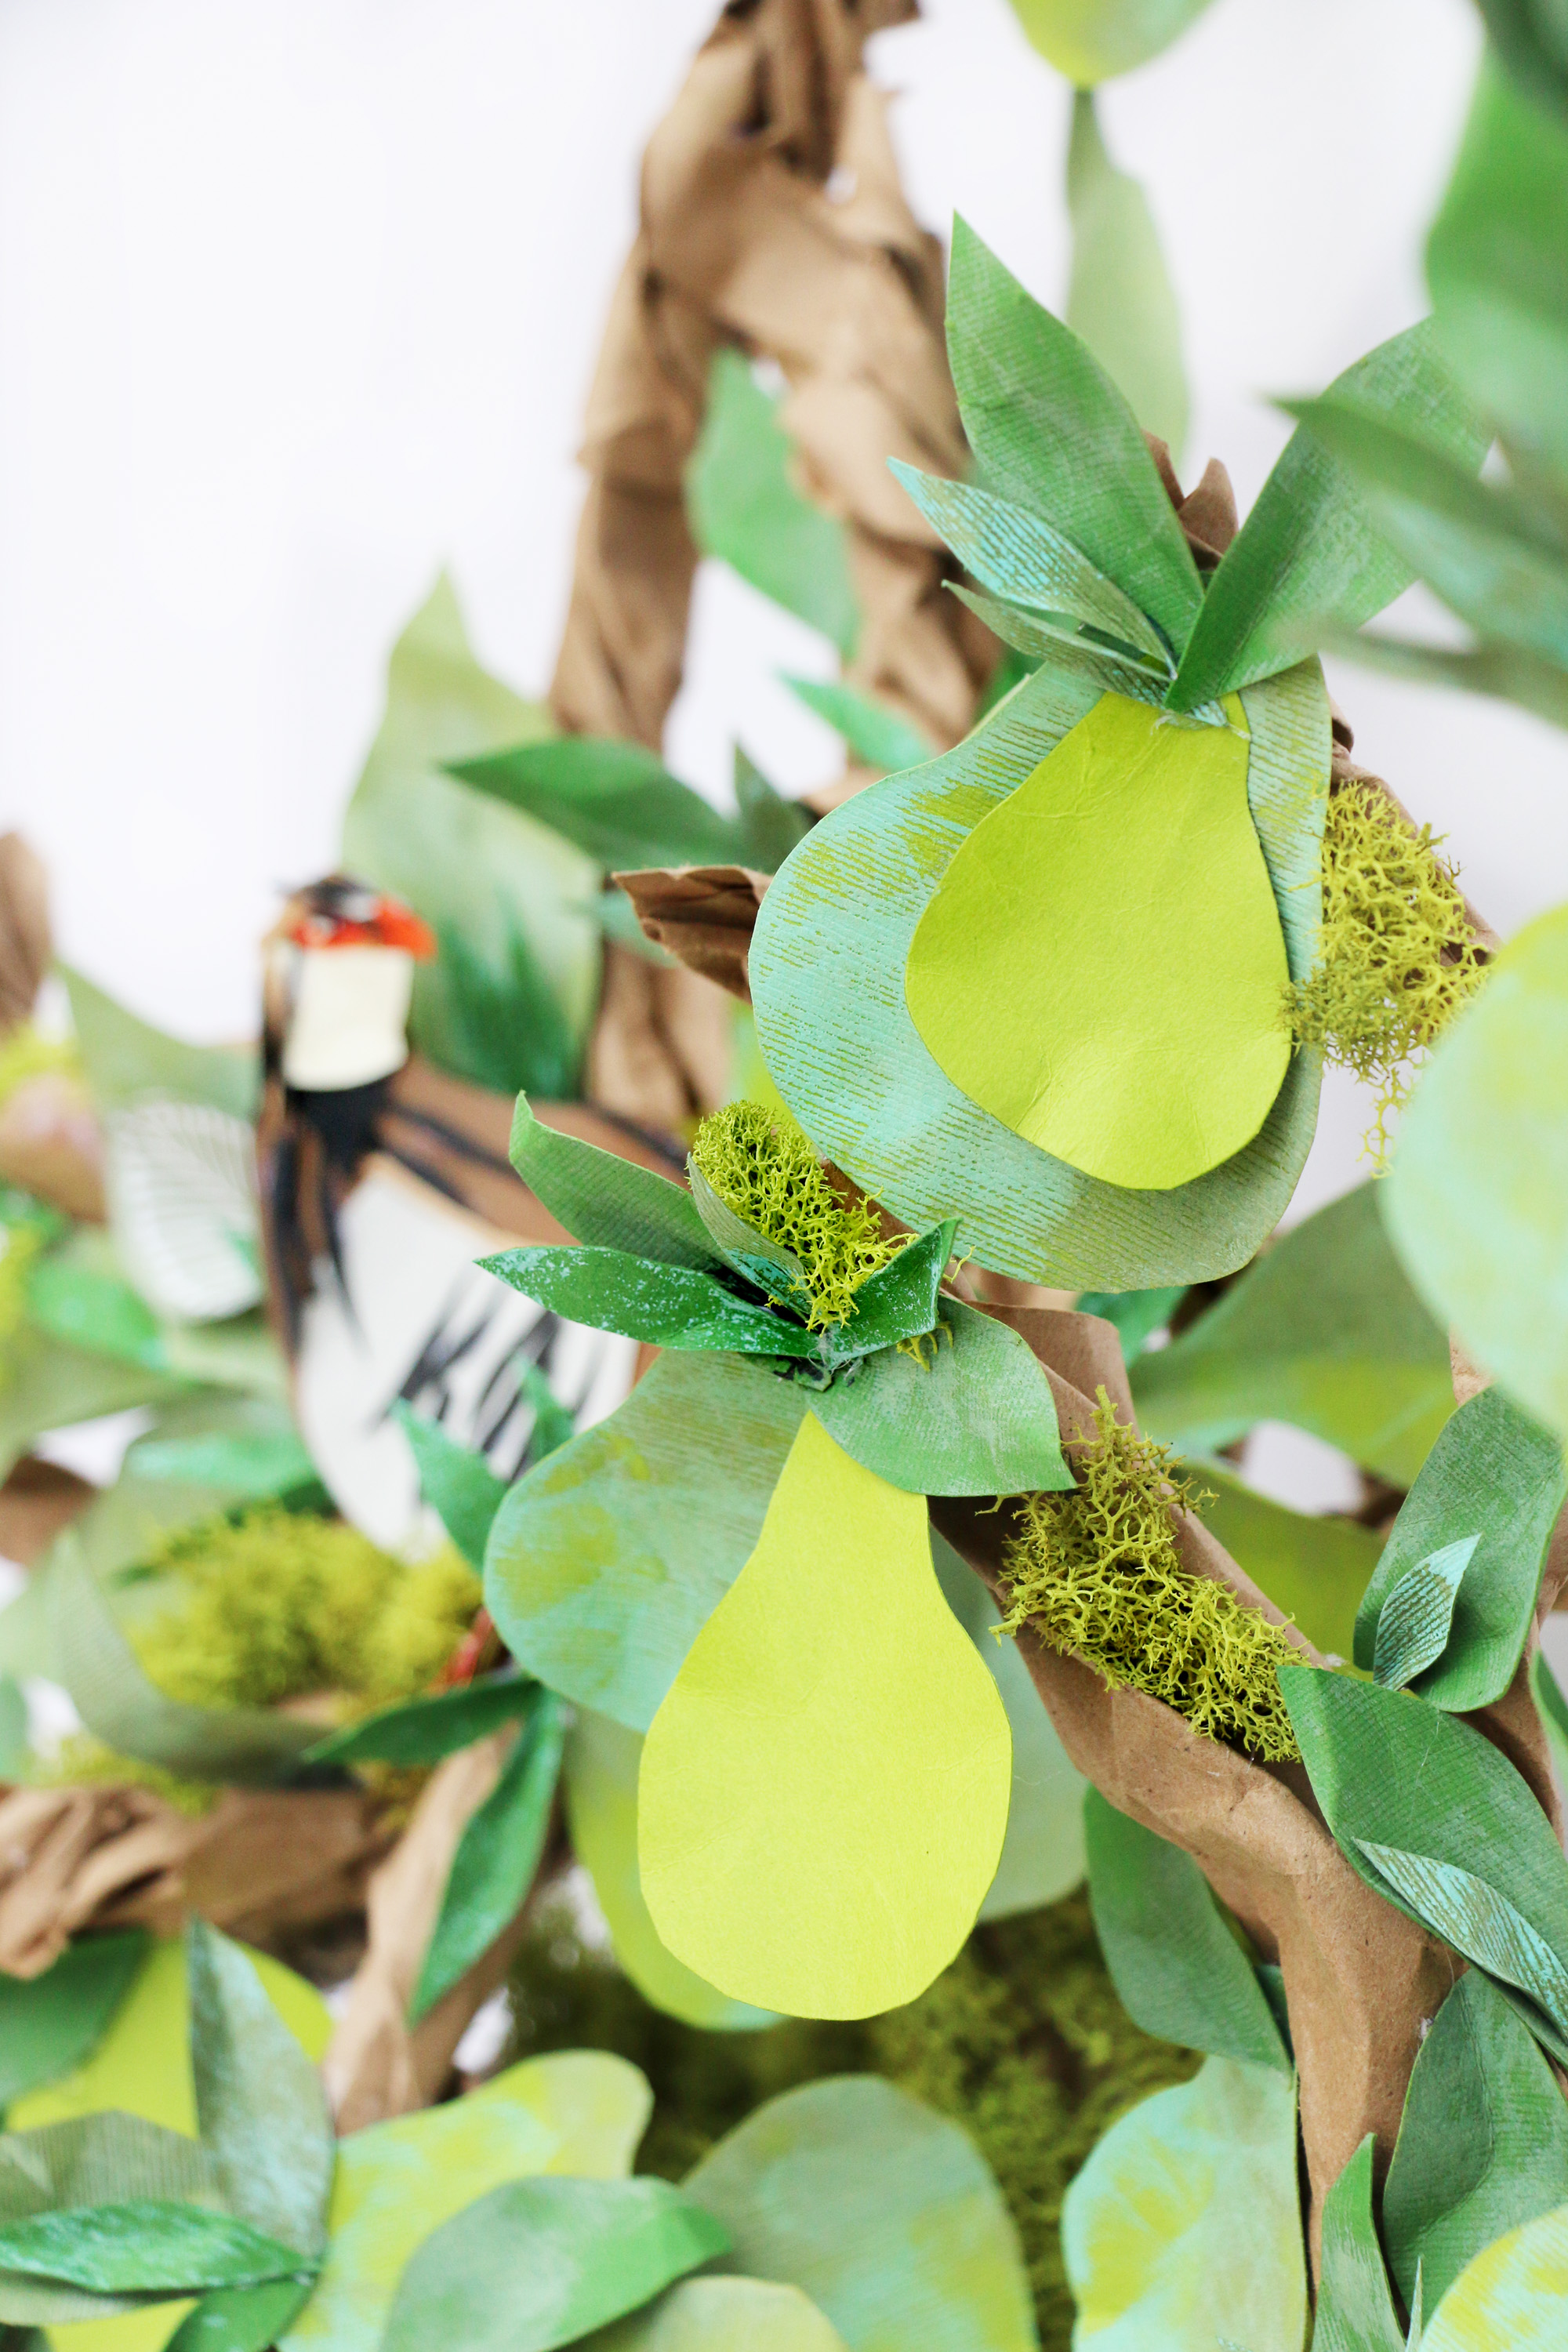 Notice how I added the stamped pears along with plain ones next to each other to accentuate the different shades that pears actually go through while blooming.
 I think my favorite thing about this project is that adults can have fun doing this as well as kids. It’s the perfect “family” project that you can put out on display throughout the holiday season.
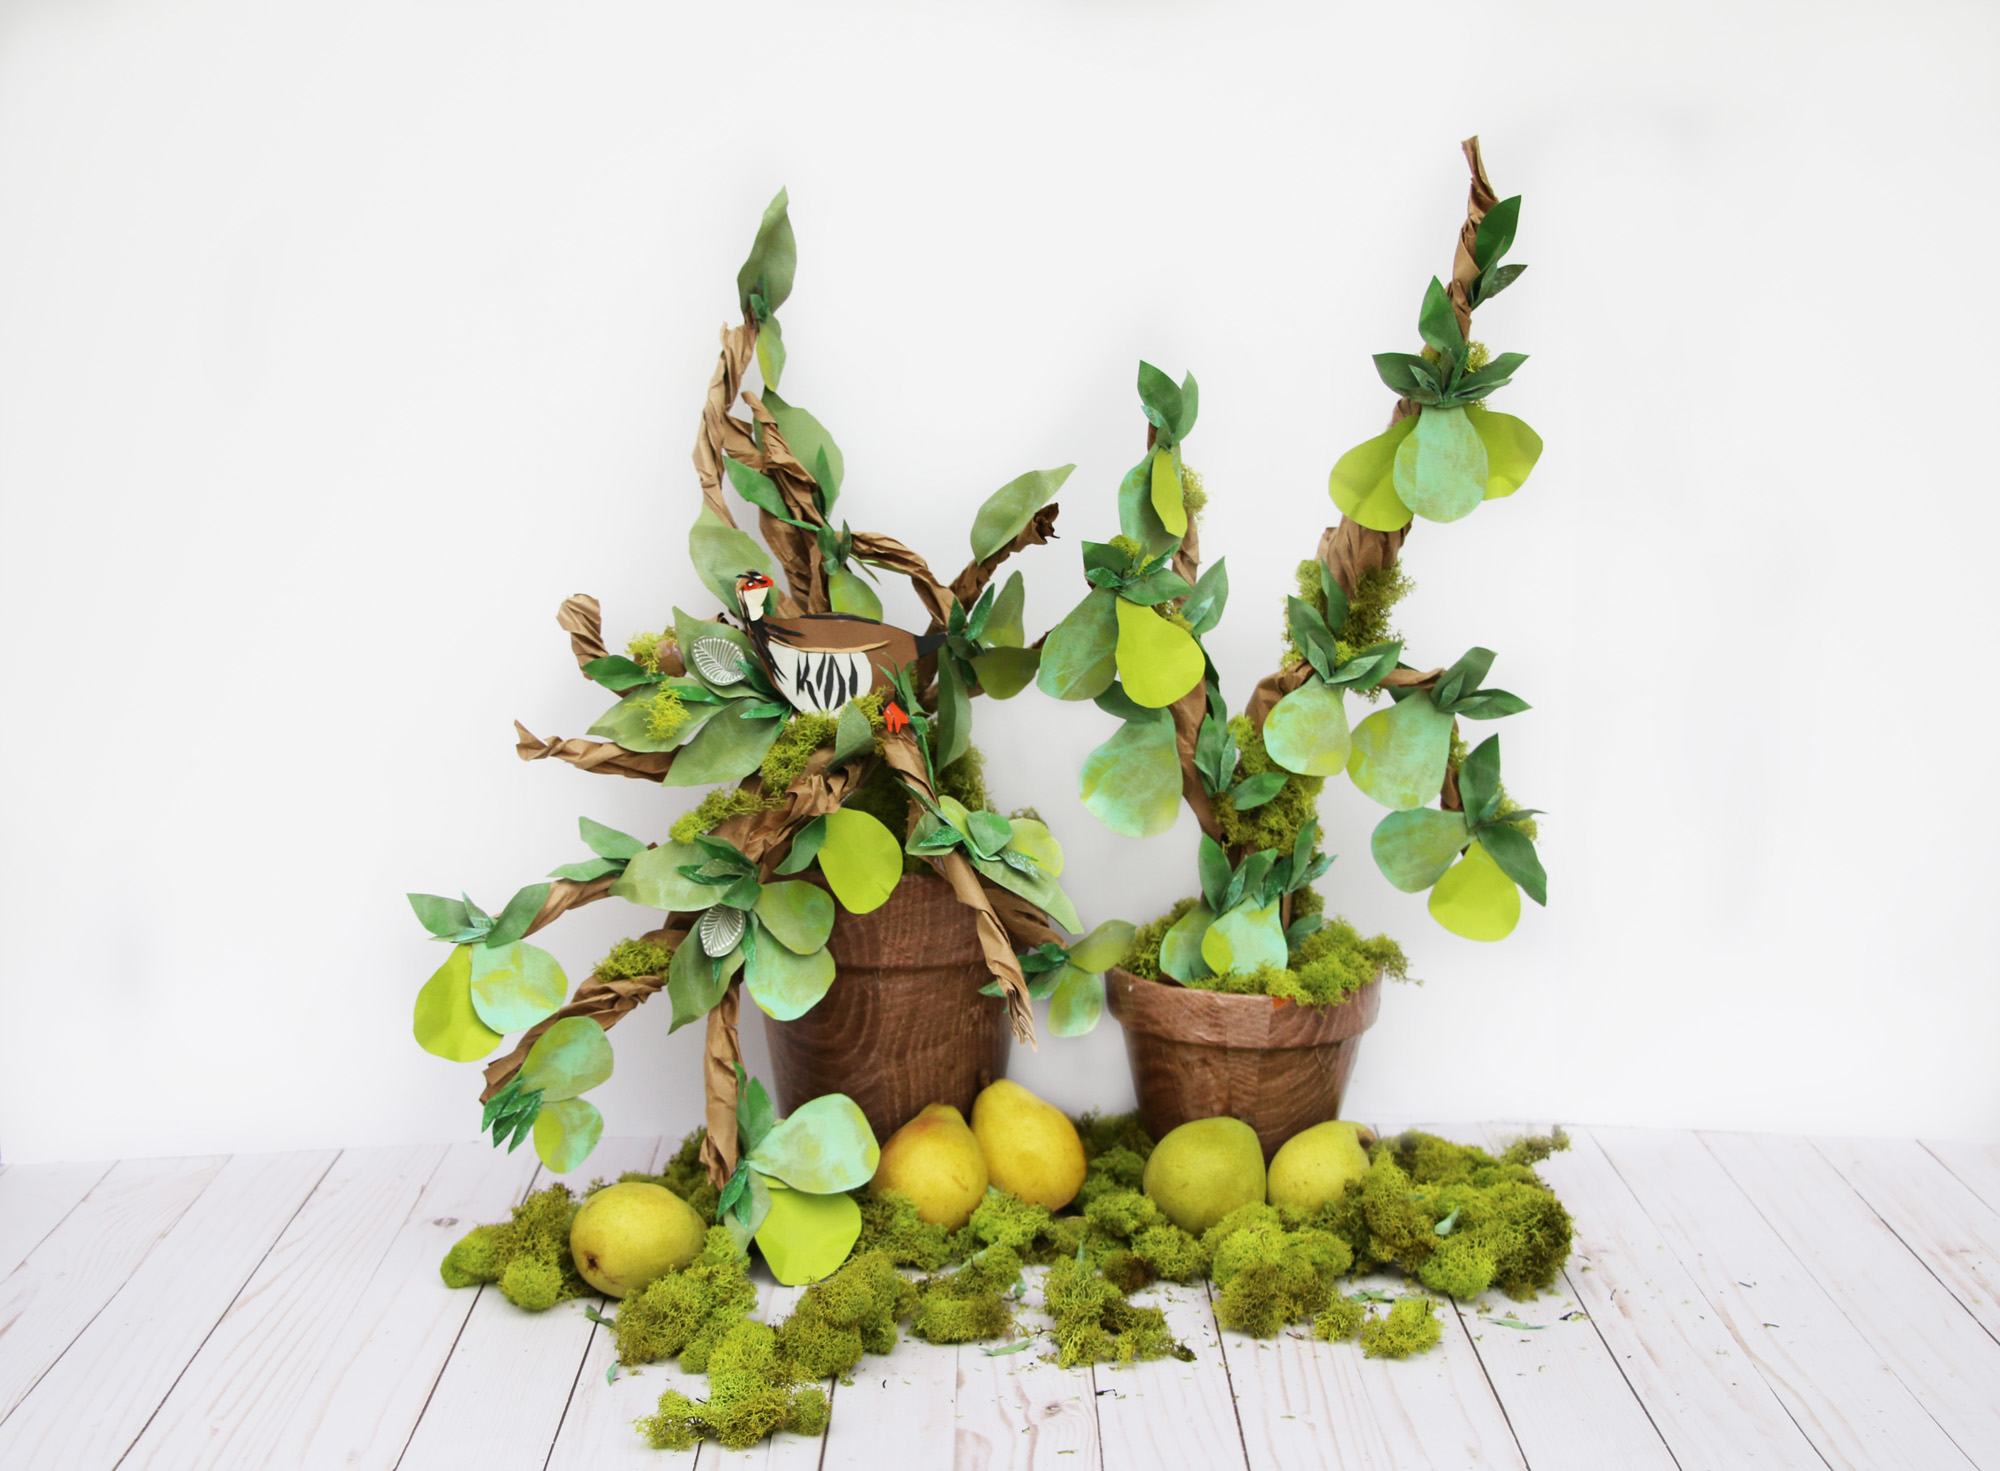
I hope you enjoyed this project! Happy Holidays and huge hugs from my computer to yours!!!
Don’t forget to follow me on all of my social media channels because I love all of you to pieces!!!!


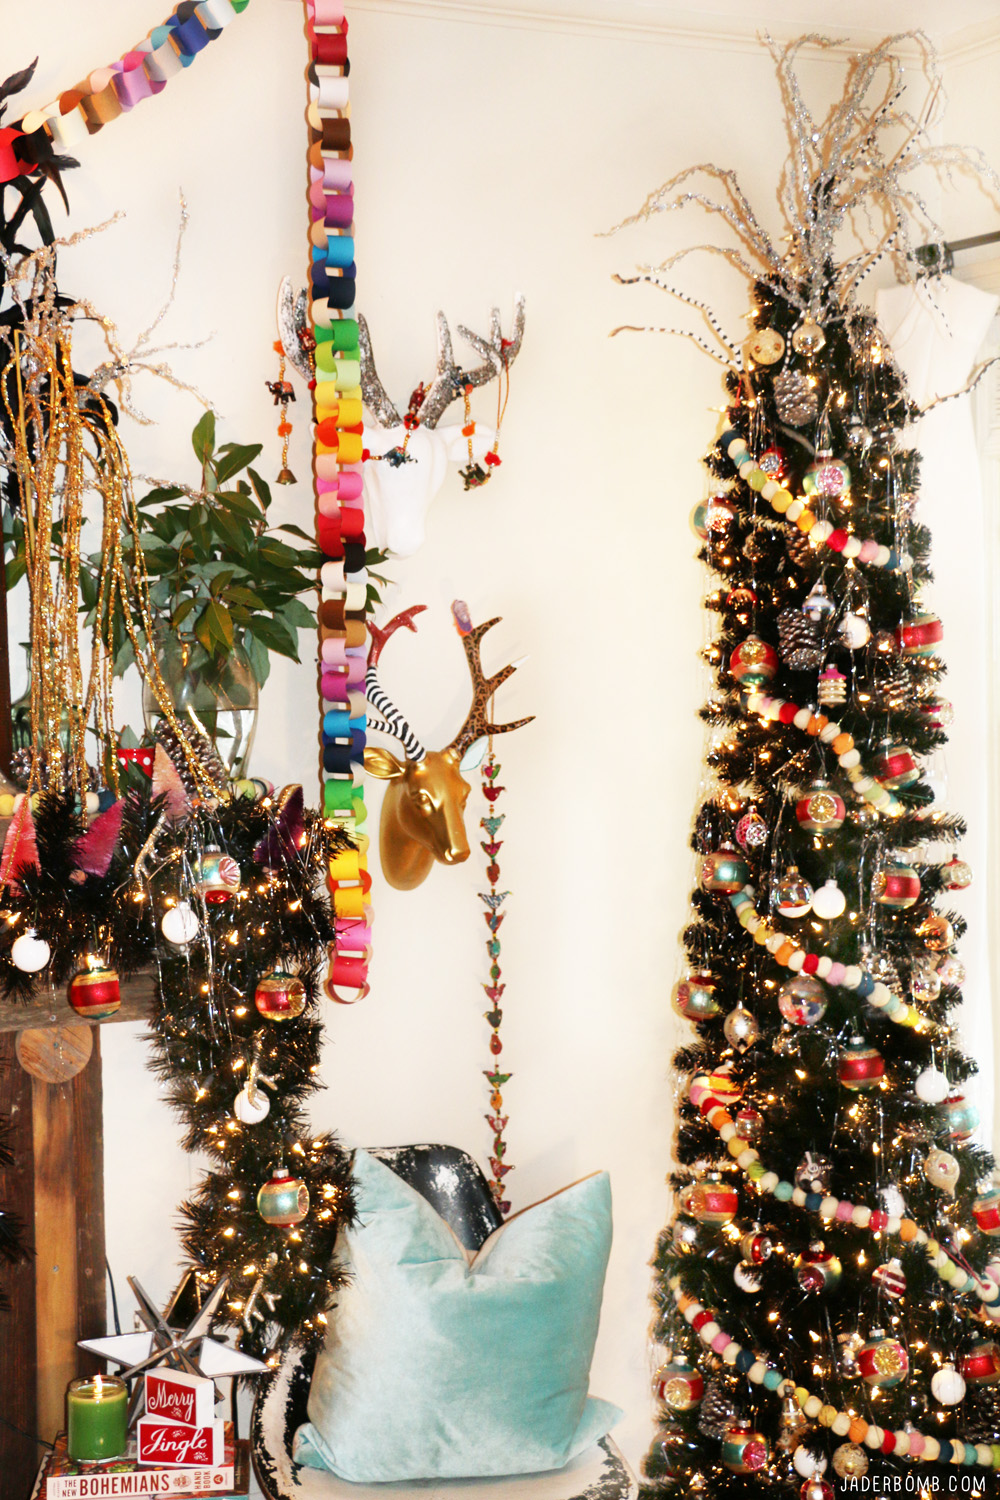
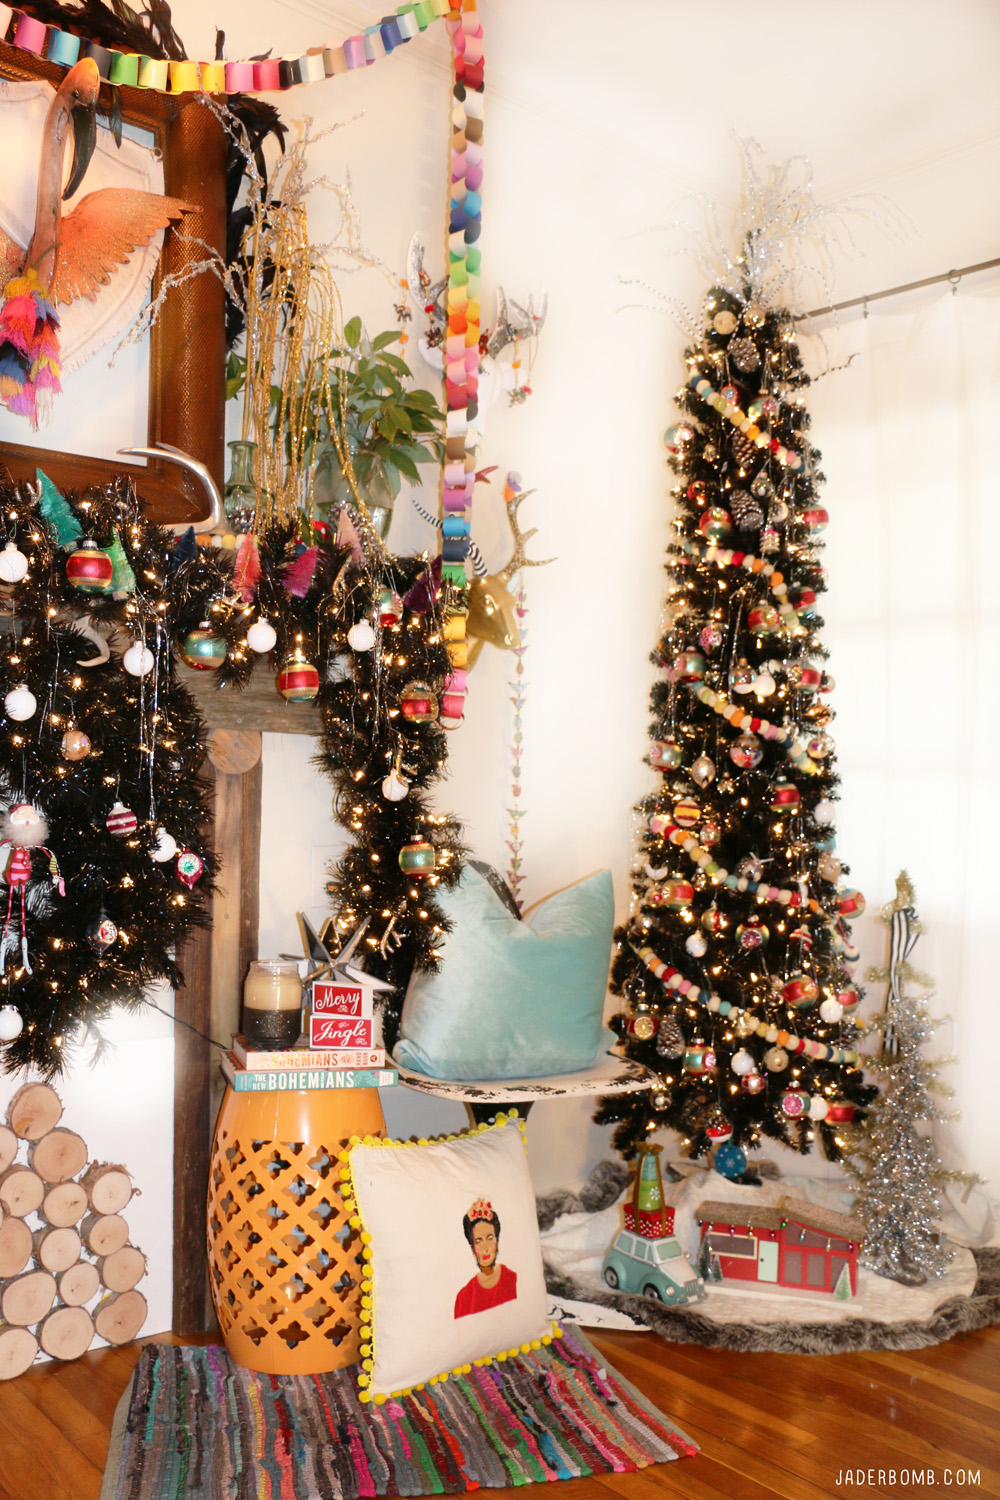
 This tree will surely compliment any space you put it in, it’s that beautiful and sleek. Add ton’s of bright colors and objects to it and you are surely gonna make any space fill vibrant and happy!


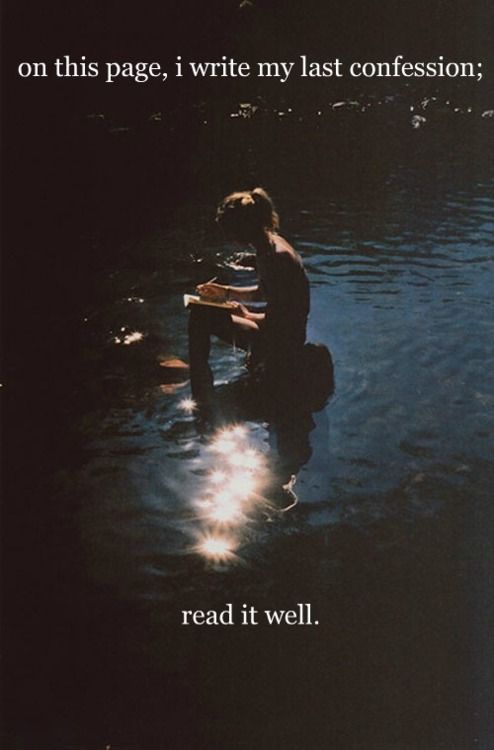 “On this page, I write my last confession; read it well.”
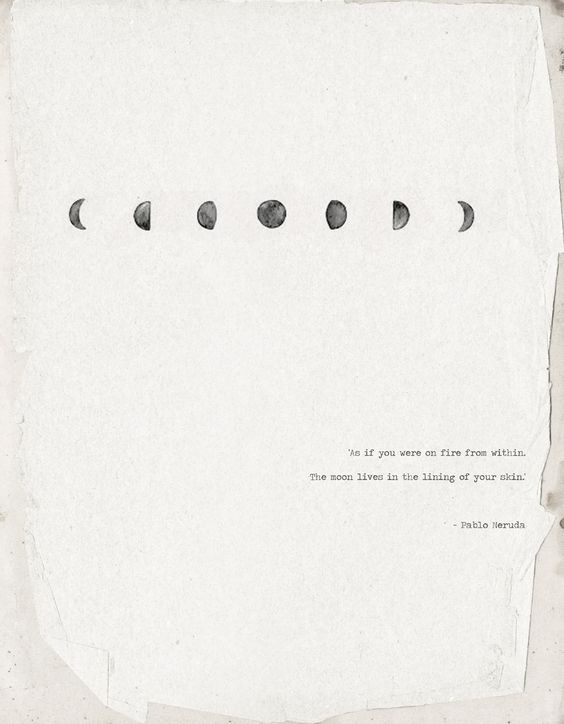 “As if you were on fire from within. The moon lives in the lining of your skin.” – Pablo Neruda
 “I am building a house where the floors is made of strength. Where the walls are crafted of ambition. A masterpiece of forgiveness. I am building myself.” – Noor Unnahar
 “She was a storm, not the kind you run from – the kind you chase.” -Honey Child
 “There is no force more powerful than a woman determined to rise.”
 “Always believe that something wonderful is about to happen.”
 “I have an insane calling to be where I am not.”
 “She is just a girl with stars in her eyes, storms in her heart, wolves beneath her skin and a love story soul.”
 “Paradise is not a place; it’s a state of conciousnss.” – Sri Chinmoy
 “I am a child of the moon being raised by the Sun in a world walked by stars and a sky drawn with flowers.” – Zara Ventris
  “Love what you do. Help keep and inspire others around you. Kick ass and make today Amazing.”
 “One of the greatness mental freedoms is truly not caring what anyone else thinks of you,”
 “I got a war in my mind.”
 “Don’t stress about the closed doors behind you. New doors are opening if you keep moving forward.”


 Materials needed for this product were:
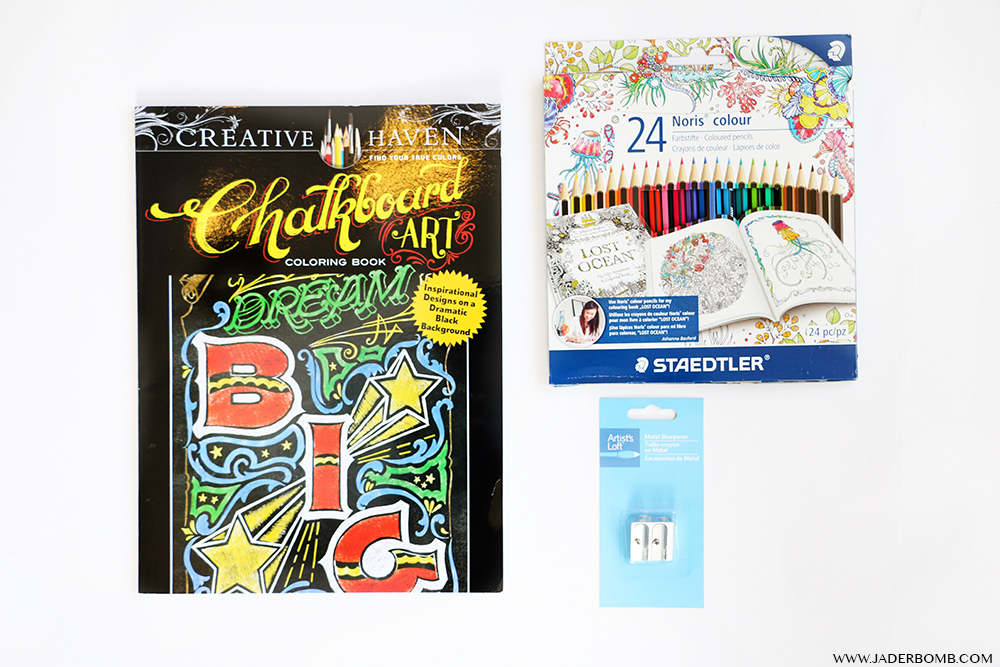 I just love how vibrant all of these colors are. I am usually not a fan of colored pencils but these really worked nice while coloring in the small details.
 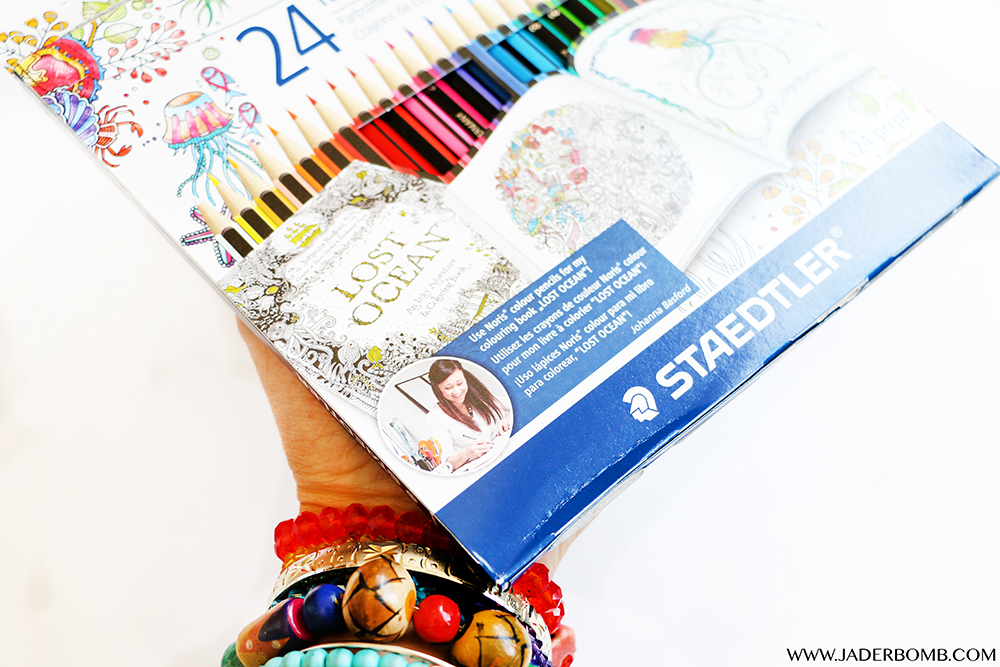 Not to mention the pencil sharpener helps!
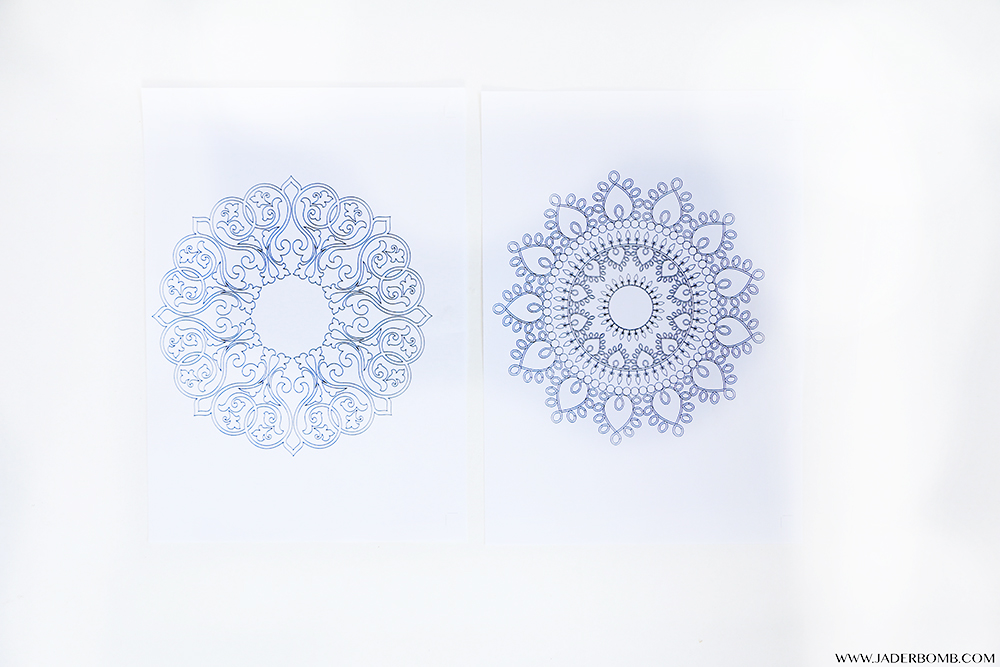
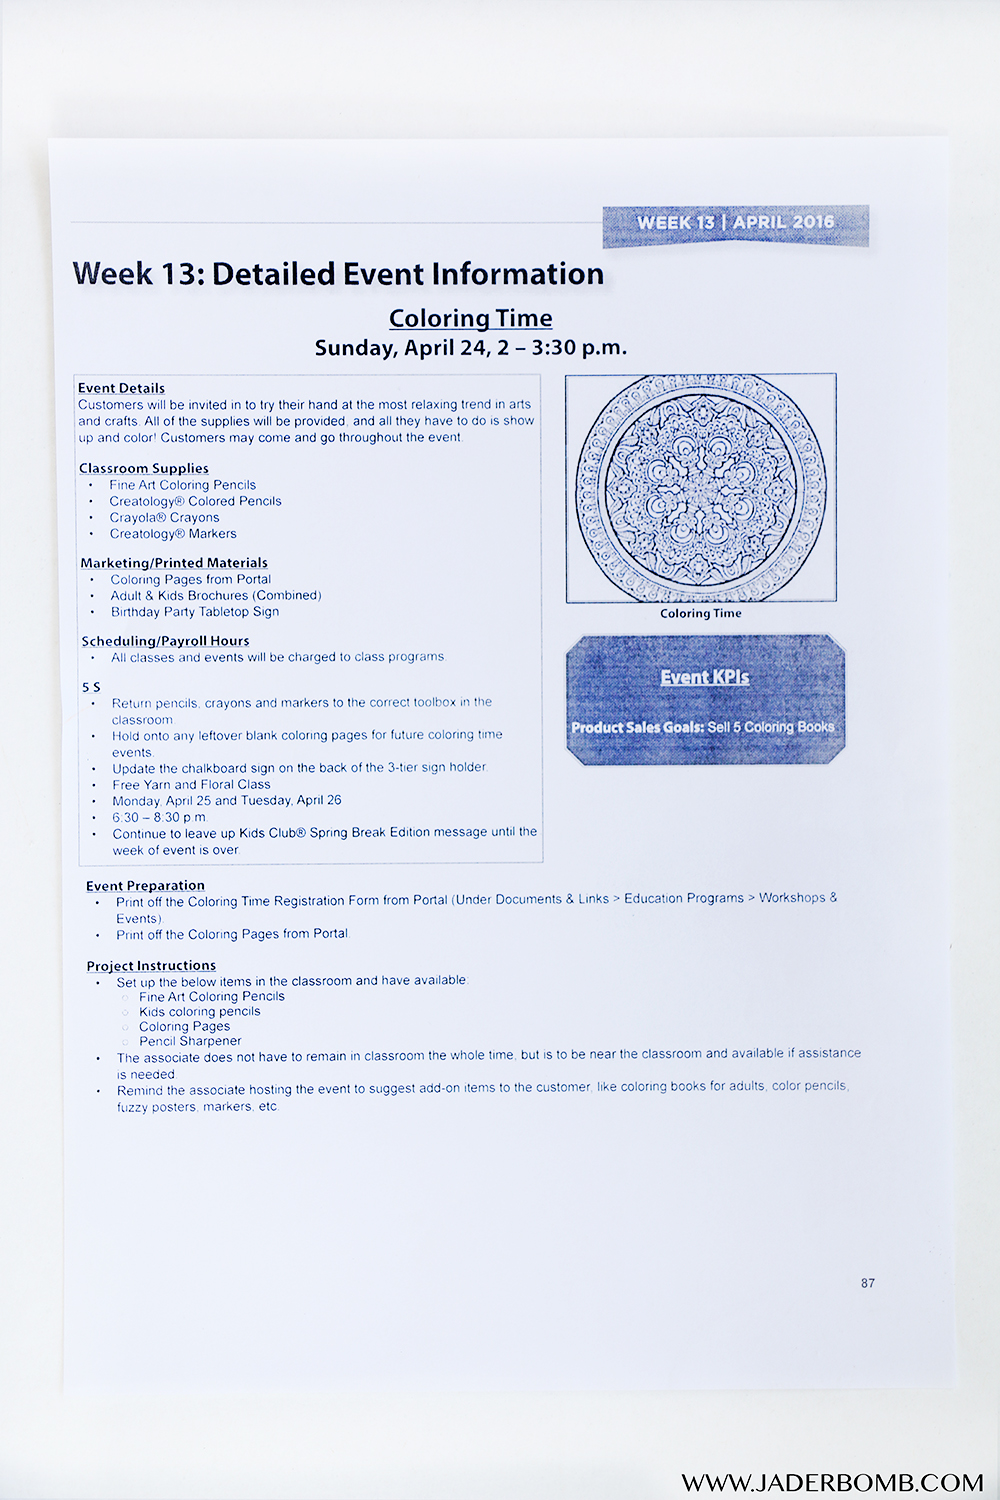
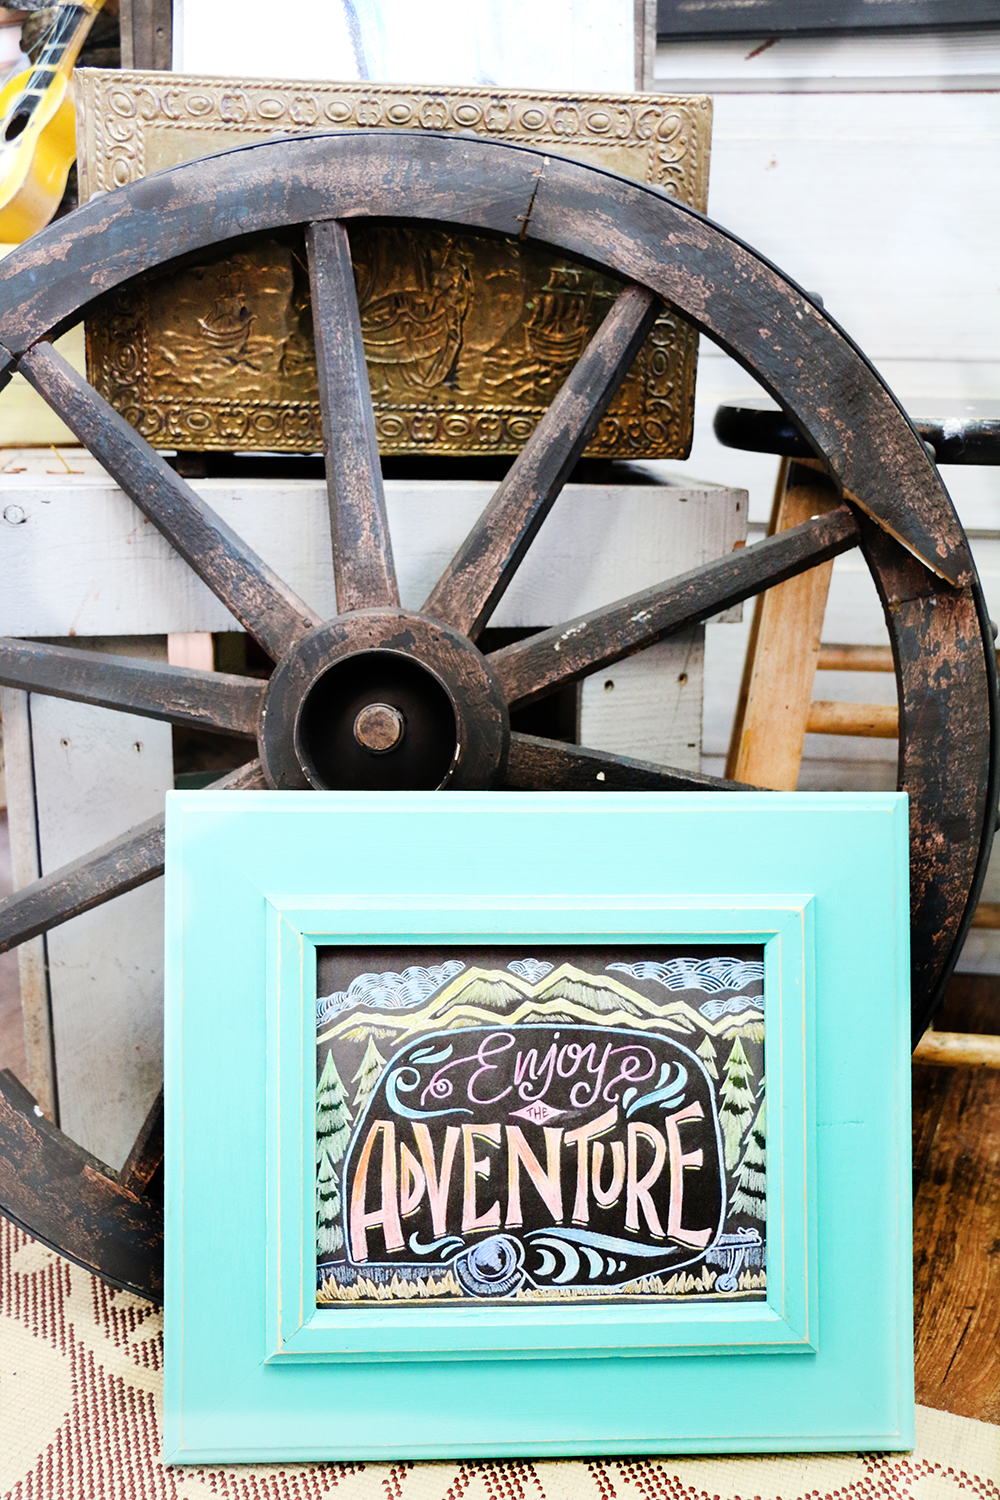
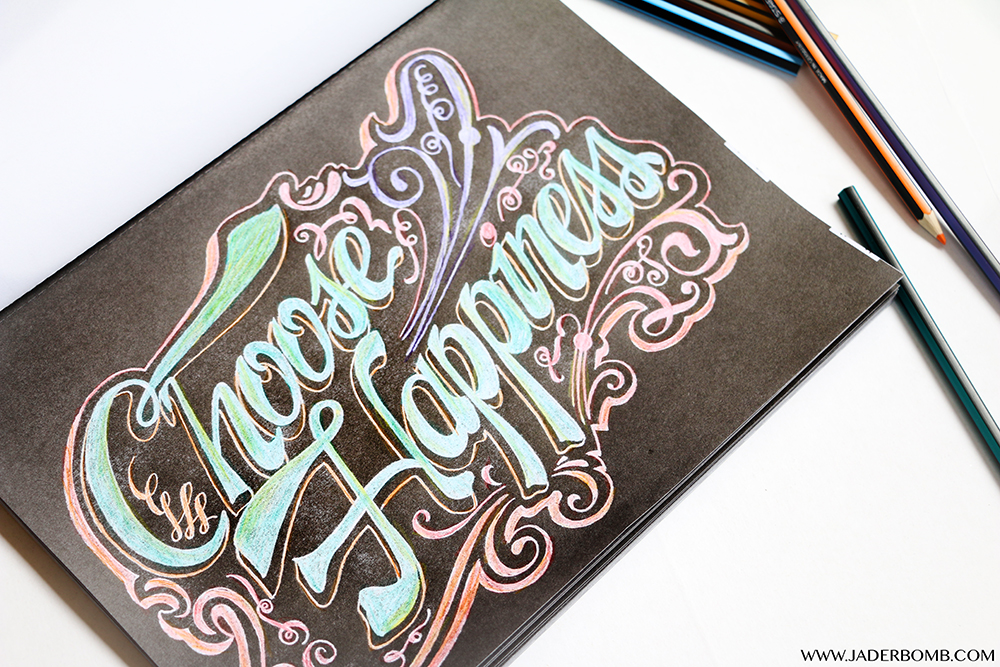 Look how beautiful it looks once you start coloring the white spaces. A lot of the ladies in the class said to me that they enjoy getting out of the house and coming to Michaels for these coloring classes because it’s a good way for them to meet people and it actually settles their minds. It takes them into another land that is relaxing to them. I thought that was neat since I usually do something really crazy like move everything in my house around to relax me. I know, fist bump… I’m a soldier.
  It was nice to see how easily the colored pencils blended with the other colors. It’s very hard to tell how great the colors look in this picture but just TRUST me they look better in person!
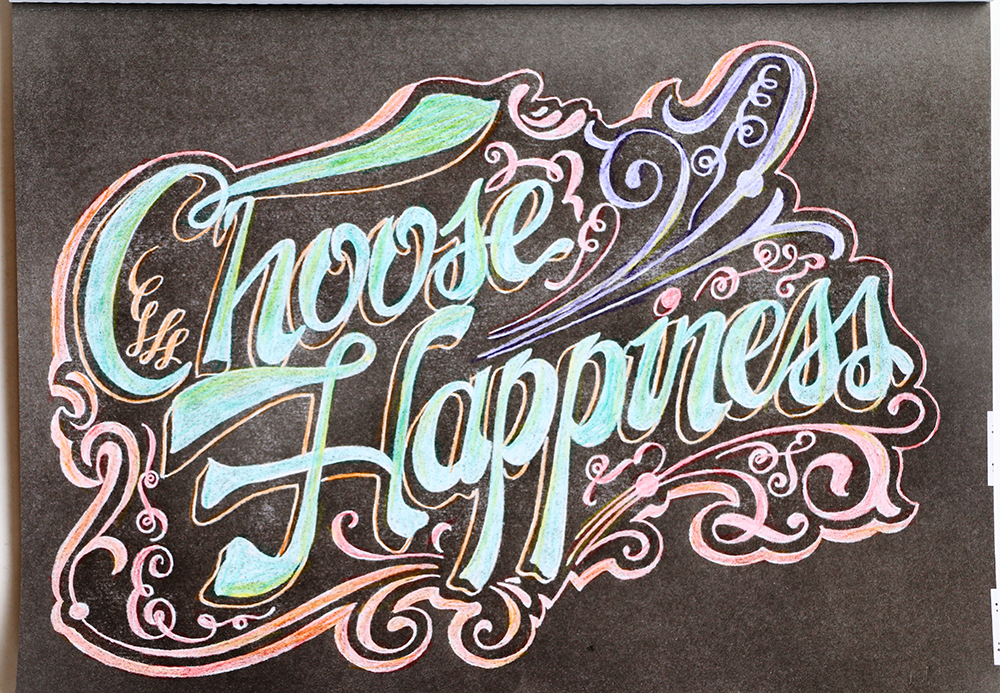
 I hope you enjoyed this adventure of mine and please don’t forget to sign up you and your kids for