Tag Archives: jaderbug

Happy Monday Funday Jaderbugs! I know. You are probably wondering how is it even possible to be so excited at the beginning of each blog post. Is it real? Am I REALLY that excited to write this post for you. YES! There are a few things in life that actually make me instantly smile, this is one!

I could not wait to post this today because I have been talking about doing this for so long now! I’ve tweeted about it, researched it and it’s finally going down.

I know we all see these amazing pictures on pinterest of the “perfect” stripes and the “perfect” decorations. Shoot’s I have even overheard people talking about doing this but they want to wait until they have all the right furniture and decorations to go with this look. My question to you is…

WHY WAIT!

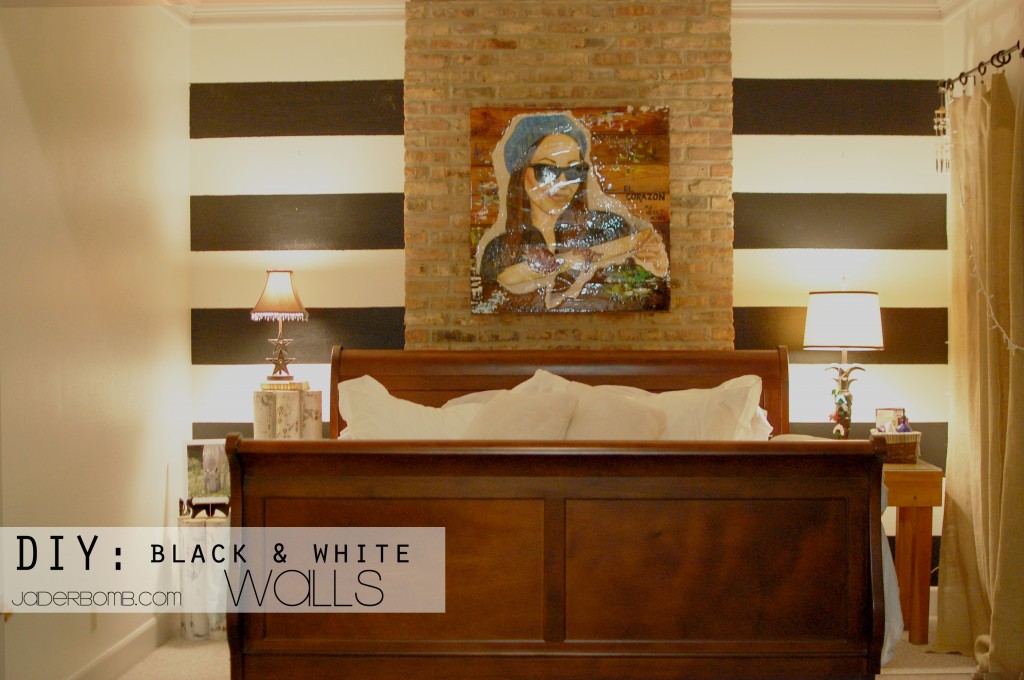
Enjoy your black and white stripes now! After all, you might “think” your walls are not ready for it but I am sure they are screaming inside for them. After hearing my walls scream for a few months I figured it was finally their moment to shine.

You will need :
 Paint
 Painter's tape
 Laser Level
 Pencil
 Ladder
 Painting Brush
 Lot's of Love

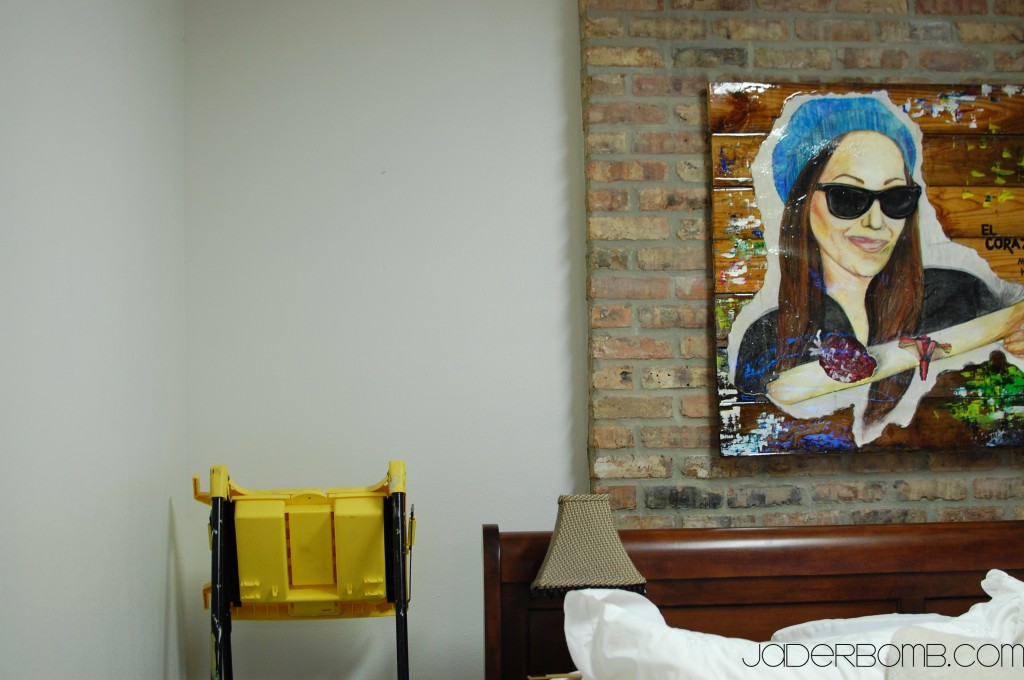
See how bare our walls are! In case you are wondering about that picture over our bed. Yes. It’s a picture of ME! A really big one. I wish you could see it up close because I drew it with pastels, laminated it, built the wood background, painted a little bit on the wood, wrote a little bit on it and then coated it with RESIN. Did I mention Ashy helped with the building the wood background? Let’s just say she did that part.

Amazing right.

Plus, Ashy insisted on putting it over the bed. She said it looked beautiful, how sweet. I can’t lie it is weird looking at myself over the bed. Now that I am thinking of it, I have a few self portraits in our room. (haha)

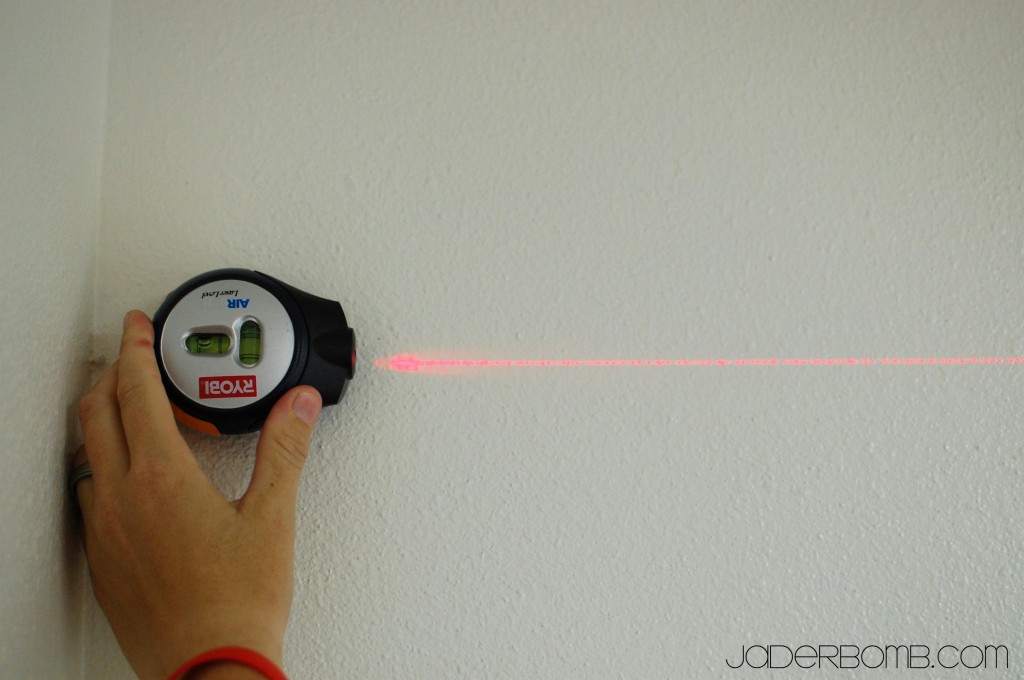
Ashy started by using this laser level to draw the lines onto the walls.
Bestie’s mom got her this and she is in love with it. So far my best piece of advice is to get one of these. Especially if you want strait lines. I don’t think they are expensive.
The cool thing is you can see if it’s level and it suctions onto the wall so you can actually draw or tape up the line (incase you are doing alone).  I’m not one for power tools but HELLOOO suction cup baby!

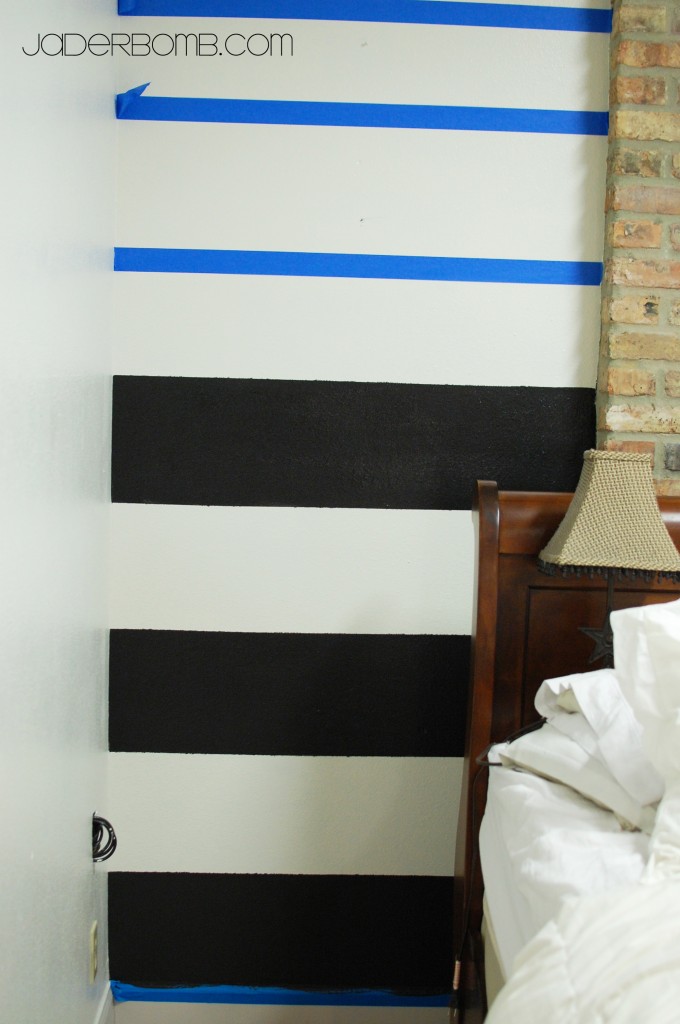
Now, this is the tricky part. The tape. You want to measure the wall you are painting from top to bottom. K. Then you can start playing around with numbers. You will divide the width of the stripes by the total length of the wall. The number you get when you do this will be the amount of stripes you will have on that wall.  Remember, your stripes might be smaller or bigger than mine. It just depends on how many stripes you want. If you want a lot of stripes then the width of them will be very small. I like chunky ones, they make me smile…

 For example my wall was 105″. My stripes were 10.5″. So I divided that and it gave me the number 10. This is including the white and black stripes. It’s actually pretty easy once you start playing with the numbers!

Oh and when you first put your tape up, it will look visually cray cray to to you! Your gonna be like. whoa!
Which one is which? Where do I paint? I’m confused! These are not right! If you see the picture above with the arrows pointing to the tape, this is what I mean. I just looks smaller but the width is from the edges I put the arrow on. Got it?

If you need help or have questions just email me and I can help ya, [email protected].

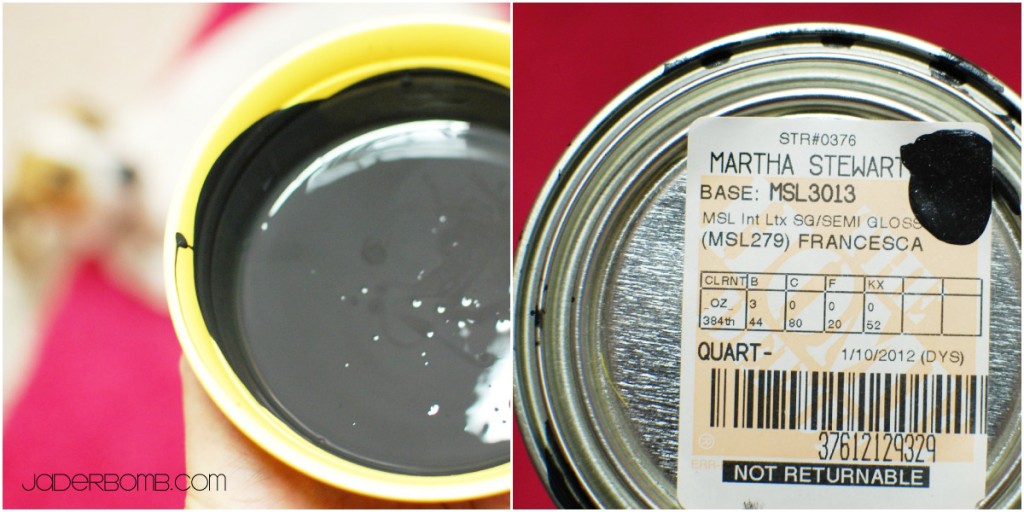
You know I am using Martha Stewart paint. This line is discontinued but I still have some that they sent me! What can I say. It’s a product I trust.
Don’t you just love the name of this color. Francesca.
That’s one of her dog’s incase you didn’t know. Check our Francesca’s blog here.

 I took this picture just so you can get a visual of what it will look like when you peel the tape off. If you have some paint that sneaks out under the tape just touch it up when it’s dry.   Are you in love yet!

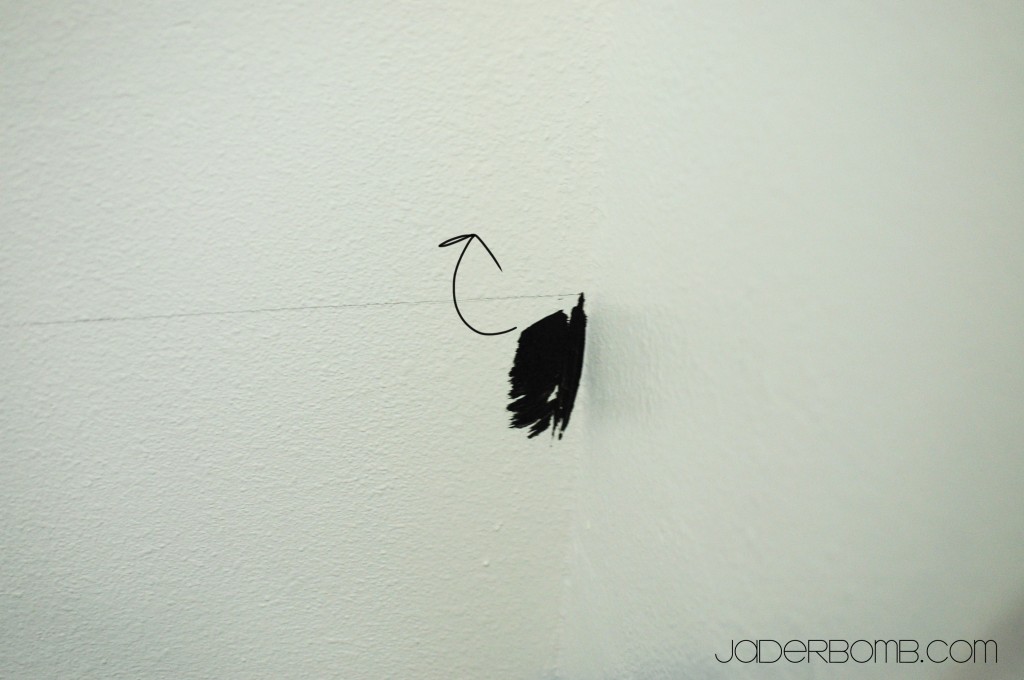
If you are like me then you will get super excited at some point. I did this boo boo. I was so excited to see the end result I just started painting. Thanks ADD for doing this! HAHA

 I want to put “STRIPES” on every wall now! I told Ashy this and she just looked at me. But she did say it came out good and she loved it. Just think about it. You don’t need dark stripes all of the time.

Dark grey wall+Shade lighter gray stripes
Pretty pink wall+lighter pink stripes

You getting my drift Jaderbugs! I really look’s classy… If you do this project please post pictures on my Facebook wall so I can check it out! You never know! I might just feature ya on the Jaderbomb blog.

Before I sign out I wanted to quickly share with you this amazing book coming out August 21, 2010. I will be doing a review this week on it so stay tuned! You know who’s book this is right…

STEPHEN BROWN

He is s judge on Craft Wars!  You have to check out his website because it’s AMAZING!

See ya in the next post!

Ole HAPPY FRIDAY Jaderbugs!

Last week before I went to New York I ran across this fabulous gold duck tape in Target. Have you ever seen the isle in Target with all of the duck tape? I promise the little voice in your head will totally come out in that isle. Forget that you need meat to feed your family that night, because the voice is telling you what YOU need!

Before I start with the directions, I want to tell you something. You might “actually” like this bag and think it’s not a TOTAL failure.  On one hand it’s not a failure because it actually works but on the other hand I think it’s insanely UGLY. Why on earth would I share something that is not a success in my eyes? Well because you might see it and get an idea, you might like it or you might just enjoy knowing that I’m not actually perfect. I should start a blog for all of my “UGLY” projects. You know how many I do that uh…don’t turn out like it did in my head?!

Maybe you will love me a little more after seeing this…

Ingredients:
Duck Tape
Bubble Wrap (I got this from Target)
Imagination

1. Get your bubble wrap and lay a piece down. I just put my laptop on top of one piece.
2.  Cut your bubble wrap but make sure it’s long enough to for the remaining piece to completely fold over the top of the laptop.
3.  After you do step 2 cut the two ends that meet up. Make sure they are even.
4.  This is how much you should have hanging over the top now [not the sides] . You don’t need too much. Honestly. I didn’t measure because I figured everyone has different size laptops, or you want to do this for your ipad and it’s easier to just do the steps for your own device.
5.  After you cut your top pieces and they line up start putting your duck tape down on top of the bubble wrap. Make sure you put it on the FLAT side not the BUBBLE side. I tore strips and added them right next to each other until it was all covered.
6.  You can see in this picture what I meant about step 5. Notice how I am enclosing the sides with duck tape too!
REMINDER! Notice at the top of this picture (6) that there is a little bubble wrap showing. That’s because you want to leave a flap at the top. So just take your piece of duck taped bubble wrap, lay your computer on top of it fold it over once and “pretend” it’s in a case and you will have some left over at the top. This is the flap that goes on the OUTSIDE of case.
7.  Continue to duck tape the sides.

DO NOT DUCK TAPE THE FLAP…

8.  Tadahhhh!!! It’s that simple.

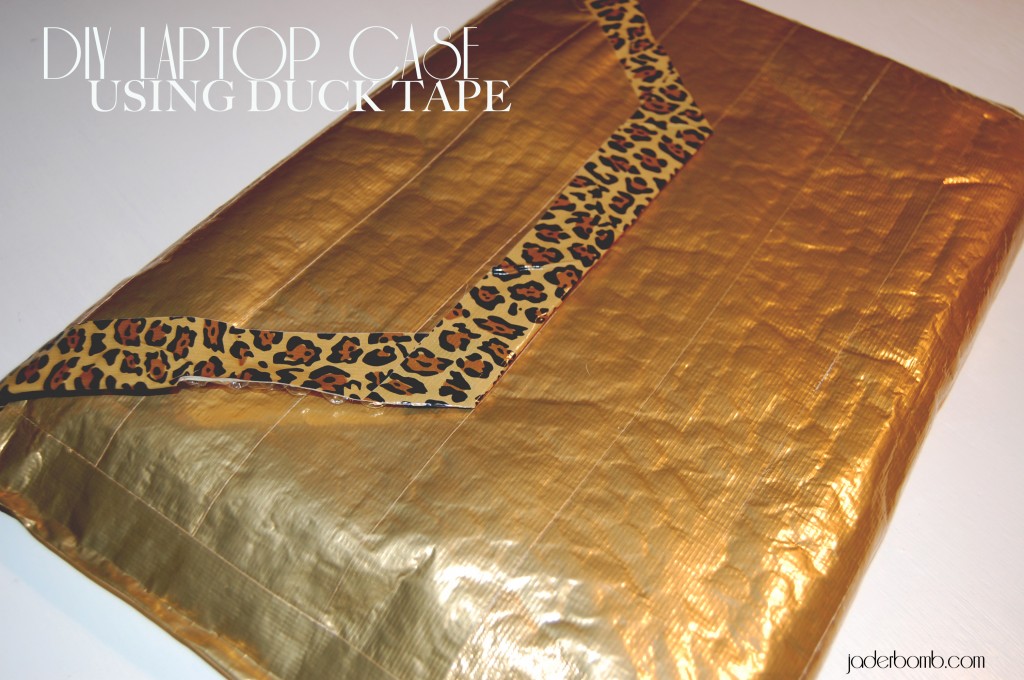
I know. You are probably wondering where did the “leopard” tape come in. When you are completely done you can take the square flap at the top cut some angles on it to make it look like mine, (at the top)…I just added some leopard to the sides after I cut them.

This is JUST for decoration. I swear.

I showed this to a few people and they said it was SUPER cute. Do you think I believed them. NO. Were they serious. YES!

See you in the next post!
HAPPY SUNDAY!

It was totally sunny in LA today, like really sunny. I laid out in the back yard for 10 minutes on my belly and the back of my legs had red bumps on them! I can’t lie though, it felt good. It’s like I felt the blood rushing to the surface of my skin and actually tingle. I ran across this video on a friends face book page and fell. in. love.

Hallilooo–urr….

It speaks so LOUD to me. I’m an artist and I know all about this. There are times when creative people come to a block in the road and just start looking around. (hahahah) I did that, thank goodness my “blocks” didn’t last too too long. I totally get Ira Glass.

So enjoy this video to all of my creative Jaderbugs out there. Trust me, if you fight through all of the blocks it WILL pay off. I am living proof! I never ever ever ever would of imagined living the life I live. It’s something money could NEVER buy. I am living my dream and getting paid so that is why it PAYS OFF to PUSH THROUGH THE ROUGH TIMES!

I can’t believe all of the amazing people I HAVE met and will SOON be meeting! Make sure and SHARE this post on your facebook wall or twitter feed! It is WORTH sharing!


Here is a little more of my creativeness from today!

I love making water with fresh fruit in it. I am digging oranges right now! How funny would it be if I made bell pepper water! hahahah

Lemme me tell you how much you NEED this candle. It’s from Target and it smells like a hot fluffy cotton candy bundle of joy!

I don’t EVER paint anymore in my free time. Well that’s prolly because I don’t have that much FREE time. I really didn’t have it today but I painted with lil ones and his friends (pre bday bash) hahaha

It made me realize how much I MISS painting! I totally need to start doing it again.. We will see how that works! hahaha

Sending you big ole hugs from Louisiana!

Happy Thursday Jaderbugs!!!! I can’t believe the week flew by so fast. I literally feel like the week jumped in a plane and flew to the weekend. Don’t get me wrong. I am not knocking the weekend but that just means the summer is coming to an end. {tear}

You know when you are a little kid and you are waiting for all of the fun holidays like SUMMER, CHRISTMAS, YOUR BIRTHDAY  or NEW YEARS and it feels like it takes forever to get here. Then once it get’s here (for a kid) the holiday lasts forever . But to an adult it goes by faster than the blink of an eye… I miss that feeling.
Christmas  it’s almost here Jaderbugs. Well, not really but you get what I mean. In the next 40 blinks it will be. Am I the only one who is done Christmas shopping by October?

I started burning a Christmas candle the other day and lil one walked in the door and said “MOM, it smells like Christmas in here” {with an excited face}, then Ashy walked in and said “Why does it smell like Christmas in here” {with a confused face}. Then bestie walked in and said “Wow, it smells so cozy in here” {with a 5 year old face}.

Isn’t it Christmas in July, or something? Check out the candle I was burning here. I ended up eating this for supper that night. Guess it really did make me all warm and cozy.

Just wanted to do a “summer favorites” with you before summer is over! These are the things that are MANDATORY for me, DAILY! Especially this summer.

I will post all of the links below so you can find them really easy!

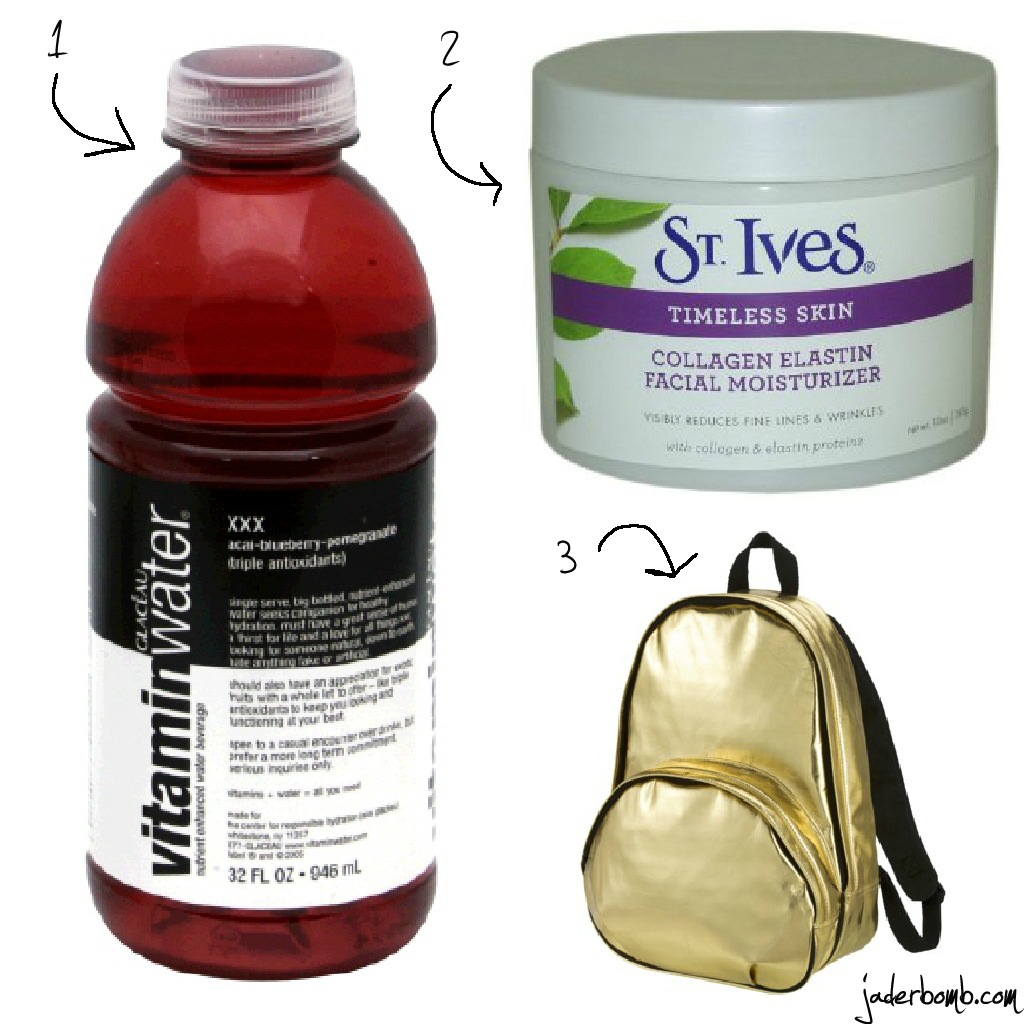
1.  Vitamin Water (ONLY acai-blueberry-pomegranate) Seriously. Warning, it stinks pretty bad but it won’t stink to your taste buds!

2.   St. Ives collagen elastin facial moisturizer  Listen Jaderbugs. I have been using this stuff for years and I swear I believe in it 100%. Plus, Dr. Oz said on his show that he believes it works. (haha, who cares what any Dr says, JADERBOMB says it’s good and that’s all that matters… hahaha)

3.  Xhilaration® Gold Metallic Backpack I know what your thinking. Who would wear a gold back pack. Duh, ME! I feel extra special when I wear this baby! You know the streets of New York will love this baby!

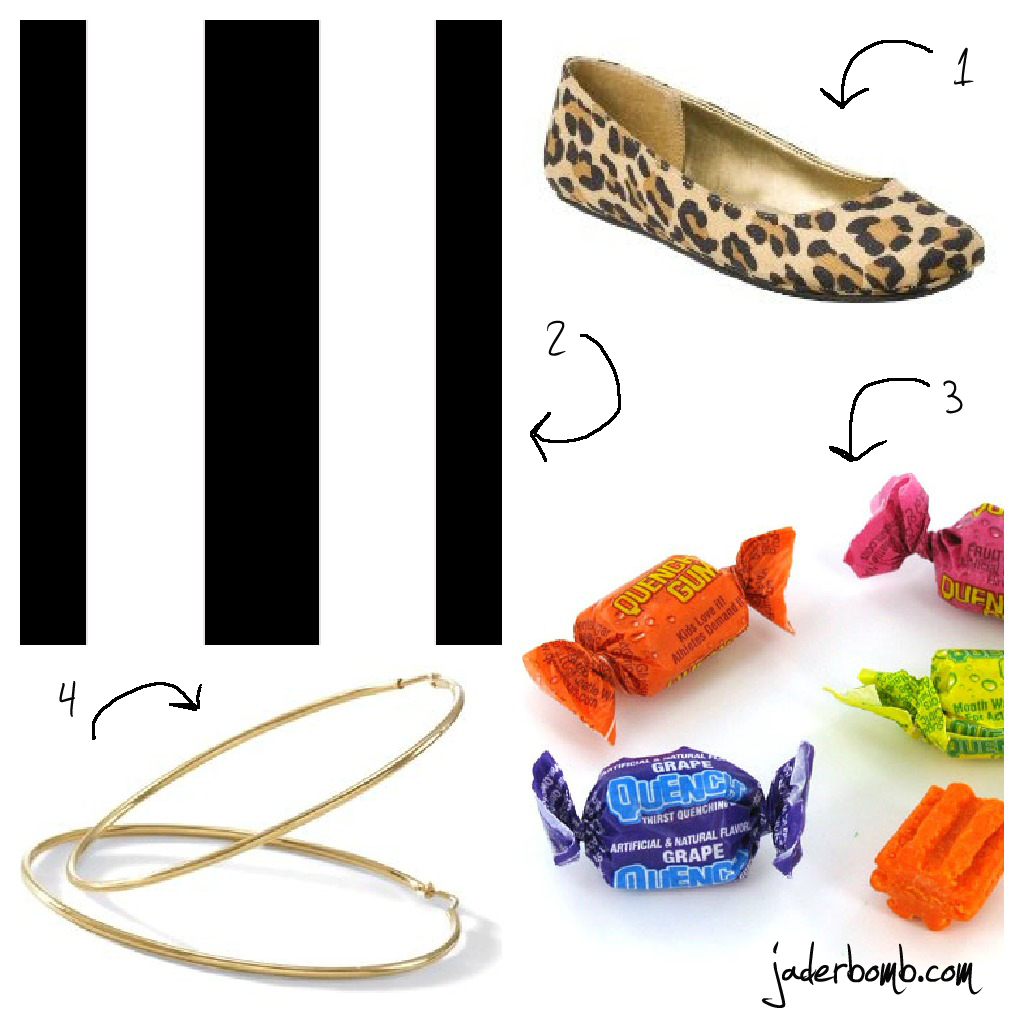
1.  Cheetah Flats All I will say about this is (l o lo lo lo veee eeeee l o lo l oooooooooo) yes I am singing this!!!! Plus they are very comfy!

2.  Black and White Really Jaderbugs, I am totally into these two colors this summer. Don’t get me wrong there is just something about topping off something or someone with black and white. Yes, I think pattern matters. I am totally digging big thick chunky stripes. Kinda was loving the typical chevron print but I like the BASIC! I think it is very classy! OH, and top this off with something GOLD. BAM!

3.  Quench Gum I know what your thinking.Who would chew this. Lemme tell you it’s the best ever! It has this twang to it and it’s so good! I get my stash from Academy but I am sure other sport’s stores have them.

4.  Gold Hoops These are an absolute MUST have for me. I wear them daily and you would wonder why if you saw my earring collection! I am surely into “classic” items that NEVER go out of style!

Well Jaderbugs! I hope you enjoyed seeing all of my favorite items that I have been using/wearing this summer! Don’t forget to come back tomorrow. I will be posting a tutorial on making chalk board sticky labels. Other things coming up this weekend:
Tie dyed shower curtain and how I dressed up a huge mirror!

Check out what else I do on the daily here:

FACEBOOK  PINTEREST  GOOGLE+  TWITTER  TWYLAH

Don’t forget to make it a DIY kinda day!!!

What do I think of when I think of stripes? A barber. I remember seeing this little shop when I was small with the red, white and blue stripes turning so smoothly over and over and over again. I used to pass by it just to get mesmerized by it one more time.  I think that is when my heart started adoring stripes. Later on in life I realized stripes did not ONLY have to be red, white & blue.

{{go figure}}

I think stripes add a whimsical touch to ANYTHING. I am about to paint BLACK stripes on a wall in my house. Don’t you worry my little Jaderbugs, I will take you with me! (and if it comes out redonkulous, you will still be with me)

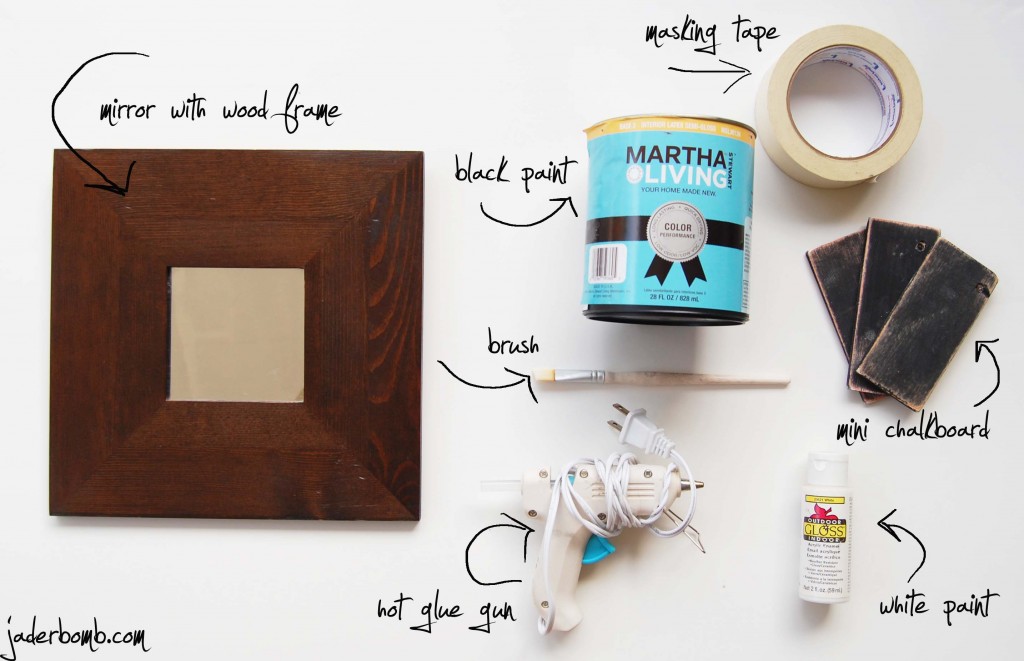
A friend of mine gave me these little mirrors with wood around them a few years back. I love them! I just don’t “love” brown that much. So, I started thinking about how I could bring them back to life. Should I do all three and keep them as a little family? Should I separate them and give them their own identity? See! My brain has to think of the best scenario for my family of mirror’s.

DECISION TIME: They decided they were ready to be on their own. Tired of being triplets. So you know what that means right?

THREE. SEPARATE. TUTORIALS. ON. THREE. DIFFERENT. FRAMES.

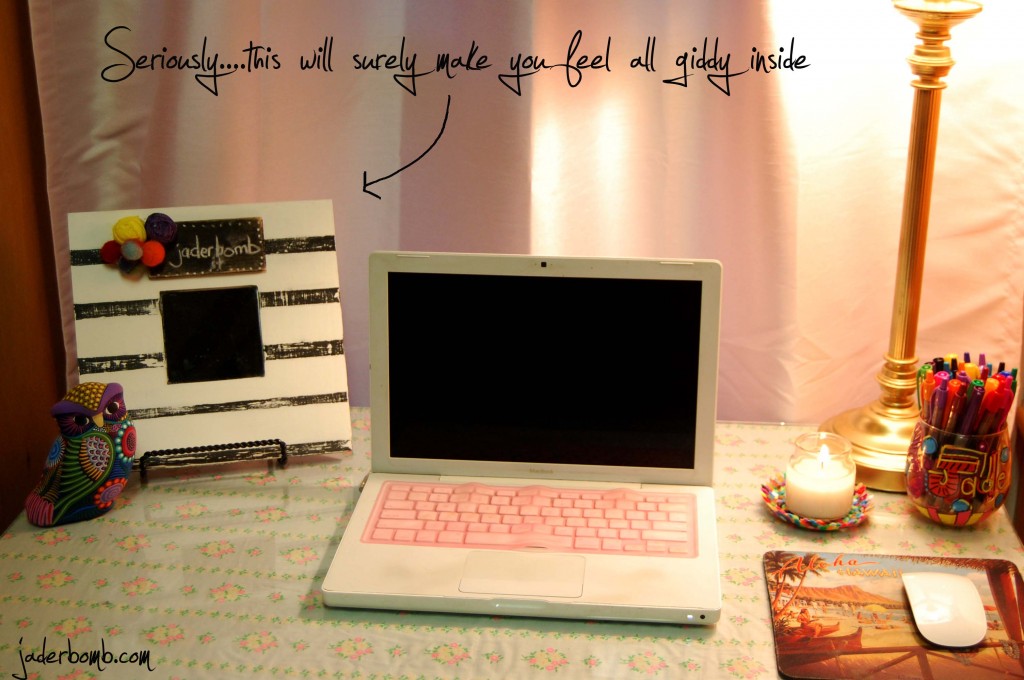
Today you will be getting the “carnival” theme. There is just something about black and white with pops of bright color! Don’t you agree? Then, you add shabby chic to that.
INSTANT HAPPINESS x 10.

(just saying)

 Ingredients:

If you want to use another color instead of black, go right ahead! After all,  it’s all about pleasing your eyeballs!

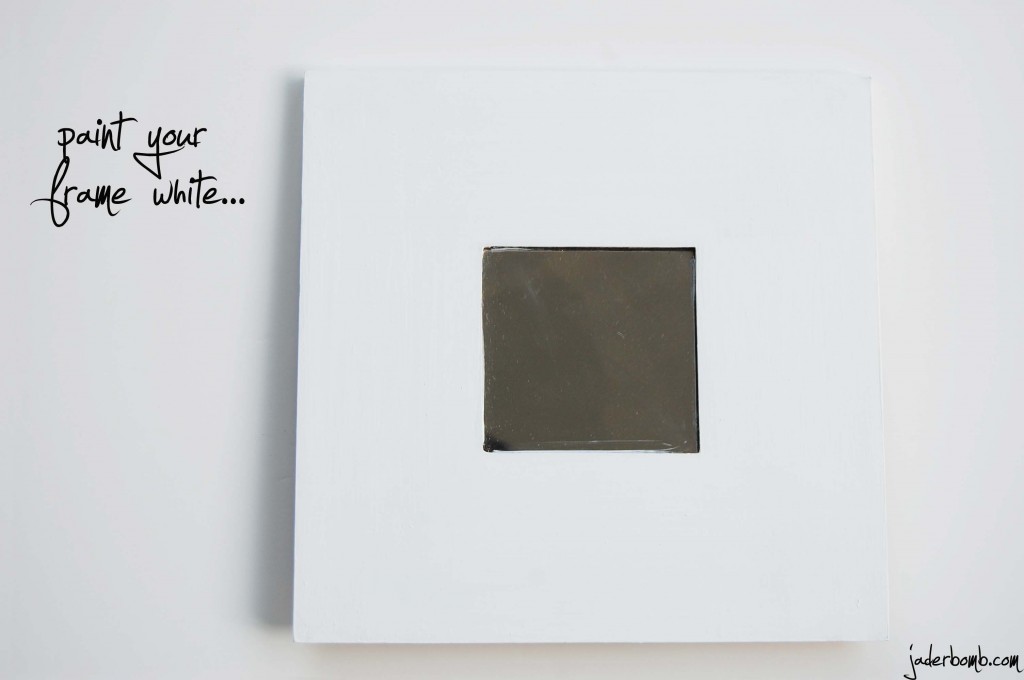
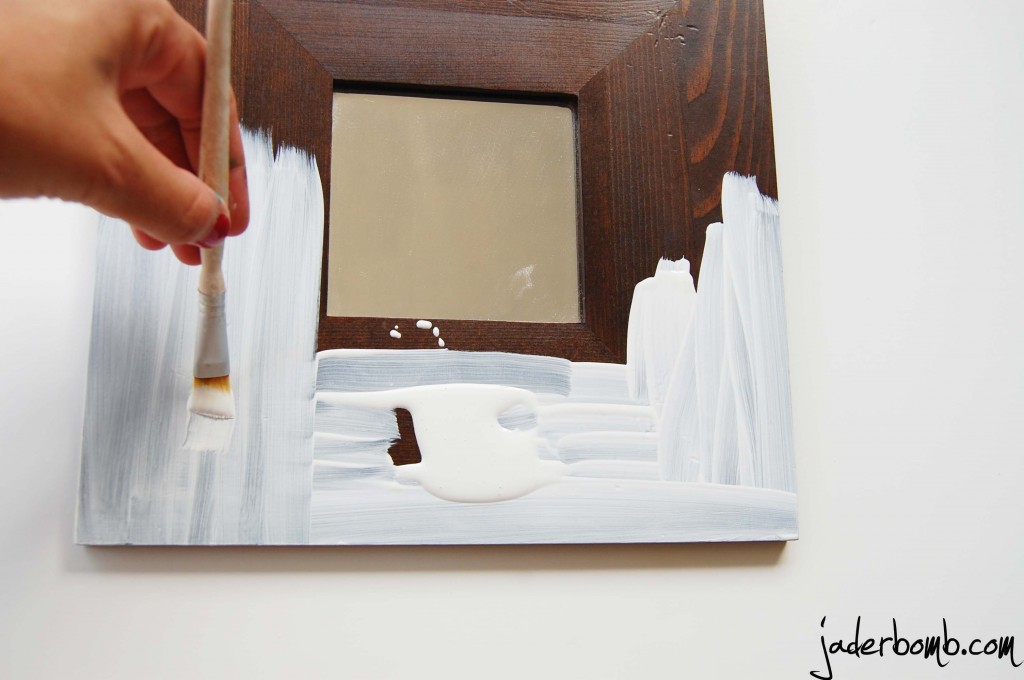
The first thing you need to do is paint your wood white. I used a .99 cent bottle from Michael’s Arts and Crafts store. You can buy these bottles at Wal-Mart too!

This is how it should look once you put two or three coats. When you are dealing with dark wood like this you want to put enough coats on it!

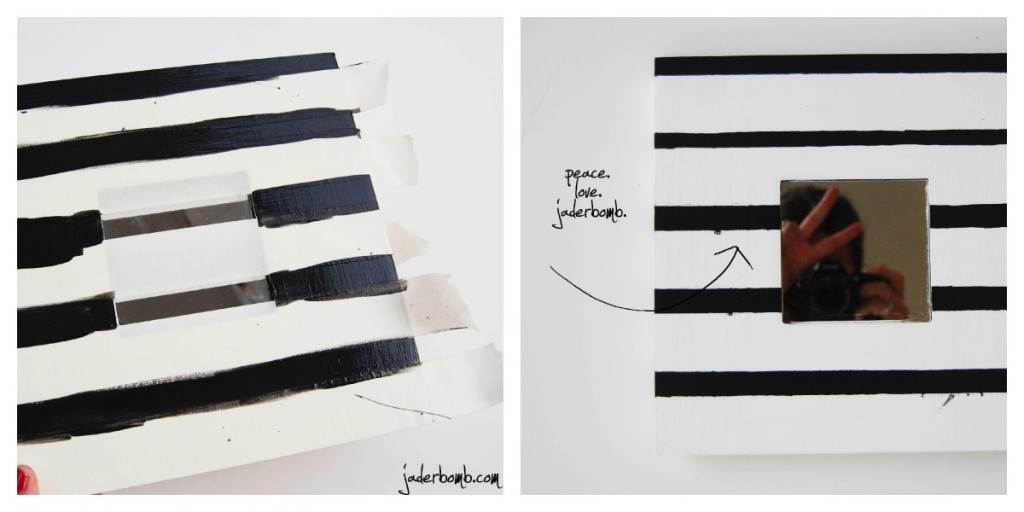
Once you paint it white, you will use masking to tape to make your stripes. I like to make some of mine different widths. Kinda adds that “not so perfect” look to it!

Once you put the first coat of black paint let it dry. After it is completely dry put another coat! When you put your last coat let it sit for about 20 minutes. Before it is completely dry peel the masking tape off. It’s ok if some black get’s on your white strips. We can sand that off later on.

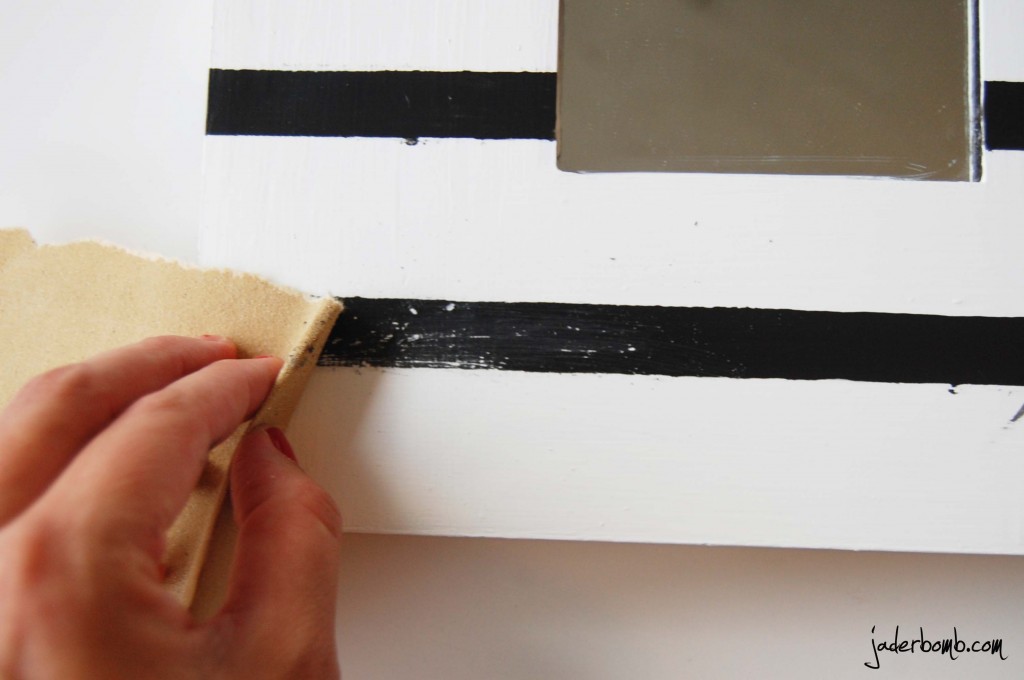
After you peel off your masking tape grab a little piece of sand paper and sand over your black stripes. I like to sand in a horizontal direction. Sanding it will create that shabby chic look. It’s like we are bringing to life something we loved so much already!

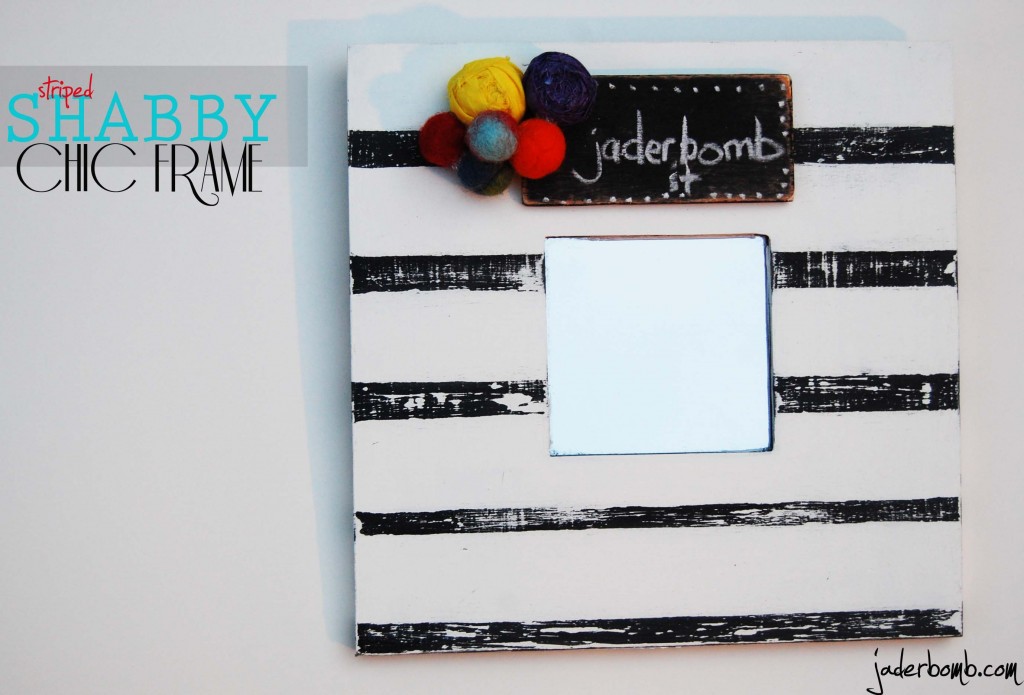
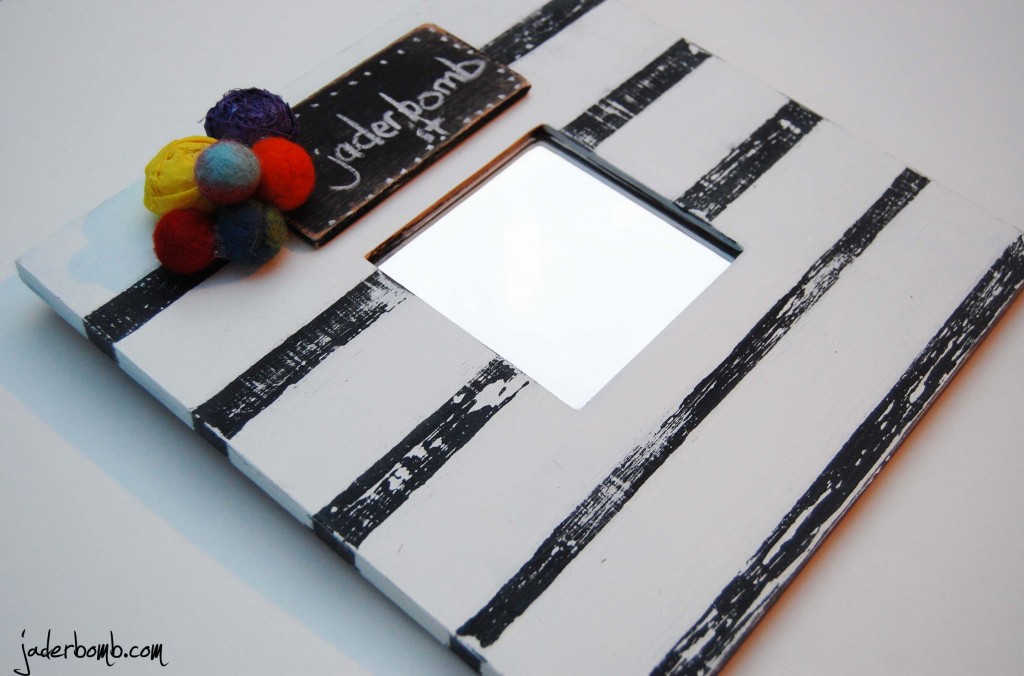
This is what your stripes will look like once you sand it. If you had any black that leaked into your white you can easily sand it off. I added some fun things to it to dress it up! The little chalkboard is cute because you can write fun happy things on it!

If you want to see a tutorial on how I made the little chalkboard labels click HERE.

I also added some Rosette’s and felt balls. I will be doing a tutorial on both of these babies real soon so come back!!!! Don’t forget you can get all of my wonderful posts sent to your inbox by clicking HERE!

How cute is this! I guess I should of cleaned my laptop before I took this picture! Guess that is to be expected when you craft for a living (fist pumping). hahah

I hope you all had a fun time here and make sure to come back tomorrow! I will be doing a review on MOD PODGE ROCKS!
{{{and will be giving away a book to a lucky winner}}}

If you want to stalk me haha, come here and visit me:

FACEBOOK ME
TWEET ME
PIN ME
GOOGLE+ ME


Happy almost Fourth of July!!! I know. It’s still June but it’s early enough to start putting out the RED,WHITE & BLUE! I have to admit, I am not really a Fourth of July fan. I mean. Let me clarify that. I am not a HUGE fan of decorating in RED, WHITE & BLUE. Maybe one or two things, or three. But that’s it.

I ran across these clear glass plates at Wal-Mart and could not pass them up! Did I know at the time what I was using them for? Of course not. You didn’t know that’s how it works with craft bloggers? After so long we sorta become mini hoarders. Why do you think when it’s time for a party everyone goes to the crafter. They know they will have whatever they are looking for. Chances are your crafter friends will just say this…“nah, go ahead and take that and that… and that..I have plenty more”

BAM. SCORE. (teeheheee)

Let’s get to crafting!

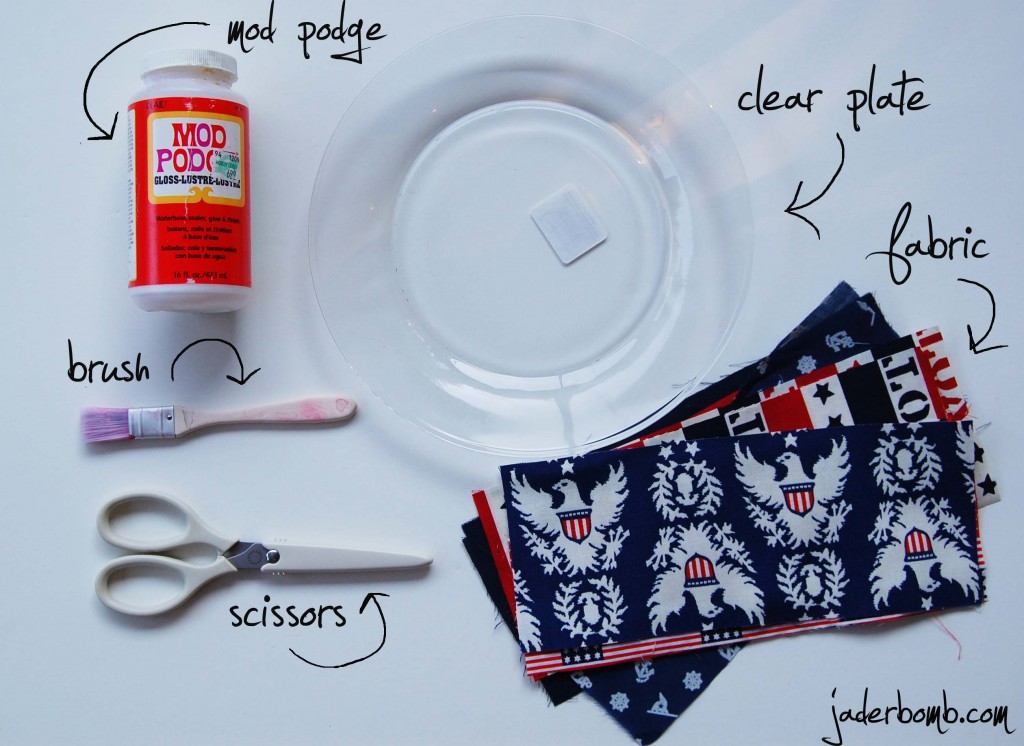
INGREDIENTS:

If you want to use other fabric you sure can! You can use the same in this tutorial and make your own awesome plate! You can make it match your room or give it as a gift!

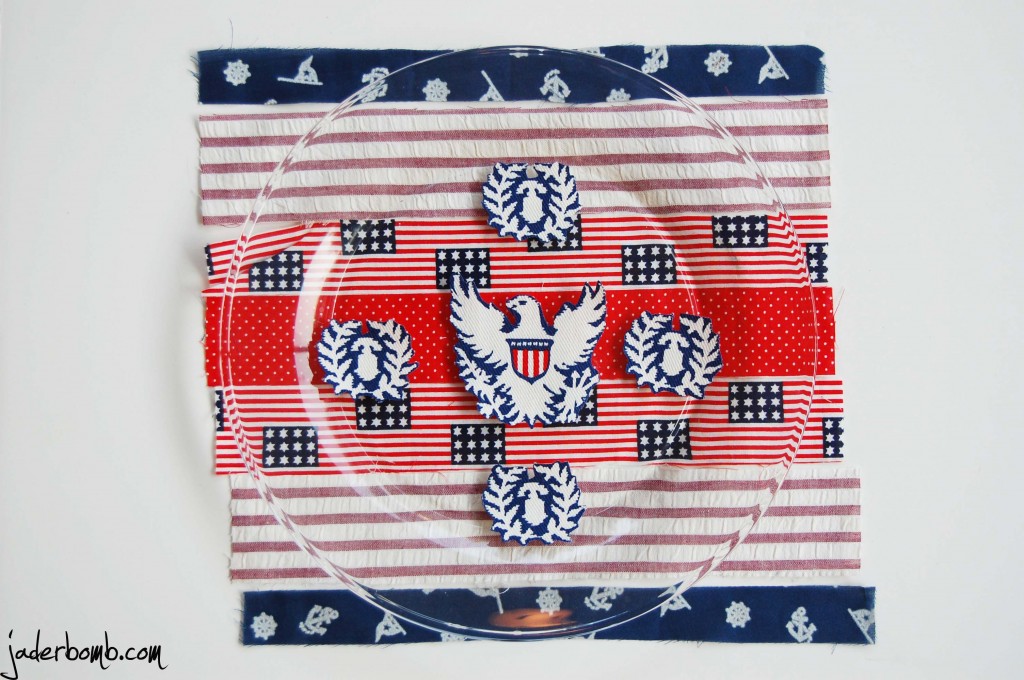
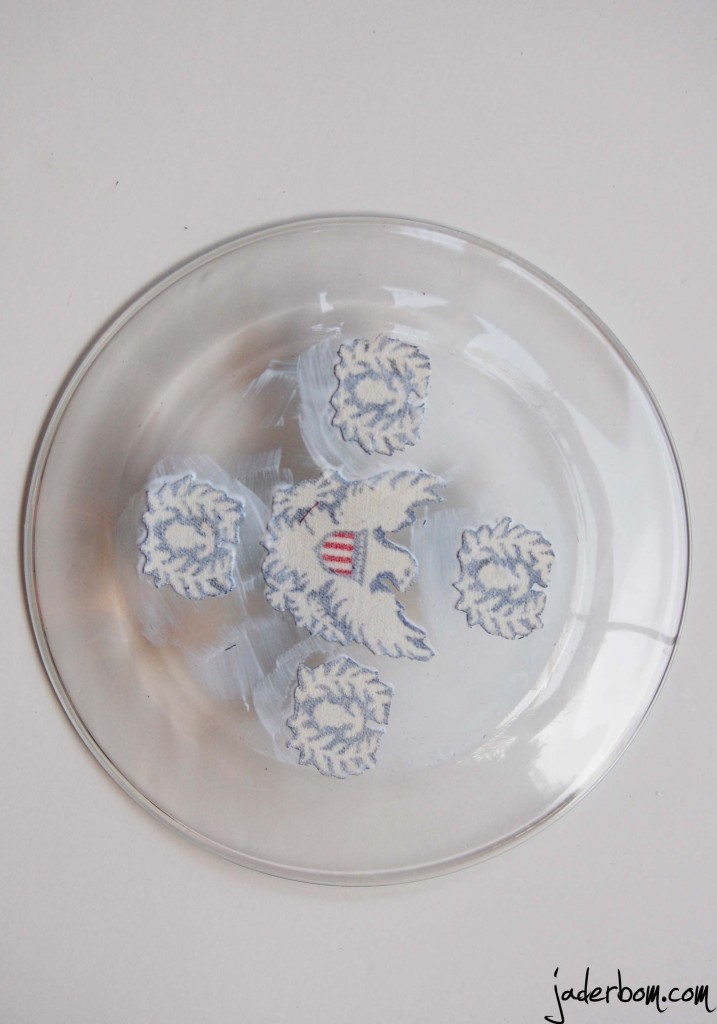
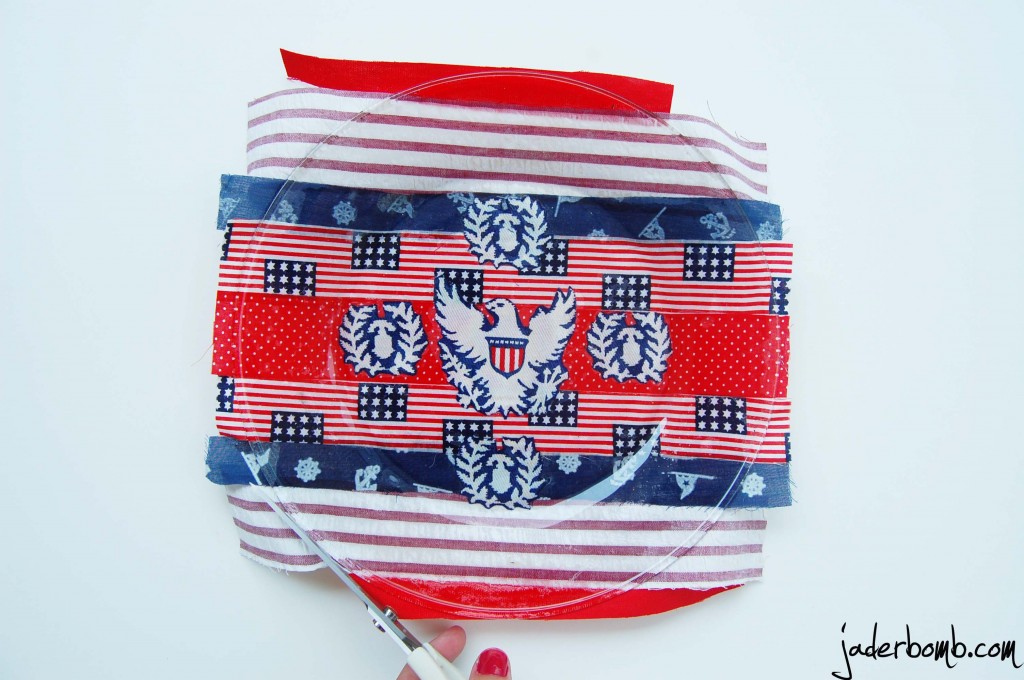
Start by cutting out your strips they way you want them and place them under the plate. You can arrange them as much as you like until you are happy with they way it looks. Those four little images on top of the plate I cut out of fabric. You can use anything for the center of the plate I just really liked the way this looked! I found a piece of fabric with these designs on them and fell in love!

Apply a small amount of Mod Podge on the back of plate then stick down your images you want as your focal point. Make sure you put these face down, not face up! After you stick them on the plate apply another small amount of Mod Podge to the back of them. Fun EY! Oh, I will be doing a review this week of my friend Amy’s book MOD PODGE ROCKS! I will be doing a giveaway also!!! {insert a high pitch scream)

Apply all of your strips to the plate while it’s faced down. Remember you want to do all of your images face down if you are looking at the back of the plate. After you let it dry (about 3 hours) get some fabric scissors and cut the edges. I love my Martha Stewart all purpose scissors! They cut ANYTHING!!!!

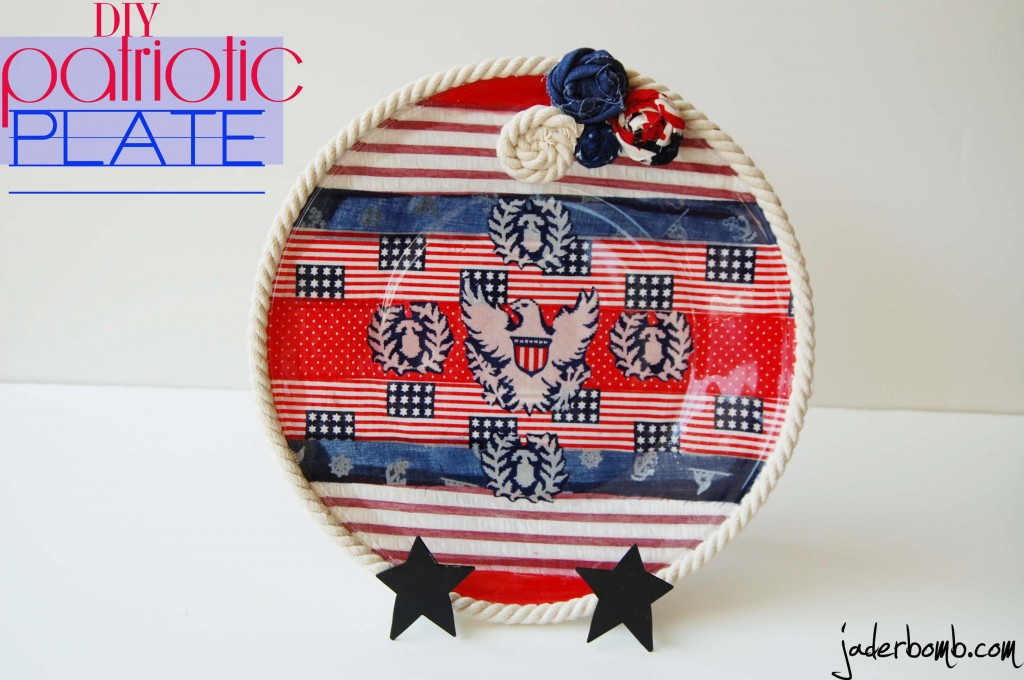
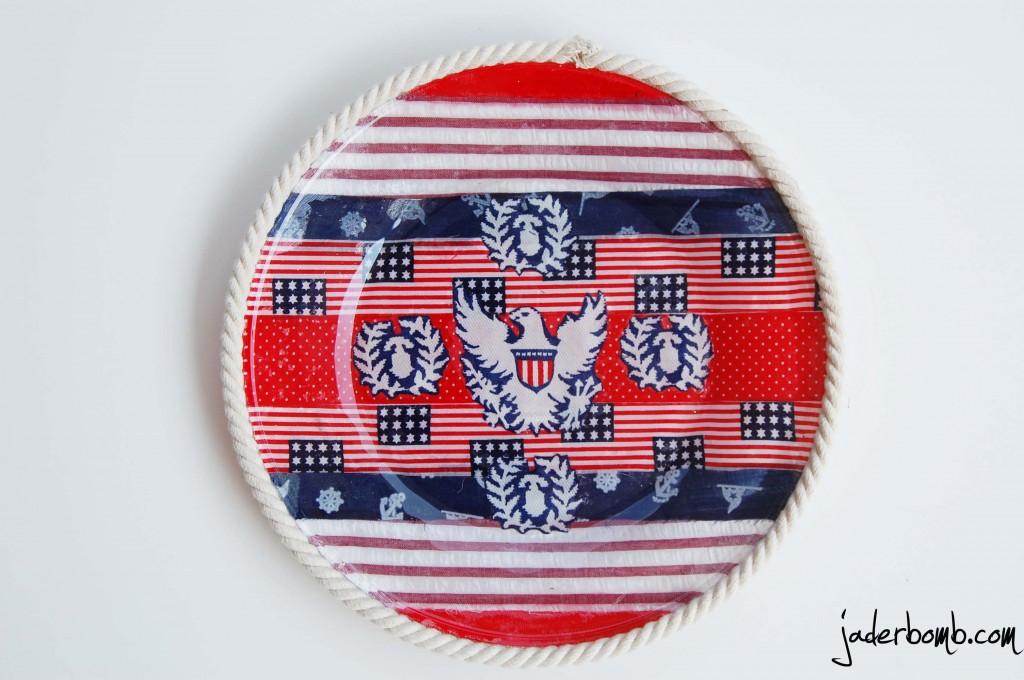
After you trim the edges you can dress it up by adding some fun things to the edge of the plate. I thought this fun rope would add a whimsical touch to my plate! I bought it from Michael’s craft store and it was NOT expensive!

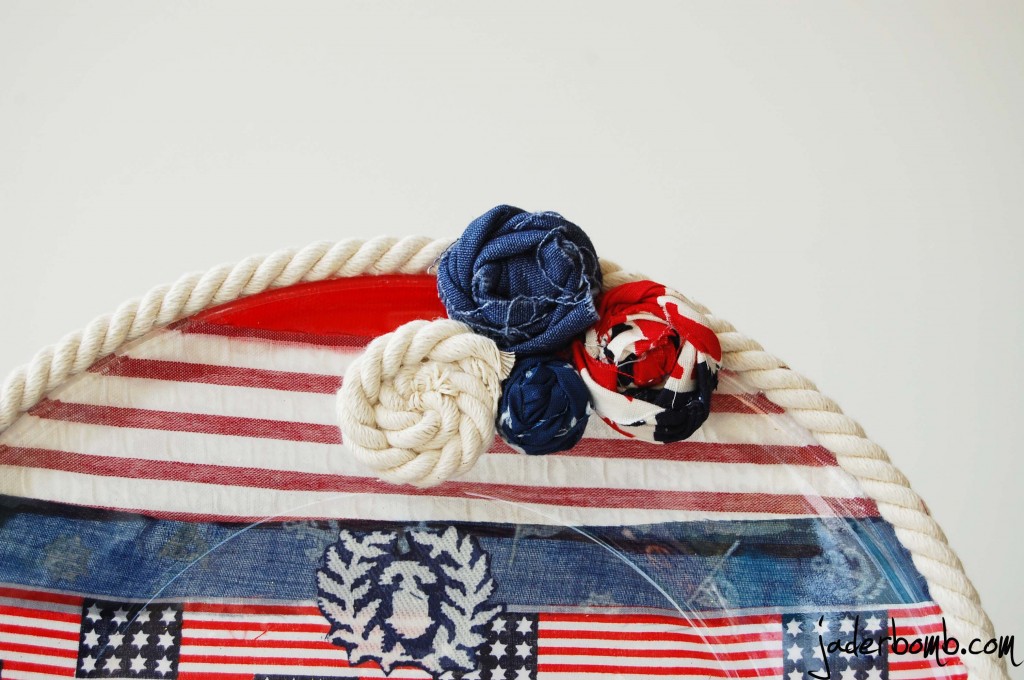
I made a few fabric Rosettes to also dress it up. If you want me to do a tutorial on how to make a Rosette please leave a comment below or let me know on facebook!!!! Seriously. This is CRAZY CUTE!
I hope this gives you loads and loads of inspiration that will be bursting out of your brain like fireworks! 
If you want to find more jaderbomb love check me out in these places!!!