Tag Archives: martha stewart

Quote of the day: 
“Cheers to a new year and another chance for us to get it right”. -Oprah Winfrey

HAPPY NEW YEAR!
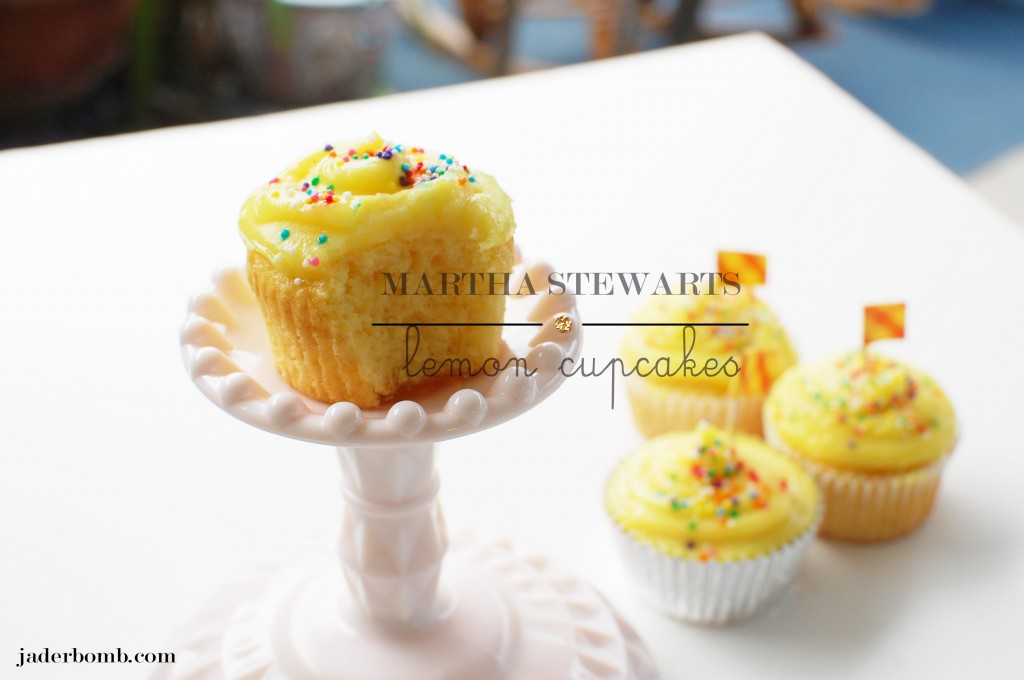
I am so grateful to be here to share the happiness that goes on in my life quite frequently. Today I am sharing a recipe that I got from Martha Stewart’s cupcakes which is her best selling cookbook.

Martha_Stewarts_Lemon_Cupcakes_Jaderbomb

Martha_Stewart_Cupcakes_Jaderbomb

It’s super delicious so I hope you make it ASAP. I swear when I took them out of the oven lil one already had 2 in his belly before I could even frost them. After I made them I saved some for us then I walked around my hood and delivered them to all of my wonderful neighbors. I thought about bringing some to “NEW” neighbors but then I thought they woud prolly say thanks, take it then throw it away (scared it might be laced with something).
{{{btw which is what I would do unless I “knew” them}}}
You never know these days! I have to say the elders love when I bring them baked goods, especially strait out of the oven.

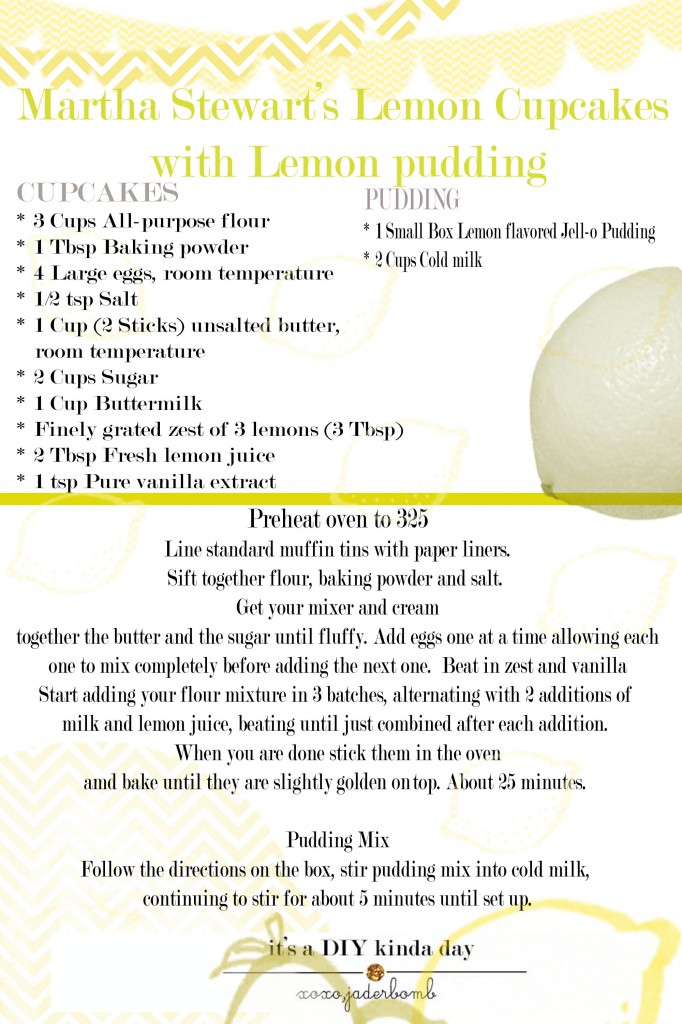
Let’s get started. I attached a free printable of the recipe that I made for you! Enjoy

Martha_Stewarts_Lemon_Cupcakes_Jaderbomb

If you want to print out this recipe click HERE to get the PDF file or you can just save the picture to your desktop!

Martha_Stewarts_Lemon_Cupcakes_Jaderbomb

Don’t they look so yummy! Trust me they are. I hope you are having a great NEW YEAR so far. We had a magnificent day and I wouldn’t change anything so far!

Sending you BIG hugs and glitterbomb’s,

jaderbomb.com

Quote of the day:
“Climb the mountains and get their good tidings.”-John Muir

Oh HAPPY day! It’s gloomy outside and we have not had sun for a few day’s. Most of the time this weather makes me feel just like it looks! However, since it’s Christmas time I couldn’t even imagine the sun beaming through my windows right now. It actually feel’s like what you would imagine “Christmas” would look like here in Louisiana. Well…minus the snow, cold weather and fire places burning. Good news is we are supposed to get a cold front tonight.
{{insert a loud YAYYYYY}}

The other day I got home and found a NICE brown box sitting at my front door. I got super excited and couldn’t wait to see what it was. When I finally got to it I was pleased to see it was from my friends at Martha Stewart.

As I started to open it I realized it was all great things to use for the Holiday’s and GREAT last minute items to pick up for your holiday decor.  I will post some now and some later today so make sure to come back. Let’s get started!

The first thing are these babies!

Martha-Stewart-Christmas-Decor

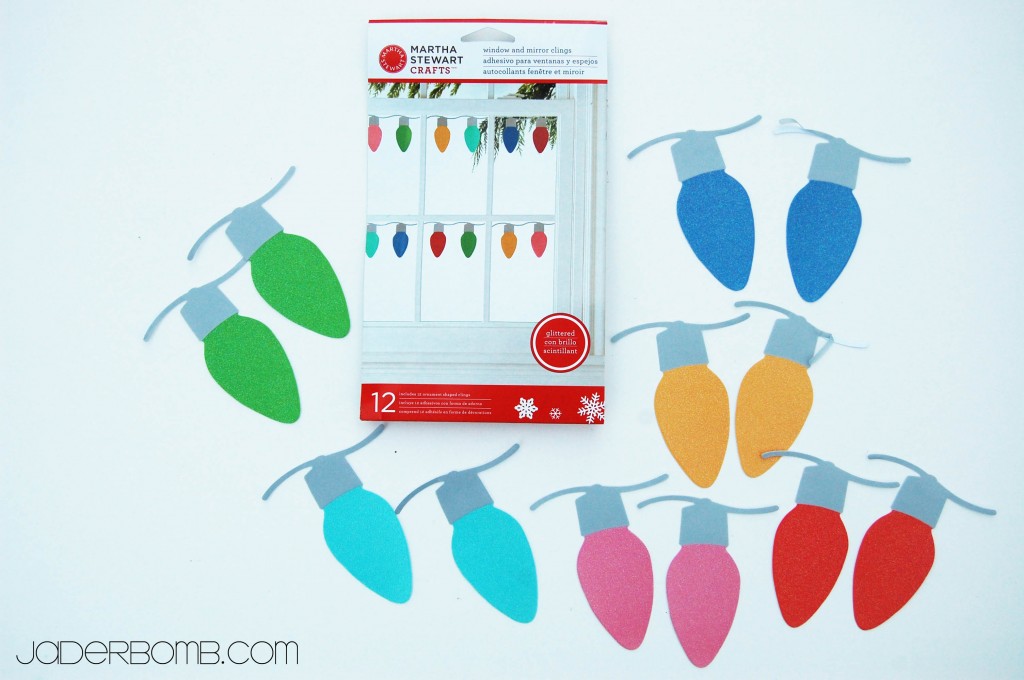
Martha Stewart Crafts™Wonderland Christmas Light Window Clings
Easily add a festive decoration to windows and mirrors with these Martha Stewart Crafts™
Wonderland Christmas Light clings. Glittered bulbs stick without adhesive and peel off for use year after year. Includes 12 pieces, each approx. 4in long.

(you can get these where Martha Stewart craft products are sold)

Martha-Stewart-Christmas-Decor

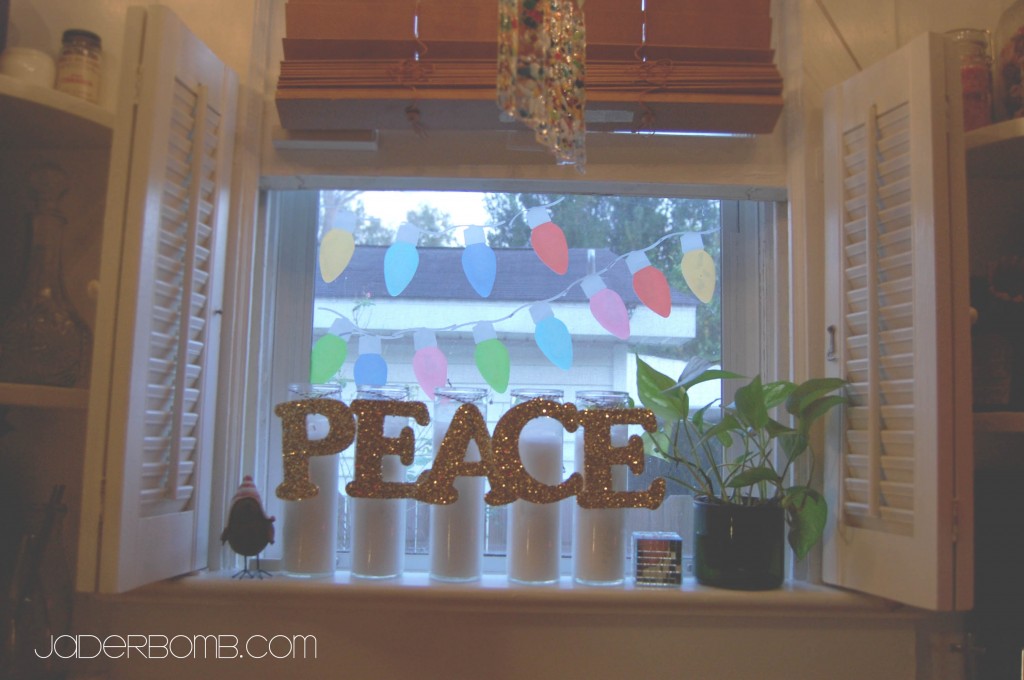
I absolutely love the way they look on our window. I put them above our kitchen sink so I can feel happy every time I look out of the window. What I love about them is they will not stick to your windows like stickers do,  which makes it super easy to take off. Since they are window clings you can store them in a bag for the next year and use them all over. You can even put them in your vehicle to add some Holiday spirit. At night when I light all of the candles on the window seal they look so pretty!

Click HERE to see how I made my Monogram candles.

———————————-

Martha-Stewart-Christmas-Decor

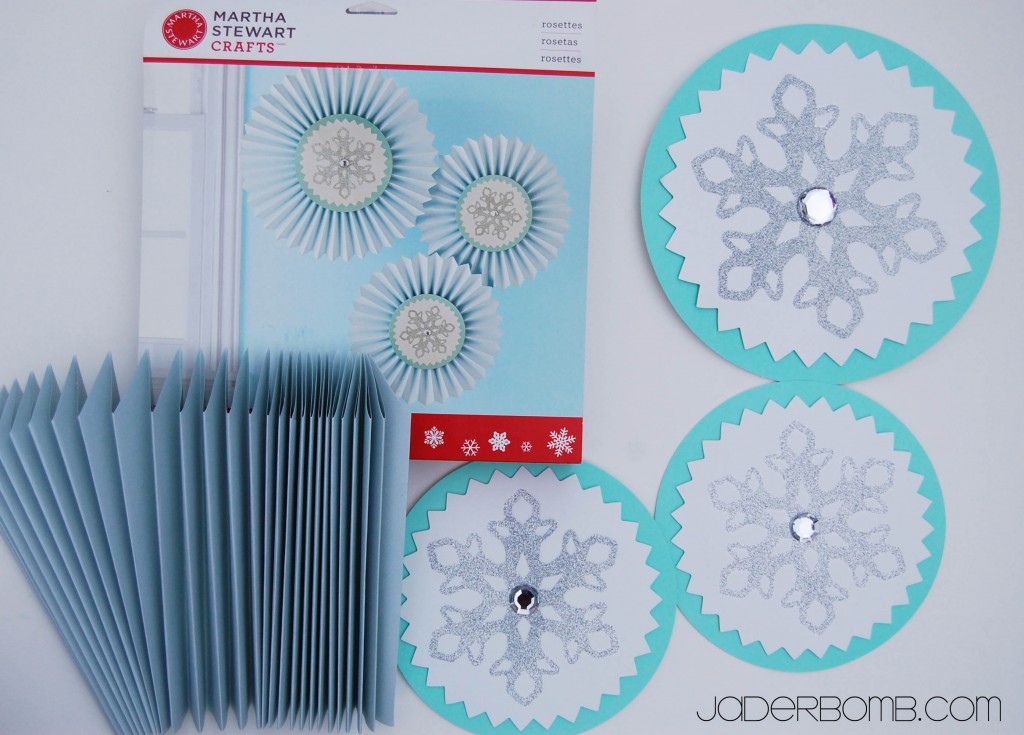
The next thing that was sent to me were these beautiful Martha Stewart Crafts Snowflake Hanging Rosette’s.
You can purchase them HERE.

*Makes 3 decorations: one 19.5-inch and two 13.5-inch
*Coordinates with other holiday party decorations
*Perfect for winter parties and holiday celebrations

Martha-Stewart-Christmas-Decor

Martha-Stewart-Christmas-Decor

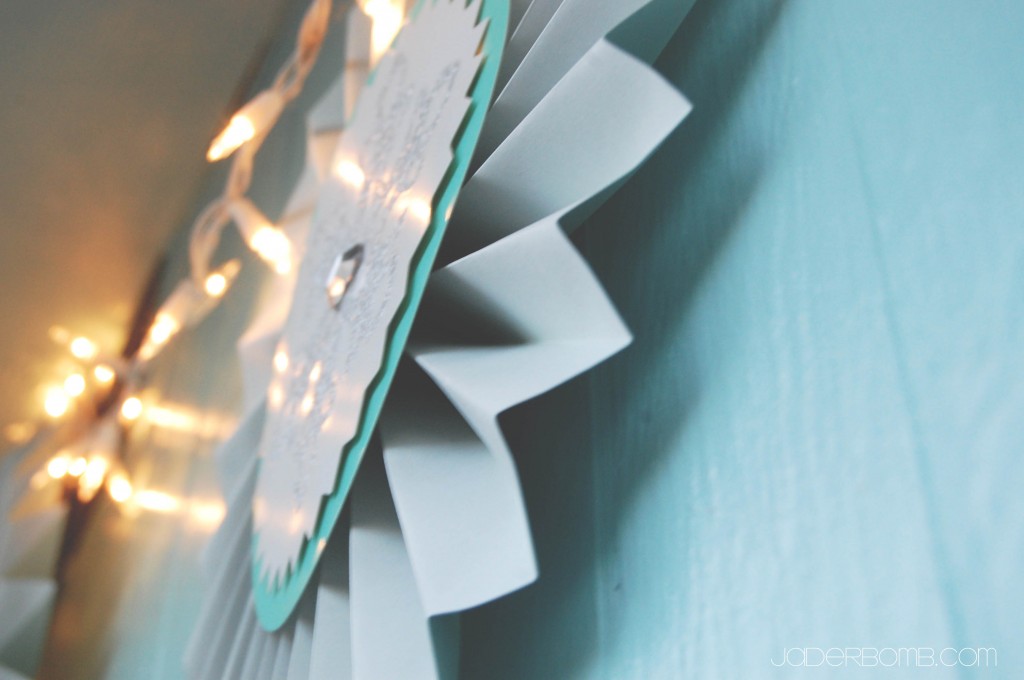
The color palette for them are soft and delicate. I love the jewel in the middle of them.

Martha-Stewart-Christmas-Decor

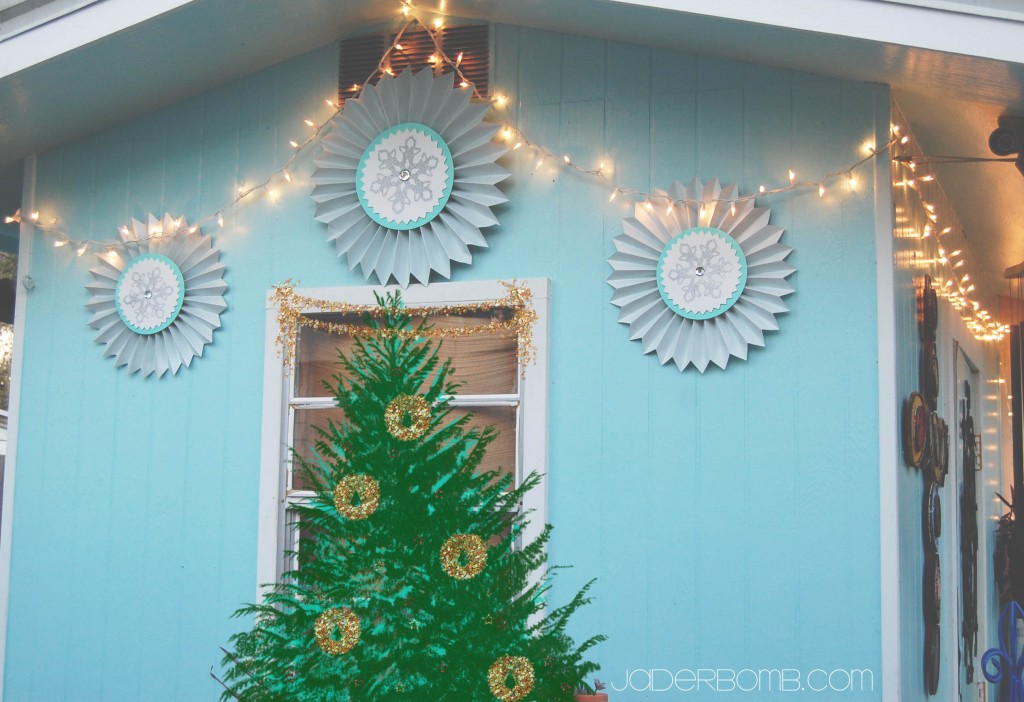
I put them outside on one of our sheds. It added a little “Holiday-ness” to it and I love them!
They are so easy to make which is why you could go grab some and put them up in 10 minutes!

See ya in the next post! Don’t forget to make it a DIY kinda day!

Facebook Twitter Gplus Pinterest YouTube E-mail RSS

jaderbomb

Disclosure: I received products from  Martha Stewart Crafts ,however all of the opinions in this post are my own.


Quote of the Day:
“We have two lives…the life we learn with and the life we live after that.” -Bernard Malamud

Video Inspiration for this post! Last night Beetle Juice played on ABC Family and I felt like having a party in the house. Nothing screams PAR-TAY Honey Boo Boo like PAR-TAY banners. Right now they have the 13 nights of HALLOWEEN so make sure and check out all of the classic movies playing. I suggest playing the video while you read the rest of the post, it’s sure to get you DANCING!

So, Washi Tape is pretty cool because you can use it for so many things. It’s really affordable until you become a washi tape addict then things can maybe get expensive. Sometimes at Michaels Arts and Crafts you can buy a pack of 3 or four for around 2.50. It might sound expensive but this stuff really last’s a long time. Once you start to get a collection then you can really get funky with your crafts.

INGREDIENTS:

*Washi Tape
*Scissors
*Baker’s Twine

(If you click on any of the above links you can order all of my ingredients)

What I really love more than washi tape is baker’s twine. There is something about this two toned string that makes me levitate and dance. I think when you add the black and white baker’s twine to things it adds a pop of color and it becomes a little magical to the eye.

The first thing you will do is lay out your baker’s twine on a flat surface.

Cut a piece of washi tape. I always like to cut a little more than I need. In the end we will be cutting these strips, plus it’s good to have some longer than other.

Lay your piece of washi tape on your flat surface and place your baker’s twine right on top of it. You want to make sure and place your baker’s twine is right in the middle.

Here is another angle for ya.

Fold it over so each side sticks to each other. Once you are happy with that you can cut it strait across or like I did below. It kinda adds a little “carnival” in your life!

I am really pleased with they way they turned out. Make sure you squeeze the washi tape around the baker’s twine so it is secure.

I hope you enjoyed this tutorial. Remember they make washi tape in every design you could think of. Here is a great site to order from. It’s Wishy Washi Tape . You will really enjoy this shop.

Dear Universe, thank you for sending me a huge box of Martha Stewart Crafts Glass Paint by Plaid. When I say there is a party going on in my head, believe that! I am always amazed by Martha Stewart’s products. They are consistent and dependable.  Martha Stewart has this new line of glass paint out and I was so honored to review the glass paint and glass accessories. I will tell you the one thing I could not wait to get my hands on the adhesive silk screens. Yep, you heard that right. Adhesive.

In today’s tutorial I will show you how to turn a boring plate into a phenomenal work of art, and all by using the  Martha Stewart Crafts Glass Paint.

These are all of the new glass tools. They work great with her Crafts Glass Paint.
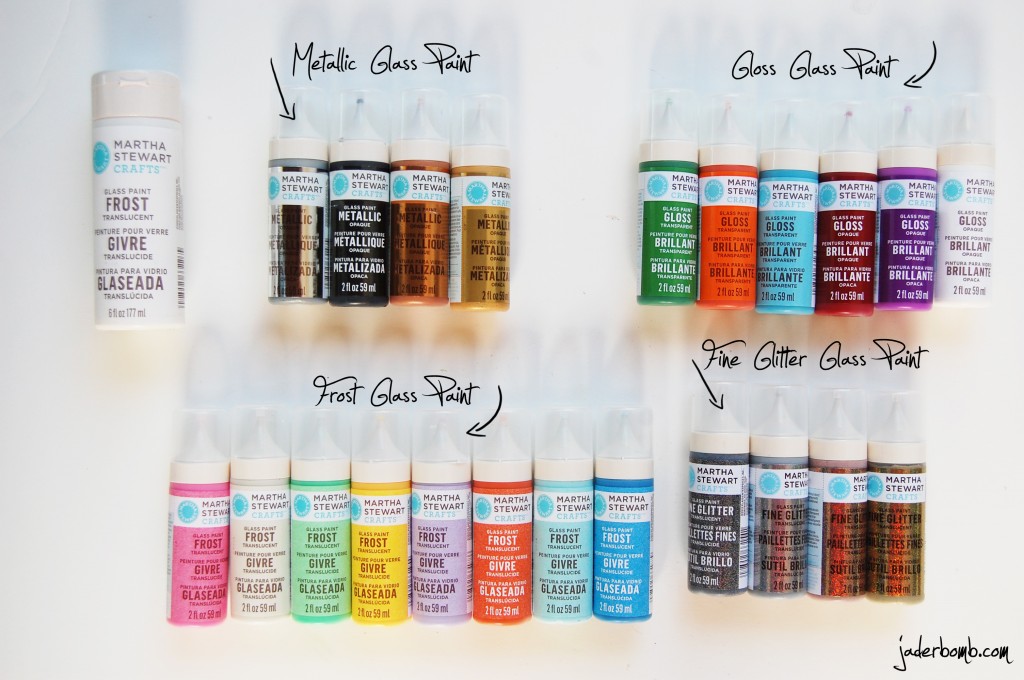
Check out these whimsical colors! The groups matter in this case. Some of the frost colors look very pigmented but in actuality they are very translucent. I don’t mind that because when I think of glass paint I think of something that light can actually pass through.

These are some of the new stencils for the glass line. The great thing about all of the stencils are the adhesive backs. You can adhere them to anything, which in return will give you a perfect stencil.  No bleeding with these!

You can find the Martha Stewart Glass Paint from Plaid at all at Michaels stores.

 I made this “sample” so I could see what color I want to use. One reason I recommend doing this is because some of the colors change once they get on  the glass. I used some plastic knives, painted each color on the tip, wrote the name on the other end, drilled a hole in them and voila! I can always go back to this for reference. I know, it’s extra work but totally worth it in the end. (I actually think this is so pretty).

Ingredients: 

Martha Stewart Glass Paint
Glass Handled Squeegee
Glass Squeegee Set
Glass Tools & Accessories
Glass Silkscreen – Doily Lace
Glass Plate
Tea lights glass holders
Scissors
Alcohol
Cotton Balls
Paper towels
*Bright and Happy Thoughts
[this is the most important ingredient]

First thing you will do is clean your surface with soap and water. When it’s dry take off any residue by rubbing alcohol over the entire surface.

When you open your pack of silk screen stencils you will notice they are on one sheet. Get your scissors and cut along all of the lines. Your silk screens are separated and ready to use.

When your surface is ready you will gently peel the stencil off of the paper. Remember you have natural oils on your hands so try not to touch the adhesive backing too much. Place your stencil where you want it and lightly press the stencil down with your hand. I used a paper towel to rub it down onto my plate. Double check for any bubbles or lumps before you start applying the paint.

You do not need a ton of paint to do a silk screen. Put a line of paint at the top of your stencil and get your squeegee ready. If you wanted you could also use the dauber instead of the squeegee. I tried both of them and was pleased with how smooth the paint looked when I used the squeegee.

P.S. If you mess up and you need  to start over, put some alcohol on a cotton swab and rub your paint off of the surface. This can only happen when your paint is wet. If you notice a mistake when it’s dry, use your scraper for that. That baby works wonders.

Slowly start pulling the paint down over the stencil. Try to let the squeegee do all of the work, be gentle and you will get consistent results.

Make sure to take your stencil off while the paint is wet.  It’s very important after you put a coat of paint to take the stencil off immediately and put it in water. If you let it dry on your surface then pull it off, it will more than likely pull up some of your paint.  You do not want the paint to dry on the silk screen.
After you clean your silk screen let it dry and you can reuse it again. How awesome is this!

[Are you getting excited?}

This is what it will look like when it’s done. Make sure to let the paint dry before you do your next layer of paint. It’s not mandatory but you will see better results if you do this.

One thing that I am loving is the tip on the bottles. The tapered tip makes it really easy to free hand pretty much anything. I think it adds that whimsical pop to your project.
Mexican Folk Art is screaming all over this already, don’t you agree. I also made two tea light holders to go along with the plate. I used the exact same process as the plate.

Are you inspired yet?
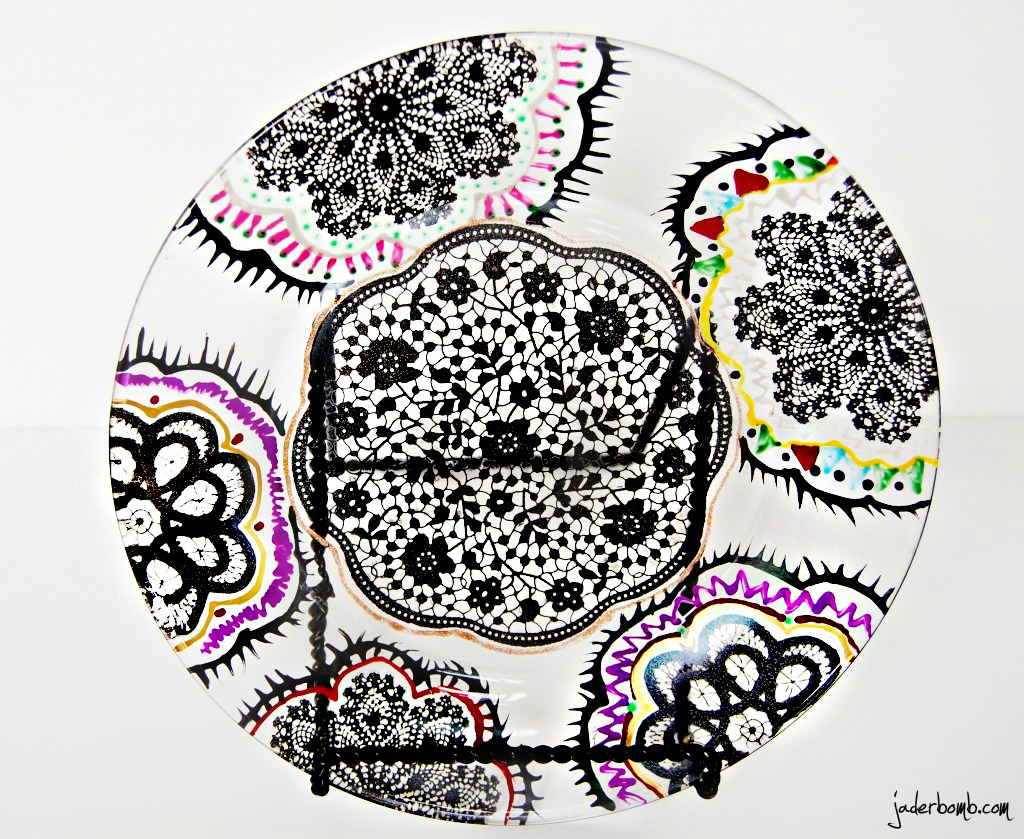
When you are done it’s important you let your project air dry for about an hour. You can cure the paint by sticking in an oven for 30 minutes at 350°.  Get the complete glass baking instructions here.  FYI: The fine glitter paint can NOT go in the oven.
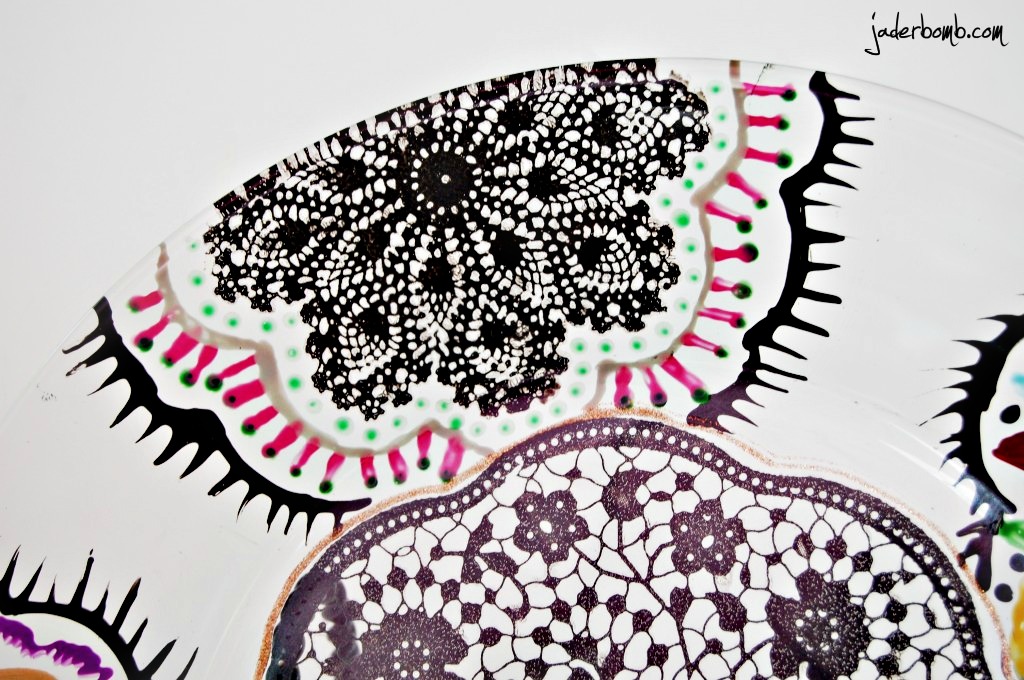
 I hope you enjoyed this tutorial because I had a blast making this craft. I already have ton’s of ideas going through my head so stay tuned for more crafts with Martha Stewart Crafts Glass Paint.

Check out Plaid on TwitterFacebook, and Pinterest!
#marthaglass


 Disclosure: This post was written as part of a paid campaign with Martha Stewart Glass Paints and Blueprint Social. However all of the opinions in this post are my own.


So, I am not sure if I should say “good night” or “good morning” to ya. It’s 1 in the morning and I am up wide the scrap awake. Really Jade, scrap?  I think it might have a little to do with the fact that I went to bed around 8:30 last night. Well who can we thank for that?

My good friend Ricky Mic  earache…  Sometimes we don’t agree on the timing of this crap happening but it won last night. So I figured I would finish this amazing post for ya since Ricky Mic Earache didn’t let me yesterday.

Quote of the day: “One isn’t necessarily born with courage, but one is born with potential.” -Maya Angelou

INGREDIENTS

Jumbo Straws
Ribbon
Glass cup (you can use any glass cup you have)
Glass beads (you can get these at Wal-Mart also)
Metallic Spray Paint
Glue Gun 

Make sure to check your home supply before buying any of these materials. You might just have most of them already!

Lay out your straws.

Start spraying them with the Metallic Spray. You might notice once you start spraying the air from the can will push some of the straws around. You can even glue the straws onto the glass and then spray paint. Again, just whatever you feel most comfortable doing!

This is what they will look like once you spray them.

I found it easiest to put a line of hot glue down on the glass first.

Then quickly place your straw on top of the hot glue. Be careful not to touch the glue because this could burn you.

It’s starting to come together!

When you are done with all of the straws get your ribbon and place it on top of the straws.

Put hot glue down on one end of the ribbon.

Quickly wrap the ribbon to the other side sticks to the glue. You want to make sure your ribbon is pretty tight.

Can you believe how simple this is so far?

I had some fun ribbon laying around so I decided to embellished with it. You can use anything you personally like to “decorate” the outside with.Put different color ribbon around it, tulle or anything FUN! I glued the glass beads around my ribbon to dress it up a little. Once you finish decorating, voila!

It’s really that simple. I like crafts like this because it’s an easy way to get creative and decorate any space really quick. Keep in mind if you don’t have Metallic sprays, you can spray the straws ANY color!

Here is a picture of the printable I made last week. I told you it’s cute in a frame. If you want it click HERE.

I hope you had fun in Jaderbomb land today! If you have a minute say a prayer for the Gulf Coast. We are about to get slammed by Hurricane Isaac.

See ya in the next post!


Happy Monday! Today will be all about Beautiful Vintage Bottles! I hope you had a great weekend! Sometimes the weekends go by so quickly, don’t they? Hopefully you have ton’s of glass bottles hanging around because this craft is addicting. There is something about transforming a plain bottle into a little work of art. Vintage decor always has a spot in my ever beating heart. Maybe it’s how delicate vintage things look. Plus it has a story. Unlike something you would buy off of the shelf. Which is why I am doing this craft because not everyone has “access” to all things vintage.

INGREDIENTS:  

Click any of the links to purchase these items:

Martha Stewart Paint
Bottle Caps
Martha Stewart Bakers Twine
Martha Stewart Stencil  
Food Coloring
Sequins
Silk Acrylic Glazes
Glass Bottles
Mod Podge Sparkle
Mod Podge Dimensional Magic
Martha Stewart brushes
Lace string
Buttons
Martha Stewart Foam Pouncer 

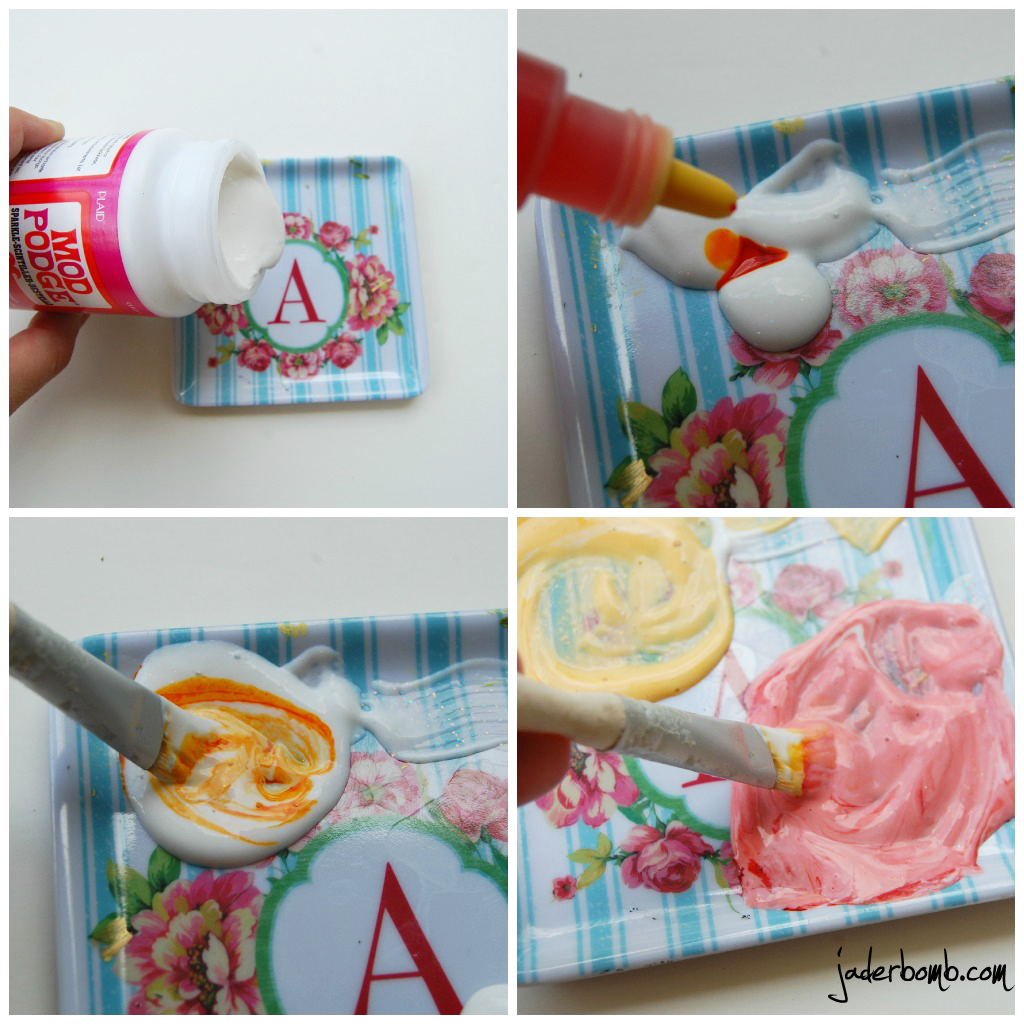
First thing you will do is mix some Mod Podge sparkle with a little bit of food coloring. Let me tell you that you only need a few drops. You don’t want it to be super dark . We want it to dry translucent.

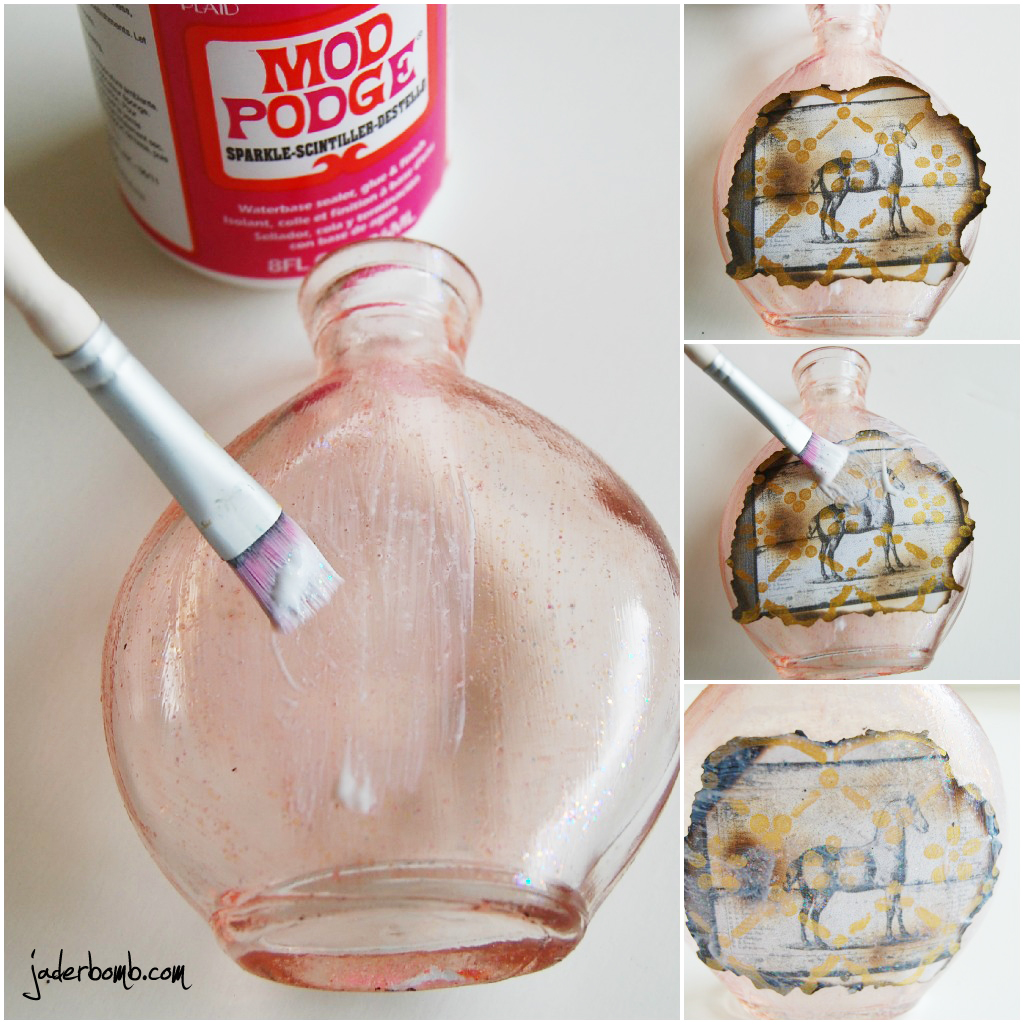
When you are done mixing start brushing your Mod Podge on. Seriously when I paint glass I always get super excited inside! It’s like WOW! How come I didn’t know about this years ago. (fist pumping)

You might have to put 2 layers. It just depends on how dark your mix was. I always set it in the sun right after I paint the glass. It dries really quick.

Now I will tell you about my good friends RIDICULOUSLY amazing site. I am sure you heard of her…

The Graphics Fairy. Boom. Pow. Wow. That is what you will feel when you get to her site. You might just get glued to the puter for a bit longer than you had planned. I swear. I experience it all of the time, haha.

Once you have the images you want it’s time to “dress” them up! I am using these amazing silk acrylic glazes. Do you remember when I used them in this post? I am using the glazes as a resist which means when I put any other paint on top of the glaze it won’t stick to the glaze. This is a really cool technique because you can create a lot of dimension in your art. I am using Olive Vine for this image. Find the wreath with Bee in it here.

What I did first was take my stencil and put it around my image. Lightly pounce your glaze onto the stencil.

With the next image I used a butterfly stencil inside of my graphics fairy image. I repeated the previous step. For this color I mixed some Olive Vine with Ice. It made such a pretty color!

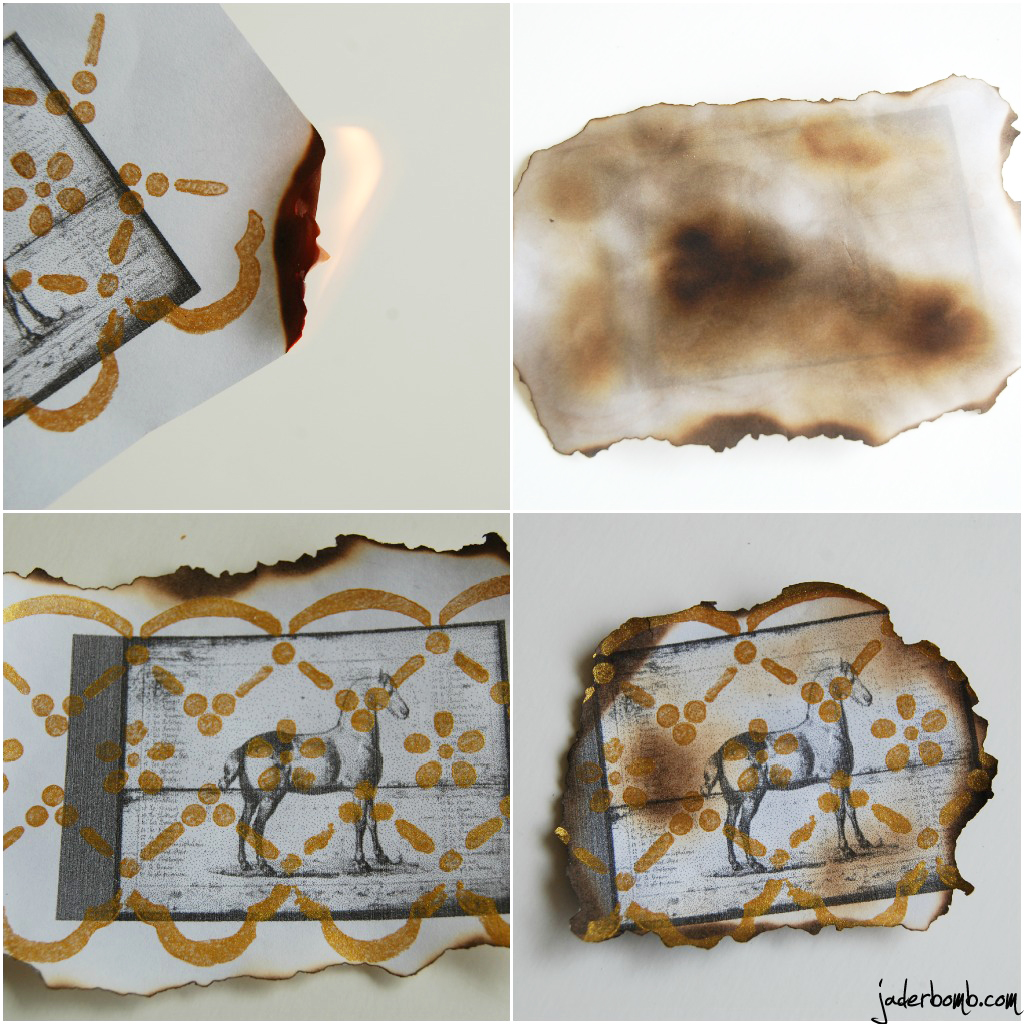
For the Horse I thought this stencil would be interesting to use. The solar gold is AMAZEBALLS!

Once you finish doing all of your stenciling you will get some acrylic paint and put a light coat on top of your entire image. Don’t worry about the edges being perfect because we will be doing something in a minute with them. After you apply the paint quickly rub with a paper towel. You will notice the glaze will pop through the paint. Sometimes if I find the acrylic paint is too thick I will add a pinch of water to thin it out. I actually suggest doing this!

I love pink and green together…

After you are done with your painting and everything is dry we will start the BURNING. I always love when I get to play with fire. Don’t ya! I light it for a second then quickly blow it out. I like this process because it doesn’t burn to much at one time.

When you are done burning and happy with the size it’s time to MOD PODGE!!!! I wanted to make my bottles “shine” so I used the Mod Podge Sparkle. If you have not used this one yet… Get ready because it’s so pretty you might actually try to taste it…(no, I didn’t do this haha)

When you have all of your images on the bottles and they are dry we will start to decorate them. If you notice in my “ingredients” there are things there that I didn’t actually use. I just wanted to give you some ideas of things you CAN use to decorate with. Sometimes it helps to actually see it then your brain will say.. “ey, I like that”.

This lace actually has a sticky side so you can peel and stick. It’s that easy! I wrapped some baker’s twine around the neck of one to add a cute touch to it.

If you are wondering WHY the bottle to the left is missing it’s butterfly, it’s because when I tried burning the underneath of the paper I was talking to someone and guess what… I burned right through the paper. Do you see that brown spot on the horse picture? This is what happens if you put the flame “under” the image for a FEW seconds. It makes it look a little old (unless you burn it through and through). I just grabbed another image from the Graphics Fairy and placed it on top. This project is also fun because you might realize when you are almost done that you want to add another layer to your bottle. Which is ALWAYS good!

Be careful that you don’t drop any bottles on the ground while transporting them. (yes I broke one)

You might find yourself doing the same craft over again…

Well Jaderbugs, I hope you enjoyed this craft as much as I did!  Don’t forget to follow me here (below).