Tag Archives: mod podge

First thing I am wondering is if everyone survived “Cyber Monday”. I am pretty much done with Christmas shopping,well except for all of the “things” I will find from now until then. Which I hate to say could totally start to pile up. I have this thing where we always buy one nice gift but other little ones also. There is something about watching a person open a present. Do you experience that too?

The other day when I went “BLACK” friday shopping I instagramed this picture. The funniest part is when It went on facebook someone responded to it and said they knew where I was at. So, I was at Joann’s.  They had some major deals going on and they still do so click on the link I just put to shop online. I accidentally ran across these HUGE letters and I though “Wow I could totally decorate with these for Christmas and also keep them up all year after Christmas”. I bought them. The large one is normally $9.99 but was on sale for around $4.00. The small one normally is around $5.00 but for it for $2 something. I am telling you it’s a great deal. It’s always fun to think out side of the box when it comes to Christmas decor. With all of the decorations out all over it get’s overwhelming somethings and you can’t think. That’s why I am here!

Let’s get started.

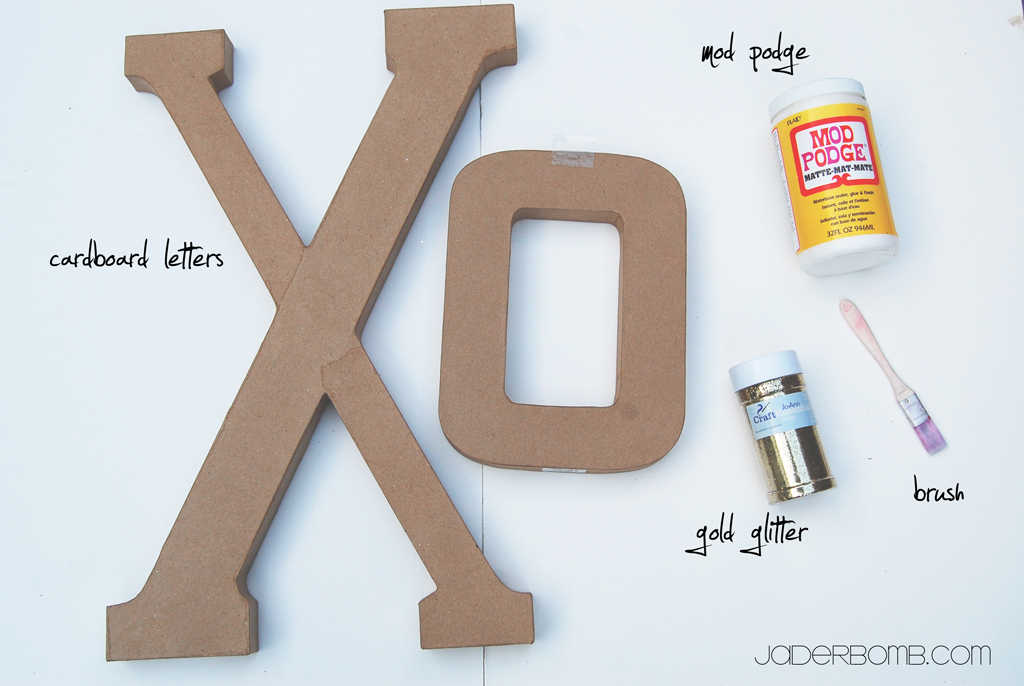
INGREDIENTS: 

*Cardboard Letters
*Mod Podge
*Craft Brush
*Glitter
*Krylon Sealer 

You can purchase all of the item’s by clicking on the links under ingredients.

These are all of the things you will need to make your home all warm and cozy. Did I mention that you can totally buy letter’s of someone’s name, do this to them and give them as a Christmas present. Everyone loves something that has their name, initials or favorite sayings on them. At least in Louisiana they do!

HaHa

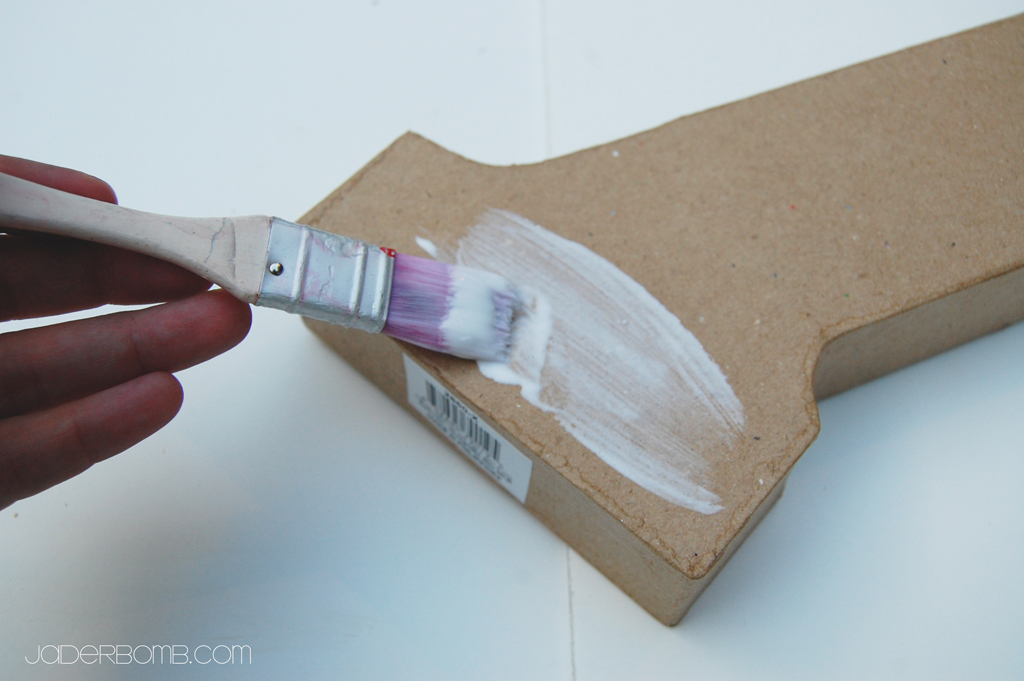
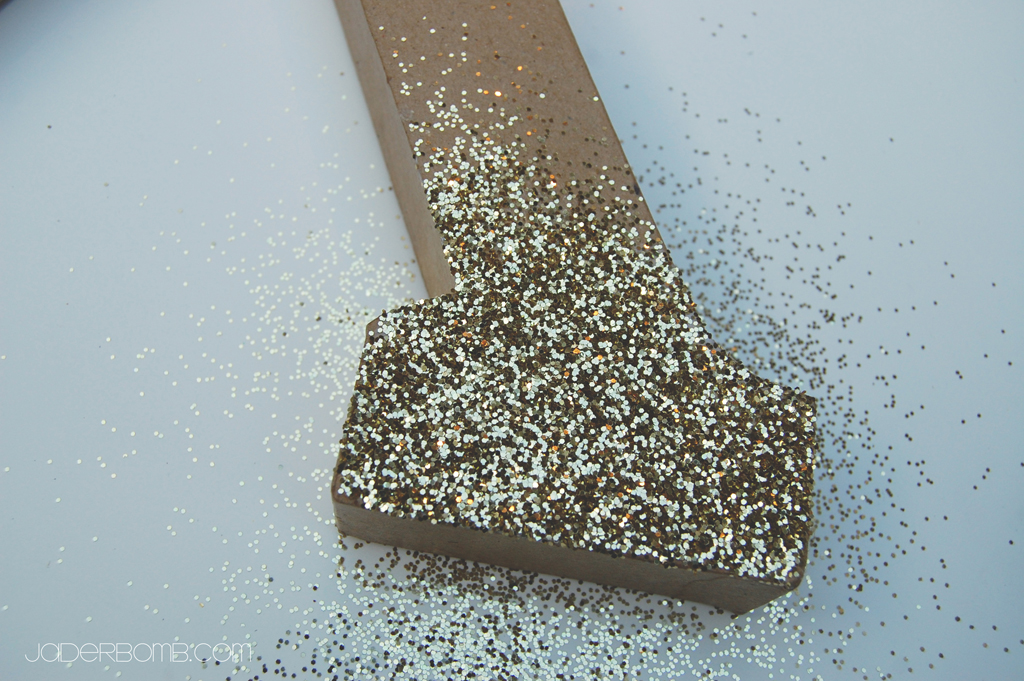
 The first thing you will do is coat the top of your letter with Mod Podge. Keep in mind this dries fairy quick so you don’t want to coat the entire letter then glitter. I do a little piece glitter, shake off glitter then move to a spot away from the one I just did. So it’s a little bit of going all over the letter but eventually it all will be coated with awesome glitter!

This is about the size I do at one time. I used the “original” glitter. I don’t know if there is an original but you know what I mean. Not all that new FINE, THIN glitter but the large gold flakes. These always bring me back to being a kid so I thought hey, let’s go there for Christmas. What I love most about this project is you can get so creative with it. You don’t have to use gold. You can use whatever color your home decor is or if you are giving it as a gift you can make it that person’s favorite color.

 When you are completely done you can coat the entire thing with Mod Podge or spray with this sealer. I used the sealer but they both work the same. You can get this from any craft store. 

 Make sure you spray this OUTSIDE!

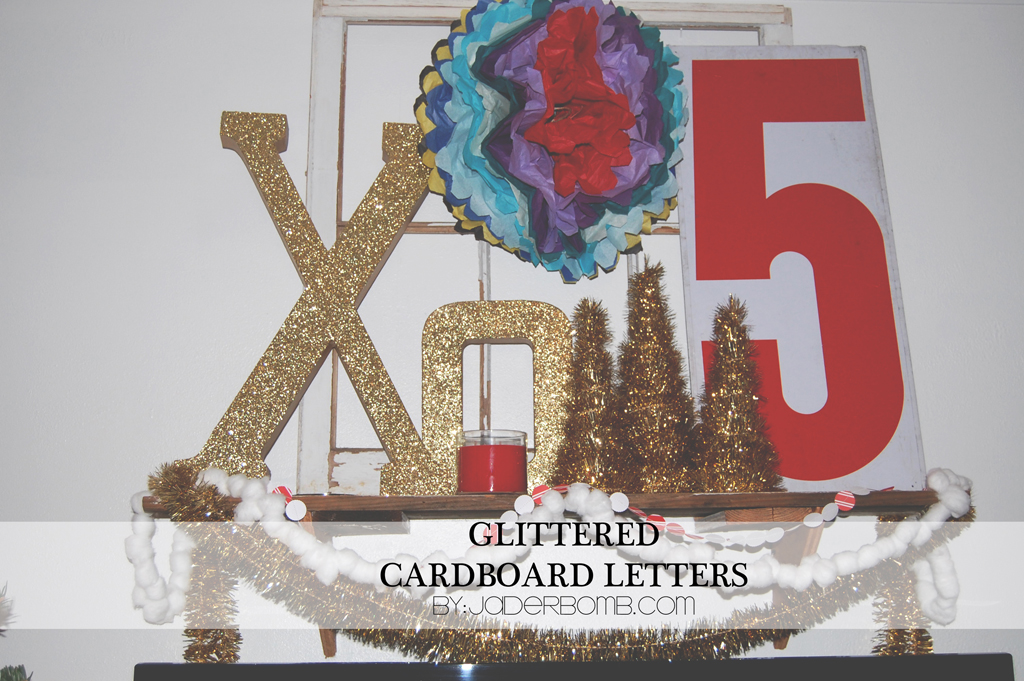
 This my Jaderbugs is what you will get.  A mantle full of awesomeness. If you didn’t see my tutorial on how I made these tinsel trees you can click HERE to see them. Yesterday I posted how to make a garland with Cotton Balls and it exploded on Pinterest. Click HERE to see how I did it!

I hope you enjoyed this tutorial, make sure to come back tomorrow to see some easy DIY Christmas decor.

Don’t forget to make it a DIY kinda day,

Facebook Twitter Gplus Pinterest YouTube E-mail RSS

Quote of the day:

“Lose not courage, lose not faith, go forward.”

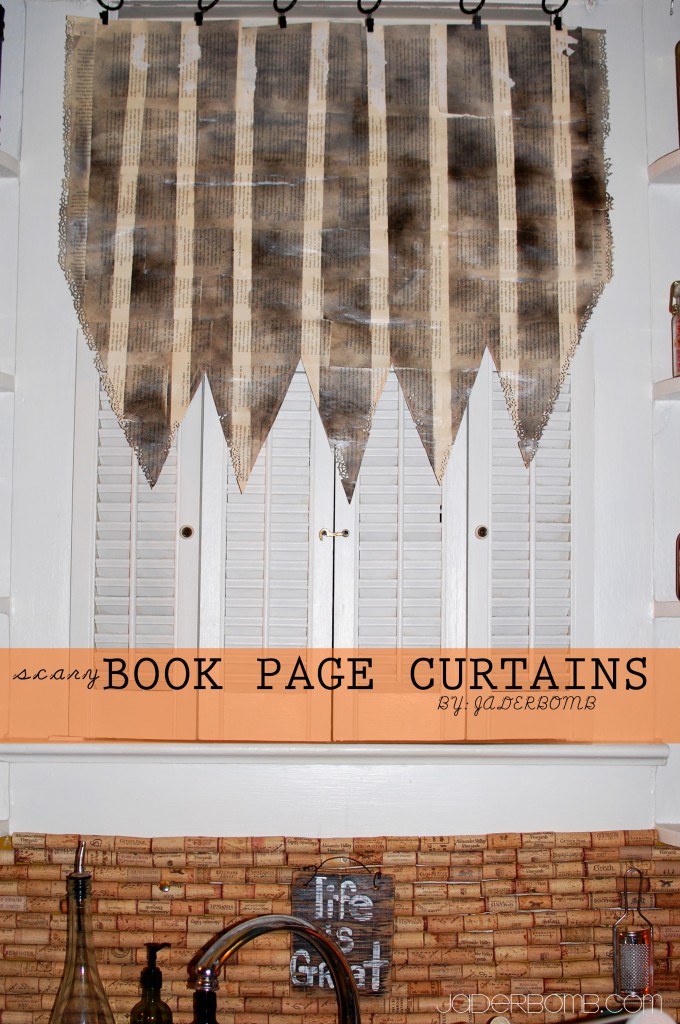
How much fun are these spooky book page curtains! I have to say I never every thought I would make curtains for my kitchen using pages from a book. But, why not?If it’s temporary until Halloween is over then we need to bring the spirit indoors!Let’s get going so I can show you how I made them!

INGREDIENTS:

*Book
*Adhesive Spray
(I love this one)
*Masking tape z
(Do you realize all that you can do with this tape?)
*Black spray paint
(you do NOT have to buy the most expense one either!
*Mod Podge
(I wish I could eat this stuff.)
*Brush
(not used a spoon for the Mod Podge)
*Martha Stewart Halloween Punch

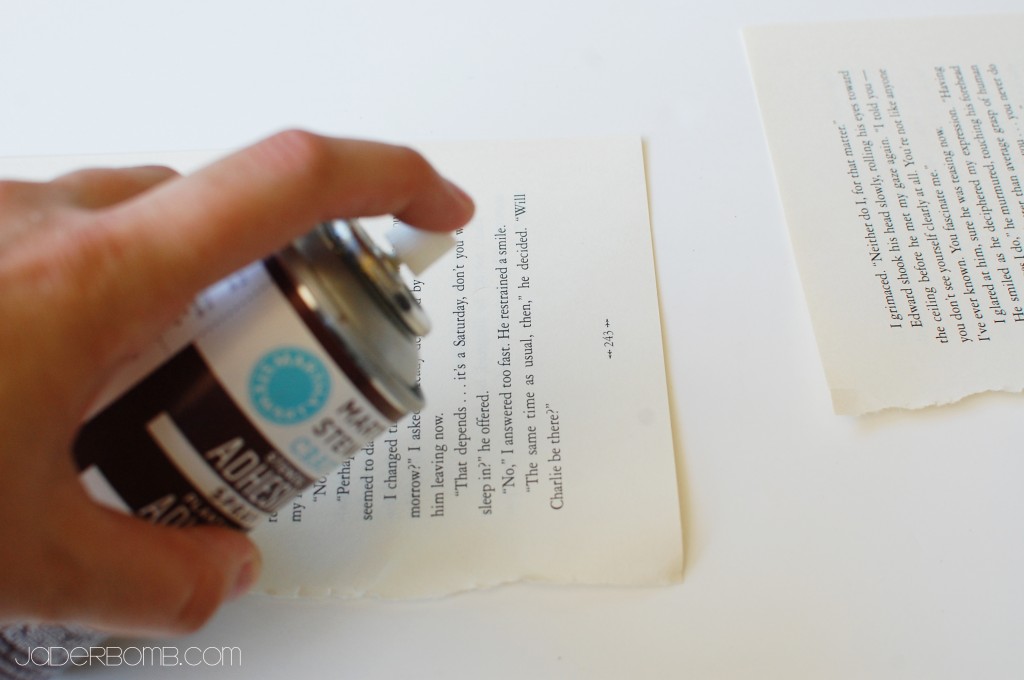
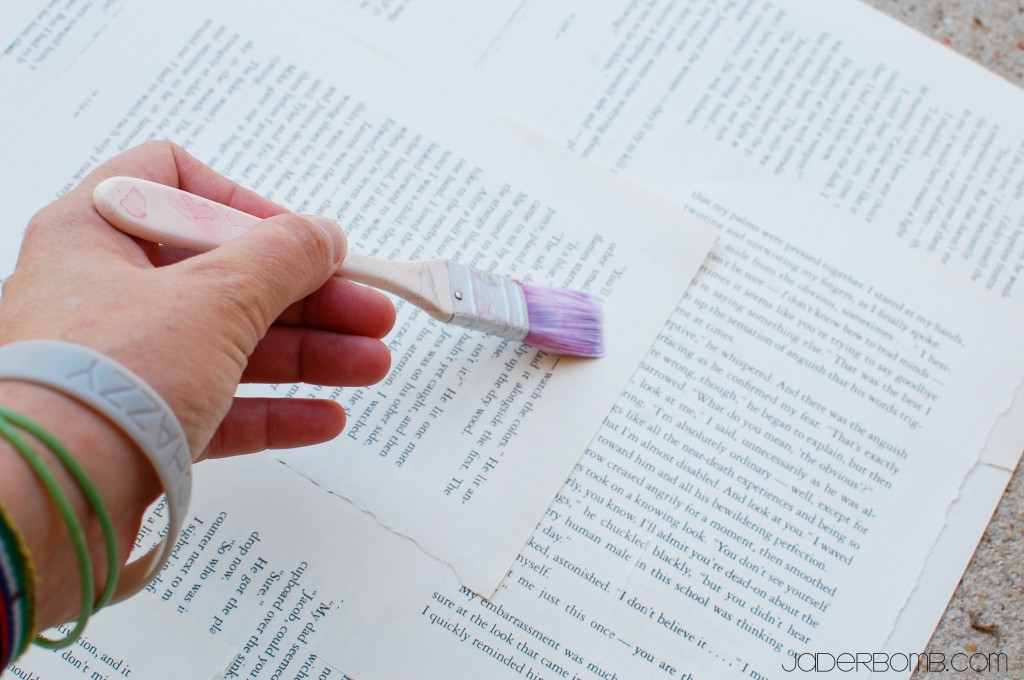
The first thing you need to do is tear pages out of a book. I am using the FIRST twilight book because it will NEVER get old reading those pages. (I know I know I’m a sap)

Spray the edge of your book pages with adhesive spray.

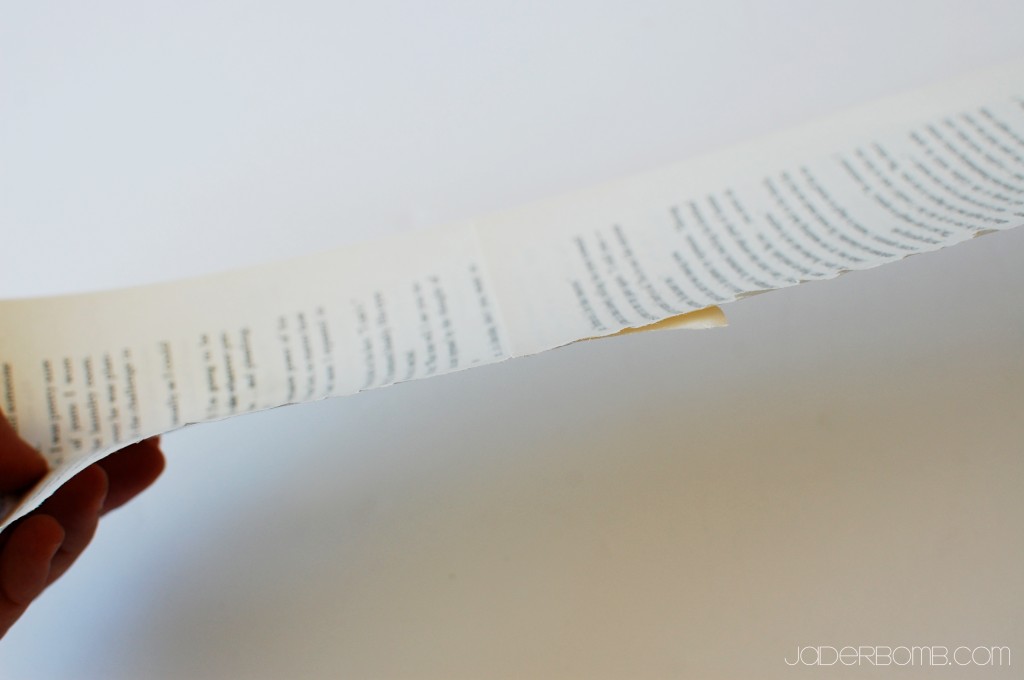
Then stick another book page on top. Just like this! (below, haha)

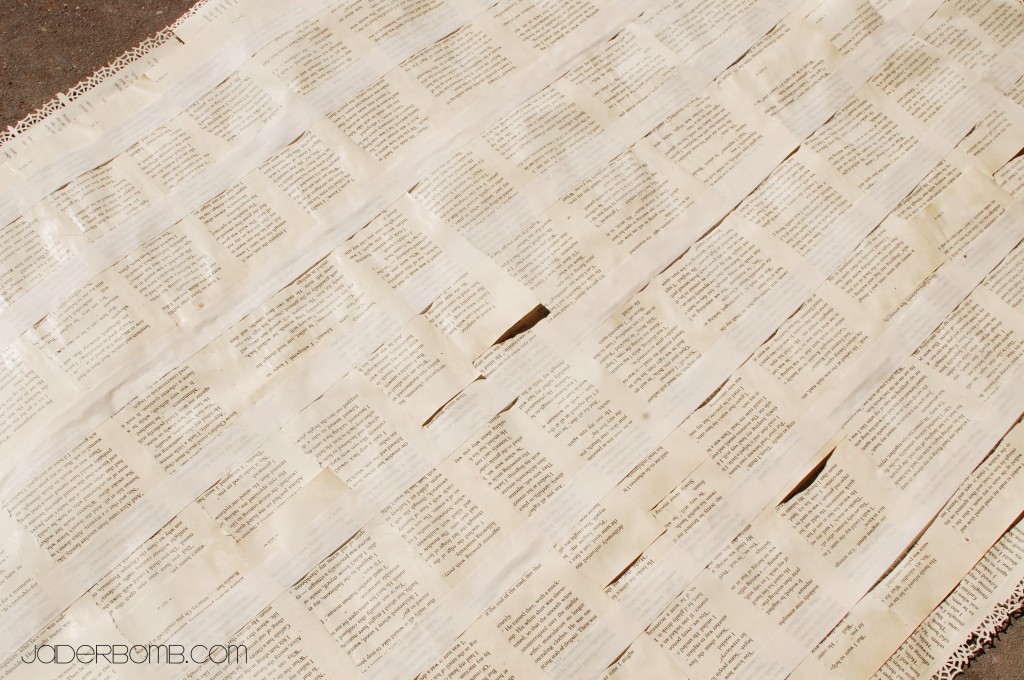
This is what it will start to look like once you get rolling! Hint: Once my sheet got large enough I would bring it in the house and place it on top of the window to see how much bigger it needed to be. I could of measured it and done it the “correct” way but that’s no fun! Notice the edges are punched with my Martha Stewart HALLOWEEN puncher!

Once you have the correct size and you are done sticking pages together it’s time to break out the MOD PODGE! This is where you insert a BIG wahoooo.

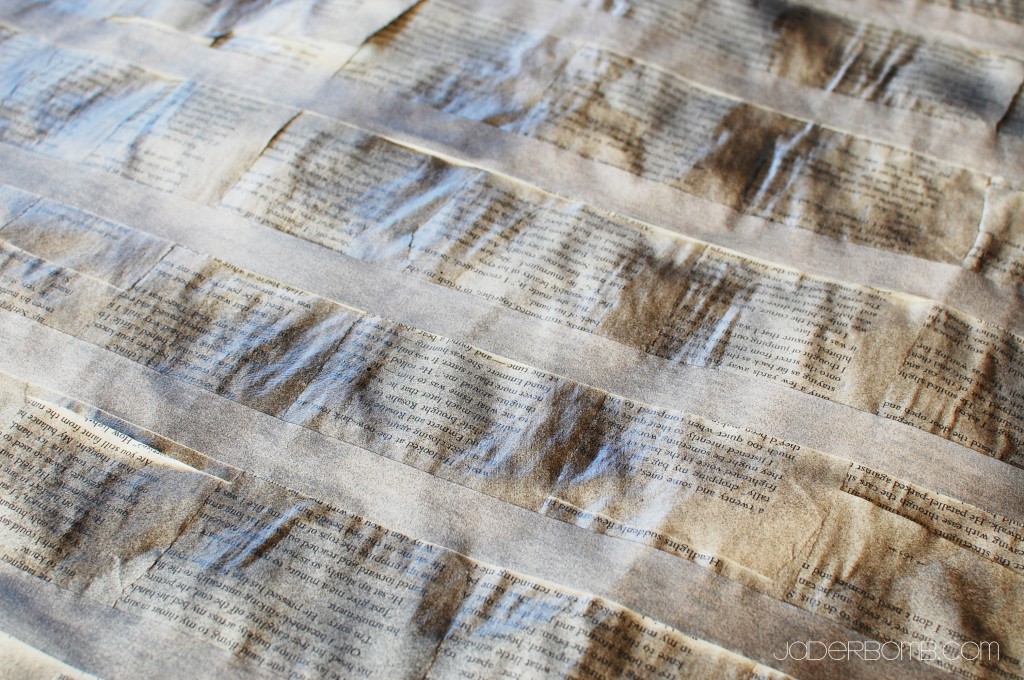
When your Mod Podge is completely dry lightly add strips of masking tape on top of your book pages. (see below)
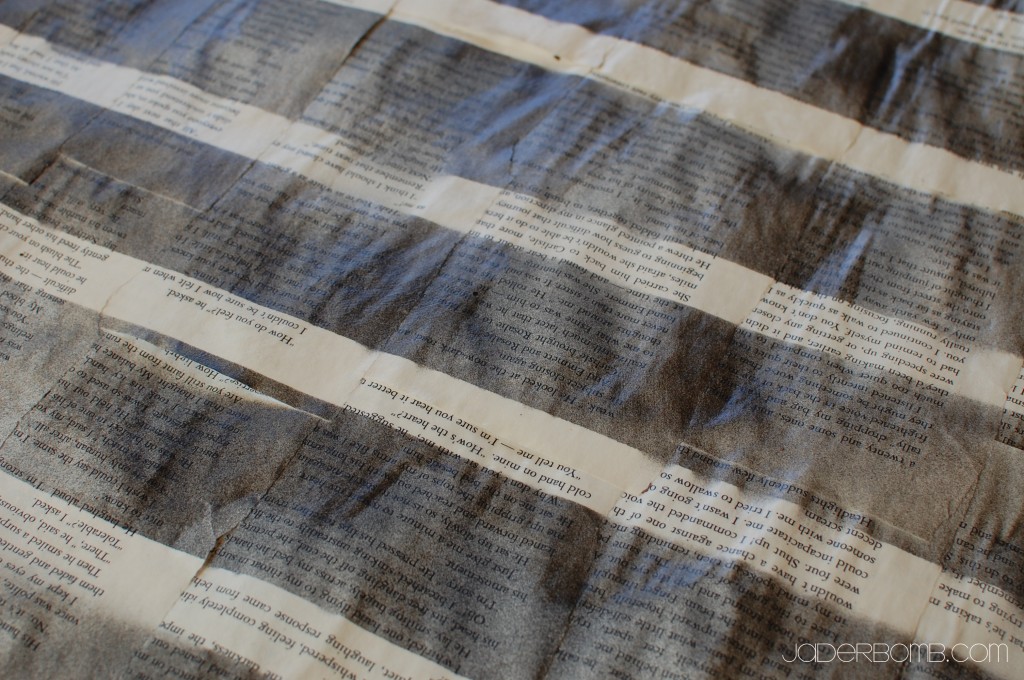
You don’t want to press too hard because it will tear the pages when you peel if off. Spray your pages with black spray paint. I didn’t spray a super thick coat because I wanted a washed, vintage look. You could spray it till it’s completely black if you want that look.

Keep in mind you can spray with whatever color you like.

When the spray paint is dry peel off the tape~ Be careful. I ripped a couple of my pages because my tape was pressed really good to them. (craft fail)

Thank goodness this was a scary Halloween look otherwise I would have “tossed” this project into the trash.

When I was completely done with all of the steps I put it up in my kitchen like the picture below. I drew where I needed to cut with a piece of chalk.
I then took it down and VOILA! A spooky HALLOWEEN curtain! What I love the MOST about these curtains is how they look with light coming through them. It really makes our kitchen feel spooky.

The great thing about this project is it’s practically FREE. It’s easy for anyone do to AND when the spooky holiday is over you can toss it without feeling bad. Although I might just keep mine up and stencil letters on it for THANKSGIVING. Yes, I love them that much.

See ya in the next post Jaderbugs!

Quote of the day:
God, grant me he power to get out of the shower – Monica Sheehan

Happy Happy Thursday! I could of sworn I just said in a post I can’t wait till Friday. Who would’a thunk it would get here so fast? Surely not me.  I think you know by now I love glitter. I swear, I have inhaled so much in my lifetime I believe it’s running through my veins. How cool would that be if everyone had a different color of glitter inside of them!

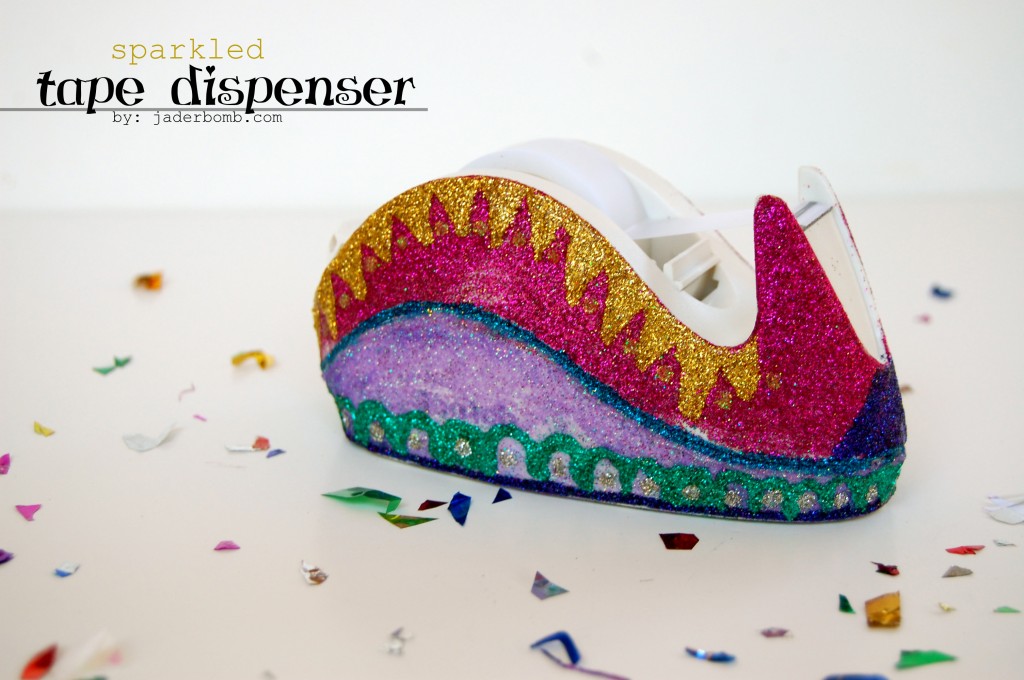
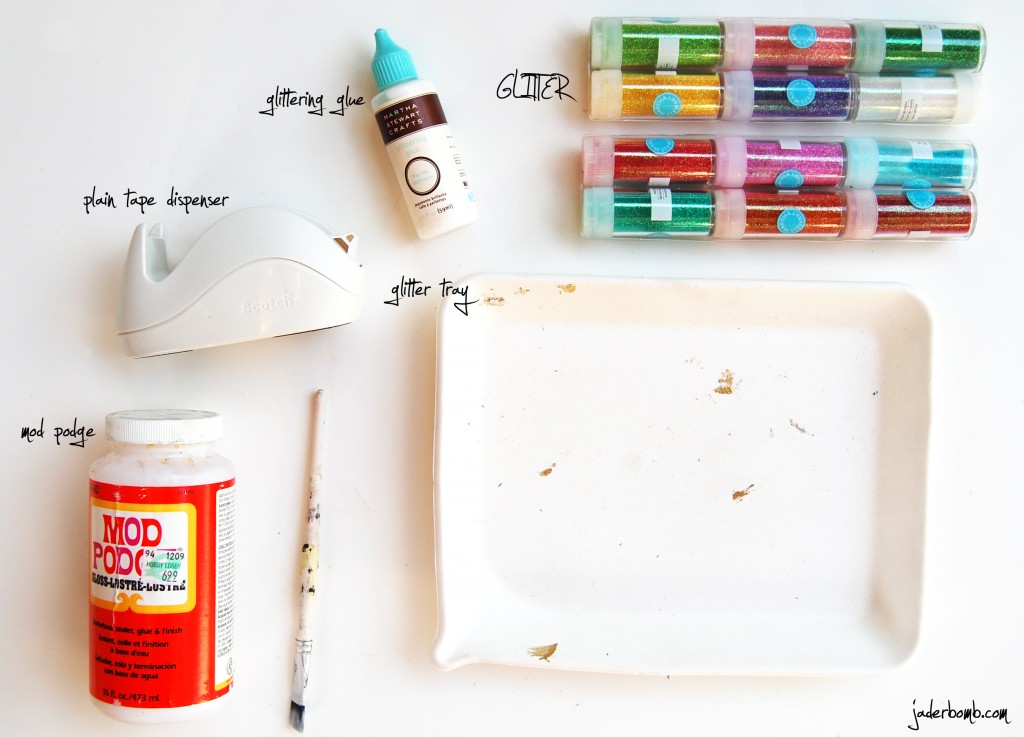
I bought this tape dispenser at Target the other day because I truly needed one. I think that is the ONE thing I never bought in my entire life. Can you believe that? Of course it was kinda boring so I figured what better way to “dress” it up!

Have you seen my Mexican Folk art plates? Click HERE to check them out!

INGREDIENTS: 

Tape Dispenser
Martha Stewart glittering glue
Martha Stewart glitter
Martha Stewart craft brushes
Martha Stewart glittering tray
Mod Podge
*happy thoughts which will create happy designs
(at least that is what jaderbomb thinks) 

 What I did first was apply Mod Podge in certain sections with my craft brush then sprinkle glitter on top. I did this step to get my “background” glitter down. The background is the biggest sections on your tape dispenser. Let it dry. Once it is dry I used my glittering glue to draw my designs. The great thing about this glue is the tip. It is tapered so you can really “draw” things accurately with it. I like to do one color of glitter at a time, let it dry then move onto the next design. I did the pink first, then the purple and last my designs incase you were wondering. That’s it Jaderbugs!  I hope you enjoyed this tutorial and I can’t WAIT to see you in the next post!

p.s. I have some fun FALL things coming up so make sure and check back in with #teamjaderbomb

{seriously} These are so flippin cute!

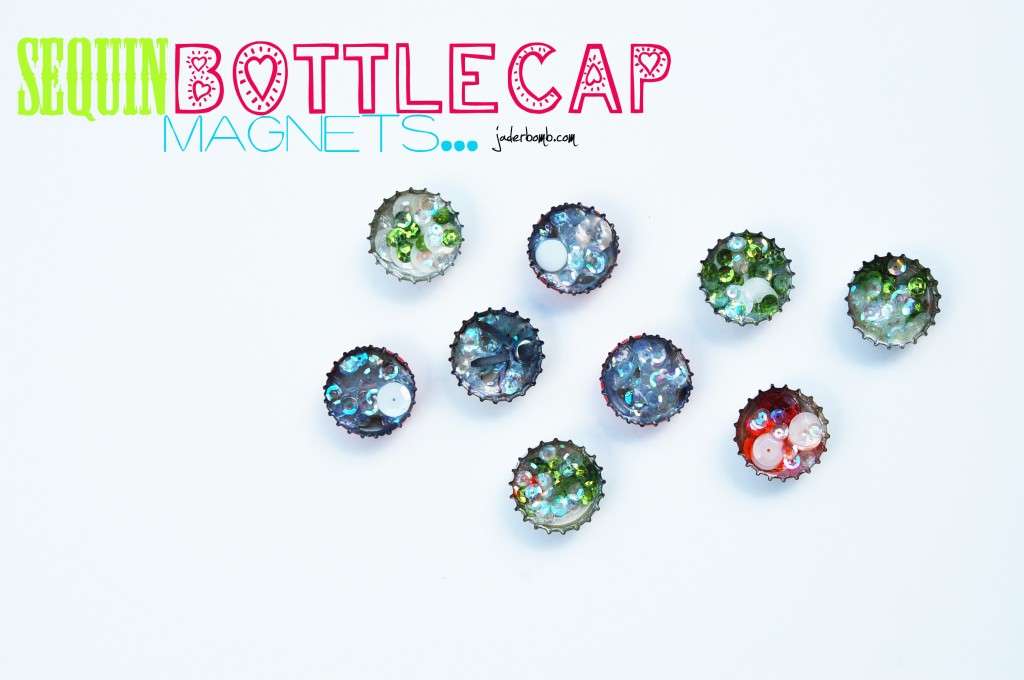
Happy 2’s day Jaderbugs! I hope everyone is having a day full of love and laughter! If I haven’t told you lately, I am so glad you come visit me everyday. It really makes me so very happy, and if this is your first time visiting my “online home” WELCOME! If you know me then you know I have a very large stock in bottle caps and corks. Such an odd combo but yet they are two things that come in SO handy all of the time.

The other day I needed extra magnets on the fridge and there was no way I was going to go buy some! {go figure}

If you walked in my studio you would fuss at me if I ever bought ANYTHING!

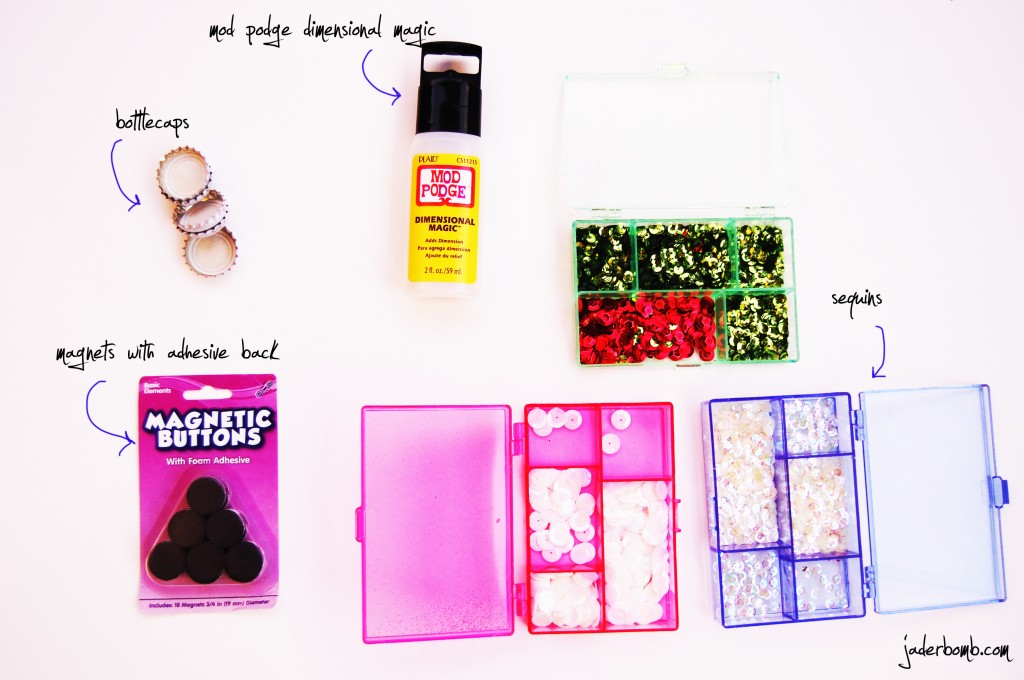
INGREDIENTS:
{click the links below to order}

 Bottle Caps
(you can order the here or use ones that you have collected)
Seqins (get these from any craft store)
Mod Podge Dimensional Magic 
Magnetic Buttons

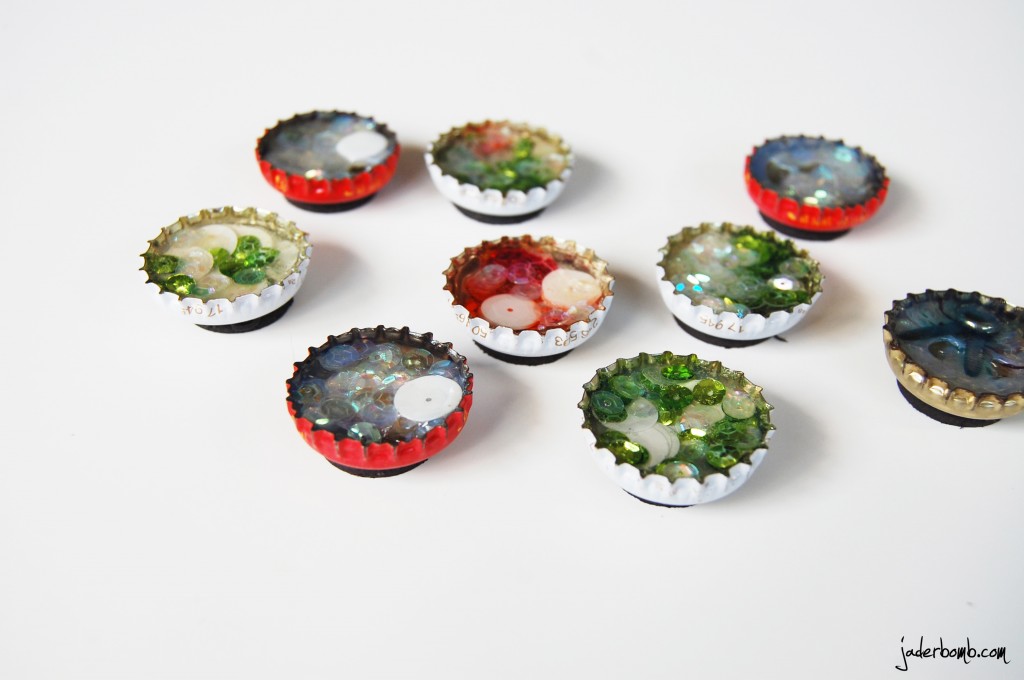
First thing you will do is lay your bottle caps down flat. Fill them with sequins and slowly squeeze in your Mod Podge.

FYI:
Don’t shake the bottle of Mod Podge Dimensional Magic. When you shake it, it causes bubbles and the last thing you want is bubbles. Once you are done check on them for about the first 15 min to pop any bubbles that float to the top. I use a needle to pop my bubbles. 

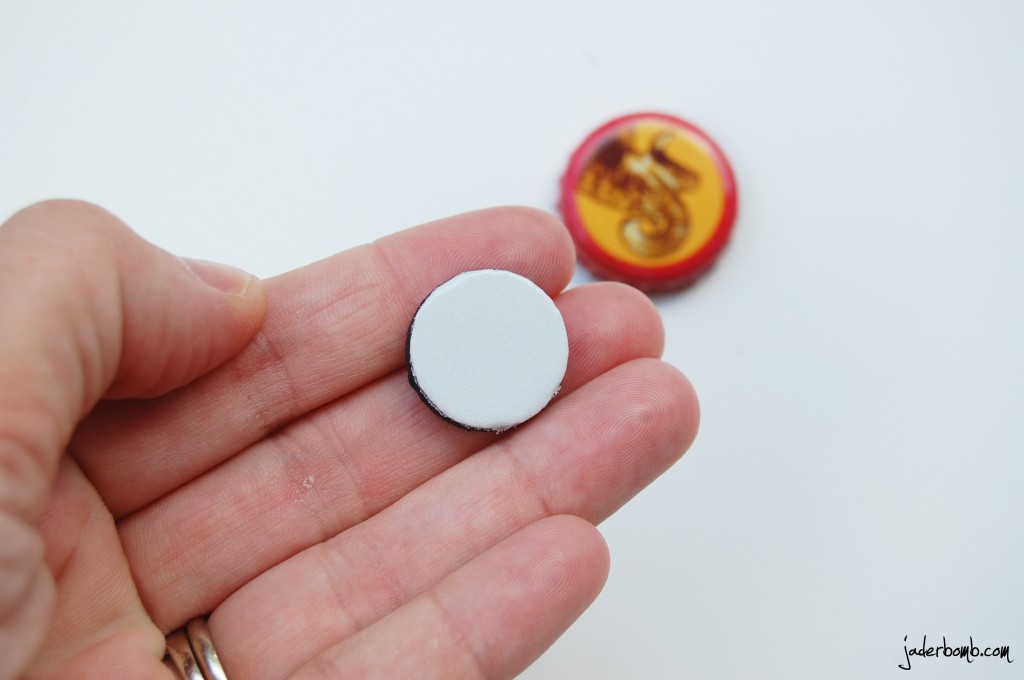
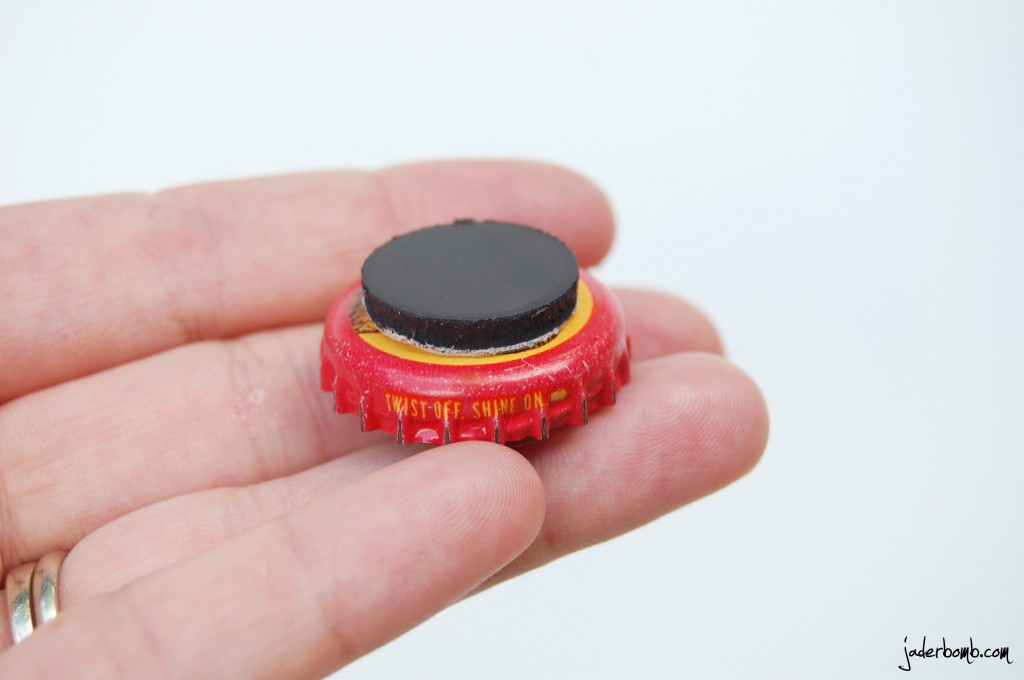
Once they are completely dry you will take a round magnet, peel of the sticky back and stick it on the bottle cap.  

 Tadahhhh! Oh, and you can get these magnets at Wal-Mart also!

 Are they so cute! Just think you can put any color sequins in them or any color glitter. They are the perfect gift also!

 I hope you all enjoyed this fun tutorial… See ya in the next post!


Happy Monday! Today will be all about Beautiful Vintage Bottles! I hope you had a great weekend! Sometimes the weekends go by so quickly, don’t they? Hopefully you have ton’s of glass bottles hanging around because this craft is addicting. There is something about transforming a plain bottle into a little work of art. Vintage decor always has a spot in my ever beating heart. Maybe it’s how delicate vintage things look. Plus it has a story. Unlike something you would buy off of the shelf. Which is why I am doing this craft because not everyone has “access” to all things vintage.

INGREDIENTS:  

Click any of the links to purchase these items:

Martha Stewart Paint
Bottle Caps
Martha Stewart Bakers Twine
Martha Stewart Stencil  
Food Coloring
Sequins
Silk Acrylic Glazes
Glass Bottles
Mod Podge Sparkle
Mod Podge Dimensional Magic
Martha Stewart brushes
Lace string
Buttons
Martha Stewart Foam Pouncer 

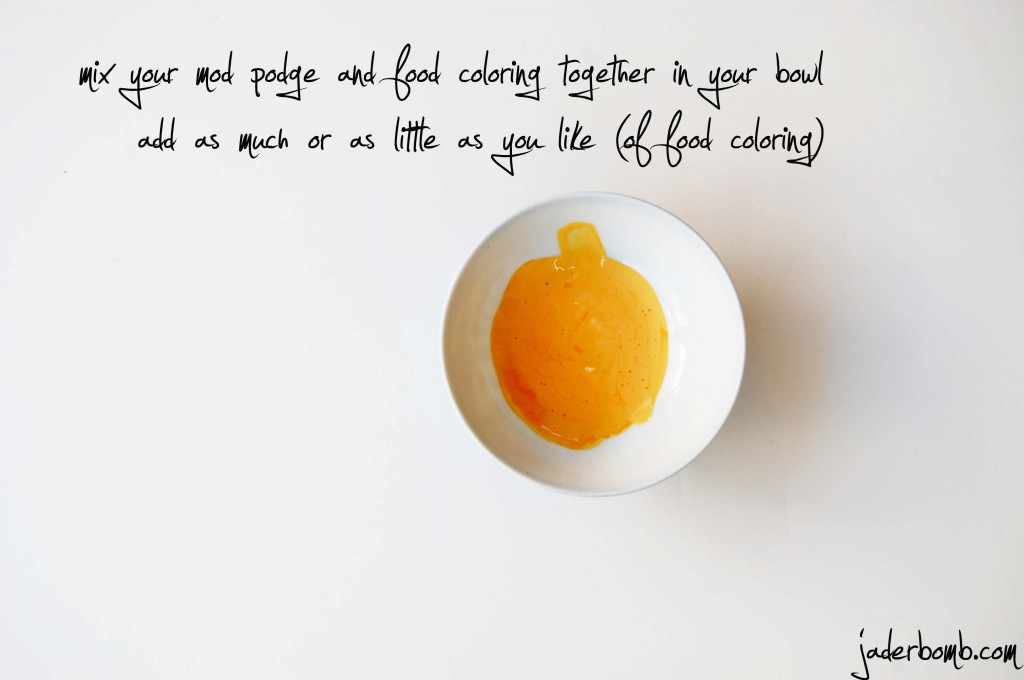
First thing you will do is mix some Mod Podge sparkle with a little bit of food coloring. Let me tell you that you only need a few drops. You don’t want it to be super dark . We want it to dry translucent.

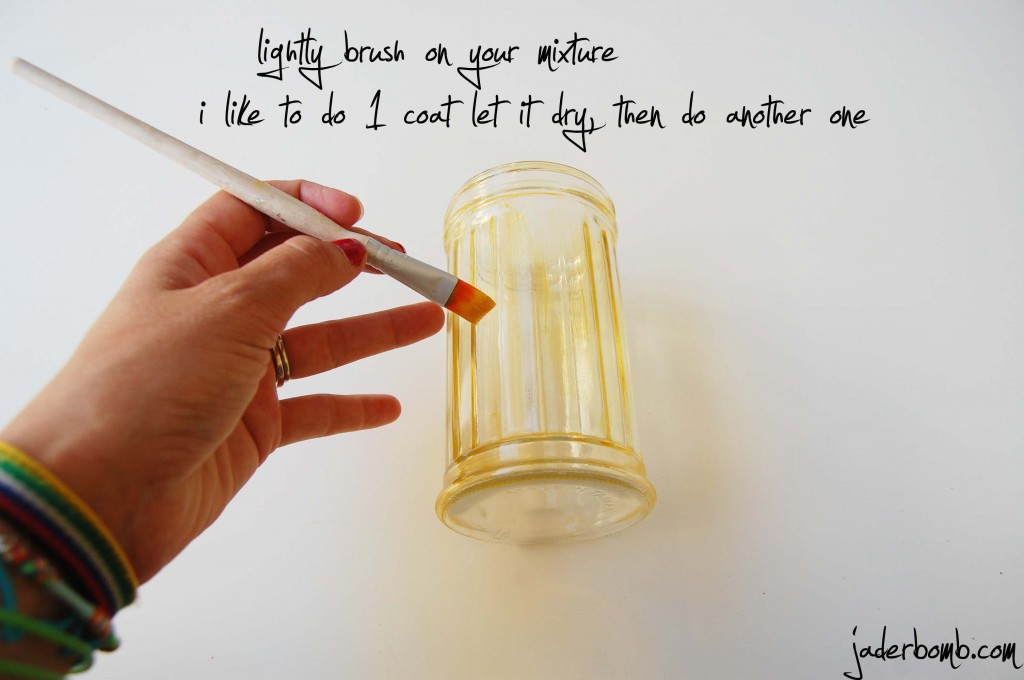
When you are done mixing start brushing your Mod Podge on. Seriously when I paint glass I always get super excited inside! It’s like WOW! How come I didn’t know about this years ago. (fist pumping)

You might have to put 2 layers. It just depends on how dark your mix was. I always set it in the sun right after I paint the glass. It dries really quick.

Now I will tell you about my good friends RIDICULOUSLY amazing site. I am sure you heard of her…

The Graphics Fairy. Boom. Pow. Wow. That is what you will feel when you get to her site. You might just get glued to the puter for a bit longer than you had planned. I swear. I experience it all of the time, haha.

Once you have the images you want it’s time to “dress” them up! I am using these amazing silk acrylic glazes. Do you remember when I used them in this post? I am using the glazes as a resist which means when I put any other paint on top of the glaze it won’t stick to the glaze. This is a really cool technique because you can create a lot of dimension in your art. I am using Olive Vine for this image. Find the wreath with Bee in it here.

What I did first was take my stencil and put it around my image. Lightly pounce your glaze onto the stencil.

With the next image I used a butterfly stencil inside of my graphics fairy image. I repeated the previous step. For this color I mixed some Olive Vine with Ice. It made such a pretty color!

For the Horse I thought this stencil would be interesting to use. The solar gold is AMAZEBALLS!

Once you finish doing all of your stenciling you will get some acrylic paint and put a light coat on top of your entire image. Don’t worry about the edges being perfect because we will be doing something in a minute with them. After you apply the paint quickly rub with a paper towel. You will notice the glaze will pop through the paint. Sometimes if I find the acrylic paint is too thick I will add a pinch of water to thin it out. I actually suggest doing this!

I love pink and green together…

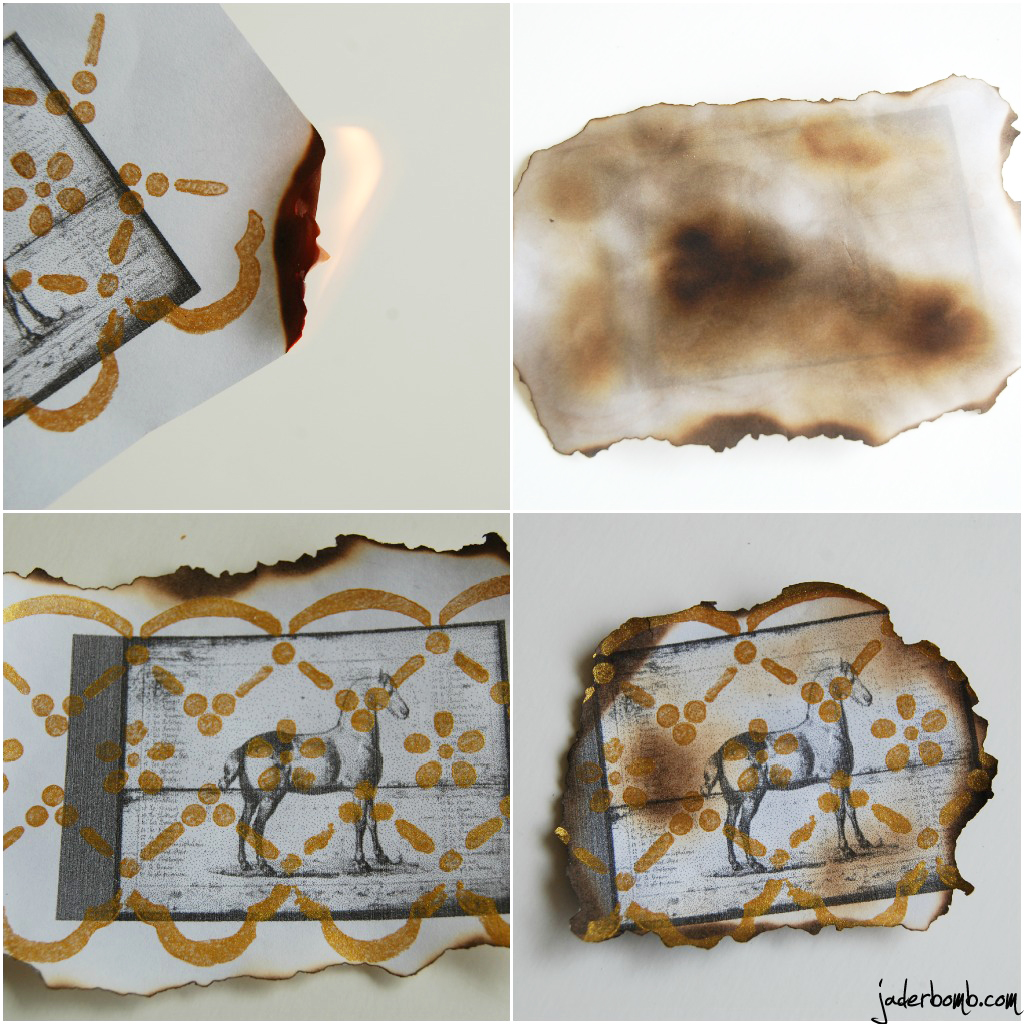
After you are done with your painting and everything is dry we will start the BURNING. I always love when I get to play with fire. Don’t ya! I light it for a second then quickly blow it out. I like this process because it doesn’t burn to much at one time.

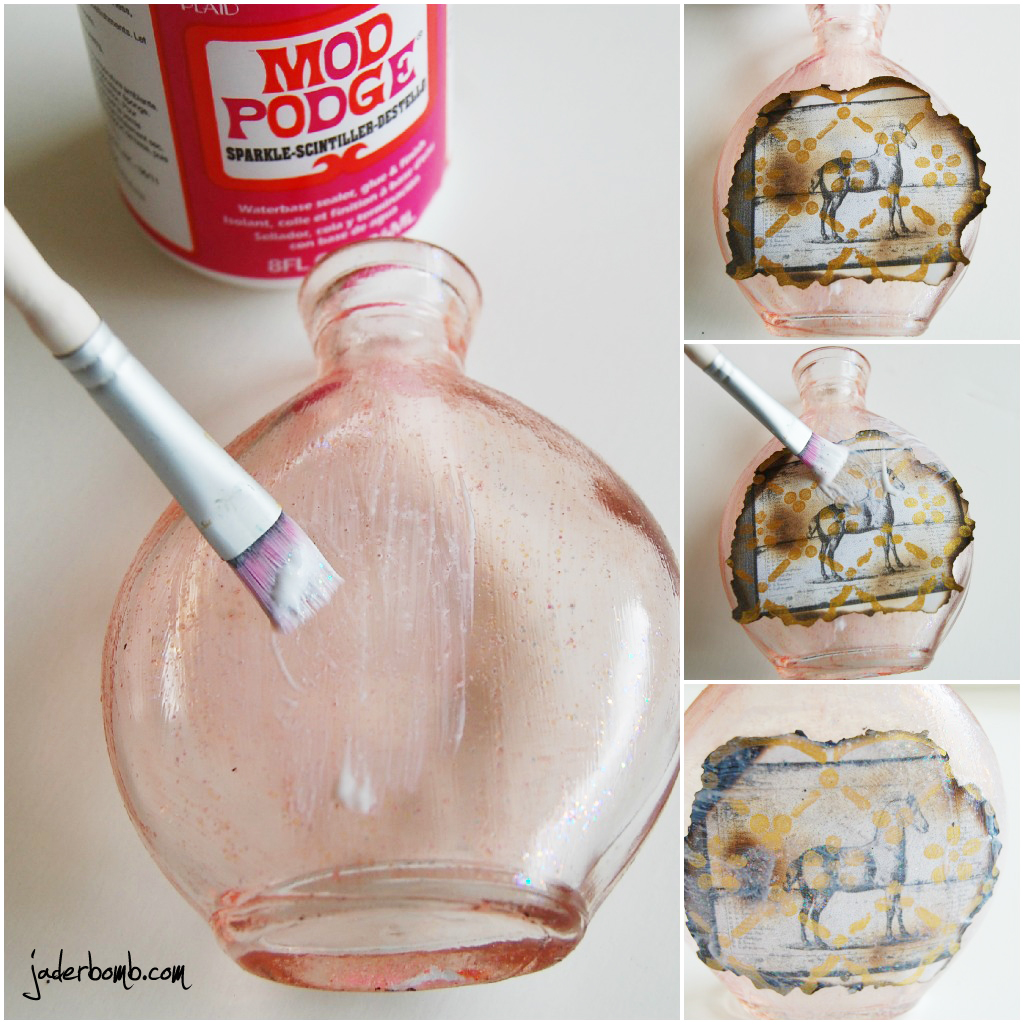
When you are done burning and happy with the size it’s time to MOD PODGE!!!! I wanted to make my bottles “shine” so I used the Mod Podge Sparkle. If you have not used this one yet… Get ready because it’s so pretty you might actually try to taste it…(no, I didn’t do this haha)

When you have all of your images on the bottles and they are dry we will start to decorate them. If you notice in my “ingredients” there are things there that I didn’t actually use. I just wanted to give you some ideas of things you CAN use to decorate with. Sometimes it helps to actually see it then your brain will say.. “ey, I like that”.

This lace actually has a sticky side so you can peel and stick. It’s that easy! I wrapped some baker’s twine around the neck of one to add a cute touch to it.

If you are wondering WHY the bottle to the left is missing it’s butterfly, it’s because when I tried burning the underneath of the paper I was talking to someone and guess what… I burned right through the paper. Do you see that brown spot on the horse picture? This is what happens if you put the flame “under” the image for a FEW seconds. It makes it look a little old (unless you burn it through and through). I just grabbed another image from the Graphics Fairy and placed it on top. This project is also fun because you might realize when you are almost done that you want to add another layer to your bottle. Which is ALWAYS good!

Be careful that you don’t drop any bottles on the ground while transporting them. (yes I broke one)

You might find yourself doing the same craft over again…

Well Jaderbugs, I hope you enjoyed this craft as much as I did!  Don’t forget to follow me here (below).


Happy Sunday! I have been crafting away lately and I realized I didn’t post anything since Friday! What’s wrong with me! I think I am loosing it (hahahah).

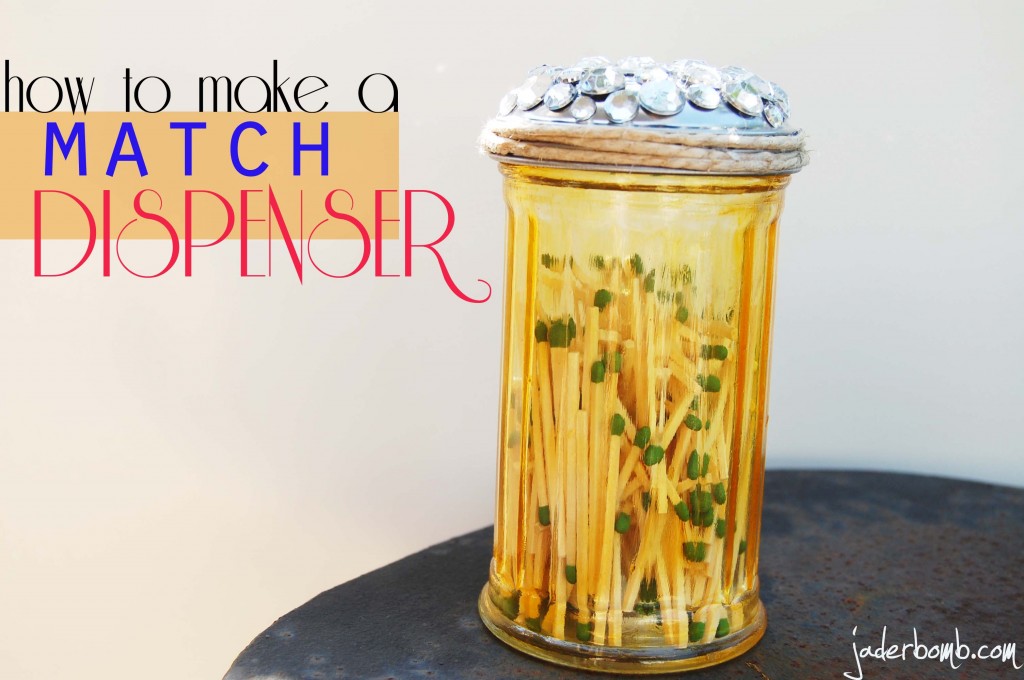
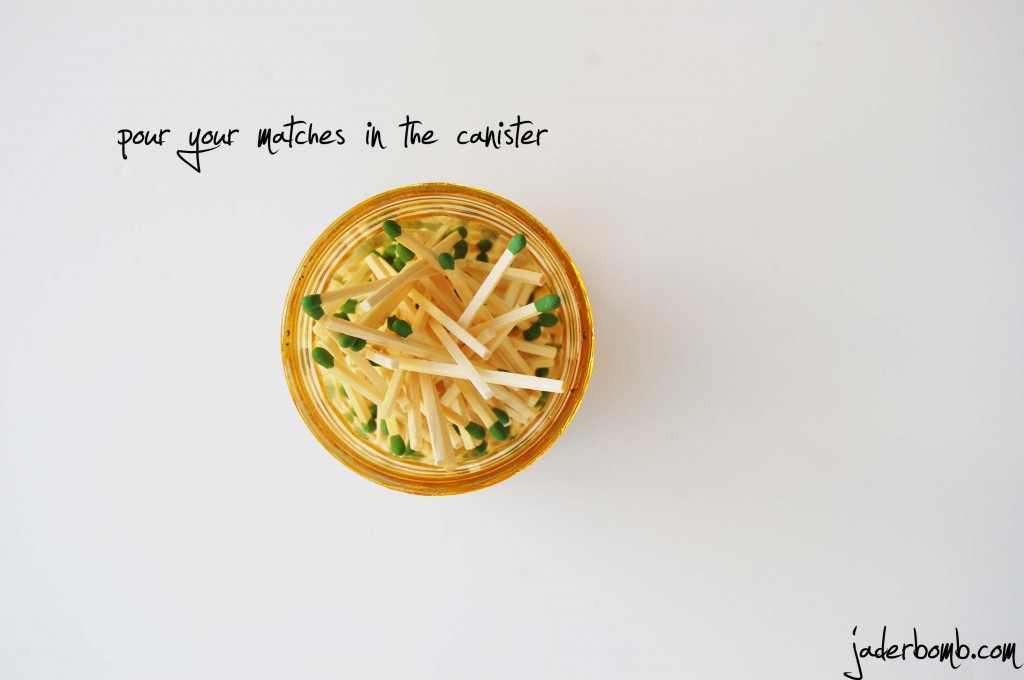
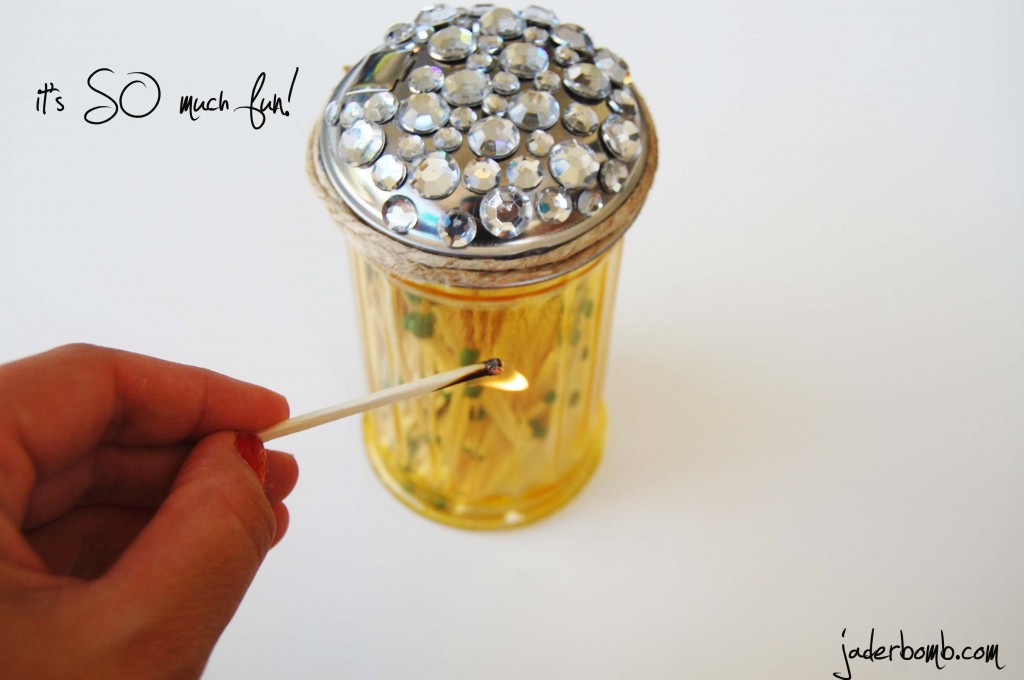
I absolutely love the craft I am posting today. I posted  a “hint” on facebook & twitter, and everyone was exited about it. Wanna know what the hint was? {{matches}}.

I don’t know about you but I LOVE using matches instead of those long donky lighters. Don’t get me wrong, when I need to light something that’s impossible to do with a little match I am happy I have a long donky lighter! Speaking of flames, remember my post I did the other day?

How to cut glass

Well. I am totally STOKED because in 4 days it has gotten over 74K views! WHAT! I know. I am just as excited as you! I think we can top this with this baby! But I need your help Jaderbugs! Let’s get started because today’s a big day! It’s Father’s Day, so Happy Father’s Day to all your “Faja’s” out there. Especially “happy” day to my {faja} and {faja-n-law}.  Yes, you MUST say Faaa-Juhhhhhhh like this! (hahahah)

Seriously. How.cute.is.this.

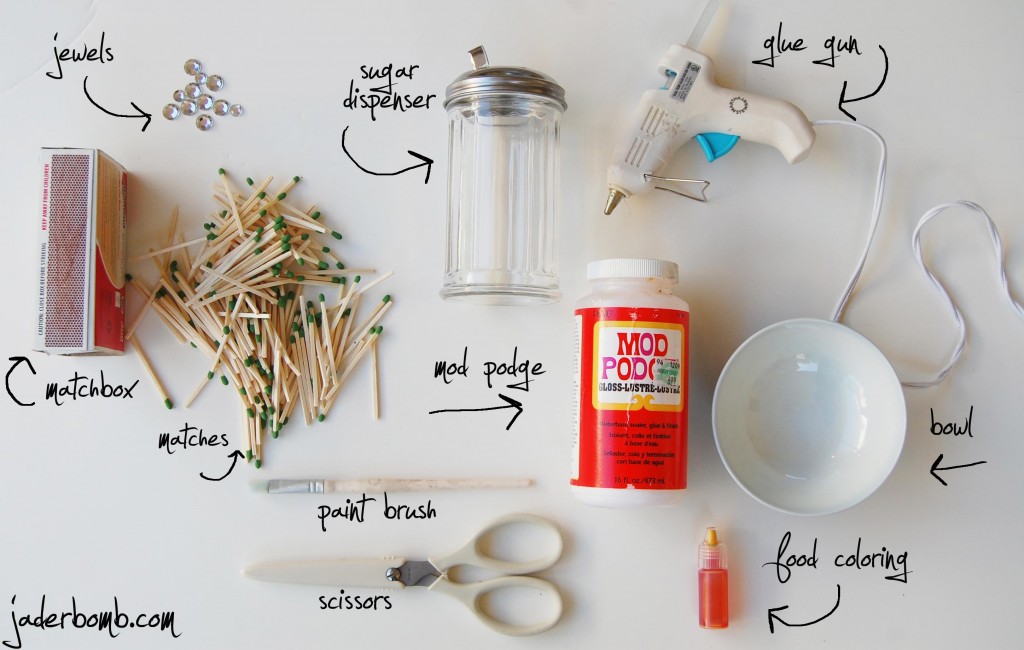
You will need a few things to make this!

INGREDIENTS:

I love using Mod Podge! Do you?

You know I am a HUGE fan of Martha Stewart products! ESPECIALLY her crafting tools! I am using her scissors, paint brush and glue gun today.

 I love, love, love MOD PODGE. It literally can go on top of ANYTHING and work! Check out my friends website MOD PODGE ROCKS!  Her book just came out it’s called Mod Podge Rocks! Stay tuned I will soon be doing a review and givewaye!!! 


How practical is this little crafty-roo!!

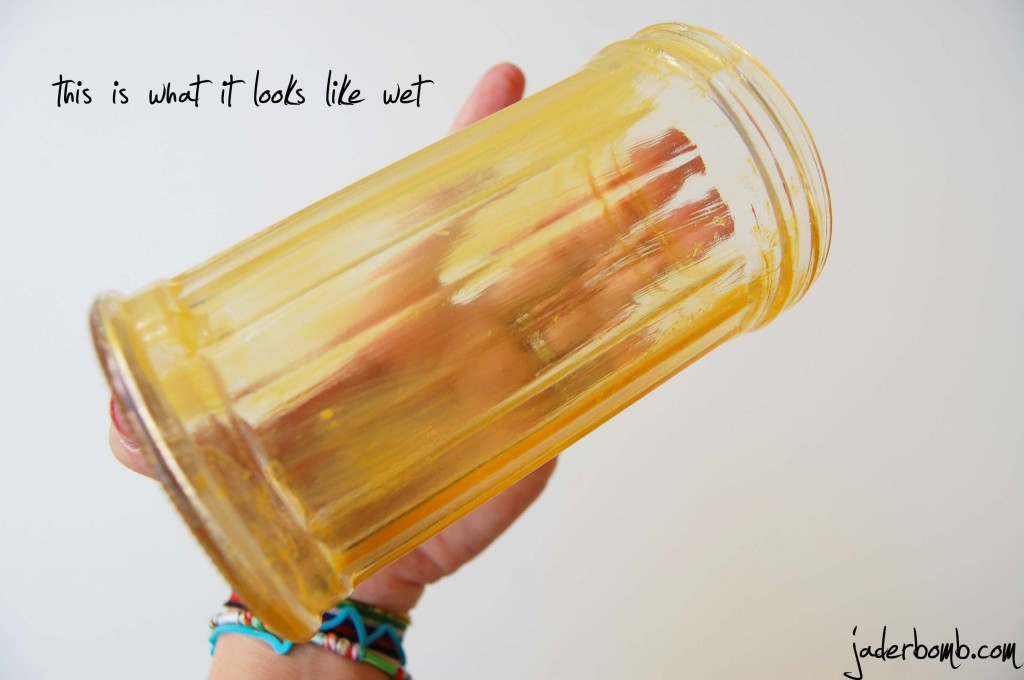
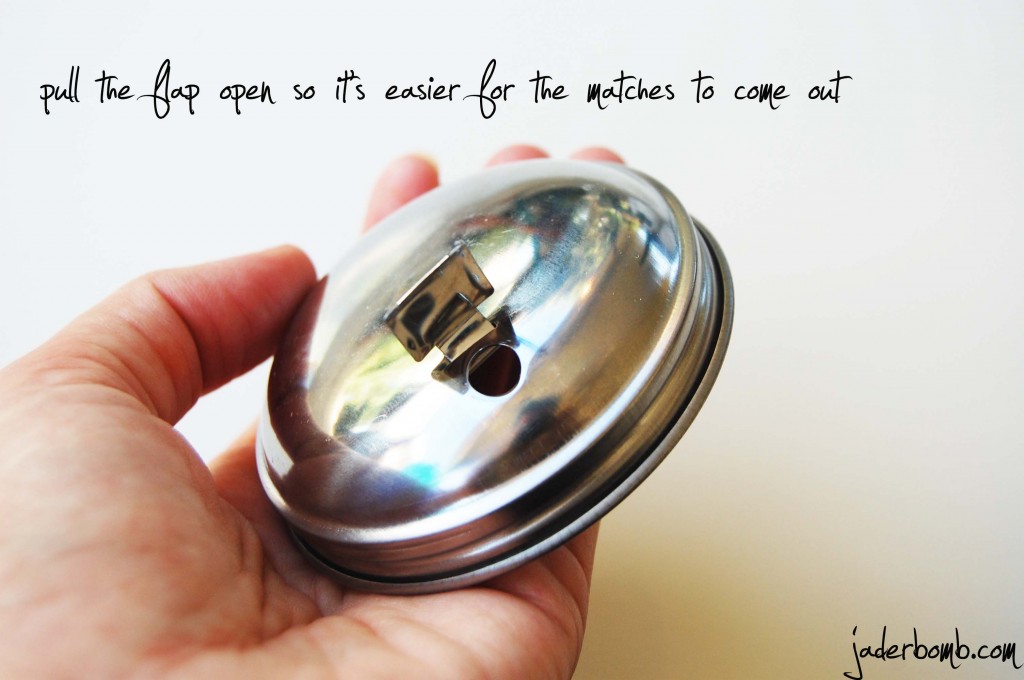
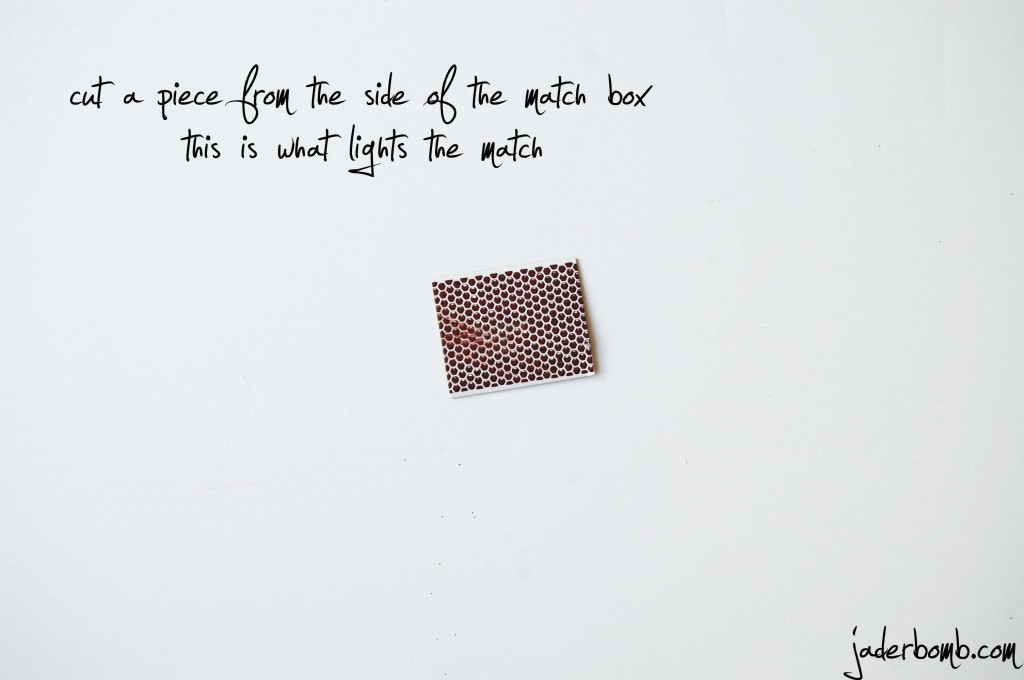
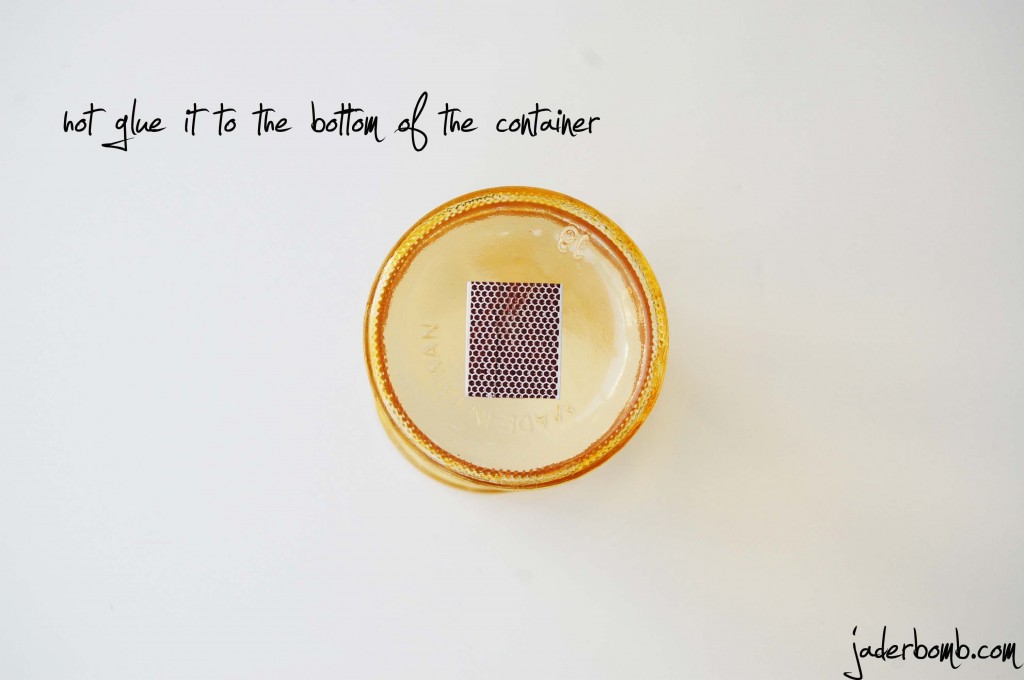
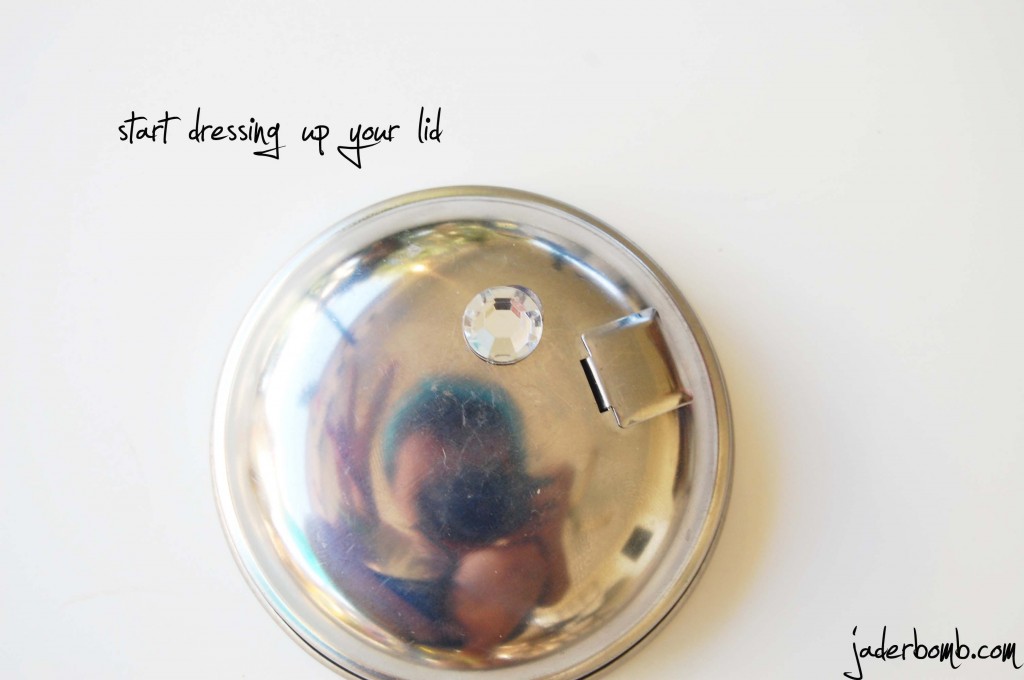
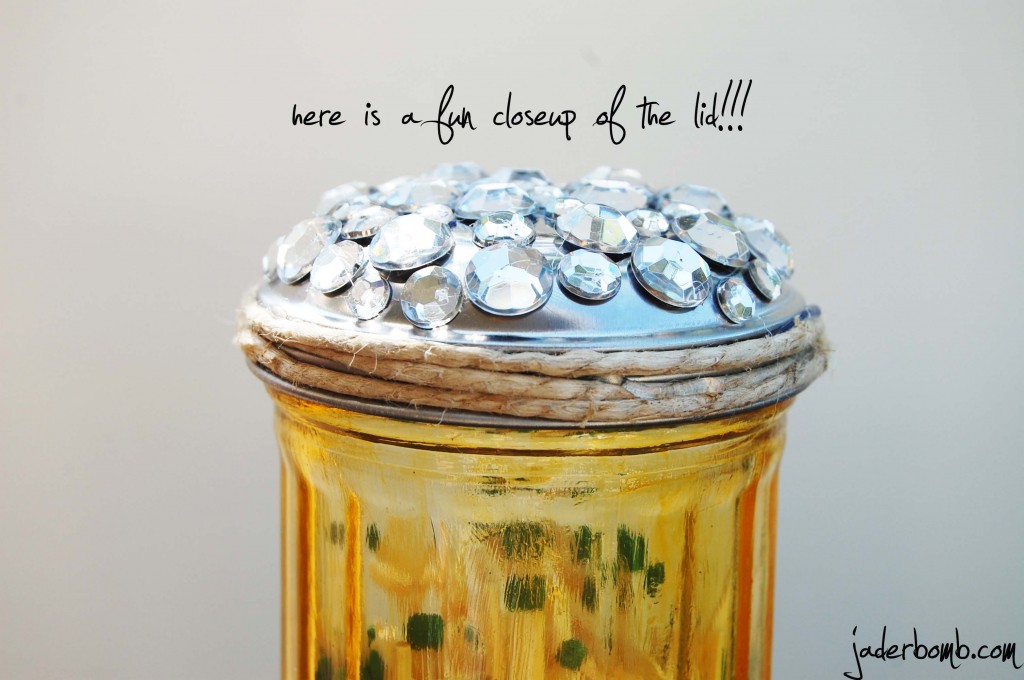
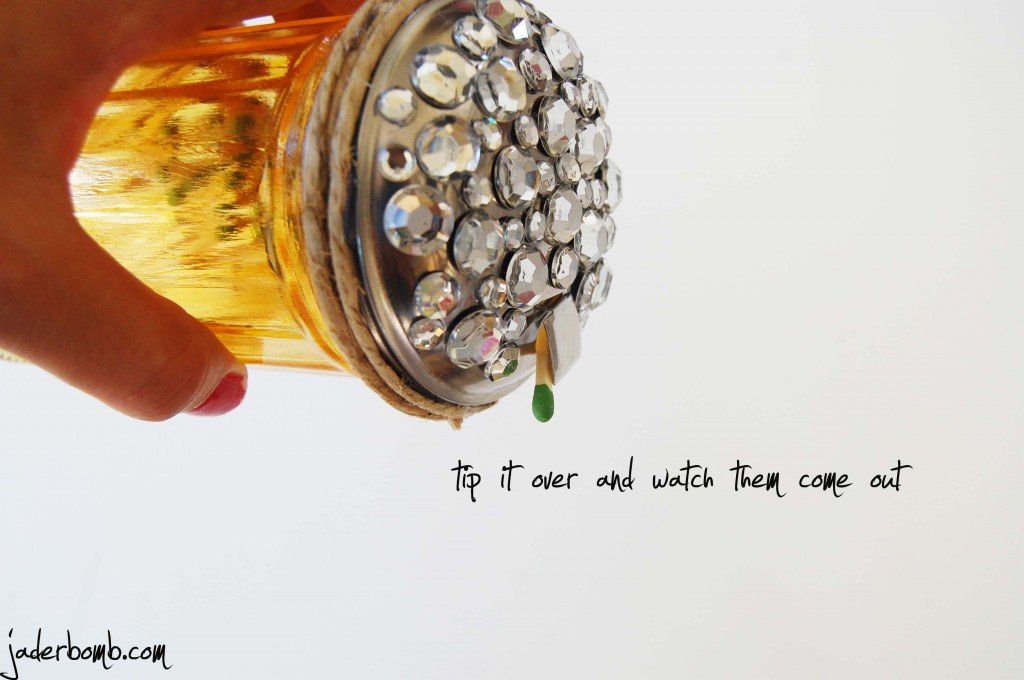
I hope you enjoyed this craft because it really is a “practical” thing to do. You know they come in those boxes and if you accidentally leave it outside the box get’s all soggy and soft. Then you can’t light a match because the matches all soggy and soft. This should eliminate most of that problem! And don’t worry, if you are wanting to do this for a “DUDE” just don’t bedazzle the top and make it in a color a “DUDE” would like. {{or if you are a DUDETTE who doesn’t like bedazzled things}}
You can find me in these spots too!!!! {{down below}}

FACEBOOK  PINTEREST  GOOGLE+ TWITTER