Tag Archives: paper crafts

Today we are getting all urban country making a Stencil 1– Deer Stencil Table Liner using my best friend Ed Roth’s banging stencil line.

Check out these rainbow coasters I made using some of his stencils with Plaid! OH WAIT: Check out this ginormous yarn bombed deer that will stare at you till you are blue in the face. Literally.

Ed Roth Stencil 1_jaderbomb

Not only does he have the cutest face on the planet but he gives the best hugs in the world.

Now if you know me then you know I live in the South, specifically Louisiana which means everyone here loves a good deer in their life. I sometimes pretend I am living in New York with the sounds of horrific traffic in the background and the only chance I will see any deer is by using a stencil like this. I guess I’m not the kinda girl who likes to eat them or hang them on my wall as “decor” but more power to those that do. Today I am showing you how to use this stencil in a spectacular way. So put on your boots because we about to get COUNTRY, urban country that is. On another note check out this business that really is called “Urban Country”. It’s legit.


 Stencil1 has collaborated on DIY events with high-profile brands, like The Gap, Converse, Sharpie, and Etsy, to engage their customers and grow their base through interactive, creative, hands-on experience. Ed is an engaging host who knows his stuff and is equally comfortable in front of a crowd and a camera.
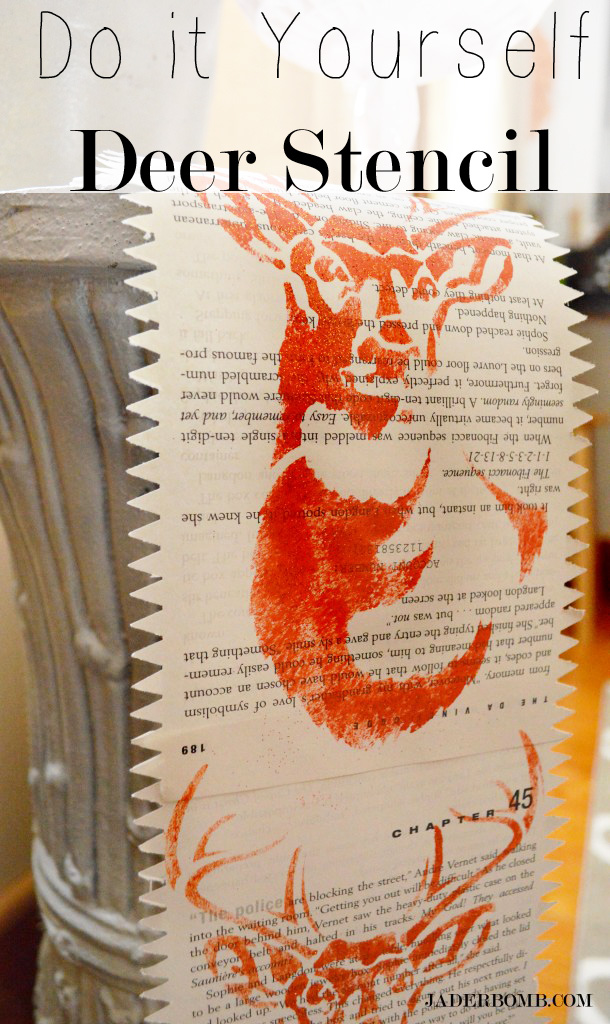
Stencil 1- Deer Stencil Table Liner

YOUWILLNEEDEd Roth Deer Stencil // Book // Craft Paint // Glitter // Craft Knife // Scissors // Tape // Pouncer // Fiskars Paper Punch
DSC_0015
Step ONE: 
Tear out a few pages from a book. You can use any book that you have laying around but for some reason I always crafts with pages from Twilight. I guess I am still a die hard fan. Yes. I still dream of turning into diamonds like Edward did. Go ahead, judge.

You can rip the pages out or use your crafting knife to get a nice fine line. If you don’t have one just grab your trusty pair of scissors.

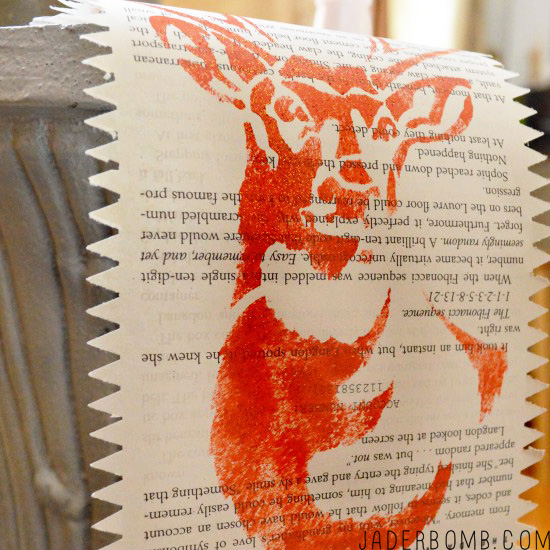
Step TWO: Get your paper punch and punch those pages till they can’t be punched anymore. Notice I am only doing the sides of the sheet. It’s kinda like edging your hairline or your yard. I think. I don’t edge either of those so it’s just a guess.

Step THREE: Line the pages up on top of each other and tape them down on the back side.
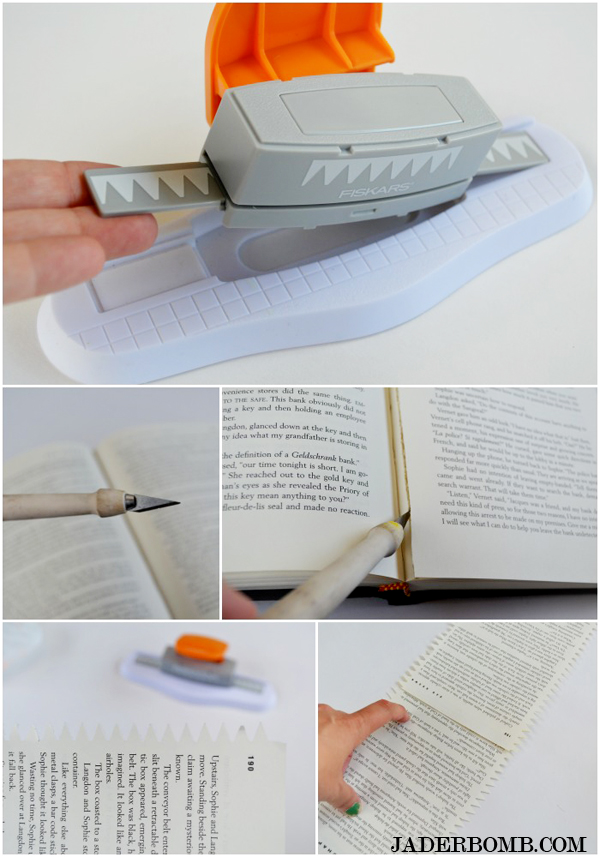
book page paper punch
Step FOUR: Grab your deer stencil and place it on the bottom of your “book sheet table liner”. Grab your dauber and pounce your little heart out with your color of choice.Continue doing this until your get to the end of your liner.  I liked the masculine look of orange or I just thought it’s was sorta “Urban Country” looking. While your paint is still wet sprinkle a little bit of glitter on top and let it dry till the cows come home. That is about 20 minutes.

Or if you are impatient like me you could blow dry that baby.
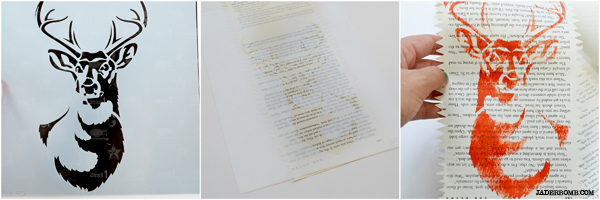
book page table runner deer head stencil

craftgawker1

Note cards are always fun to make which is why you have to see what I made on some precious rainbow cards!

Don’t forget to connect on social media! Make sure to use use the hashtag #JADERBOMB and you might see your stuff on Instagram or Twitter or Facebookor Pinterest.
HAVE A GLITTERY DAY! ♥, Jade

HASHTAG LOGO


ST_12_months_of_Martha_Logo-1How to make a Paper Cone

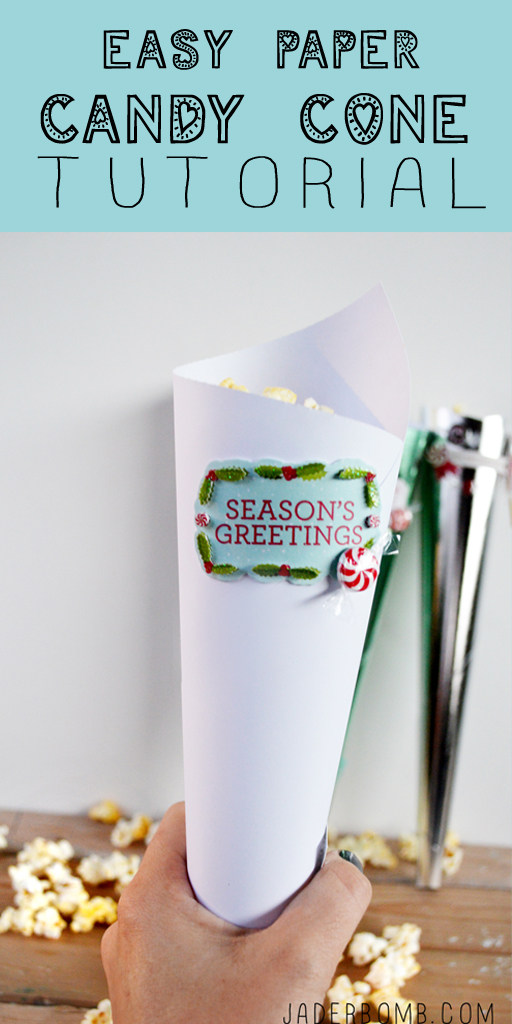
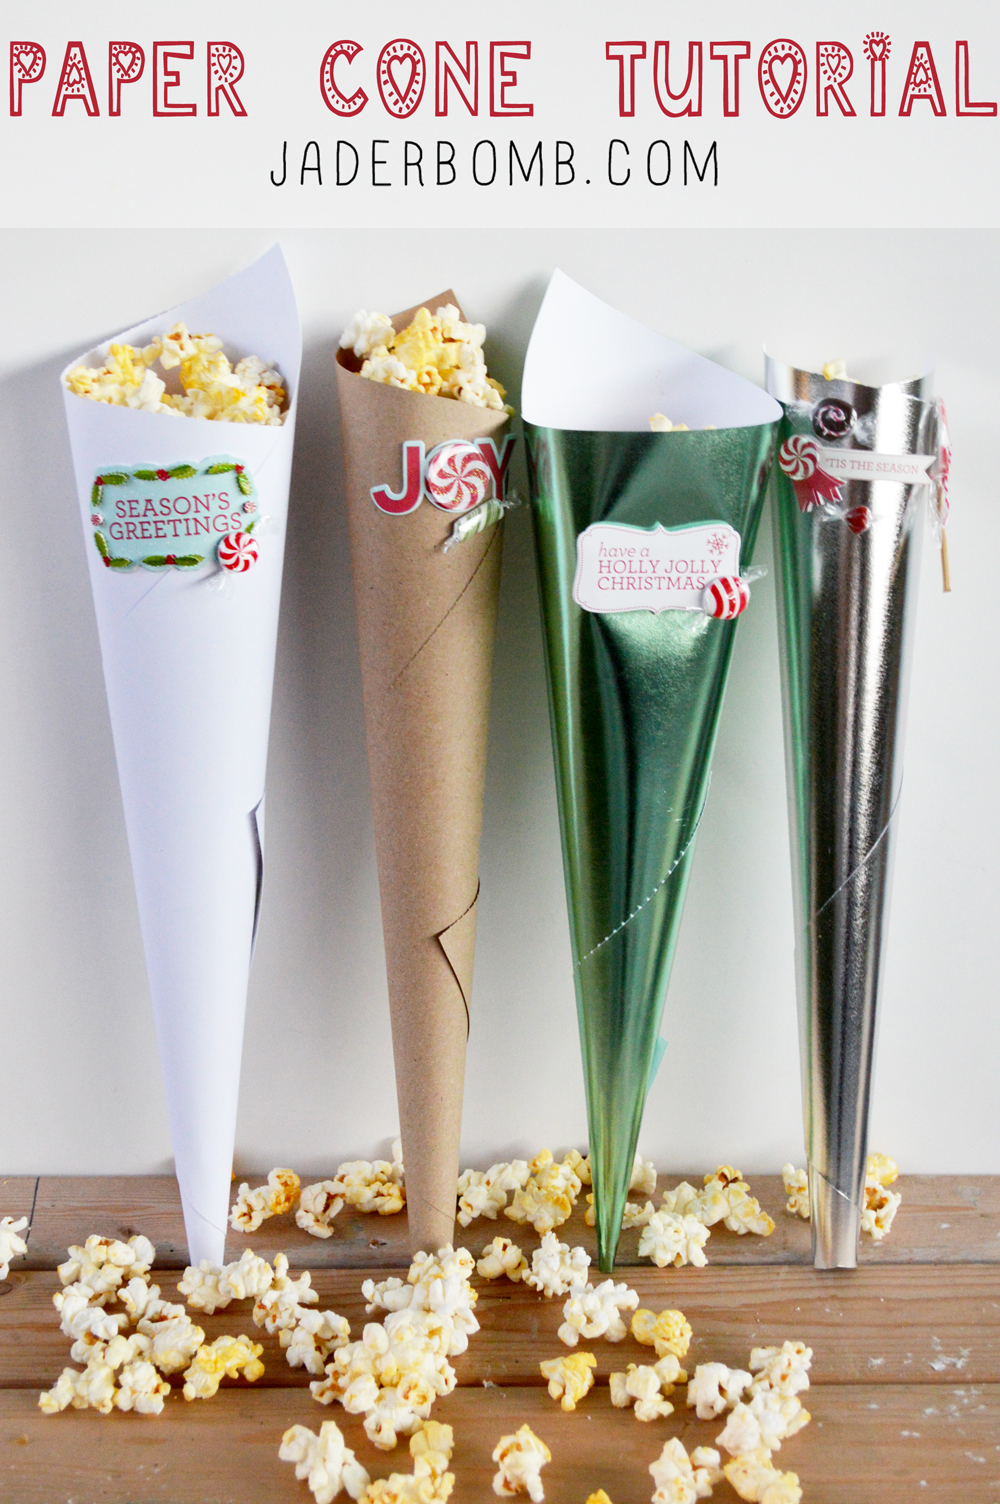
What’s better than Popcorn? Getting Popcorn in a paper cone, y’all!

Now before you flip out with excitement I will need you to put on your Christmas shirt and grab a movie. Preferably UP. Wait, did you see my post I did yesterday on the I love to create website? Check it out Here.

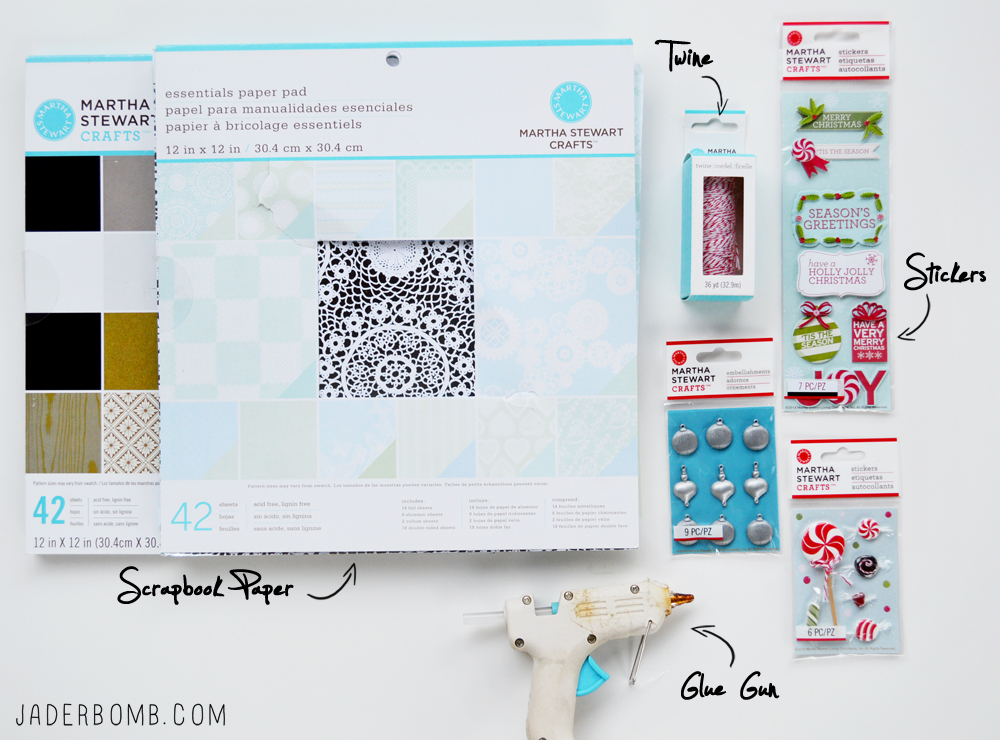
Let’s get started because I am eating all of the popcorn. YOUWILLNEEDMartha Stewart Craft Paper | Baker’s Twine (optional) | Christmas Stickers | Glue Gun | Love
DIY SNACK CONTAINERSThe first thing you will do is lay a sheet of paper out flat and start rolling from one corner to the next. It might feel awkward at first but you will get the hang of it. howtomakeapaperconeIt will start to look like this on the end. With a little practice (maybe a minor heart attack) you will get a nice pointed tip.
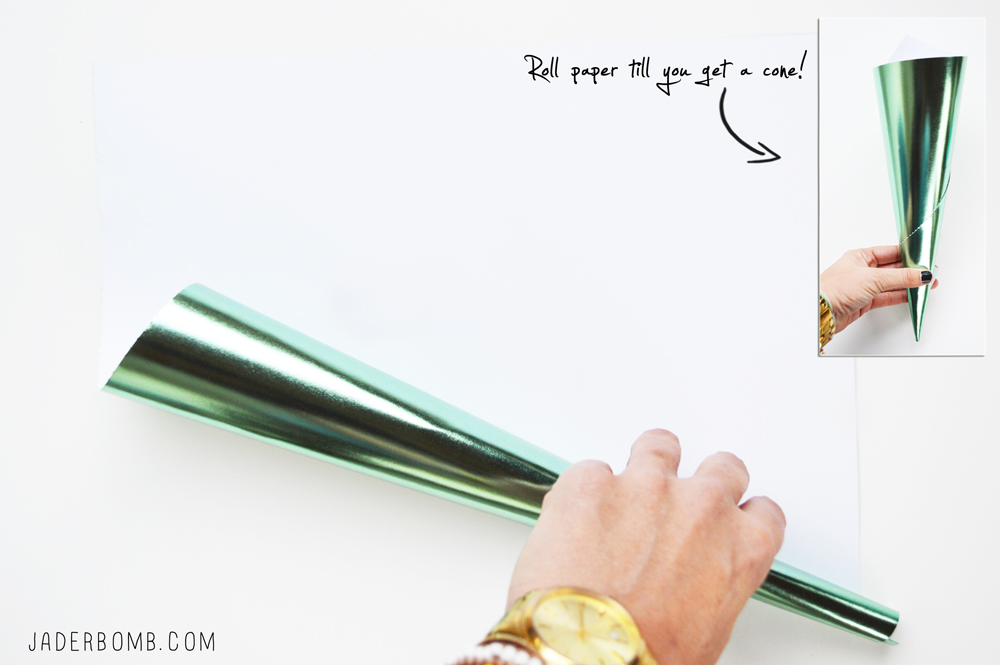
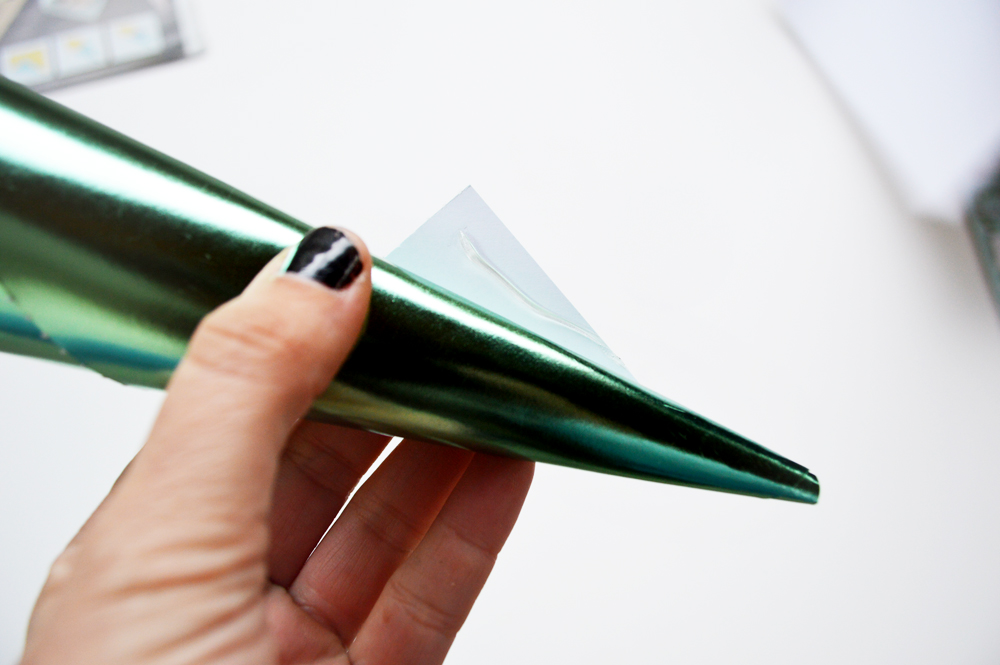
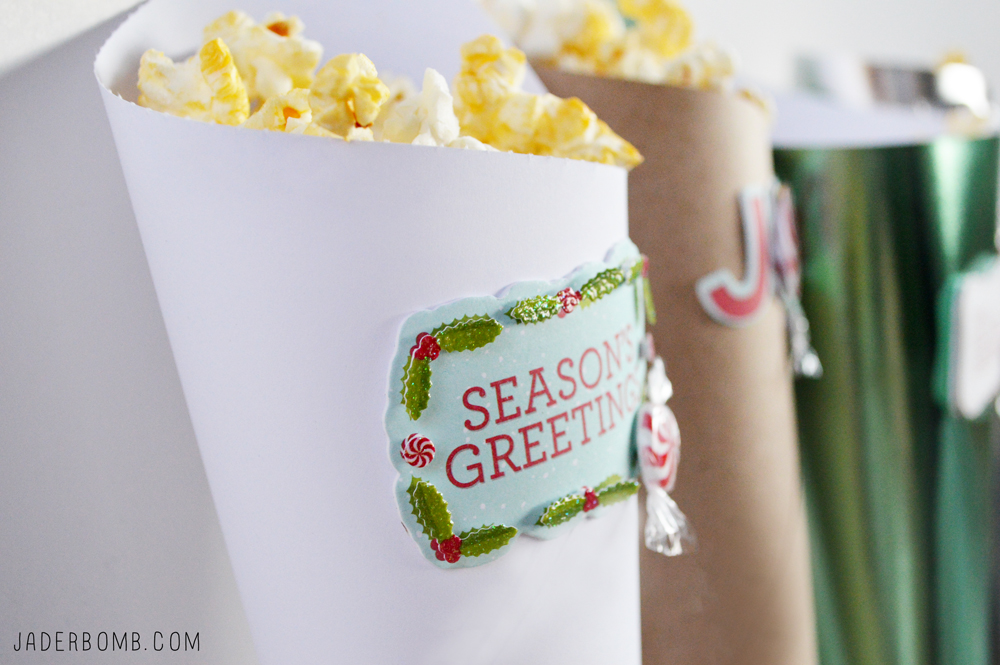
Whatever you do, don’t ask me how how many times I threw that sheet of paper down on the ground while walking away like a mad little kid <——– teehee. make a paper cone snack containersWhen you are done rolling your paper you will have this little piece of paper hanging off of the top. Don’t worry it’s supposed to be there. If it’s big enough you can fold it down and clip it with a button or something. You can use a hole puncher and attach with baker’s twine also. paper containerI used Martha’s new stickers on my paper cones. I love how they add just enough to the cones. marthastewart peppermint stickerspopcorn holder paper coneYou can fill these with anything your little heart desires. I wanted to hand out popcorn to my family and thought that would be the perfect filling. diy paper conesdiypaper cone craftDisclosure:  I’m part of the 12 Months of Martha program. What does that mean? Well, my stop mom “Martha” sends me a box of yummy goodies each month and in return I create fun tutorials just like the one today for you.
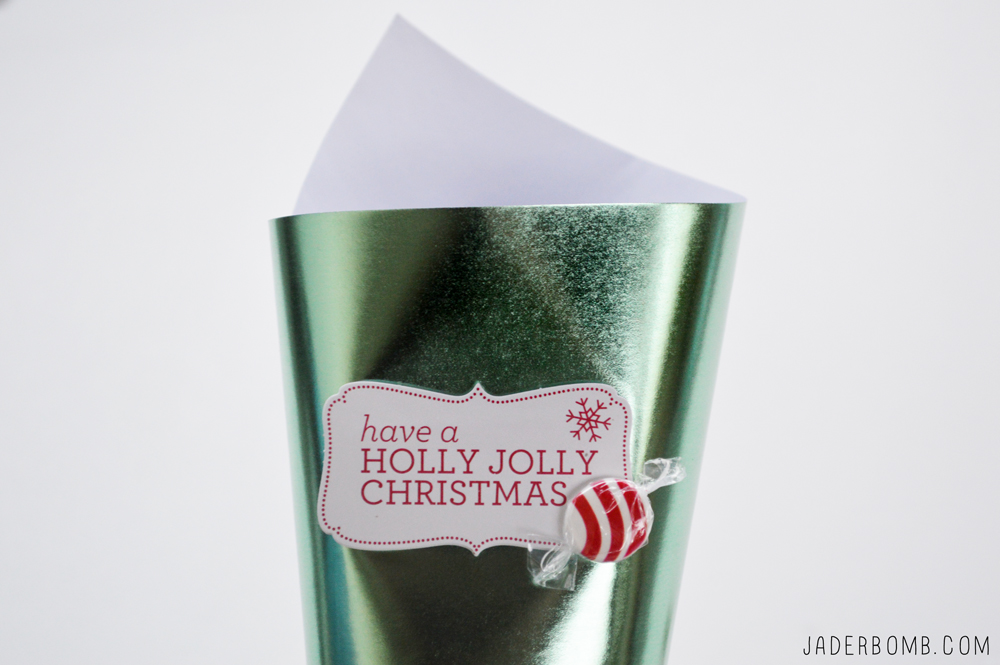
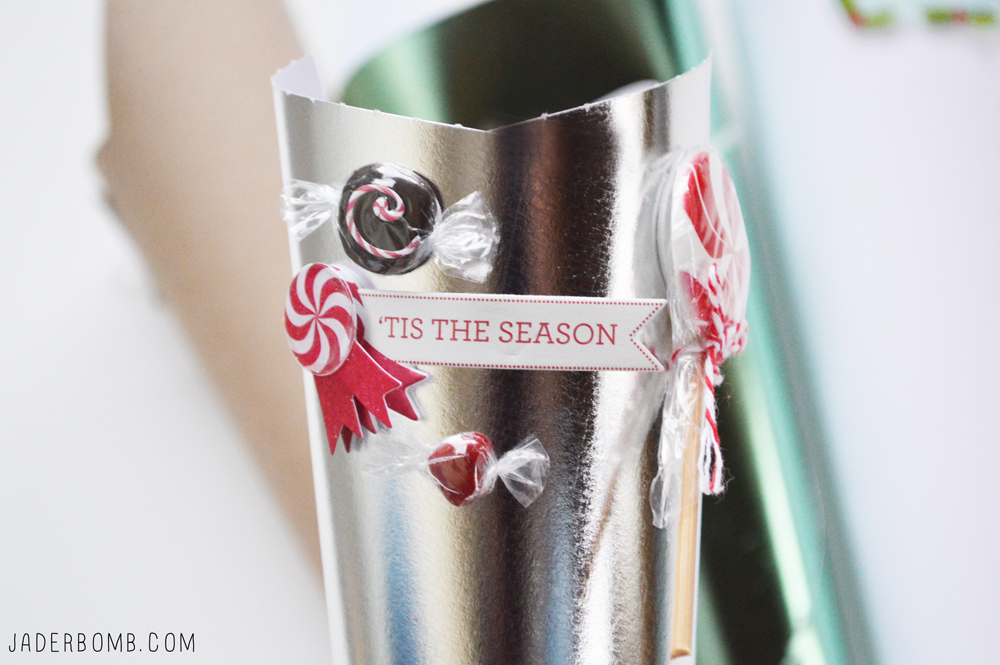
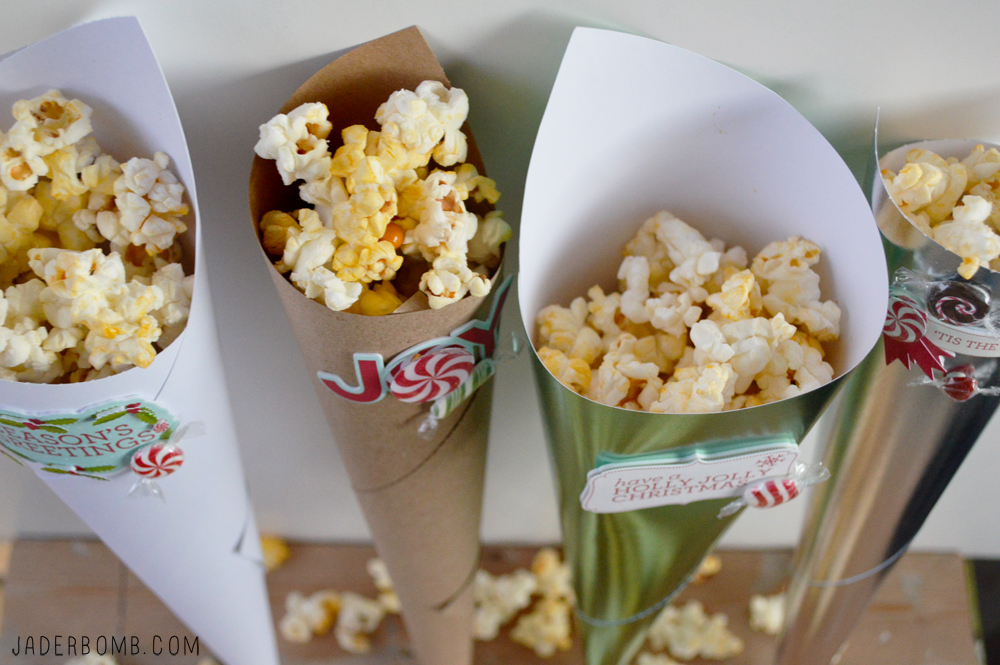
Happy Holiday’s from my little golden heart to yours! What will you fill your cones with?

jade

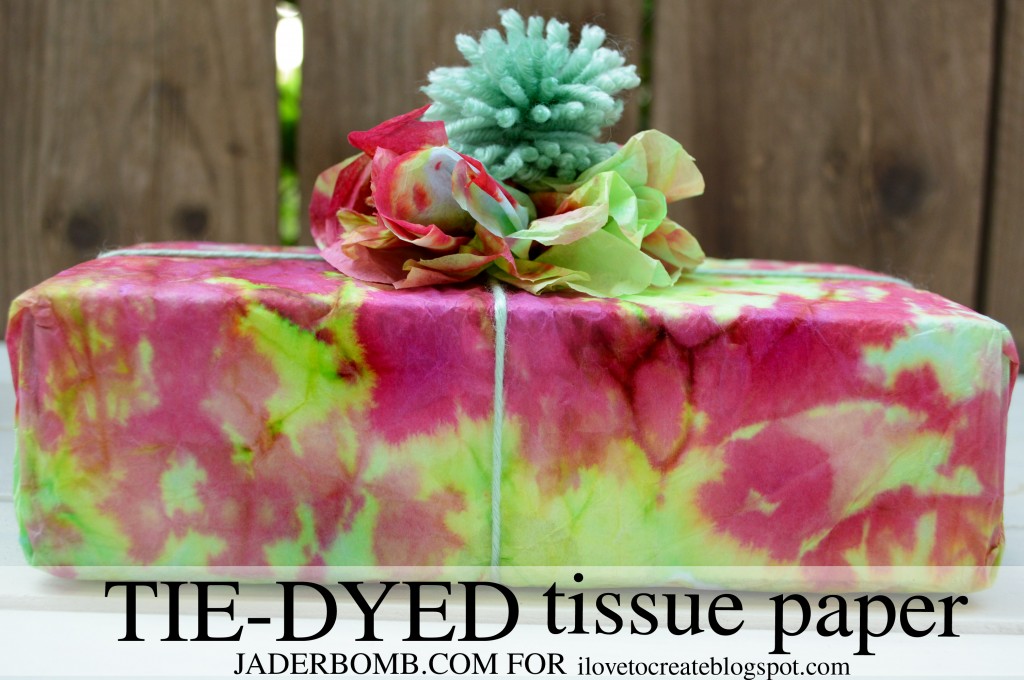
Happy Friday! I am so stinking excited about this post mainly because it’s so fun to make it. I write for I love to create every two weeks and I am always looking for different ways to incorporate tie-dye into our lives. You know, creating ways other than doing a t-shirt. I was in my studio looking around while trying to find inspiration one day and I glanced at my huge box of tissue paper. If you are a DIY’ER then you know it’s always good to have enough of this! You can mod podge it onto things, make tissue balls, or just Tie Dyed Tissue Paper . I was unsure of the way it would turn out but don’t you worry, I made all of the mistakes necessary before I shared this with you. So what are you waiting for? Hurry and check out the FULL TUTORIAL HERE! 

Oh and if you are on Pinterest make sure to follow all of my boards, I promise I will give you loads and loads of inspiration daily. Find me HERE!

Tie Dyed Tissue Paper

 How cool will if be for Christmas when you wrap everyone’s gifts with tie-dyed tissue paper. I can’t wait because I have some cool Christmas ideas in my head.

tie-dyed-tissue-paper


I hope you enjoyed this tutorial, see ya tomorrow!

Big Glittery Hugs,
Jade

Quote of the day:
“After hard work, the biggest determinant is being in the right place at the right time.” -Michael Bloomberg
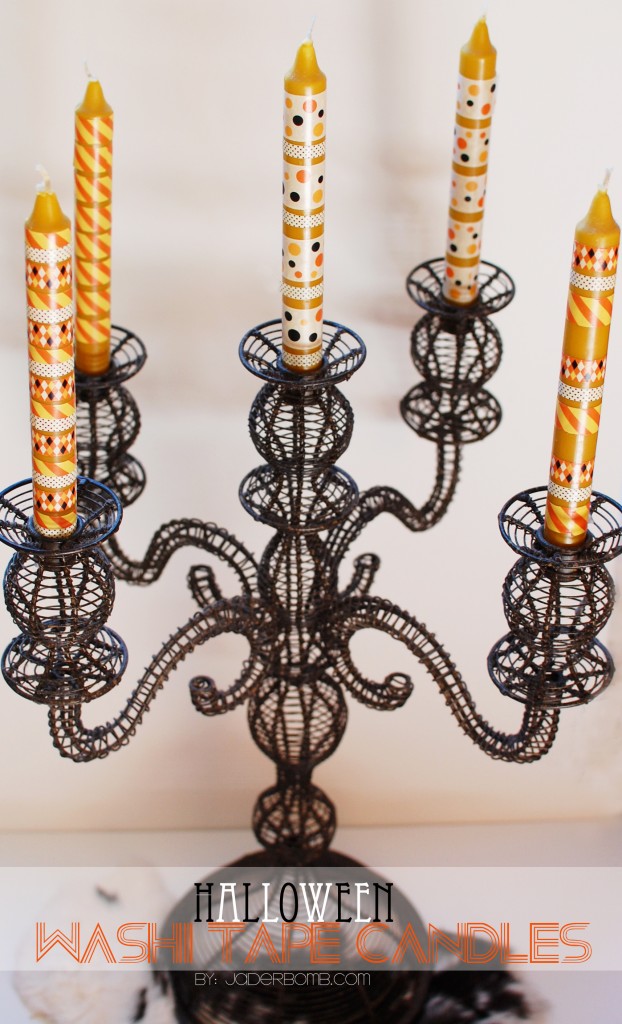
Are you ready to make Washi Tape Candles? I know I am so let’s get started!

I really love making crafts that are easy, affordable and easy. Yeah, I know I said easy TWICE because that is my favorite part about it!
Since your candles are made of wax when you are ready to take off your washi tape it will come right off. You won’t have to worry about damaging your candle. I used long thin candles because I wanted to dress up my centerpiece on our table. I keep this baby up year round. So, when Christmas comes around guess what I will do…prolly grab some white pillar candles and put Christmas washi tape on them. Wanna see how easy it is to do this? If you want to see how I made HOMEMADE WASHI tape click HERE.

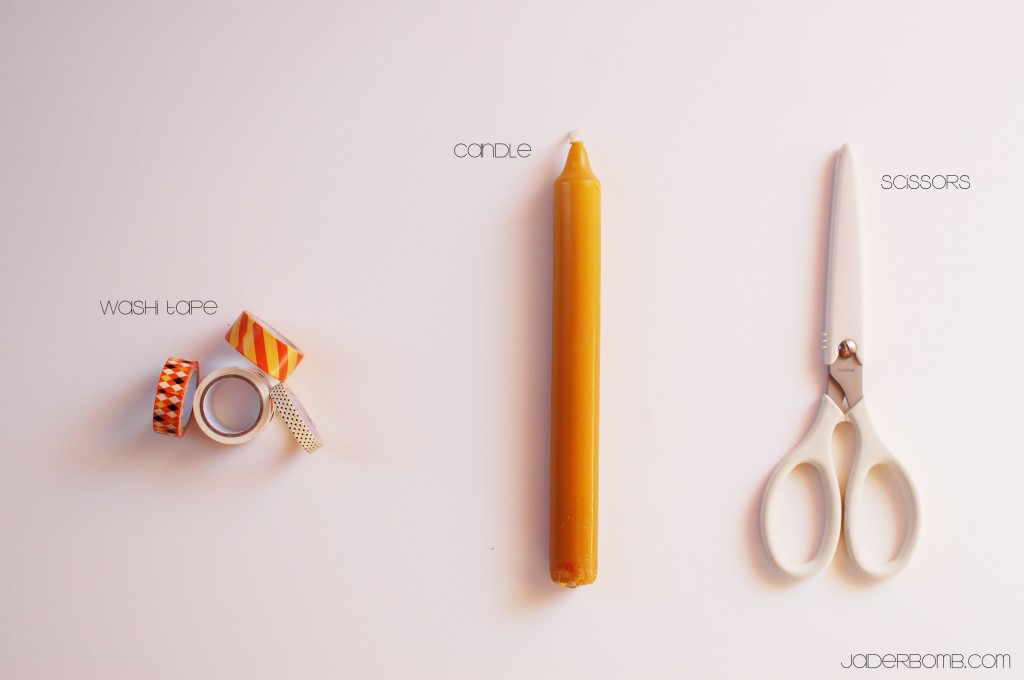
INGREDIENTS:

*Washi Tape
*Scissors
*Candles

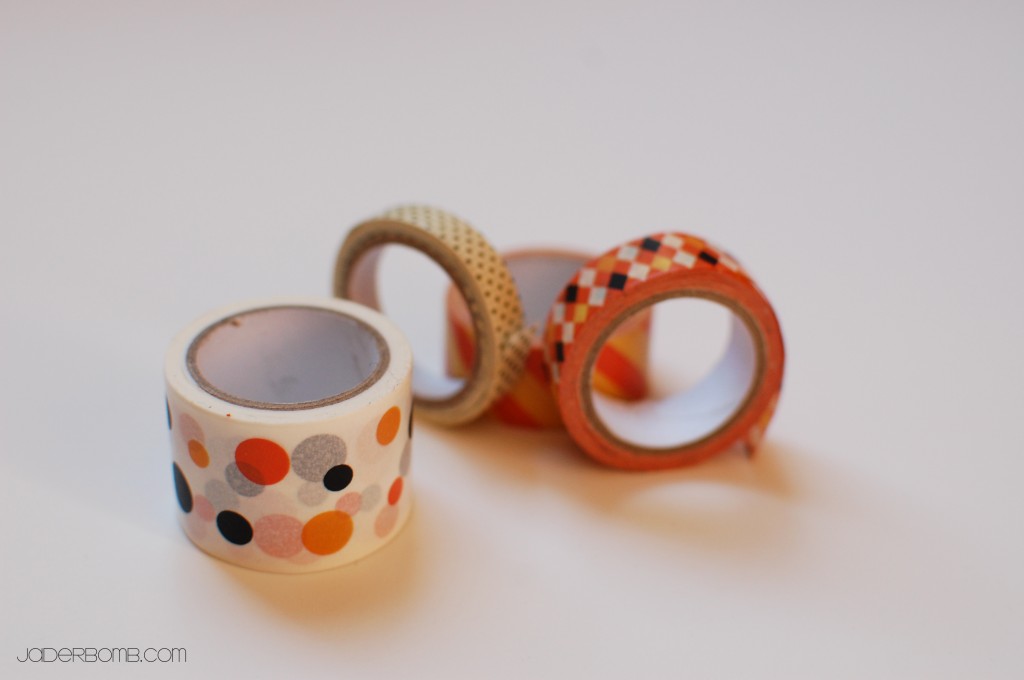
I am using Halloween washi tape by Martha Stewart. You can buy directly from the link under my ingredients (above).

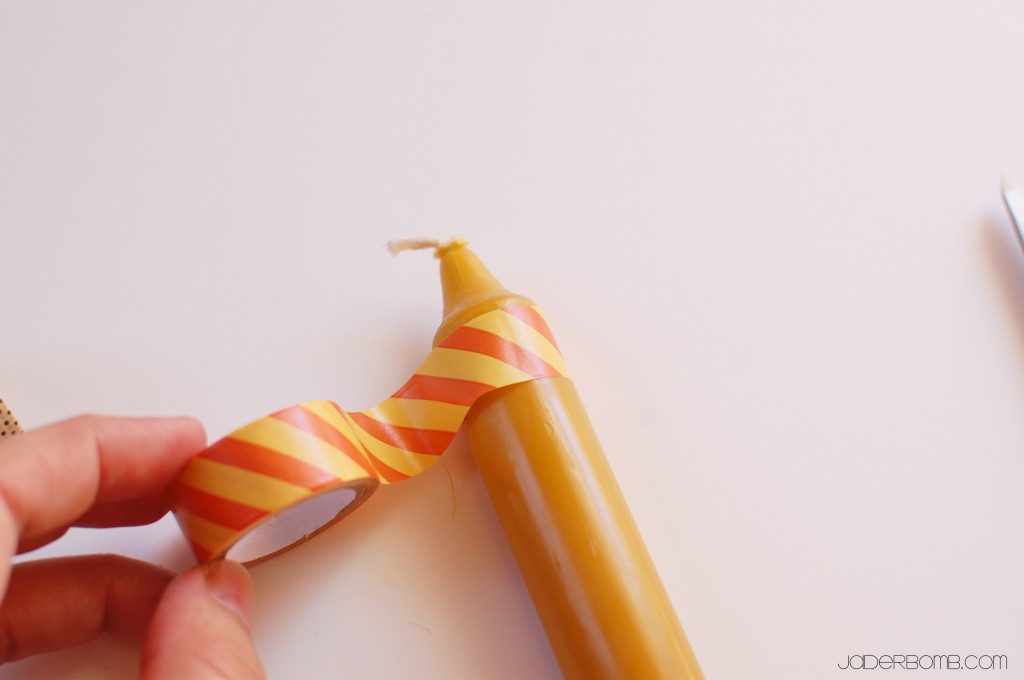
The first thing you will do is stick the end of the washi tape on the candle.

Wrap it till it meets the other end of washi tape, then SNIP it!

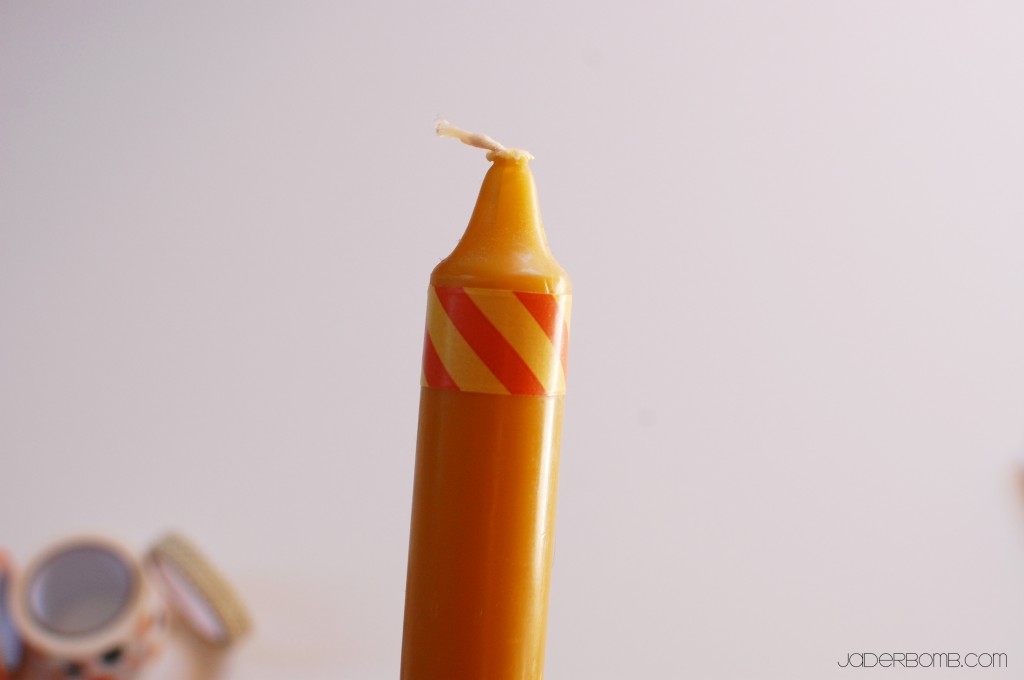
Tadah!
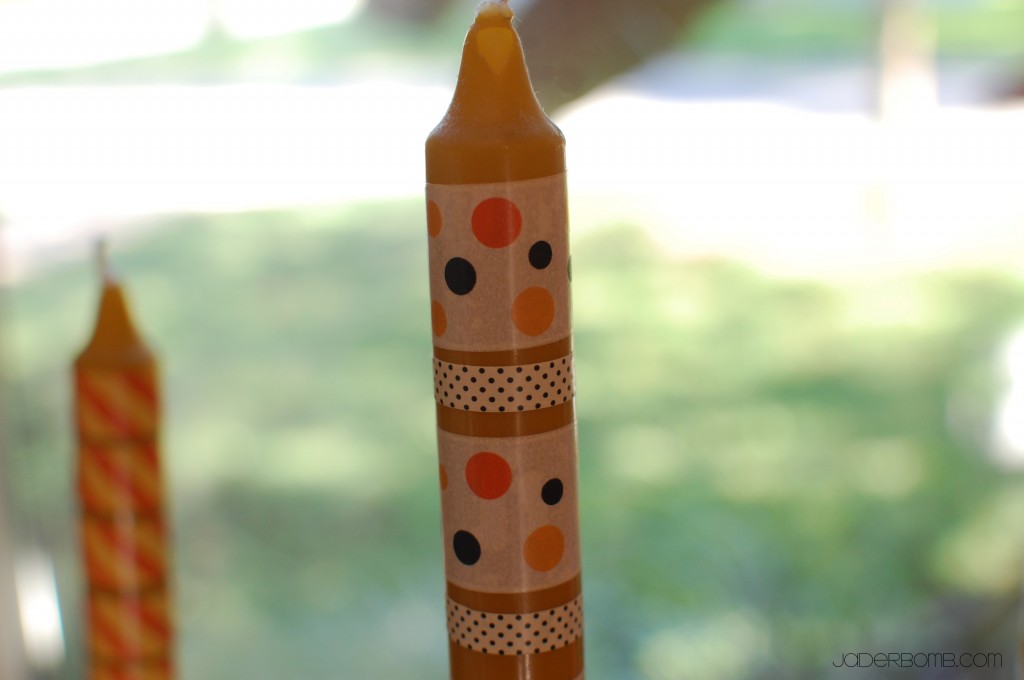
This is the end result! The fun thing about this craft is you can use whatever washi tape you want and this is practically good for ANY occasion. A simple candle can turn into a work of art with this tutorial.

I hope you enjoyed it… See you in the NEXT post.

*Have you seen my vintage CHRISTMAS lights printable. Click HERE to download it!


Quote of the day:
“The universe is not hostile, nor yet is it friendly. It is simply indifferent.” -John H. Holmes

I hope everyone had a good day today! I know I was supposed to post this last night but I had a major set back. I have been suffering from the worst ear ache ever! I don’t know if you have ever had a bad ear ache but it’s not fun. It kinda feels like someone is trying to pull a tooth out of your mouth with no medicine, BUT on the other hand thank goodness for family doctors who can call in meds over the phone for ya! Phew, I feel much better now.
(insert a dazed and confused jaderbomb sitting at the computer, haha)

Since everyone is already jumping on the Christmas wagon I figured I would too. I get a lot feedback on my printable’s so I could not wait to post this sucker! I love writing notes to people, writing down recipes, making a fun grocery list or making fun scrapbook pages. What is this printable good for?

ALL OF THE ABOVE AND MORE JADERBUGS!

I made a few colors for you in case you would like to print them out, put a picture on it then frame it! These are so cute, right.

You can either save the picture to your desktop and print it out that way or right below the picture you will find a link to the full sized PDF. This is an 8×10 print but you can scale it down if you want.

Click HERE to download PDF.

Click HERE to download PDF.

Click HERE to download PDF.

Click HERE to download PDF.

—————————————-

Hope you enjoyed the FREE printable I made ya! See ya in the next post.


Paper Butterflies Tutorial


I am sitting here eating cool ranch doritos and watching Dog the Bounty Hunter. LEMME tell you how nice this is! I forgot what life was like without reality television. Remember the Cosby’s… Seinfeld… I still love those shows!

{{ Oh wait, what about Roseanne!! I LOVED that show growing up }}

I can’t wait to share with you fun and exciting EASTER crafts the rest of this week! It’s time to decorate and I will be your assistant ((wink wink))

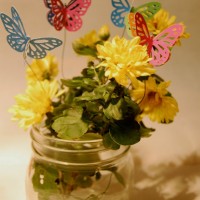
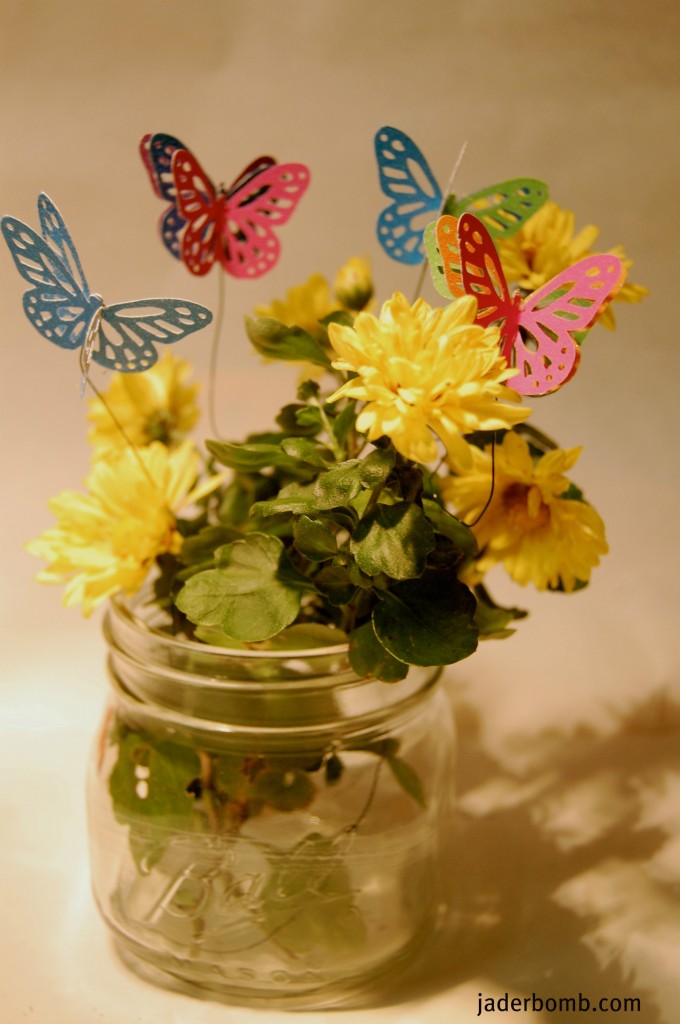
I could not wait to share this craft with you because it’s perfect for EASTER and SPRING. I mean, if you LOVE butterflies then you will keep these suckers up year round! It is absolutely the easiest craft ever and you will have a blast doing it!

Let’s get started Jaderbugs

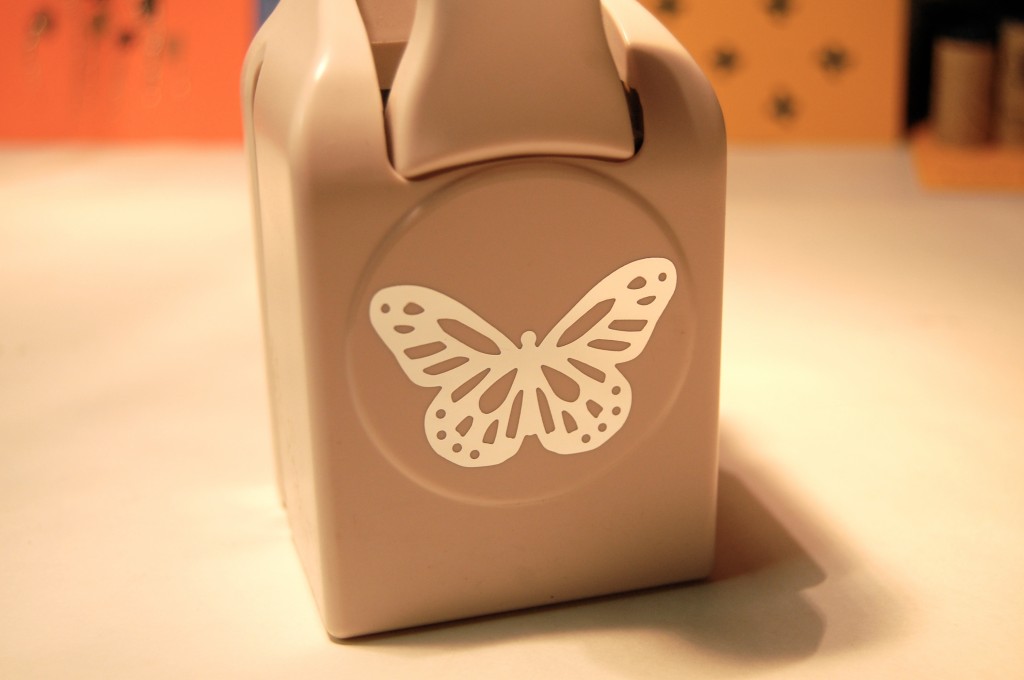
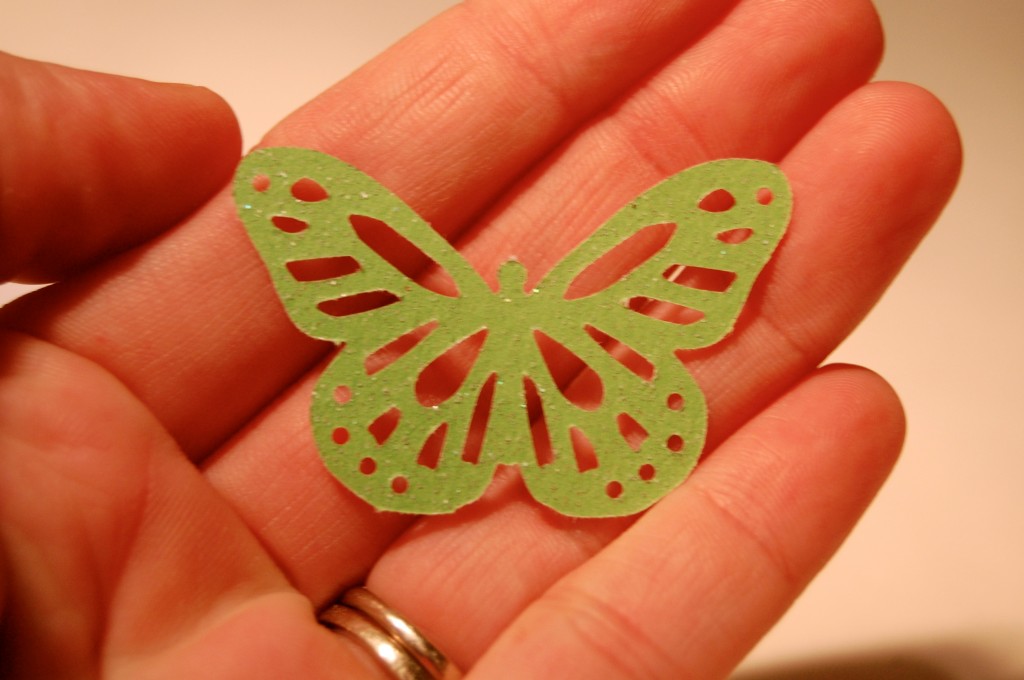
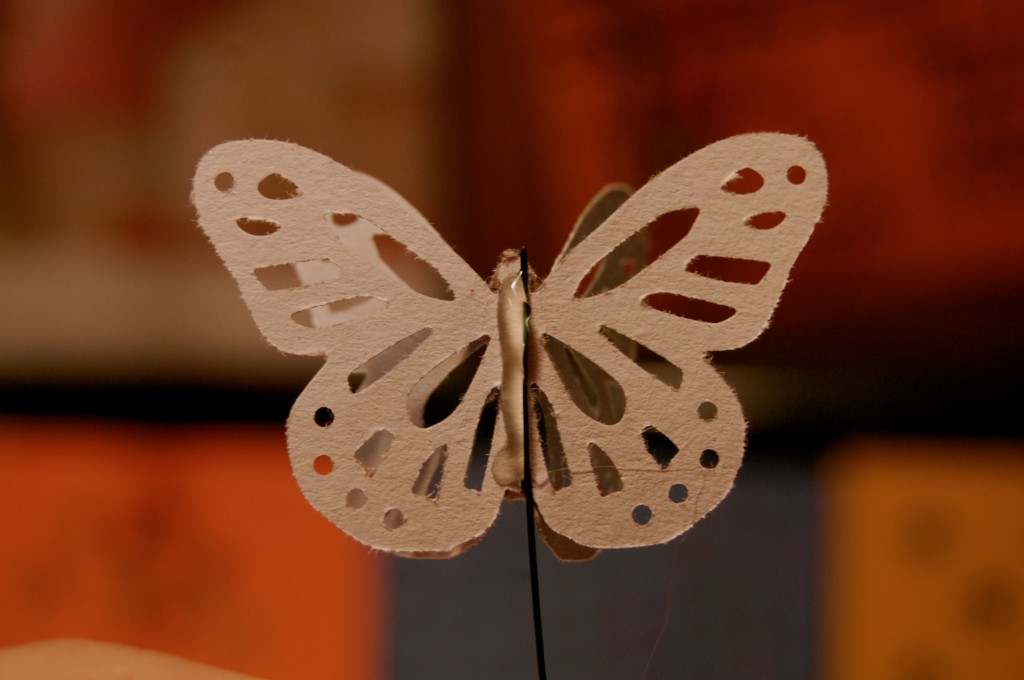
Get a Monarch Butterfly Punch. You can order one or get it at Michaels Arts and Crafts.

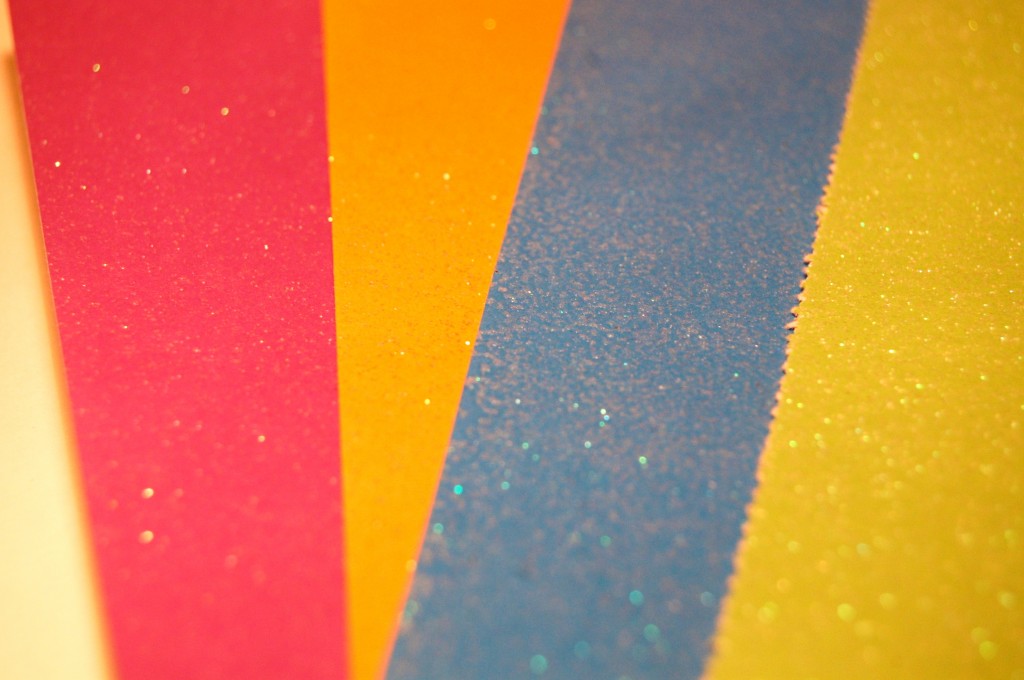
Grab some scrap book paper and get to punching!

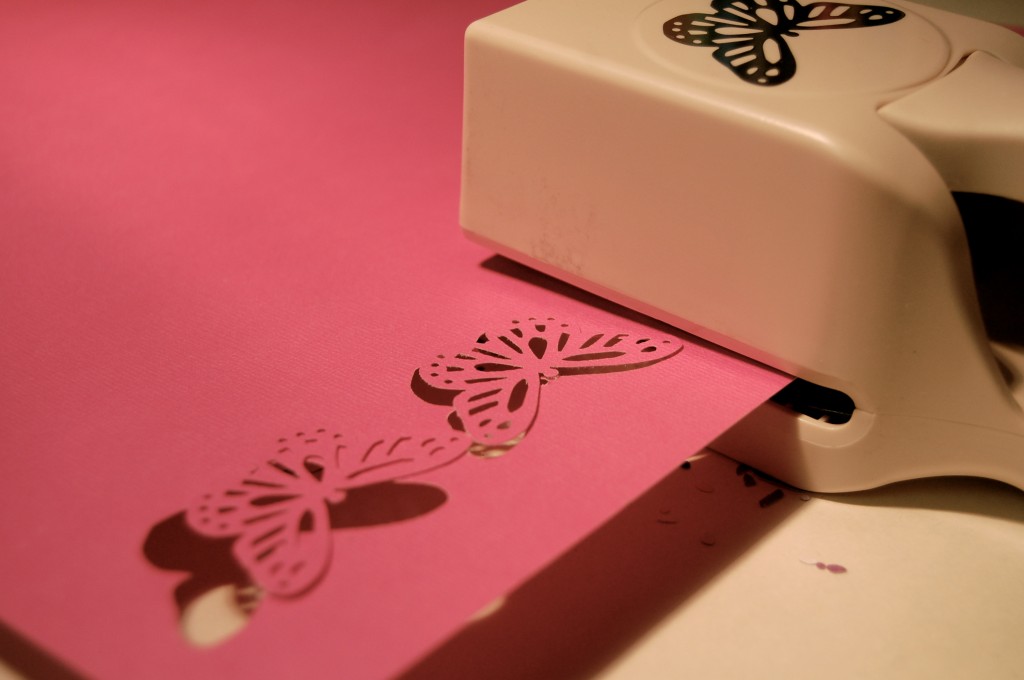
Place your paper in the slit and give it one good punch. You barely have to press it. It really works so easily!

How pretty is this!

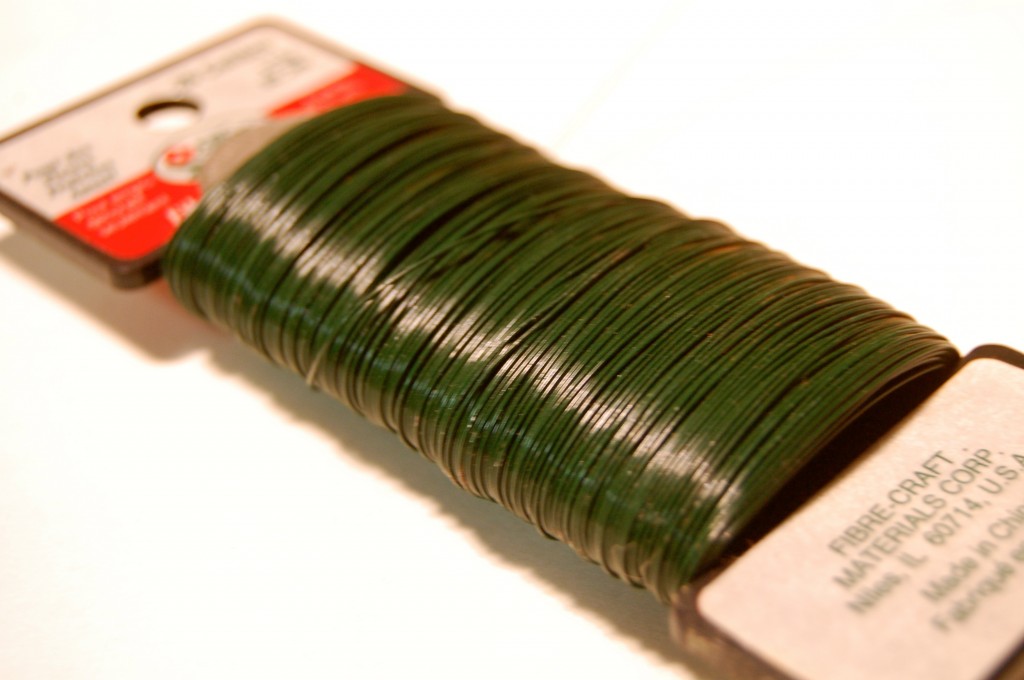
I am using floral wire which you can get at your local craft store.

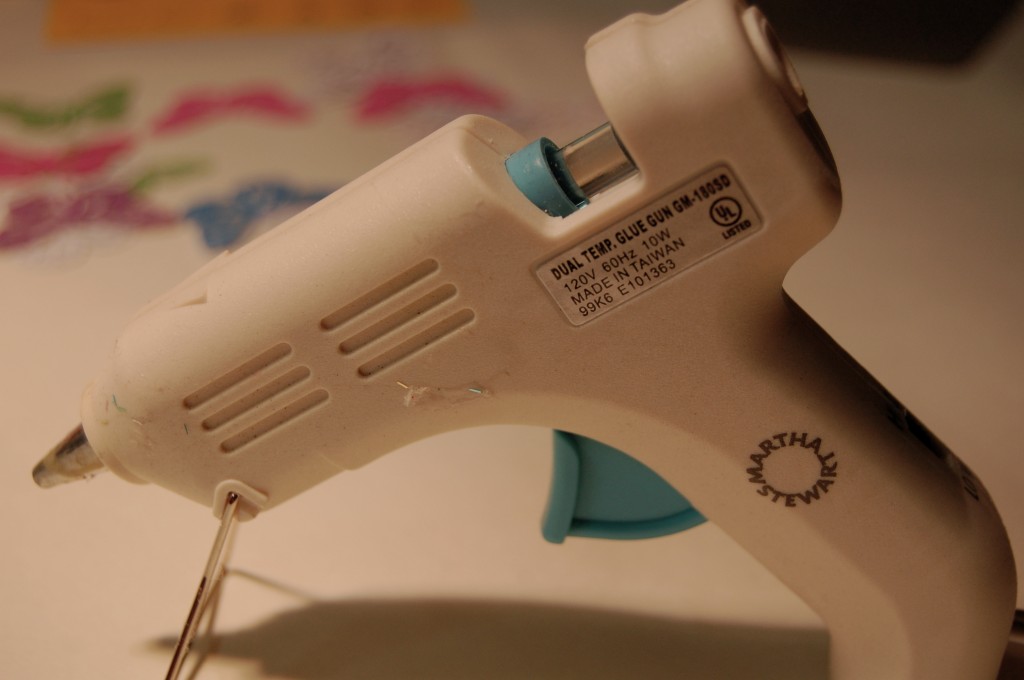
Get your handy dandy glue gun! This glue gun has dual temperature  so it’s really cool to work with! A must have for your “wish” list!

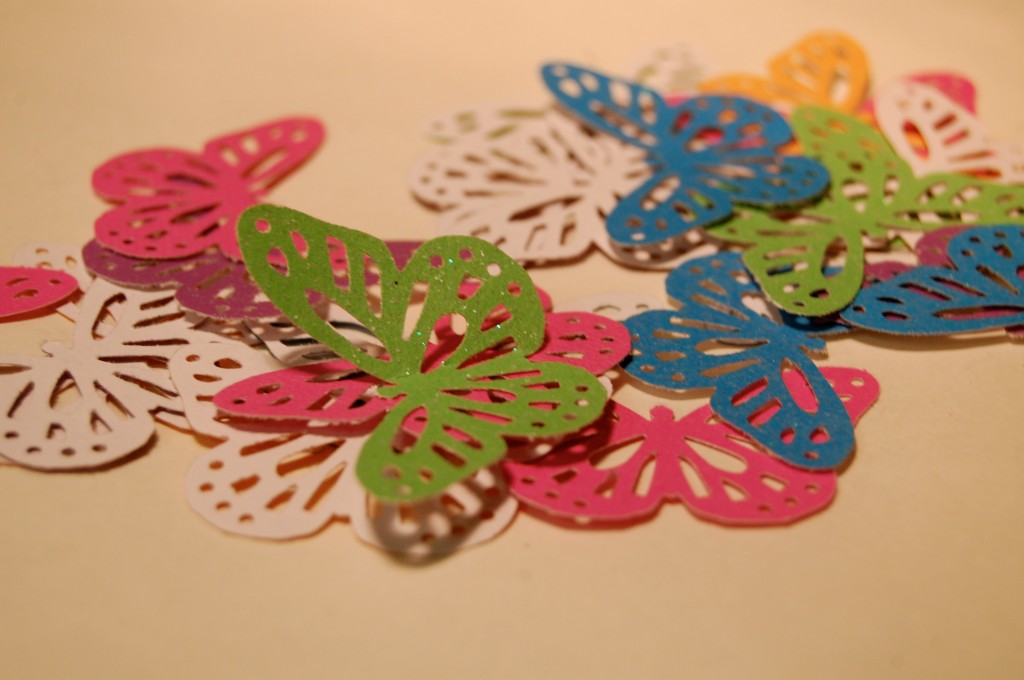
They come out FLAWLESS!

After you punch your butterfly out put a line of hot glue along the back of it then place a piece of your floral wire in the glue.

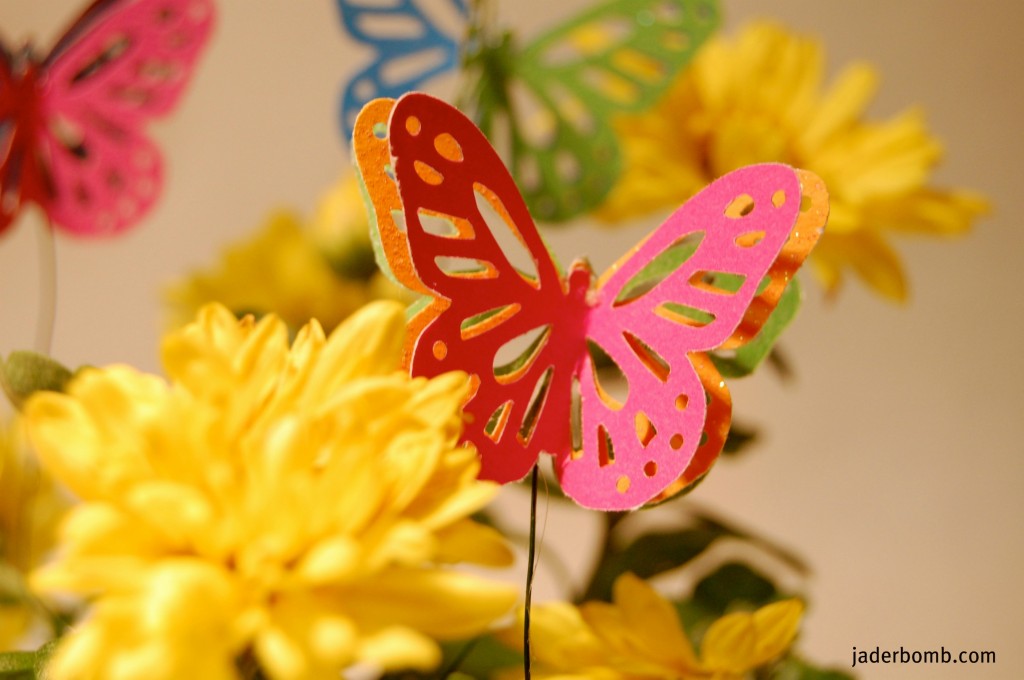
I like to glue two or three butterflies on top of each other. It adds a whimsical touch. Make sure if you do this you separate the butterflies.

 Sending you butterflies to make your world brighter,

This post is brought to you Plaid’s Martha Stewart line of paint and stencils. I received product for this post. All opinions expressed are 100% mine. You can check out Plaid’s full Martha Stewart product line here