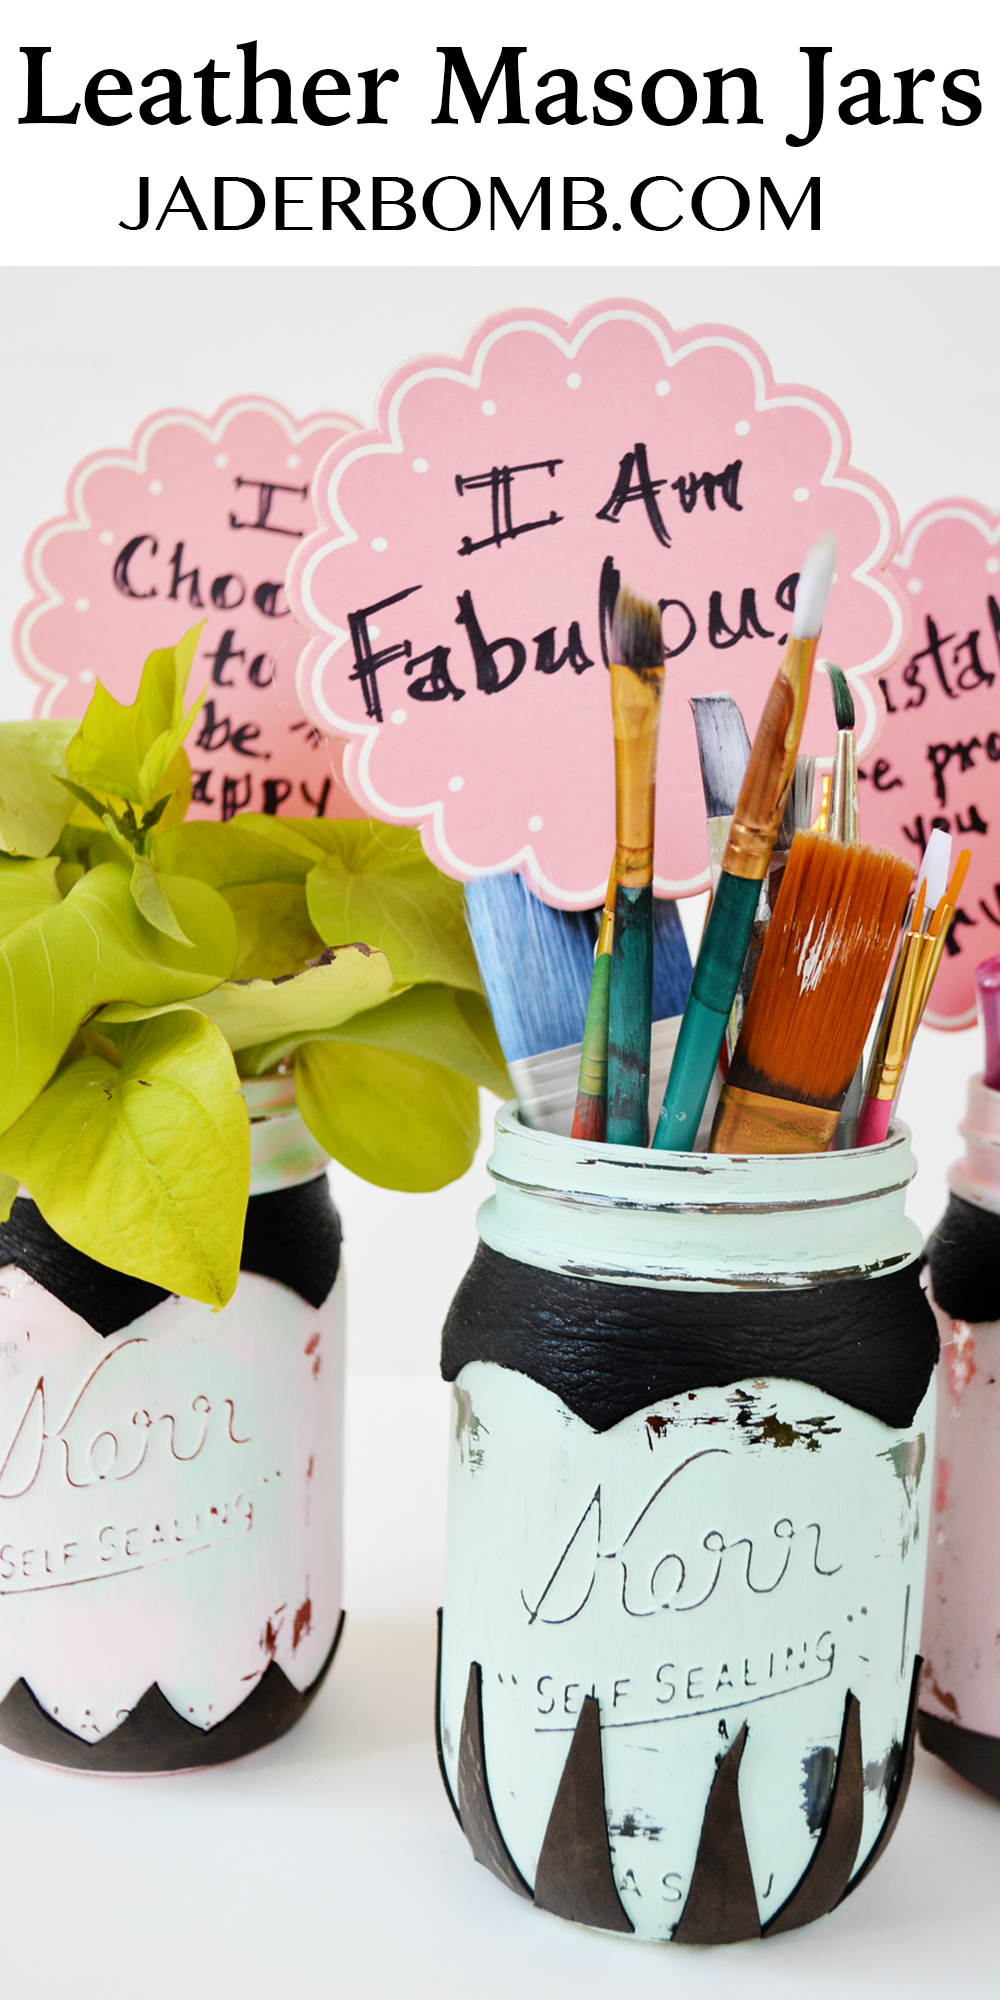
Hi Friends! It’s been a hot minute but that’s ok because I have been whipping up some rad projects in the studio for you! Today I will show you how to make these classic Leather Mason Jars.
I while back I was contacted by Xyron to review their new Creative Station. I have never used any of their products before so you can imagine my excitement! Now I know a lot of crafters out there use this machine for scrapbooking however I wanted to change it up and do a cute DIY for you.
This is a sponsored post. All opinions are 100% mine.
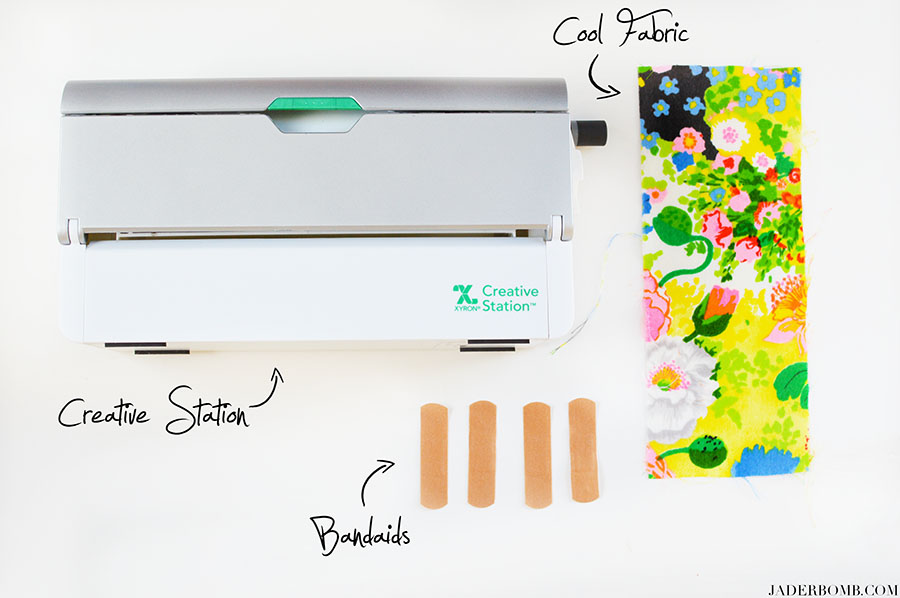
Creative Station
A bold new design and great new features add even more versatility to the all-in-one Xyron Creative Station™. Adding adhesive, magnet or laminate to your projects has never been easier. Now you can use both 5in and 9in Creative Station cartridges letting you replace 2 of your machines with this one sleek gadget. Save space at home and waste less by changing the refill size to fit the project. When you upgrade to the new Creative Station, you will love using the same patented cartridges you have always trusted for your most important projects.
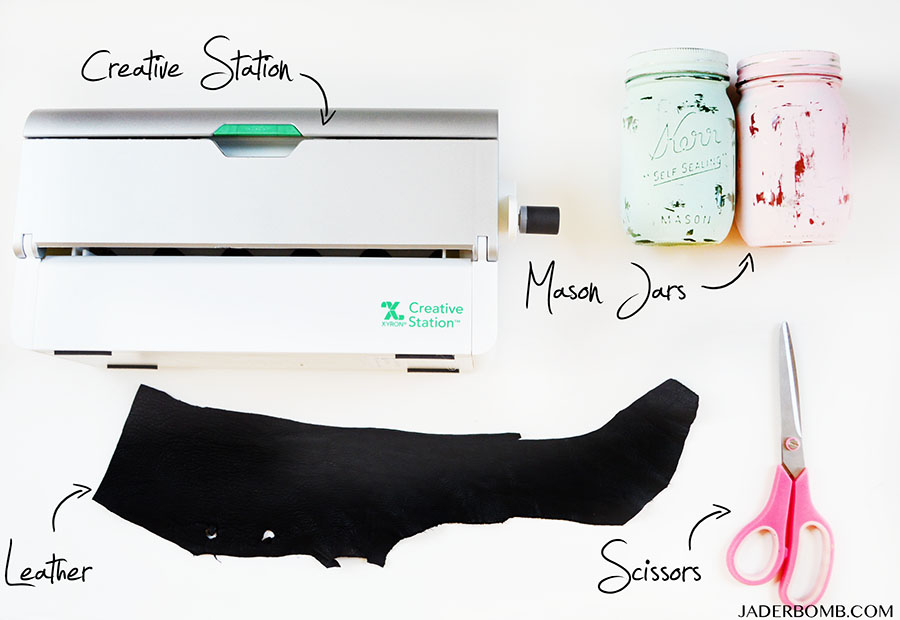
You will need:
*Creative Station
*Mason Jars
*Leather
*Scissors
The mason jars I used in today’s post I created a while back. You can click HERE to see exactly how I made them. Trust me they are so easy to make and SUPER fun!
Create.
With the all new Creative Station, your projects will look better than ever – no matter how big or small!
First I want to go over a few things on the new Creative Station. It’s really easy to work with and you will realize it when you get it.
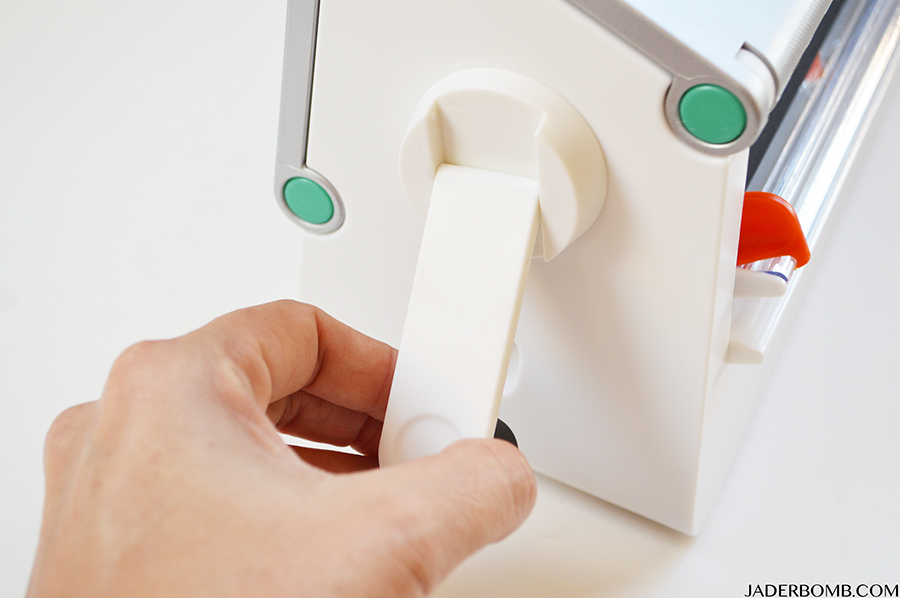
On the side of the machine there is a handle that is tucked into the machine. Simply pull it out and it will be ready to use.
They have a green button on the from of the machine that opens the top portion. You will open this when want to refill or replace your cartridges. When you are done close the top piece securely.
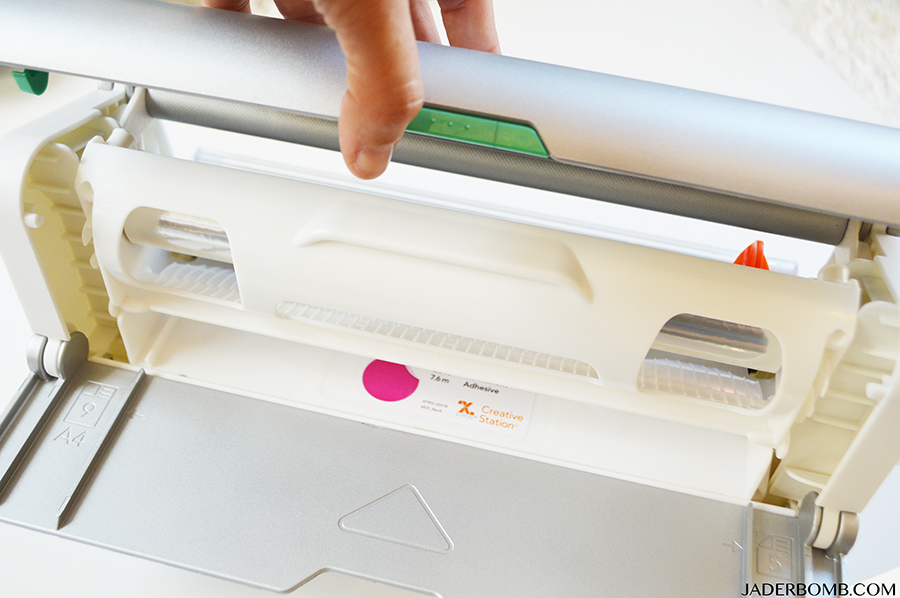
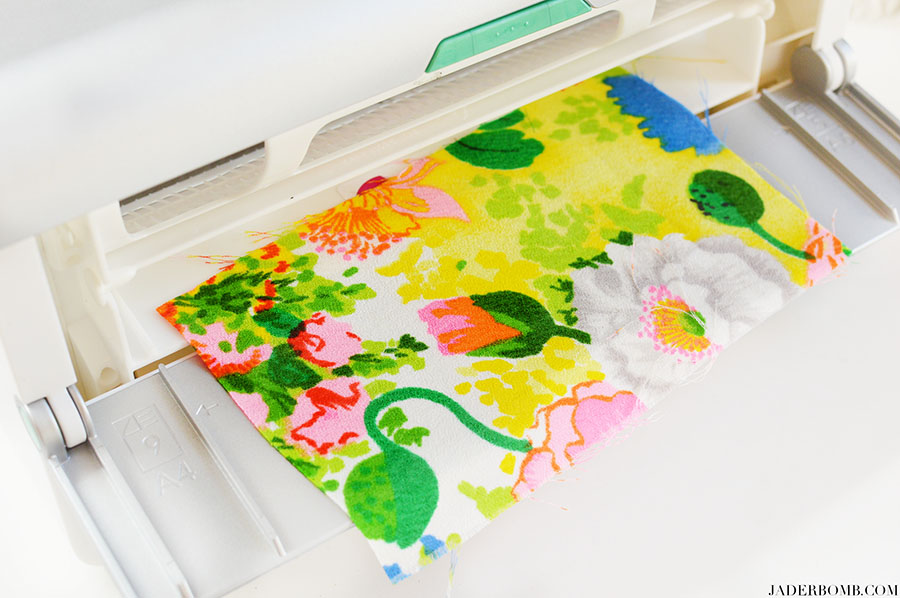
They have a silver flap that opens which allows you to place things on before sending it through the machine. It holds sheets of paper nicely also!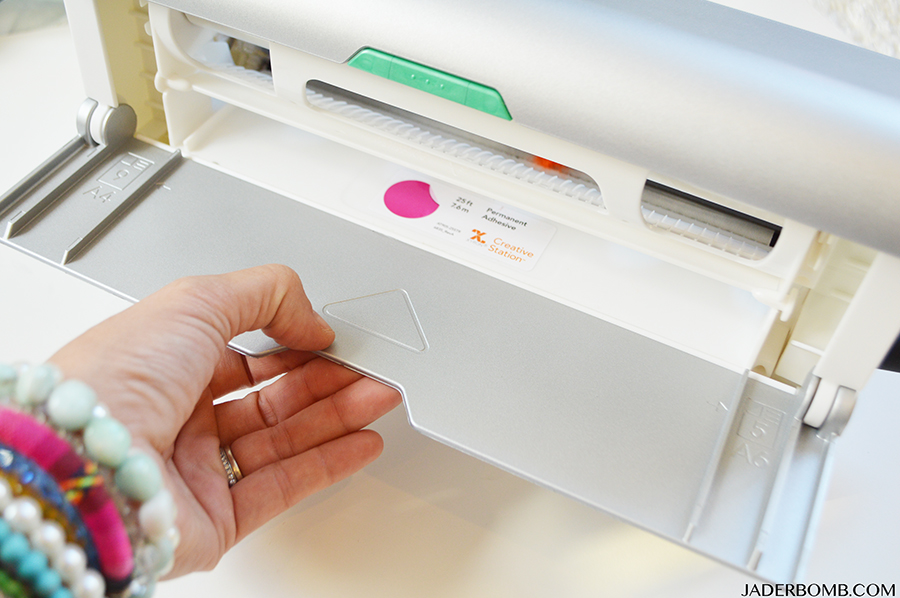
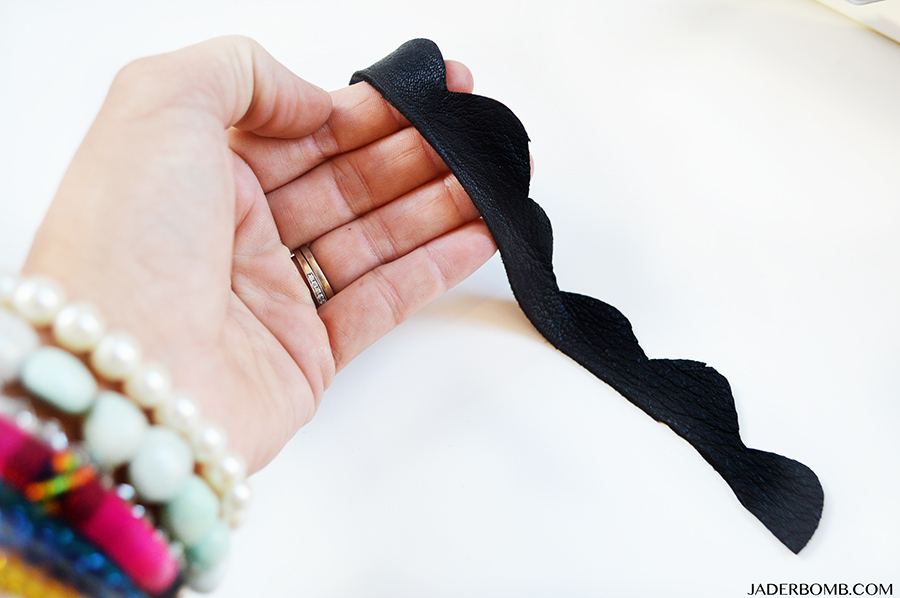
Step One: Cut your leather in the shapes you want. I wanted to have multiple shapes so I cut my freehand.
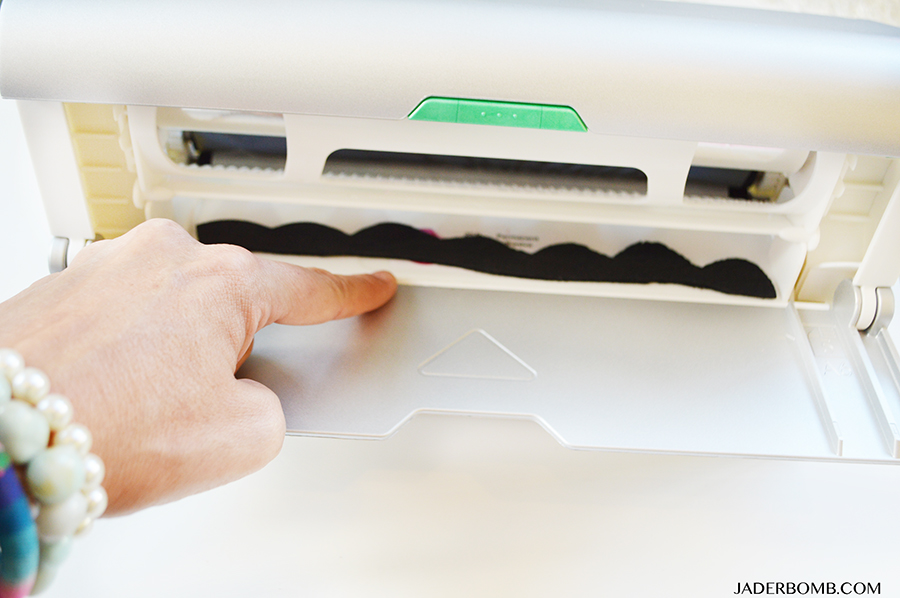
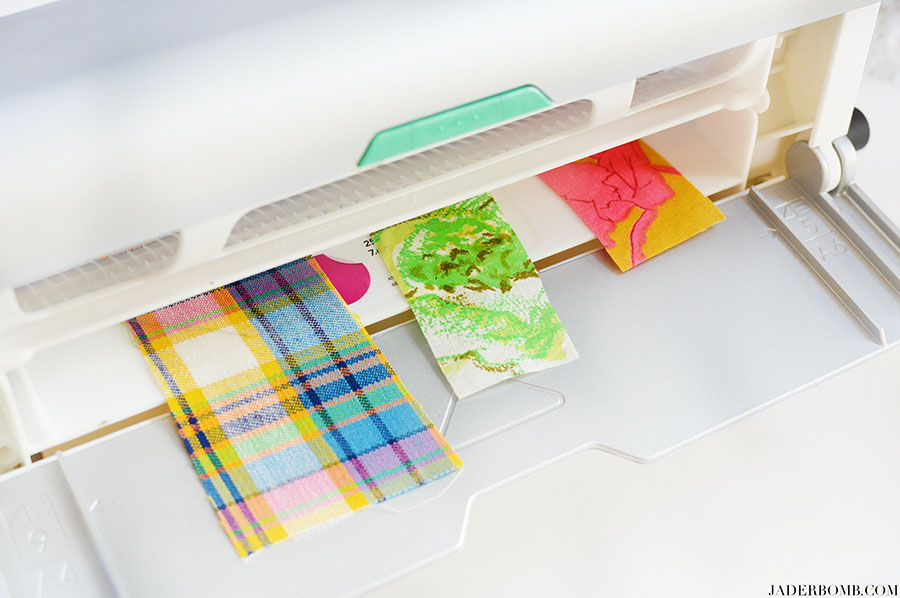
Step Two: Place your strip of leather horizontally on your machine then slowly push it in as much as you can. It will grab on to the tiny piece of adhesive which keeps it in the correct place before you send it through the machine.
When this is done slowly start turning the handle and you will be amazed at how easily it goes through the machine.
Step Three: When it comes out the other end you can use the orange nob to cut the paper. How easy is this!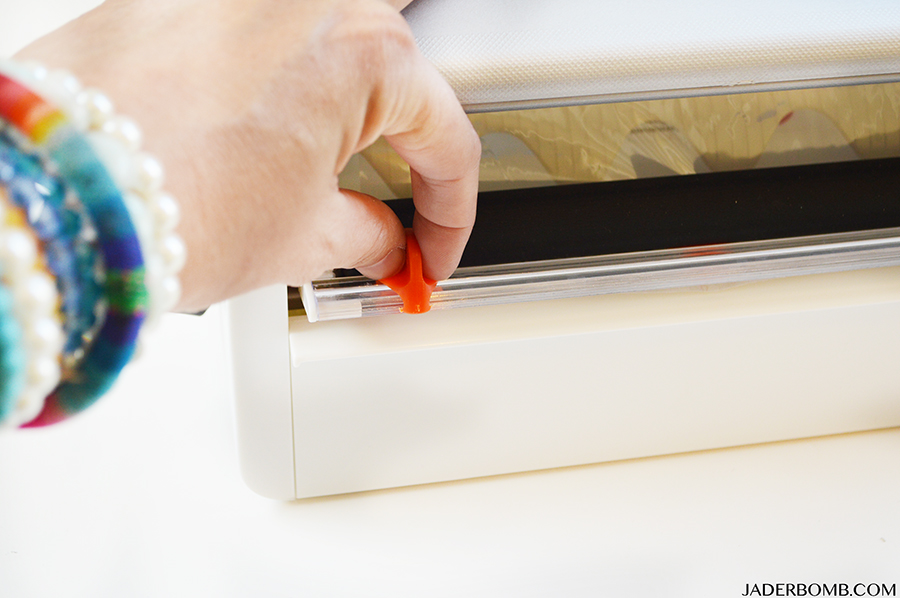
Step Four: Peel off the top layer and your leather will be exposed on top but still stuck to the bottom piece of paper. Gently peel it off and you will see all of the sticky adhesive stuck to the back side of the leather. 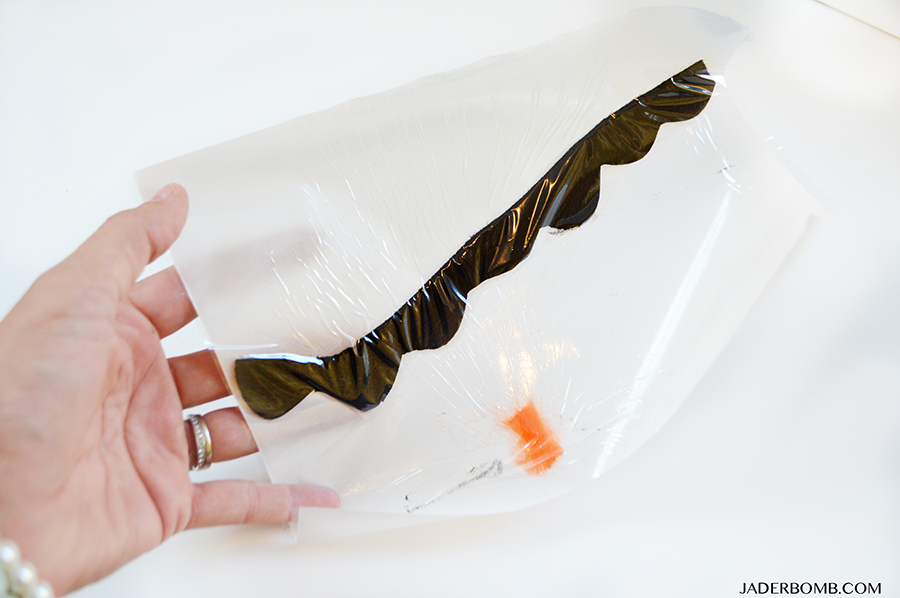
This is what the adhesive will look like once you peel it off the paper.
Bond.
The Creative Station is not JUST for paper, apply adhesive to burlap, fabric, felt, foam acrylic, wood and so much more!
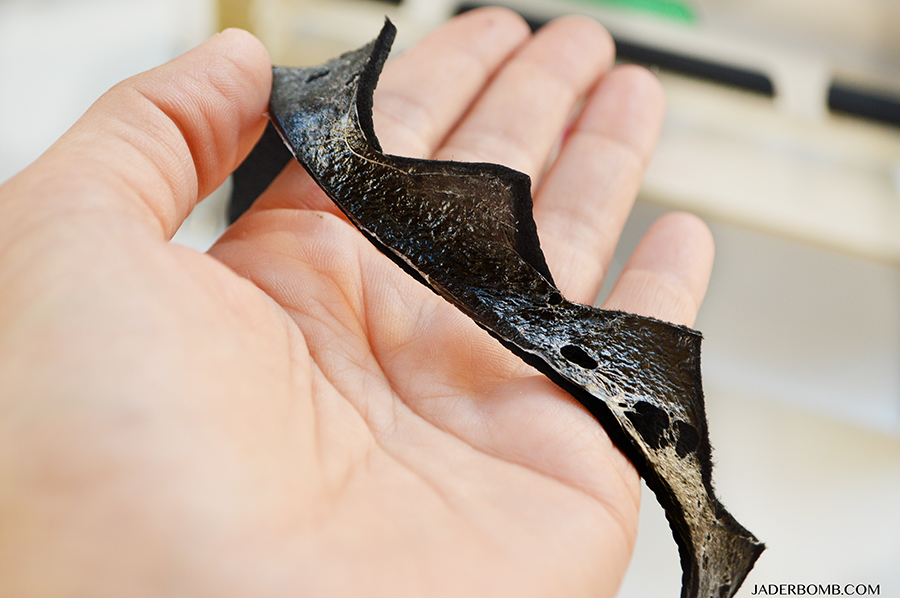
The leather is easy to move around once you peel it off the paper. I simply added the leather strips to the top of the mason jar to get the look I was going for. 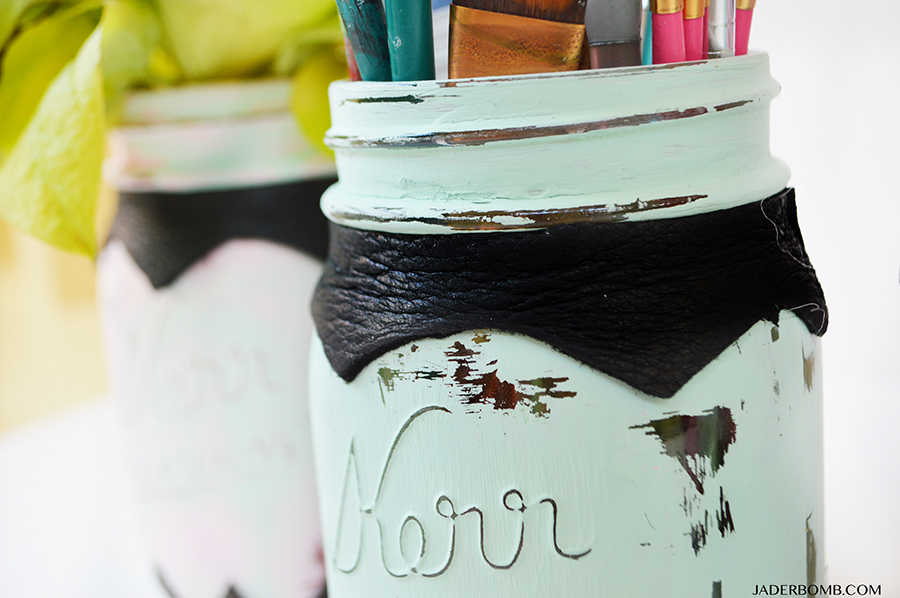
I made inspirational sticks in my mason jars and to make them you will need fun coasters and paper straws.
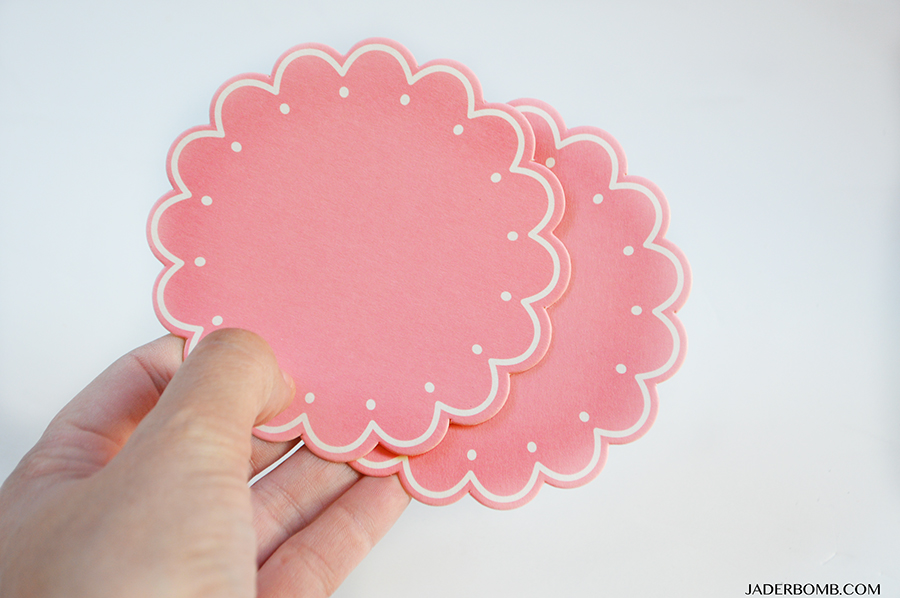
Step One: Place two of them in the back of your machine. Remember, we want to stick these two together.
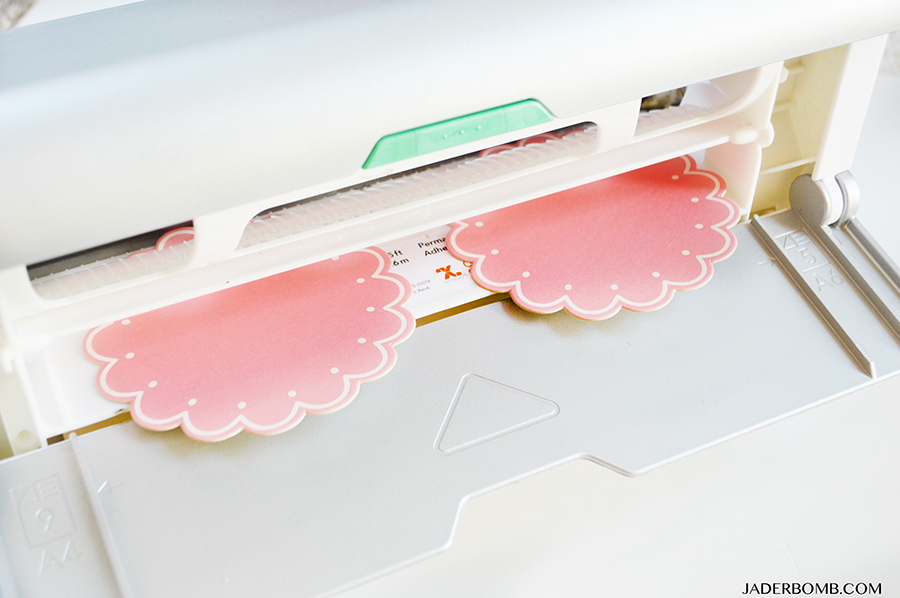
Step Two: Follow the steps I wrote for the leather. You will be doing the same exact thing no matter what you send through the machine. 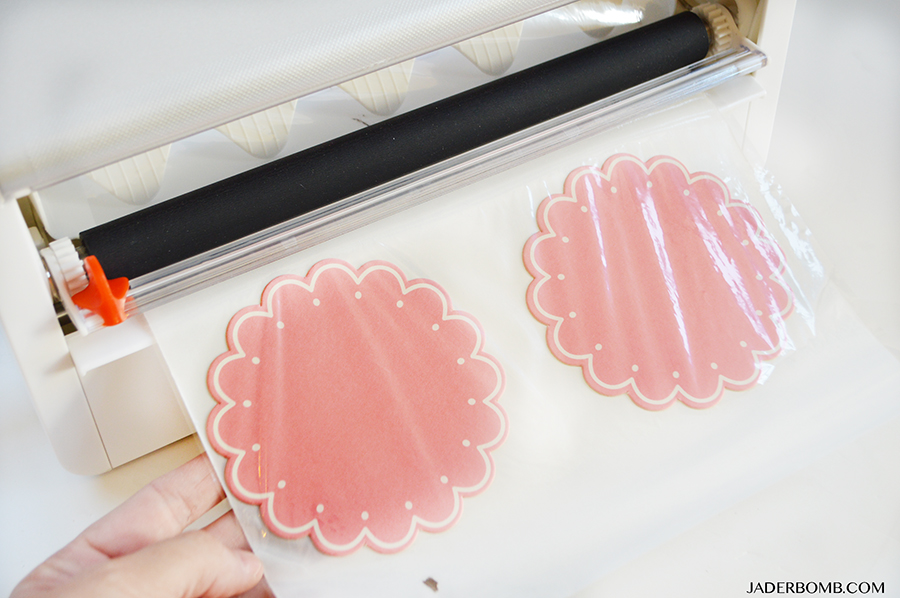
Step Three: Peel the coaster off the paper and stick a paper straw directly in the middle. Place the second coaster directly on top of the first one and press firmly together. You will want to smash the straw as well or they will peel apart. 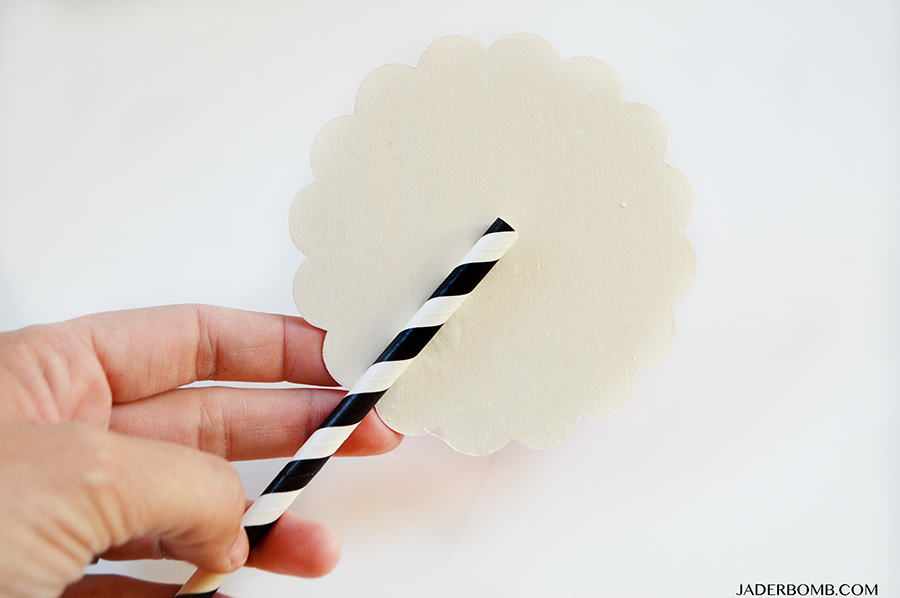
How pretty are these! You can use these for so many different occasions it’s unreal! Now comes the fun part, writing awesome inspirational quotes on them. 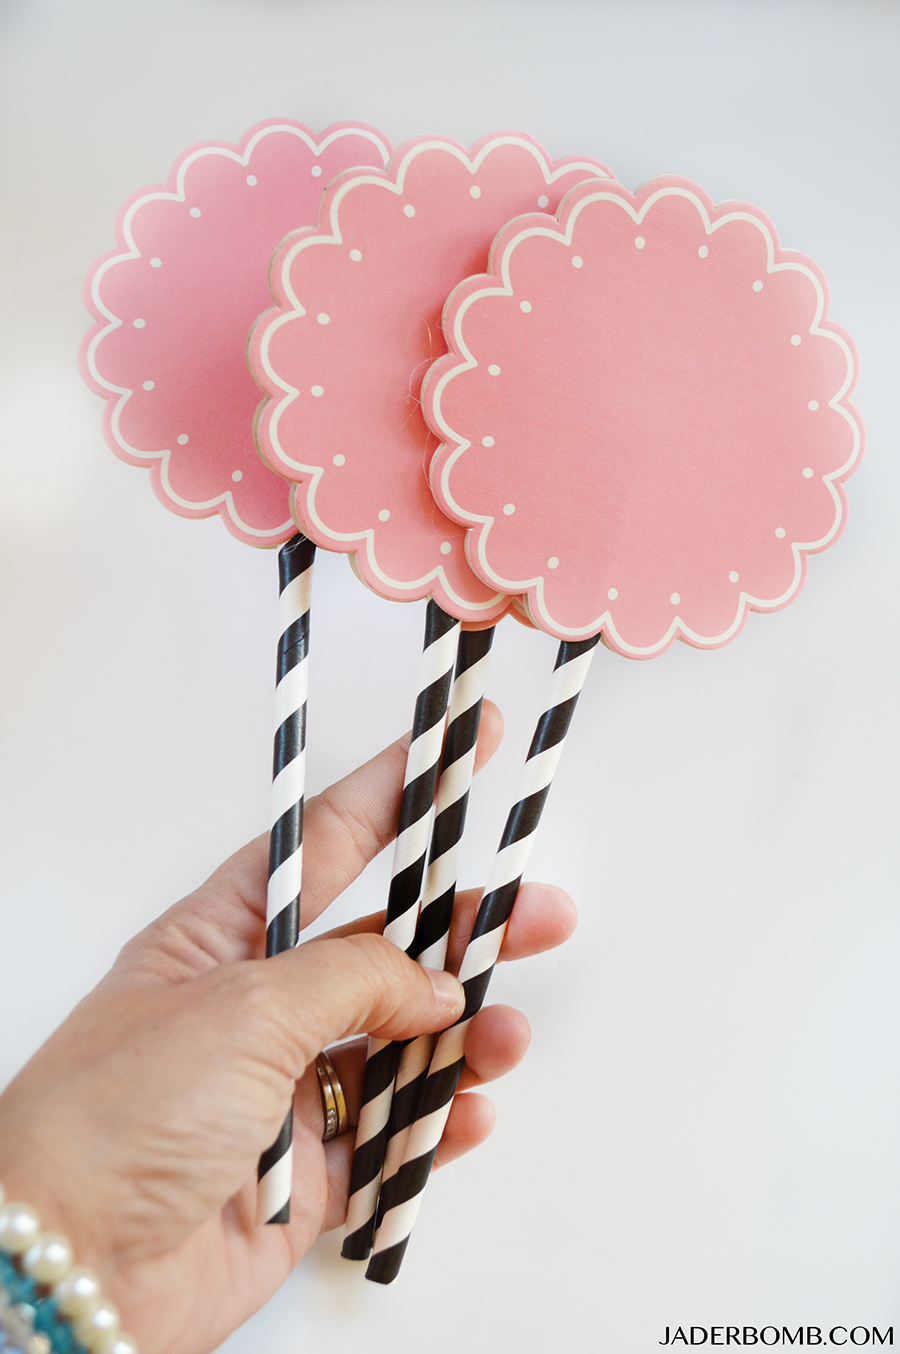
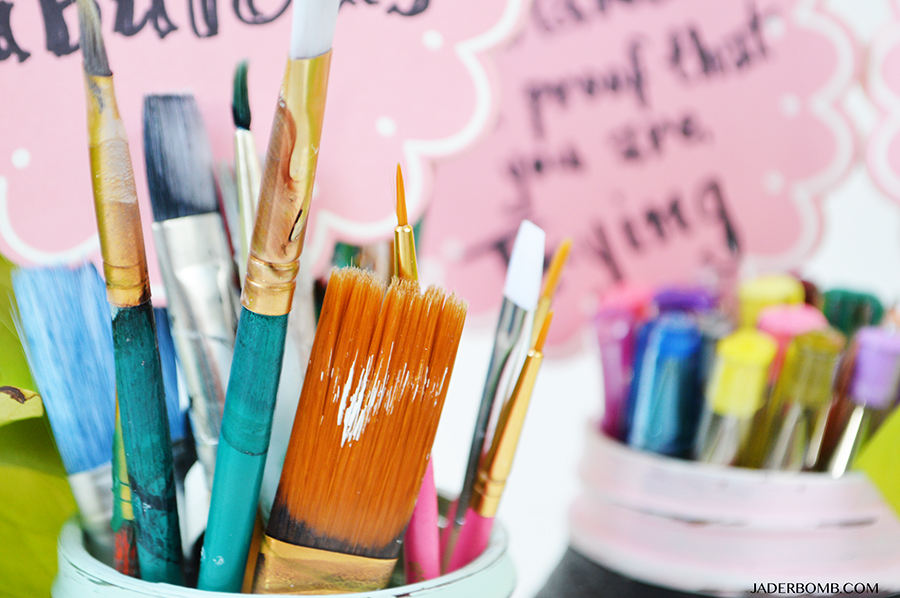
The best thing about these mason jars is you can fill them with anything your heart desires. I love the way the leather looks on these shabby chic mason jars. It takes them to a whole new level of modern awesomeness! 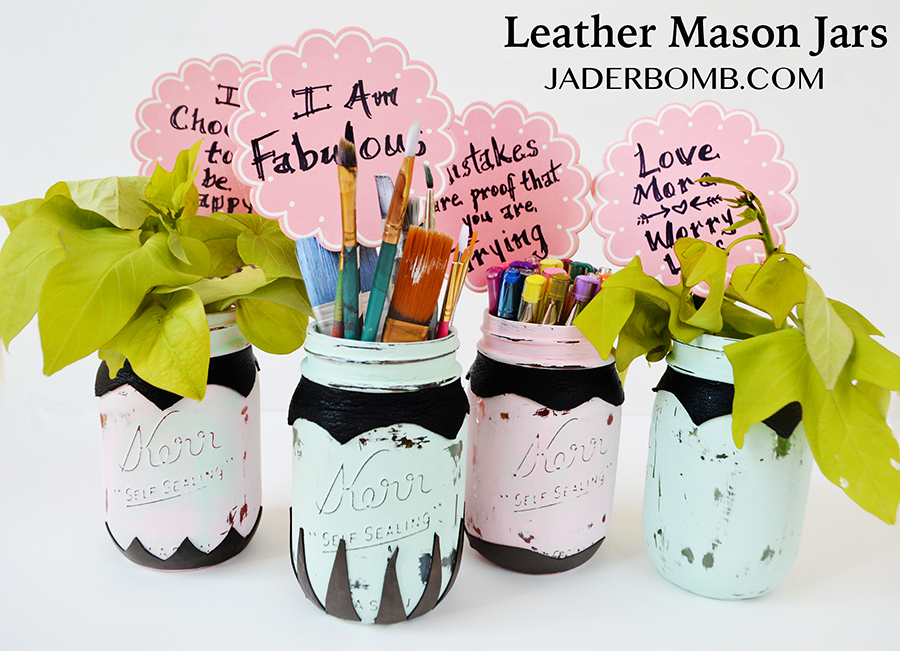
Don’t forget you are FABULOUS!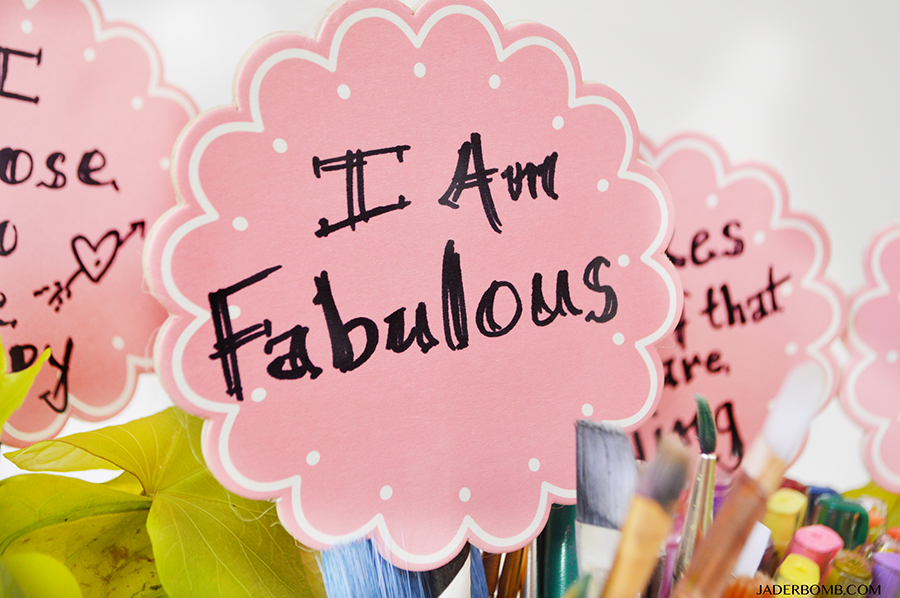
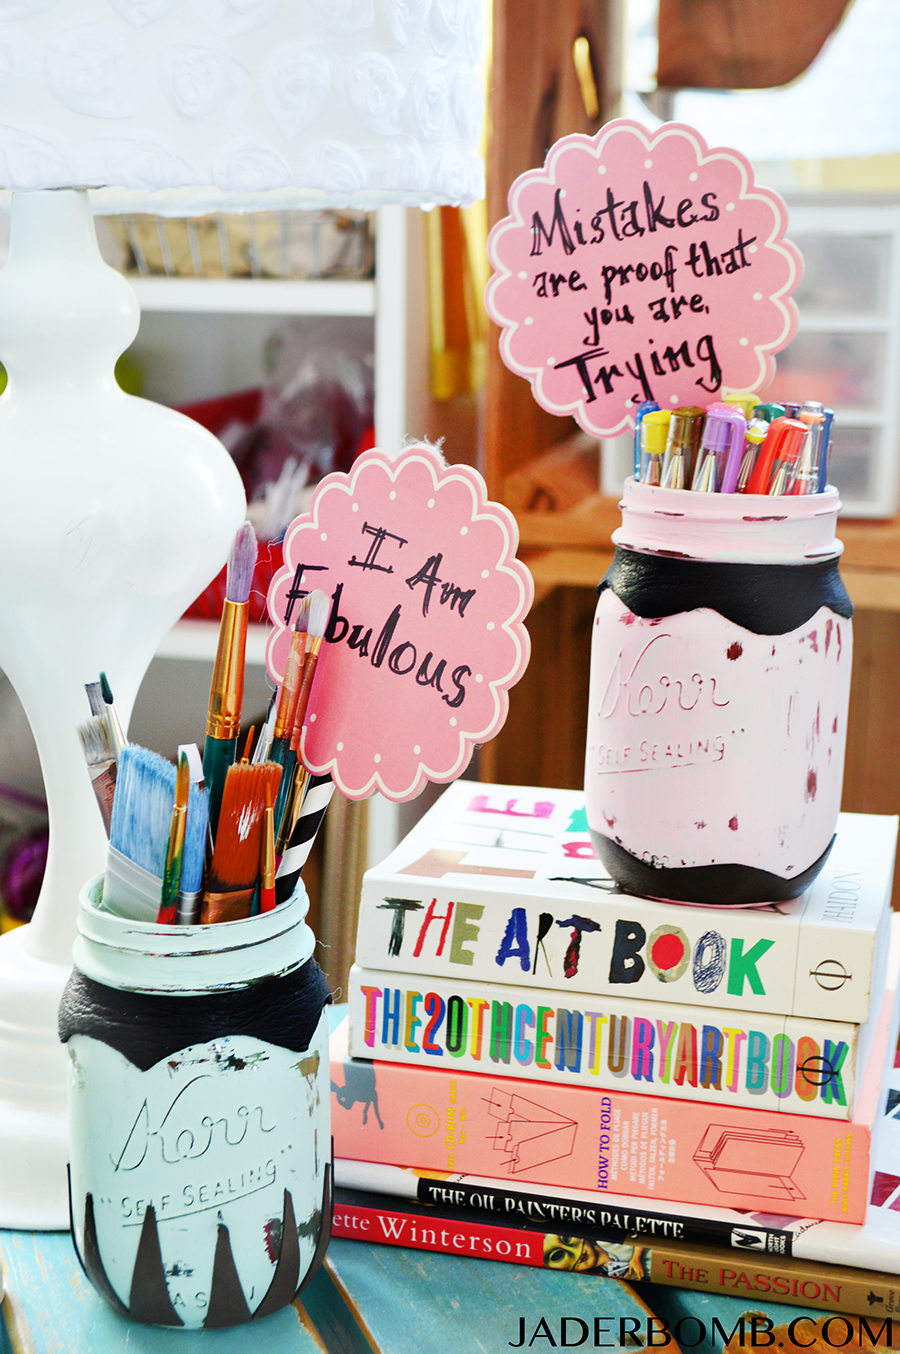
I hope you enjoyed this machine and I also hope you go out and get one because you will not believe all the things you will end up using it for.
Make sure to follow me for more amazing Fall and Halloween projects! You can fine me here: Facebook, Twitter, Instagram and Pinterest.
XOXO, Jade
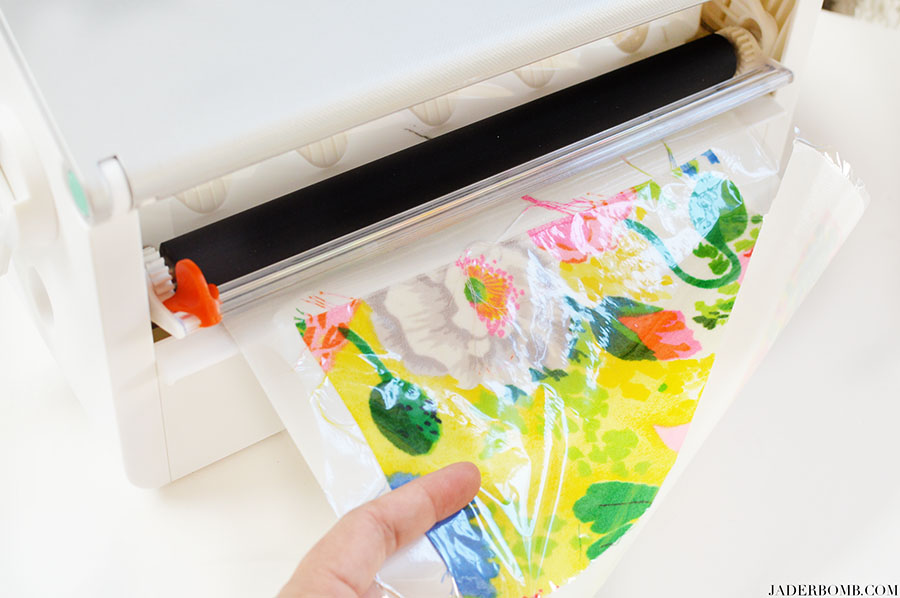
Laminate.
With options like Laminate + Magnet, Laminate + Adhesive, or Two-Sided Lamination your items will never look better while being protected. Create laminated stickers or magnets from everyday items!










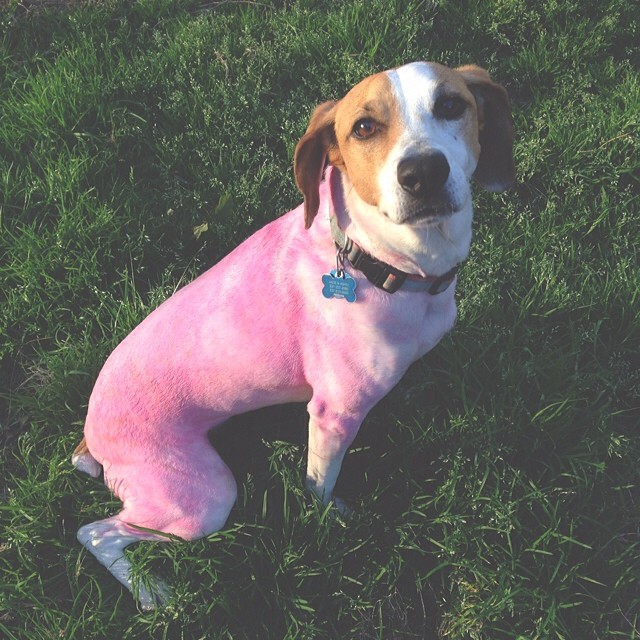
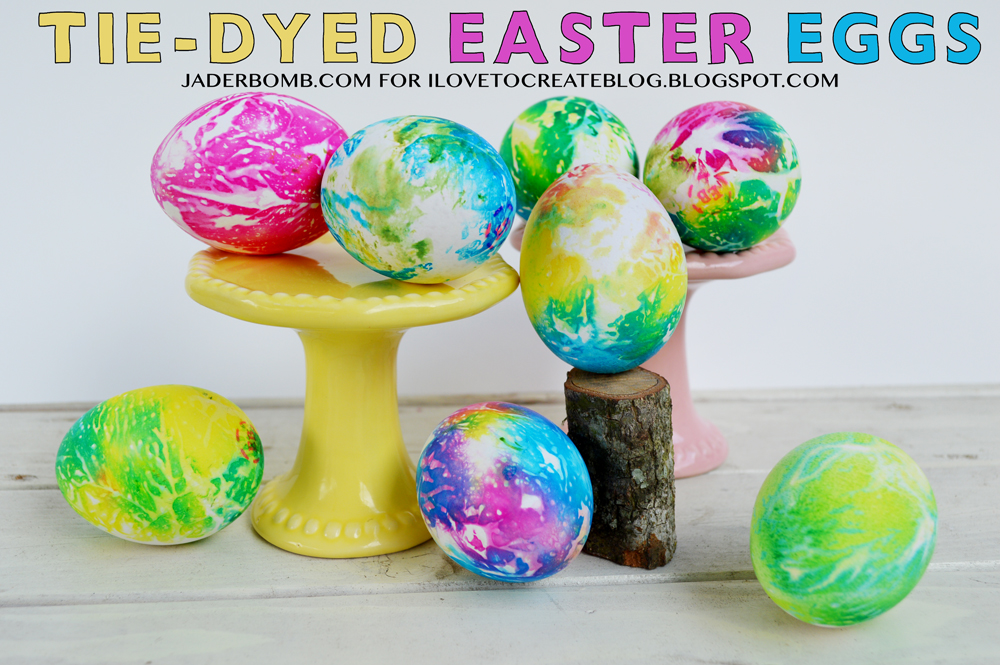 My fur child got jealous when I was making these eggs and just begged for some tie-dye on her pure white fur. Don’t worry it’s all NON TOXIC! That alone rocks!