From playful pumpkins to spooky sights, Michaels has everything you need to MAKE it Spooky this fall!
It’s always good to raise awareness of food allergies this season and promote inclusion of all trick-or-treaters throughout the Halloween season. That is what the Teal Pumpkin Project is all about! Check out my other projects I have created for Michaels HERE. 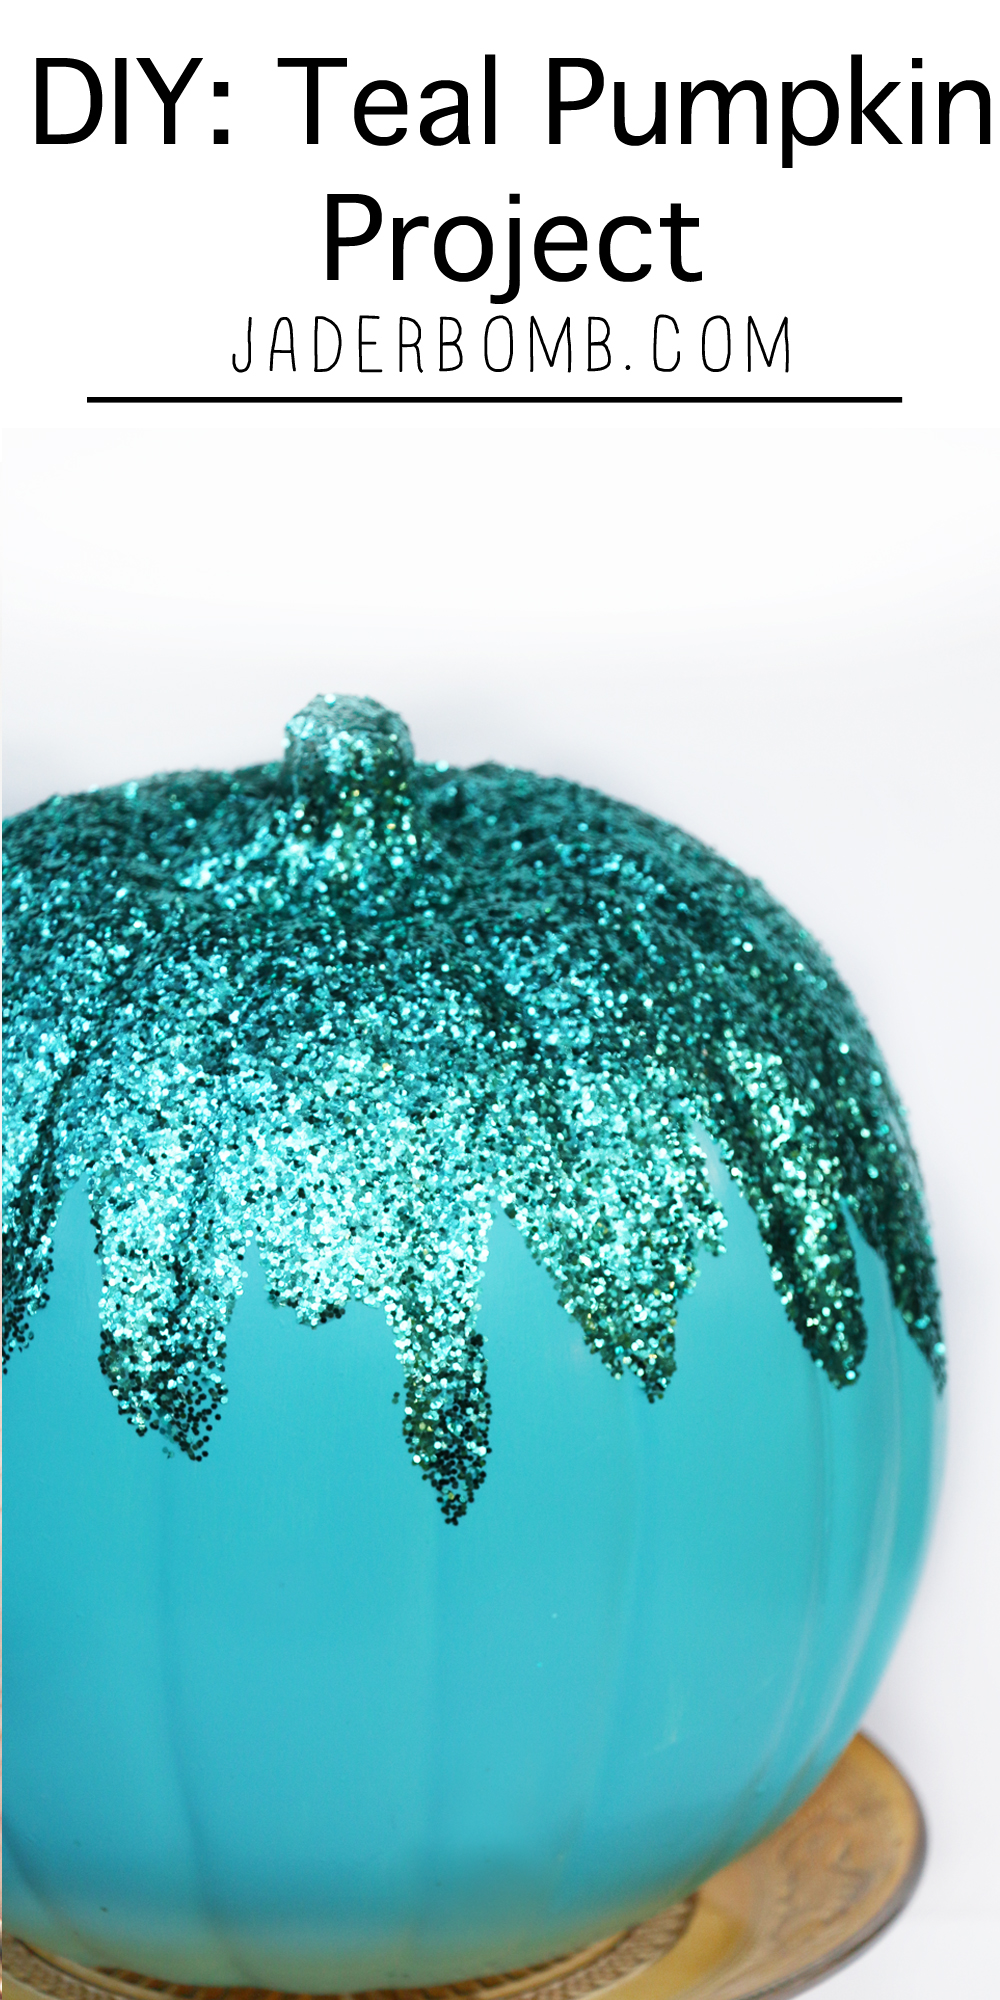
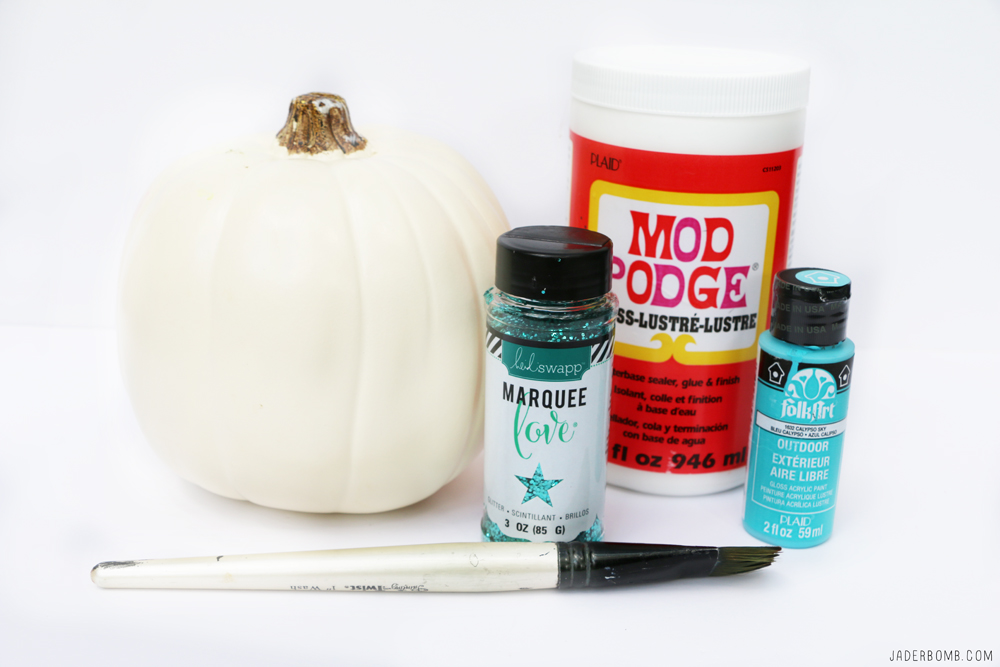
The safety of kids being able to trick or treat and receive allergy free treats is key! CLICK HERE for more information about what you should do if you want to participate in this.  Faux Pumpkin ♥ Teal Paint ♥ Mod Podge ♥ Teal Glitter ♥ Craft Brush
You can purchase all of the items I used in this project from Michaels. I’ve attached the links above to each item so you can order strait from the comfort of your home!
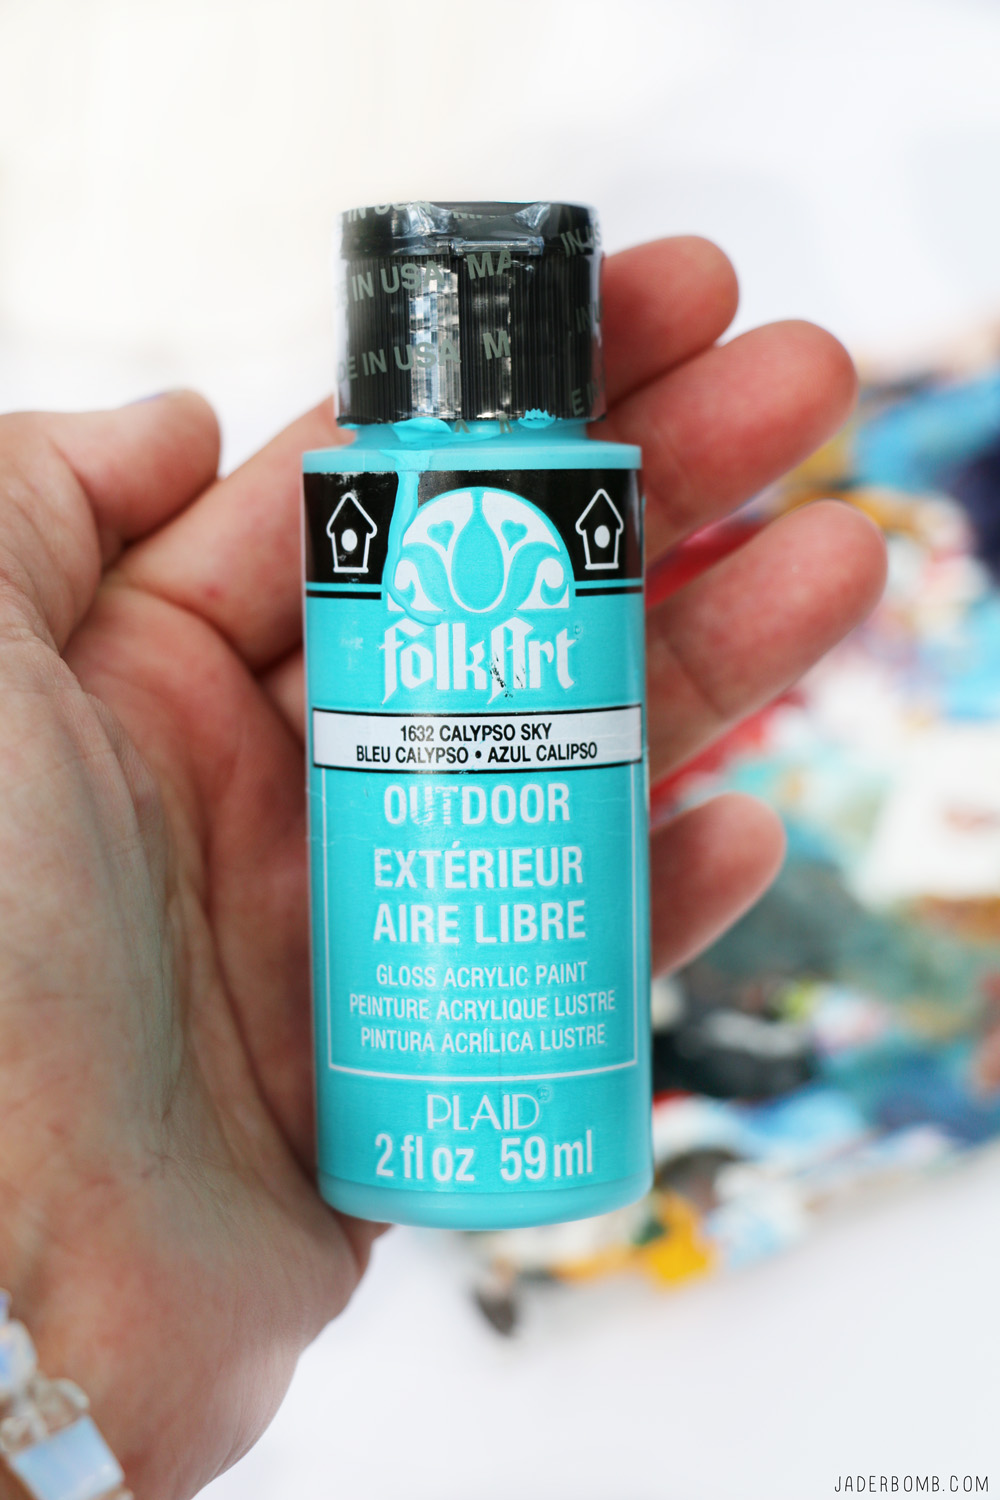
 I specifically chose a paint that was designed for outdoors! On the flip side I am a true fan of Folk Art paints so this was a win/win for me. Can we all take a moment to swoon over this specific color…drooling!
You can use this paint on so many different materials like metal, terra cotta, wood and any other outdoor craft surface that you can think of! Remember these pumpkins are going to be outdoors so using an outdoor paint is ideal.
The awesome news is you can pour tons of love into making beautiful faux pumpkins and they will never rot! Simply store them in a safe container and they will be ready to use the next year.
Why teal?
Teal is the color of food allergy awareness. It has been used to raise awareness about this serious medical condition for nearly 20 years.
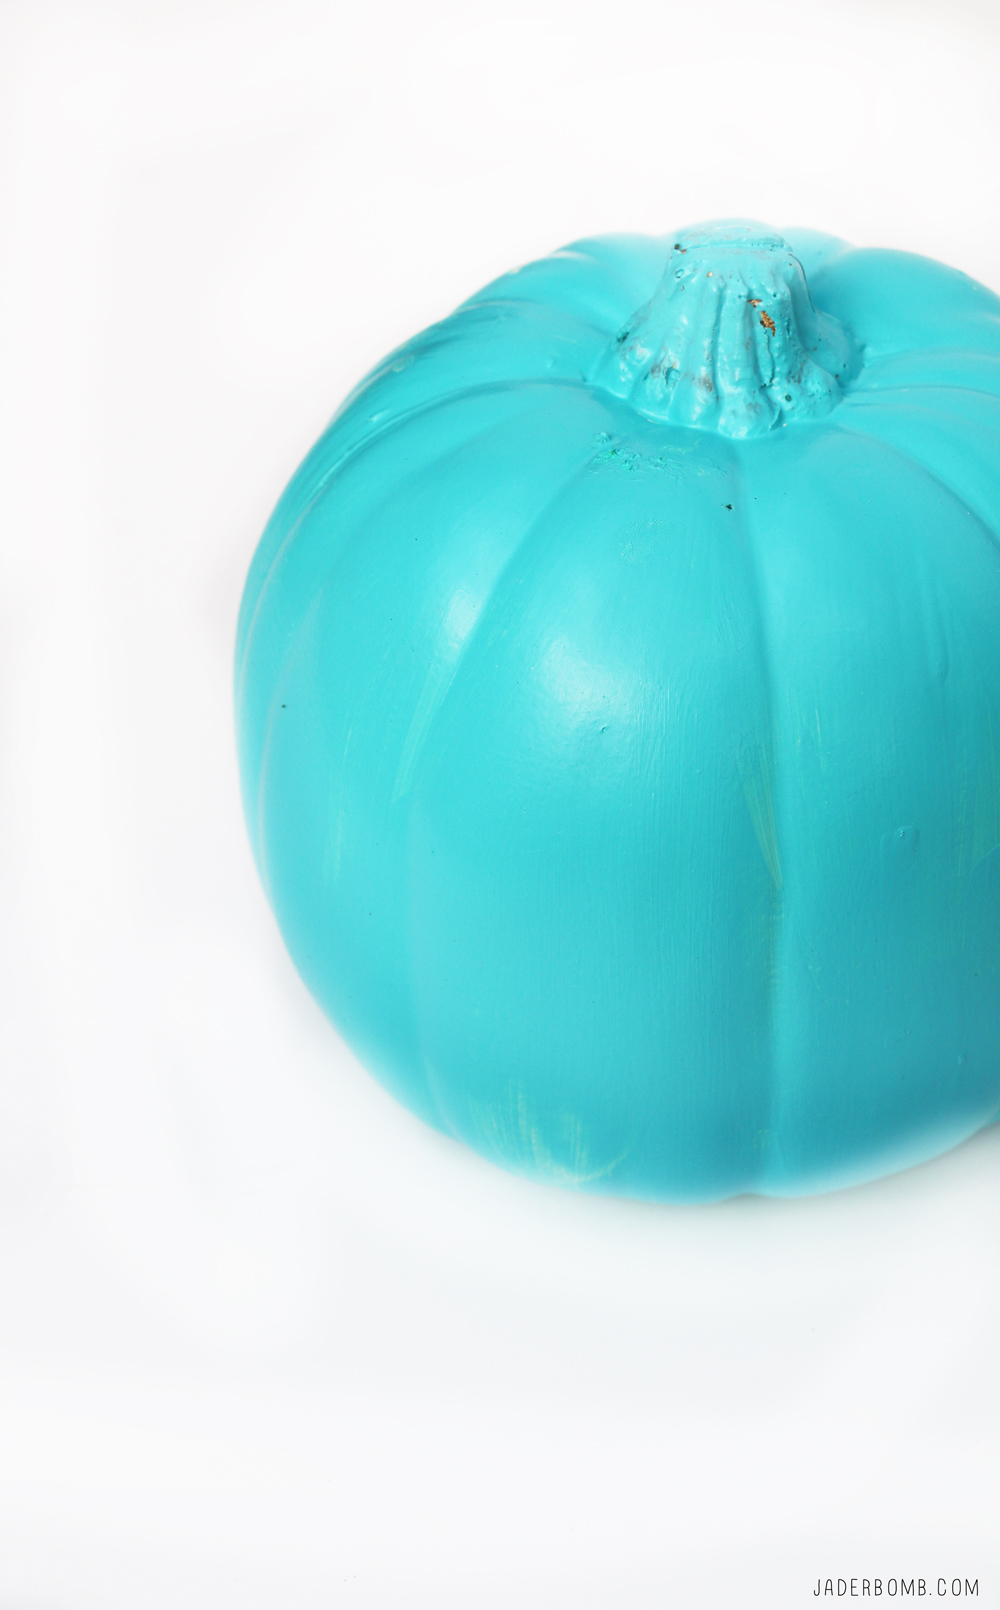
 Step 1: Paint the top portion of your pumpkin with the first coat. Once it’s dry paint the bottom and let it dry. I always like to apply a second coat so it looks completely painted.
 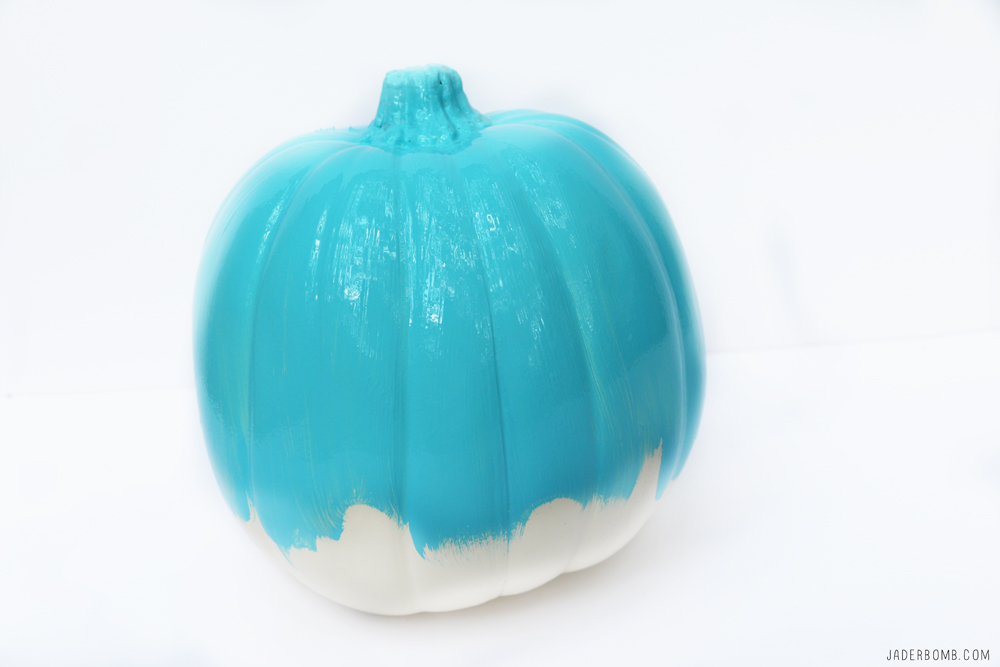 This is what it will look like when you have two coats. If you are wondering why my top has some of the pumpkin showing through it’s because I will be pouring tons of luscious glitter there. Are you feeling all giddy inside yet?
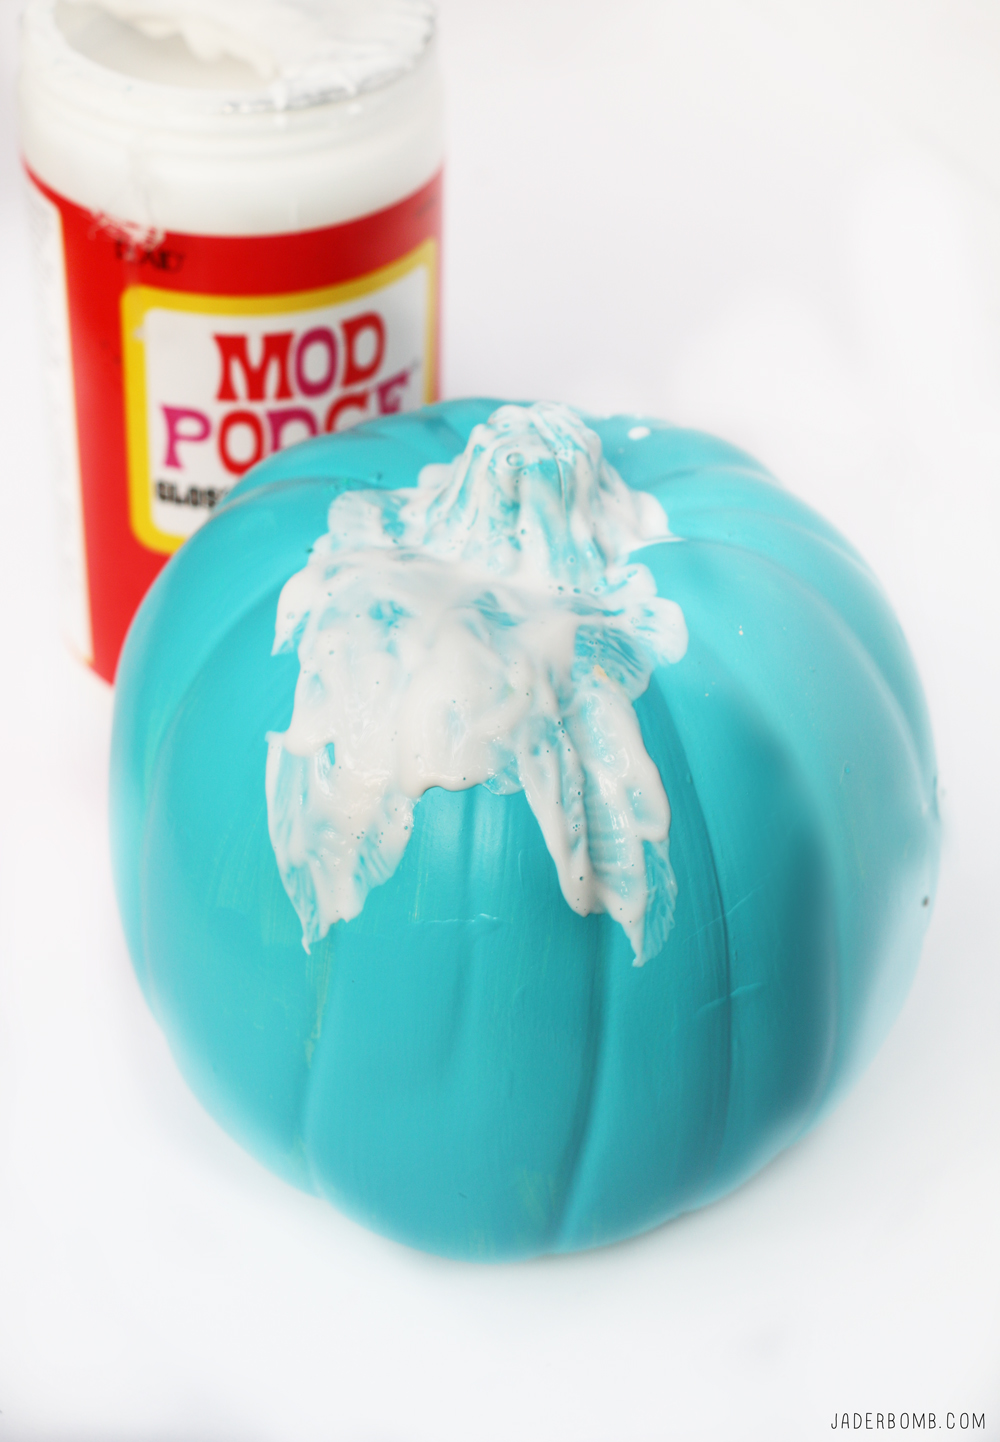
  There is multiple formulas for Mod Podge however the gloss finish is my all time go to. It adds just enough shine to finish off any project I am working on. If you’ve never used this product, it’s a decoupage glue and sealer.
Tip: If you have never used this product it is white in the beginning but don’t worry friends it dries clear! Did I mention this product cleans up with just soap and water and is certified AP nontoxic! This is perfect since we are doing a allergy free pumpkin for Trick or Treaters!
Step 2: Grab a craft brush and start adding loads of Mod Podge at the top base of your pumpkin. The thicker the better because the glitter will look very full on the pumpkin.
 I hope learning about the Teal Pumpkin Project is going to give you a jump start to making ton’s of teal pumpkins!
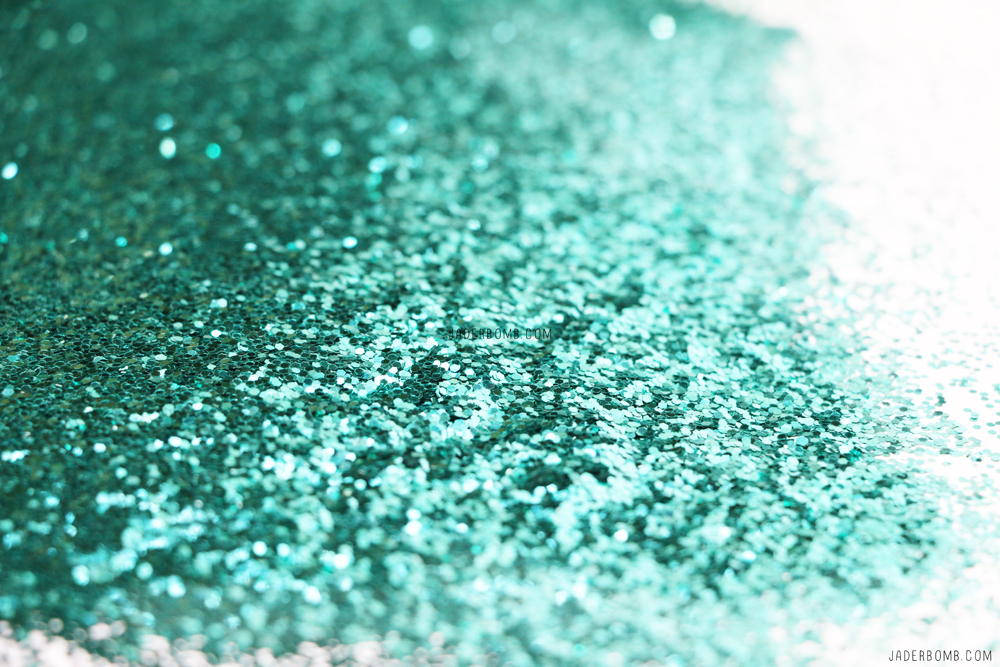 Step 3: Make sure to apply a small section of Mod Podge at a time since this dries fairly quick. Once you have a section coated literally pour the glitter on top of Mod Podge. I like to pour over a sheet of paper making it easy for me to pour back into the bottle.
 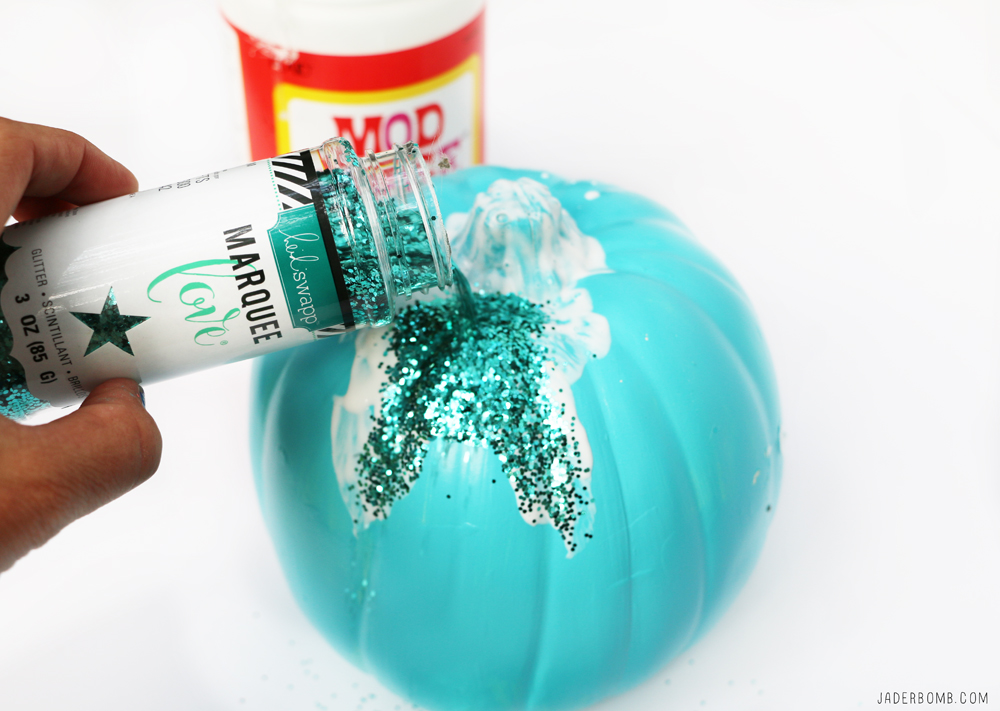 This is what it will look like when you do your first section. Continue doing step 2 until your entire top of pumpkin is finished. I will tell you pictures do not do justice because these look like magical candy in person.
 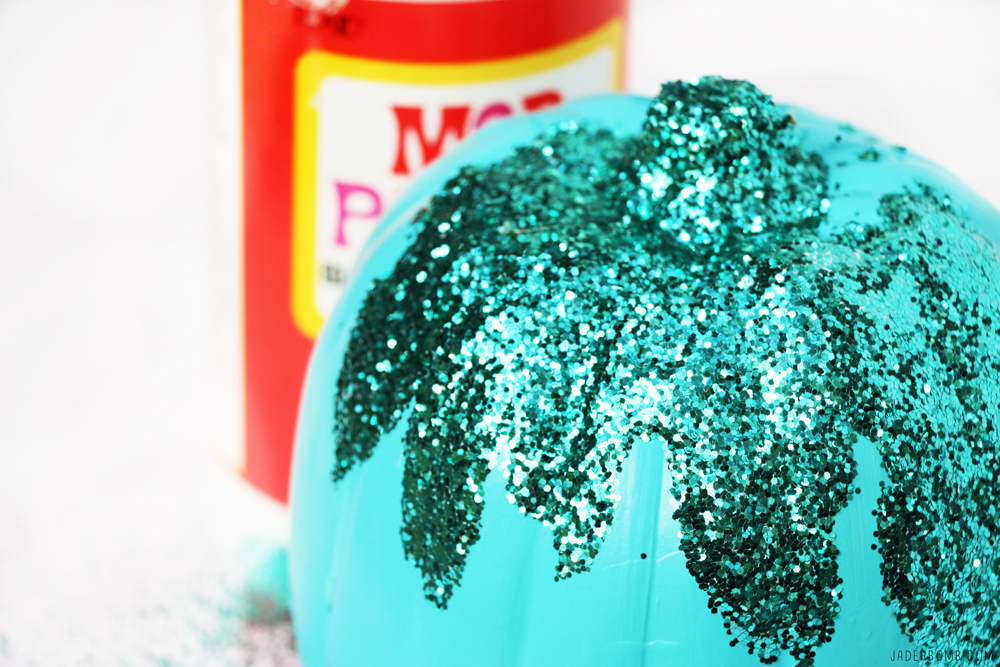 When done let it dry then add a layer of Mod Podge on top of glitter. This will seal the glitter so it does not shed.
P.S. If you seal the glitter when you add the Mod Podge on top of glitter it will look really white, but remember it dries clear! 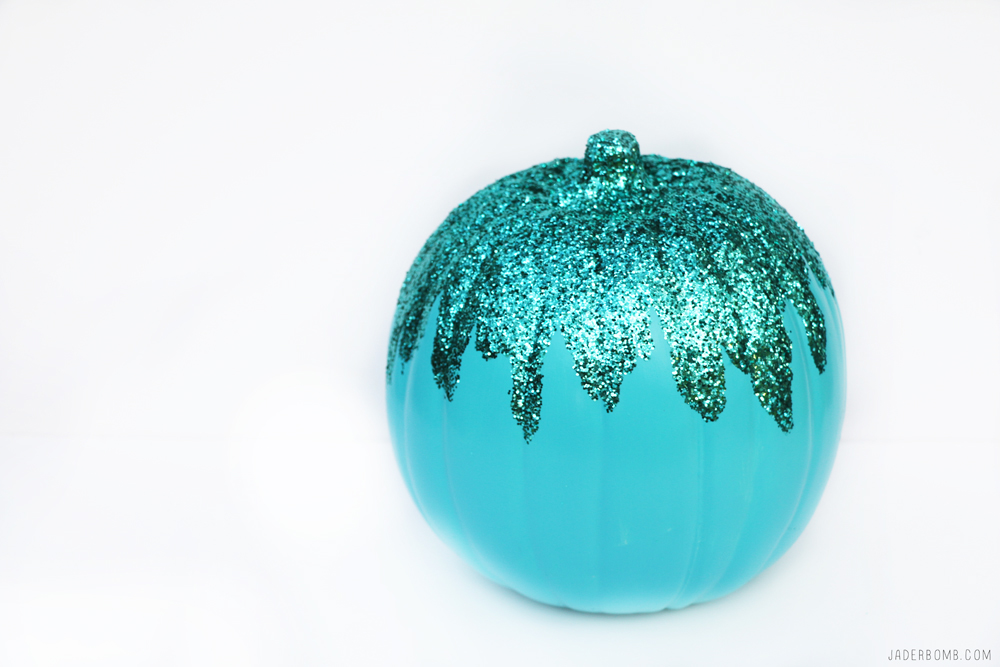 Once I made one I just couldn’t help it, I had to make more! I love how elegant and classy they look!
 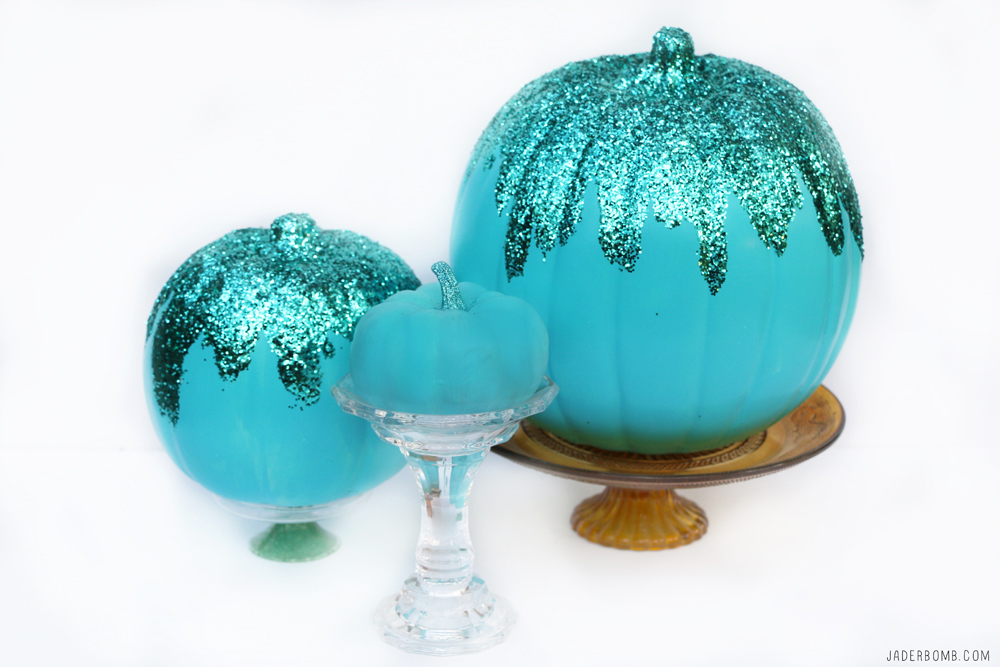 I hope you enjoyed this project as much as I did! See you in the next post, until then hugs from my computer to yours!
Don’t forget to follow me on all of my social media channels because I love all of you to pieces!!!!
FACEBOOK | INSTAGRAM | TWITTER | PINTEREST
© Copyright jaderbombllc, All rights Reserved. Written For: JADERBOMB

