
I mean what is Mardi Gras 2022 without a Mardi Gras Boho Sale, right!!! I feel like it’s around the corner and wanted to do a fun sale featuring all of my Mardi Gras designs! Some are my old designs and some are very recent but either way they are all staple pairs to have in your collection!
I have not done a Mardi Gras Boho Sale in ages. Ever since Covid decided to pop in everyone’s lives, things haven’t been the same since. Especially in New Orleans where I live. We are known for this holiday in particular. It’s kinda bizarre because even the kids in school are off for an entire week! Make sure to read below to find out all the reasons why Mardi Gras is a staple holiday in the South’s eyes and why you should come at least once in your life!
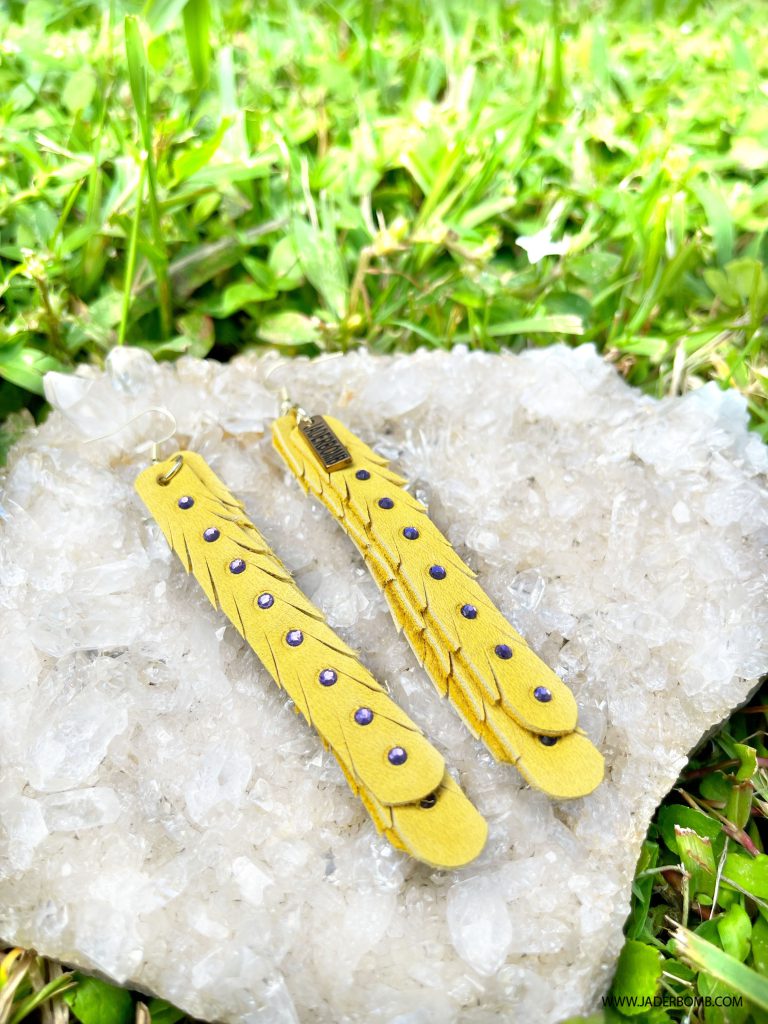
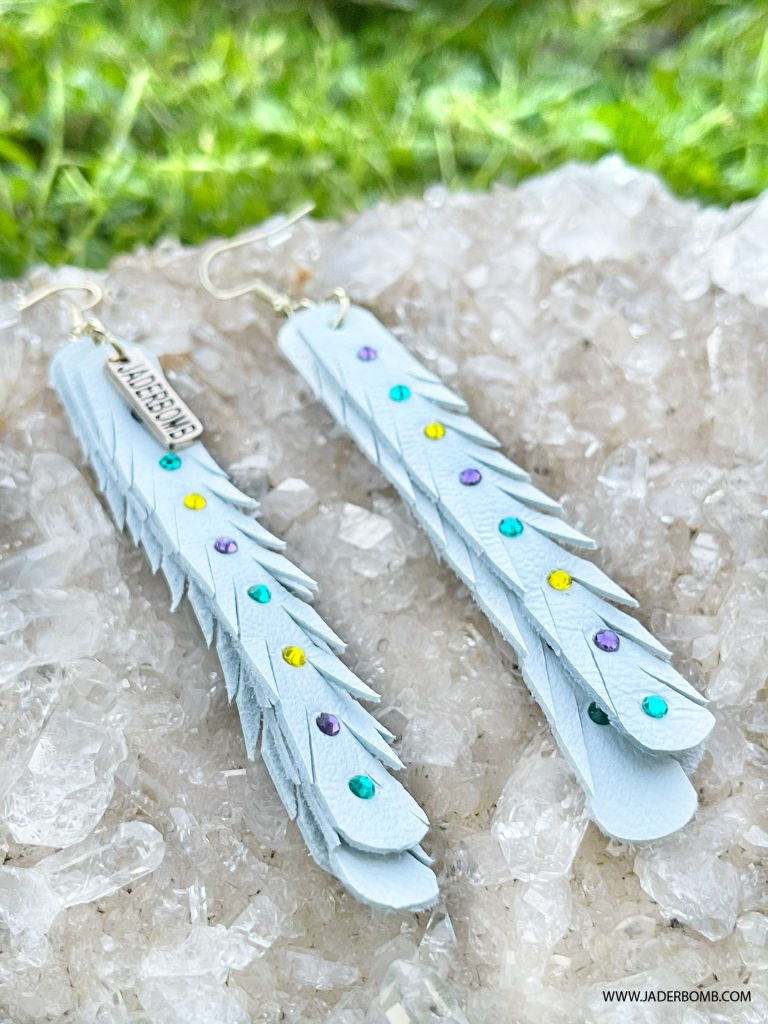
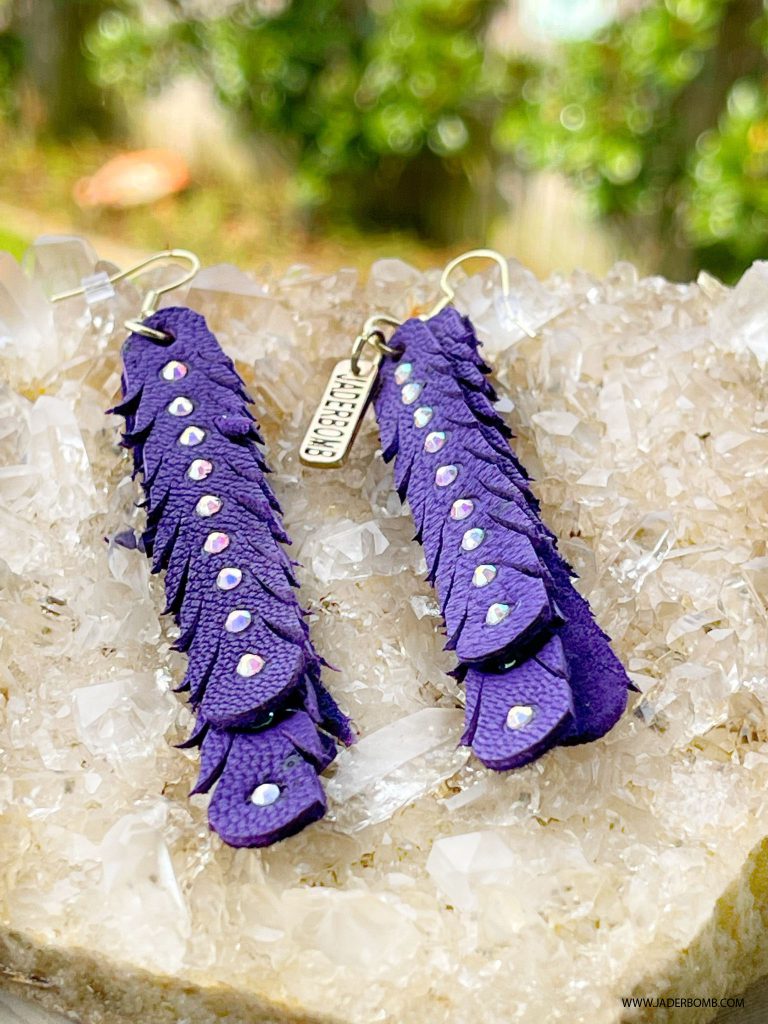
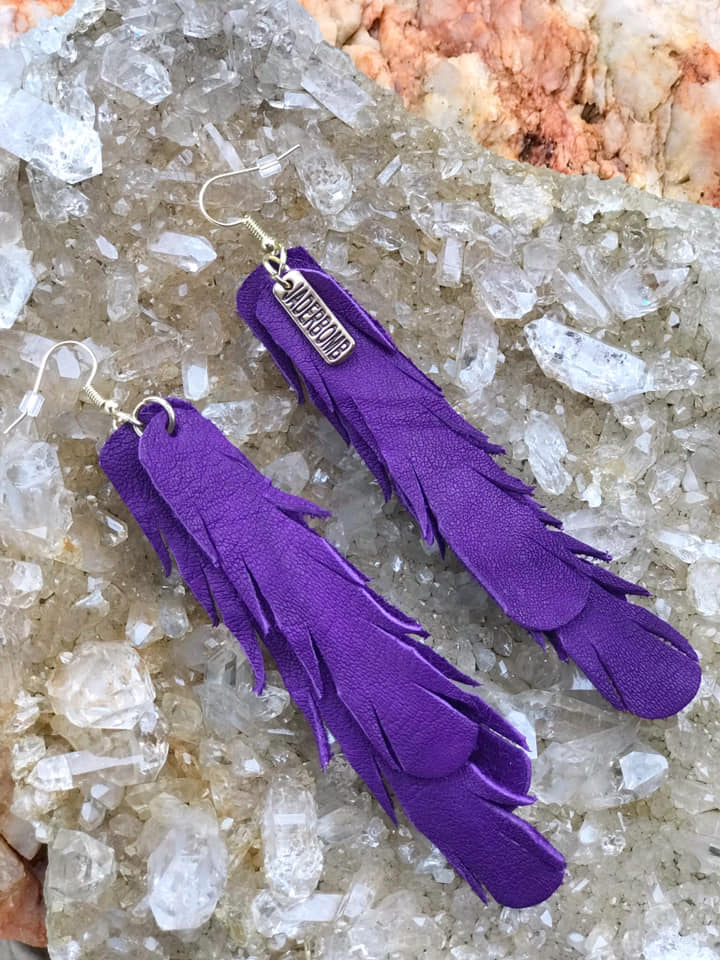
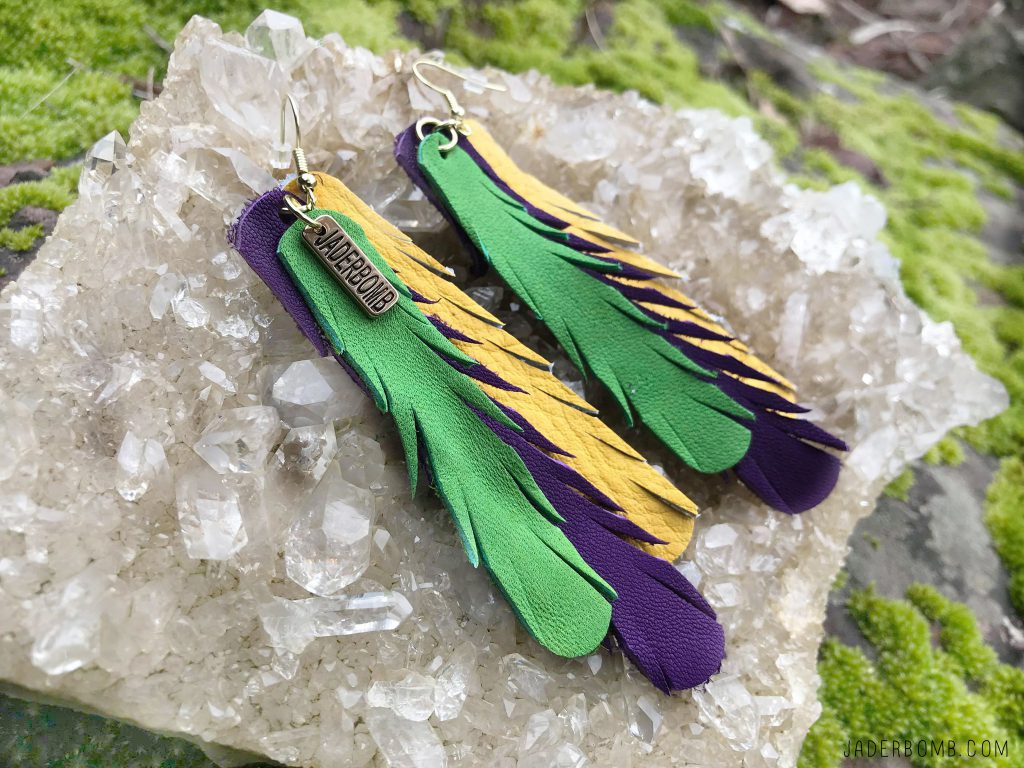
Who’s ready for Mardi Gras 2022!!!! Oh, and you can’t celebrate without a pair of my handmade boho earrings!


What Is Mardi Gras?
Is there an “official” Mardi Gras?
No! Mardi Gras is a holiday, just like Christmas and Easter. It belongs to everyone. In some parts of the country, official organizations control their Mardi Gras celebration, but this is not true in New Orleans.
When does Mardi Gras start and end?
The Carnival season always begins on Jan. 6, which is King’s Day (Feast of the Epiphany). Mardi Gras day (Fat Tuesday), however, is on a different day each year. Fat Tuesday changes every year because Easter Sunday is never on the same Sunday each year. Fat Tuesday is always the day before Ash Wednesday.
What is the weather usually like during Mardi Gras? What should I pack?
The weather during Mardi Gras can vary from very cold to very warm, almost hot. Sometimes it will change from one extreme to the other during the same day. It’s a good idea to layer your clothes since a chilly morning may turn into a warm afternoon. Welcome to Louisiana, haha!
Since you will be spending long days outside, pack comfortable shoes and clothes that can get somewhat dirty. Don’t forget to check the forecast for rain.
Where can I book a room with a balcony to watch the parades go by?
The best option is to reserve a package in the French Quarter or along the parade route that offers a balcony, food and a bathroom pass. Getting an airbnb is also another great experience especially in the downtown area! Check out some rad packages HERE.
How much does it cost to go to Mardi Gras?
It’s free! Not only that, but you’ll leave with bags of Mardi Gras beads and throws. That’s why we call it the “Greatest Free Show on Earth!”
I only have limited time. What is the prime time to visit during Mardi Gras?
The weekend before Fat Tuesday is the prime time to visit New Orleans for Mardi Gras. This is the weekend when Bacchus and Endymion, two of the biggest parades of the season, roll down the streets of New Orleans. The streets are packed all day Saturday and Sunday with parade watchers. If you can stay longer than a weekend, Monday (Lundi Gras) and Fat Tuesday are also great days to experience Mardi Gras. Orpheus, another big parade, rolls on that Monday night, and the Zulu Lundi Gras festival goes on all day. On Fat Tuesday, walking around the French Quarter and seeing all of the costumes and masks is a unique and thrilling experience.
Why does Mardi Gras fall on different dates each year?
The date of Mardi Gras changes every year because it’s connected to Easter, which can fall on any Sunday between March 23 and April 25. Mardi Gras day always takes place 47 days before Easter.
What should I do with all of the throws?
After a few floats, you may have so many beads around your neck, you’ll need a place to put them! Be sure to bring a bag to store all the beads, trinkets, coconuts, and doubloons you’ll catch right off the float.
I hope this is enough reasons why you SHOULD come to Louisiana and experience Mardi Gras! Happy Carnival


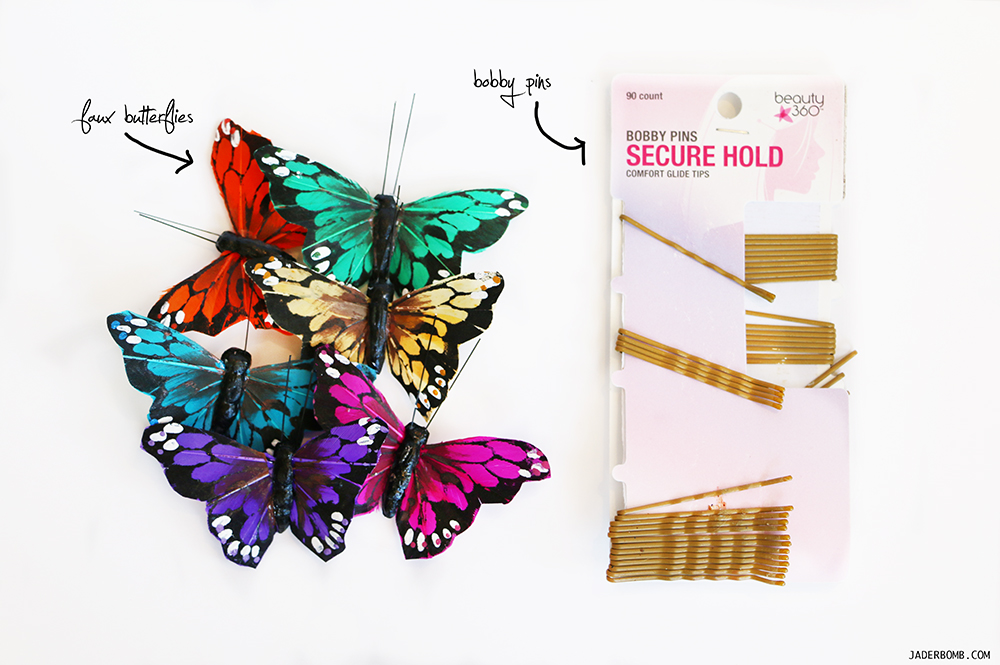 Anything that is bright and whimsical so when I ran across these butterflies at Michaels I fell in LOVE! You can mix and match these in your hair or simply wear one bold color to make a statement! This project literally cost $3 bucks to make, now that is a deal!!!

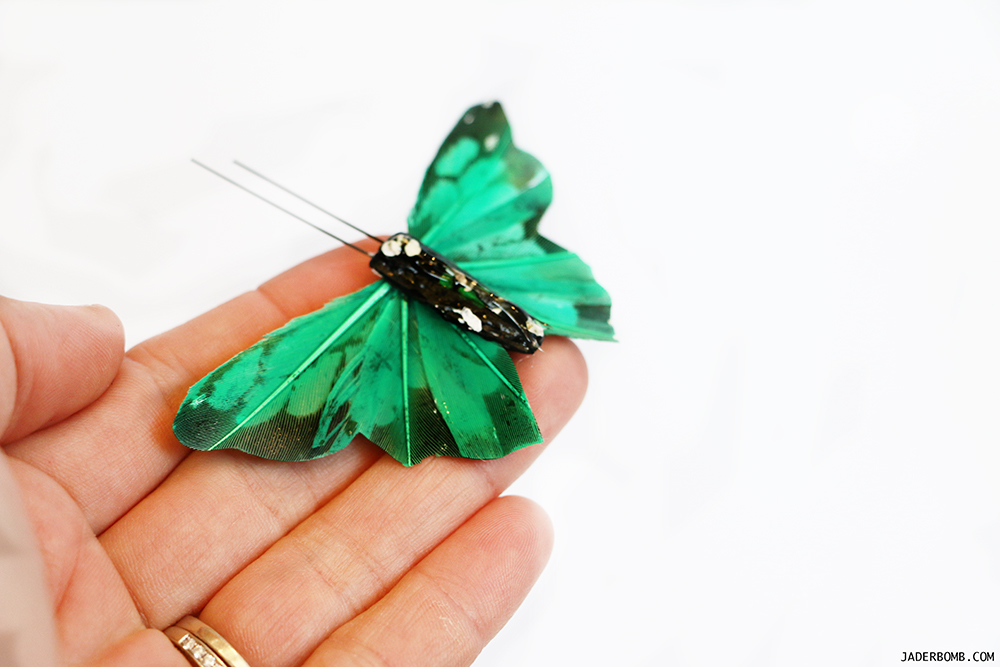 Now is the time to adore them, literally! It’s fun to wear them in a cluster and somedays just one will do…


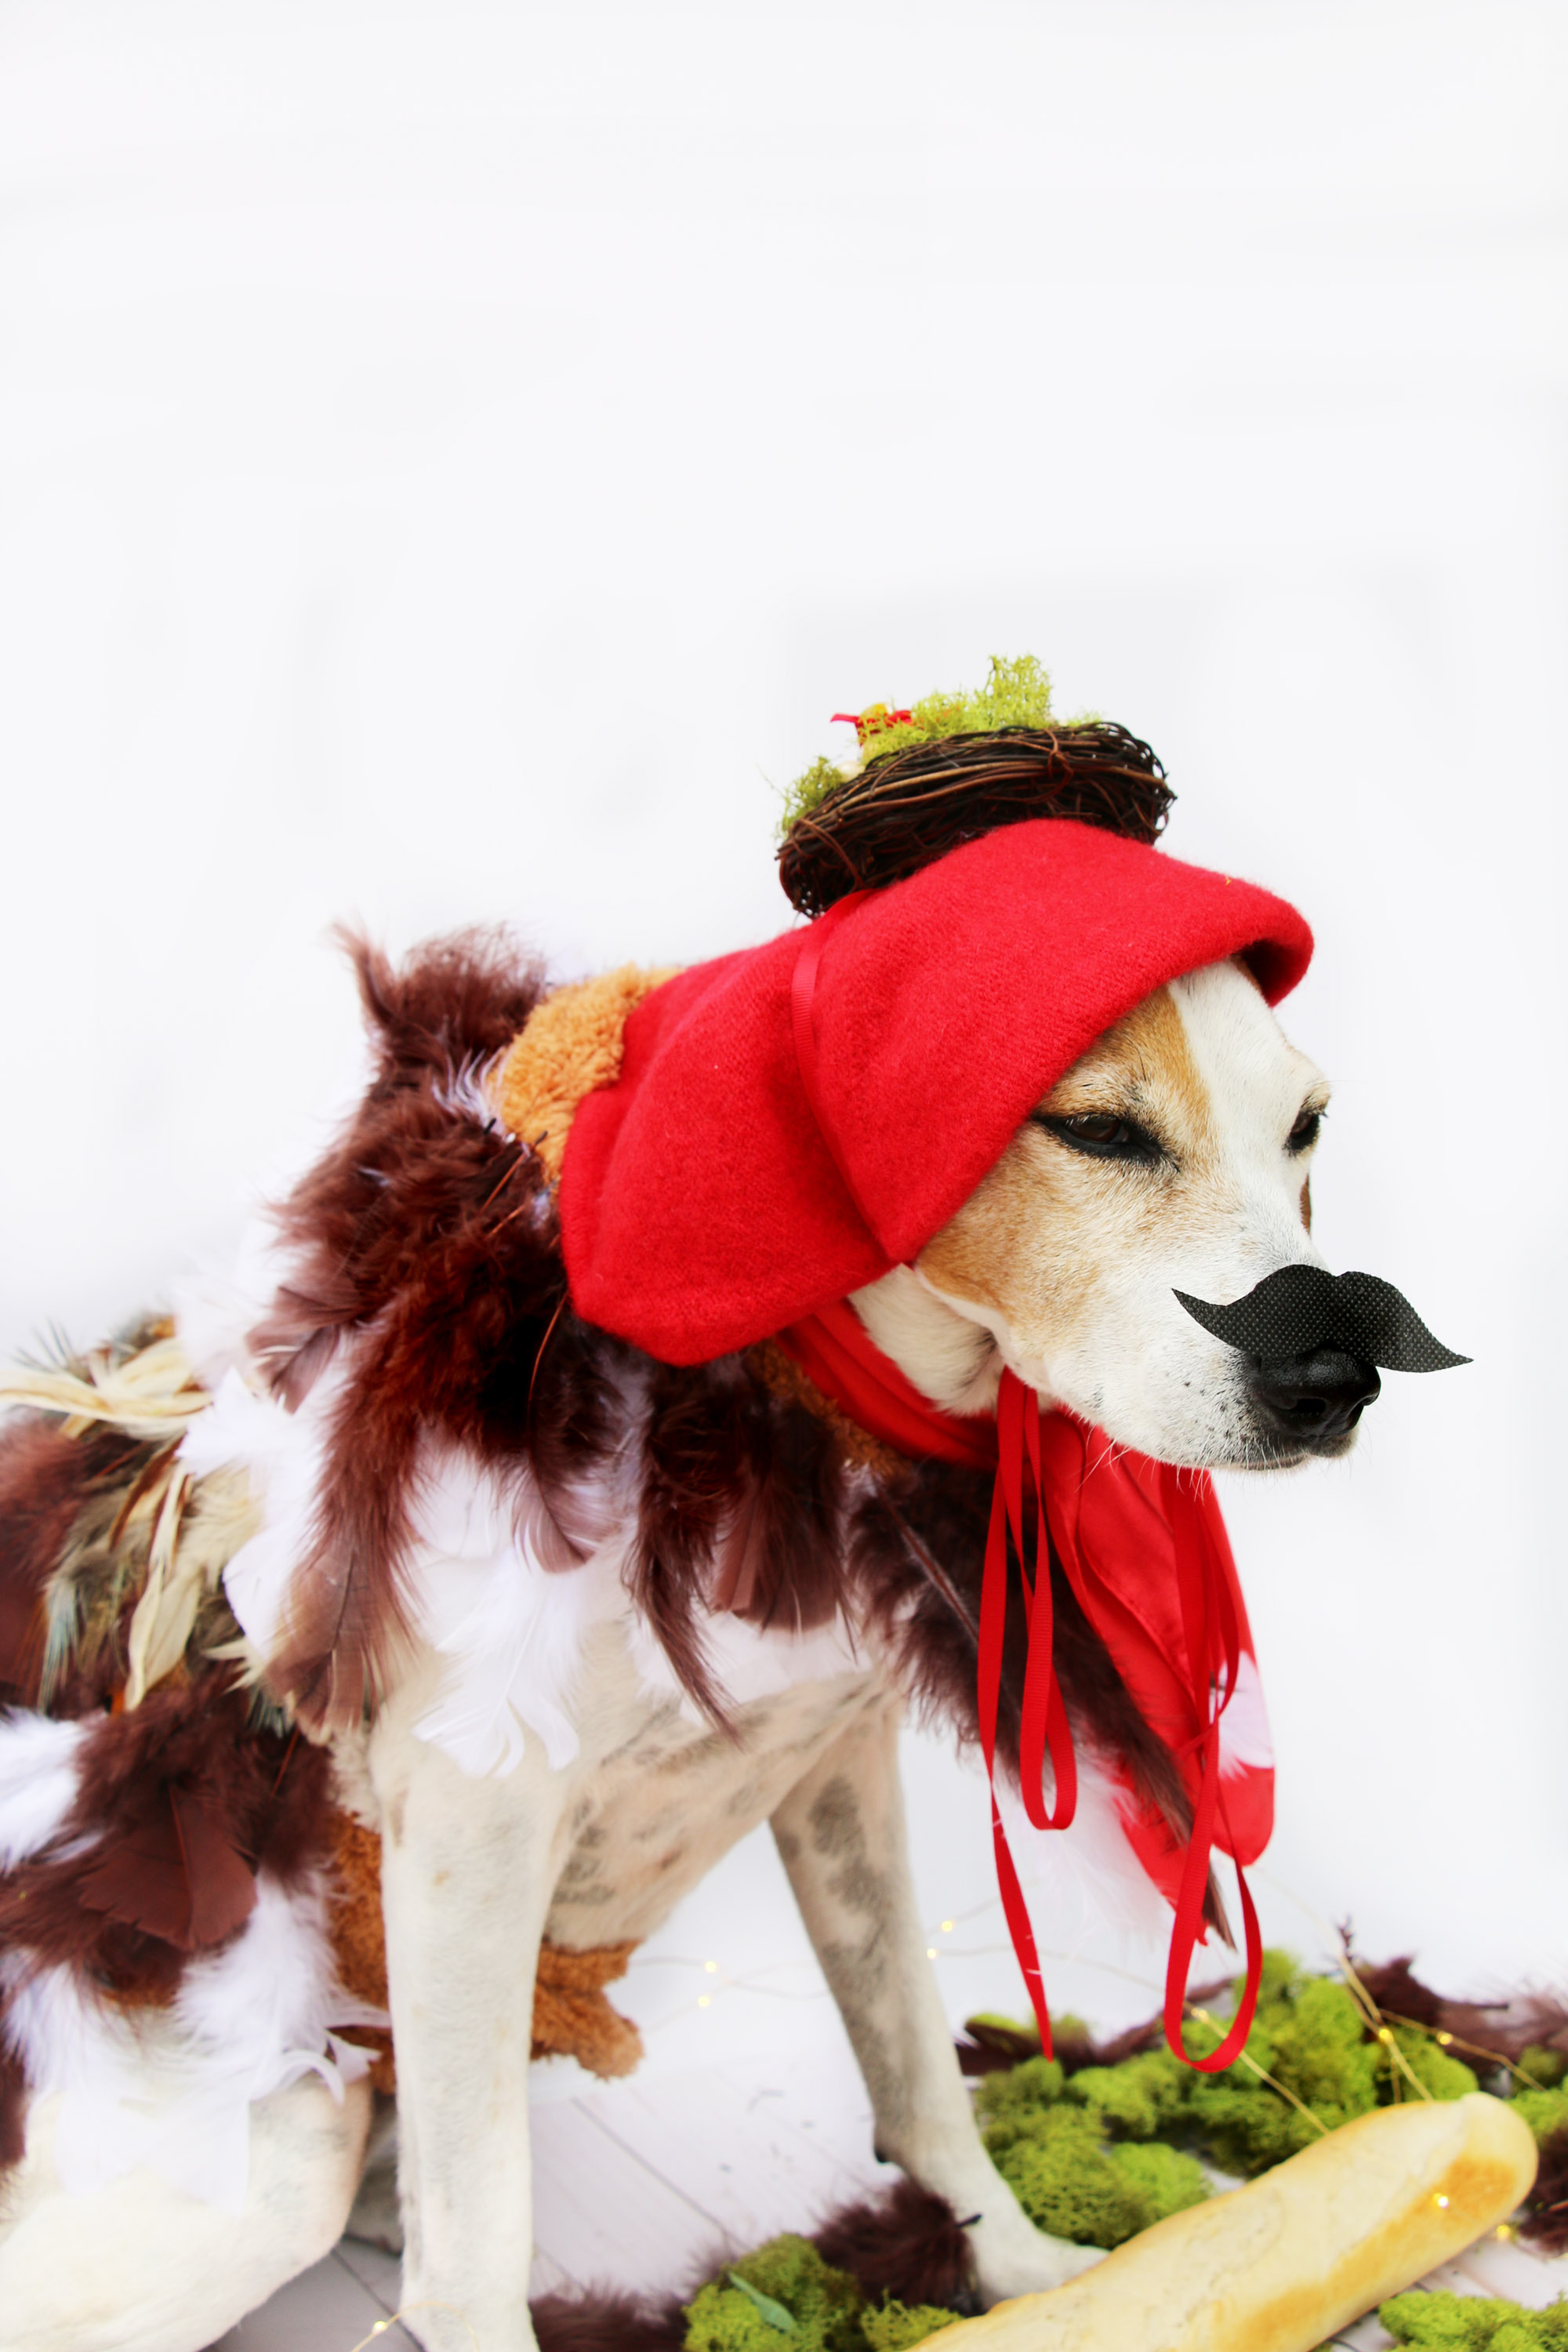
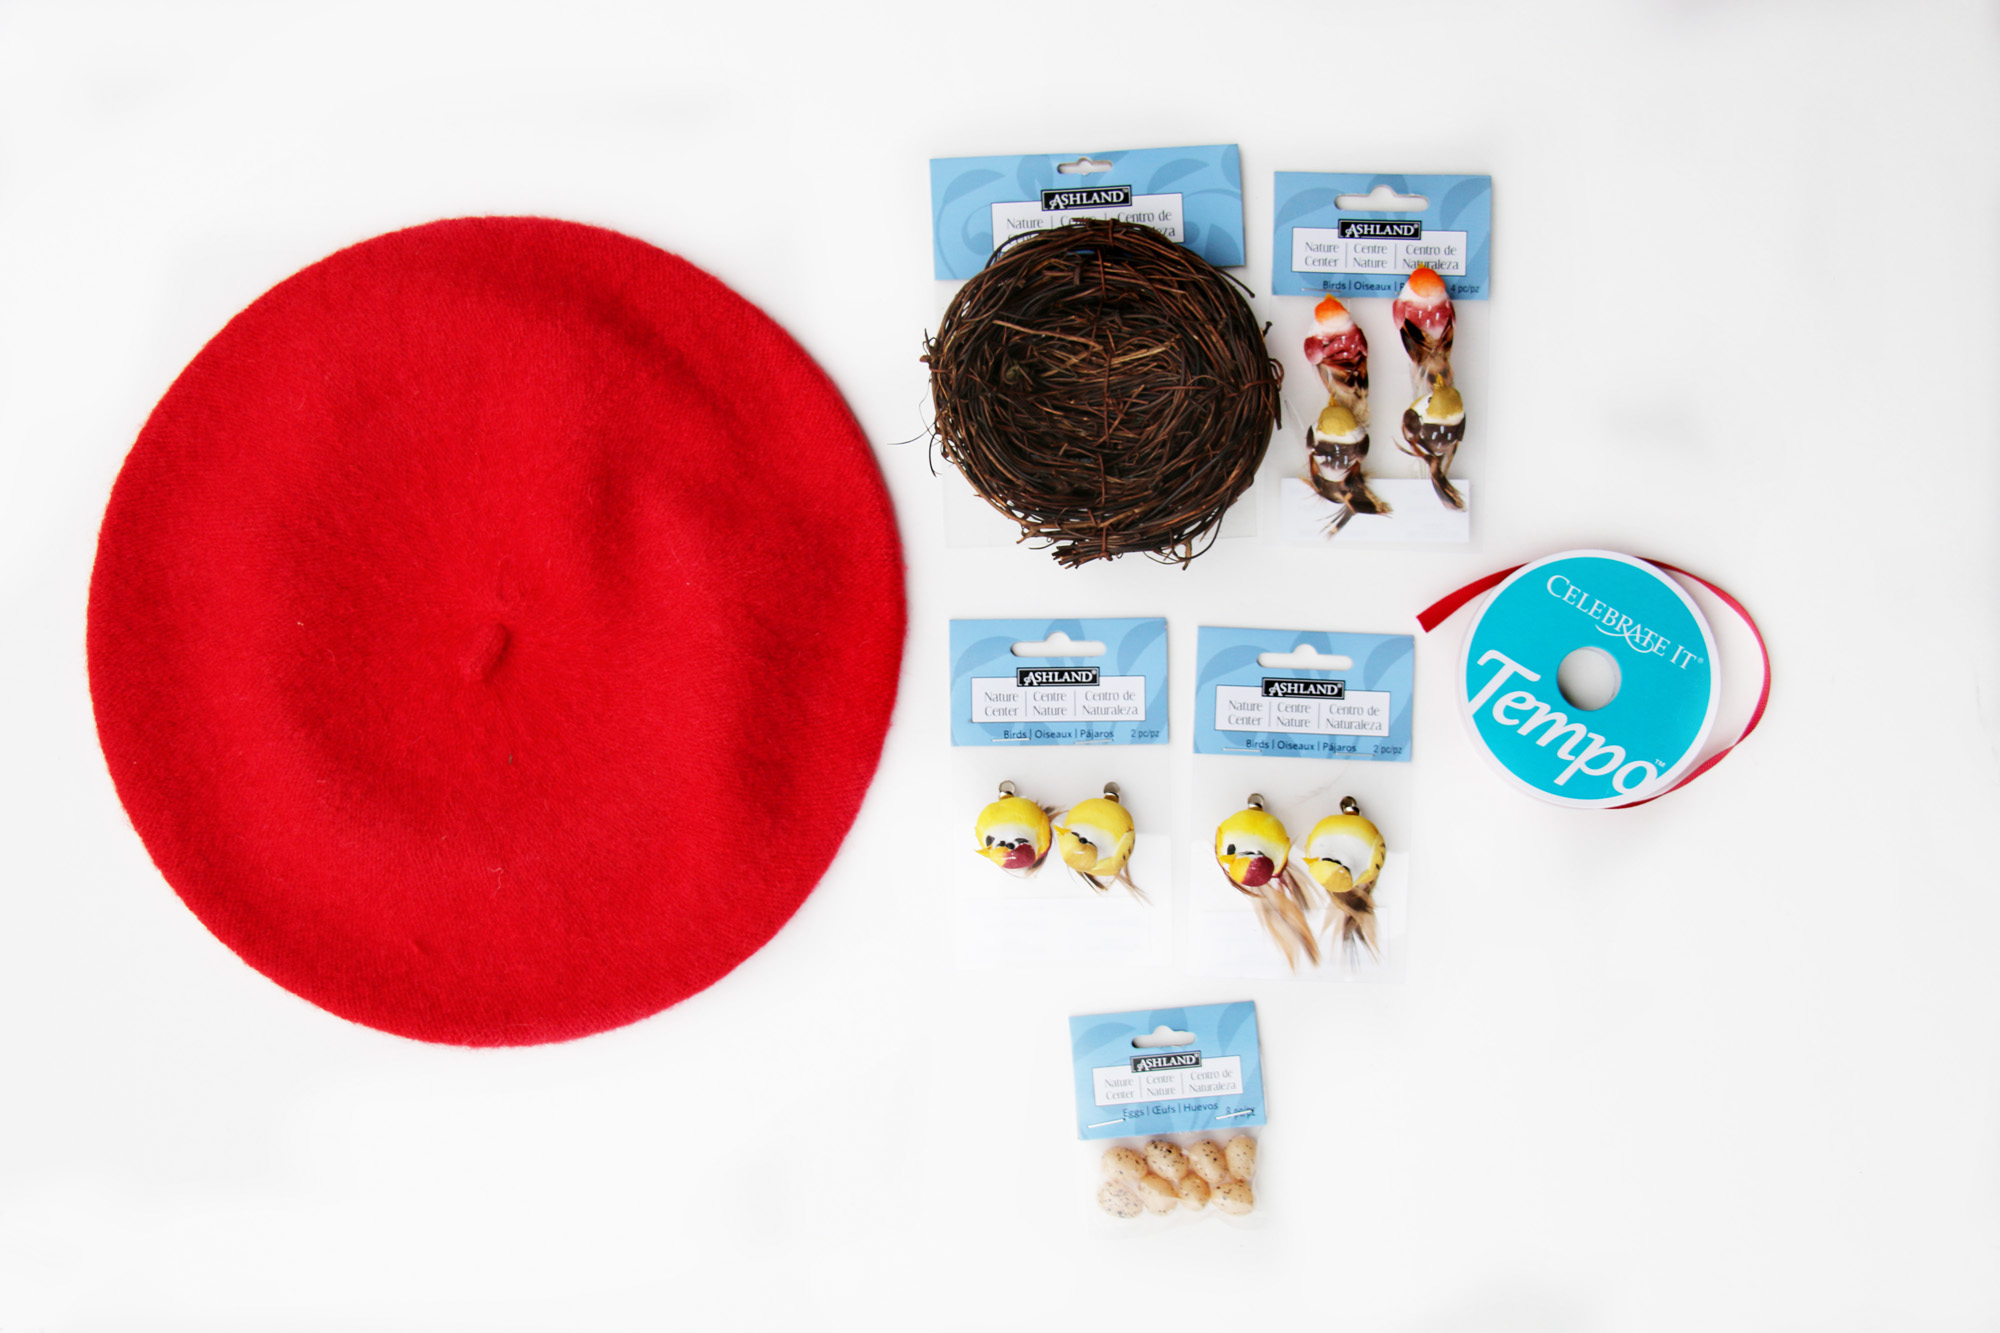
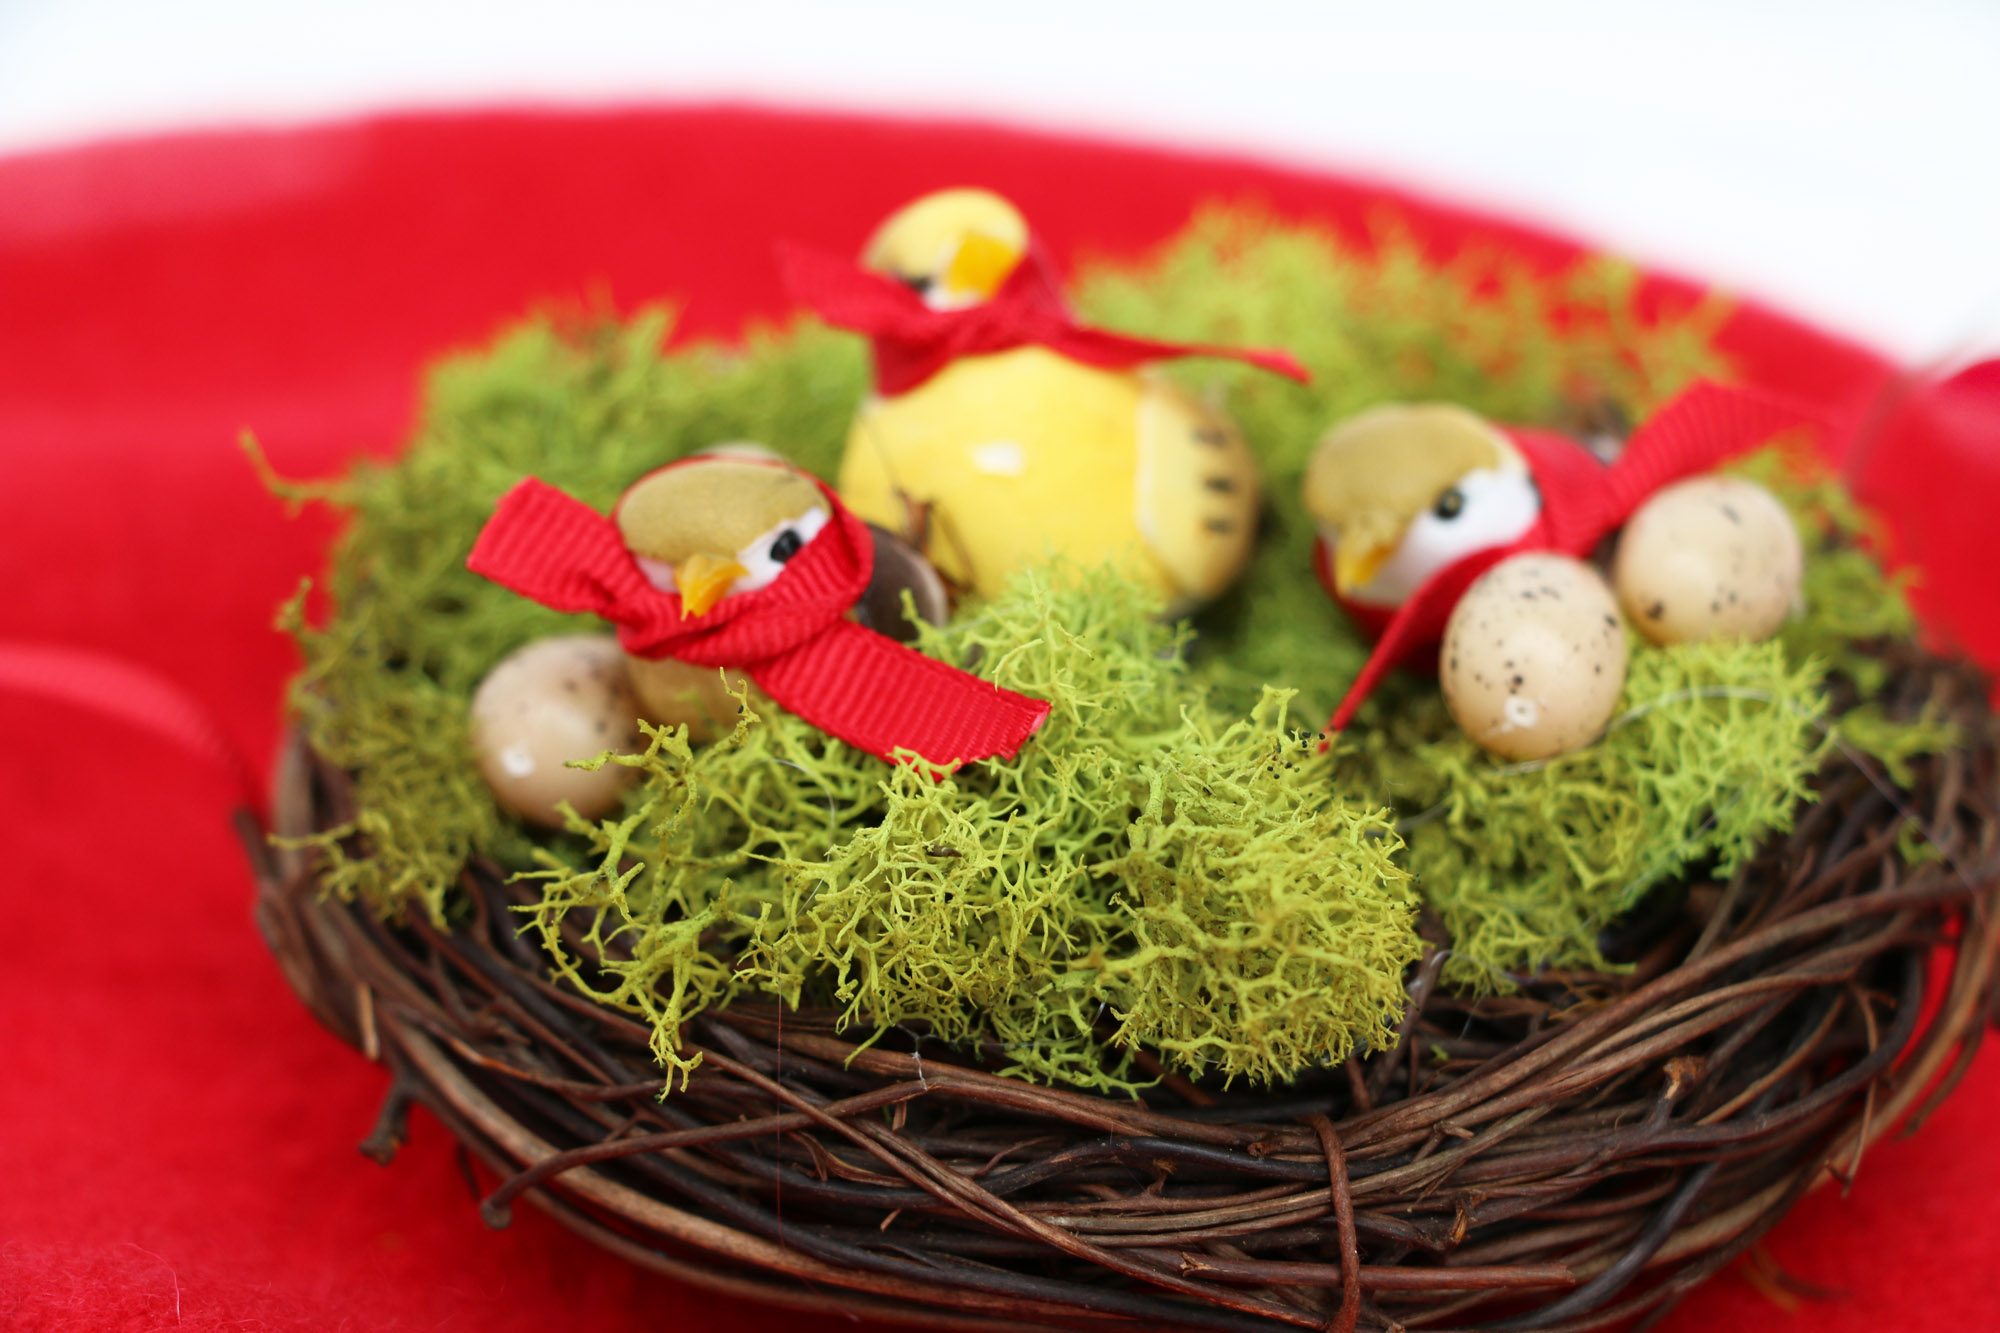
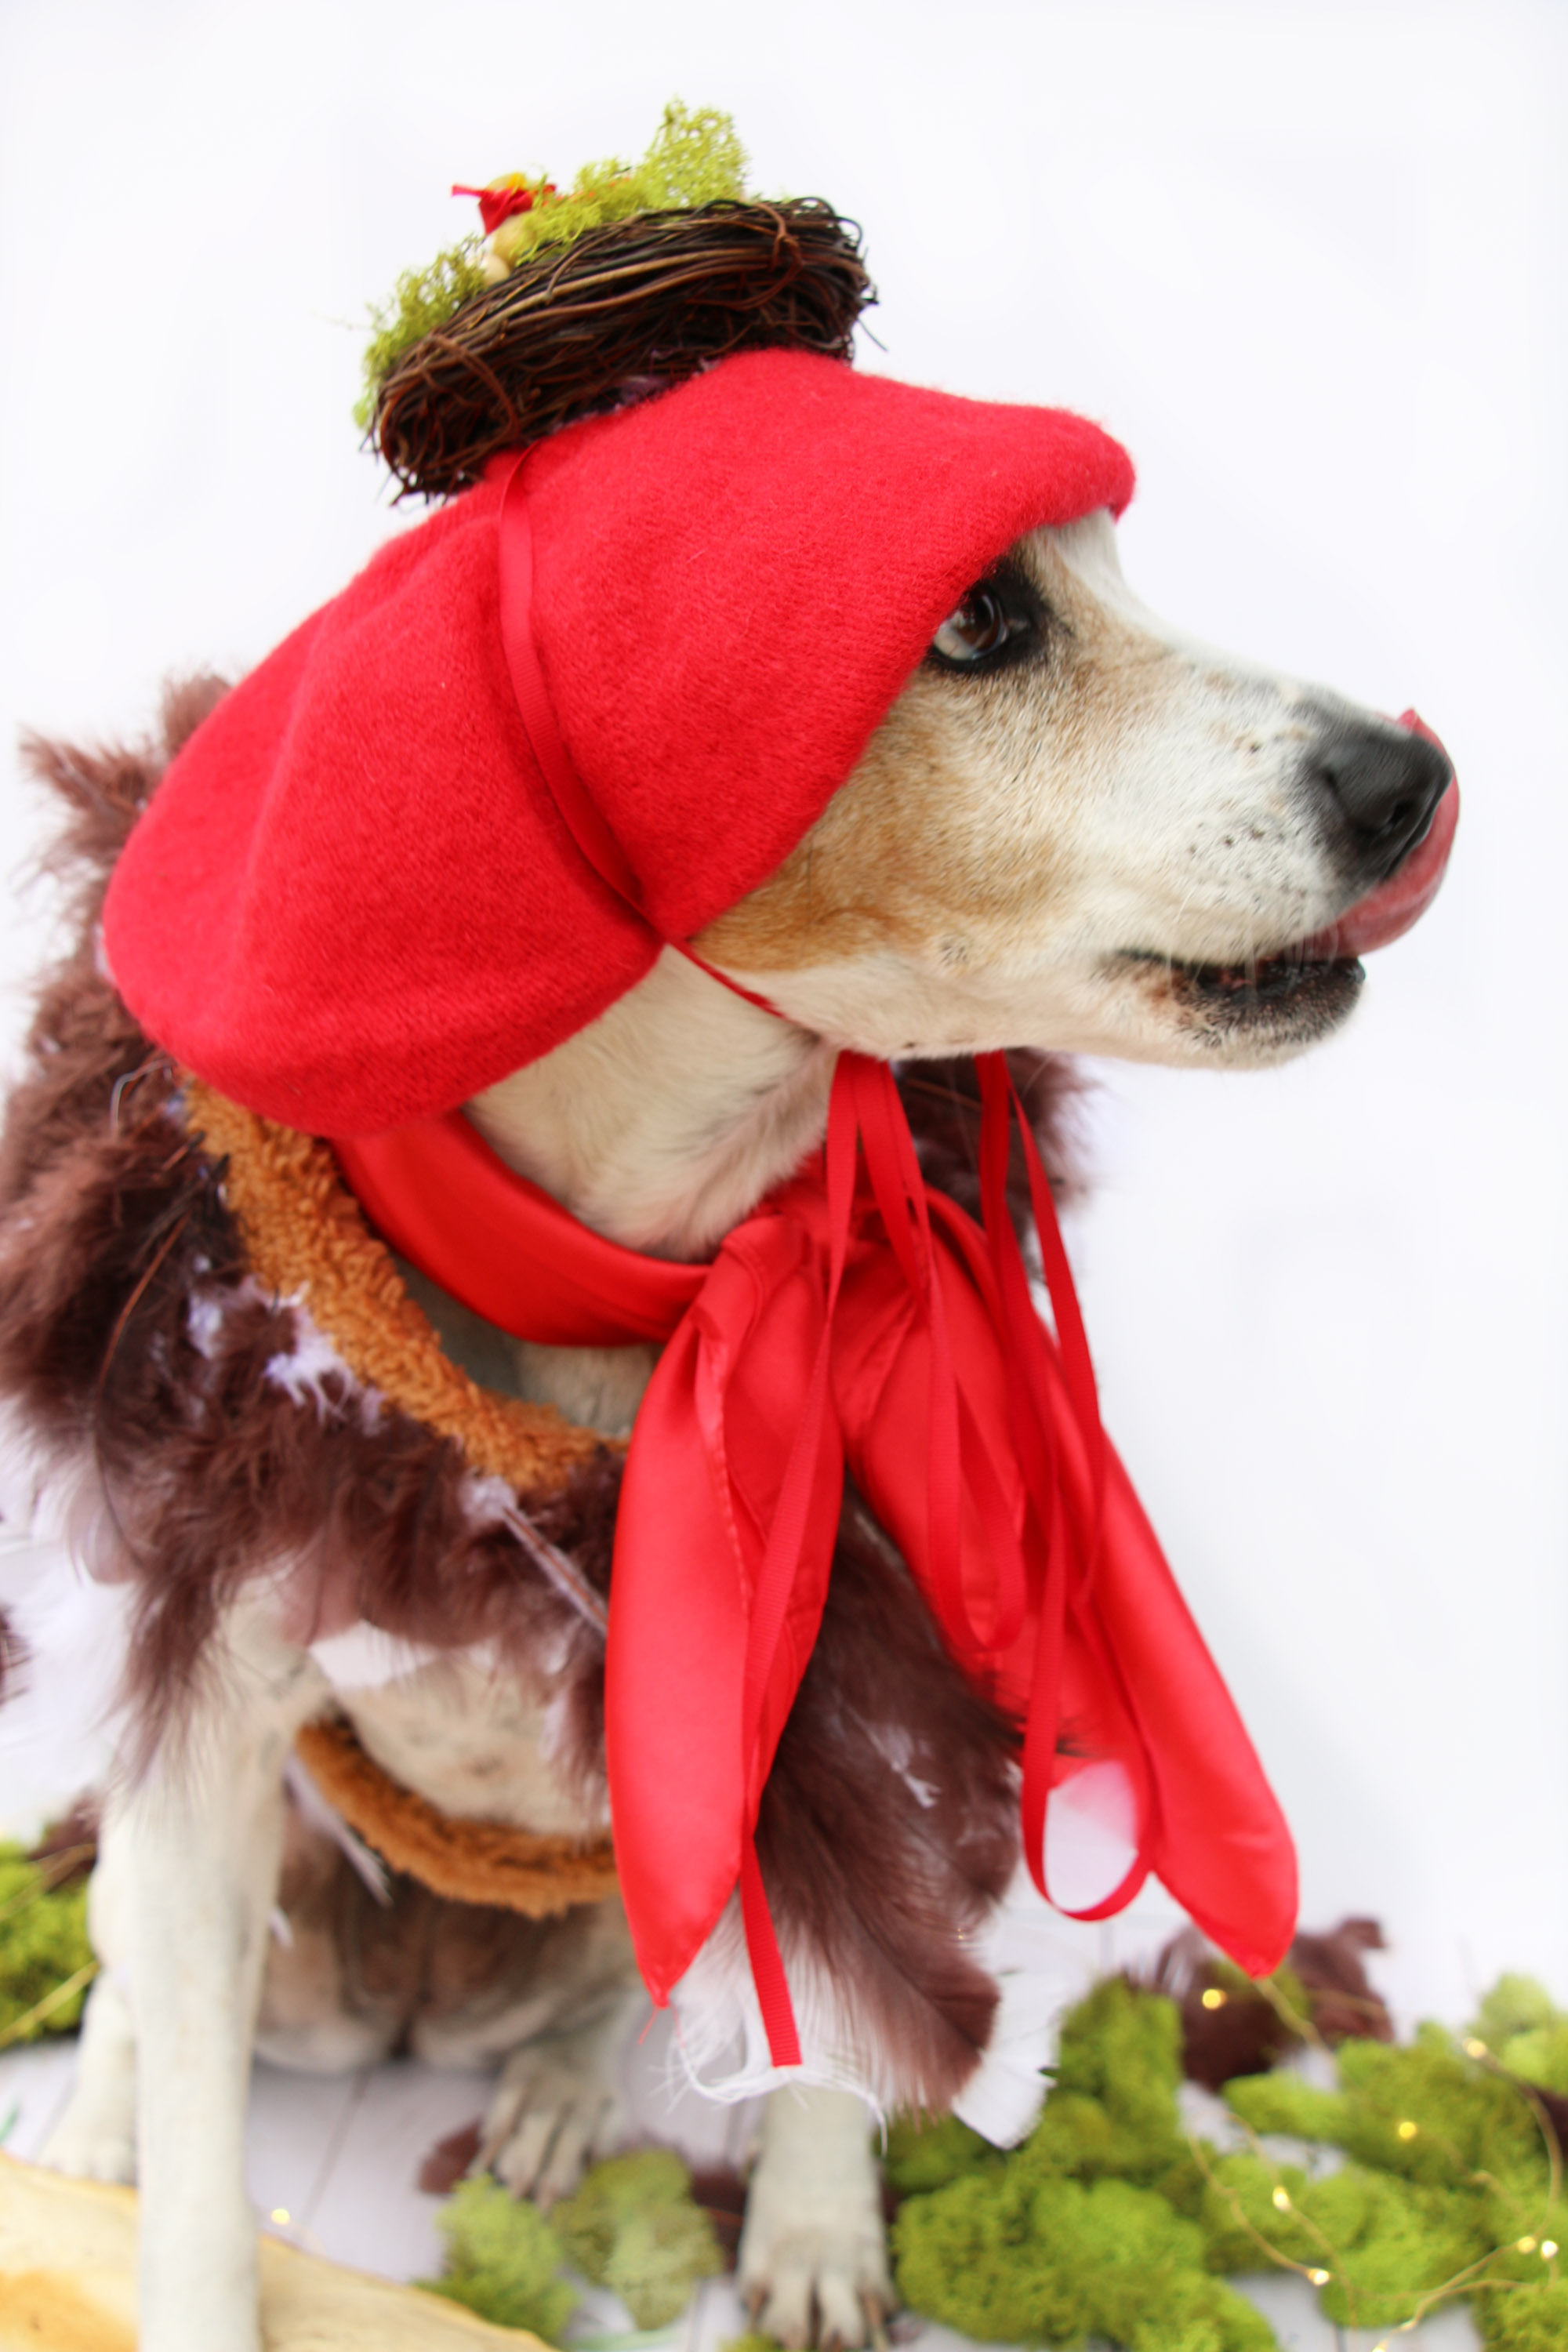
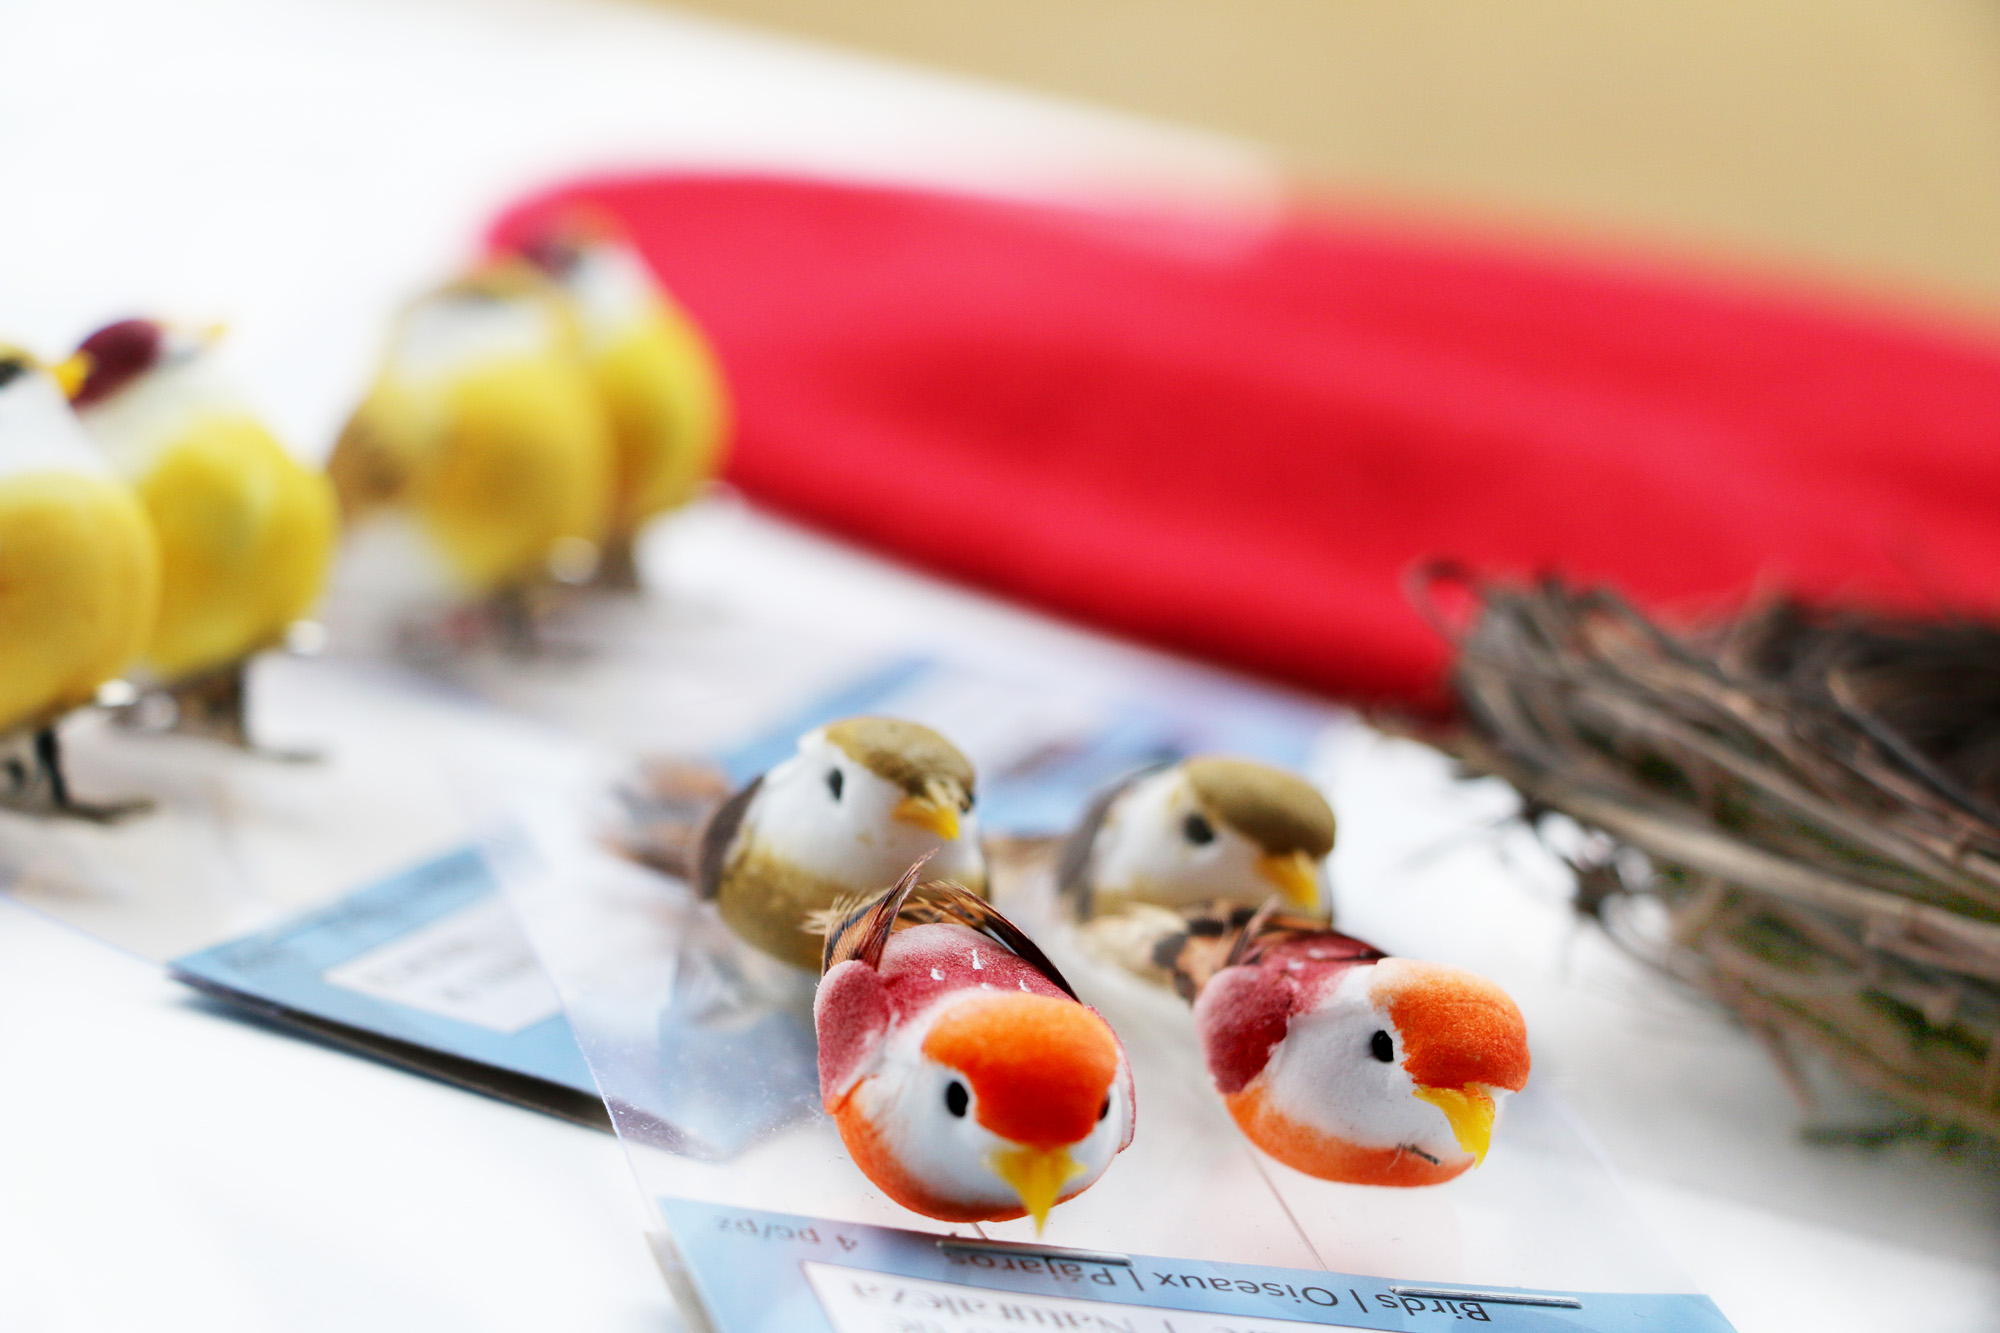 I made it a point to use the darker birds because they look a little more like a French Hen.
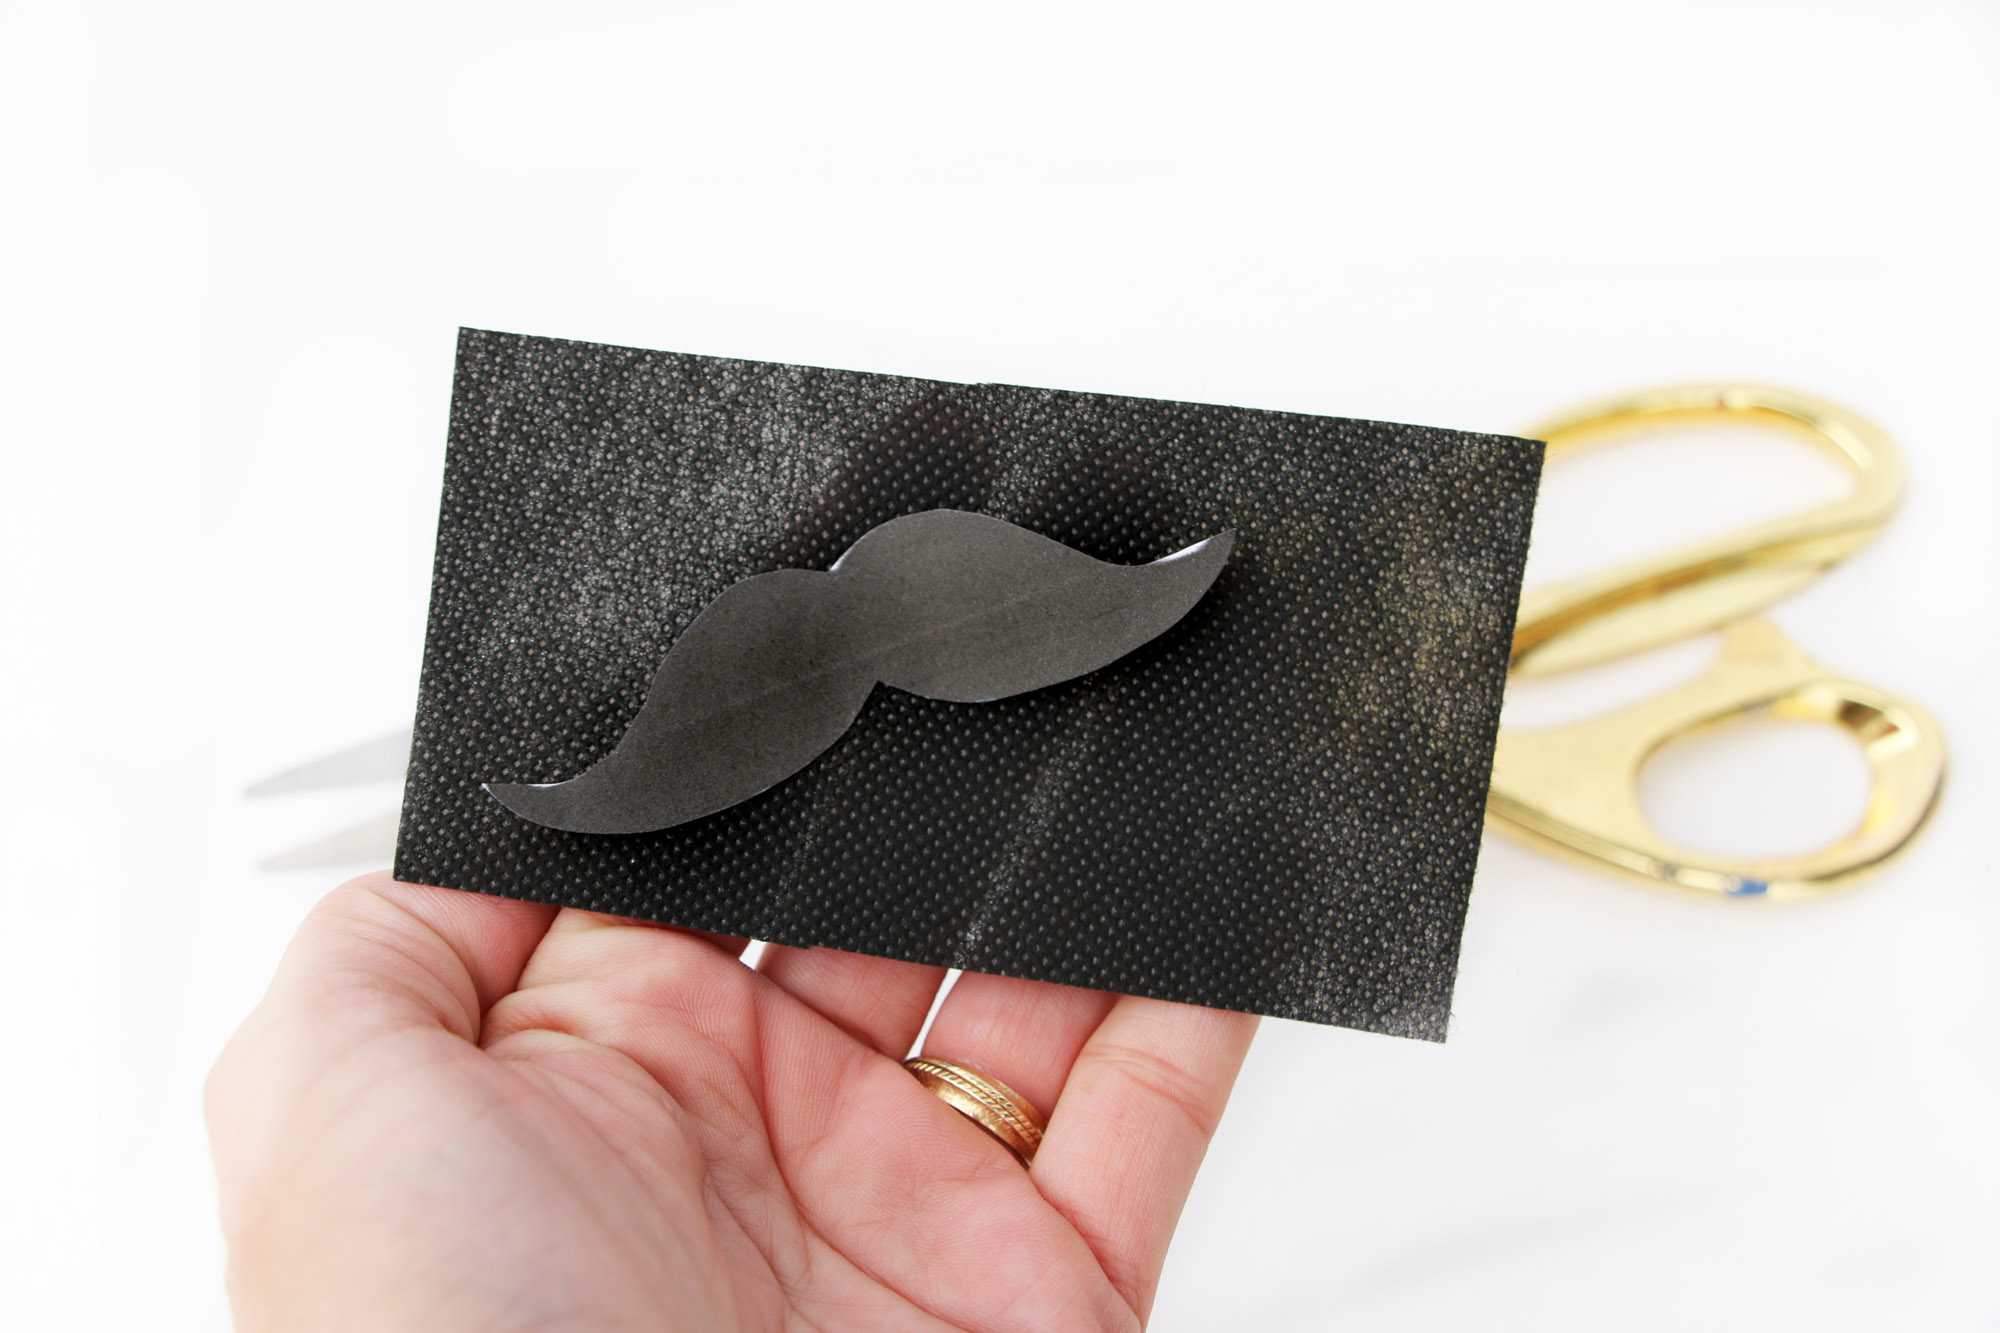 Step one: Cut out your paper mustache and then use it as a template for your black fabric. I had intentions of placing the mustache where is belongs on her face but there was NO way, she kept licking it off as I think most animals would. So just place it above her mouth. It’s still super cute! I used double stick tape for this step.
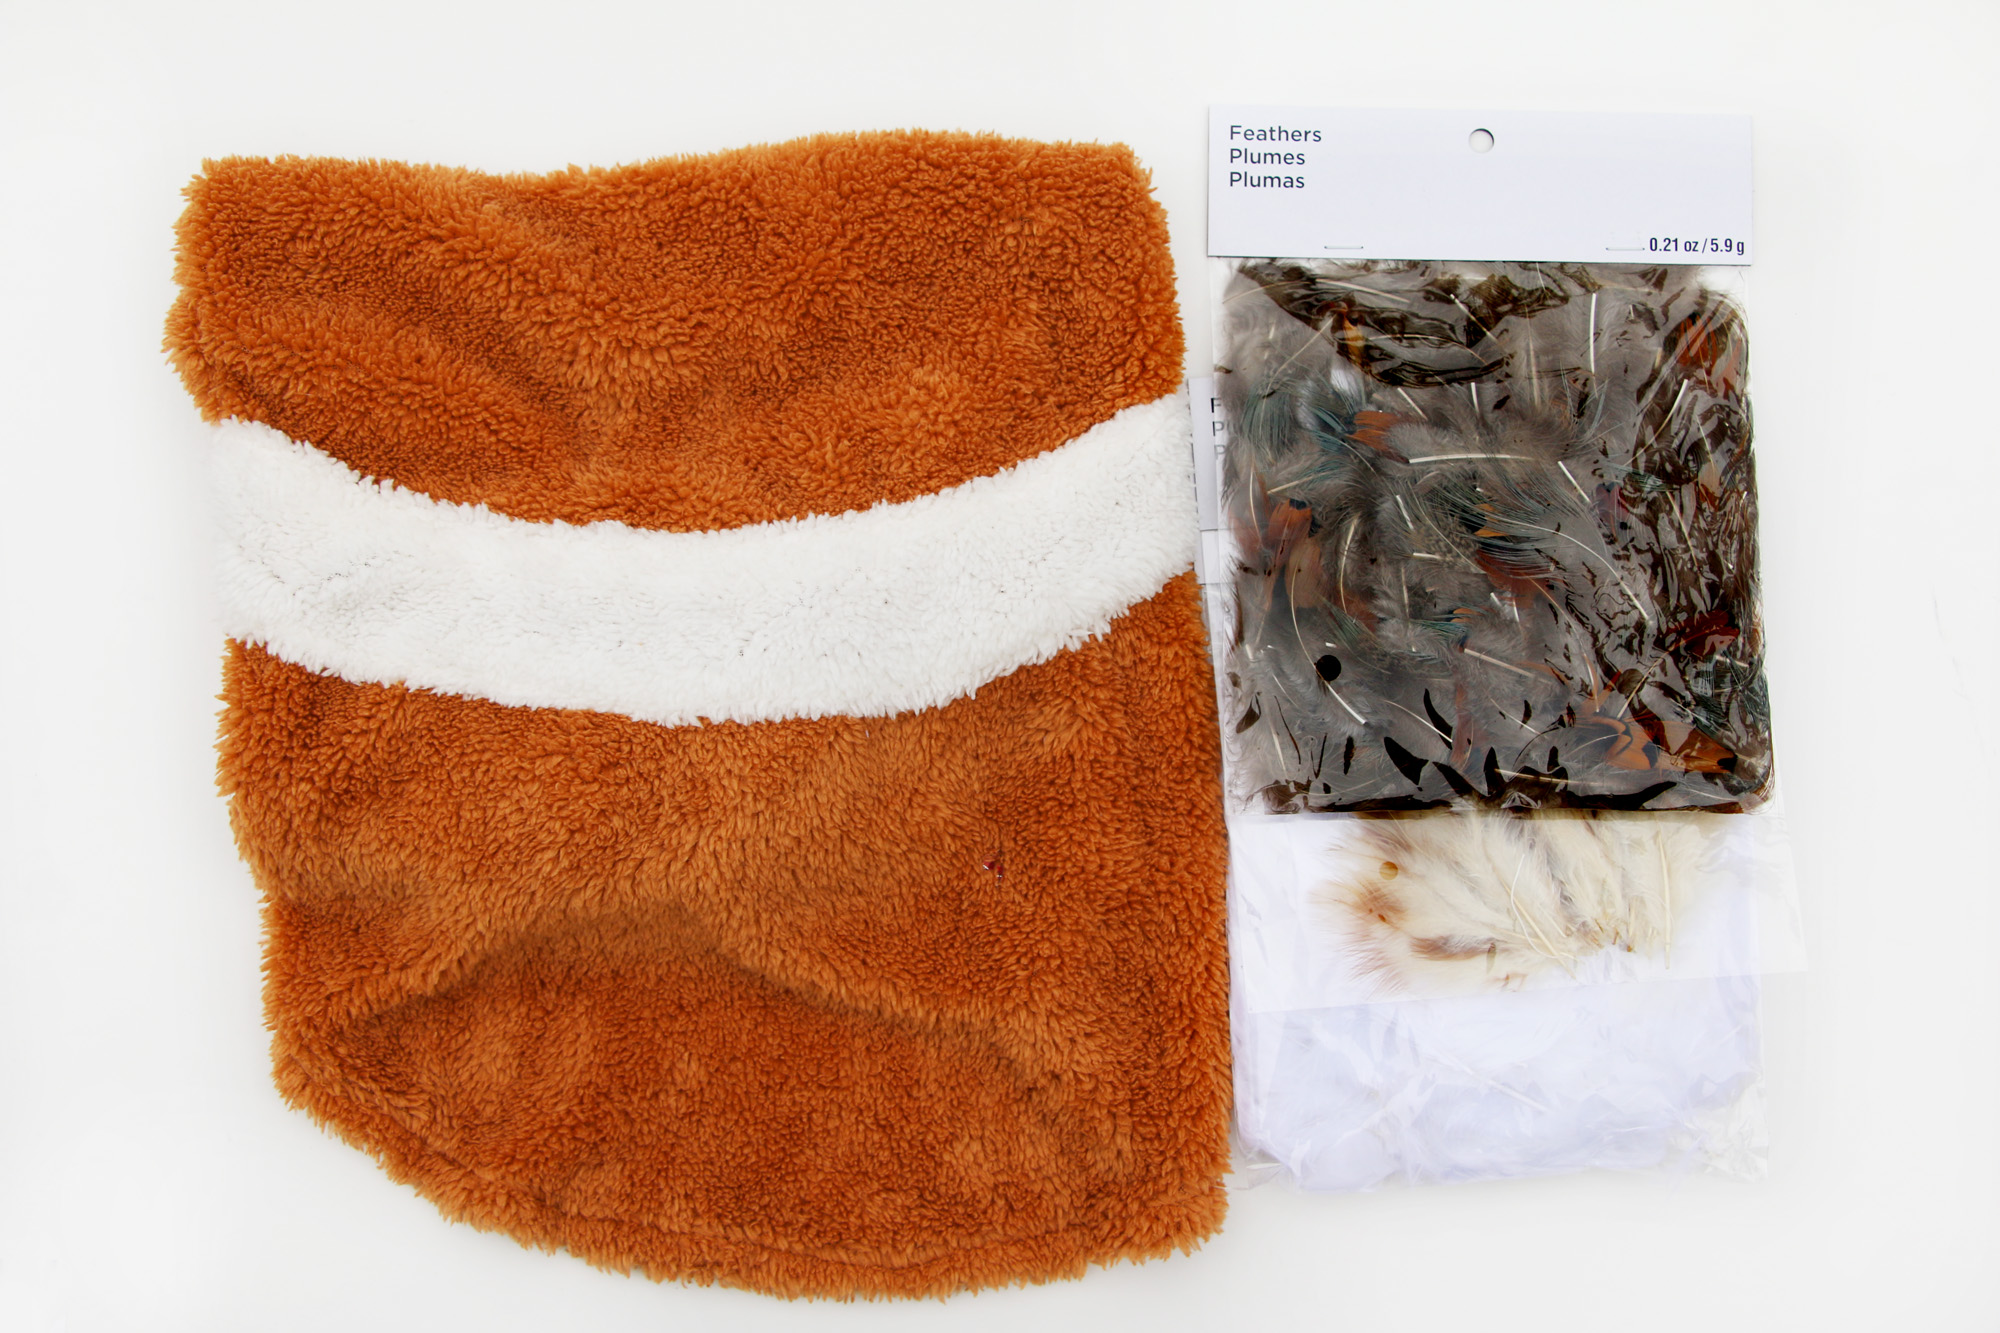 Step one: Start at the very top and add a little dot of hot glue to the tip of a feather then place on the shirt. Continue the whole top layer. When moving onto the next color just lift the first layer up and add second layer under first one.
  Repeat until the entire back of costume is filled with feathers. I did do research to find out the actual colors of most french hens and I think I pulled off the colors well! The feathers are so light that you can’t really tell a difference in weight when you are all done.
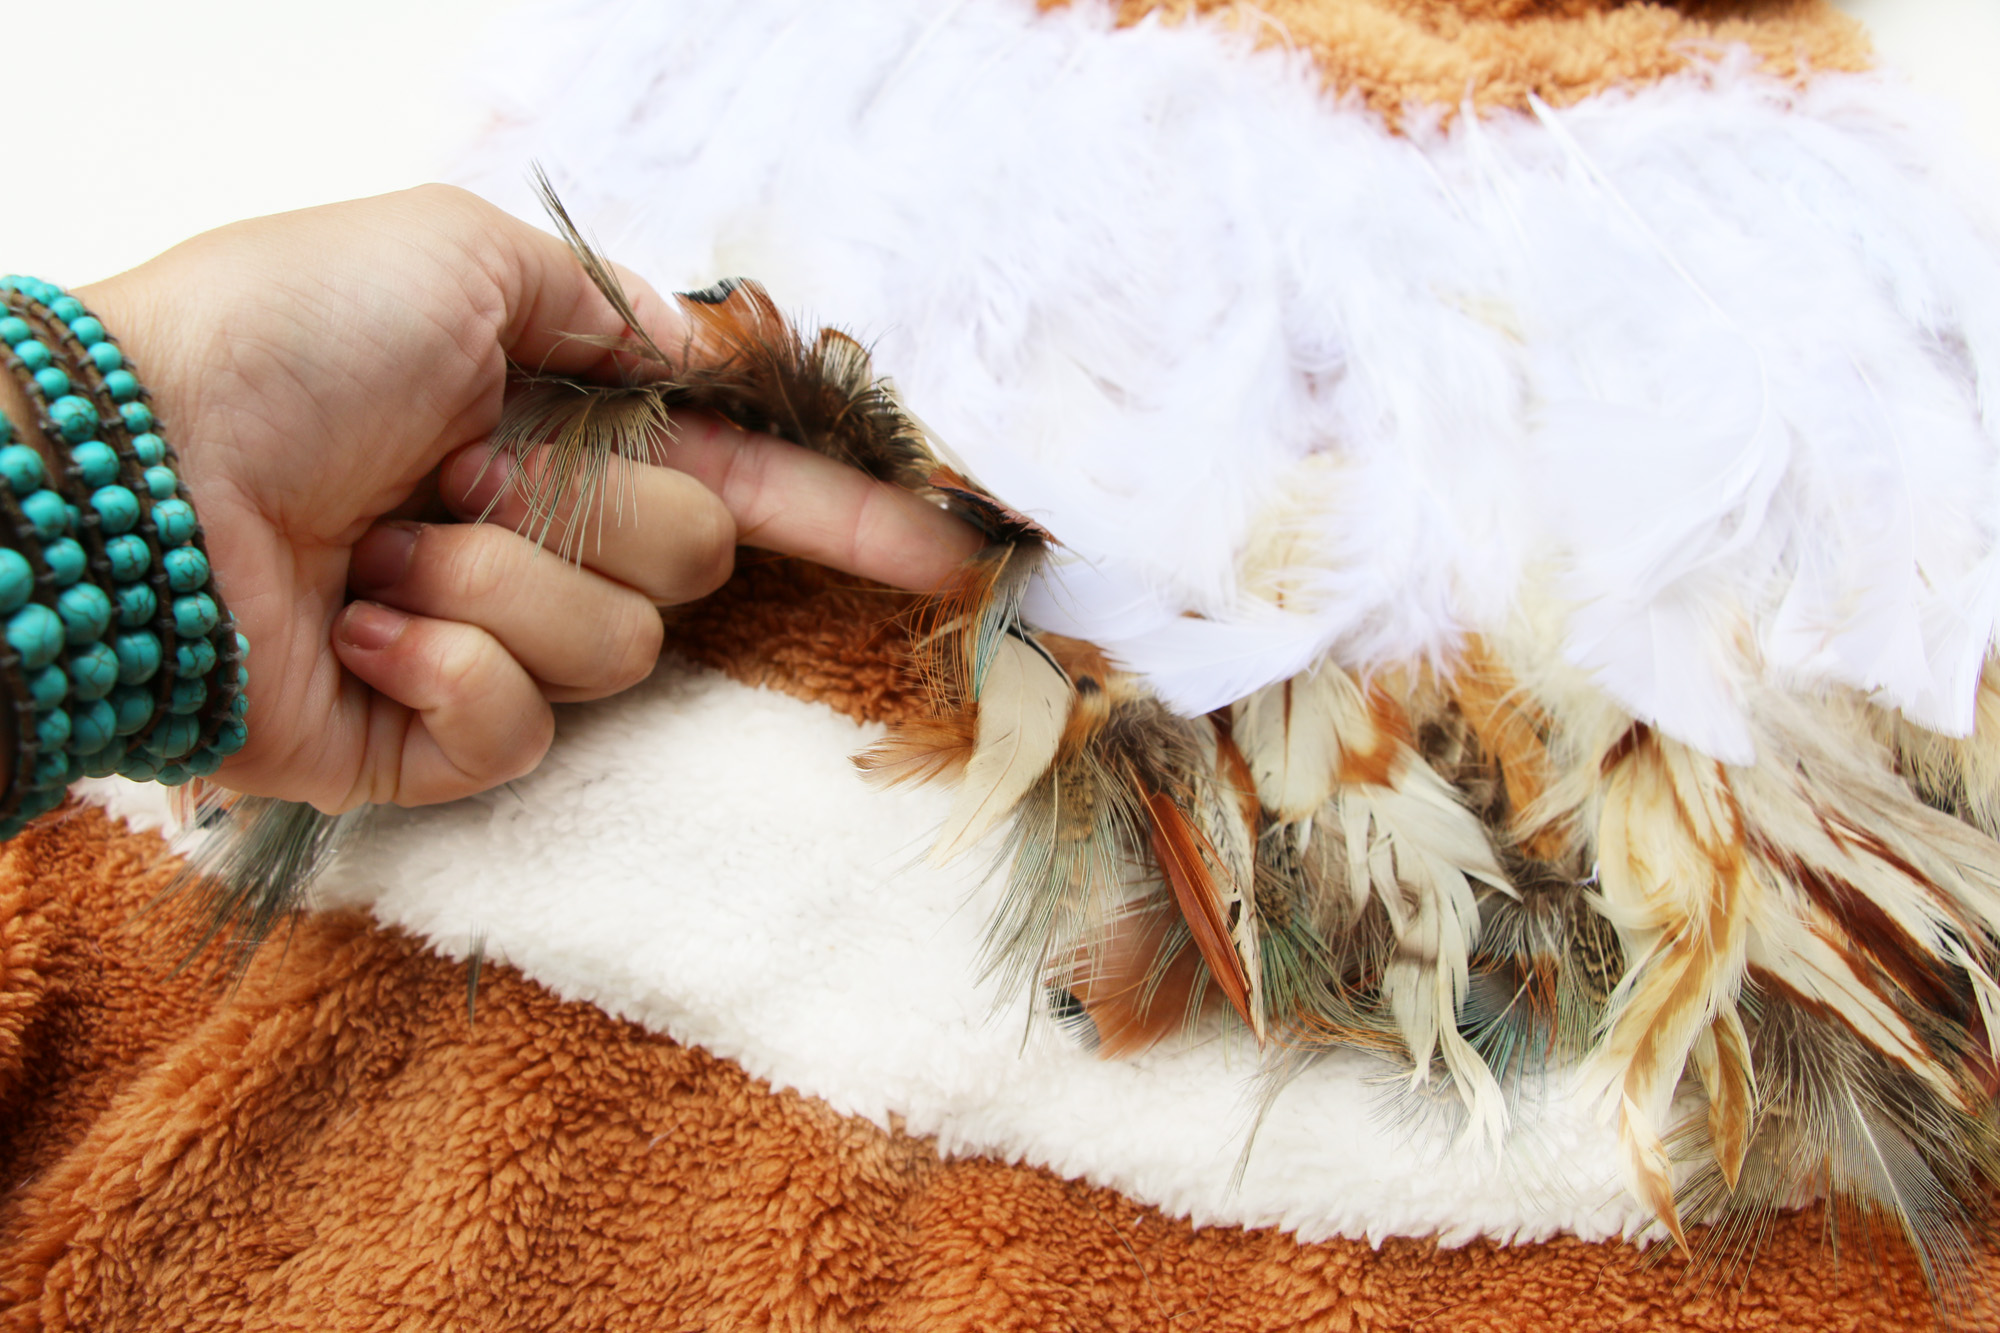


 Make sure you get enough sheets to cover all of your pots if you intend on doing more than one pot. I like to do more than one because it looks better in a group plus you never know when a friend will come over and you might want to send them home with “Partridge in a Pear Tree.”
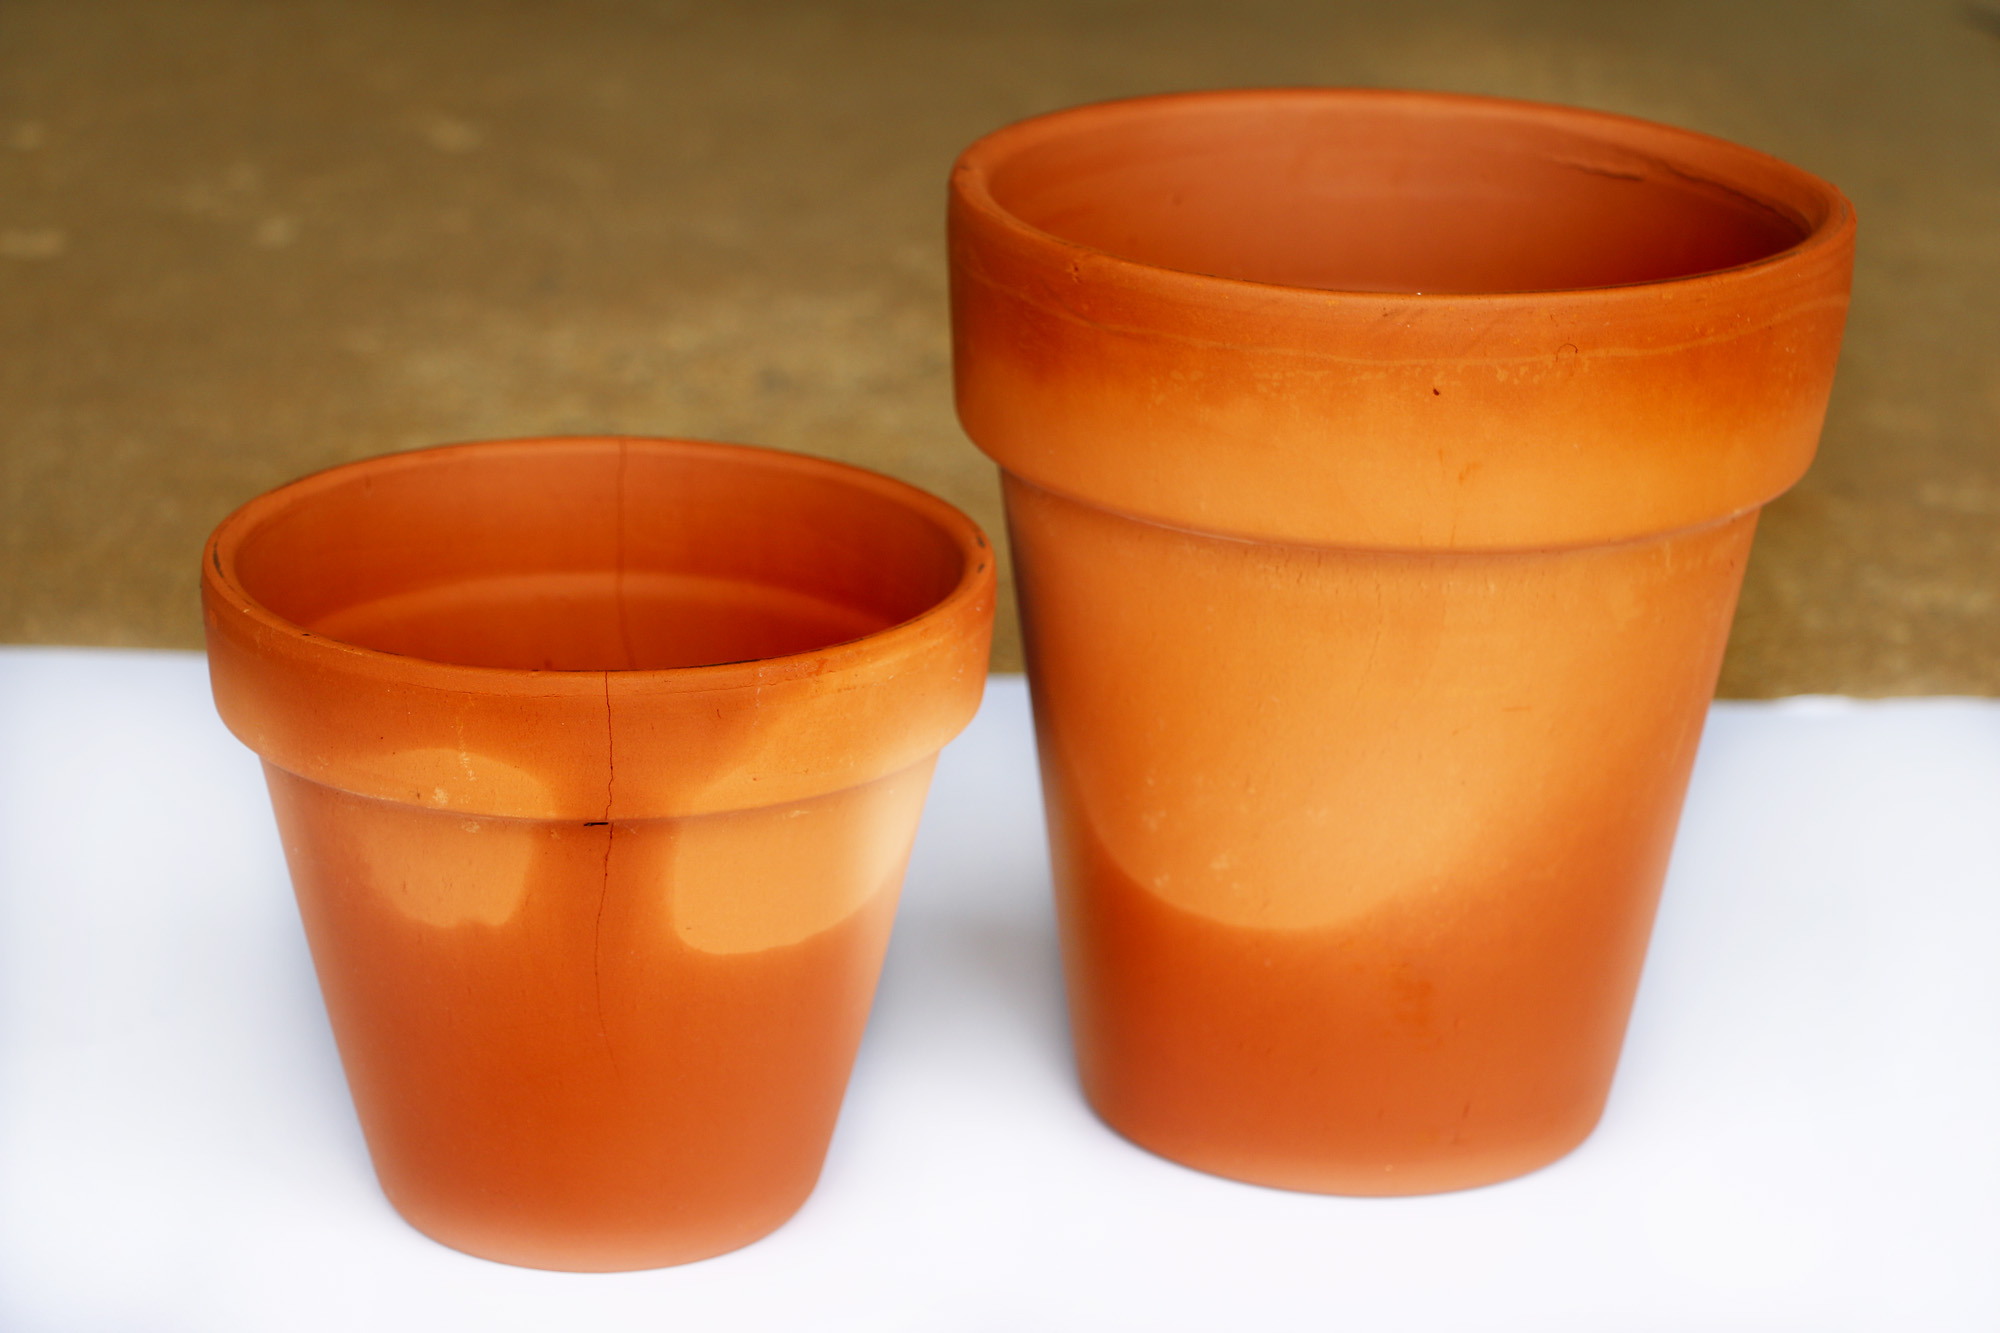 Step One: Get a damp cloth and wipe down the entire surface of your terra cotta pots. Did I mention how affordable these pots are? Terra Cotta pots are the best pots to craft with because of this!
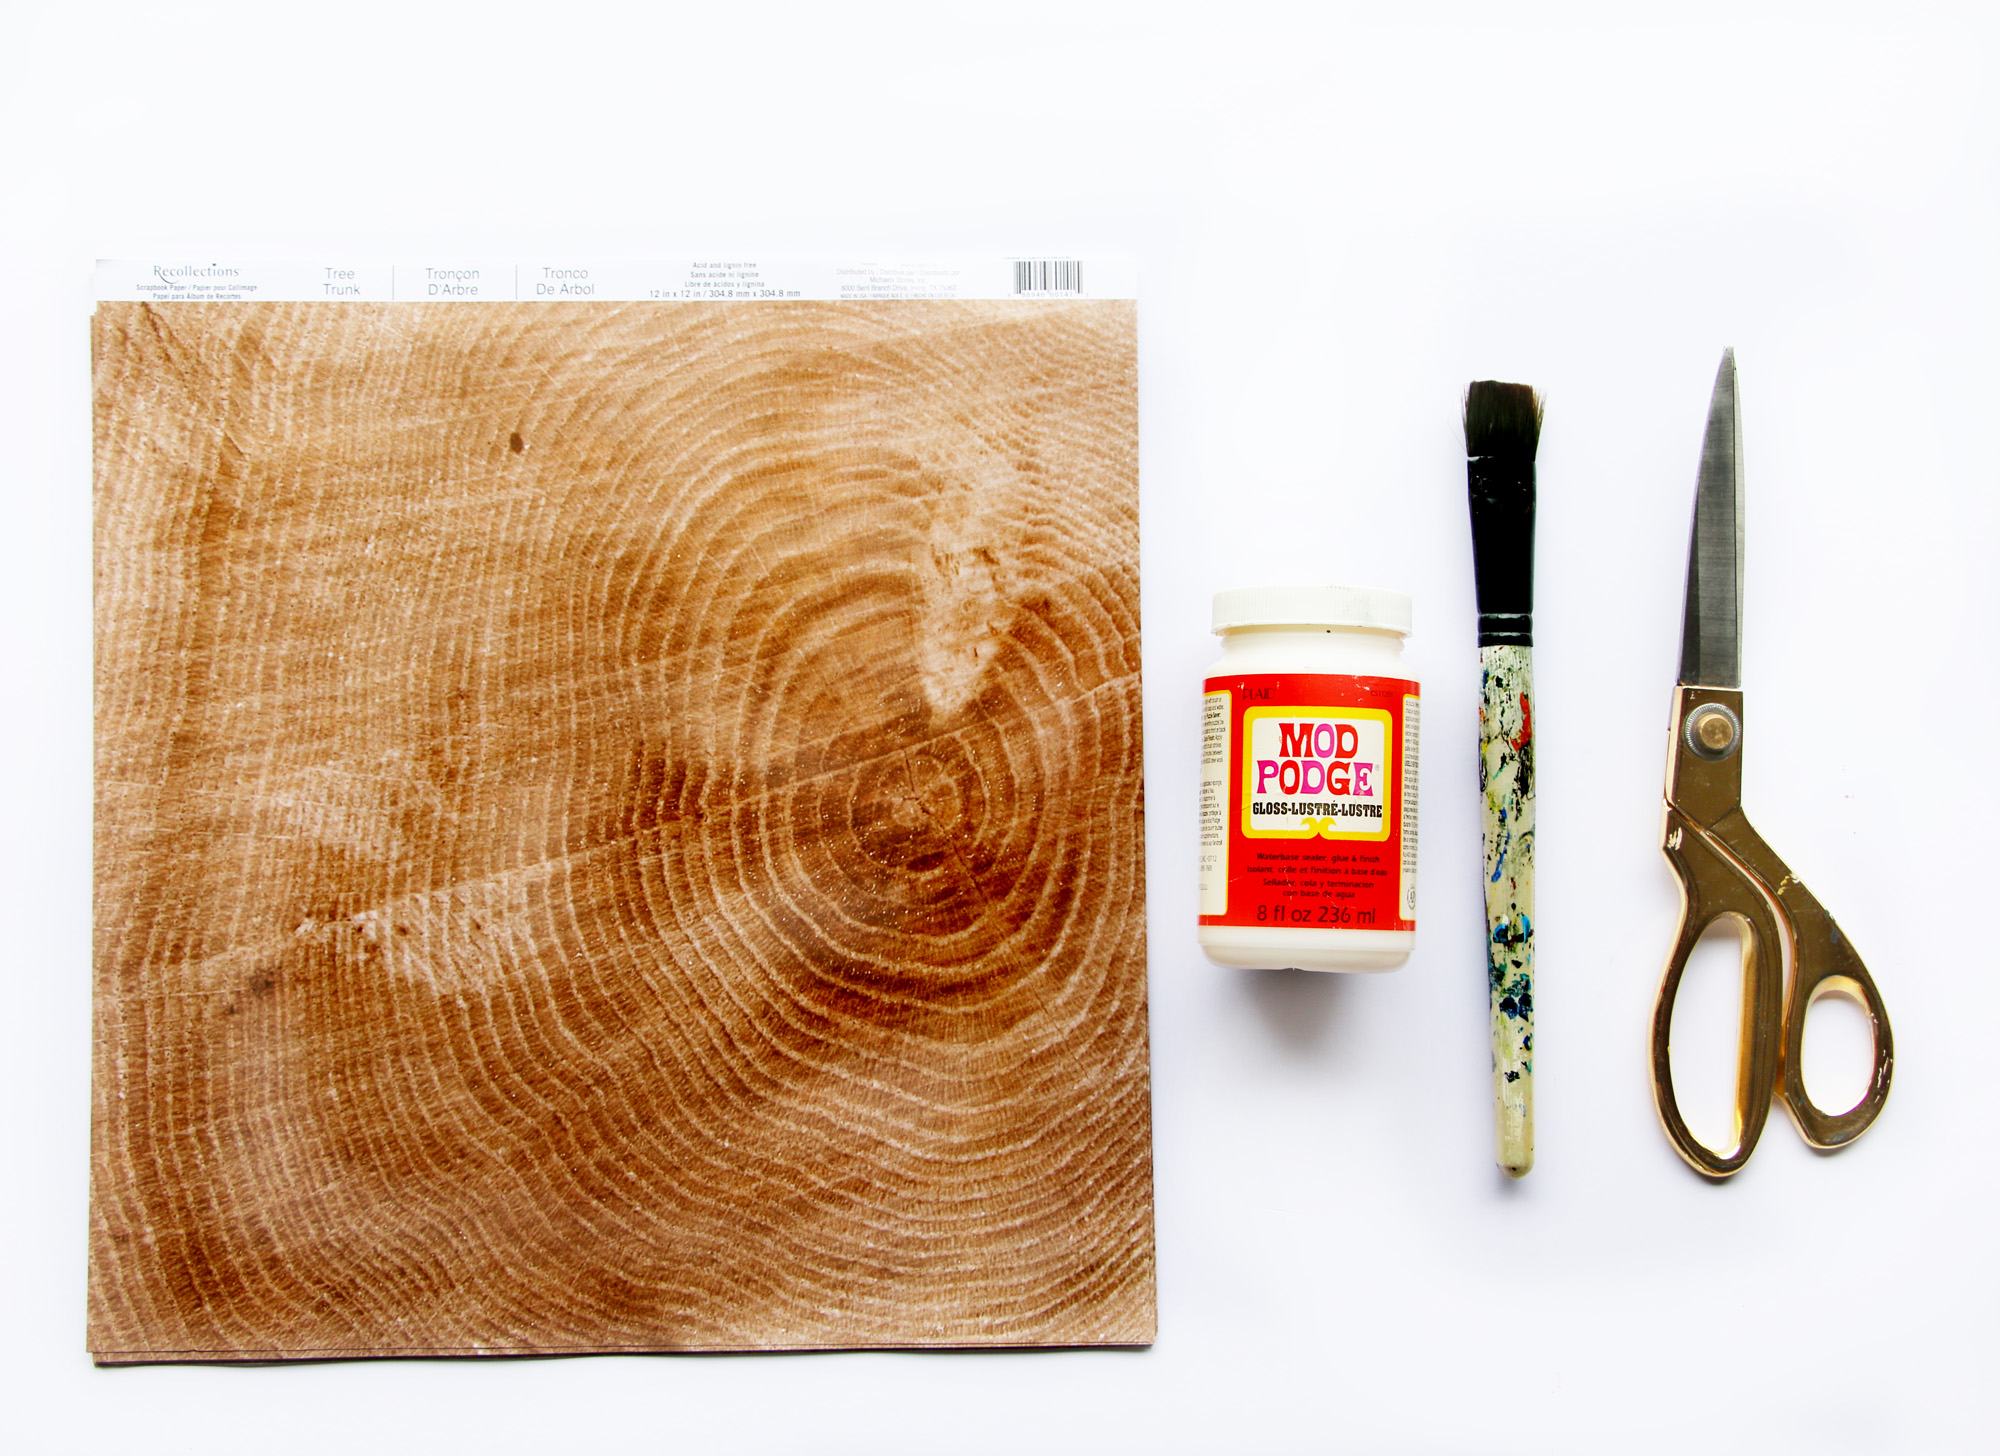
 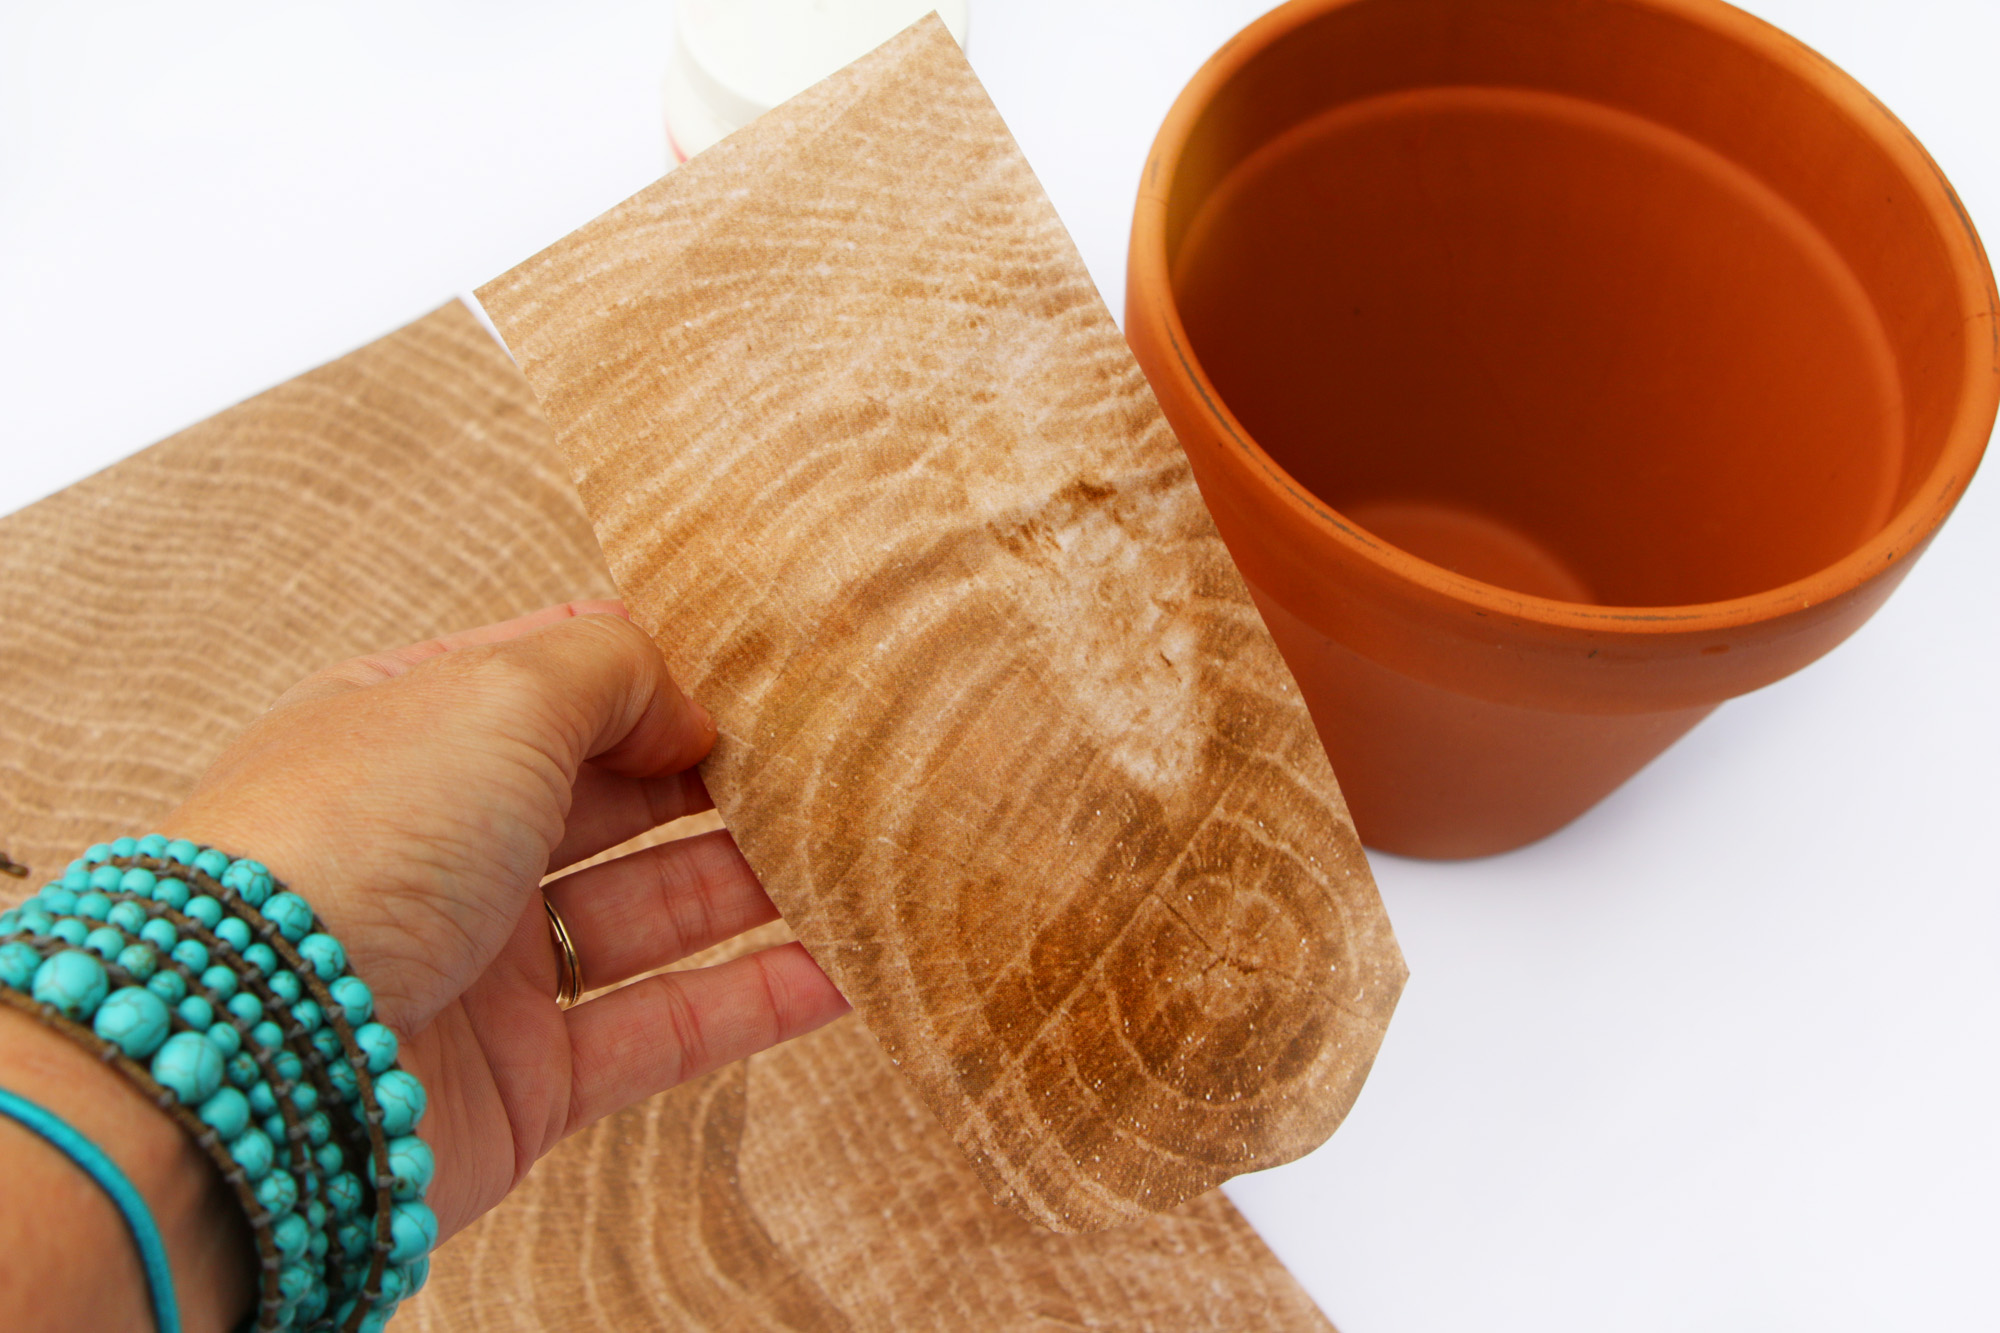 Step Two: Cut pieces of your woodgrain paper longways to ensure one strip fits completely vertically. We want this to look as real as possible in the end. Lay down a whole sheet and cut long strips while leaving them in the correct order. Apply them in the order you cut them so once they are all on, everything will line up properly!
 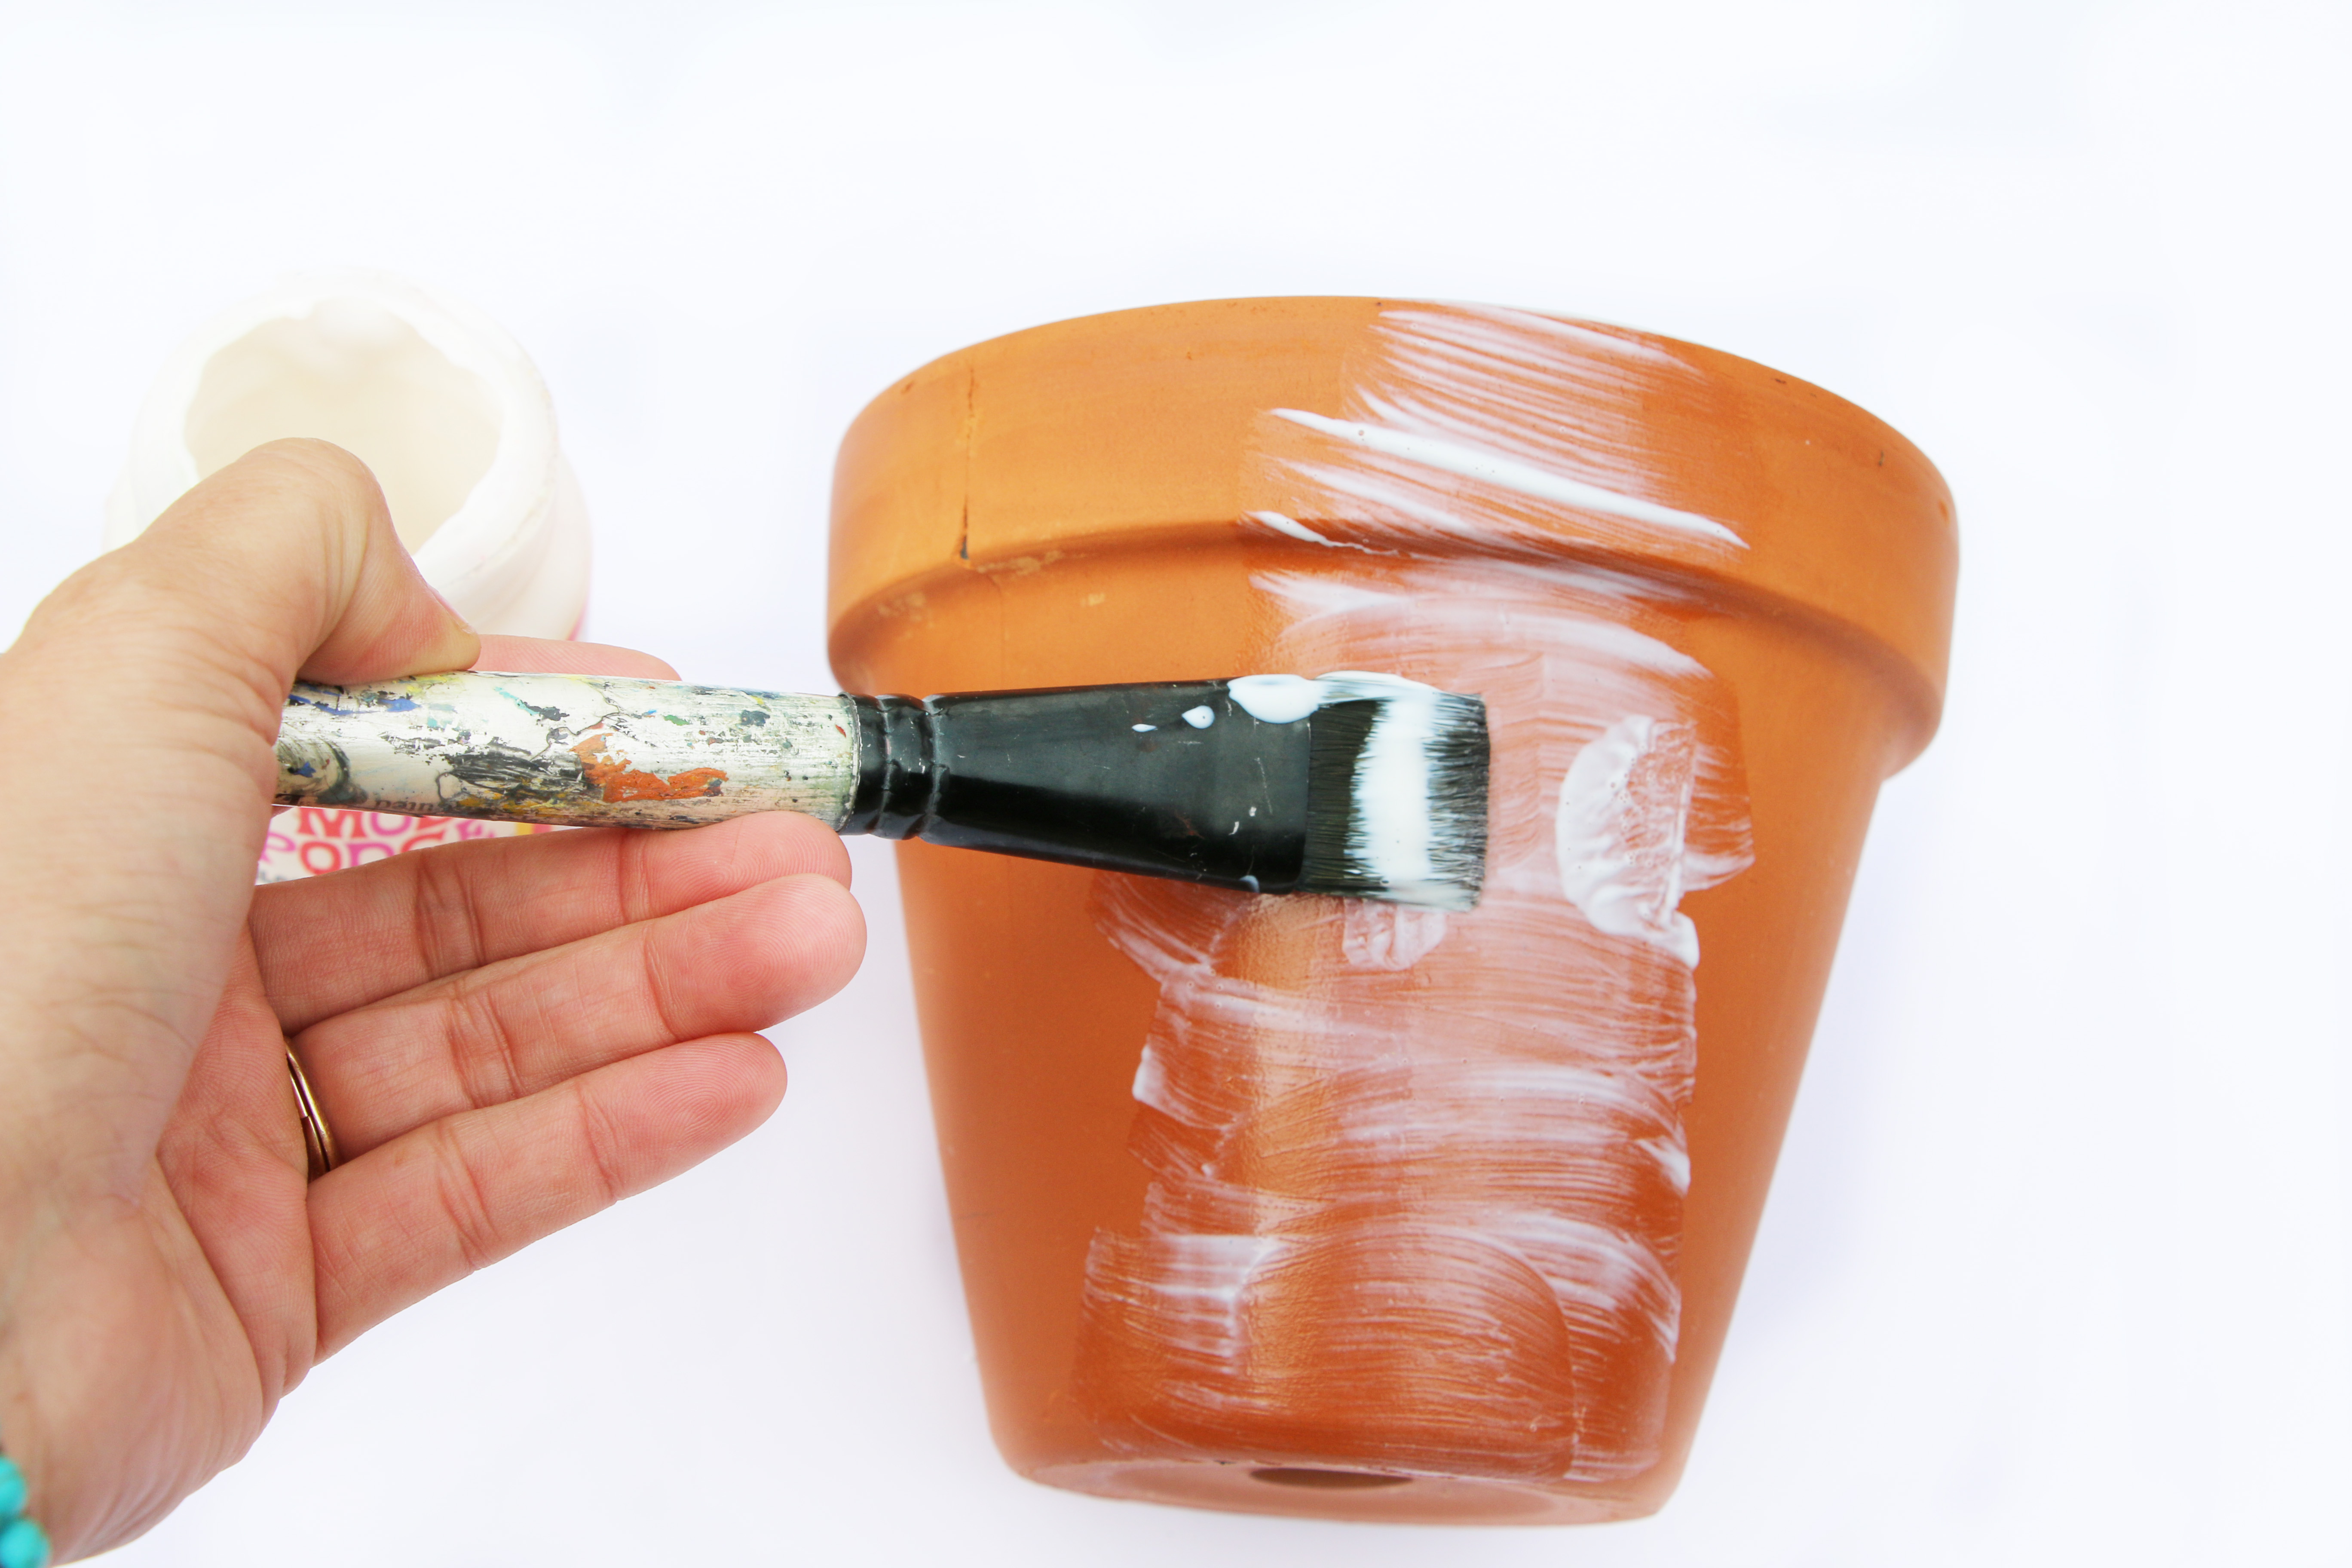 Step Three: Apply a coat of Mod Podge onto one strip of your terra cotta pot. Make sure your strip is ready to place on the pot because we don’t want this to dry.
 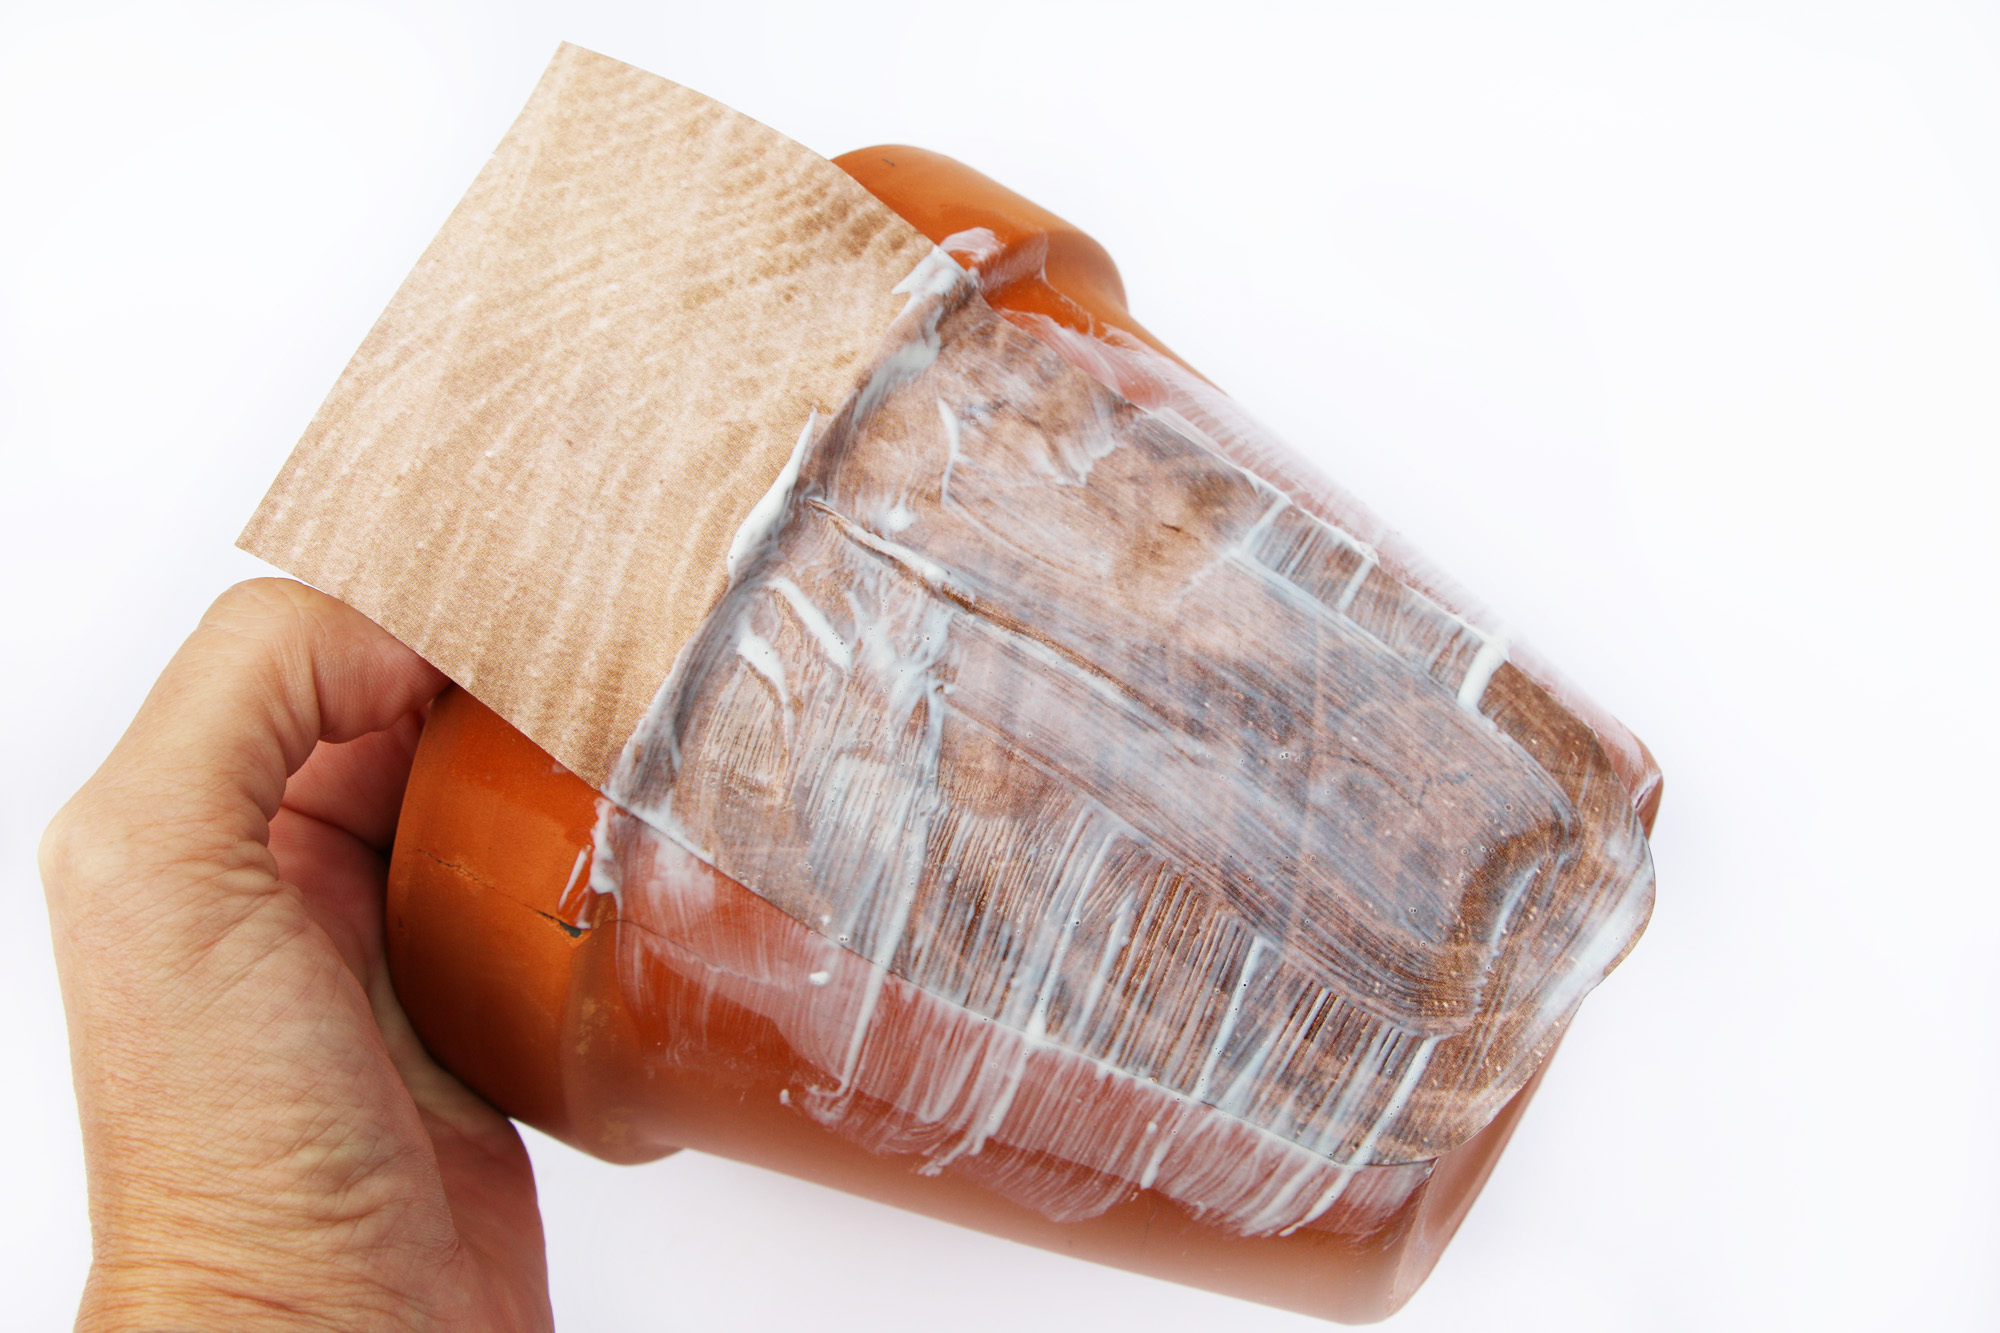 Step Four: Once you place your strip on the pot, apply more Mod Podge on top of the strip. Initially it looks white but once it dries it will be clear. Use your finger to rub in the Mod Podge and push down any cracks or pieces of paper that’s not flat.
 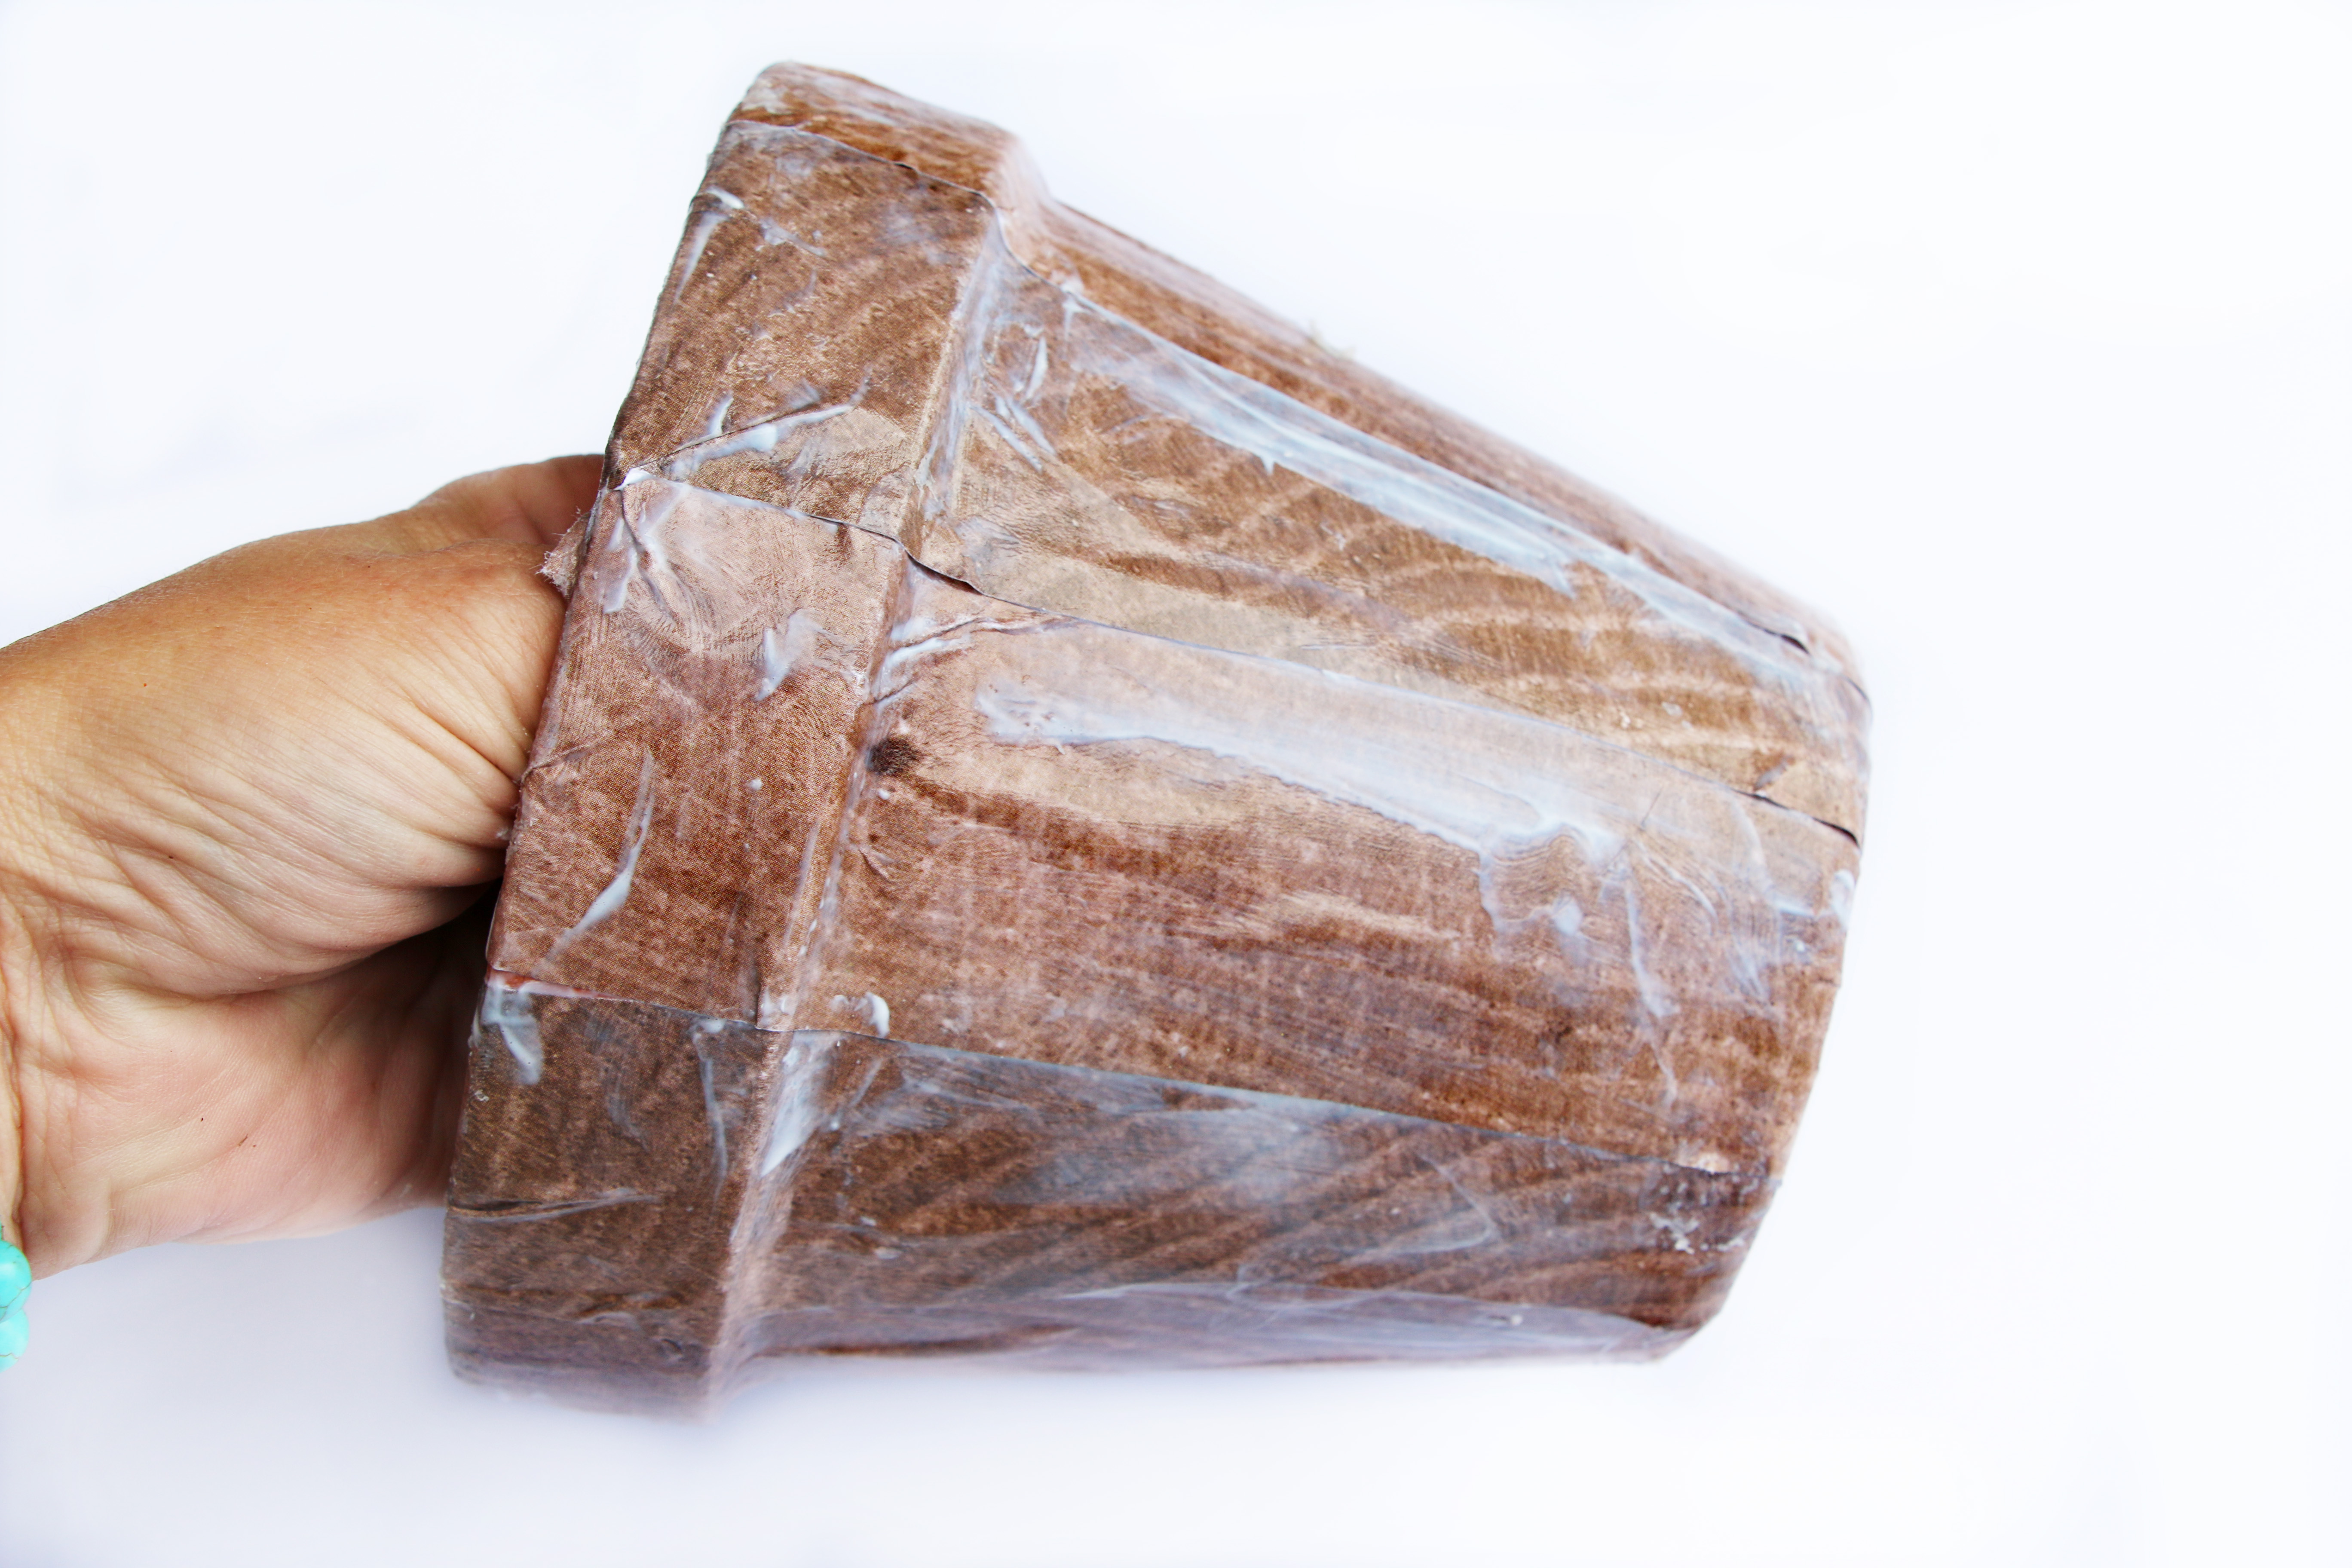 Step Five: Continue until your entire pot is covered. Just a quick tip, if your strips of paper aren’t lining up 100% perfectly don’t stress about this ok…I promise it will look fabulous once it’s completely dry!
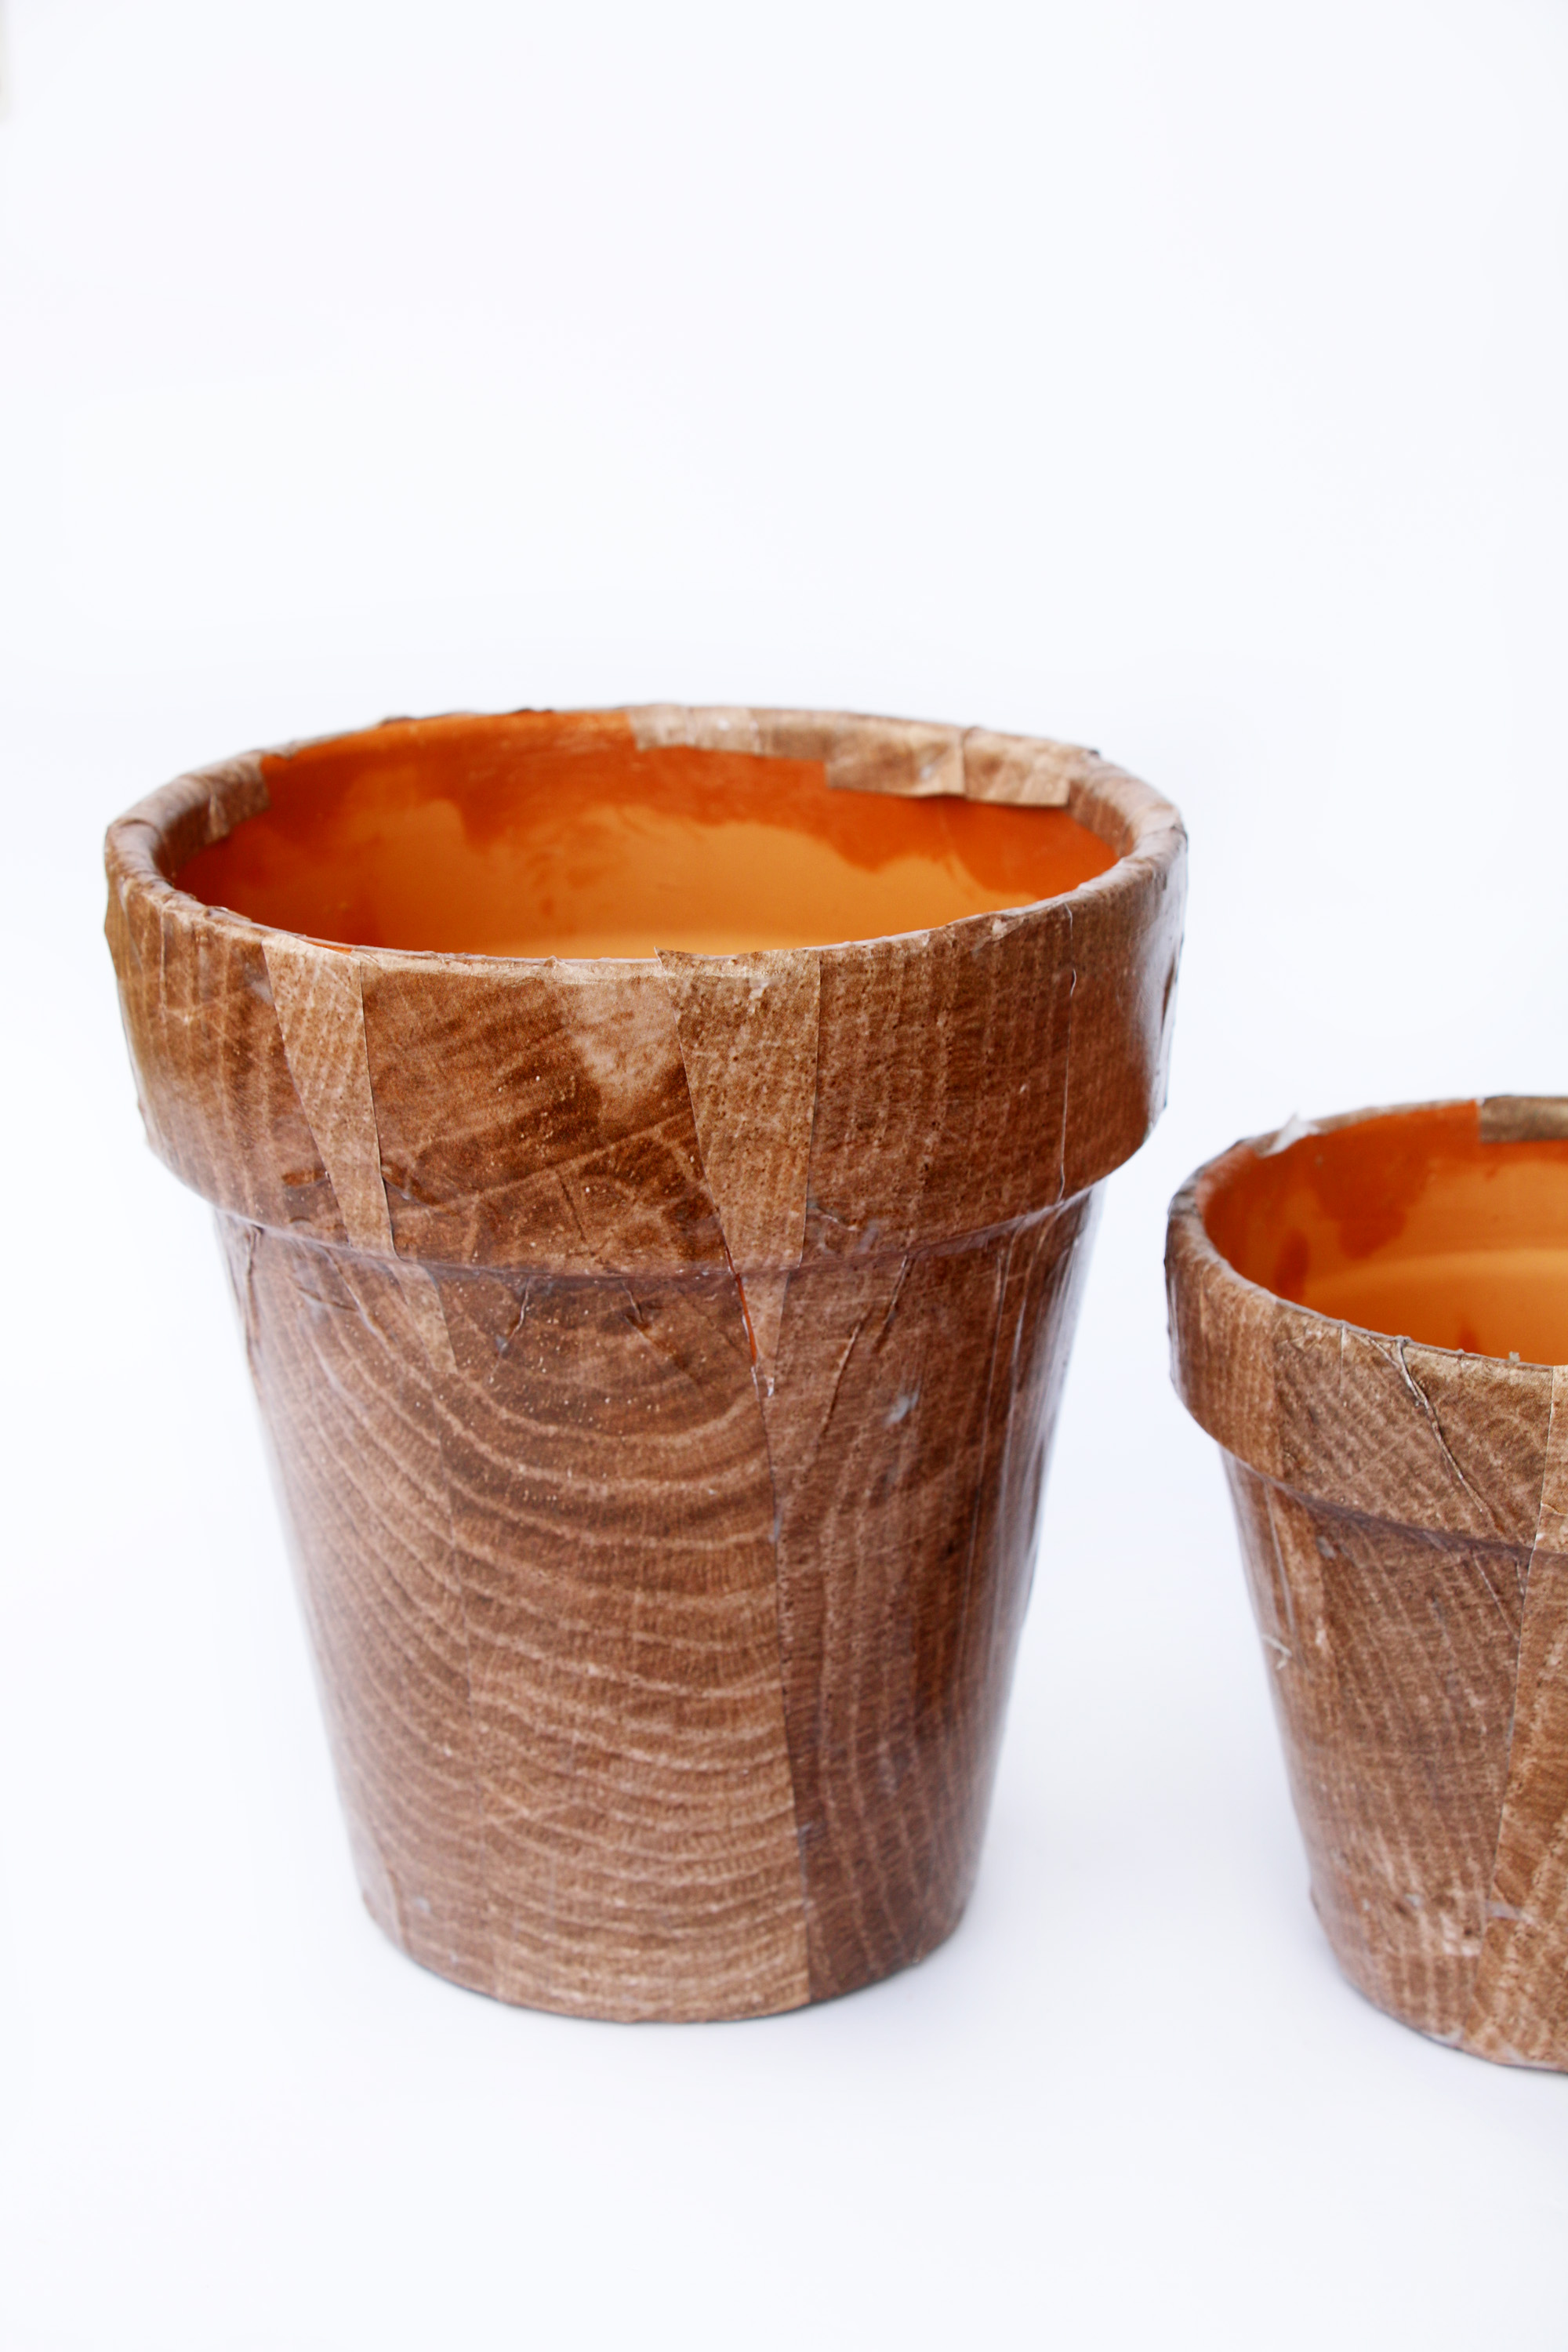
 Supplies for second step:
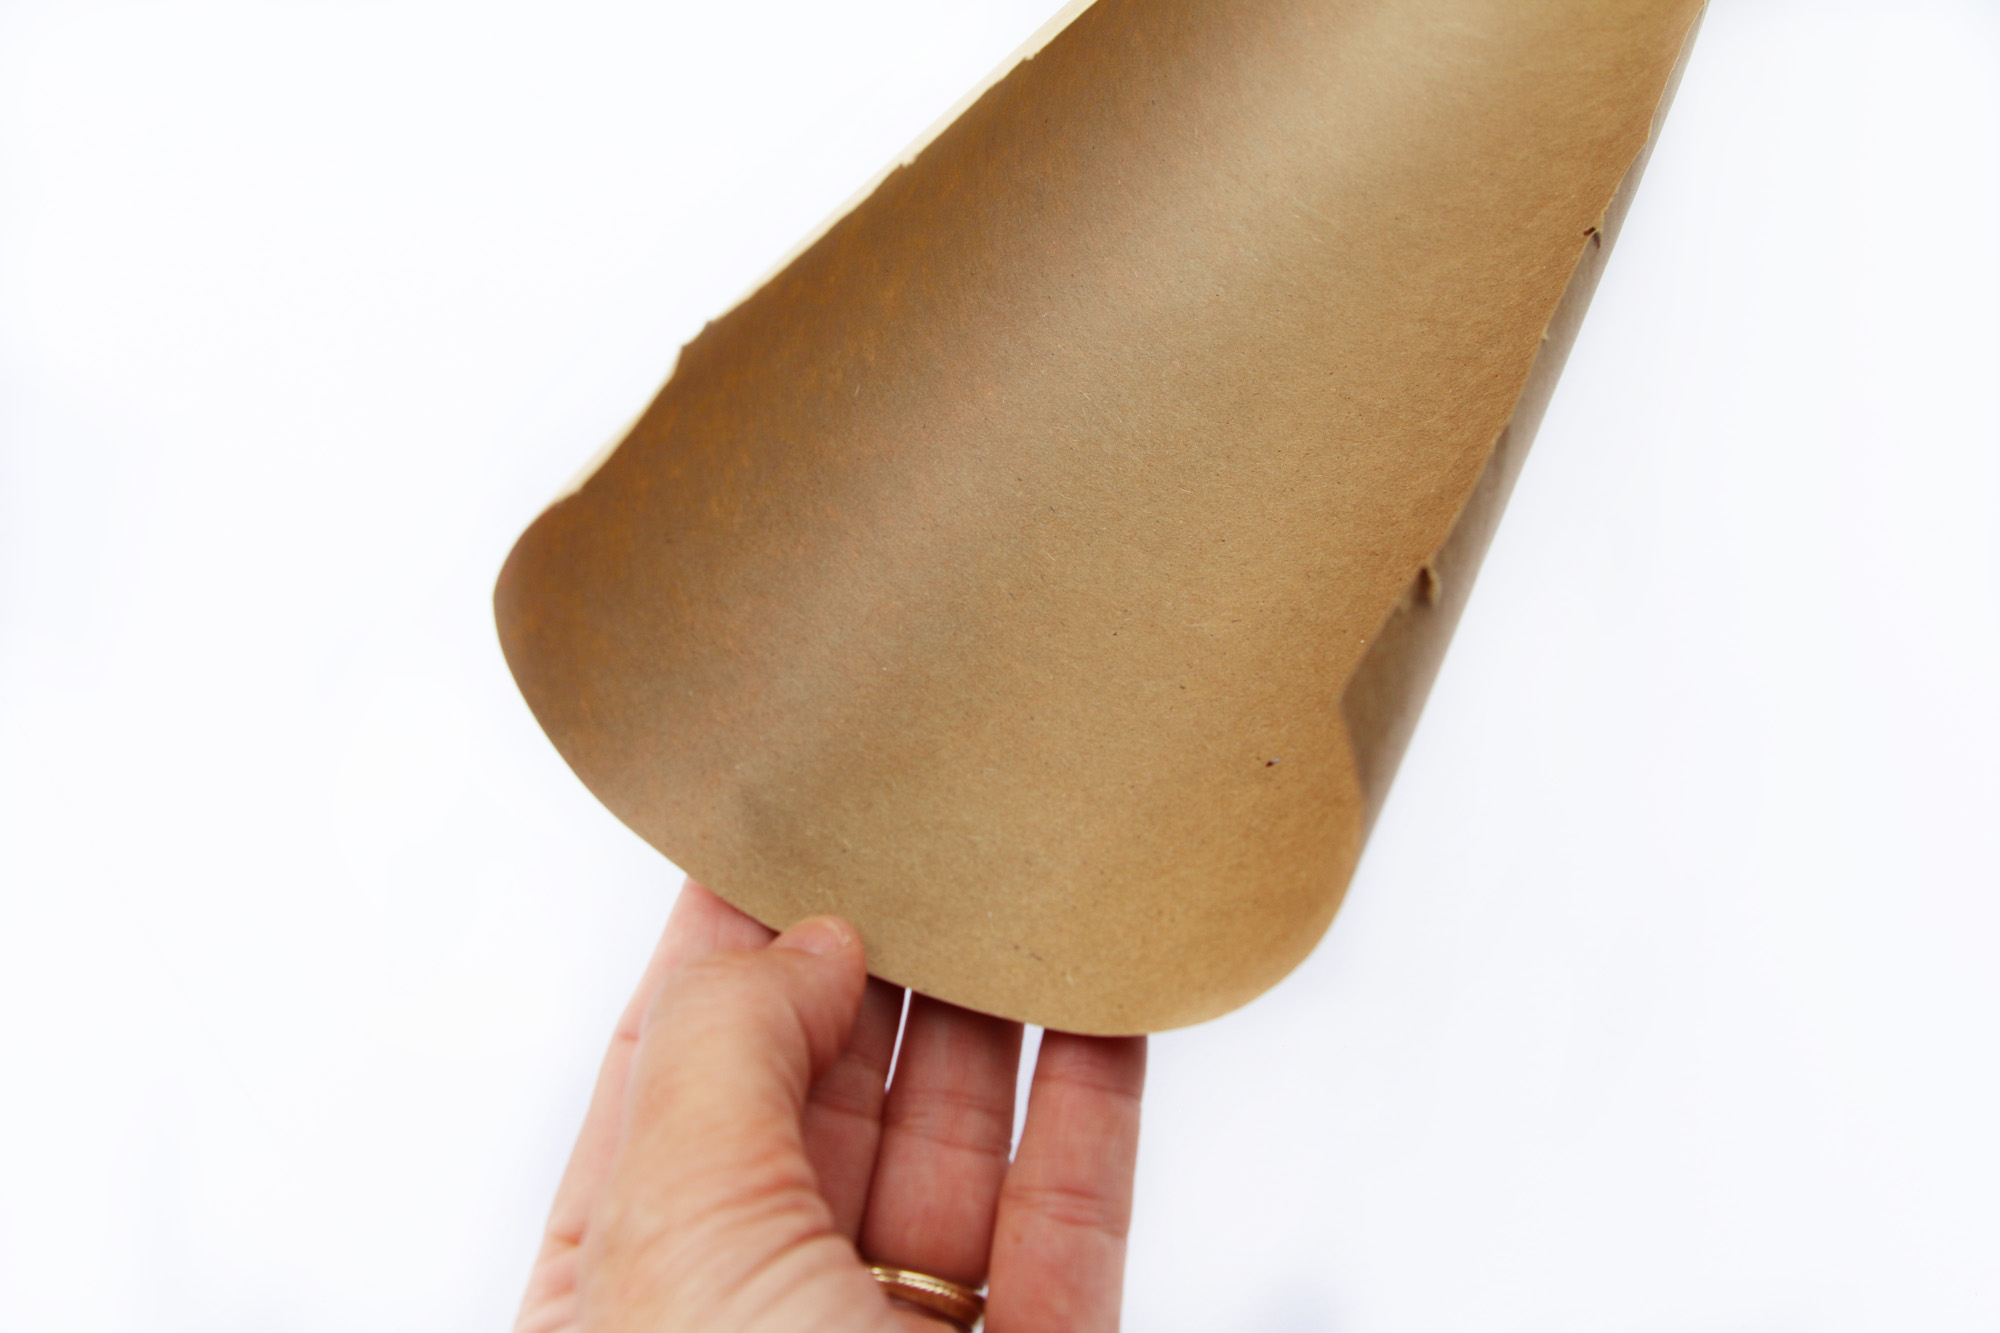 Step One: Cut long pieces of the brown craft paper so we can have a stack ready to roll. Don’t worry if the strips are too long we can always cut them when we are done.
 Step Two: Carefully twist the paper using both hands. Don’t be too rough during this step because you will tear the paper. For the main branch (that goes in the middle) I twisted one piece and continued adding more strips around it till the width and thickness was where I wanted it.
 Step Four: Grab your big branch and tape it down to the inside of the pot. I added a few pieces of tape to just make sure it was really secure. Continue doing this with as many branches as you want.
  This is what it will look like when you tape them down inside the pot. Keep in mind we will be filling the negative (empty) space with crunched up craft paper so that will also keep your branches secure. You can also use a stapler or clear tape to add branches onto other branches. It will all be covered in the end!
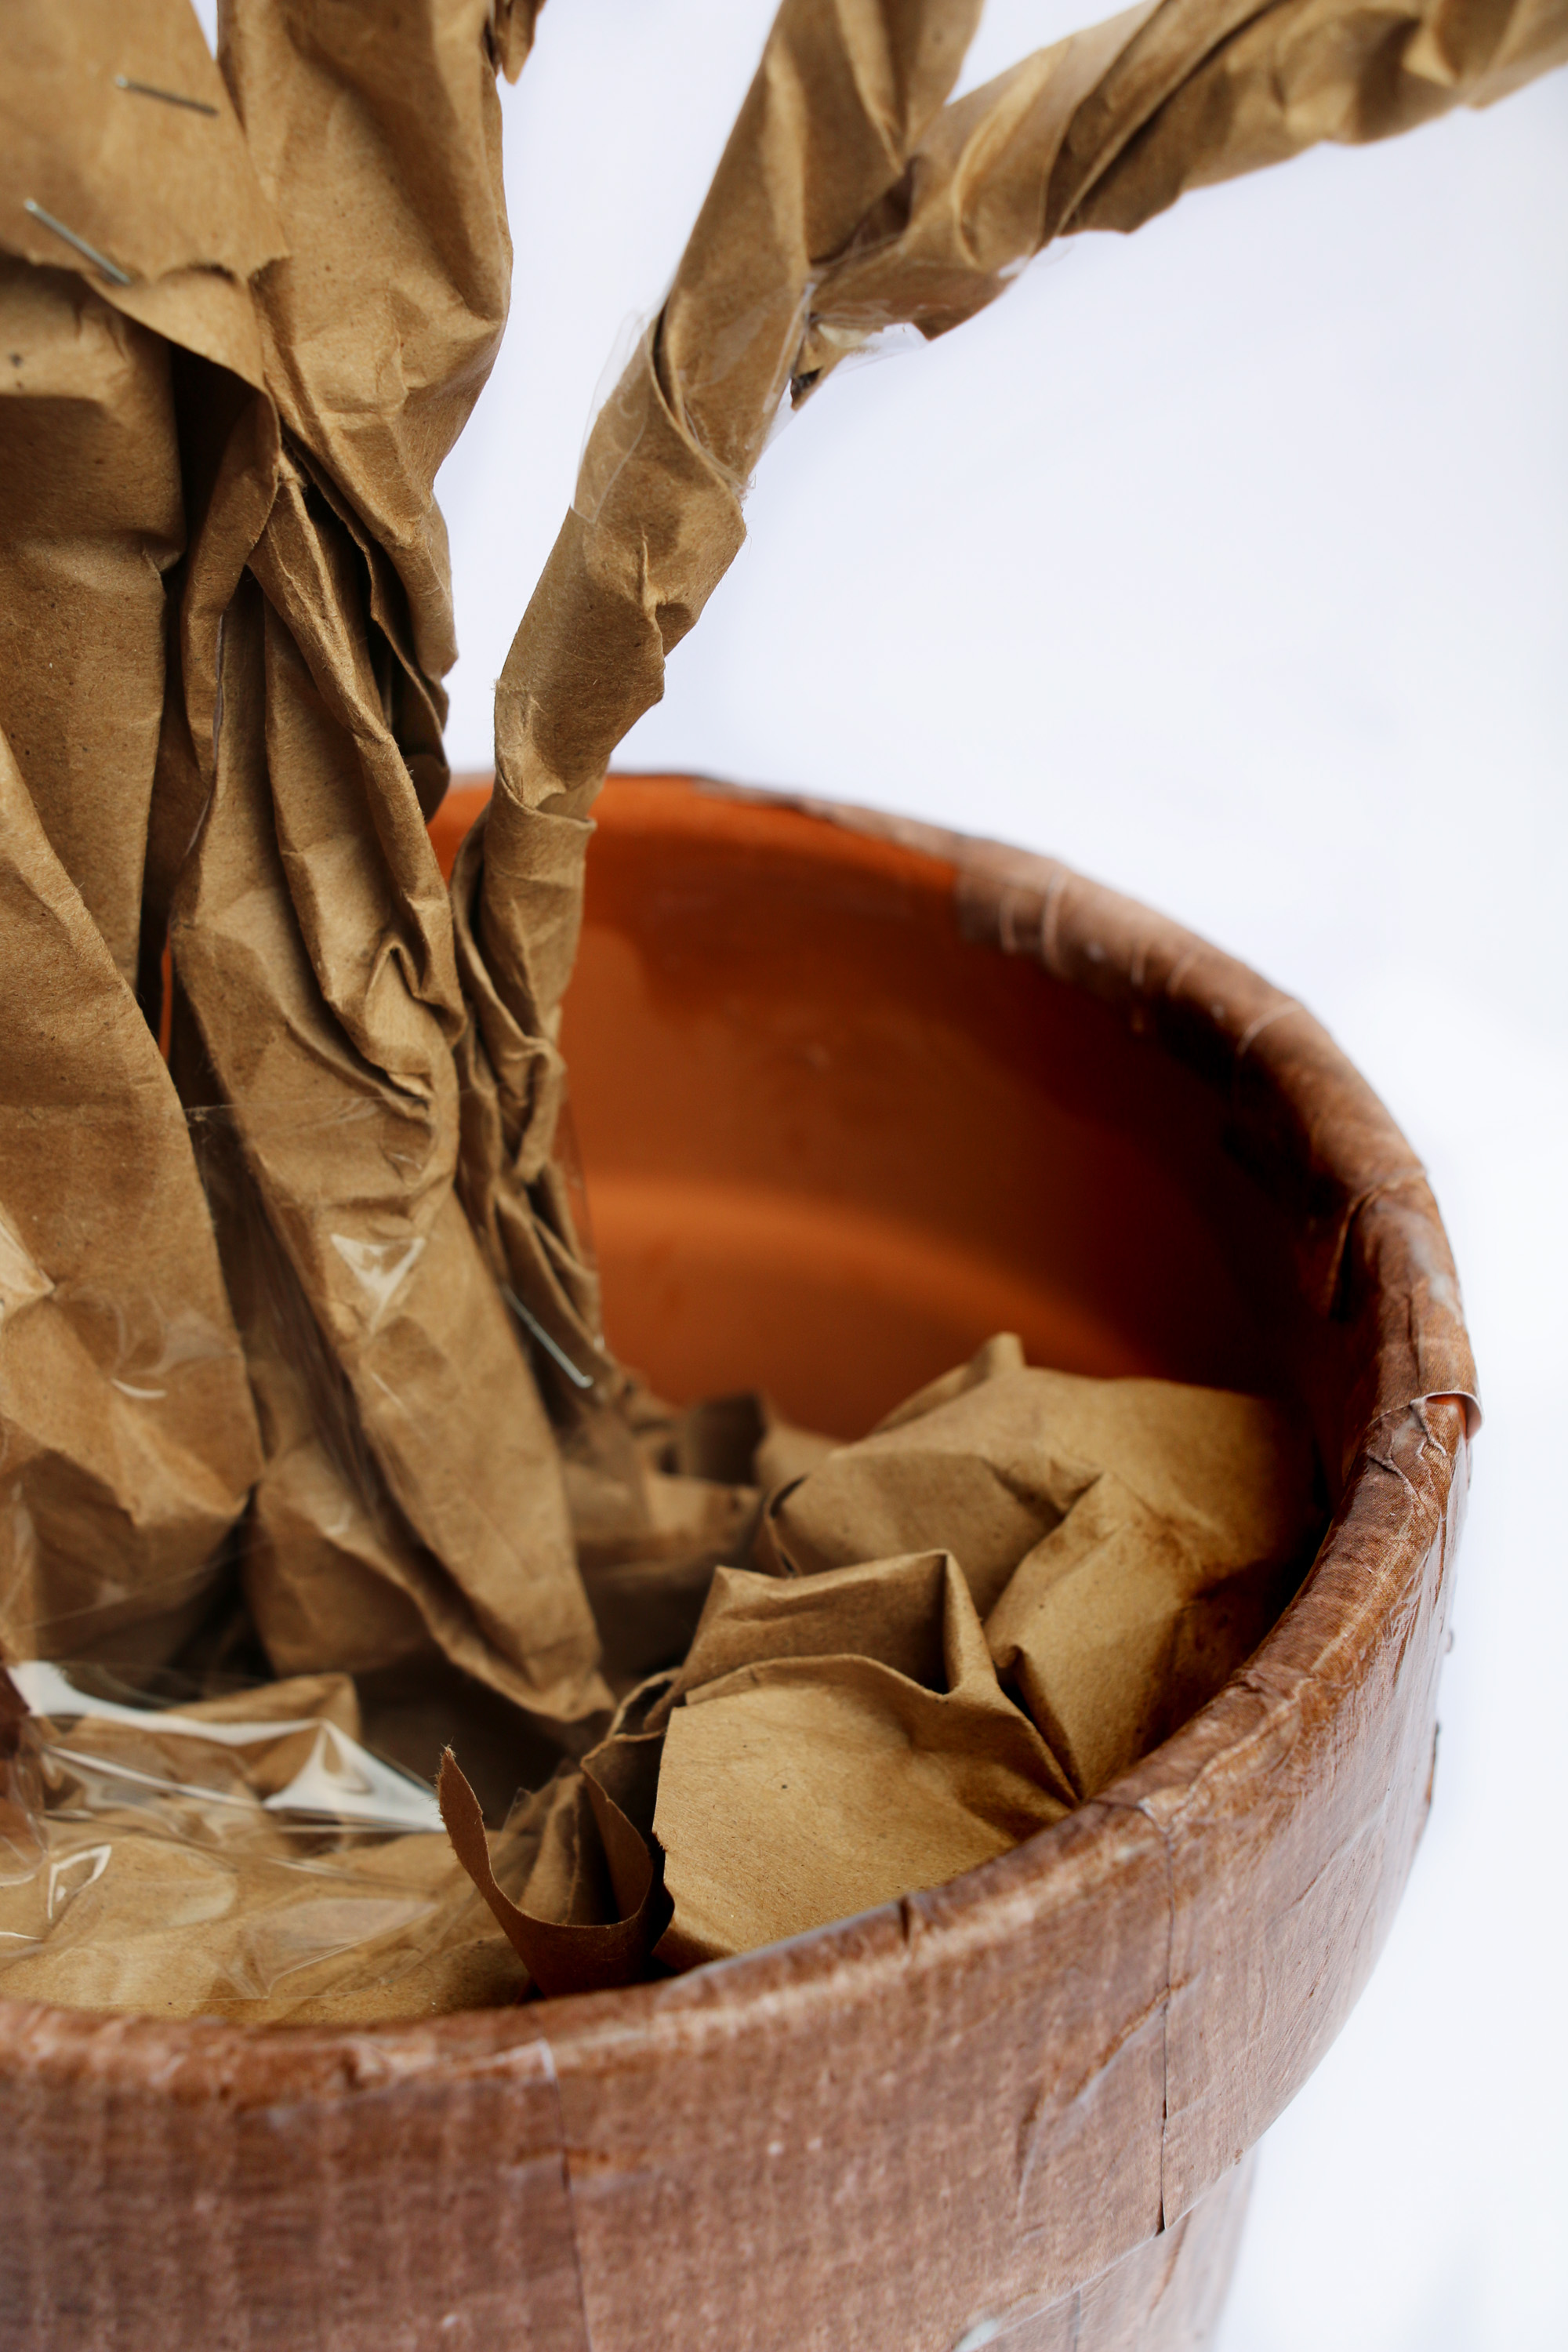 Step Five: Start crumbling paper and filling it inside the pot. Also, notice that I used some clear tape to bunch up the base of all my branches so it looks like one massive tree on the bottom.
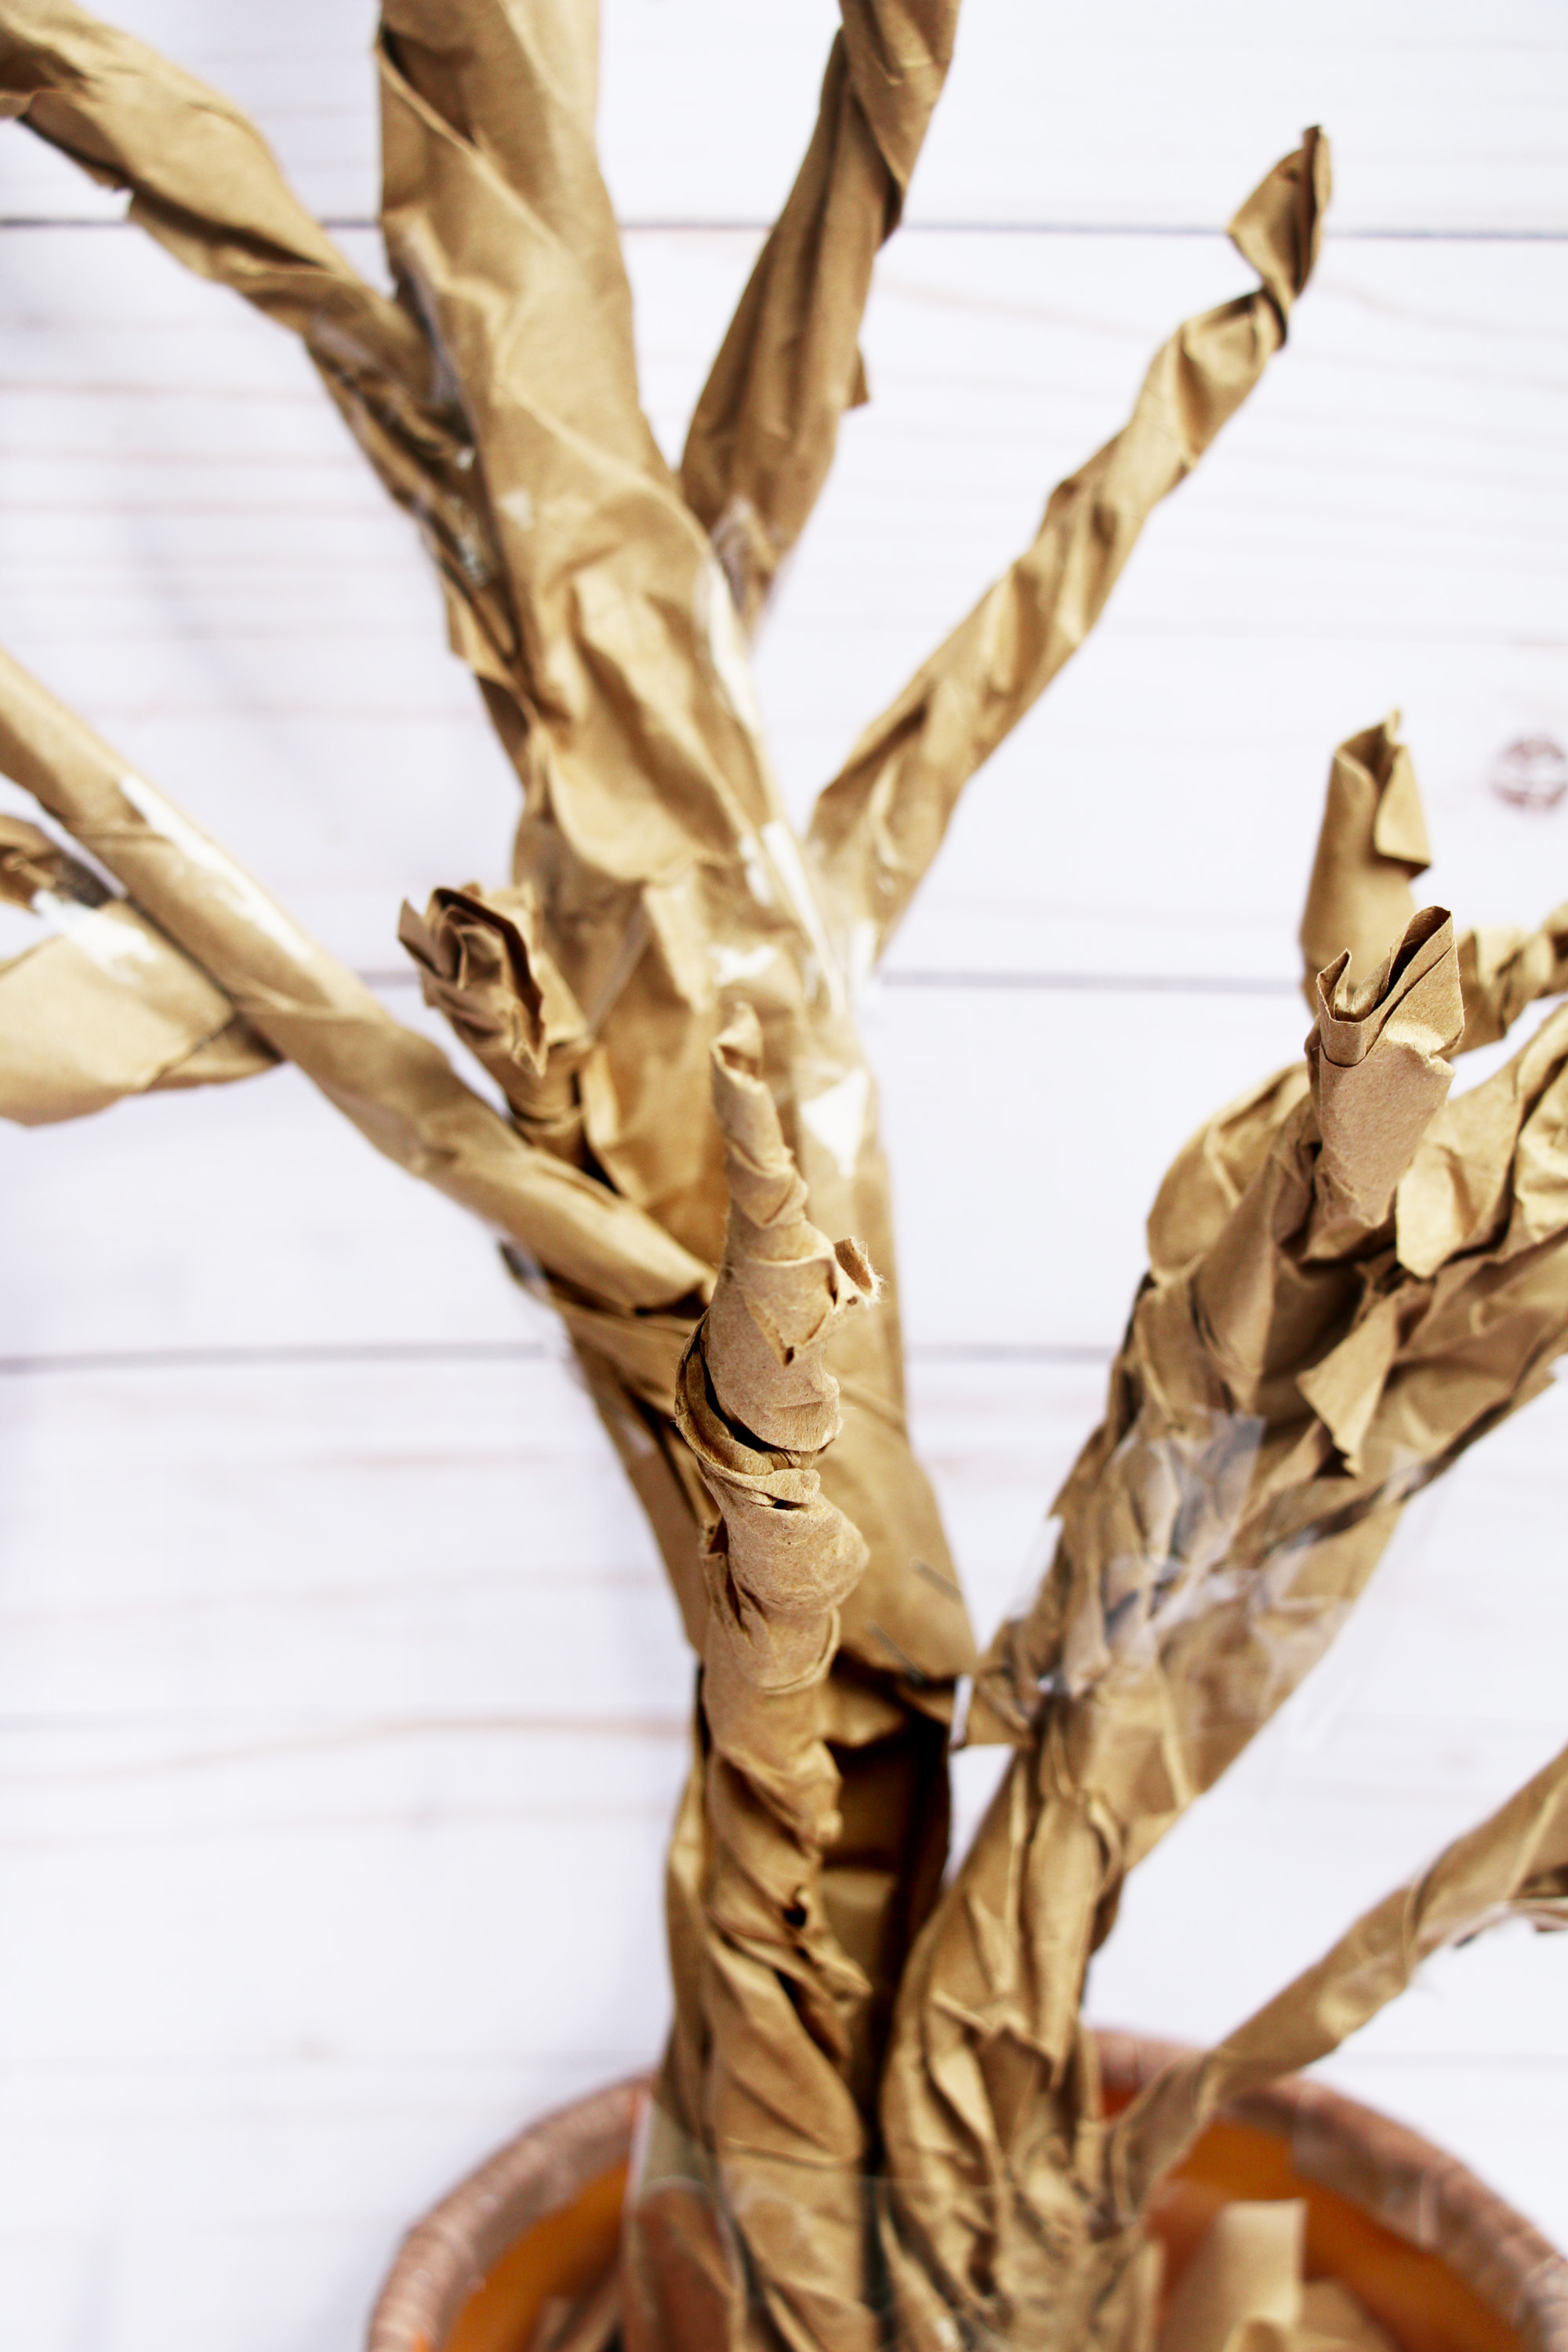
 Step One: I actually eyeballed cutting out my leaves because I knew in the end once I bent them up with my hands they would look like different shapes.
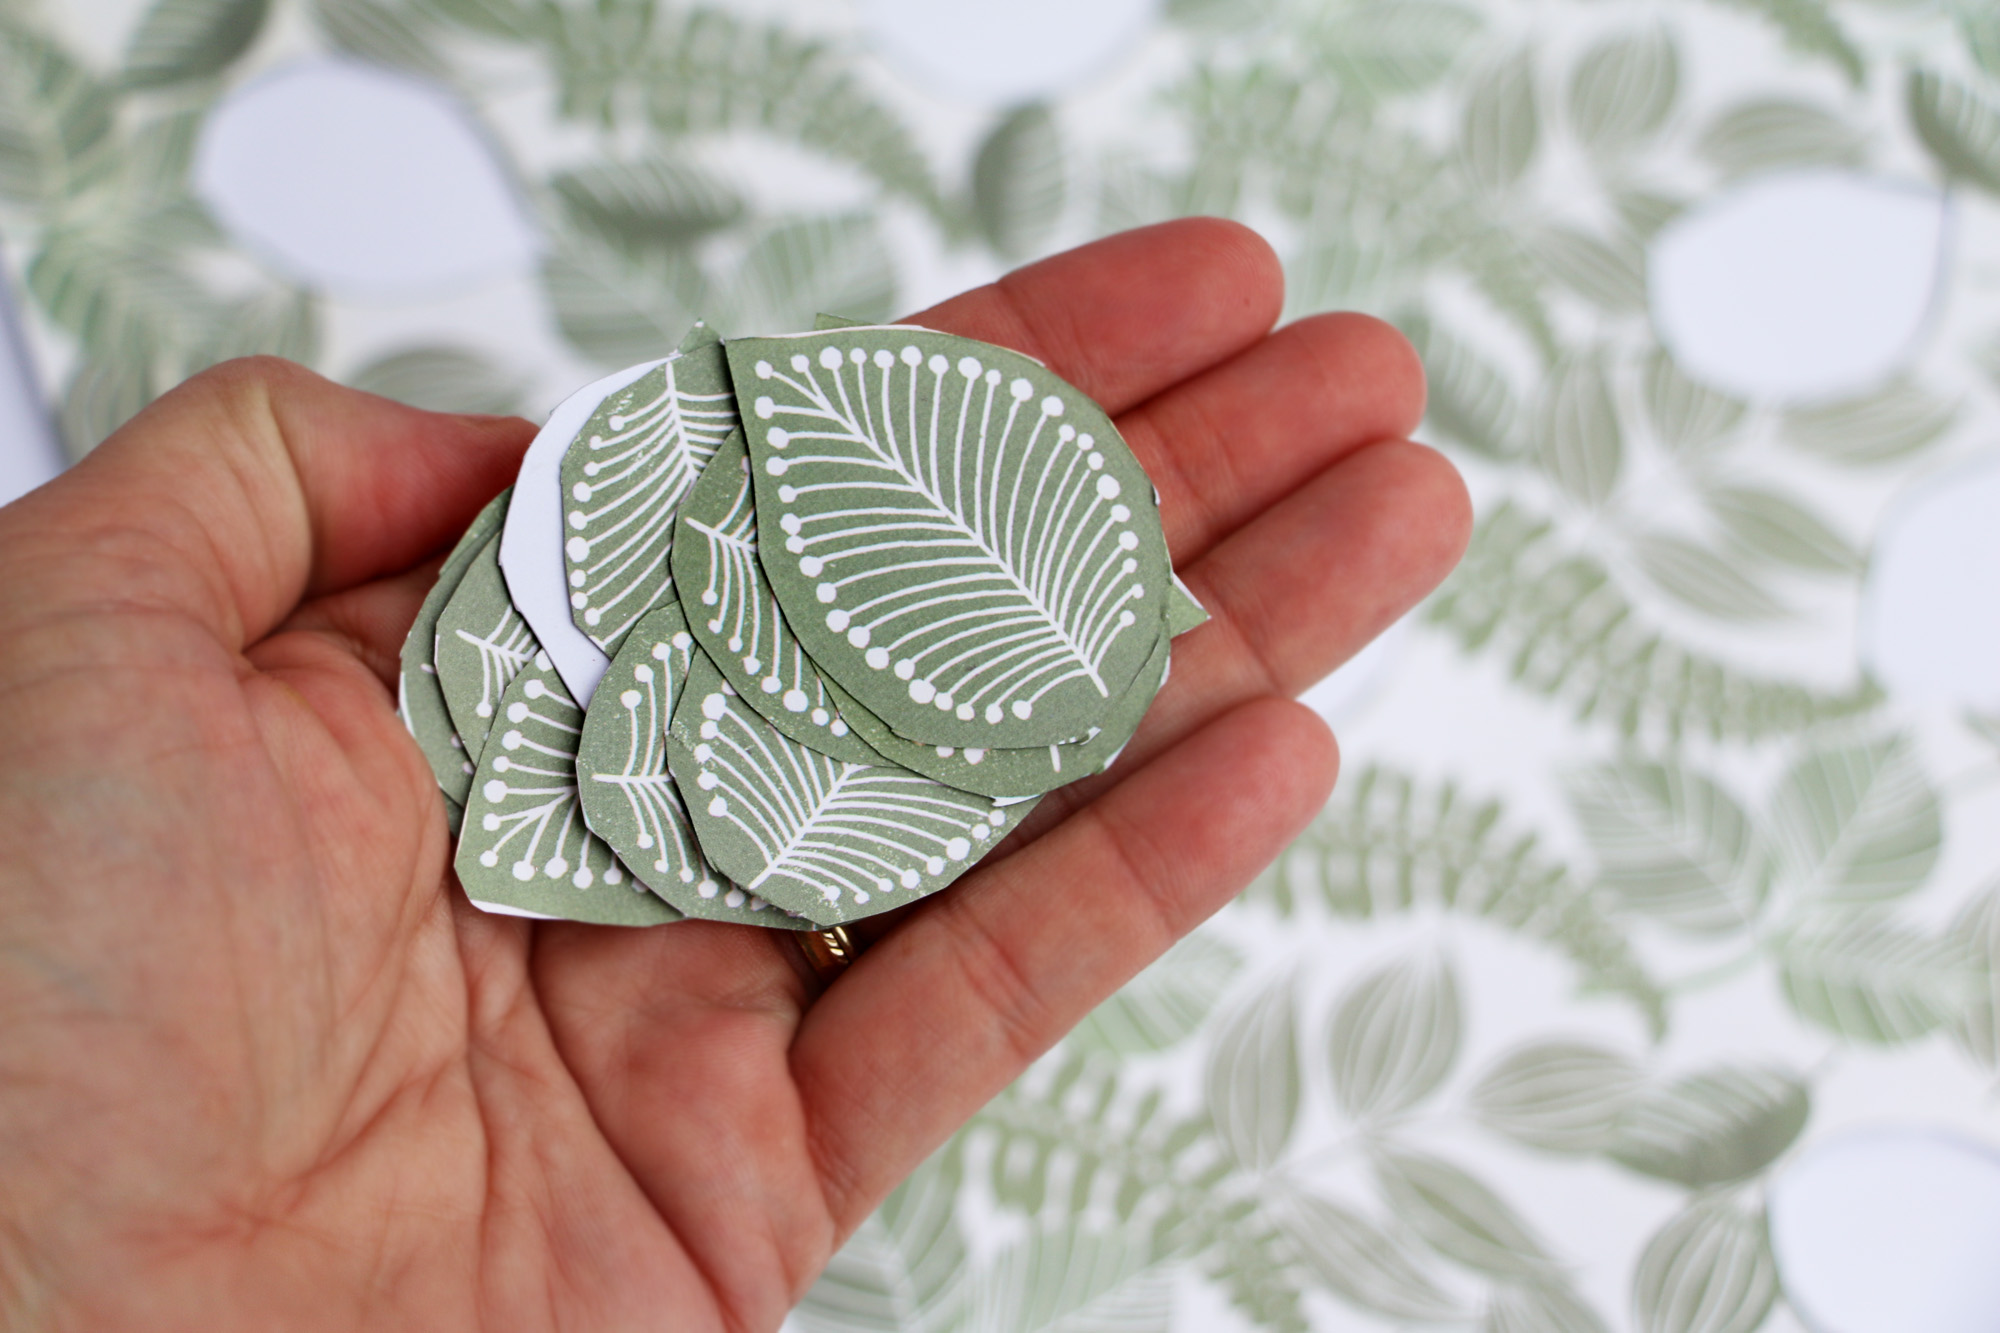 Step Two: Make sure to grab some craft paper that is pre-printed with leaves like this because they will be nice to add in random spots to add some texture!
 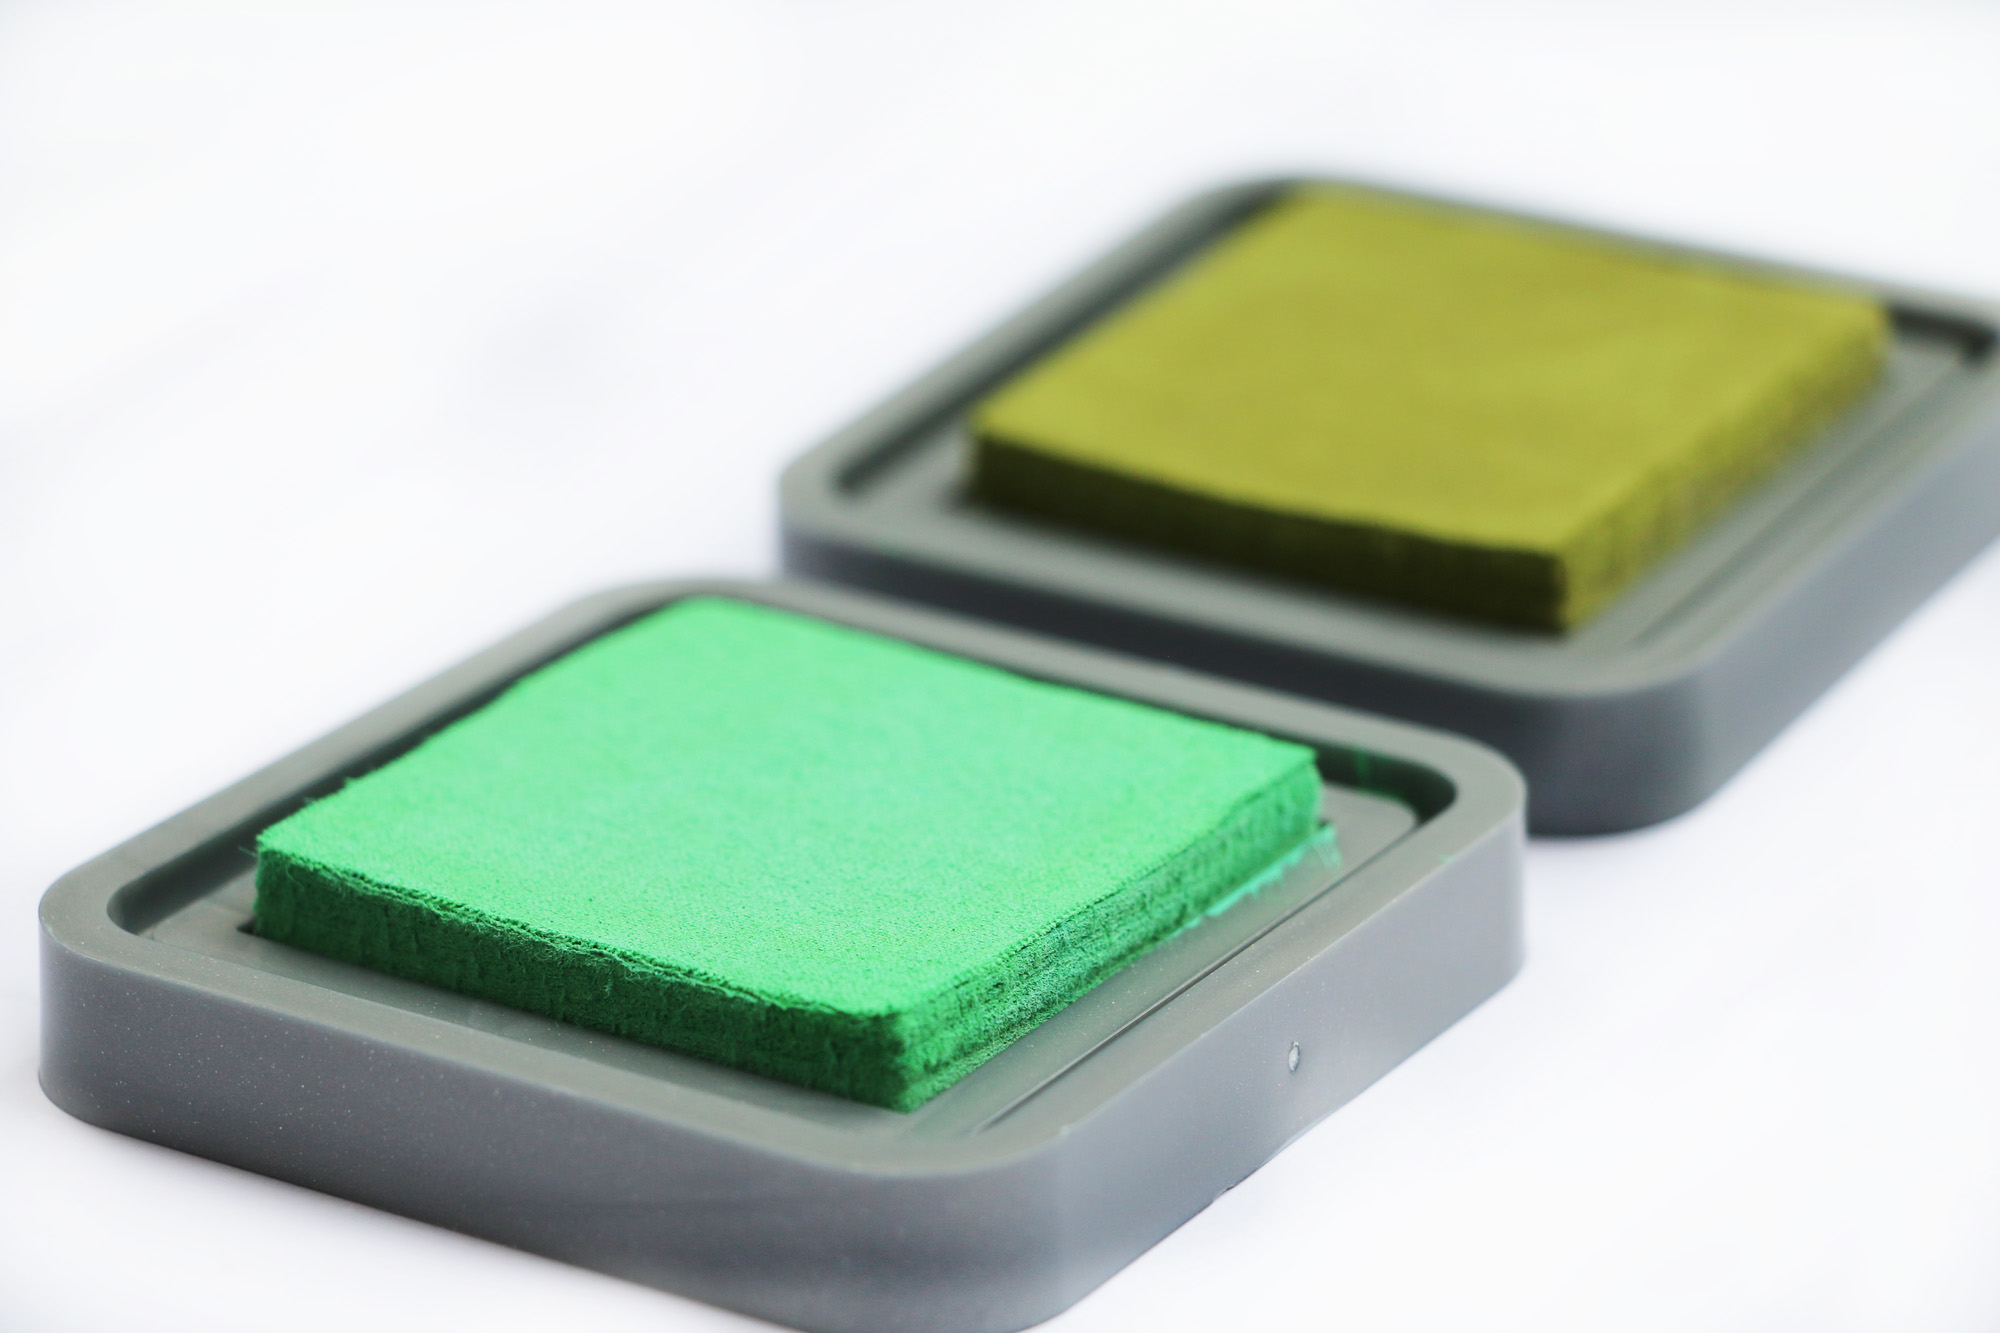 Let’s just take a second to look at how beautiful these ink pads are.
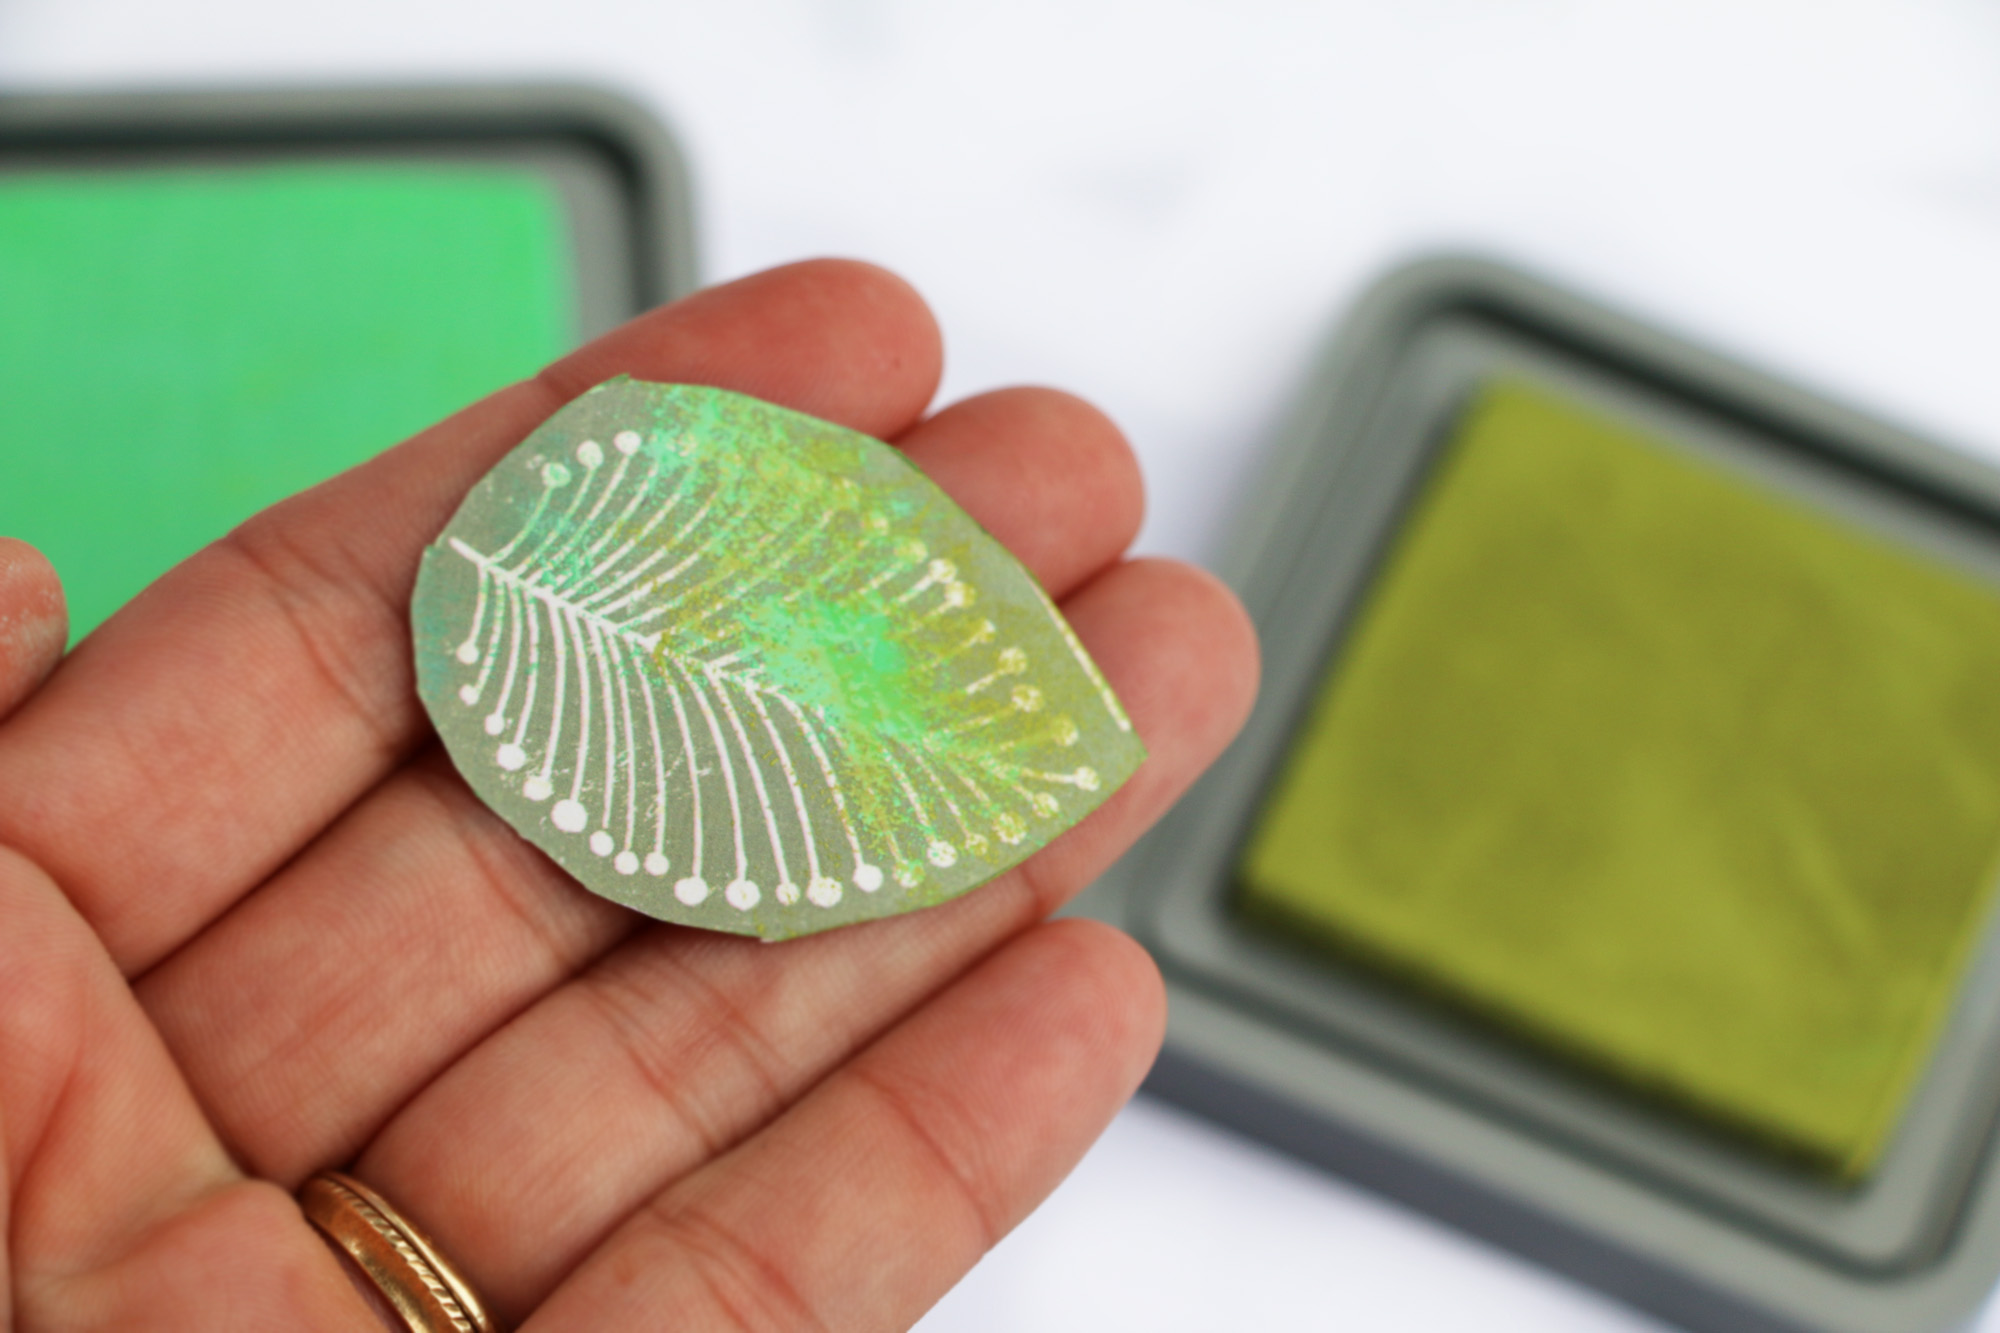 Step Three: Add multiple shades of ink onto your leaves to make them look realistic. P.S. Make sure you cut all different sizes in different shades of colors.
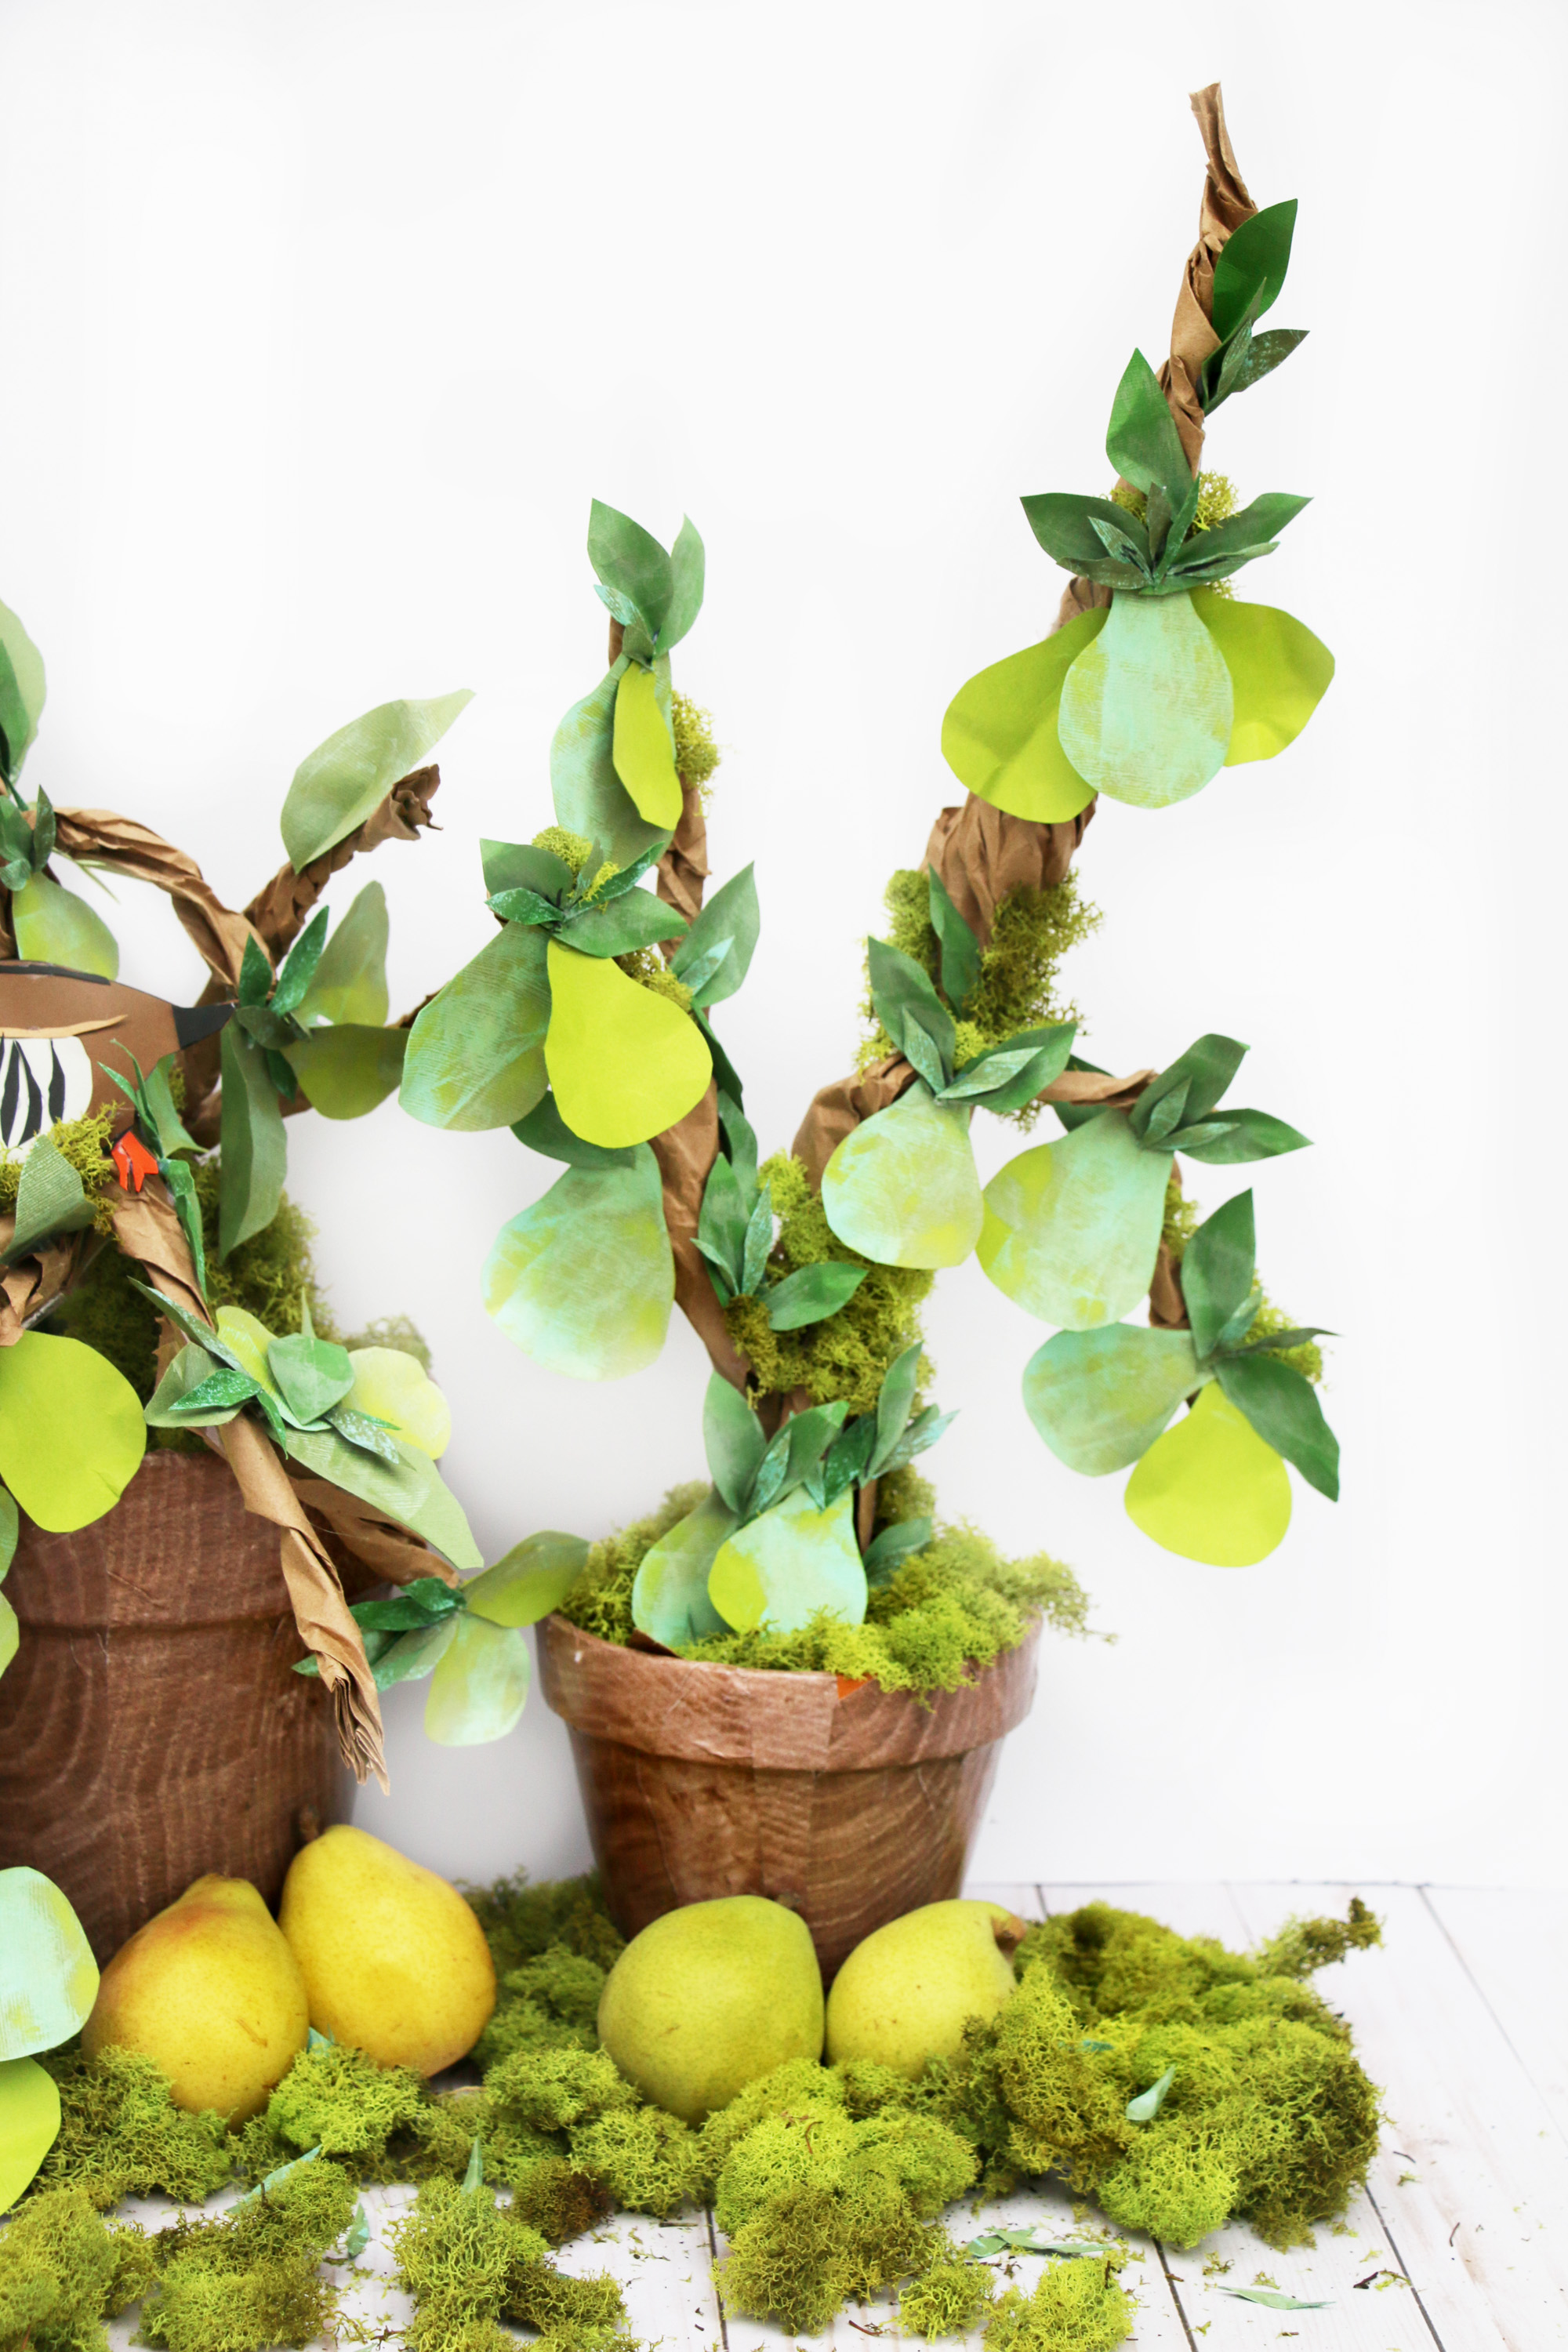
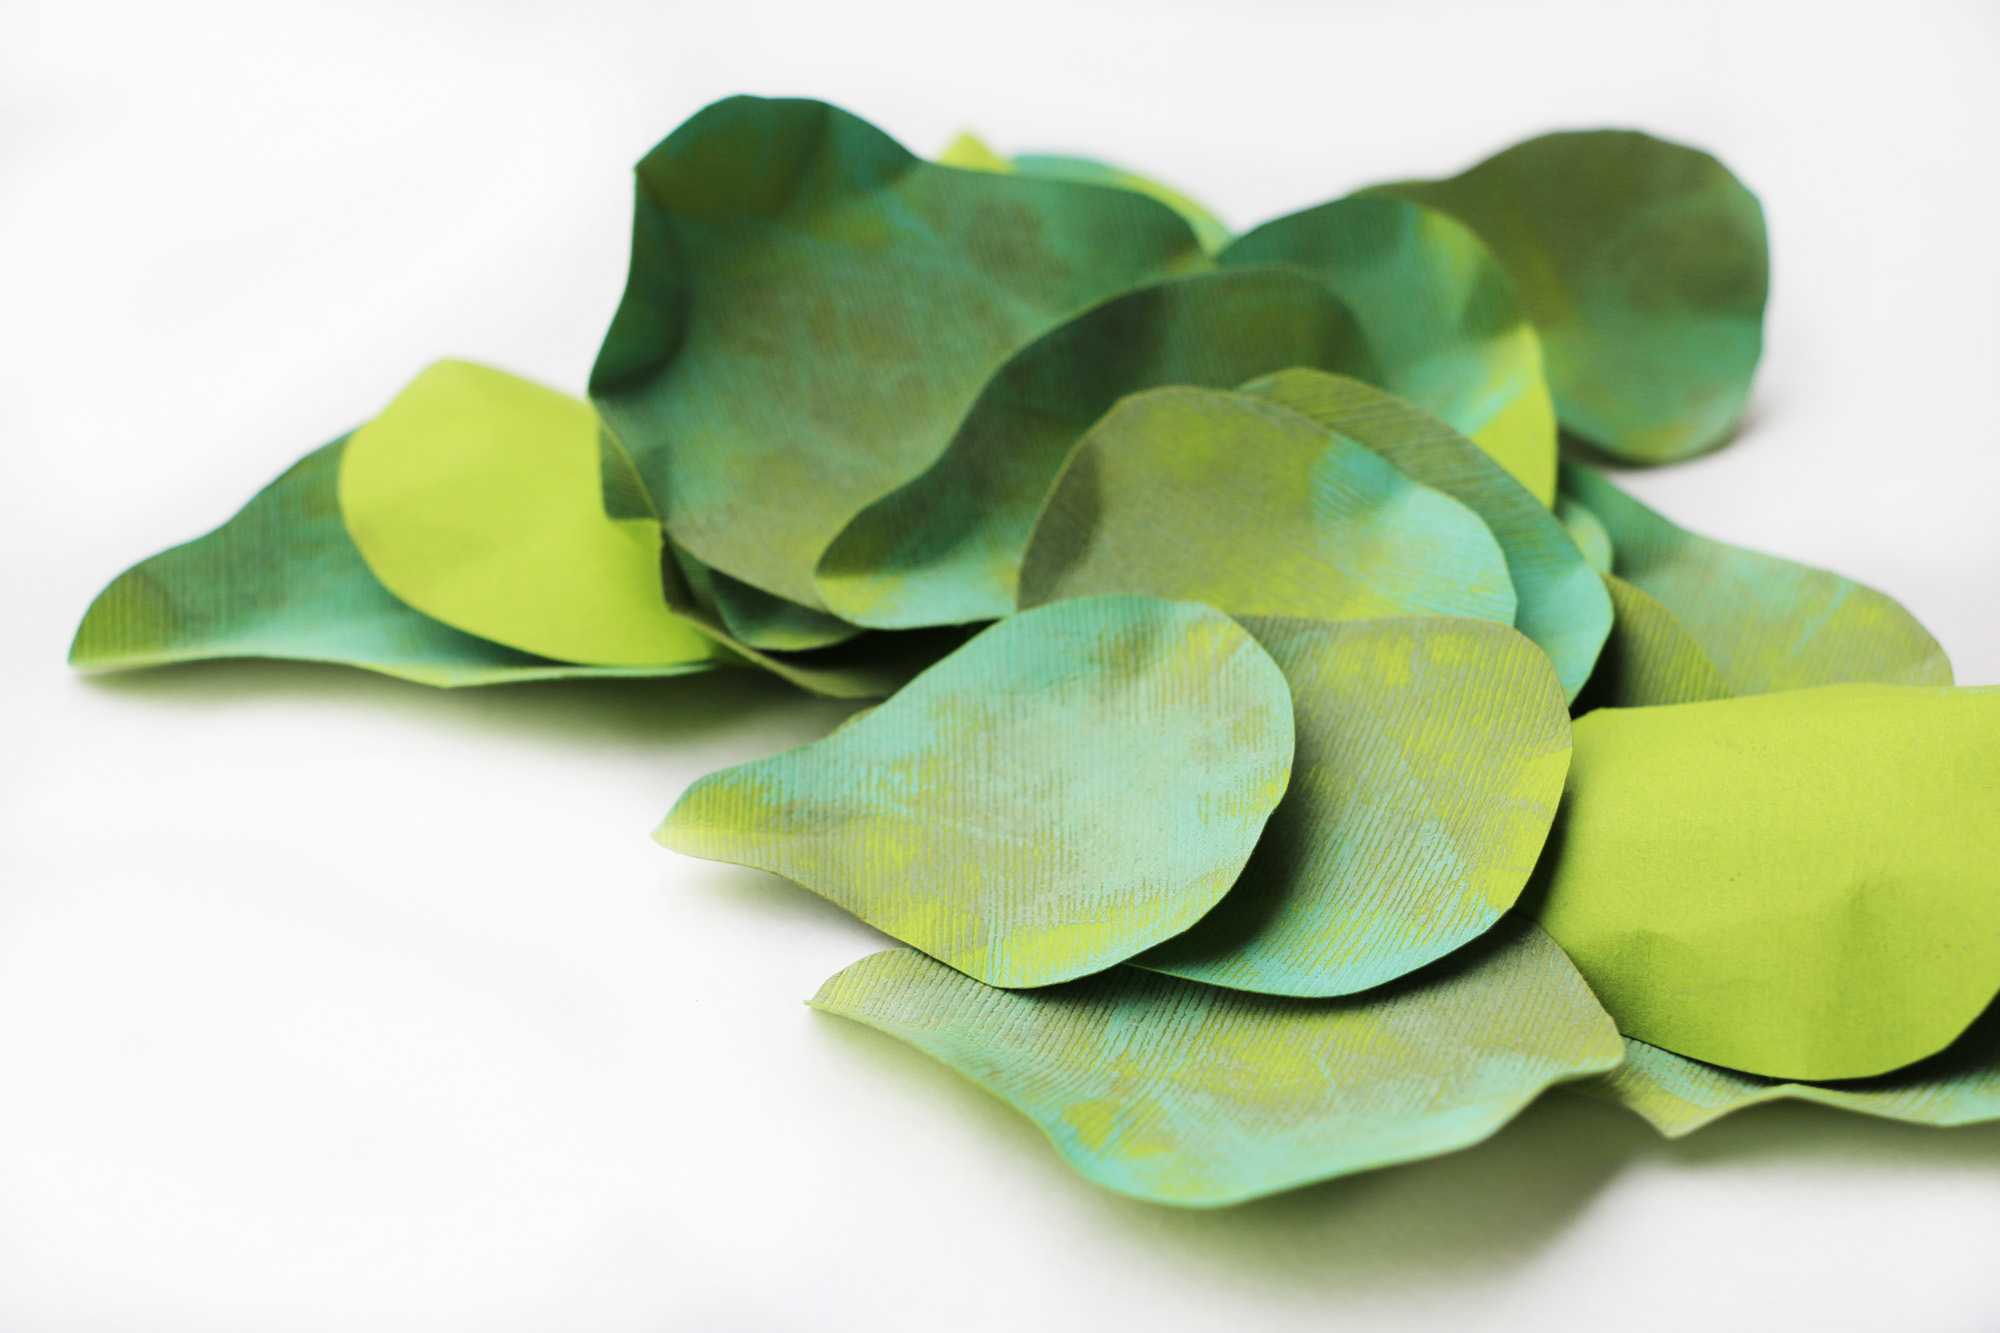 Make sure you use a bright green paper for the pears, we want to make sure they stand out against the other green shades. I love how they look a little real, at least from one angle!
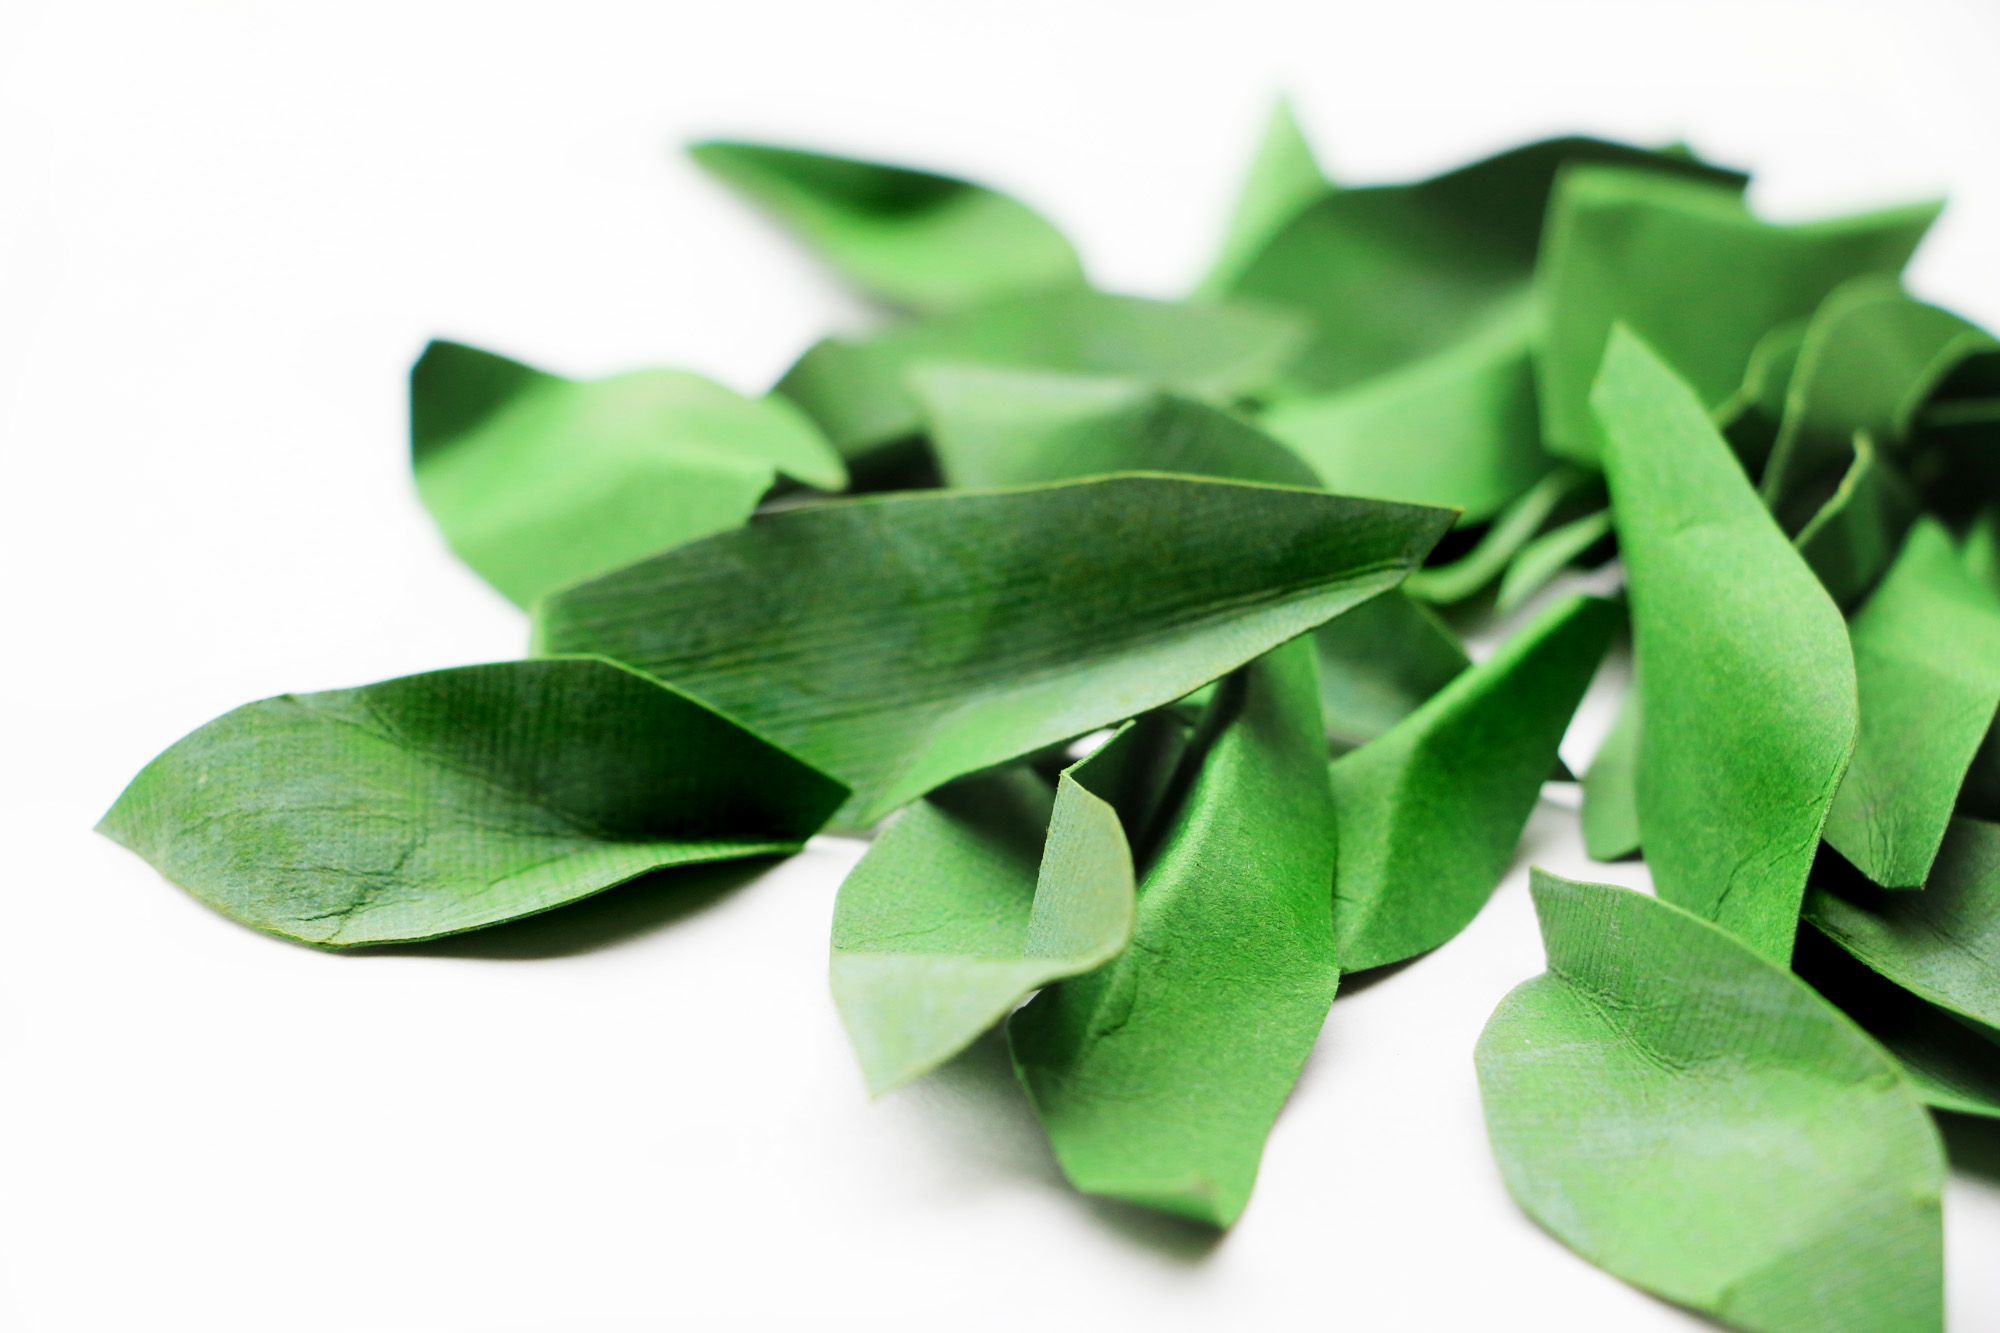 You will do the same thing for the leaves. I found pinching one end of the leaves inward then folding the other end backwards, made them look extremely real.
 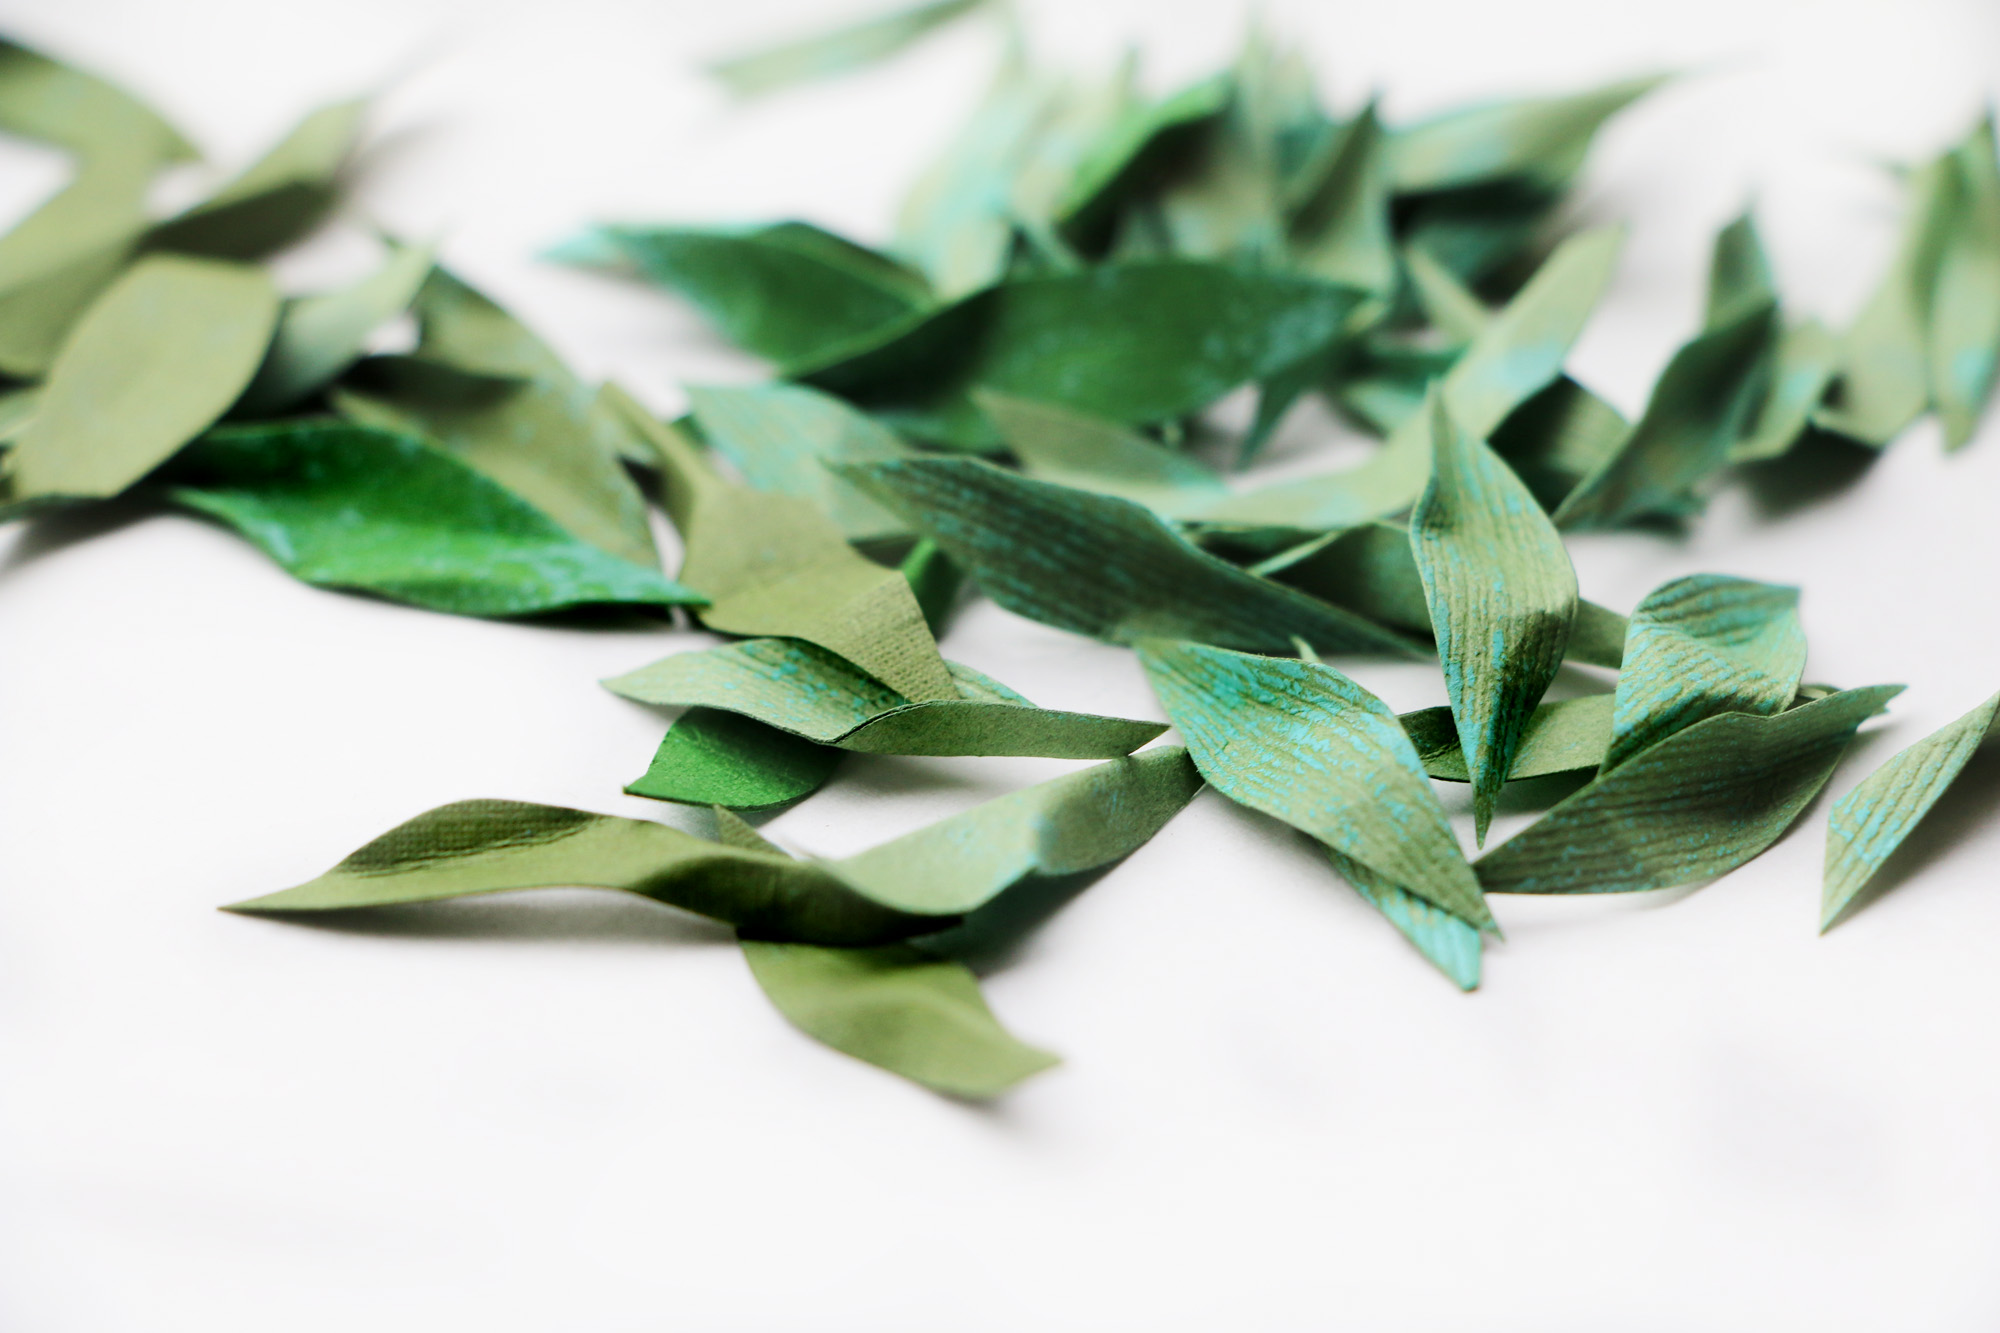 I am super happy with the way the different leaves and pears came out! Make sure you cut MORE leaves than you think you will need because you will need a lot! It’s always better to have more than less, plus a real pear tree has lot’s of leaves!
 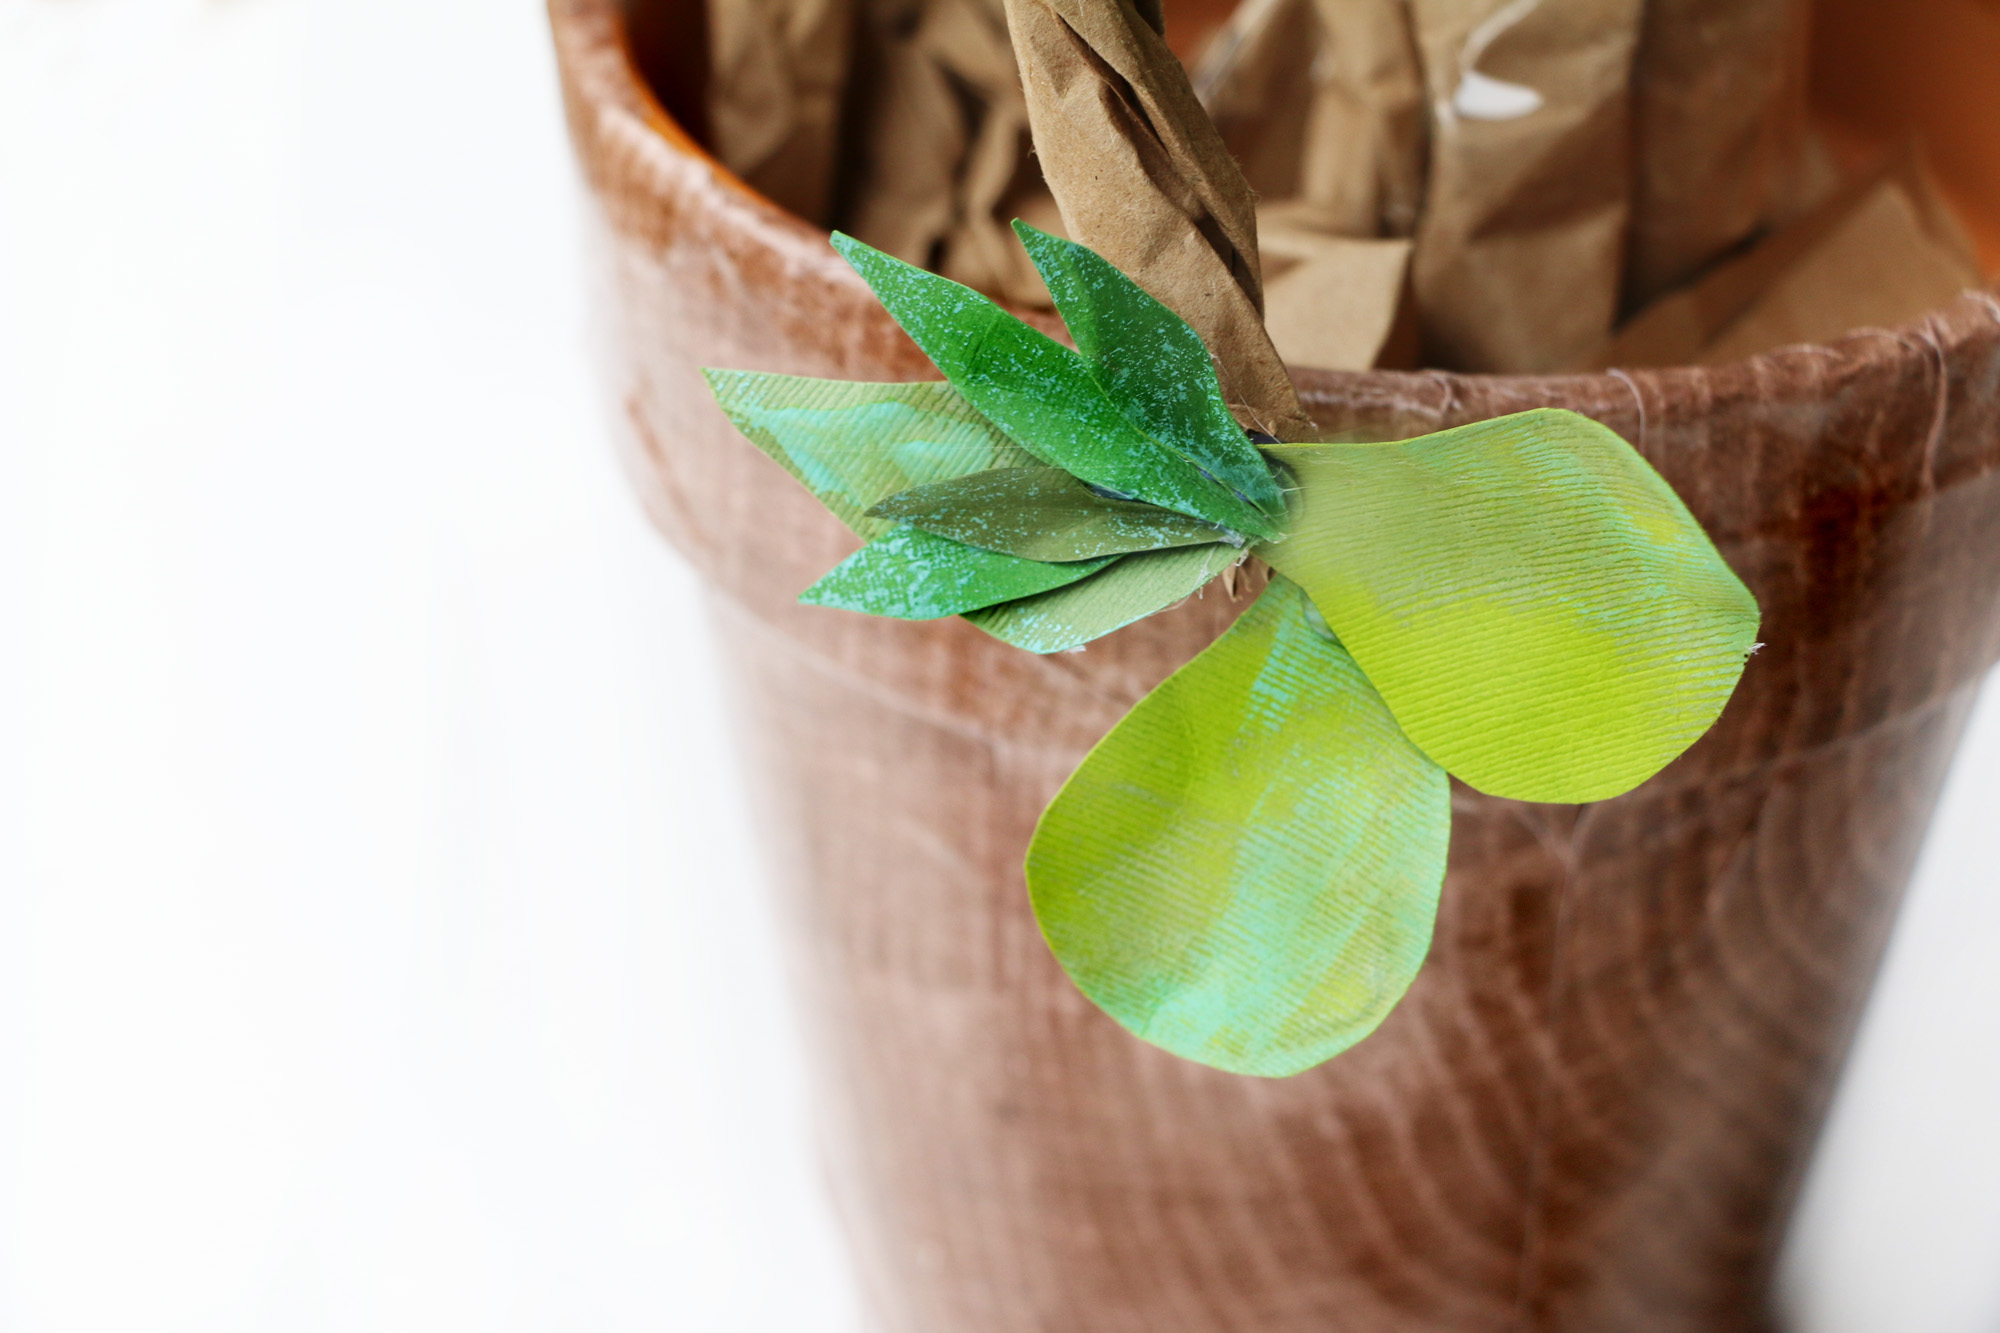 Step Four: Grab your glue gun and start gluing a pear on one of the branches then adding leaves around the tops of them. If your kids are helping, make sure to monitor this step. Kids can use glue for this step.
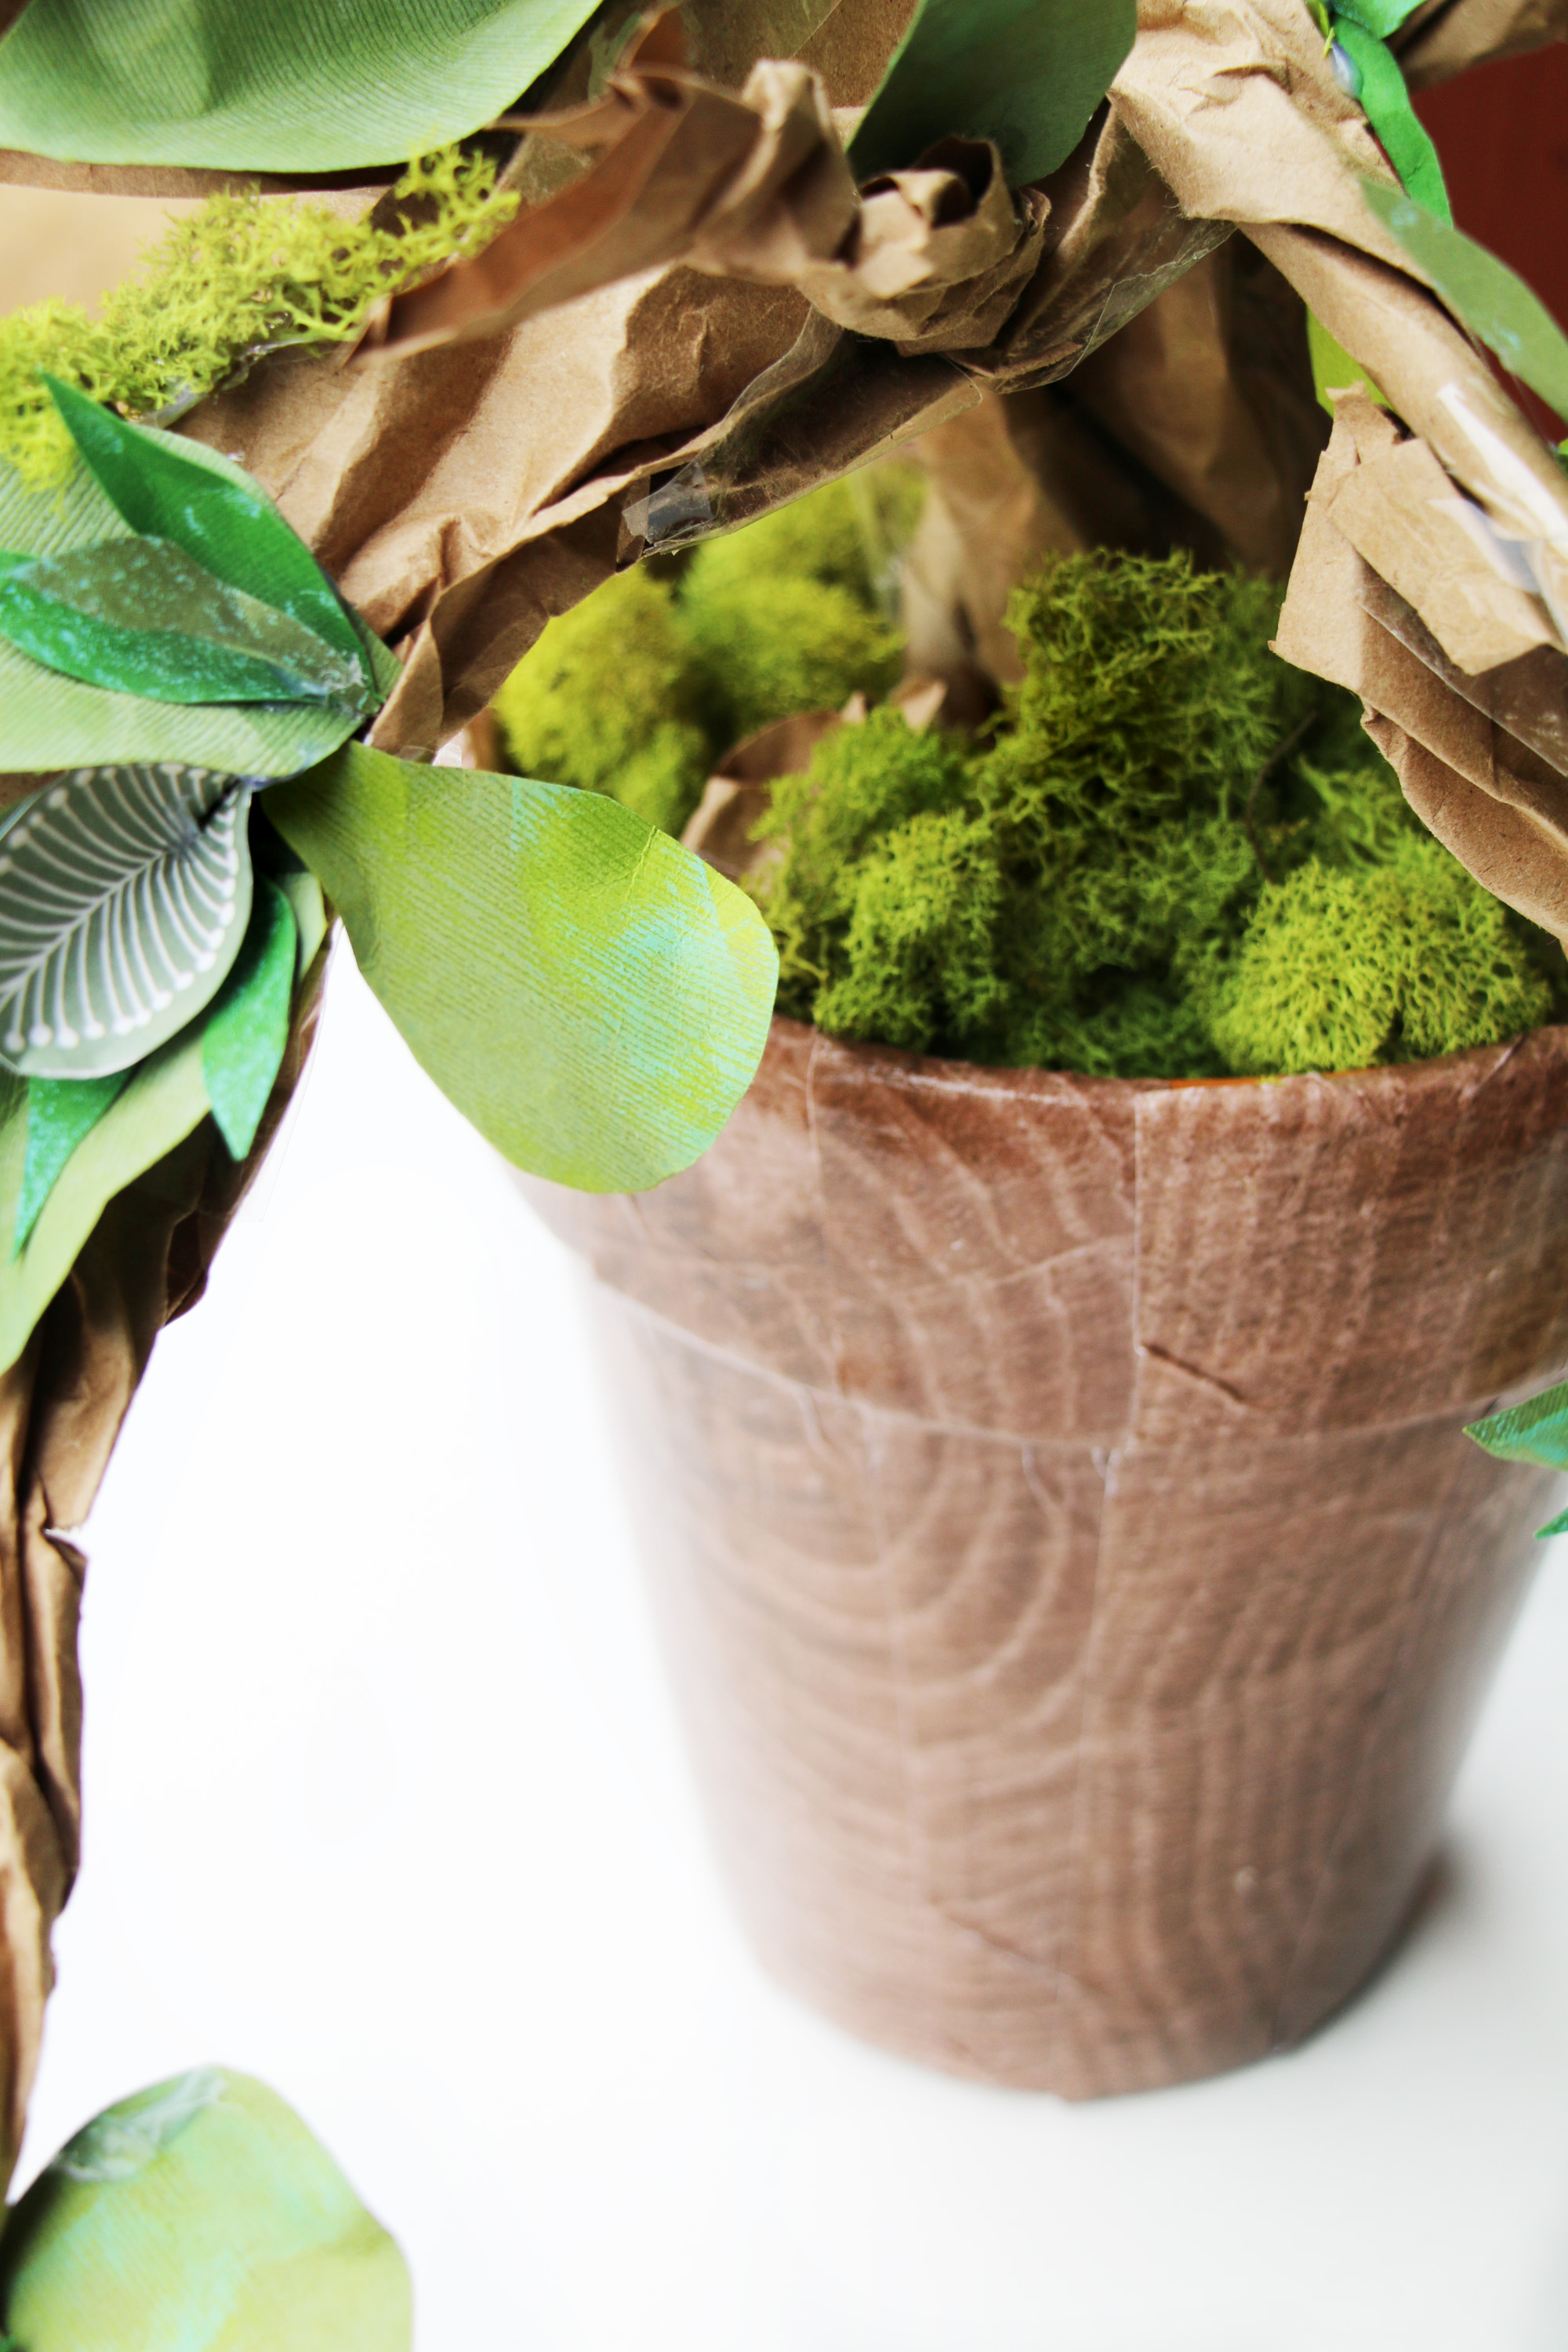
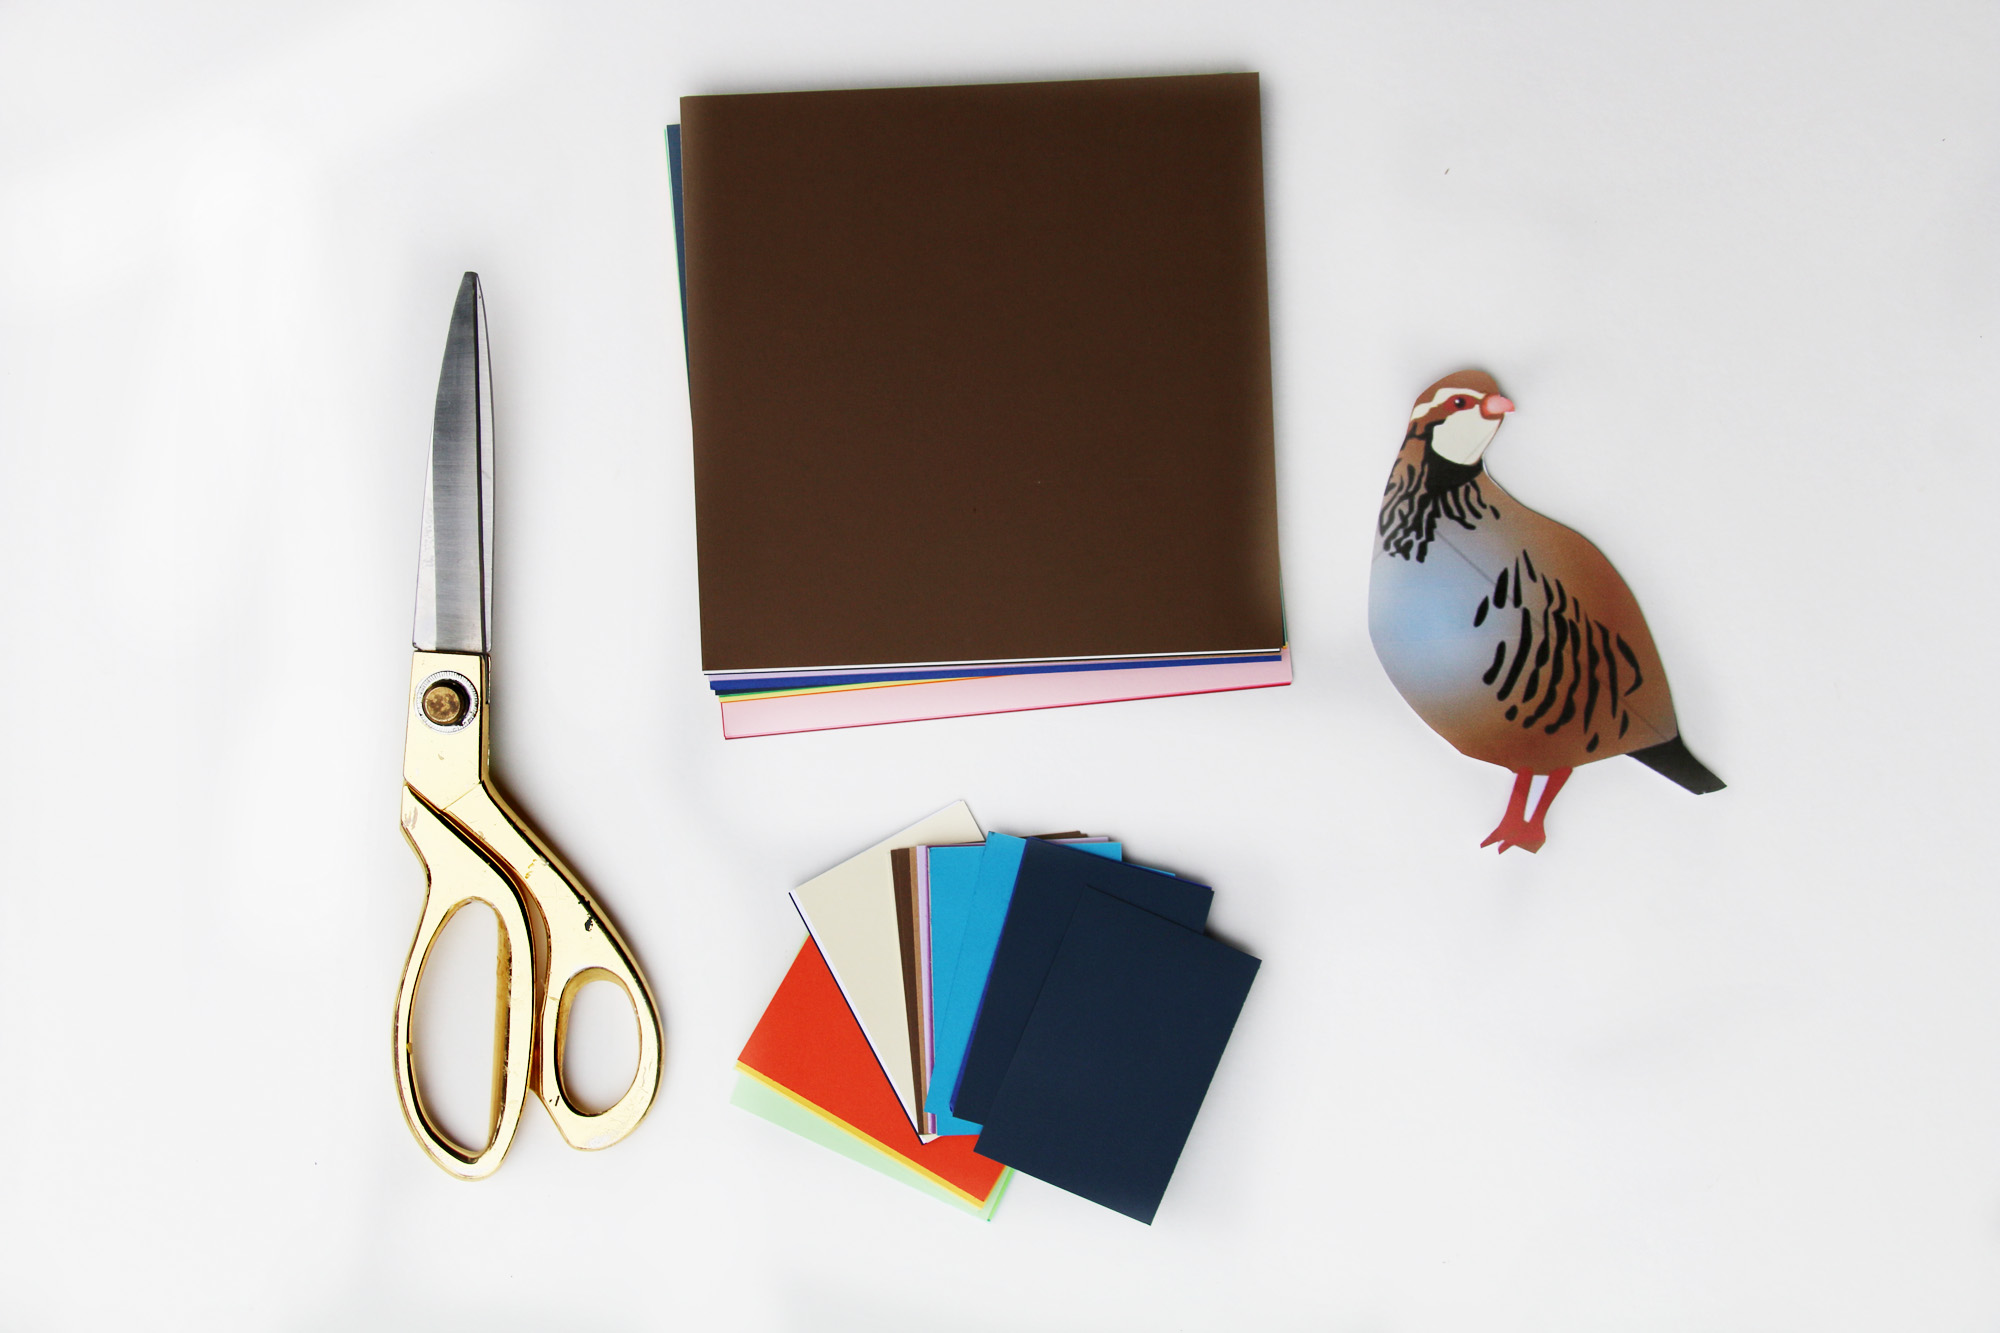 Step one: Print out a picture from the internet of a Partridge just to use as reference.
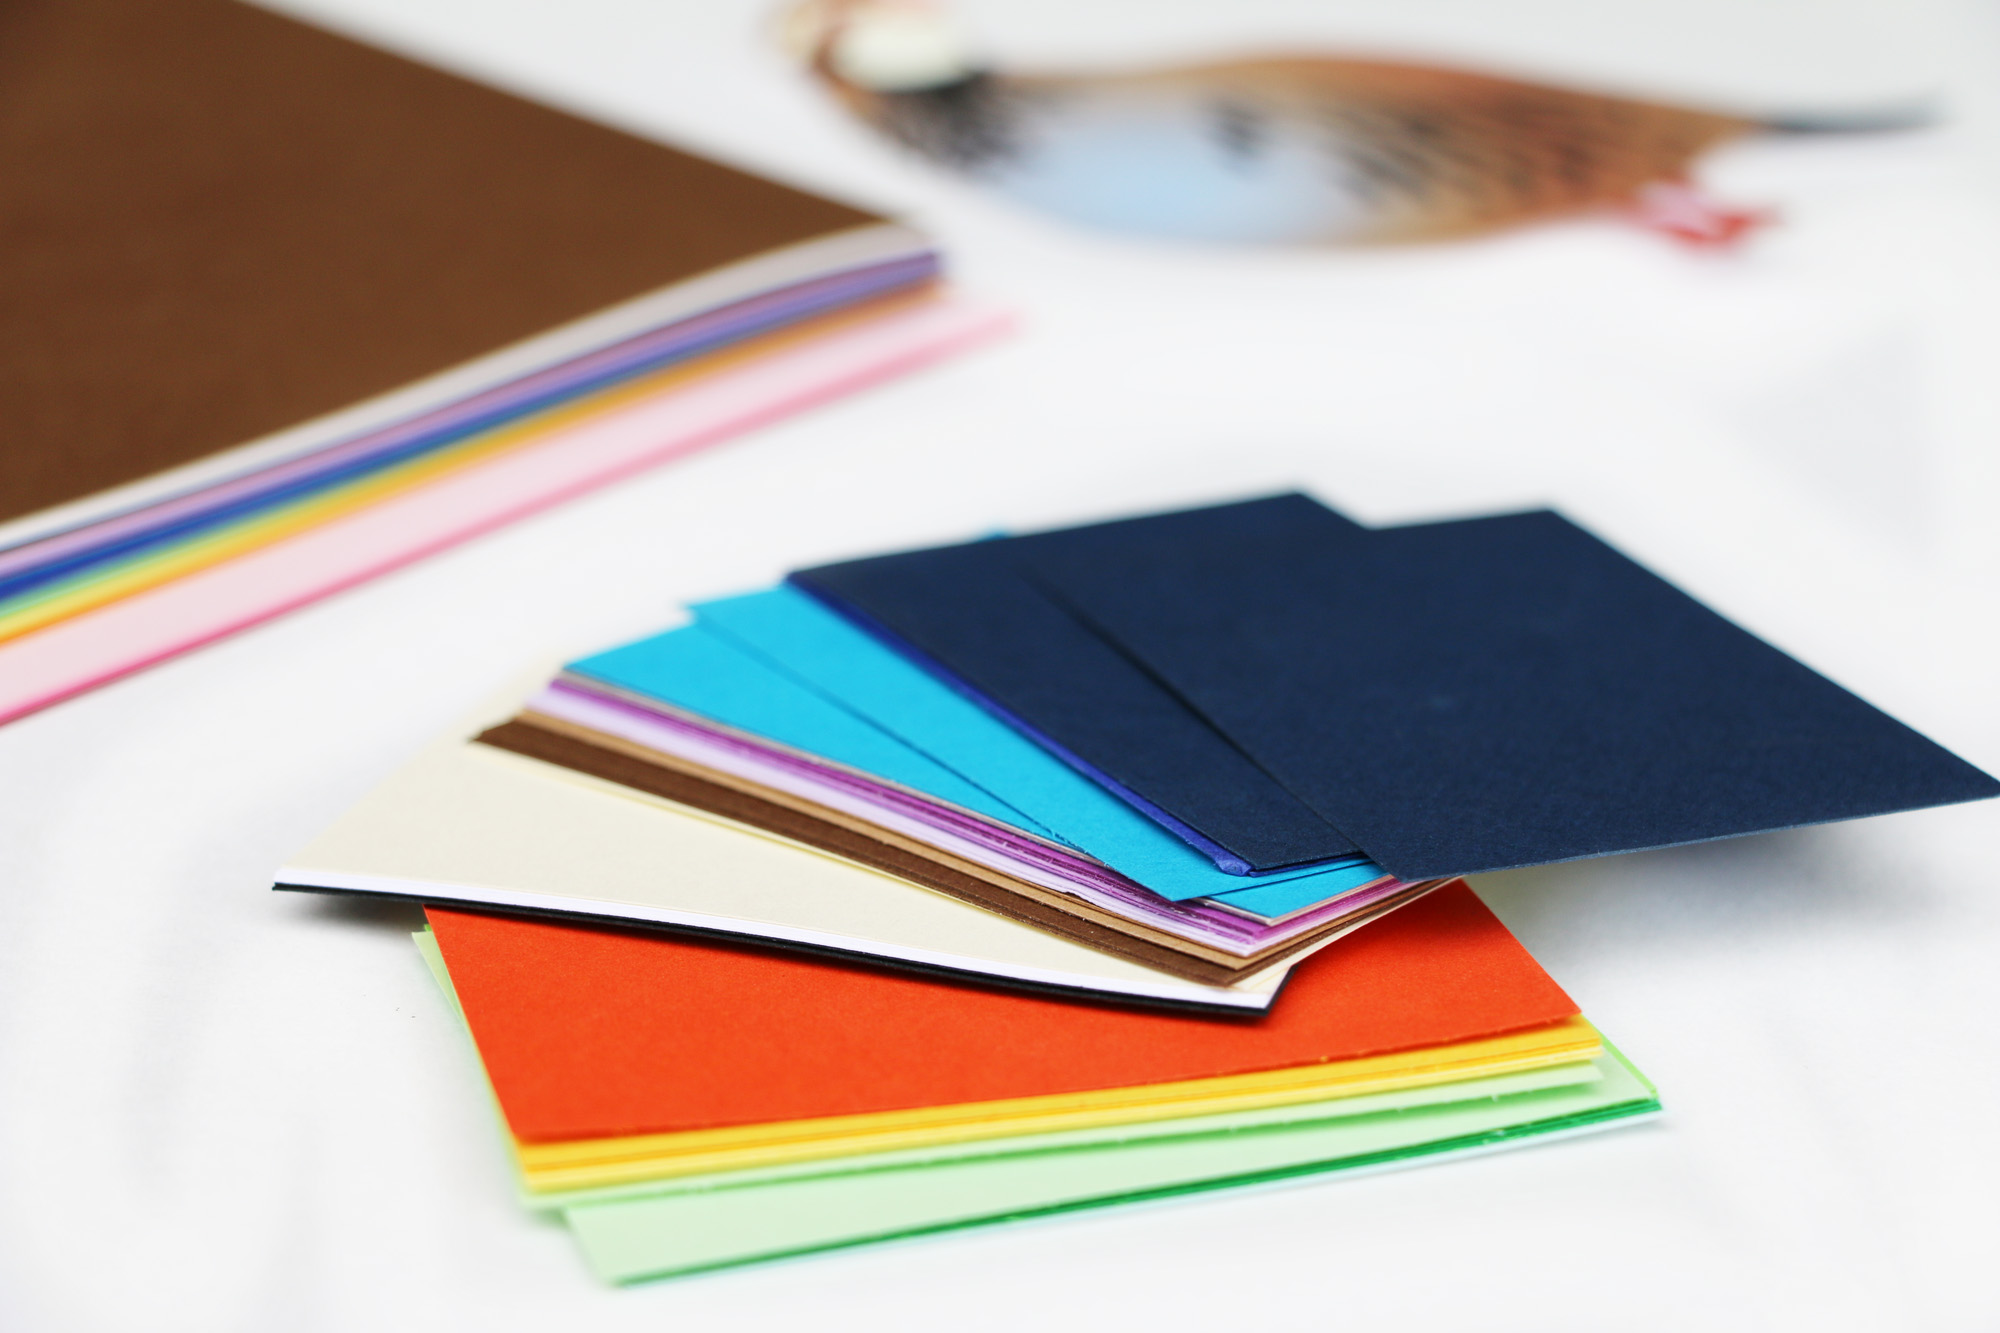
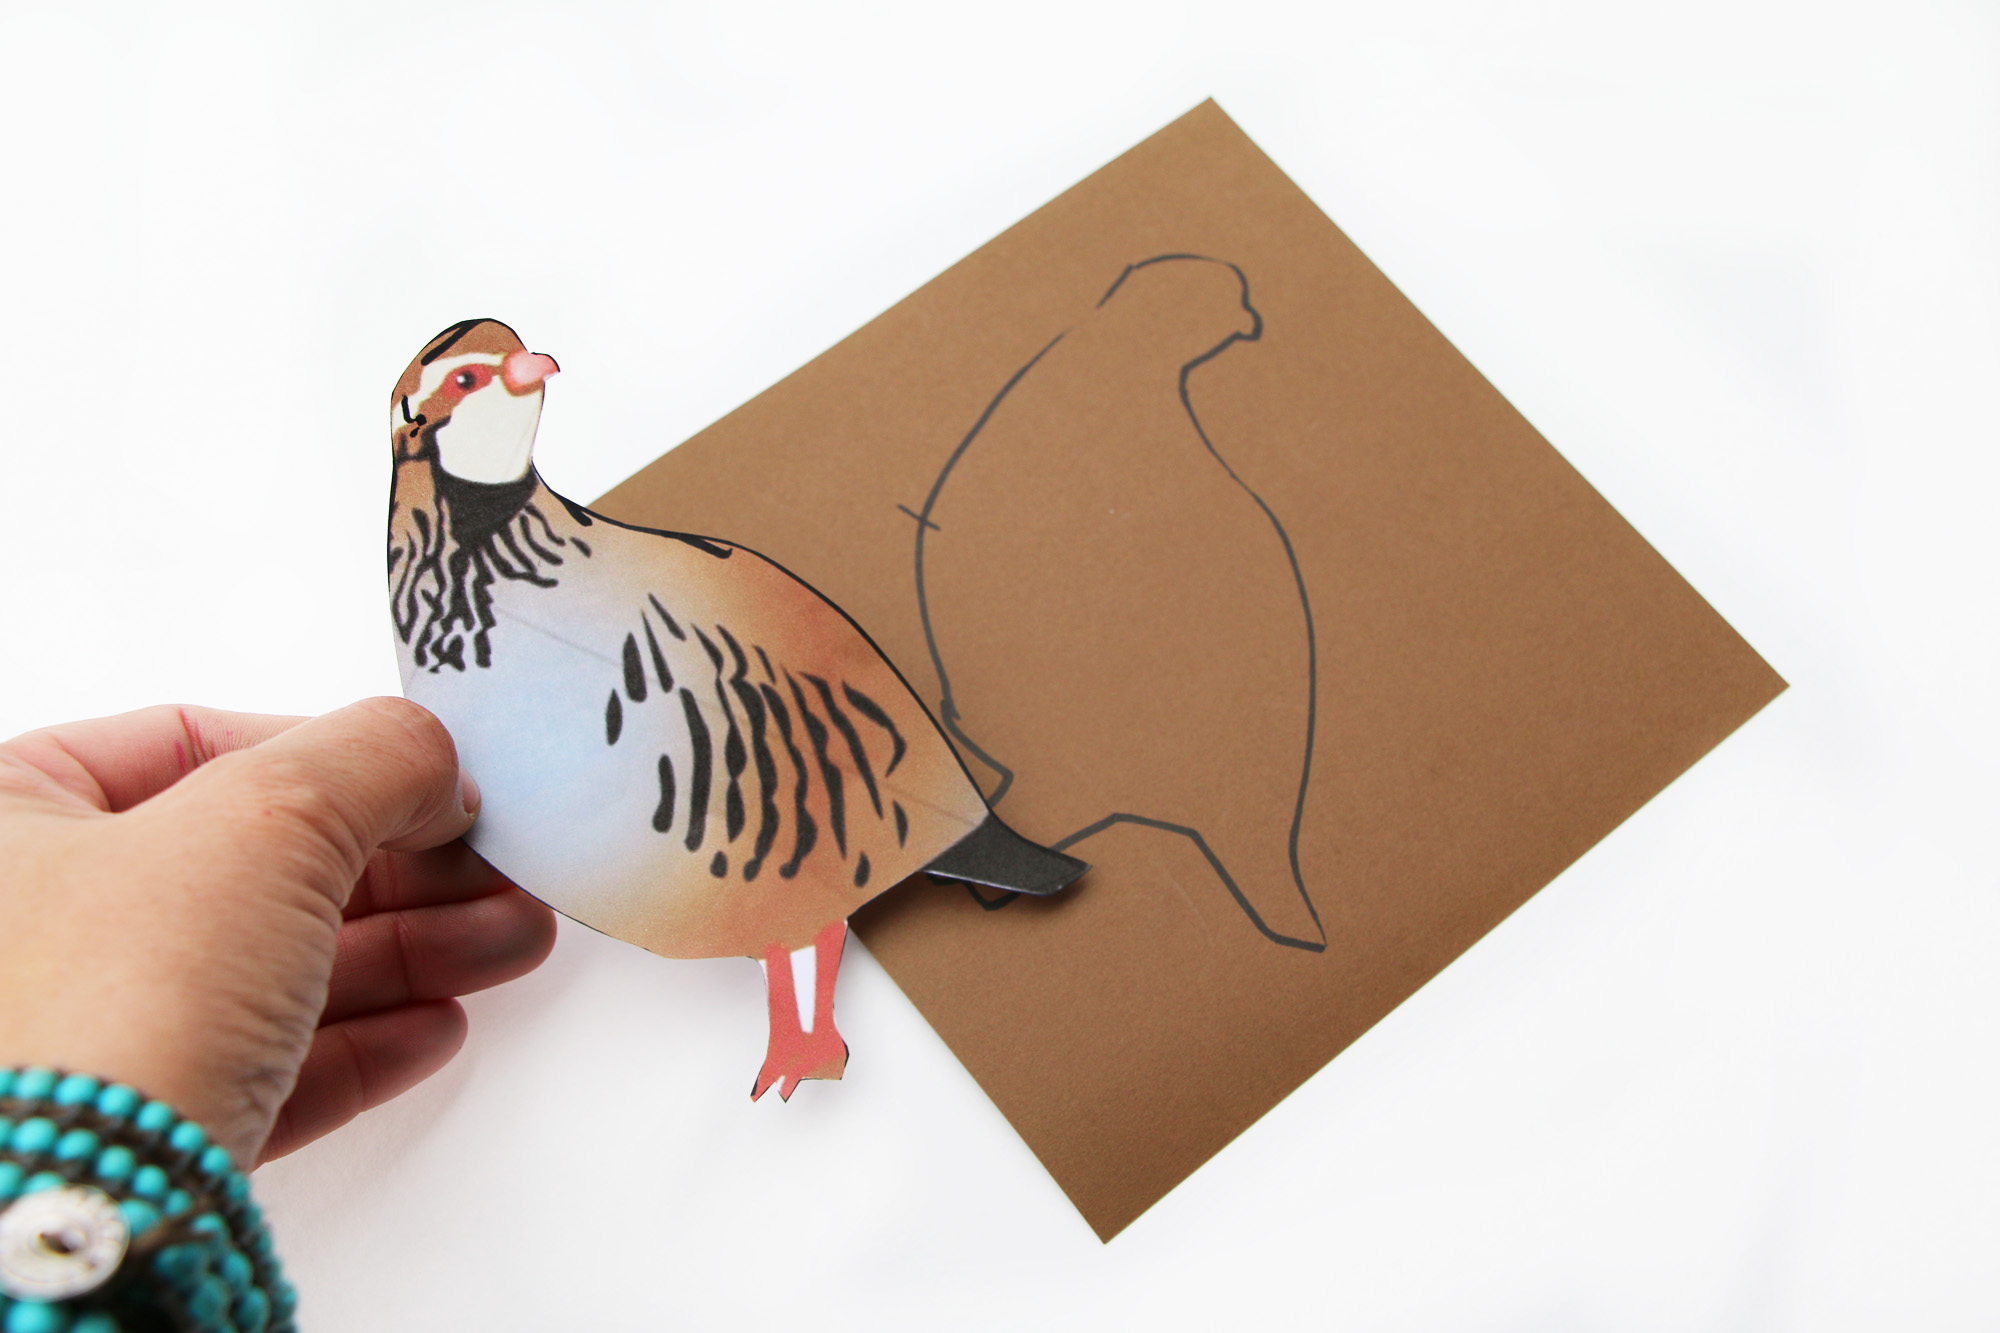 Step two: Take your print out and trace it onto a dark brown piece of craft paper.
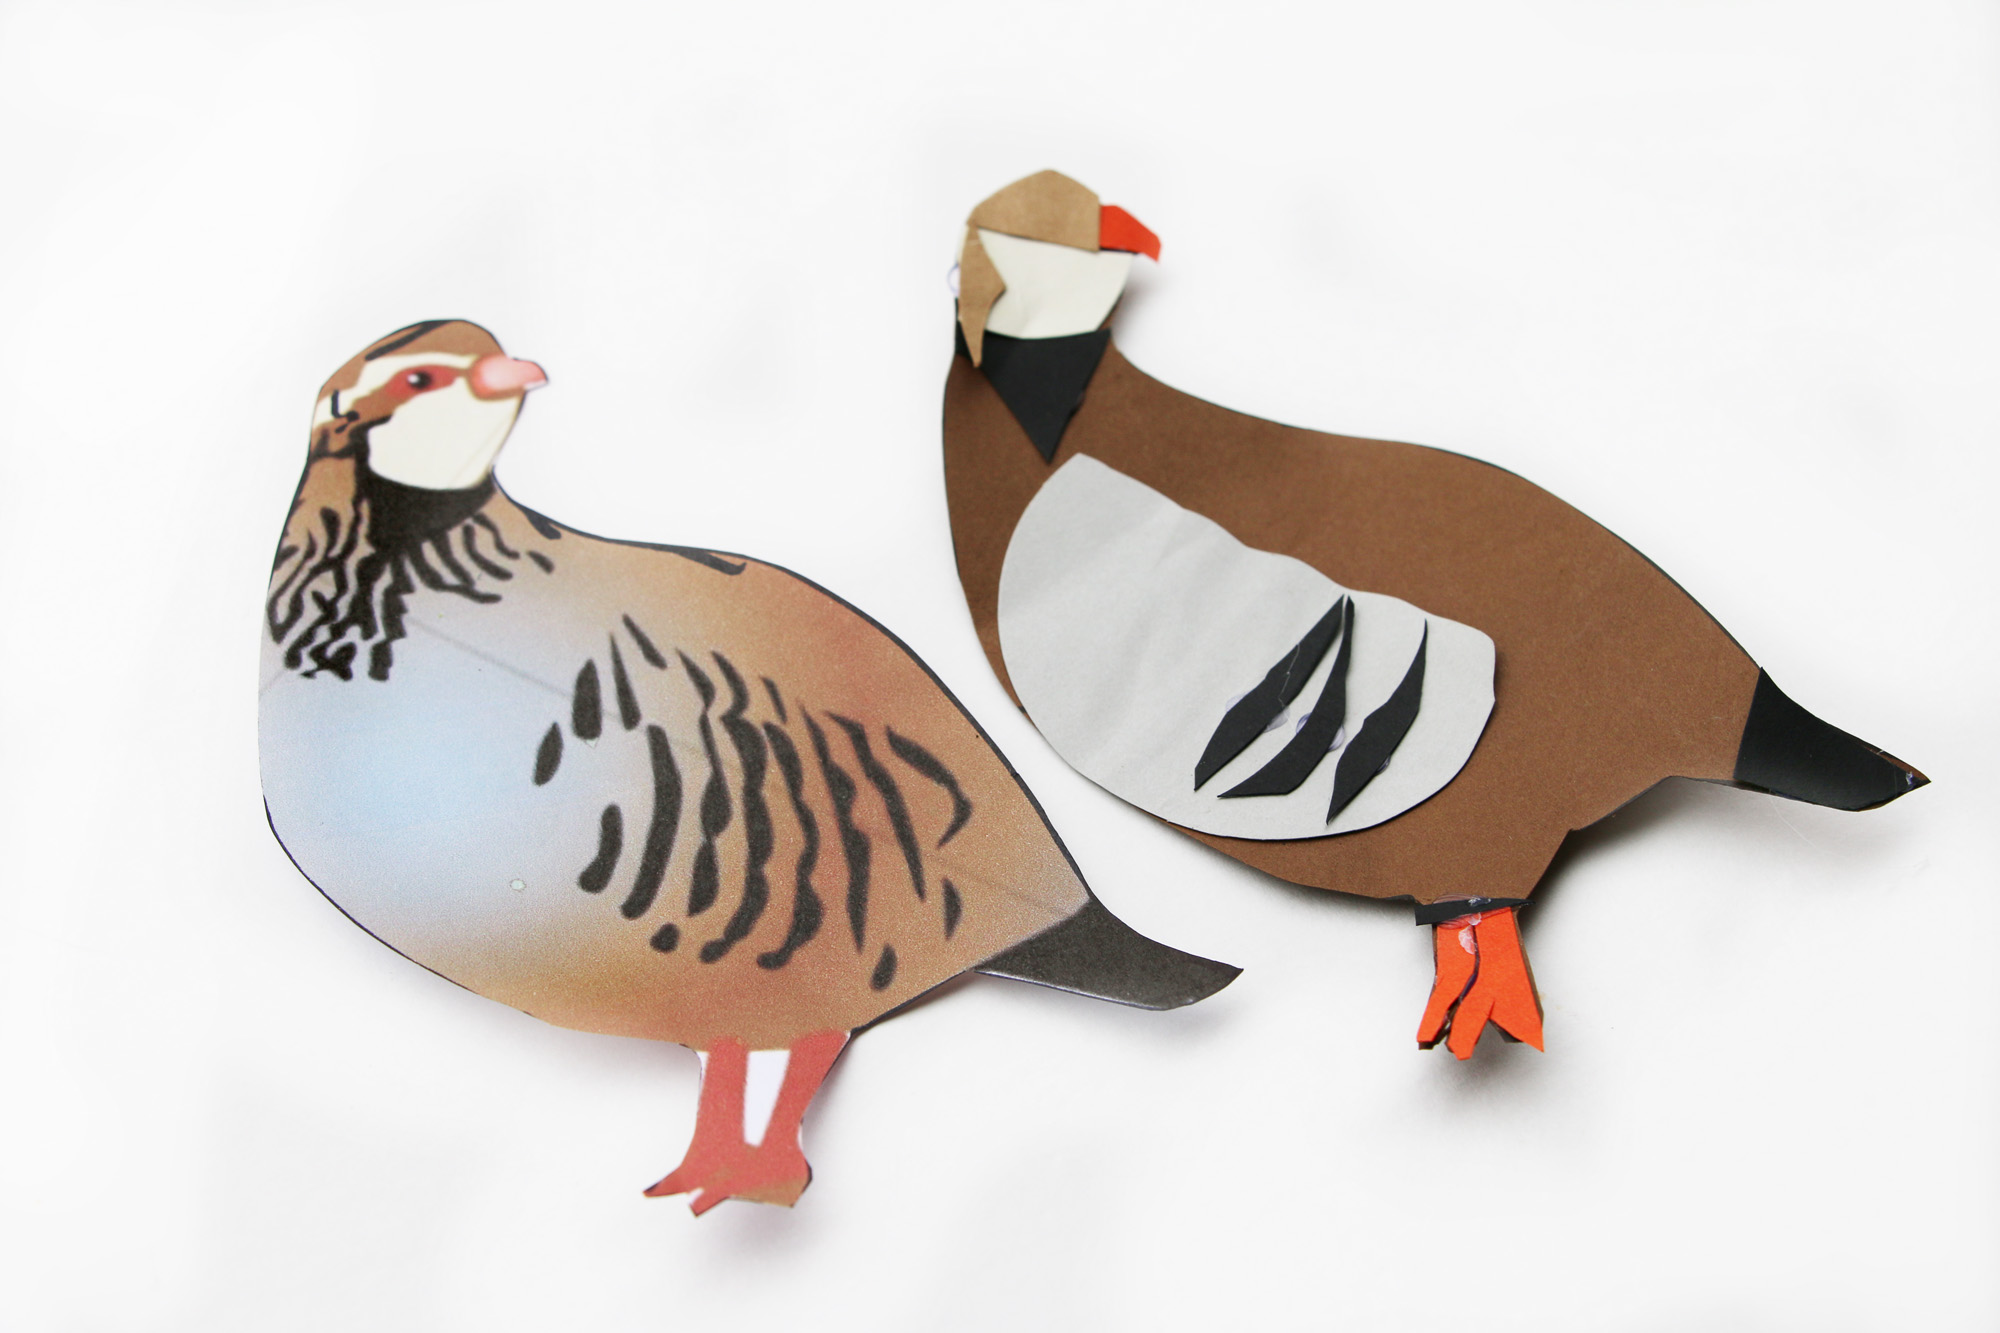 Step three: Using the print out as reference, start cutting all the shades you see out of your stack of craft paper and hot glue them down onto your brown cutout.
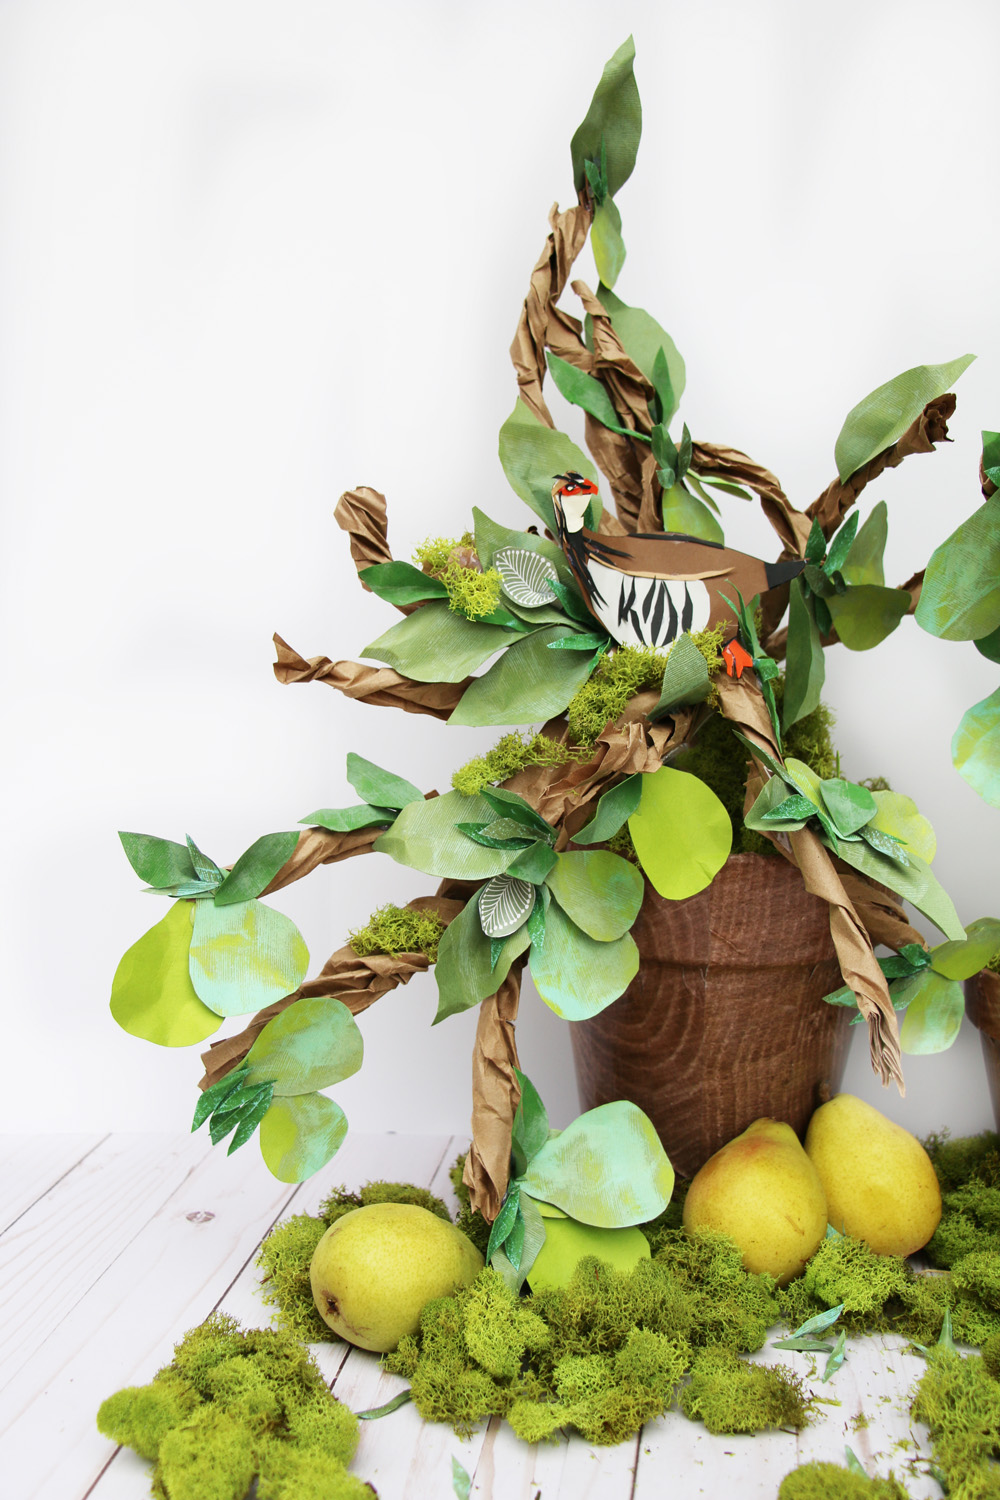
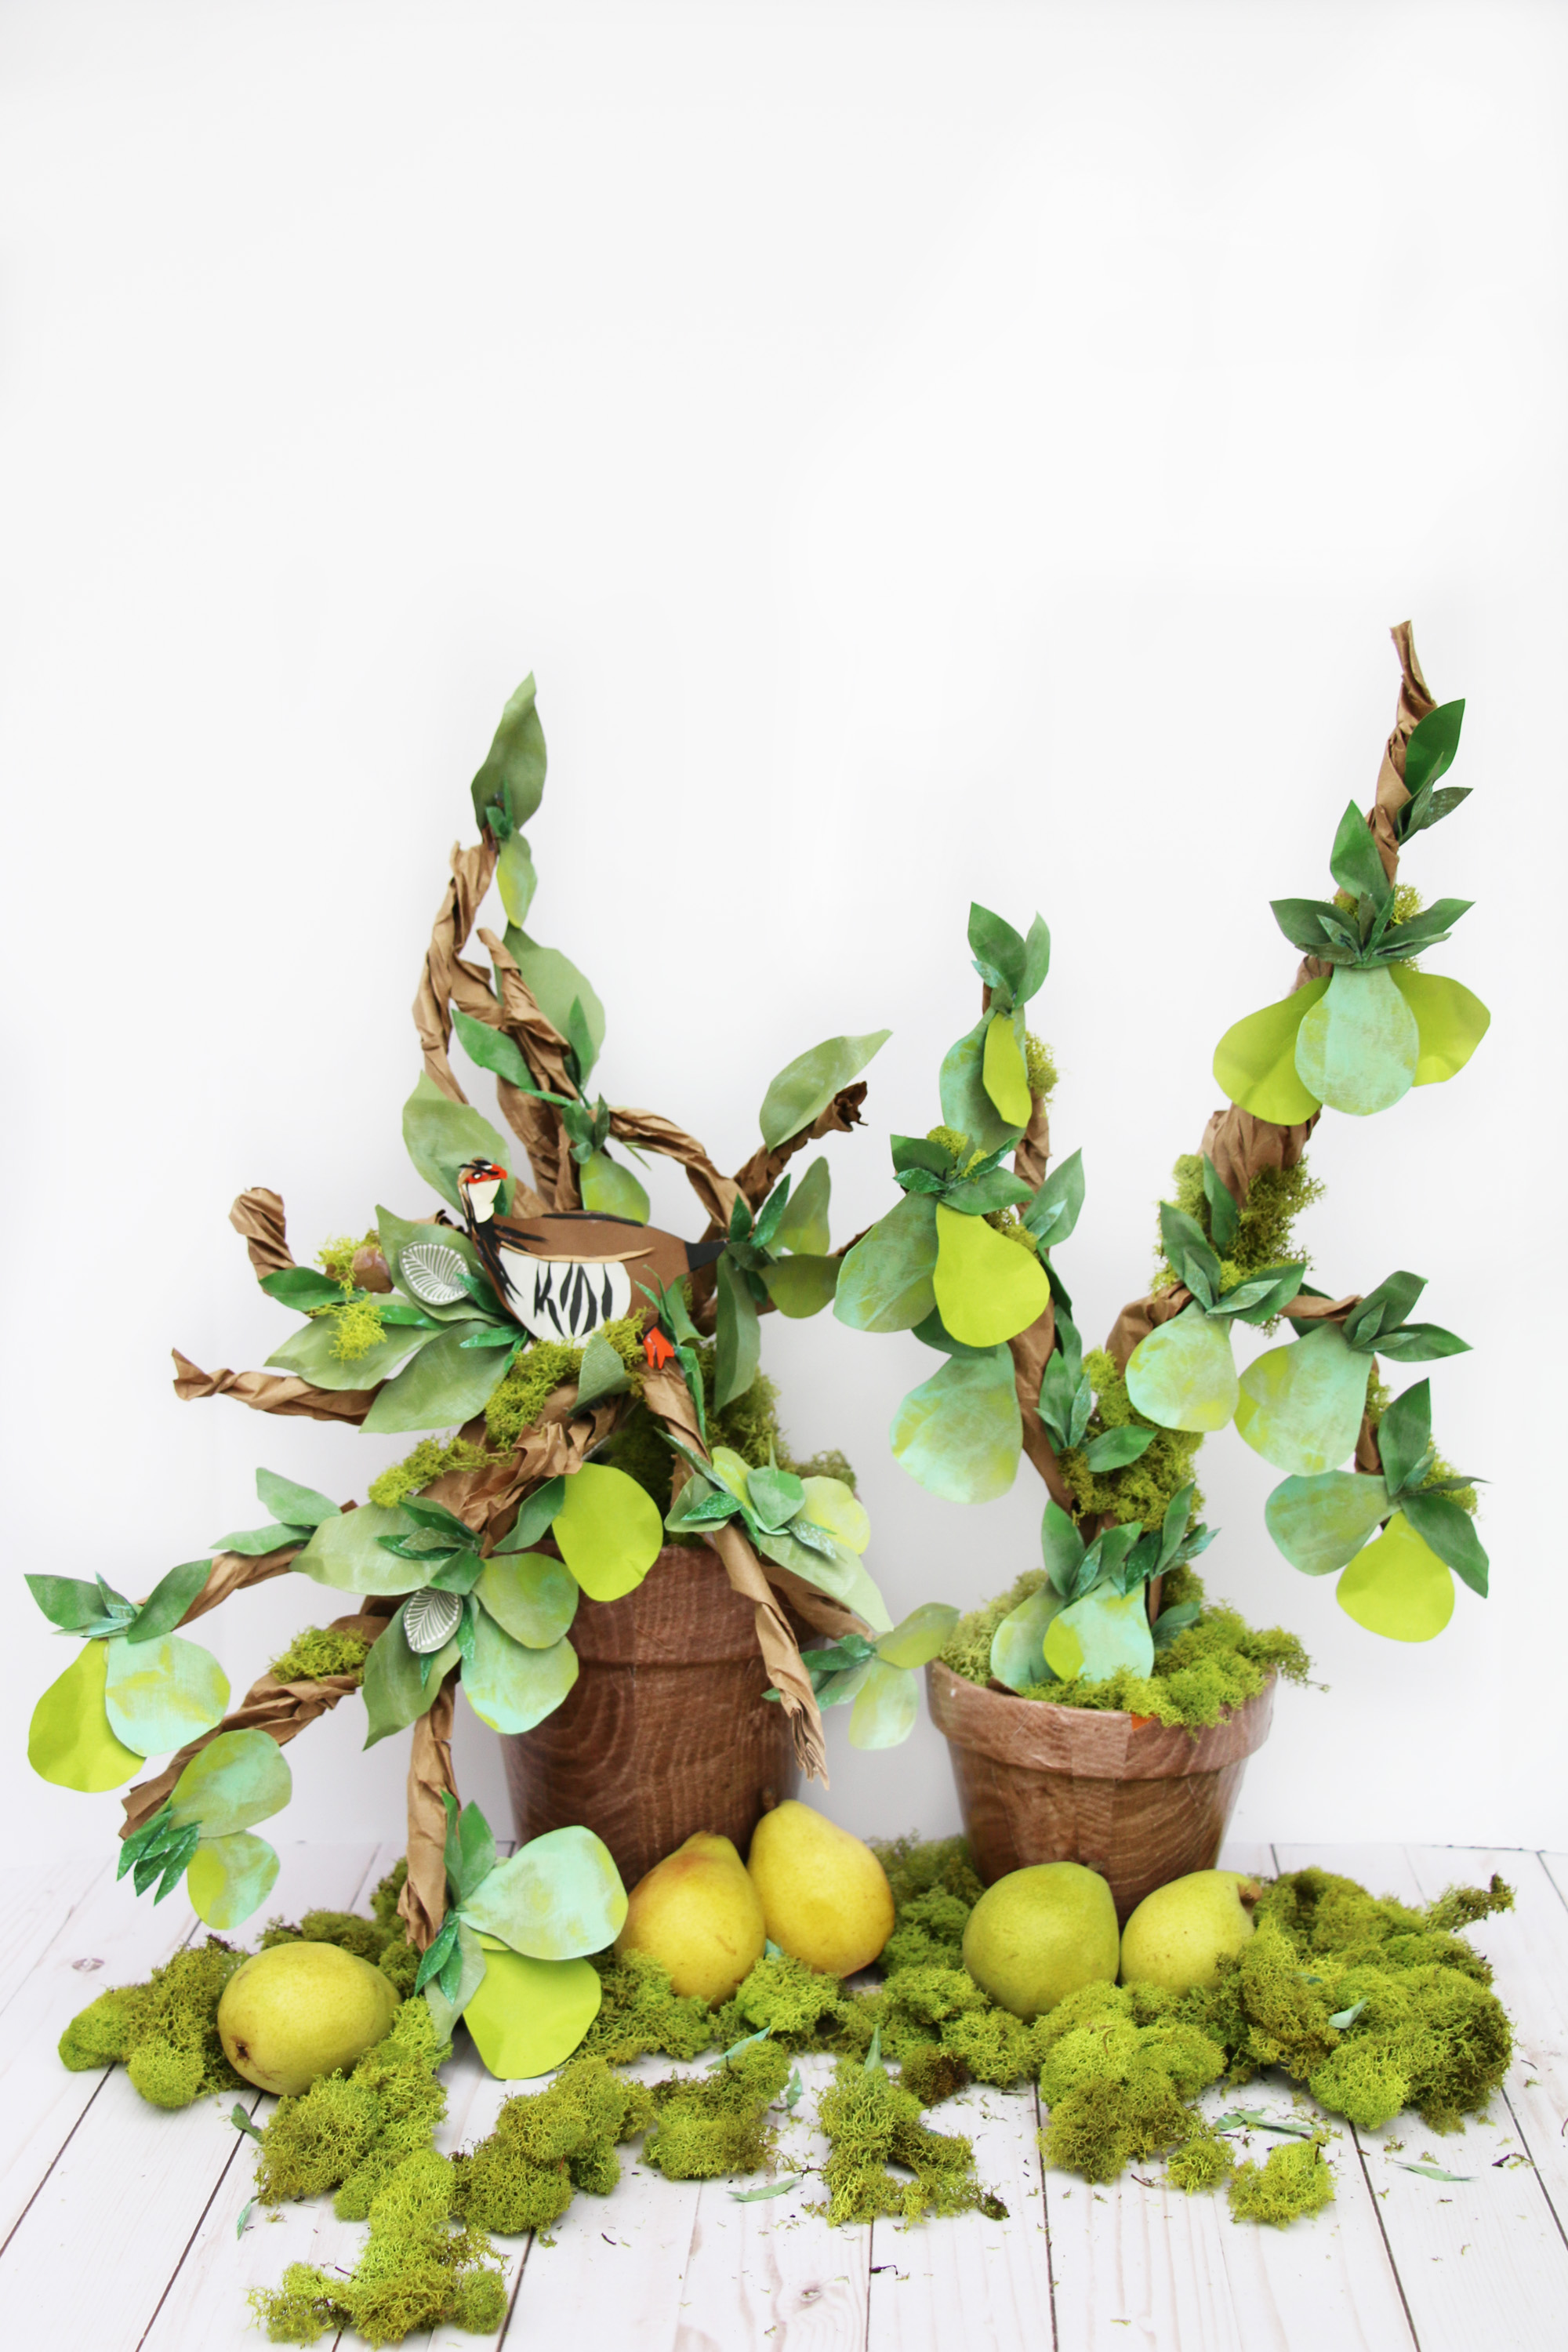
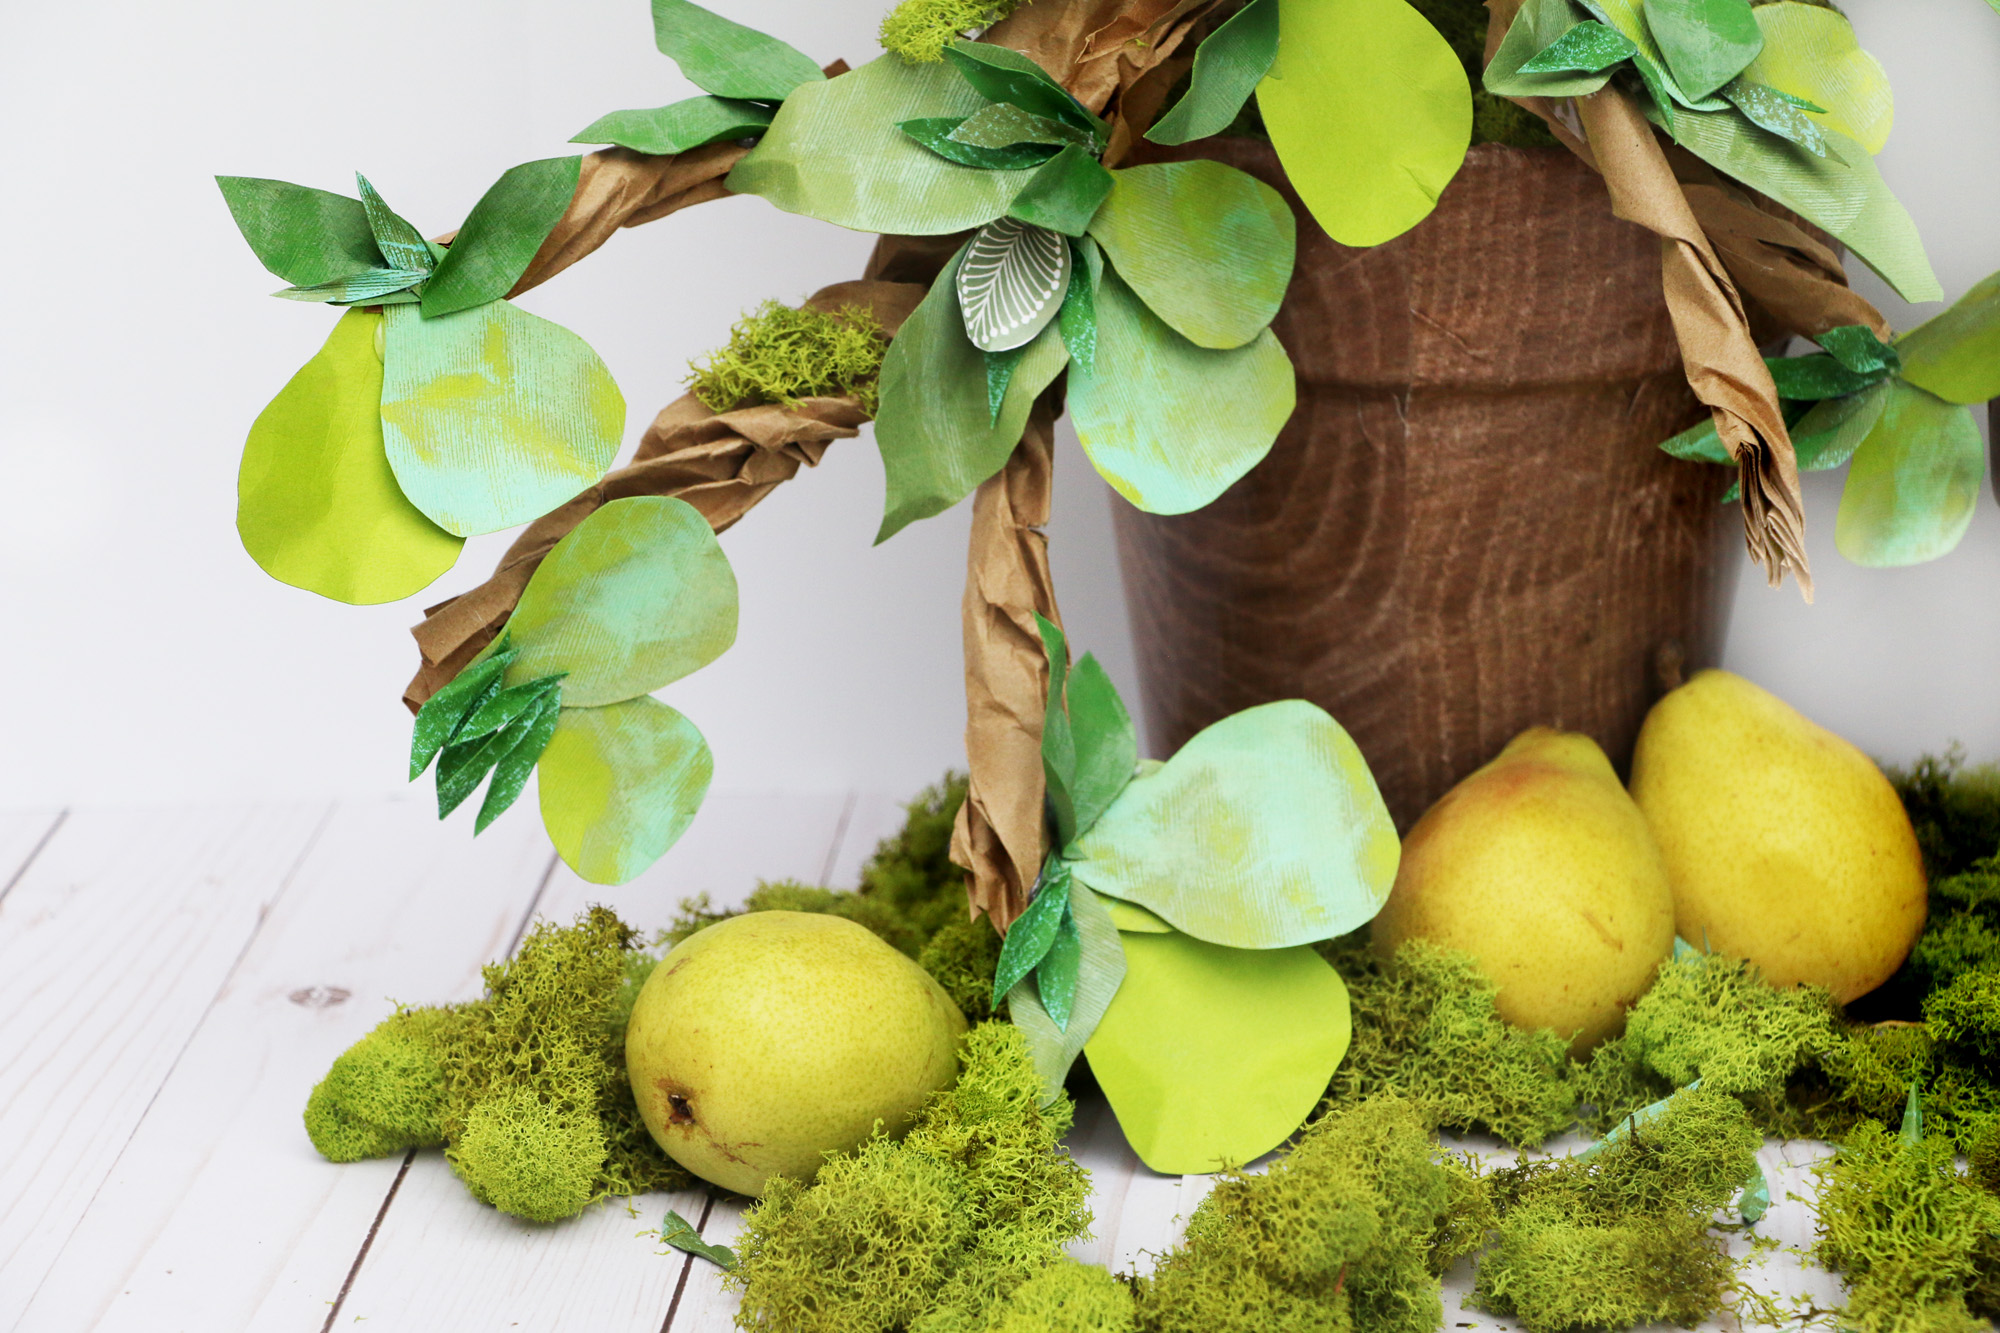
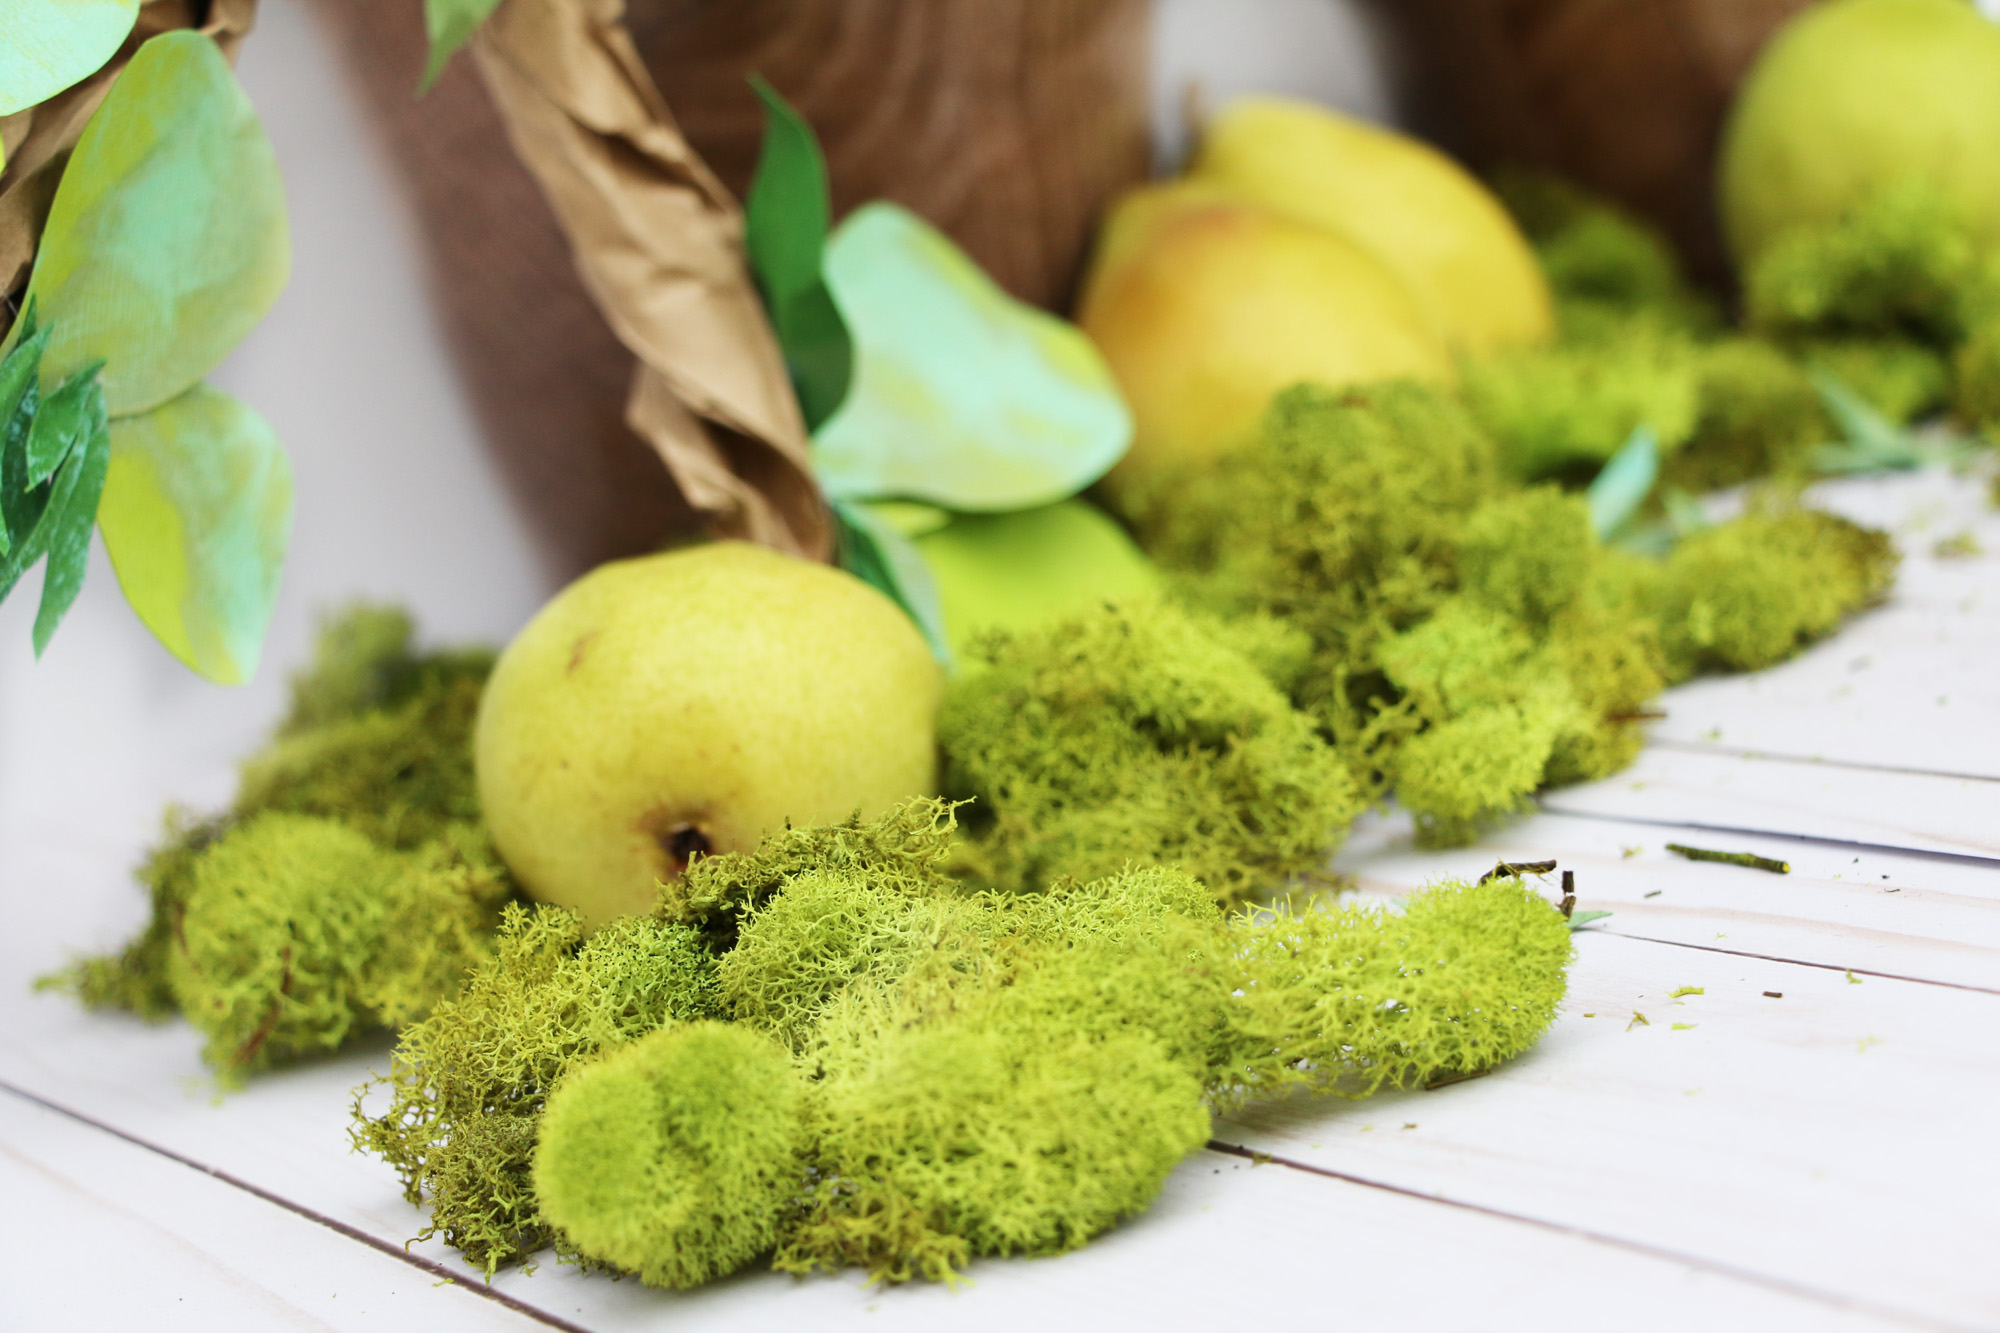 I had to add a few real pears to bring to life the “Pear Tree.” Plus you will have a snack to eat after you are finished with these trees.
 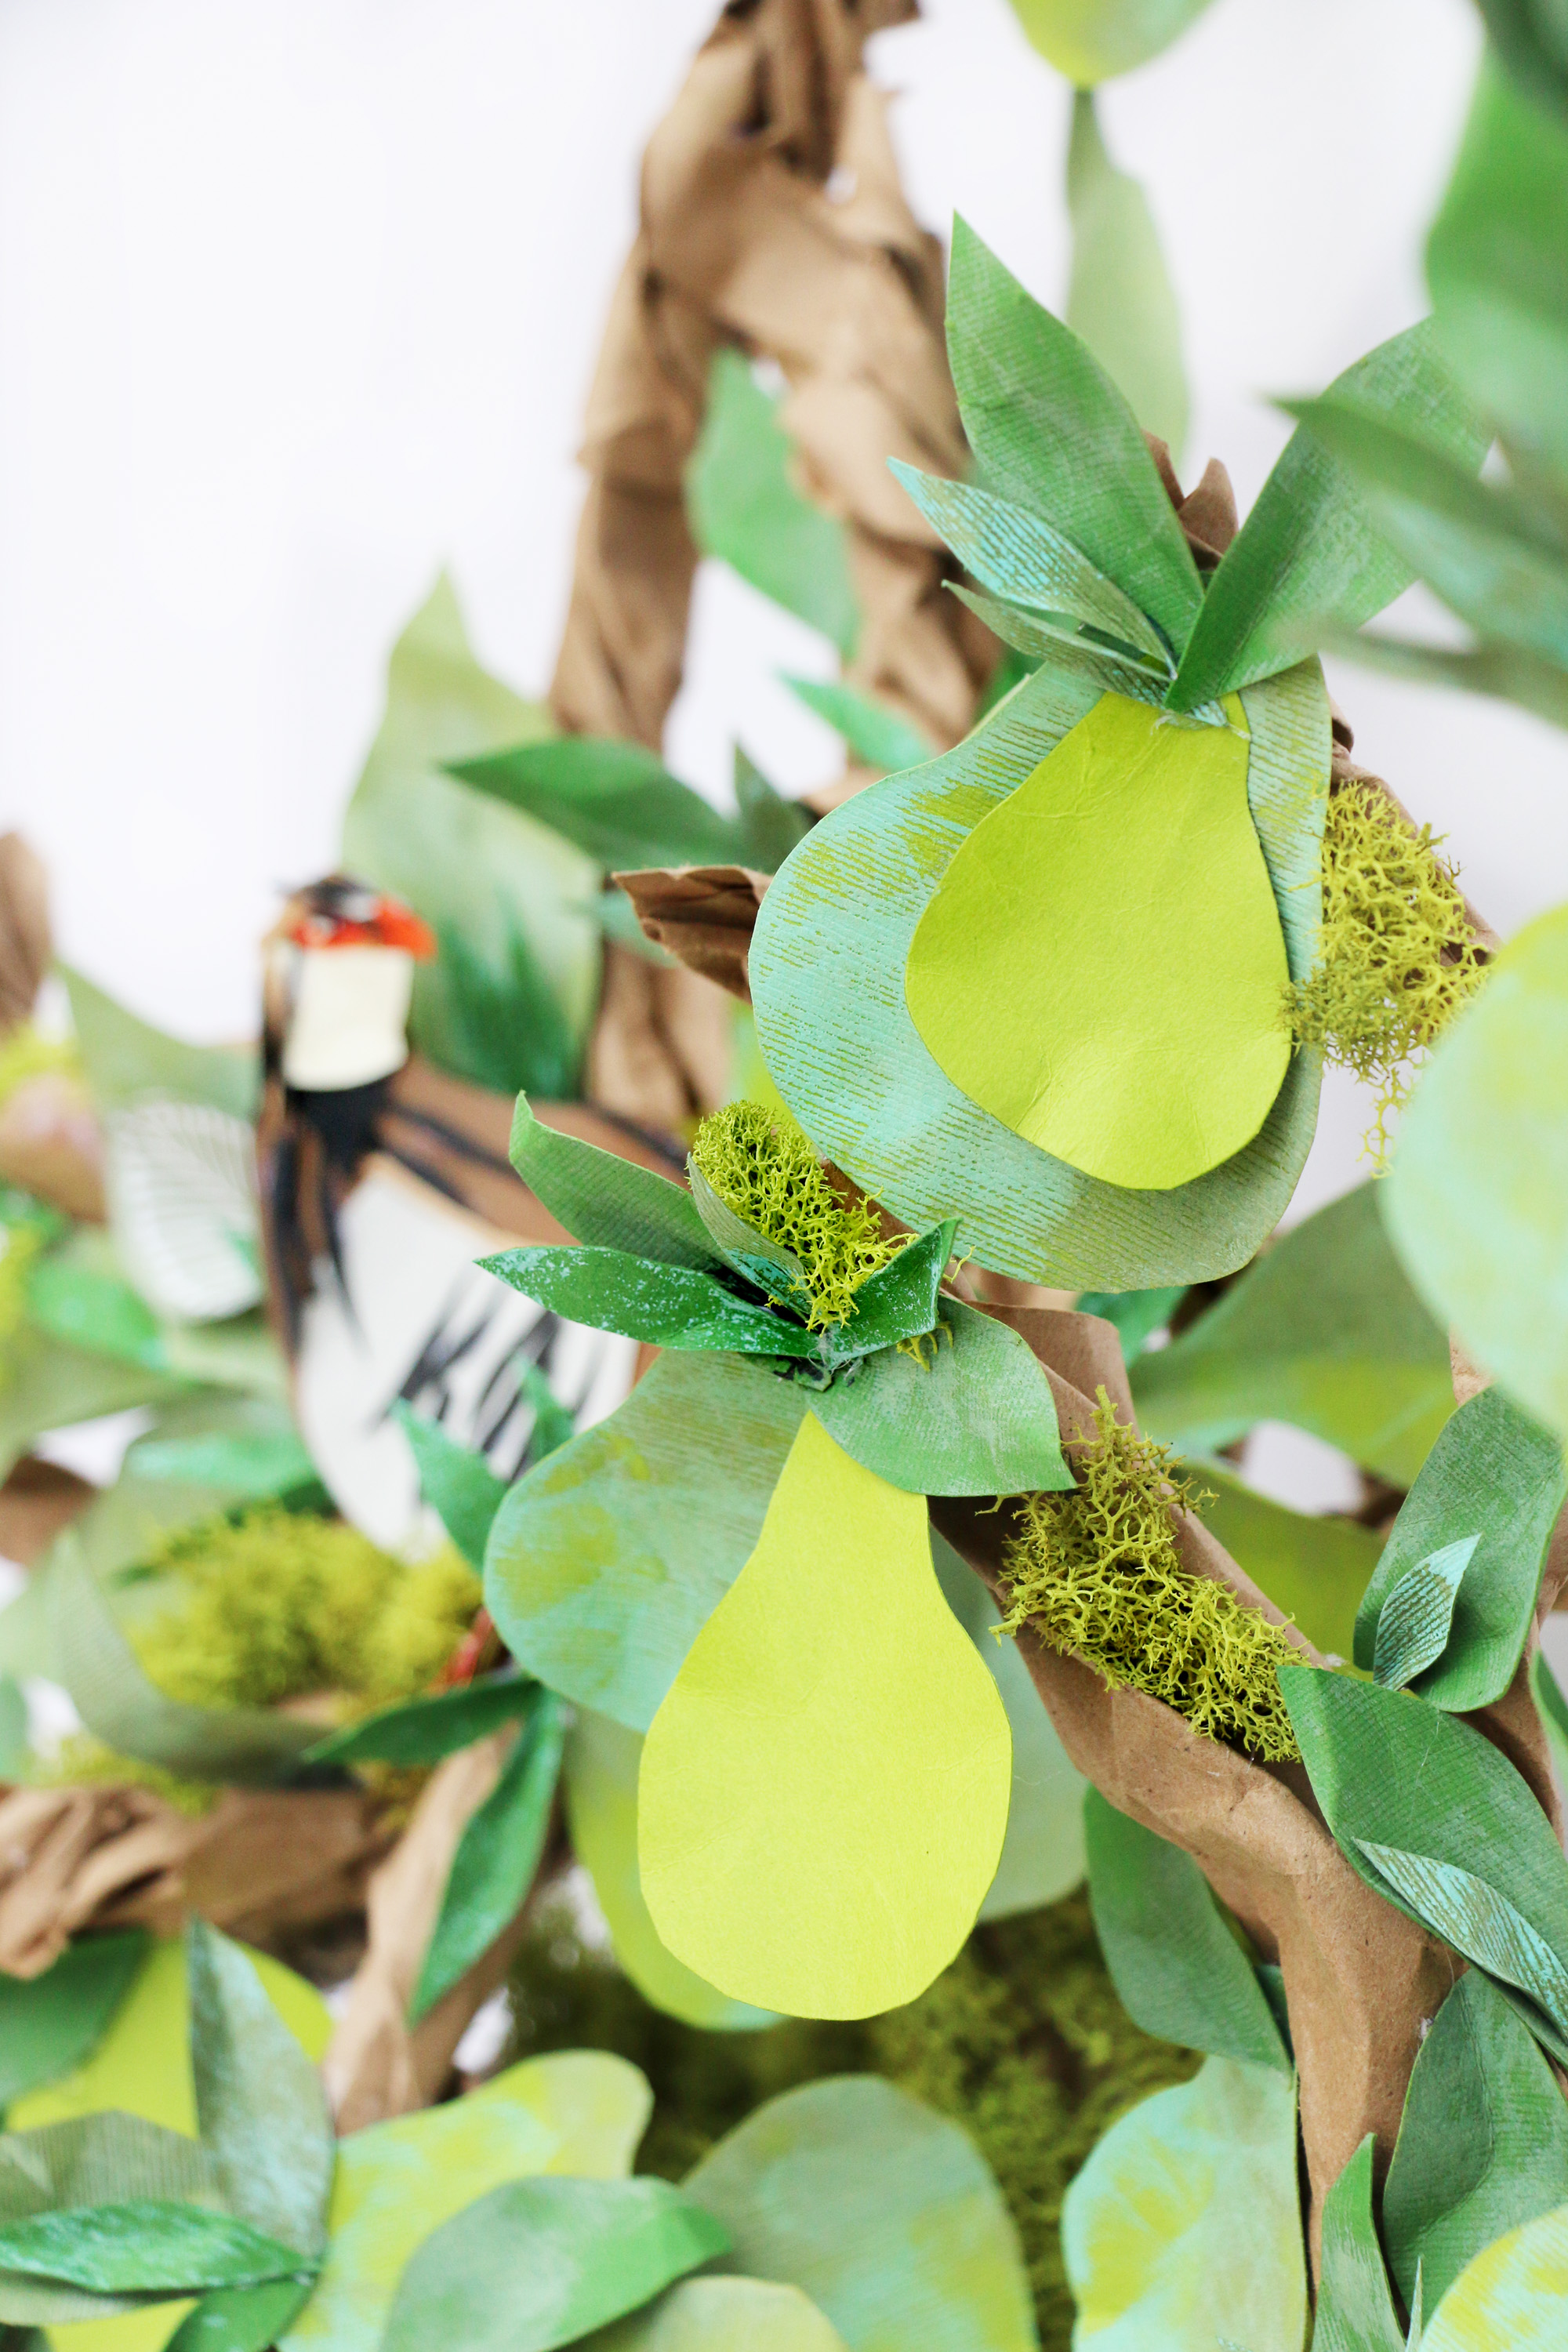 Notice how I added the stamped pears along with plain ones next to each other to accentuate the different shades that pears actually go through while blooming.
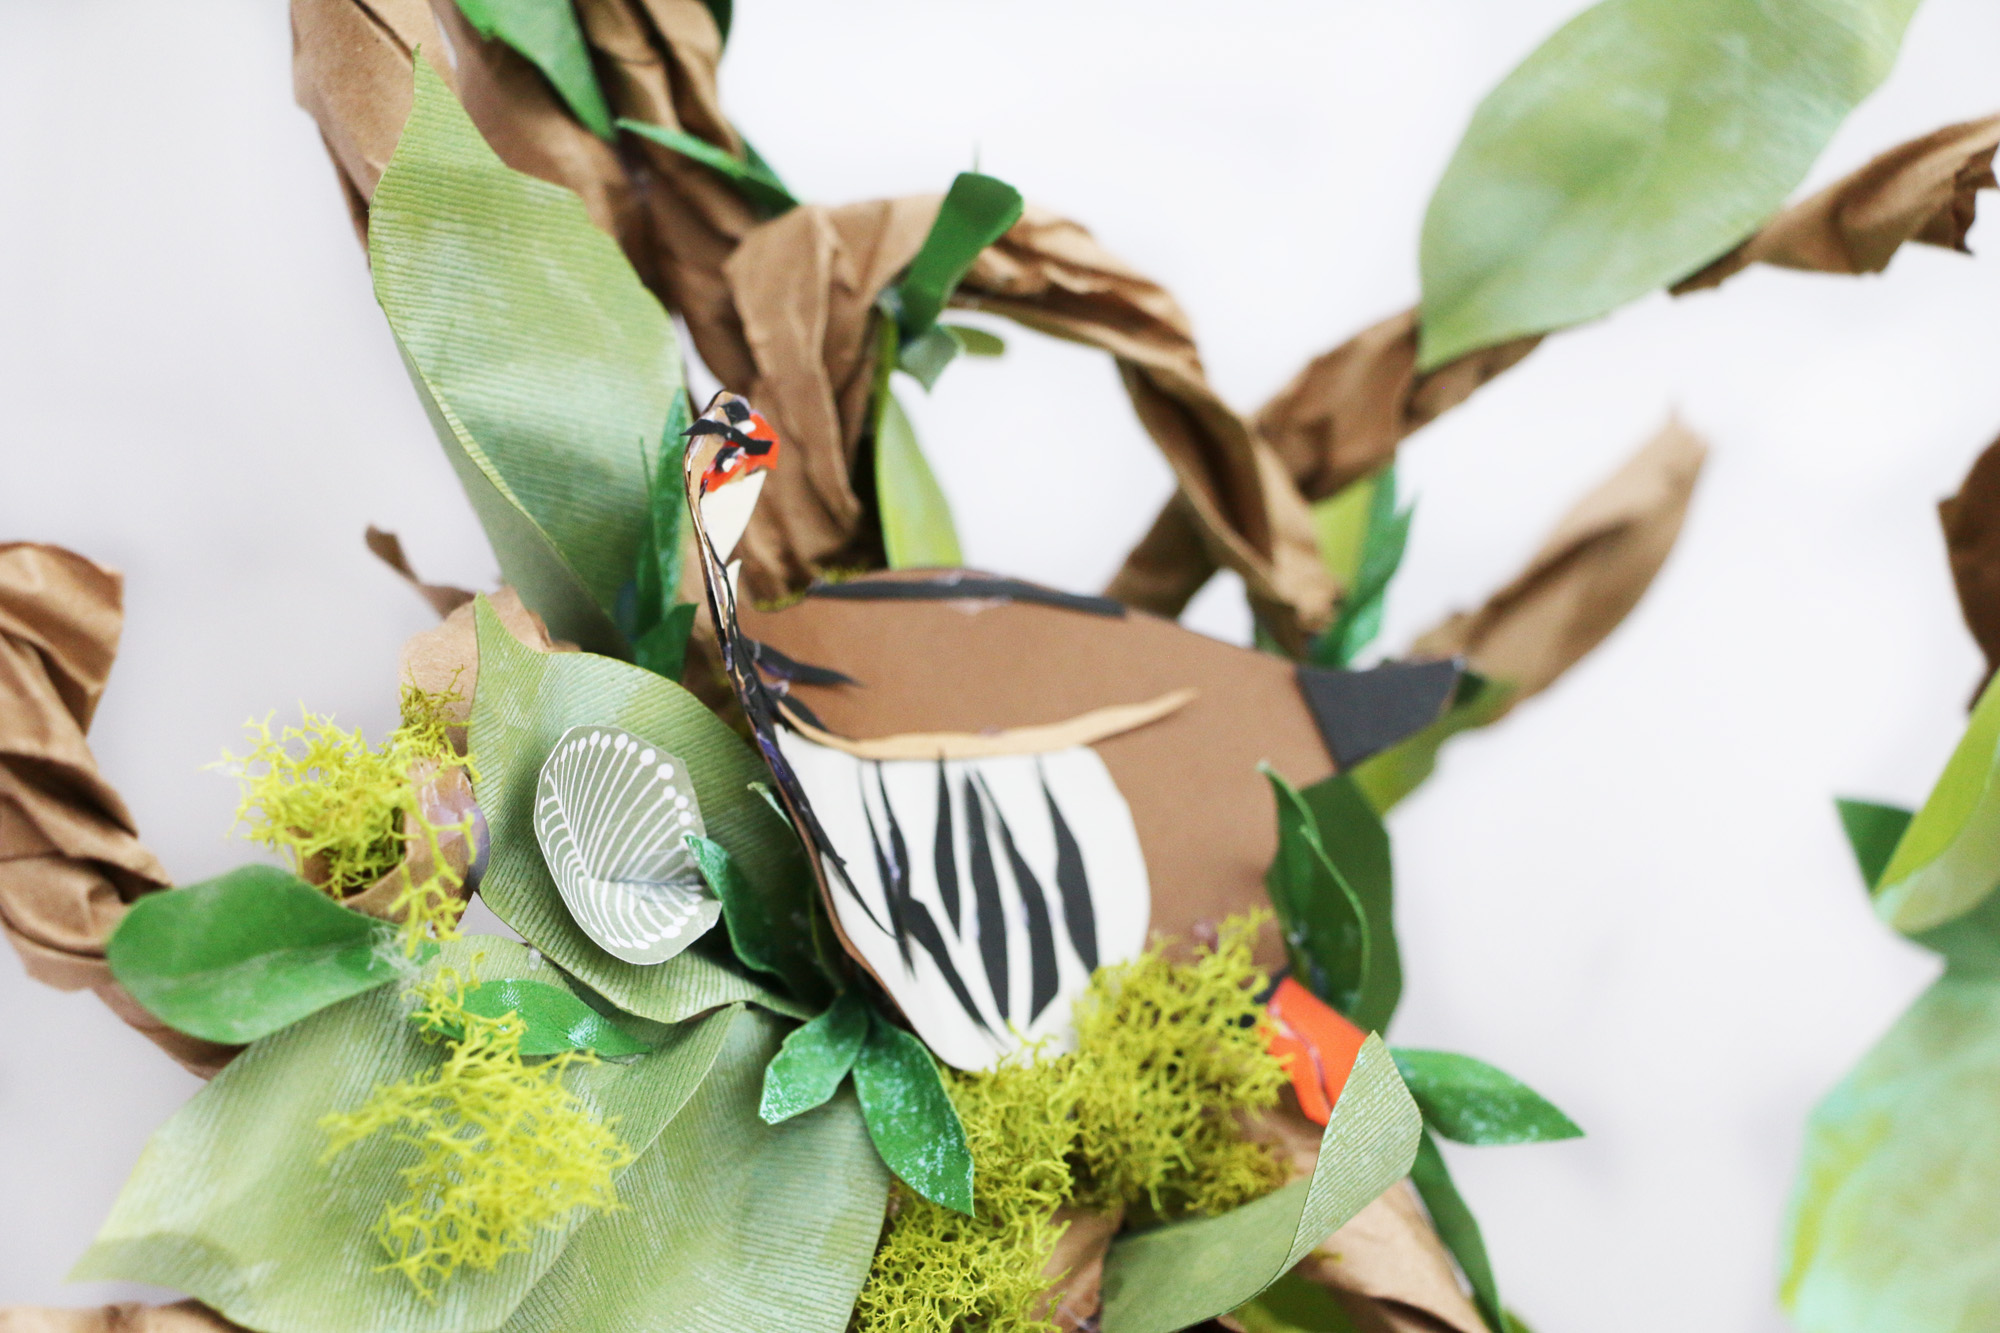 I think my favorite thing about this project is that adults can have fun doing this as well as kids. It’s the perfect “family” project that you can put out on display throughout the holiday season.
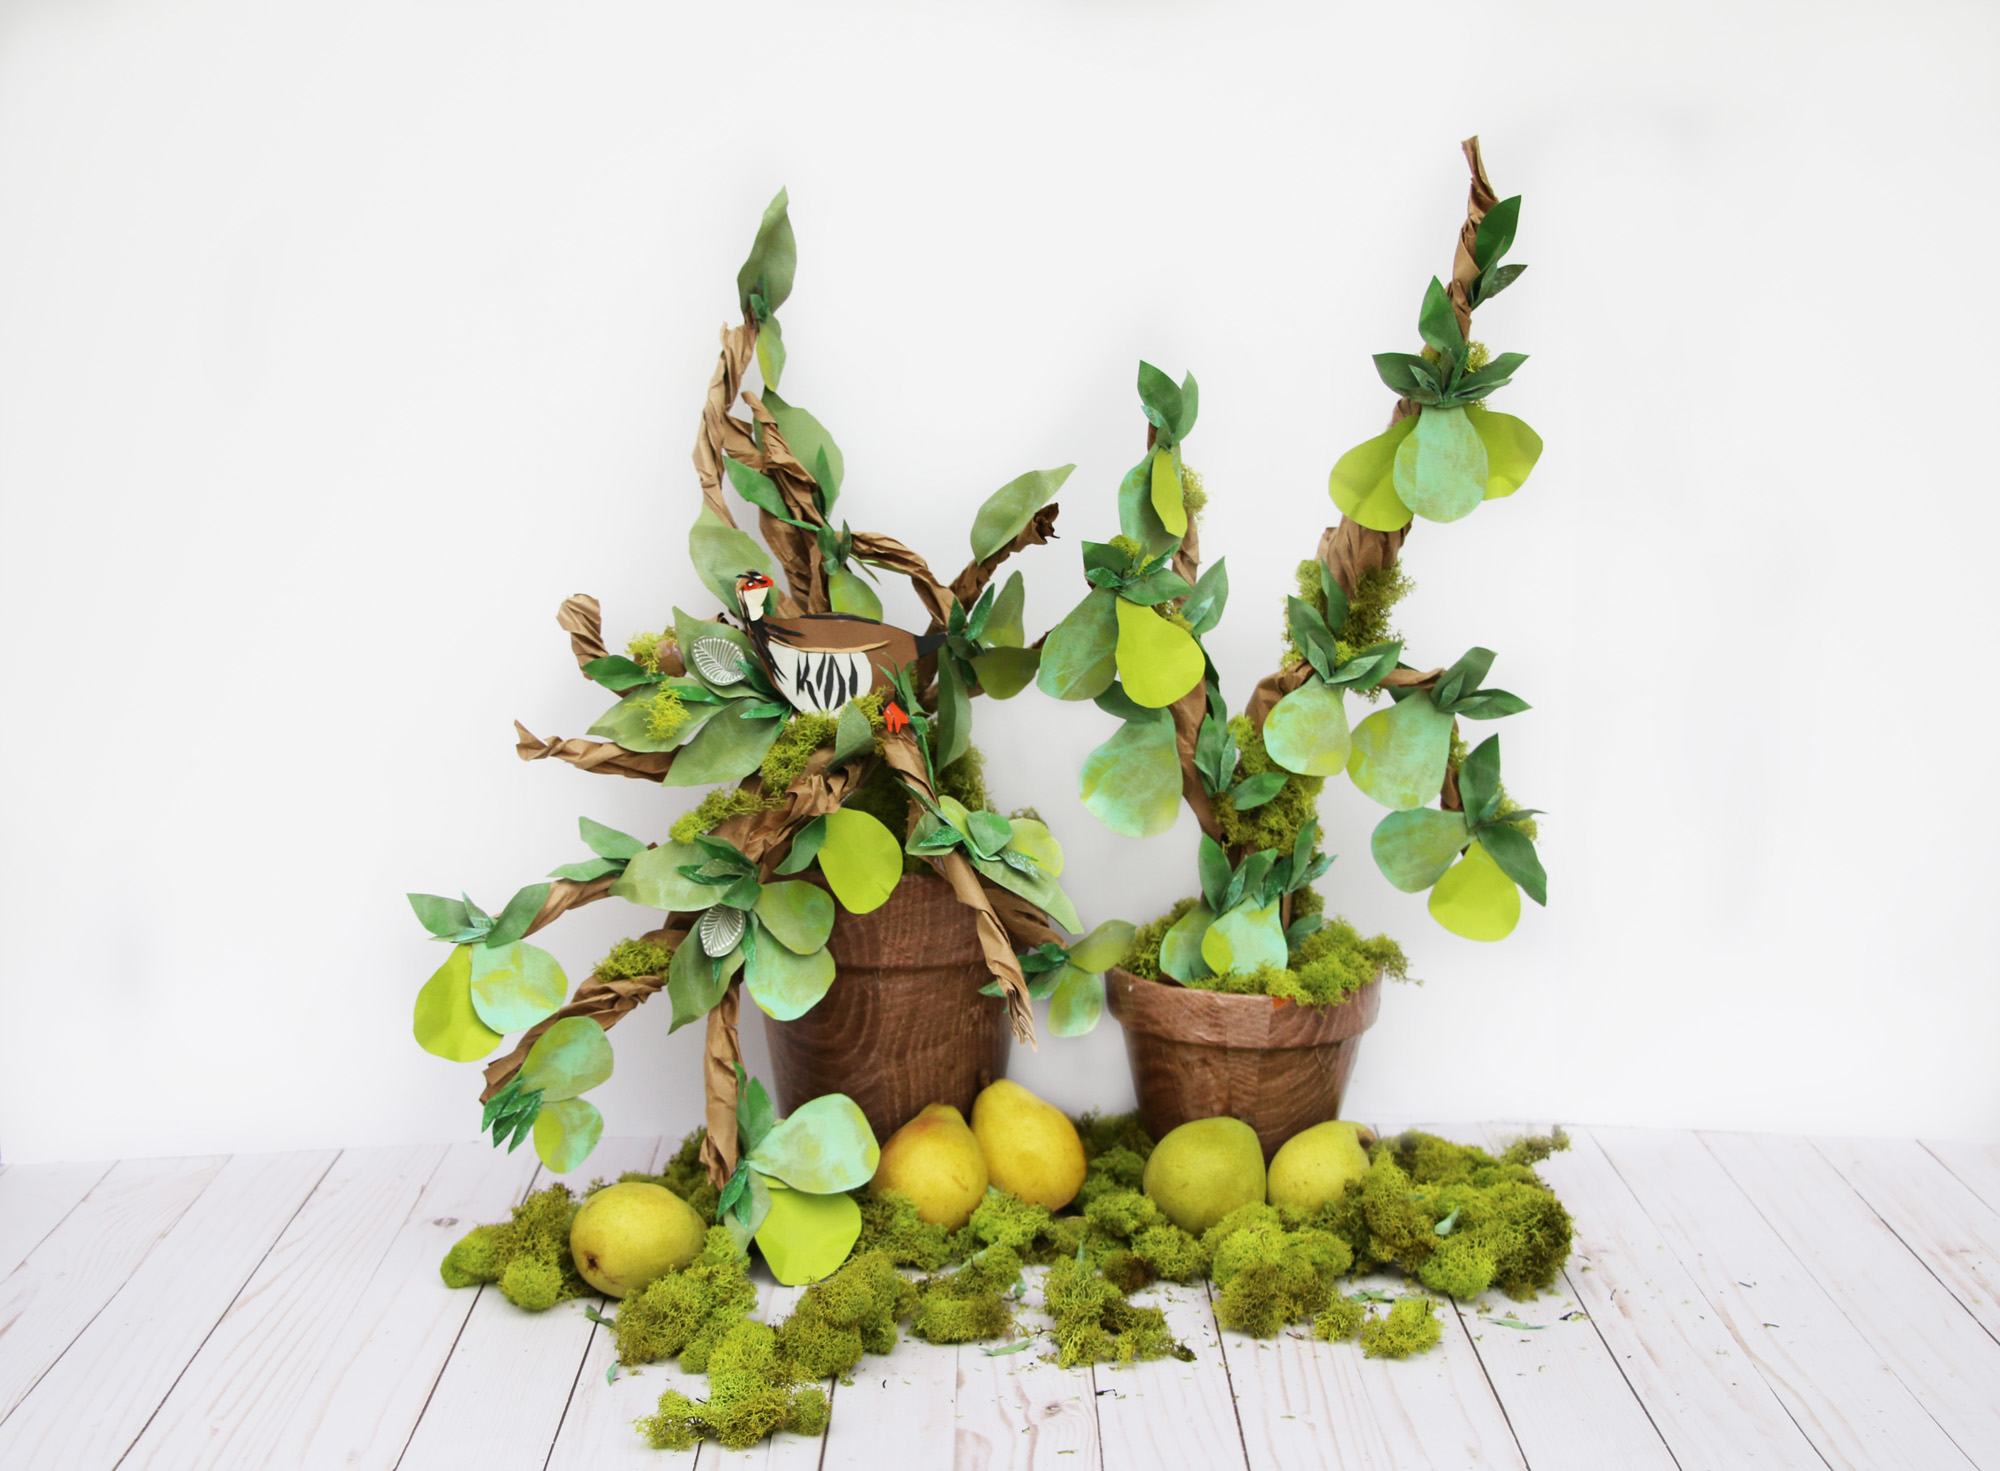


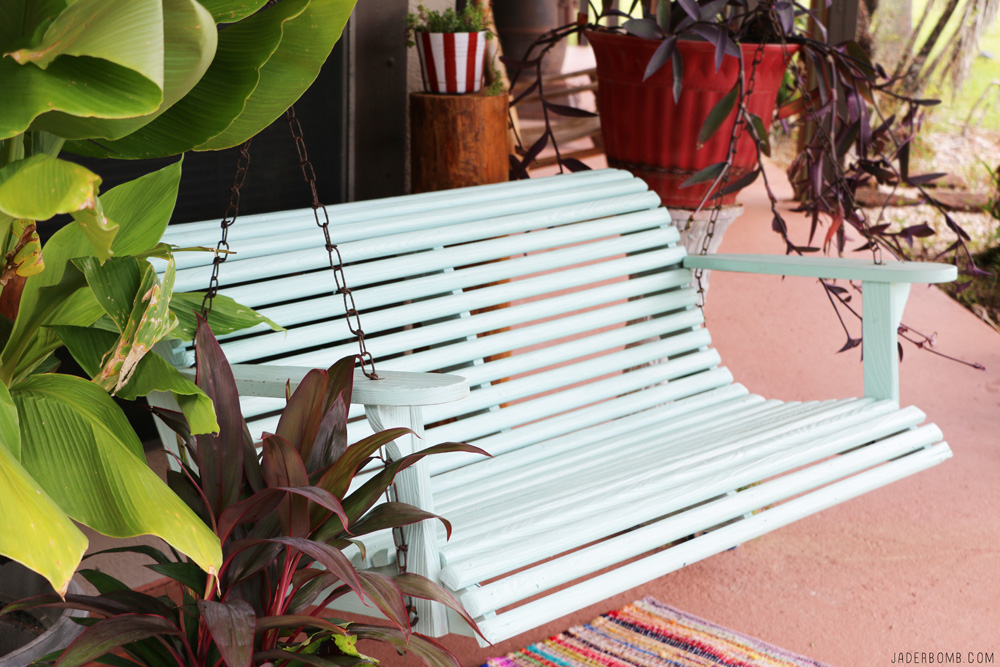
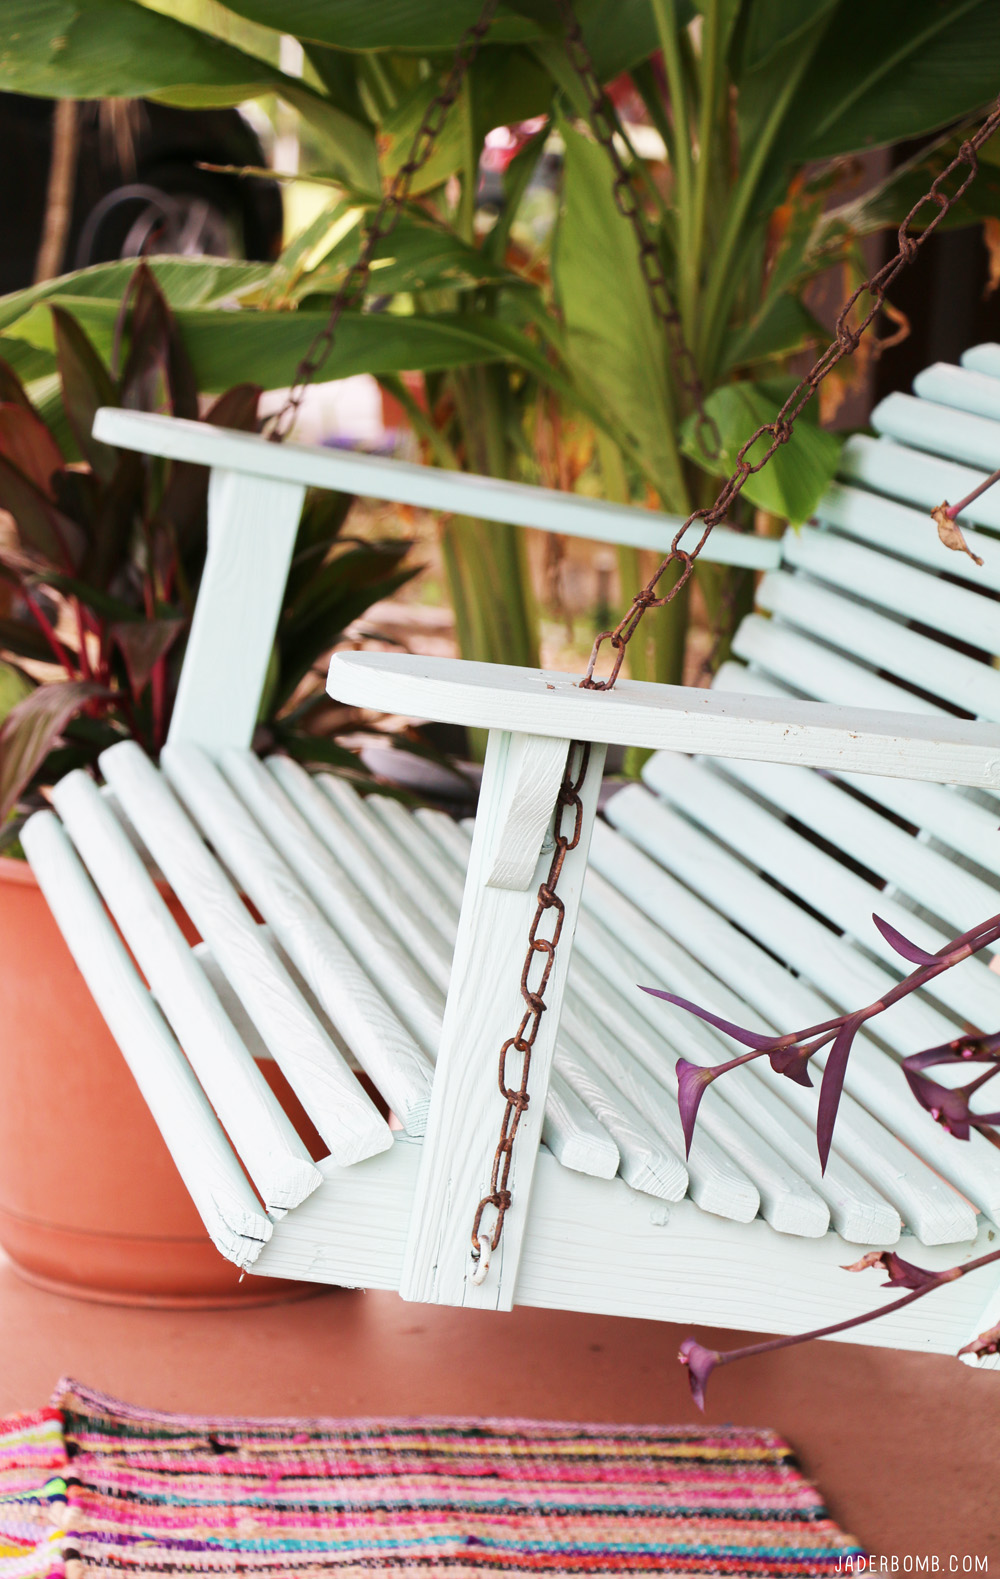
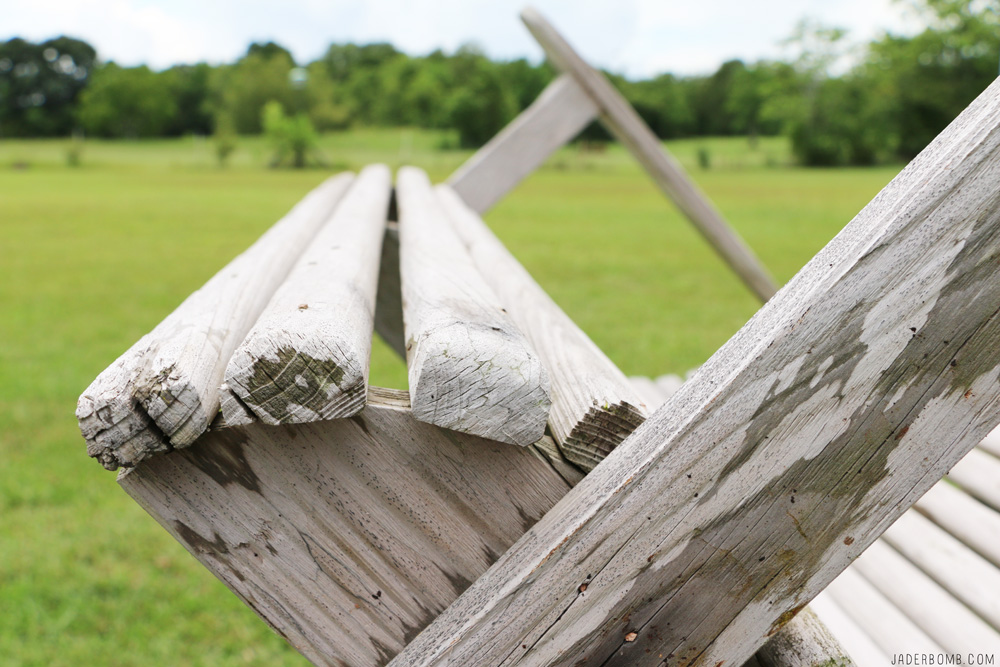 Since the swing I decided to paint had some wear and tear I thought it would be a good idea to sand it down before I painted it. The goal is to have a fresh, clean surface before you spray the wood. This is not mandatory but the wood will look brand new and hello, that is what we want! (haha)
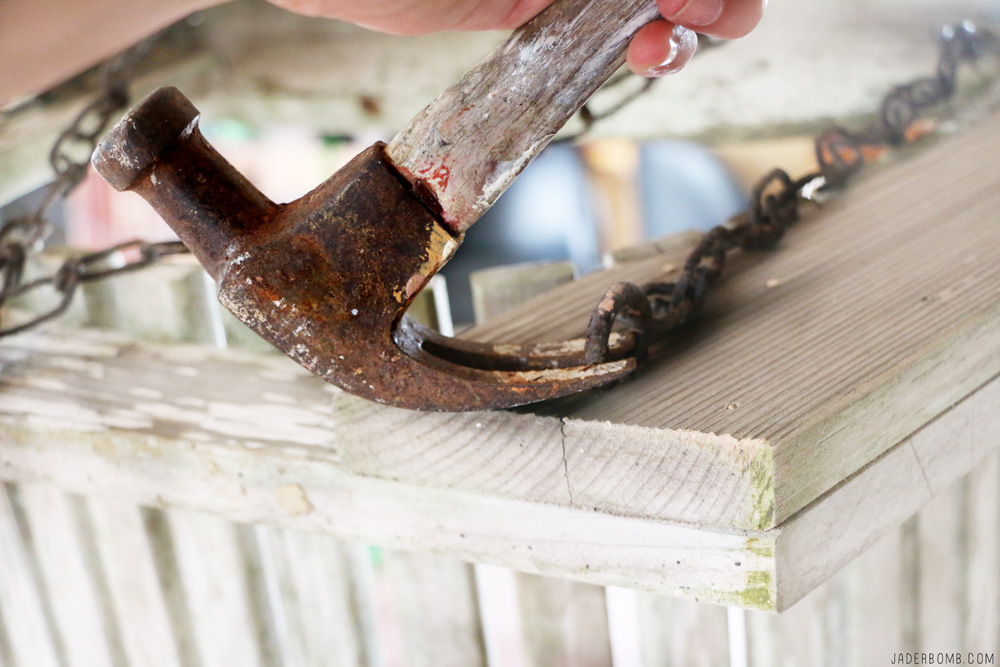
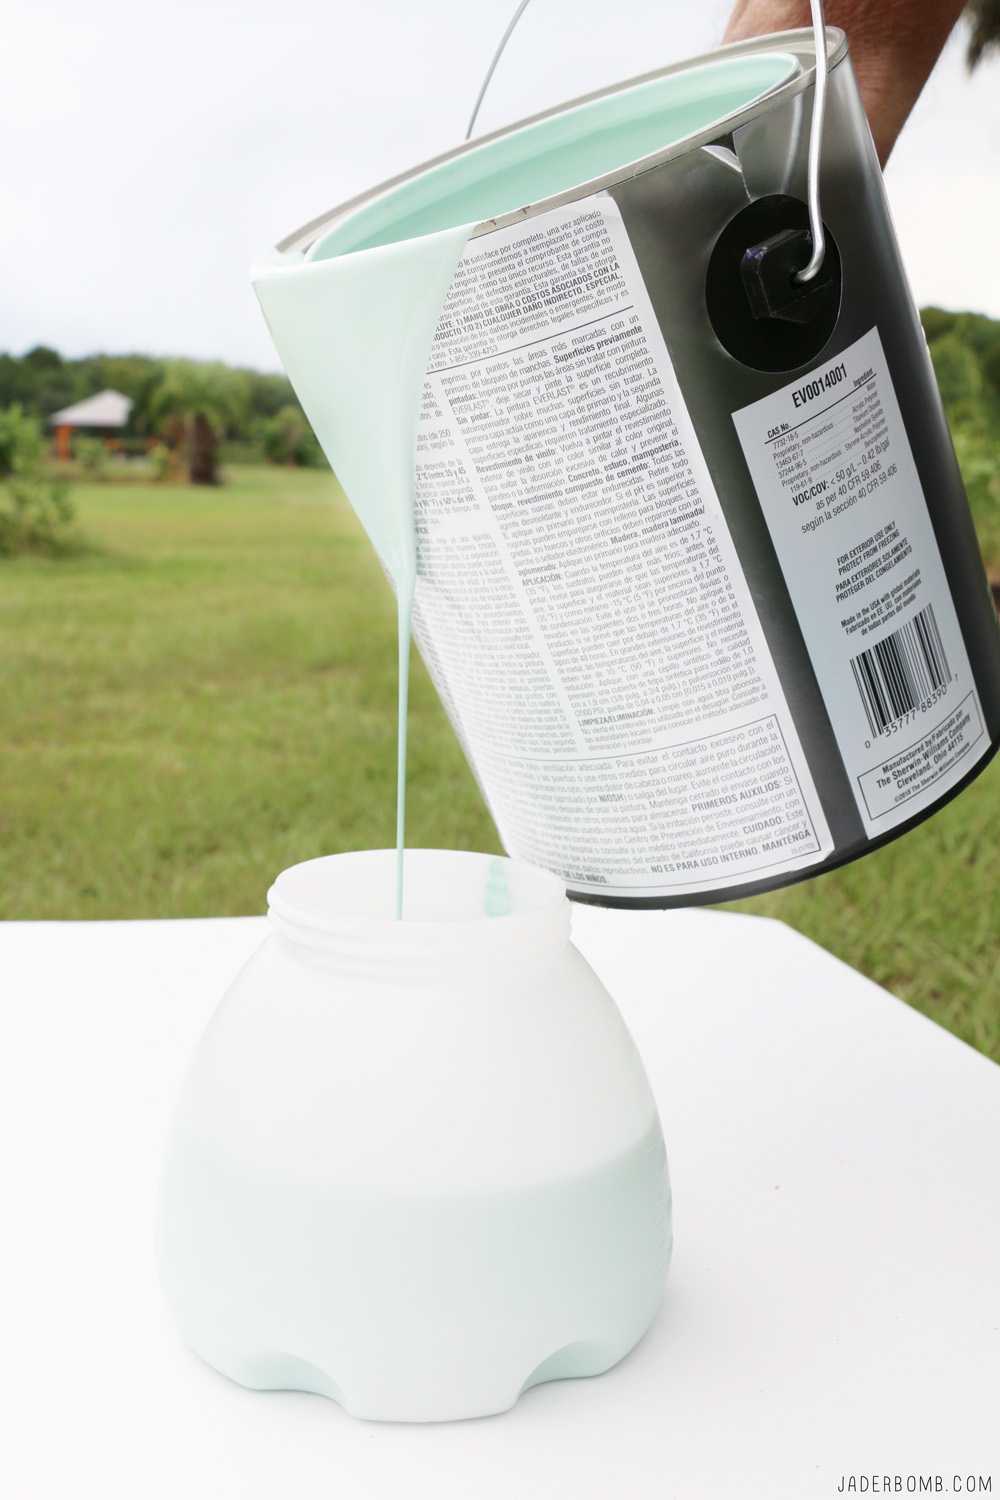
 My dad taught me a trick years ago when pouring paint. Take a nail and hammer a few holes on one side like the picture below. This will make the flow a lot slower so it doesn’t start gushing out. Plus this helps with not making a mess everywhere! See pop’s, you taught me something!!!
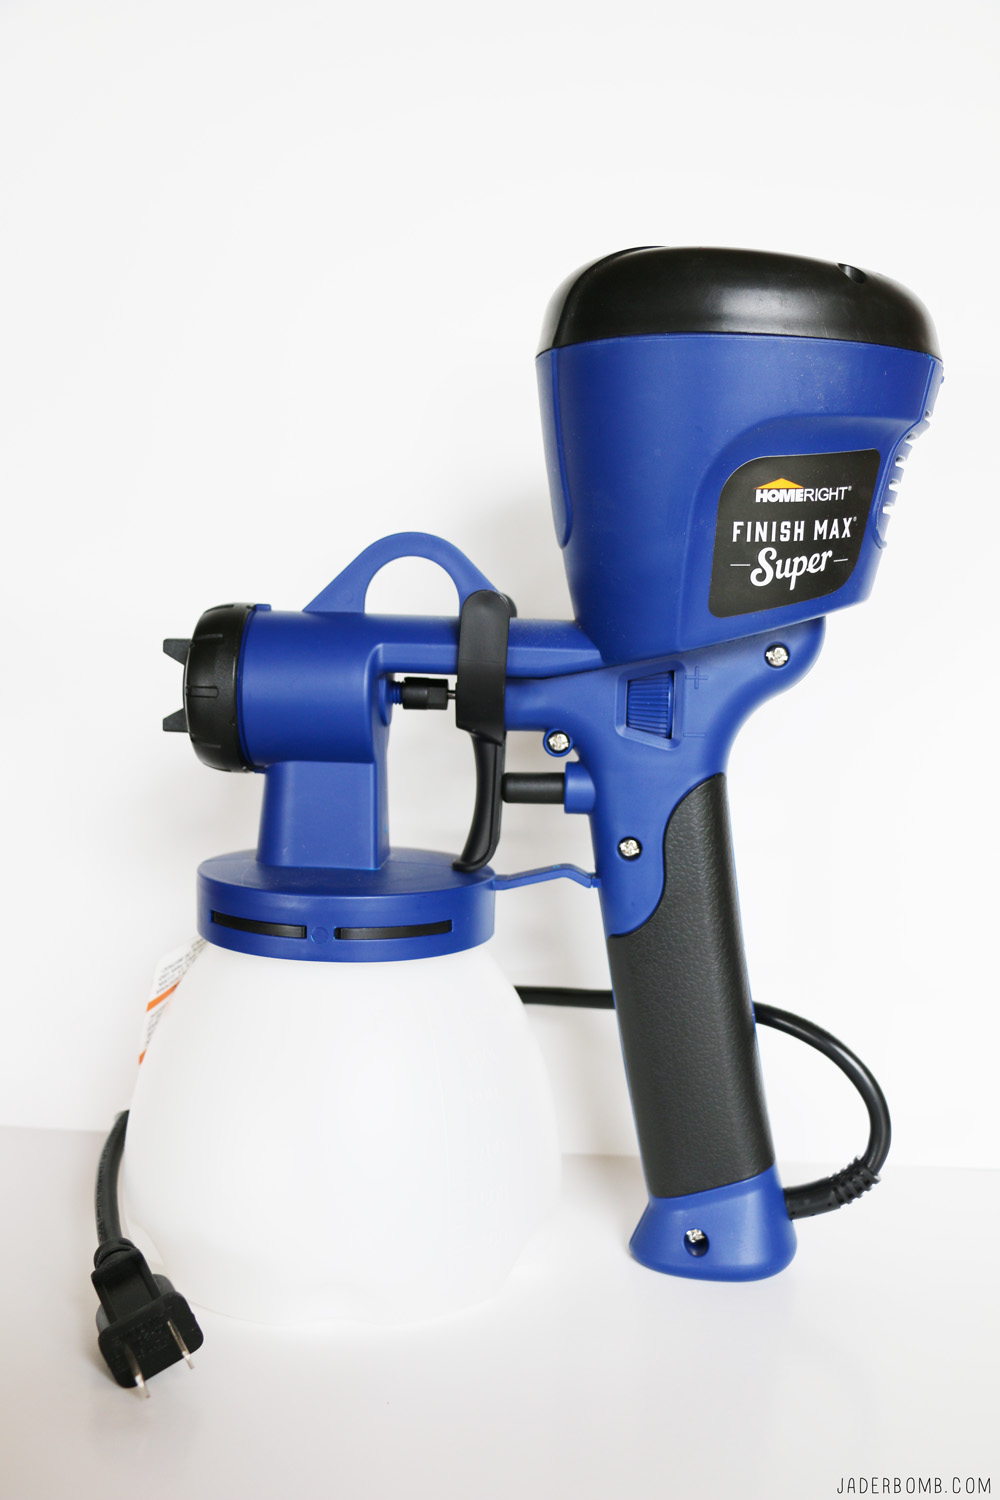
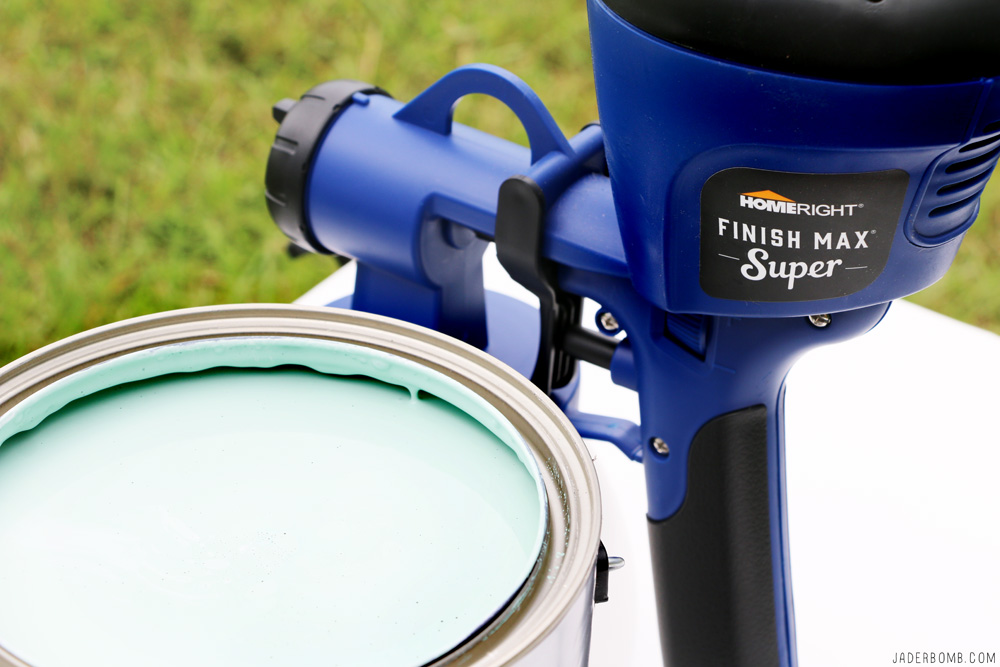
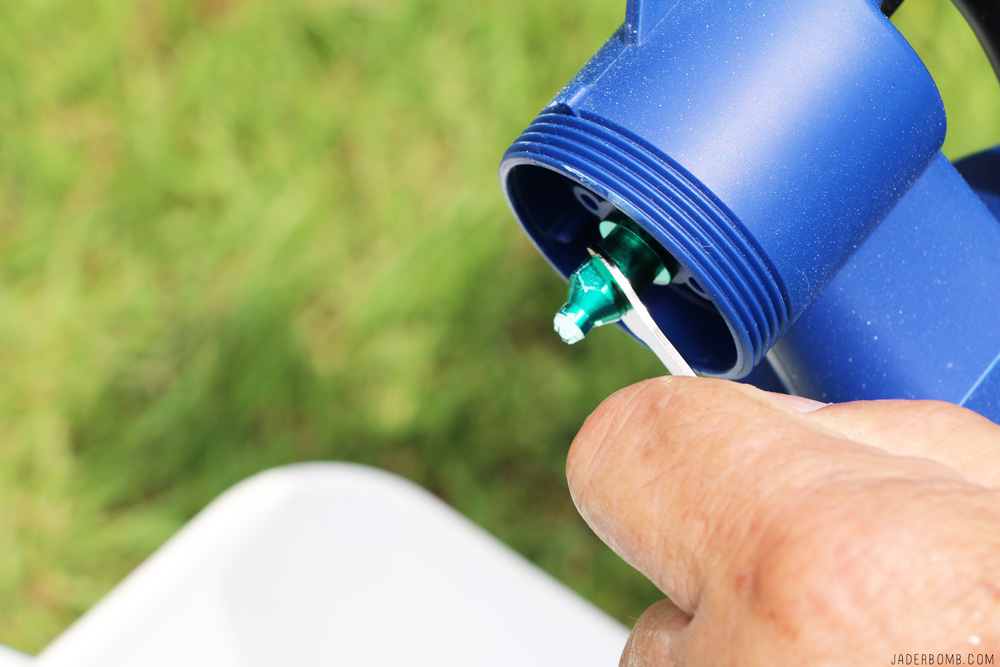
 Now it’s time for business!
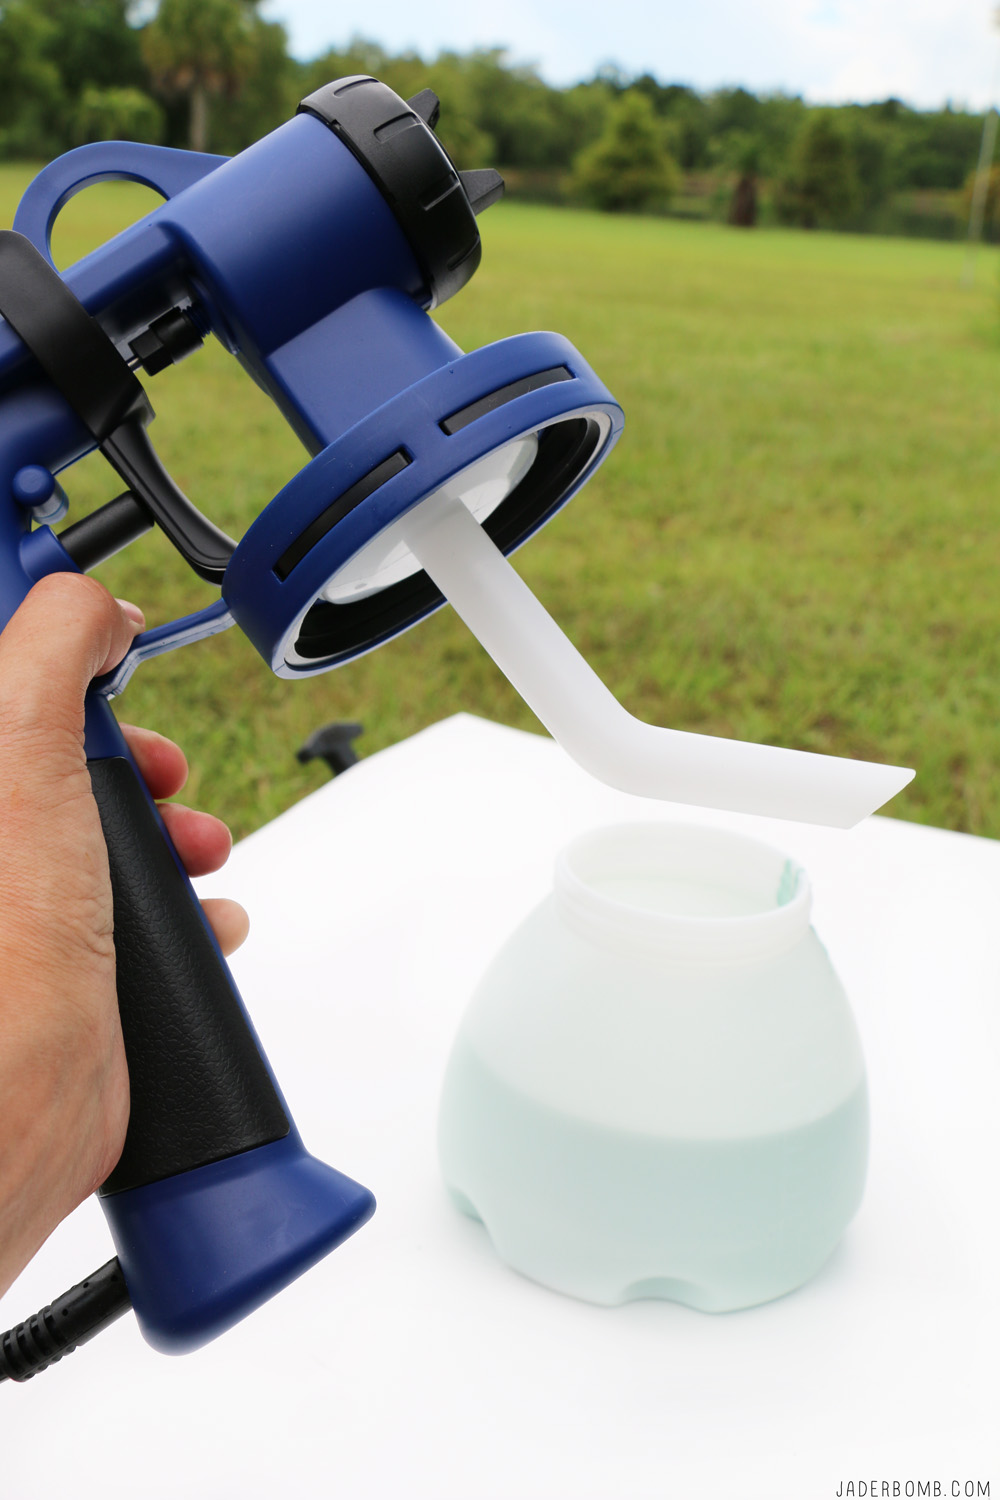
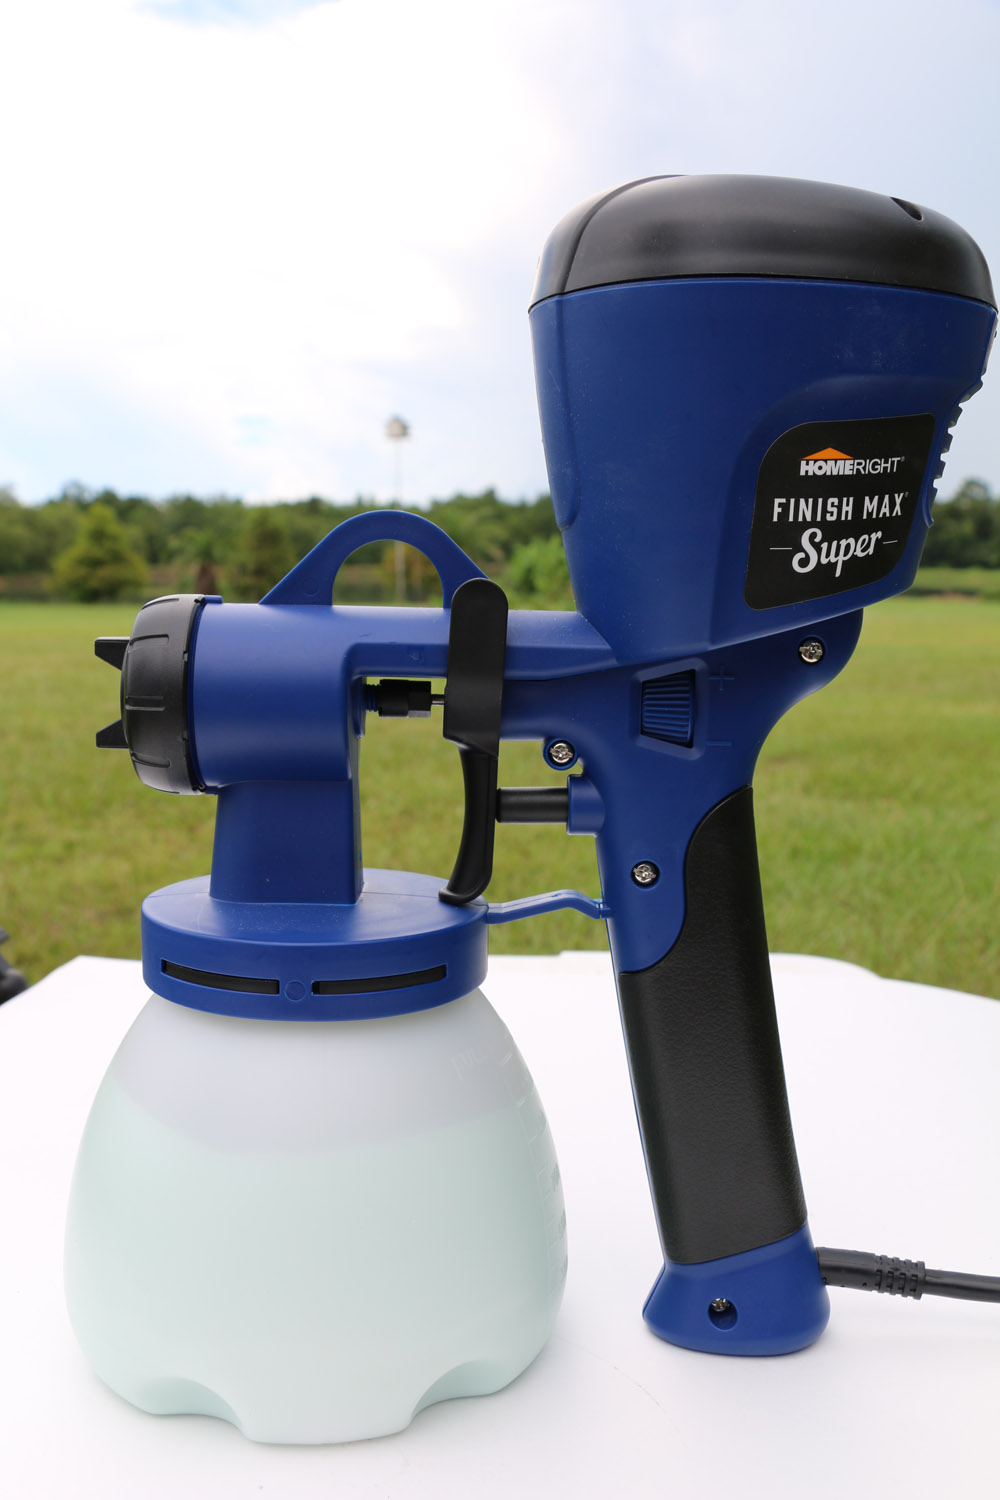 You can set the spray pattern multiple ways with this handy little device.
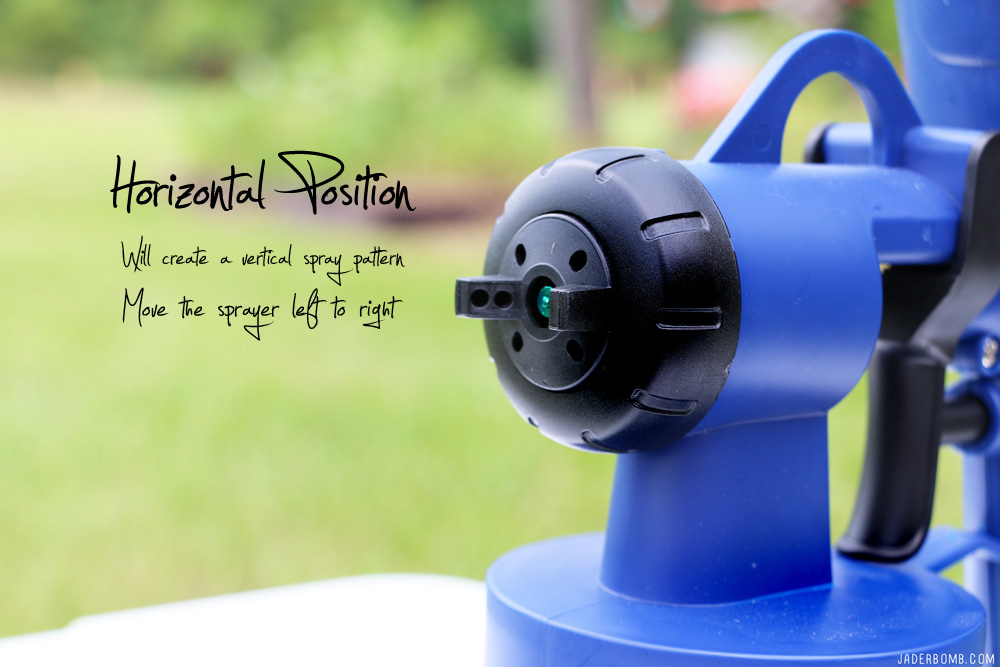


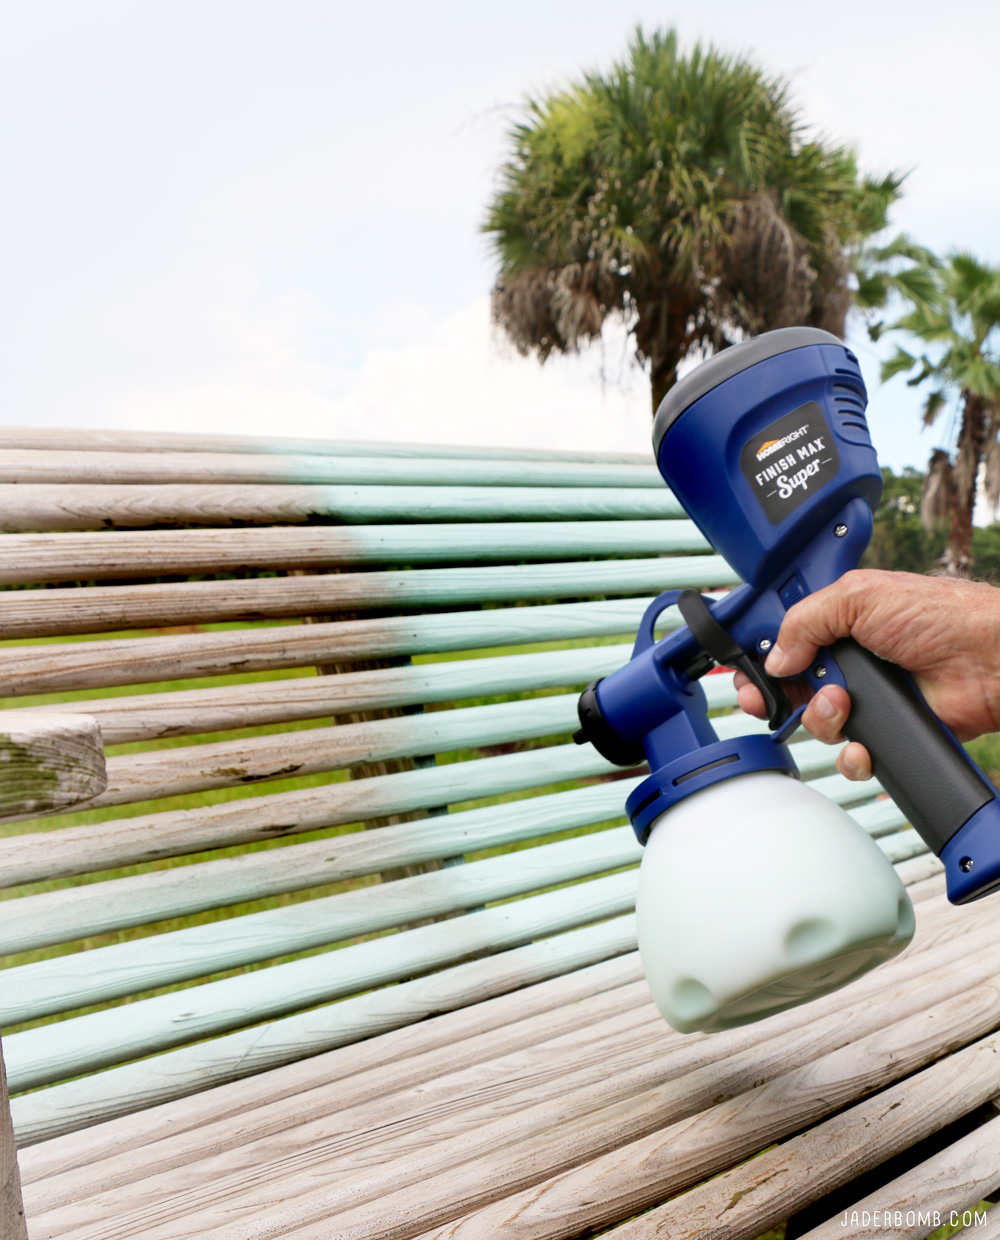 Once you are ready all you will do is plug in your sprayer and get to spraying. I did test the flow and angle of paint before I started on a scrap piece of wood. I do suggest doing this first. Once you have everything lined up just slowly start from one end and go to the other. I was seriously amazed at how great this covered the wood with the first layer.
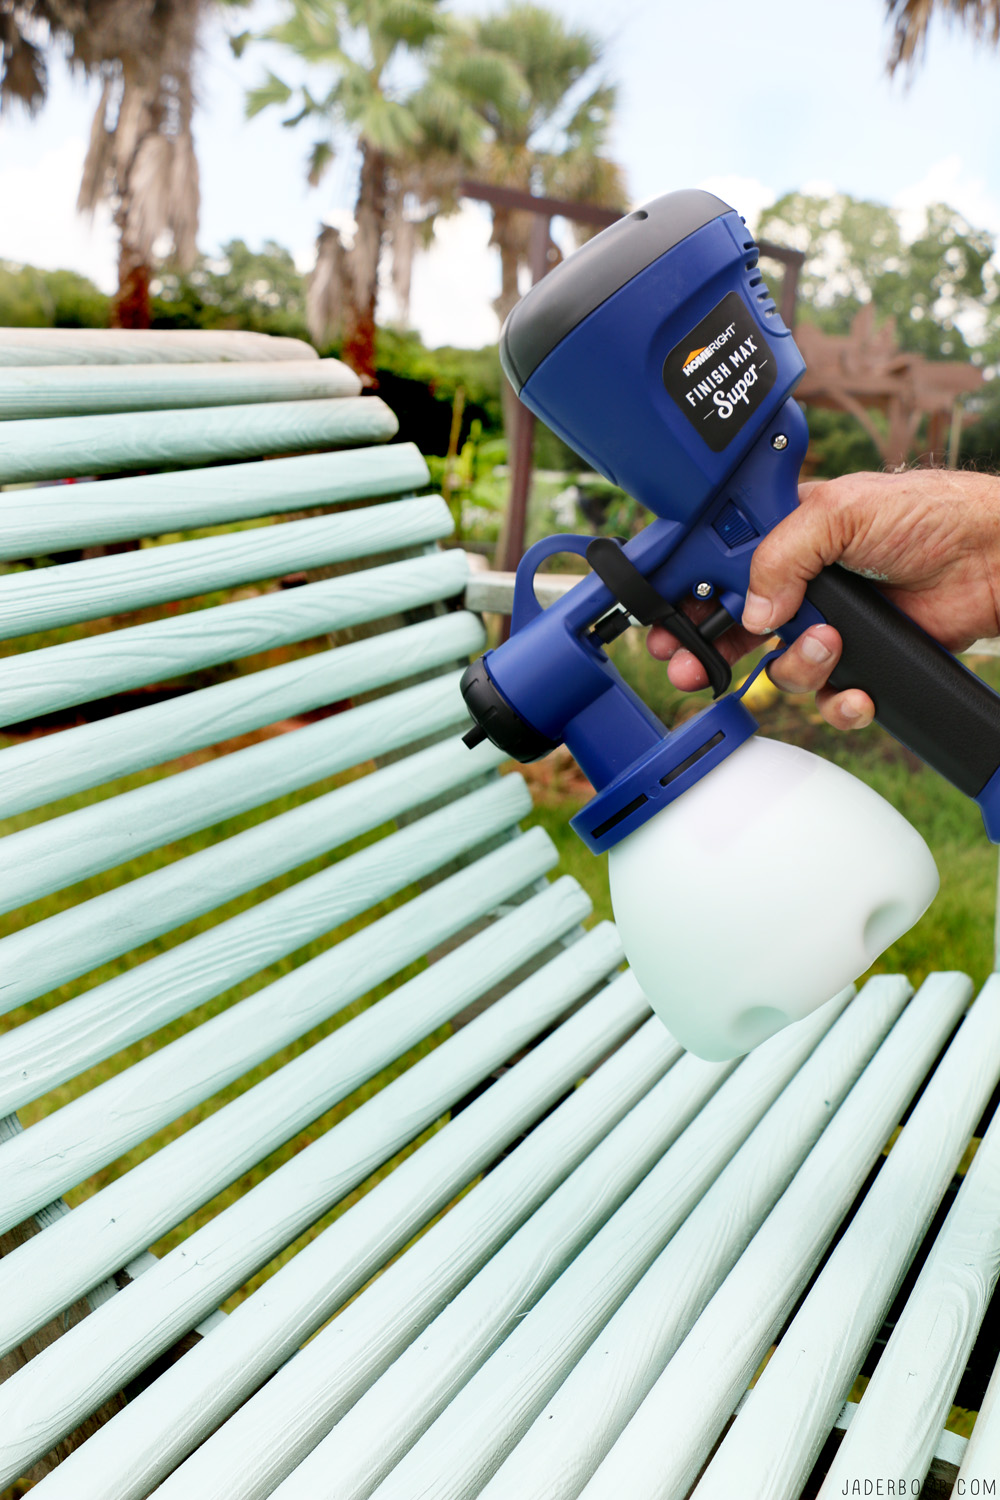

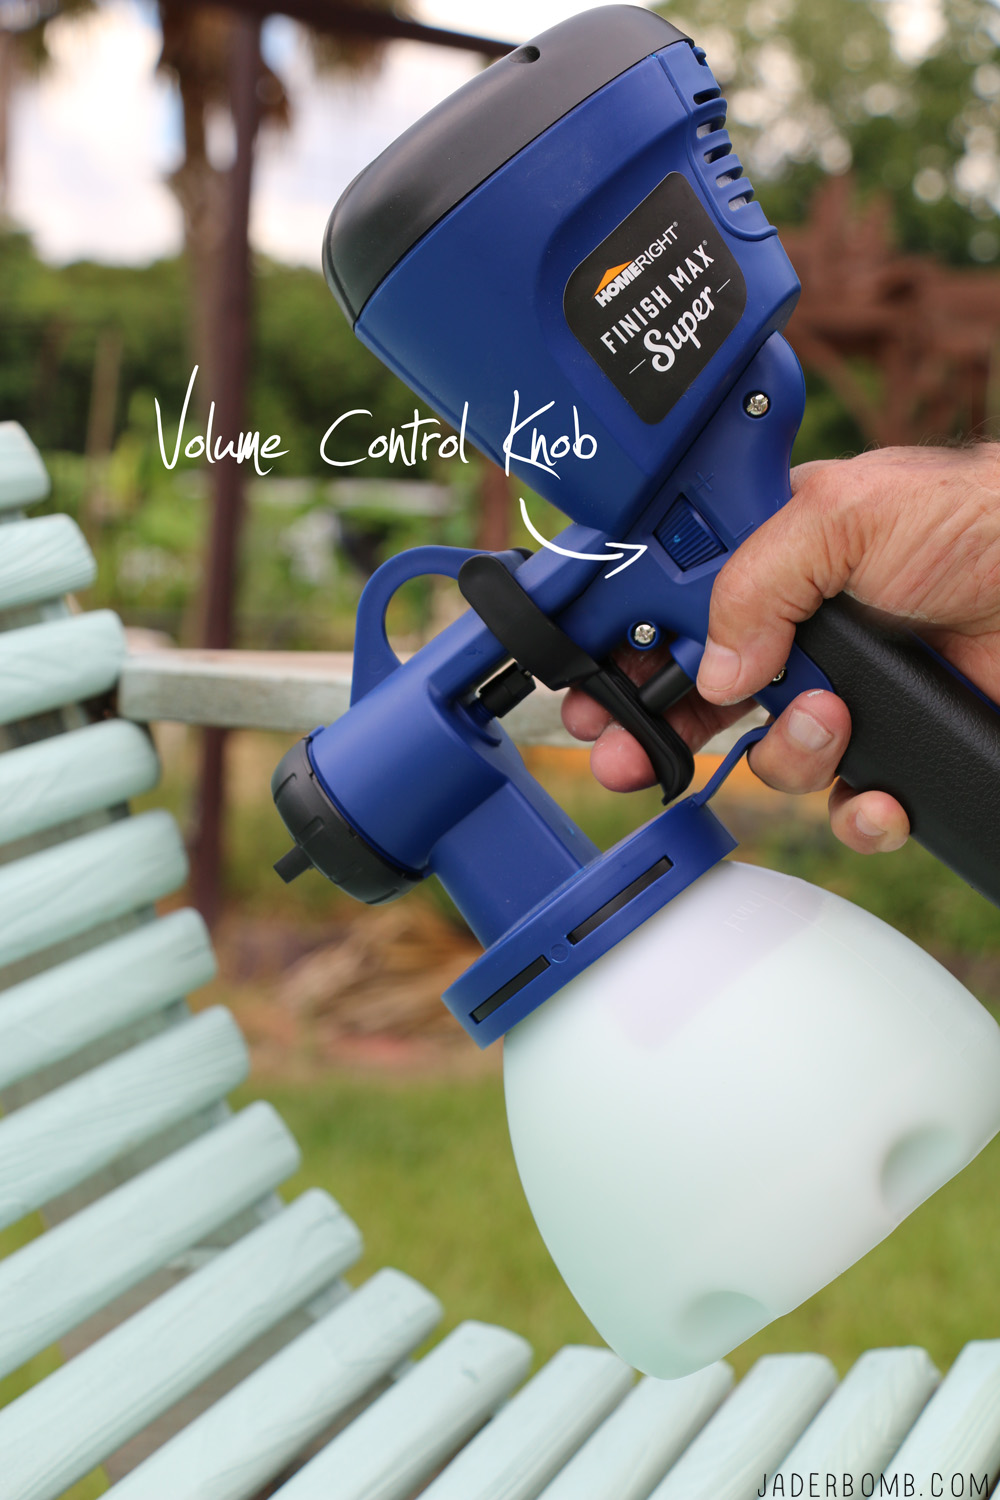 This gives you full control over the amount of paint that is flowing. Once you are done spraying the entire swing it’s time to clean up. Let me tell you ahead of time cleaning this device is easier than using it!
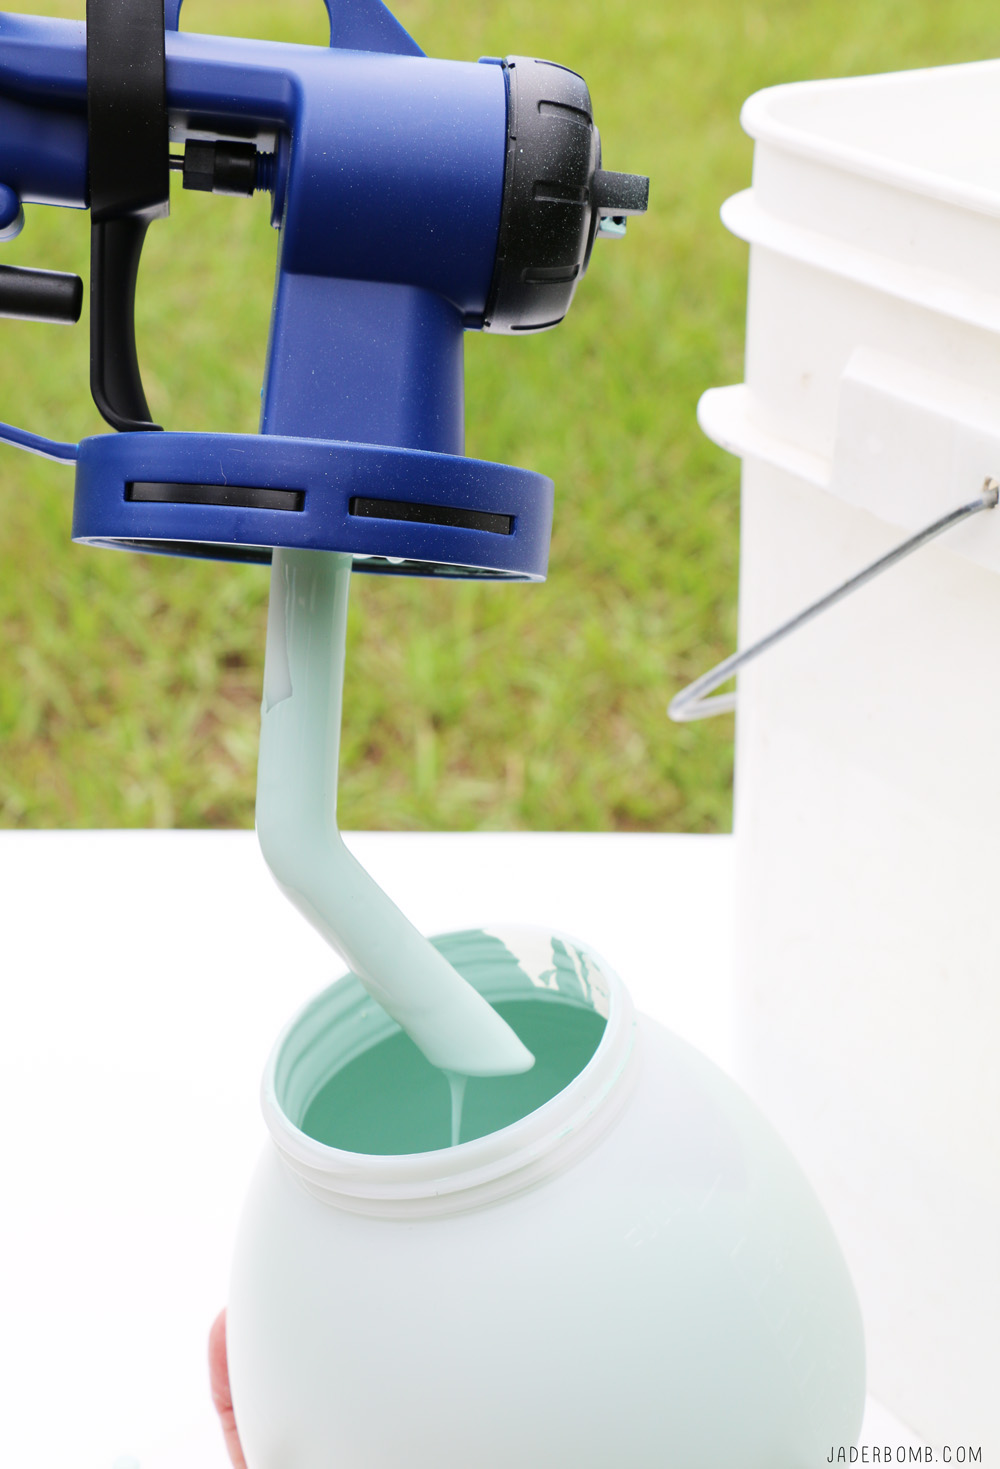 If you have paint left over in the container make sure to pour it back into your paint can. No need we waste any paint especially if you got the good kind!
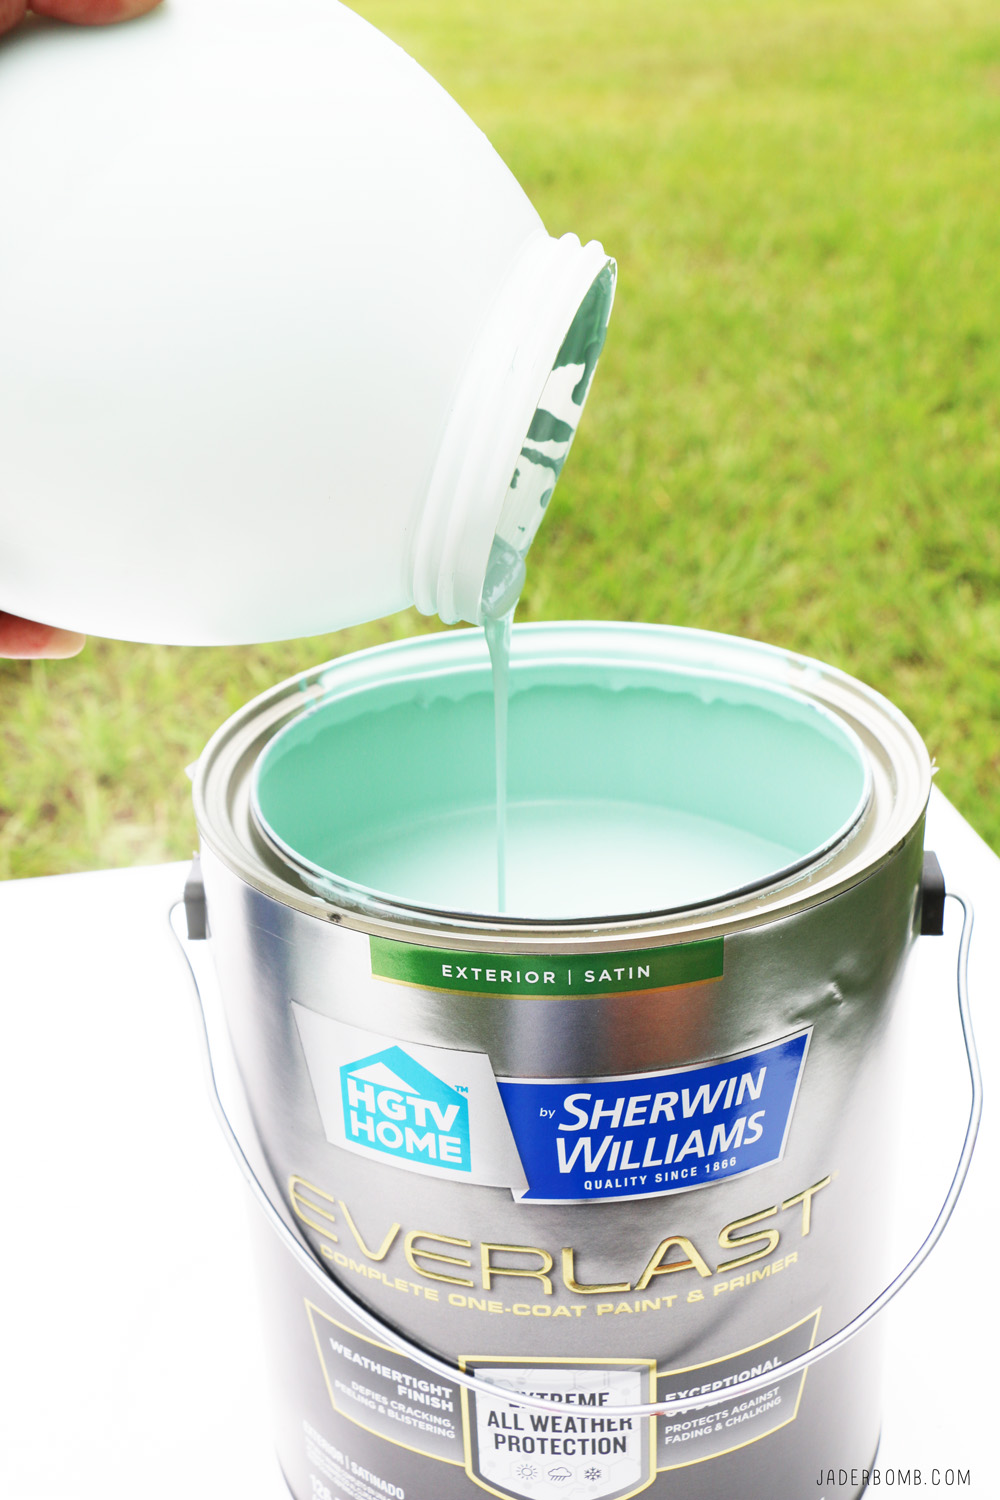


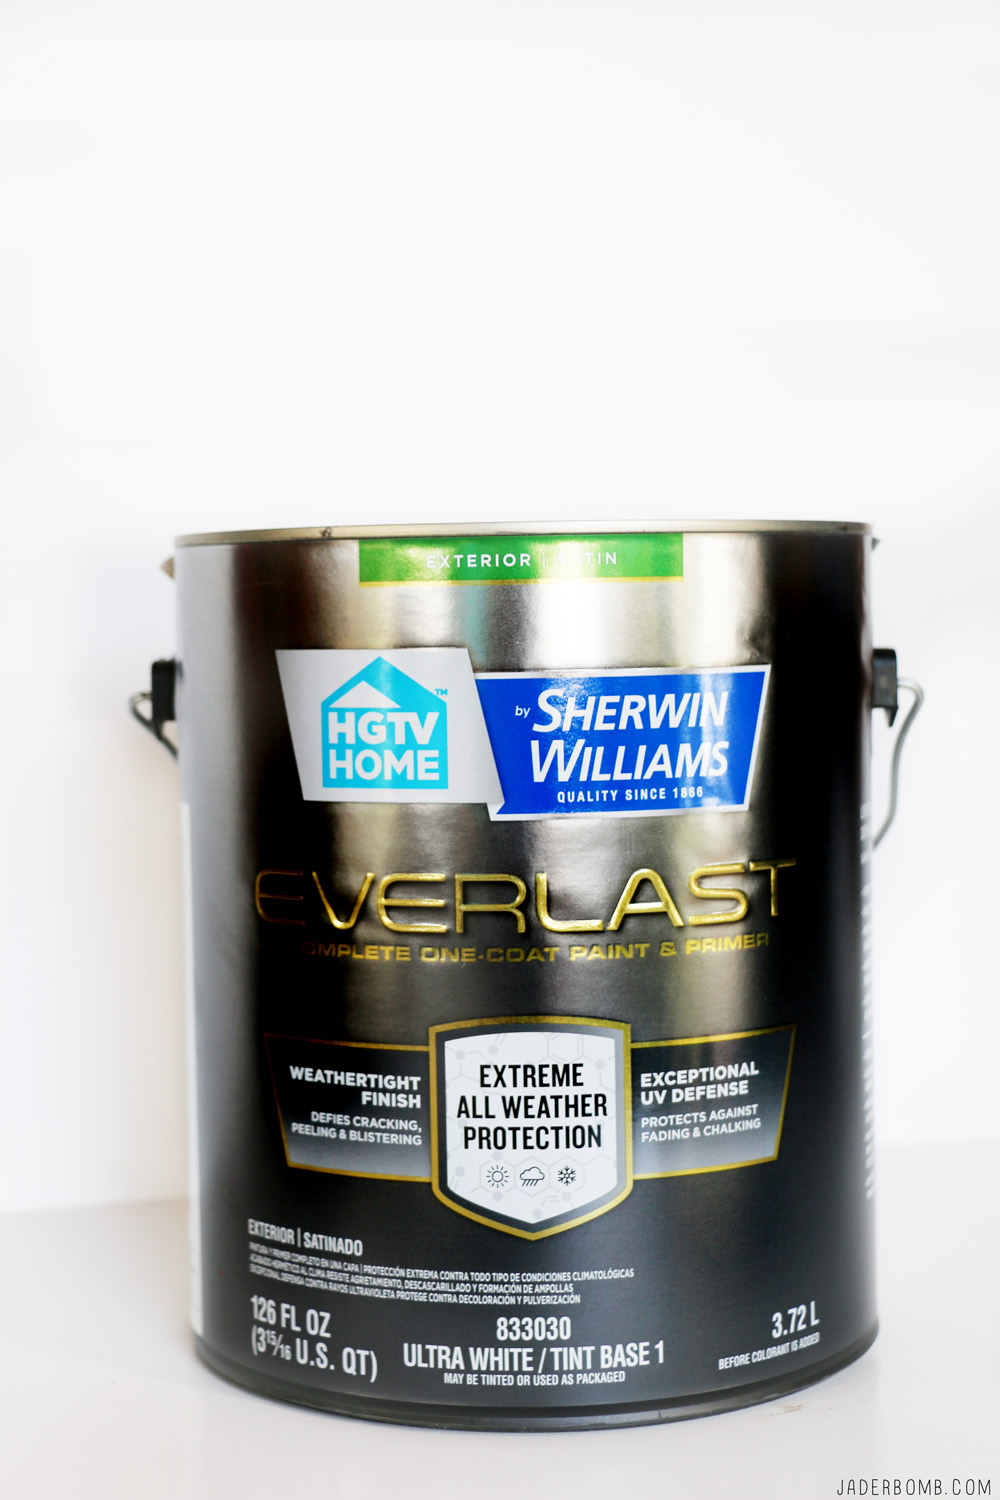
 Just a few facts that you need to know about this amazing
  To start off you will place your coals or wood in your pit like the picture above. Carefully stand above the pit and hold the
  The first recipe I will show you is my easy pineapple and shrimp skewers. I love cooking like this because it’s sorta like finger food but without using your fingers! I cut a fresh pineapple into cubes and rotated shrimp and pineapple on the wooden skewer until it was full. Incase you didn’t know I am from the dirty South so I had to add a little Cajun seasoning to my entree.
  Next thing you will do is make sure your pit is lit properly and your fire is going strong then carefully place your skewers onto the grill. I sprayed a little olive oil onto my grill before hand so my shrimp would not stick. This is optional however. Once you have them placed the way you want put the cover on because we want to “smoke” the food and not burn it with the fire. I turned my skewers every few minutes to make sure the food cooked thoroughly.
 Right before I took them off of the grill I added some bar-b-q sauce. You do not have to add a ton of sauce because cooking with hickory wood adds tons of flavor already. When done, place on the plate of your choice and serve with sauce on the side. Everyone will love you when they taste these!
 I love these because you can have a large group hanging out and everyone can grab one and munch away without having to break out silverware! That’s a win in my book, right!!!
 The next recipe I will show you is pineapple wrapped in bacon. Let’s just get one thing strait…You can NEVER go wrong with bacon! Can I get an AMEN!!!
 If you have never had sweet with salty before then I suggest you try this. It’s the perfect combination of LOVE. Did I mention is super easy and you can even involve your kids when making these! You will be surprised at how much fun they will have! I did use a whole pineapple for this recipe because I wanted strips of pineapple. Adults, if you use this method please cut the pineapple ahead of time, we don’t want any accidents!
 Here is the result of your pineapple wrapped in bacon! These are best fresh off of the grill so make sure you eat them quickly…. I am sure you won’t have a problem with that, haha! Summertime Grilling Essentials 101!