Kitchen Decorating

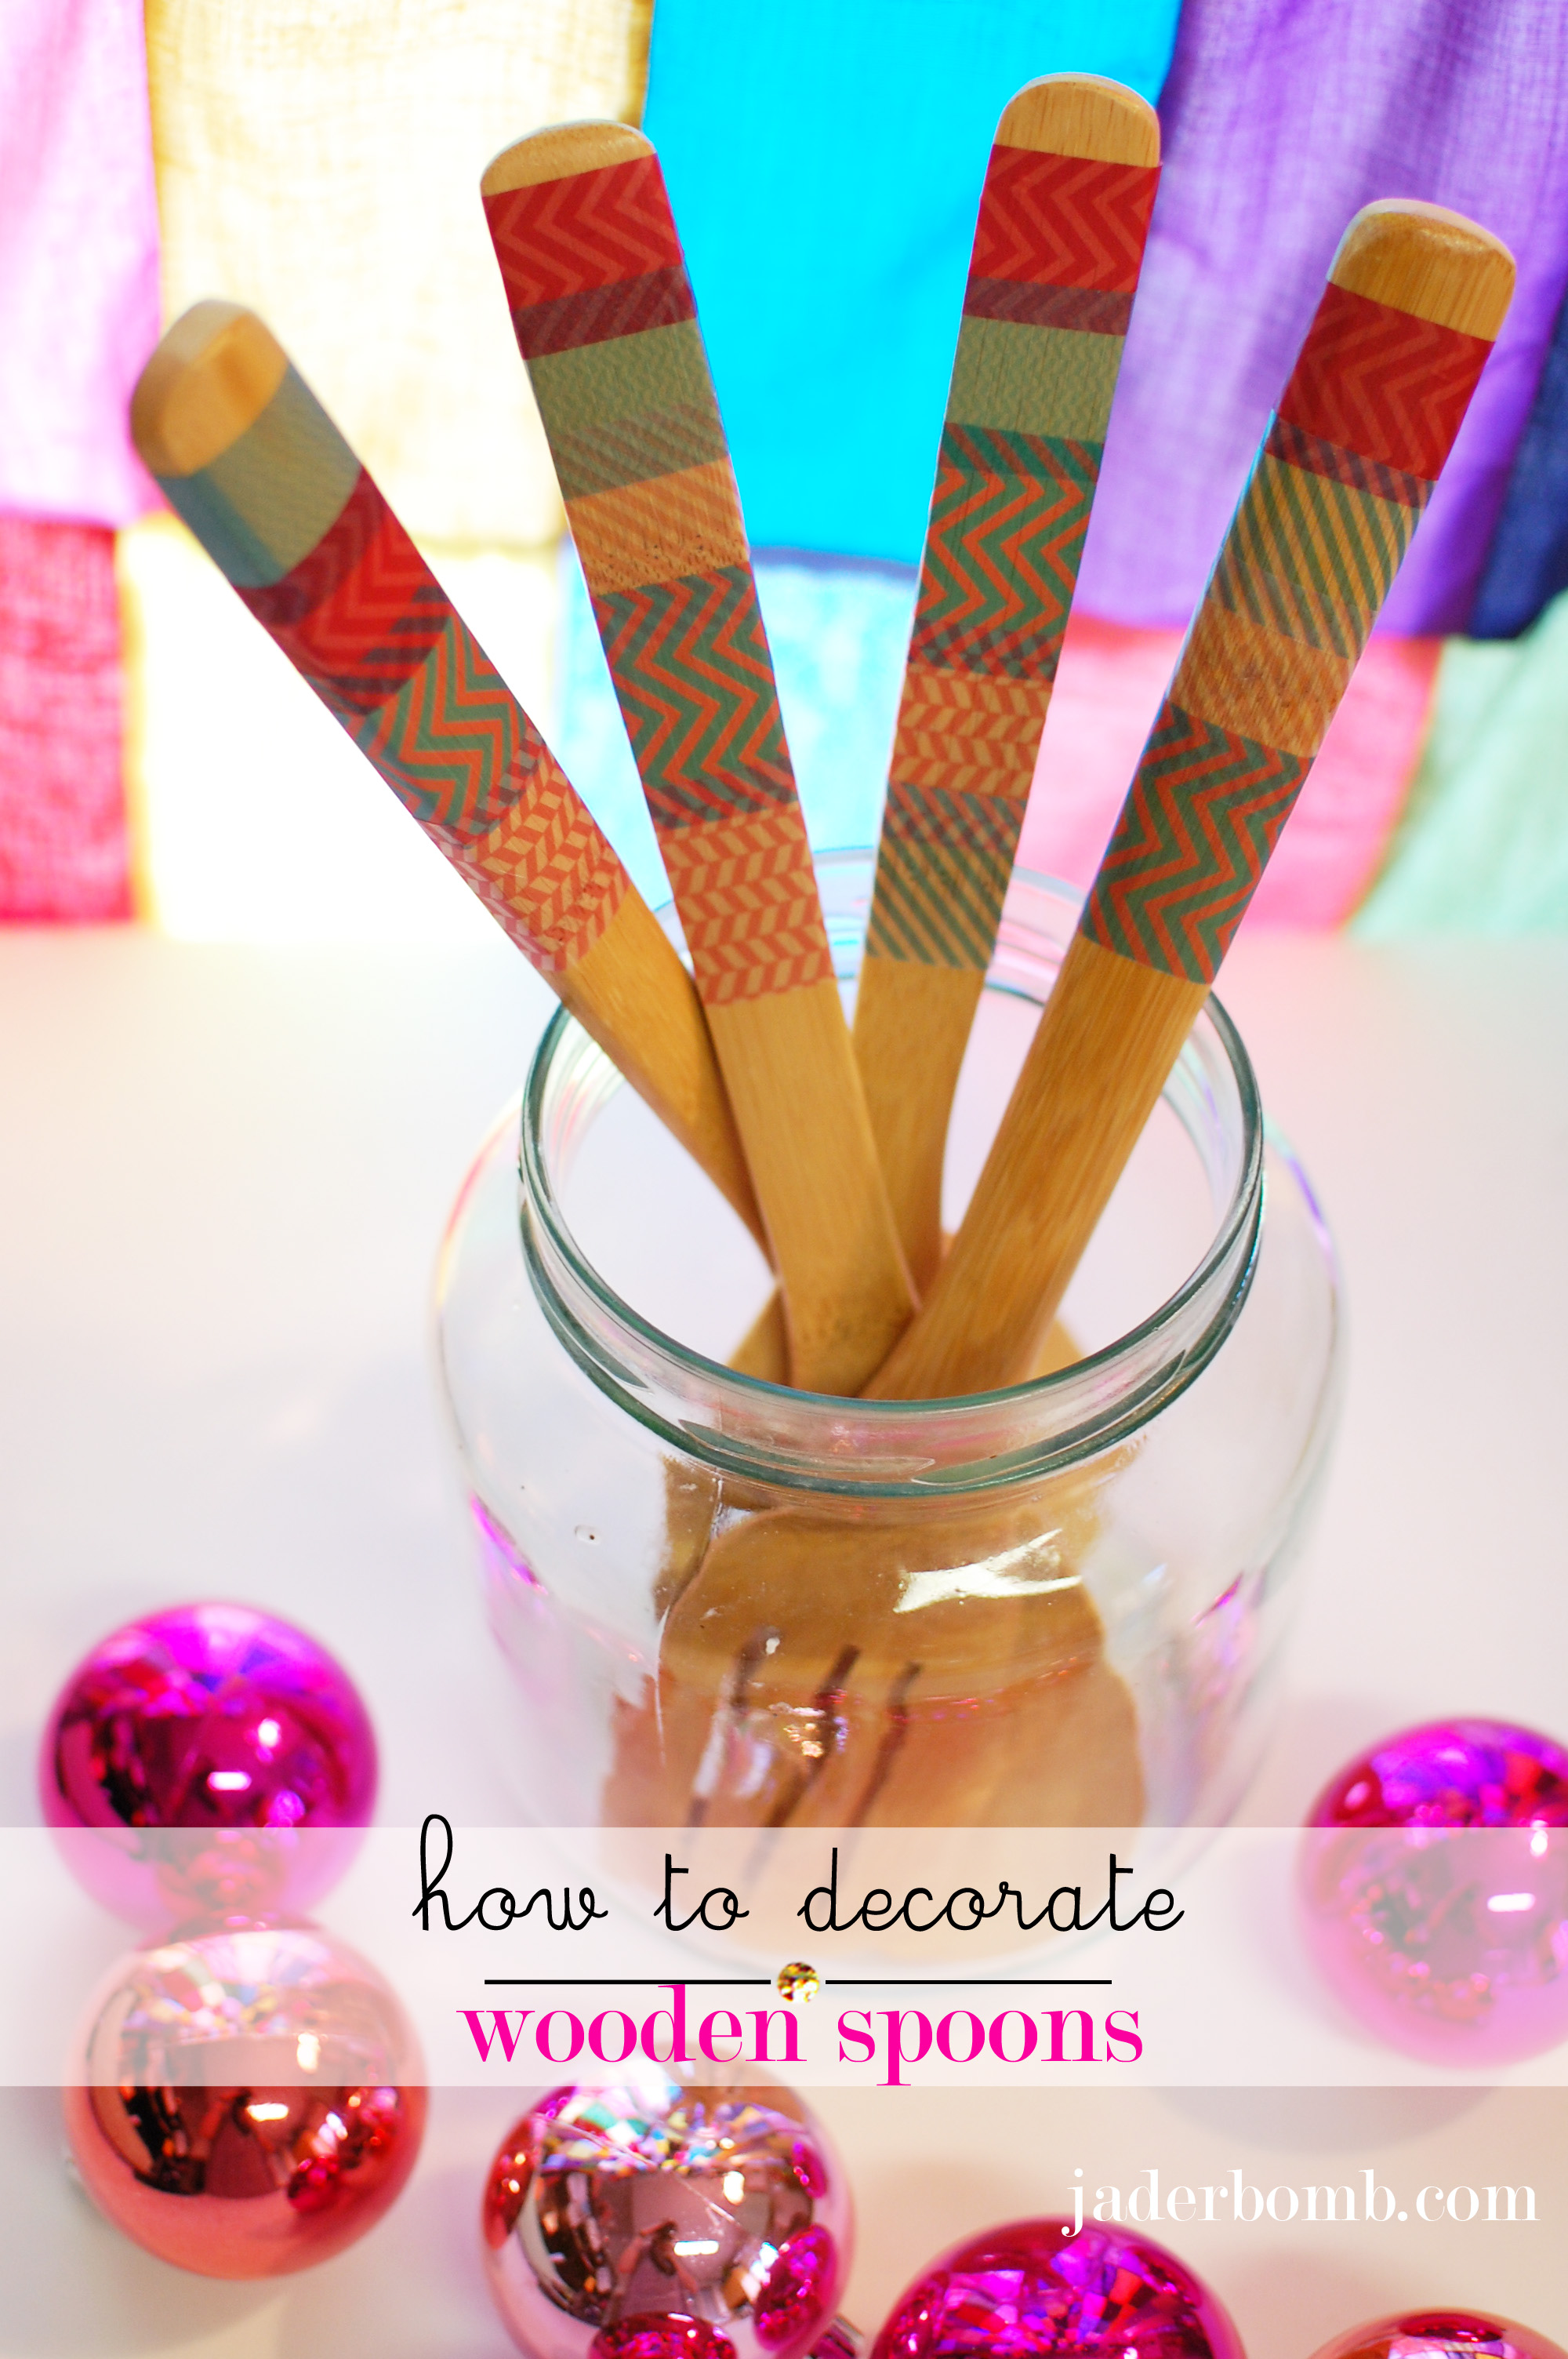
Boom Chaka Laka, Chaka Laka, Chaka Laka, Laka BOOM! I am on this odd spoon kick lately. I am not quite sure how to kick it so I decided to share all of the fun things I been doing with them. You remember the other day when I posted this, well before I put up all of my colored nail polish I thought hard about what else I could do with them. I went into a day long daze (crafters you know what this is) and BOOM. This thought happened. Kitchen Decorating 101. Well, not exactly what you see below but the thought of bright, whimsical, retro spoons happened in my noggin. Initially I thought they would look great in a glass jar in the kitchen. I put them in a jar but it was like looking at yourself in the mirror while trying on bathing suits. It worked but didn’t work. Or in my case I have just resorted to the “shirt” on top because I don’t want the sun to burn me. Wink Wink!

Anyways, I grabbed some gold glitter and sprinkled it over my head then the magical thought of a spoon display occurred to me. There you go, now you have my trick on how I create things. Let’s get started!

you will need

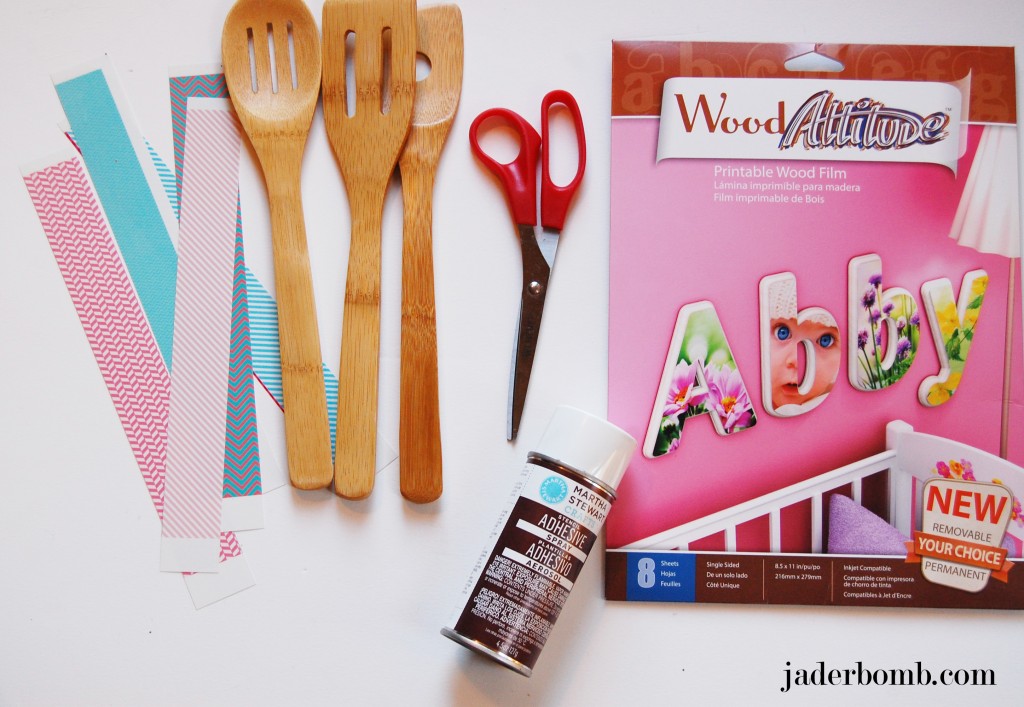
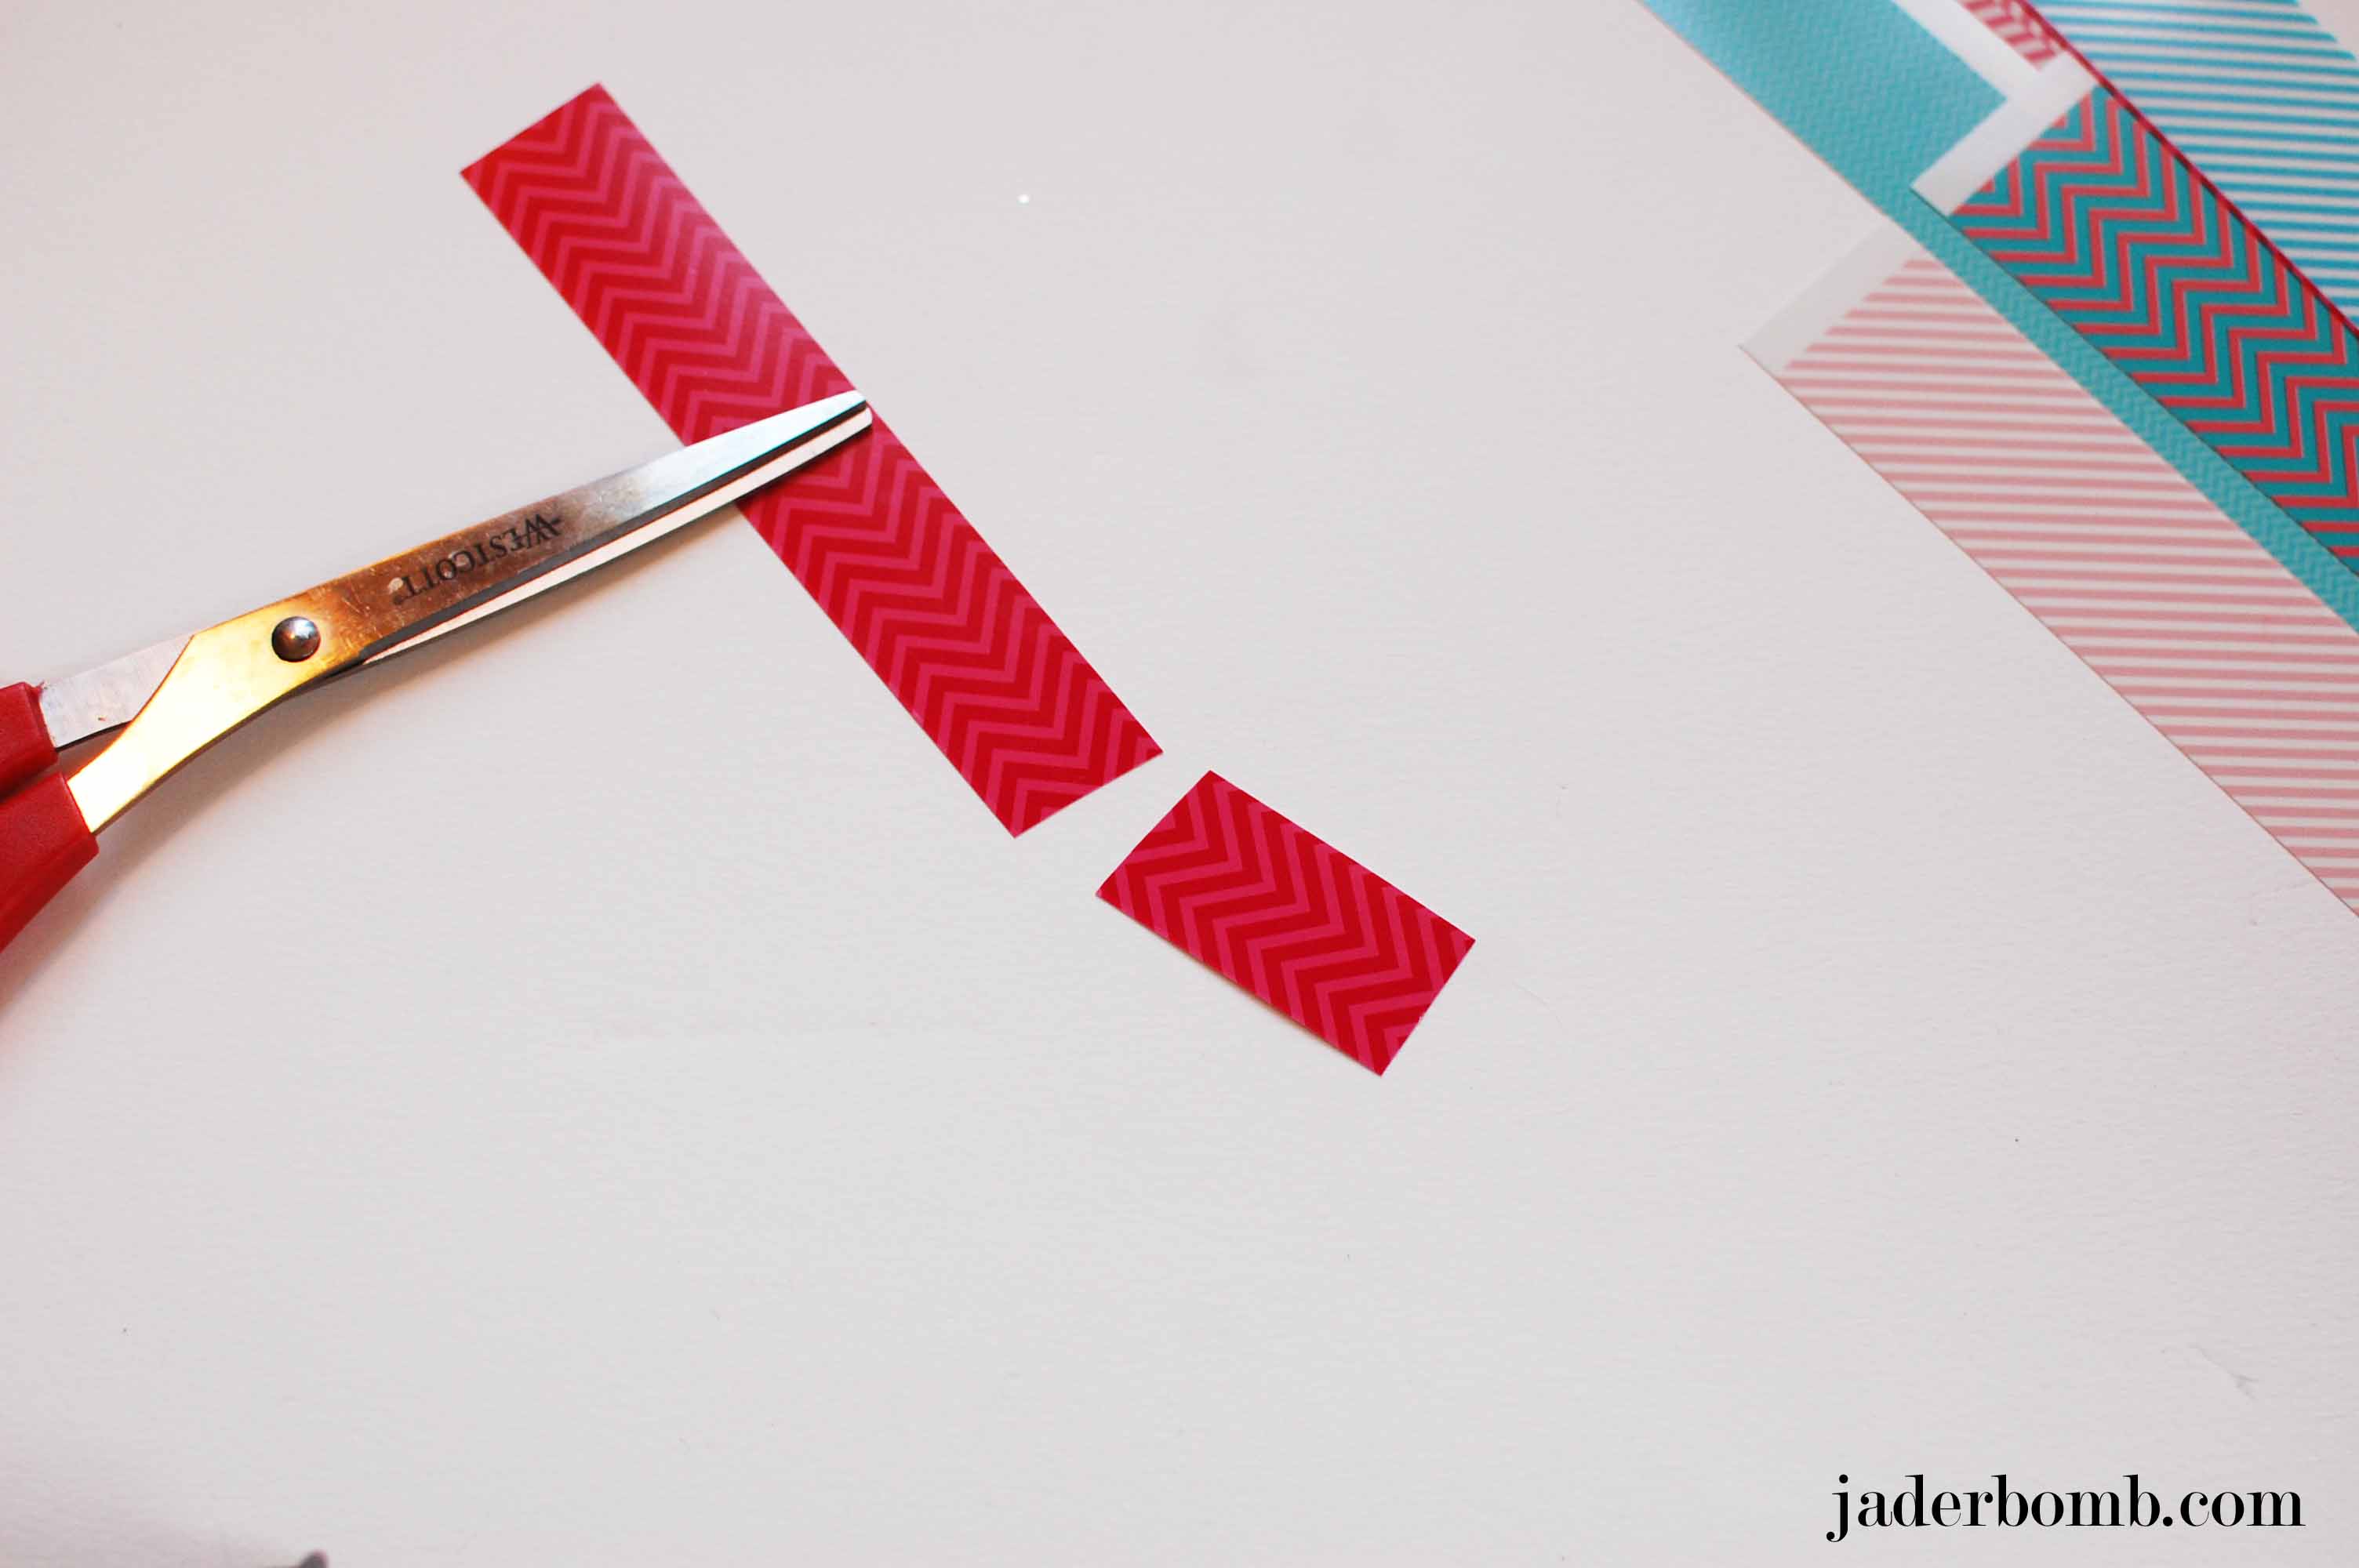
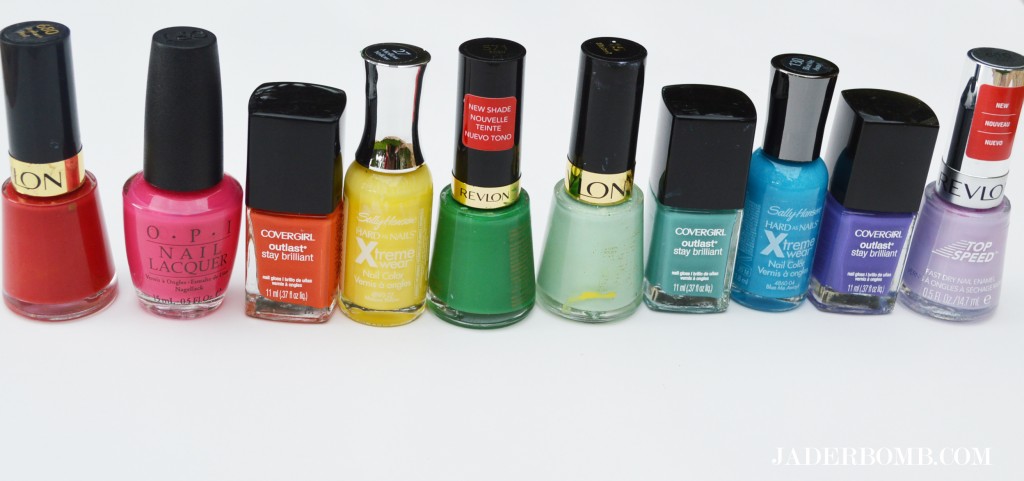
Wooden Spoon | Nail Polish | Wooden Plaque
decorative wooden spoonsRainbow Nail Polish

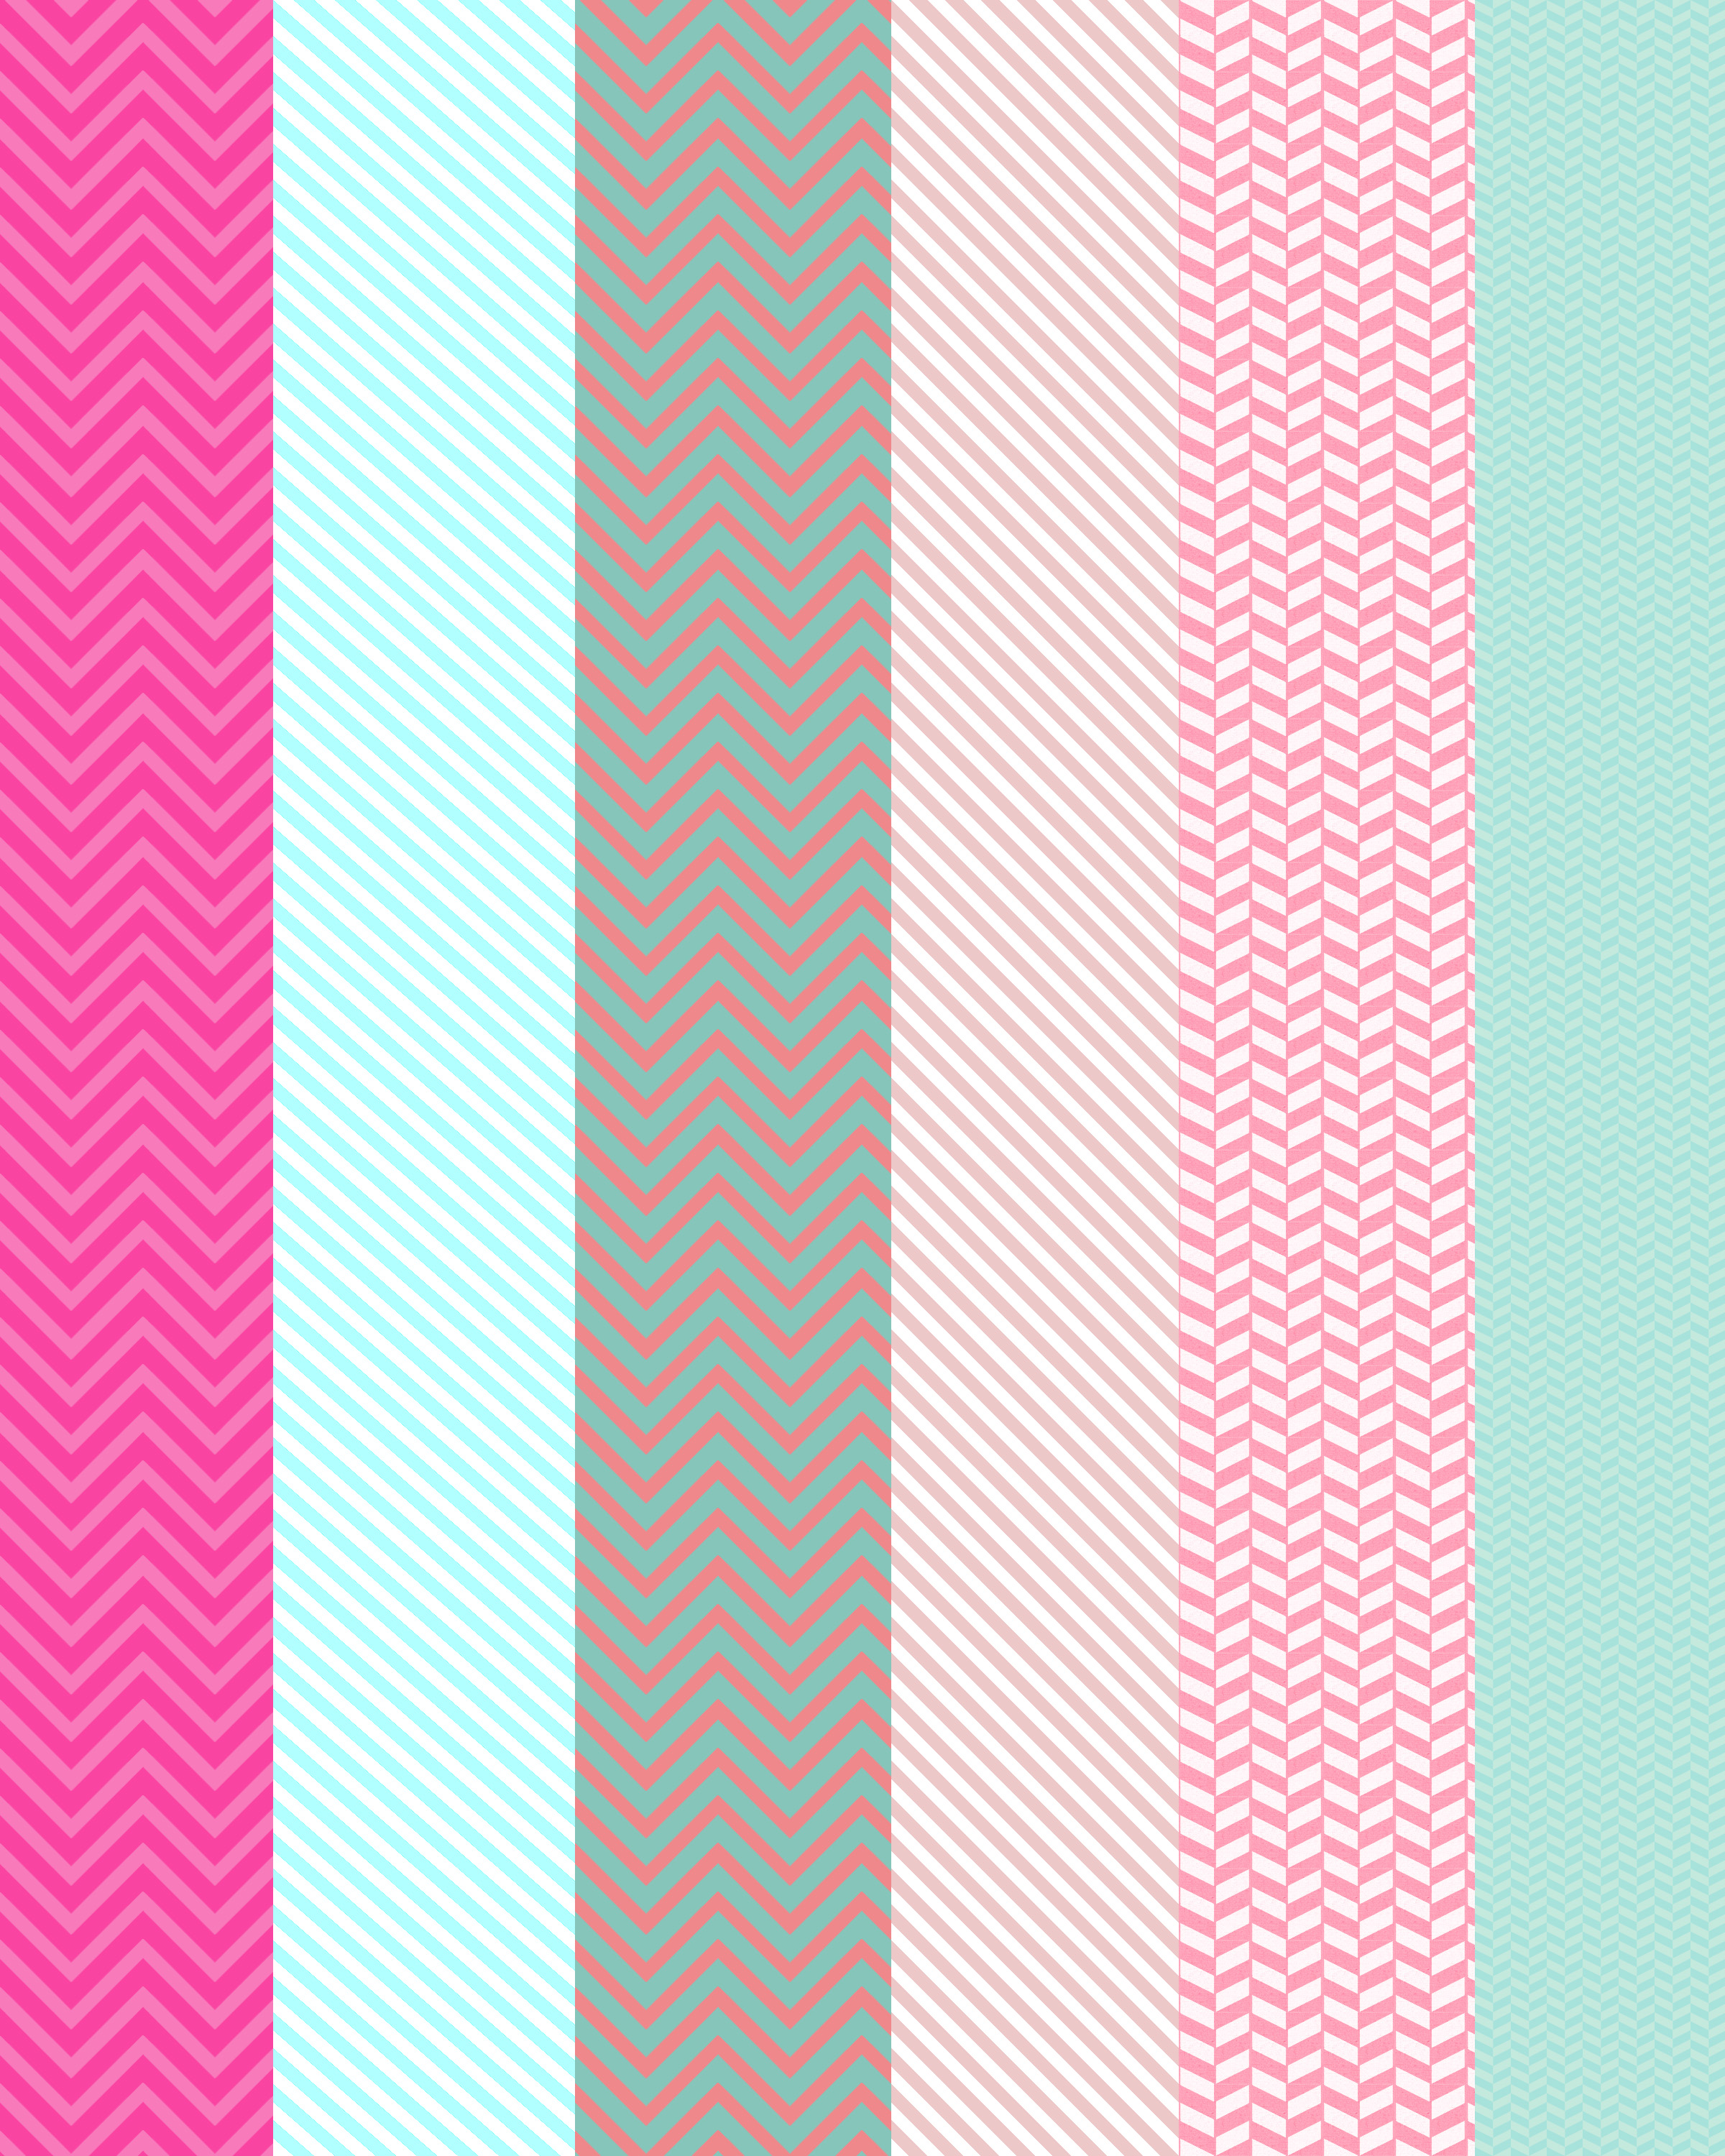
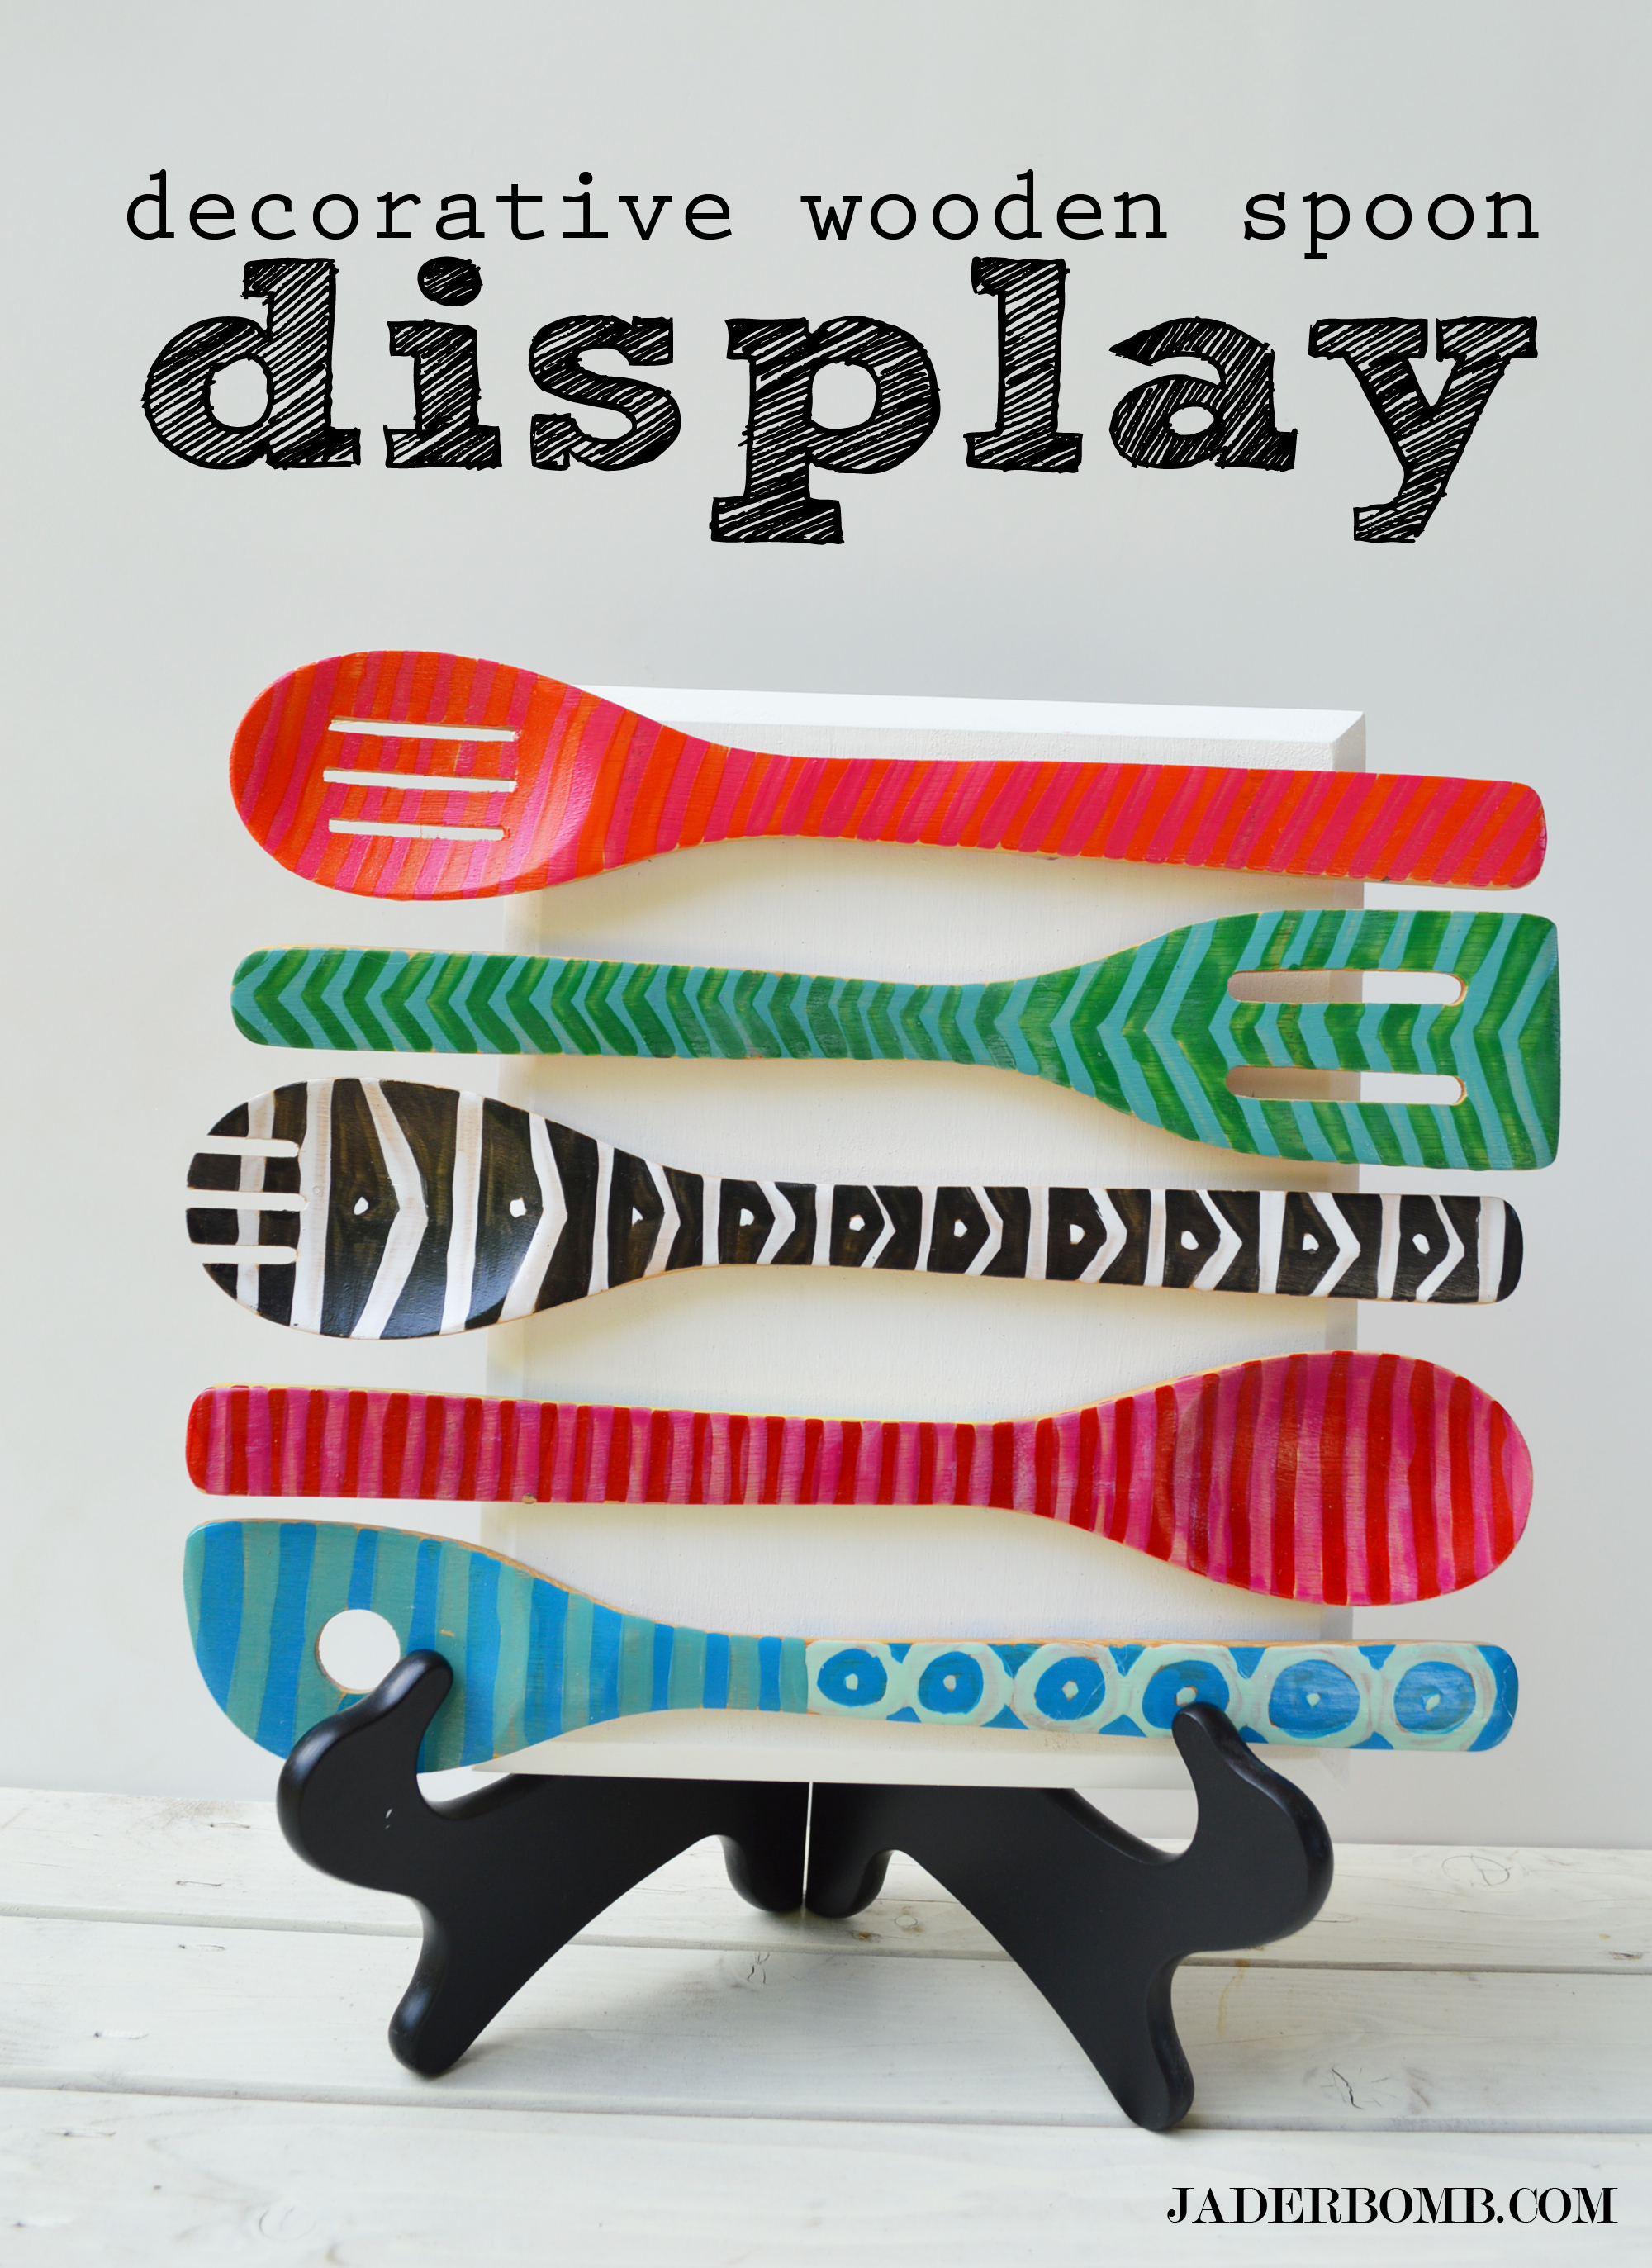
I am going to be honest, there was no specific pattern involved just pure excitement. I did want them to feel a little tribal | retro | whimsical | happy | colorful and that is exactly what I got. I was not planning on doing a black and white one until I put them together. I needed that to break the colors up, I think that was a smart choice.

how to paint on spoons

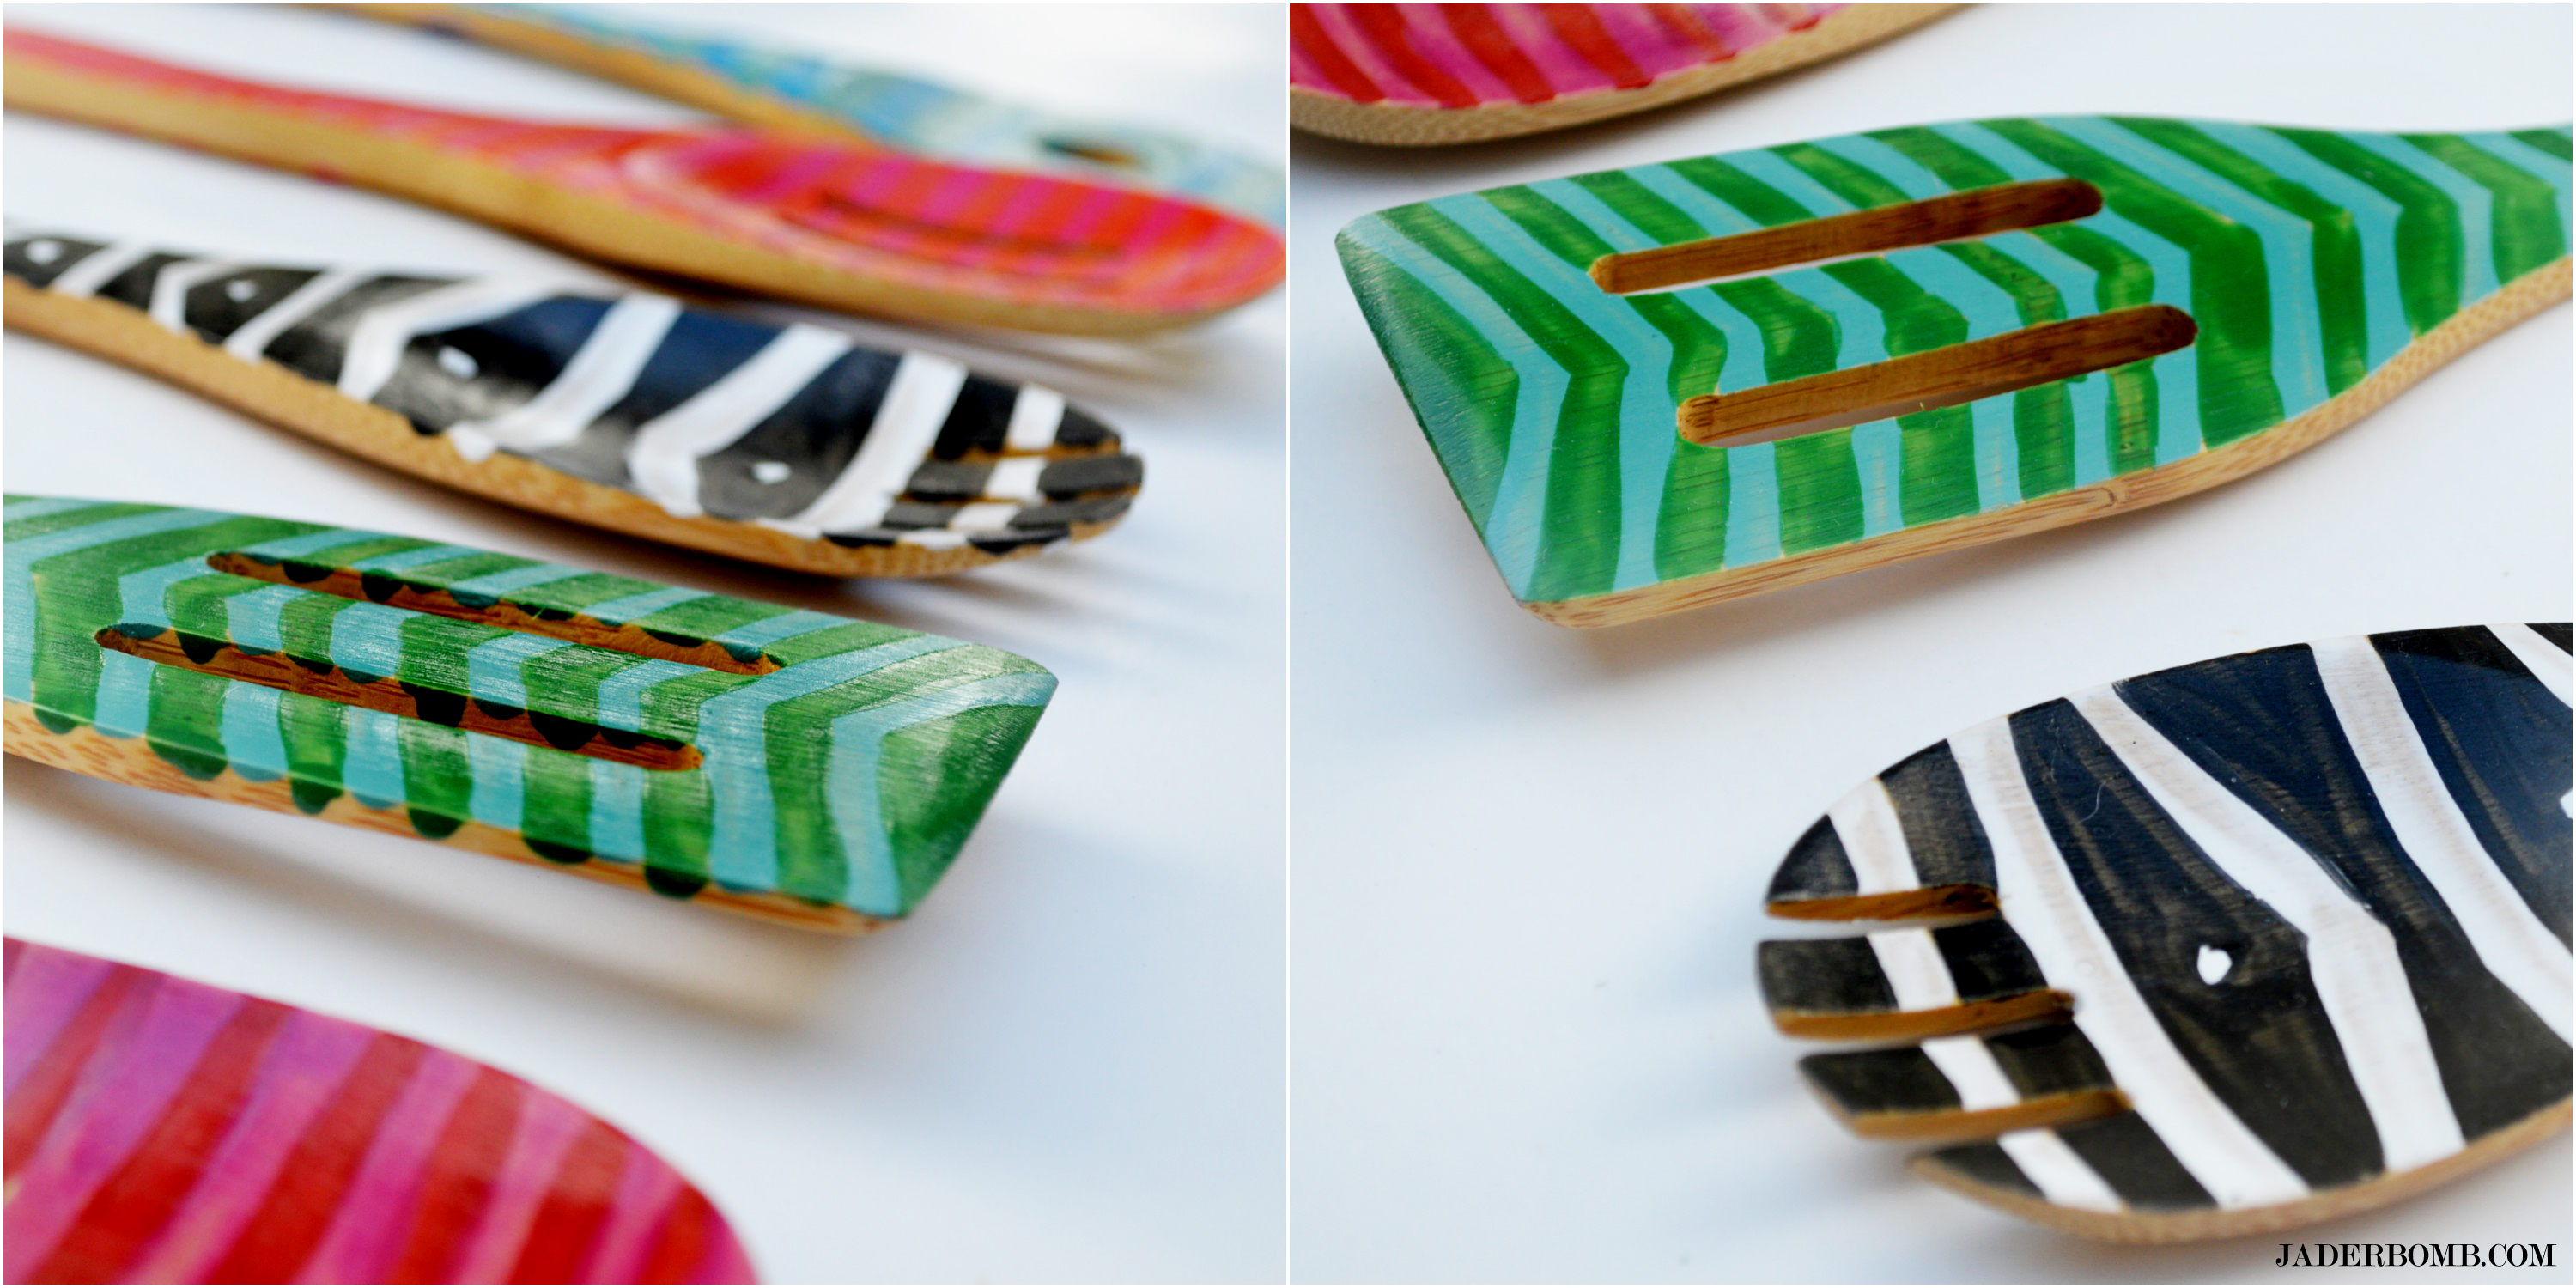
What colors will you be using? It would even look great as a whole set in one specific color/design. Now remember I did not coat them with anything because the nail polish gave me a great shiny finish.

painted spoons

I painted a piece of wood white and let that dry over night with the spoons. Once everything is dry you can then glue the spoons to the wood with the glue of your choice.
DO NOT EAT FROM THESE OR COOK WITH THEM. THESE ARE  JUST FOR DECORATIONS!
I made these for decoration purposes.

in other news

| Wanna see other spoon posts? Check out how I printed on spoons and how I dented up spoons!

| Check out my latest post on the I love to create blog, it’s “leatherific”.

Big Glittery HUGS from me to YOU!

Today I will show you how to take a boring wooden spoon and give it a new life.  The wooden spoon has been around for a long time but if you want to spice up the decor in your kitchen and “display” your spoons then stick around! While attending CHA, the Craft and Hobby Association trade show this past weekend my friends at Craft Attitude gave me some of their amazing printable film sheets. If you have  not heard of these yet, then now is the time to get crazy. When you see just how these film sheets can do you will flip like a fish in a bowl of kool-aid.

I had never used this product until now and I am still amazed at how much it can do! You can see below just how beautiful they turn out. It’s almost like making your own Washi Tape. I have so many ideas for this product and I can’t wait to start making them all.

I overlapped my designs to give it a more modern look and I love how they are translucent enough to see the sheet behind it. So, when you lay one color over another it creates new FUN colors. You can decorate wooden spoons with any design you like, this is what I love about it!

How_to_decorate_wooden_spoons

jaderbomb

*Wooden spoons
*Wood Attitude
*Scissors
*Spray Adhesive
*Printer
( You can print ANY image onto this film. I just provided the print I used)

How_to_decorate_wooden_spoons

Below you can get the PDF I made for this project, unless you want to make your own paper. Let’s get started with the tutorial.

How_to_decorate_wooden_spoons

For the FULL pdf click HERE. I have enclosed a pdf for each color and one with each strip on it. ENJOY!


How_to_decorate_wooden_spoons
Cut your paper into strips.

How_to_decorate_wooden_spoons

Measure the paper around your spoon then cut the strip to the right size.

How_to_decorate_wooden_spoons

The top layer of paper will peel off really easily. Make sure you stick the shiny side down.

How_to_decorate_wooden_spoons

To make sure my strip really stayed in place I sprayed a little adhesive spray to the “not so shiny” side.

How_to_decorate_wooden_spoons

Slowly apply your printer film.

How_to_decorate_wooden_spoons

Have fun with it and get creative. Remember you can print any image out on this film.

Let me know in the comment section below if you like this product? Do you like crafting with wood? I’d love to know!

See you in the next post, Jaderbugs!
Don’t forget to make it a DIY KINDA DAY

jaderbomb

*I will be doing a FUN GIVEAWAY on Monday so make sure to come back!

*Check out my video that Craft Test Dummies  put up on their You Tube! Yes, it is unedited. HAHA

*Make sure to SUBSCRIBE to my You Tube channel so you can get all of my videos

* If you want to know what CHA is all about here are some blogger friends who can tell ya Craft Test Dummies and The V Spot.

*I will be sharing my experience at CHA this weekend so stay tuned!

Disclosure: I received some of the items in this post for free with hopes they get mentioned in my blog. All reviews are my honest opinion, 100%. 

Featured on:

TV: Martha Stewart: DIY Ombre Photo Matte KPLC News : Pumpkin Projects KPLC News: Christmas Projects MAGAZINES: Woman’s Day: May Issue Kids Crafts 123 Rachael Ray Everyday June/July 2016 PUBLISHED: Woman’s Day Magazine  Kids Crafts 1.2.3. Issue 6 Green Craft

Read More →