Howdy Hoo Jaderbugs! Today I felt blah so I decided to light a few candles and BAM, just like that I felt mucho-betta! But then I remembered how a while back I made these cute Duck Tape Tassel’s that I put around some candles. Now I am not kidding…these sticky tassel’s truly made my candles smell so much better. Ok not really but you get the point! Now let’s get STICKY! Remember when I made this Duck Tape Caddy….. the only thing it’s missing is wheels. 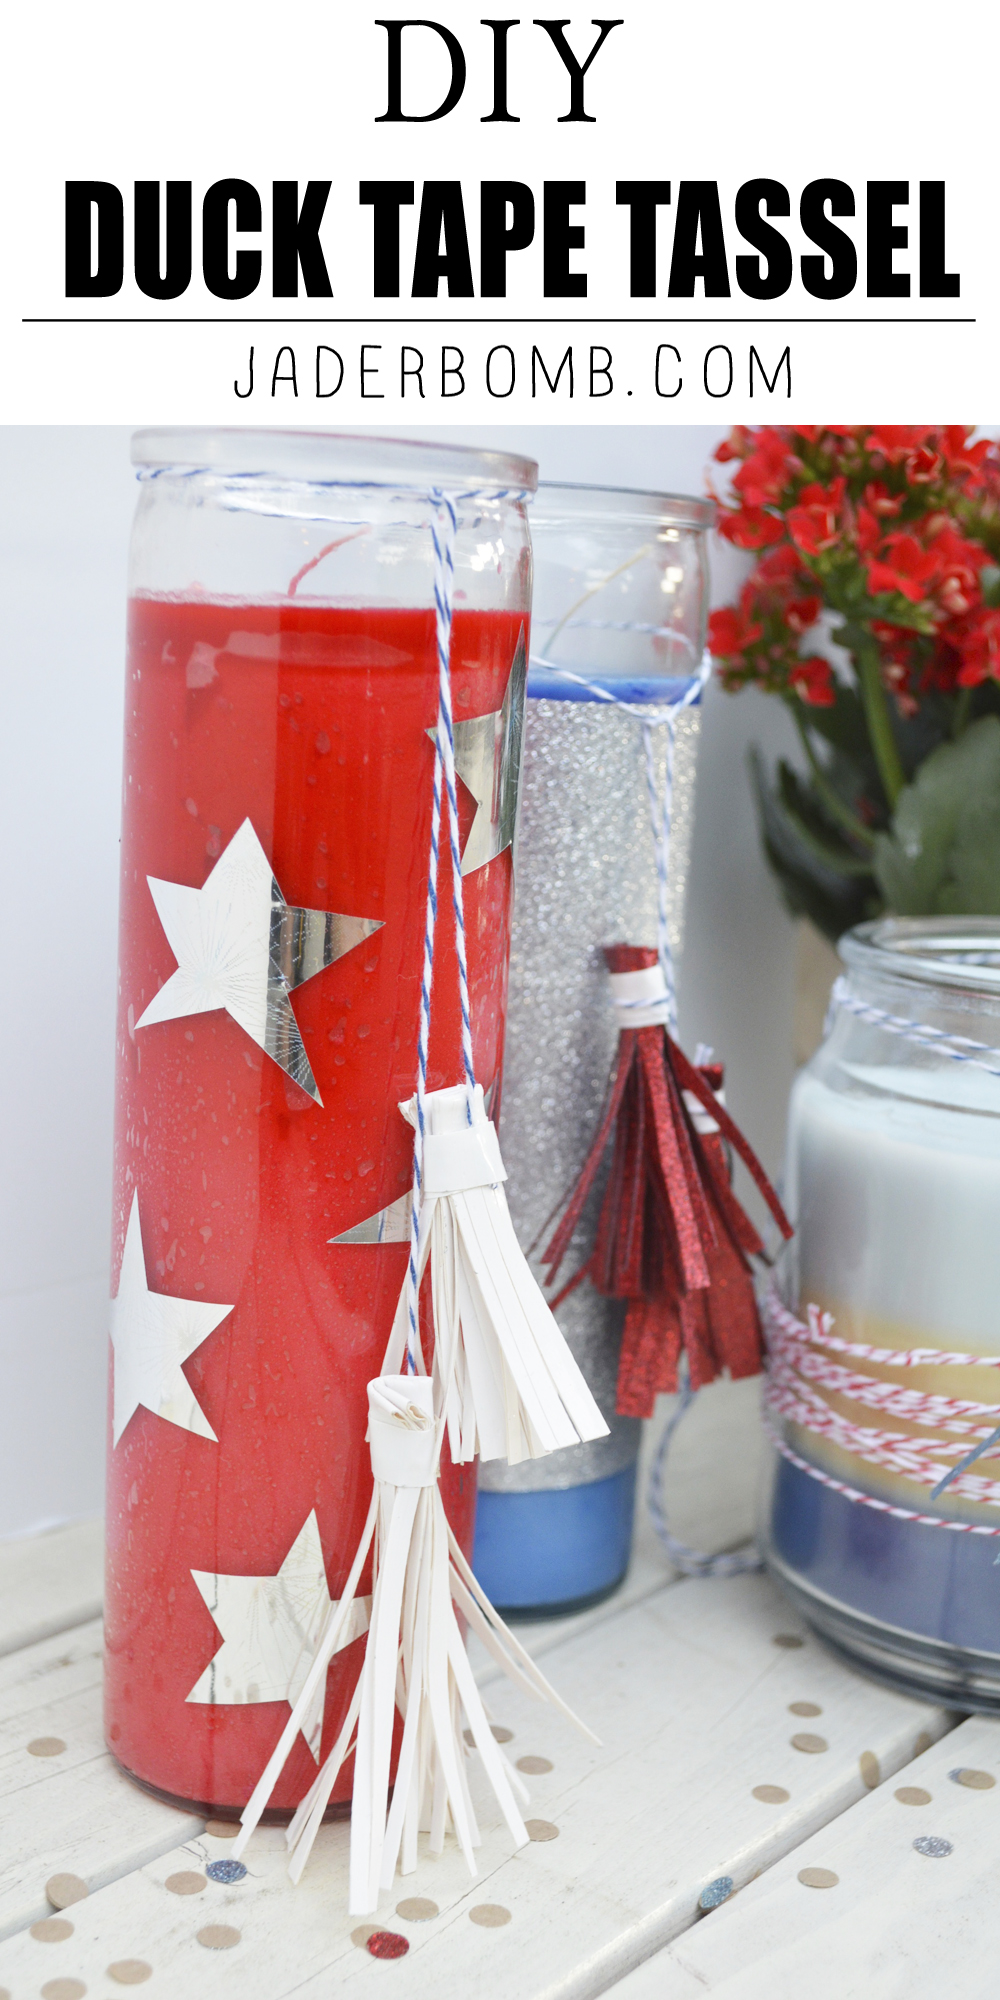 These are all the products I used to decorate the candles but you can use any color tape you want. The main products you will need are DUCK TAPE (duh) and scissors. The rest are like side dishes at a fancy restaurant.
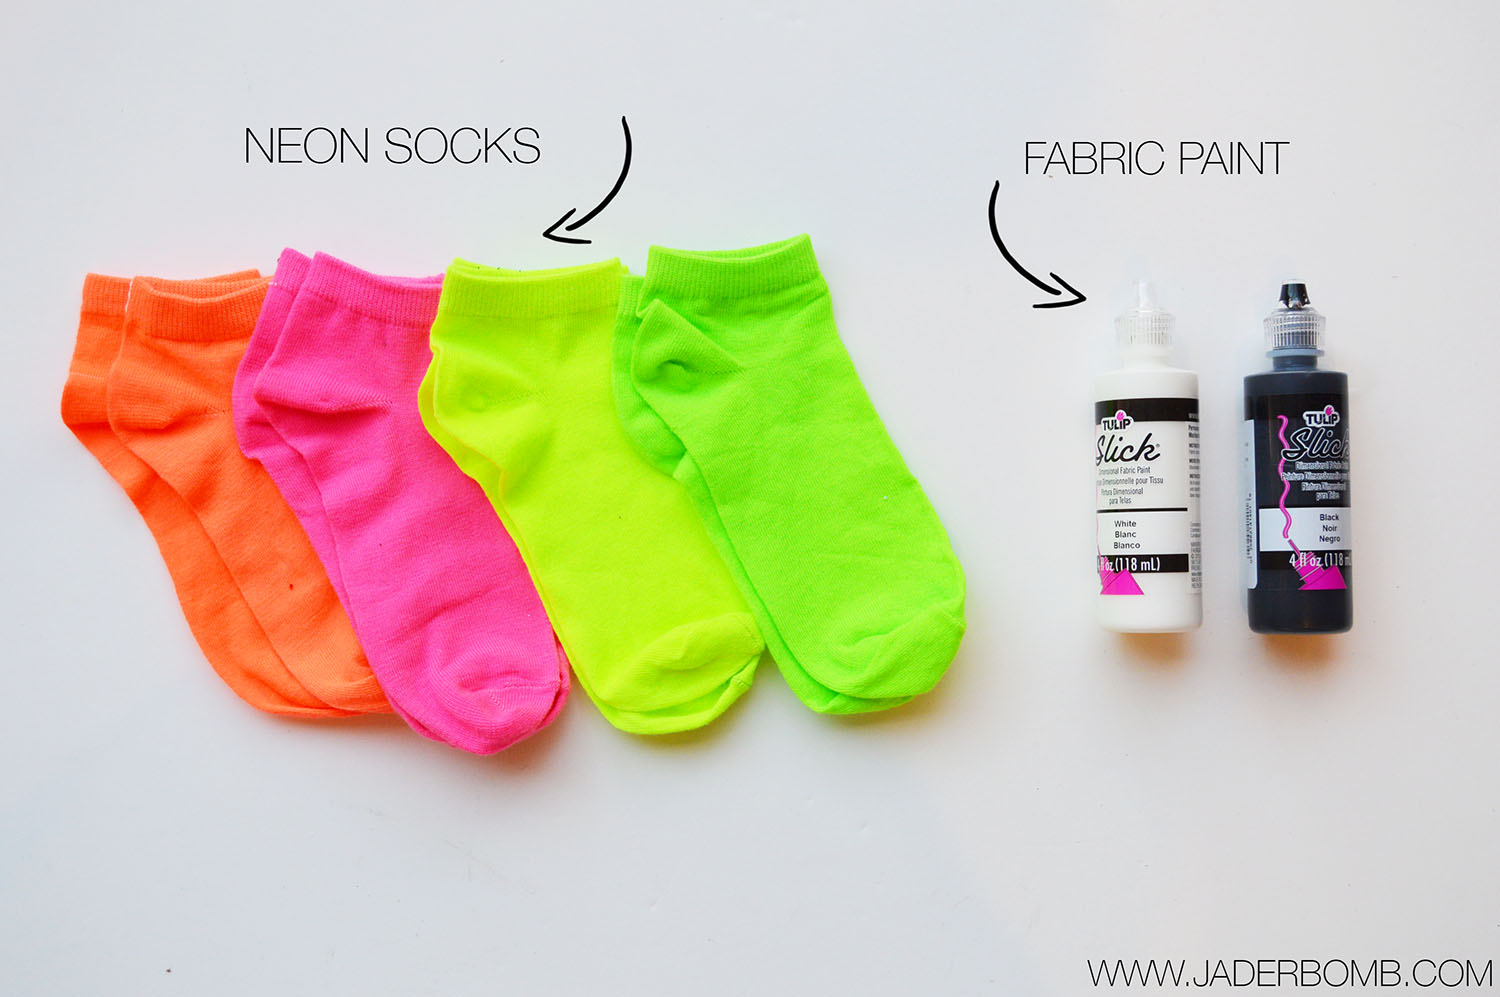
I do however recommend using duck tape scissors made my Fiskars. They cut through this sticky madness like budduh. 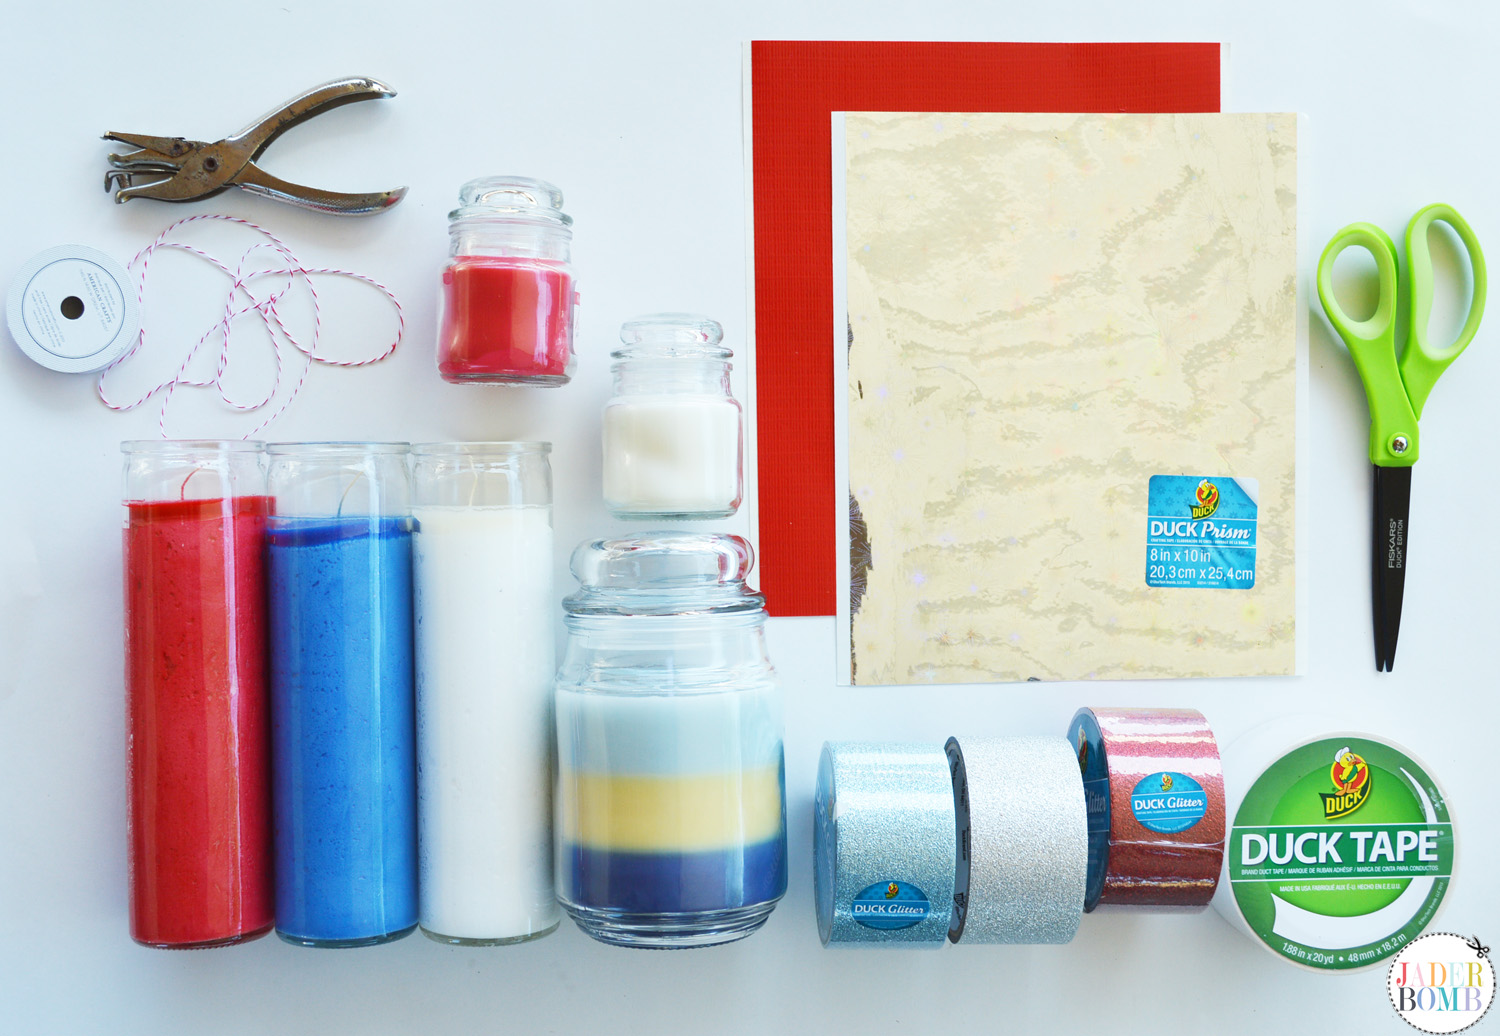
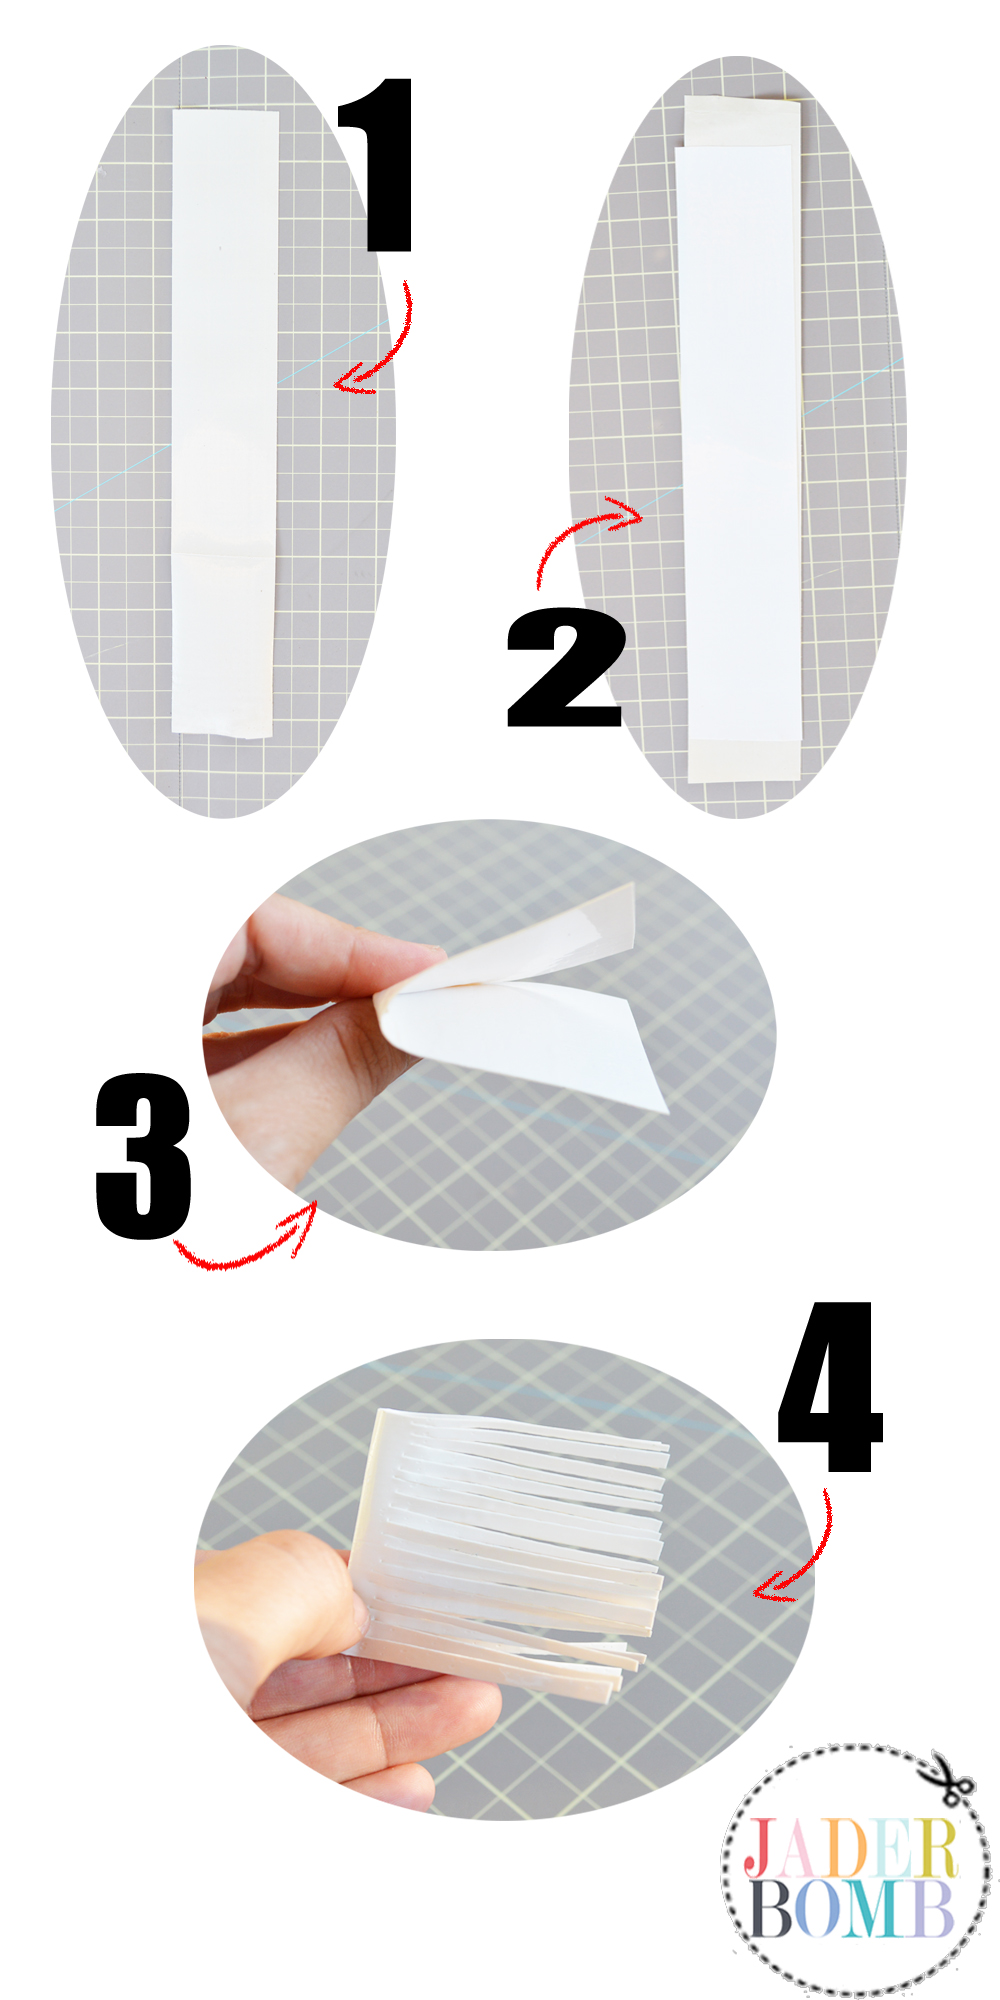
1. To start off you will need to cut a piece of duck tape about 10 inches long. You don’t to measure to a “T” but about that length will be good. Make sure you lay this first strip sticky side up.
2. Now cut another 10 inch strip and place it directly over the first strip. Sticky on top of sticky. Once you stick these two babies together you can trim the edges.
3.Fold your strip in half now. This is not the length of your tassel. If it’s too short you can make your next one longer and if it’s too long you can cut it before we move on. Boom chaka laka!
4. Kiddo’s time to get your parents involved and if you are and drunk adult do the same! With your strip folded in half start cutting little cuts in the long side of your tape. Make sure to NOT cut all the way to the top!!! Snip away until your whole strip is fringed like it’s ready to go to a festival. If you like tag’s check out these I made with some decorative tape.
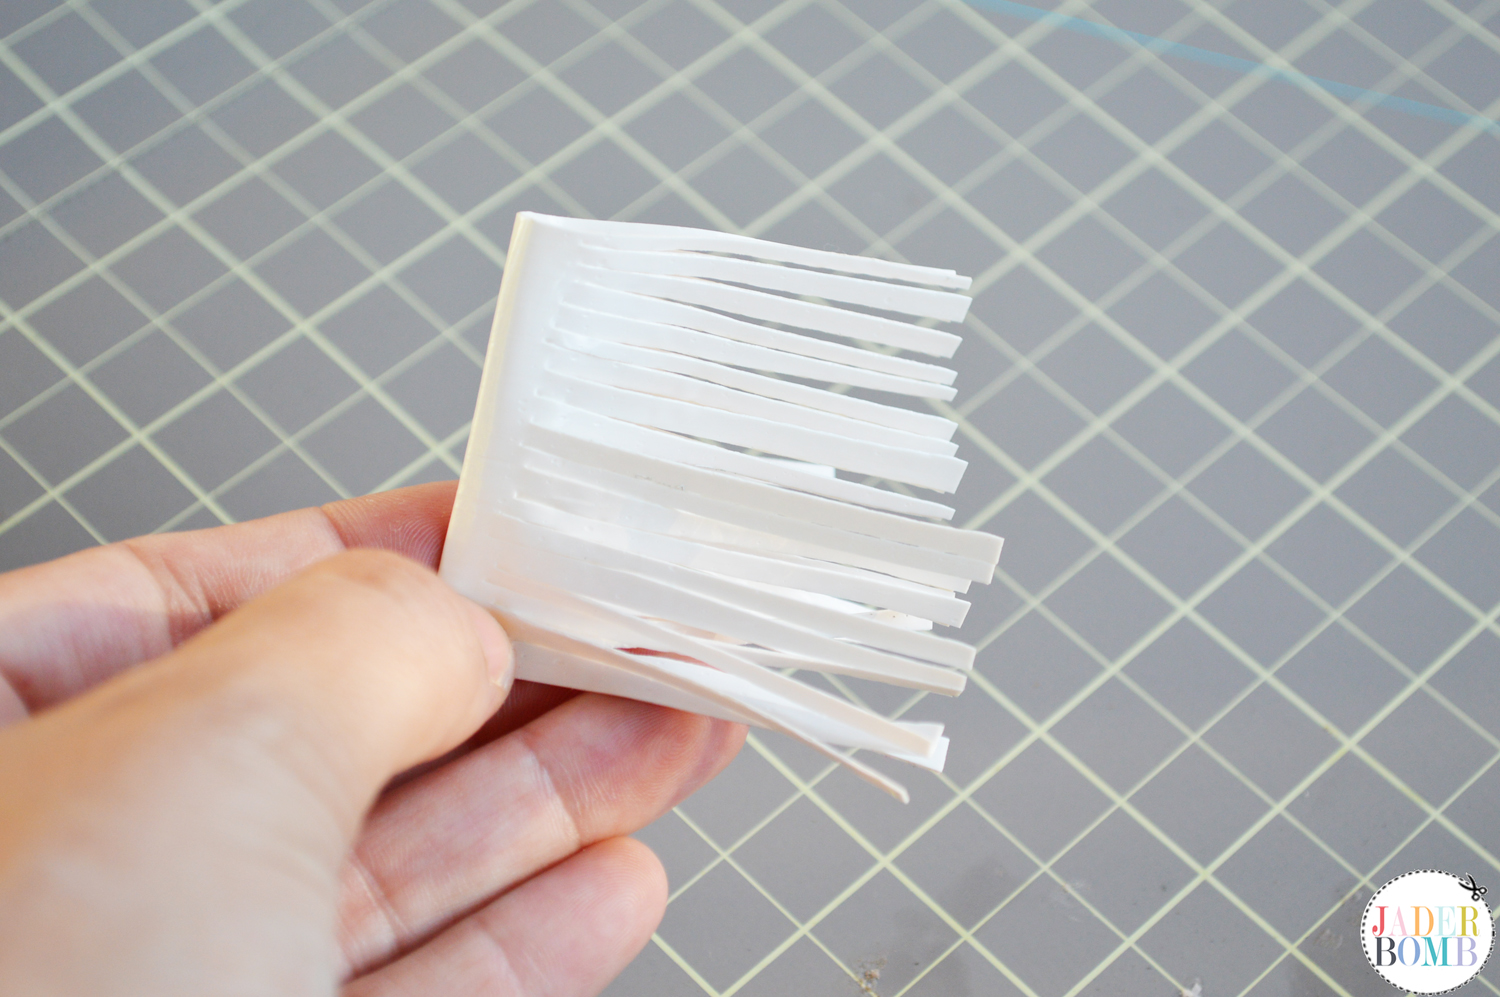 How cute would it be to have an amazing duck tape fringed skirt.
5. Start rolling your fringed strip from one side to the other until it’s all rolled up like the picture below. Once it’s all rolled up take a SMALL strip of duck tape and start wrapping it around the TOP of the tassel.
If you notice I placed a small piece of twine at the top of my tassel right before I was done rolling it up and securing it with my small strip. This is what my tassel will hang from. 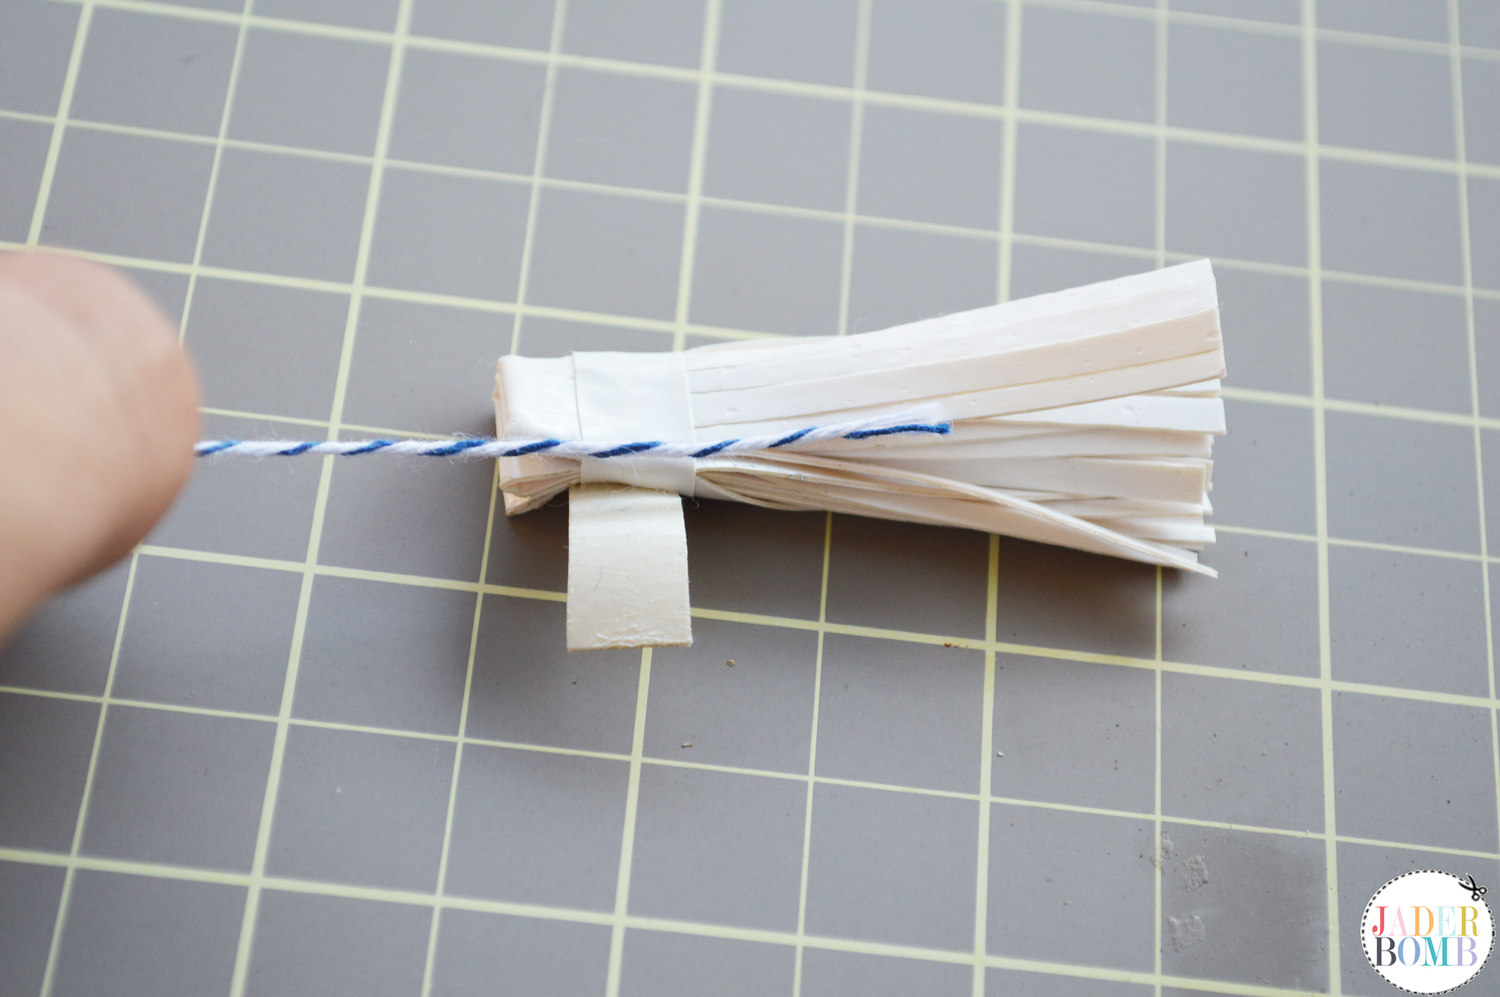
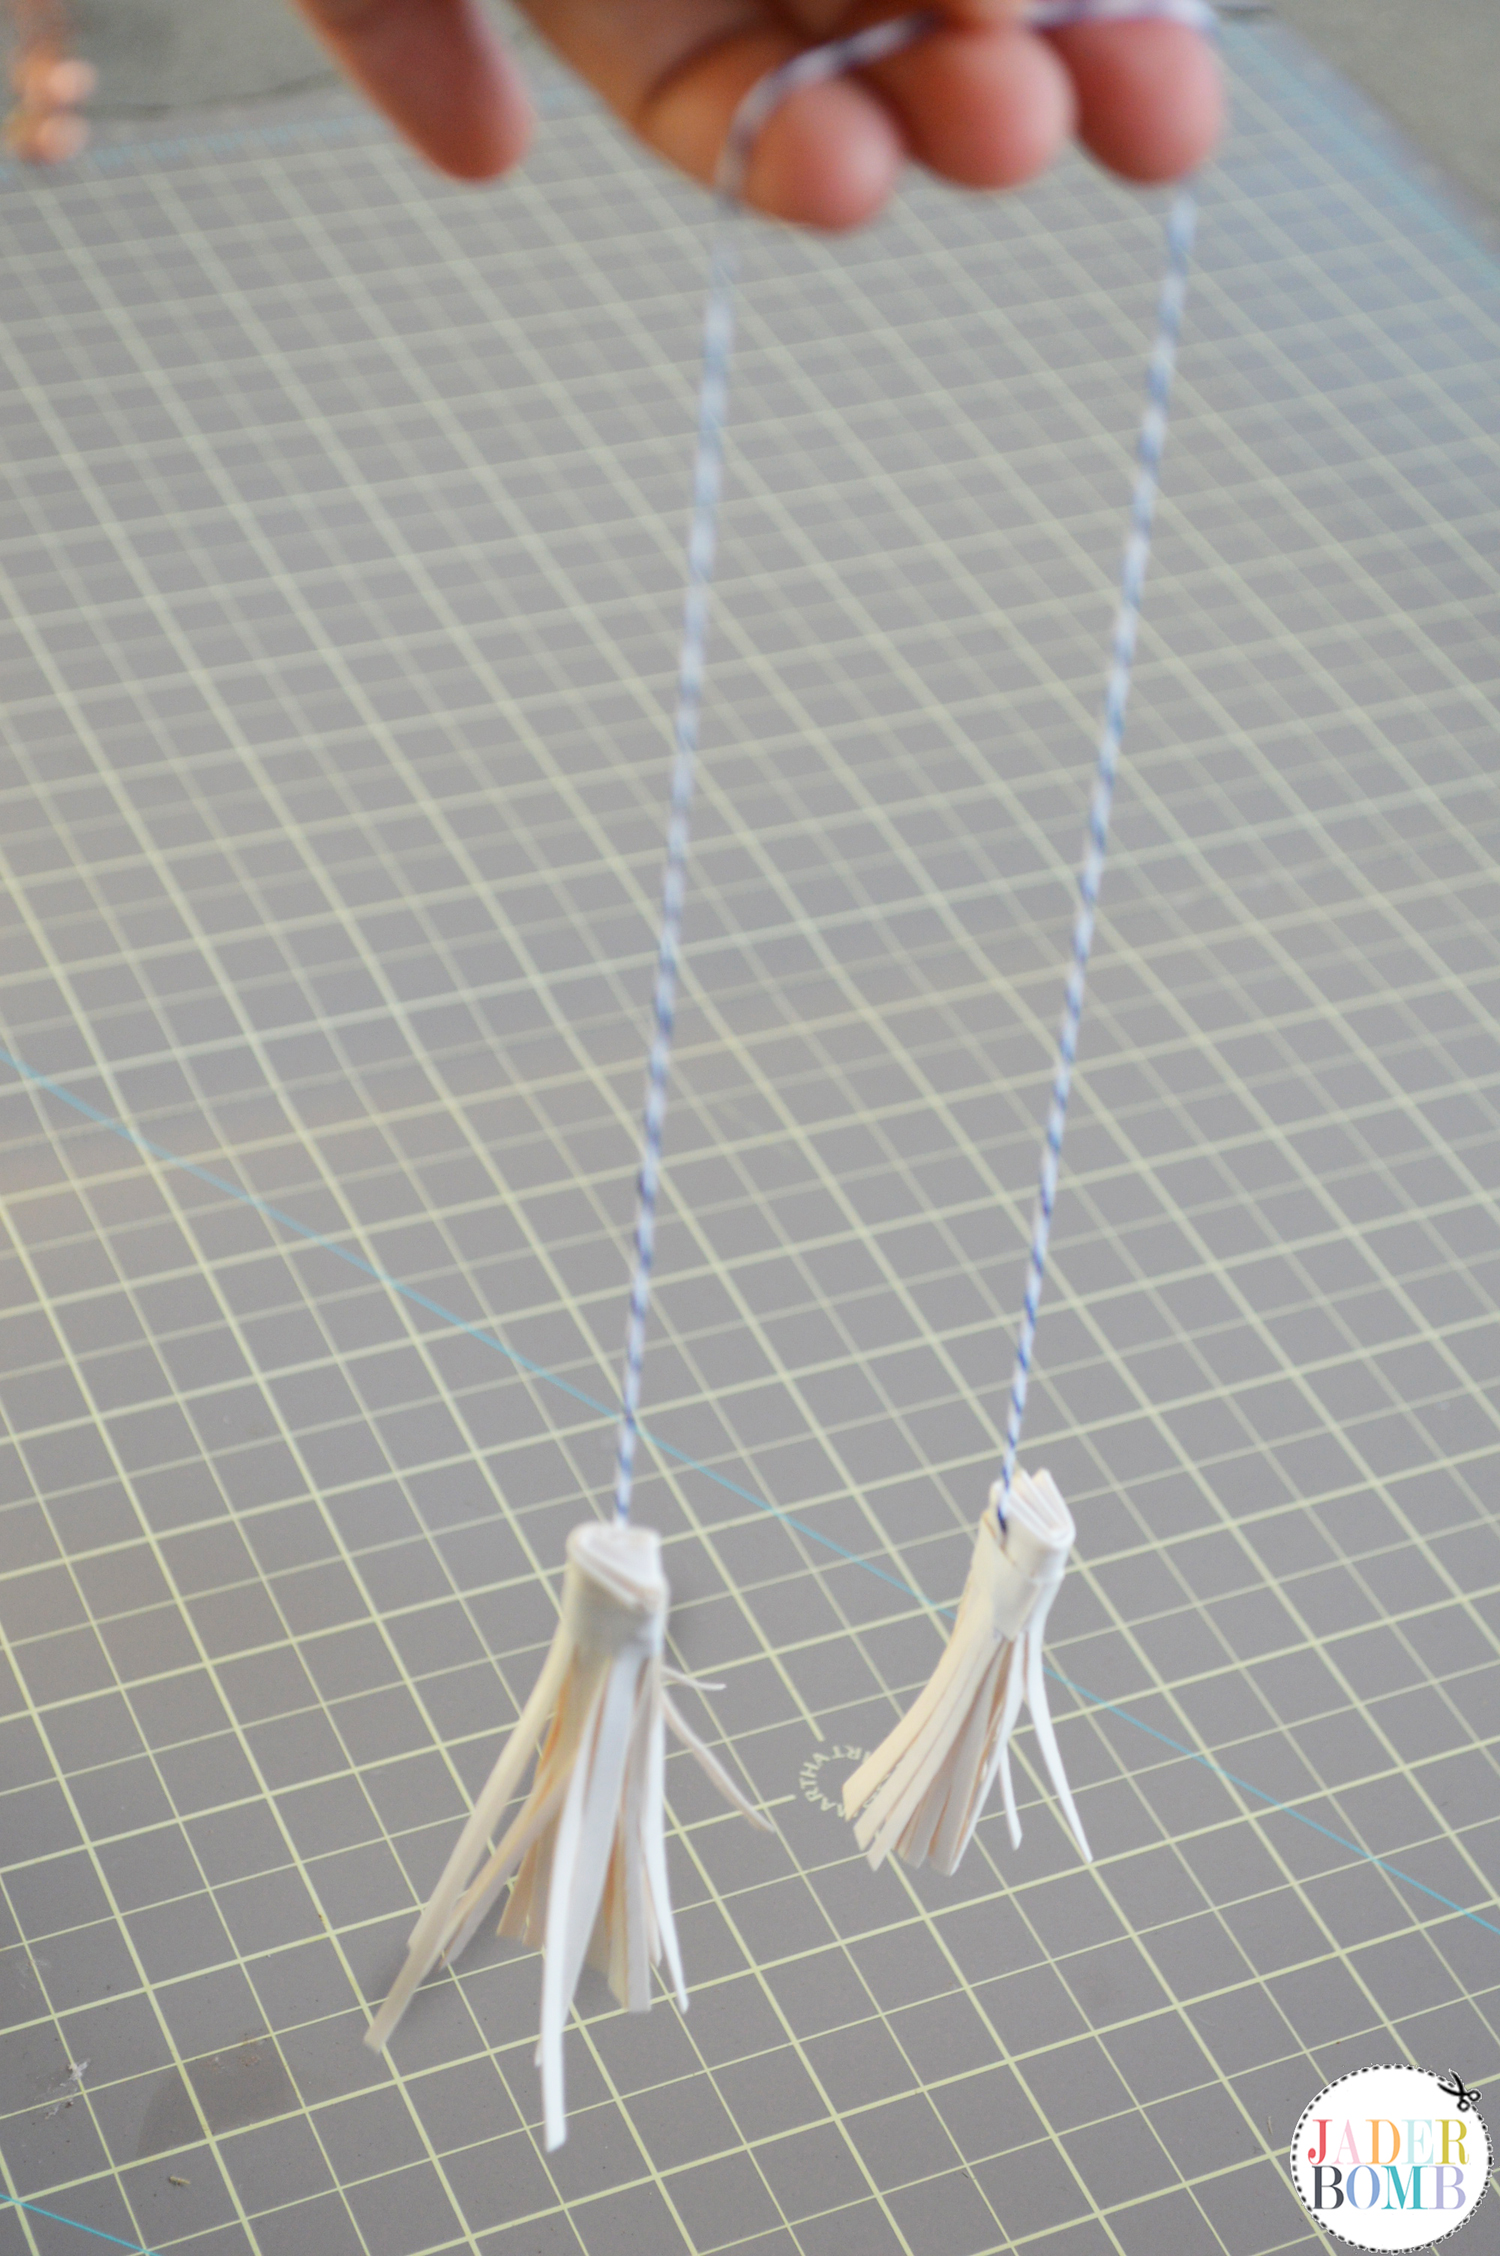
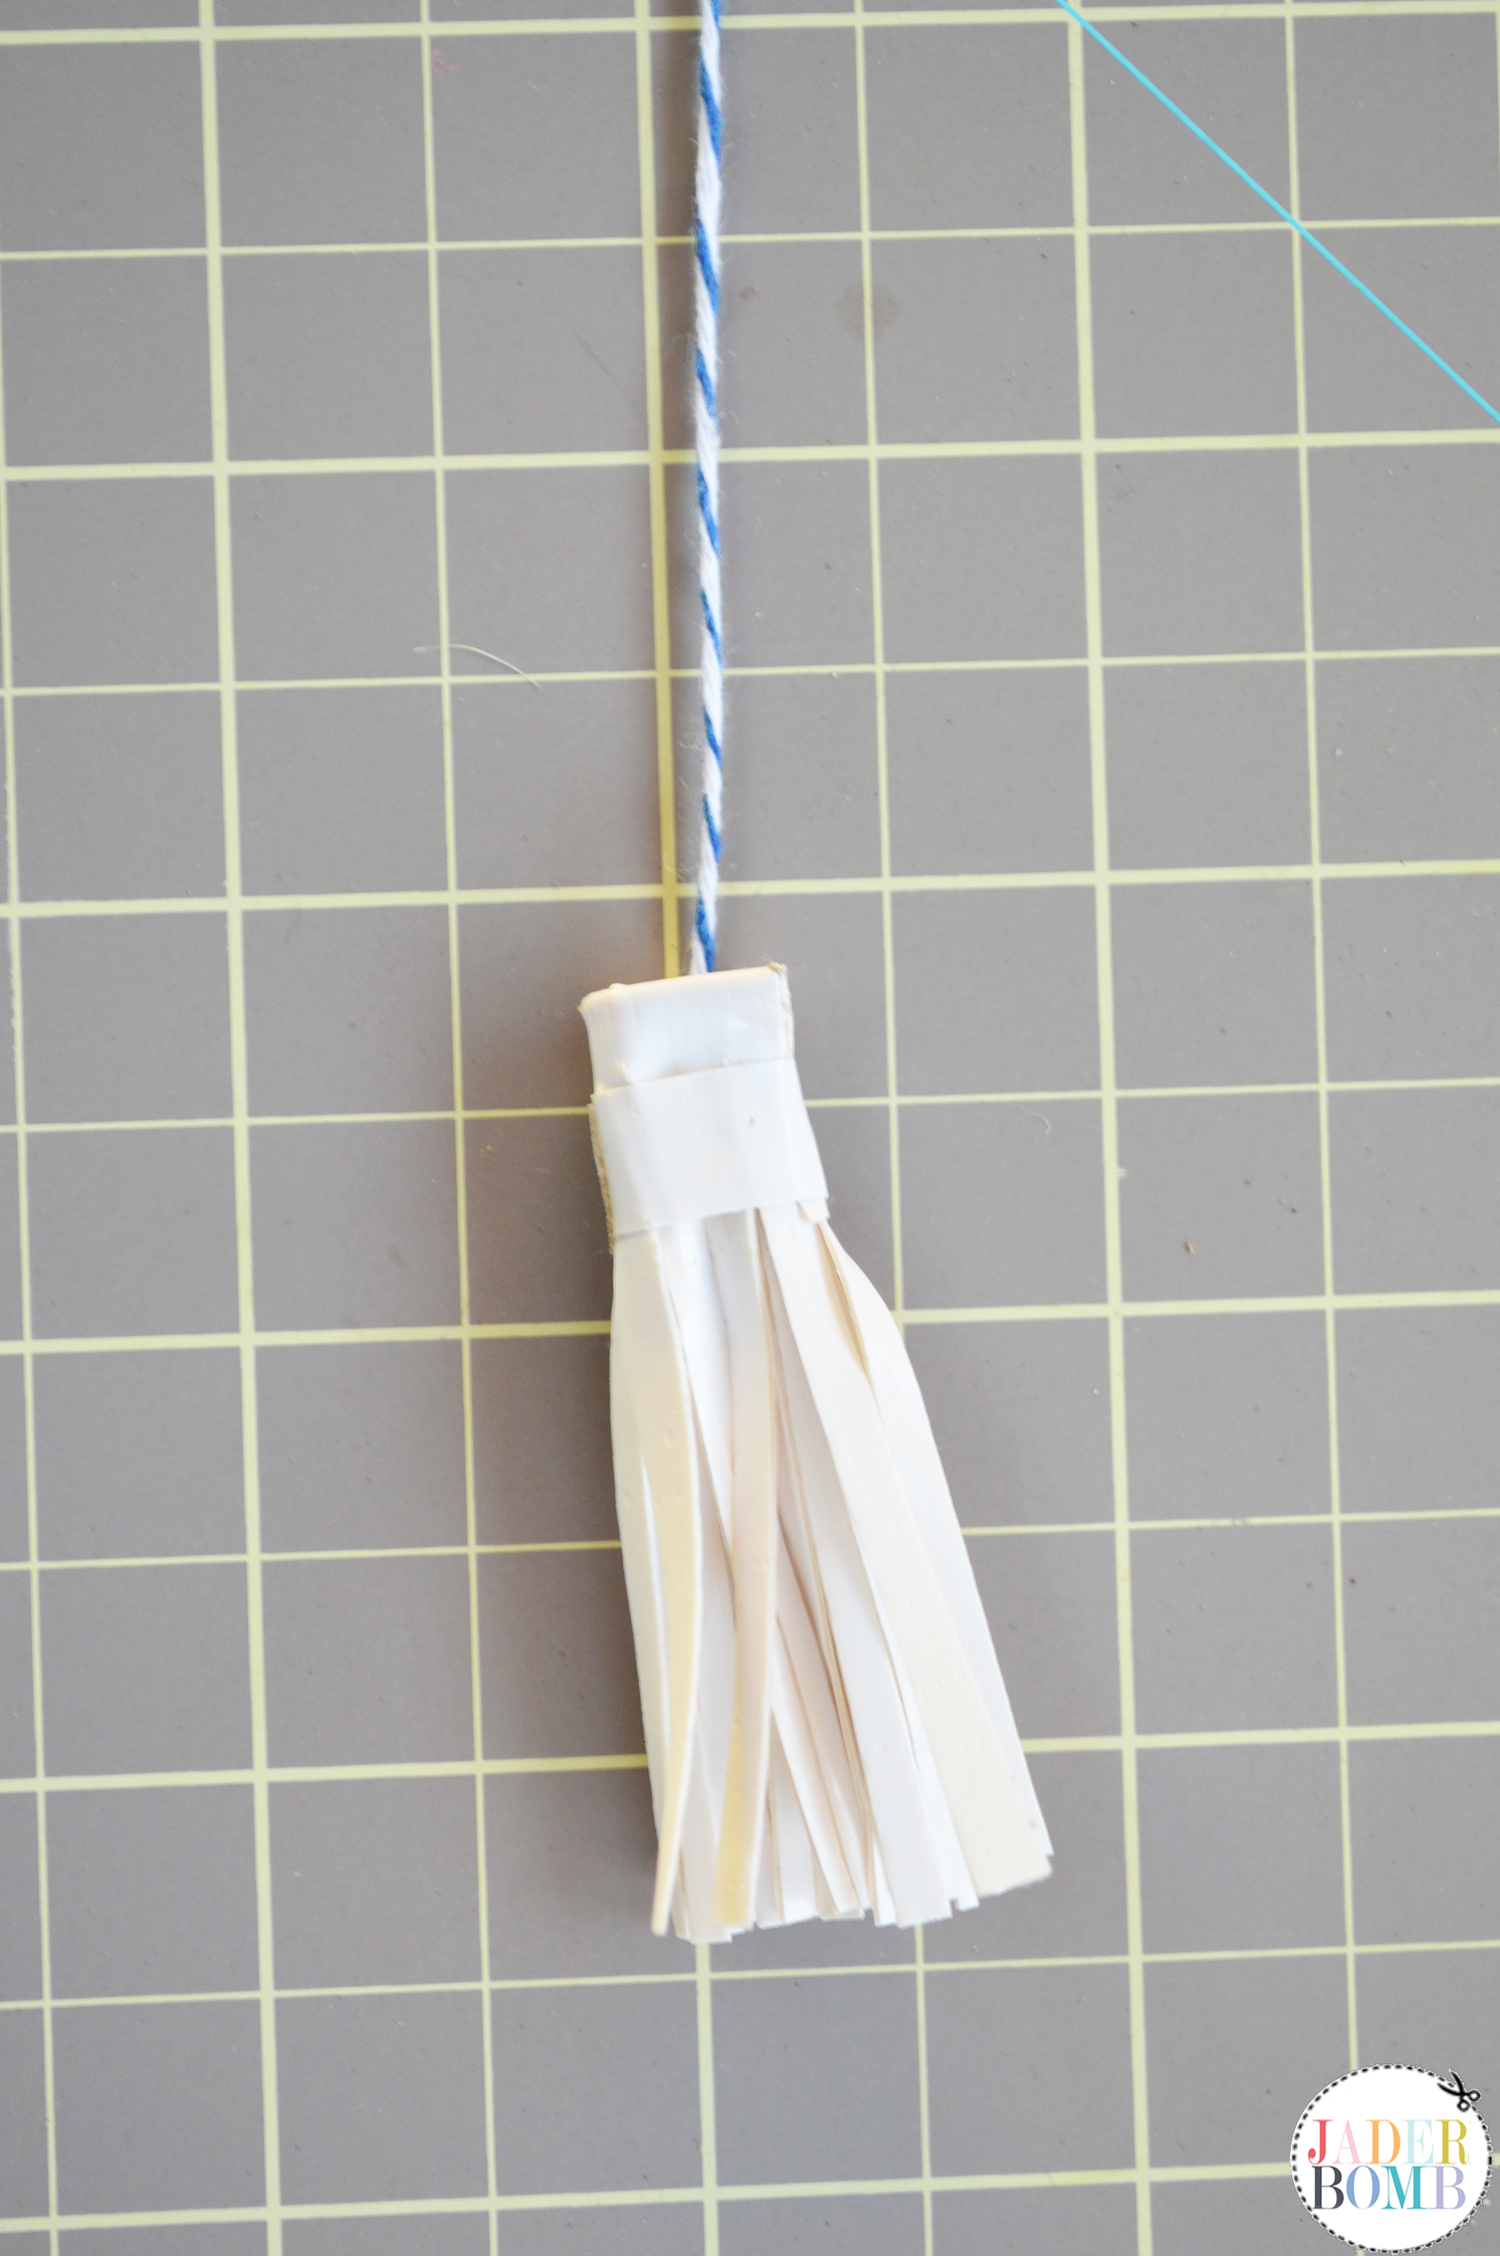 And just like that we have a hot diggity cute as can be hanging tassel. You can put this on a gift, hang from your car mirror, tie around a picture frame and so much more sha.
 I know you are gooing and gahhing huh. This fridge I covered in tape also made me gooh and gahh…. Check it out here.
 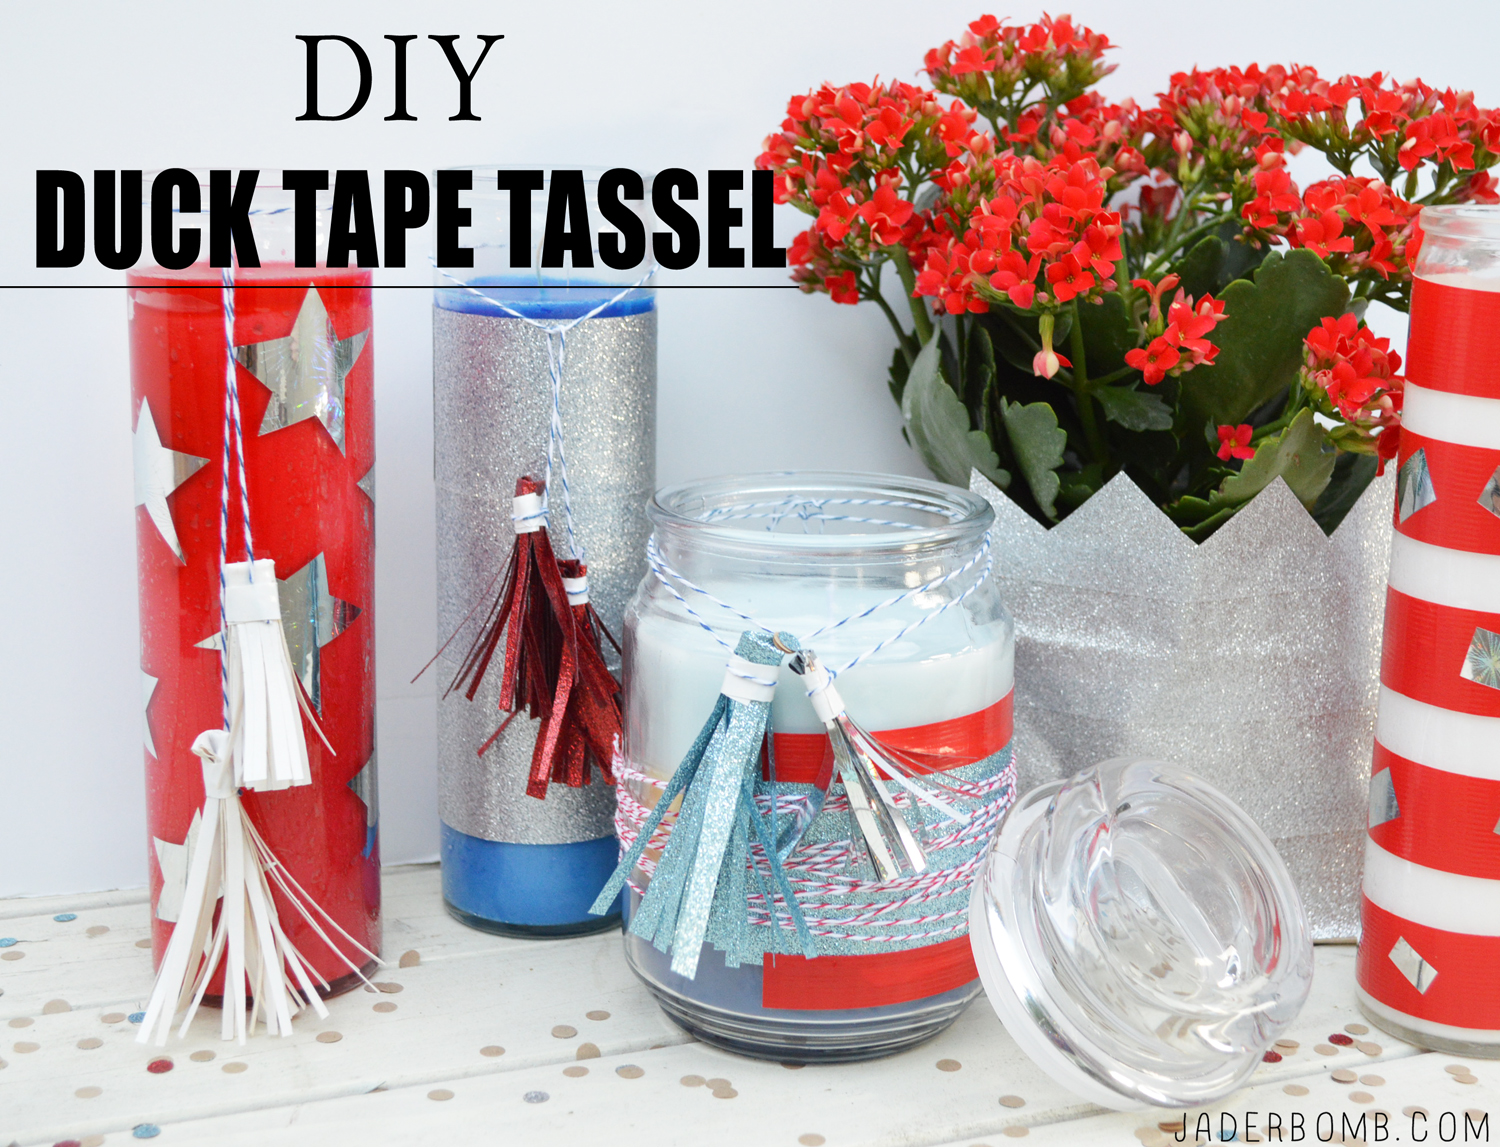 Hope you enjoyed this super sticky tutorial. What kind of tassels do you plan on making? Any suggestions of what they can be used for? Leave them in the COMMENT SECTION below! I am always looking for new tricks and trades. Until next time…

 You are totally getting excited already huh! Buy
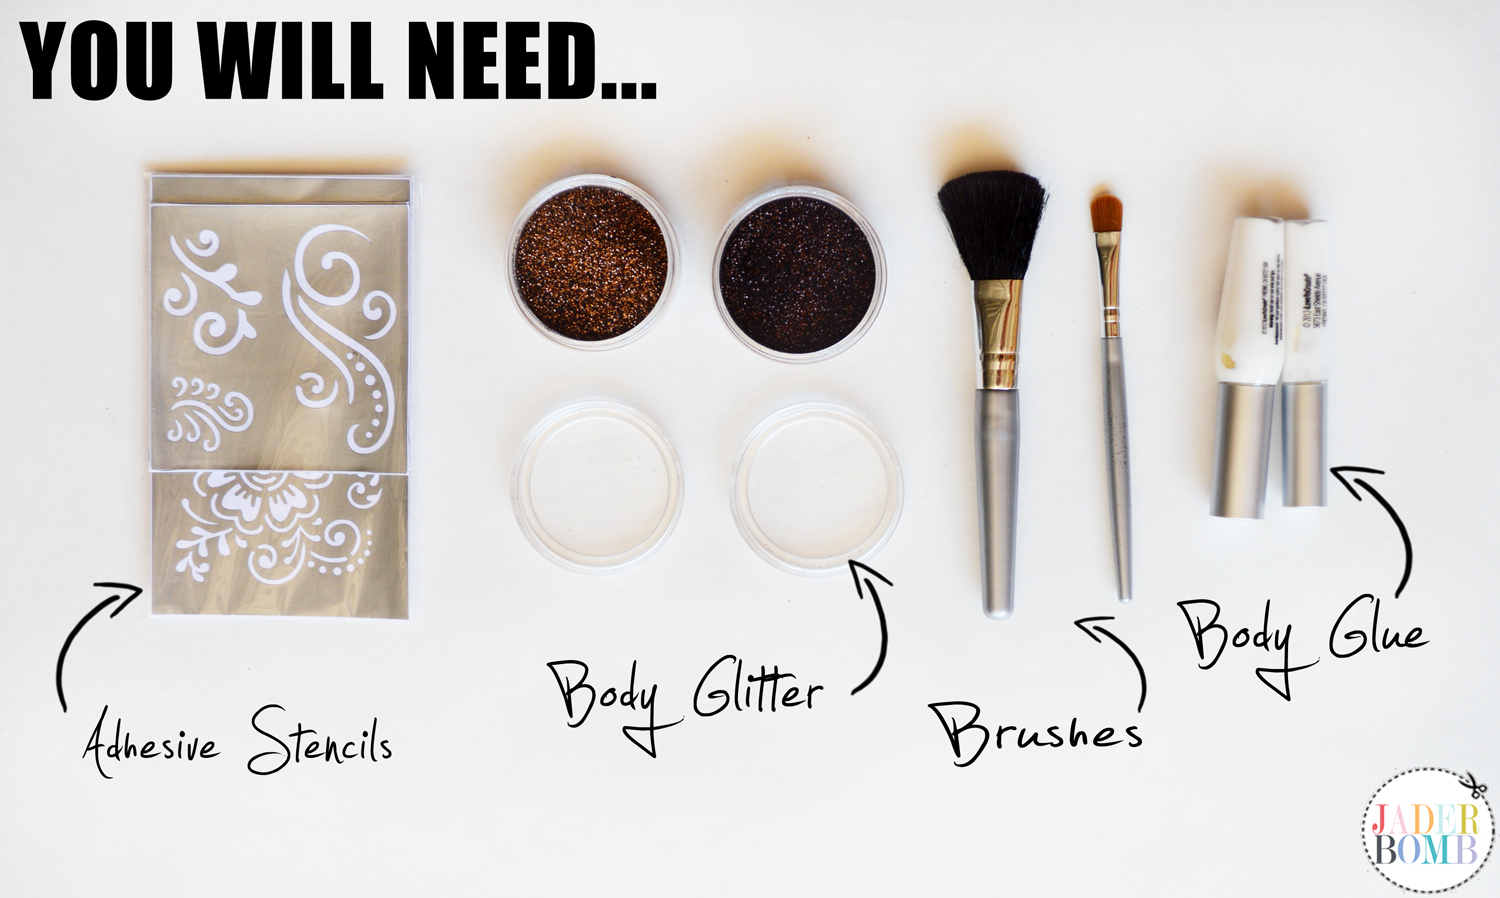
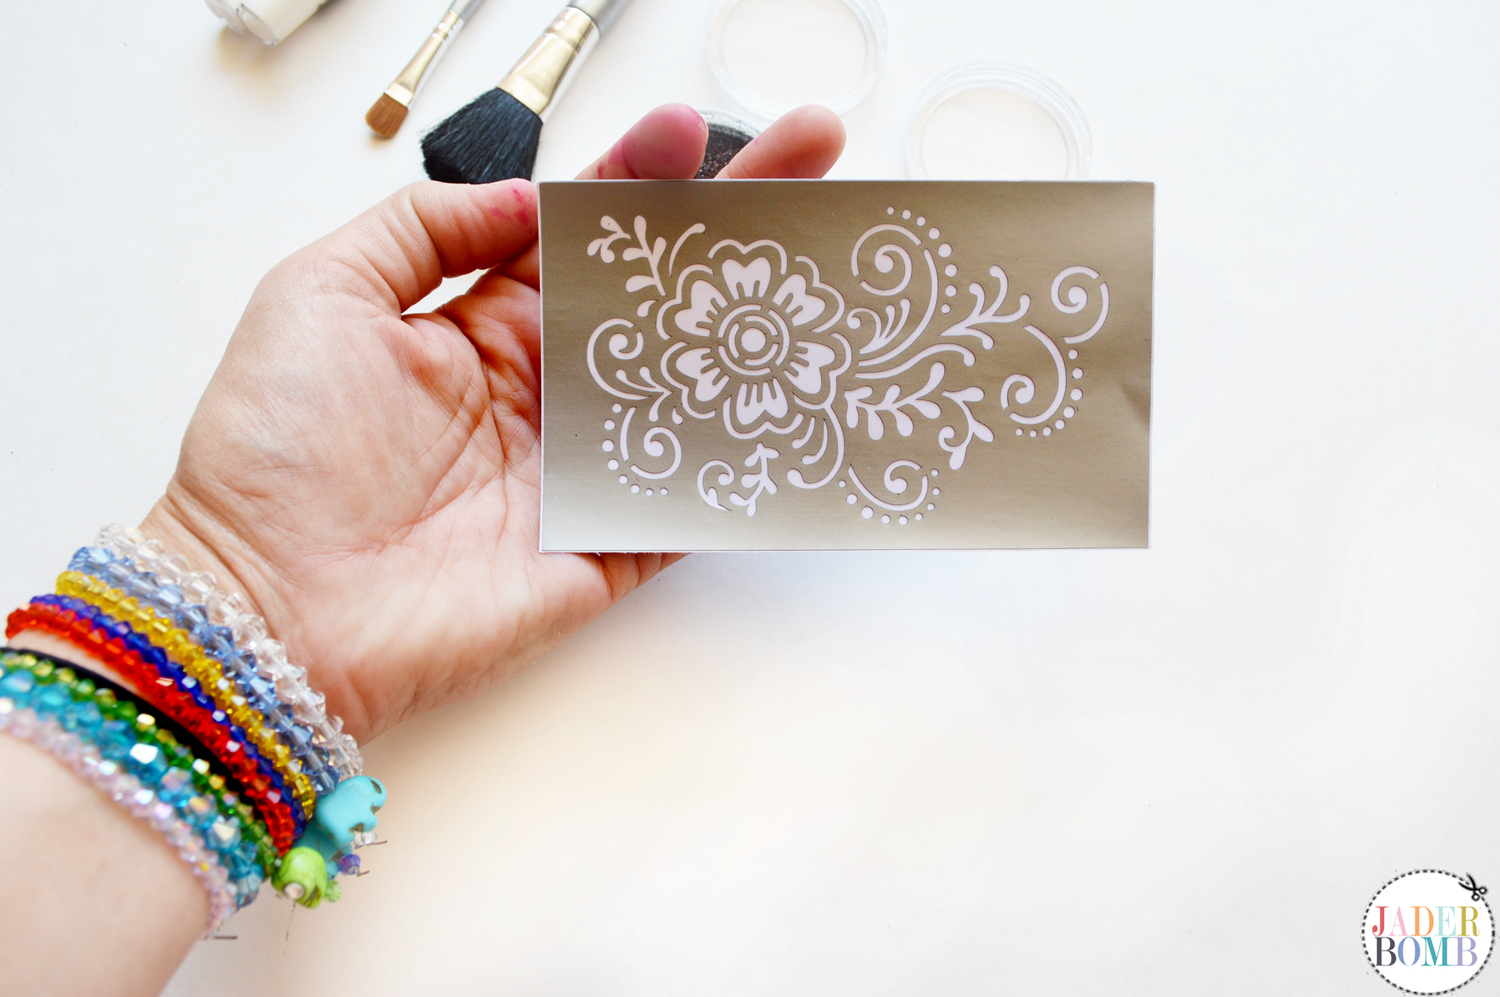 Step TWO: Make sure to flatten your adhesive sheet onto you skin. We don’t want any wrinkles now do we!
 Step THREE: Apply the body glue over the spots where you will be putting the yummy glitter. I know I don’t have a darn picture of me applying the glue. Shame on me, hehe! Let me warn you now, this glue is really strong, it’s cosmetic grade!
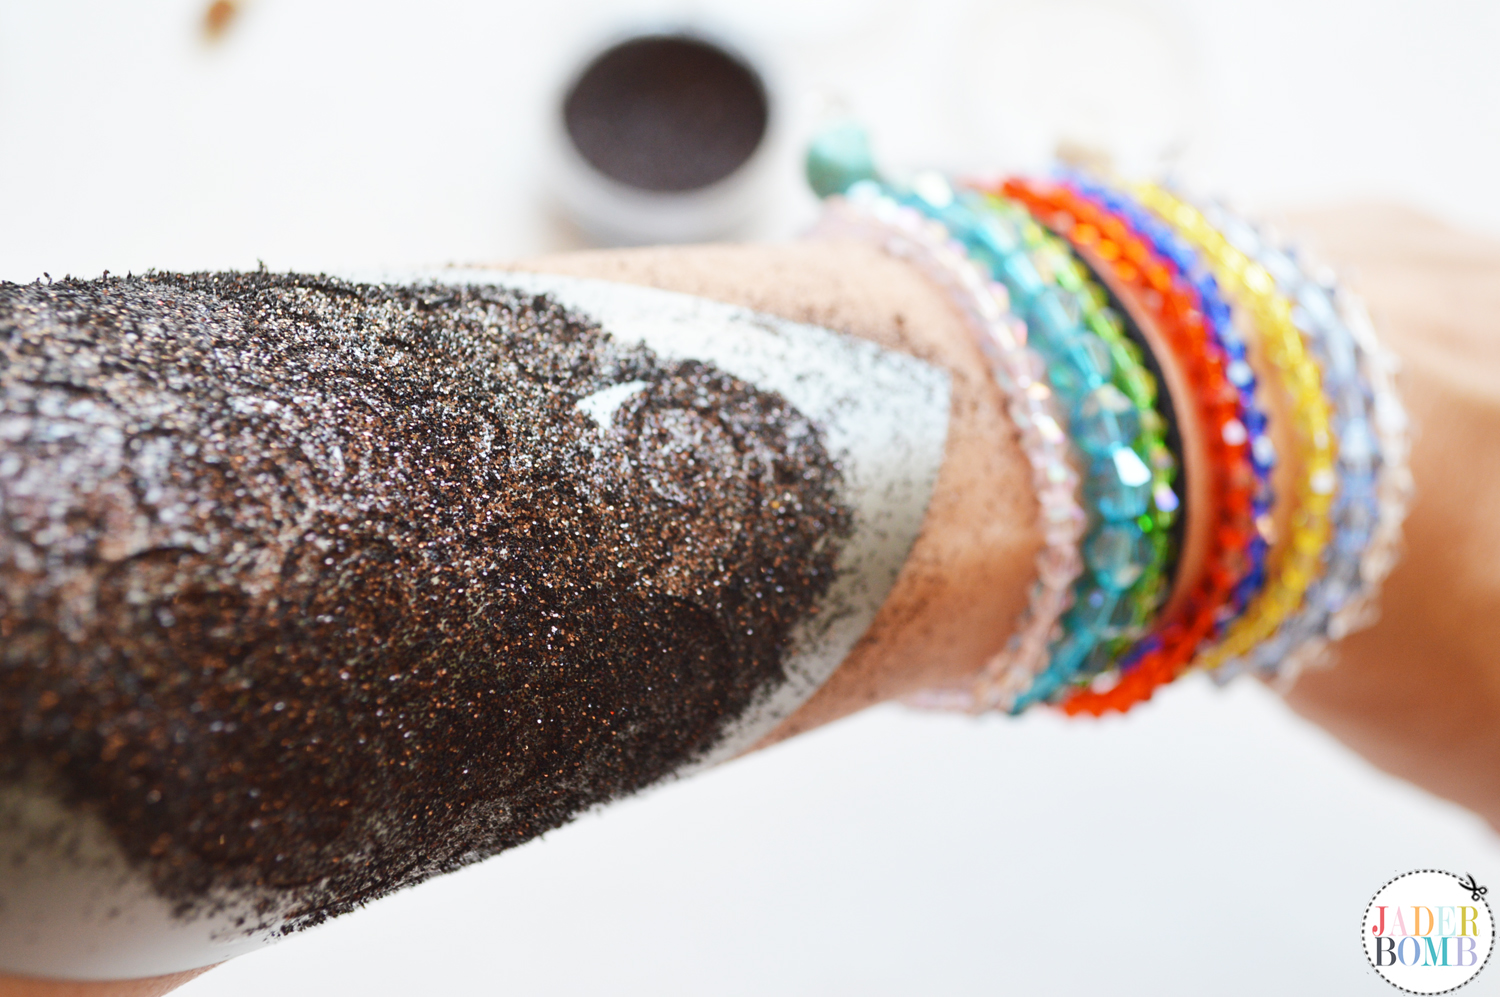 Step FIVE: Once you applied the glitter time to gently pull off your adhesive sheet. Please take your time, I’d hate for you to tear your beautiful sheet.
 I hope you enjoyed this fun tutorial. Please stay tuned this week I have some fun projects lined up! You can’t lie these glitter tattoos are calling your name! I knowwwww….
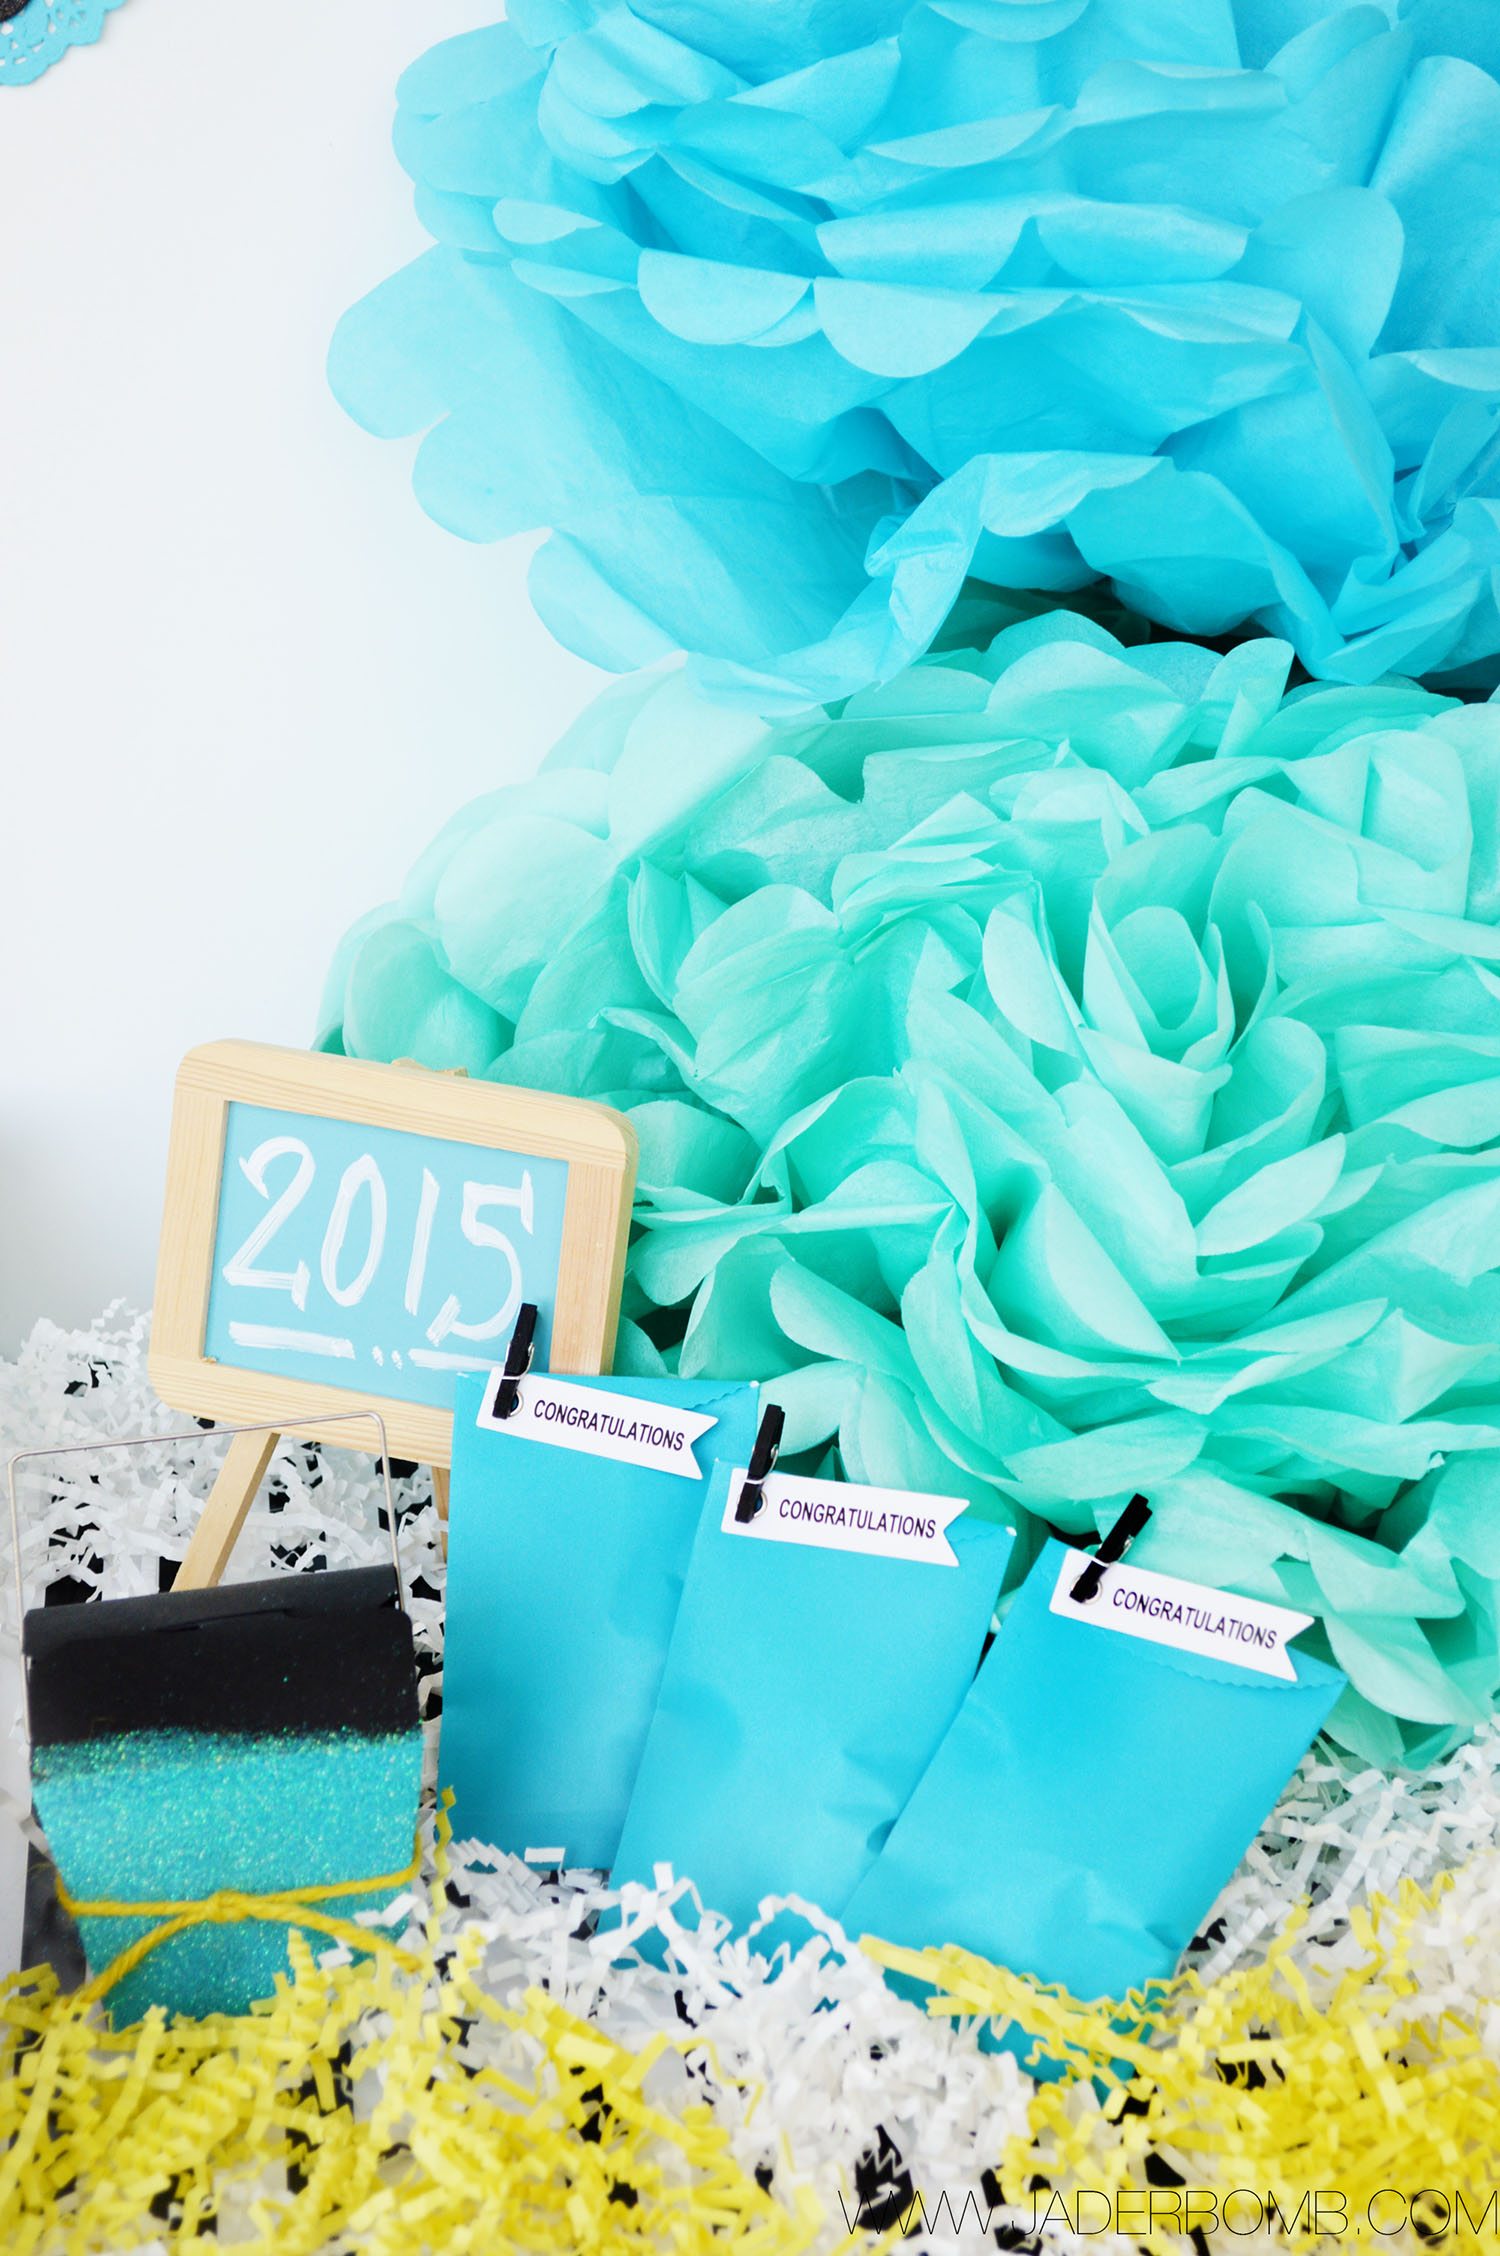
 For today’s post I wanted to use colors that are happy and bright. Turquoise and Yellow can be used for any gender or age and I think it will make everyone smile. Everything I used today was from the Celebrate It line at Michaels.
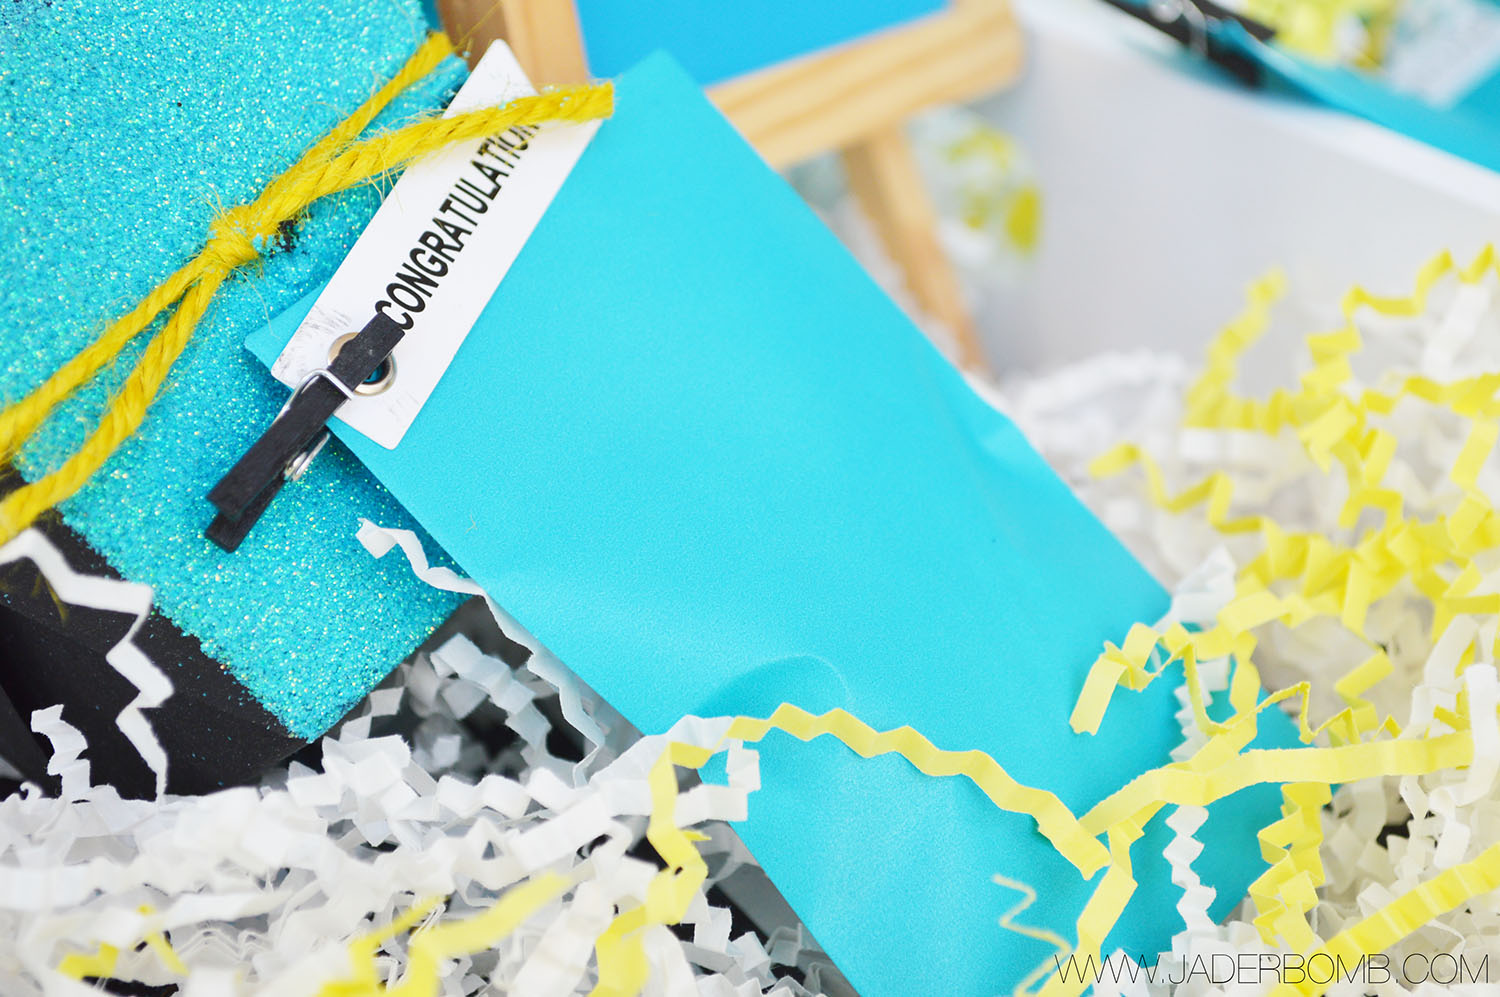
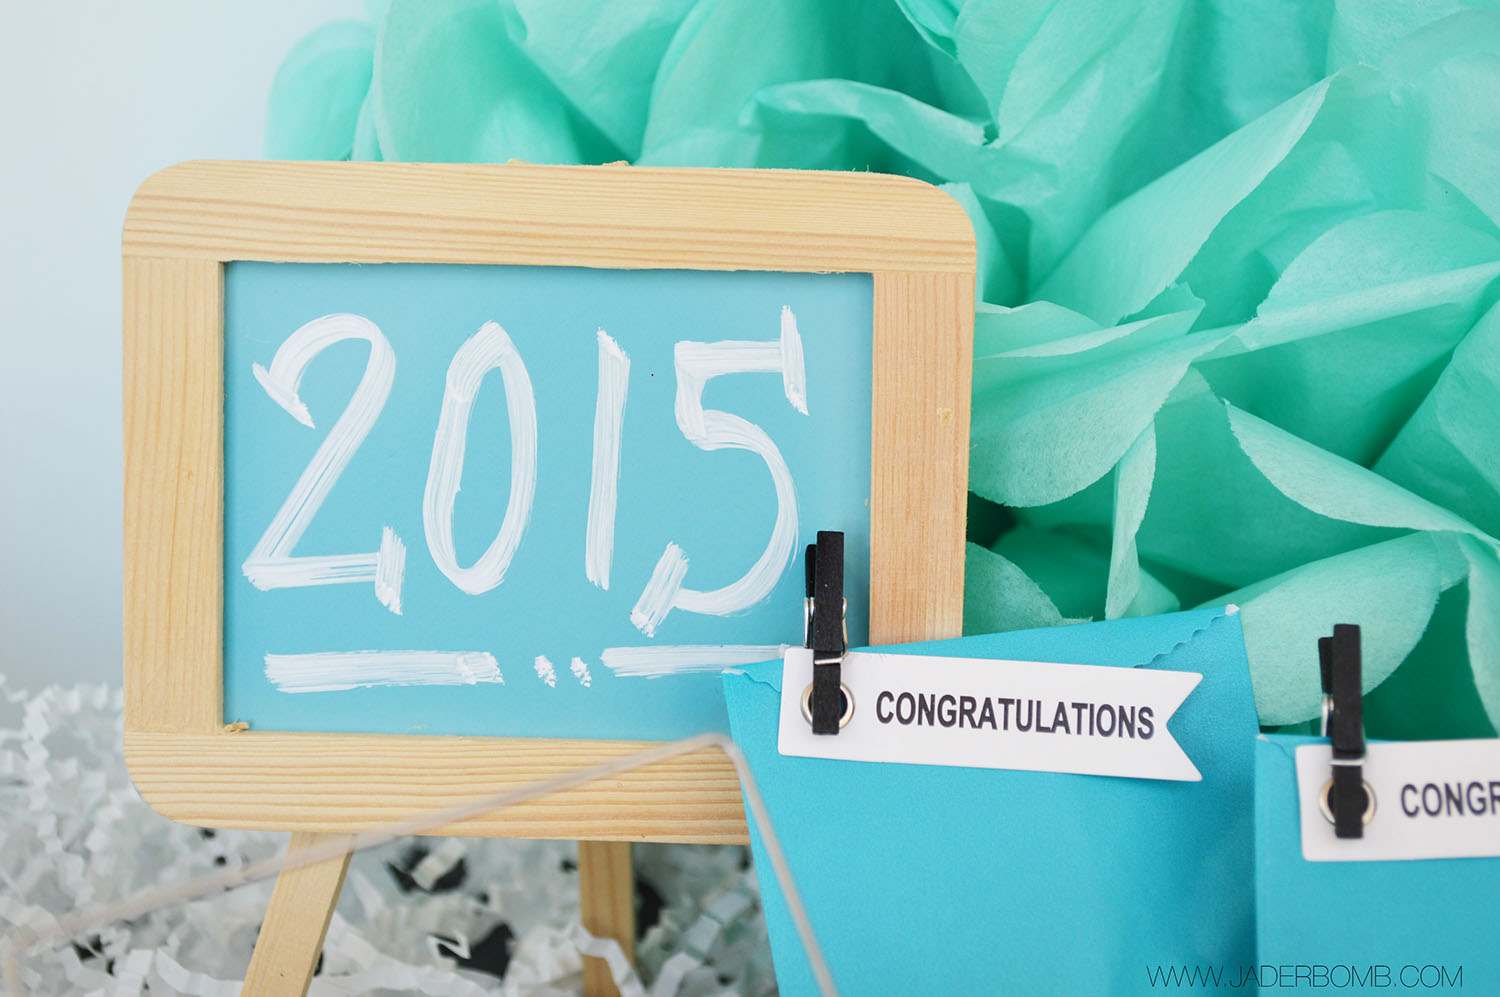 I put yummy mints in these bags for the guests. You can dress them up with miniature clothespins and a tag saying congrats!
 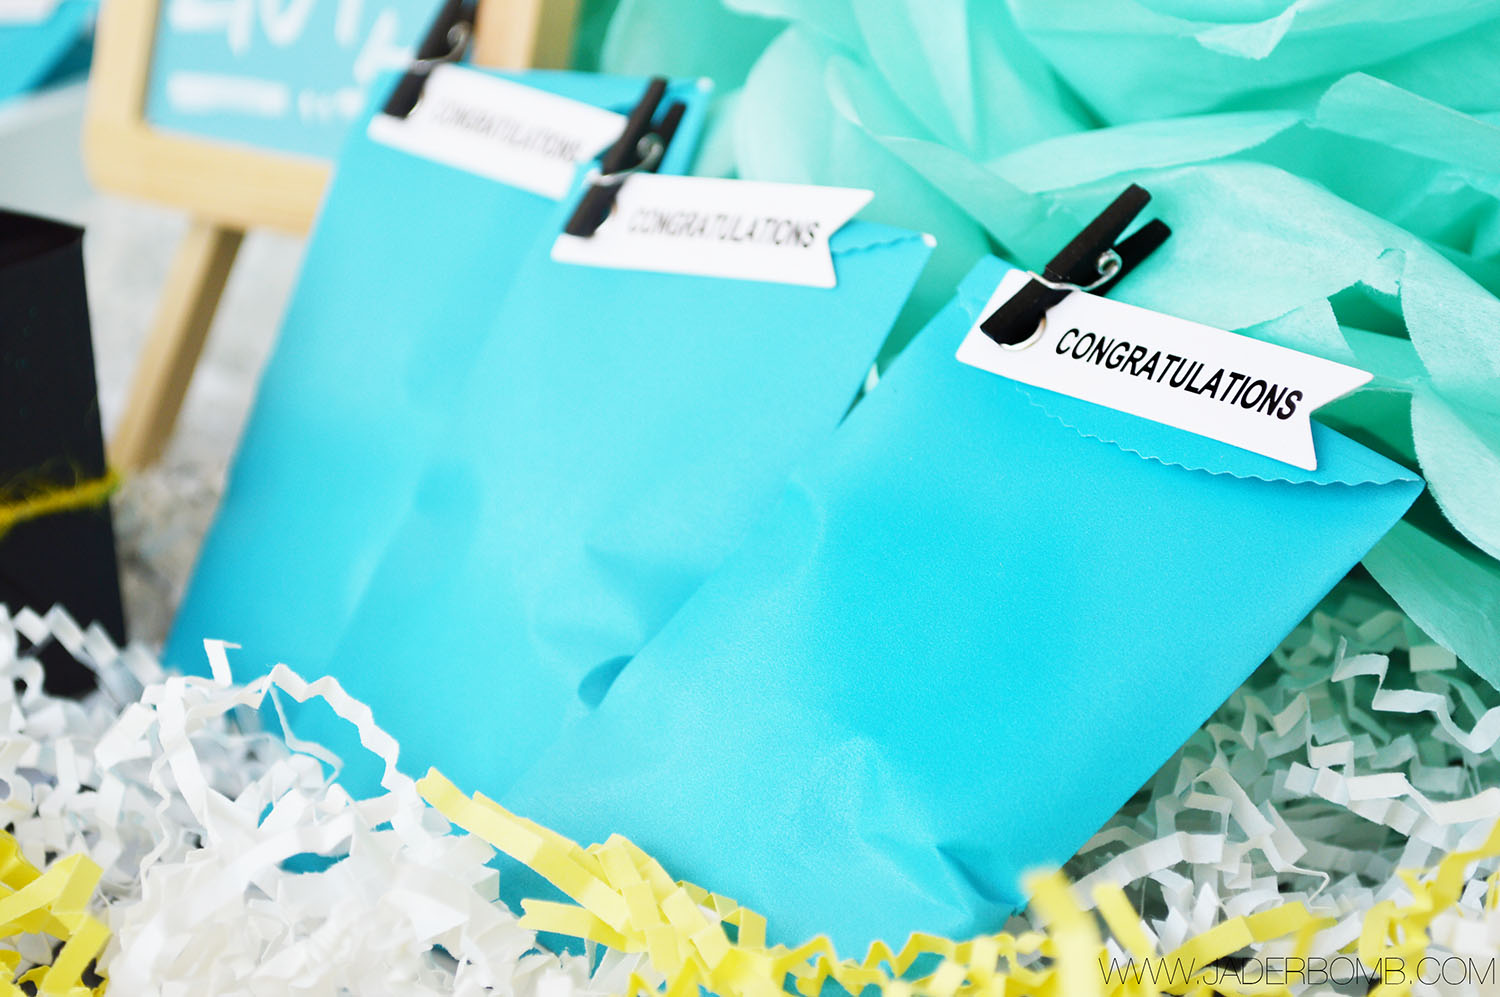 I also found these darling black and white striped lanterns in the $1 bins also. I think black and white can be added to ANYTHING and they go great with my color theme. You can hang these from the ceiling or place them on your table settings like I did. The possibilities are endless!
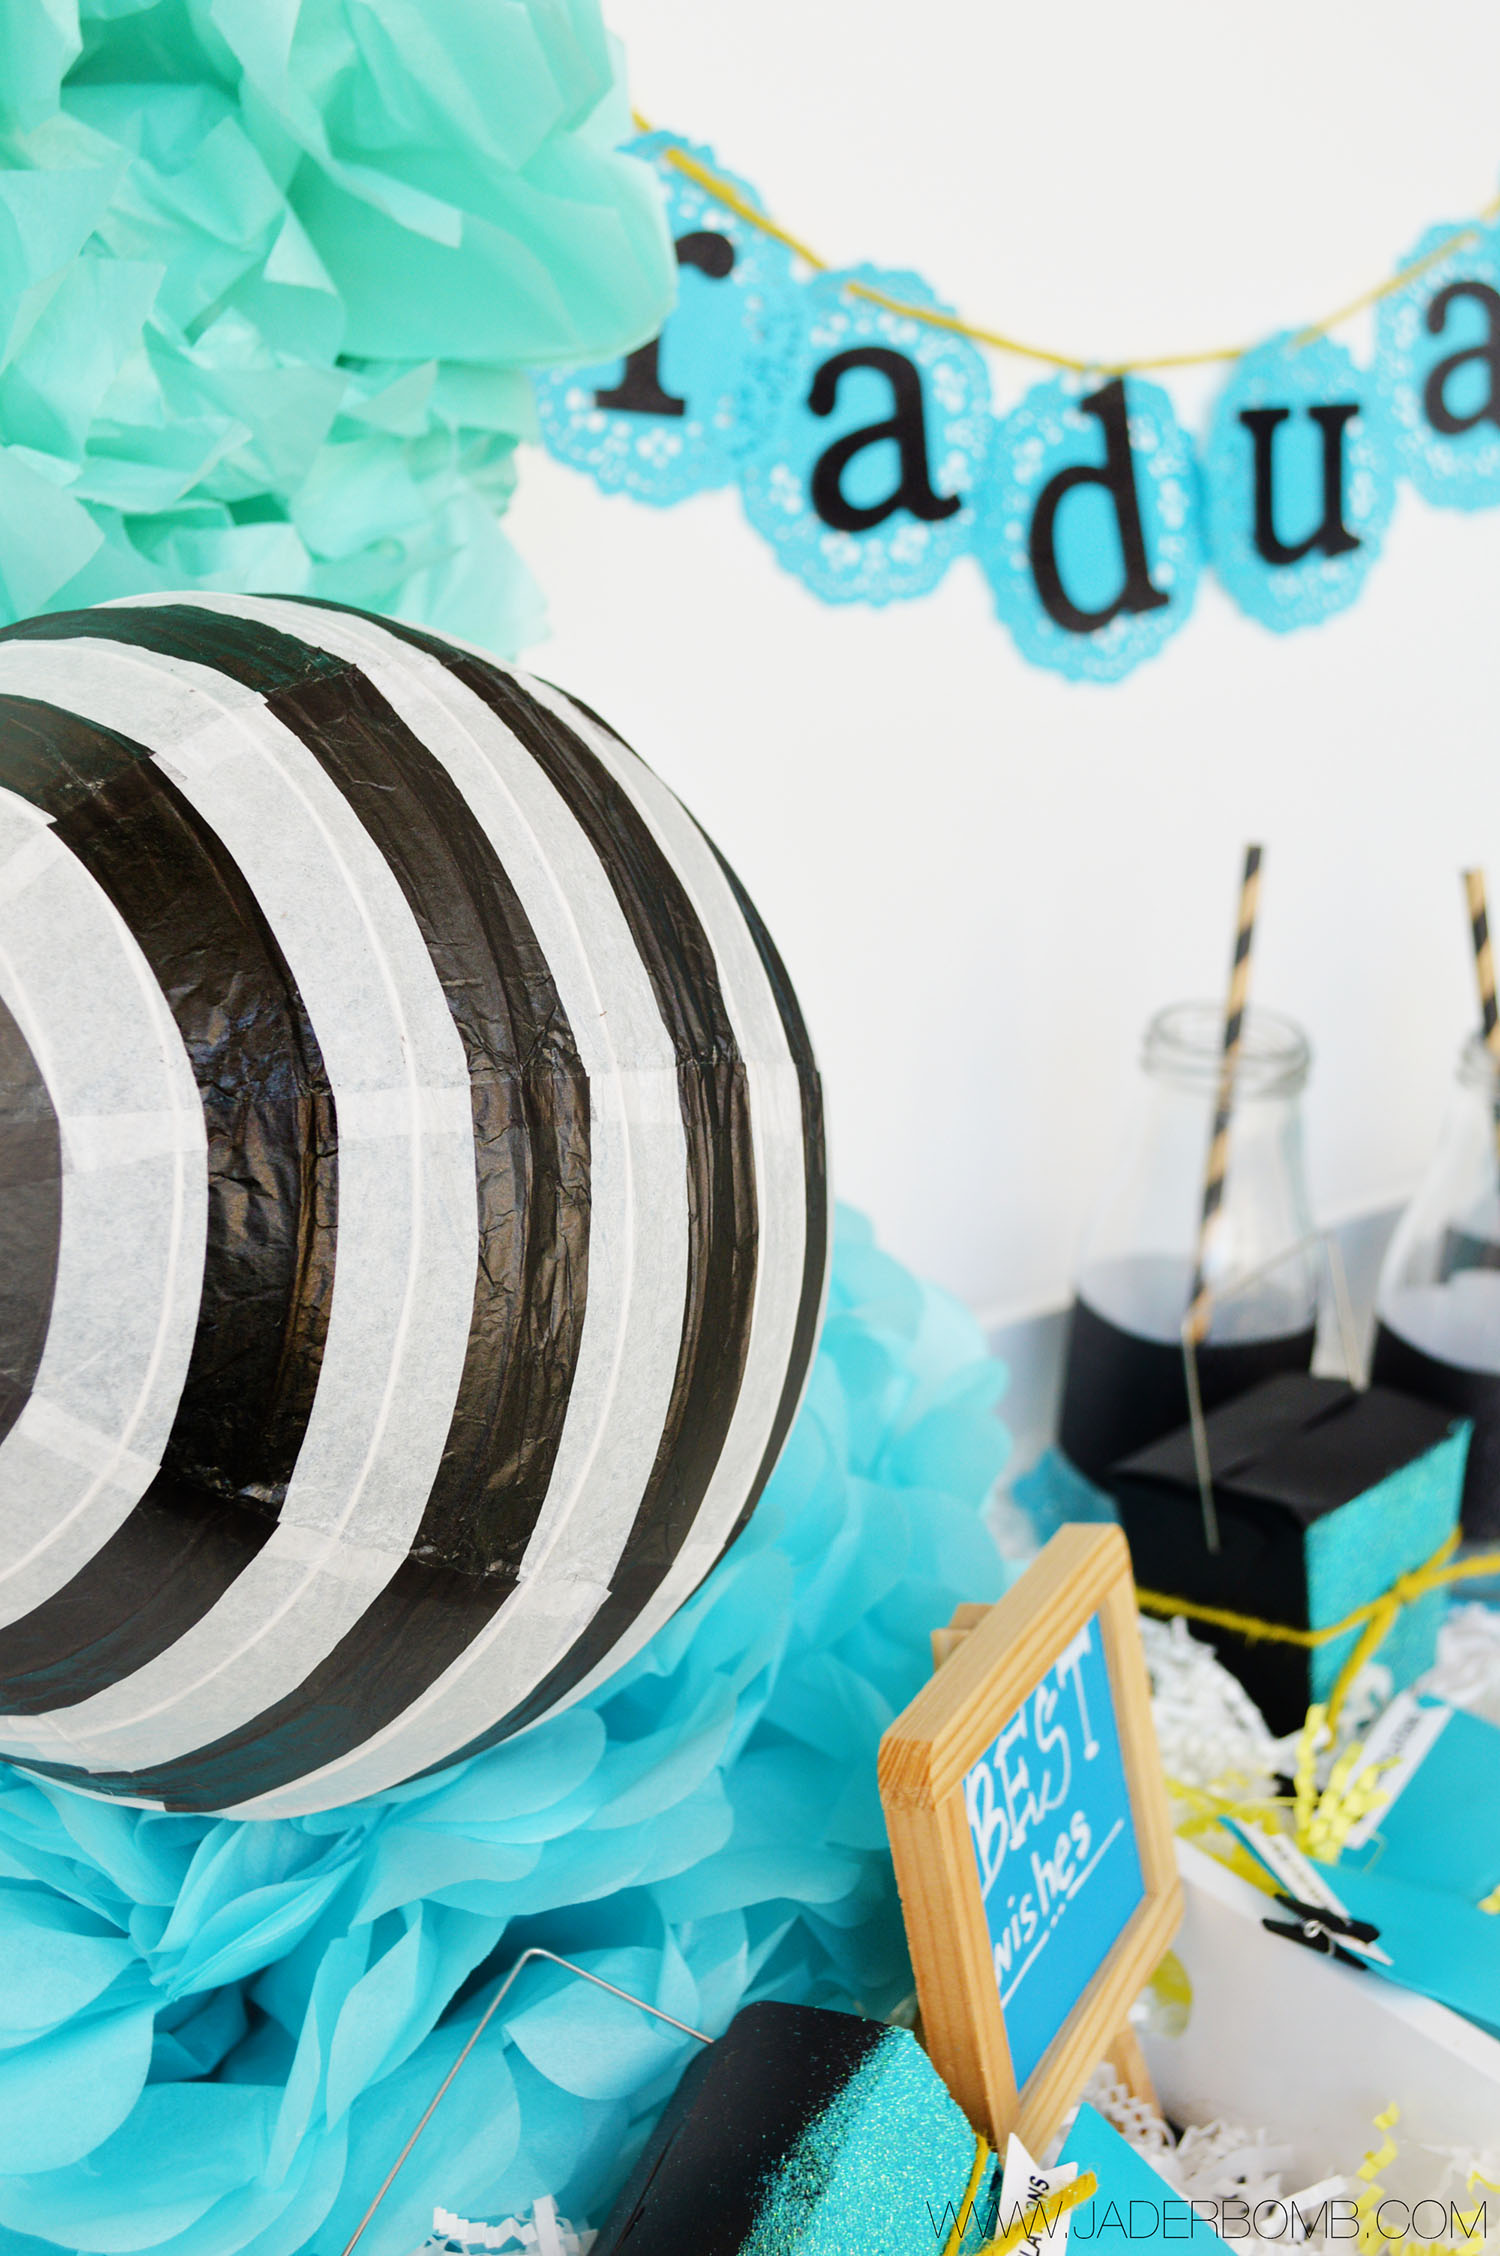 For my graduate banner I used turquoise doilies from the Celebrate It section and placed adhesive glittered letters in the center of them.
 I think every party needs a book for your guests to sign. I picked up this book in the Celebrate It section and added this cute 3-Dimensional sticker to the top of it. This sticker was also in the Celebrate It section. I am so in love with this book!
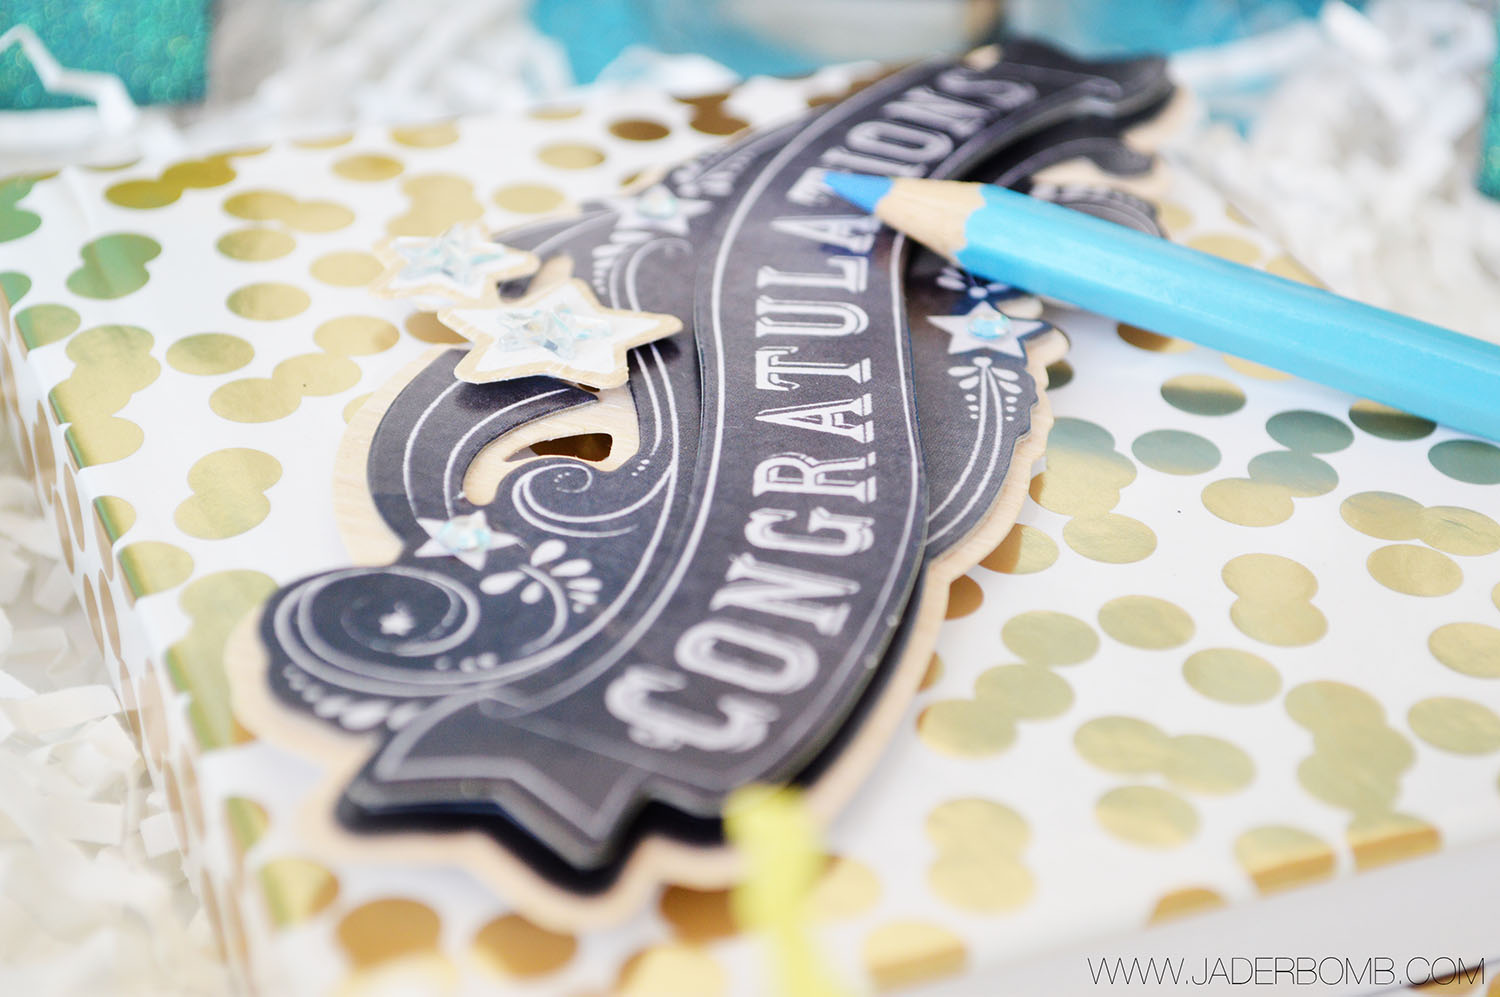 I love that Michaels offers twine in so many different colors, this yellow really makes my banner POP!
 For drinks I picked up these cute vintage looking milk glasses and added a strip of adhesive glitter tape around the center. You could take this a step further and add letters with a name on them. I wanted them to be really simple and elegant. When done add a paper straw to them and VOILA, instant cuteness!
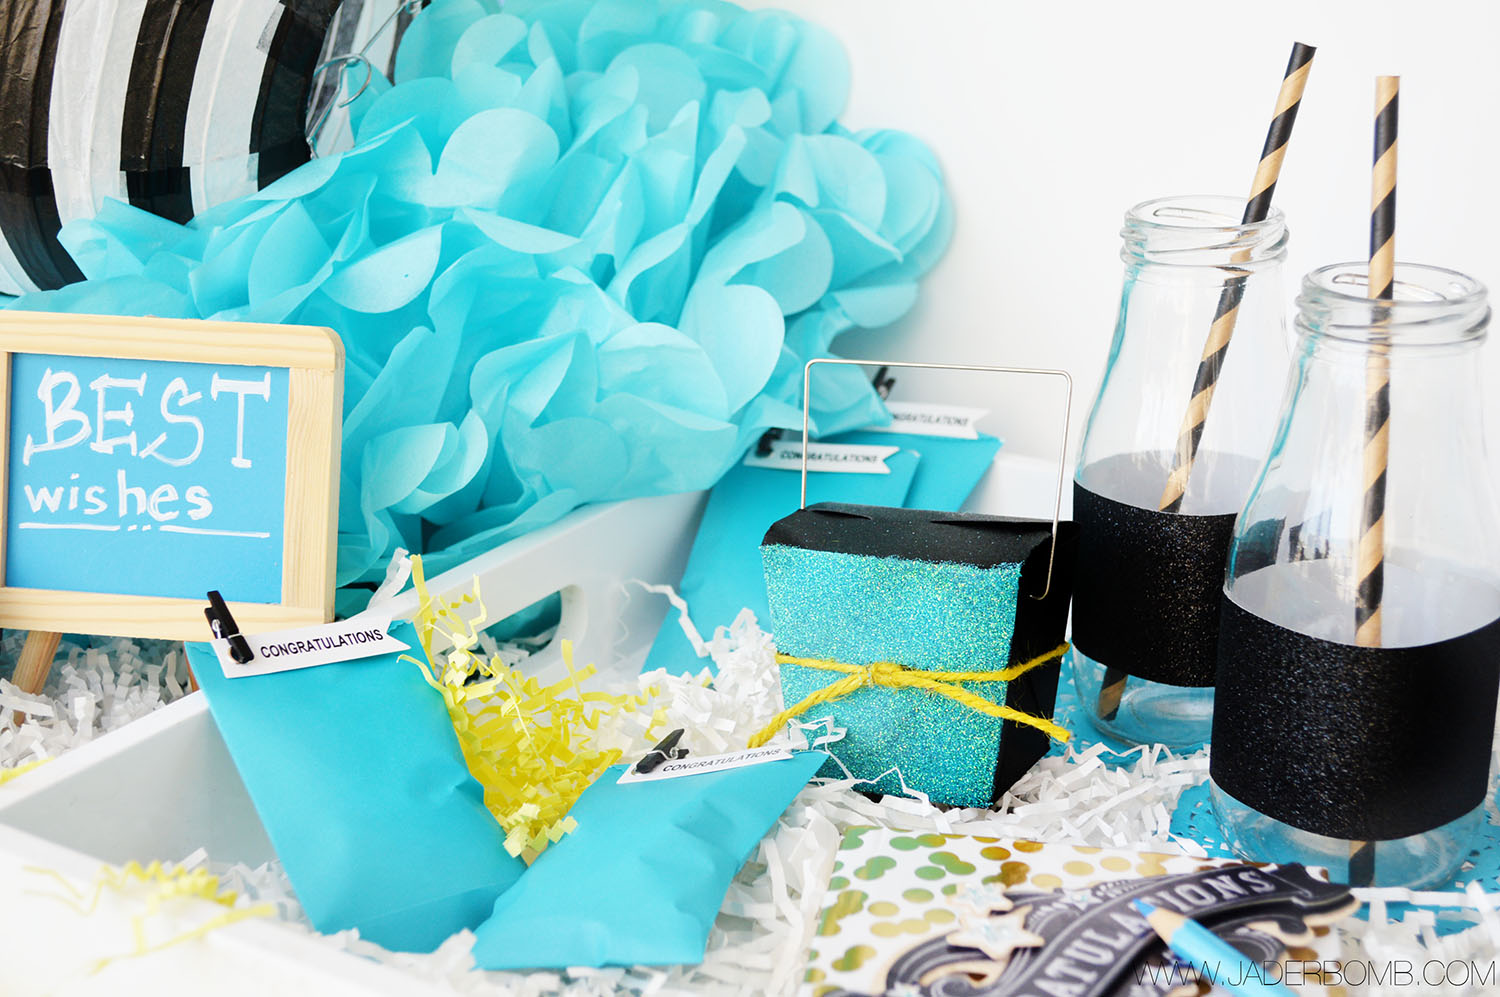 I love favors and when I saw these cute boxes I had to have them. They were too plain so I added adhesive spray to one side then sprinkled with turquoise glitter. You can also add a small piece of twine to tie everything together.
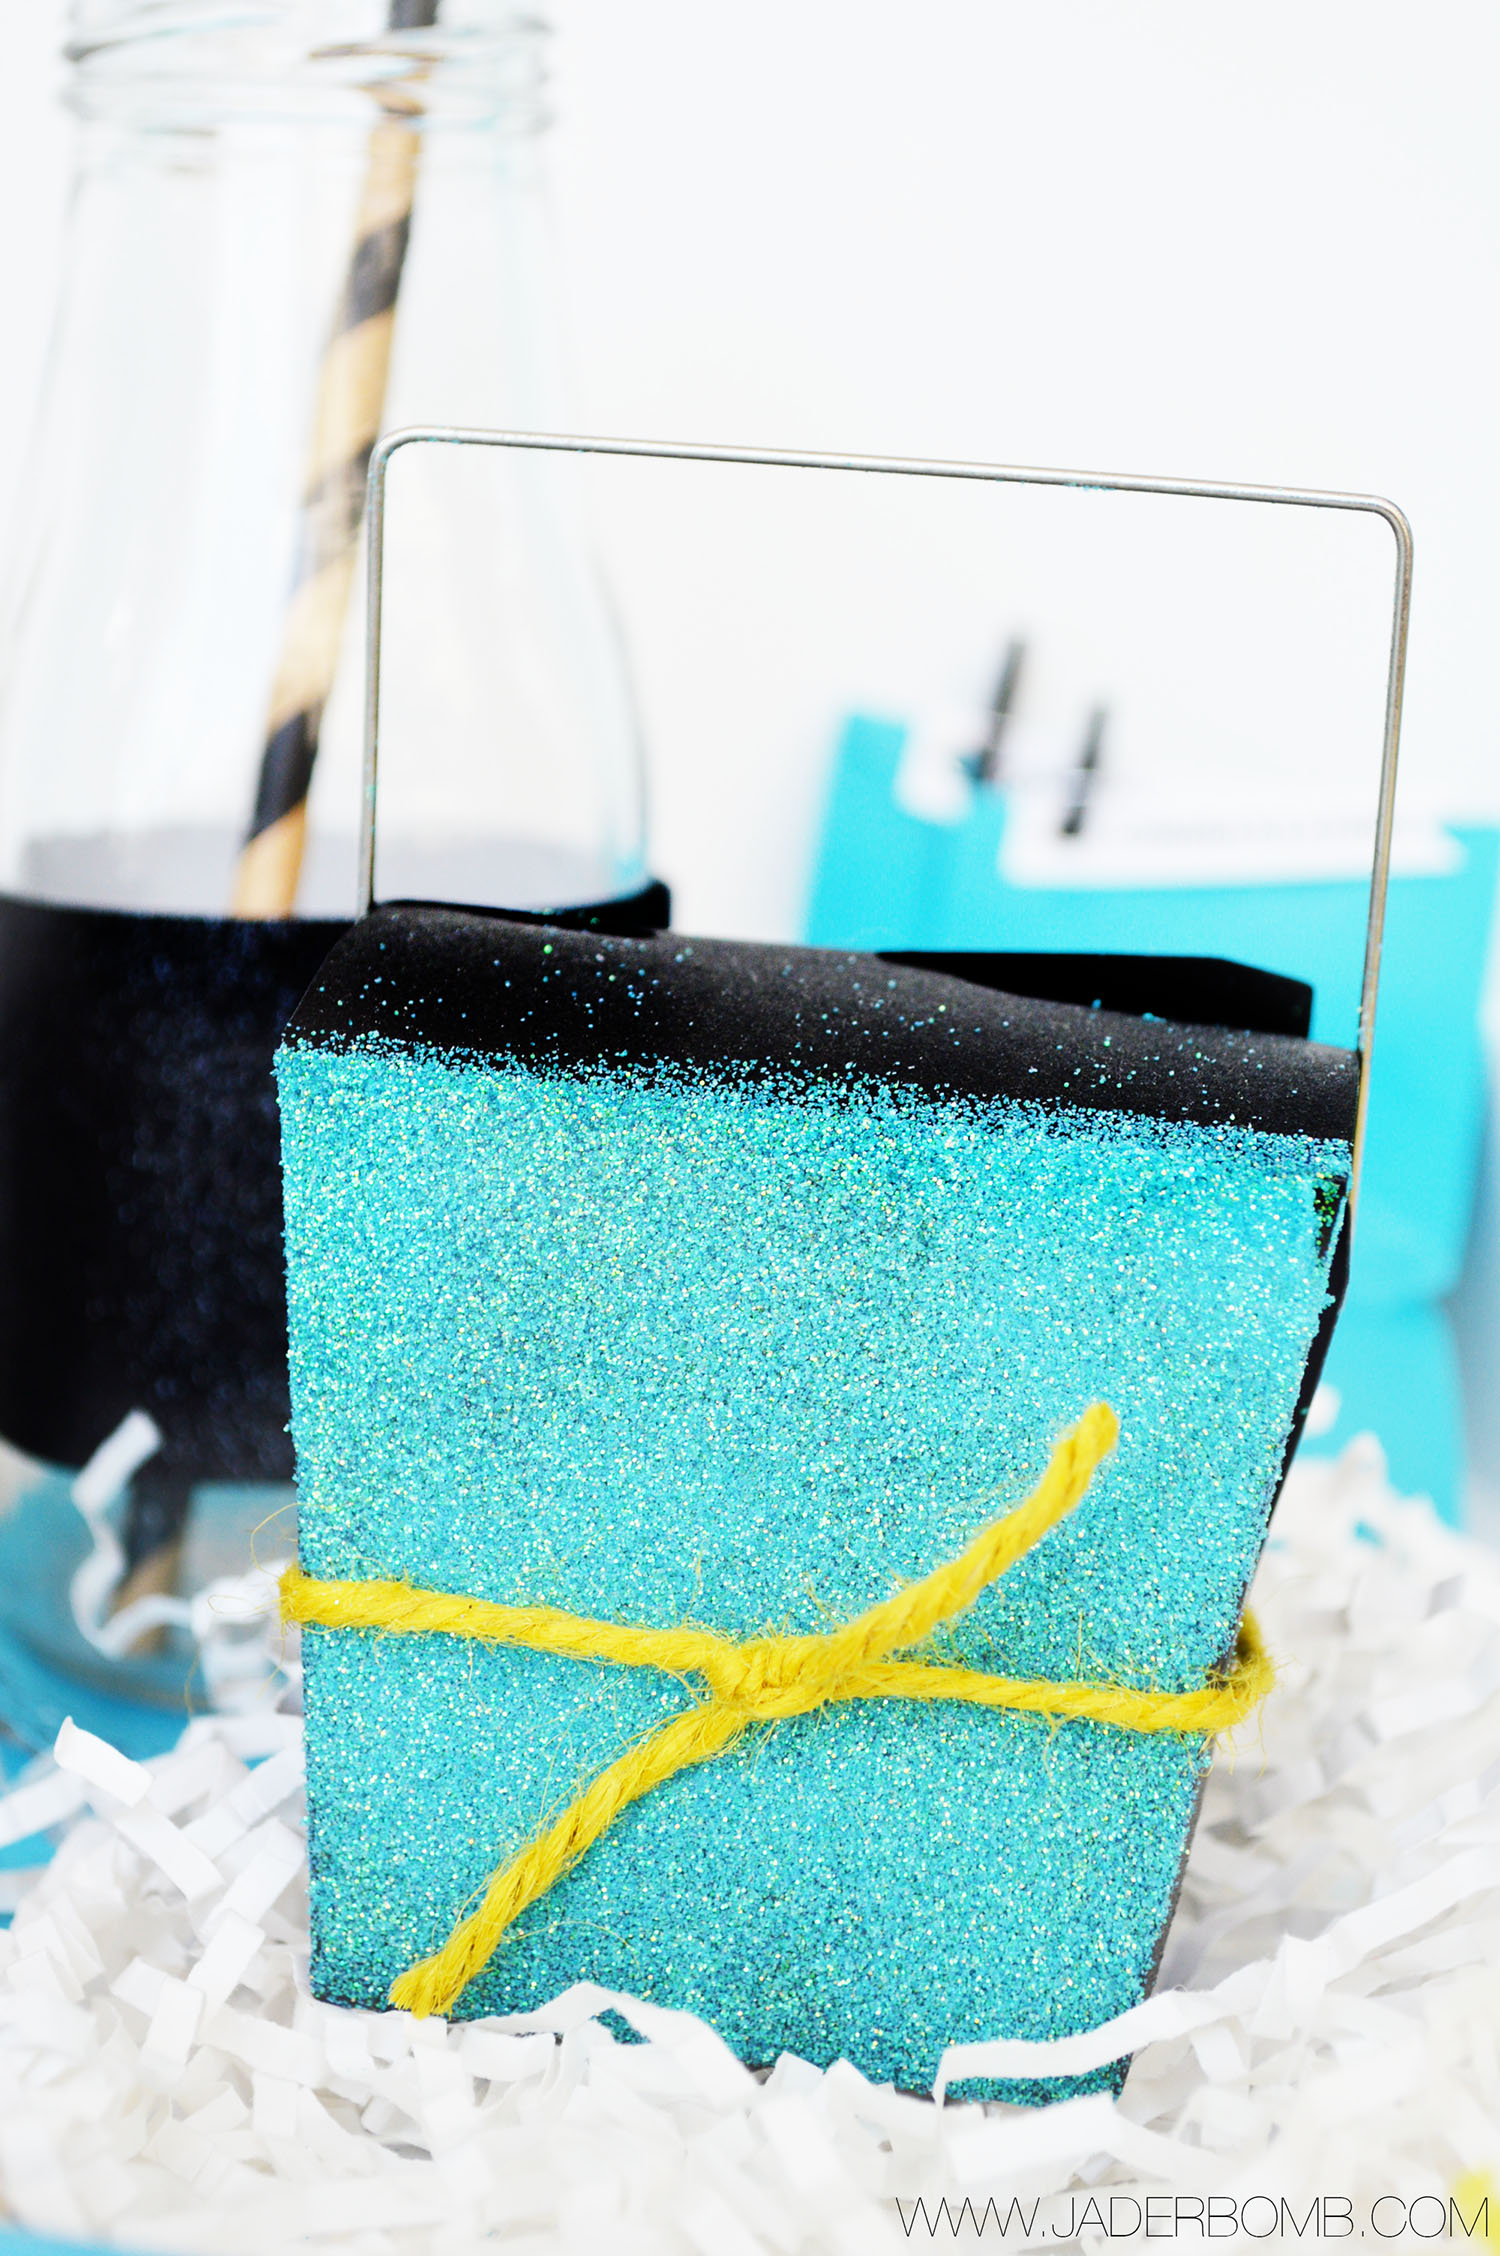 We all know my love for tissue paper pom poms. I bought a few colors but I stuck to my teal and light green for this party decor.
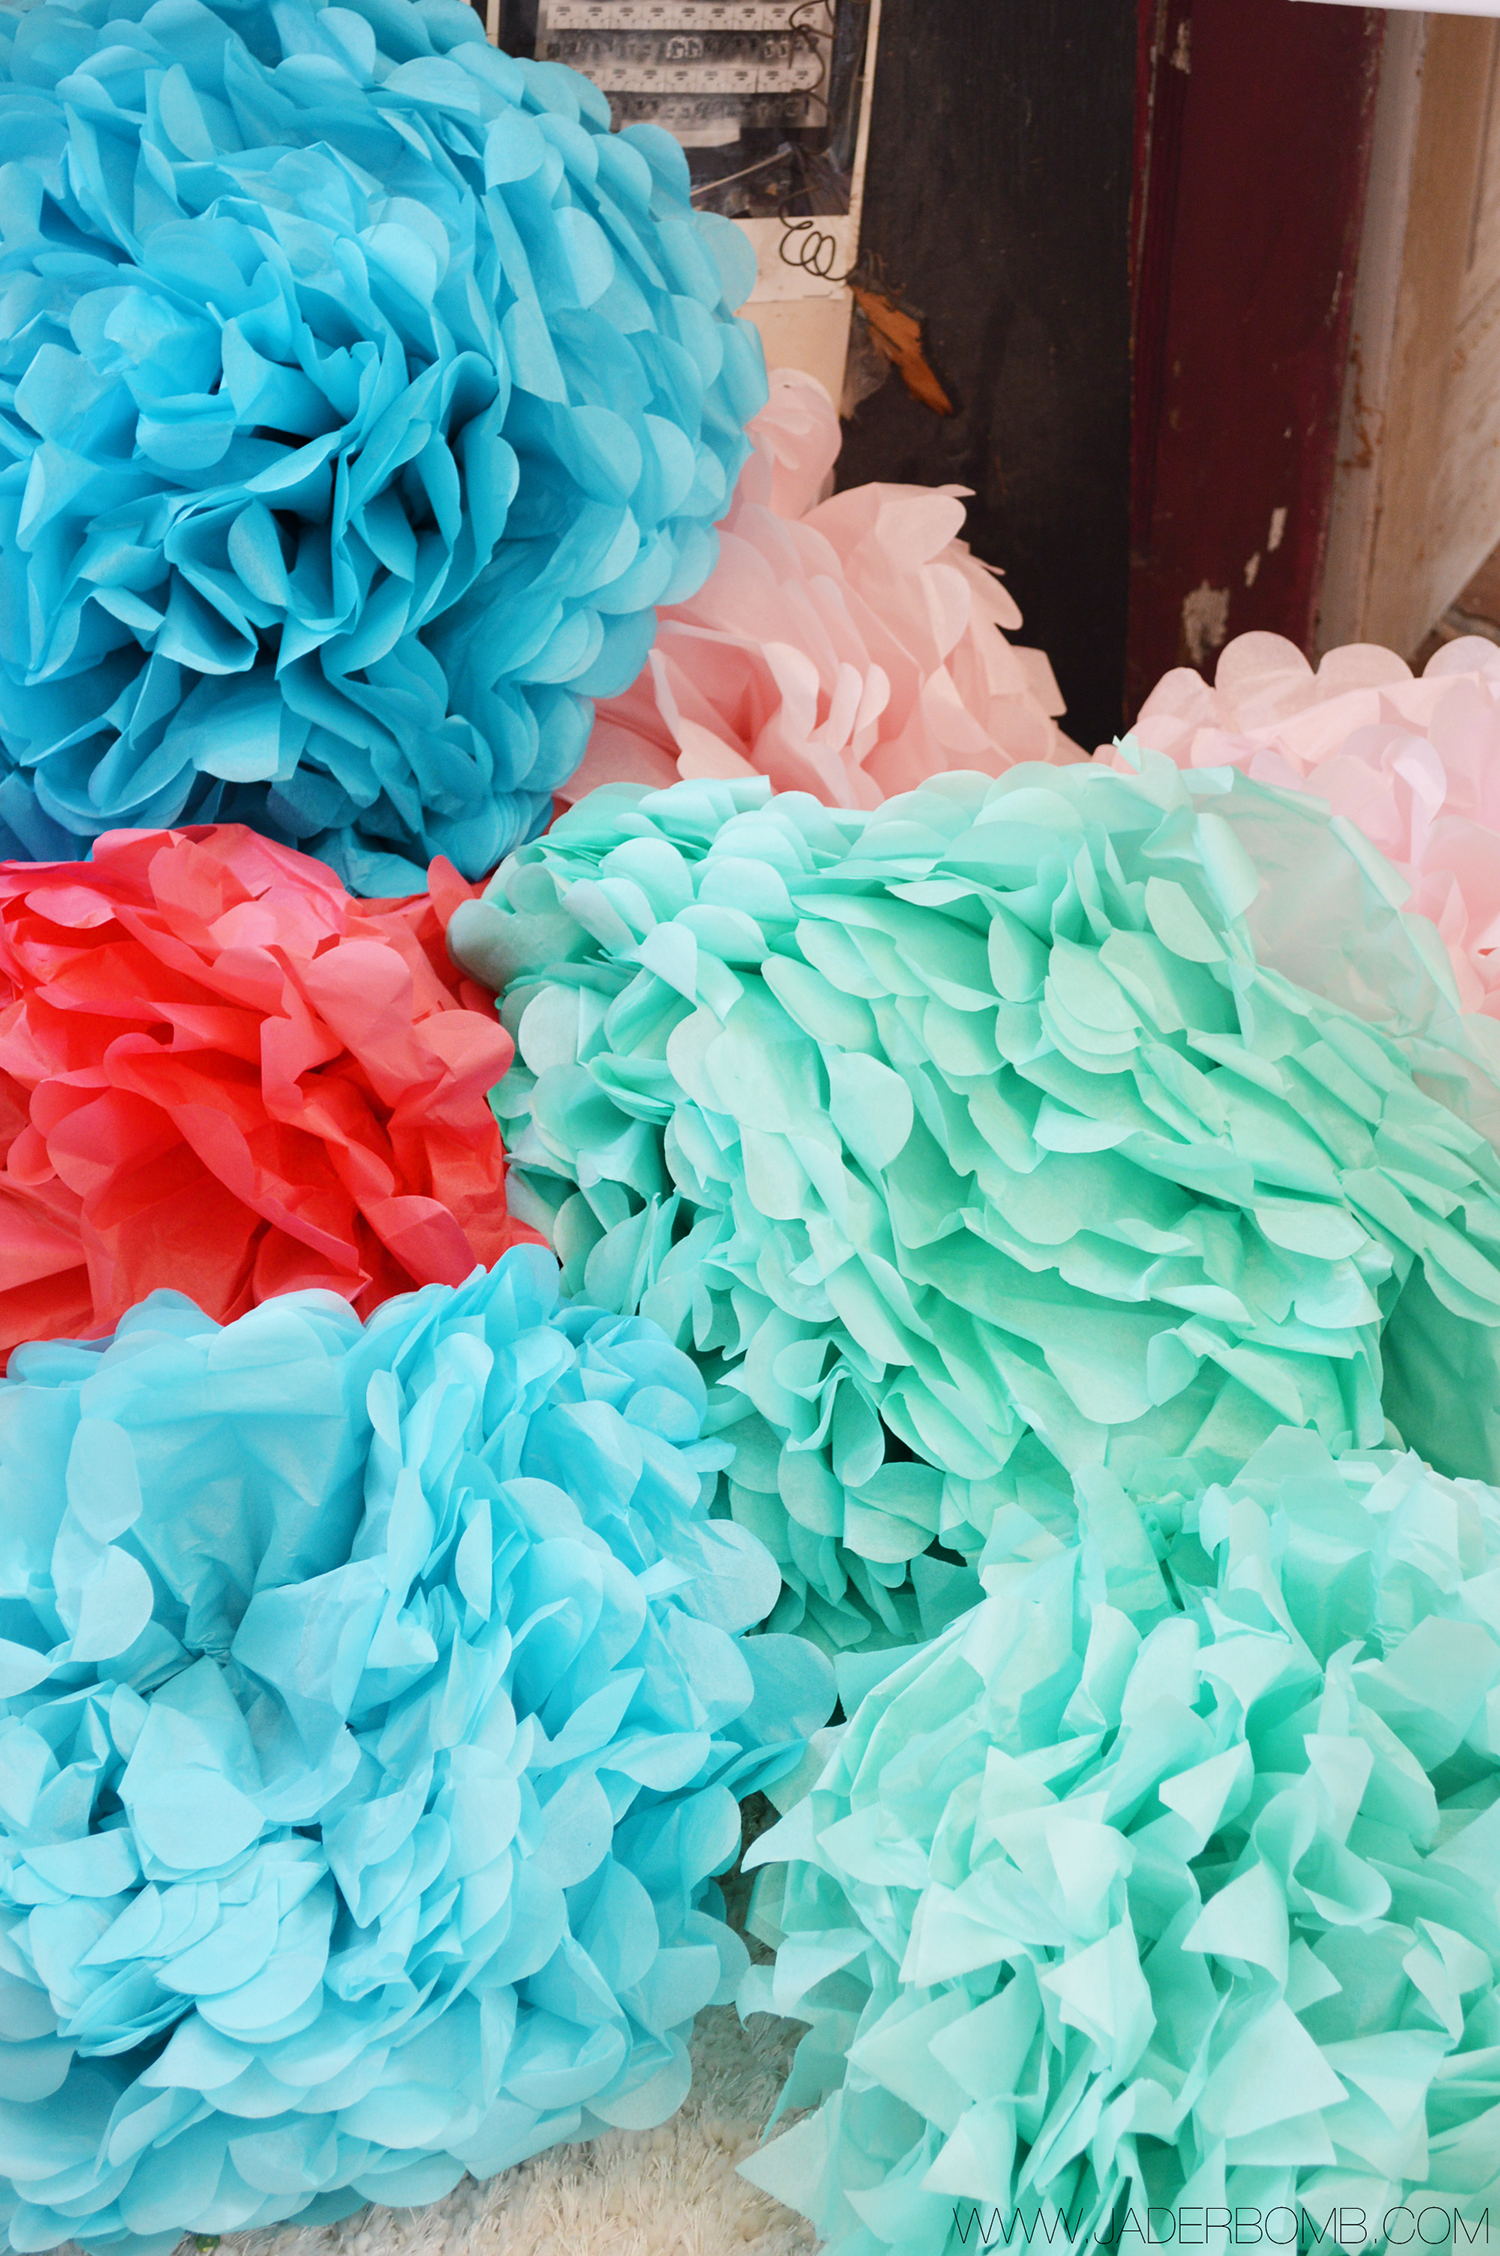

 I hope you enjoyed this post! I had a blast creating this party decor for you! Love you all and see you in the next post…
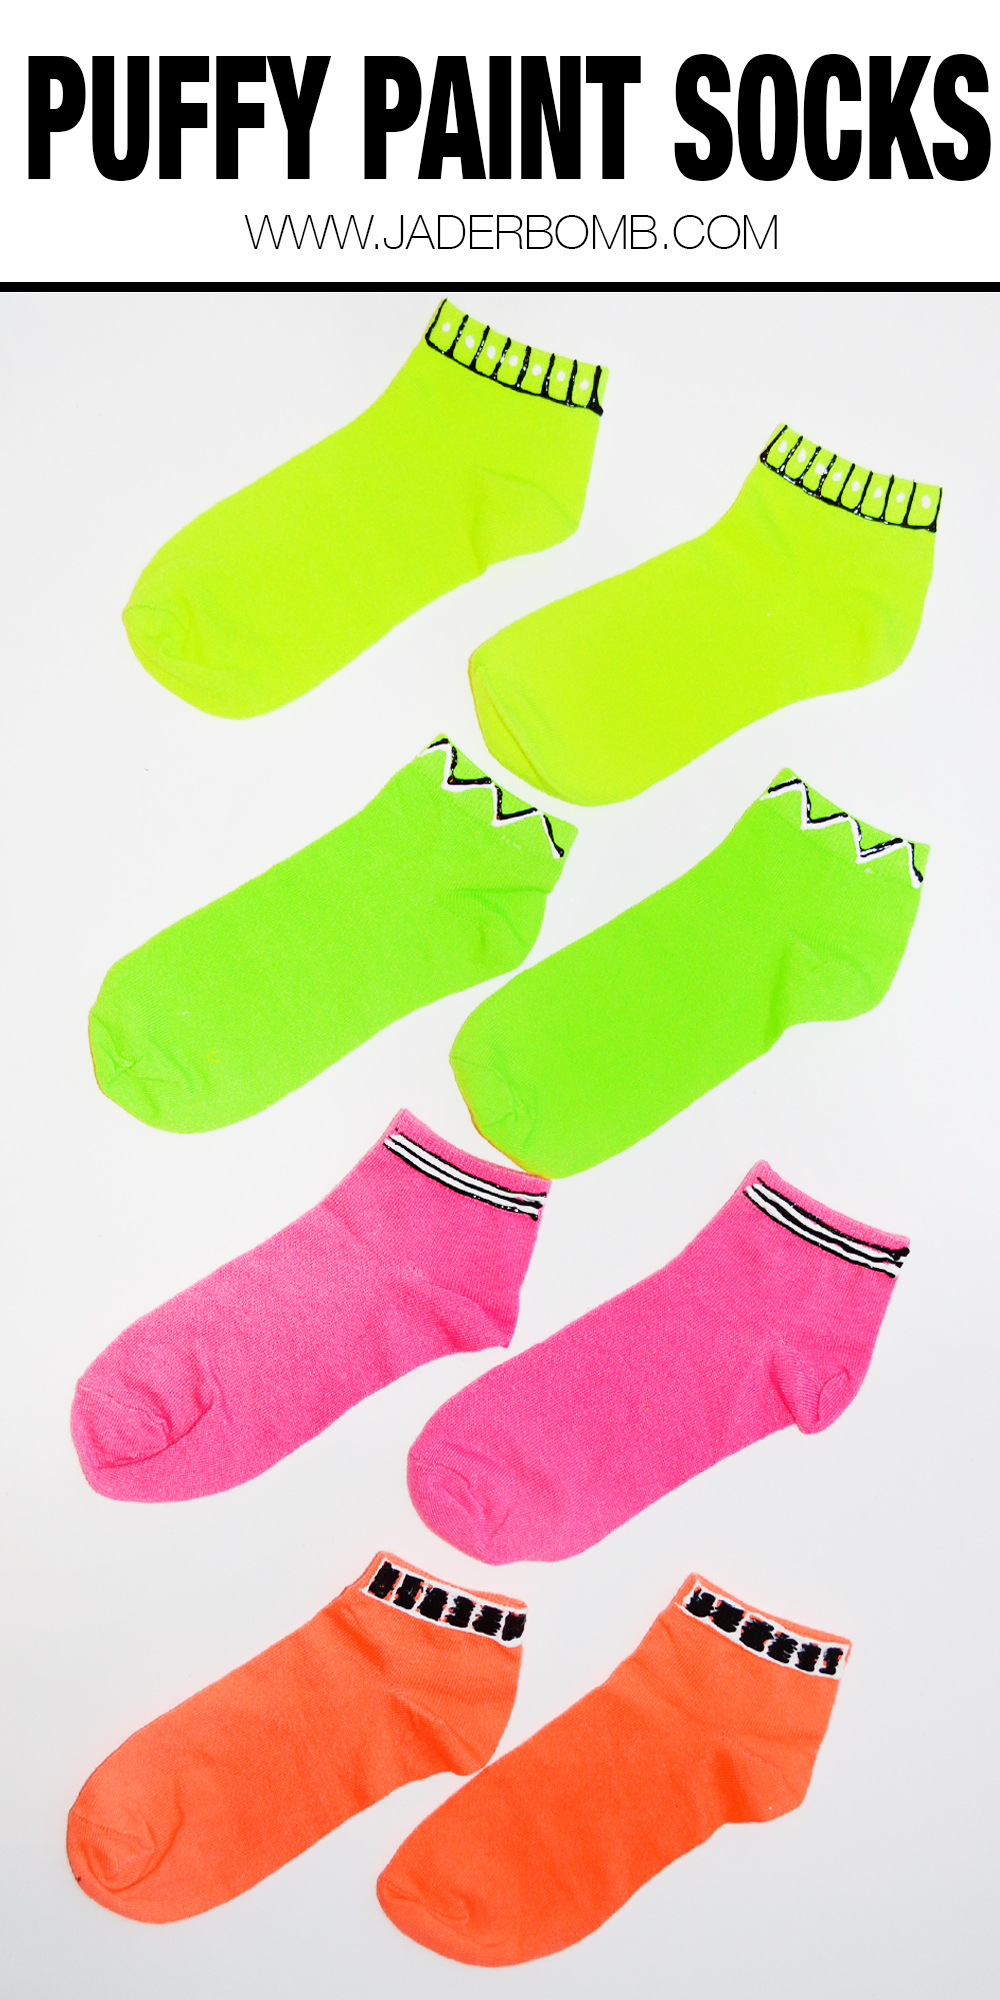
 I kinda fell in love with each pair but I absolutely love the pink with black and white stripes. Leave a comment in the comment section telling me which pair is YOUR favorite.
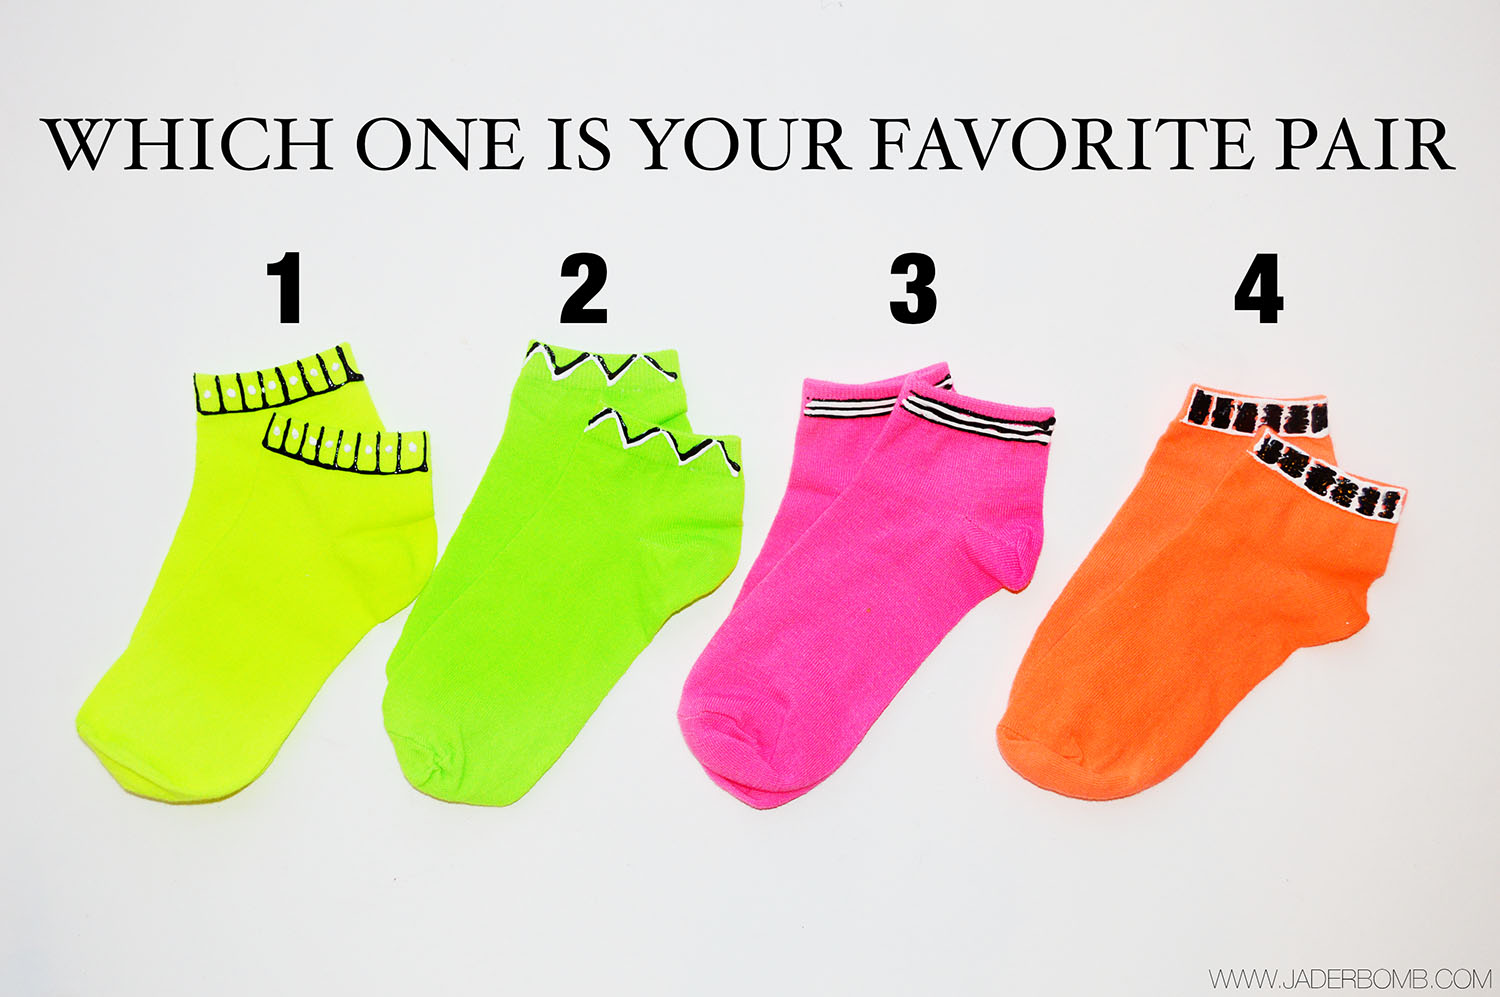
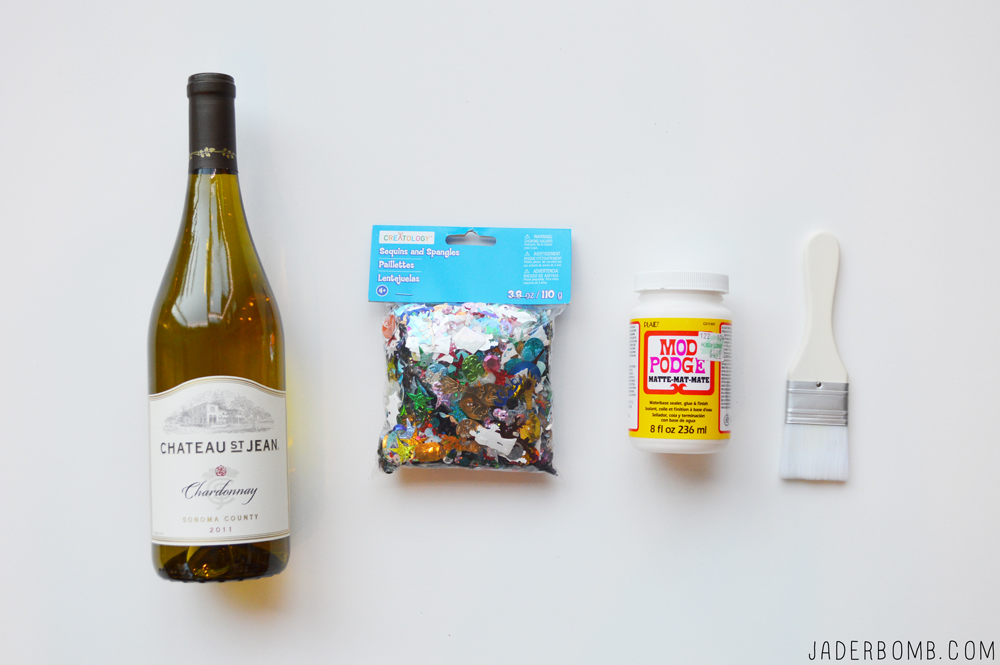
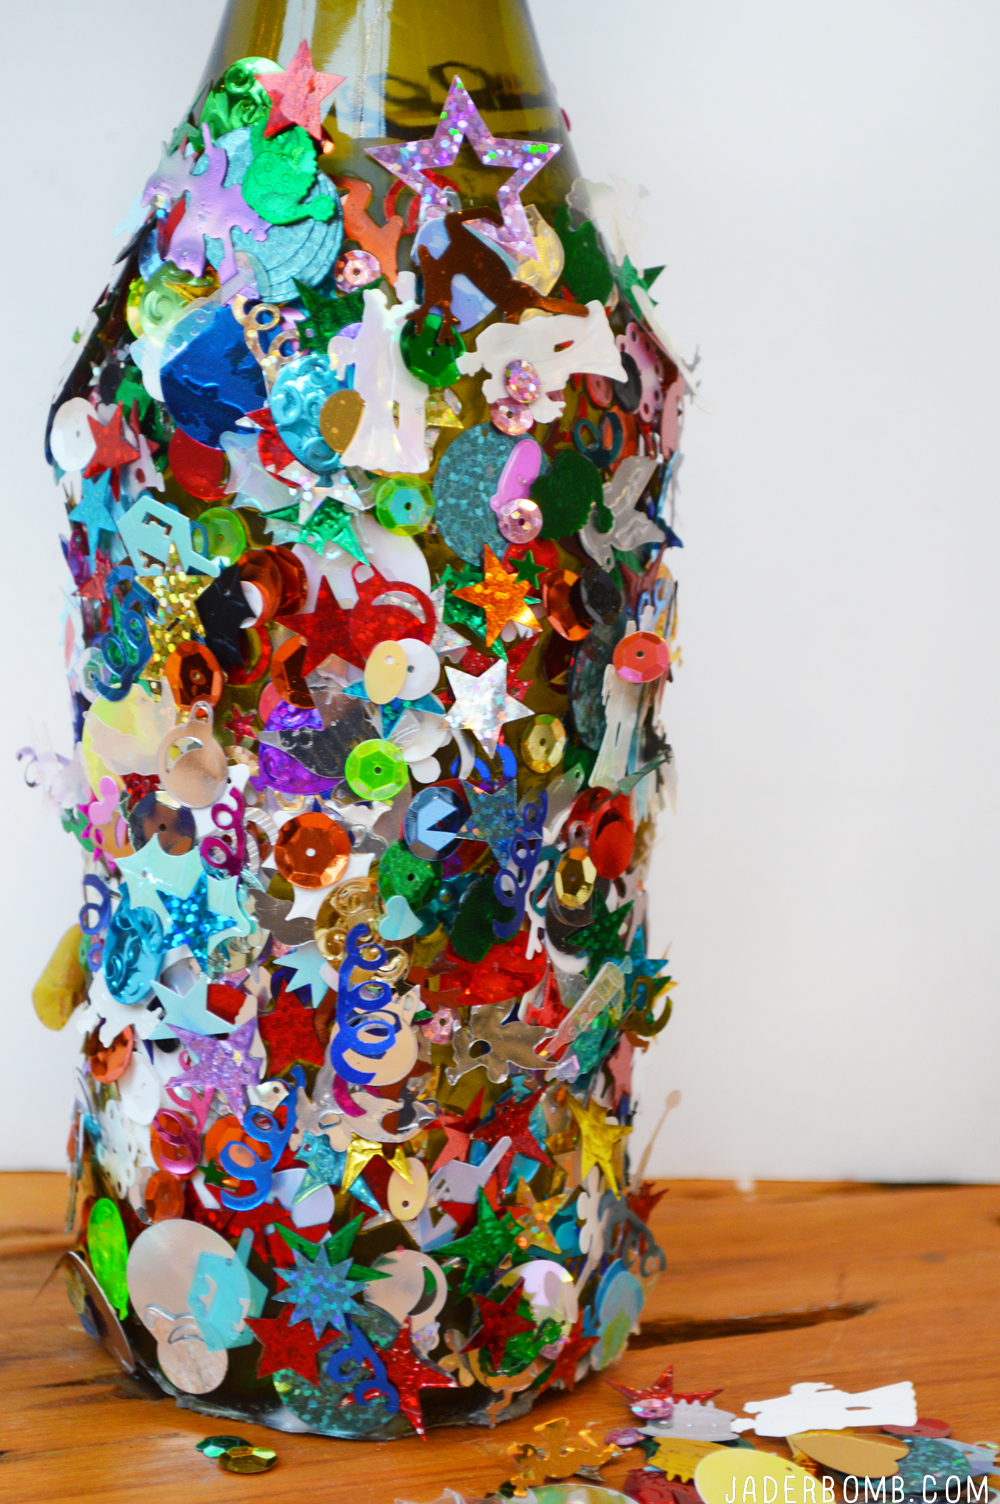

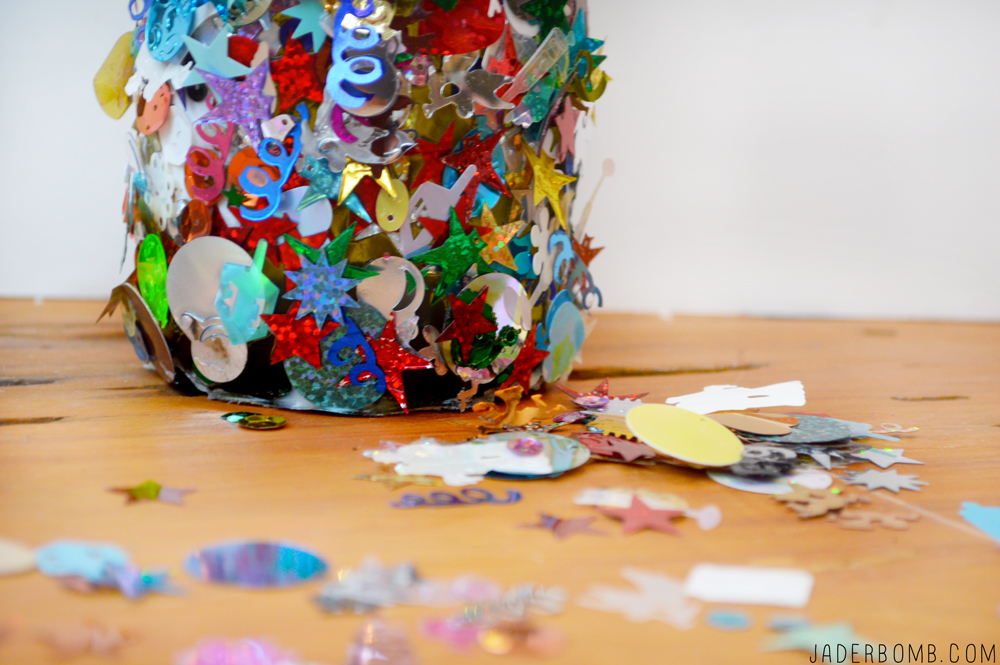 Now if you get cray cray and decide to drink strait out of the bottle be careful not to eat any confetti!