
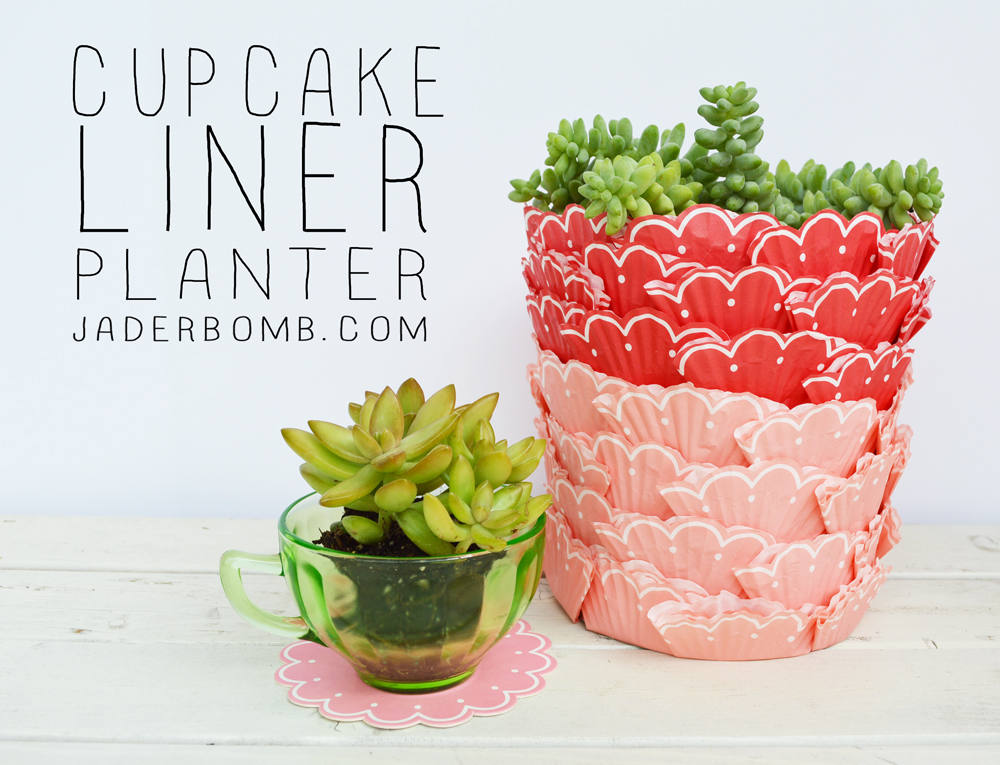
Happy freaking Tuesday, yo! I wish I could say I felt as pretty as these gorgeous pink roses but let’s face it, it’s the beginning of a very busy week and I am already foreseeing oily hair days and no makeup. That should make for an interesting combination. If you like flowers then you have to check out what I made for these lovely succulents. I also made some lovely roses here, they are totally NOT real.
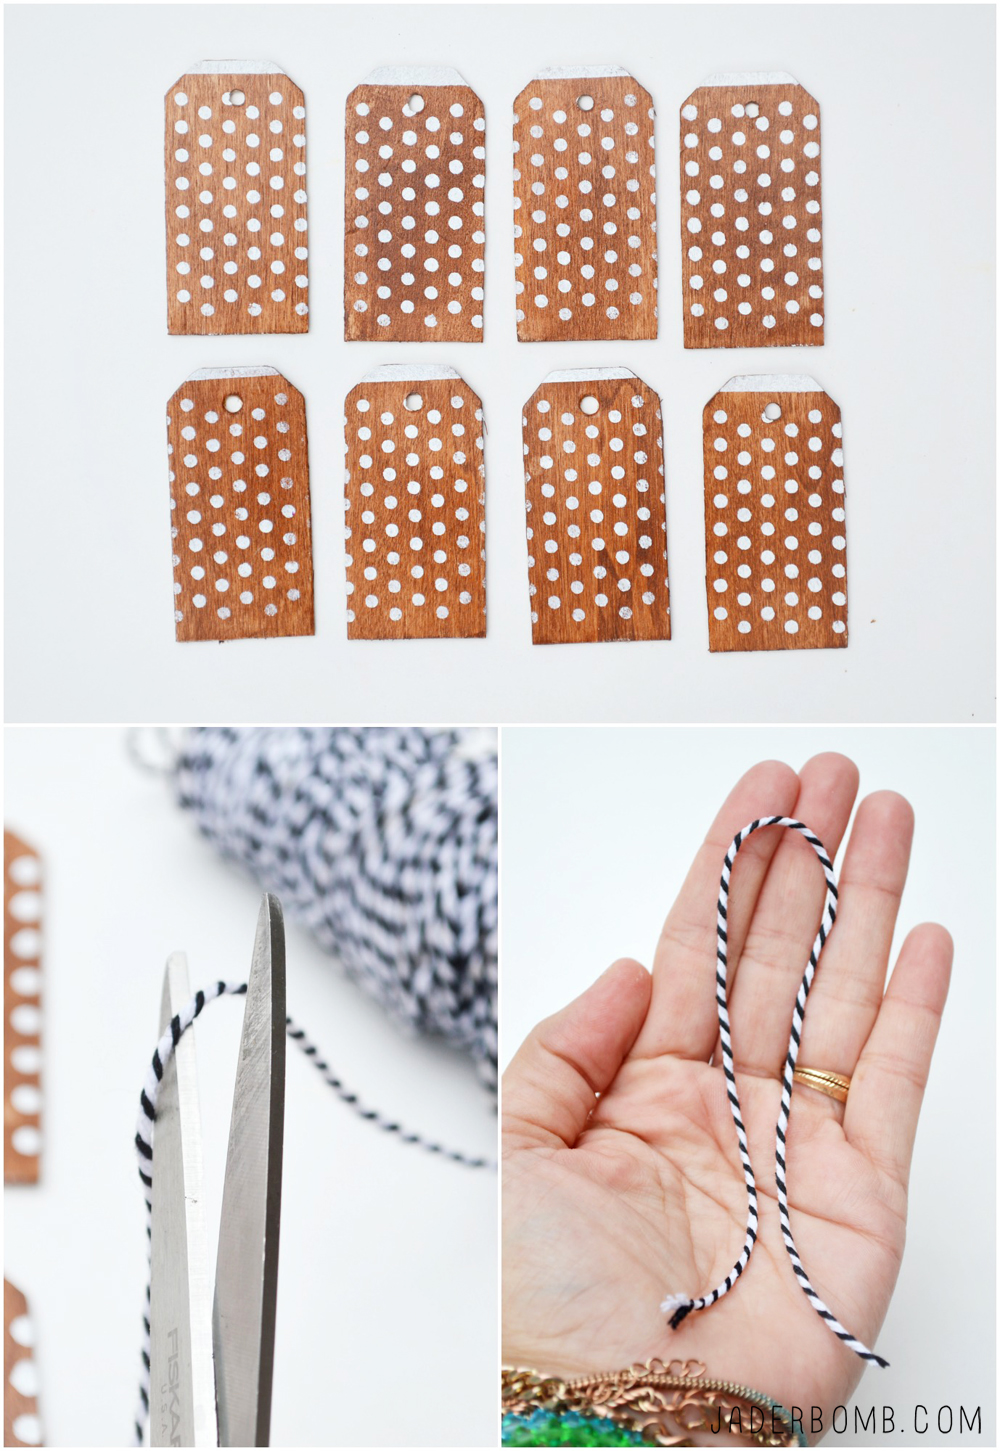
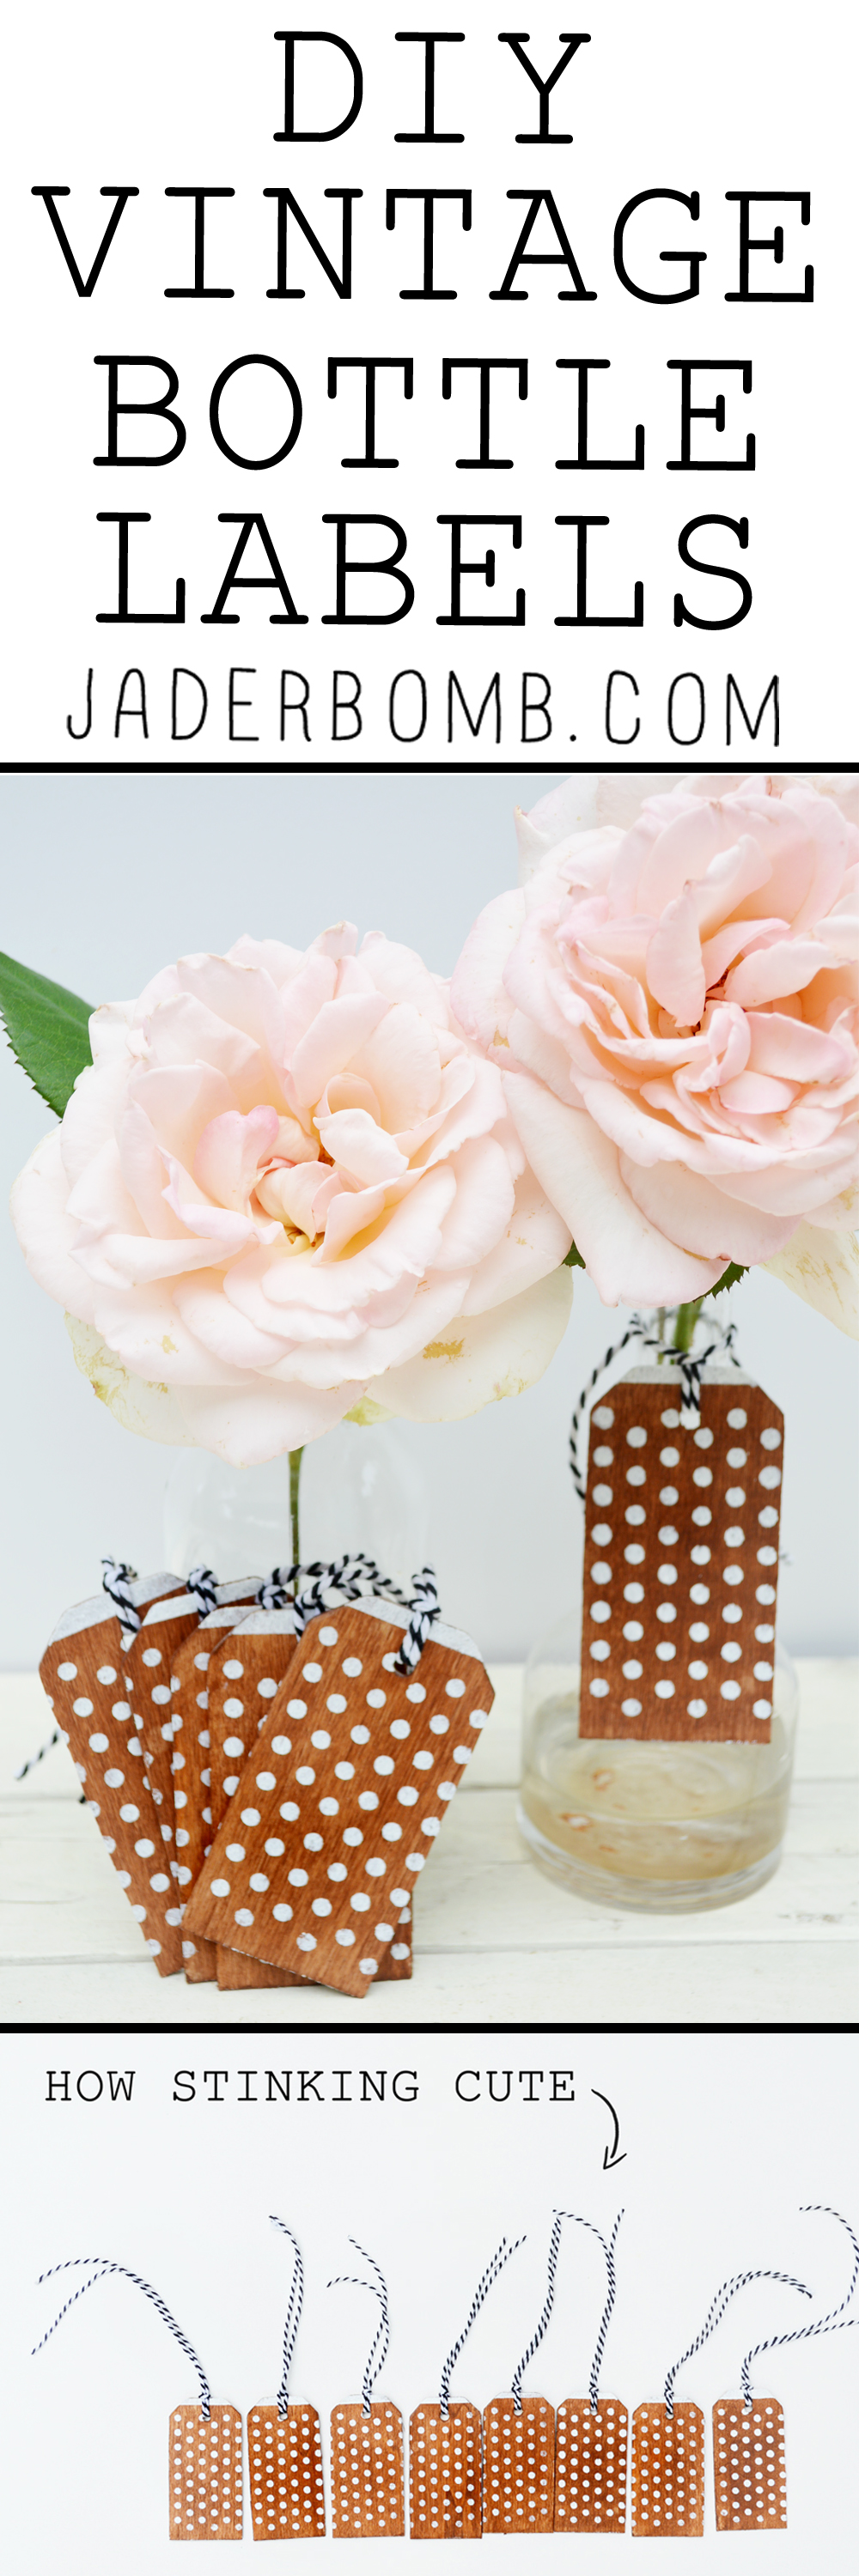 I think the best thing about this this is the polka dots. For real, you know how hard it is to get perfect circles? Well good thing my friend Amy from Mod Podge Rocks created these pretty snazzy stencils. You will never look at polka dots the same, eva!
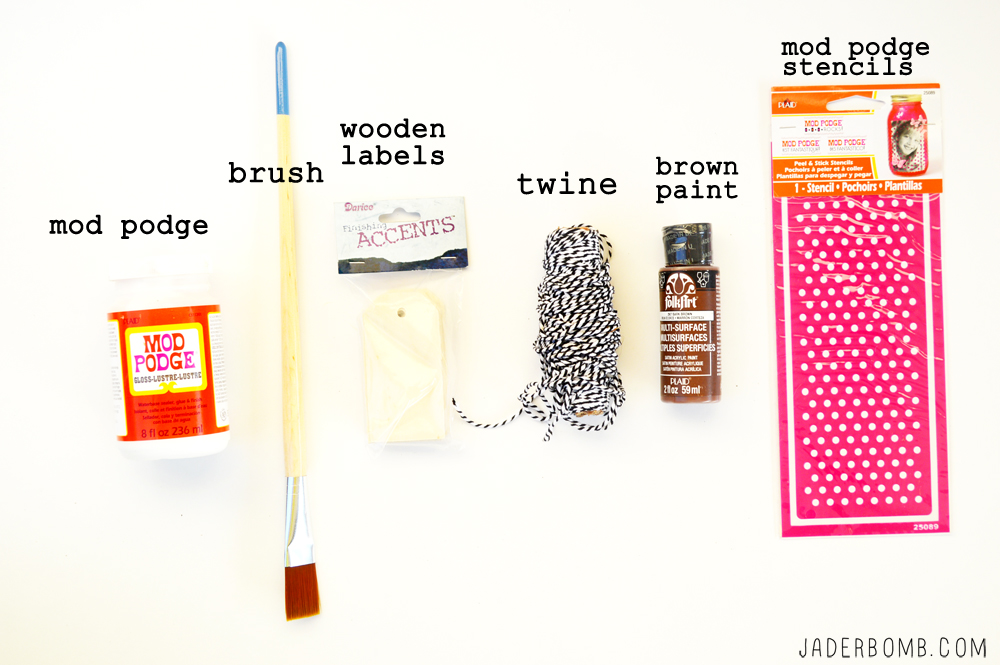
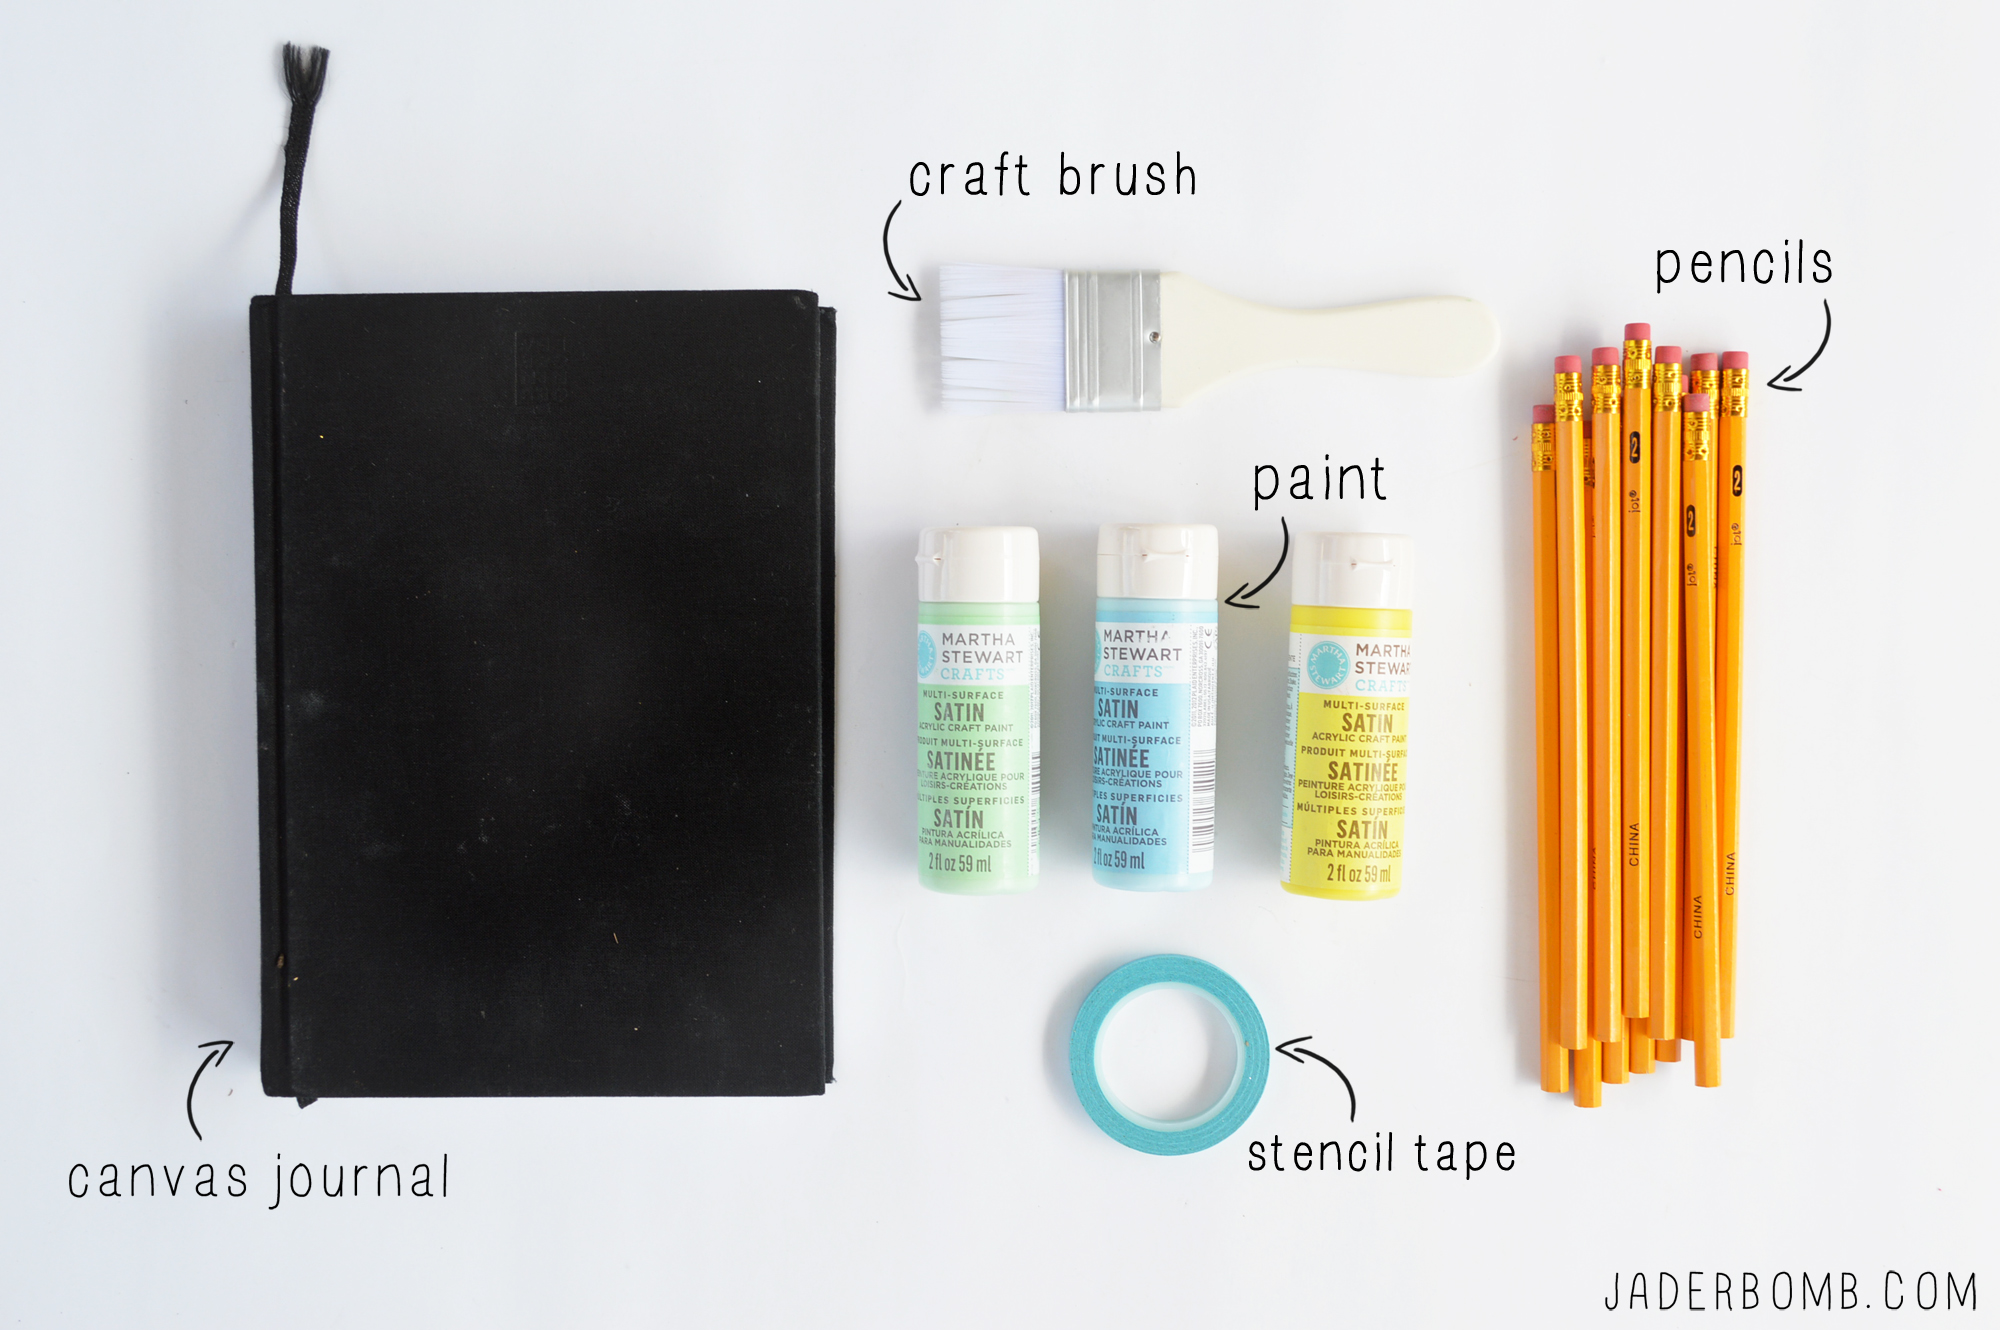
***If you want to order any of the supplies I used in this project just click on the links below and you can get them all from one wonderful spot. They are affiliate links which means you are helping me buy a few more vials of glitter to make your eyes twinkle with joy***
- Mod Podge Rocks Circle Stencil
- Wooden Labels
- Baker’s Twine
- Mod Podge
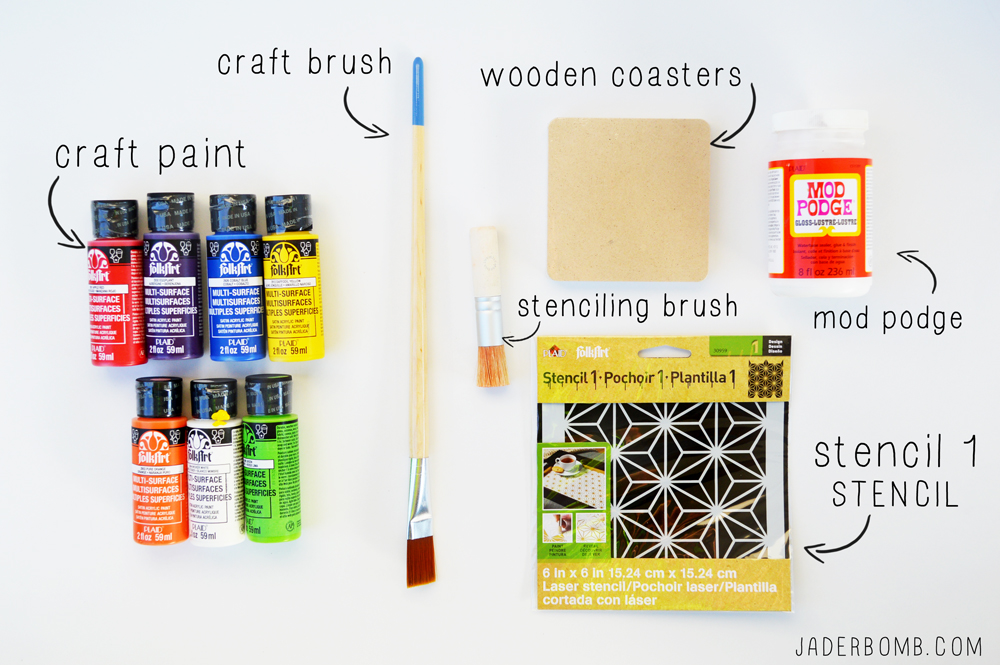
- Craft brush
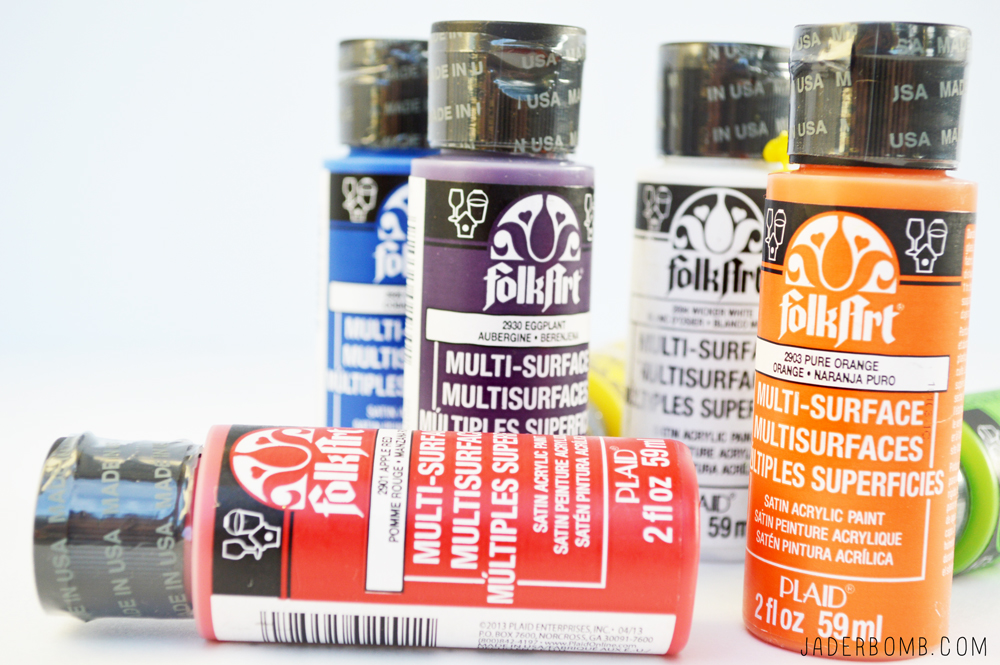
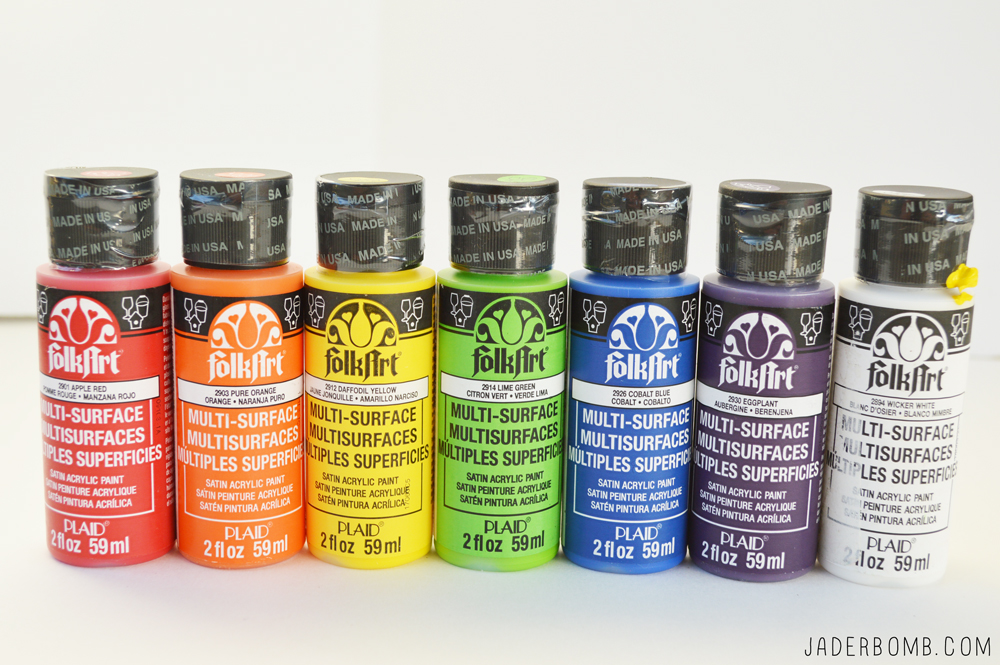
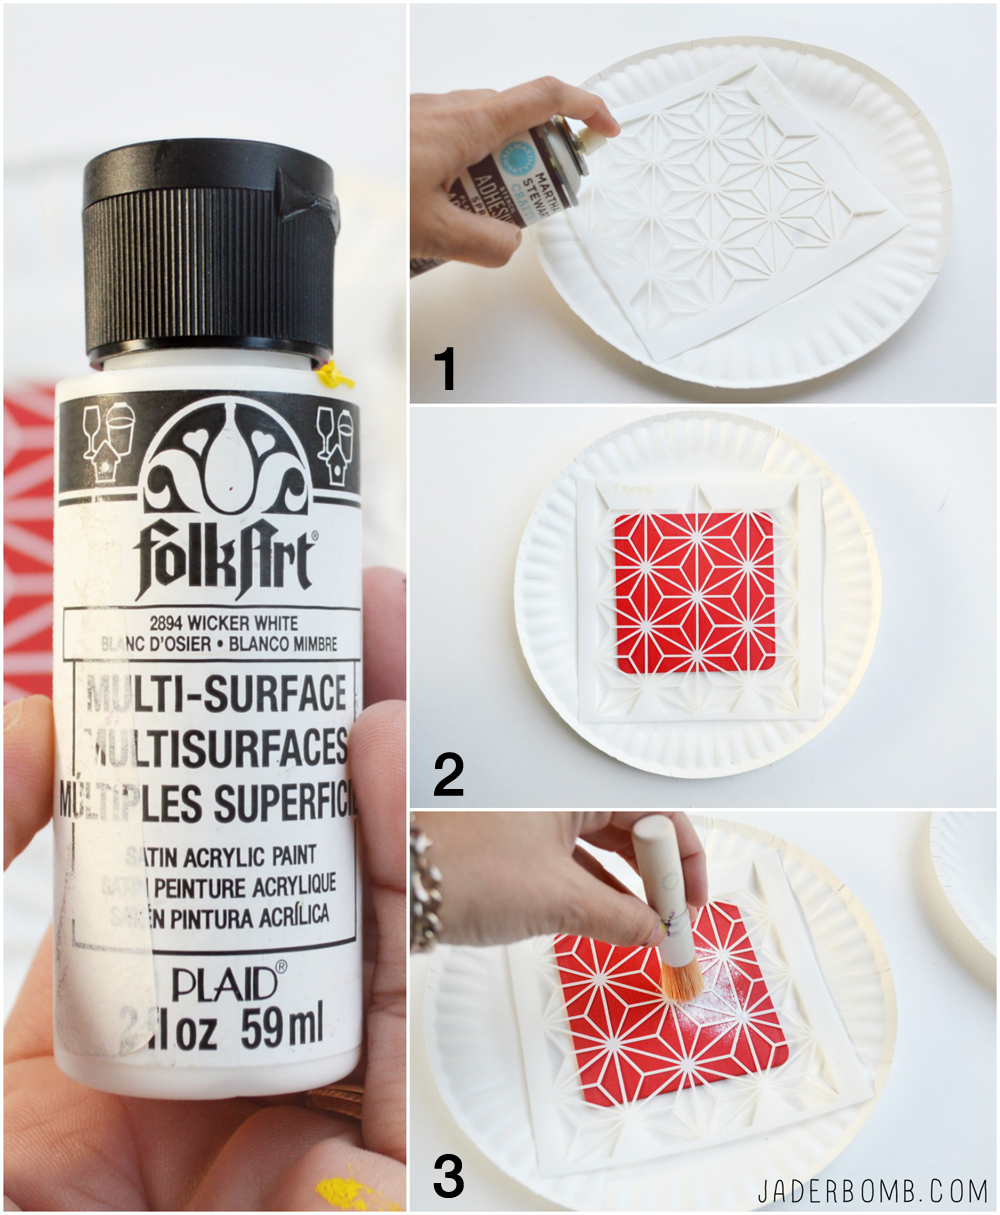
- Folk Art Paint
- Pouncers
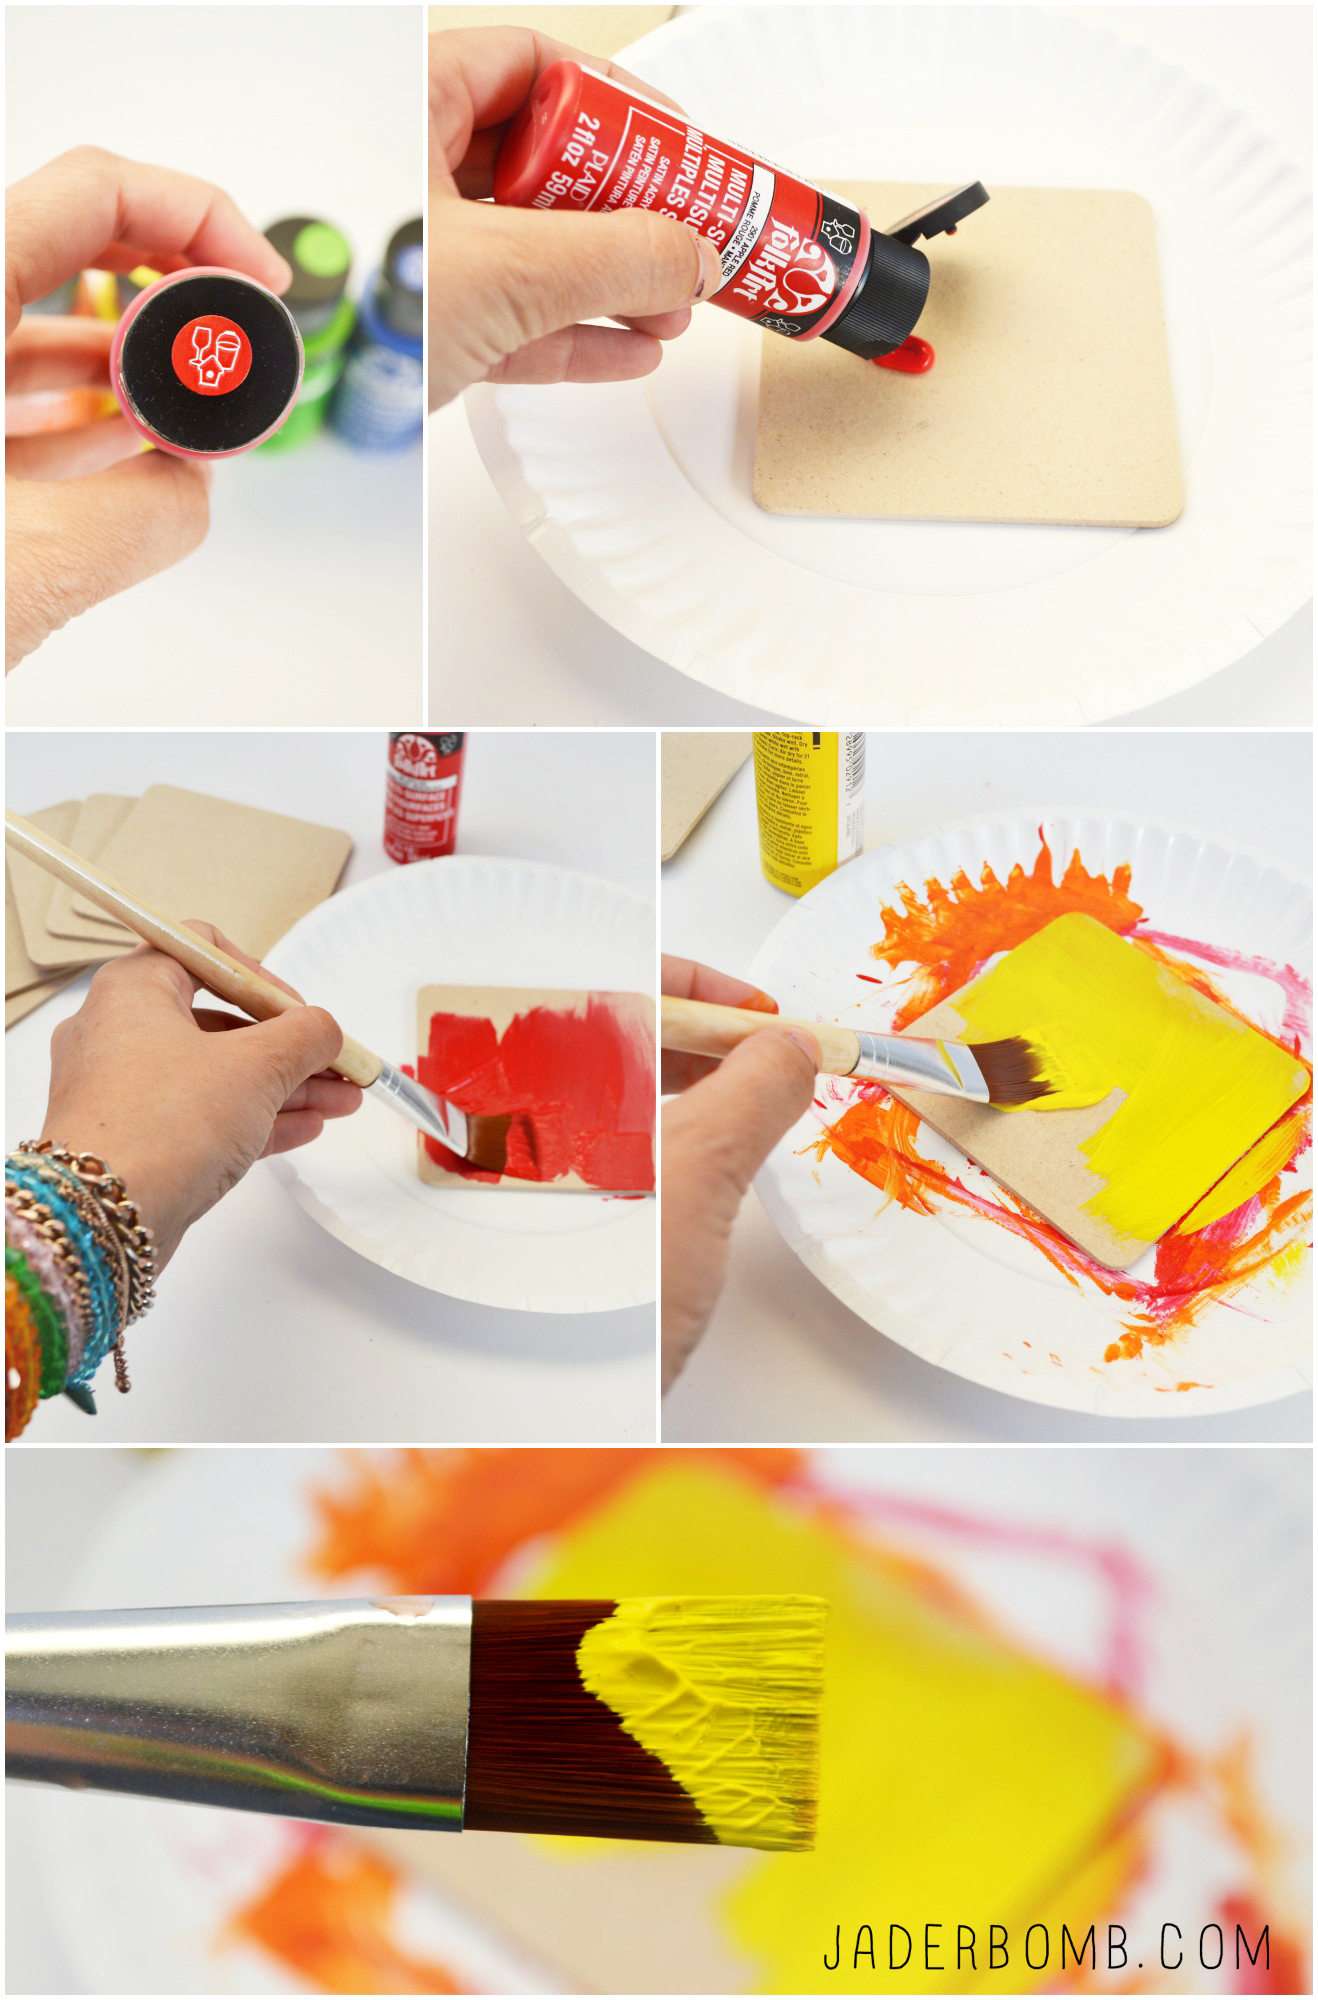
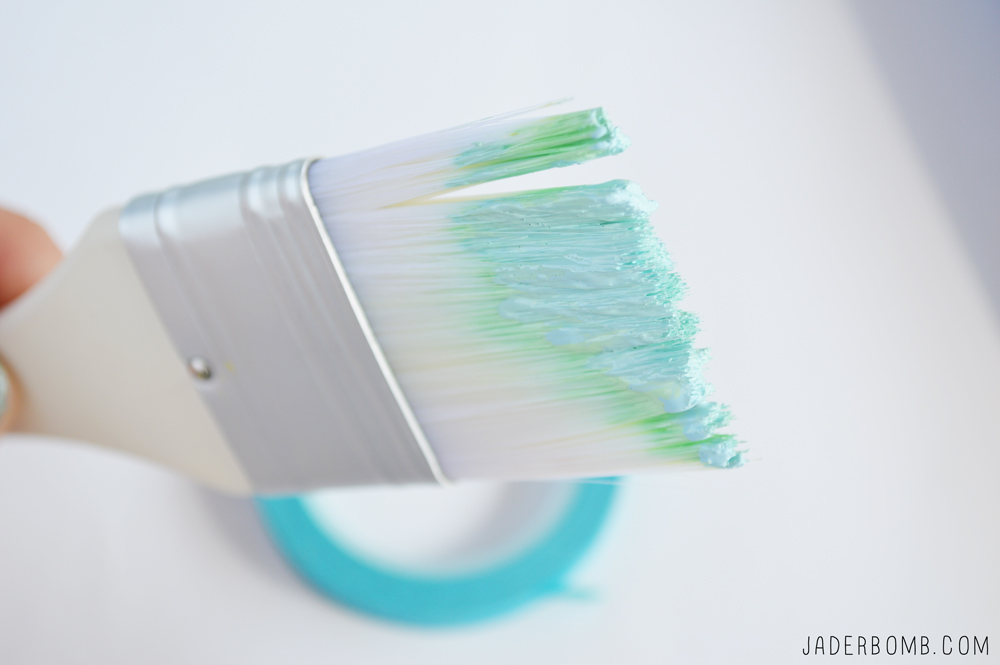
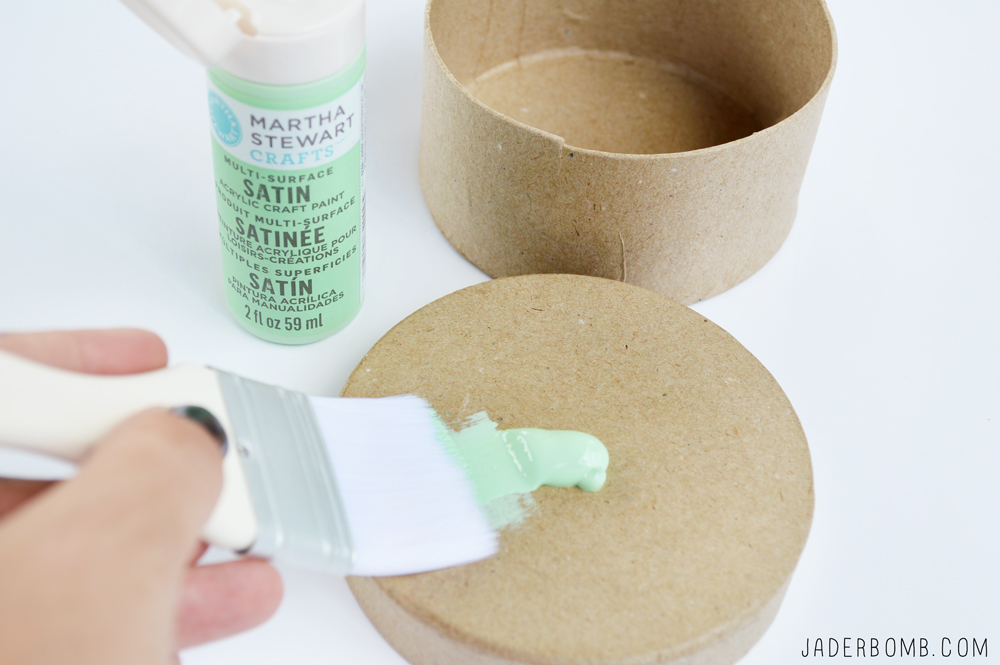
STEP ONE: The first thing we will do is stain the wood to make it look old and vintage. We will use folk art brown paint to do this. Brush a little bit of paint on the wooden label and then wipe it off with a napkin. You can also add a little water to your brush to thin the paint out.
Simple huh!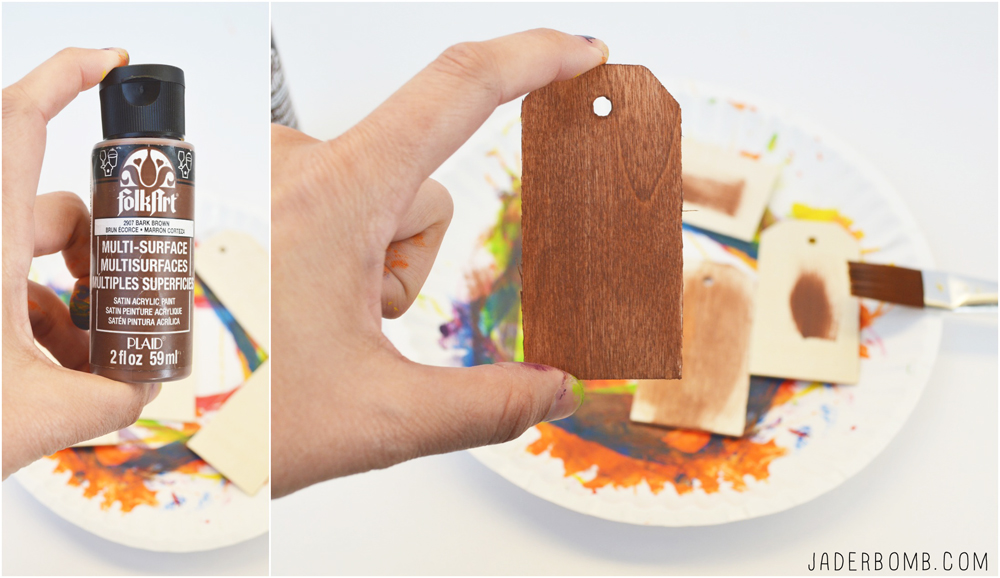 STEP TWO: Grab your stencil because it’s time to start playing! The great thing is these stencils have some pretty amazing adhesive on the back and let me tell you…these babies stick!
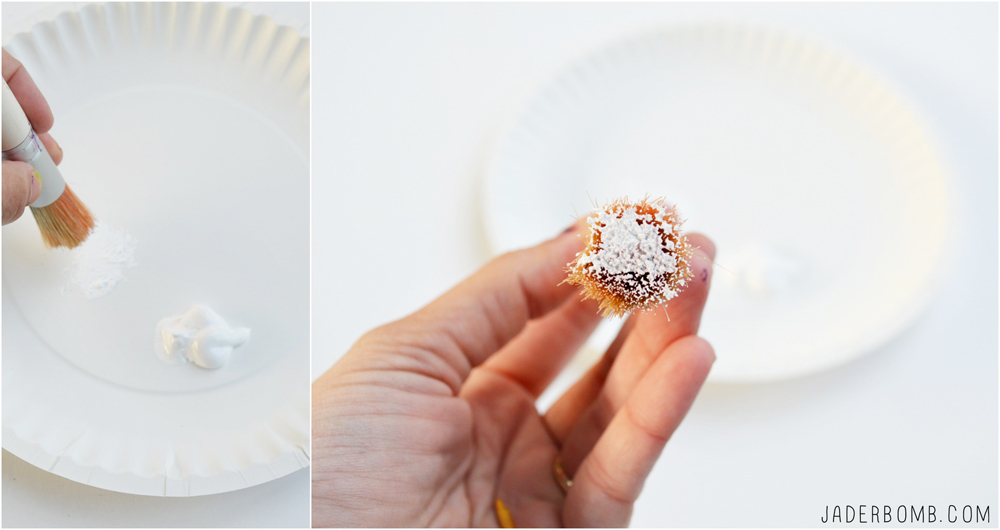
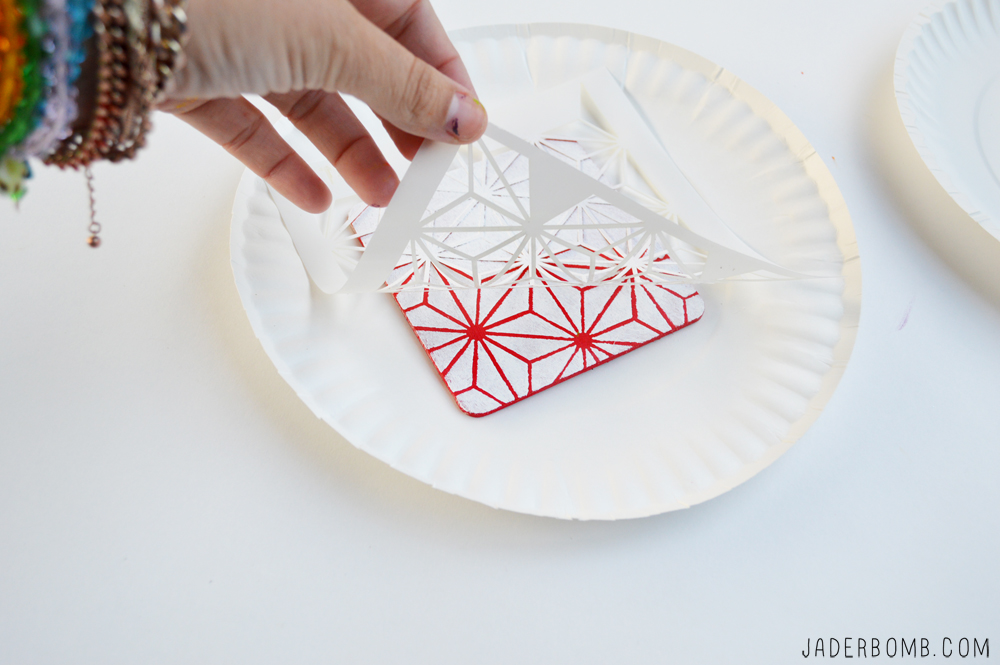
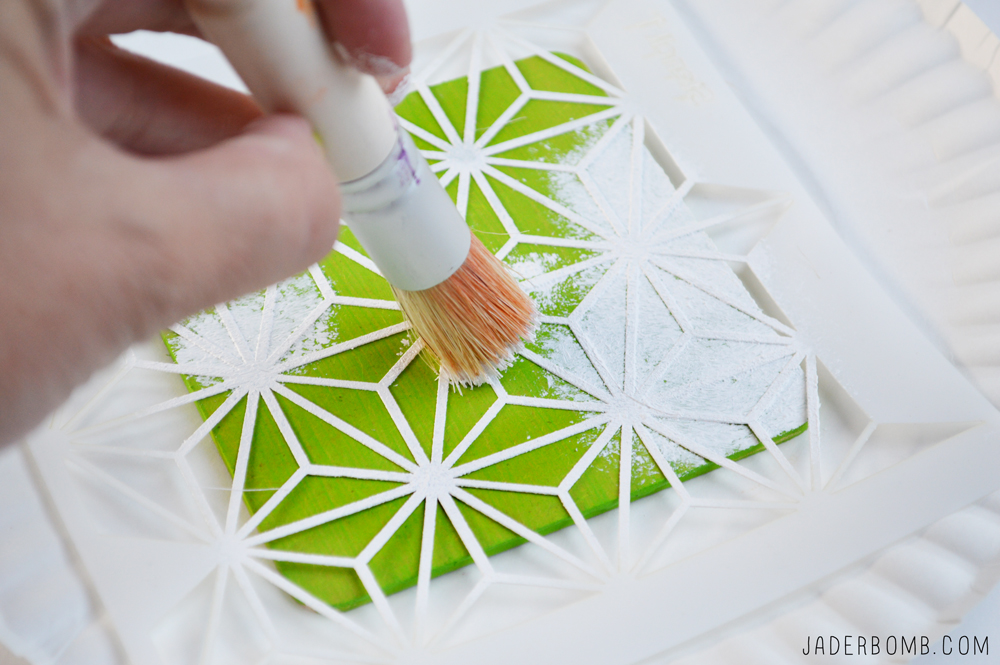
STEP THREE: Carefully stick your stencil on top of your wooden labels then start pouncing with your pouncer. When you are done peel it off right away. Now sing it: “Pounce with your pouncer pounce pounce with your pouncer”
I bet this will get stuck in your head.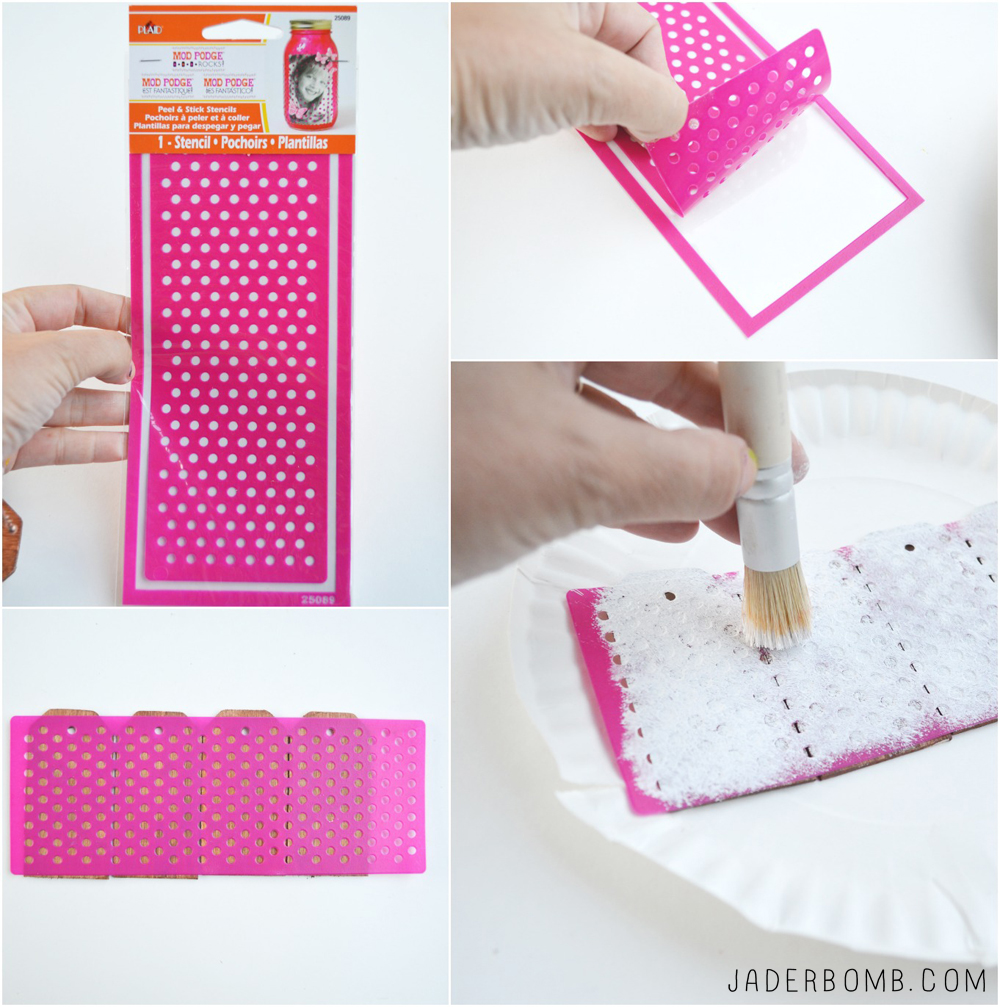 I also put a little paint at the top of the wooden label. Pretty snazzy huh.
STEP FOUR: Grab your baker’s twine and cut a small piece. Bring the two ends together then it’s time to boogie woogie.
 STEP FOUR:
(1) Pass the loop through the hole
(2) Take the two ends and pull them through the loop
(3) Slowly pull the two ends
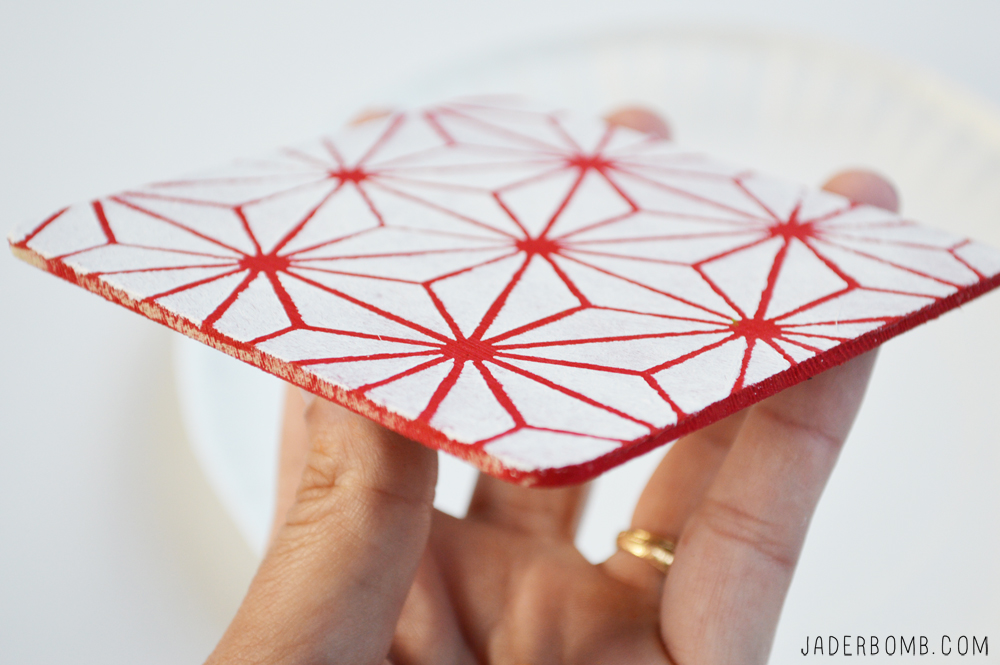
(4) VOILA 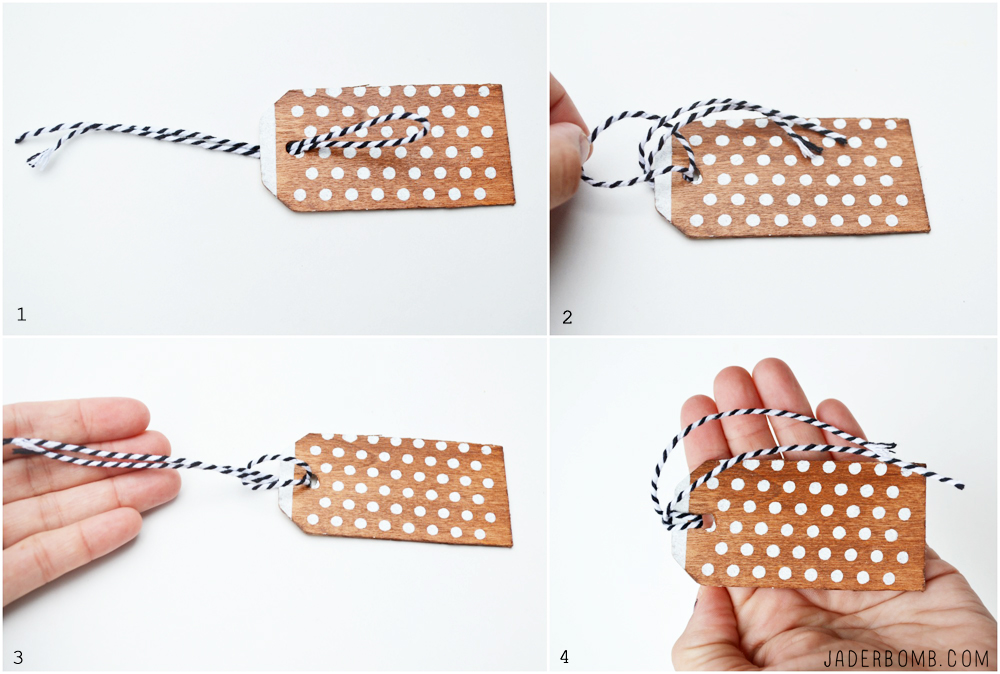 Now it’s time to worship the shit out of your wooden polka dot labels. Put them on anything and everything. Wanna show of your mad DIY skills? Pop this on a gift and write on the back of it. Promise you the person opening that gift will never look at a paper label the same again.
 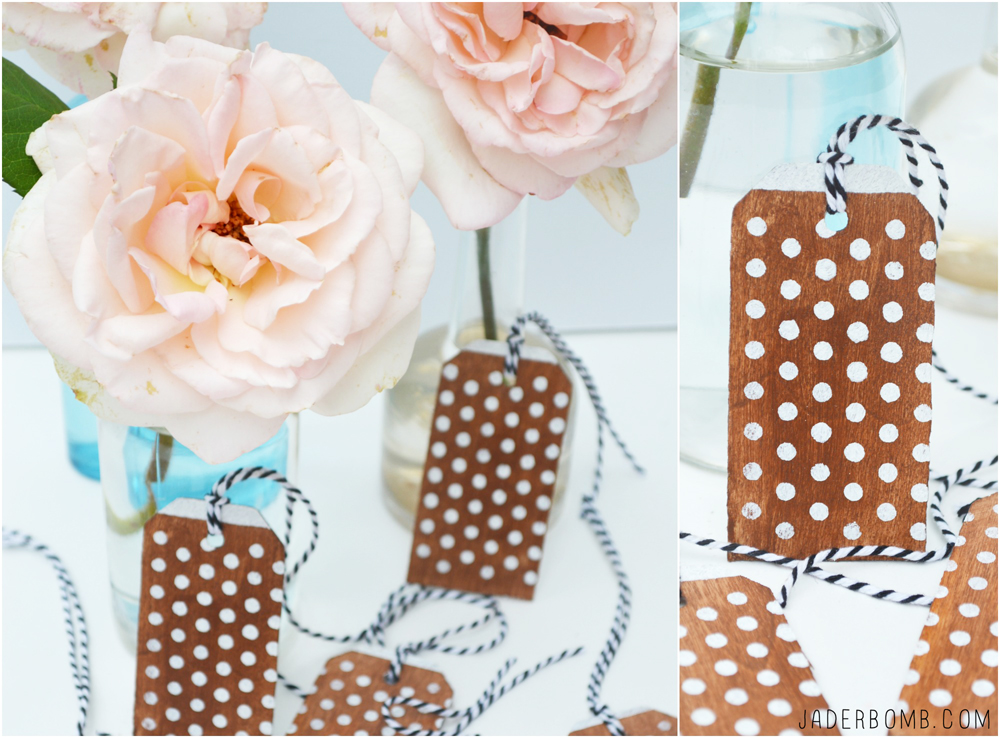 Not sure if you are into these that much. Make a mean bunch and give them to someone who will literally love them. It always works, plus you might feel a little “good” inside.
 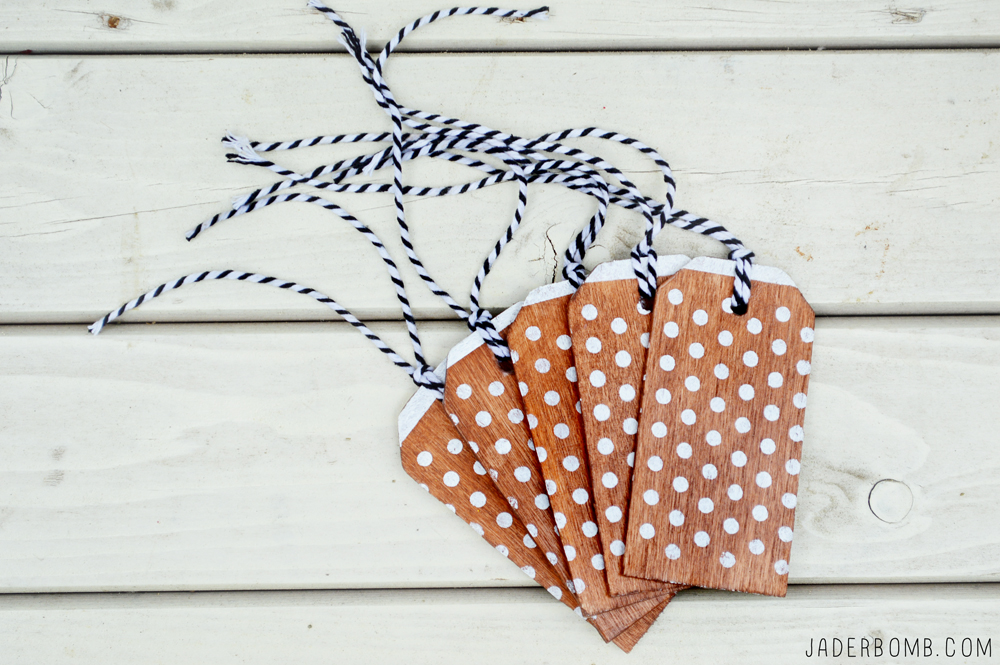 Now it’s time for me to run off into the DIY sunset with my vintage bottle labels.
 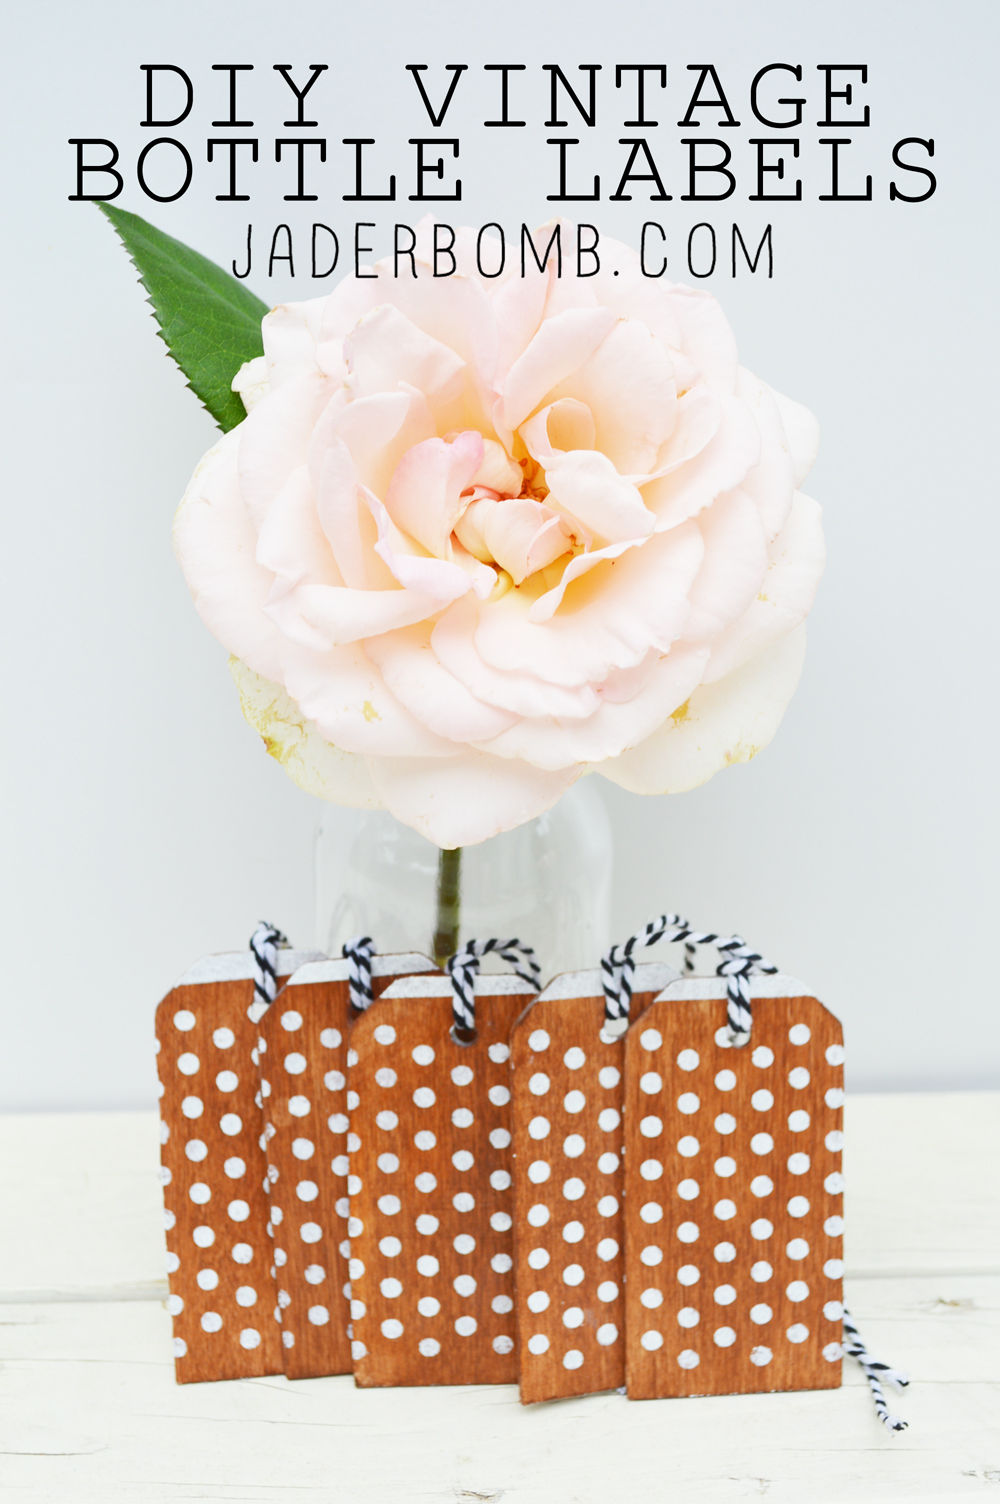 Personally I like to just wrap them around bottles for a quick little decor.
 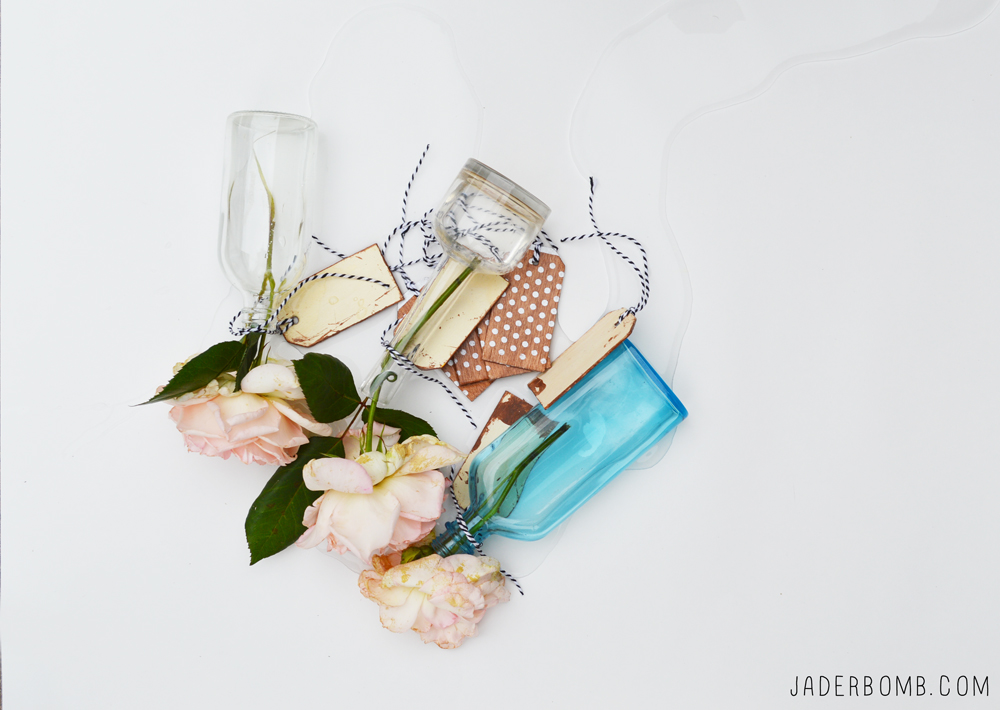 Yep. This surely happened. In the middle of taking pics a big gust of wind gave my bottles a huge air hug. So strong they all decided to lay down and cuddle next to each other.
Check out these fabulous coasters I made using my friend Ed Roth’s stencils!
Don’t forget to connect on social media! Make sure to use use the hashtag #JADERBOMB on Instagram or Twitter or Facebook so I can keep track of all your awesome creations! HAVE A GLITTERY DAY!
♥, Jade
P.S. If you LOVE printables then check out my site where you can download hundreds of FREE printables!
 Photography: Jaderbomb// DIY tutorial by: Jaderbomb // Teal Bottles: Bath and body work bottles (a coconut lotion was in them and I cleaned label off) // Craft Supplies: Michaels // Roses : My back yard
![]()

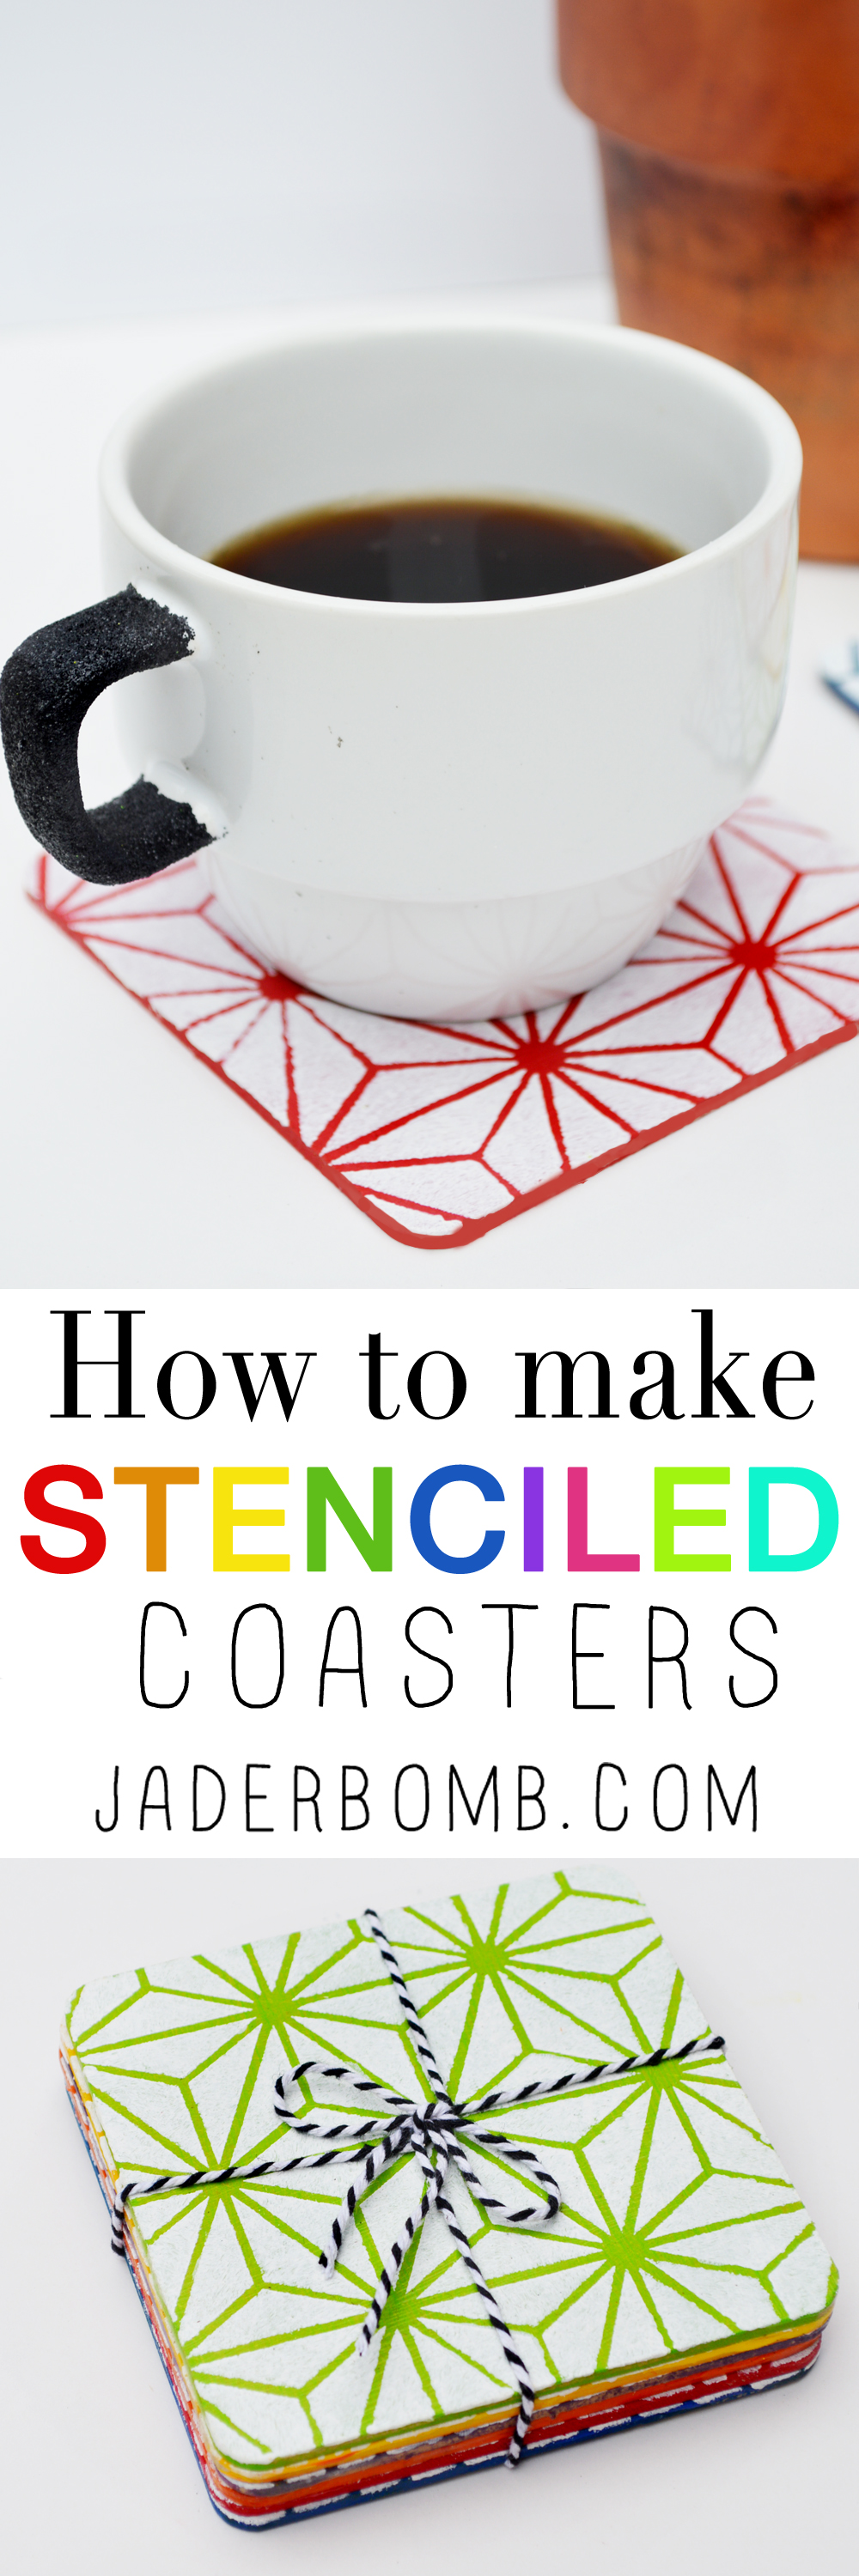
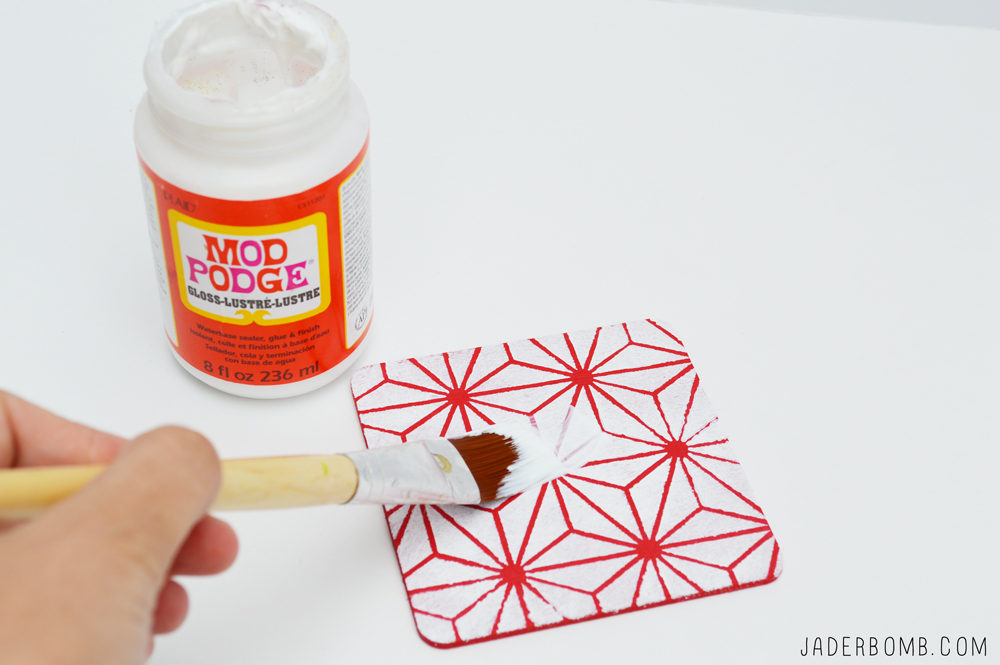 How beautiful are these coasters! I am so happy for my friend Ed and his creations!
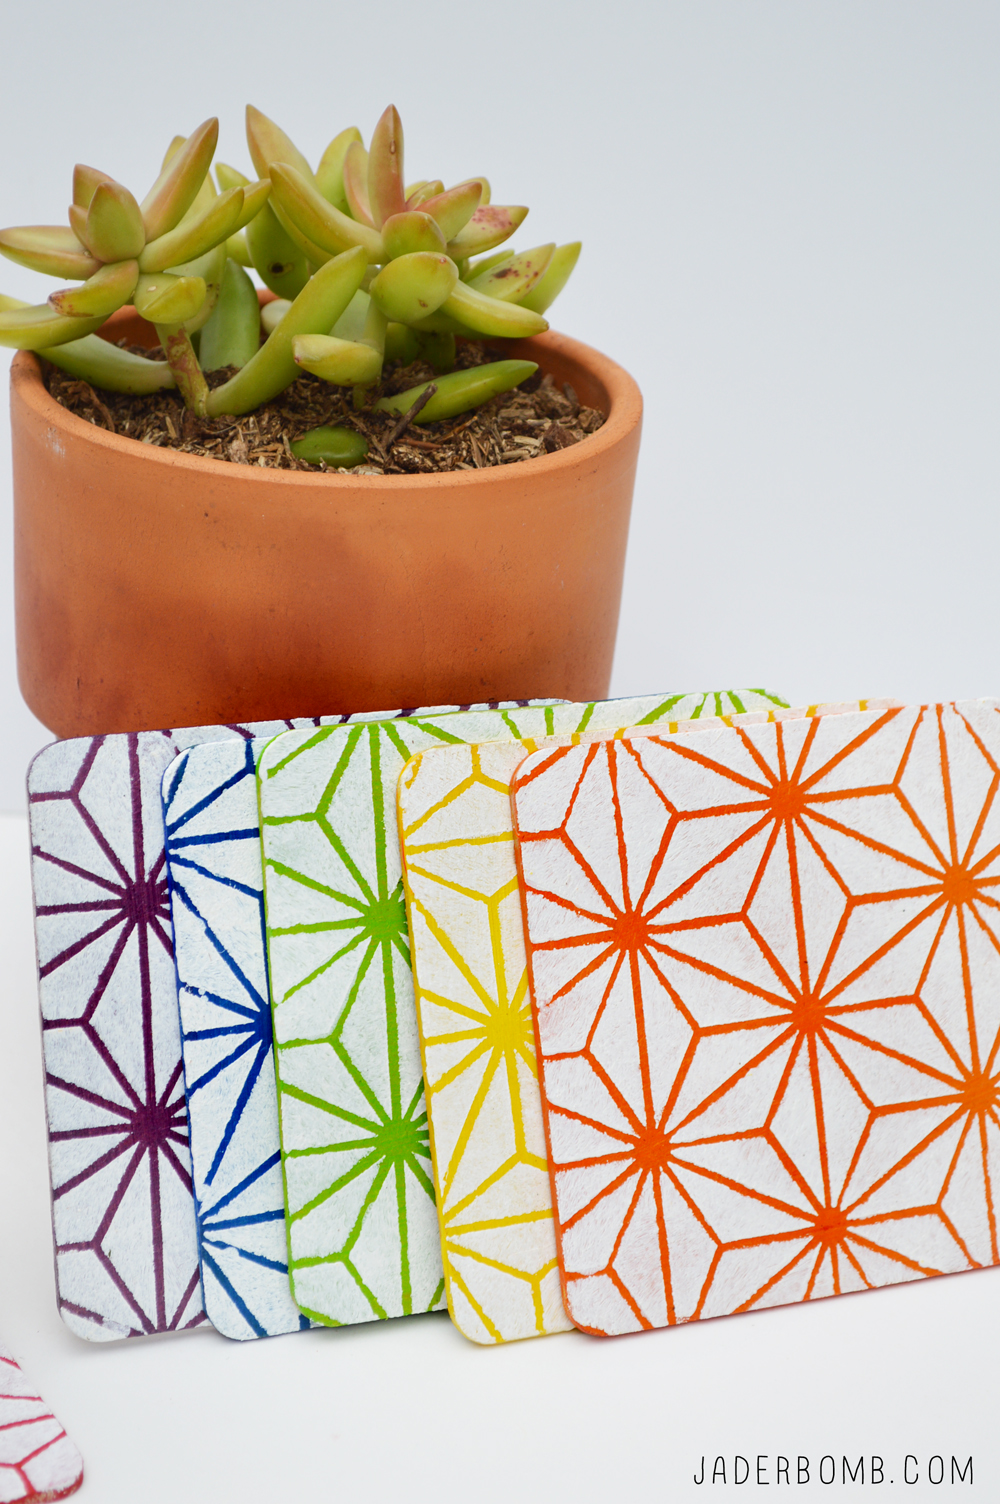

 Check out his video for an intro to these amazing stencils, and stay tuned for more details! You can find these stencils at Jo-Ann Fabric and Craft Stores. – See more at: http://www.plaidonline.com/blog/post/2014/03/13/Introducing-Ed-Roth-Stencil1-Collection1#sthash.MToMi0cT.dpuf


 Don’t forget to connect on social media!