I am so excited to share with you the Top 10 Fashion Color Trends report for 2013. Pantone did it again. The color line up is exquisite and I can’t wait to see how all of the colors are incorporated this Spring! I especially love one color in general… Can you guess?
Pantone has a color survey that is really cool, you can take it HERE. To download the Spring 2013 Fashion Color Report PDF click HERE.
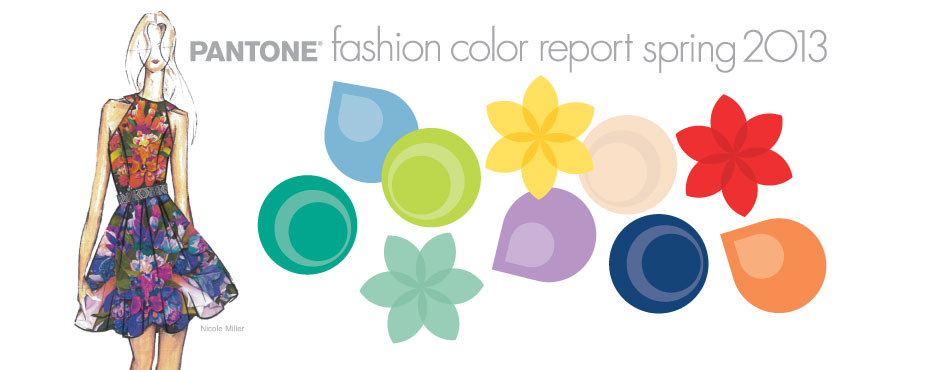
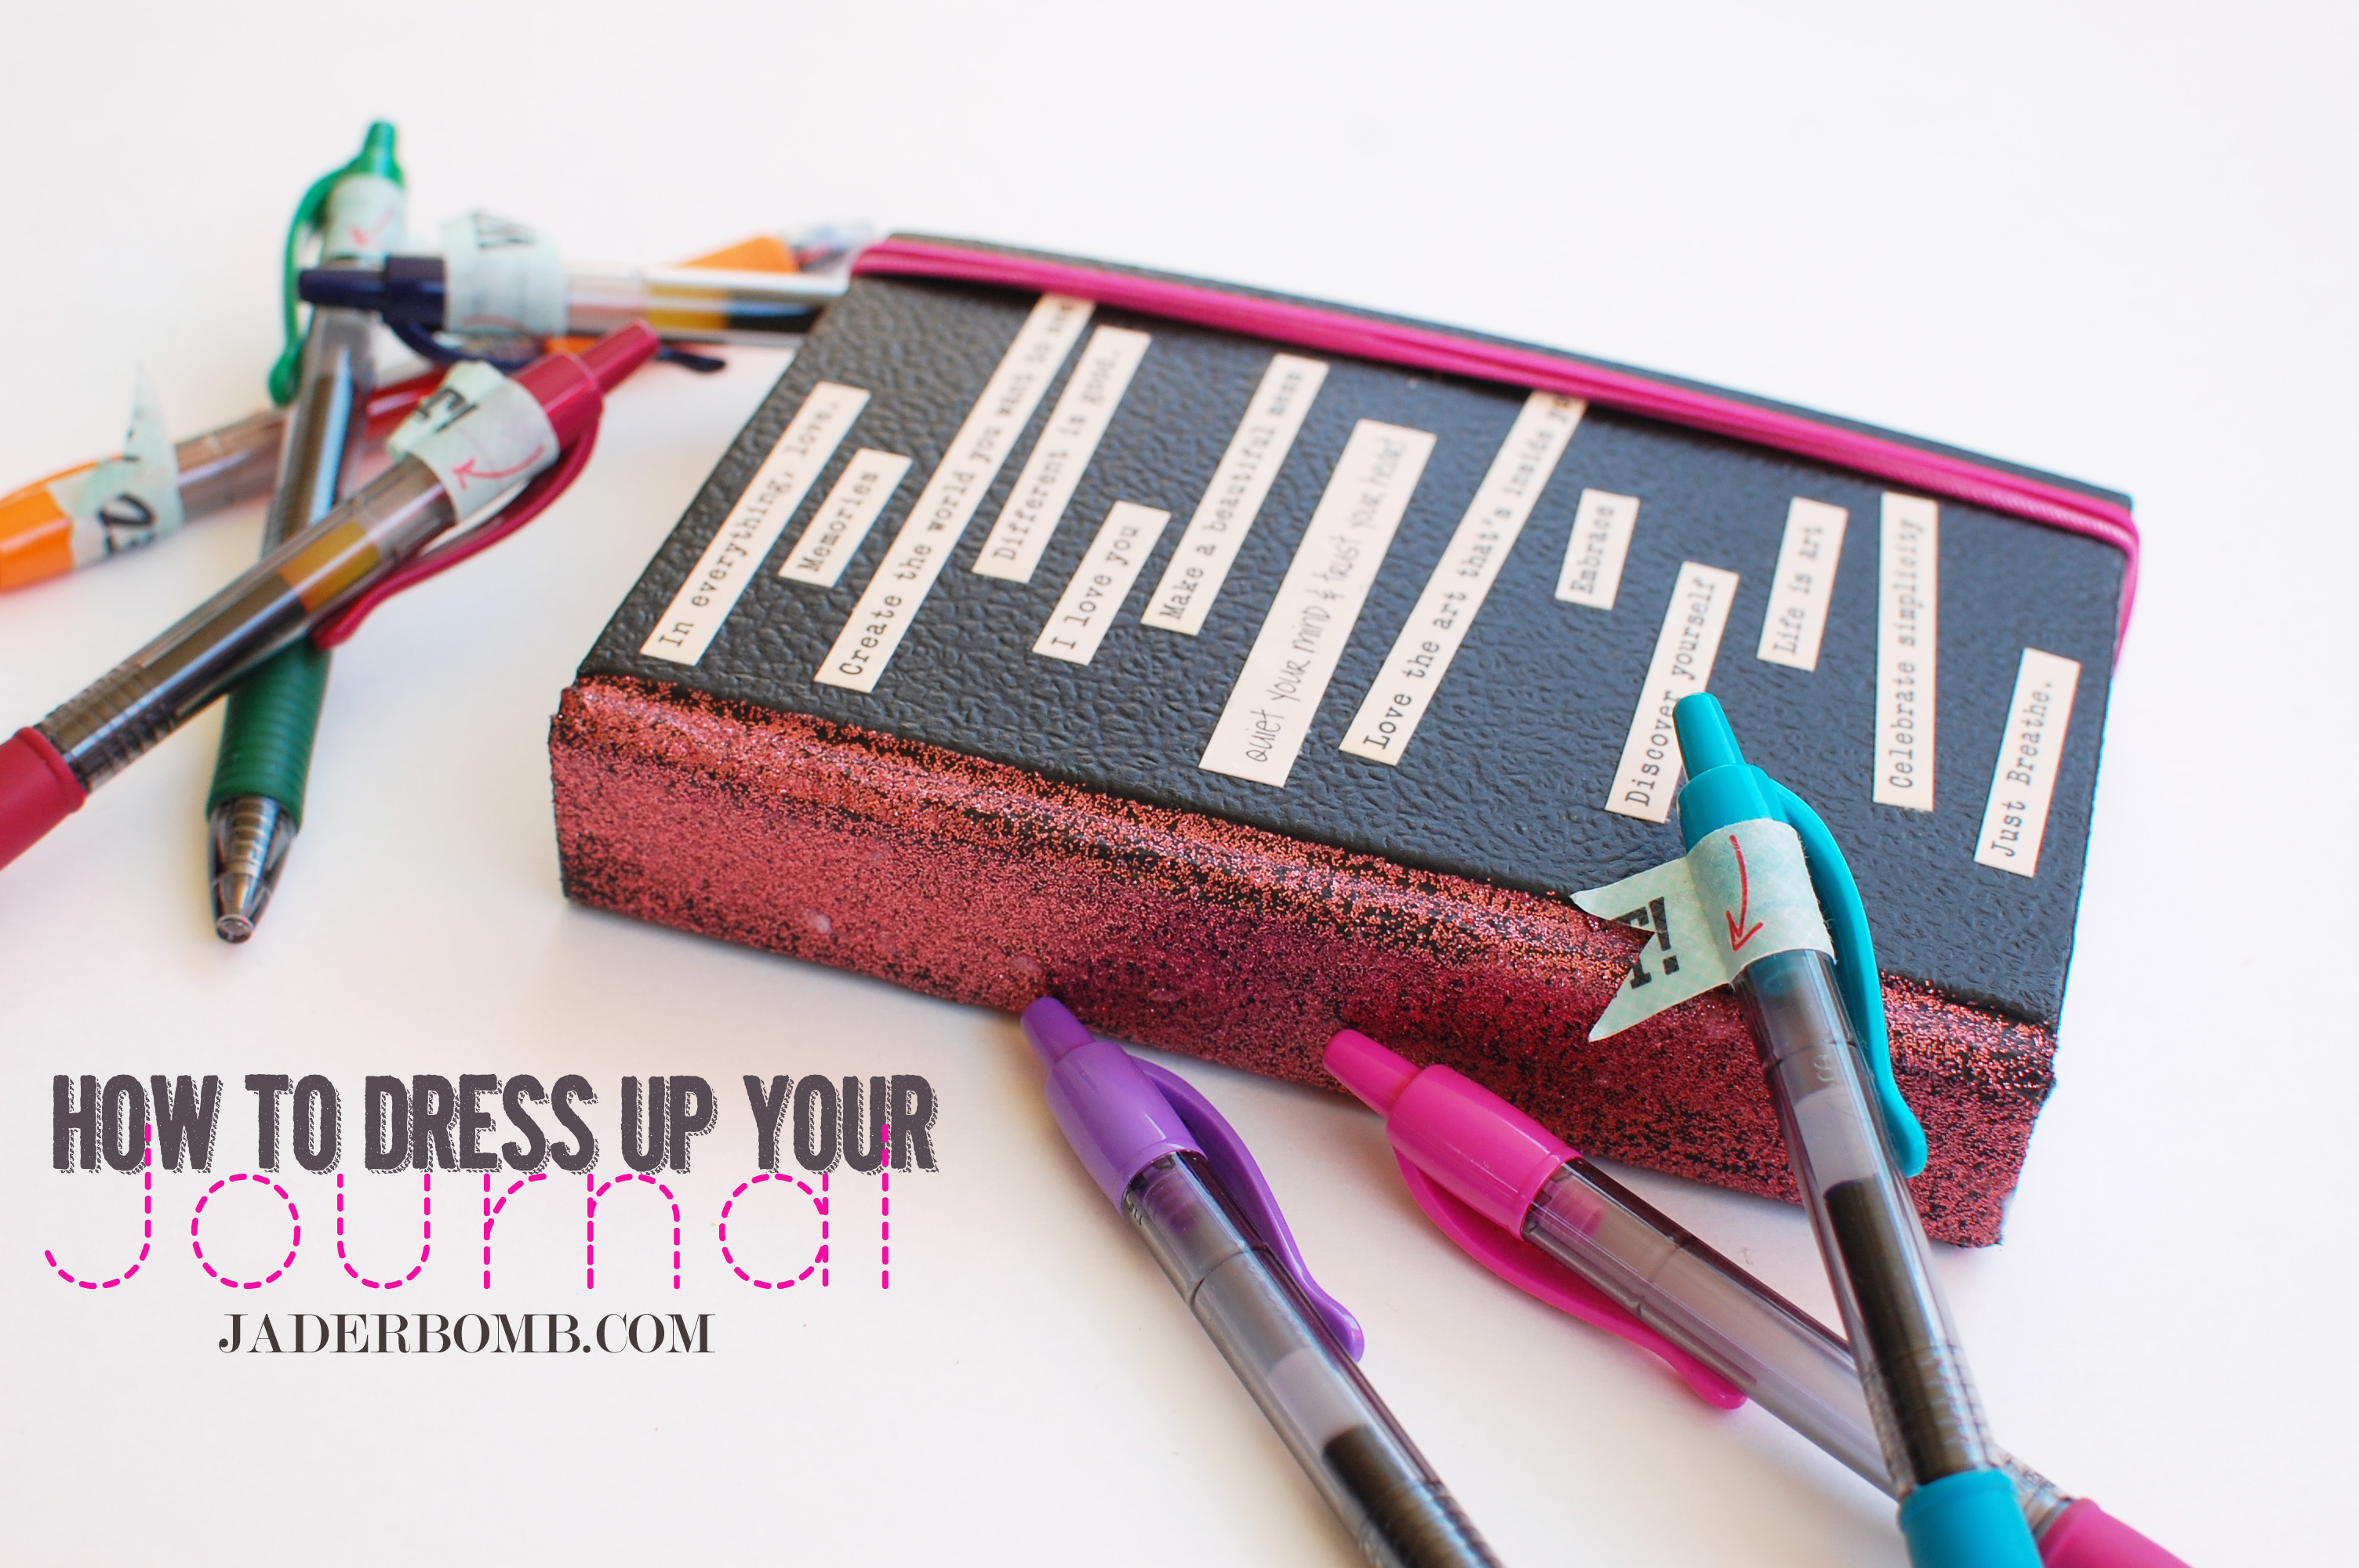
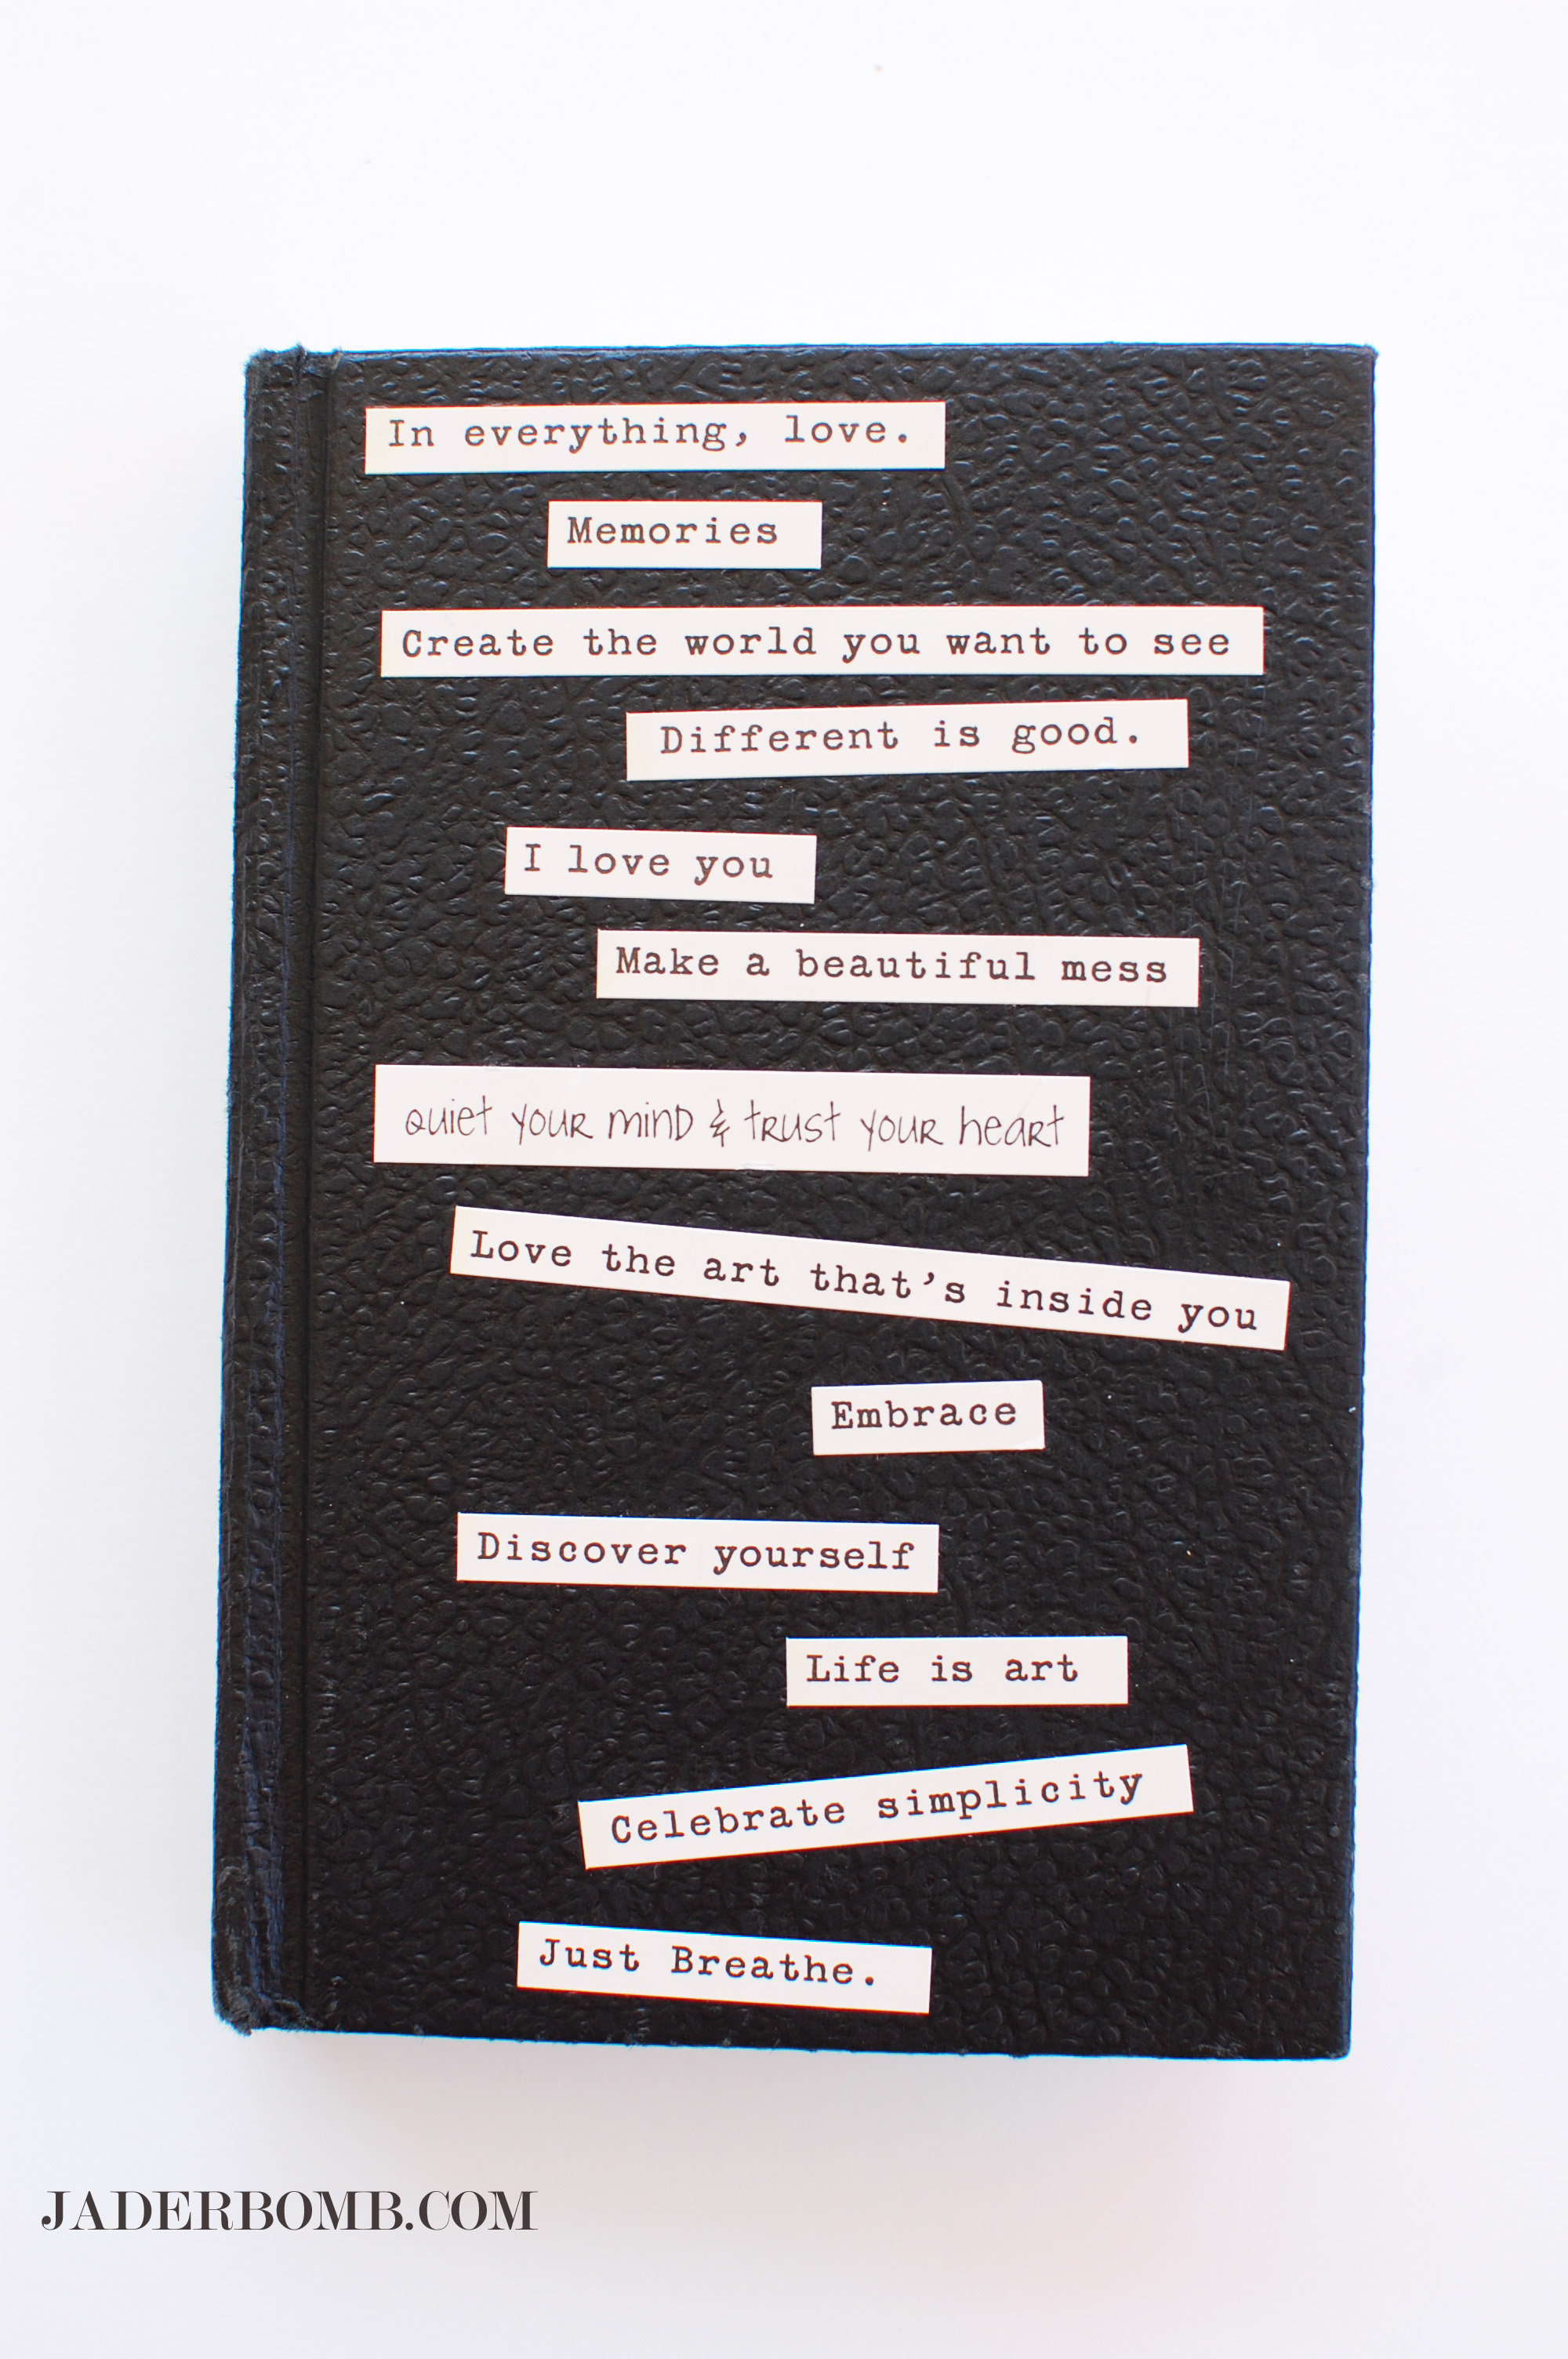
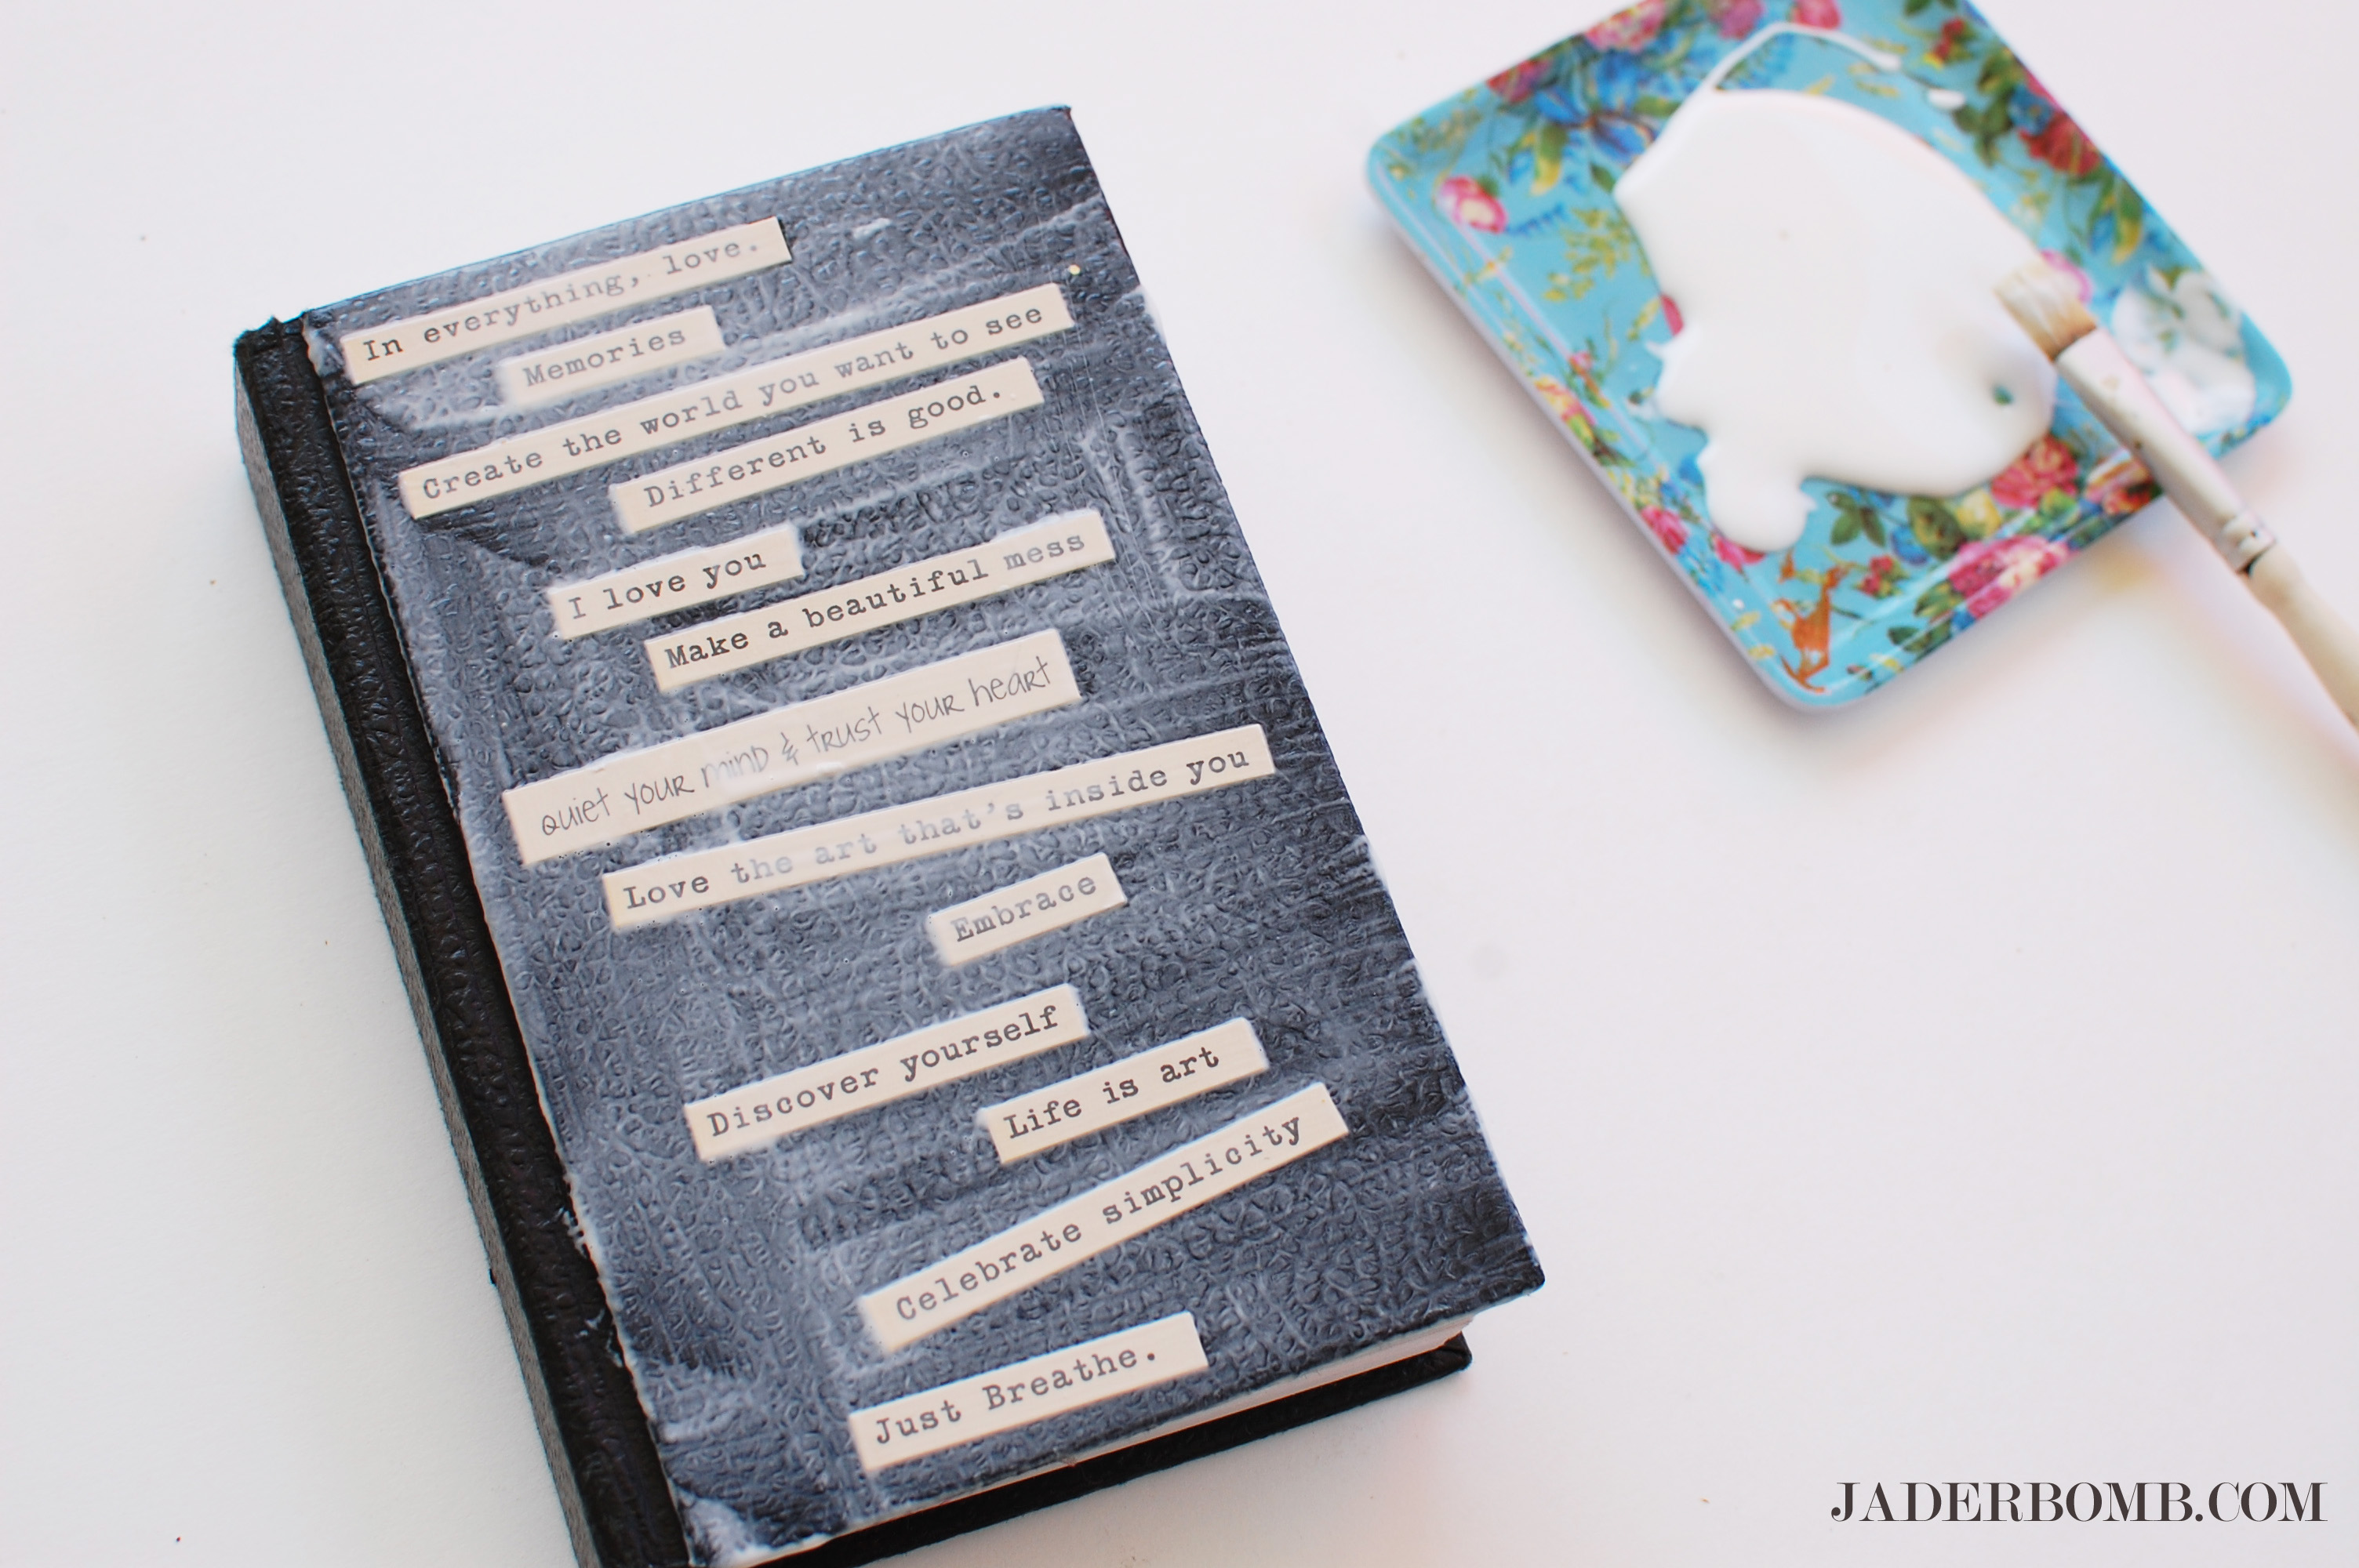
I am always using color in my life which is why I did this post. I think everyone needs to switch up the colors they wear or have in their personal space. The one thing I love about color is how it can transform things in literally seconds. Enjoy the line up I created for you. I hope you can get ton’s of inspiration from my collages I made.
**************************************************************************

Click the color to see what Peter Som has to say about the color.

True Religion true-religion skinny jeans / Wallis heel wedge shoes / Leather shoulder bag, $105 / Tech accessory / *Accessories Boutique accessories boutique / Butter London nail polish / Tiny stud earrings greyed jade earring studs by agatechristina
**************************************************************************

Click the color to see what Tracy Reese has to say about the color.

Reiss emerald dress / Reiss double breasted blazer / Chelsea Crew flat shoes / Tory Burch leather bag / Ram emerald jewelry, $2,915 / BaubleBar jewelry / Cole Haan leather glove / Obsessive Compulsive Cosmetics nail lacquer / Pantone 2013 Colour of the Year Emerald Candle, $18
**************************************************************************
 Click the color to see what Charlotte Ronson has to say about the color.
Joie long shirt dress / Steve Madden low heel shoes / Givenchy genuine leather handbag / Georg Jensen jade ring / Katie Rowland circle earrings, $645 / Christian Dior blue eye makeup, $34 / Essie nail lacquer /
**************************************************************************

Click the color to see what Rachel Roy has to say about the color.

Topshop bodycon dress / Skirt, $43 / Urge lime green flat, $42 / MICHAEL Michael Kors tote / K. Amato k amato / Quay eyewear / Sally Hansen nail care / Giclee Gallery Swag Style Bold Lime Green Stripe Shade Plug-In…
**************************************************************************
 Click the color to see what Carmen Marc Valvo has to say about the color.
Topshop dress /
Toast short rubber boots, $115 / Swatch silicone jewelry /
Elizabeth Arden lipstick / Essie nail polish
**************************************************************************

Click the color to see what David Meister has to say about the color.

Orange dress, $27 / Hunter waterproof rubber boots / Charles by Charles David platform shoes / Alexander McQueen handbag, $2,650 / Liz Palacios earrings / Trina Turk jewelry / Amrita Singh bib necklace / NARS Cosmetics / Essie nailpolish
**************************************************************************

Click the color to see what Hervé Léger has to say about the color.

Boob navy dress, $29 / Kate Spade navy sandals / Tory Burch flat shoes / MICHAEL Michael Kors , $470 / Sailor jewelry / BaubleBar green jewelry / NARS Cosmetics , $38 / Essie
**************************************************************************

Click the color to see what Pamella Roland has to say about the color.

CP SHADES longsleeve dress / Mulberry studded tote, $1,360 / Lucy Peacock pins jewelry, $3,040 / FOSSIL double wrap bracelet / Fendi , $195 / ASOS sunglasses / Topshop nail polish, $7.59 / TOMS Champagne Metallic Linen Women’s Classics size 11
**************************************************************************

Click the picture to see what Tadashi Shoji has to say about the color.

Alice + Olivia silk shorts / Repetto ballerina flat shoes / Pineider genuine leather wallet / Retro earrings / Carrera square sunglasses / Napoleon Perdis shimmer eyeshadow / Stila / ORLY nail polish, $21 / Naked & Famous purple skinny jeans
**************************************************************************

Click the color to see what Ella Moss has to say about the color.

Hunter tall shoes, $120 / Yellow backpack, $245 / Yellow jewelry / Mulberry / NYX eye shadow, $14 / Pantone 2013 Lemon Zest / Pantone 2013 Lemon Zest / Lemon Zest / Splatter King Lemon Zest
**************************************************************************