Author Archives: jaderbombllc

About jaderbombllc

I am a Southern DIY blogger and Designer known for fearlessly conquering anything and everything do-it-yourself. I aim to create unique designs by working through my thoughts, dreams, emotions, and tons of glitter! I believe in doing things that make my heart flutter and smile, and I live by my motto, “Life is simple and so should your style.” To learn more about me, visit jaderbomb.com or email me at [email protected]. You can also visit my Etsy shop at jaderbomb.etsy.com. Make sure to check out my FREE PRINTABLES site www.freeprettyprintables.com My biggest accomplishment thus far is being a guest on the Martha Stewart show, yes she smells good. I love my dog Ceaux Ceaux, pens,the smell of Christmas, GOLD, Dr. Pepper and blogging. BTW: I bleed glitter, all shades.

The Simple Secret to Glittering!

I am finally sitting at my computer with my Frankincense burning, music playing, long nails that hit every other key on my keyboard, hot cup of coffee and a scattered brain that is thinking of all the things I need to get done! (insert eyes that might look crossed also, hehe) 

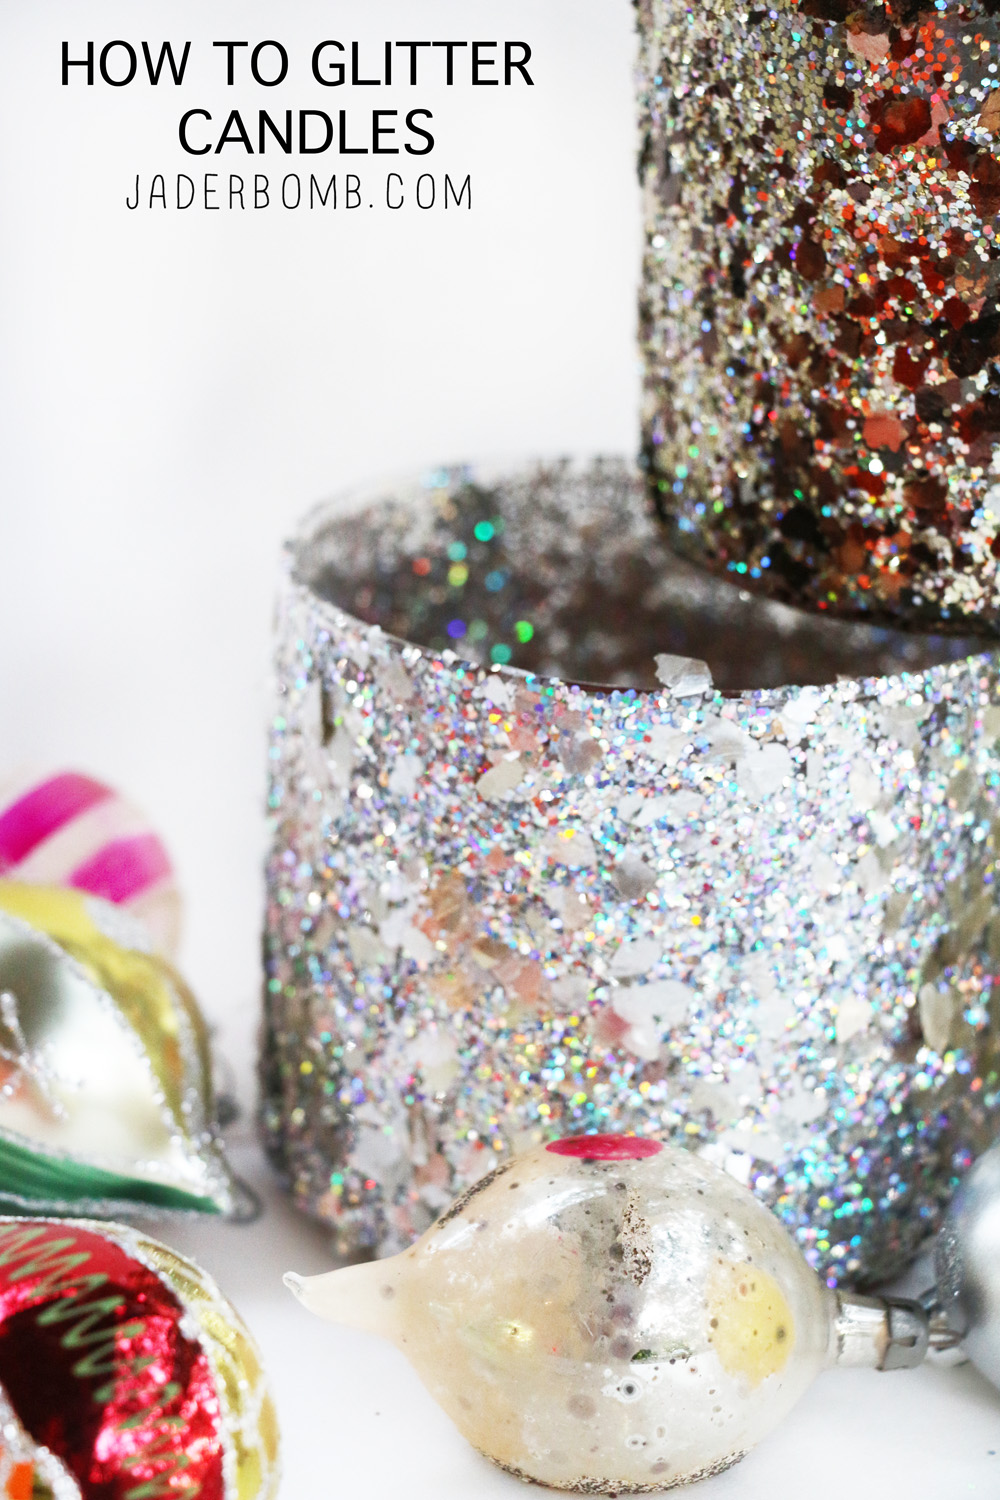
Today I am finally showing the project that so many people have been asking me about, how to Glitter Candles! This is one of my favorite projects because you can make them all year long. Am I the only person who is not really feeling Christmas this year? It just feels like it’s going by way too quickly, but then again I hear the older you get that is what happens with all holidays! I think tonight I will just get in my cozy pajamas with a hot cup of cocoa and watch my favorite Christmas cartoons which should make me feel like I am 8 again! Have you seen these CRAZY ornaments I made!

Something I should express right now is I recommend this only for glass candles. You can the outside of wax candles I just don’t suggest burning them. 
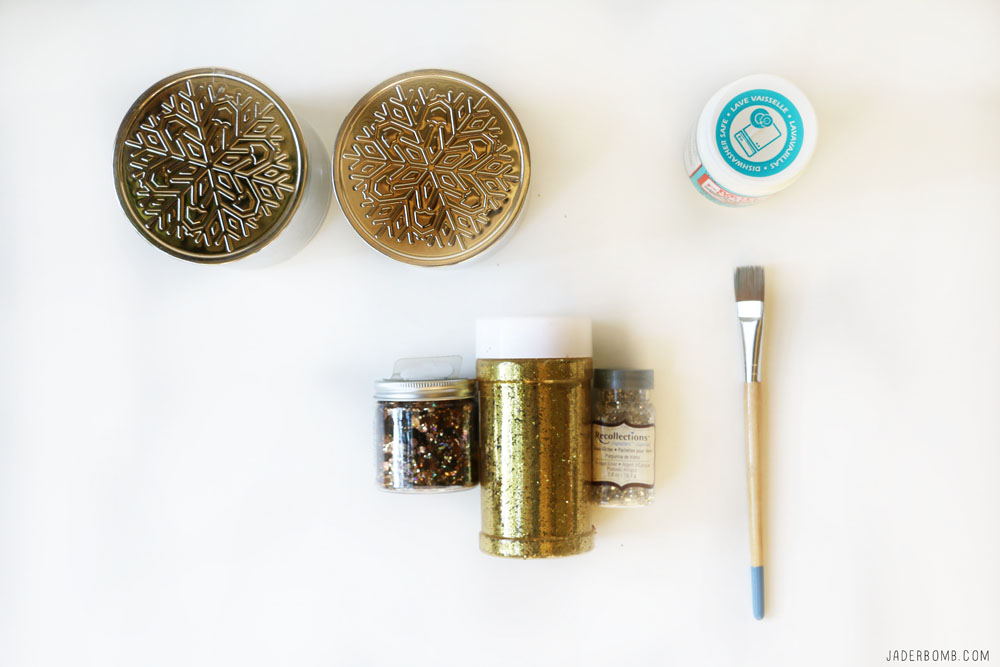
Glitter Candlesyou will needGlass Candles | Mod Podge | Glitter | Craft Brush | Lotsa Love ♥
easy-chrismas-candles

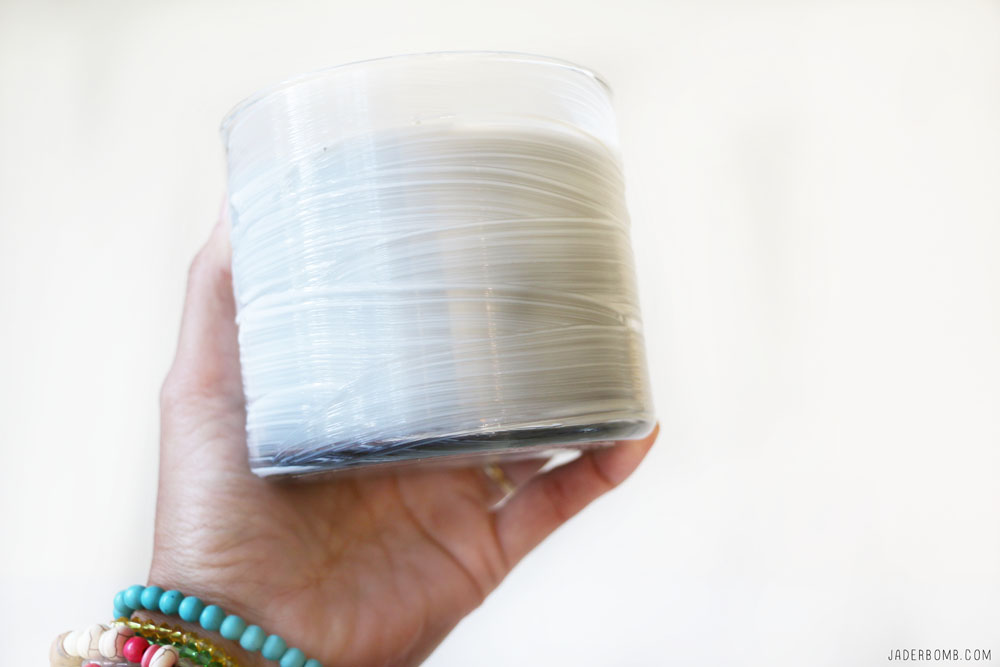
The first thing you will do is apply a generous amount of Mod Podge to the outside of the glass. It will be white and that is ok. If you do not put enough Mod Podge the glitter will not stick properly. 
how-to-mod-podge-glass

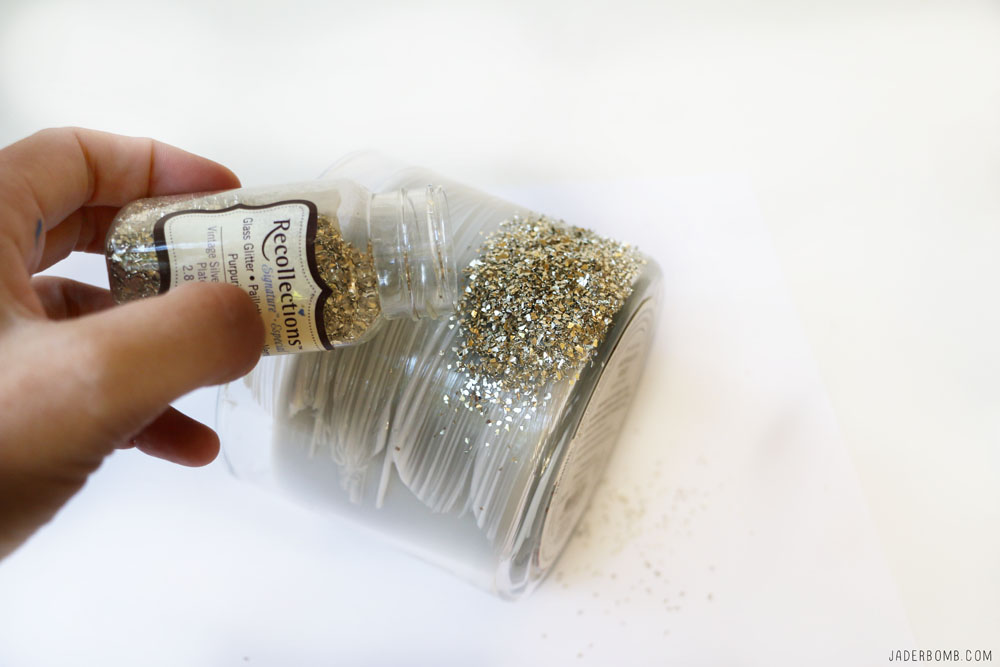
The next thing you will do is apply the glitter. Keep in mind there are so many varieties of glitter out there. If you use fine glitter it will adhere easily to the glass and if you use glass glitter you will need a lot of Mod Podge because the glass pieces are bigger and heavier. You do realize Glitter Candles are about to take over your life now!christmas-candles
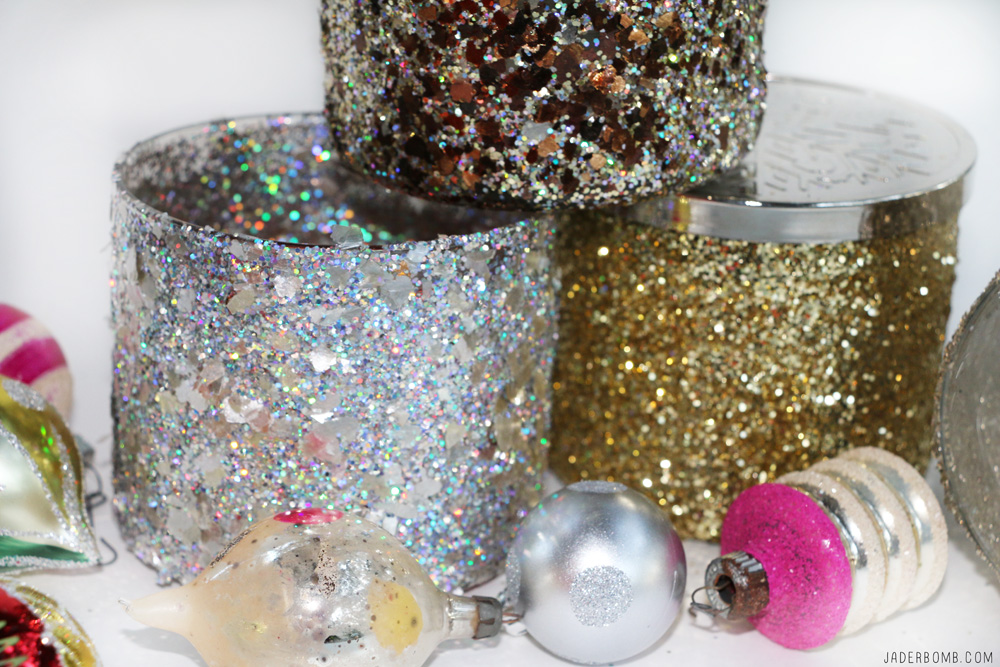
How beautiful are these Glitter Candles! You will love this project because you can dress up candles to suit your home decor and you will be shocked at how expensive they will look! We won’t tell anyone we got them on sale! 

I am always looking for ways to repurpose items that are somewhat plain. glittered-candles
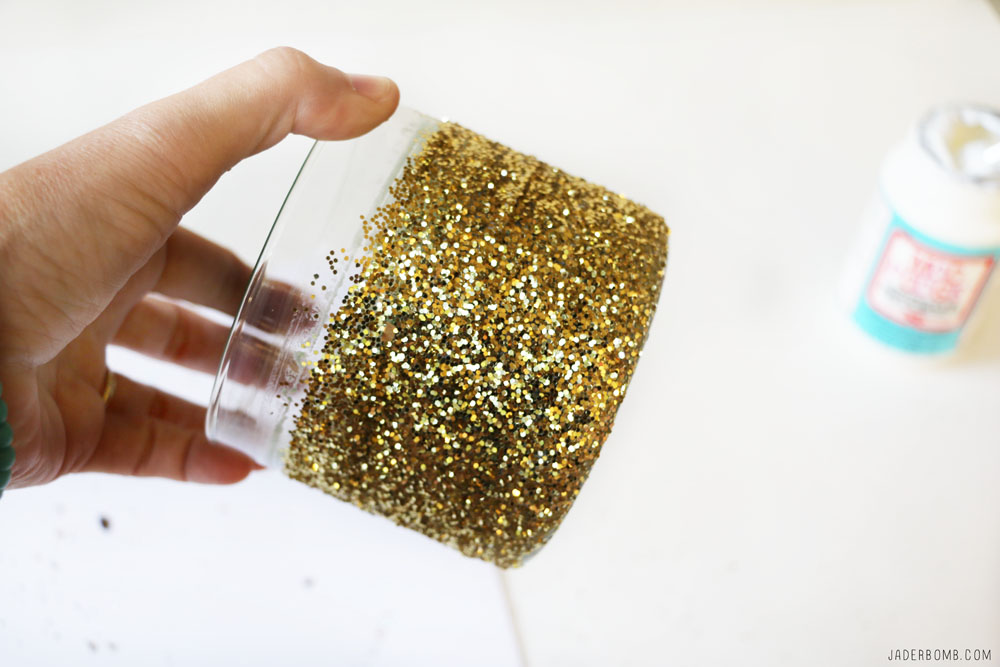
A great tip is to mix your glitters together and make your own blend! Once you add glitter, let them dry completely then add a layer of Mod Podge on top of the entire candle, this will seal your glitter to prevent it from shedding. Keep in mind your Mod Podge will dry clear in the end! 
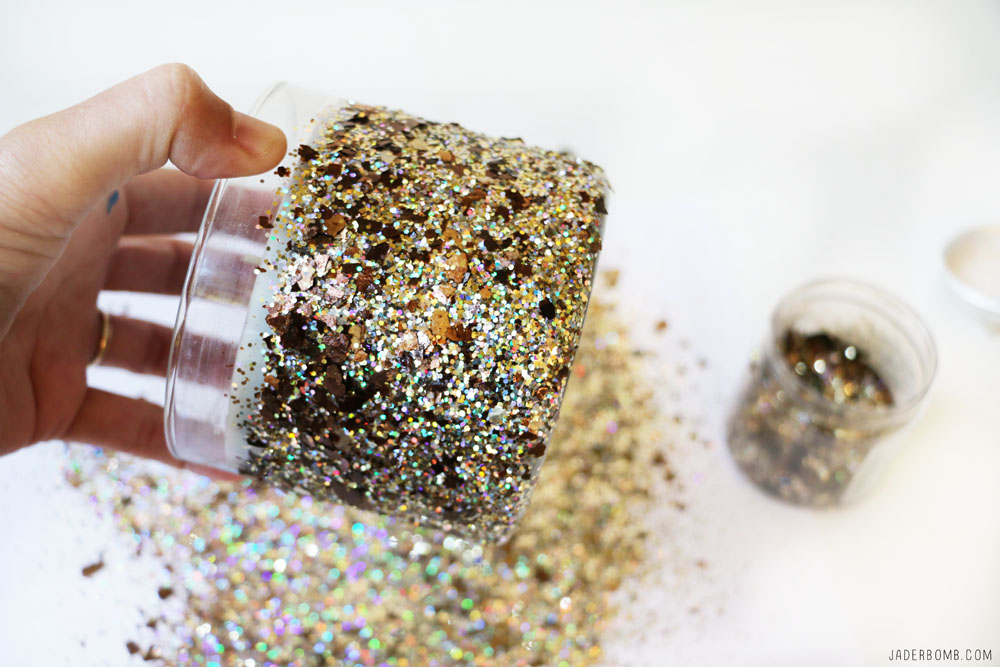
how-to-glitter-candles

Looking for that perfect gift, you can purchase candles, follow my steps and coat the outside with glitter then give them away as gifts! You can create a DIY that they will not get from anyone else. By adding your special touch to them, it will make then much more personal!glittered-christmas-candles
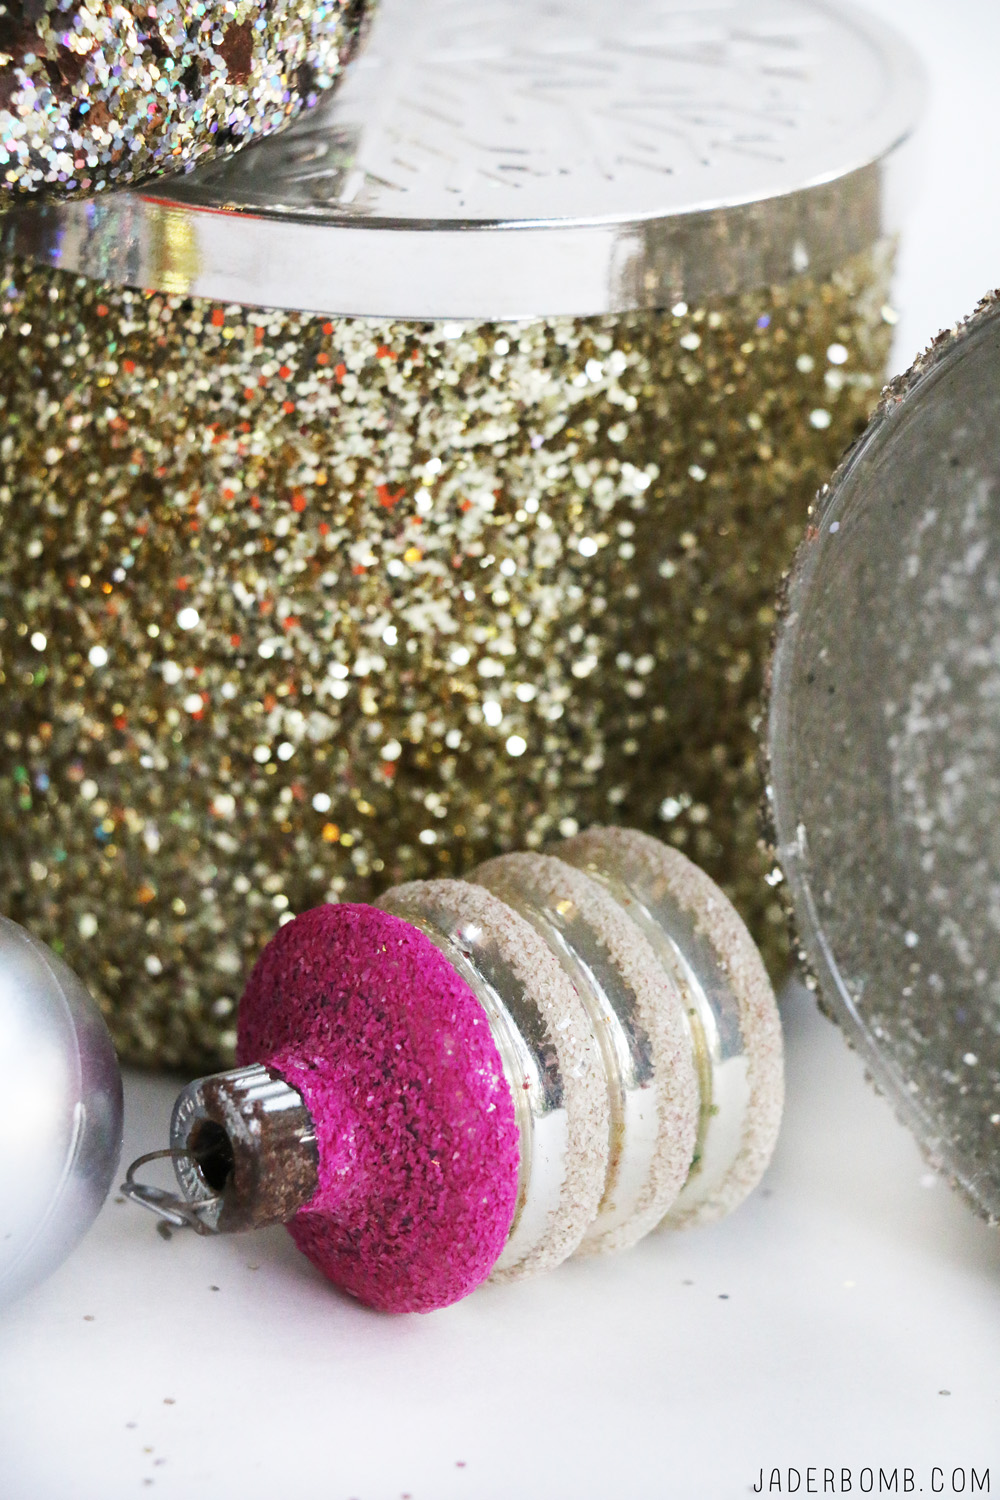
Who else is in love with vintage glass blown ornaments. I have a little shoe box of them that were given to me from a very important person so I take really good care of them. My goal is to collect enough over time to fill an entire tree. vintage-ornaments
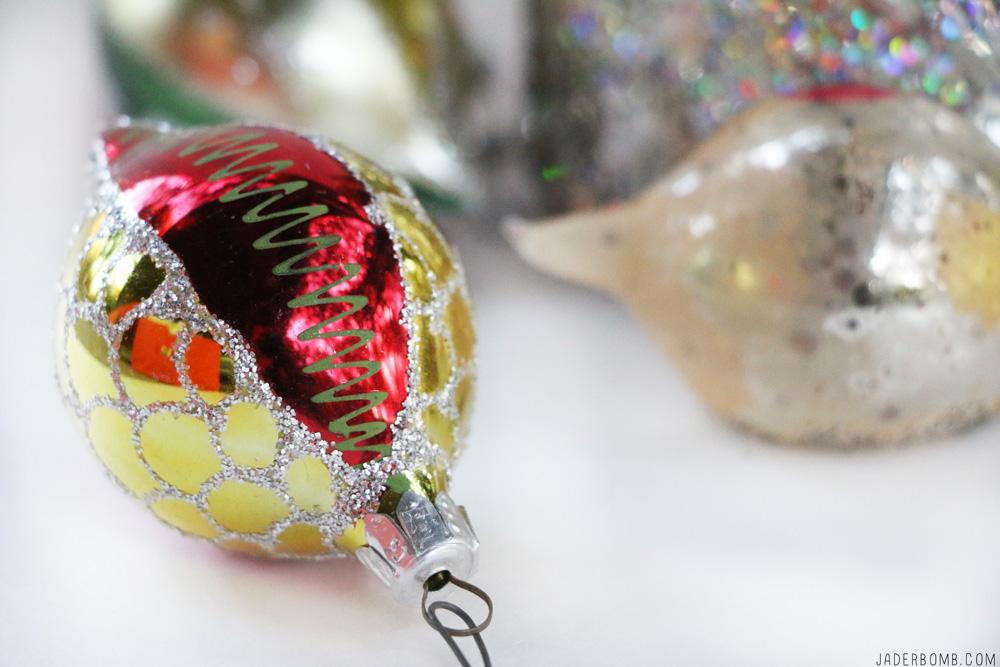
Don’t they look great all stacked together! Don’t forget to share these Glitter Candles with the world!mod-podge-glitter
easy-glittered-candless

I hope you enjoyed this awesome post! See you later!

hashtag-logo-1

Don’t forget to follow me on all my Social Media spots! I get down and dirty on them. Fa real! Are you in love with Glittered Caneles yet?

FACEBOOK | INSTAGRAM | TWITTER | PINTEREST 


The Simple Secret to something you have in your bathroom!

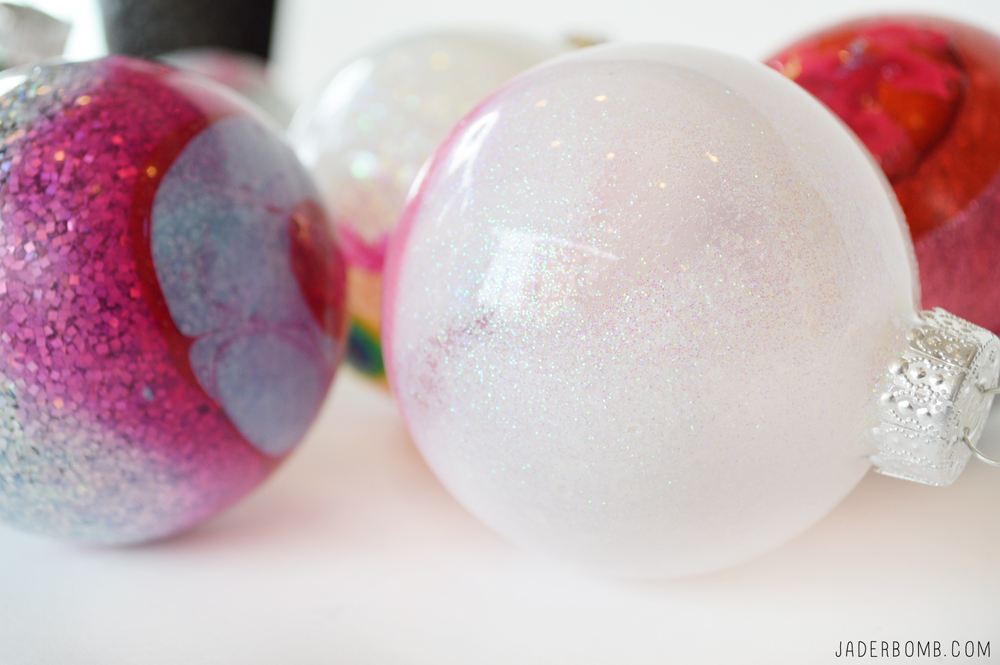
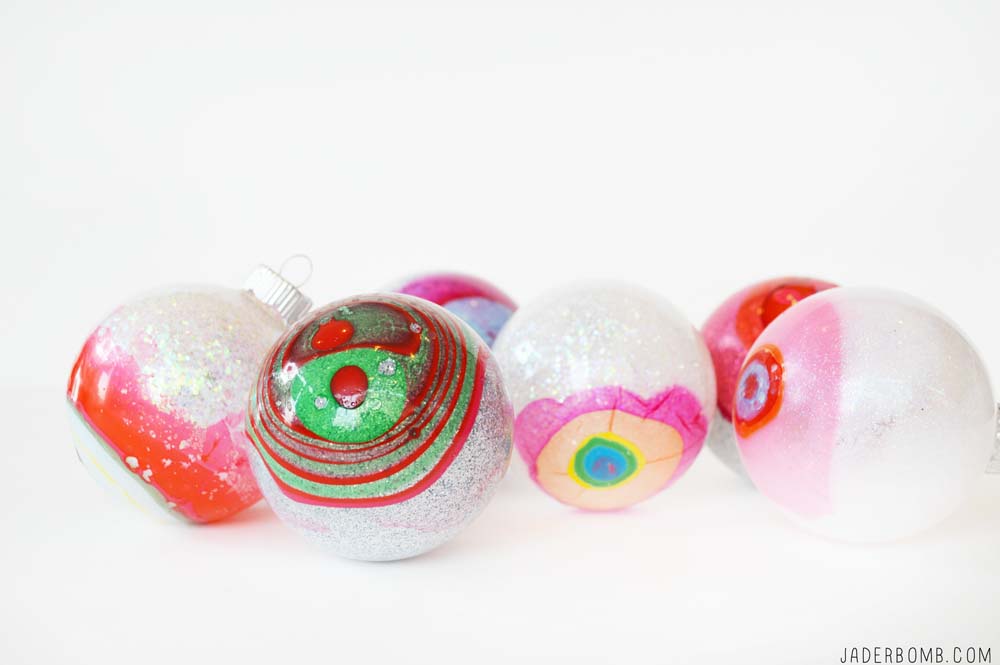
Happy Monday to all my crafty frans! Today I will be showing you how make glittery, swirly ornaments made with items you most likely have already in your home. Everyone is putting up their trees and even if you already purchased all of your tree decor this is still something you can add to it! What if you make a dozen DIY ornaments and give them to someone as a gift!

I promise you every year when they open that box they will always think of you, I think that is so special and sweet! Let’s face it, decorative ornaments can be pricey but if you make them you will be surprised how much money you can save!  Whattya say?! I made these snazzy ornaments last year for I Love to Create and if you want to see the FULL tutorial scroll to the bottom of this post and click on the link! P.S. Have you sen my dream tree I created this year for Michaels! Do It Yourself Nail Polish Ornaments

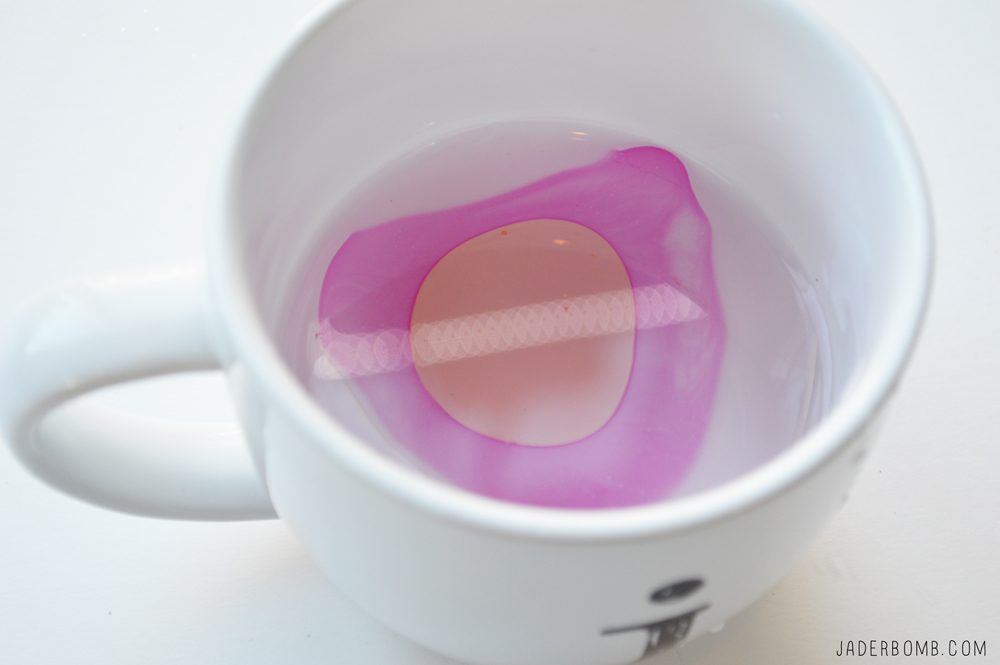
I am not sure if anyone will be able to guess what is in this cup but I will tell you if you don’t know, when you find out you will be like OMG! I kinda gave it away in the title, haha!  nail-polish-ornaments

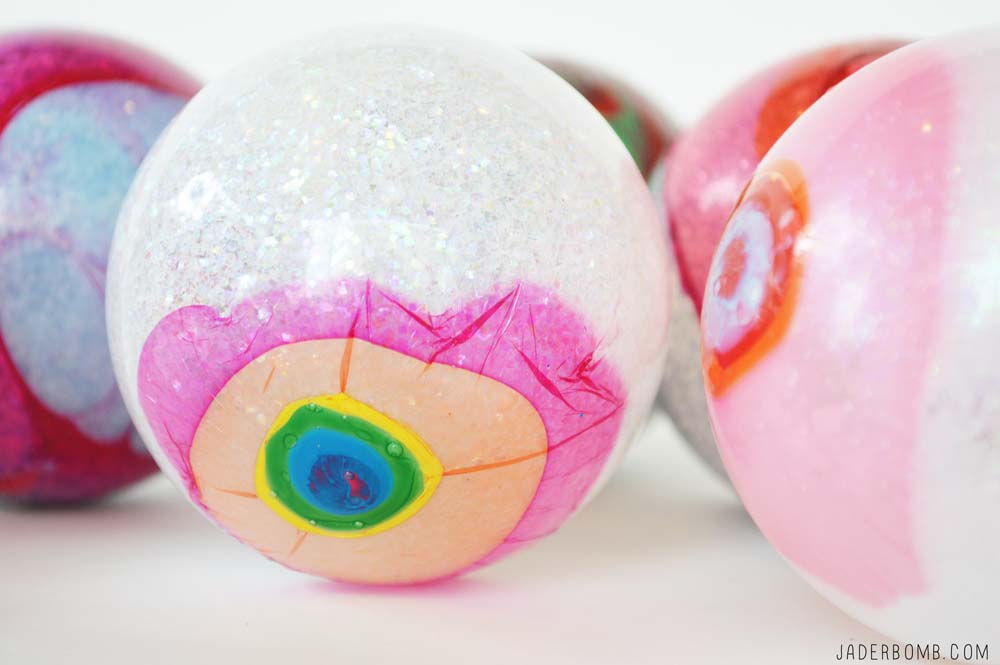
These are seriously beautiful! I could easily keep these up all year long because when I see them they really make me happy. They kinda remind me of the third eye, right! Oh if you are into cozy nights by the fire, this is the perfect thing to add to that night!diy-christmas-ornaments

I have to admit there is another cool trick that I did to these ornaments. Bad thing is you will have to head on over to the I Love to Create site to see, hehe! Remember the link is at the bottom of this post!how-to-glitter-ornaments

Are you drooling yet? glittered-christmas-ornaments

One more thing is you can always add other elements to your Christmas ornaments! 
how-to-bedazzle-ornamentsFULL TUTORIAL 

Don’t forget to follow me on all my Social Media spots! I get down and dirty on them. Fa real! Are you in love with DIY Coffee Mugs yet?

FACEBOOK | INSTAGRAM | TWITTER | PINTEREST 
Happy THANKSGIVING! I sit here and it’s past 1 am in the morning. I contemplated even writing a post only because I am extremely tired however, I get constant LOVE all year long from all of my readers so this is the least I can do. 

This past year has been a roller coaster to say the least. Lot’s of major changes went on in my life and there were many days where I didn’t feel like I had anything to be “Thankful” for. Of course just as seasons pass so do moods and feelings. Don’t we all get stagnant at times in our lives, I know I have hit some pretty rough moments where I just felt stuck. 

It did however dig really deep into my soul to really pull out everything I could possibly be thankful for. That is what I think we should all do. Is it hard, yes! Can you do it, YES! But you have to surrender everything inside of your soul to truly find beauty in everything around you. Being thankful is a beautiful thing and it’s even more beautiful when you finally realize all you have in your path.

Devyn Galindo shoots Daniela Braga for Nasty Gal Pre-Spring Lookbook

Thanksgiving isn’t just about that one day of the year that your entire family get’s together to eat a grand ole meal and see people that you only see for special occasions. In my eyes this day is about giving thanks to things you have already been giving thanks to. 

Some of us don’t have large families that get together. Some of us spend the day alone, because we feel alone. I am not saying any of this is bad but I believe we should reach out to anyone who might feel alone and show them what they have to be thankful for. I will be spending the day with a few people in my family who love me and support me to the depths of my soul. The people who remind me how to be thankful all year long. Just keep in mind there are so many out there who don’t have a family to celebrate this day with. So for me, when you say grace for lunch or dinner please say a prayer for those alone, sad, depressed, angry or lost that they can soon feel love from someone, and possibly enough love to help them recognize what they have to be thankful for. 

2051da50817b28f94a6b256c857e858cTake time today to reflect. Jot down some things you might want to work on to become more aware of things in your life that you have to be thankful for. Every morning I wake up and I say thanks to the Universe for allowing me to be on Earth one more beautiful day. Thank you Universe for my healthy body and my hands that are allowing me to type this beautiful message to you tonight. I could go on for days but we ALL have so much to be thankful for. Lord knows I am already thankful for my dads yams tomorrow… hehe

0538cc05a2222530aced7672cb9efcd9Take a moment to put yourself in someones else’s shoes. Not literally peeps. But seriously you never know the battles others are facing. Is it out job to judge? Is it our job to tell others what we think they should do? NO! It is our job to be understanding and loving. After all, love is the answer. Plus if you trust in the Universe then you will feel safe knowing that all things come to us at the perfect times. We may not know it now but lord knows we will figure it out one day. On another note these shoes are FIRE, right! 

22e5408d8458b517cc399d912a7a598eLast but not least. I am so THANKFUL for my loving home that I can provide for me and my son. It may not be a mansion but boy I can tell you it is FILLED with so much LOVE! I have an idea this Holiday season. The weather is getting colder and let’s teach kids and adults a loving lesson. Collect old blankets, scarves or sweaters and pass them out to those in homeless shelters or people you might just see on the streets. They will be thankful and in return you will get so much that you will be thankful for. It’s how the Universe works friends. Karma. 

I love you all and I would not be here if it were not for YOU! So Happy Thanksgiving from my family to yours!!!! 

XOXO, Jade

Y’all it’s almost Christmas! Seriously I feel like I made these DIY Coffee Mugs a week ago. Welcome to my world! I can’t quite grasp Christmas this year. Maybe because it still sorta feels like Summer-ish / Fall-ish here in Louisiana. I mean come on mother nature, can you give us like 4 days of snow? It’s not too much to ask of you. I just want to wear some scarves for a few days without my neck getting hot.

Which brings me to the subject of why stores in Louisiana even sell scarves. However it’s quite funny when you go into a store here and a mannequin is dressed with a scarf and tank top.. Insert WTF here.

Speaking of Mannequins. Are you totally loving this new fad all over the internet where everyone stands still (minus the people who blink every now and then) and pretends life is at a dead stand still? I know I am. Shoot’s, it’s better than that whole “plank” fad that went around a few years ago. I think THIS ONE is my favorite so far. I mean you can be in the WORST mood ever and once you watch this you will wish there was more, or you will wish you were in that front row. Either way I bound and determined to do one and you can bet I will get creative. Stay tuned. I think my DIY Coffee Mugs would work perfectly in a mannequin challenge.

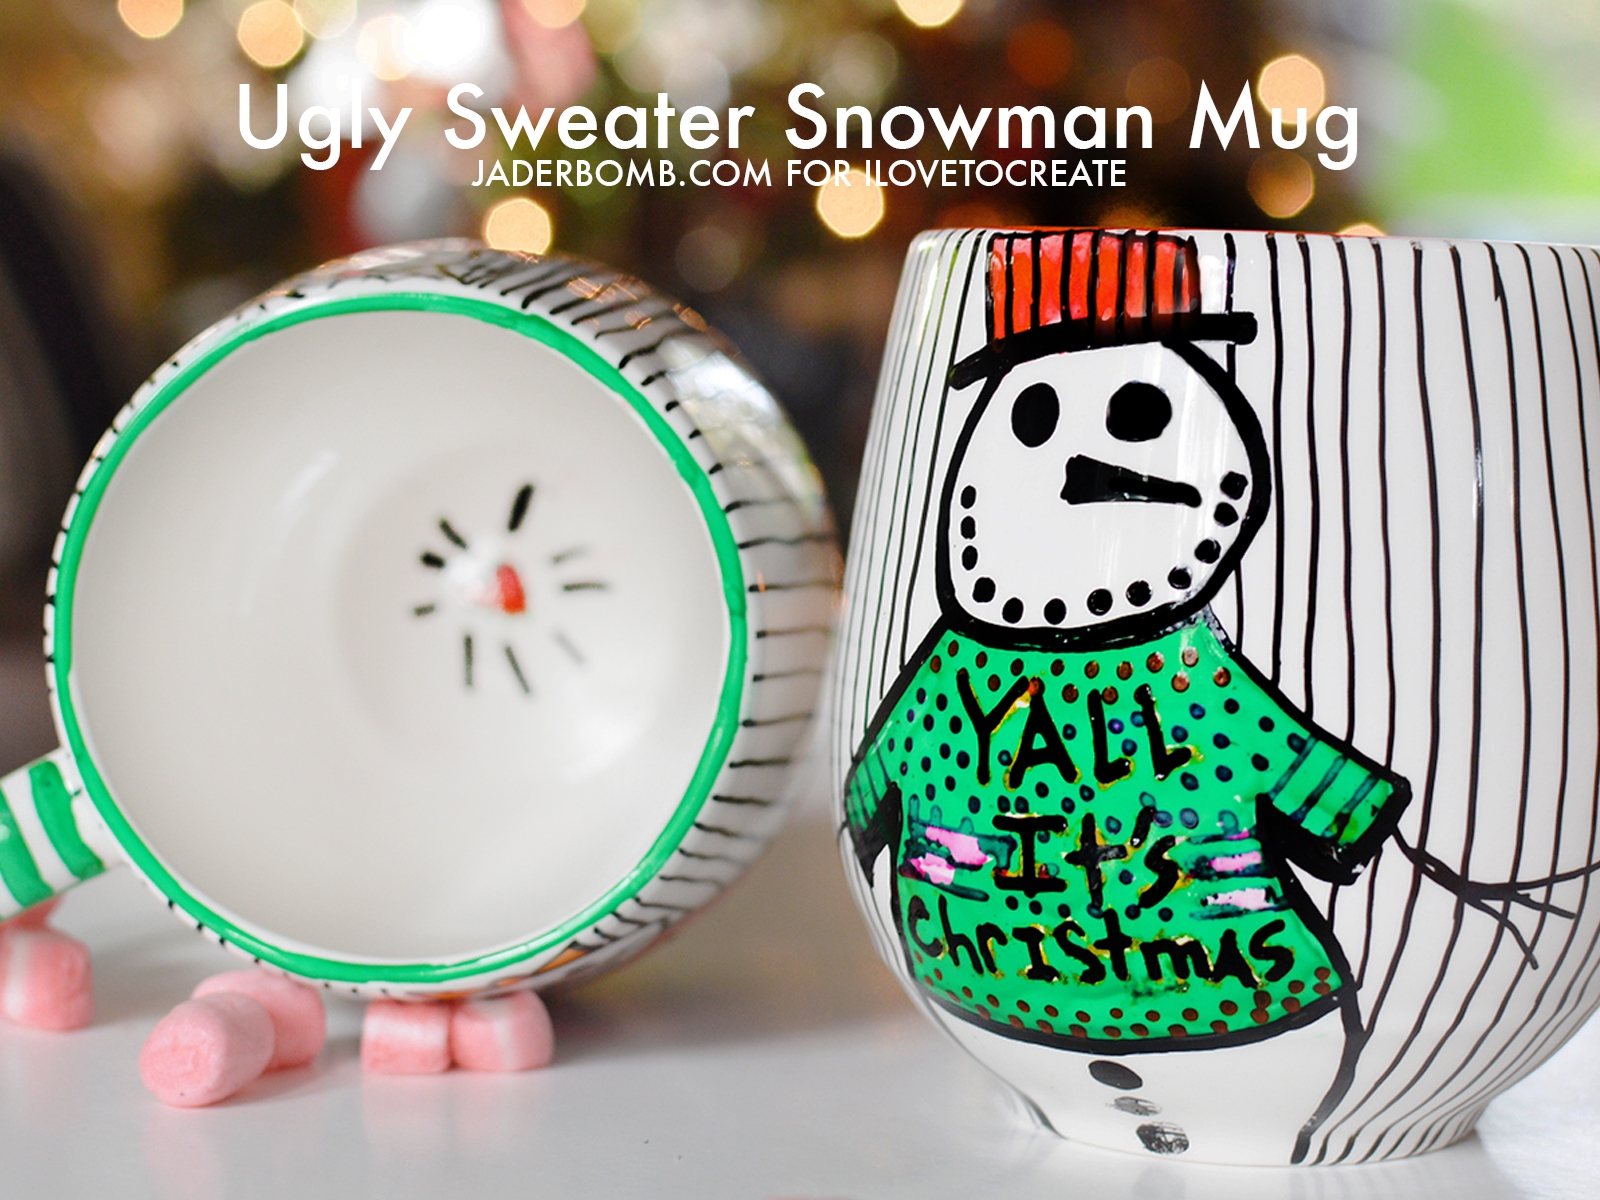
Today I wanted to share with you a really fun tutorial I did last year for I Love to Create. I am always down to wear an ugly sweater and I wanted to make sure my mugs had the change to do the same thing. Click on the link below for the FULL TUTORIAL.
DIY COFFEE MUG

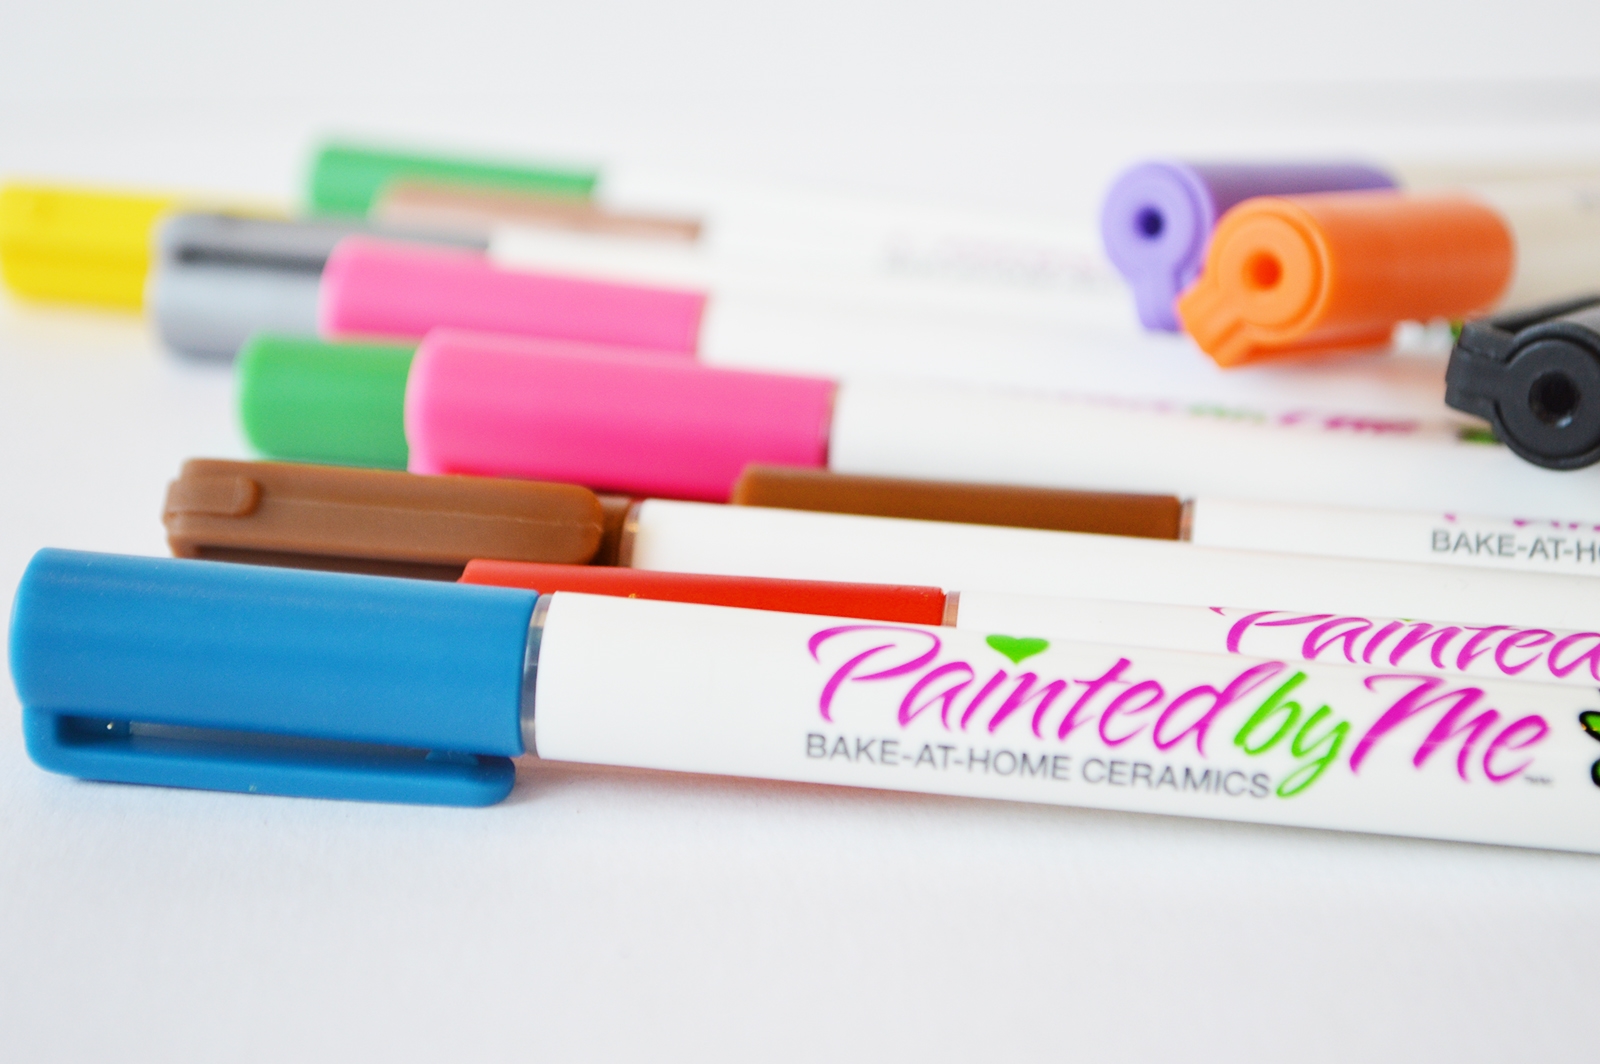
I won’t give aways the deets but I will tell you that anyone can create fun mugs. These can be for yourself or for a friend. Either way they are the perfect gift! I will say that the ceramic markers below are by far the best I have ever used. No, I am not getting paid to say that (well technically I am but…) I am very serious.

These would look great next to your mugs!ugly-sweater-snowman-mug

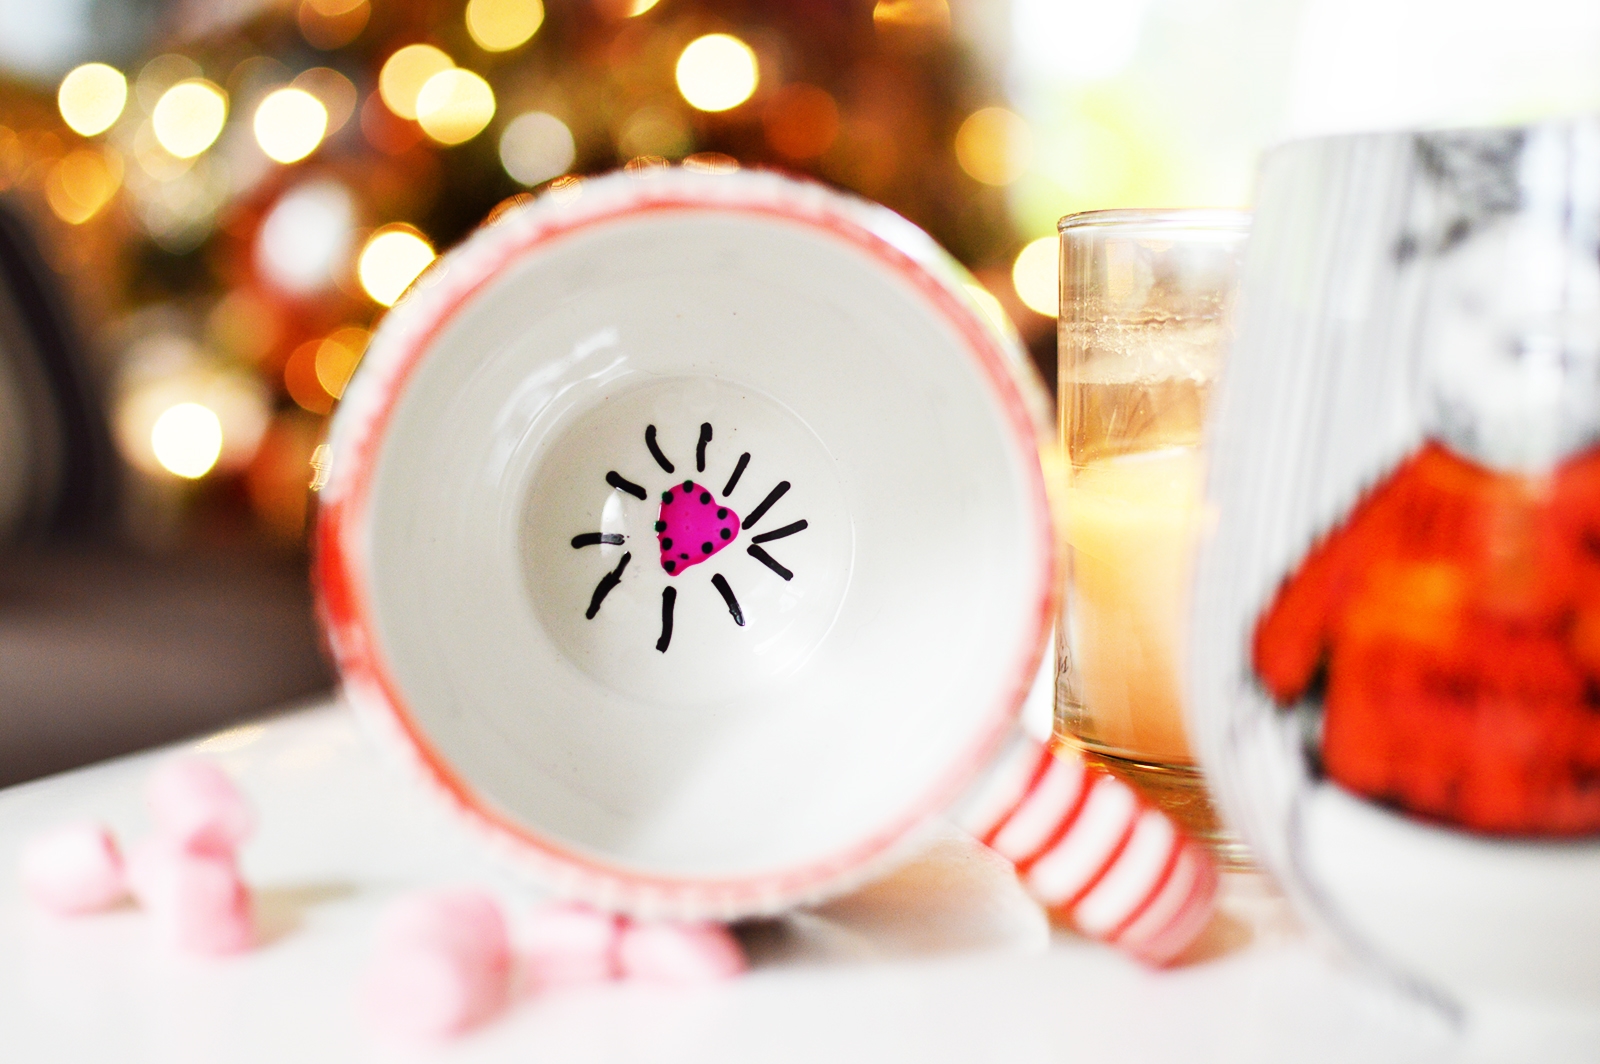
Yep! They are safe to use once you are done. I thought I would add hearts to the bottom of my mugs so when their drink is all done they will have a heart felt surprise! How sweet huh! ♥

OH SNAP! I almost forgot to tell you about my Dream Tree Challenge for Michaels. Every year I am honored to create a beautiful tree and this year I went all out! Wondering what theme I went with? You hoping I tell you right now huh! NOPE, haha! Click HERE to see my beautiful creation… I am still in love with last years tree but I am totally digging the beauty of this years. DIY Coffee Mugs - Christmas Mugs - DIY - DIY GIFTS

CLICK HERE FOR THE FULL TUTORIAL 

Don’t forget to follow me on all my Social Media spots! I get down and dirty on them. Fa real! Are you in love with DIY Coffee Mugs yet?

FACEBOOK | INSTAGRAM | TWITTER | PINTEREST 
in other news

♥ I have some exciting news about a company I will soon be working with. I will be sharing soon so be on the look out!
♥ Have you seen all of my new designs for my Boho Jewelry?
♥ Did I tell you that I love you lately? I know I have been a little “MIA” lately on here but girls and boys I am back.
♥ In the next day or two I will have a really rad project involving GLITTER AND CANDLES. Did I give too much away, haha!


The Simple Secret to decorating a tree!

No, not really but if you live in my “land” then it’s time to break out the egg nog and mistletoe. So with that being said I will graciously sit here in my cozy pajamas, half cold coffee and good music to give you a little blast of Christmas…Why? Because, WHY NOT!

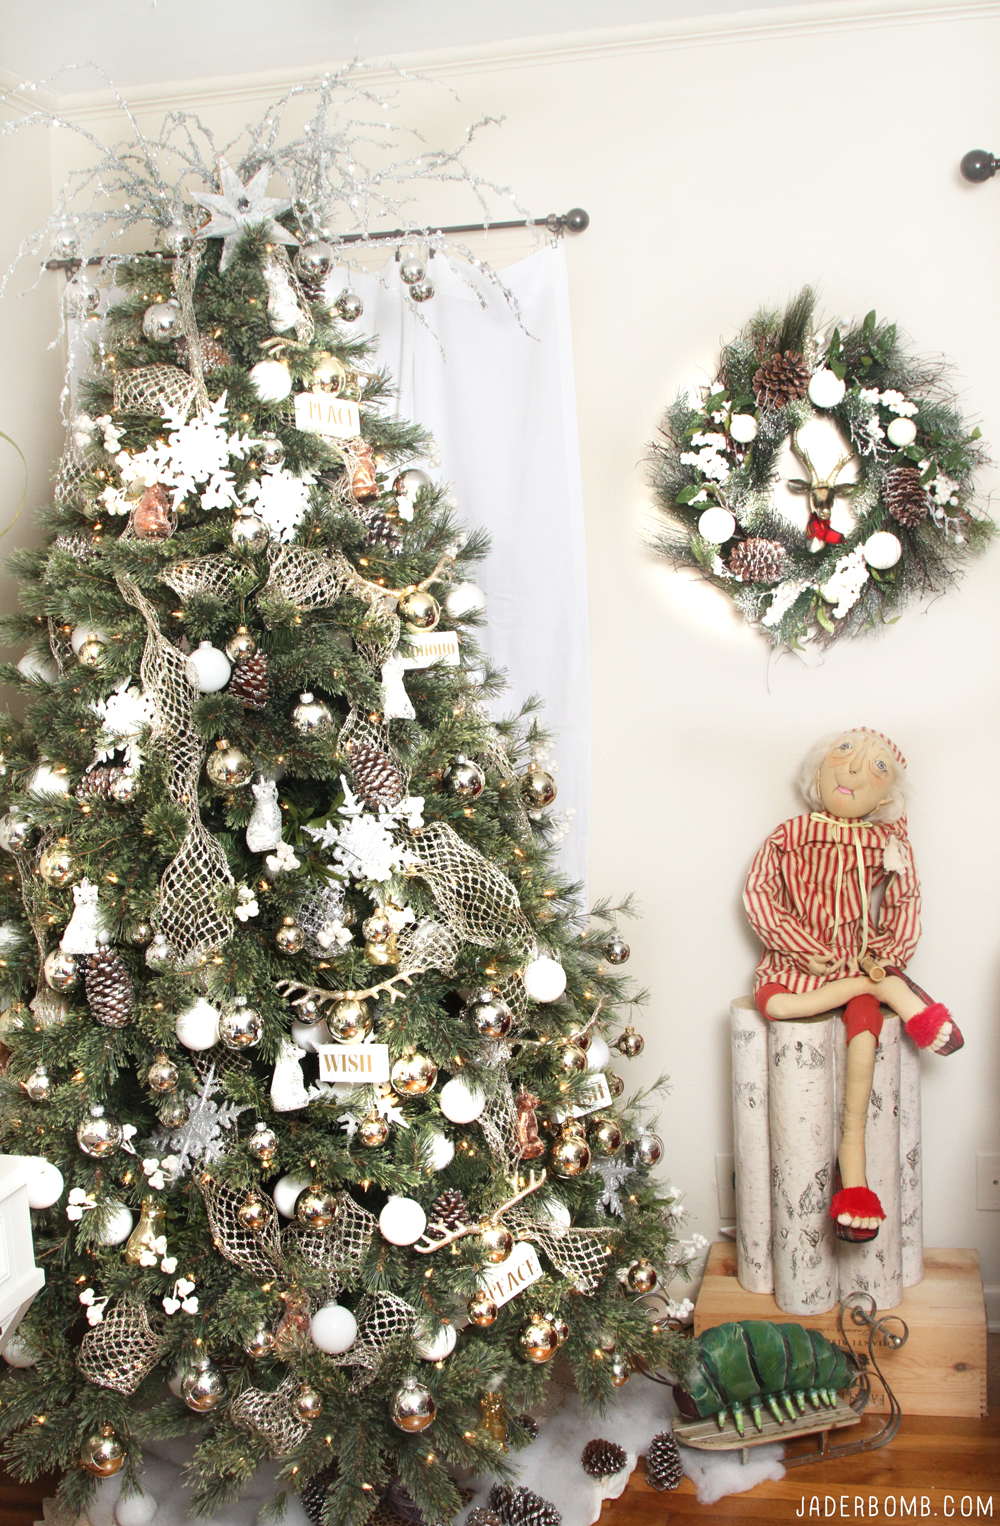
I have to give a huge shout out to Michaels for giving me the opportunity to participate in yet another year of the dream tree challenge! It’s always fun plus it gives me a great excuse to break out my winter wonderland! I always try to do something different each year to test my limits and go out of my typical “colorful” comfort zone. Remember my woodsy tree last year…I seriously wanted to keep that baby up all year long but after 3 months of seeing it I couldn’t handle another month of it, haha!

This year I wanted clean and crisp and that is just what was delivered. I can’t lie, I walked out of Michaels with way too many ornaments this year but I can totally explain it.  When I saw all of the themed decor at the store I went into sensory overload and acted like the little girl on Willy Wonka who ate the blueberry gum. She just couldn’t help herself, as I couldn’t either. Let’s get to it!

project-ranking-format5

This year I came very close to setting up my tree in a different place (someone else’s home) because I just miss having a real tree in my home. Don’t get me wrong I love my faux tree but it’s not a real one and let’s face it when I spend this much time into a tree you can bet your bottom dollar I will not be taking it down to put up another one. Although I will admit I will be doing another tree soon for another brand so lord knows where I will stuff that baby.

Let’s enter into my faux winter wonderland…

dream-tree-challenge

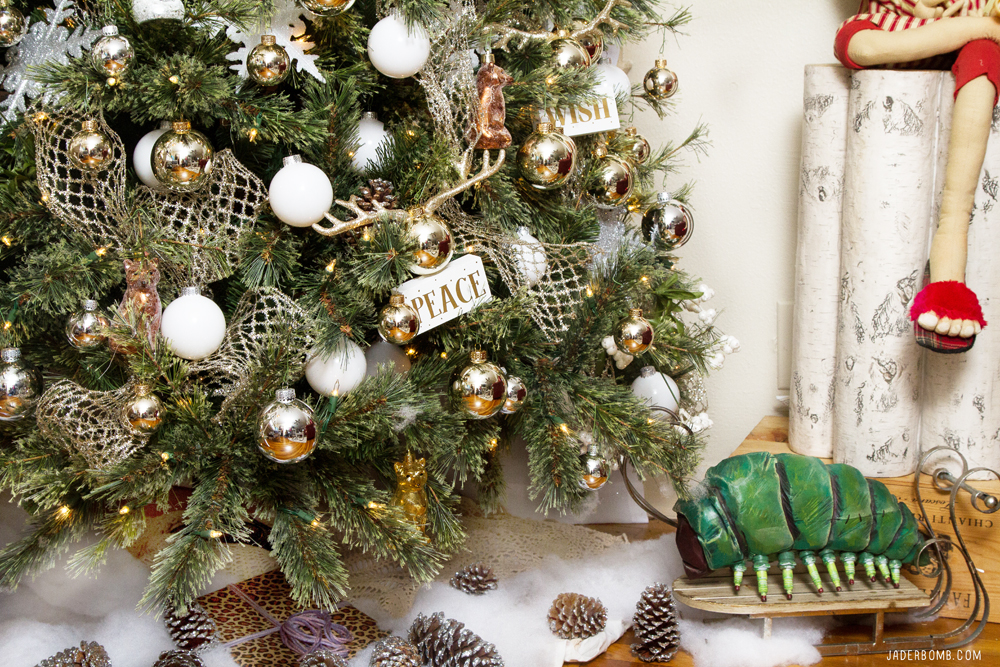
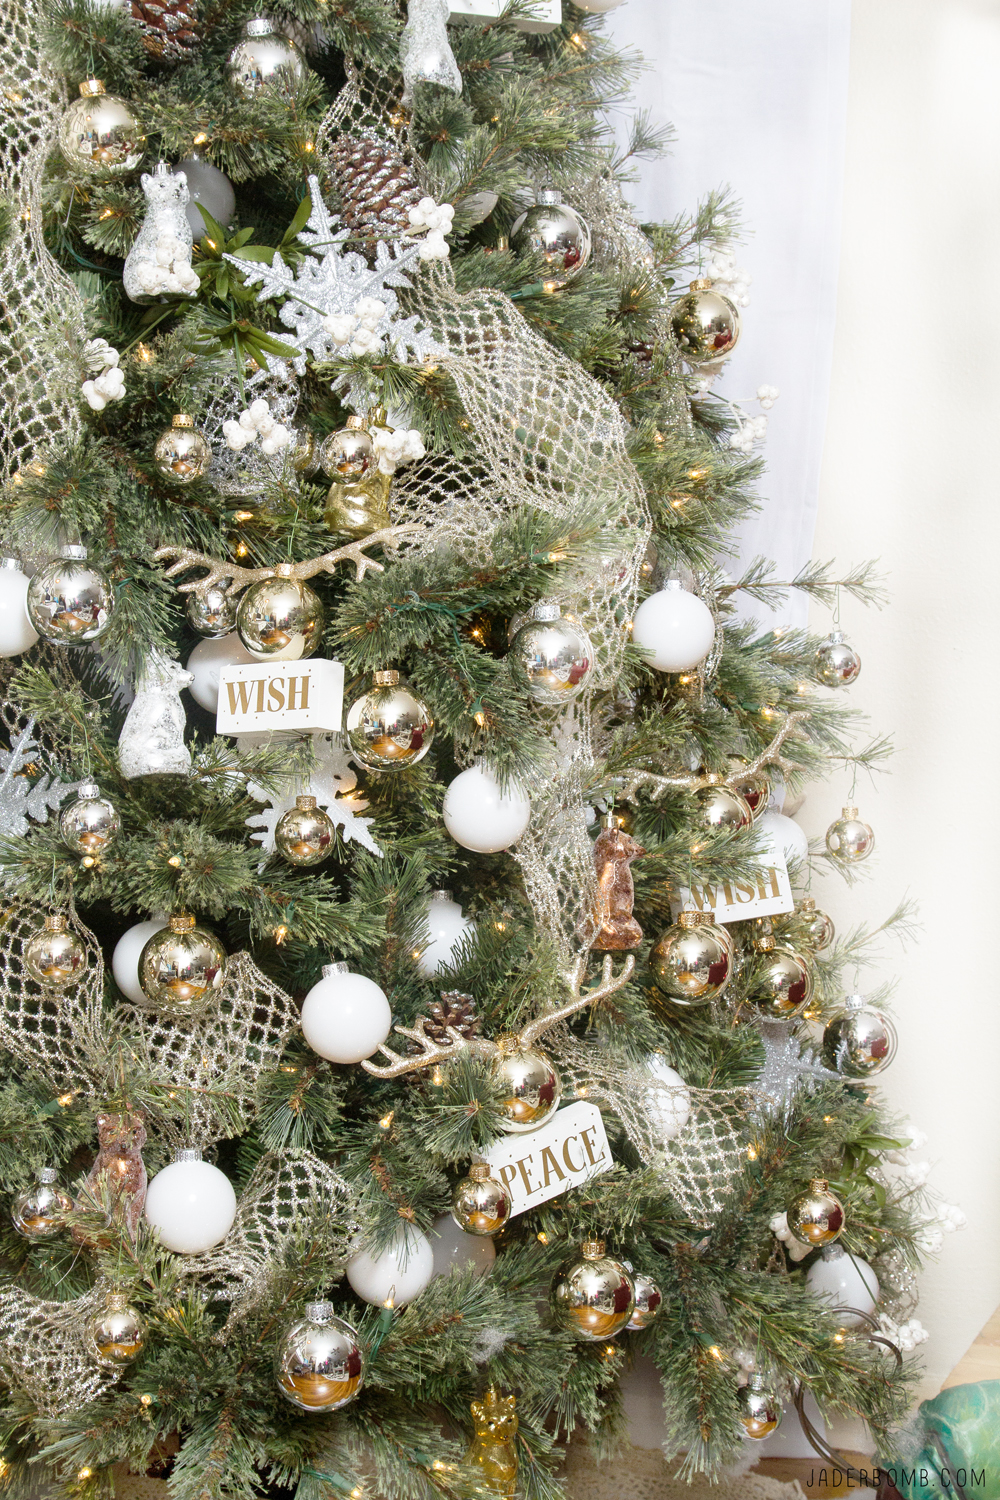
I have to admit I started out with just white ornaments but somehow I ended up getting some rose gold and silver ornaments to pop into the tree. So I guess we can say it’s a bedazzled winter wonderland.

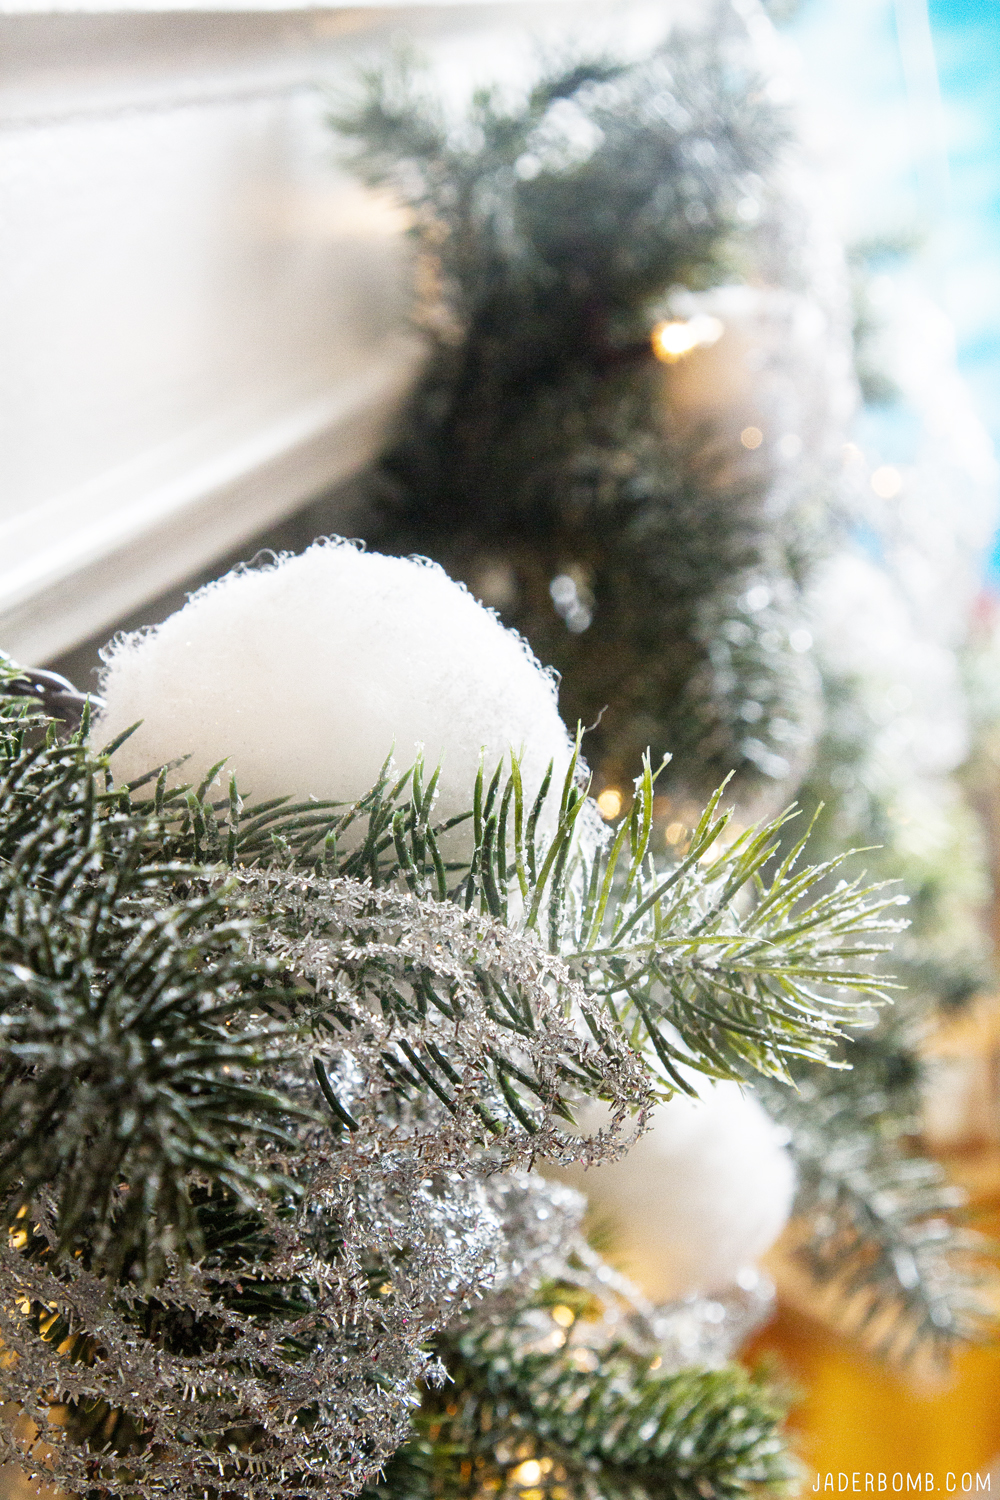
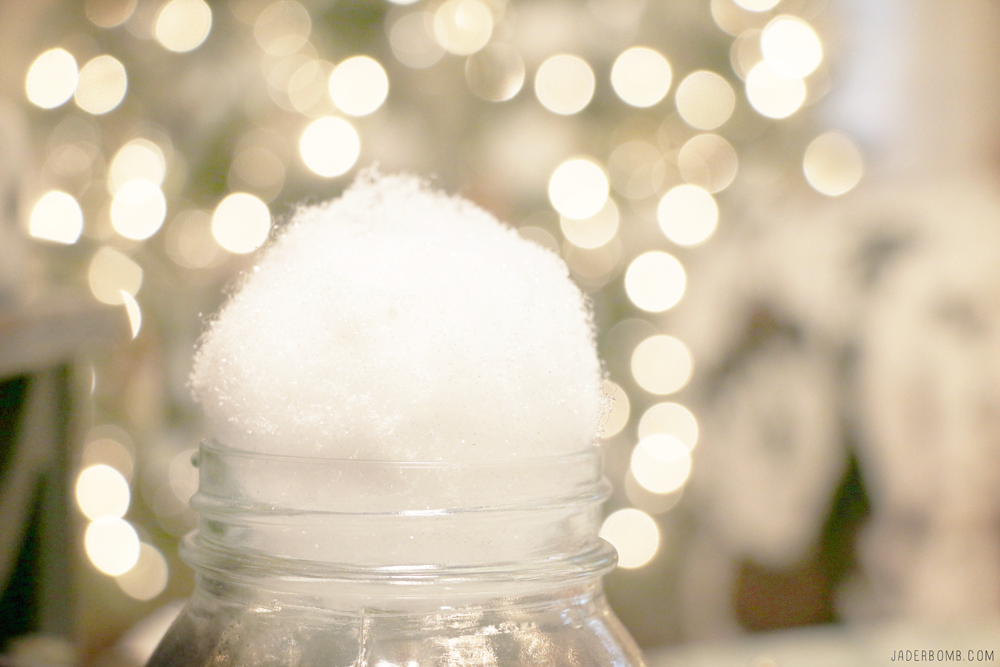
This year Michaels had some really unique balls in boxes (say that three times really fast) that are not actual ornaments. I think my favorite ones were these snow ball, balls. They stuck immediately to my wreath which I thought was very cool! diy-snow-balls

I made some cute deer ornaments that I fell completely in love with. I hot glued glittered deer antlers onto the top on an ornament then glued the ball onto a block of wood. Voila. Instant gratification. You can sit this babies onto a window ledge for some added decor. OH, another thing you can do is put them on top of a present. Boom. Done. snow-christmas-tree

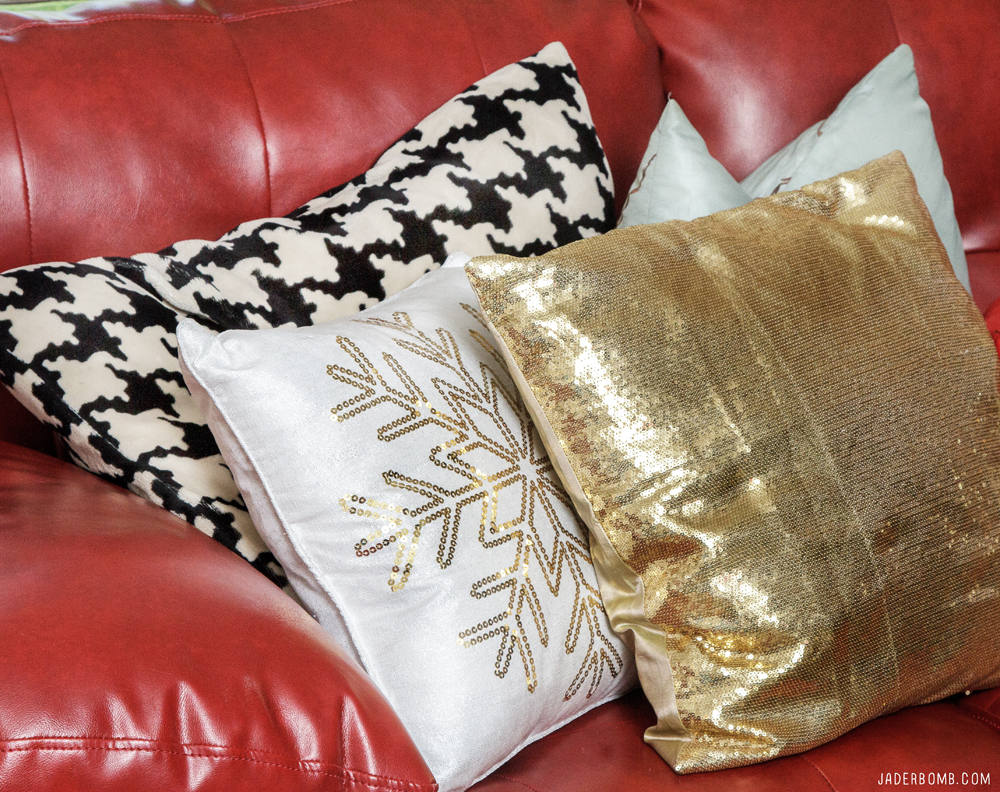
This year Michaels had these beautiful snowflake pillows so you know I had to get ALL of them. Literally it’s not a joke. I bought all of them. But why? I ask myself that every time I get home with loads of stuff. I mean, I needed them for the pictures. glittered-pillows

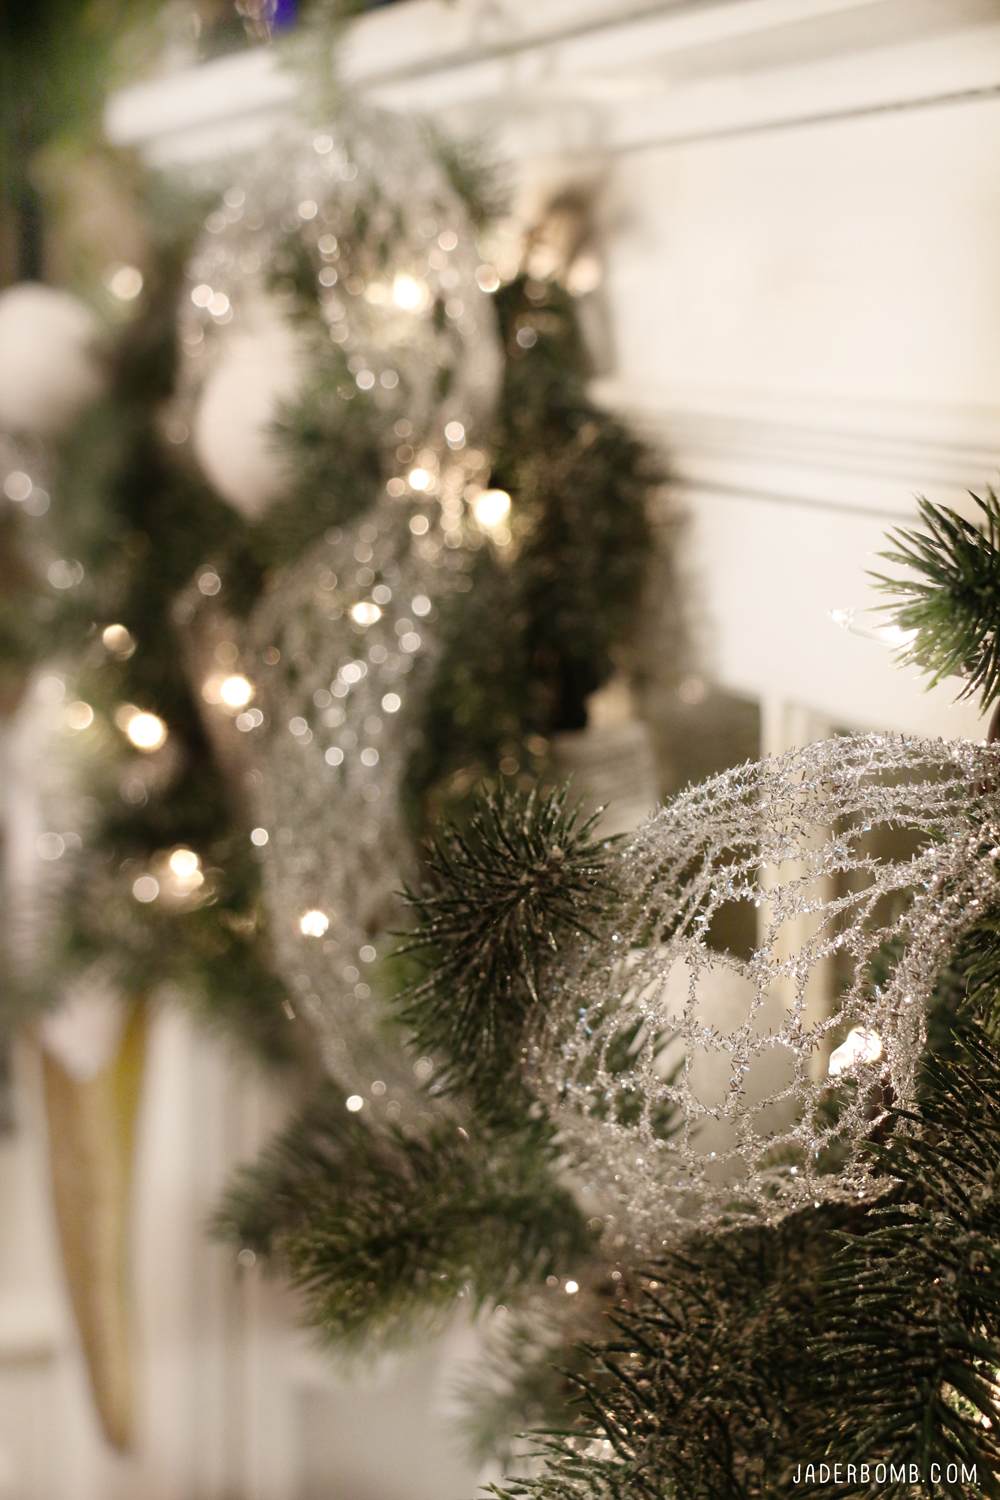
This glittery ribbon opens up into a stream of “ooh’s and ahhh’sss”….  I can sit here and tell you I found myself trying to find anything to put this ribbon on just so I could pull it apart over and over. michaels-makers-tree

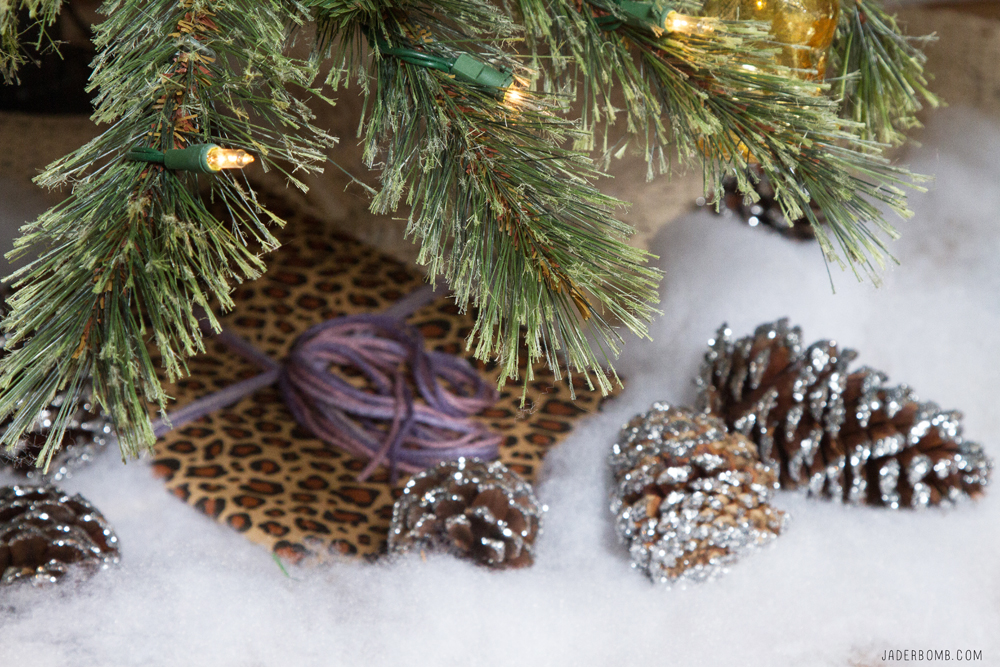
It’s always a must to add glittered pine cones to your tree or just placed under your tree as if nature naturally dropped them there, right. Get a plain pine cone, brush some glue onto the edges then sprinkle glitter on them till your heart falls out of your chest. Want to get real fancy, sprinkle some german glass glitter and really show off your fancy pants to your friends and family. You will have people lined up at your door begging you to decorate their pine cones. glittered-pine-cones

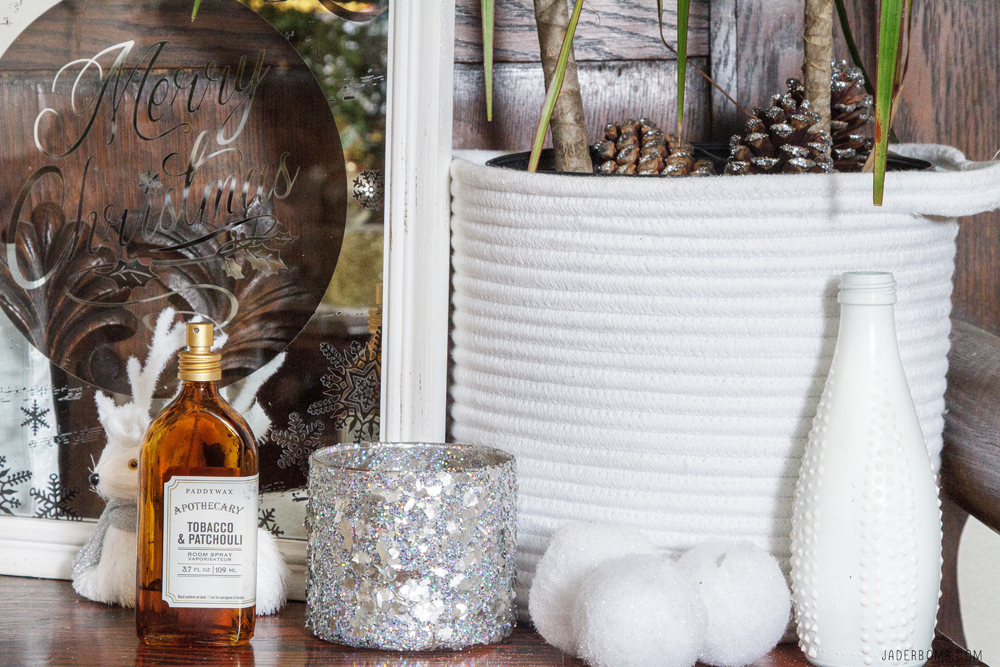
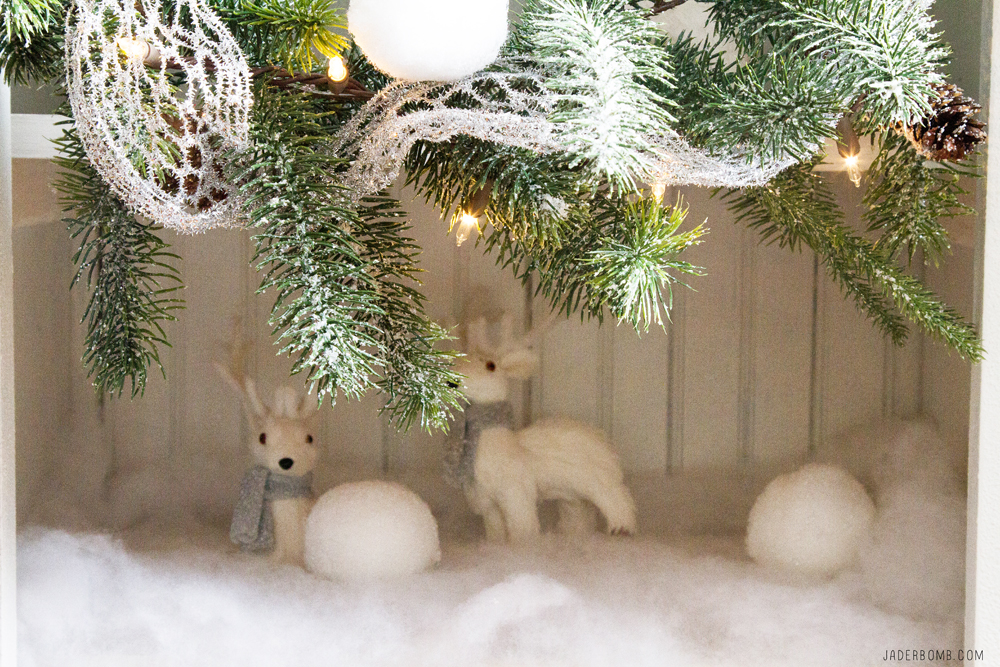
You can’t enjoy Christmas without a corner filled with faux sneaux balls and styrofoam deer. I mean we can’t leave out the pine cones, see you just throw them anywhere and you will instantly have a winter wonderland. Looking for a great way to dress up a live plant? Just put it in a cloth trash can. I know, genius. deer-christmas

snowball-decorations

Remember that wired ribbon. It kinda made it’s way onto a garland. What can I say it’s a stress reliever. garland-christmas-decor

I took all of my books out of this book shelf and gave these babies a home. Don’t worry they are just chilling here for the holidays. It actually took a LOT to take my books out but I again, I went out of my comfort zone for the babies. Round of applause. white-christmas

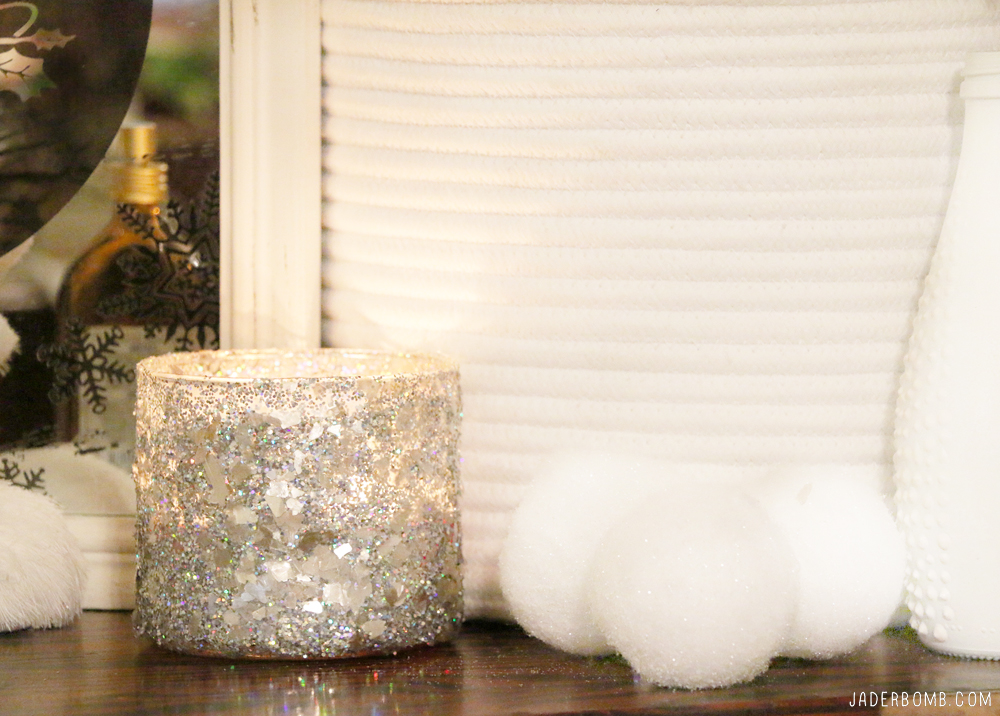
I love candles for the holidays. I love glittered candles for the holidays as well. Simply add some Mod Podge to the outside of a candle then drench with glitter. So simple yet so elegant. all-white-christmas

wish

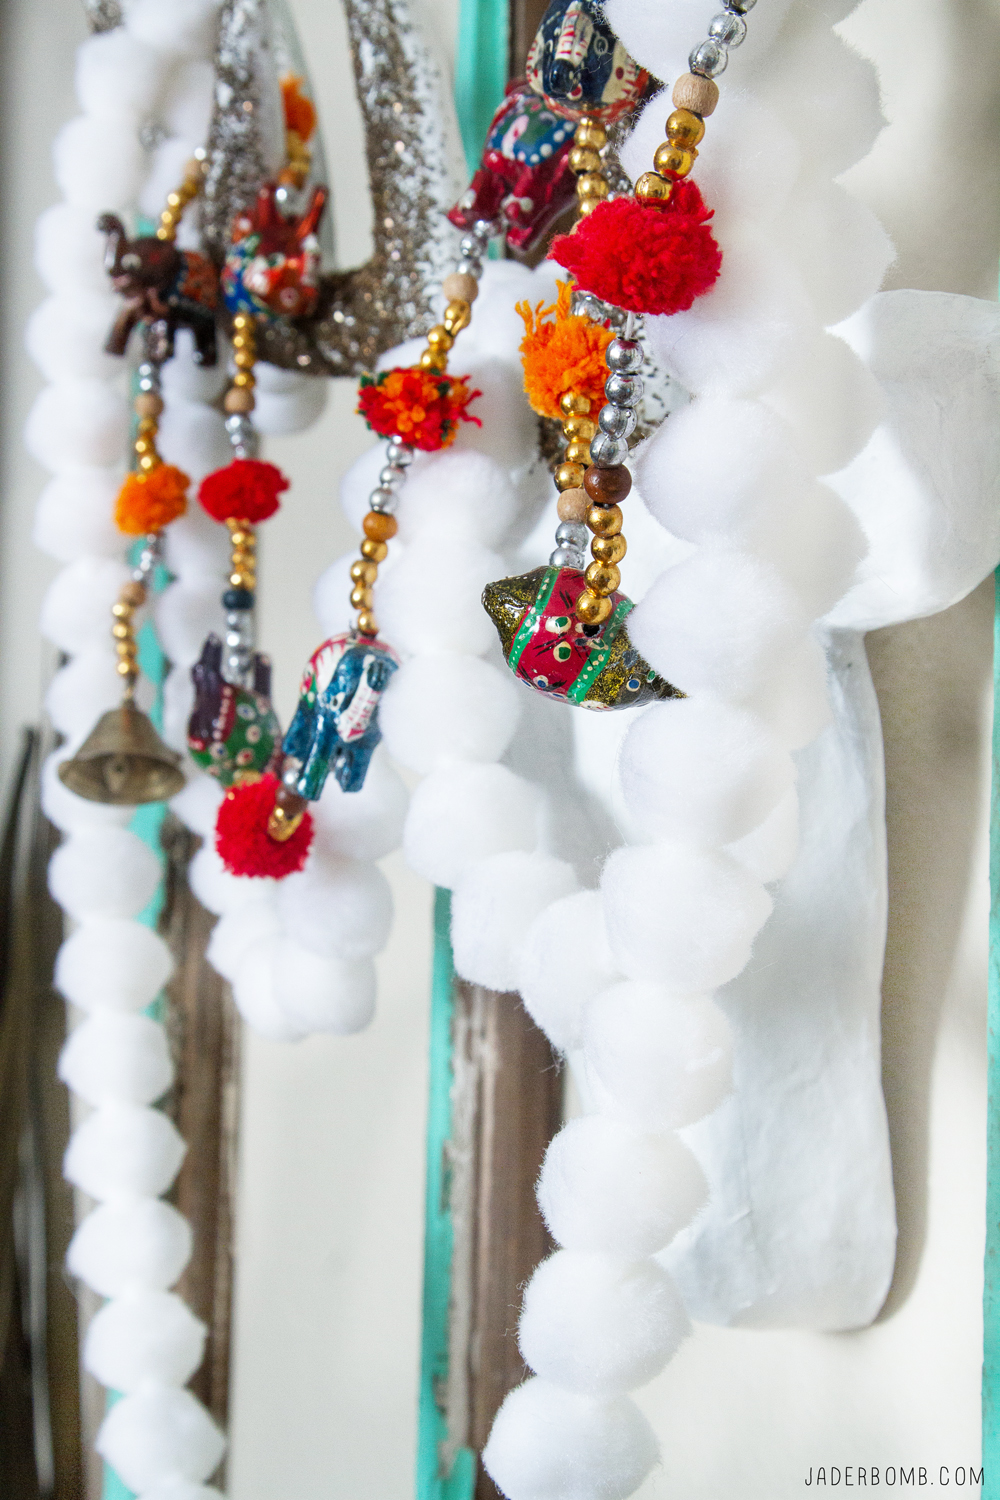
An easy way to add some cheer to your space is throwing some white balls onto faux deer antlers. I know what you are thinking, you thought it was going to be an all white Christmas tree. It was supposed to be but I had to add a pop of color to my world. It was literally begging to go up! Now my soul feels complete.
deer-head-diy

Ceaux Ceaux was so excited she couldn’t even bare to to look at the camera. Make sure to check out her INTAGRAM. She is real gangster. christmas-dog-costume

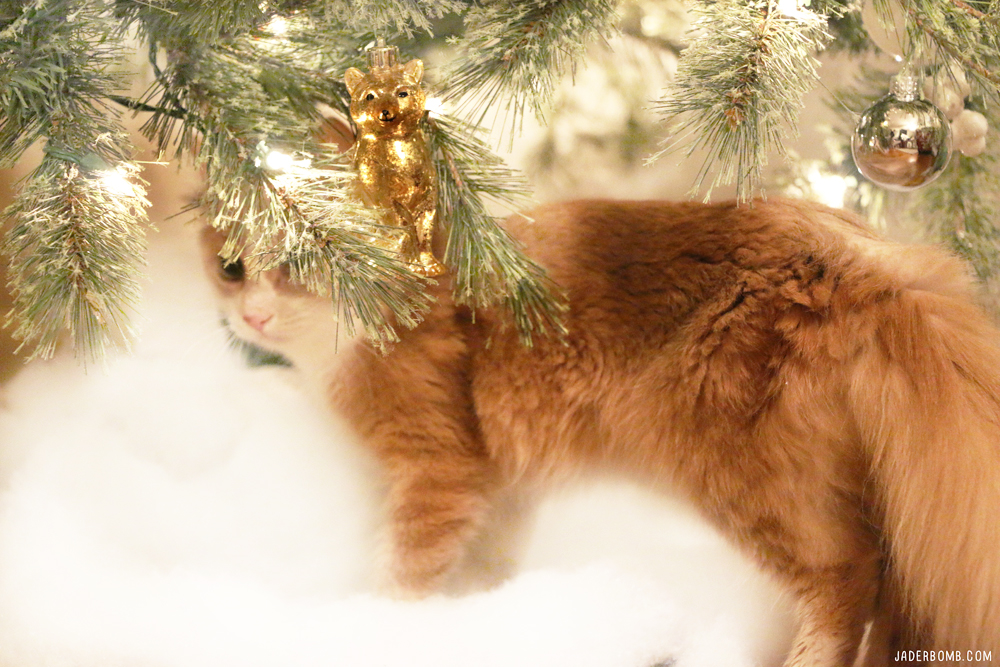
Please welcome to the family Cajon, who is very excited about Christmas. So excited she just can’t seem to stop CLIMBING the tree. #helpme
christmas-cats

This year Michaels has a large assortment of trees. You will be in love with these colored ones! I hope you enjoyed my Dream Tree this year! Hop on over to my social media to get a different taste of what I am up to!

FACEBOOK | INSTAGRAM | TWITTER | PINTEREST 
Let’s be real. Right about now you are taking out your Christmas decor. I know, I know it’s too early… Said now one EVER! Don’t forget to hop on over to the Glue String blog so see the rest of the Michaels Makers’ dream trees!


You won’t believe what I did with Moss!

Hey Everyone! It’s been a HOT minute since I posted on the blog but I have to tell you LIFE has a crazy way of throwing so much at you at once…You will be so excited when you learn how to make Moss Covered Pumpkins today. I am always so excited to do this challenge for Michaels.

You all know I love color and even though these are more natural pumpkins I am totally in love. I love the thought that there are little creatures living in the moss in their own fairy land. Maybe I created these because subconsciously I want to be one of the creatures, haha! Who’s ready to get started! P.S. I am leaving tomorrow to go to Carmel California to our annual Michaels Makers Summit so I can’t wait to share with you this adventure! Check out what we did LAST year…You will see why I am so excited!

To kick off fall in your own home, visit Michaels.com and check out the variety of craft pumpkins available – there is every color, shape and size you could ever want! There are tons of ways to DIY your own craft pumpkin for your home, a party or even as a gift.

Moss Covered Pumpkins

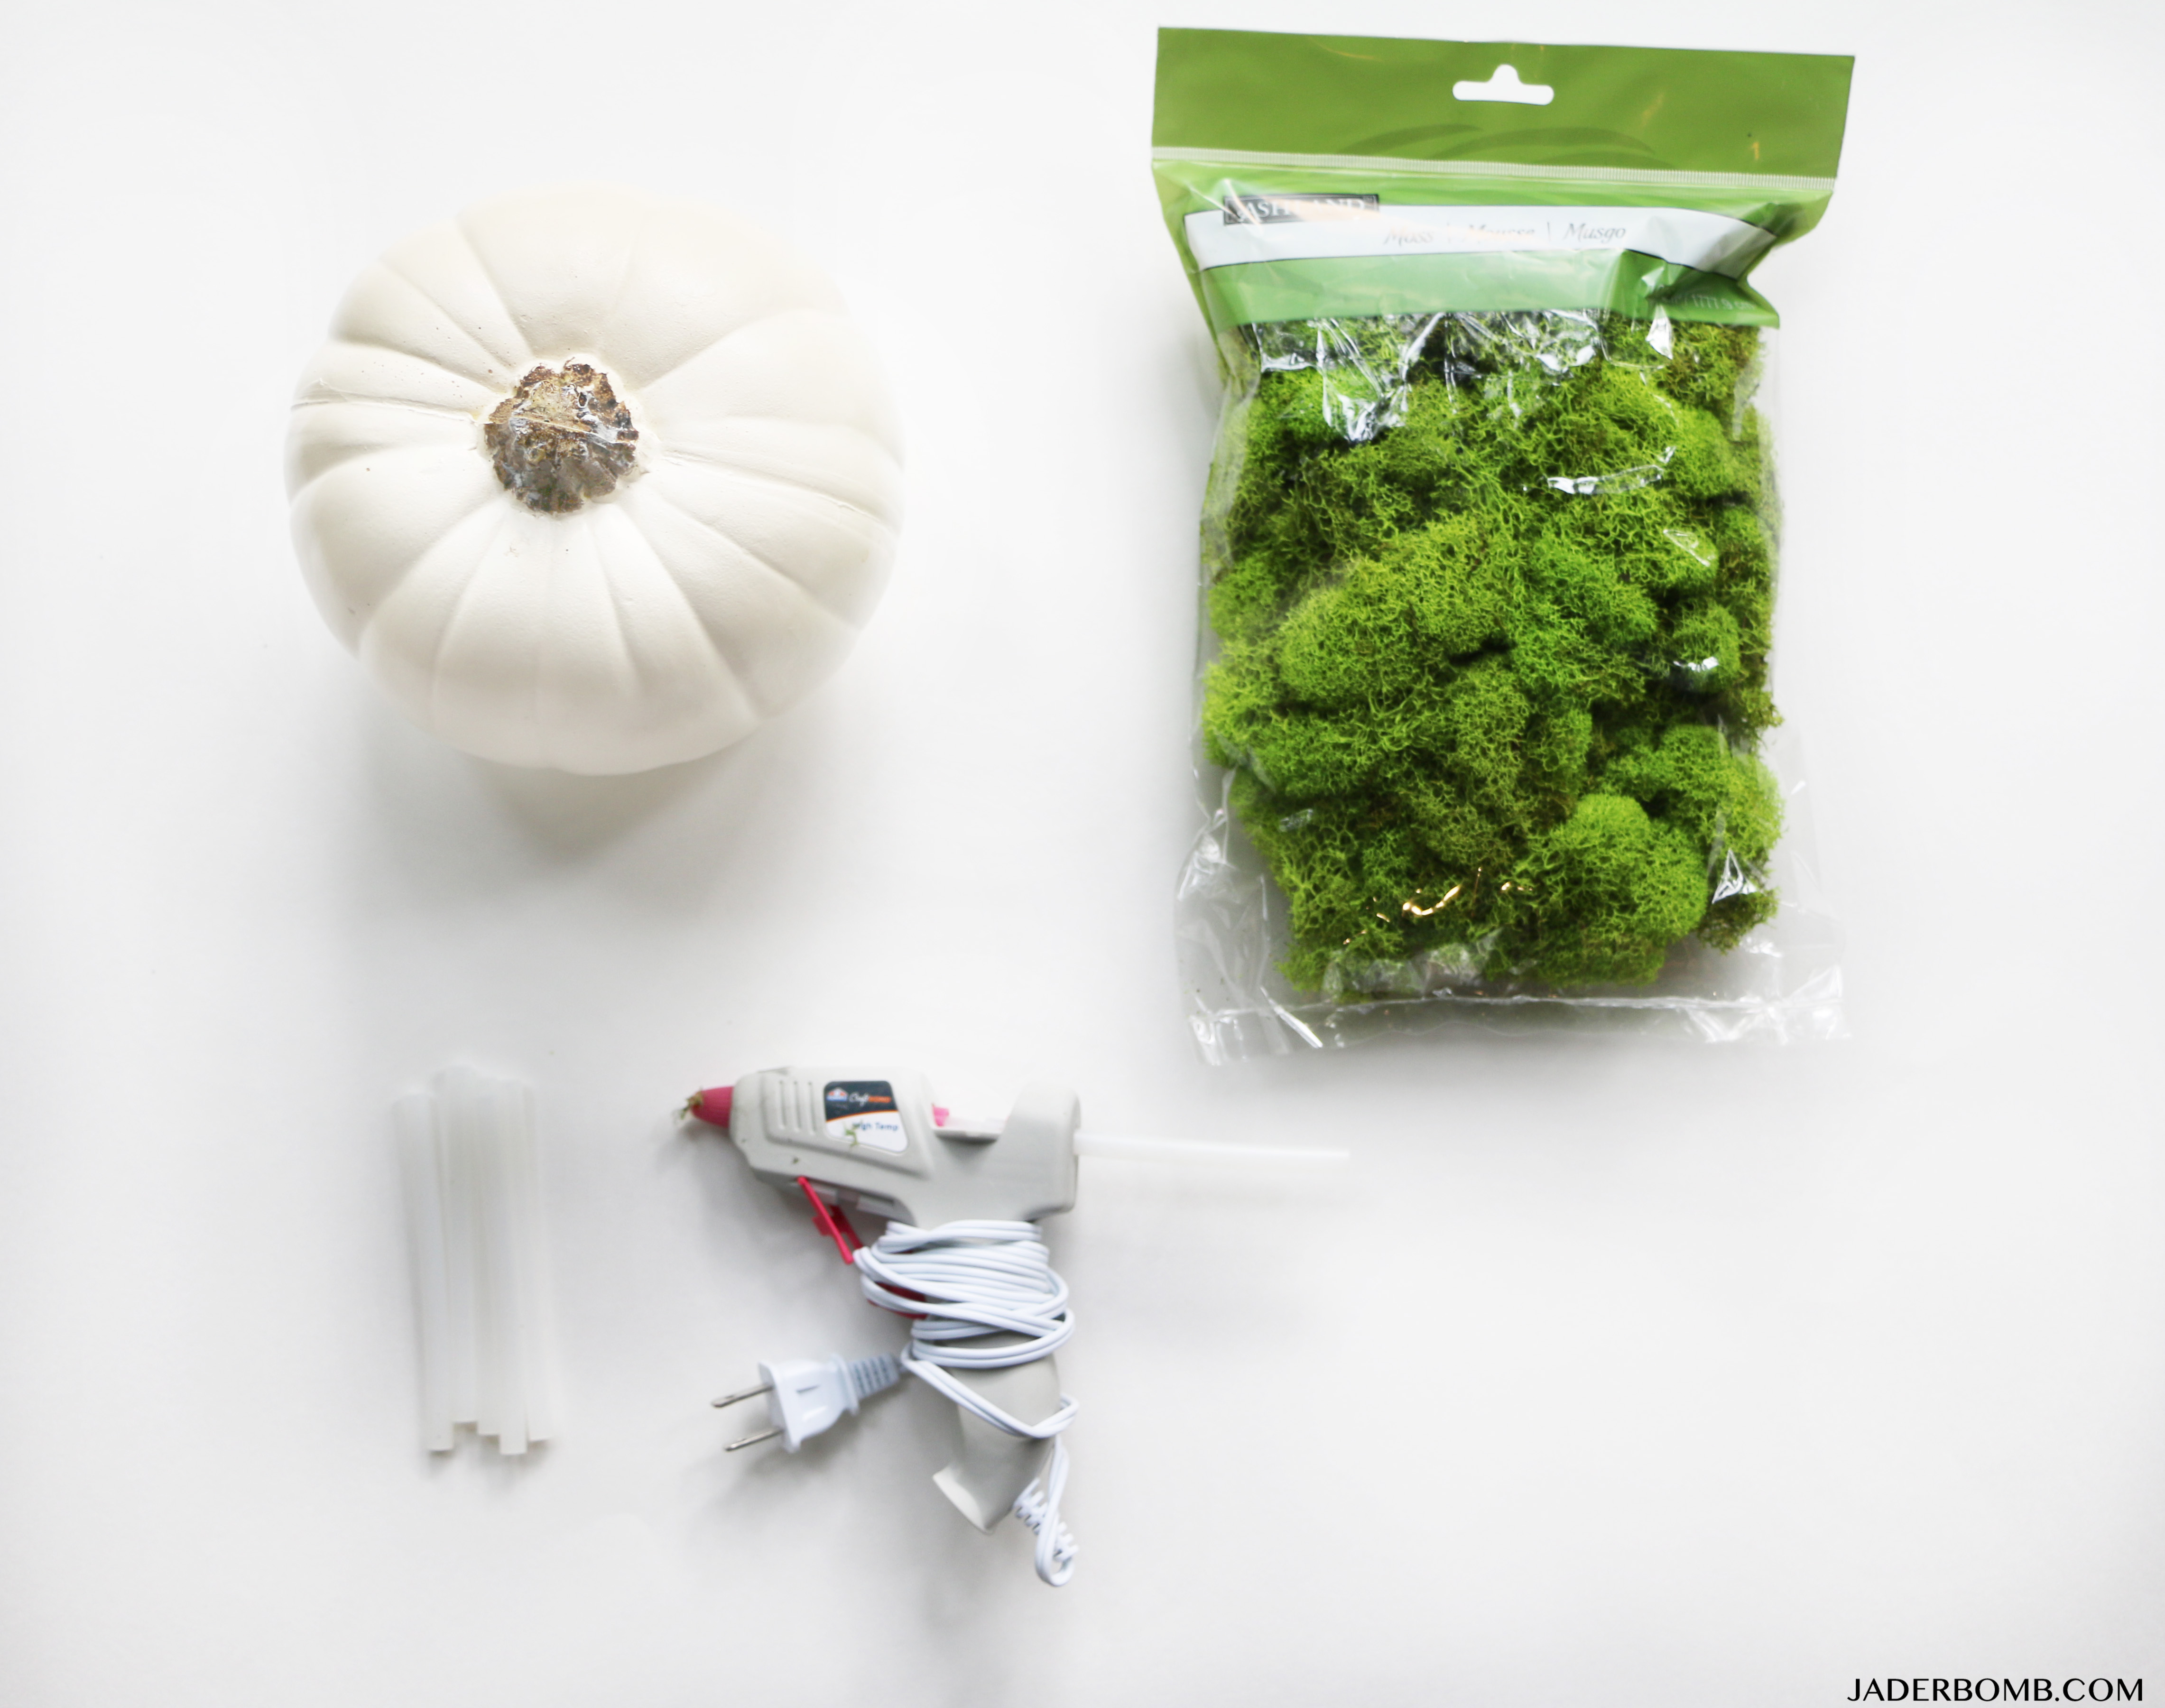
Supplies: Craft Pumpkin | Moss | Glue Gun | Glue Stickspumpkin project supplies

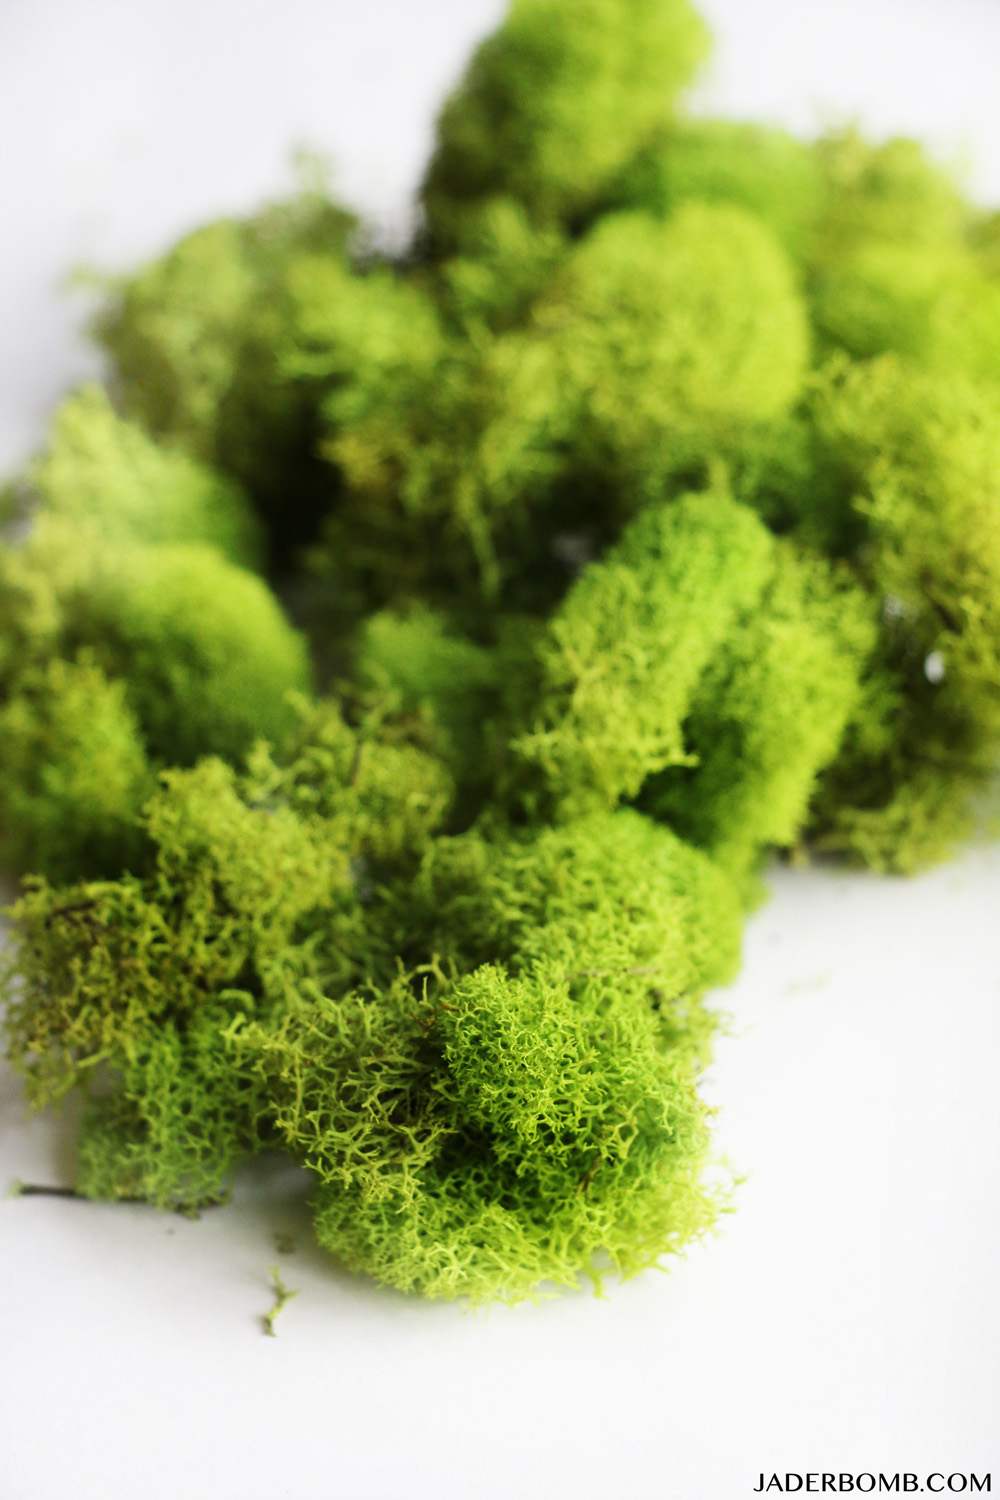
I don’t know about you but I am in LOVE with this beautiful picture of this MOSS! I won’t say what it looks like, haha! If you have never crafted with this Moss you will love it when you get some. It’s so soft and feels like it came strait of a forest. moss projects

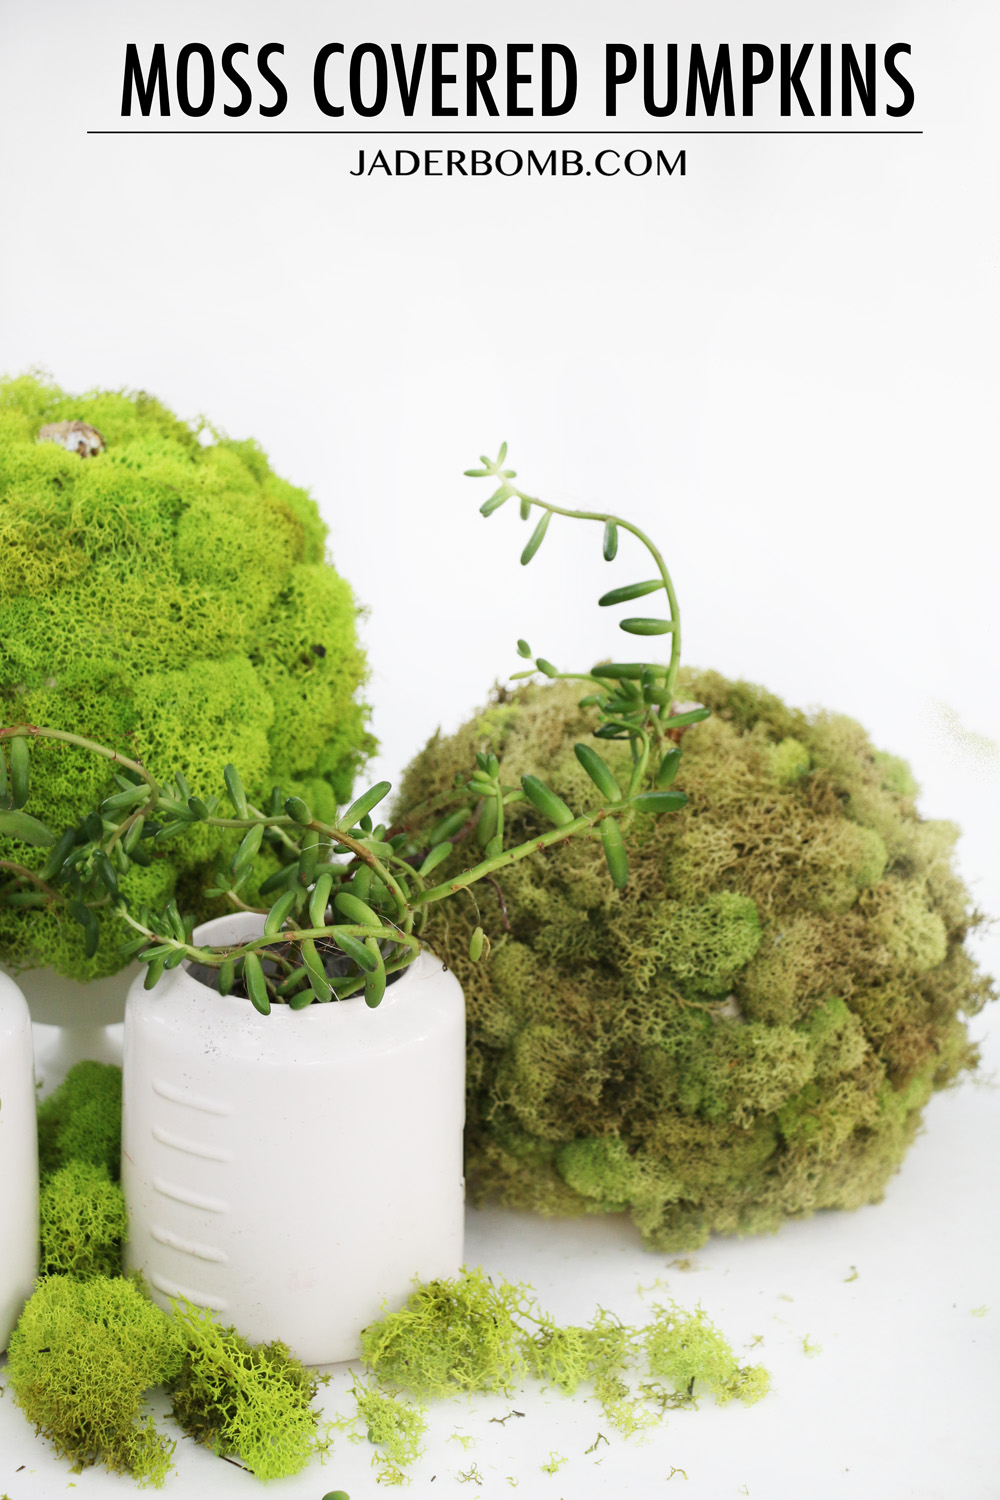
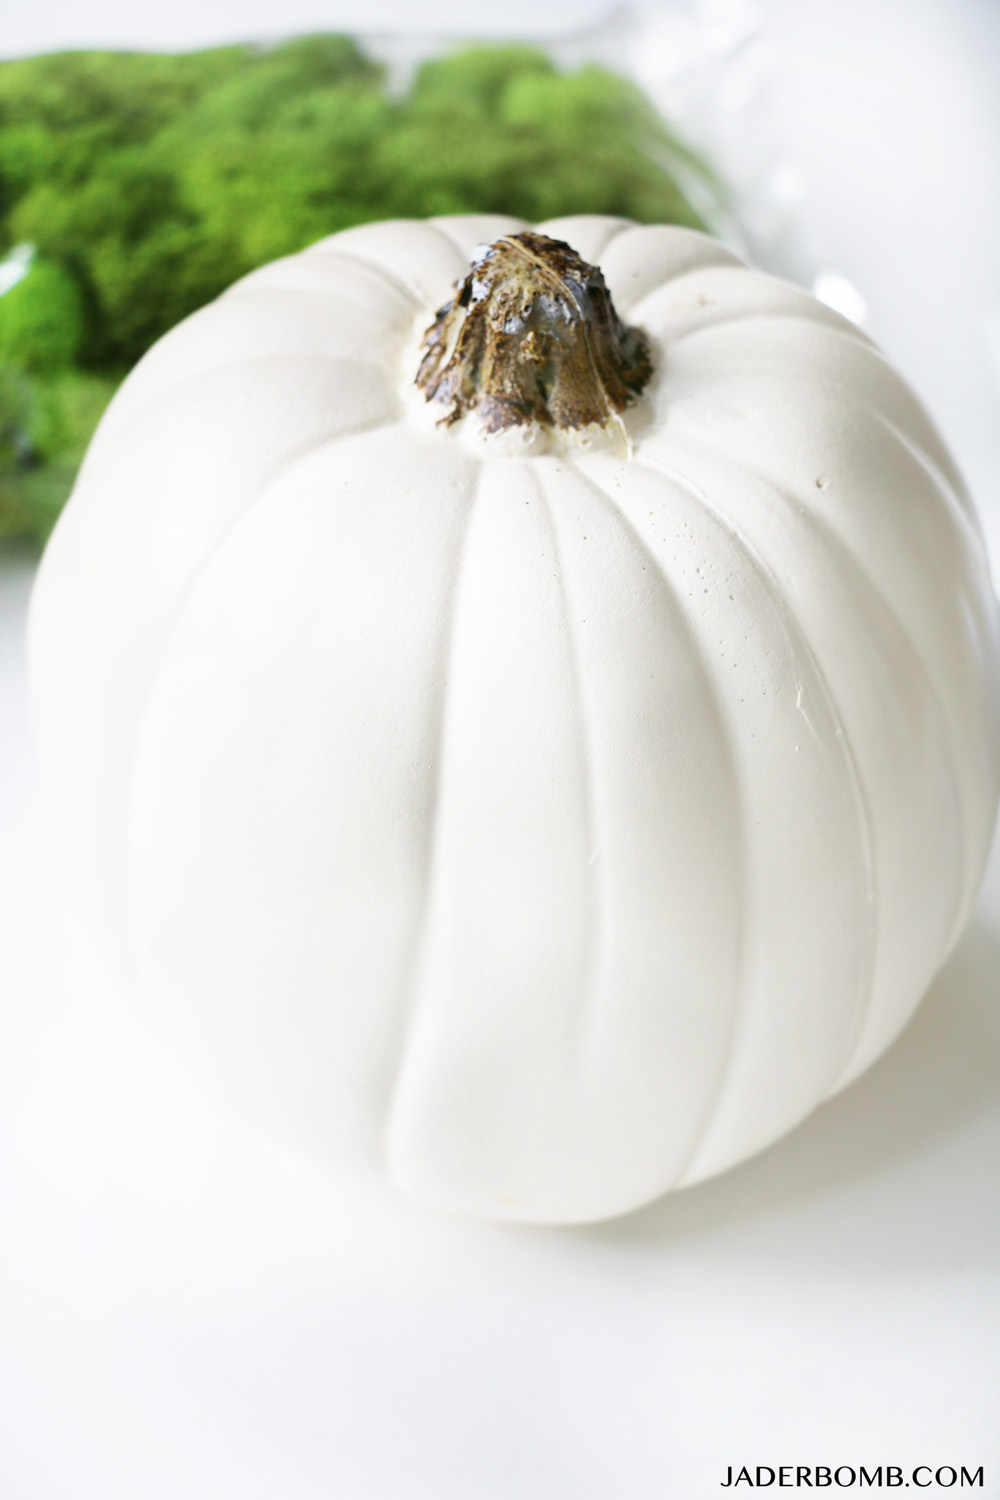
Michael’s has a wide variety of Pumpkins to choose from so I picked the white ones. I wasn’t sure if some of the pumpkin color would show through the moss so I chose white! Guess what… The Moss fills it up completely! None of the pumpkin color shows!craft pumpkin projects

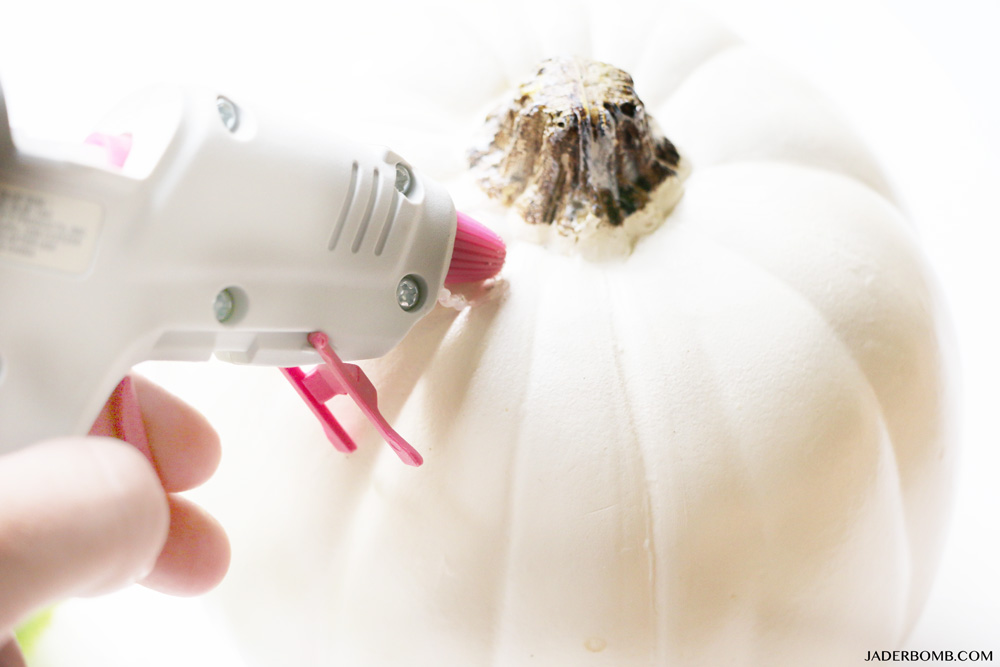
The first thing you will do is plug in your glue gun then when it’s ready add a few lines starting at the top of the pumpkin and carefully place a small piece of moss on top of the hot glue. craft pumpkins

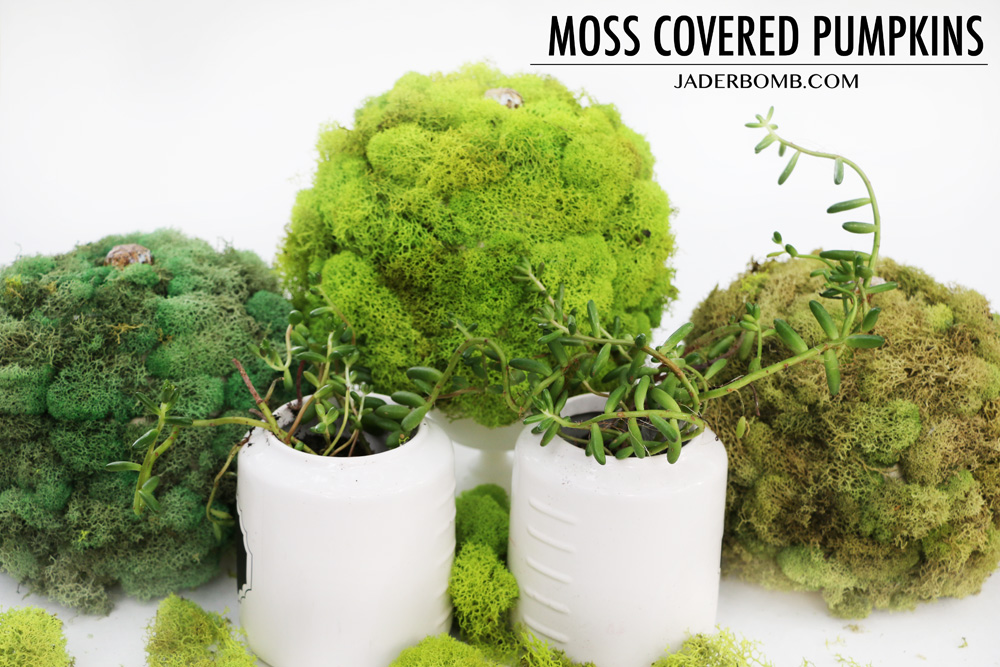
This is what it will start to look like once you start adding your moss. I did choose three different moss colors so I can have three different pumpkins. I wanted them to all look different and boy am I happy I did that!fall pumpkins

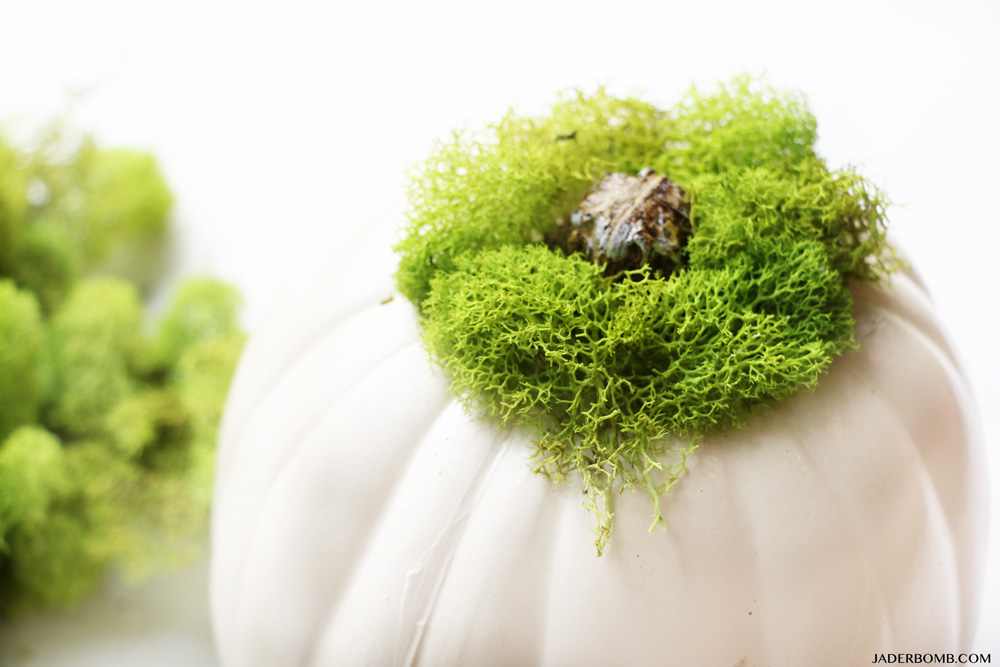
Look how beautiful! It’s like a cute little secret world… Imagine what’s living in this! diy fall pumpkins

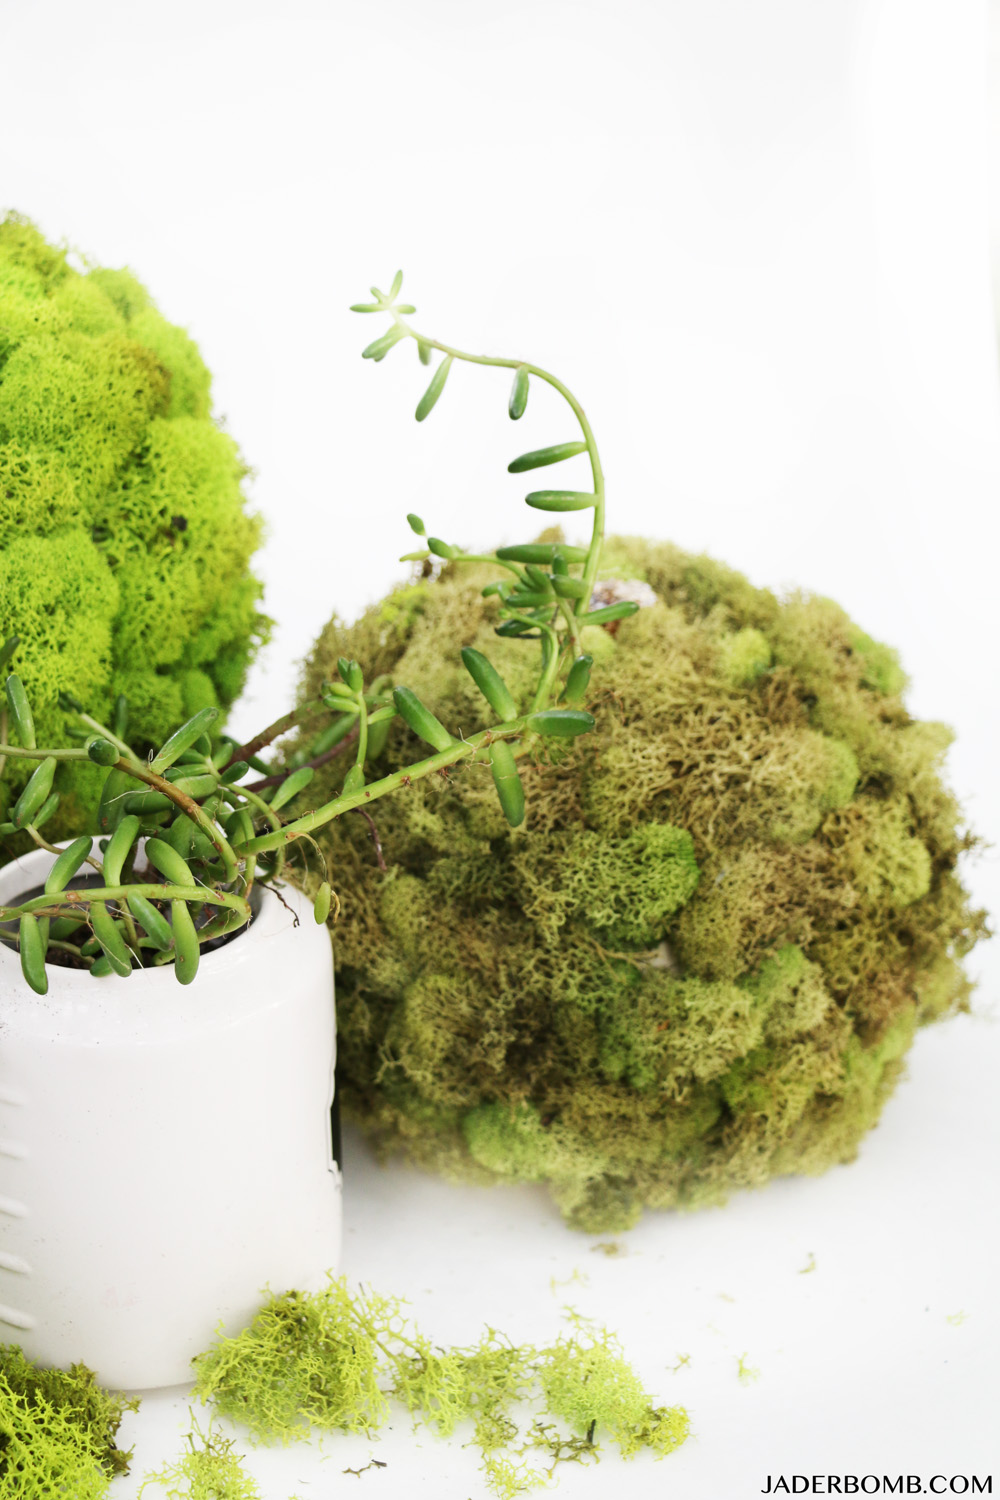
I added a few wax plants in the mix to bring it to life. These would look great on a table top for the Fall holidays. michaels makers

how to decorate with moss

halloween kid projects

I hope you enjoyed this project! Stay tuned for the next one! Huge hugs from my computer to yours!


Be sure to check out all of the other Michaels Makers pumpkin ideas on the Michaels blog.