Happy Thursday Jaderbugs! I am sitting here listening to all of my amazing songs on my computer, thinking about what it would be like if I could fly! You know what I mean right? The kind of flying that fairies and little bugs do. Somehow it seems like it would be easy and so very whimsical. Unfortunately I am not flying, but I am blogging. I guess it’s the closest thing to flying I can do. I promise to let you know if I ever learn how to fly… Maybe I will even do a tutorial on it, hehe.
On to the awesome craft I am sharing today. I am so excited to share with you a new project I am doing with Martha Stewart Crafts. It’s called #12monthsofmartha & #marthastewartcrafts <——(this is the hashtag you can use if you repin this or want to see other’s who are a part of this project)
I am super giddy about it and I think you will too. Each month I will be sharing with you new items from the Martha Stewart crafts line that is brand spanking new~
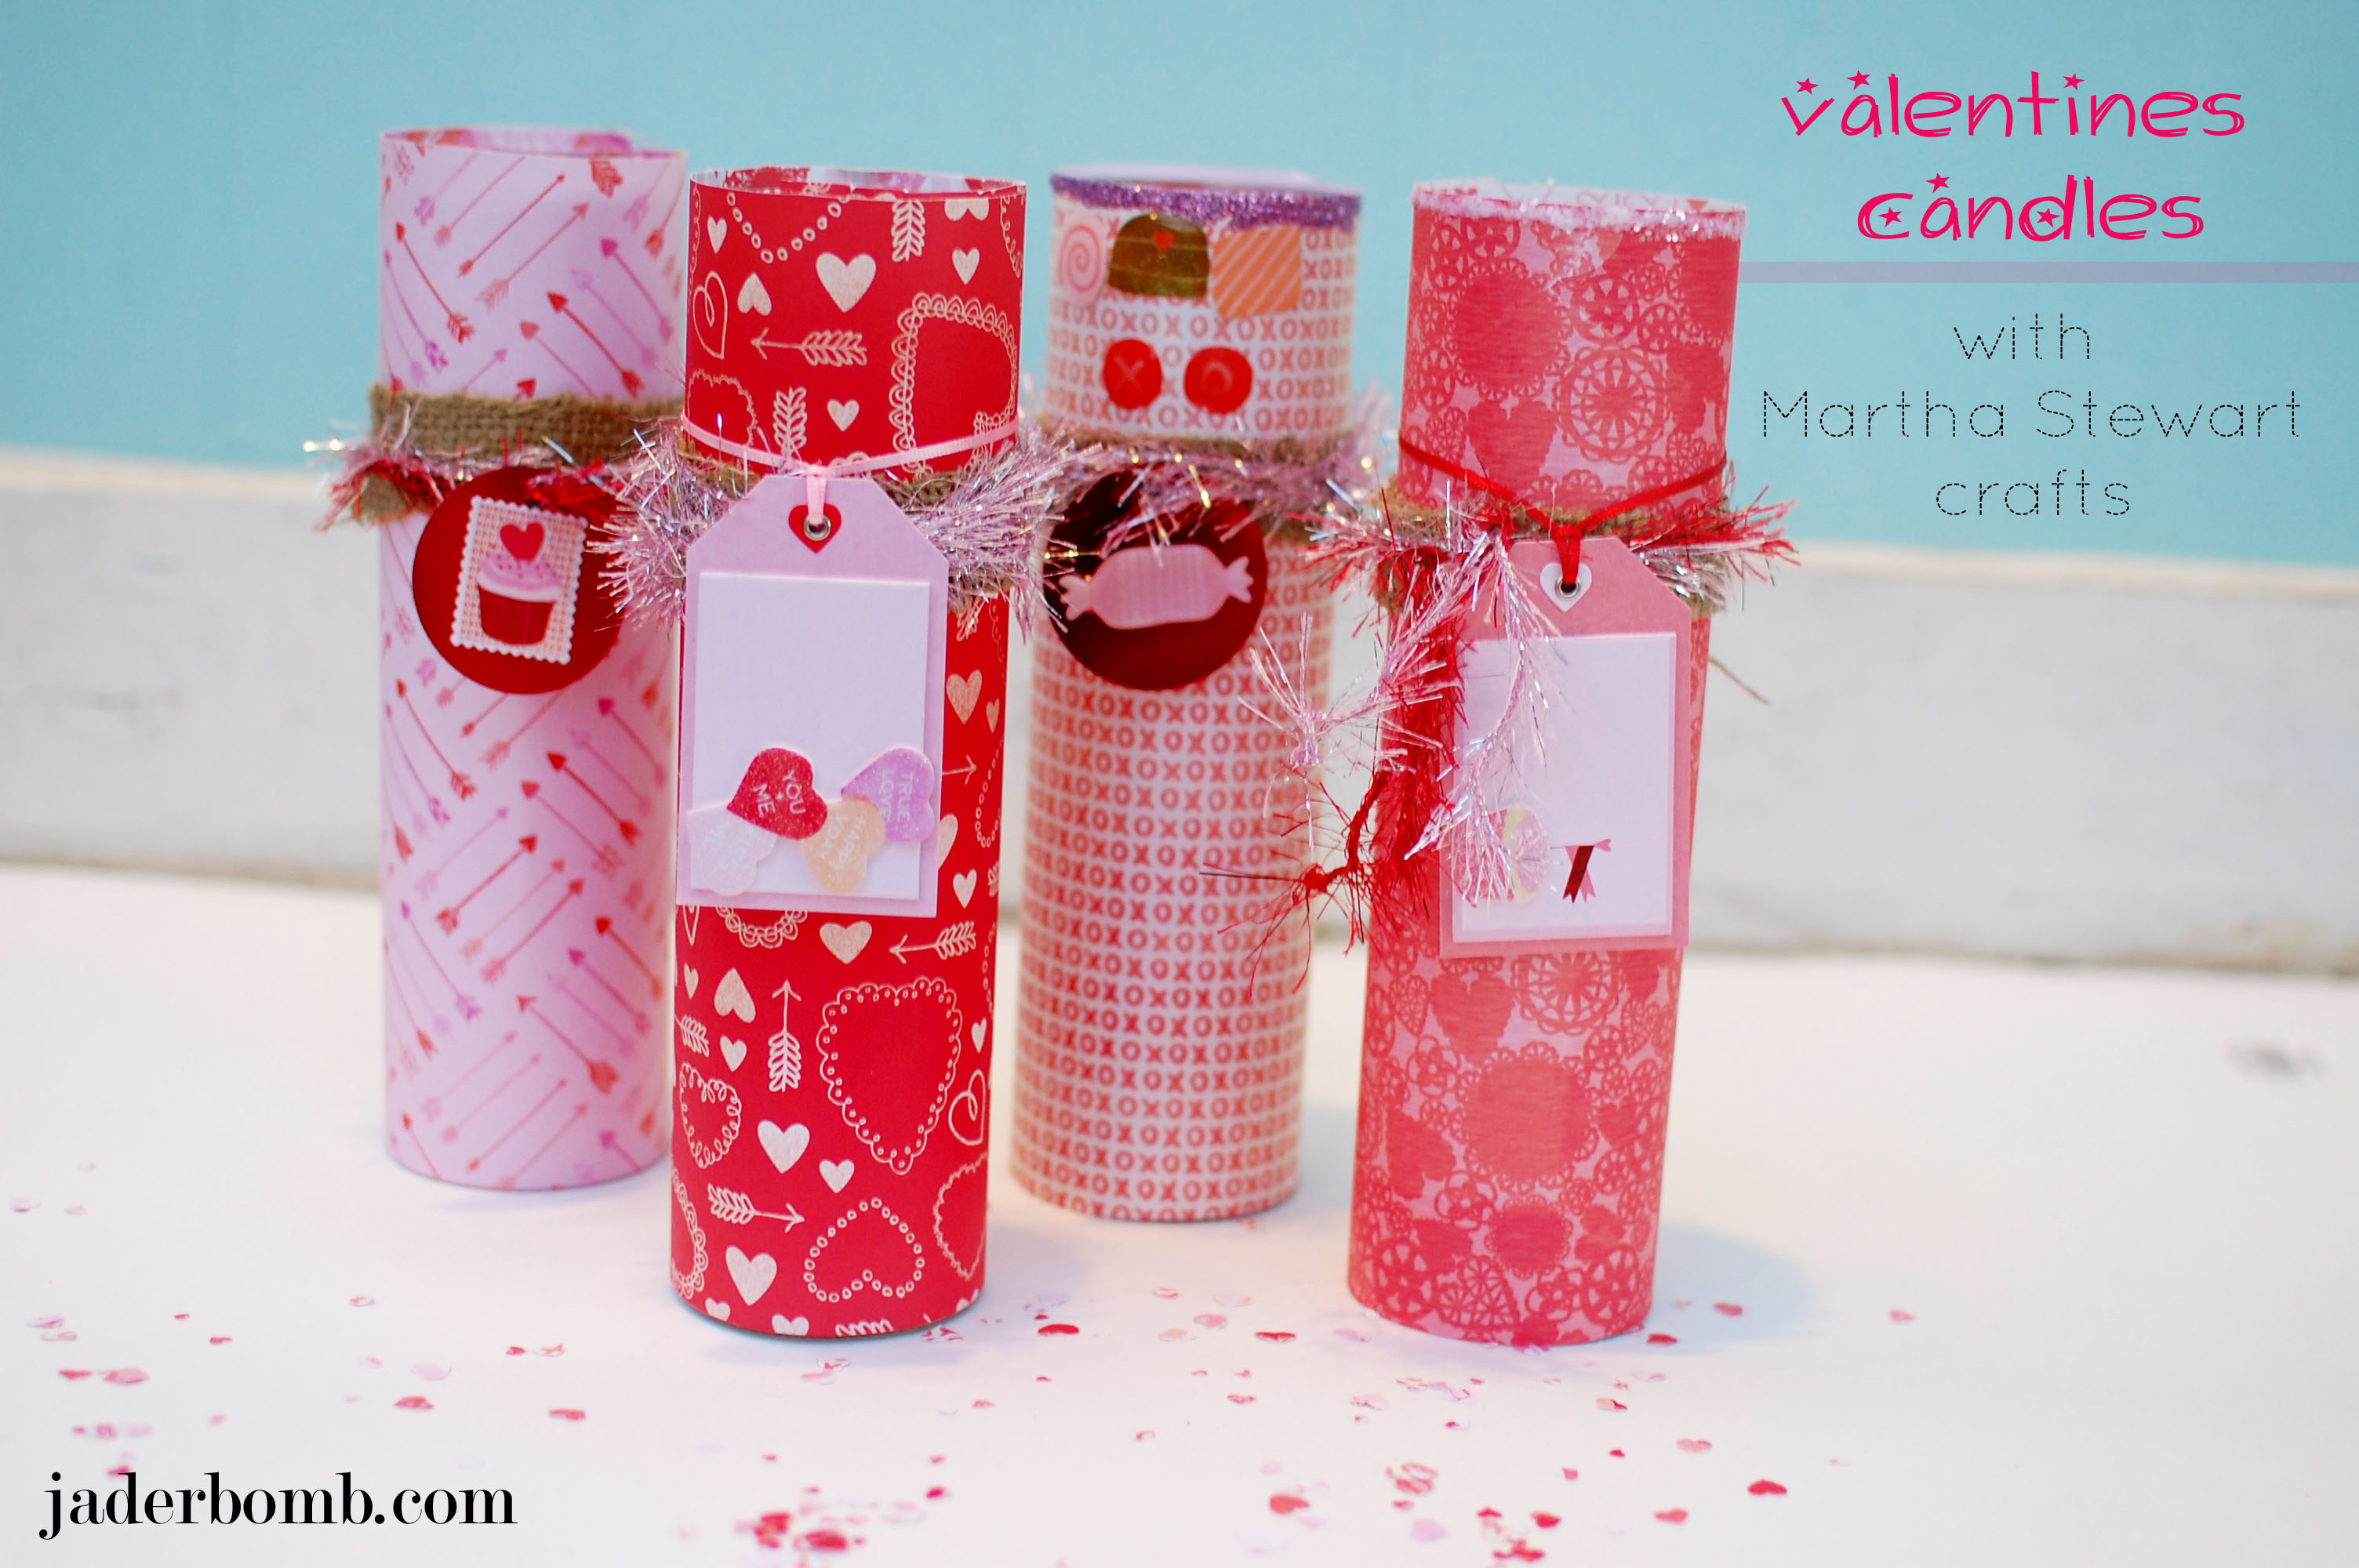
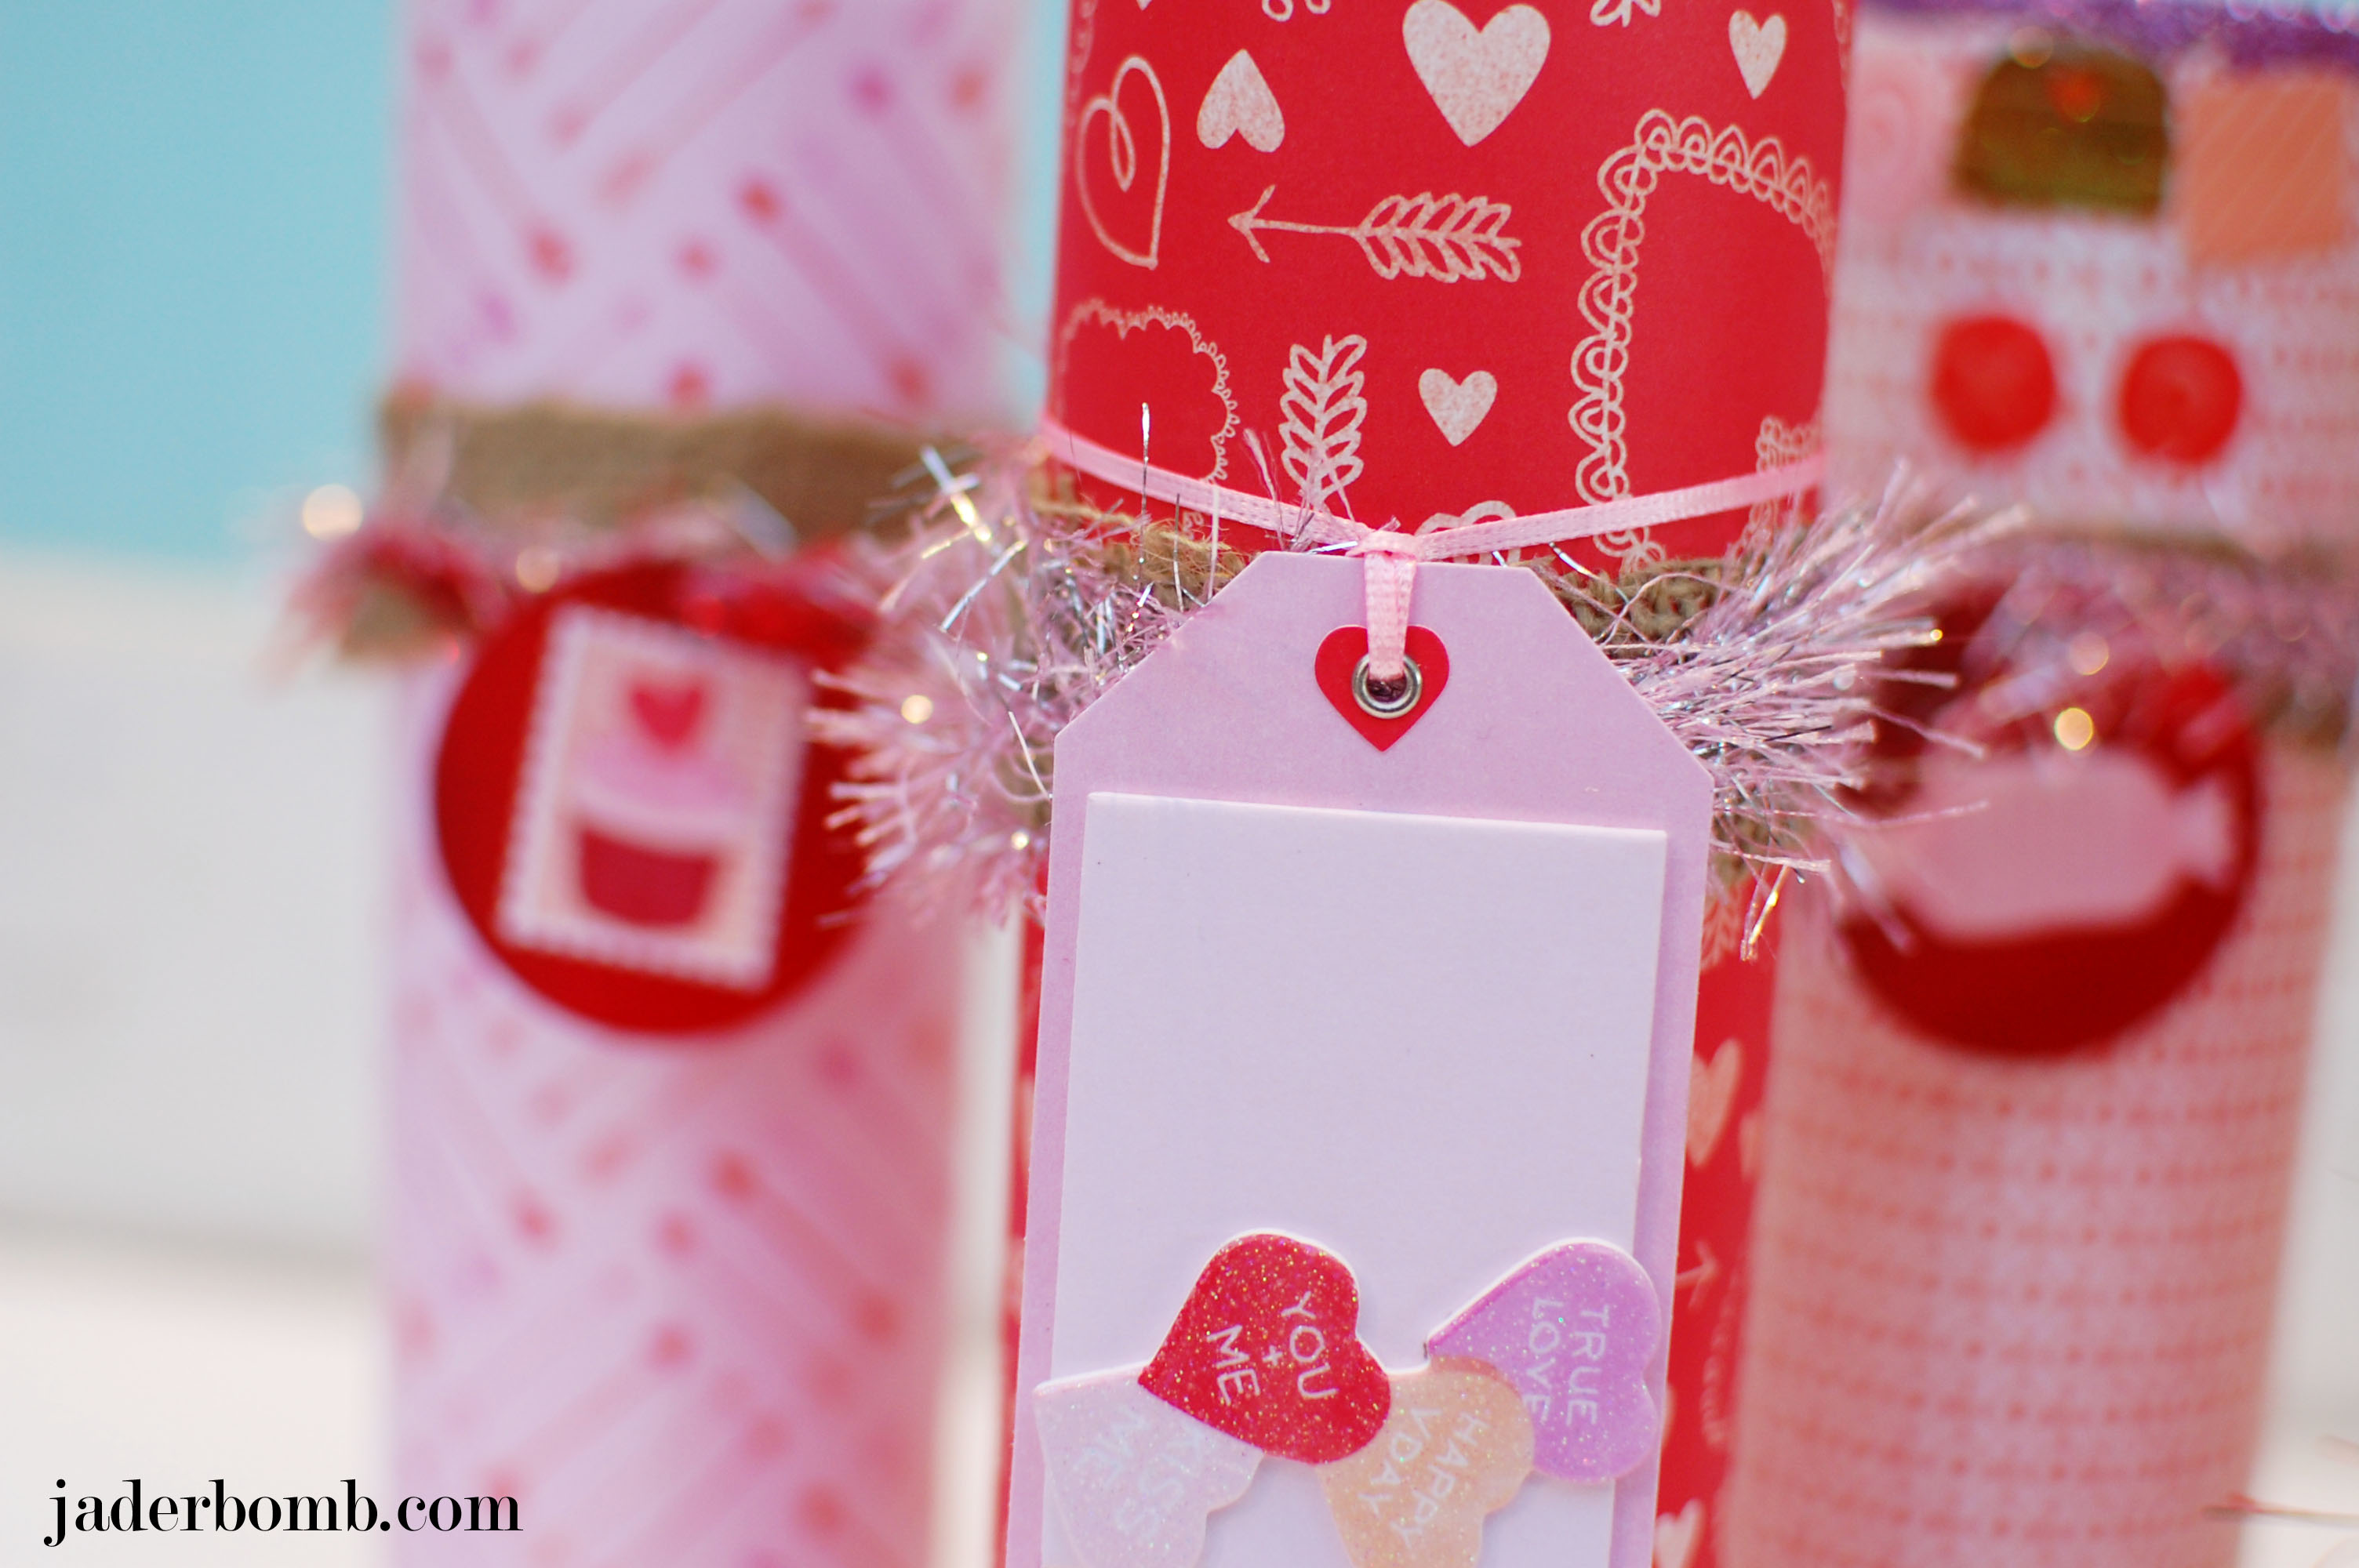
So yes! You will be seeing things that are not yet in the stores… Today we are learning how to “cover” up a pillar candle to give it a new spicy look.
You can find all of her products at Michael’s Arts and Crafts, Jo-Anns Fabrics & Crafts and Amazon.com.
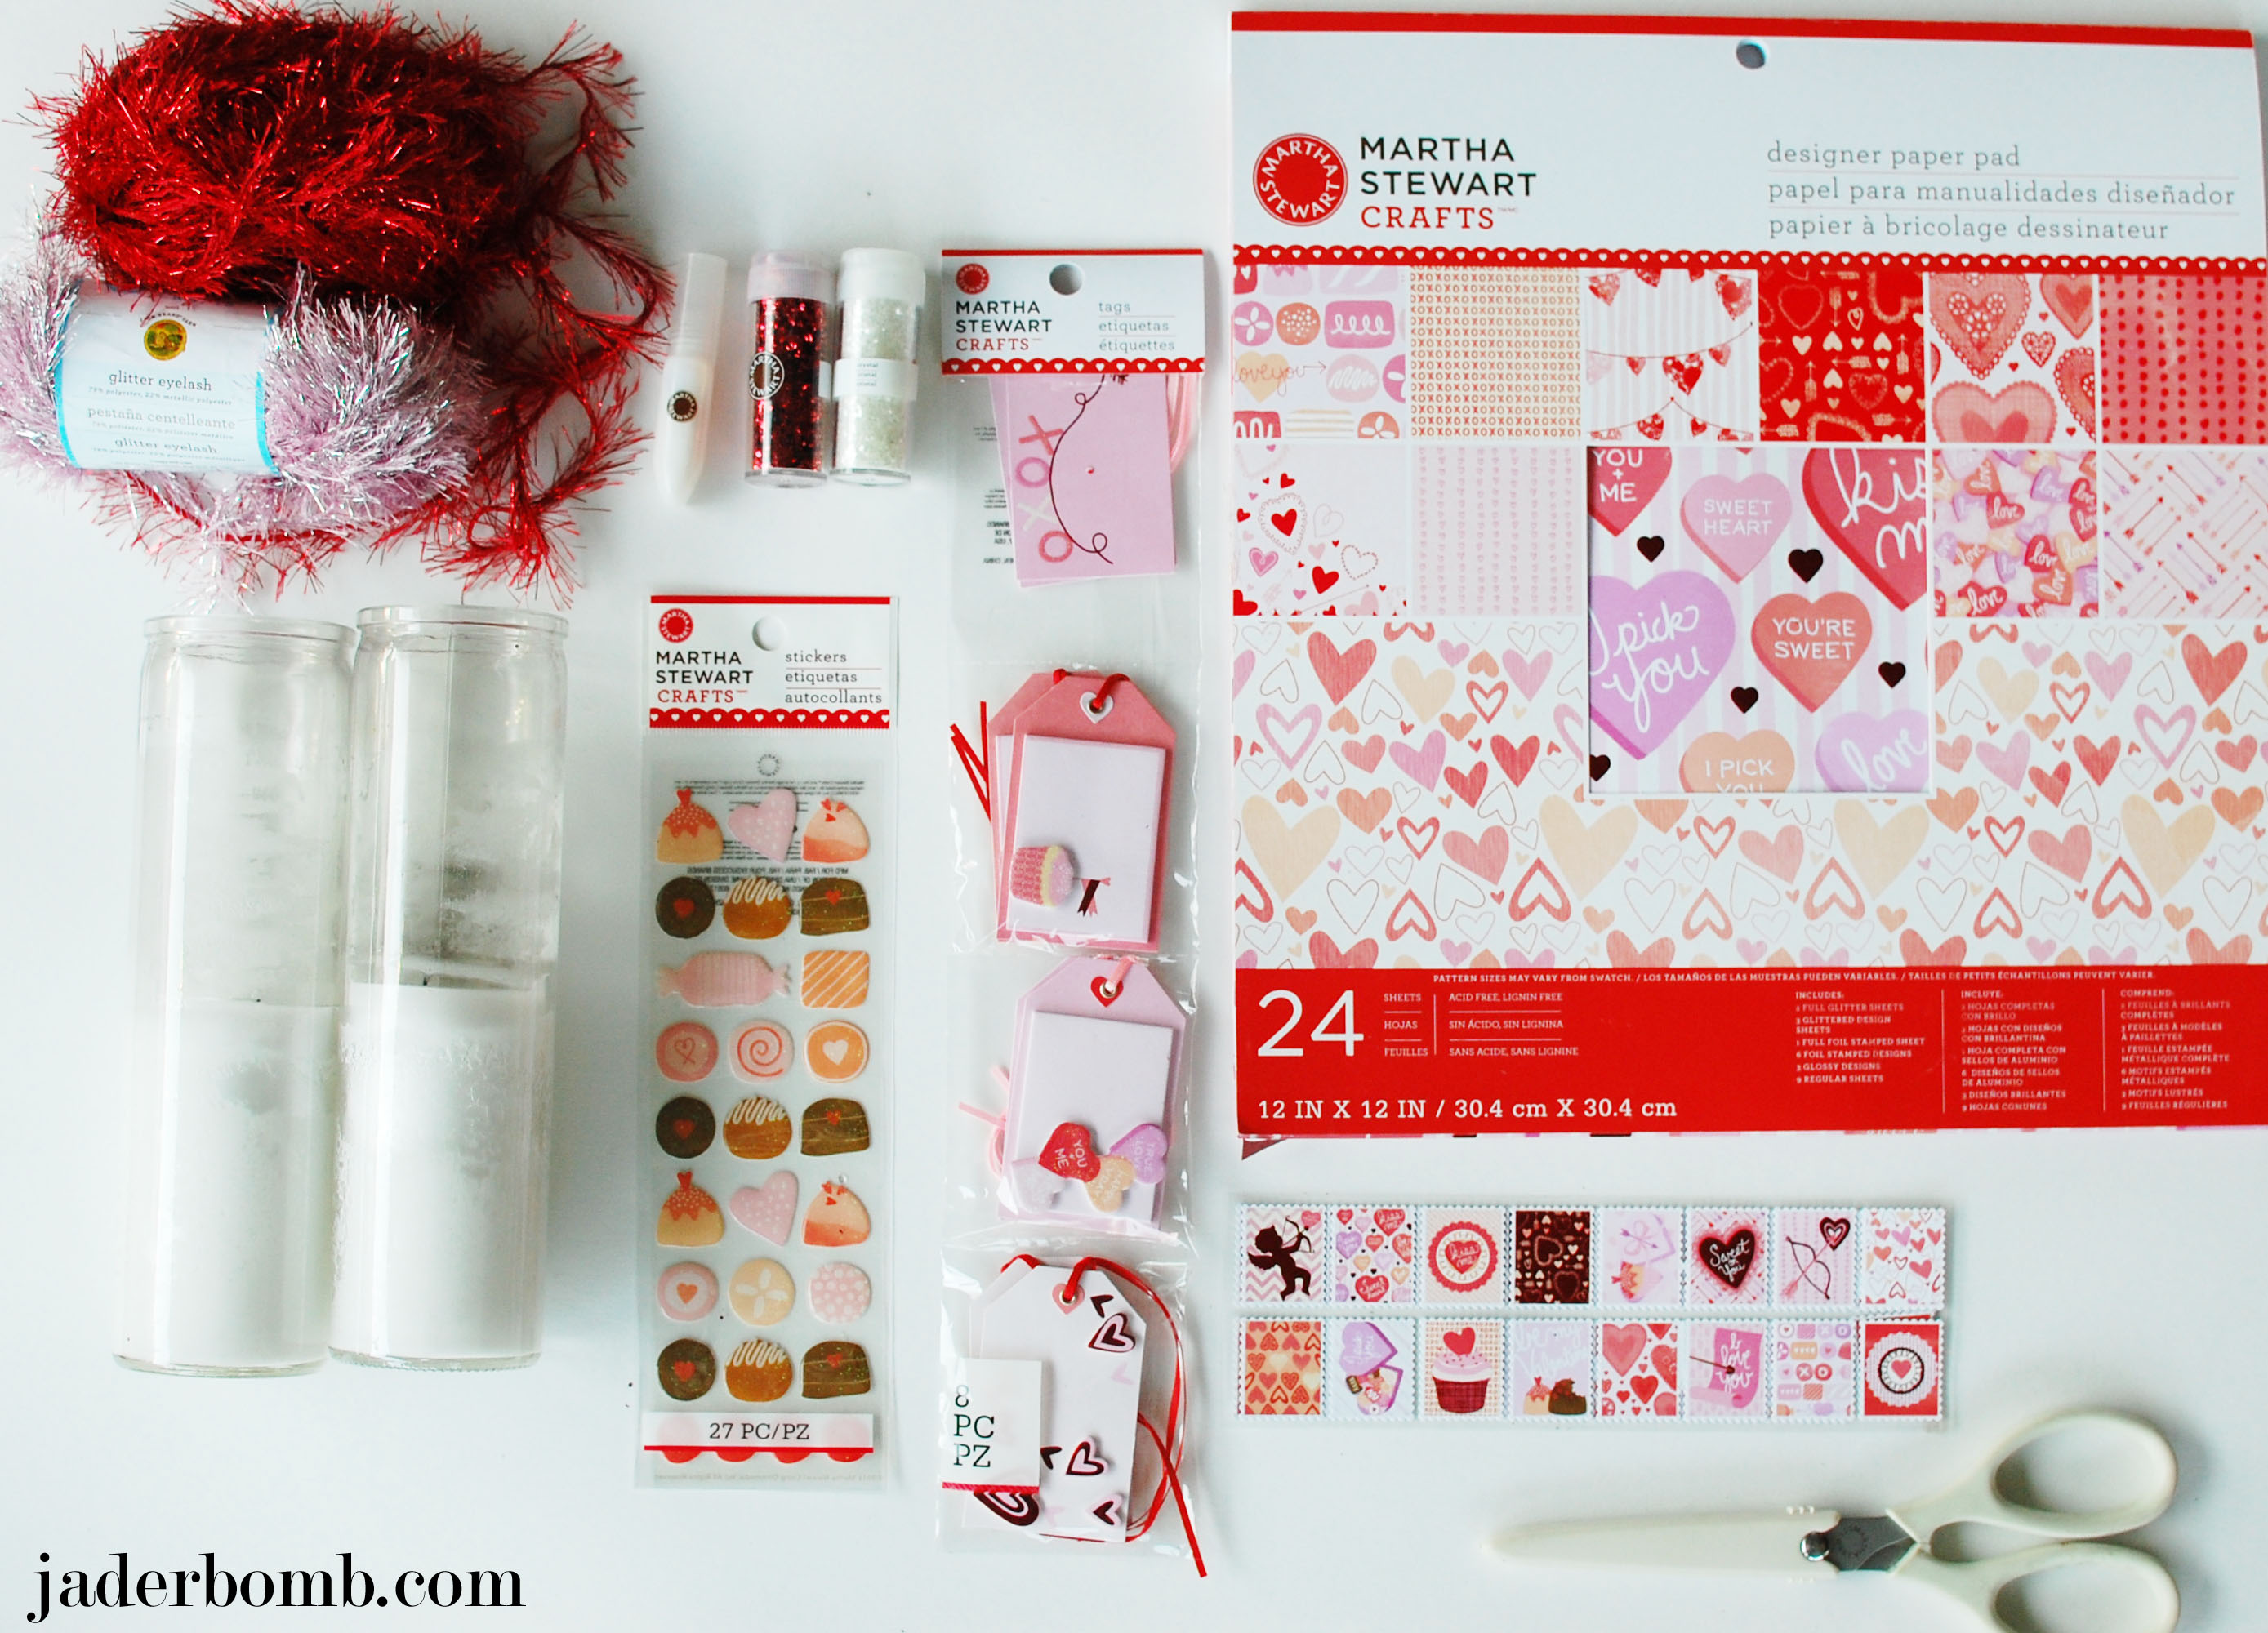
INGREDIENTS:
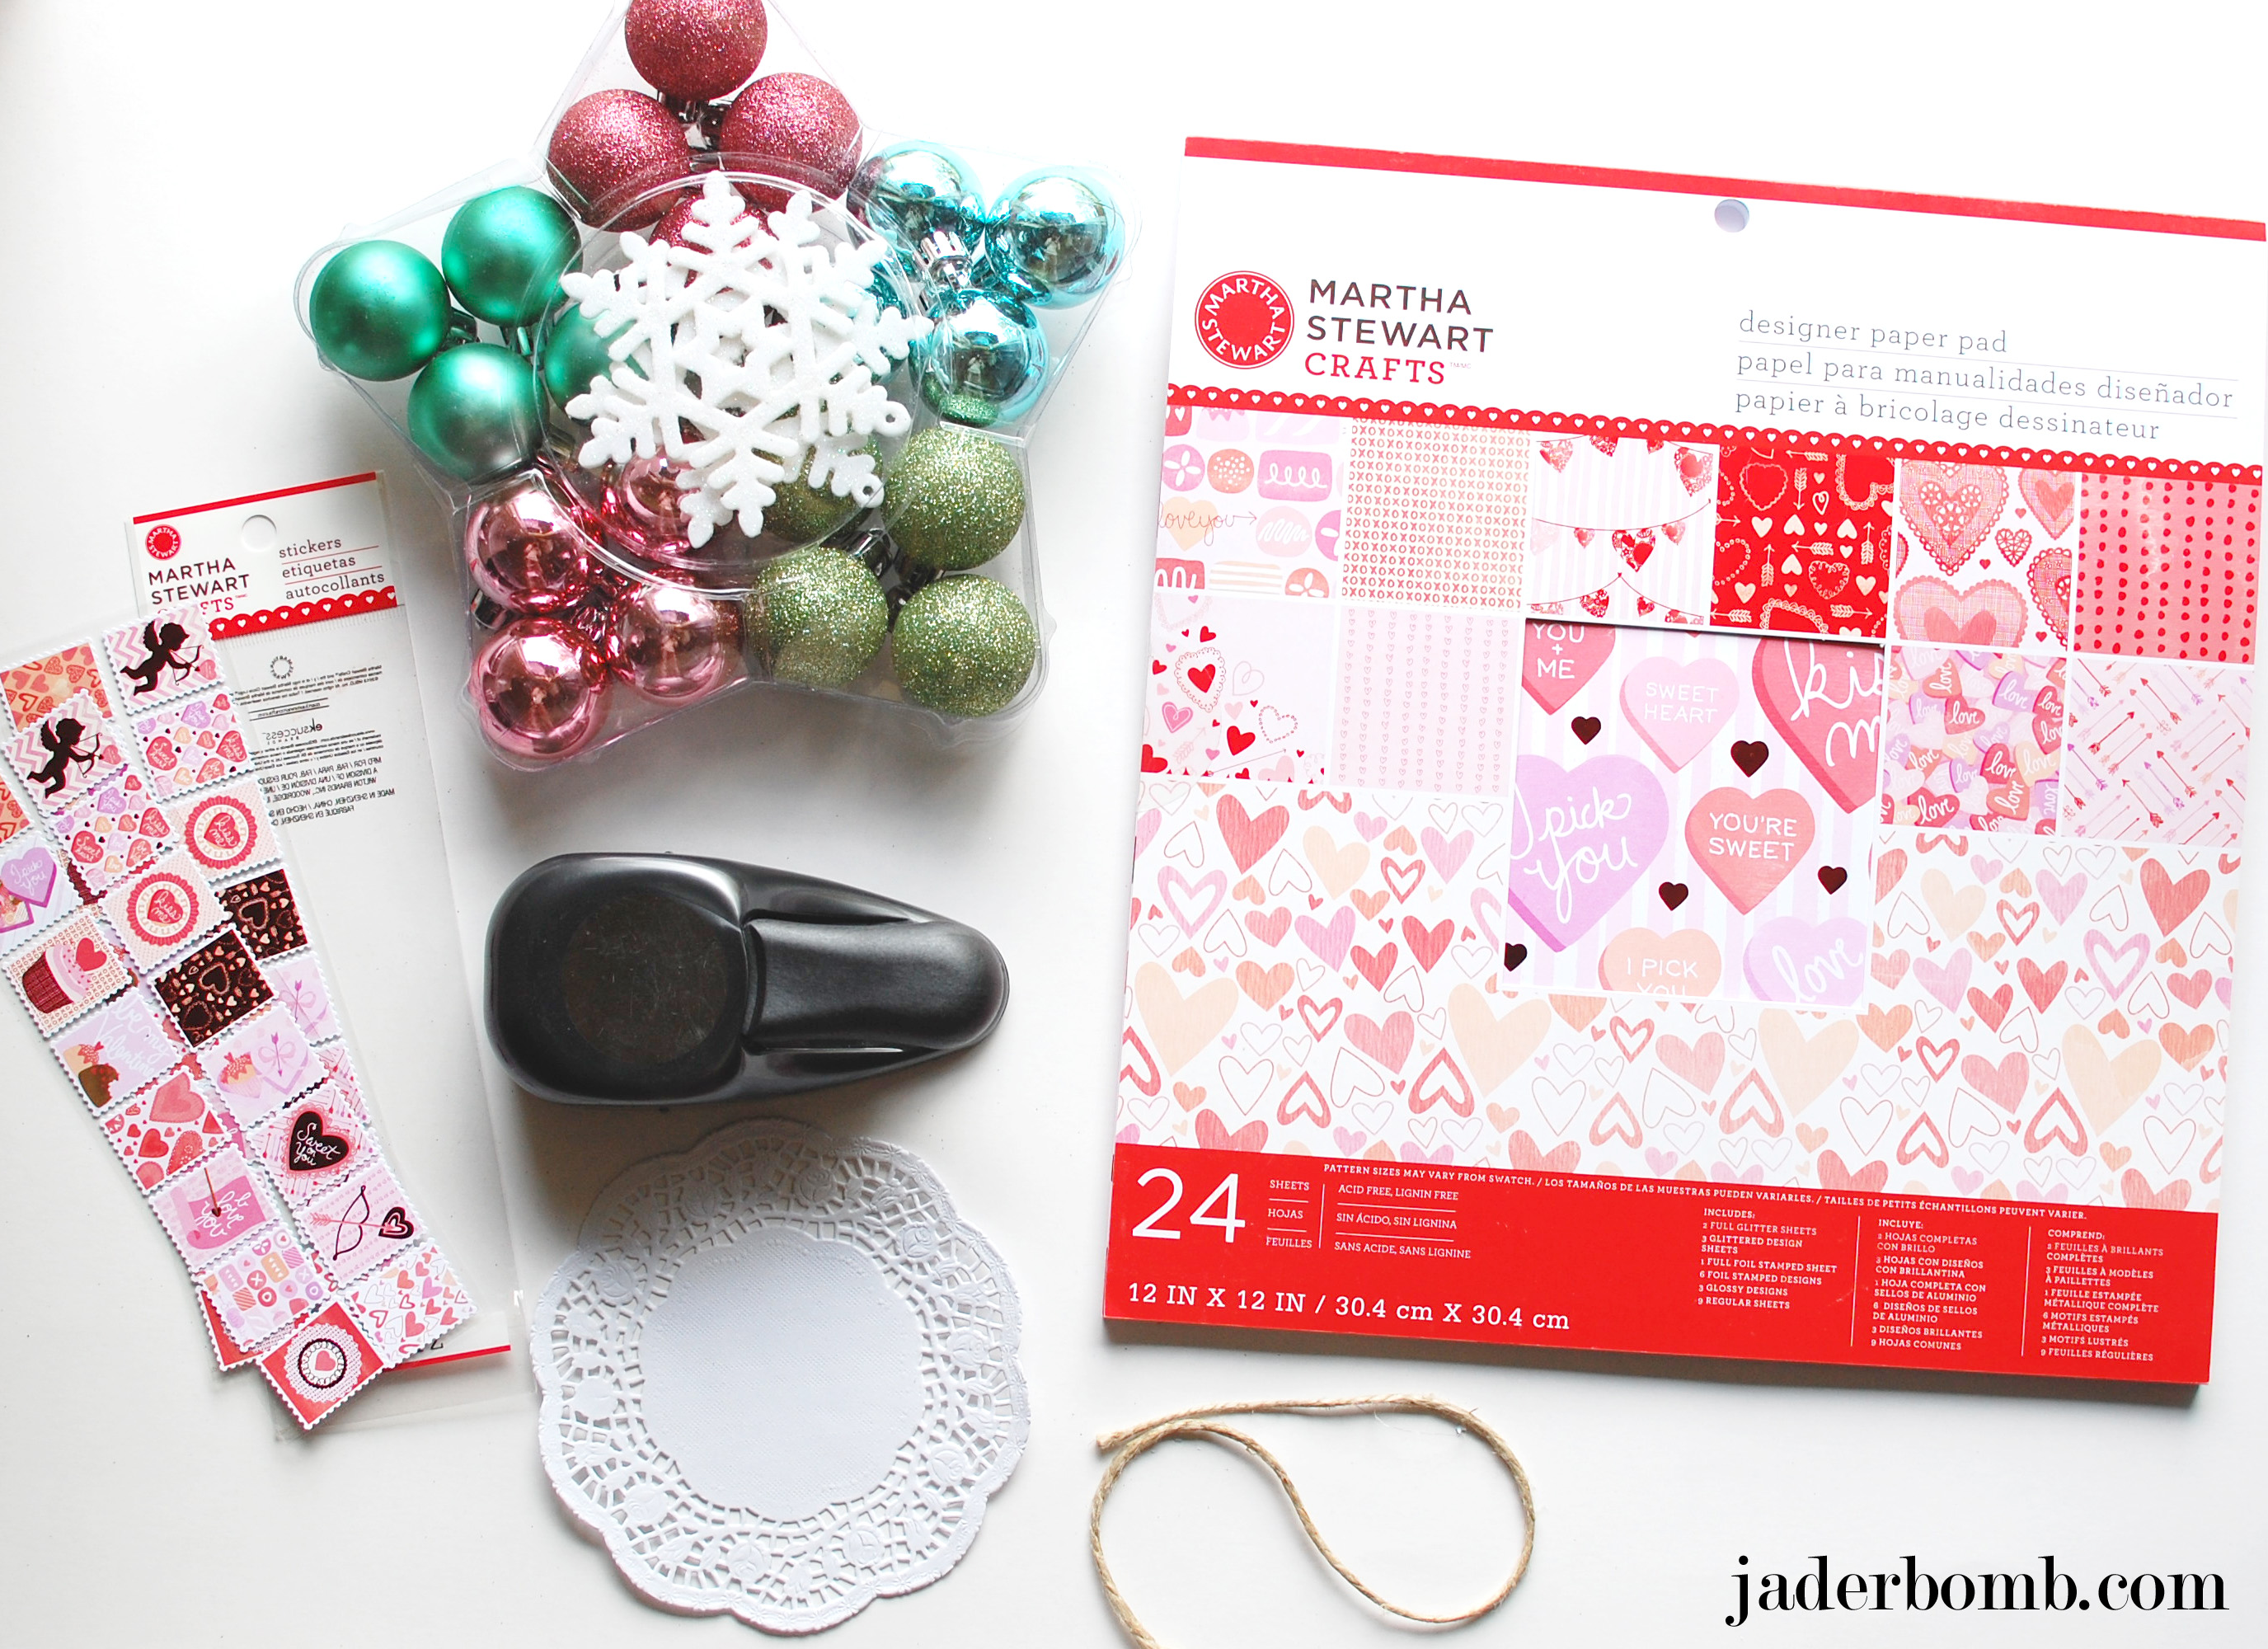
*Martha Stewart Designer Paper
*Scissors
*Glitter
*Yarn
*Twine
*Candles
*Stickers
*Labels
If you want to purchase any of the items I used in this tutorial click on the links and booyah! It’s that easy.
Are you getting excited!
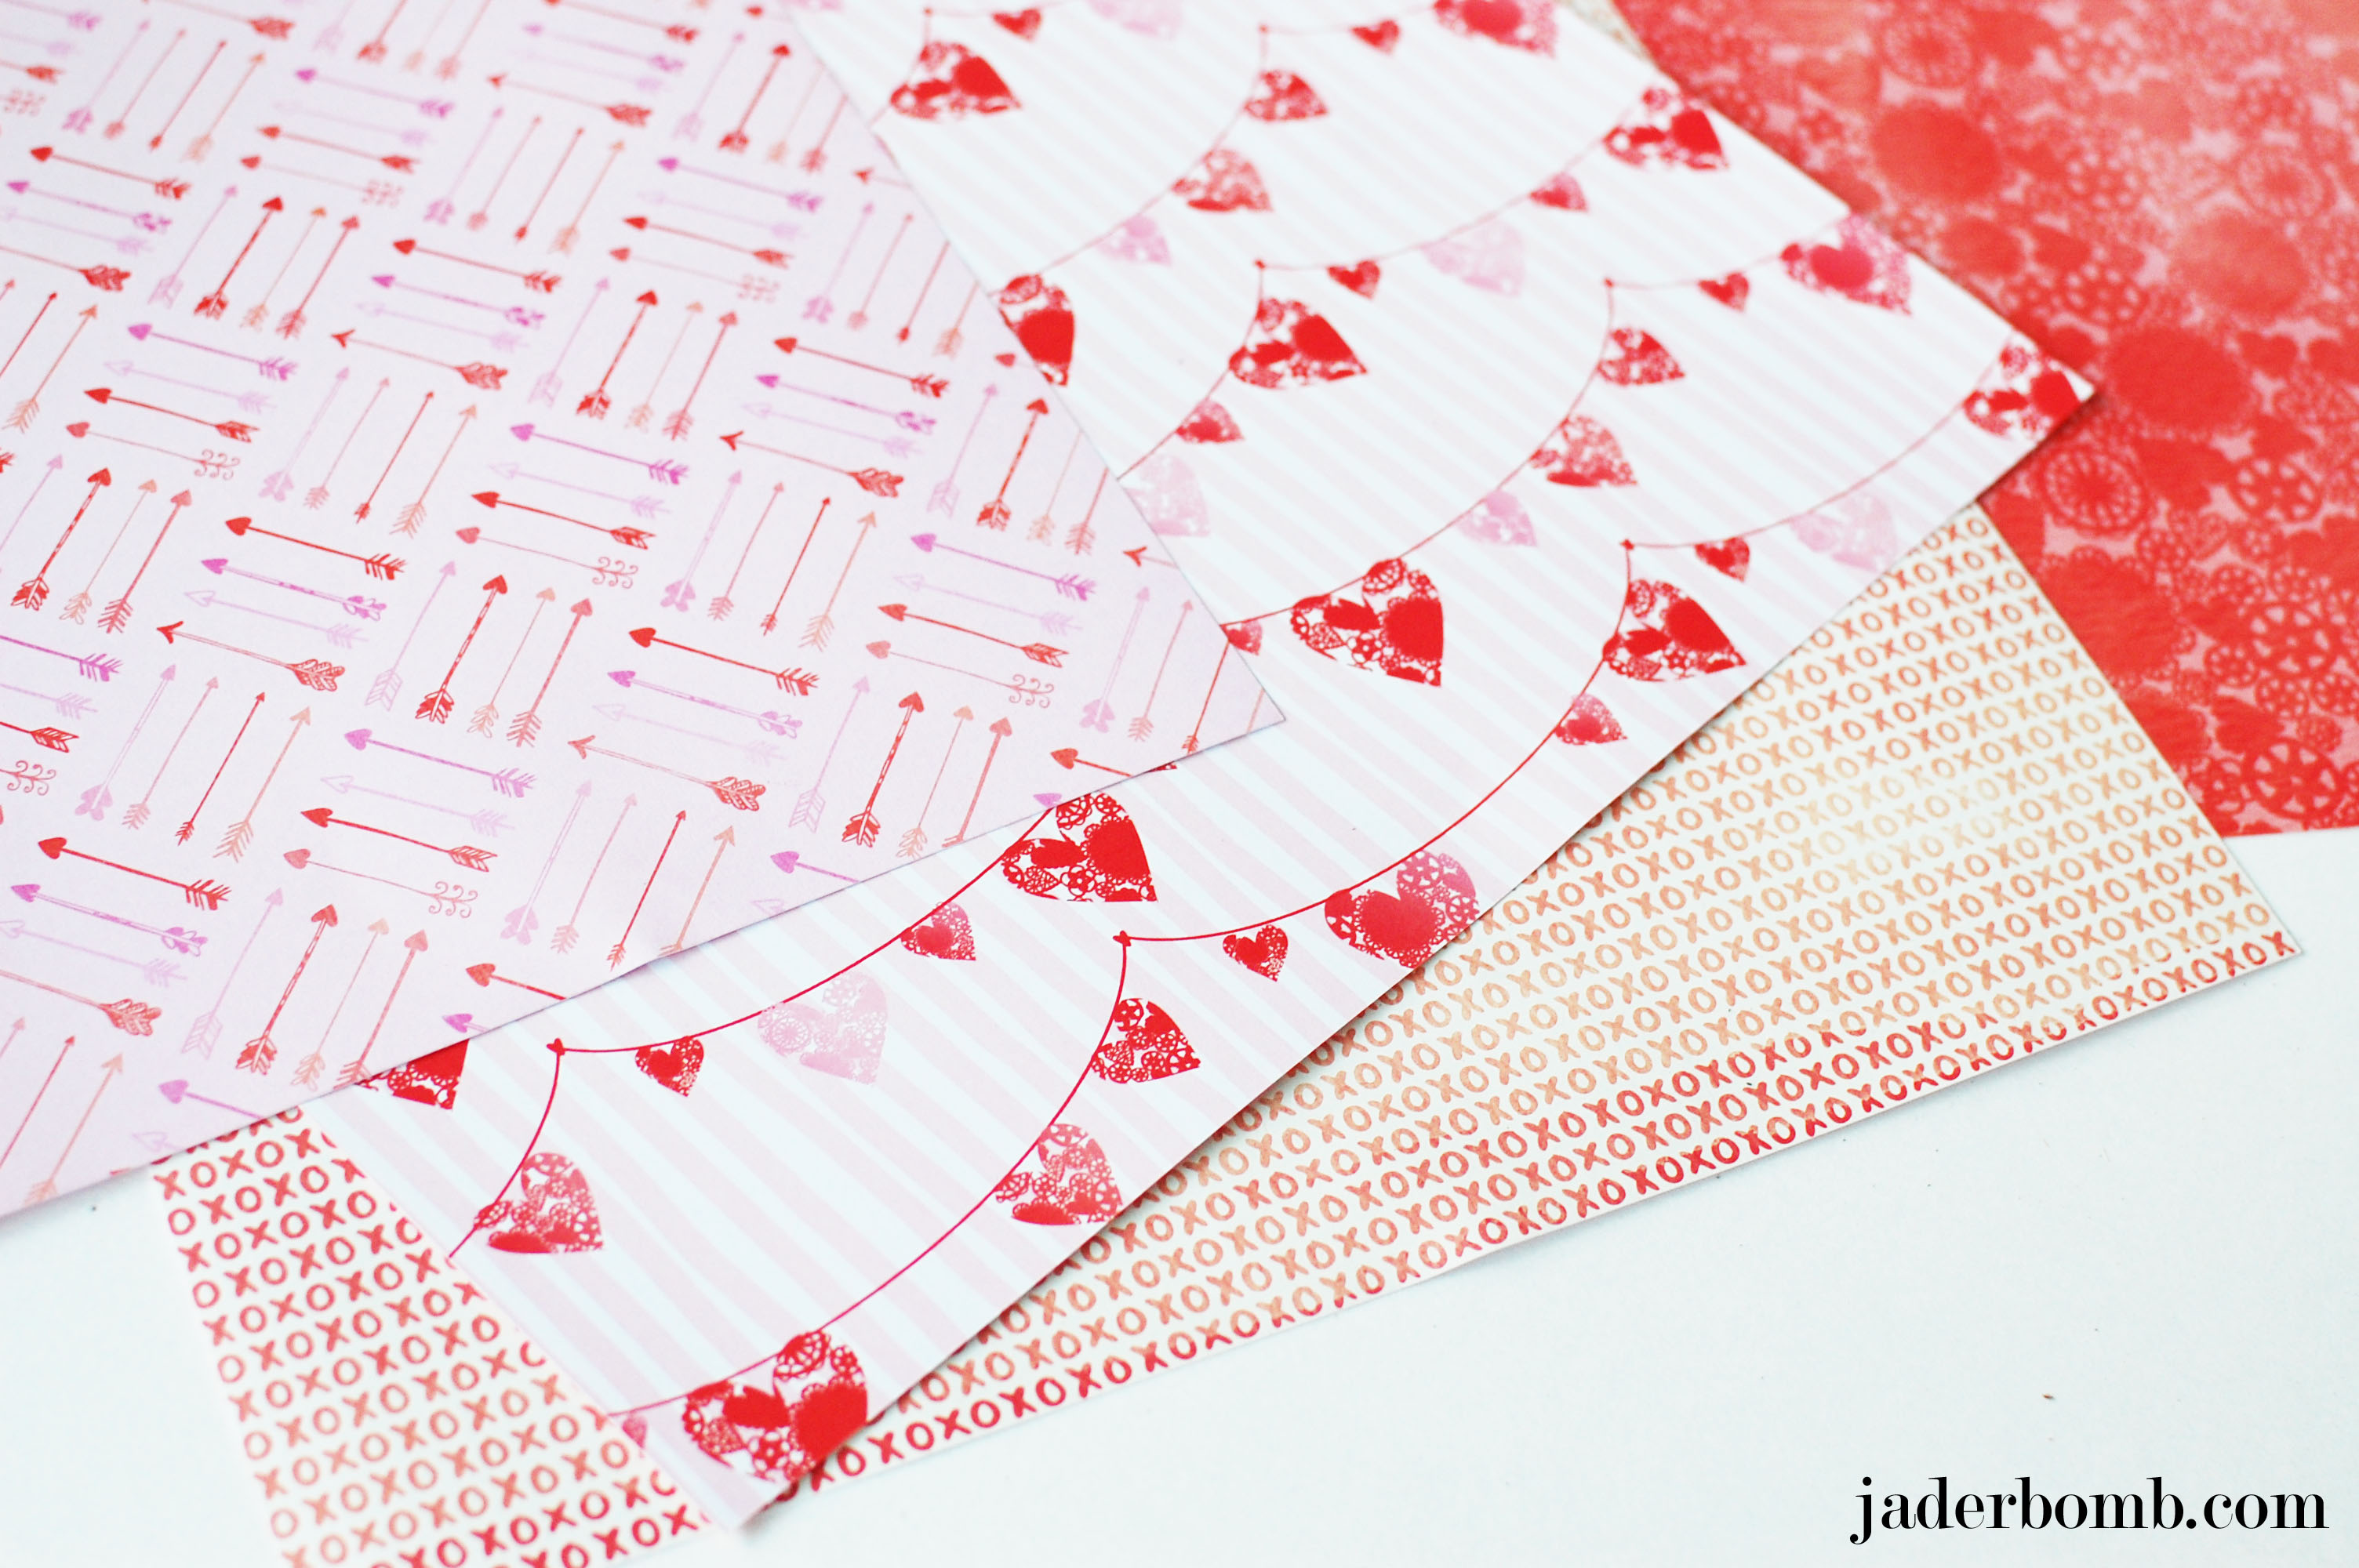
I am loving this beautiful designer paper! I love the designs on both sides of the paper. You can never go wrong with this pack of paper.
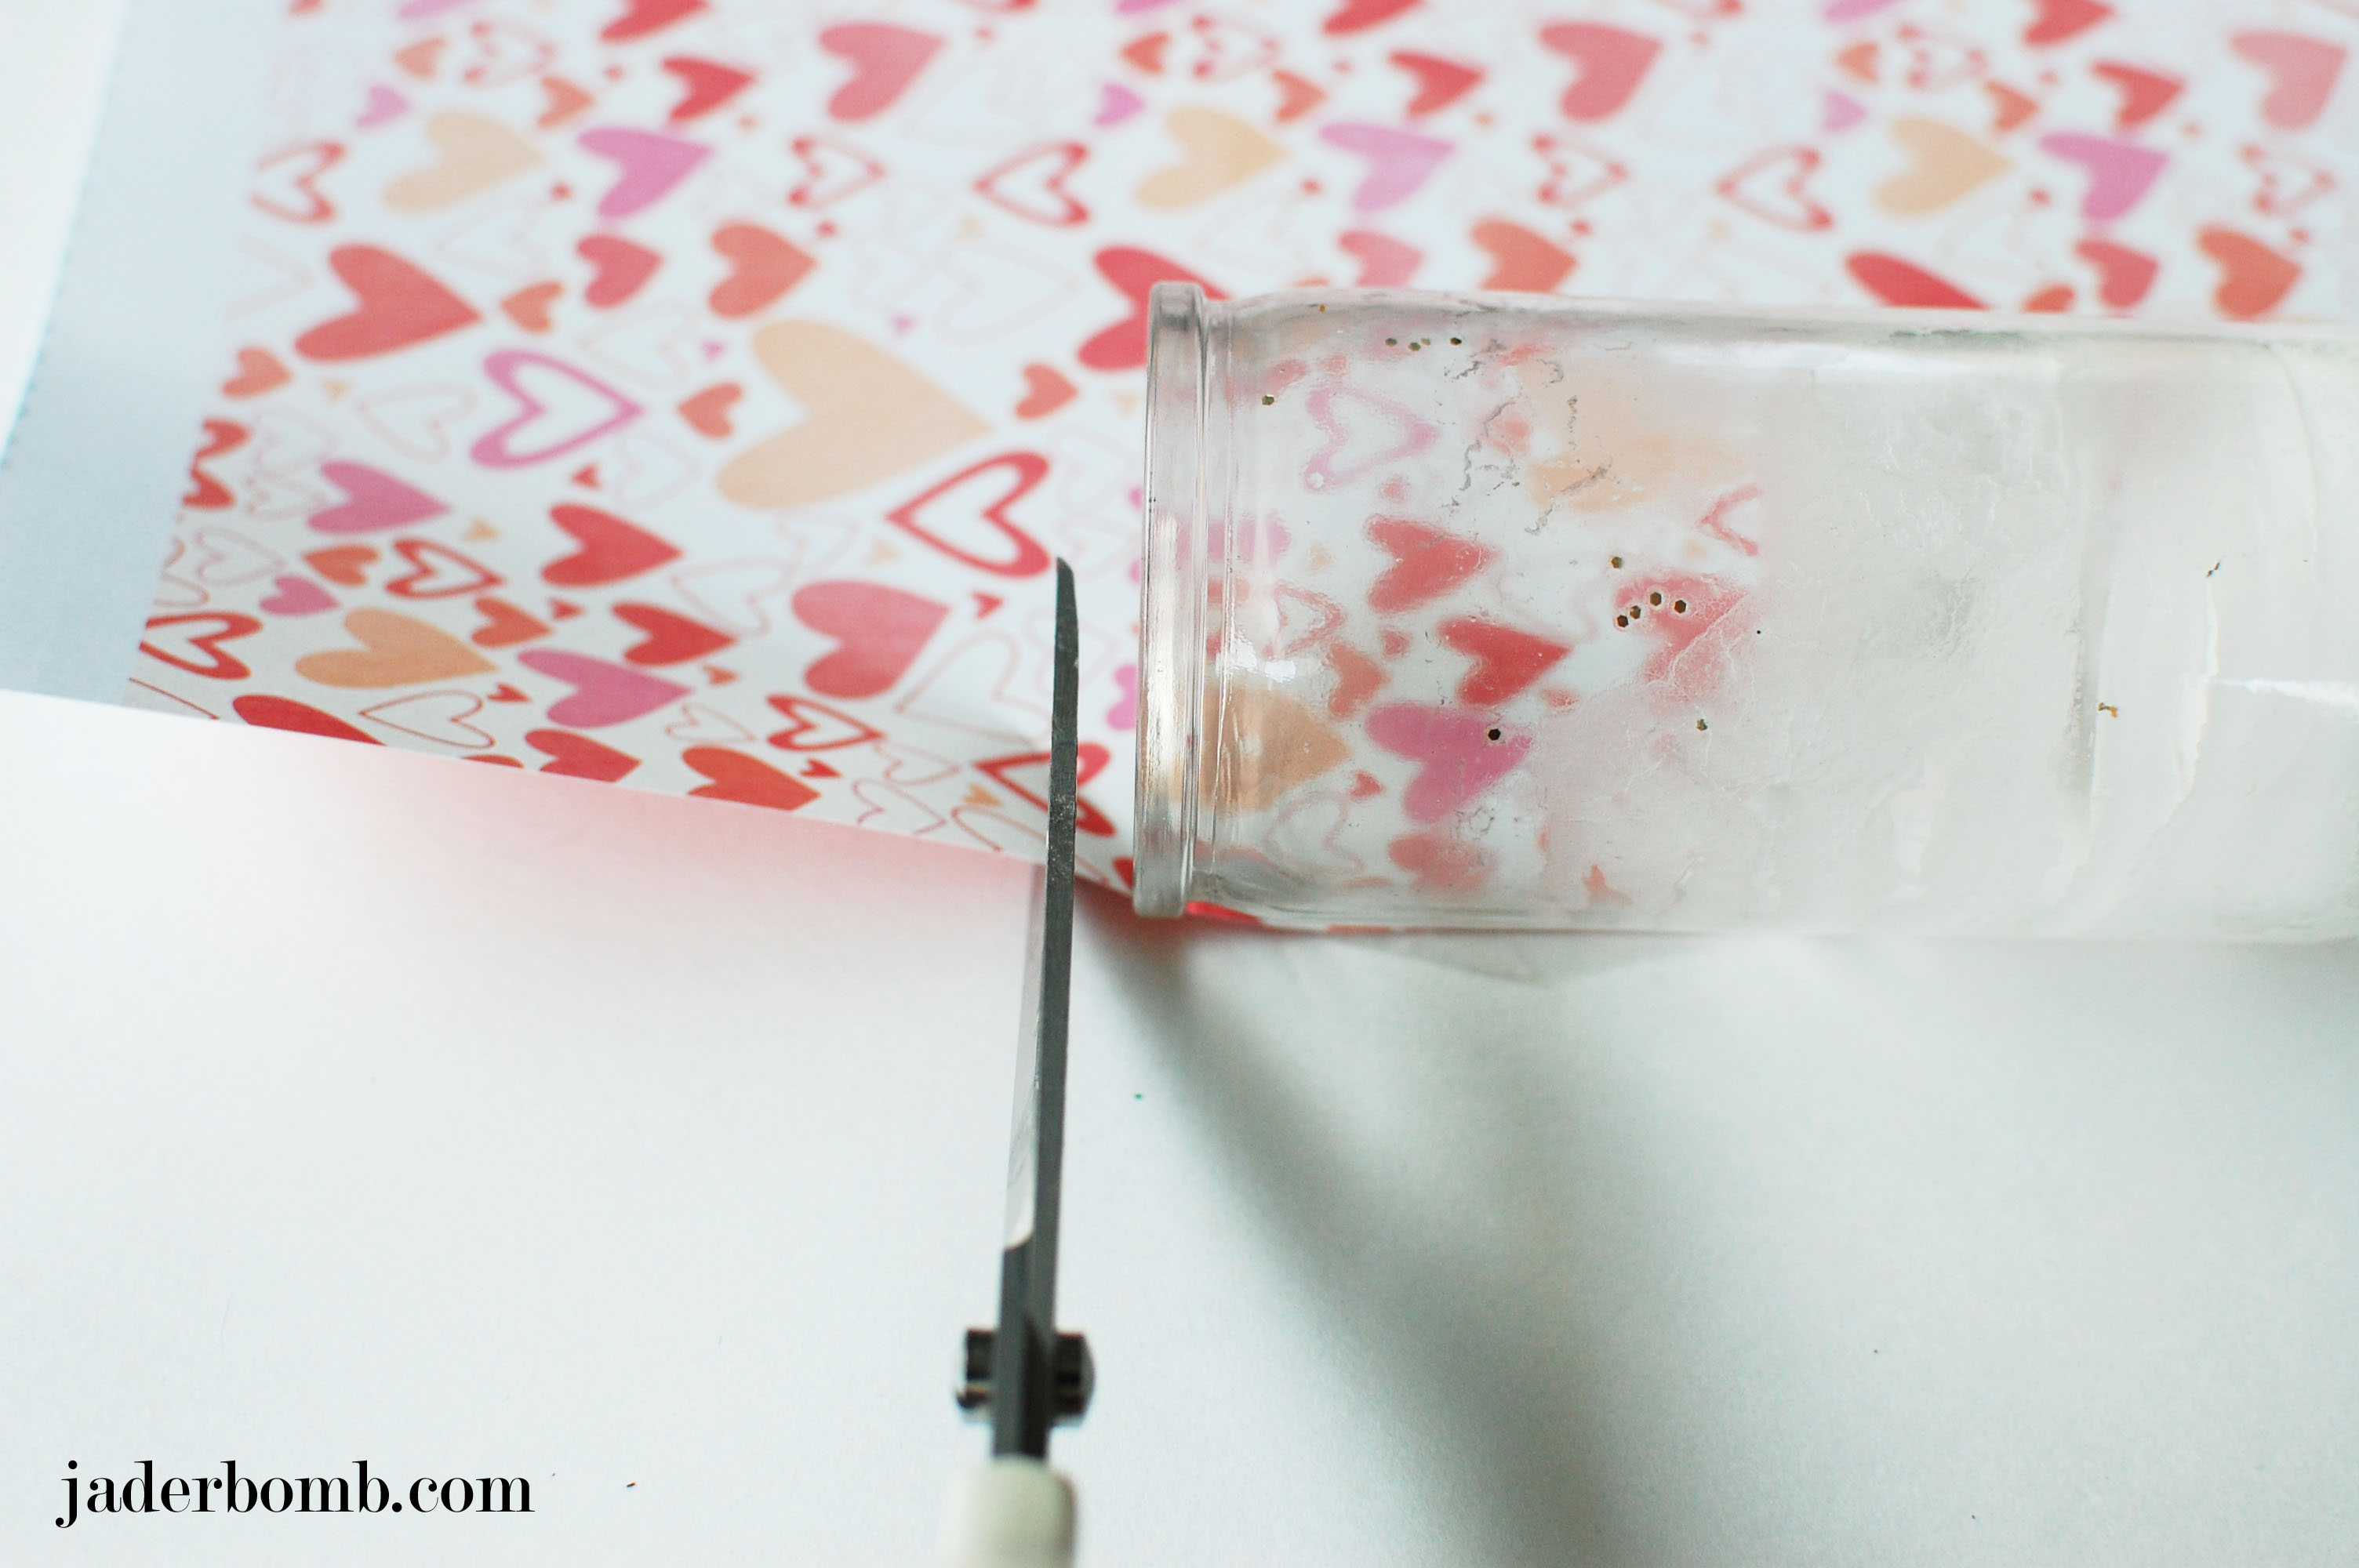
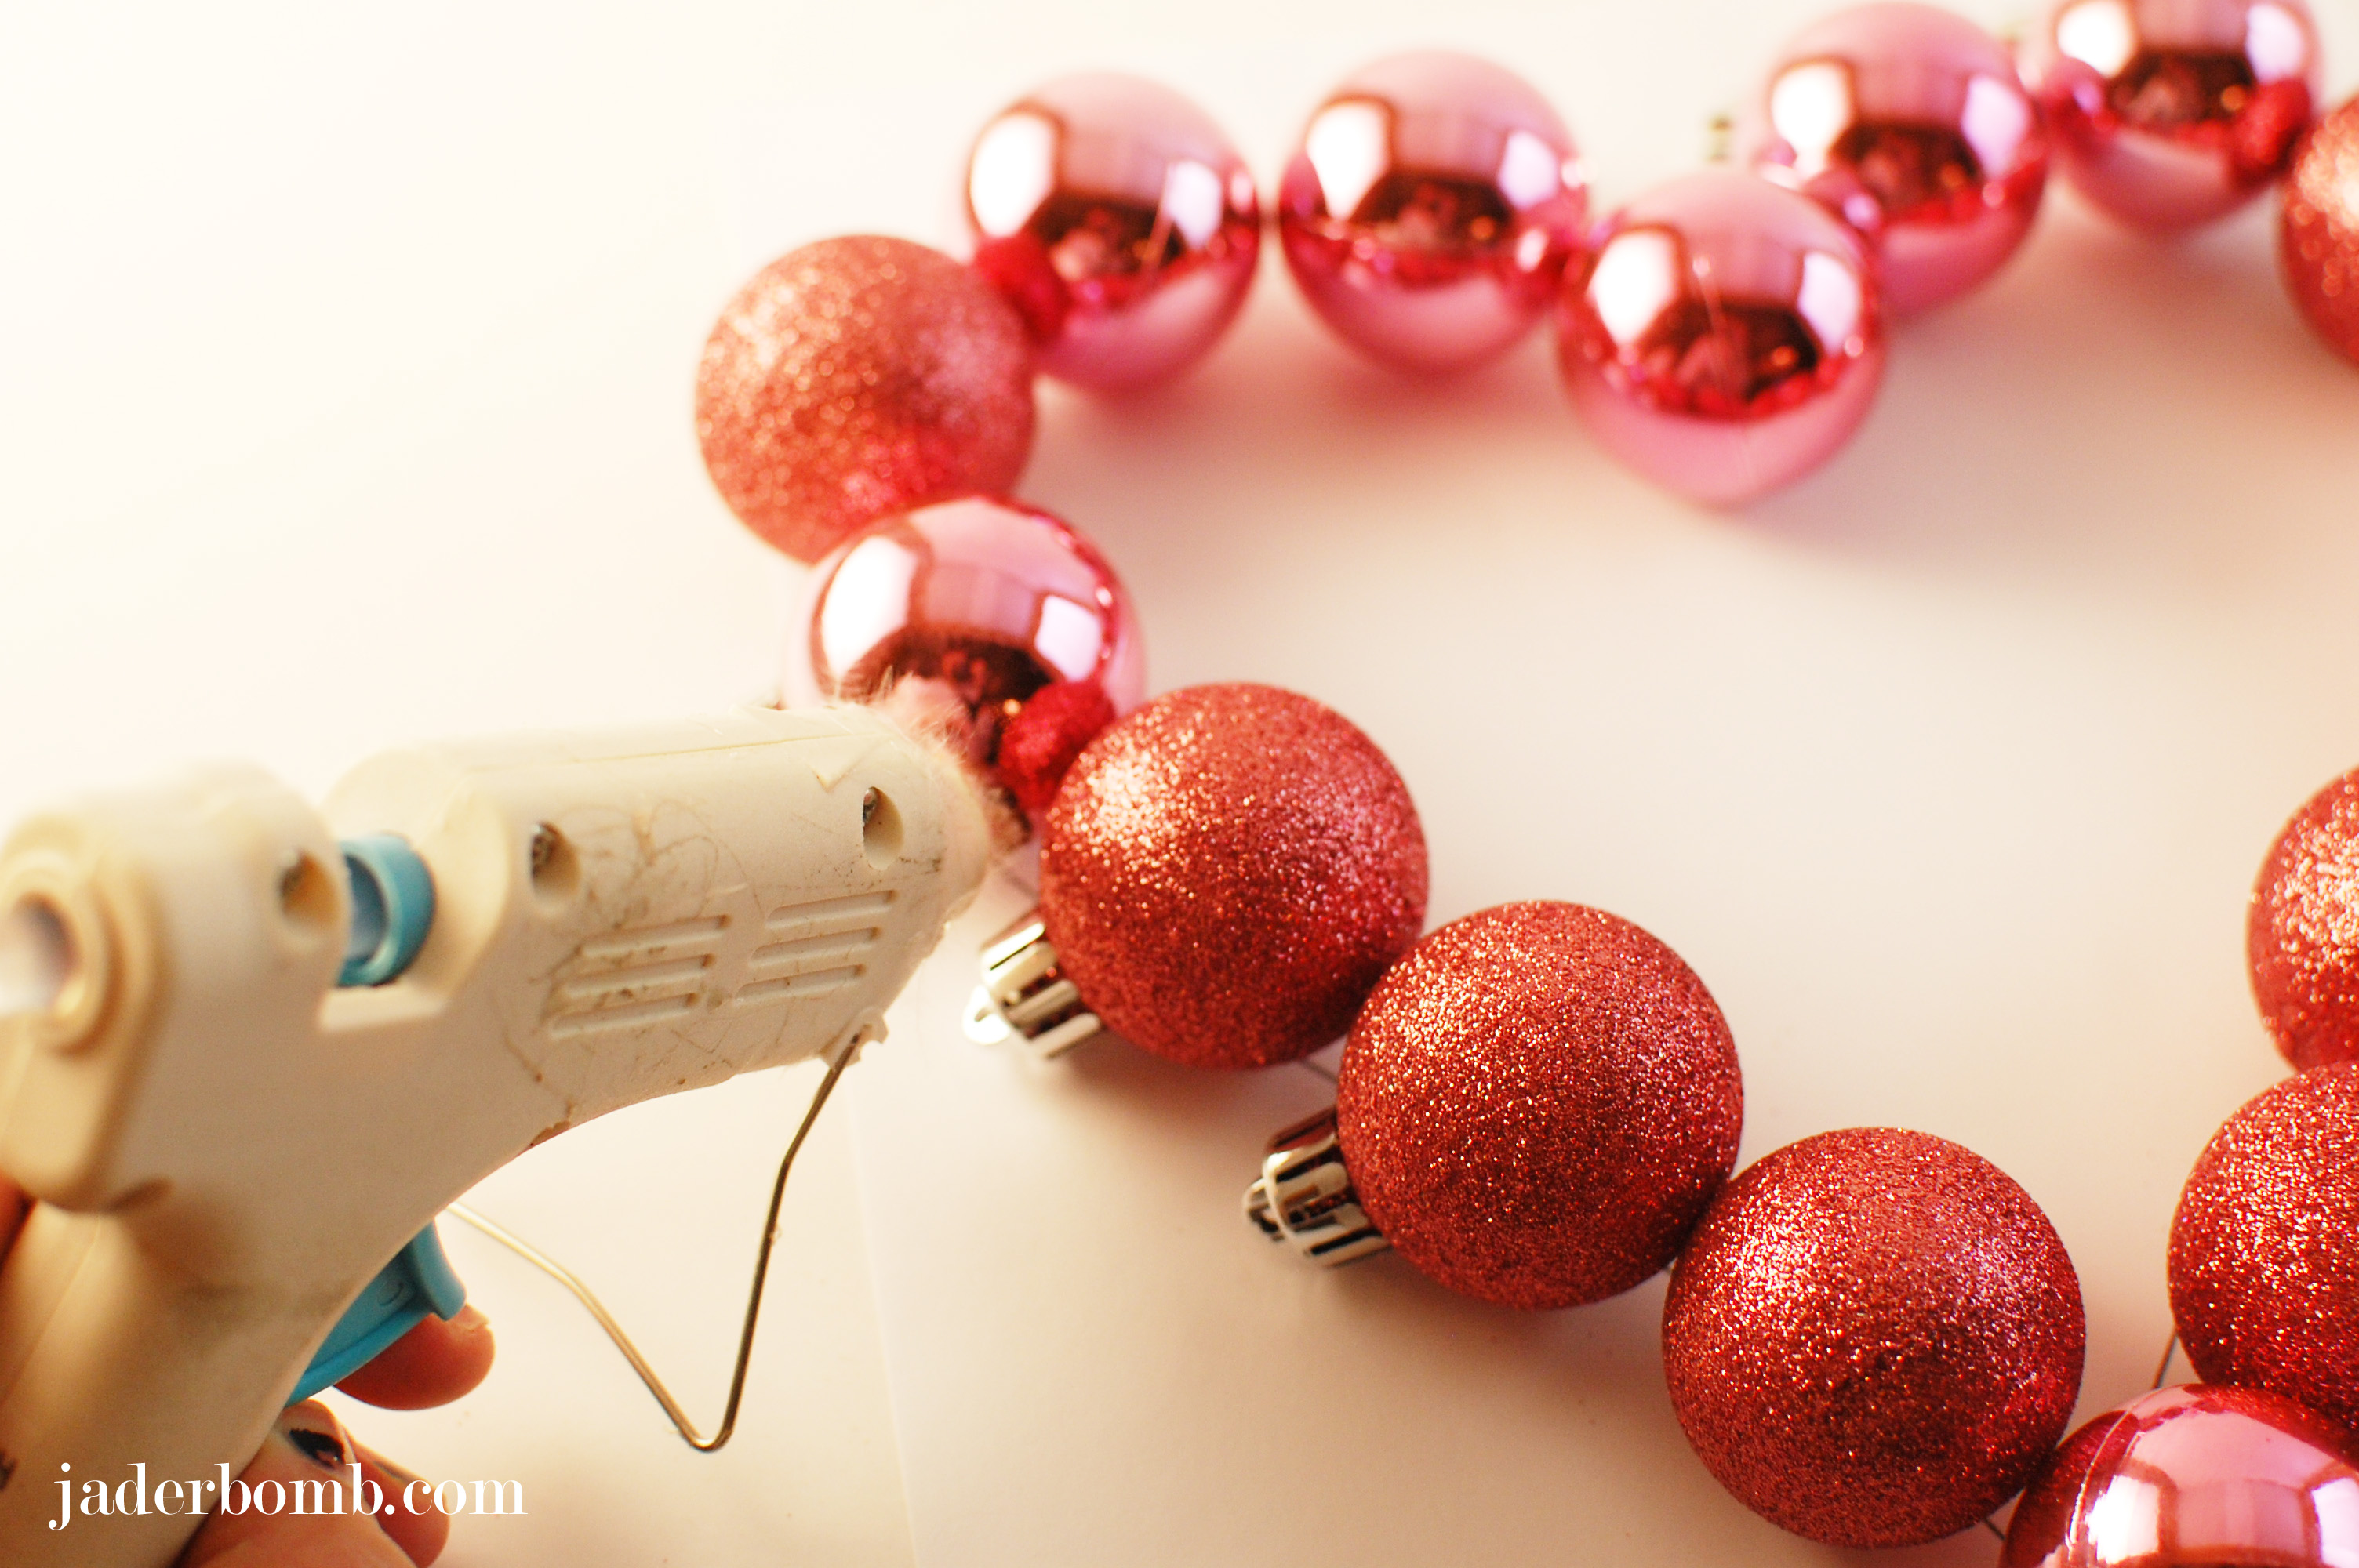
The first thing you will do is lay a piece of paper down on a flat surface. Place the candle on top of the paper, then cut whatever hangs over the edge of the candle.
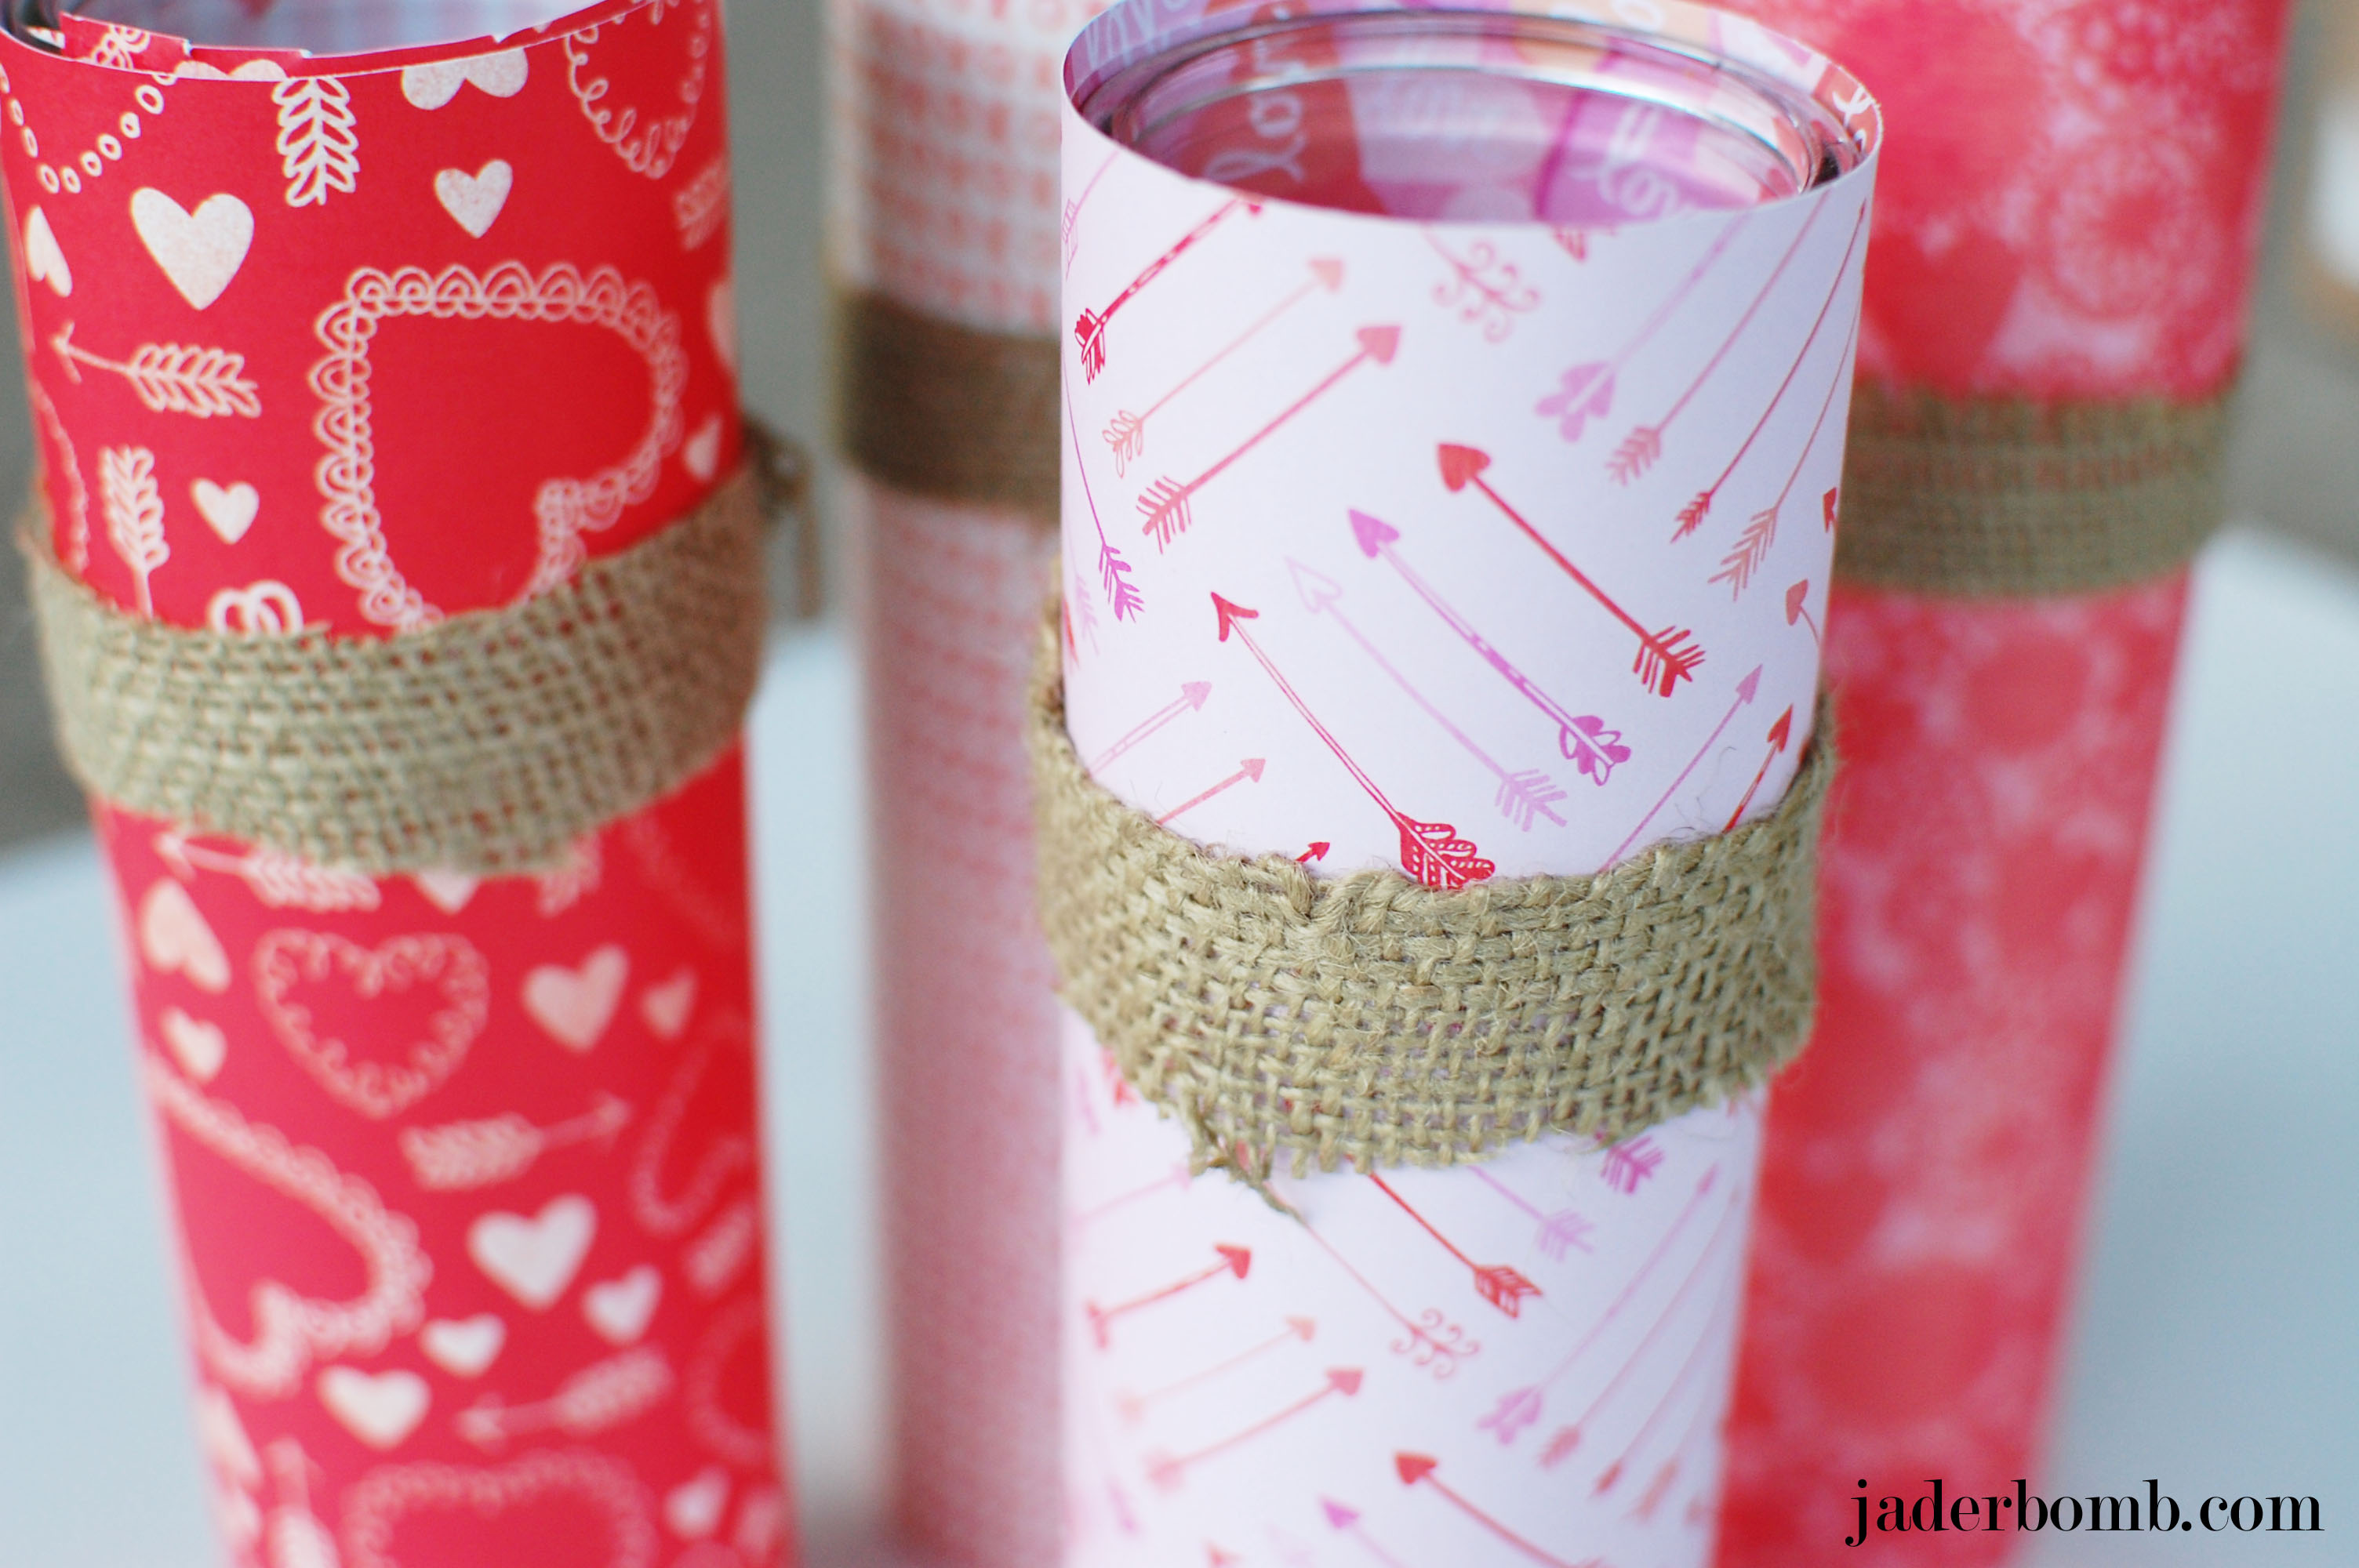
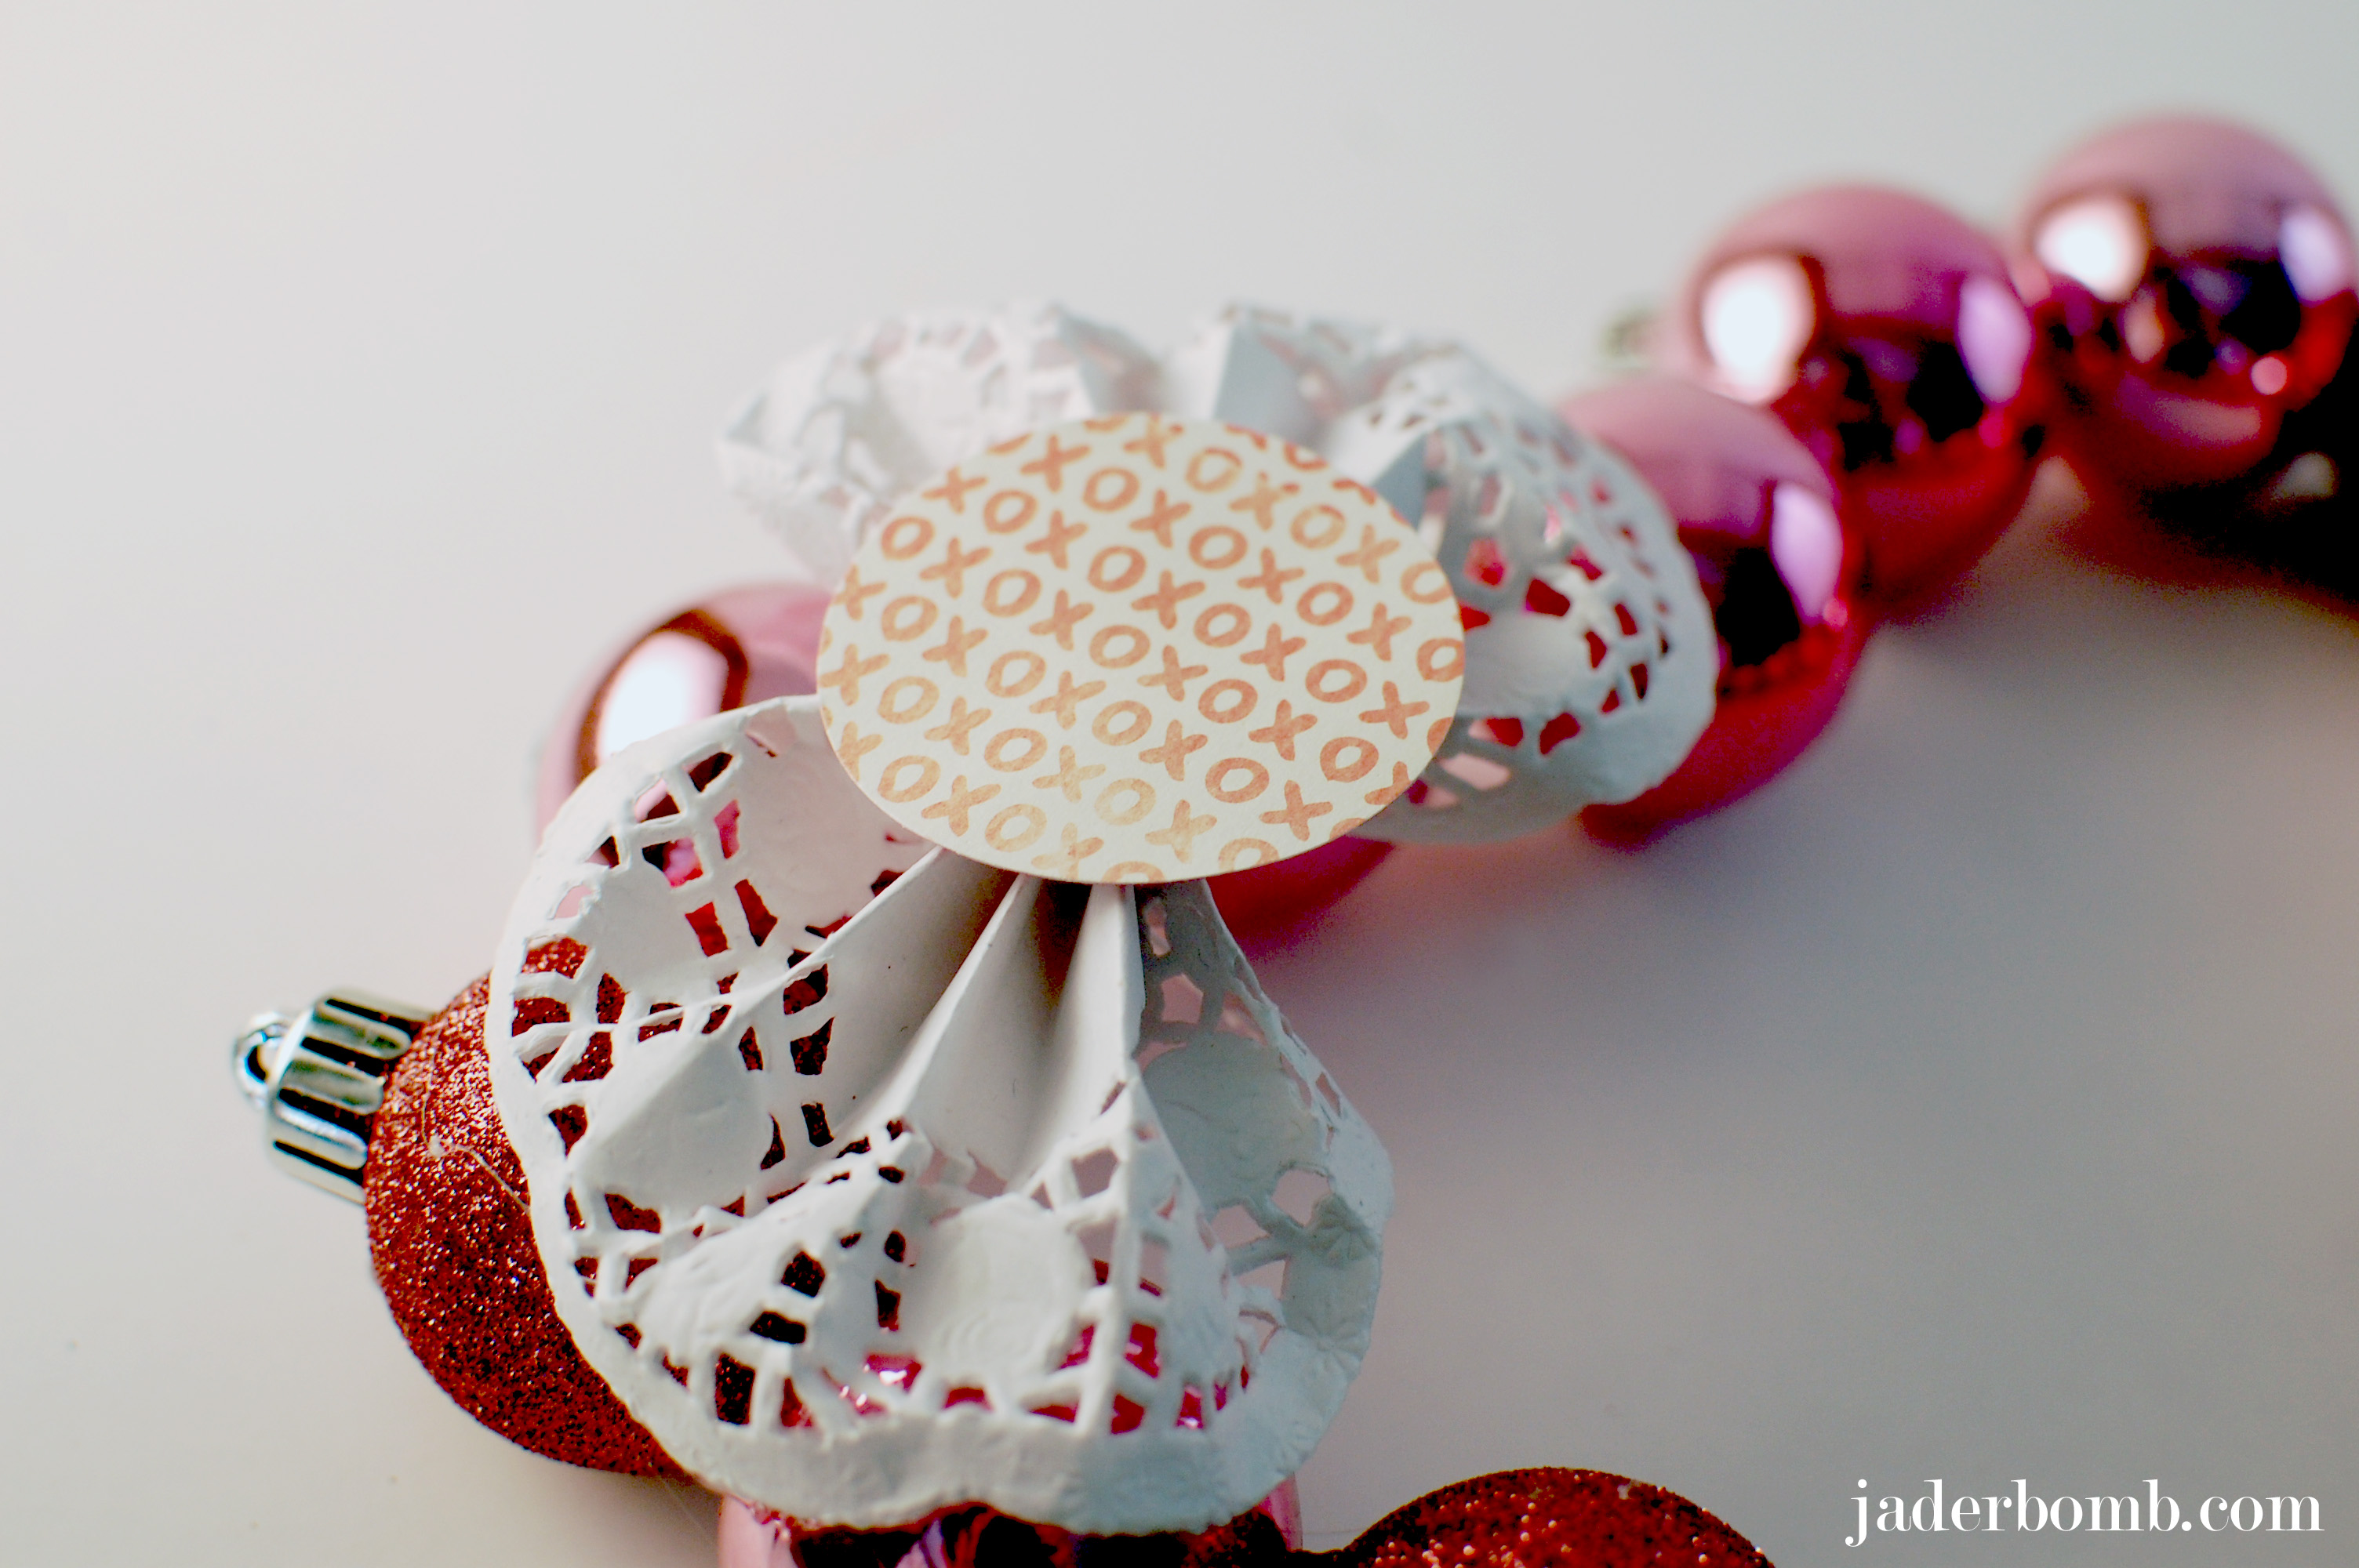
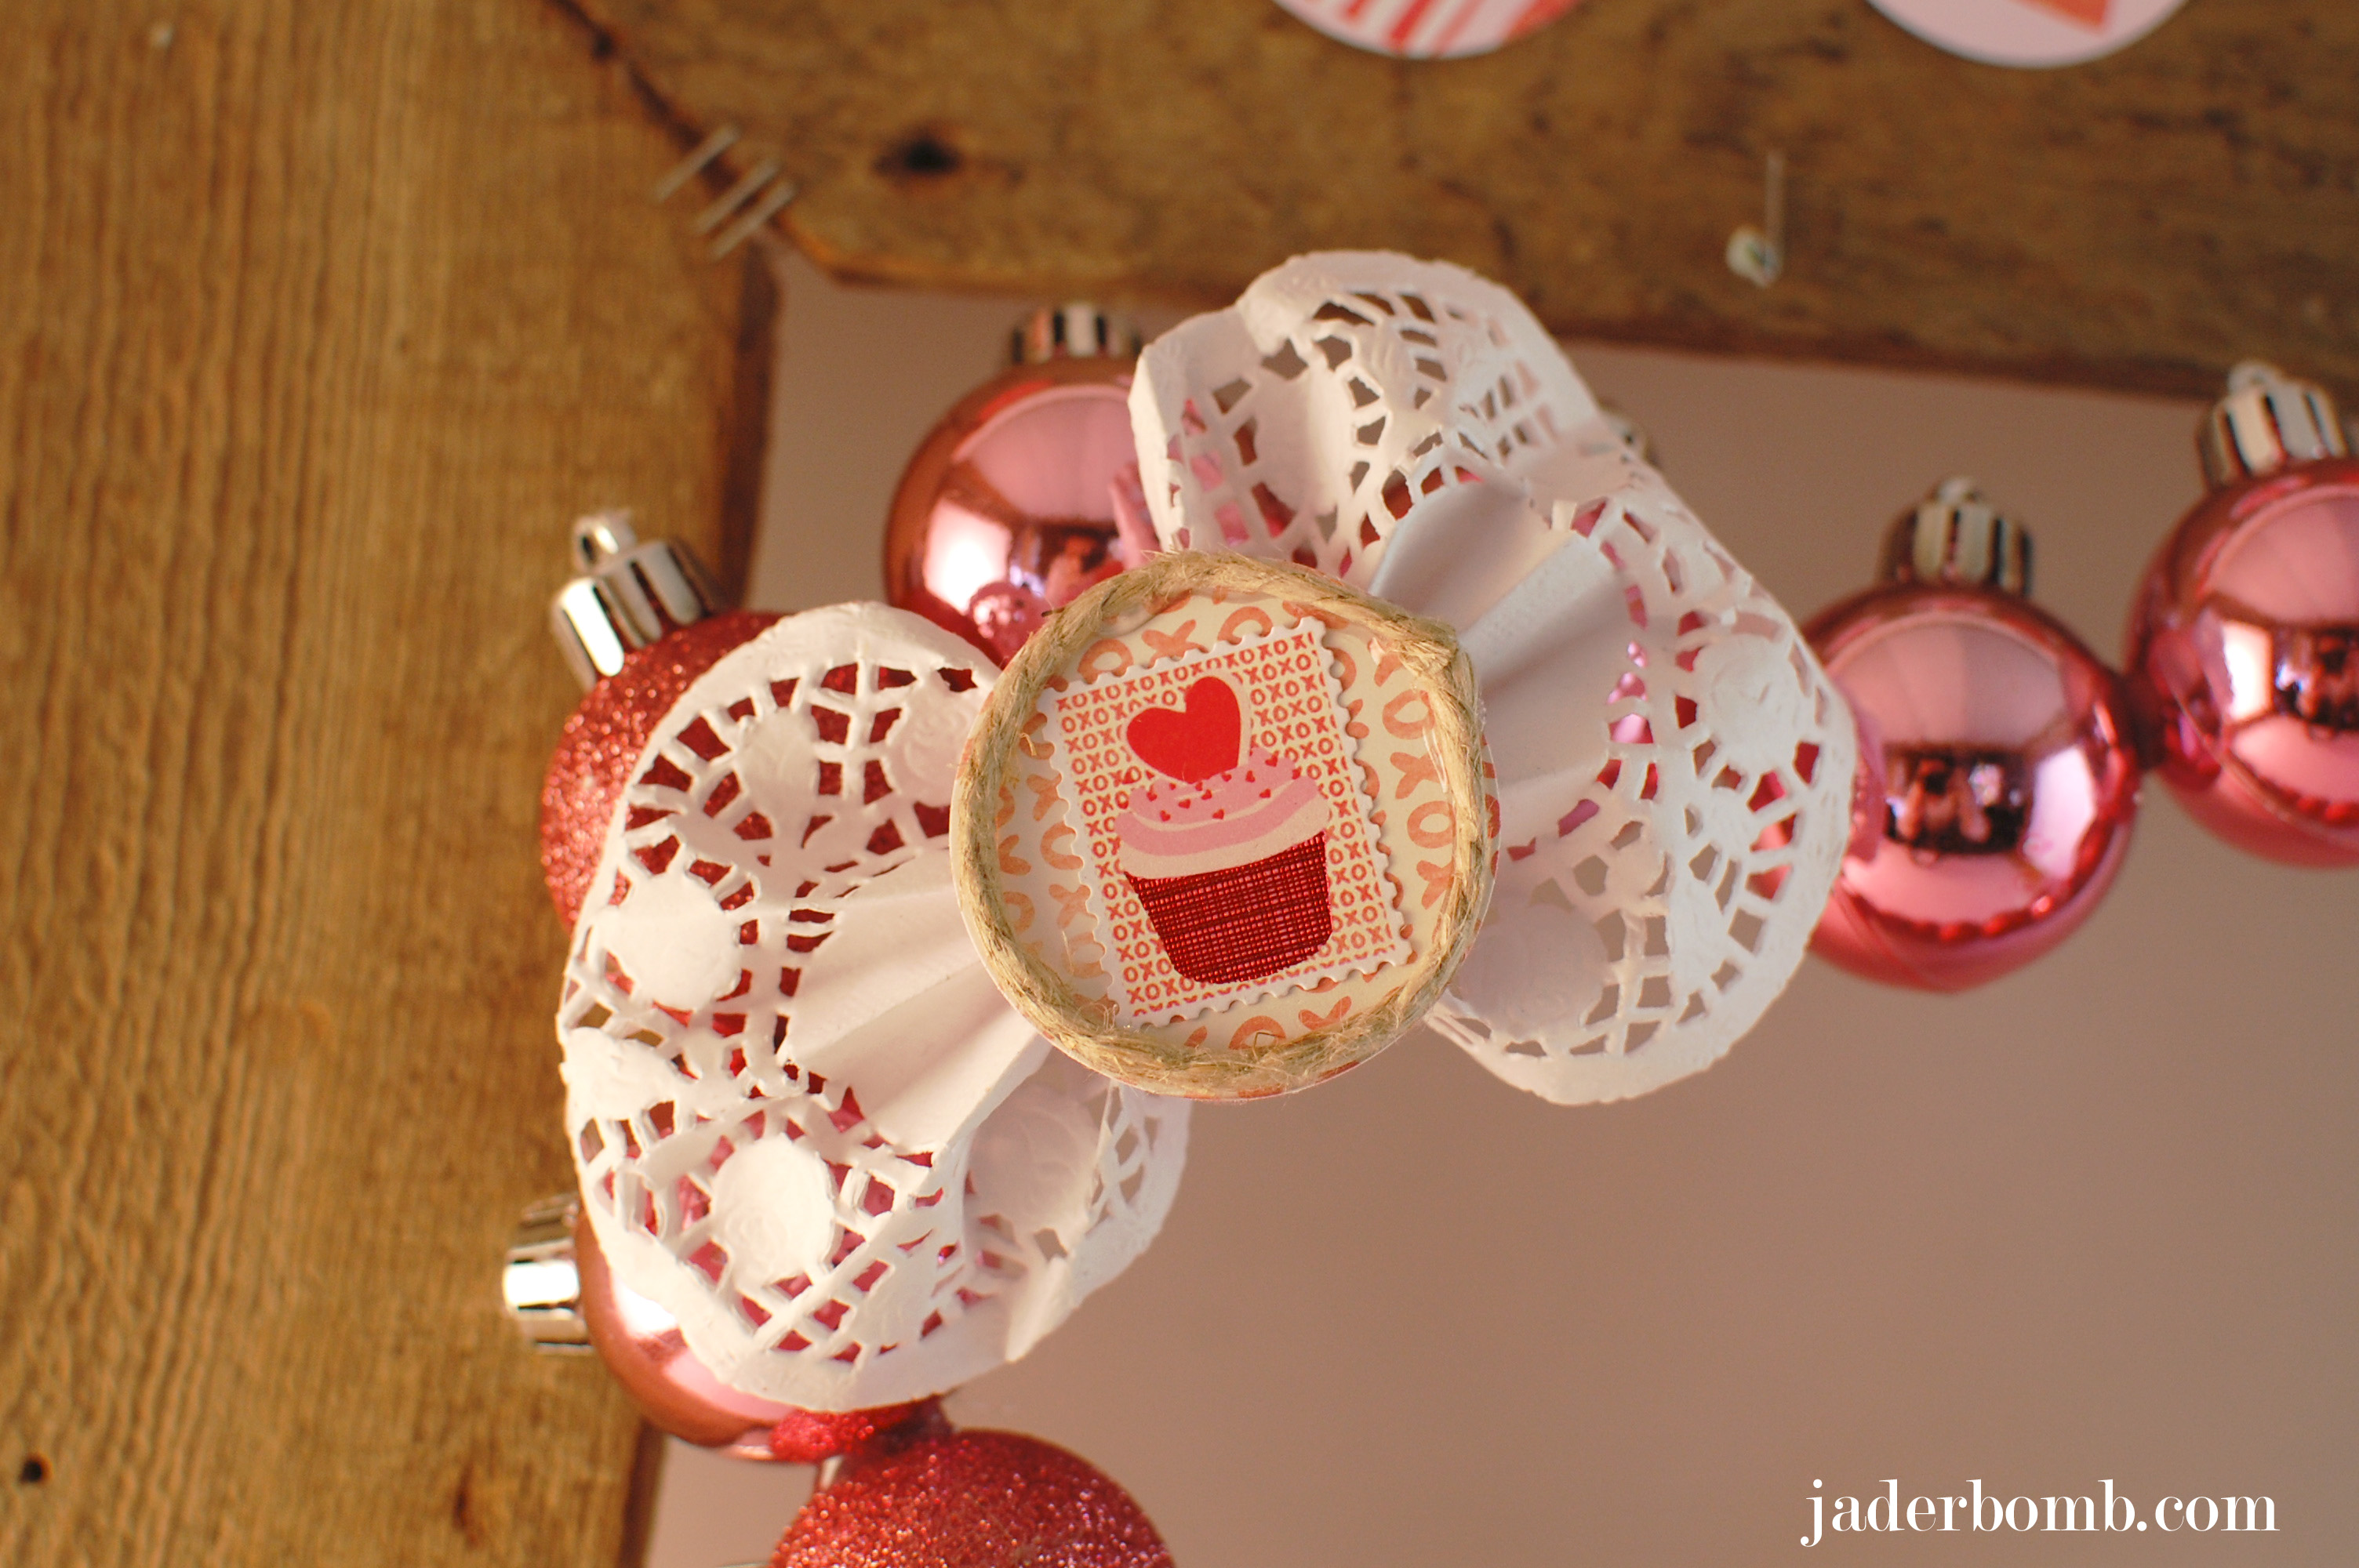
When you are done wrapping all of your candles it will look like a sleeve. I love dressing up candles, especially like this. I cut a few thin pieces of burlap and wrapped them around the top edge.
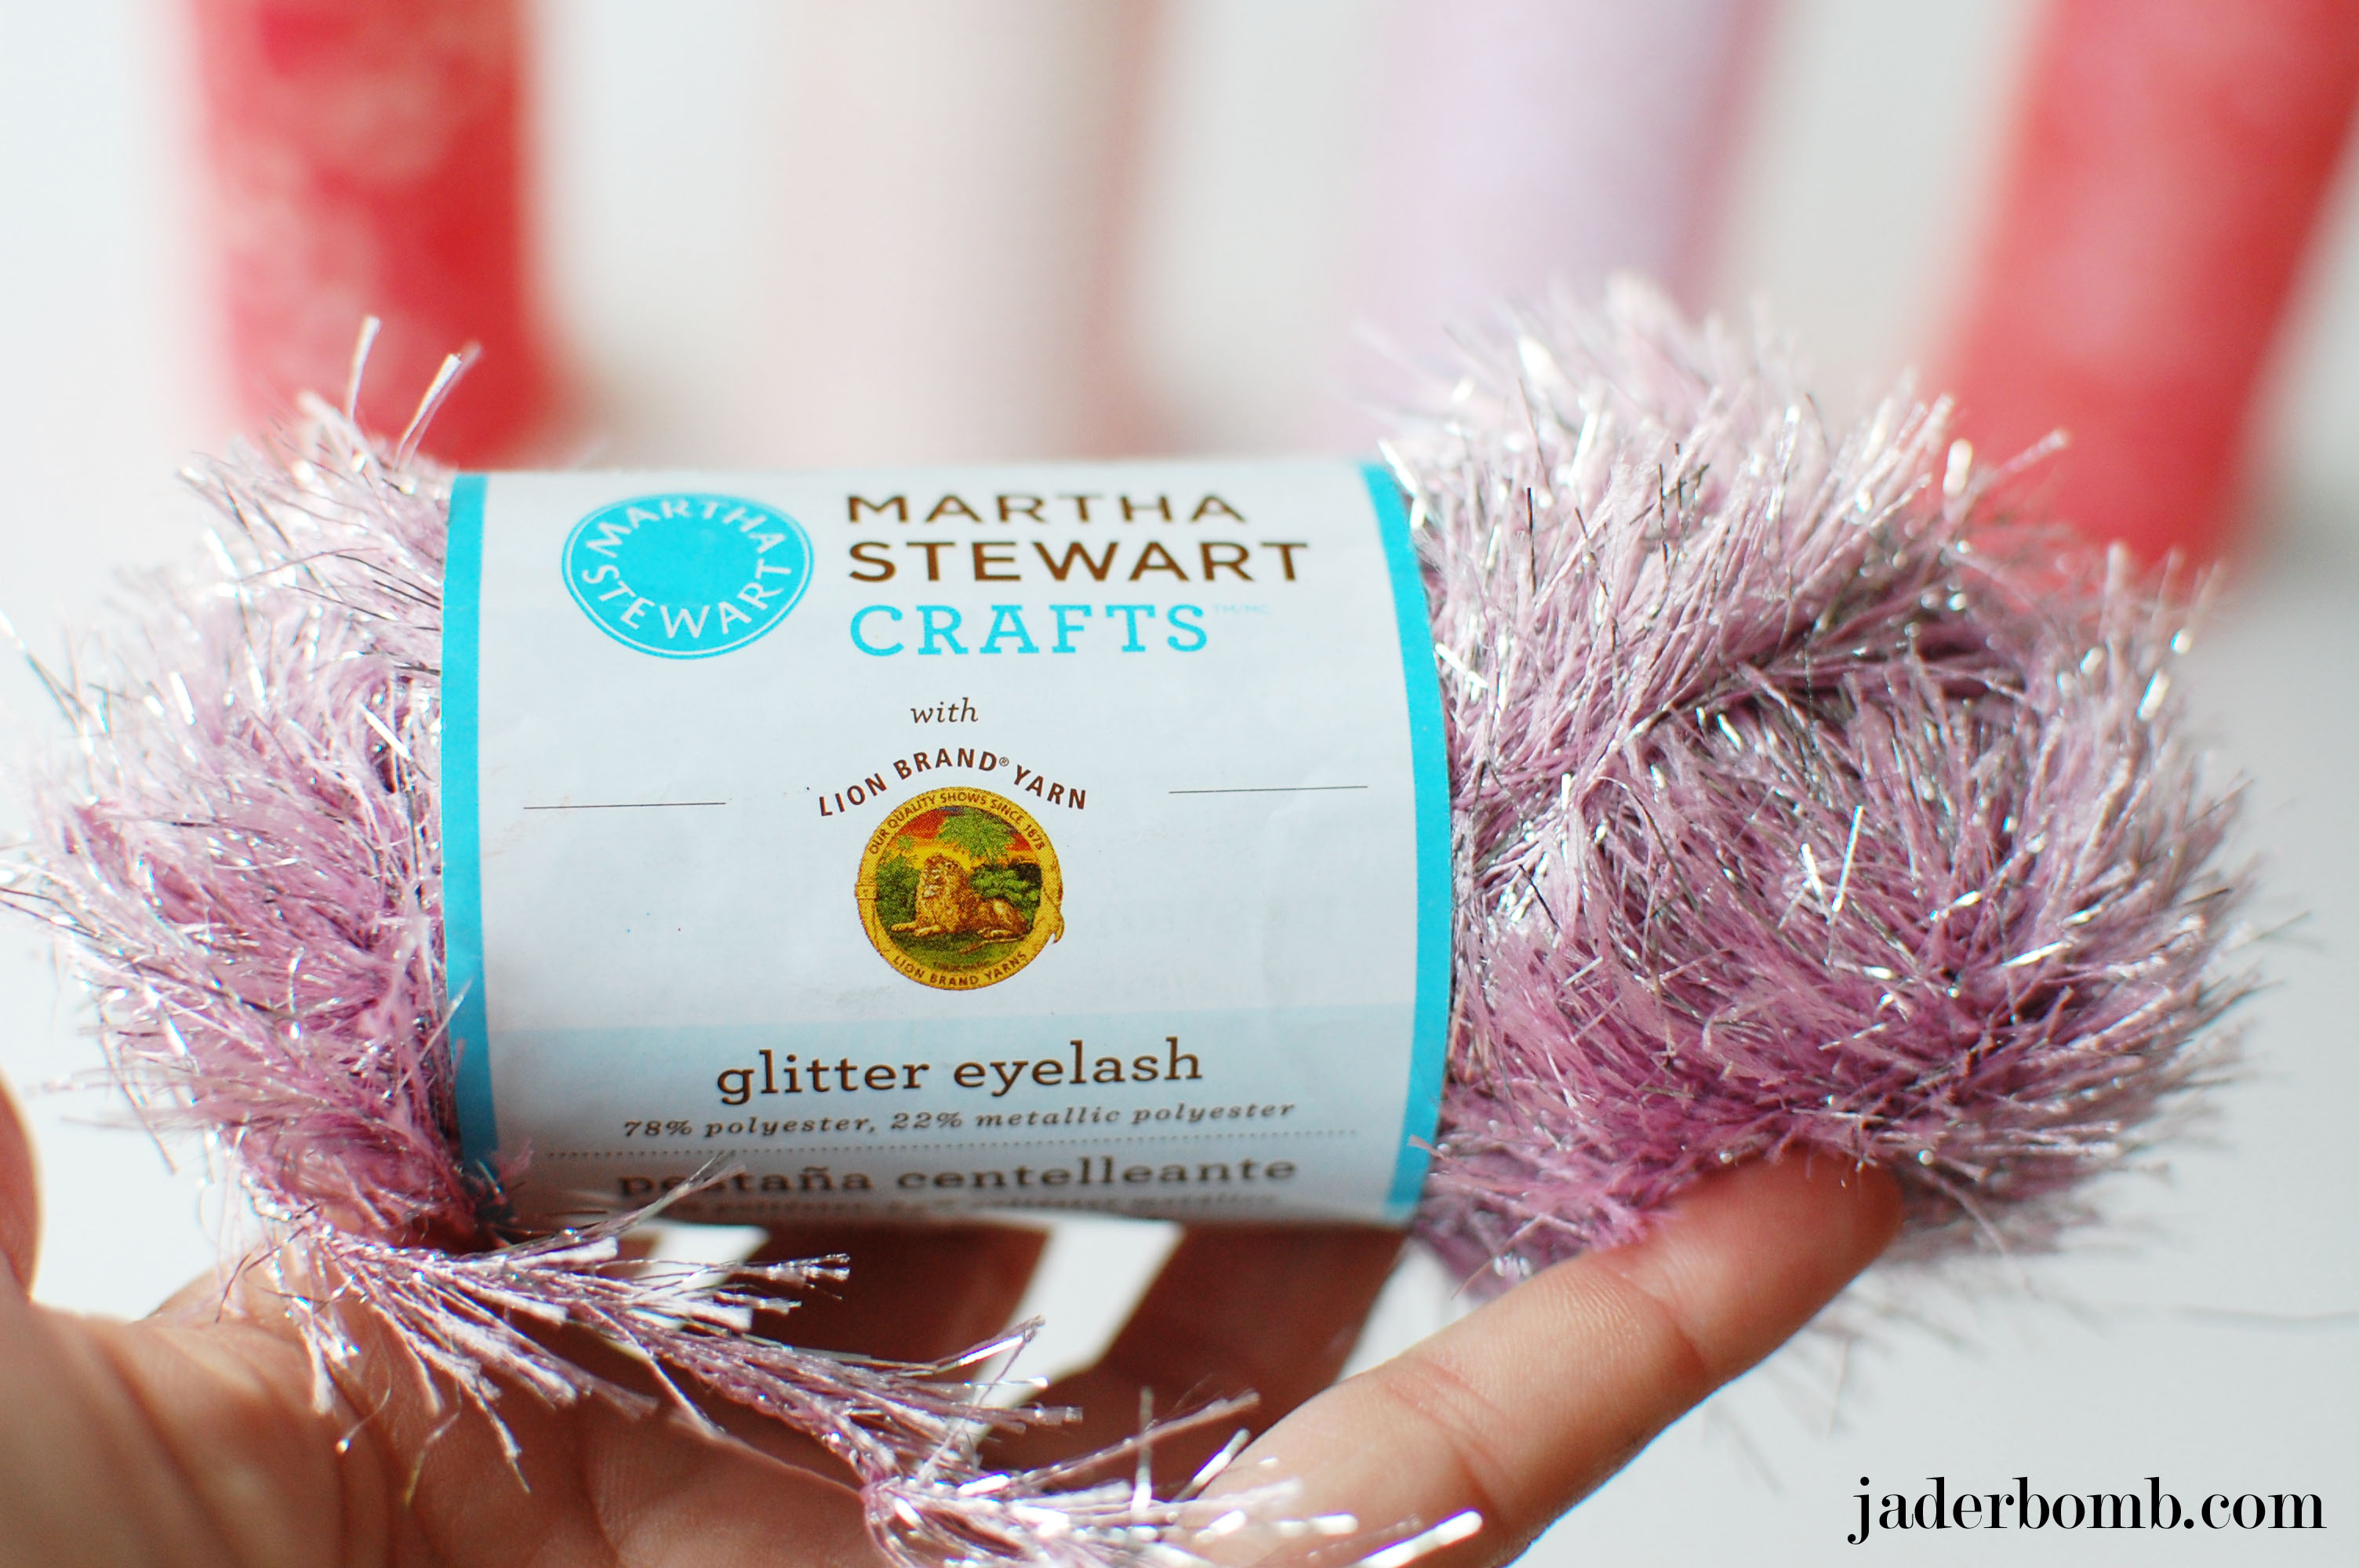
HEAVEN. That is all I will say about this glitter eyelash yarn. I can’t wait to show you Saturday what else I made with this. I am telling you, it’s some magical stuff.
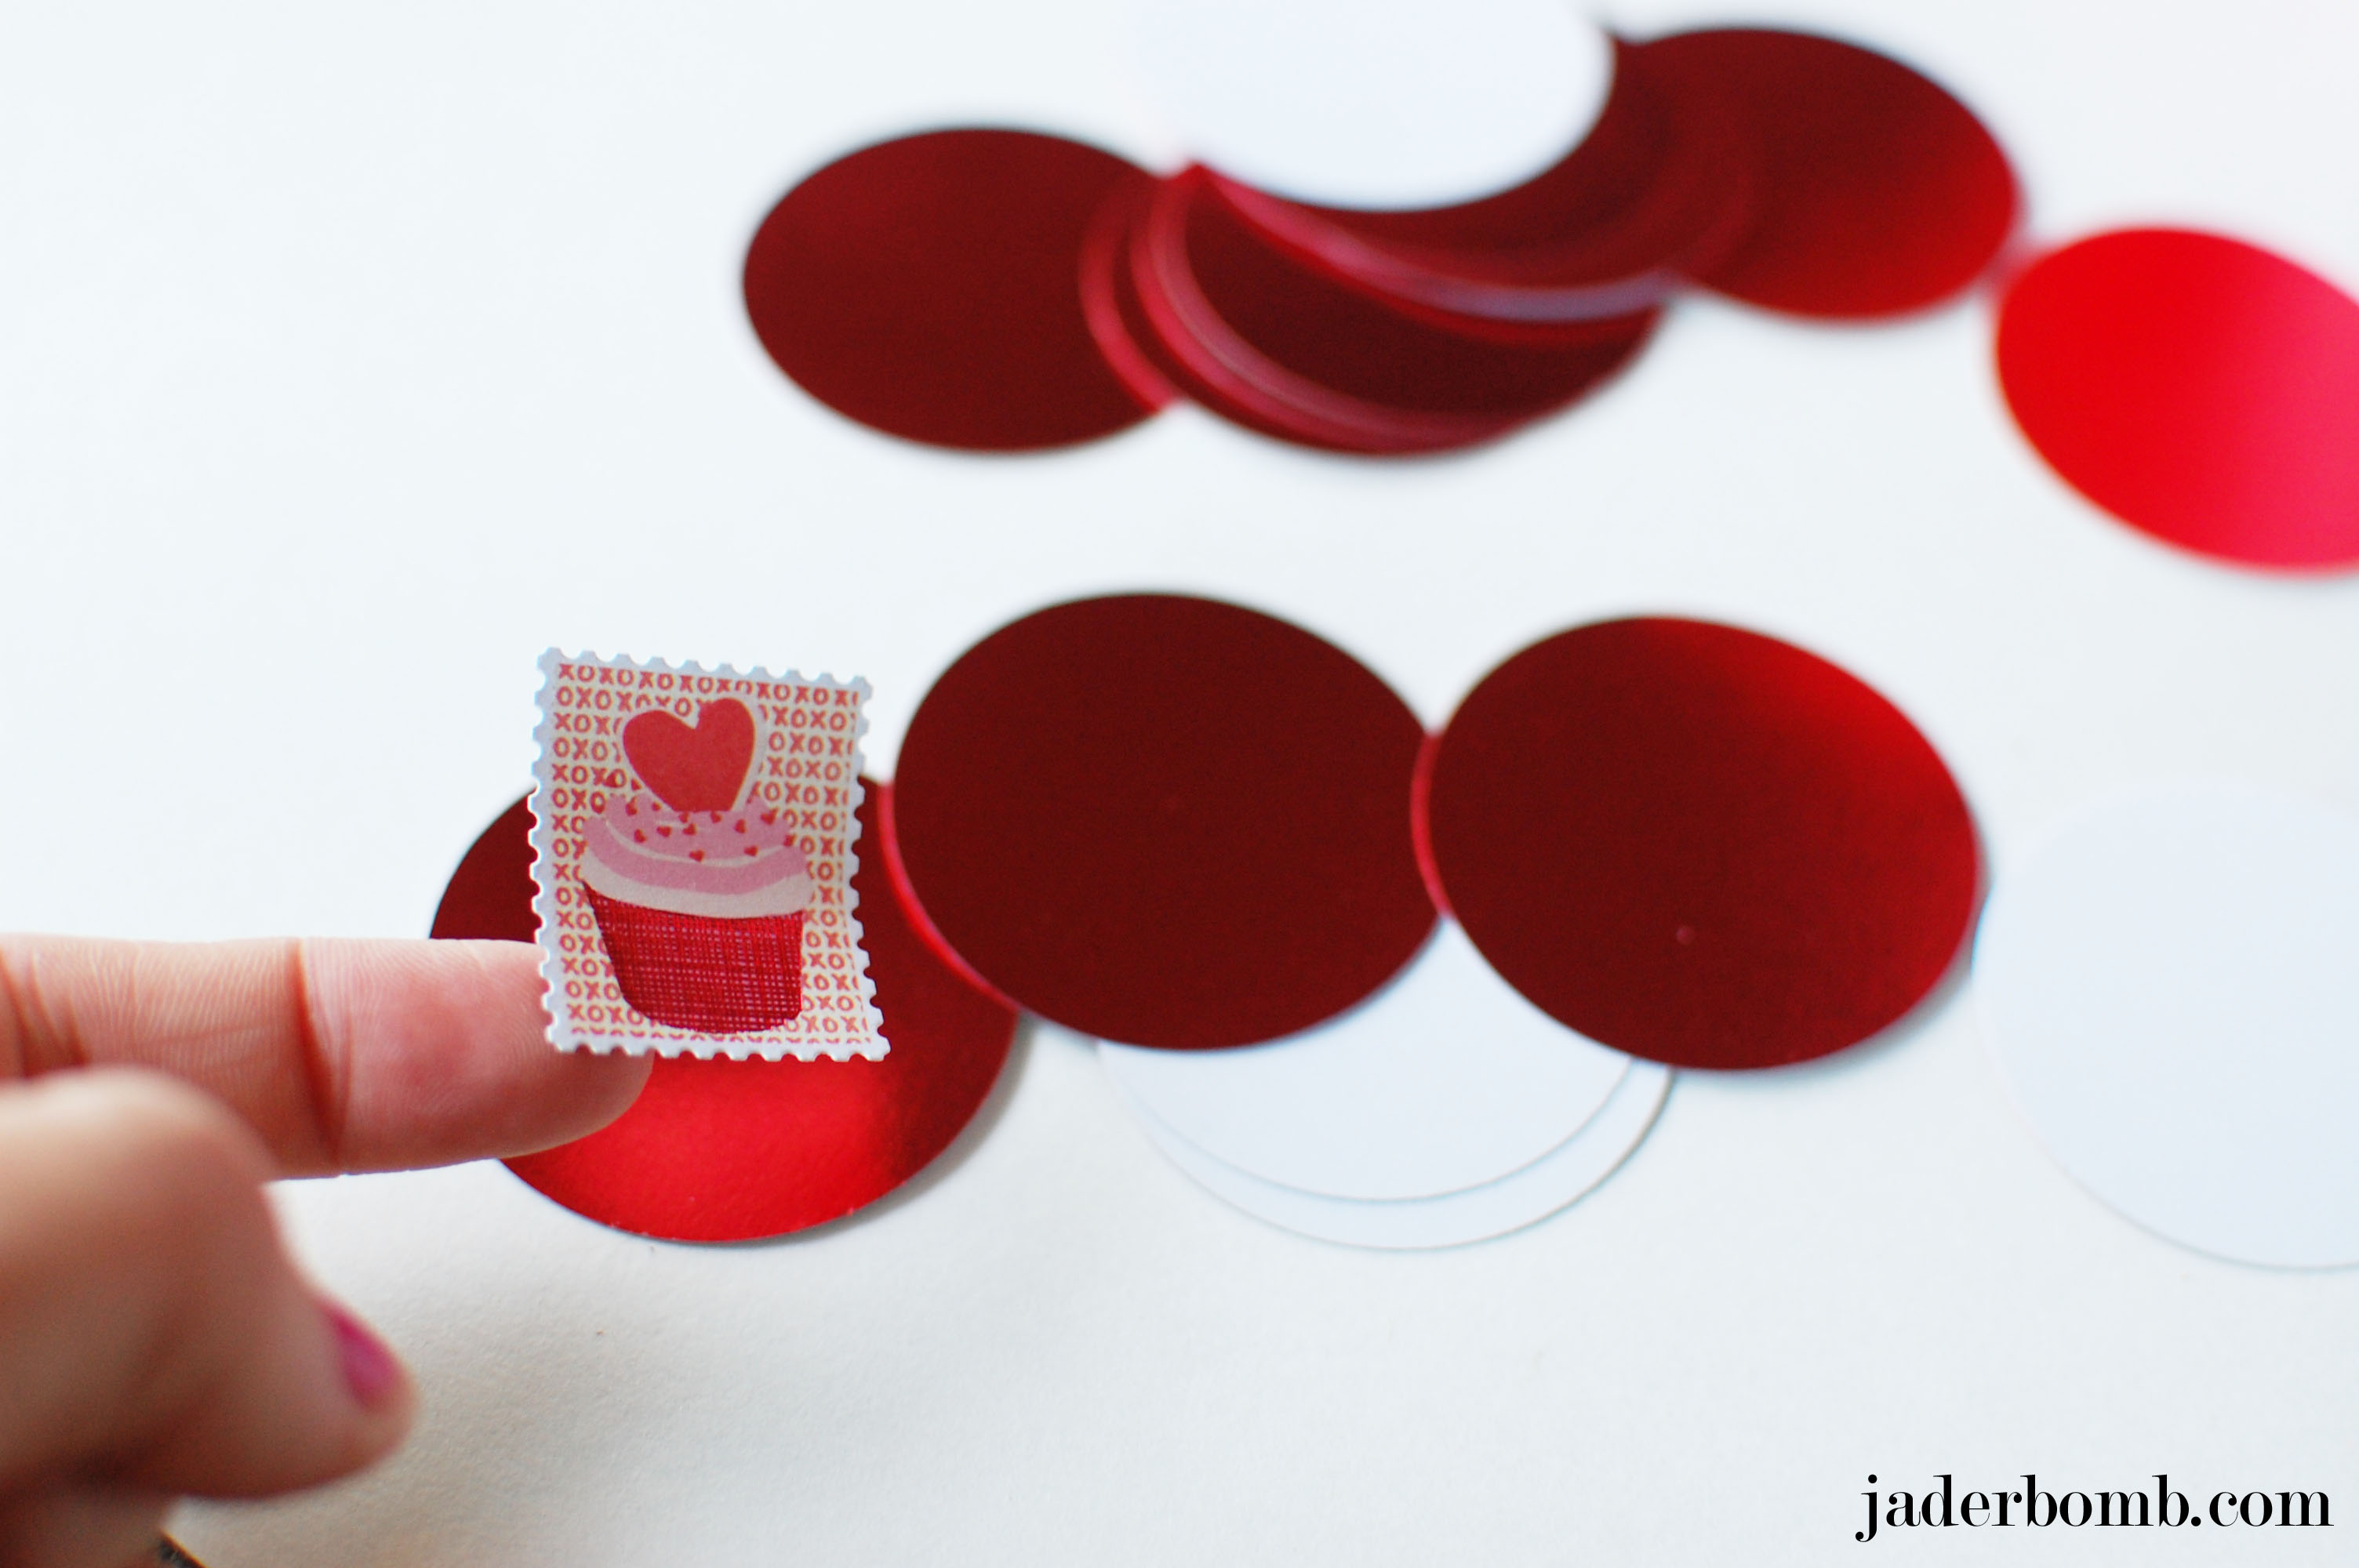
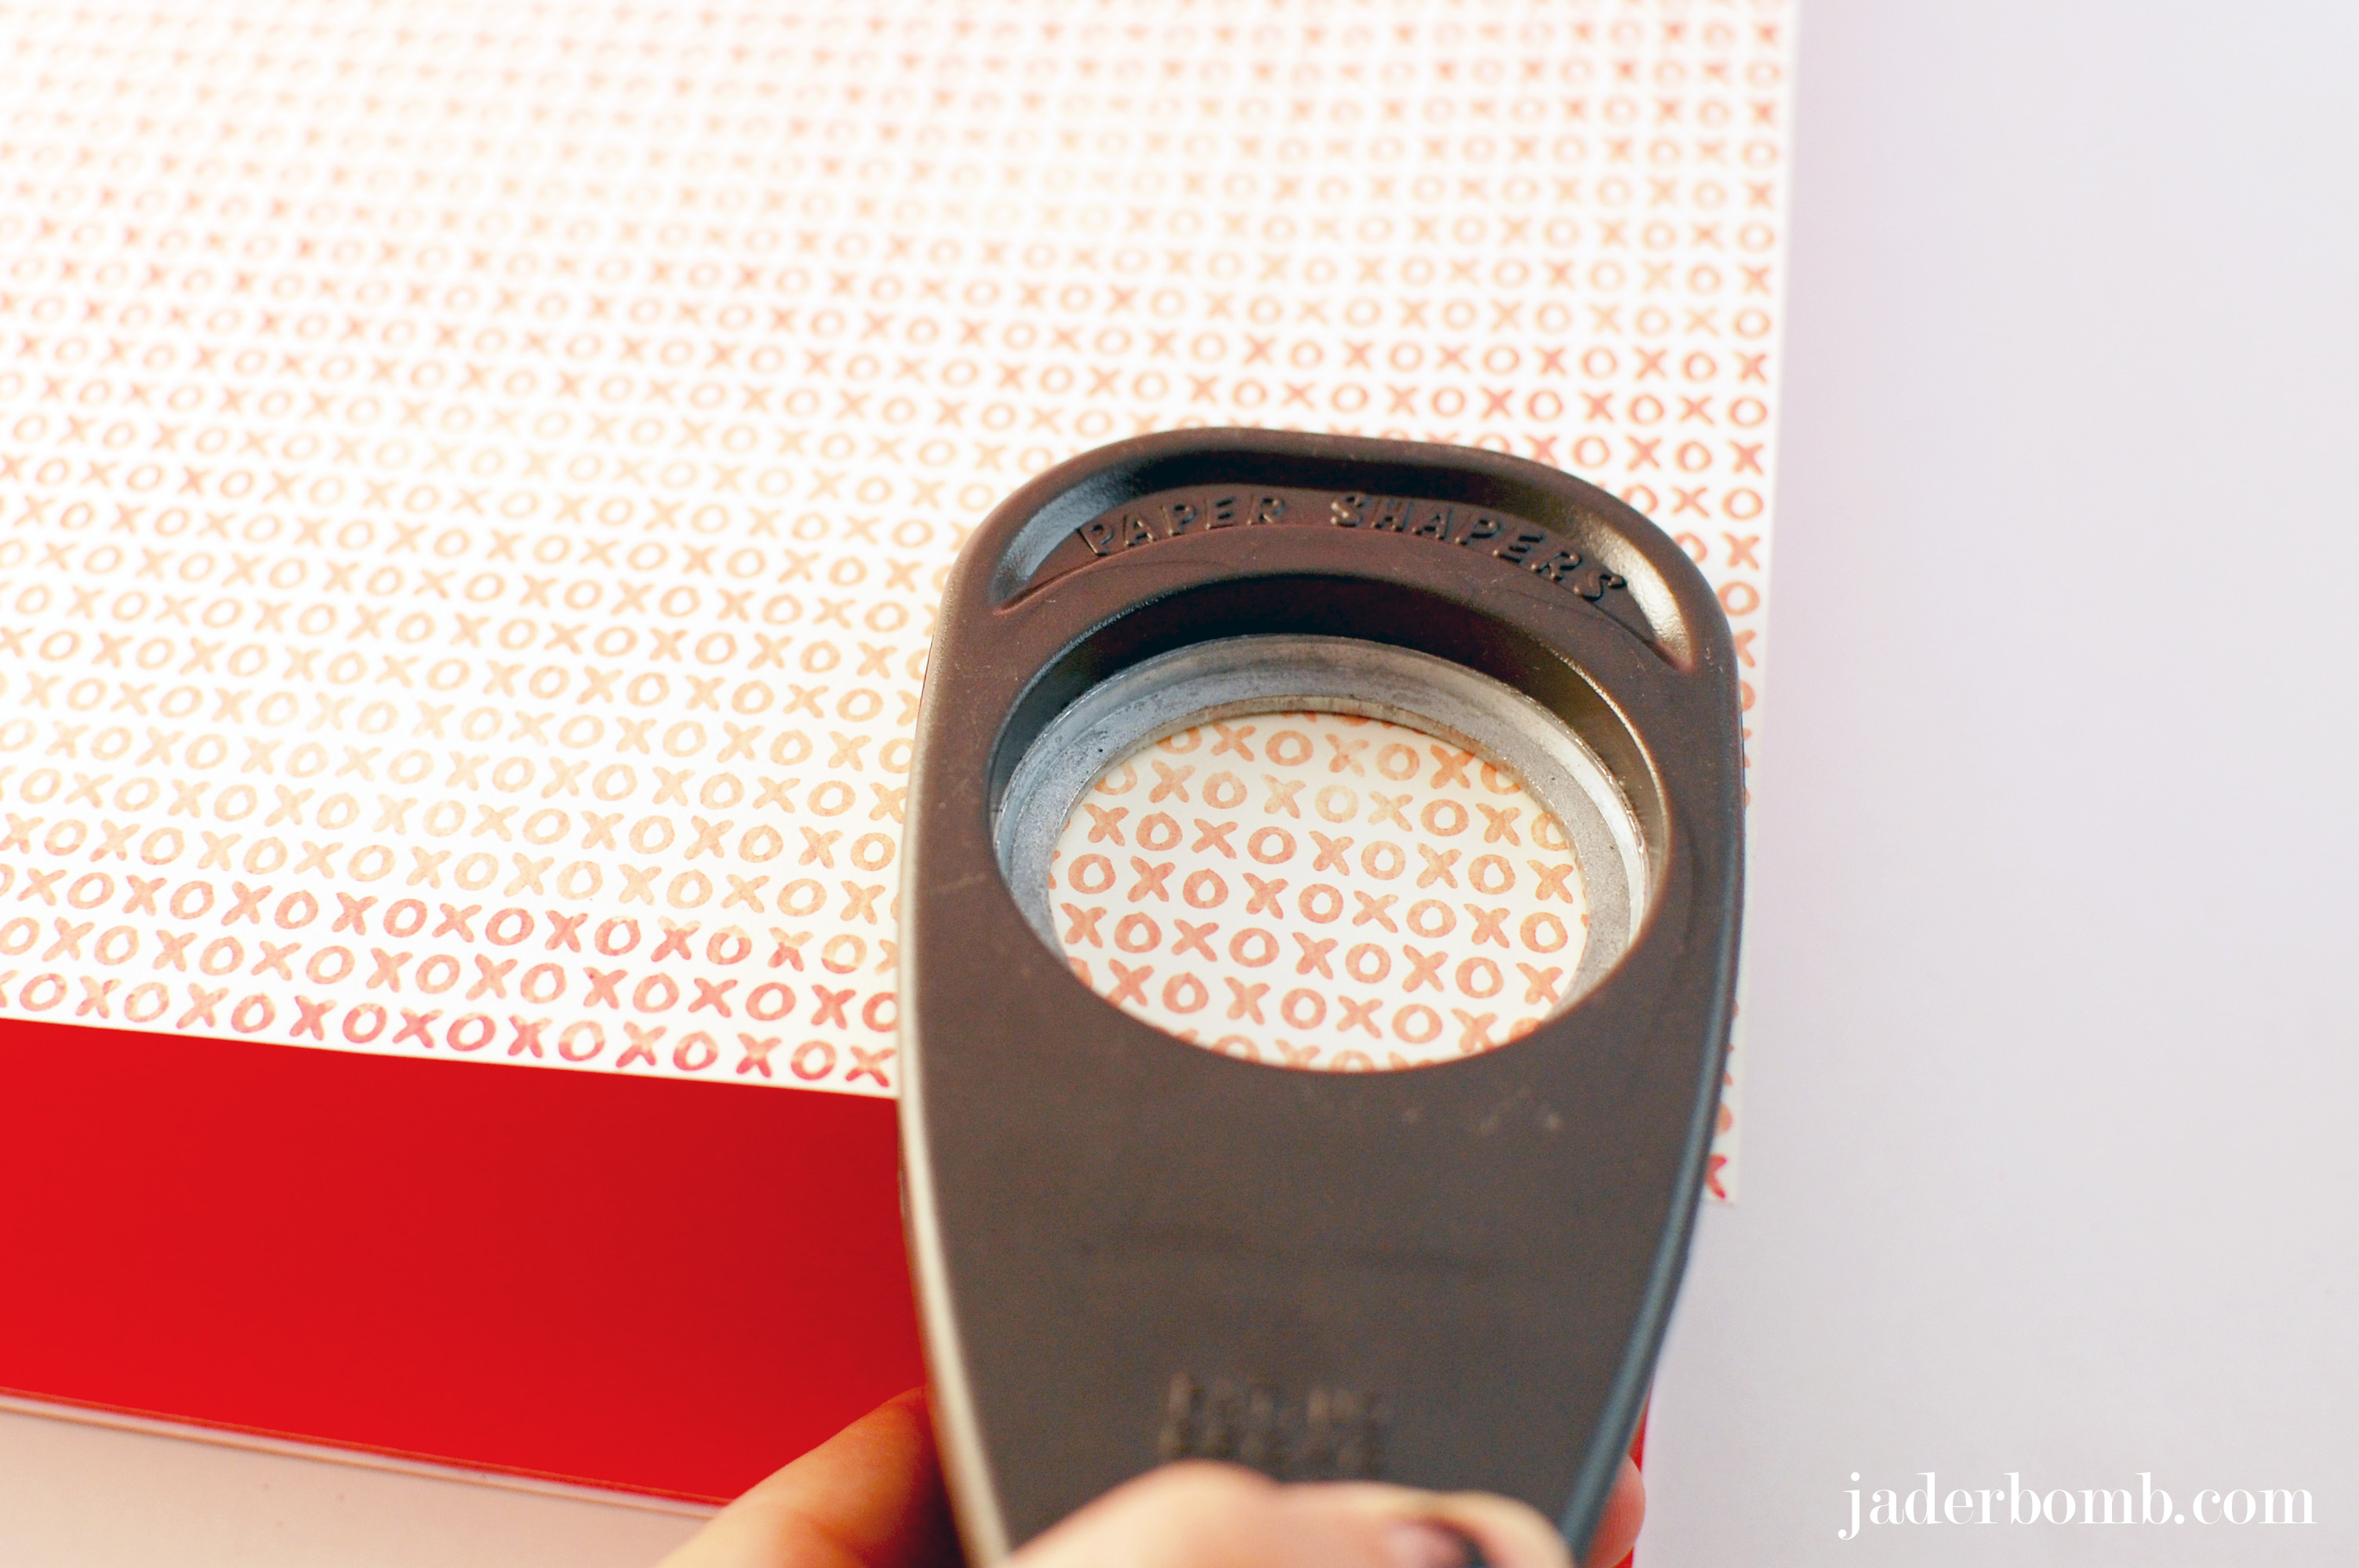
To decorate my candles I used a 2 inch circle punch to get these circles. This paper is from the Martha Stewart collection. Grab one of these cute stickers and place right smack in the middle of a circle. Are you loving how these stickers look like vintage stamps?

I am in love with this paper punch. It’s called “Heartbeat punch all over the page. ” They have magnets on the top part of the punch and the base. This makes it super easy when trying to line everything up the correct way. If you have the punch in the wrong spot the magnets will not connect. So you really can’t mess up!
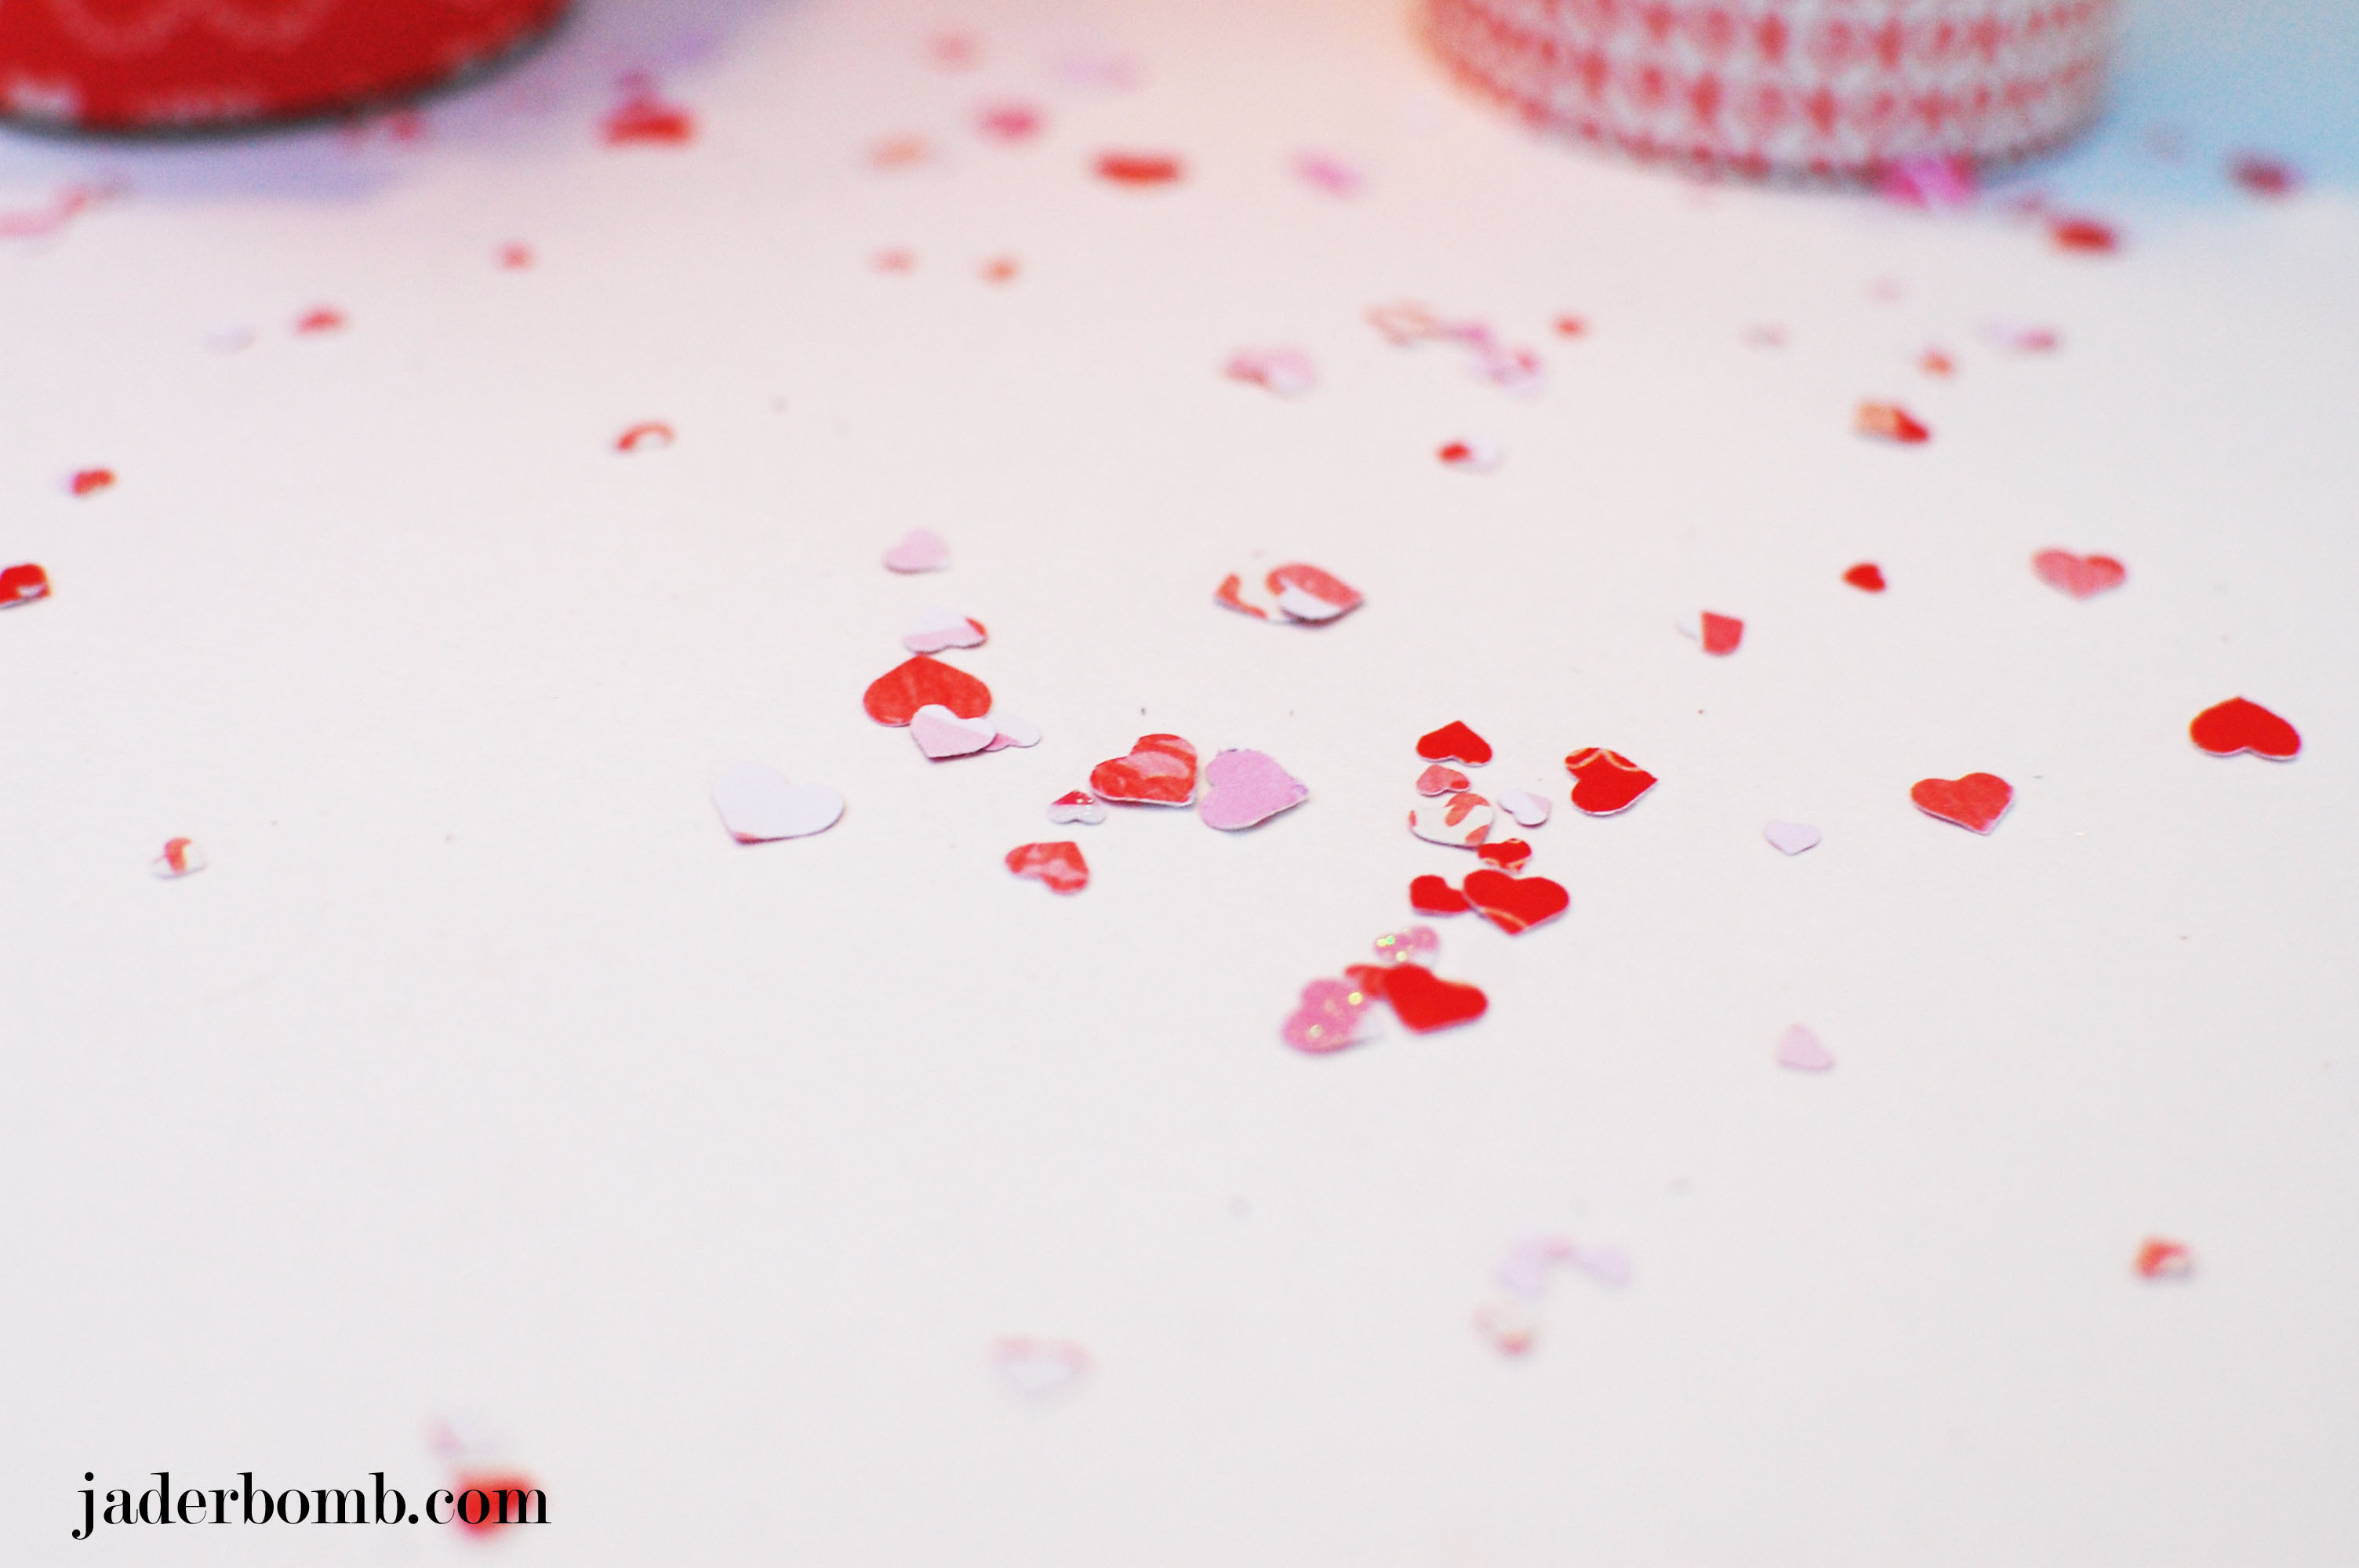
This is what you will have hidden under the paper punch. Perfect to decorate a table with.
I am super pleased with all of these products and I am sure you will be too, once you get your hands on them! Make sure to check out all of her line HERE. See you in the next post!