Happy Birthday Daddy! You are my rock and my world. I do not know where I would be without you and I will FOREVER be grateful for you. I can’t wait to spend many many more birthday’s with you!
Love, Your Pumpkin

So. I have sorta been a little sick the past few days and I have been unable to make a craft from start to finish without wanting to rip my hair out. You know how that is when your sick. Everything. is. After a little thinking I thought it would be a great time to just feature something that I have in my house. A post that doesn’t require ANY work! I like that!
I guess I will tell you a short story about “how” this happend. One of my good friends came over the other day while we were cleaning and “re-arranging” things. There was this ONE little spot in the house that needed SOMETHING. Can you believe I was stumped. Yeah, I know. I have brain fart days too! Now my friend is a “coach” and doesn’t really care about “arrangement” of things or decorating. I mean, she might care a litte but it’s not like her brain thinks of these things every day. Just wanted to throw that out because SHE IS THE ONE WHO SAID, “J, I think this would look cute right here with something on top of it”.
I just looked at her. Gave her the STANK eye and listened. I swear, I couldn’t believe it. Who knew!
So that is the story how this happened. Now, after she gave that advice she shot out and went who knows where outside! I was left to decorate the top, haha.
BTW: Have you seen my “HOW TO CUT GLASS” tutorial? Check it out here!
I also did a fun way to dispense matches HERE!
Do you remember my post I did the other day on my PHOTO ROCKS? Click HERE to see it! It is really the best thing to add that whimsical touch. Plus if you are like me, it’s an easy way remember something if you collect rocks!

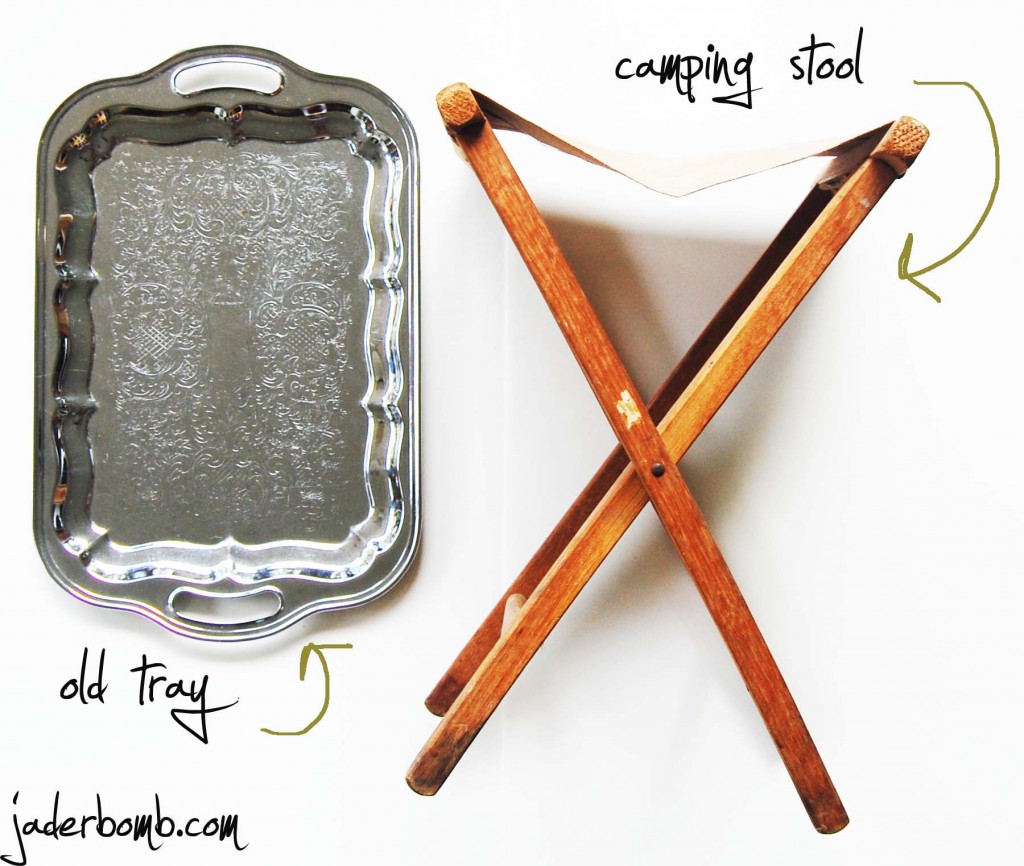
If you don’t have a camp stool you can use anything with legs and add a tray to the top! Be creative! Use what you have!
I get my rabbit furs from Hobby Lobby. They have a ton of them by the leather section. They are only like 15 bucks! Get your 40$ off coupon and grab a couple! (unless you don’t like it then get some floweres)
Moral of the story. Next time you see a coach quickly quiz them with a decorating question.
You might learn a thing or two from them!
Have a great day full of “jaderbugging”….
Happy Sunday! I have been crafting away lately and I realized I didn’t post anything since Friday! What’s wrong with me! I think I am loosing it (hahahah).
I absolutely love the craft I am posting today. I posted a “hint” on facebook & twitter, and everyone was exited about it. Wanna know what the hint was? {{matches}}.
I don’t know about you but I LOVE using matches instead of those long donky lighters. Don’t get me wrong, when I need to light something that’s impossible to do with a little match I am happy I have a long donky lighter! Speaking of flames, remember my post I did the other day?
Well. I am totally STOKED because in 4 days it has gotten over 74K views! WHAT! I know. I am just as excited as you! I think we can top this with this baby! But I need your help Jaderbugs! Let’s get started because today’s a big day! It’s Father’s Day, so Happy Father’s Day to all your “Faja’s” out there. Especially “happy” day to my {faja} and {faja-n-law}. Yes, you MUST say Faaa-Juhhhhhhh like this! (hahahah)
You will need a few things to make this!
You know I am a HUGE fan of Martha Stewart products! ESPECIALLY her crafting tools! I am using her scissors, paint brush and glue gun today.
I love, love, love MOD PODGE. It literally can go on top of ANYTHING and work! Check out my friends website MOD PODGE ROCKS! Her book just came out it’s called Mod Podge Rocks! Stay tuned I will soon be doing a review and givewaye!!!
I hope you enjoyed this craft because it really is a “practical” thing to do. You know they come in those boxes and if you accidentally leave it outside the box get’s all soggy and soft. Then you can’t light a match because the matches all soggy and soft. This should eliminate most of that problem! And don’t worry, if you are wanting to do this for a “DUDE” just don’t bedazzle the top and make it in a color a “DUDE” would like. {{or if you are a DUDETTE who doesn’t like bedazzled things}}
You can find me in these spots too!!!! {{down below}}
Well. I really planned on writing about something COMPLETELY different than what I ended up writing about. I guess that is the universe works, right! I ran across this post and cried the whole time reading it. Not a “bad” cry, but a “good” cry!
This post comes from a blogger friend, her blog name is fat mum slim.
Her blog is very awesome and she always puts a smile on my face! Get ready because I am sure you will love her also!
The blog post that got my attention is a story about her meeting someone in the “air”. You know how airplane encounters can go. You get stuck sitting by someone who your not too sure about. I know I have had my fair share. Some turned out life changing and some… well let’s just say I couldn’t wait to get OFF! Check out my post about airplanes HERE.
I don’t want spoil this INSPIRATIONAL post so head on over to her site and read her post! If you click the link below it will take you directly to her post!
CLICK HERE TO SEE FAT MUM SLIM’S AMAZING POST THAT WILL BRING TEARS TO YOUR EYES (DRUMMM ROLLL)
Thanks for dropping by jaderbugs!
Don’t forget to come back next Friday for “face it friday”….
I posted a picture about 1 week ago on Instagram, Facebook and Twitter of me cutting glass using just string. I got LOT’S of requests for a tutorial on how I DID THIS! So here it is. FINALLY! You will be able to learn how to cut glass.
I want to warn you. When I first started doing this I got VERY frustrated because I could not get it to break the way I wanted. Be patient when trying to master this because after all, we are cutting with string and polish remover. Not the typical way to cut glass. I promise you though, when you “get it” you will “get it”. Let’s get started Jaderbugs!!!

I like to tie my yarn where I want my glass to “cut” then quickly pour polish remover over the string again. I also slightly pour a little over the glass also!

Get a big bowl with ice and water ready. You will be dunking your glass in this. It has to be COLD so make sure to put enough ice! Also make sure your bowl is big enough! It needs to be deep enough to dunk where your string is!

VERY IMPORTANT! Make sure when you light this that it is not right over your bowl of polish remover! (trust me, I did this and everything got engulfed in flames).. hahah I like to light it over my water!

Slowly turn your bottle. Try not to do this where it’s windy because you want your string to stay lit or it will not work. The slower you go the better it is, but it has to constantly turn.

You can’t let the flame go OUT then dunk it in the ice water. You will notice after little while your flame getting lower and lower. Remember in the beginning I said you will be practicing a lot. It may take you a few times before you get it right. When the flame is “ALMOST” out dunk it in the ice water. You will hear a cracking noise. THIS MEANS YOUR GLASS IS CUT… If you mess up and your glass did NOT cut, take the string off and apply a new one. You can’t use the same string twice.

YAY!!! Look how amazing! It’s like a RAD experiment going on in your back yard. Wait, it’s not LIKE.. IT IS
I reallly hope you enjoyed this tutorial because I had ALOT of requests for it! Make sure and wear gloves or eye protection if you want to “really” be safe. Obviously, I am not safe. I like to play with fire. Dang Southern girls! Comment below and let me know how you like this craft or share your experience with us! You can fine me here also:
PEACE, LOVE, DIY
Happy Sunday Jaderbugs! I hope everyone is having a happy and peaceful day! Guess what! We bought a fish today.
{{insert a big ole yay}}
Just one more thing for ME to clean, haha! I really think it’s the prettiest fish I have ever seen. It’s obviously a Beta because let’s face it, I couldn’t keep anything else alive. How do I know? I have tried MANY a few times and never been successful. So, we get home with our fish and I notice all of this WHITE stuff all over it. I’m thinking wow Jade, you have had it for 3 hours and already gave it a bacteria infection. Just kidding, but I did look it up and it is an infection. They say (whoever “they” are) this happen’s from being in those little containers for so long and they don’t ever clean the water! I transfered it to a much bigger bowl, put shiny jewels at the bottom, stuck 2 big sand dollars in them and gave it tons of fresh water!
ALERT! ALERT! I wrote this post this afternoon and three hours after Free Willy came home… it DIED! I know, I can’t believe it either! Click HERE to see Free Willy.
Wer’e not sure what we are gonna name it yet but I’m thinking something like….Free Willy! What do ya think! I mean, I know it’s not a WHALE but I sure saved it’s butt!!!!
Now to the craft.

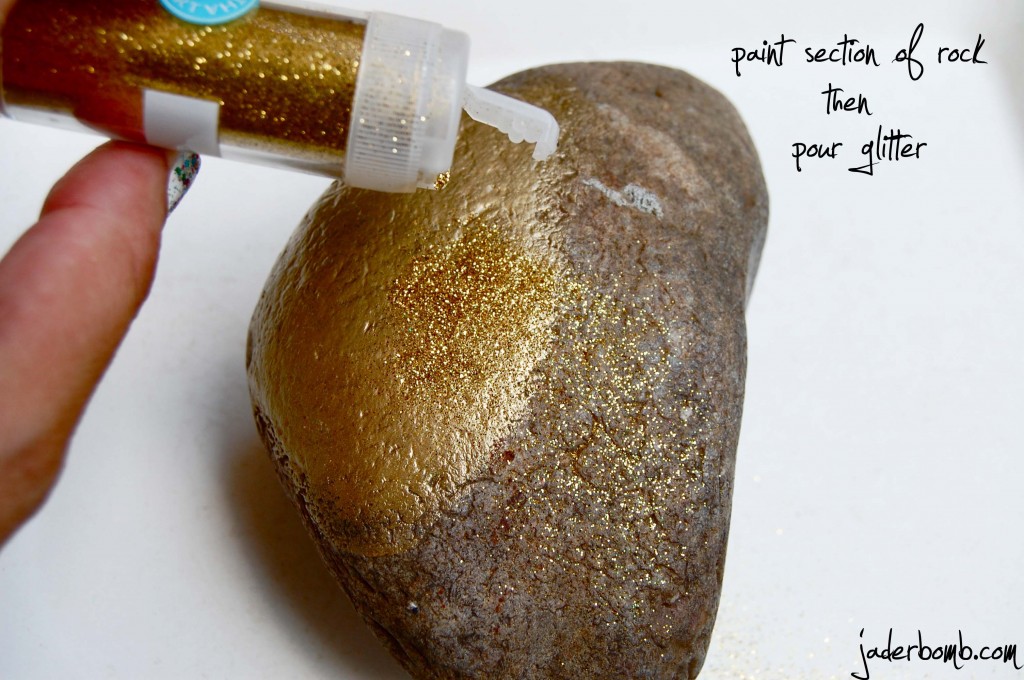
You know I am using my Martha Stewart glitter! It’s is by far my FAVORITE!!! I do a section then let it dry before I move on. You can glitter the whole thing at one time if you want to!

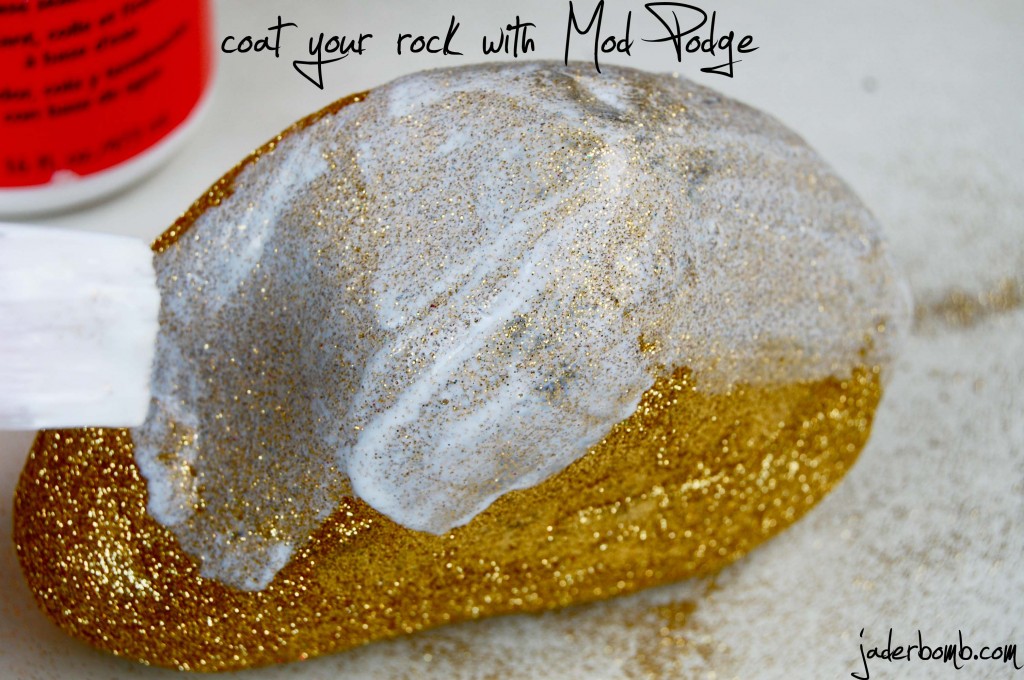
I LOVE MOD PODGE! My friend Amy’s new book just came out! Make sure to check it out! It has TON’S of amazing project’s in it. It’s called MOD PODGE ROCKS!
Sending you ton’s and ton’s of big hugs!