Author Archives: jaderbombllc

About jaderbombllc

I am a Southern DIY blogger and Designer known for fearlessly conquering anything and everything do-it-yourself. I aim to create unique designs by working through my thoughts, dreams, emotions, and tons of glitter! I believe in doing things that make my heart flutter and smile, and I live by my motto, “Life is simple and so should your style.” To learn more about me, visit jaderbomb.com or email me at jade@jaderbomb.com. You can also visit my Etsy shop at jaderbomb.etsy.com. Make sure to check out my FREE PRINTABLES site www.freeprettyprintables.com My biggest accomplishment thus far is being a guest on the Martha Stewart show, yes she smells good. I love my dog Ceaux Ceaux, pens,the smell of Christmas, GOLD, Dr. Pepper and blogging. BTW: I bleed glitter, all shades.

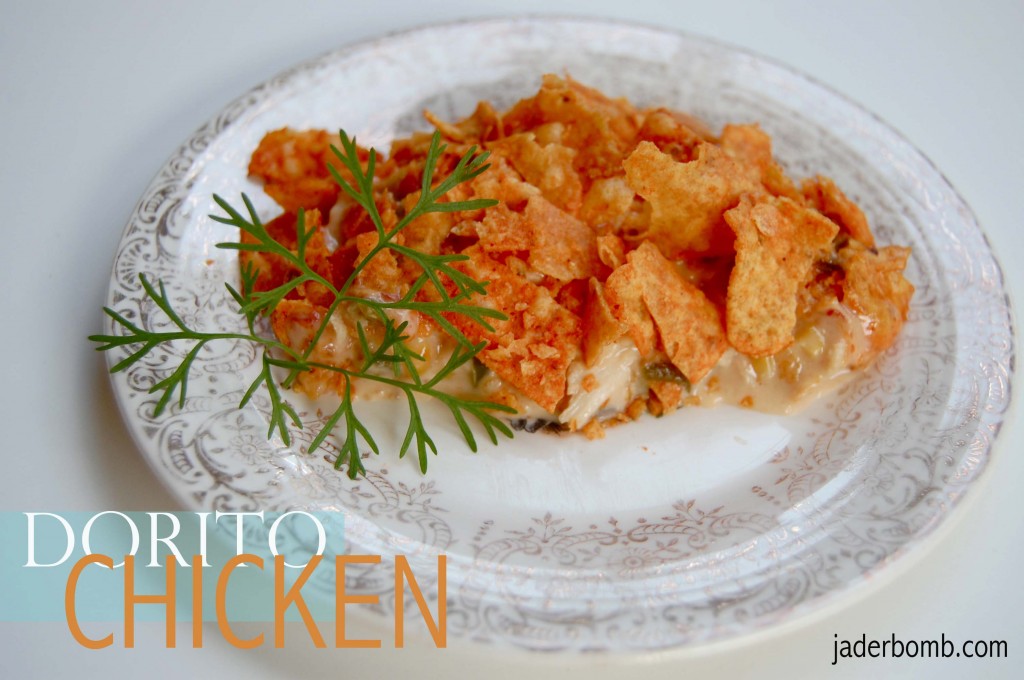
Happy FRIDAY! It’s good ole Memorial weekend! I figured this was the best time to post my famous Dorito Chicken recipe! It’s like being punched in the face with lot’s of yumminess. Seriously. Doritos. Chicken. Who knew how delish this would be. You know everyone in the South bakes everything! I guess

Now, I know once you see the ingredients of this baby you will feel like you gained a few LB’S! Just don’t read to much into the it! I swear! It’s one of those things you have to try (every other week)…haha

Plus that is why the SOUTH has the BEST food in the WORLD! Here is proof #1.

Ingredients:

If you want to do a bigger batch use 3pounds of chicken and two cans of cream of mushroom. That’s it.

RECIPE:

Set oven to 350˙now

2 lbs of boneless chicken breasts
1 bag of Doritos
1 can of cream of mushroom
1 can of corn
1 can of Rotel
1 16 Velveeta cheese block
1 onion
1 bellpepper
1 block of butter

1.  Boil your chicken. When it’s done shred each piece using two forks
2.  While your chicken is boiling saute your onion and bell pepper with your block of butter
3. When your veggies are soft add in your can of cream of mushroom, cook for about 10 min
4.  Once that has cooked add your can of corn and rotel, cook on low for about 10-15 min
5. While your corn and rotel are simmering cut up your cheese into cubes then slowly add them to your mixture! You want to stir the entire time you are adding them until they are fully melted.
6.  Once your cheese is melted add in your shredded chicken. MIX

Get your baking pan out, I use my lasagna dish. Spray pam on it. Coat the bottom of the pan with a little bit of the food you just cooked. Grab a handful of Dorito’s and crumble them good over this mixture. You will continue this process until the pan is full, or you run out of food (heeehehe)

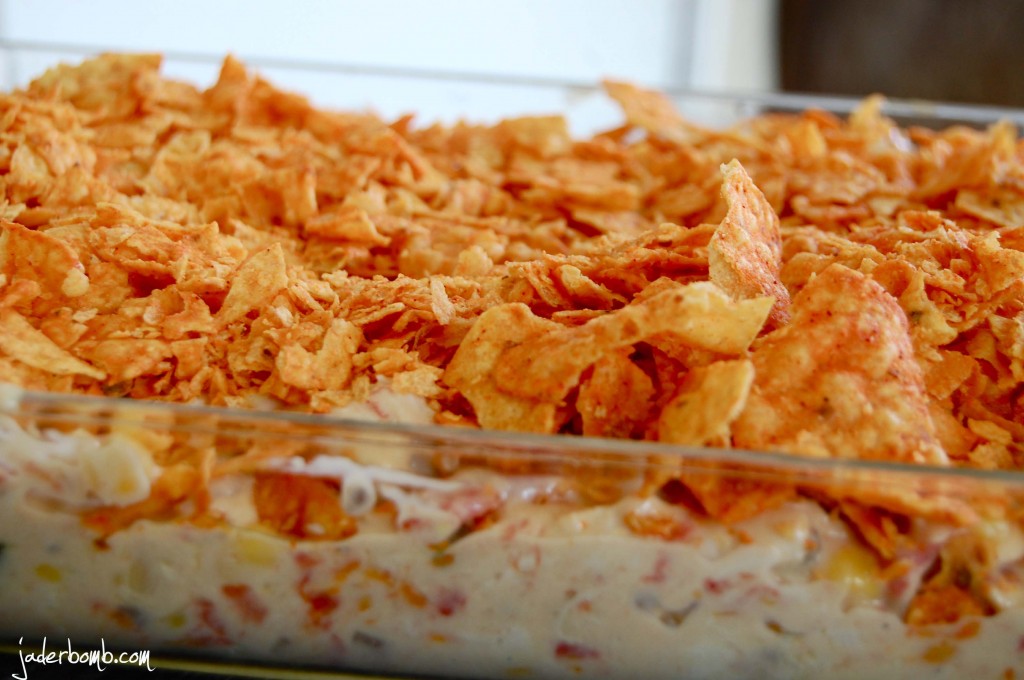
It’s sorta like a lasagna if you think about it! Make sure your LAST step is adding a Dorito layer on top! Like this.

This is what it will look like in it’s LAST step. Cover with aluminum foil and pop it in the oven for 25 minutes. You will be delighted when the aroma of this starts smelling your house!

Make sure you get one of these to “snack” on while your food is cooking!

 Ready to see the finale of this baby!

Yep. That’s all there is to it!

I hope all of you have a SAFE and wonderful weekend!

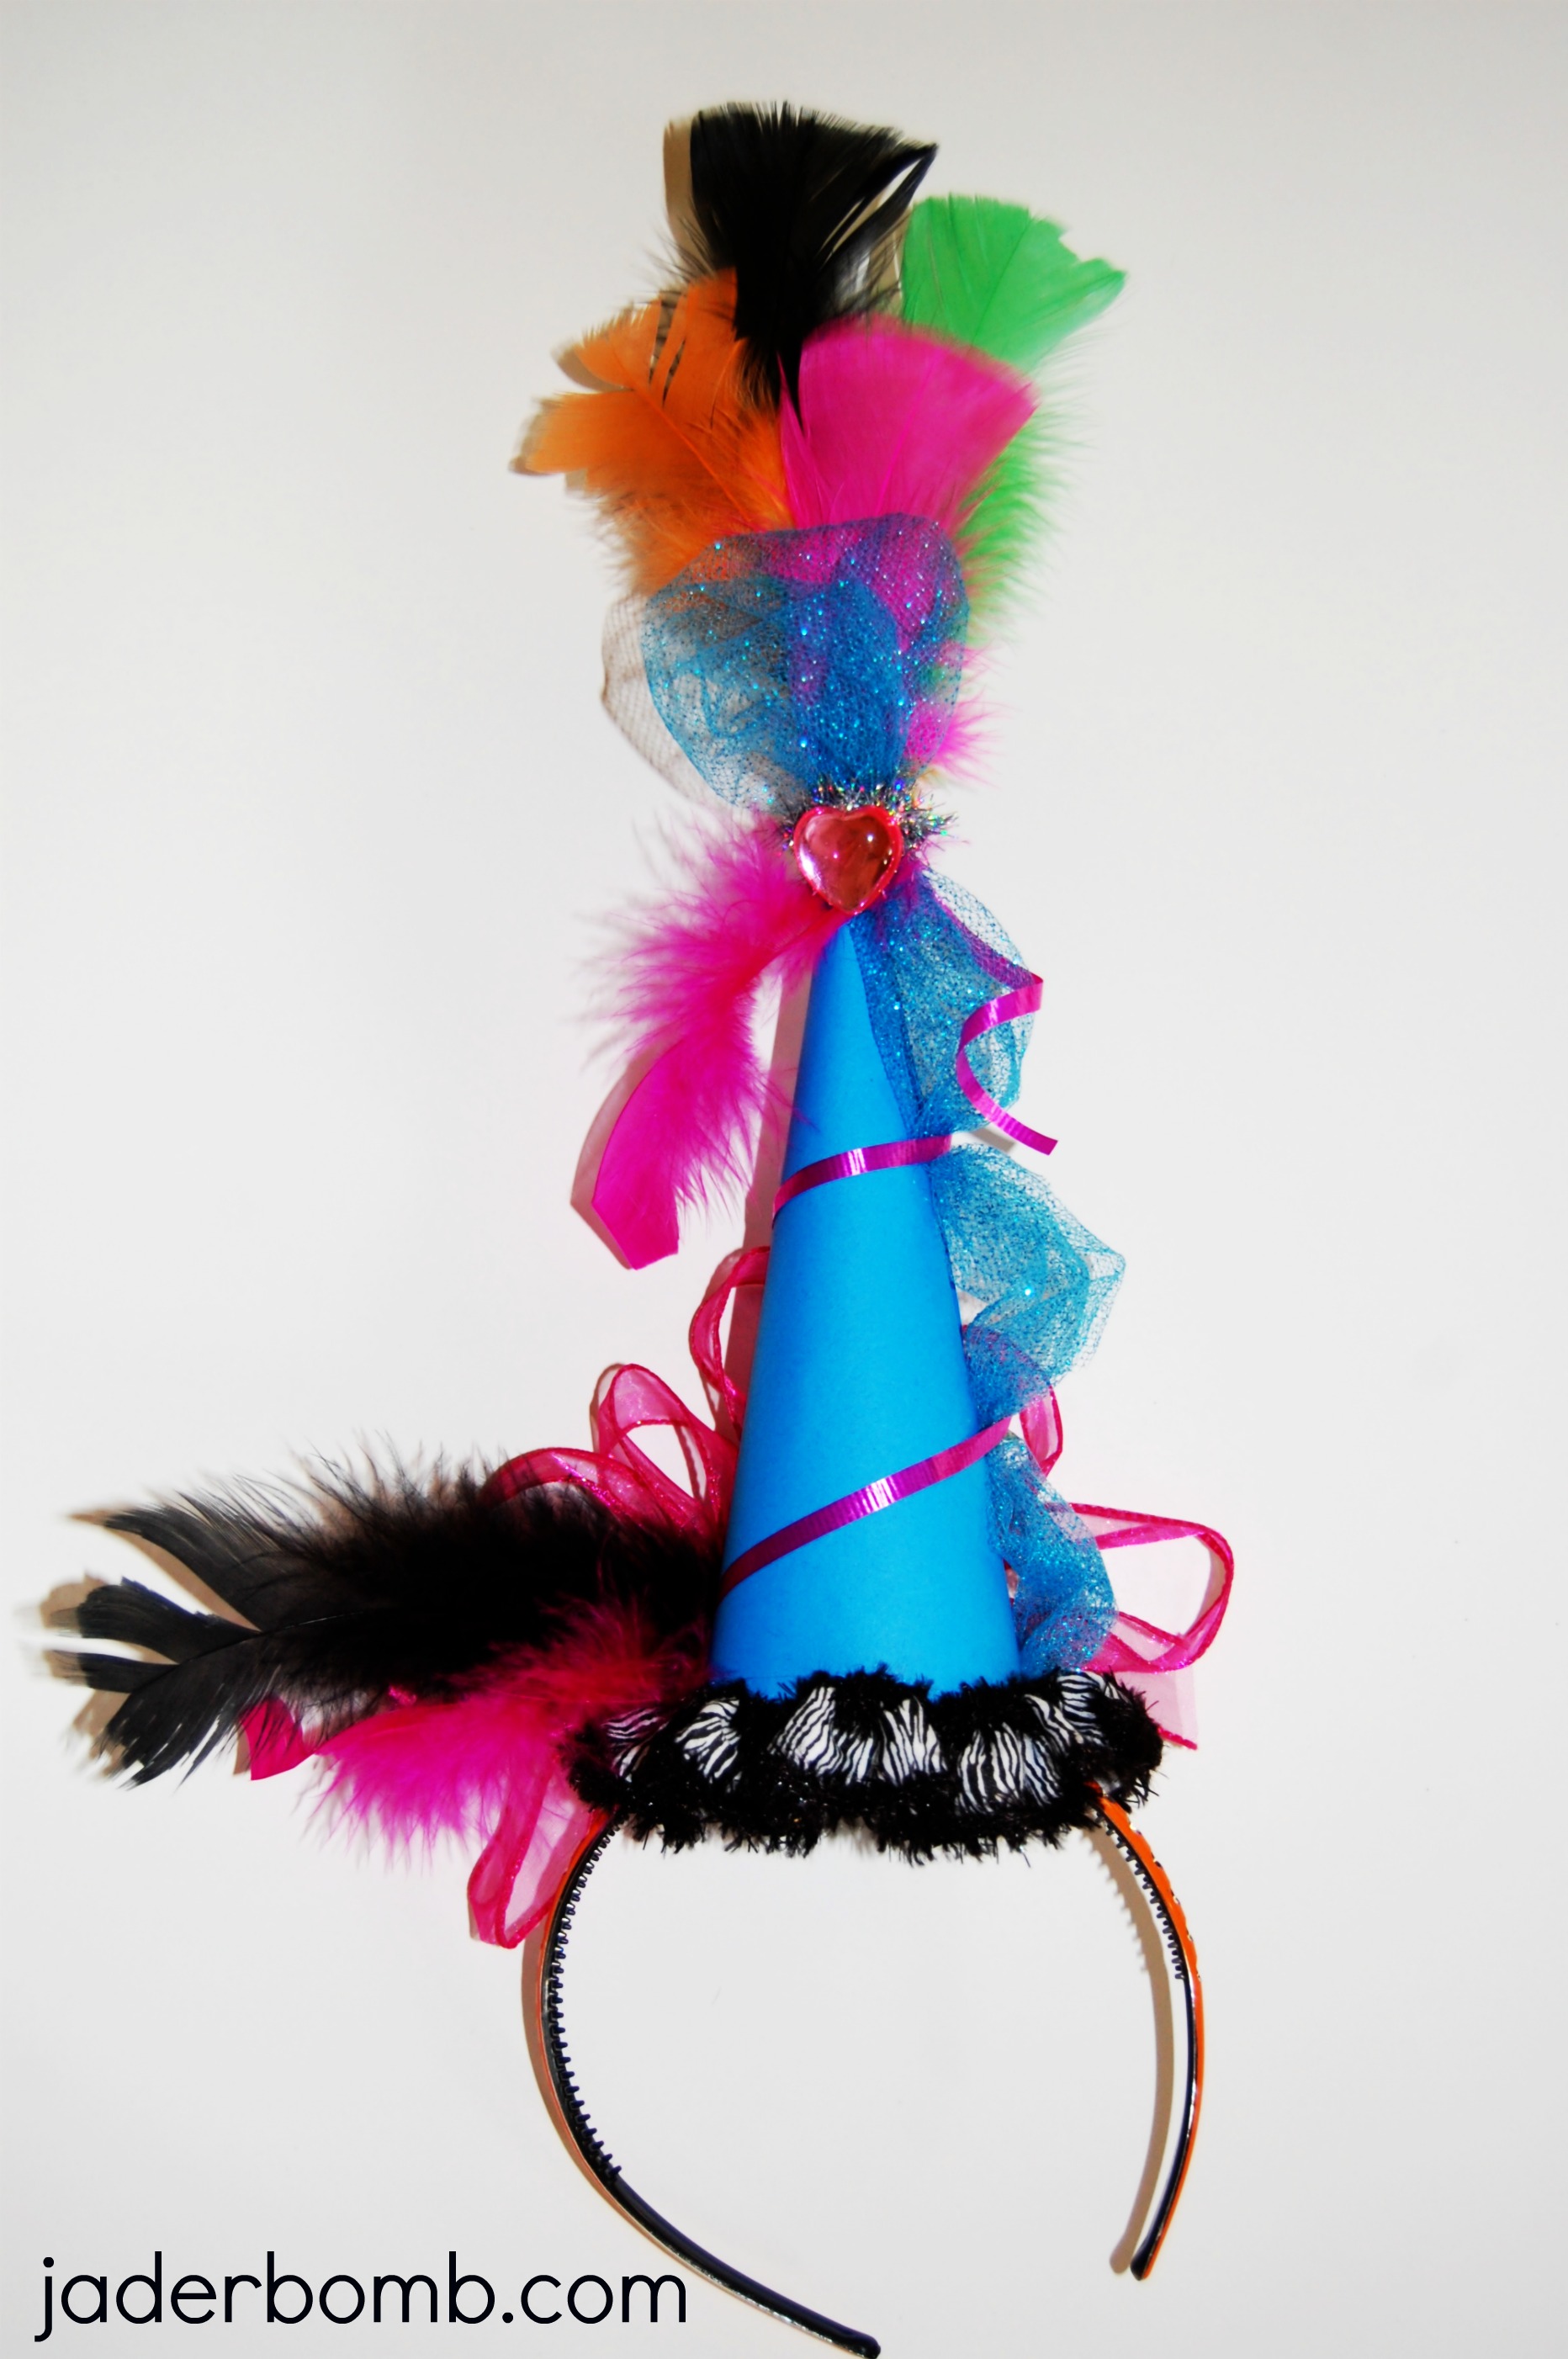
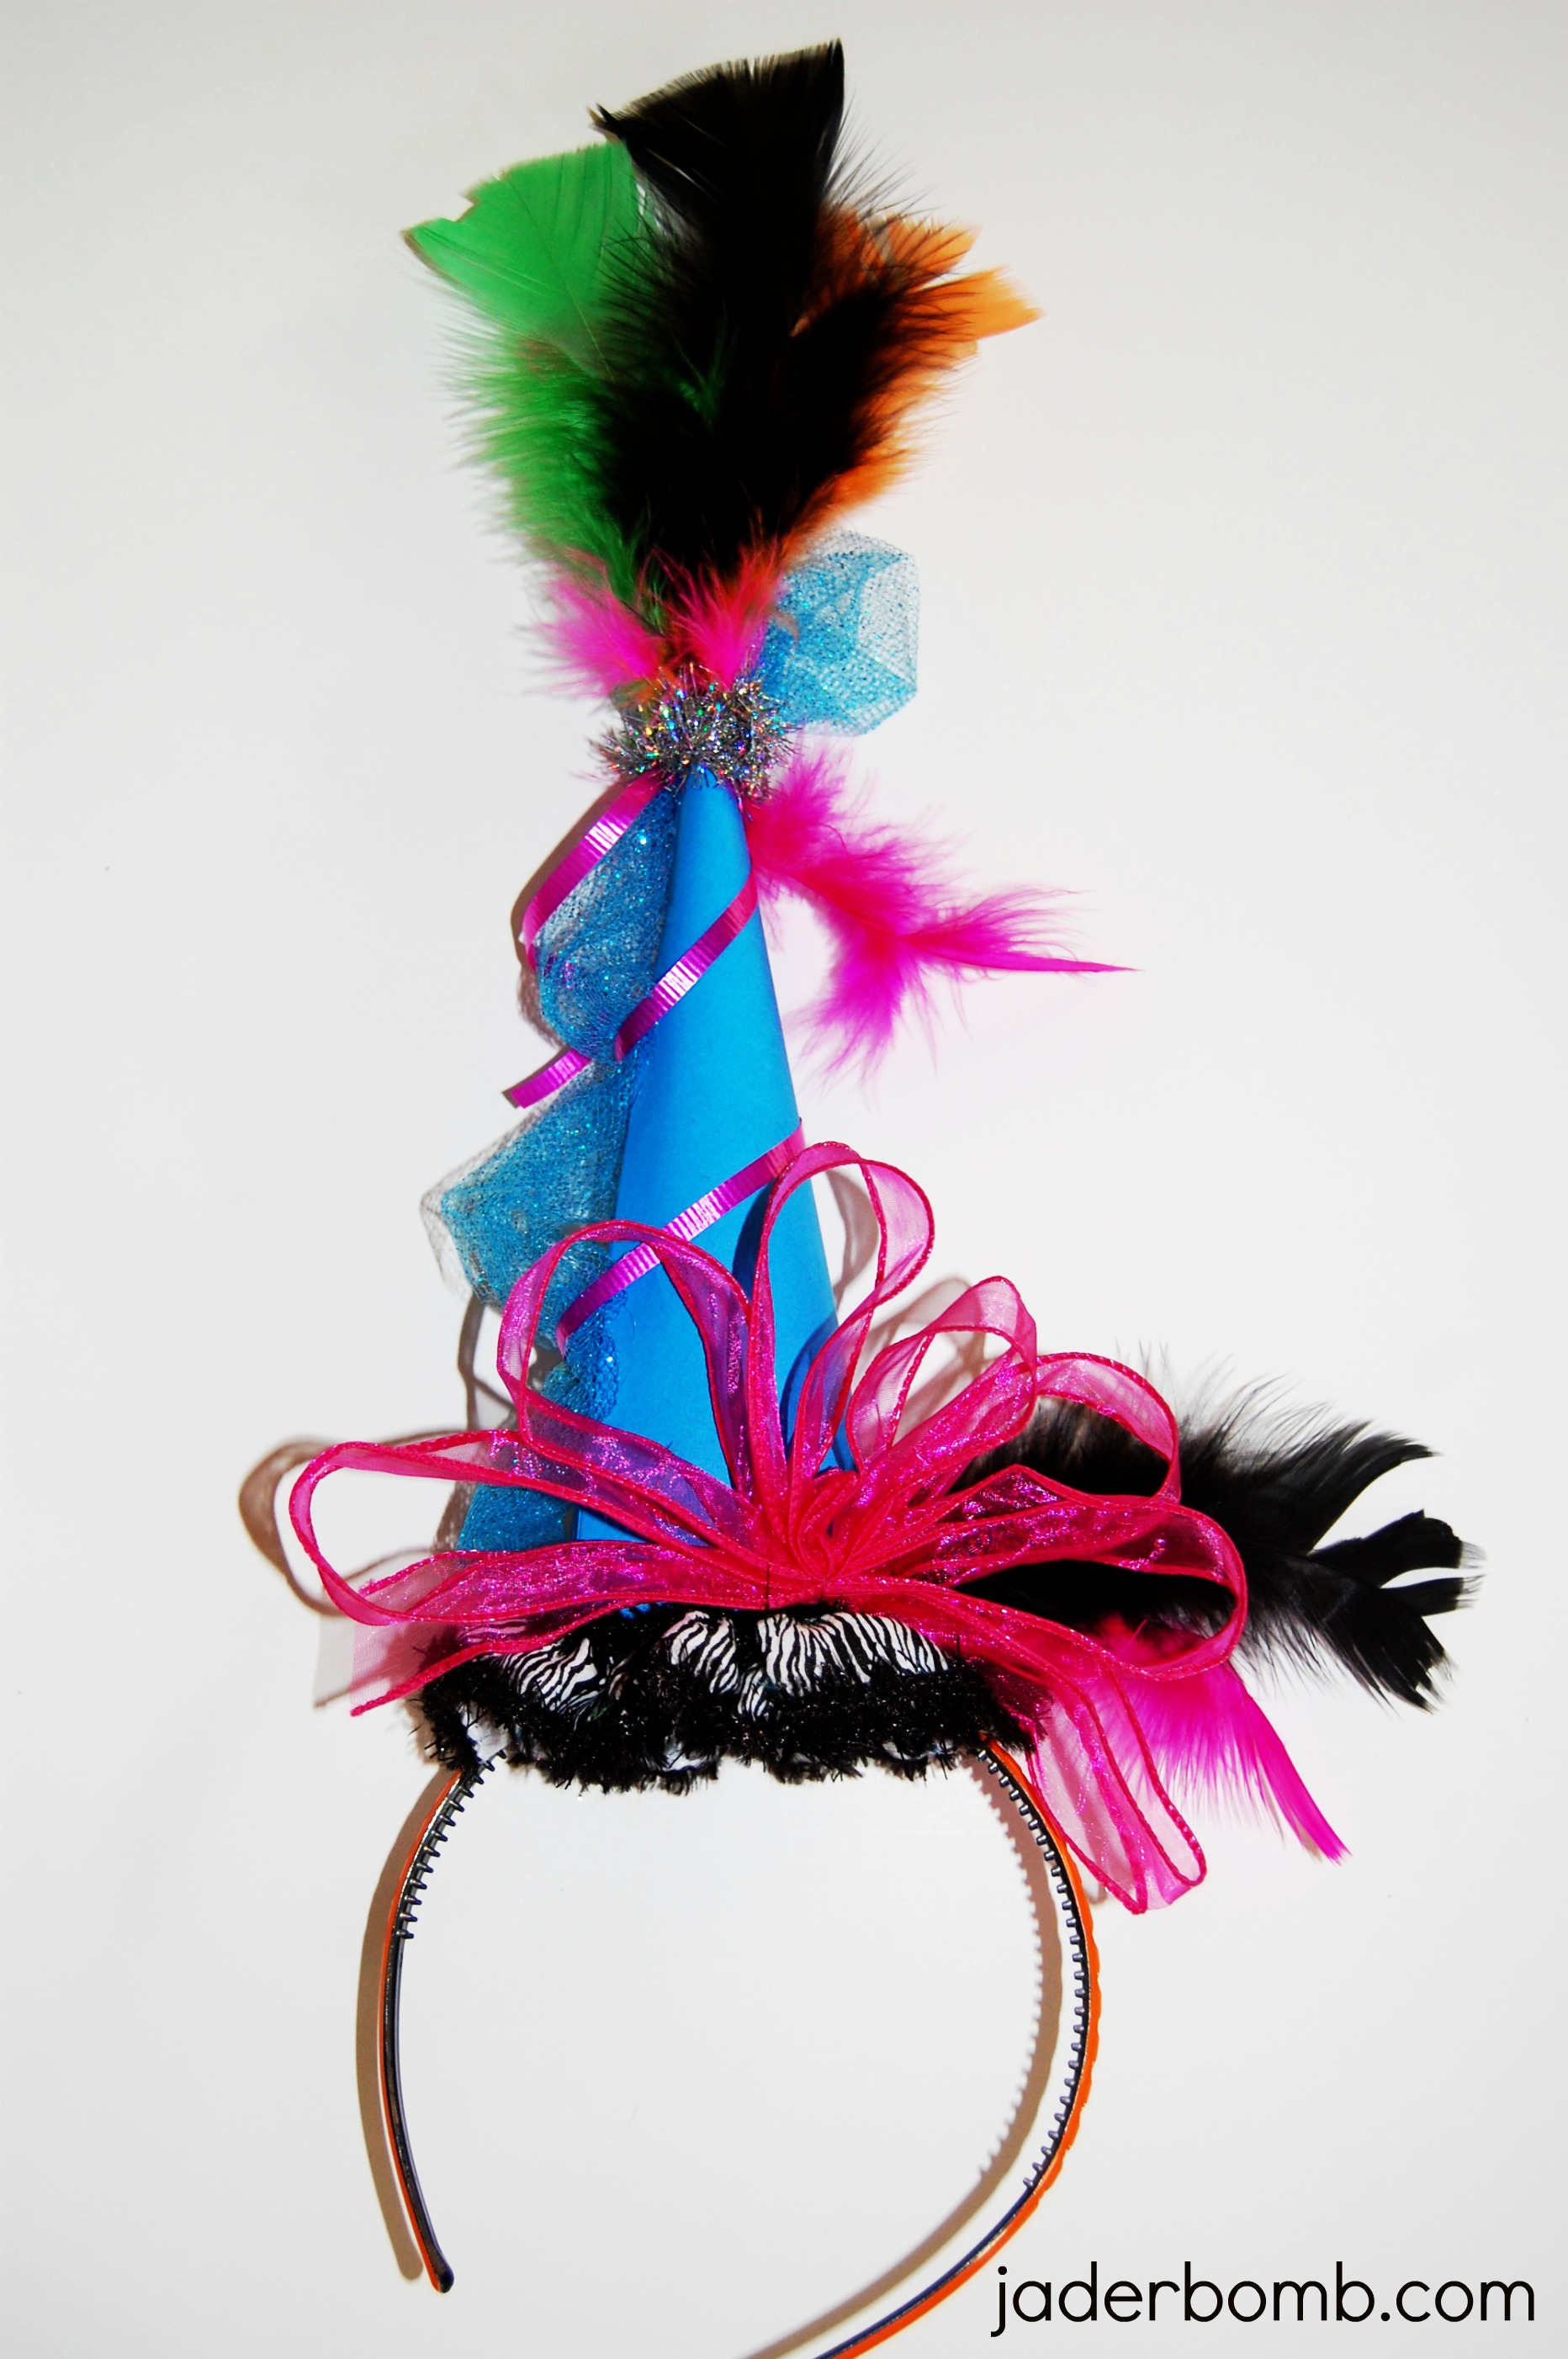
Happy MONDAY JADERBUGS! I could not wait to share this with you! I know you will love it. Someone made this for a birthday party and I though it was {redonkulously} cute!! I think anyone would love this for their birthday party! Let me know if you want me to do a tutorial on how to make it!!! Leave a comment below!

Sending you tons of hat love,

In”FACE” you are interested, I am starting something new on my blog. Well, it’s really not “new” it’s just something for my Jaderbug’s to look forward to!

Every FRIDAY I will make it a “Face It Friday” day. Let’s FACE IT! WE all need to know things that could make us happier, improve our outlook on life, feel all warm and mushy inside and just make us a better person in general. That is my goal! Some days I will have information that comes strait from the good ole “noggin” but other days (((like today))) I will find things that catch my attention and share them with you. That is, because part of me might think you NEED to know! Wadduyuh say!

Plus, it’s always better to “FACE” the music, or “Face” forward…or have a “FACE” off!

Ingredients:
love.

I ran across this blog the other day. It’s called, PURPOSEFAIRY.COM. I really felt the need to share some information they wrote up on their last blog post! Plus I think they did something awesome. YOU really have to skim all through their site because it is AWESOME!!!! They obviously feel like “someone” out there might just benefit from what they wrote! It helped me out for sure!

This is a horse at my in-laws house and we totally connected! HA! Don’t you love have I “brightened” up his teeth

The post is about 15 things you can give up to make  yourself HAPPIER.

1. GIVE UP YOUR NEED TO ALWAYS BE RIGHT
2. GIVE UP YOUR NEED FOR CONTROL
3. GIVE UP ON BLAME
4. GIVE UP YOUR SELF-DEFEATING SELF-TALK
5. GIVE UP YOUR LIMITING BELIEFS
6. GIVE UP COMPLAINING
7. GIVE UP THE LUXURY OF CRITICISM
8. GIVE UP YOUR NEED TO IMPRESS OTHERS
9. GIVE UP YOUR RESISTANCE TO CHANGE
10. GIVE UP LABELS
11. GIVE UP ON YOUR FEARS
12. GIVE UP YOUR EXCUSES
13. GIVE UP THE PAST
14. GIVE UP ATTACHMENT
15. GIVE UP LIVING YOUR LIFE TO OTHER PEOPLE’S EXPECTATIONS

Make sure you head on over to their website and read everything they wrote! You can get the rest of the article there!  They have lot’s of important information under each “number”.  I just gave you a tid bit of what they wrote! I hope something in what I shared today helps you to be happier and full of JOY! (you know, I was almost named Allison Joy))… THANKS GOODNESS because then “Jaderbomb” would of never happened!

Sending you big hugs from my computer to yours,


I sit here in my studio thinking:
a)How did I get addicted to VICS nose spray (teehehehe)
b)How come I am totally addicted to sticky notes
c) Why do I like homemade root-beer more than the carbonated one
d)Why I CAN’T work until my house is spotless {seriously, this causes major problems}
e)Why do I love GOLD so much

There ya have it! Incase you ever wondered what goes through the mind of an A.D.D. person in the matter of 4 seconds, this should enlighten you .

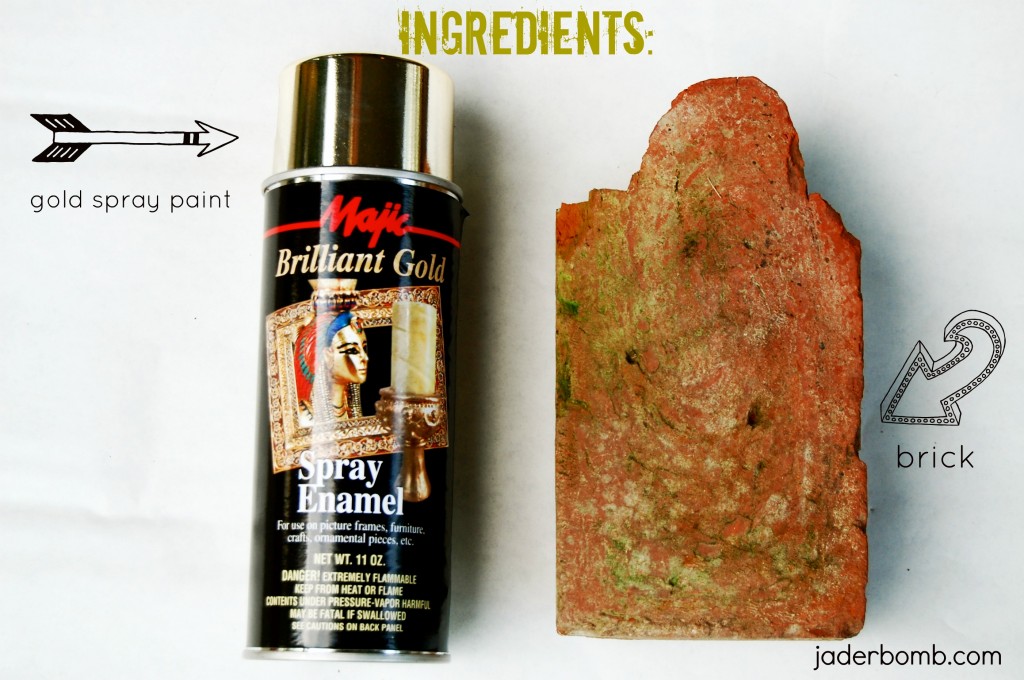
I was in my back yard picking hydrangeas over the weekend and saw this small pile of bricks. There was ONE particular one that caught my eyeball! I really had NO idea what I was going to do with it {compulsive order too, haha} but I “needed” it.   I started thinking it would look really cool if I glittered it up (yes. I am addicted to glitter too), then I thought GOLD SPRAY PAINT!

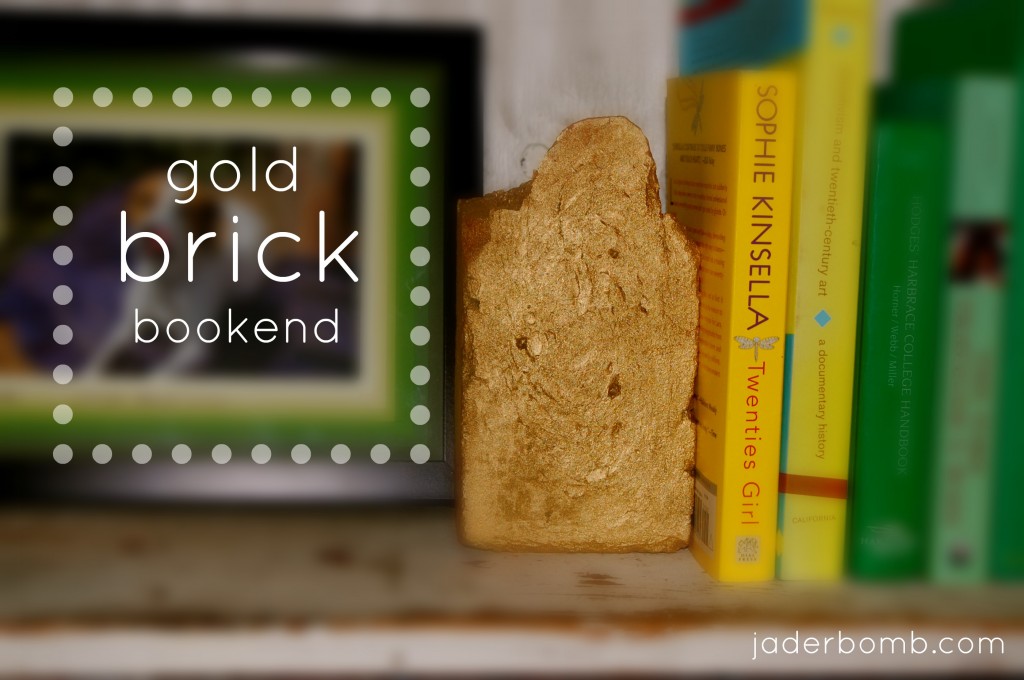
I figured since I didn’t own my own gold brick I would make my own! Then through the process I realized it was strong enough to hold books up. That’s it! Let’s check it out!

I bought this spray paint at FRED’S! It was .99!!!! So you don’t need the “most expensive” gold spraypaint.

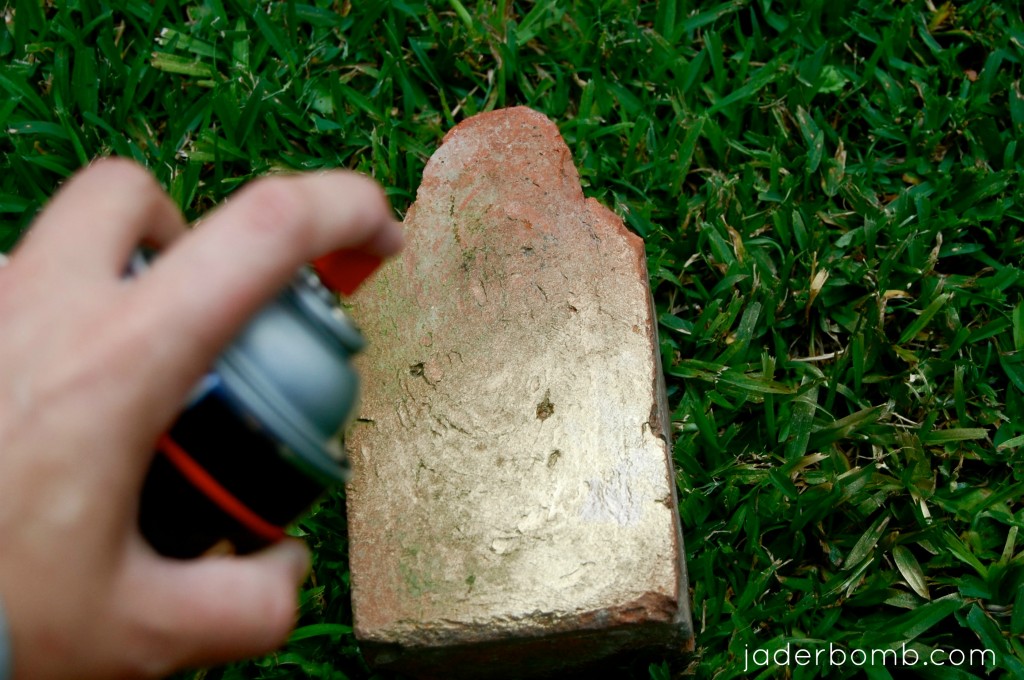
Lay the brick down on a surface your not scared to mess up and spray the entire brick!

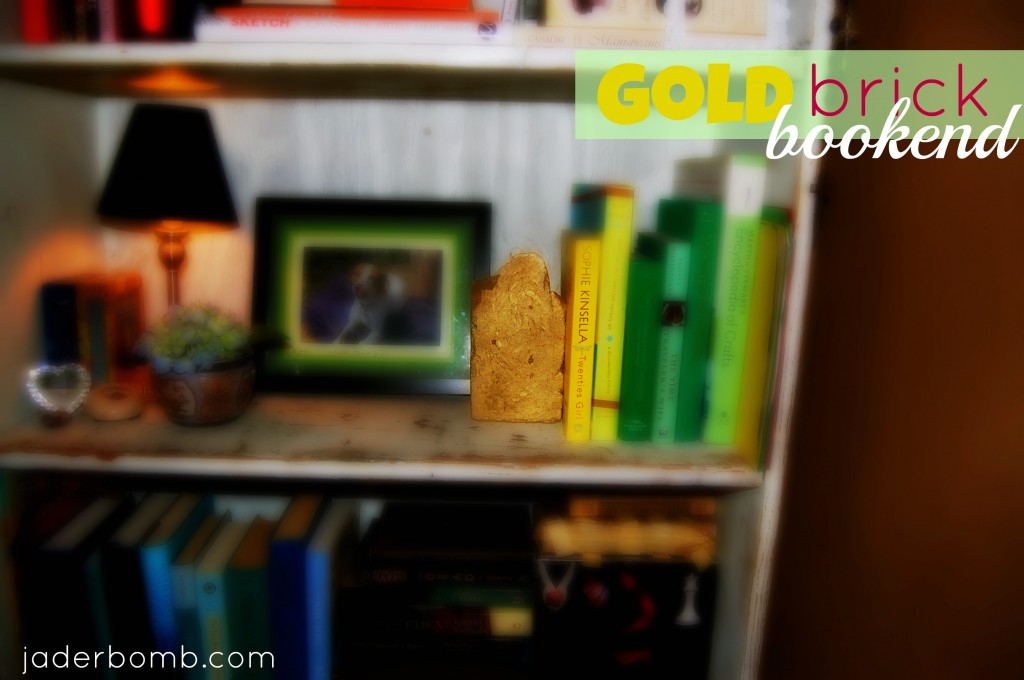
It’s simple. It’s cute. It’s GOLD

You can’t tell me your not like.. O.M.Geeee! I know I am! Just think, you could glitter it in gold too! Can’t wait to see you in the next post!

Make it a DIY kinda day,

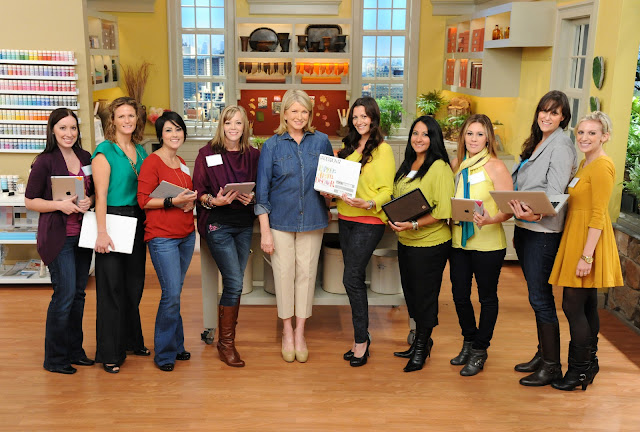
Happy HUMP DAY! I am featuring a post that I did a couple of months ago! Today the Hallmark station aired my episode (which still feels surreal) so I figured I would post the tutorial! I am still in shock I know these people and will be FOREVER grateful!
ENJOY!
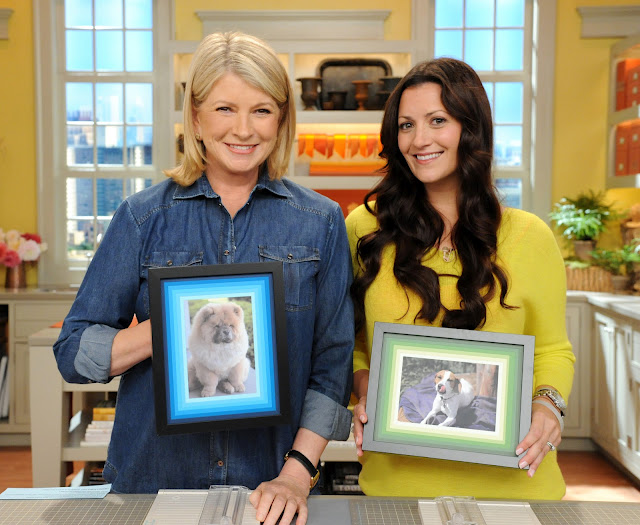
The Martha Stewart Show on Hallmark Channel
Hi there my little Jaderbugs! What a wild and crazy week! As I sit in here my hotel room in New York I am trying to figure out if some of my tears are tears of joy, or tears of sadness. So I decided to dig a little deeper. I think they are both.
~Tears of joy: I think the {{joy}} tears are from this crazy awesome experience.  I never in my wildest dreams thought I would meet Martha and her AWESOME staff in person {{{ever}}}. But I did, and let me tell you I am still on cloud one million one. Remember on the segment when Martha asked me what number craft the Ombre Photo Mat will be? I told her like one million one. (another tear dropping).
~tears of sadness: I think these babies are because it’s all over. I belong in this environment. It’s just sad how it seems to go so fast. I remember thinking when I was getting my hair and makeup done “Jade, slow your brain down. Savor this moment so you will always remember it”.  So I listened and it worked. I remember how many times my hair was curled, I remember the (ju-ju) mint the makeup artist gave me and how we laughed because it stuck to my cheek and every other little bitty detail.  Ya know it was my first time wearing “fake” eyelashes. Well they were individual ones and boy did they look awesome!
I have to tell you this, when I first got there I was waiting in this little room and it was early. They told me to go there with comfy clothes and no makeup. I was thinking, NOOOO!!! But I followed directions well!!! Anyways, I was sitting in this room and I heard a certain voice getting closer and closer. I was not sure if it was who I thought it was but then again this whole experience felt like a dream so maybe I was hallucinating.  THEN….I saw a set of eyes hit mine. It was her! MARTHA. She was so pretty, and as she passed me in her comfy clothes I made a huge gasping noise.  Apparently my hand went over my heart/chest because my heart skipped a beat. She kept walking and I guess she heard my “GASP” for air and did a very mellow double take and then smiled at me. I tell ya, I just got goosebumbs talking about it. I think my dad was more excited!
Jaderbugs, you have to remember. This is someone who I have been watching and following all of my life. There is not ONE time in my life that I thought I would stop.
When she smiled at me I just started laughing. You know that laugh right? That hysterical, delirious laugh. It just hit me afterwards.
Me and the producers and craft’s team hit it off! They will SURELY be lifelong friends! {{who I will see again soon}}. My whole experience was surreal and I really don’t know where to begin. I promise I will post ALOT of pictures once I get home and organize everything. I have SO much more to share with you!
Let’s craft! Today’s craft will be a little different than you are used to. I normally have pictures (step-by-step) but today I have a video.  I will take a video like this ANYTIME over pictures! This craft was SO MUCH FUN. I only got to do number 16 with MARTHA. NO sweat!
She was SO nice and kind! I was so nervous when she was opening my gift I brought her, but she LOVED it. I gave her my red rose earrings that you can find in my ETSY shop. Everyone else LOVED the earrings too! I didn’t want to leave (even tho I am so happy to see happy faces at home).  I can’t wait to go back and see all my friends the universe sent me!
Thanks to everyone who followed me and my journey. I know this is just the beginning so don’t go anywhere!
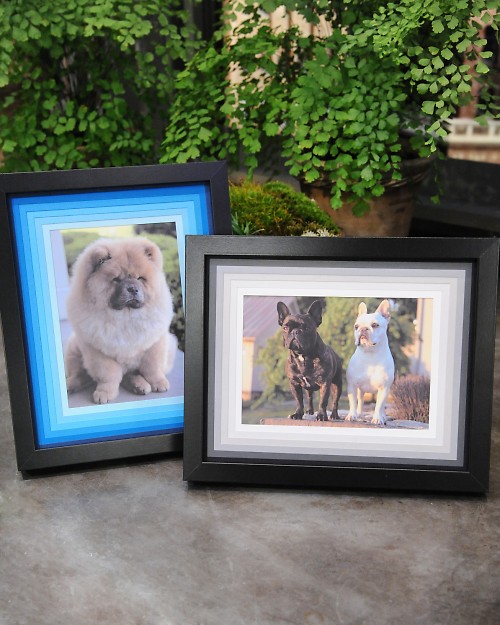
How cute are these babies!

INGREDIENTS
8-by-10-inch frame
Lightweight card stock
Paper trimmer
5-by-7-inch photo

Ombre Photo Mat How-To

Choose six pieces of card stock in a color gradient and trim each to 8 by 10 inches.

Arrange the card stock in the order you would like the colors to appear. Begin with the color chosen for the widest mat (the innermost mat, closest to the photo). Using the paper trimmer, measure and cut lines 1 3/4 inches in from each edge, creating a rectangular window in the center of the card stock.

Measure and cut the rest of the mats, decreasing the distance from the edge by 1/4 inch as you work your way to the outermost mat. The outermost mat will be 1/2 inch wide. Tip: When cutting the first line of a 1 3/4-inch mat, start the cutter exactly at the 1 3/4 mark on the ruler of the paper trimmer, and stop 1 3/4 inches before the other edge of the card stock. (The magnifier on the blade shuttle is useful for this.) Turn the paper 90 degrees to make each adjacent cut, stopping 1 3/4 inches before each edge. As you progress, adjust where you start and stop based on the width of the mat you are cutting.

Once all the mats are cut, stack them in order and insert into the frame. Center and secure photo behind mats; secure back of frame in place.

Resources
Paper Trimmer available from Martha Stewart Crafts. Card stock available from Paper Presentation. “Ribba” 8-by-10-inch frames available from Ikea.

Yes. Today I will be showing you exactly how my brain thinks! It really funny because every single thing I look at  I think to myself, “I wonder how I could spice this up“. Is that normal? Does anyone else out there do this. Let me clarify it’s not every 10th object I do this to. It’s EVERY single thing my eyes land on Jaderbugs. {{For example I am thinking right now how to decorate my laptop}}. SEE.

I hope everyone out there had a great day SUN-day. A friend of mine sent me a HUGE box of “blue” bottles because she knows I collect them. They are SOOO PRETTY! I can’t wait to do fun crafts with them. They were SKYY Vodka bottles. I said “WOW, that was prolly lot’s of “FUN” nights”.

I told you it was ALOT

Let’s get started on the craft we are working on today!

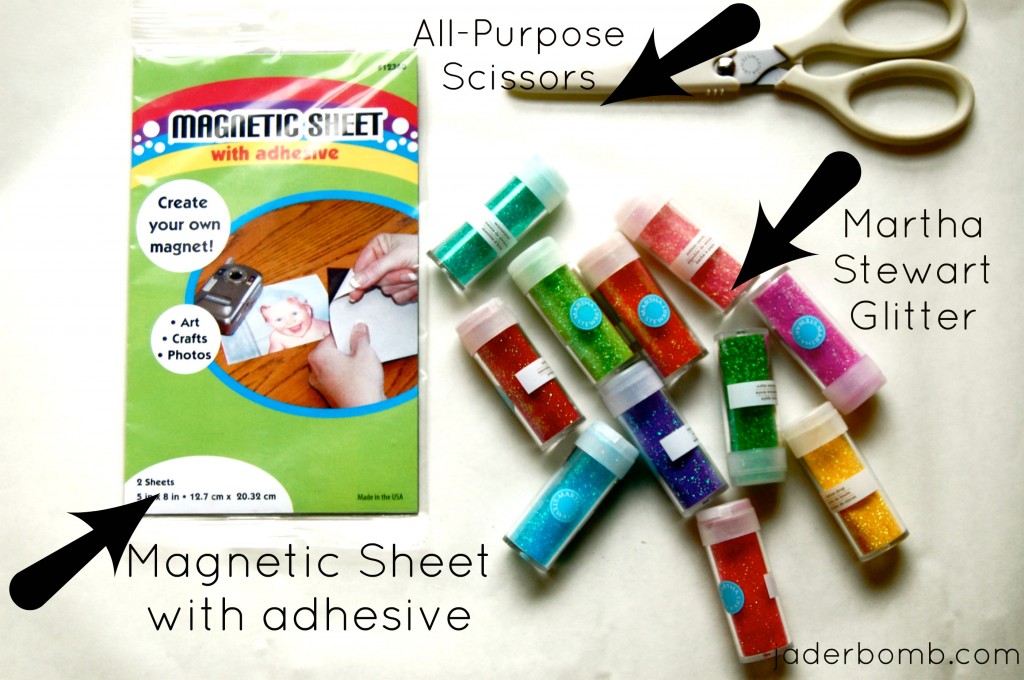
INGREDIENTS

You can get these magnet sheets at Wal-Mart in the craft section. They are maybe 2 bucks! Of course I used Martha Stewart scissors and glitter. It is the BEST!

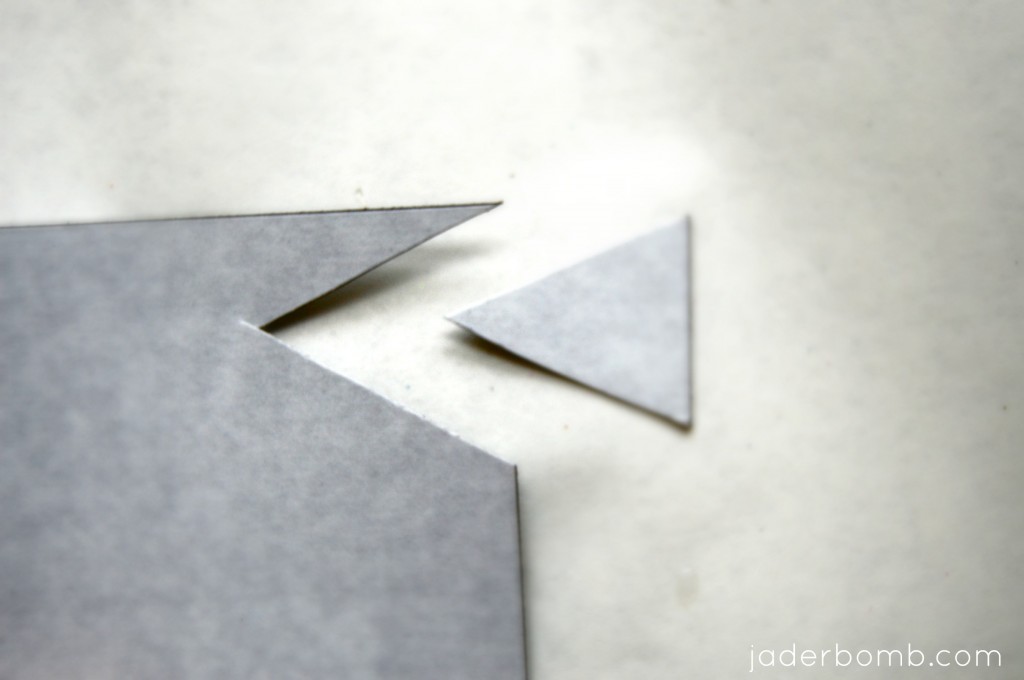
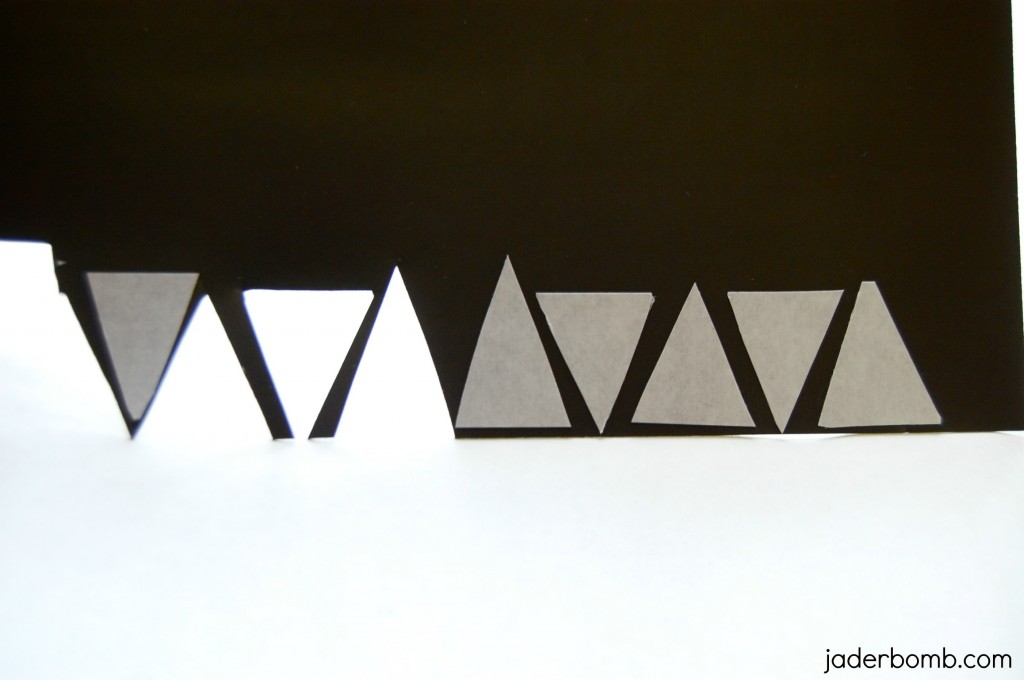
Start cutting out triangles. You can cut one and make a template if you want. I just eyeballed it because I wanted them to be different sizes!

SEE! Triangles!

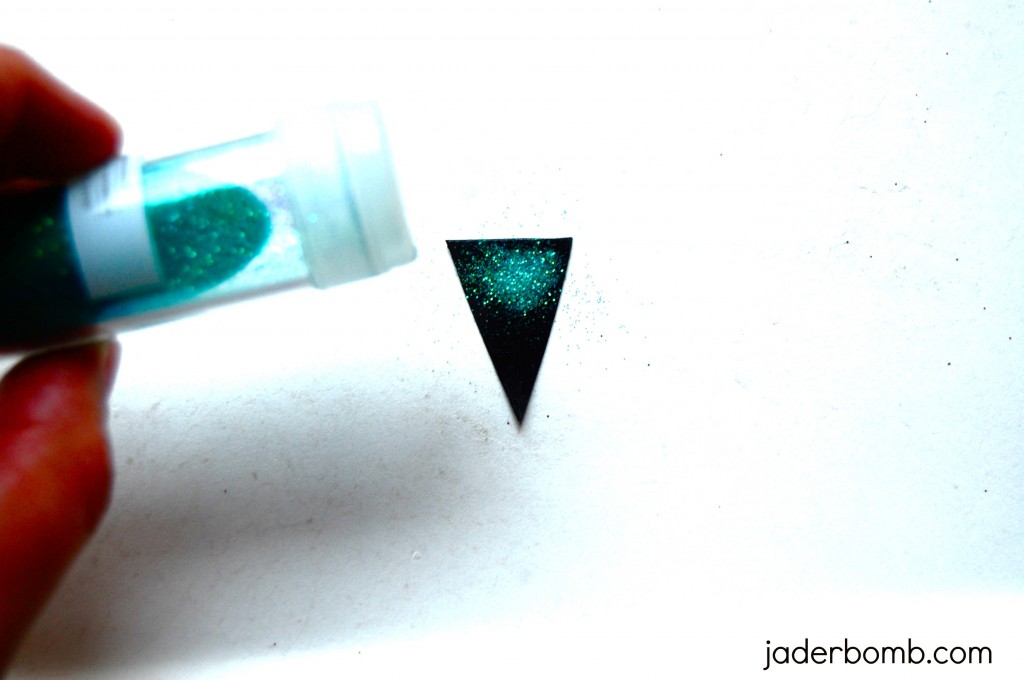
After you cut out all of your triangles, peel the paper off of the sticky side and sprinkle glitter all over it!

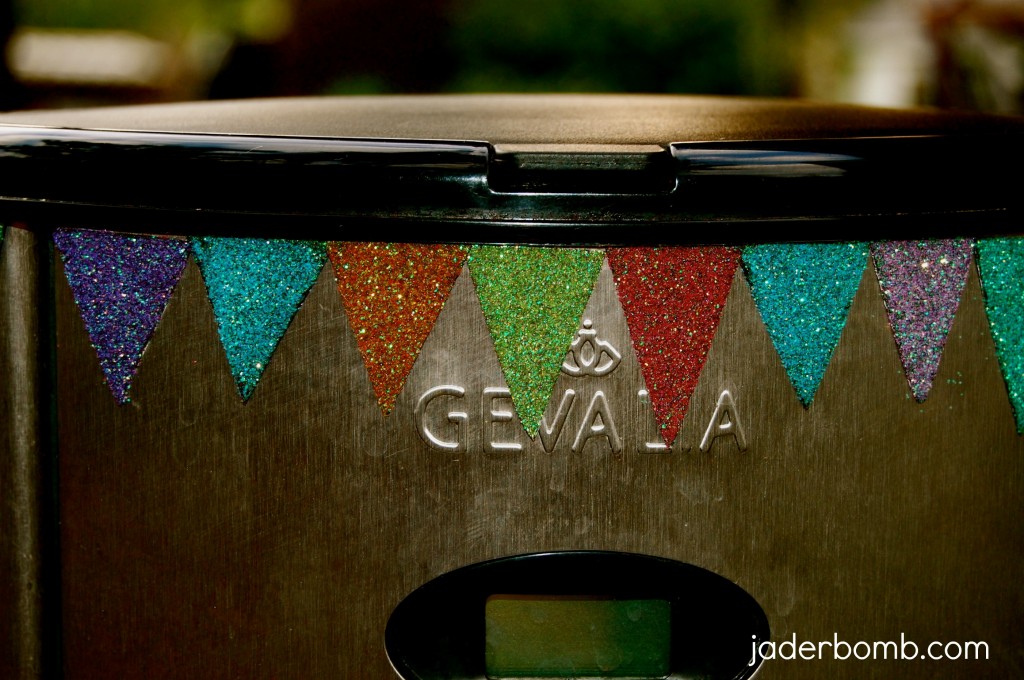
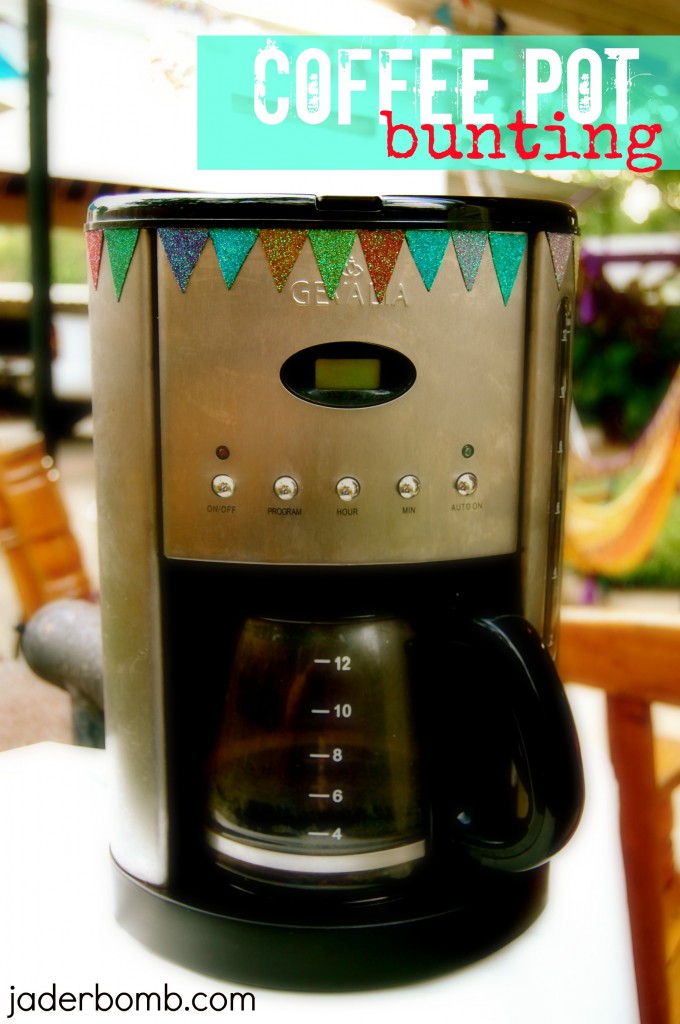
Who woulda ever “thunk” to decorate a lil ole coffee pot!

Sorry if my “stainless” steel looks a little discolored, this sucker is worked to the BONE!

I think this is the cutest thing ever! Not sure many MEN will love this (haha) good luck ladies!!!!
I hope you enjoyed this craft and don’t forget to come back tomorrow for another fun craft! I will give you a hint {{gold}}!!!

Close your eyes and pretend we are sitting on a porch drinking glittered coffee,