Author Archives: jaderbombllc

About jaderbombllc

I am a Southern DIY blogger and Designer known for fearlessly conquering anything and everything do-it-yourself. I aim to create unique designs by working through my thoughts, dreams, emotions, and tons of glitter! I believe in doing things that make my heart flutter and smile, and I live by my motto, “Life is simple and so should your style.” To learn more about me, visit jaderbomb.com or email me at [email protected]. You can also visit my Etsy shop at jaderbomb.etsy.com. Make sure to check out my FREE PRINTABLES site www.freeprettyprintables.com My biggest accomplishment thus far is being a guest on the Martha Stewart show, yes she smells good. I love my dog Ceaux Ceaux, pens,the smell of Christmas, GOLD, Dr. Pepper and blogging. BTW: I bleed glitter, all shades.

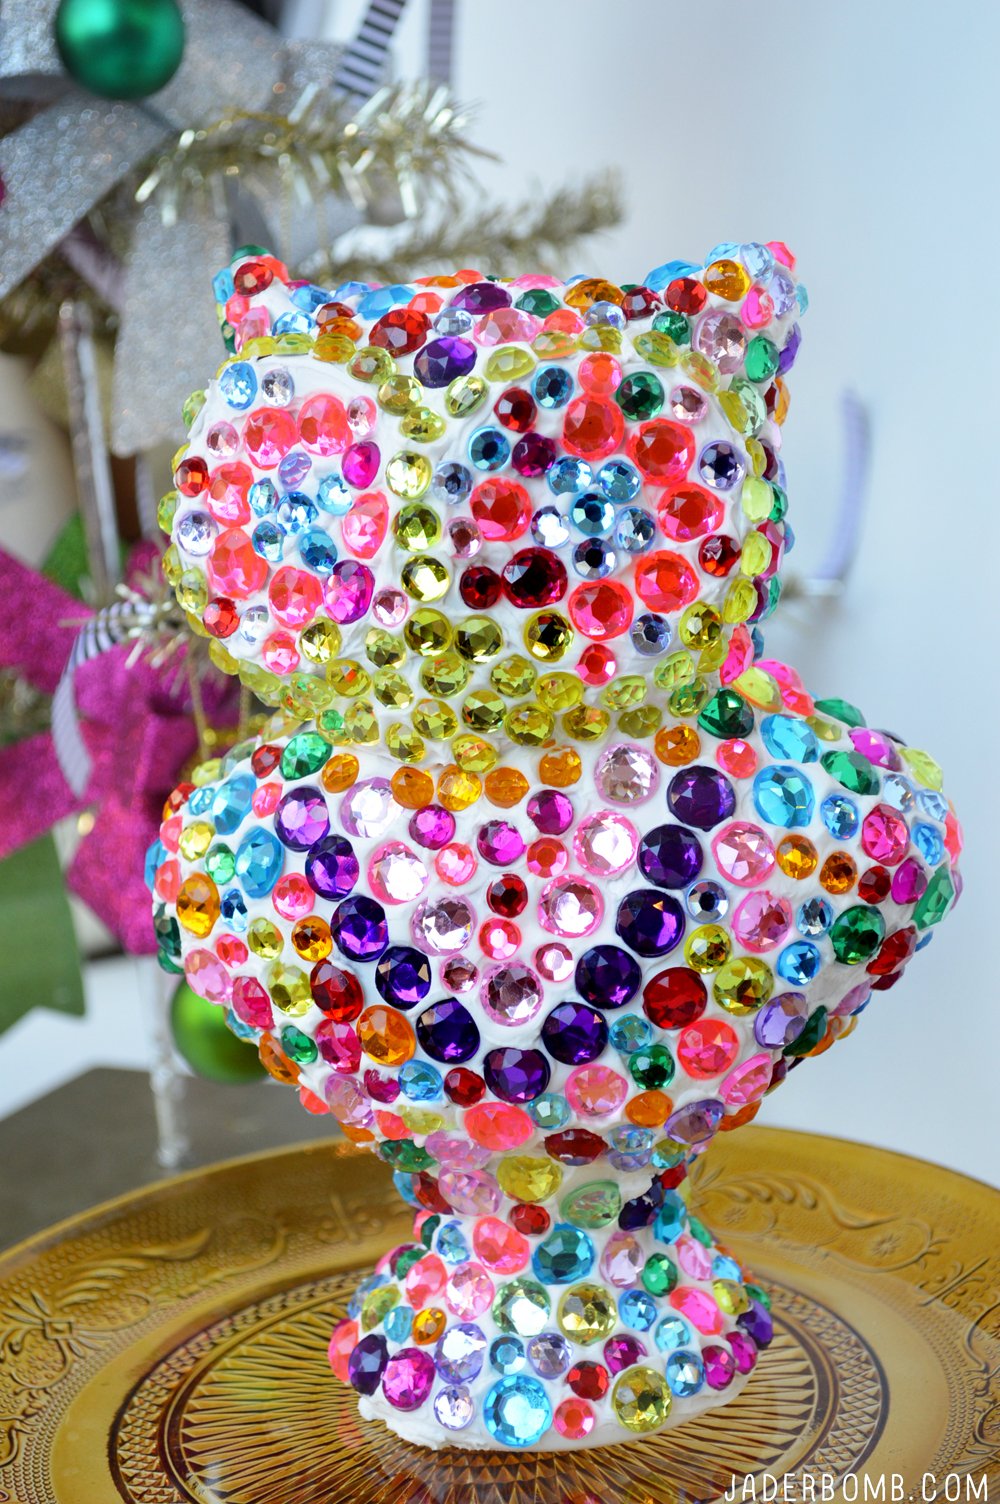
Seriously. If I could eat one craft product it would be collage clay. I am not sure if it’s because it comes in a plastic tube that looks like it would belong in a bakery but all I know is I am HOOKED. BAD! I saw my friends post and it got me thinking about some deep stuff. Check out what else I made with collage clay HERE!

Like how many things can I round up in the house to put this stuff on. The best part is you can sparkle anything with this stuff and change the whole look of it. I think I might jewel bomb my dog, or maybe her dog bowl. Let’s get started!!!!

P.S. If you LOVE all things RAINBOW check this out!
owls

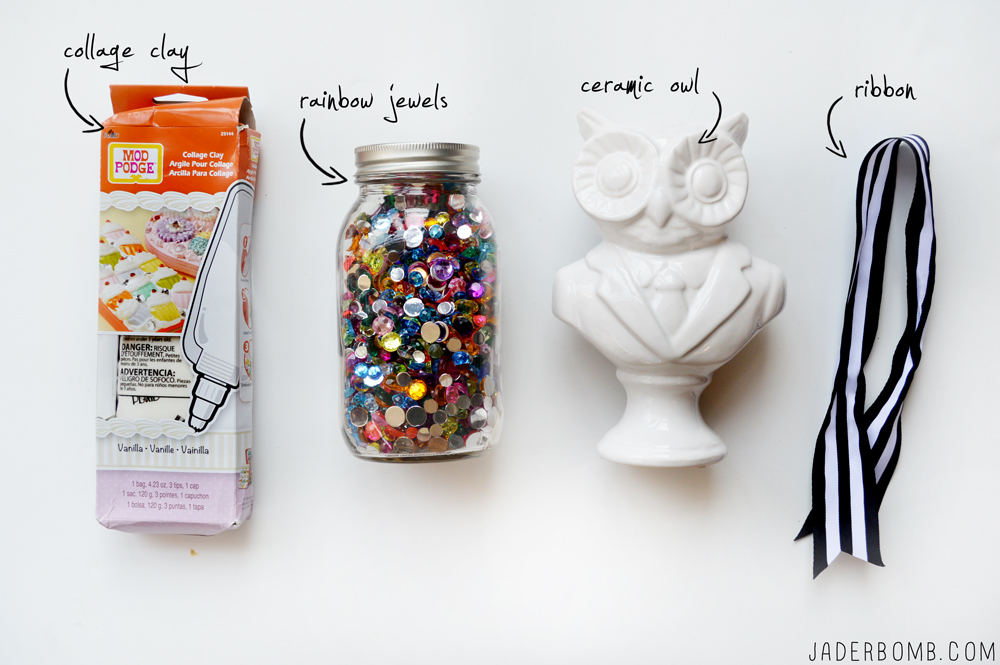
You will need:
*Collage Clay
*Rainbow Jewels
*Ceramic Owl or any other item
*Ribbon (optional)mod podge projects

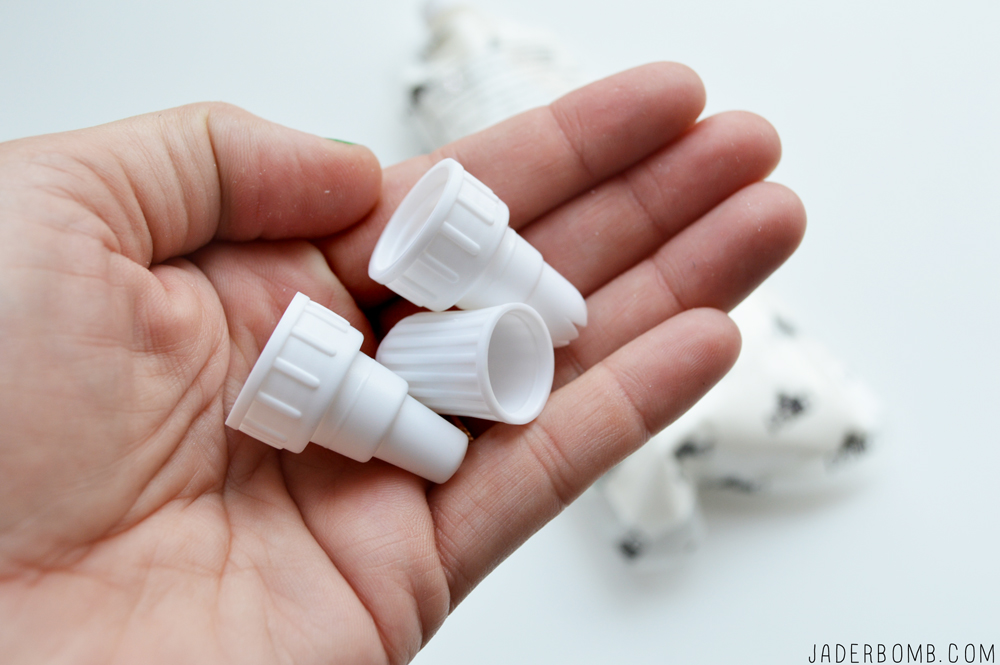
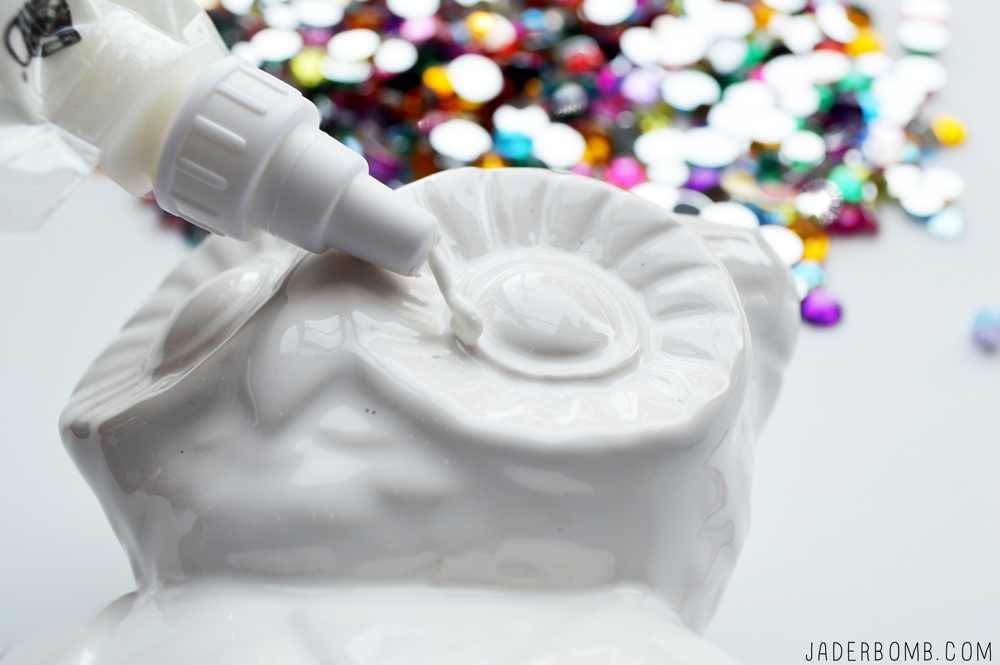
The coolest thing about Collage Clay is the tips. They really make you feel like you are in a bakery. You MIGHT want to watch your kids if you give them this because it really looks like icing in a bag, hehe! Just for the record I WAS TEMPTED! Mod Podge Collage ClayStep 1: Start in one section and squeeze some of the collage clay out onto the surface. I am using white since my owl is white. owl crafts
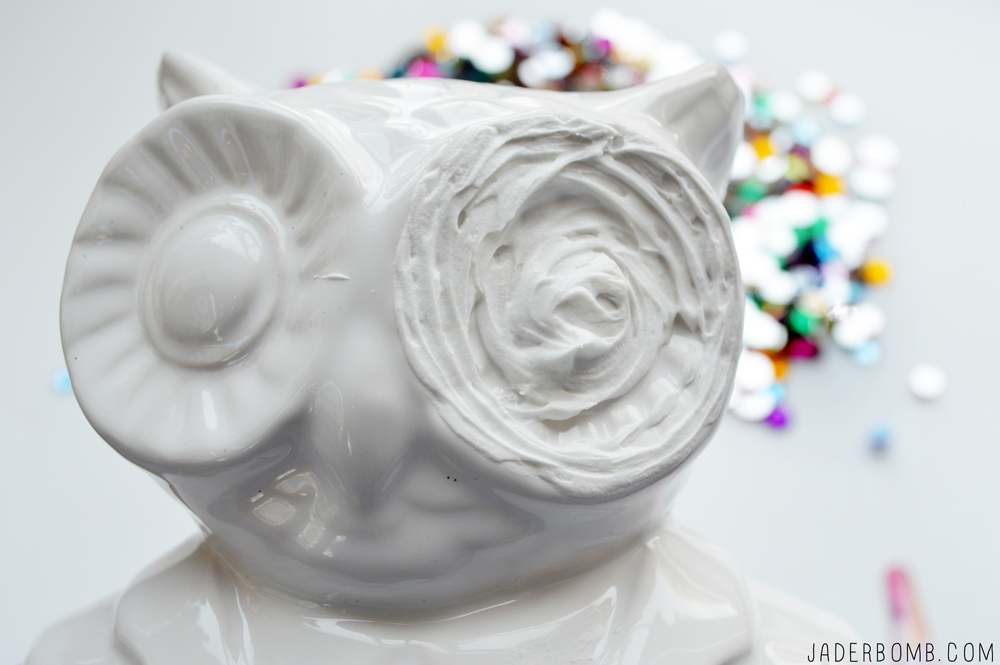
Step 2: Spread your collage clay around to cover the entire surface. The reason why you want to work on one section at a time is because you don’t want it to dry while you are still applying jewels! diy owl
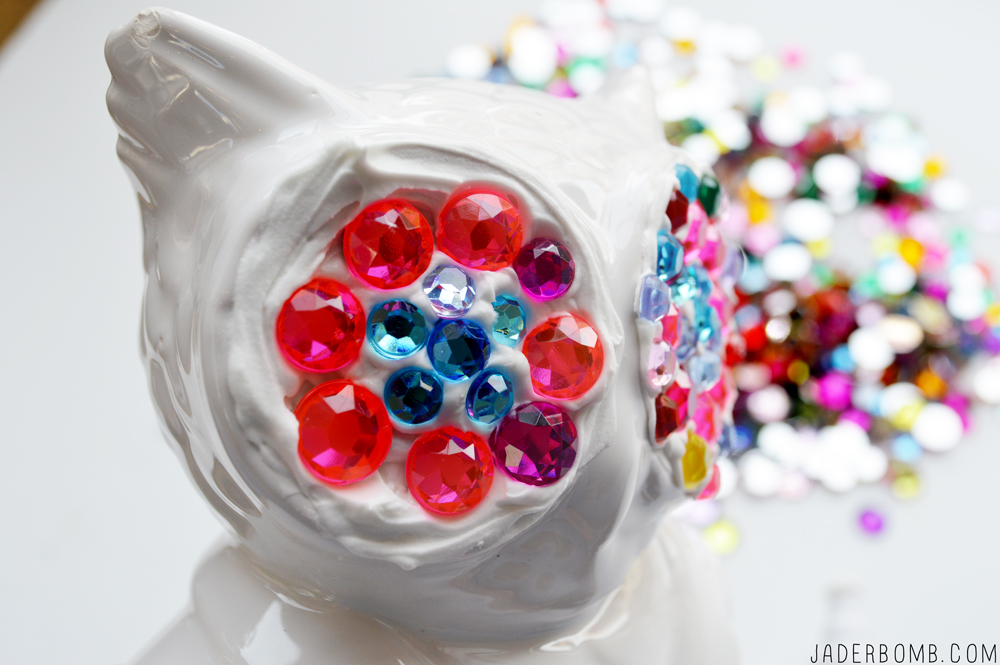
Step 3: While the collage clay is wet add the jewels to the item. I mean, I will not lie this project is relaxing and fun. I wasn’t too sure about the jewels at first but once it was all done I seriously was in awe at how beautiful it turned out. jewled craftsStep 4: Continue the previous steps over the entire product.
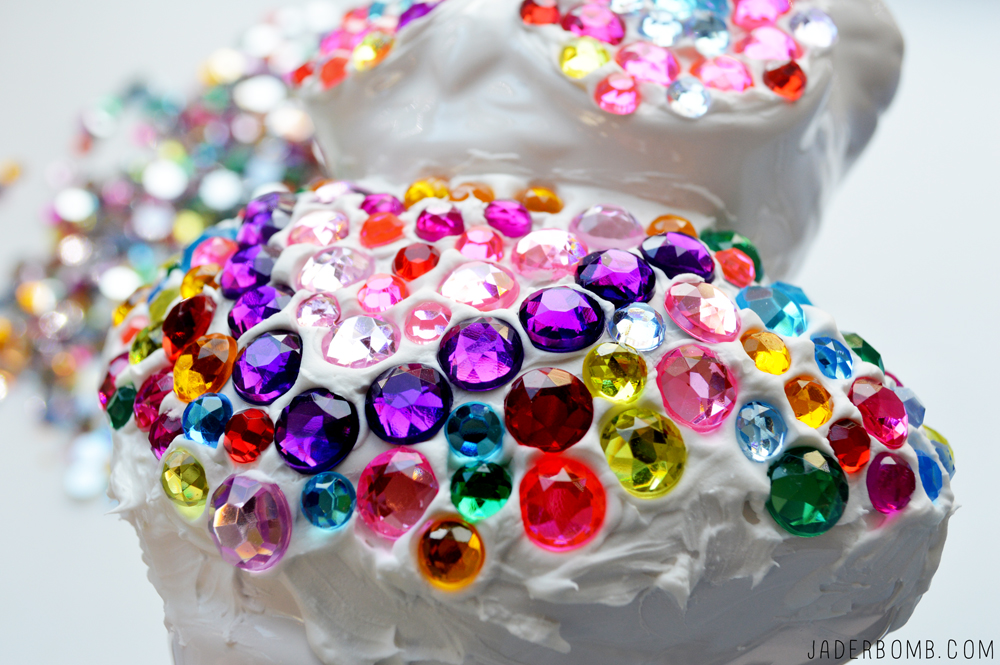
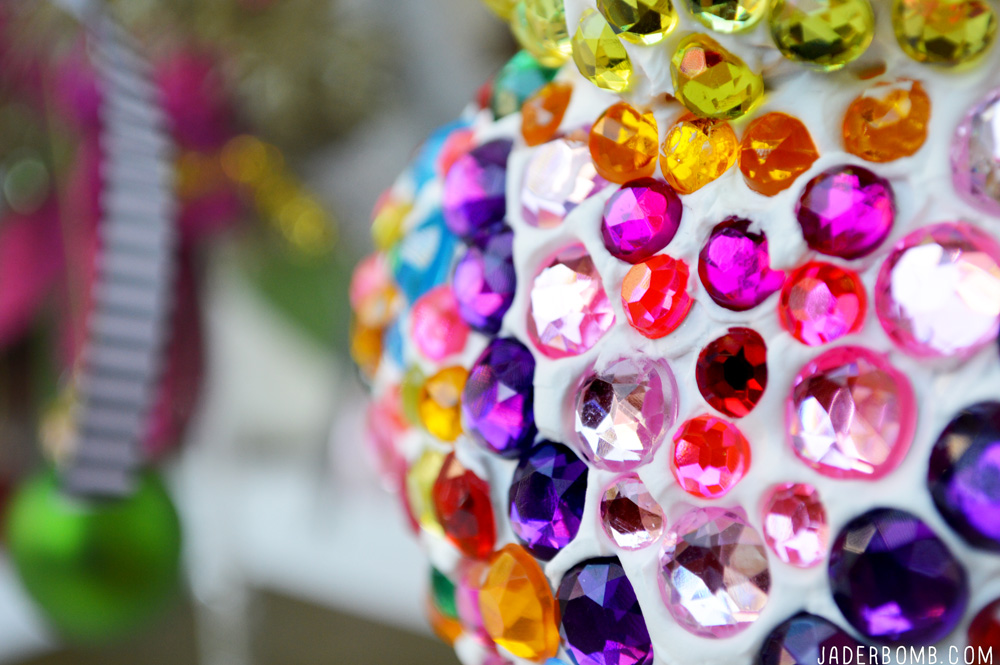
easy jewled diyHow gorgeous! I love the colors and it screams HAPPINESS!
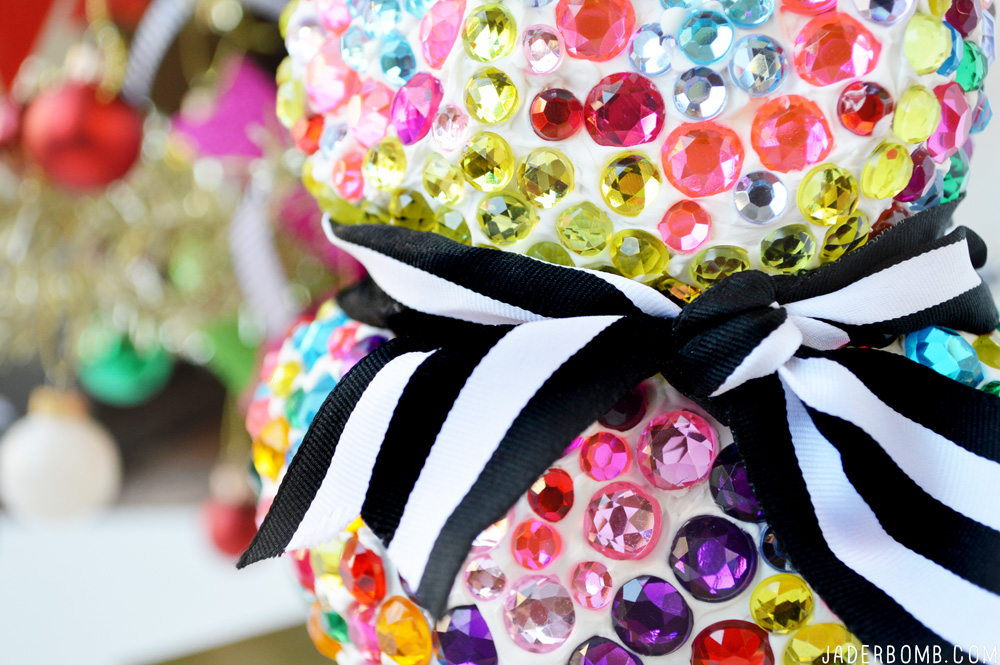
easy owl craftsI let my owl dry over night but this stuff dries in just a few hours! When it was complete I added a cute black and white striped ribbon around it’s neck. Trust me it finished this baby off!
black and white ribbonIt’s like an famous bust of a famous OWL!owls craftsI hope you enjoyed this project because I did! Make sure to check out all of my other CHRISTMAS projects HERE!

Check out my latest post for Xyron, you won’t believe what I made with VINTAGE FABRIC!

Sending HUGE hugs from my computer straight to yours! XOXO Jade

Come visit me on all my social media sites! Just search JADERBOMB on all of them!
FACEBOOK | INSTAGRAM | PINTEREST | TWITTER | GOOGLEYOU TUBE


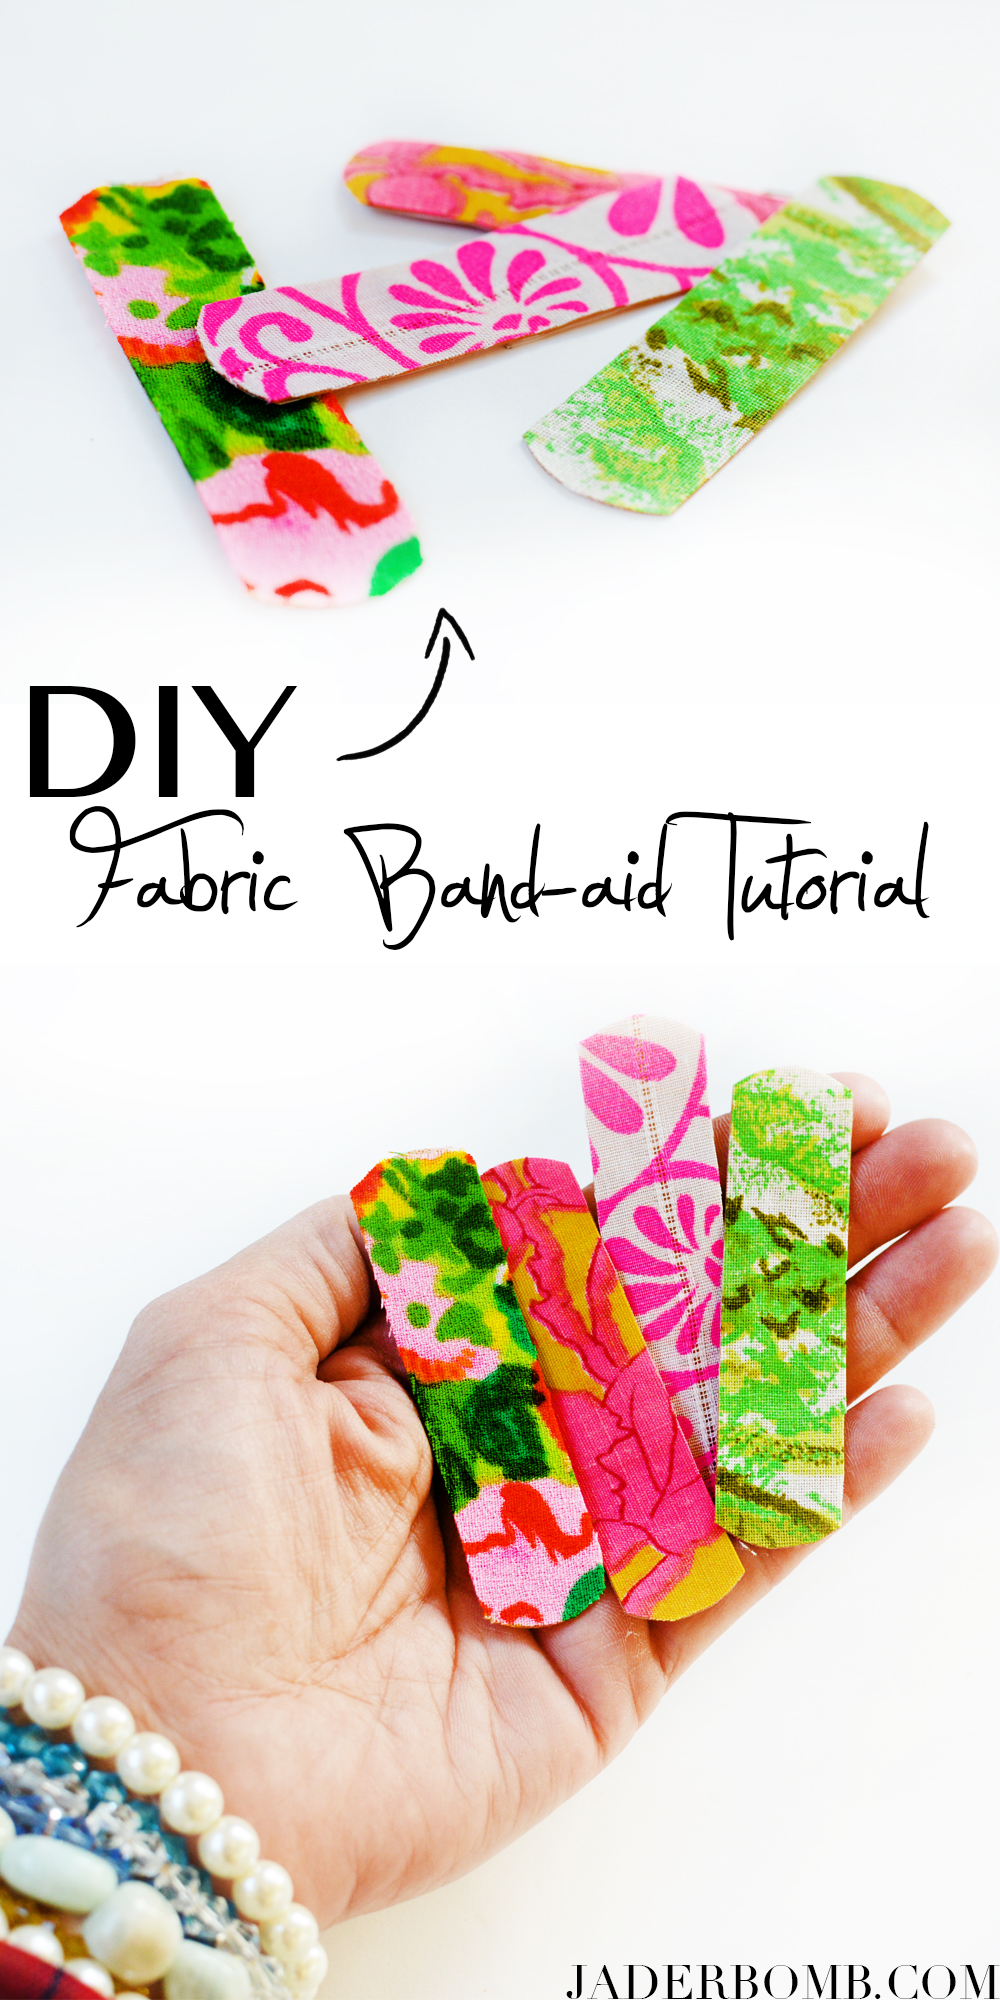
You know you want some Fabric Band-Aids! I am sitting on my sofa watching Diners, Drive – In’s and Dives eating left over Veggie Soup and my Cat Hanna just pooted right. near. my. face. She is just lucky her cute face makes up for the nastiness seeping out of her you know what. I know it’s time for Christmas but today I just realized that I have not posted any Thanksgiving projects on my blog this year. I am not sure how I should feel about this situation. I mean, I complain to no ends about corporate stores setting up Christmas stuff in October and skipping right over the day of giving thanks! Now, I know some of you are crying your little eyes out waiting for me to post some weird object in my house that has been transformed into a turkey neck or a chicken leg but that will not happen, however I do have a FREE Thanksgiving printable for YOU! Right now I am giving thanks to my brain for thinking of this project the other day when I cut myself in my studio.

I was literally sitting on my floor creating THIS project and I cut my finger. I hopped on over to my handy dandy first aid kit that BTW needs to be bedazzled and grabbed a bandaid. I slapped it on my finger and wished I had some cute Kate Spade or Hello Kitty band-aid. Heller, Xyron + Fabric + Boring Band-aids = Gangsta Baids. I know my fabric is not a lick of “gangsta” but if a gangsta wore it you would think it was. Let’s get started! Fabric Band-Aids using Xyron

I can’t lie I was hoping I would cut myself just so I could put one of these babies on me. You know you could make a batch of these and give them to someone as a Christmas gift and I pinky promise they will love them.

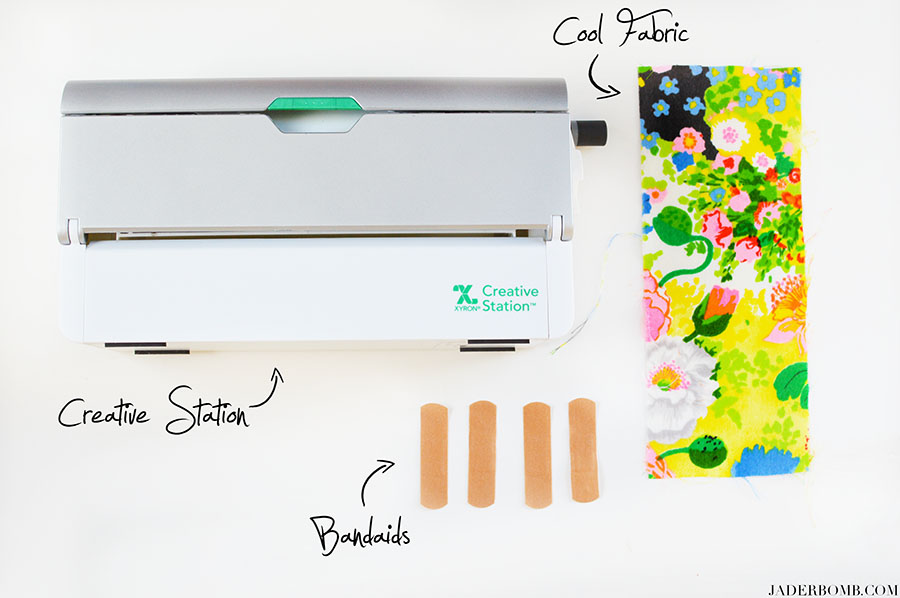
YOUWILLNEED

Xyron Creative Station
♥Band-Aids
♥Cool Vintage Fabric
xyron creative station

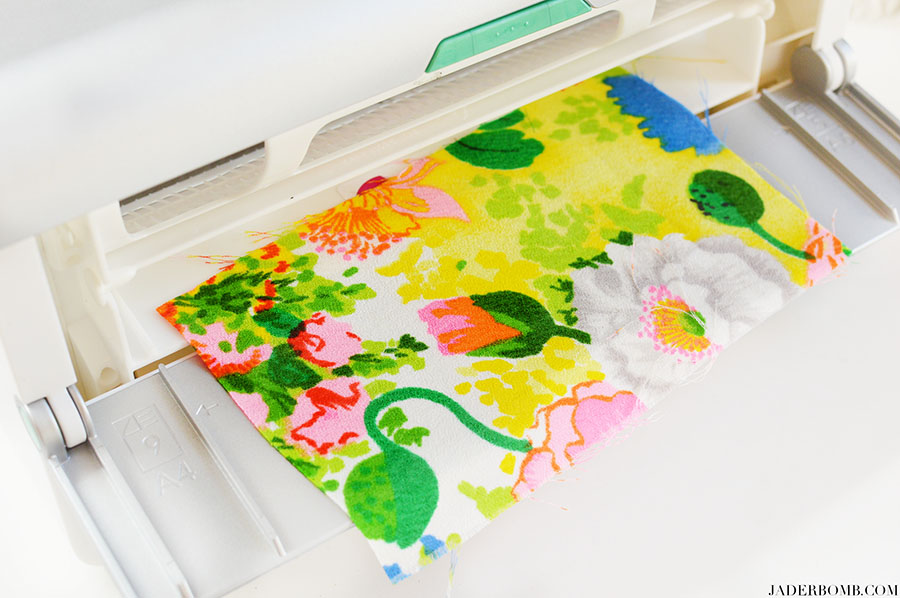
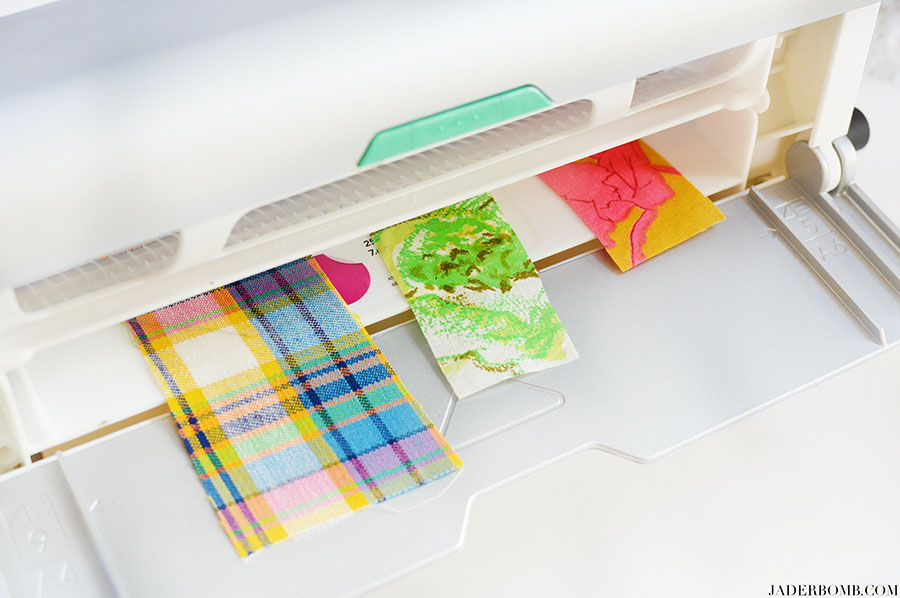
♥ Step 1: Place a small piece of fabric on the pull out tray in the back of your creative station.

vintage fabric

♥ Step 2: Add more (((hehe))) fabric projects

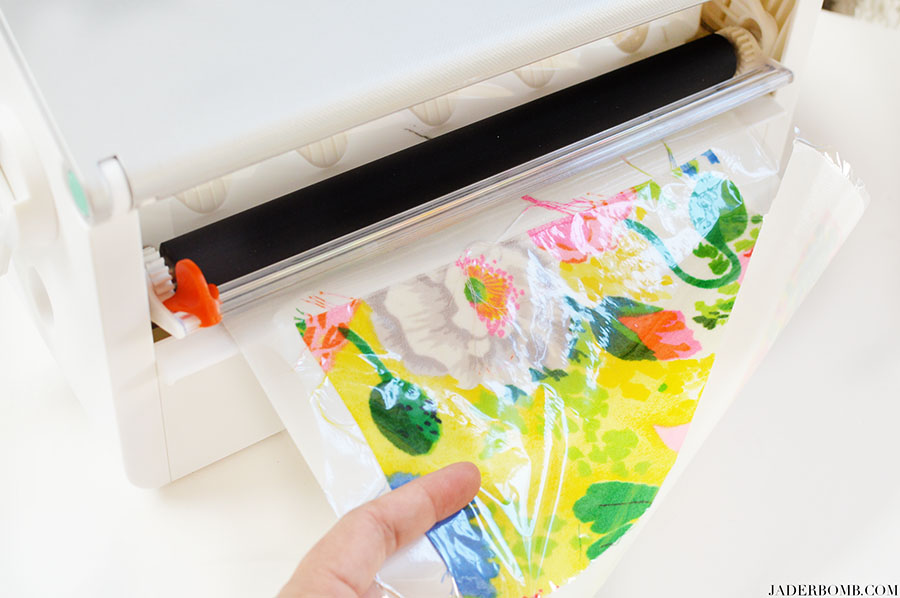
♥ Step 3: Crank it through the machine with the handle and it will come out the other end looking like this. diy stickers

♥ Step 4: Peel off the plastic film on the top of the fabricpink fabric projects

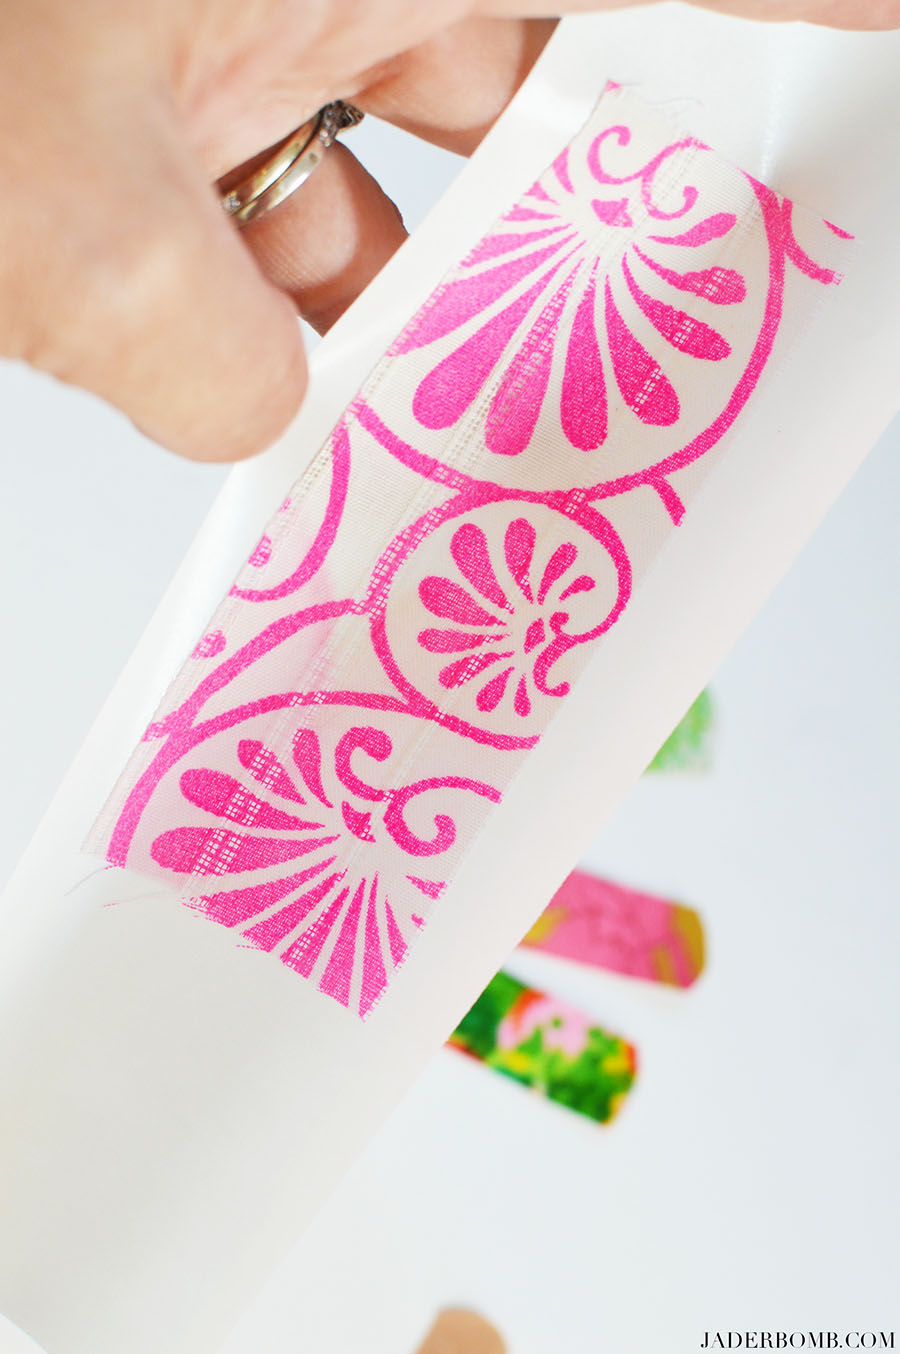
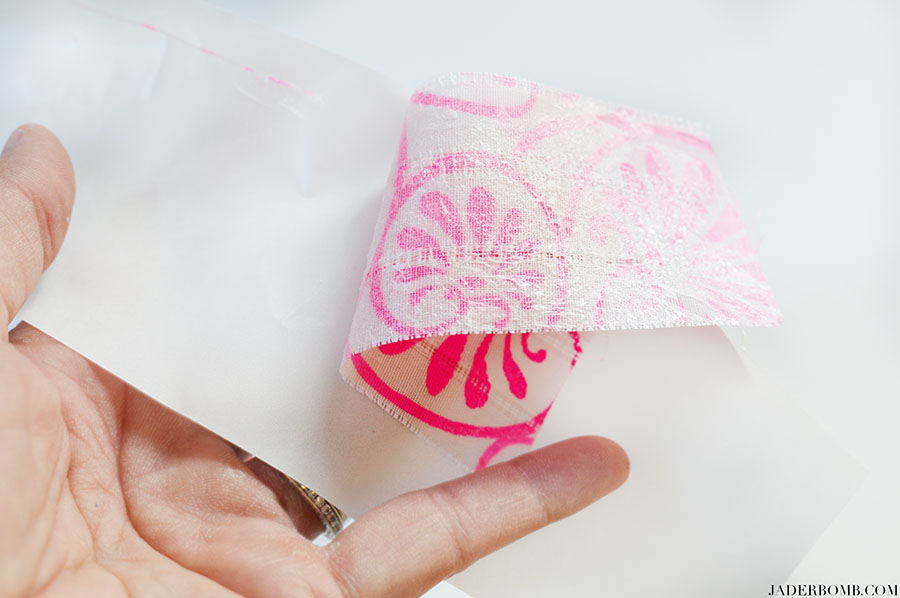
♥ Step 5: Carefully peel off your fabric and make sure not to let the sticky side stick to anything, like itself! how to make ban daids

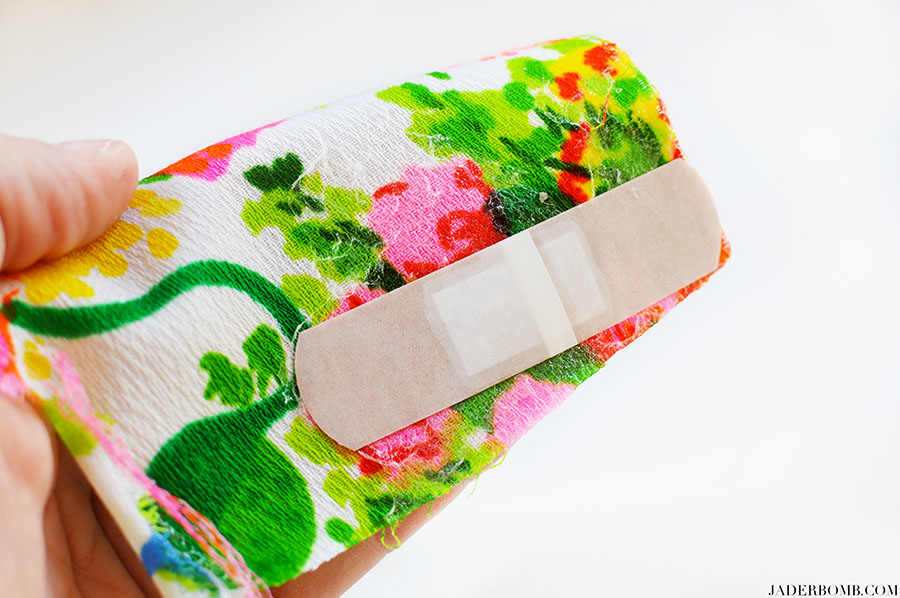
♥ Step 6:  Stick your bandaid onto the sticky side of fabric. Make sure to leave the side of band-aid that you peel facing up towards the sky!fabric bandaids

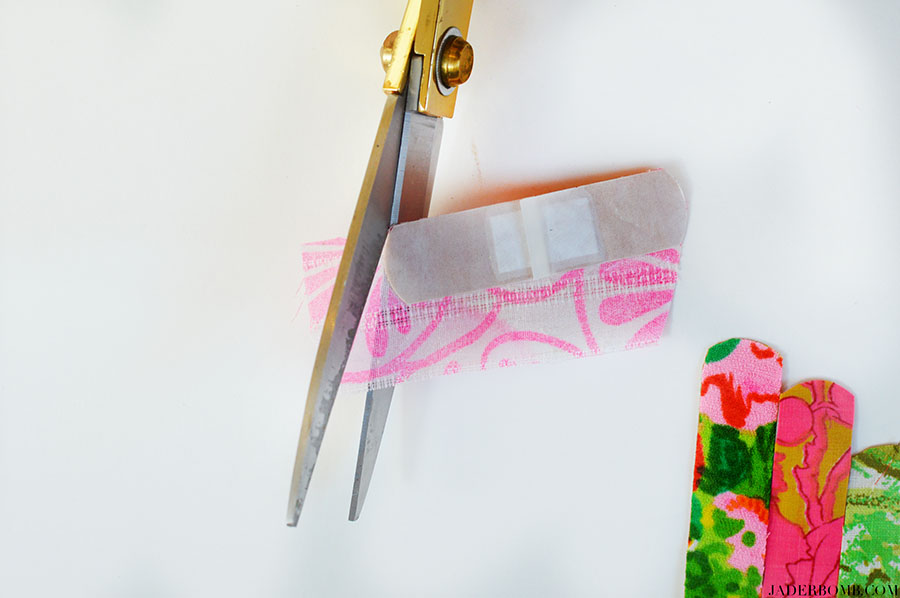
♥ Step 7: Grab a pair of scissors and carefully cut around the band-aid. Yes, gold scissors cut better than black ones. gold scissors

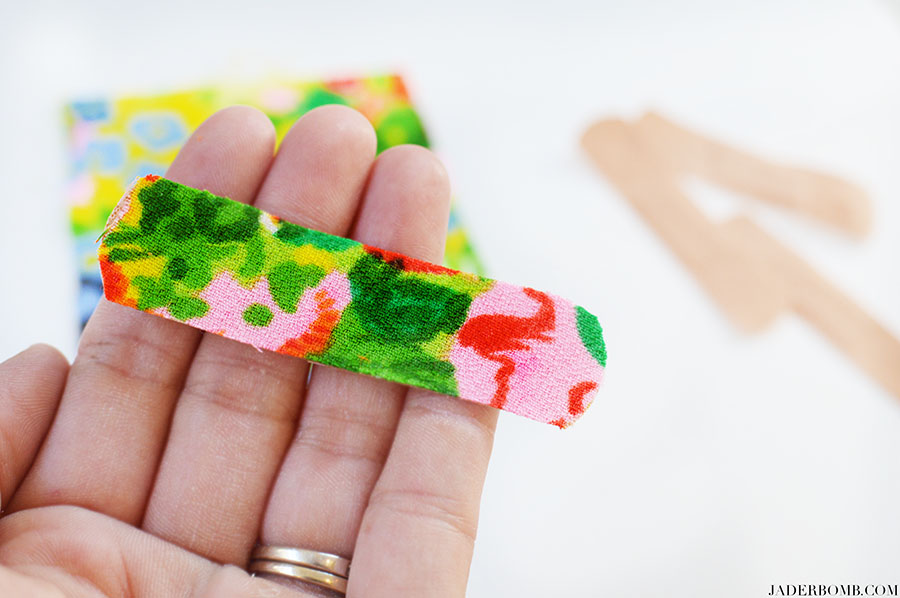
♥ Step 8: Stare at it for 7 minutes. diy band aid

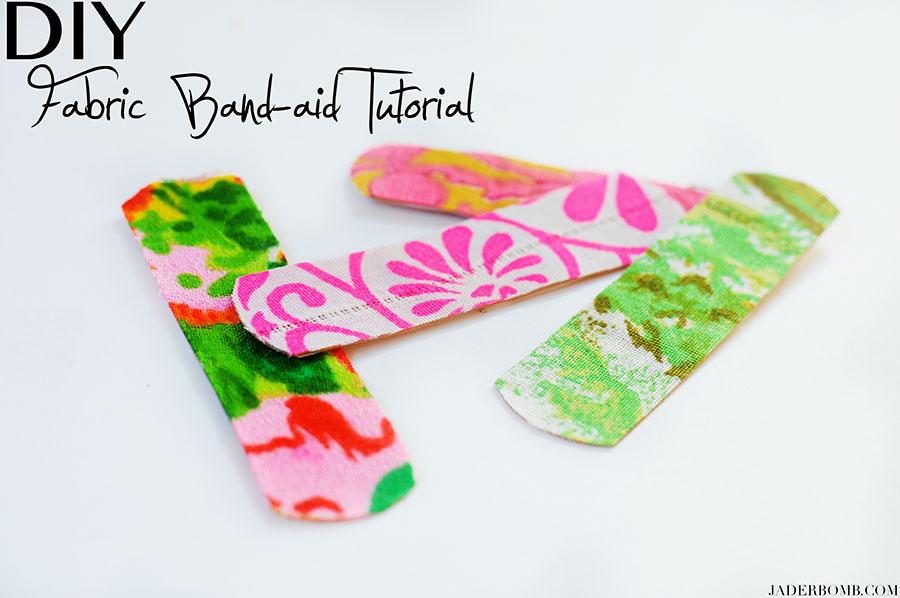
BOOM CHAKA LOCCA “Tha’s all Folks” I hope you enjoyed this non Christmas/Thanksgiving tutorial. You could keep these in your kitchen so if you cut yourself slaving in over the stove you can at least look cute.  diy band-aid

 Sending HUGE hugs from my computer straight to yours! XOXO Jade

Come visit me on all my social media sites! Just search JADERBOMB on all of them!
FACEBOOK | INSTAGRAM | PINTEREST | TWITTER | GOOGLEYOU TUBE

This post is brought to you by *Plaid Crafts – Mod Podge Pearl & FolkArt Multi-Surface Paint and Blueprint Social. The opinions are my own.

I seriously die for Christmas. I look forward to it all year long and I am not sure if it’s because of the all the DIY’S I create or just because it’s the one time of the year I can relate to my childhood. I had a great childhood especially around Christmas time. My mother was always baking goodies and her decor was to die for, literally. She always went all out and I believe that is why I love decorating so much. So thanks mom if you are reading this!

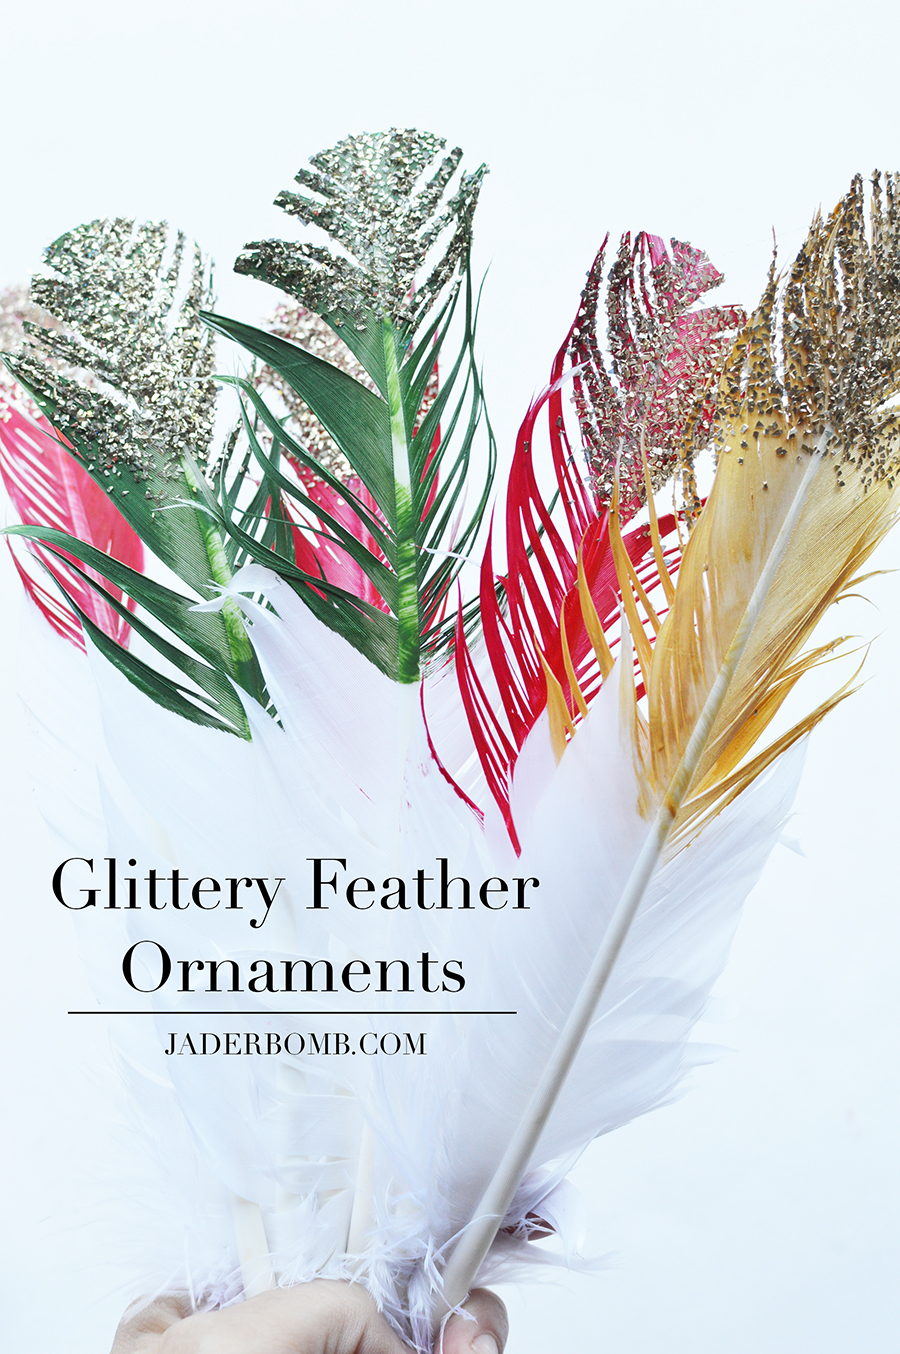
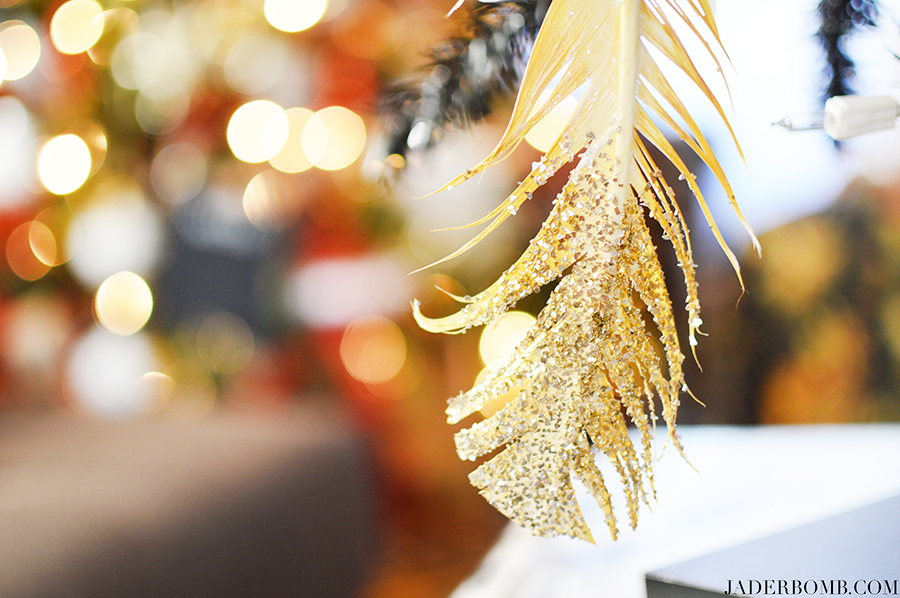
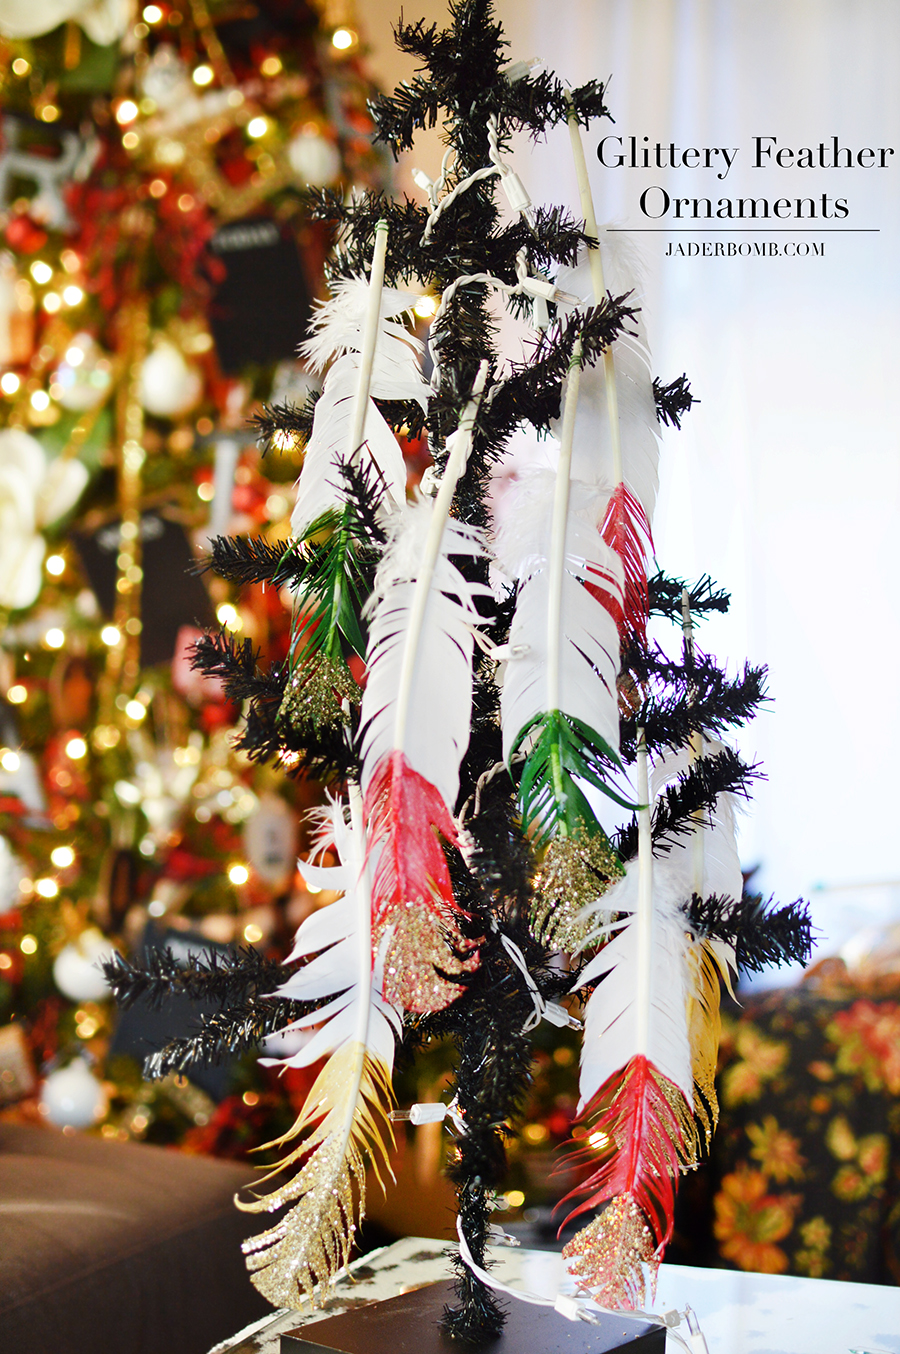
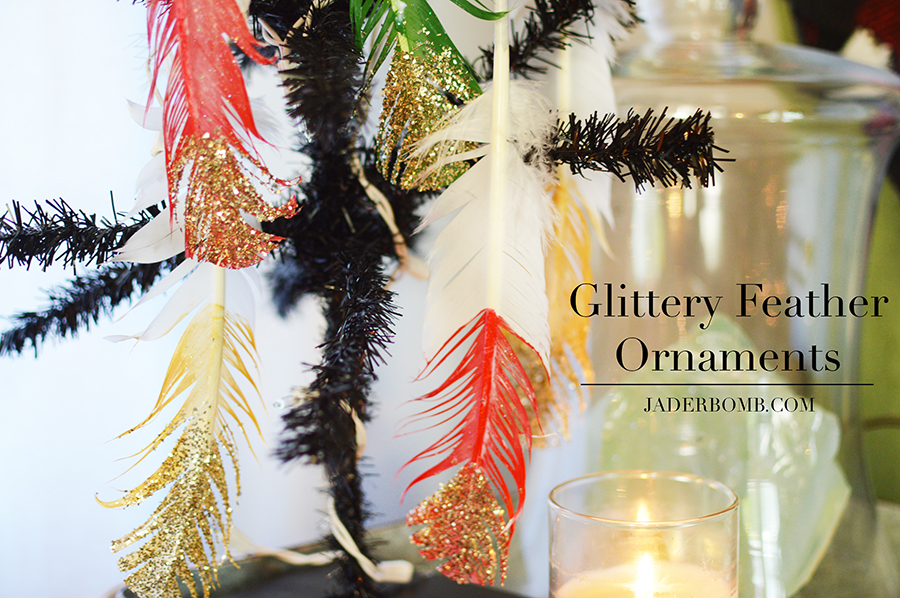
For this project I wanted to show you a little bit of my bohemian side by creating glittery feather ornaments. These are so much fun to do and they look great when they are completed. They add a softness to any tree and you could also turn them into a feather garland. The possibilities are endless yo! Also, think outside of the box… Christmas ornaments don’t always have to be BALLS!

Don’t forget to add this hashtag when sharing my awesome post!!!
#plaidcrafts

glittery feather ornaments

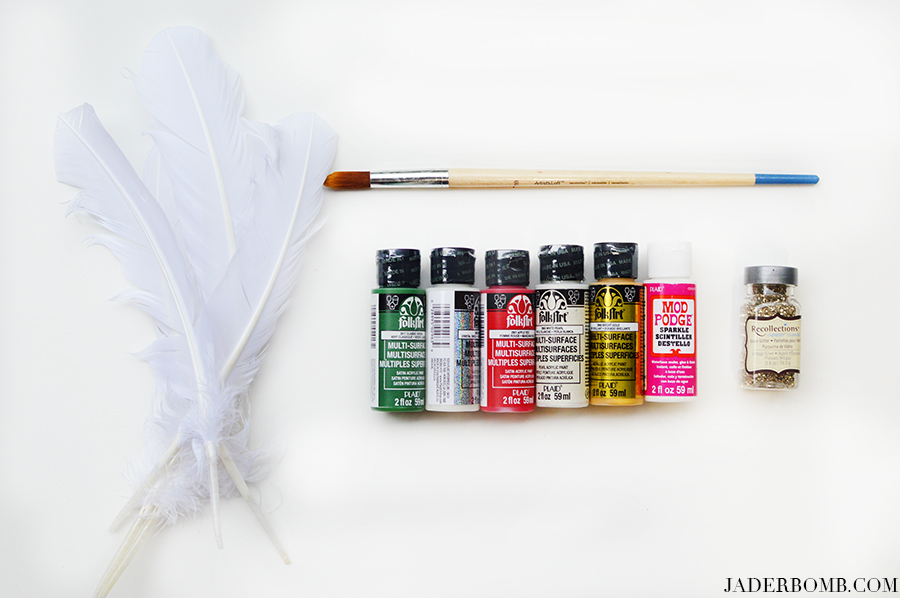
This project will be super easy for you if you use the right products! Today I will be using FolkArt Muli Surface Paint and Mod Podge Sparkle.

Other things you will need for this project are…
*Brush
*Water
*Paper Towels
*Gold Glass Glitter
*Christmas Hooks

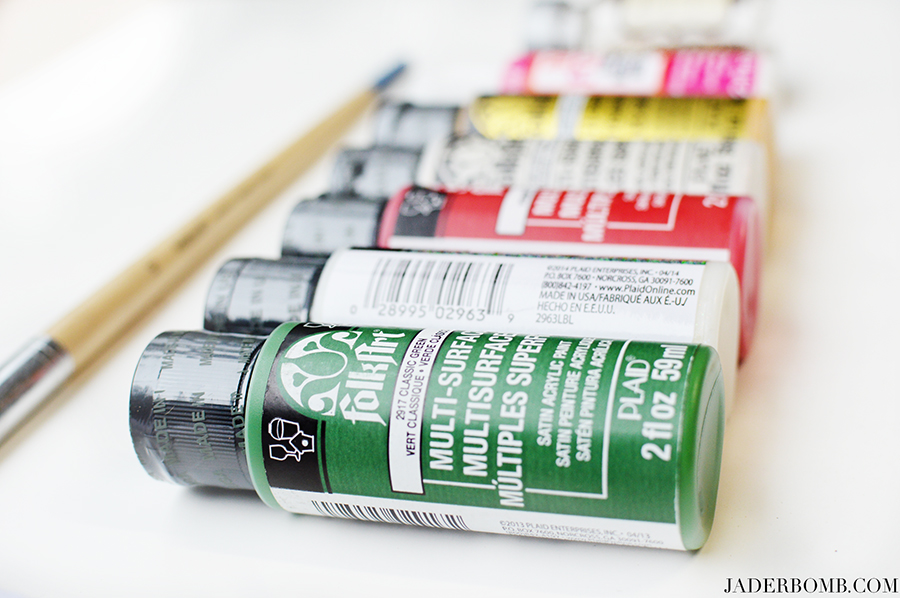
plaid paint

Folk Art has a large variety of colors so I am sure you will find the right ones for your Christmas decor!folk art paint

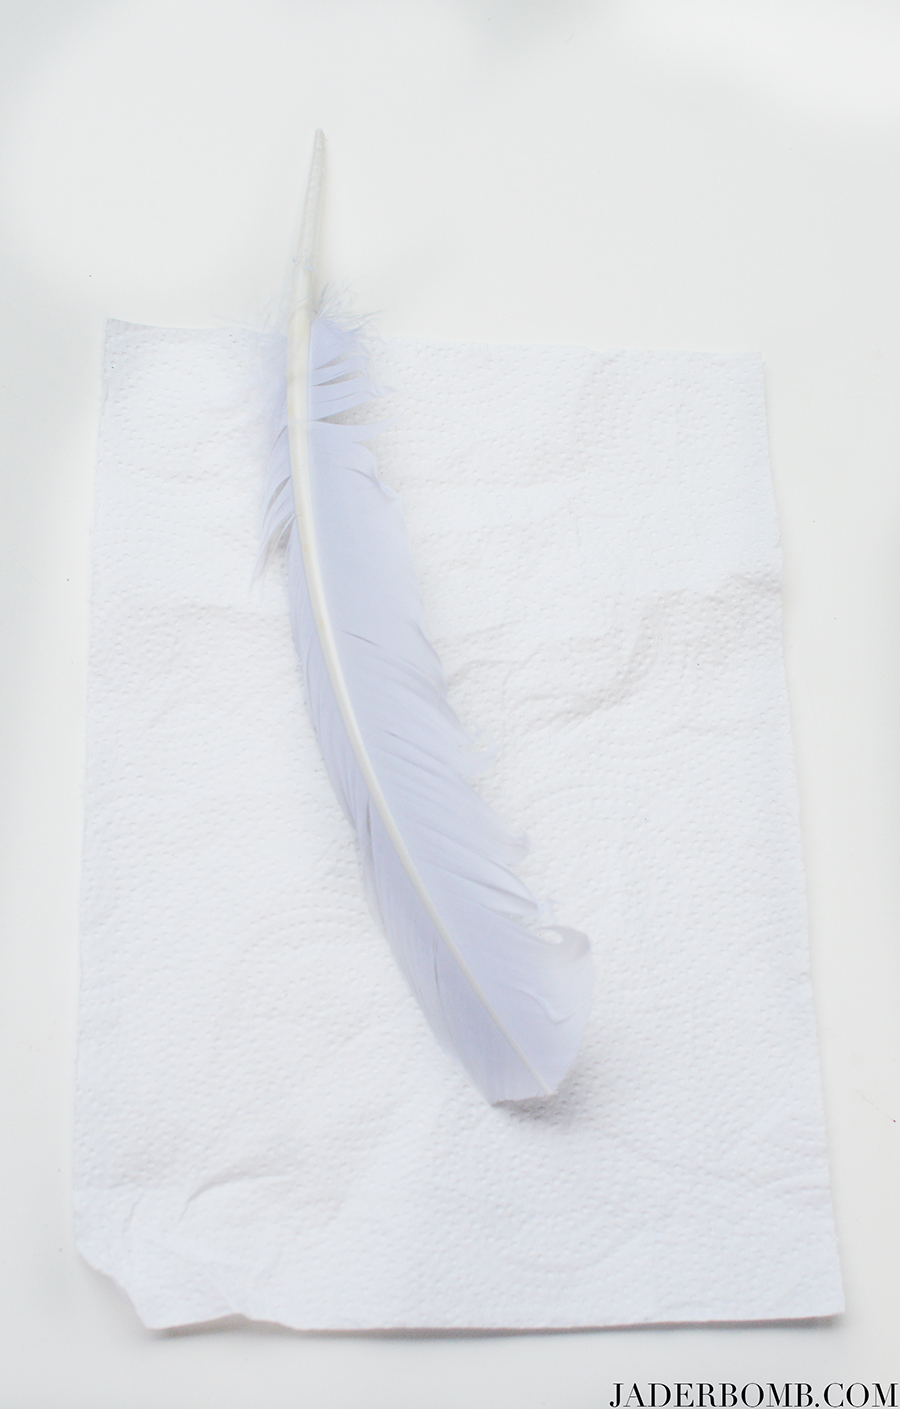
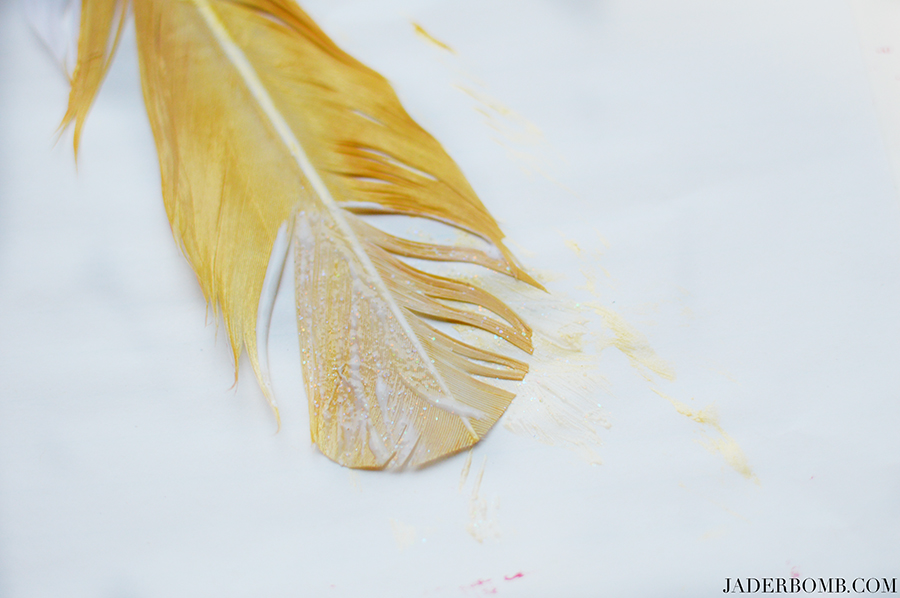
Step 1: Place your white feather on a clean paper towel. crafting with feathers

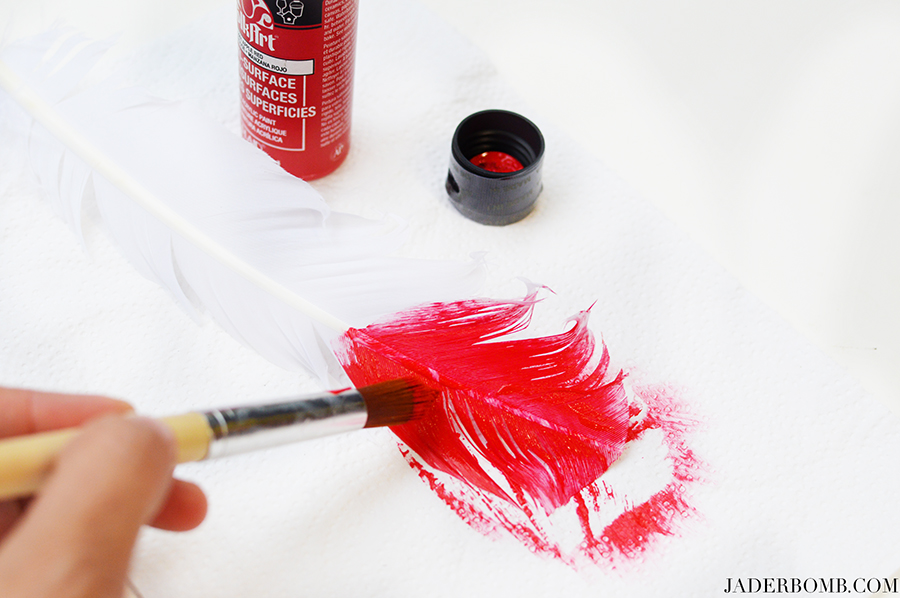
Step 2: Paint the bottom portion of your feather with FolkArt paint. how to paint feathers

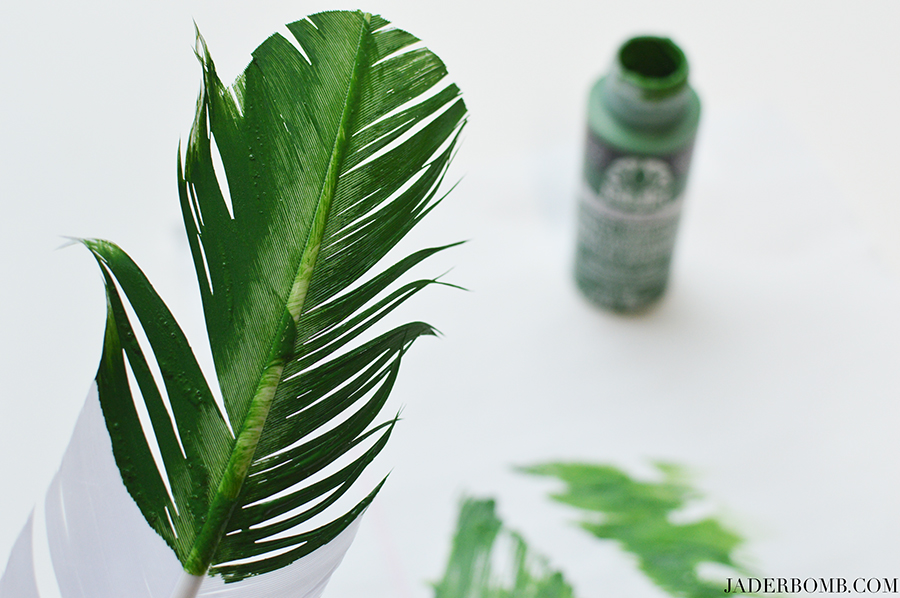
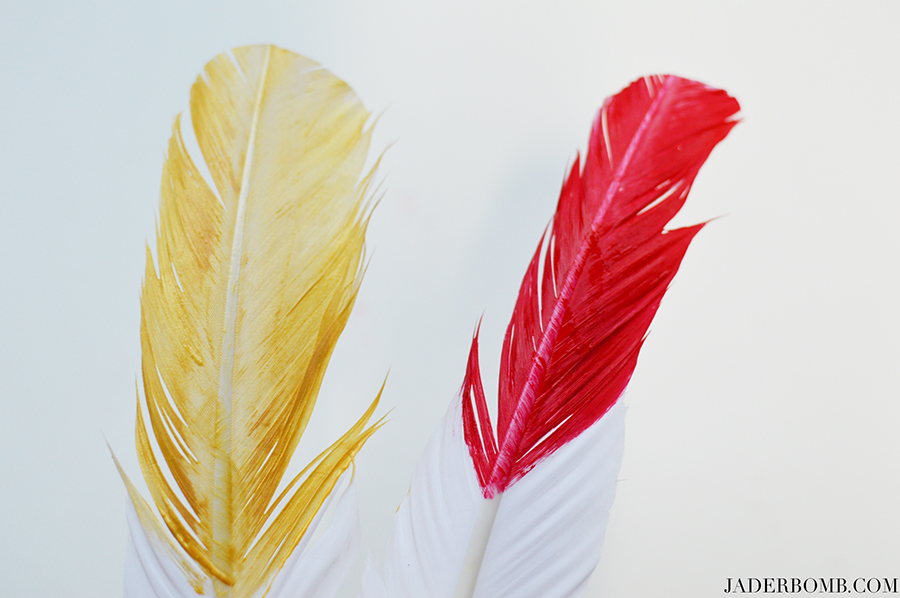
Do multiple feathers with different colors. You always want variety! green feathersgold feathers

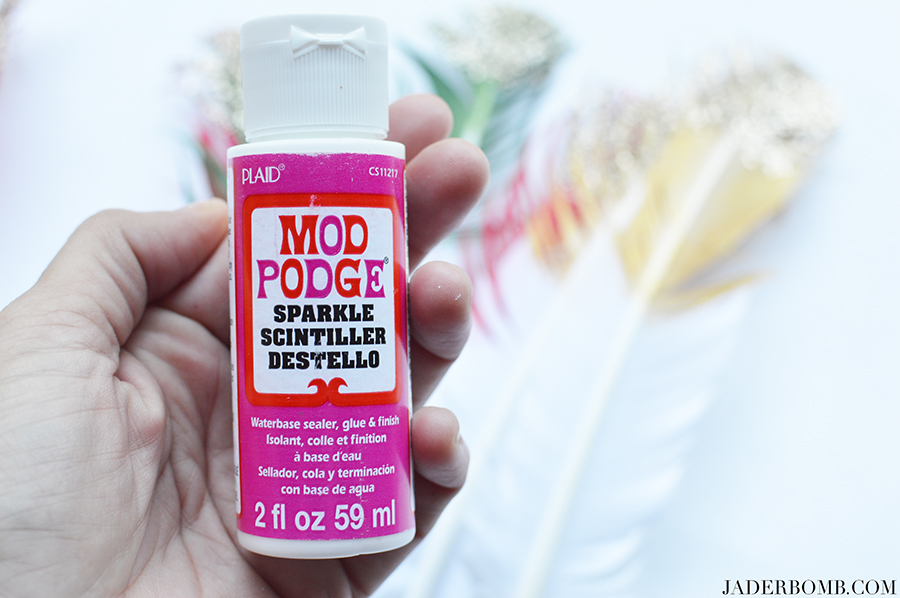
Step 3: Grab your Mod Podge Sparkle because we are about to go cray cray on these feathers! glittery mod podge

Step 4: Add a generous amount of Mod Podge on the bottom portion of the painted section.

About Mod Podge

Crafters everywhere entrust their most treasured decoupage creations to Mod Podge®, the number one, all-in-one glue, sealer and finish! The ultimate in convenience, Mod Podge has been loved by crafters of all ages for its flexibility, versatility and supreme ease of use since 1967. Best of all, it’s waterbase, making clean-up a snap. It’s non-toxic, too—perfect for young crafters.

painted feathers

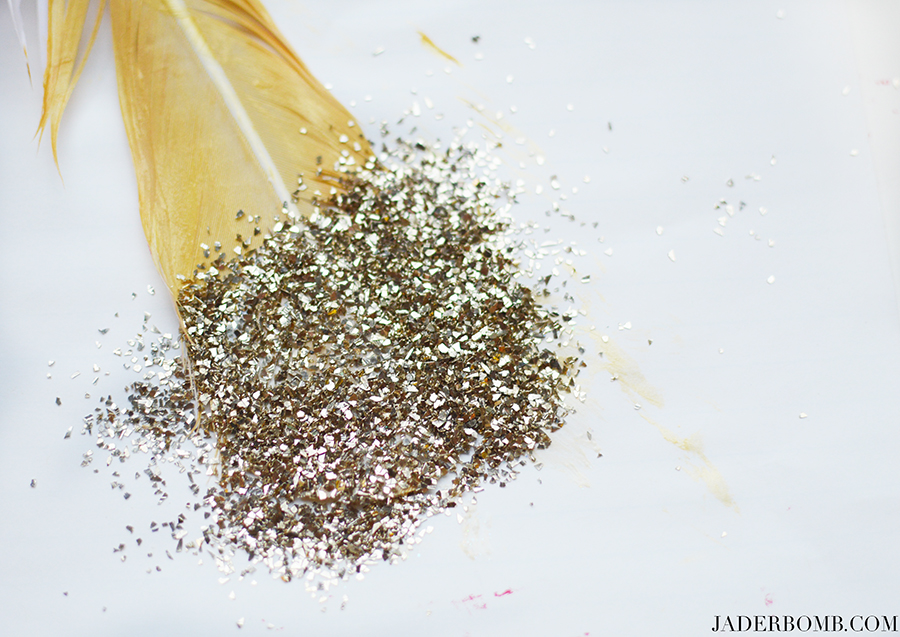
Step 5: Sprinkle your glass glitter immediately after you apply the Mod Podge. I suggest placing the feather at this point under a sheet of paper so you can easily pour the left over glitter back into the bottle.
glass glitter

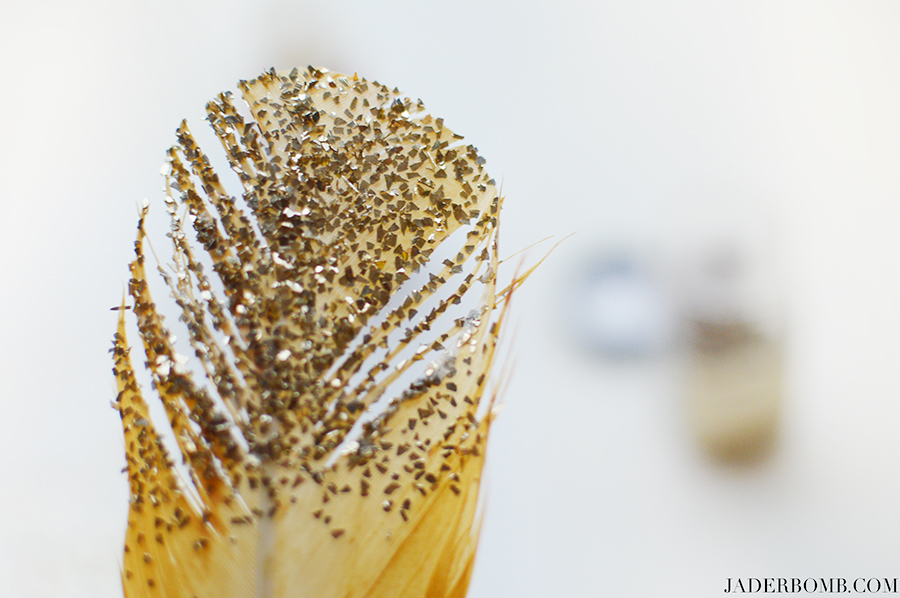
SHAZAM! How beautiful are these! gold glass glitter

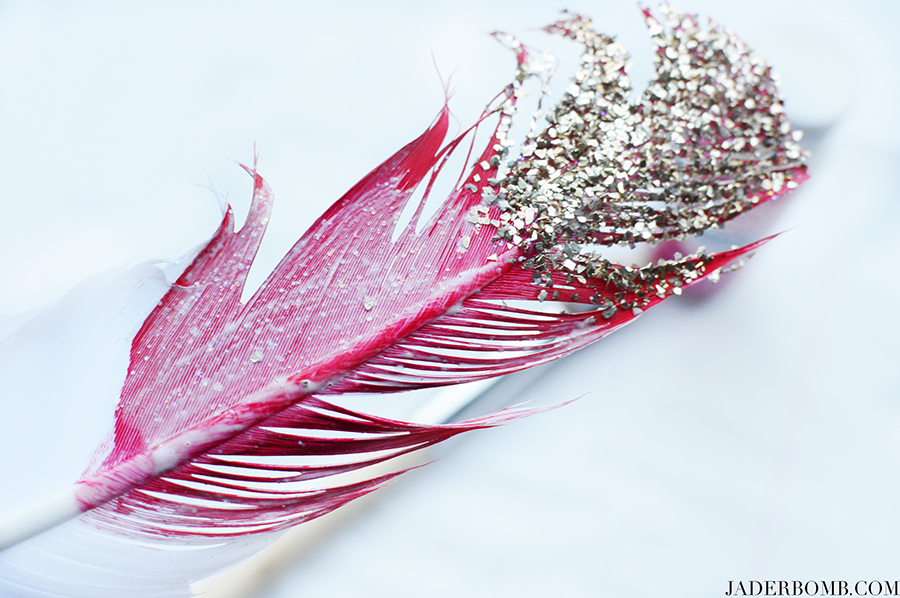
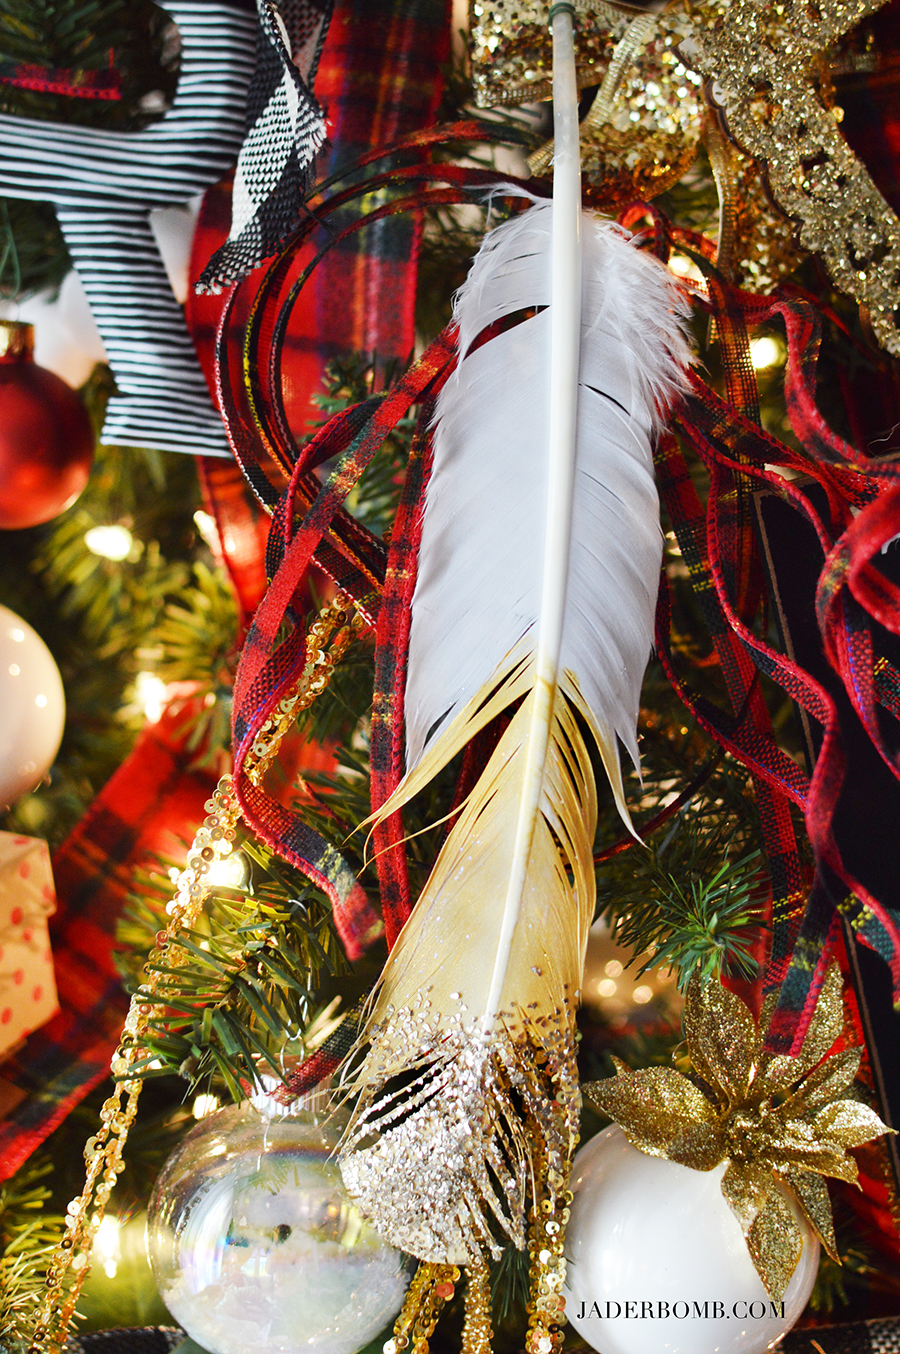
Step 6: After your glitter section is dry apply a nice layer of Mod Podge Sparkle over the entire painted section, also over the glitter. We want to seal all this awesomeness onto the feather. sealing with mod podge

feather christmas ornaments

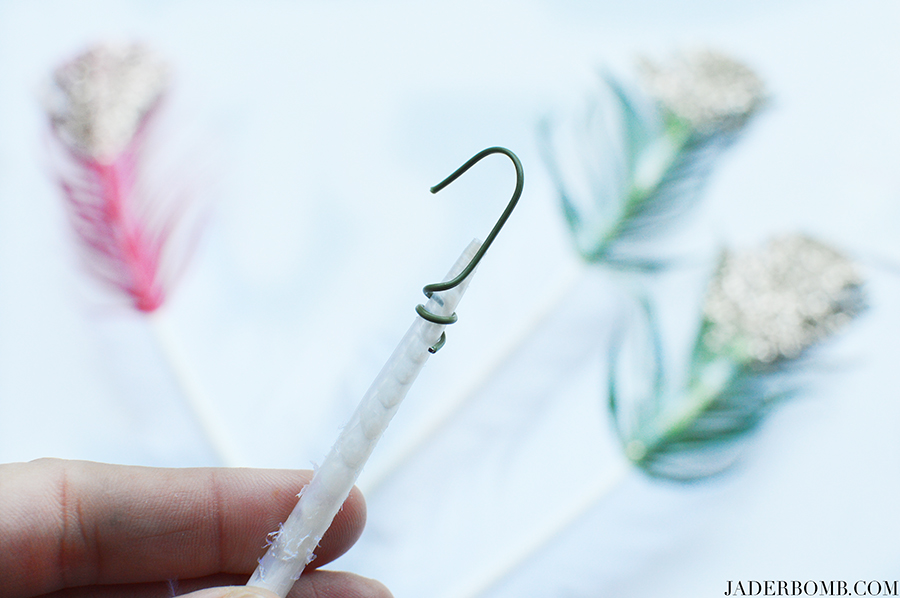
Step 7: Take a normal Christmas hook and straighten up on end, then wrap it around the bottom of the feather. Frankly I think they look so cool like this. You could also use ribbon for this part or cool wire! how to make a christmas hook

And just like that you have amazing glittery feather ornaments. I think I will make a ton more and make cute garlands for my house. Whatcha think! What colors will YOU USE? easy diy ornament

diy ornaments

feather ornaments

Learn more about Plaid Crafts on social media! Trust me you need to stalk them, hehe!

I hope you enjoyed this project and you share it with the WORLD! Let’s face it we all need ice cream ornaments in our life.

Come visit me on all my social media sites! Just search JADERBOMB on all of them!
FACEBOOK | INSTAGRAM | PINTEREST | TWITTER | GOOGLEYOU TUBE

XOXO Jade

This is a sponsored post. All opinions are 100% mine.

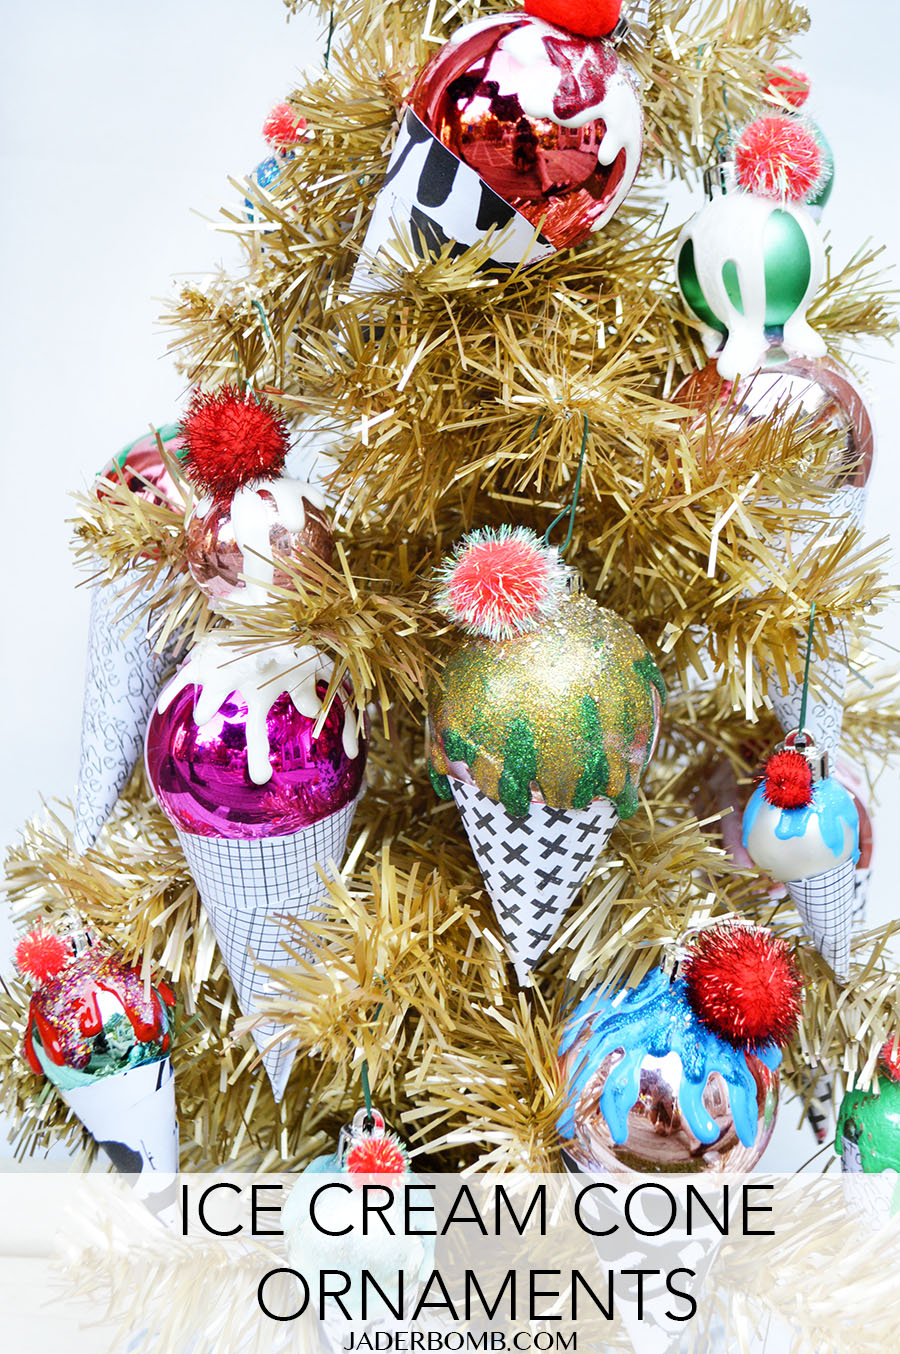
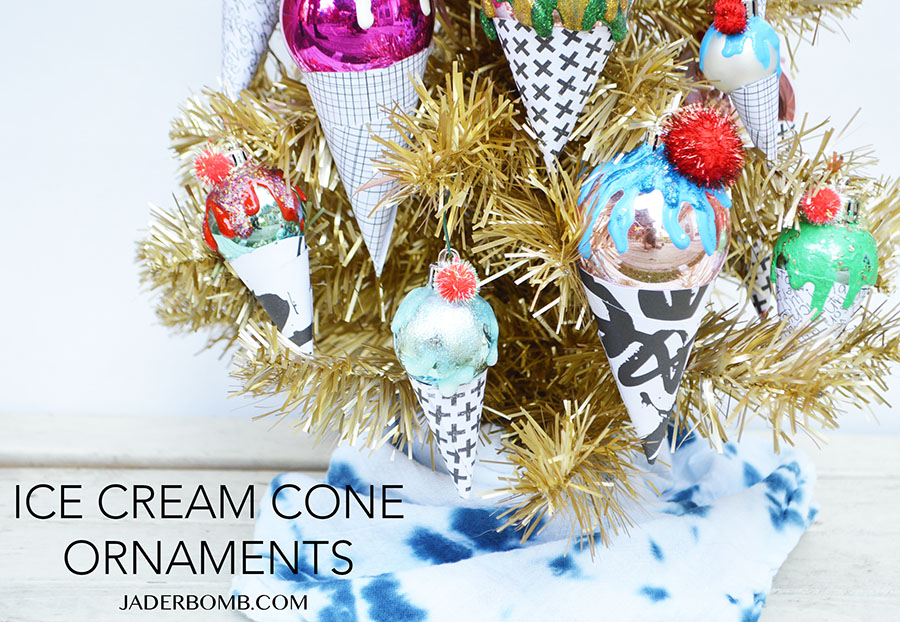
Howdy Hoo Jaderbugs, today I will be showing you how to make your very own Ice Cream Cone Christmas Ornaments. I don’t know if you remember last year when I made my CupCake Ornaments but let me tell you they were such a hit! I wanted to do something different this year. I have so much fun making festive ornaments for my tree and I love that they are so easy anyone can do them. Sometimes I make things that I want to eat, literally! You know those things you create and you walk by them and always stop to admire them. Yeah, that is how I feel about these suckers. I won’t lie to you the products I used in this project were key. So don’t make them without the awesome glitter dimensional paint.

Worried Santa will fill your stocking with your brother’s stuff because you left your stockings nameless this year? Scared to walk into an ugly Christmas sweater party and see someone else wearing the same thrift store sweater? From personalized Christmas decor to sparkly ornaments and   ugly sweaters, avoid disaster and make this holiday season uniquely yours with Tulip Dimensional Fabric Paint.

Make sure to check out all my projects I have made for I Love to Create HERE.Ice Cream Cone Christmas Ornaments - DIYAre you drooling yet? I have this old aluminum tree and I am thinking about making more and filling the tree with them. Wanna come to my house and help me make them??? Come on, it will be fun. We can sit at my table, drink coffee and make non edible ice cream cones. holiday diy ornamentsyou will need
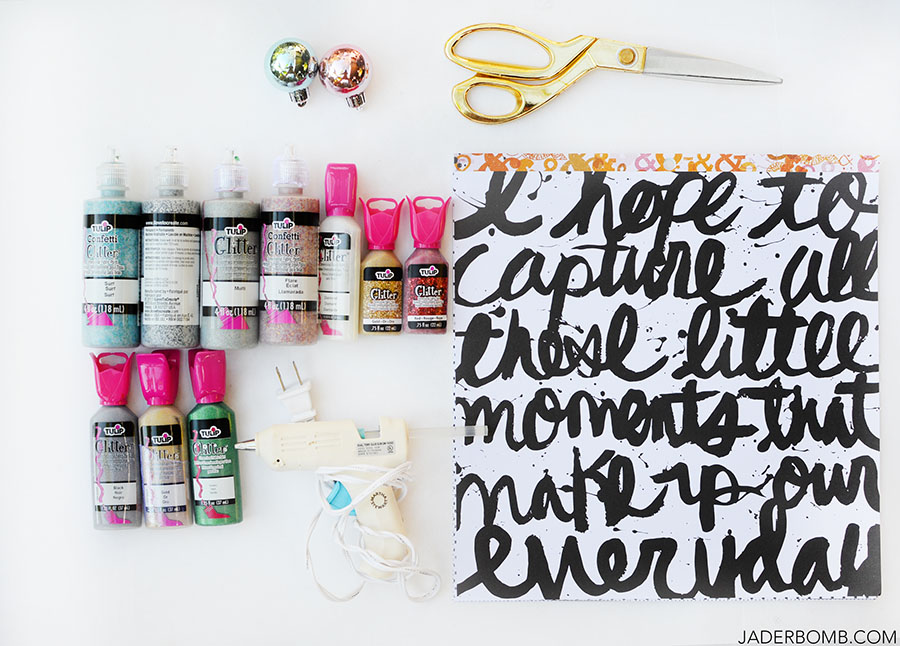
*Tulip Dimensional Paint
*Glue Gun
*Scissors
*Scrapbook Paper
*Christmas Ornaments
*Lotsa Love ice cream cone ornament supplies
You can purchase all of the dimensional products I used in today’s post HERE.

Tulip Dimensional Fabric Paint is available at Walmart, Jo-Ann Fabric & Craft Stores, Hobby Lobby, Michaels, AC Moore, Amazon and most other major craft supply stores.

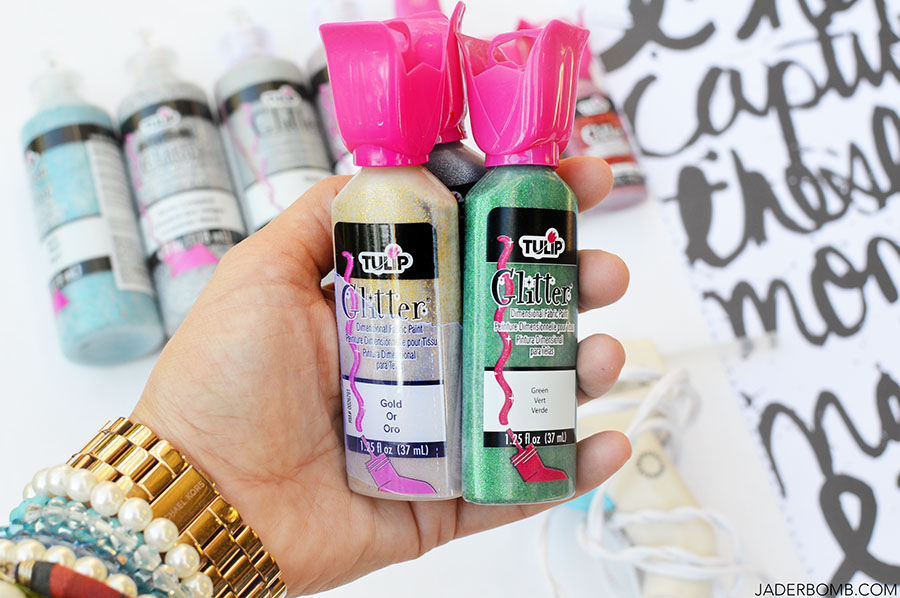
I literally keep this stuff stocked in my studio. You will be so surprised how much this stuff comes in handy for the most random projects. They have this new Confetti Glitter that is so beautiful. It looks matte when you first squeeze it out but when it dries it’s like a glittery heaven. GLITTER PAINT
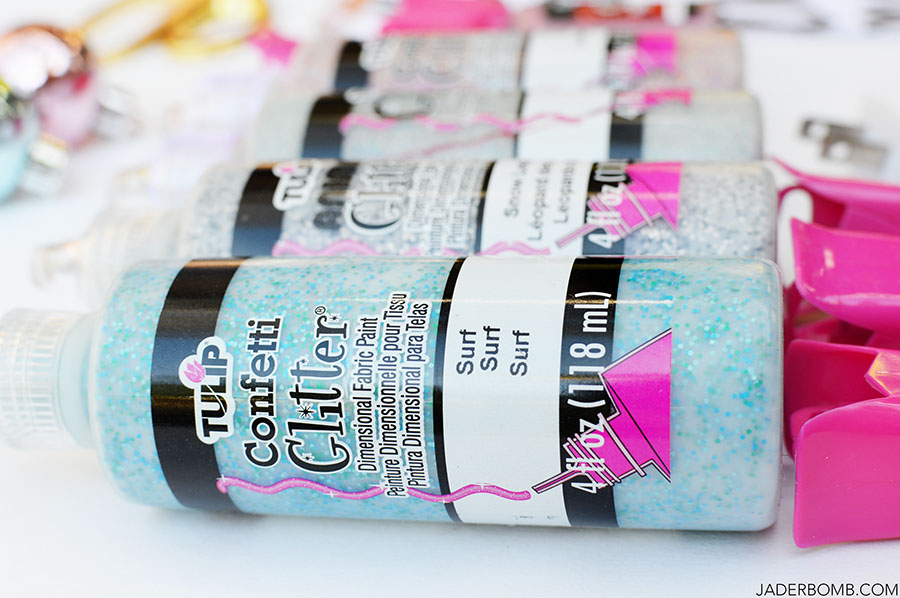
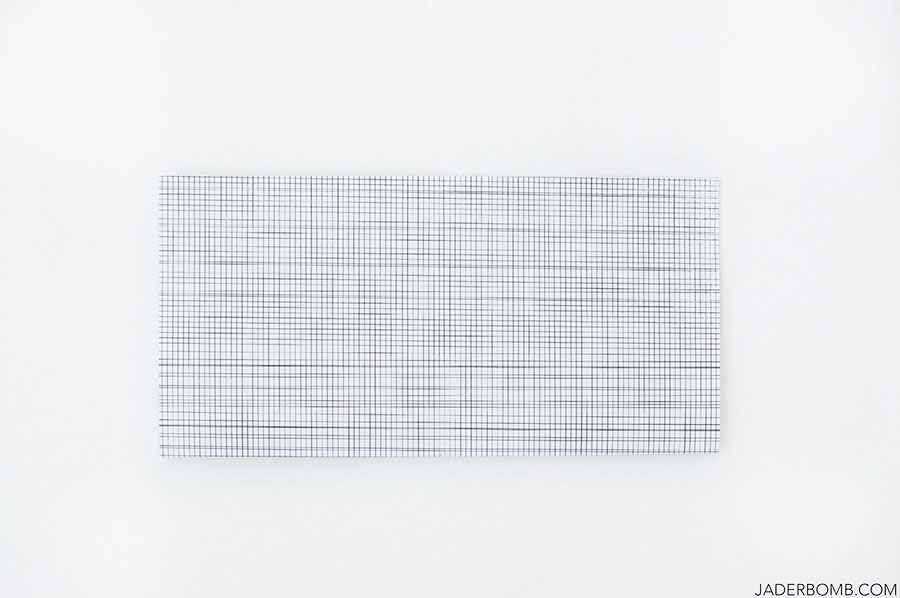
Check out these amazing Christmas colors. Tulip has a great Christmas pack that is totally necessary in your life. glitter puff paintSTEP ONE – Get a sheet of scrapbook paper and lay it on a flat surface then fold it in half.
I wanted to do all black and white designs for my cones so my color would POP!
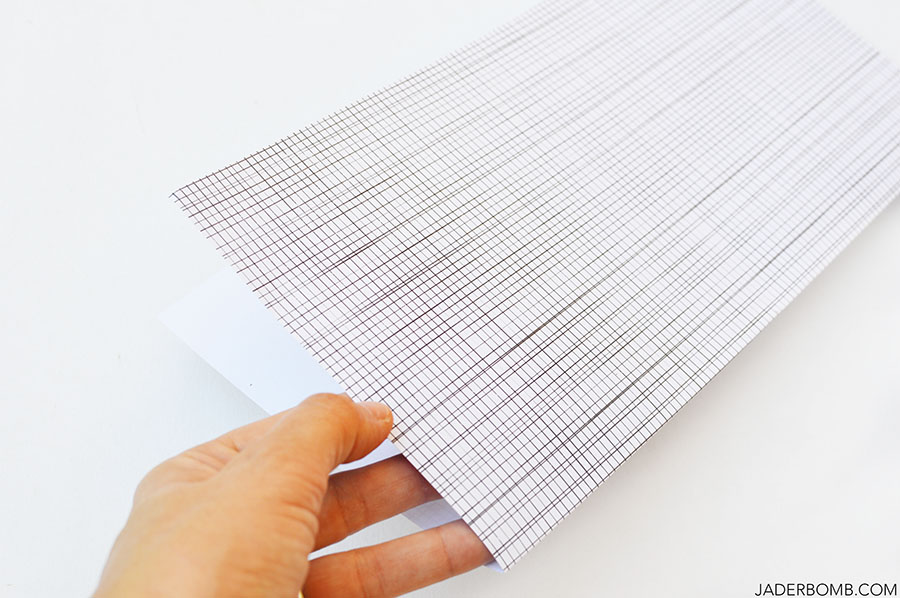
black and white patterns

This is what it should look like once you fold it in half. Easy right!
cutting paper

STEP TWO – Fold that half in another half. It will look like the size of a greeting card at this point. diy christmas ornamentsSTEP THREE – unfold your sheet and it will look like it has four squares. Now you can grab those handy dandy scissors and cut along all the lines.
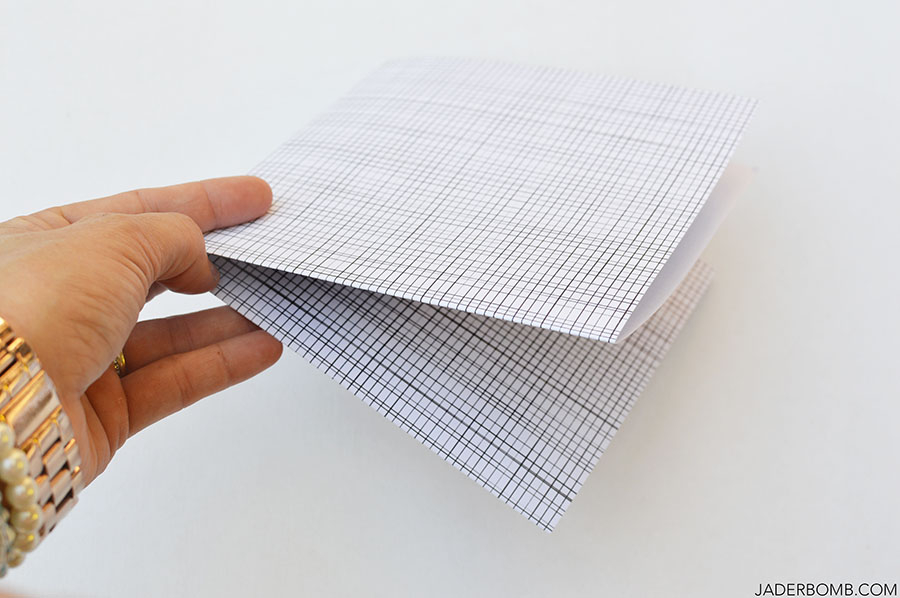
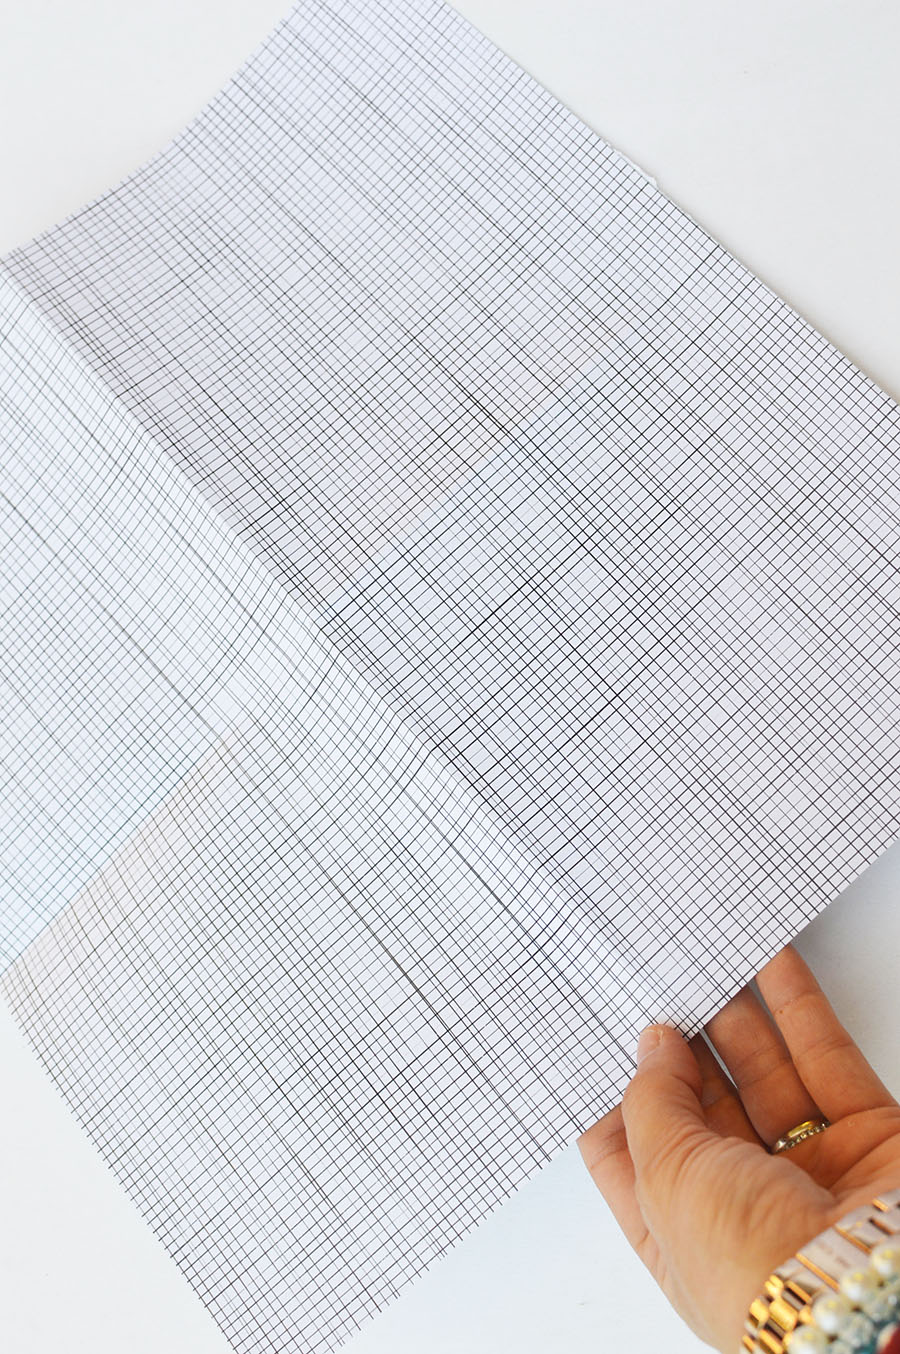
striped scrapbooking paper

You will have four squares ready to get folded into baby cones. christmas ornament tutorial
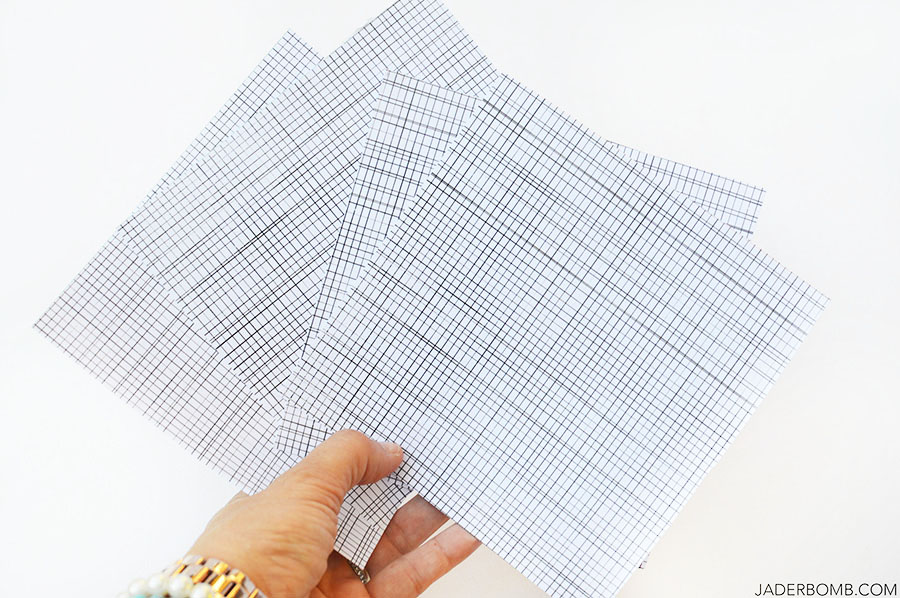
STEP FOUR – Cut out a circle in each small square. I free handed my circle because honestly in the end it will not matter if it’s perfect. However if you are a perfectionist you are more than welcome to place something down and trace a circle. The bigger the circle the bigger the cone.

These four small squares will give you smaller cones. If you want to do a bigger cone you can use one whole sheet of paper for one large cone.

Once you start making your circles you will get a feel for what size you prefer. I like to have a variety of small and large cones.
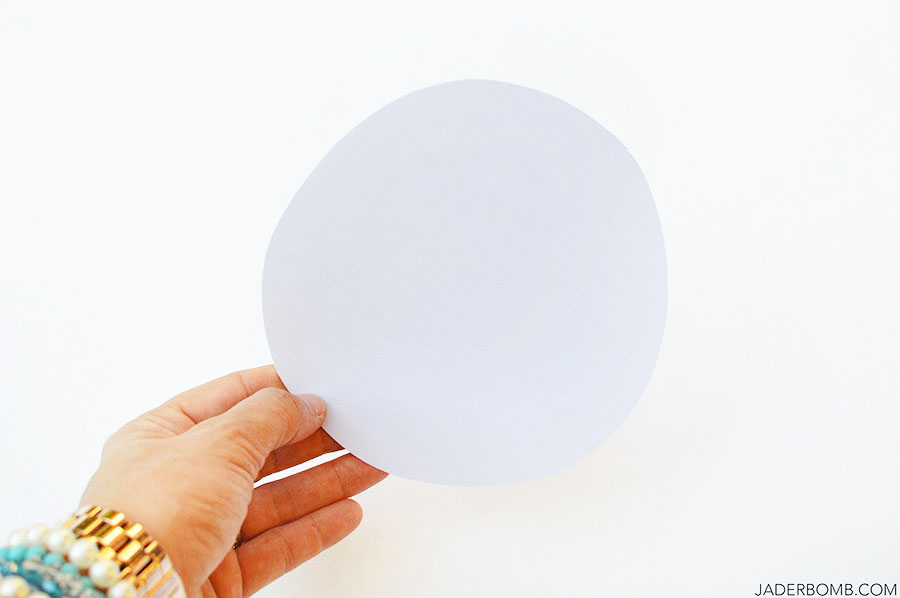
how to cut a circle

STEP FIVE – cut out a piece of pie from that circle. Again, it does not matter if it’s exactly perfect. how to make a cone
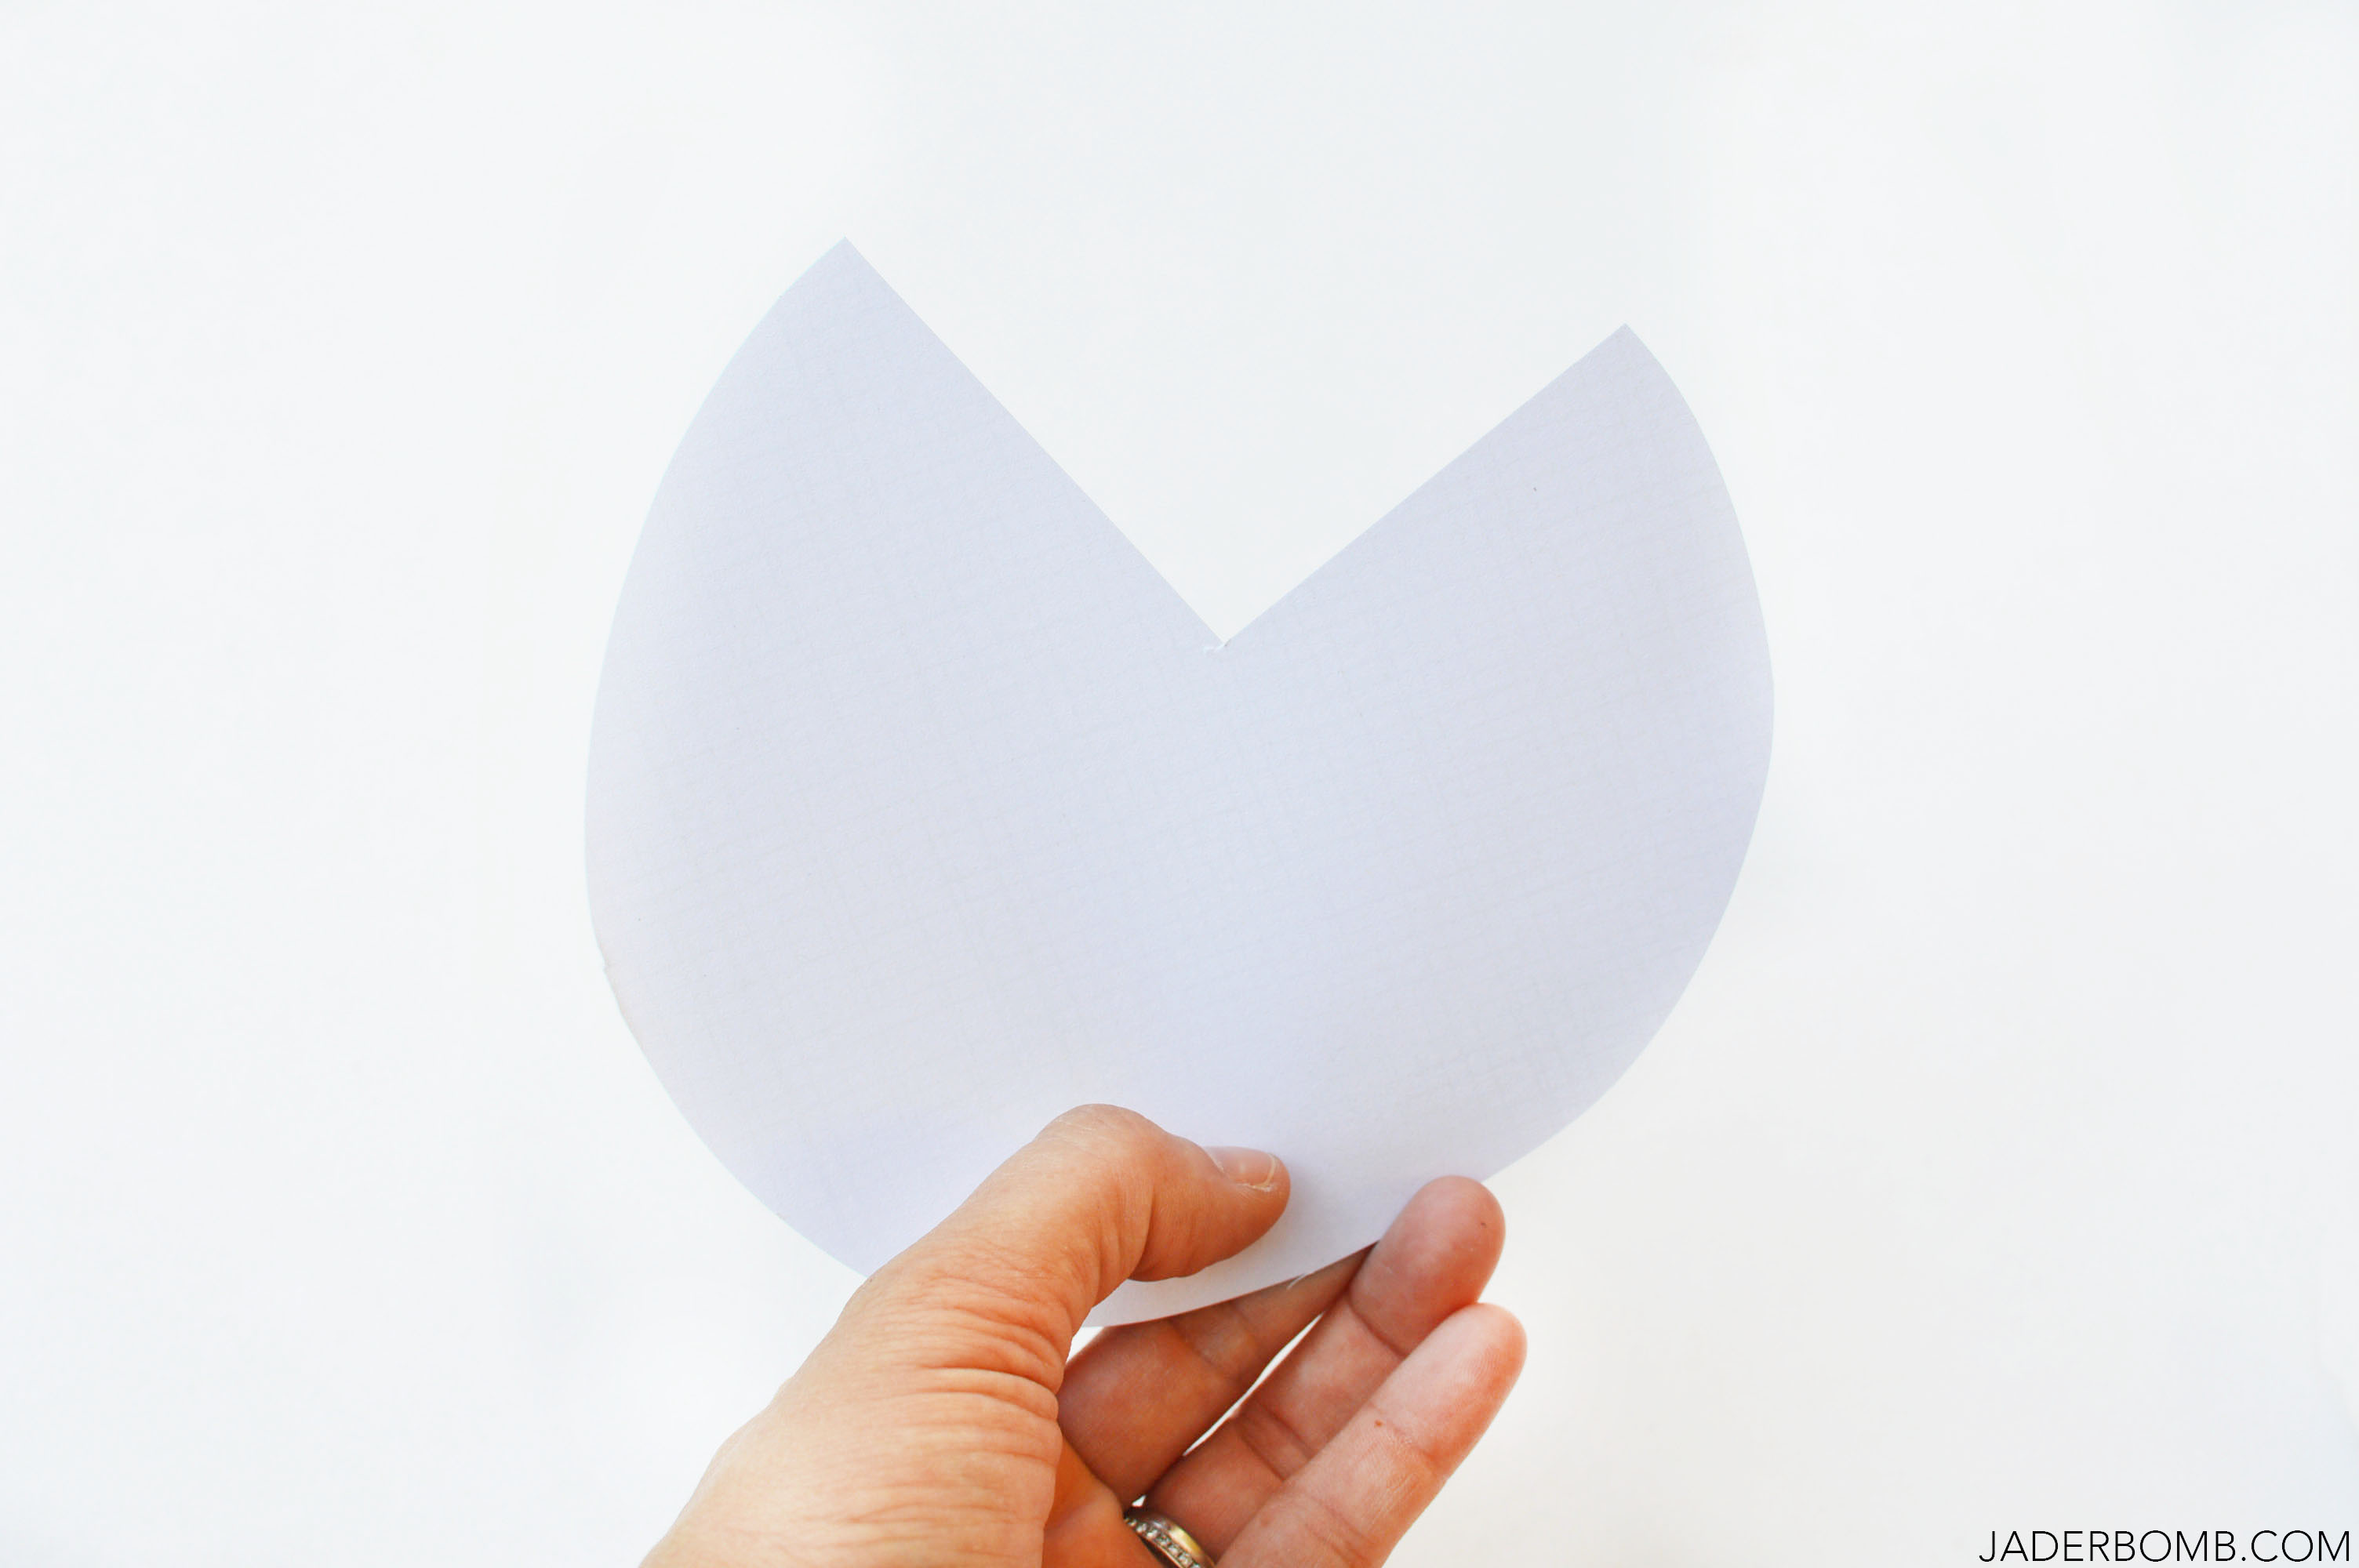
STEP SIX – Take one end of the pie and fold it over continuously folding into the cone shape. It’s almost like twisting the paper and after a few times you will understand what I mean. I will be honest and tell you it’s SUPER EASY, can we hug now? paper cones
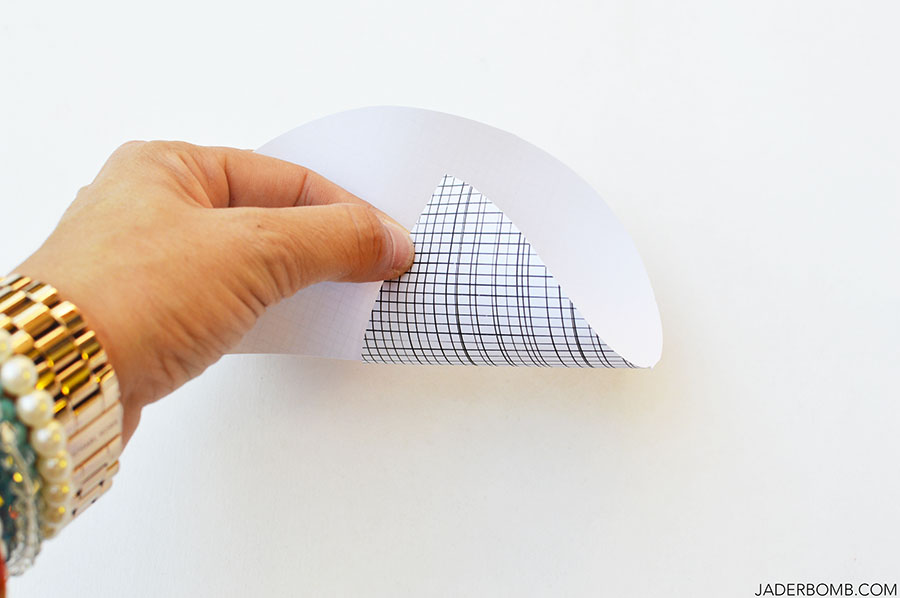
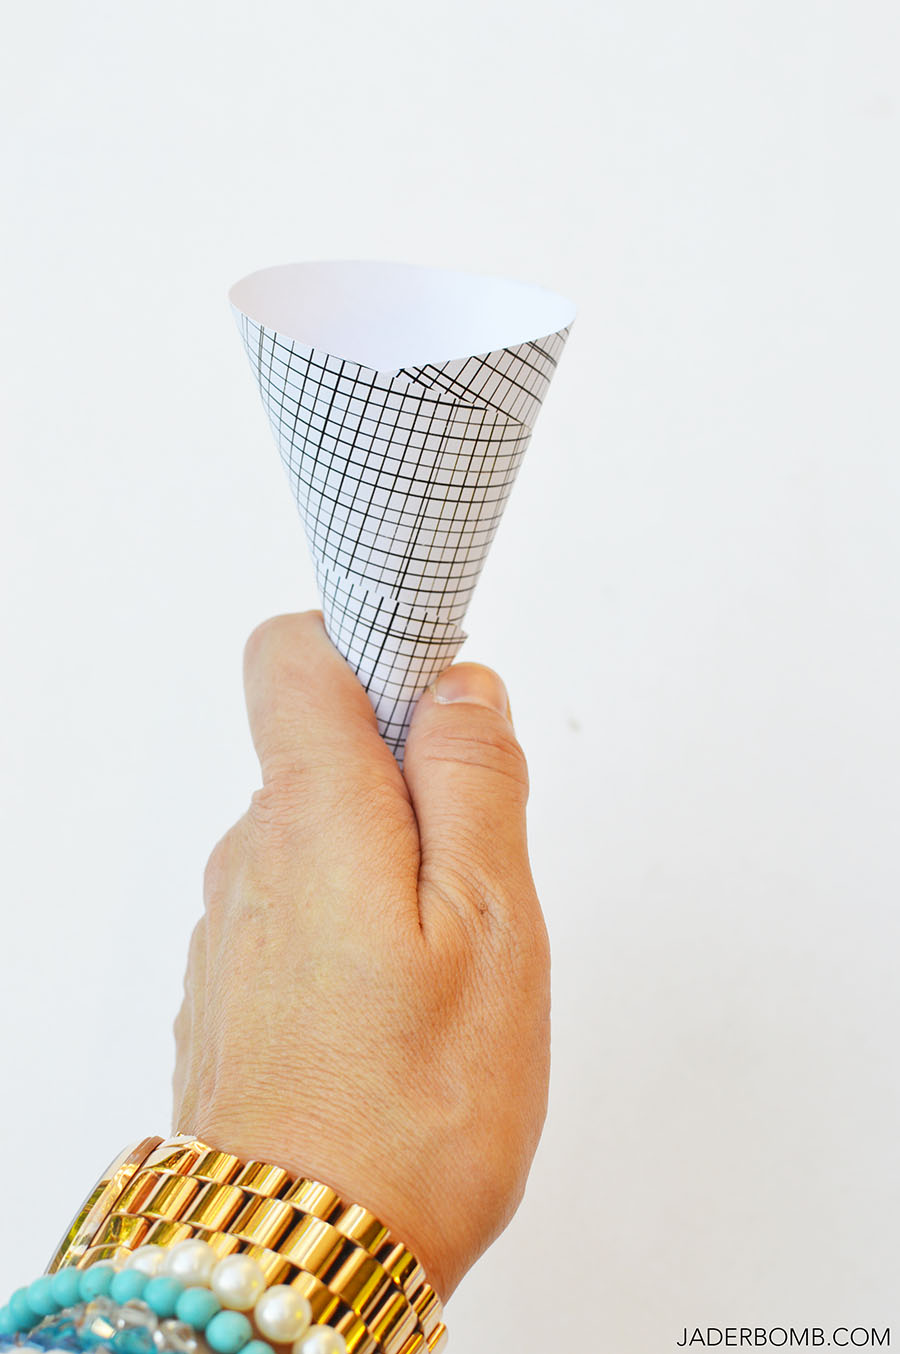
Tadahhhhhh! We now have our very own paper cone. I seriously love this pattern!  Once you are done rolling the cone you can add a drop of hot glue to the end to secure the paper in place. diy paper cones
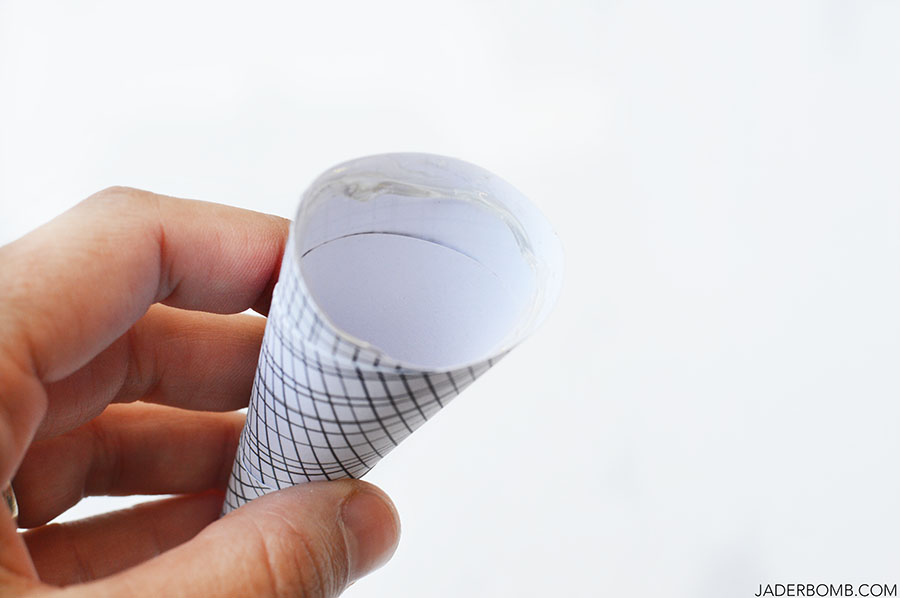
STEP SEVEN – Once your cone is all rolled up you will line the inside of the cone with hot glue. I will warn you to work a little fast at this point because you don’t want the glue to dry before you put the ornament inside. martha stewart hot glue gun
STEP EIGHT – Quickly place your ornament inside of the cone. Make sure to leave the part that you put the hanger in at the top. This is also where we will be putting out cherry! Wait, do ice cream cones have cherries on top? If not then mine do, hehe!cupcake ornaments
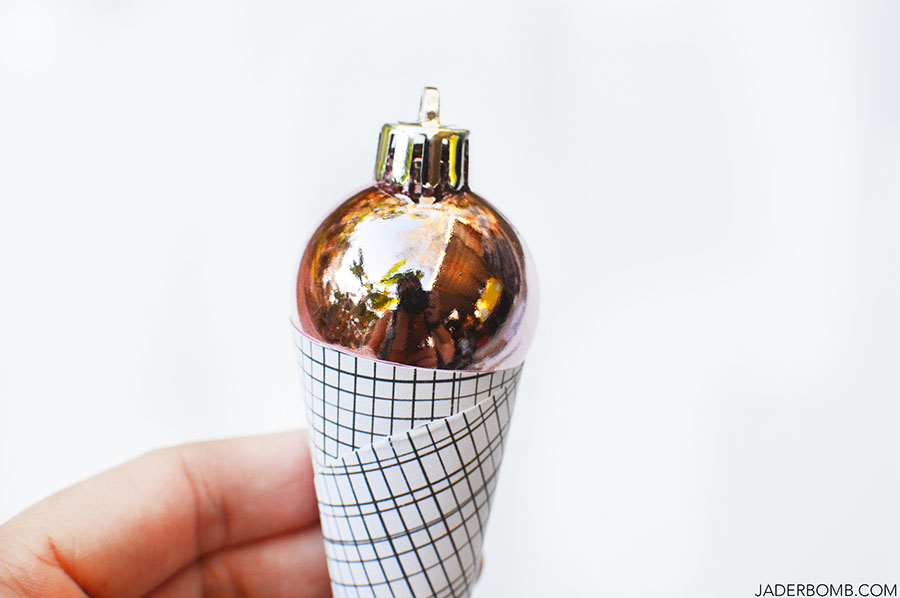
Once you are done making all of your ice cream cones we will add the dimensional paint to look like they are dripping off the ornament. Now I know most ice cream cones are not colorful but mine are and I like it that way. Just a tip, if you want you can use ornaments that reflect real flavors of ice cream.

How long does it take to dry? 
Depending on application thickness, Tulip Dimensional Fabric Paint has a dry time from 2-8 hours. I recommend letting your project dry overnight; it is washable after the paint has fully dried. ice cream cone diy

NON TOXIC
Tulip Dimensional Fabric Paint is nontoxic. However, we discourage the use of the product around the rim of any dinnerware or stemware. Tulip Dimensional Fabric Paint is for fun with friends, not food.

You can add one solid color  then come back on top with the dimensional glitter paint. Remember, this stuff dries clear so it will look completely different once they are dry.
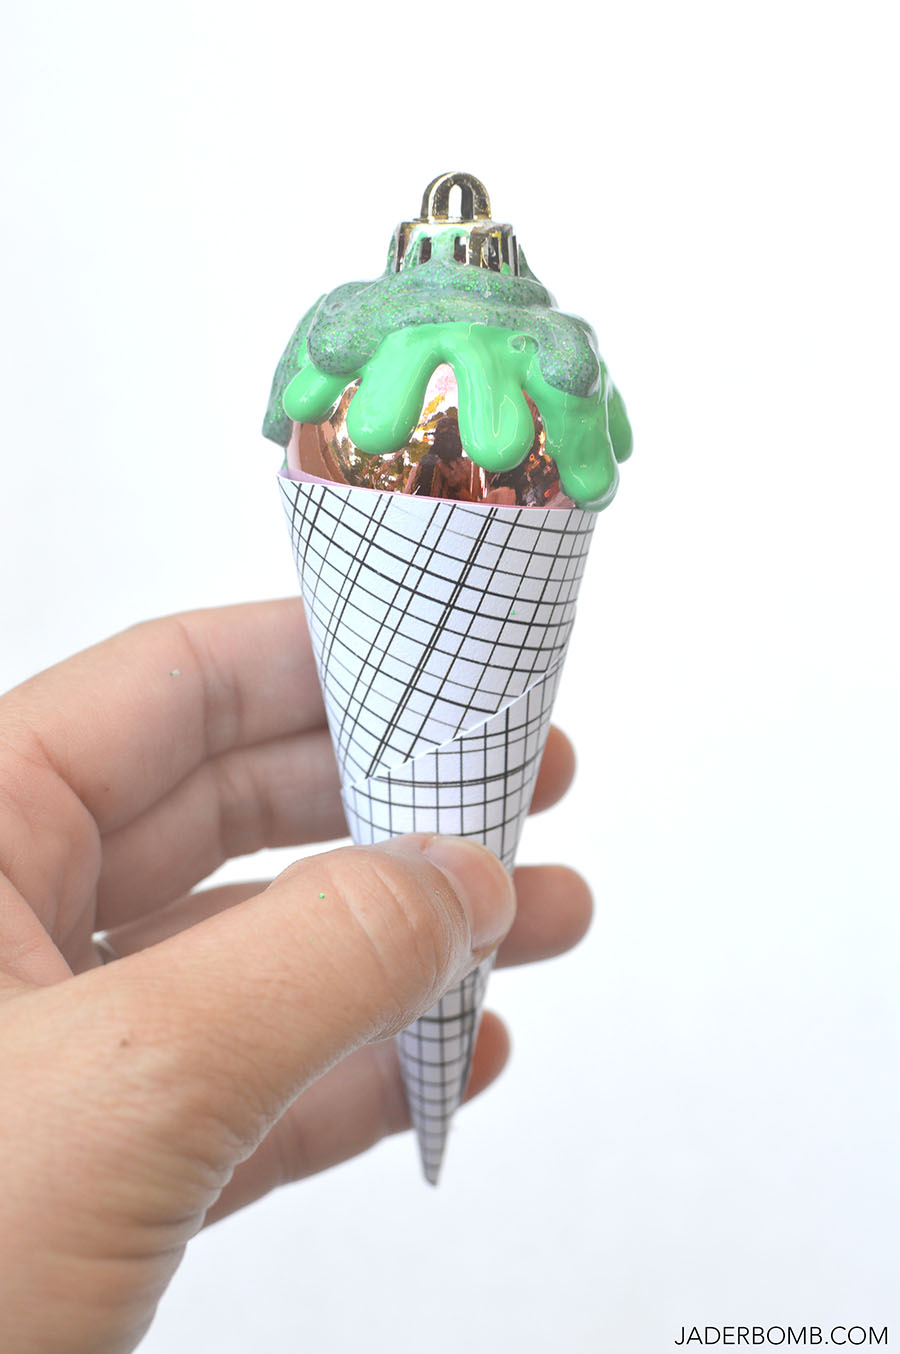
green puff paint

I added some glittery red paint to the top to mimic a cherry however you can also glue red pom poms on top.  candy christmas
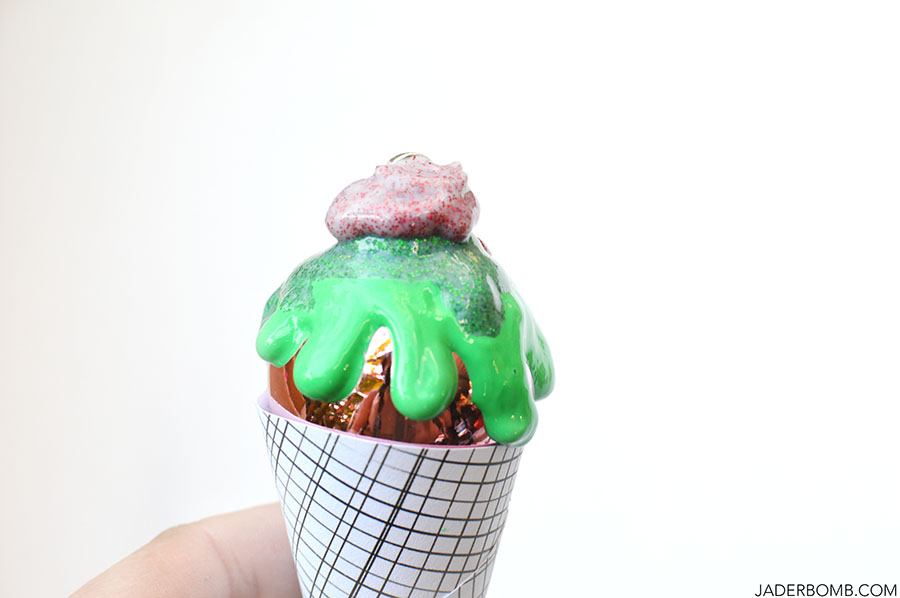
How stinking CUTE! I love that these are so precious you can literally keep them up all year long. Yes. I am that person that has a hard time putting things away that look like this. You could also add them to packages to add some spice. icecream cone diy ornaments
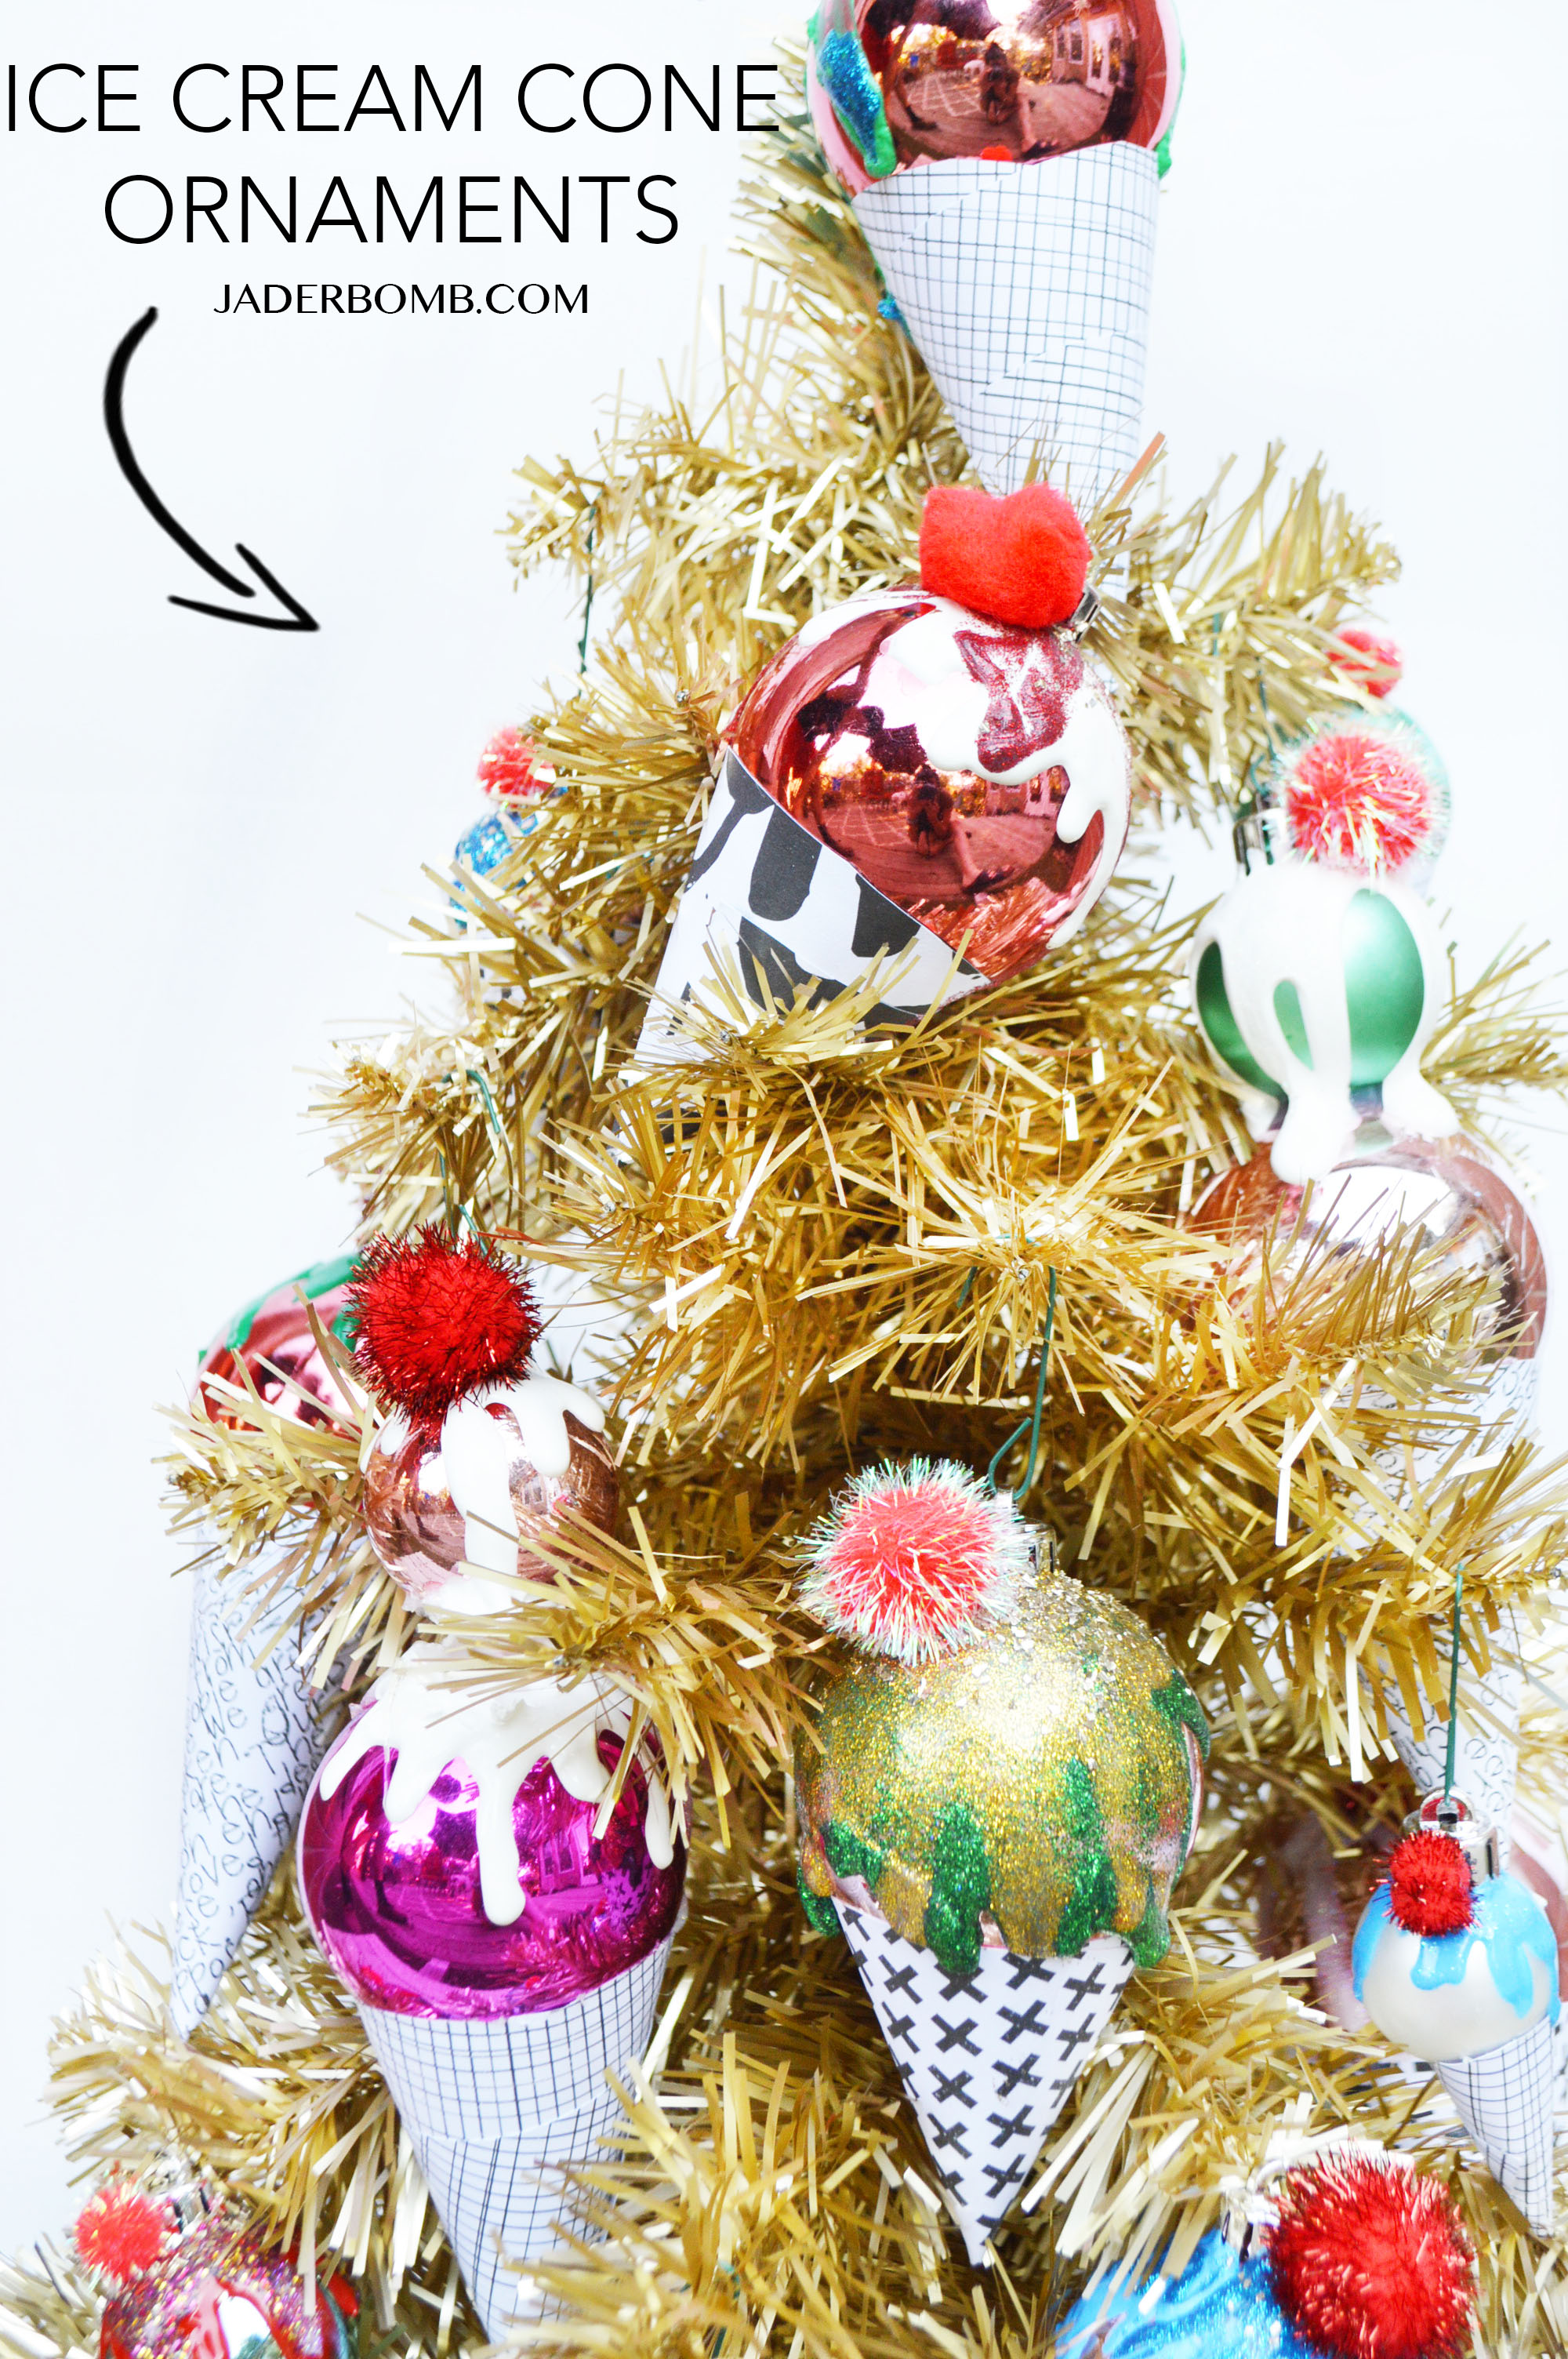
holiday ornaments

I hope you enjoyed this project and you share it with the WORLD! Let’s face it we all need ice cream ornaments in our life.

Come visit me on all my social media sites! Just search JADERBOMB on all of them!
FACEBOOK | INSTAGRAM | PINTEREST | TWITTER | GOOGLEYOU TUBE

If you share this project on your social media make sure to use these hashtags so we can all see what you make.
#puffypaint #diychristmas
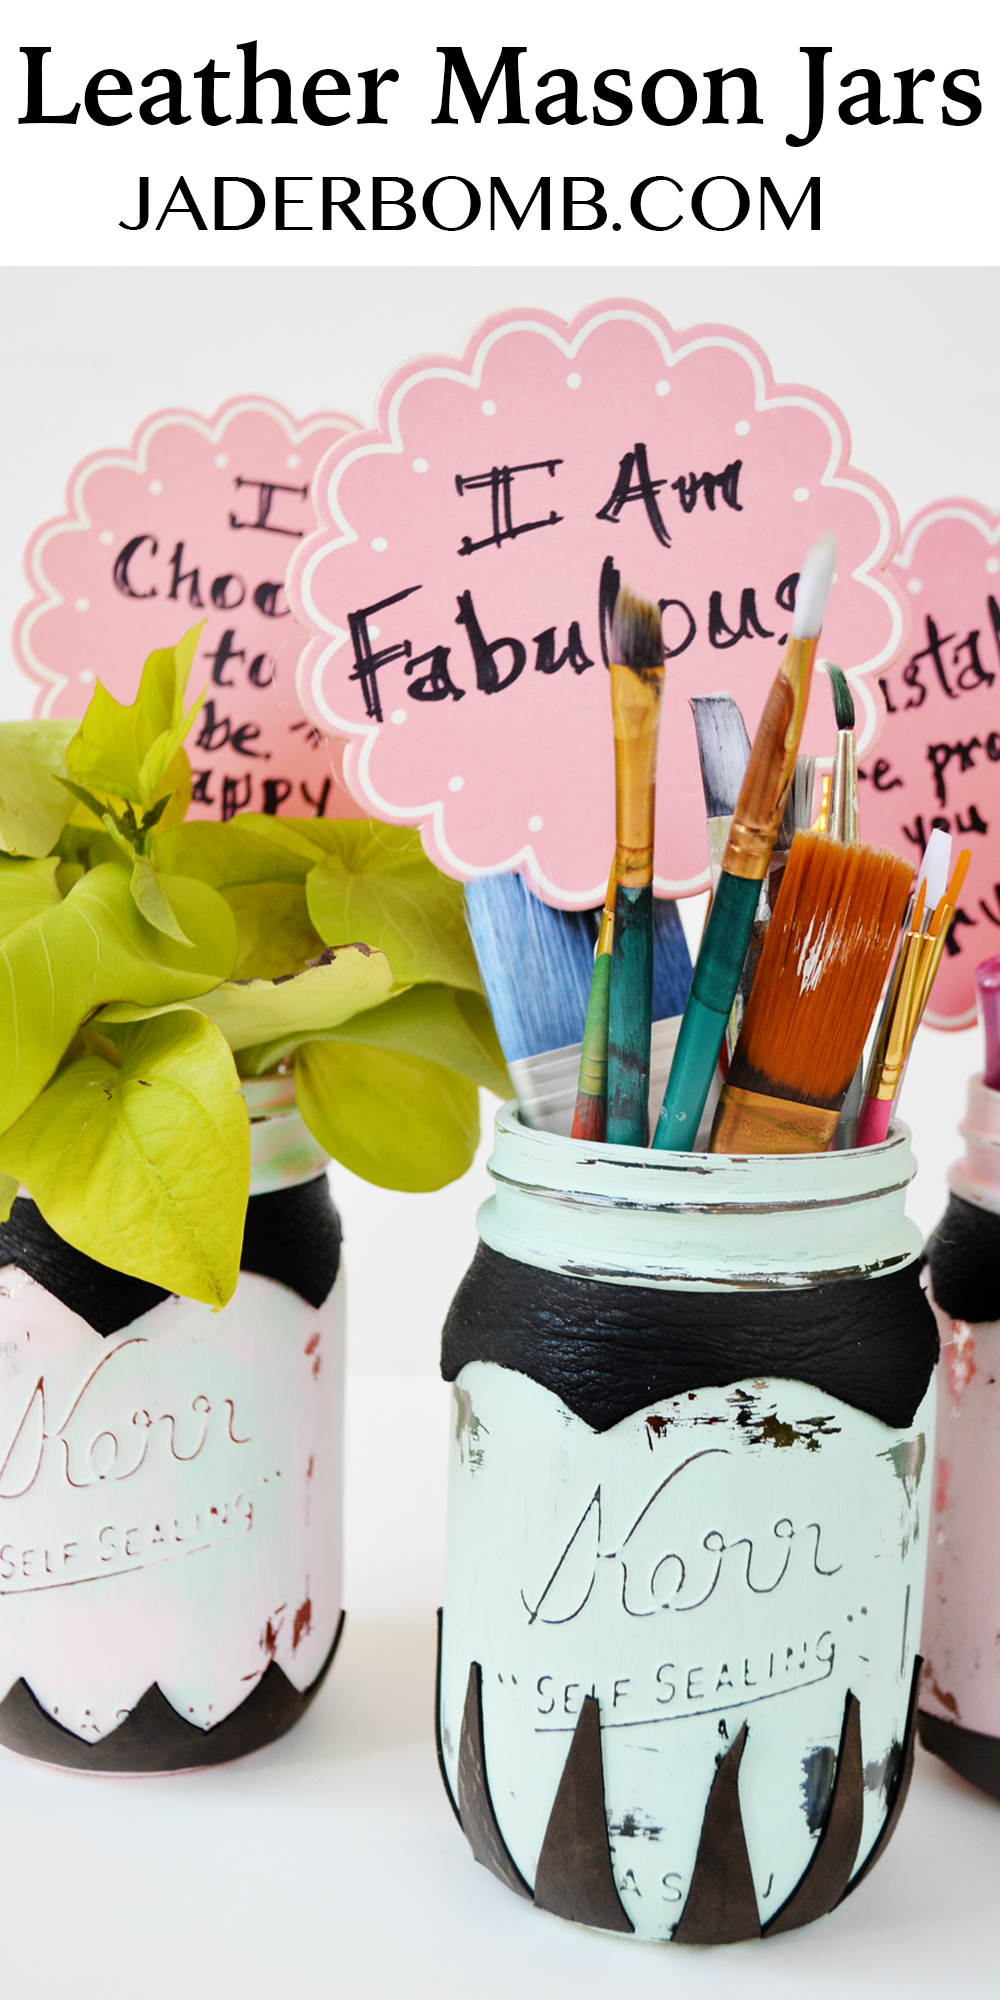
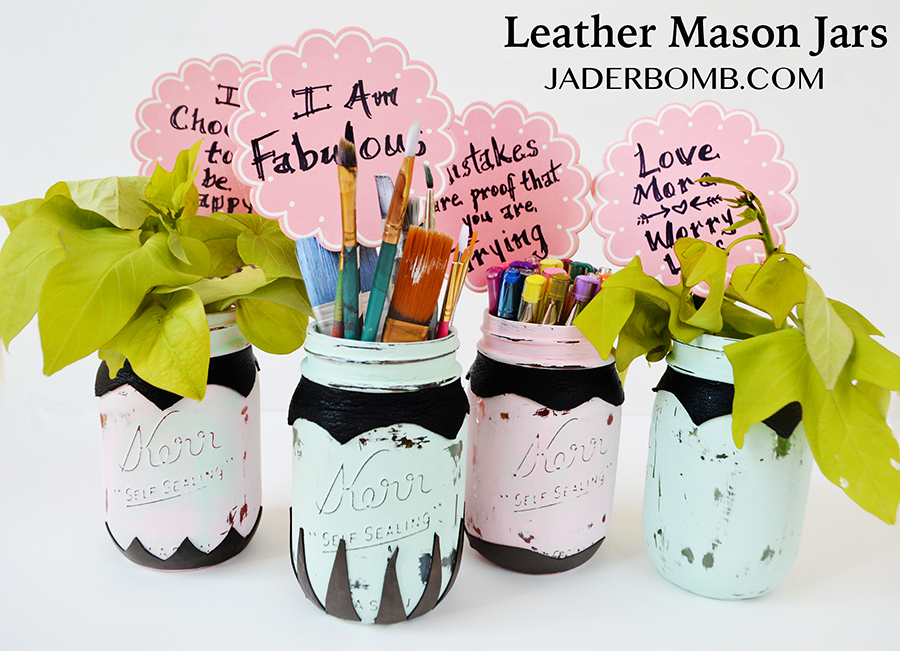
Hi Friends! It’s been a hot minute but that’s ok because I have been whipping up some rad projects in the studio for you! Today I will show you how to make these classic Leather Mason Jars.

I while back I was contacted by Xyron to review their new Creative Station. I have never used any of their products before so you can imagine my excitement! Now I know a lot of crafters out there use this machine for scrapbooking however I wanted to change it up and do a cute DIY for you.

This is a sponsored post. All opinions are 100% mine.

Creative Station

A bold new design and great new features add even more versatility to the all-in-one Xyron Creative Station™. Adding adhesive, magnet or laminate to your projects has never been easier. Now you can use both 5in and 9in Creative Station cartridges letting you replace 2 of your machines with this one sleek gadget. Save space at home and waste less by changing the refill size to fit the project. When you upgrade to the new Creative Station, you will love using the same patented cartridges you have always trusted for your most important projects.

leather mason jars

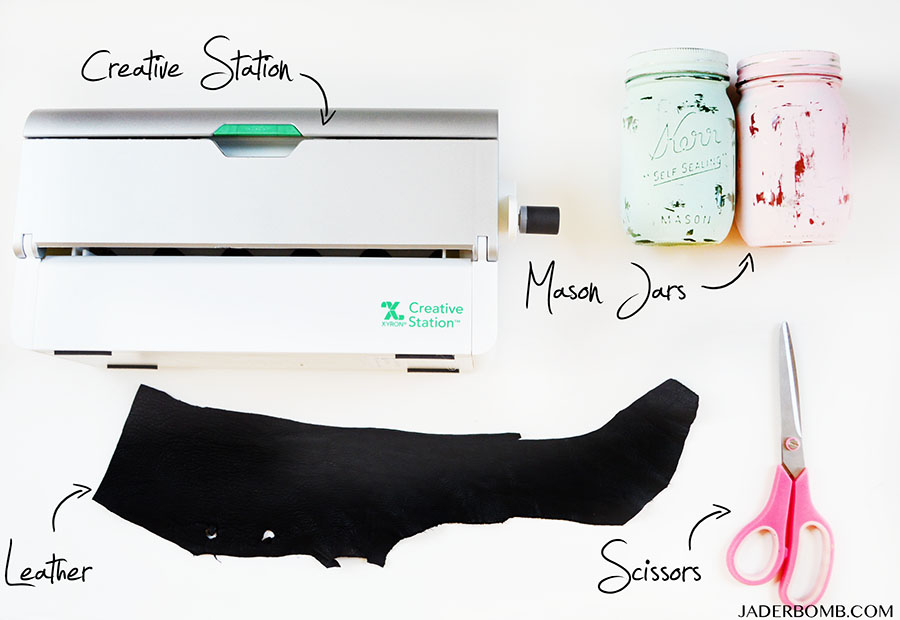
You will need:
*Creative Station
*Mason Jars 
*Leather
*Scissors

The mason jars I used in today’s post I created a while back. You can click HERE to see exactly how I made them. Trust me they are so easy to make and SUPER fun!

Create.

With the all new Creative Station, your projects will look better than ever – no matter how big or small!

creative station

First I want to go over a few things on the new Creative Station. It’s really easy to work with and you will realize it when you get it.

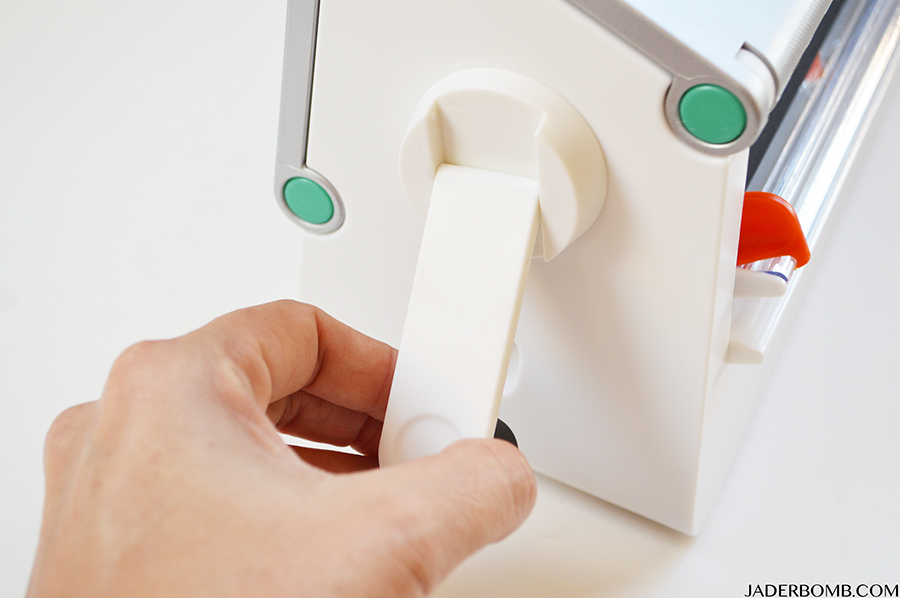
On the side of the machine there is a handle that is tucked into the machine. Simply pull it out and it will be ready to use.

craft tools

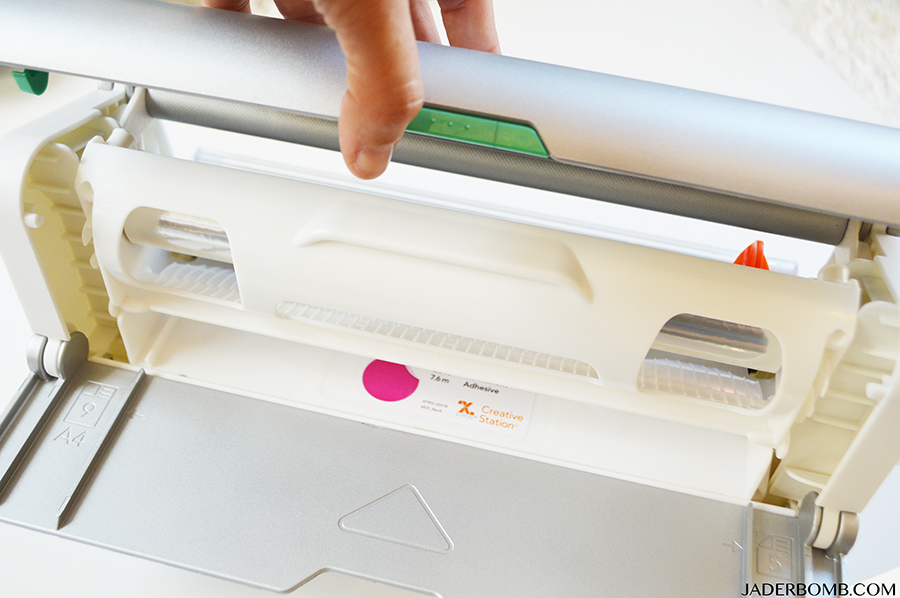
They have a green button on the from of the machine that opens the top portion. You will open this when want to refill or replace your cartridges. When you are done close the top piece securely.
creative station projects

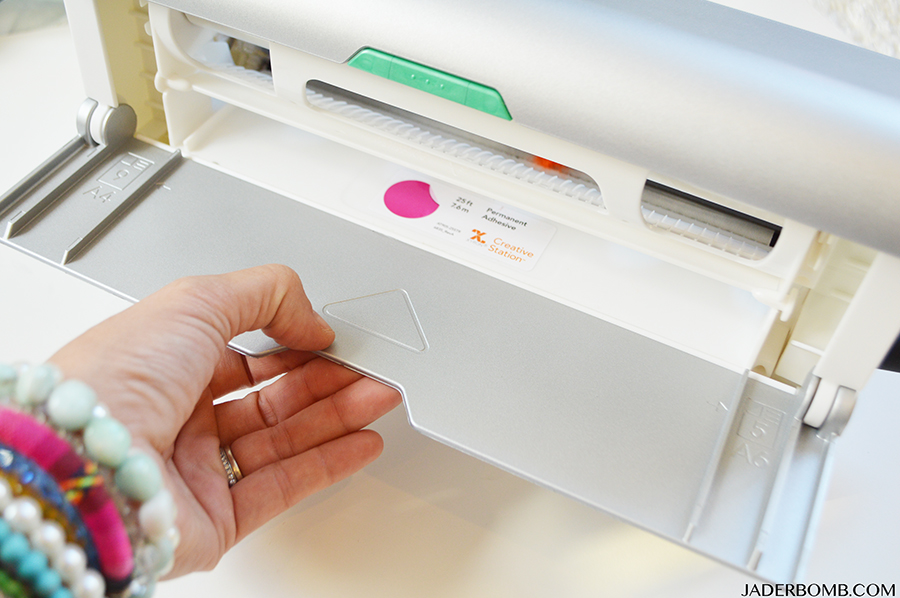
They have a silver flap that opens which allows you to place things on before sending it through the machine. It holds sheets of paper nicely also!xyron diy projects

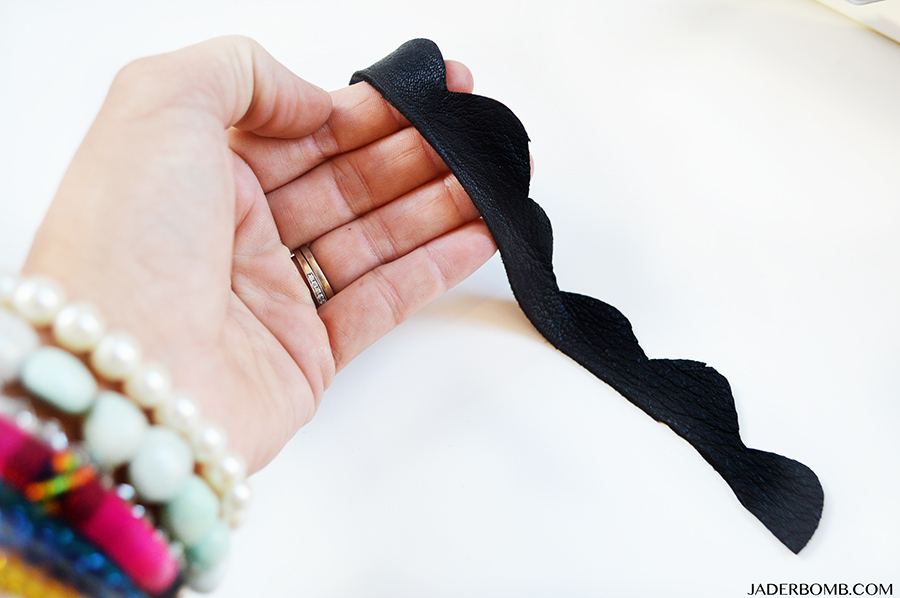
Step One: Cut your leather in the shapes you want. I wanted to have multiple shapes so I cut my freehand.
how to cut leather

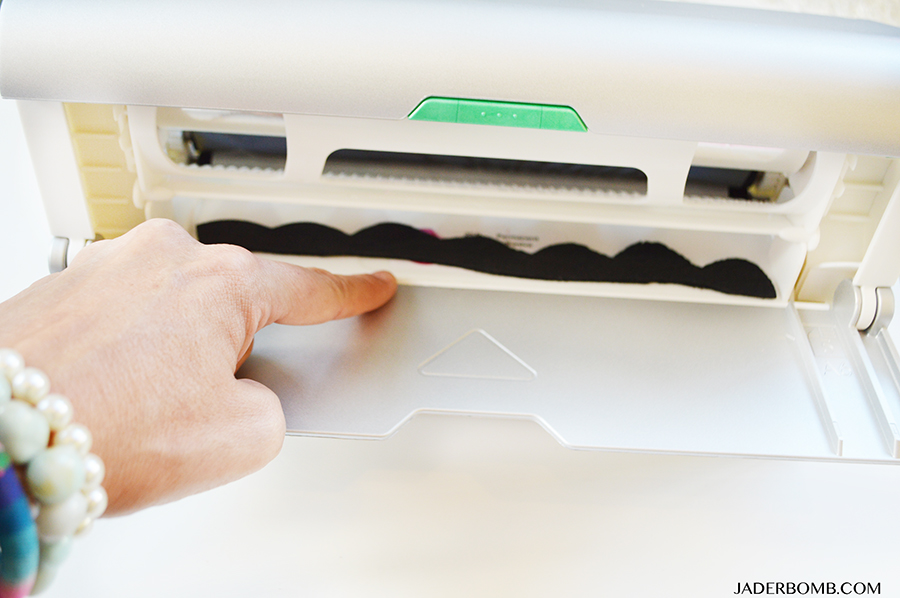
Step Two: Place your strip of leather horizontally on your machine then slowly push it in as much as you can. It will grab on to the tiny piece of adhesive which keeps it in the correct place before you send it through the machine.

When this is done slowly start turning the handle and you will be amazed at how easily it goes through the machine.

leather cut out

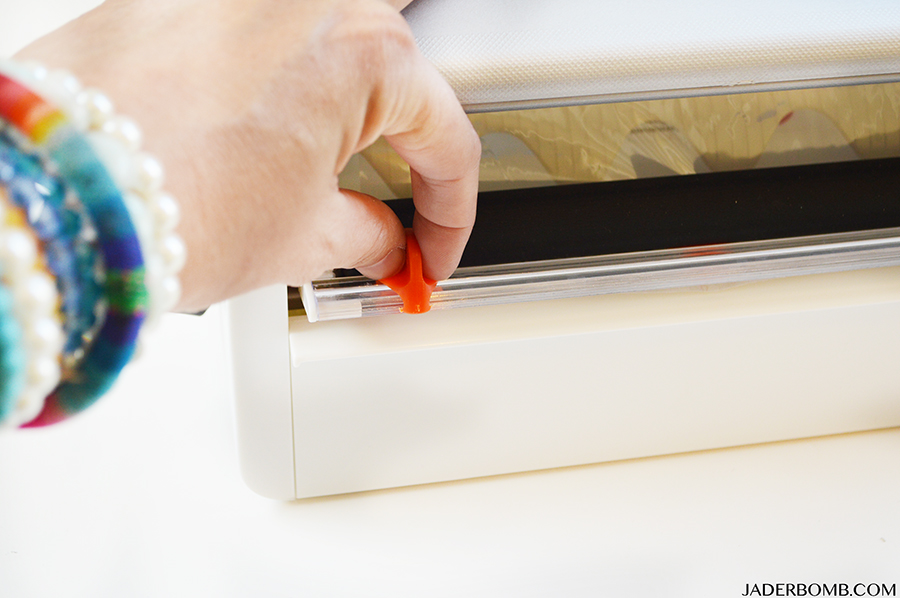
Step Three: When it comes out the other end you can use the orange nob to cut the paper. How easy is this!new xyron creative station

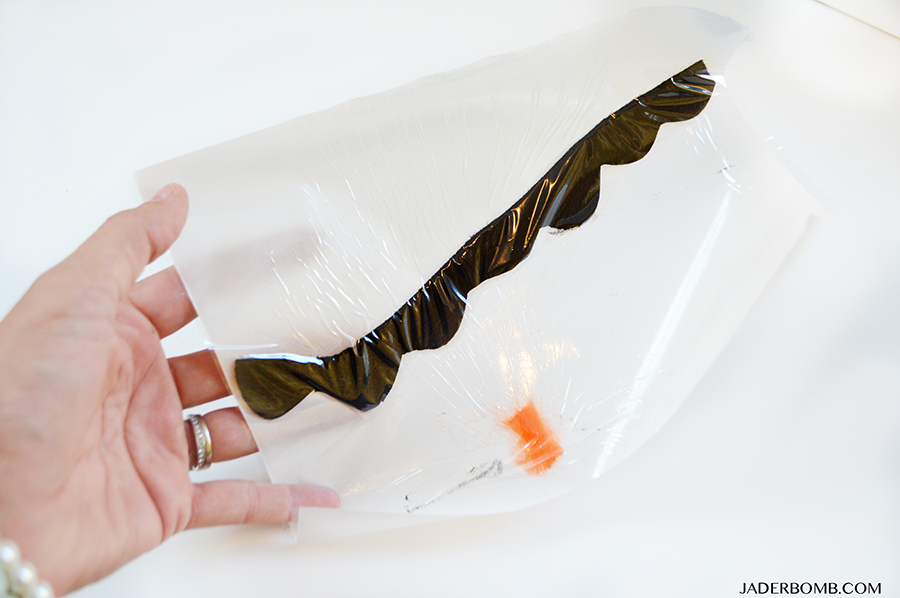
Step Four: Peel off the top layer and your leather will be exposed on top but still stuck to the bottom piece of paper. Gently peel it off and you will see all of the sticky adhesive stuck to the back side of the leather. fall projects

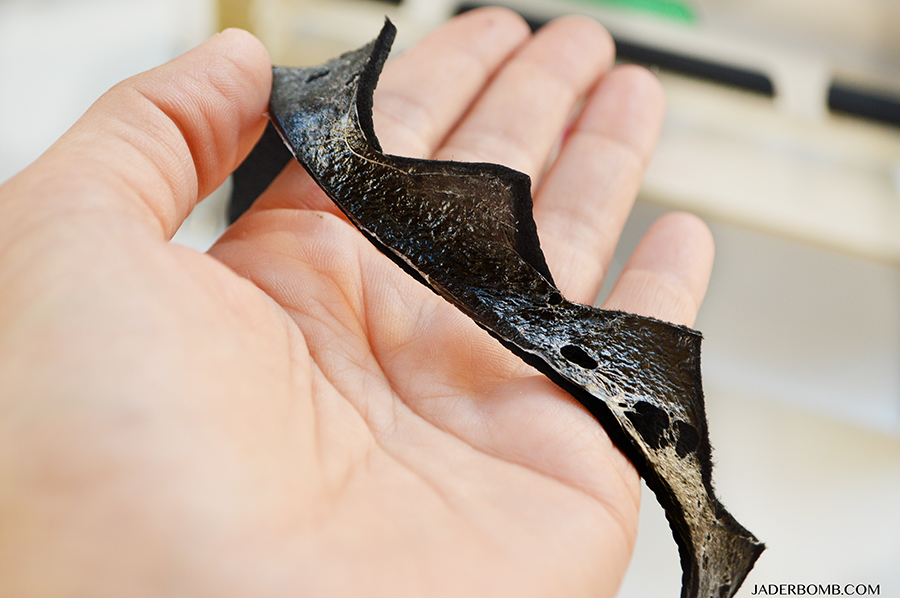
This is what the adhesive will look like once you peel it off the paper.

Bond.

The Creative Station is not JUST for paper, apply adhesive to burlap, fabric, felt, foam acrylic, wood and so much more!

xyron adhesive

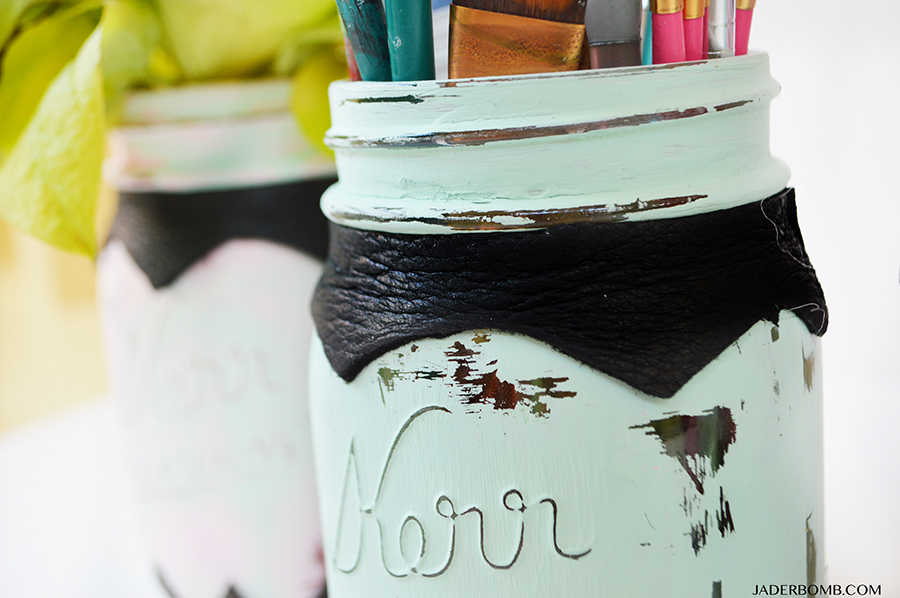
The leather is easy to move around once you peel it off the paper. I simply added the leather strips to the top of the mason jar to get the look I was going for. mason jar diy

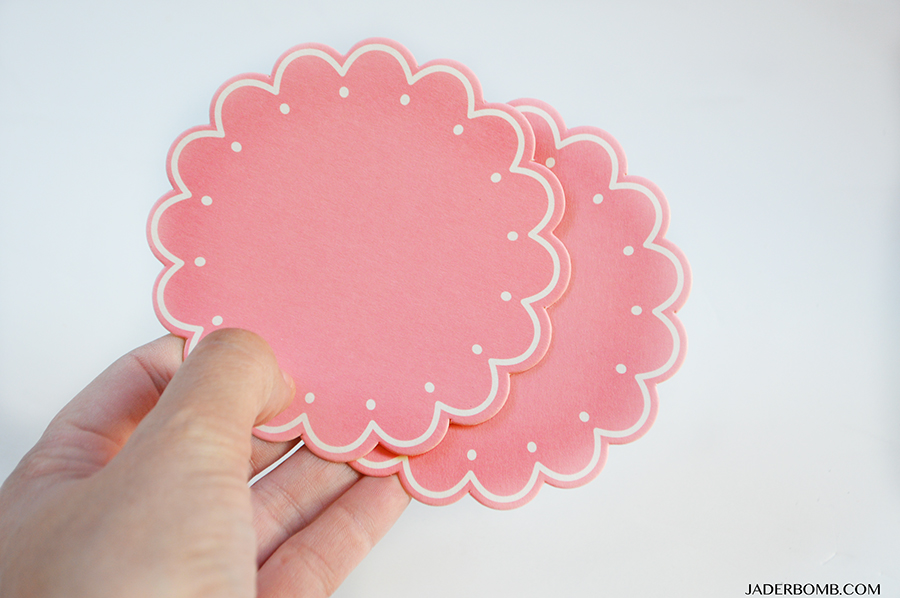
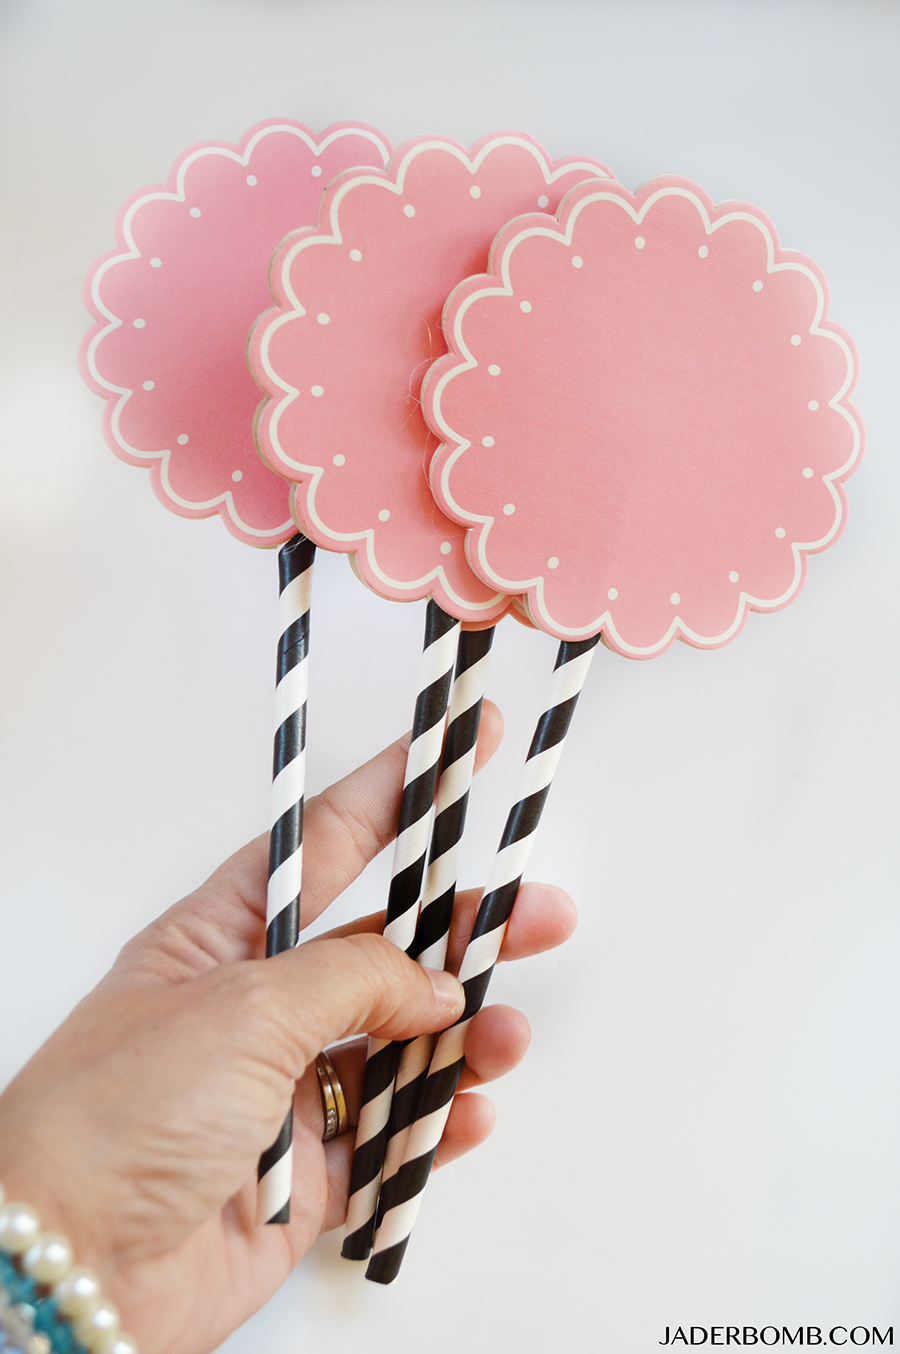
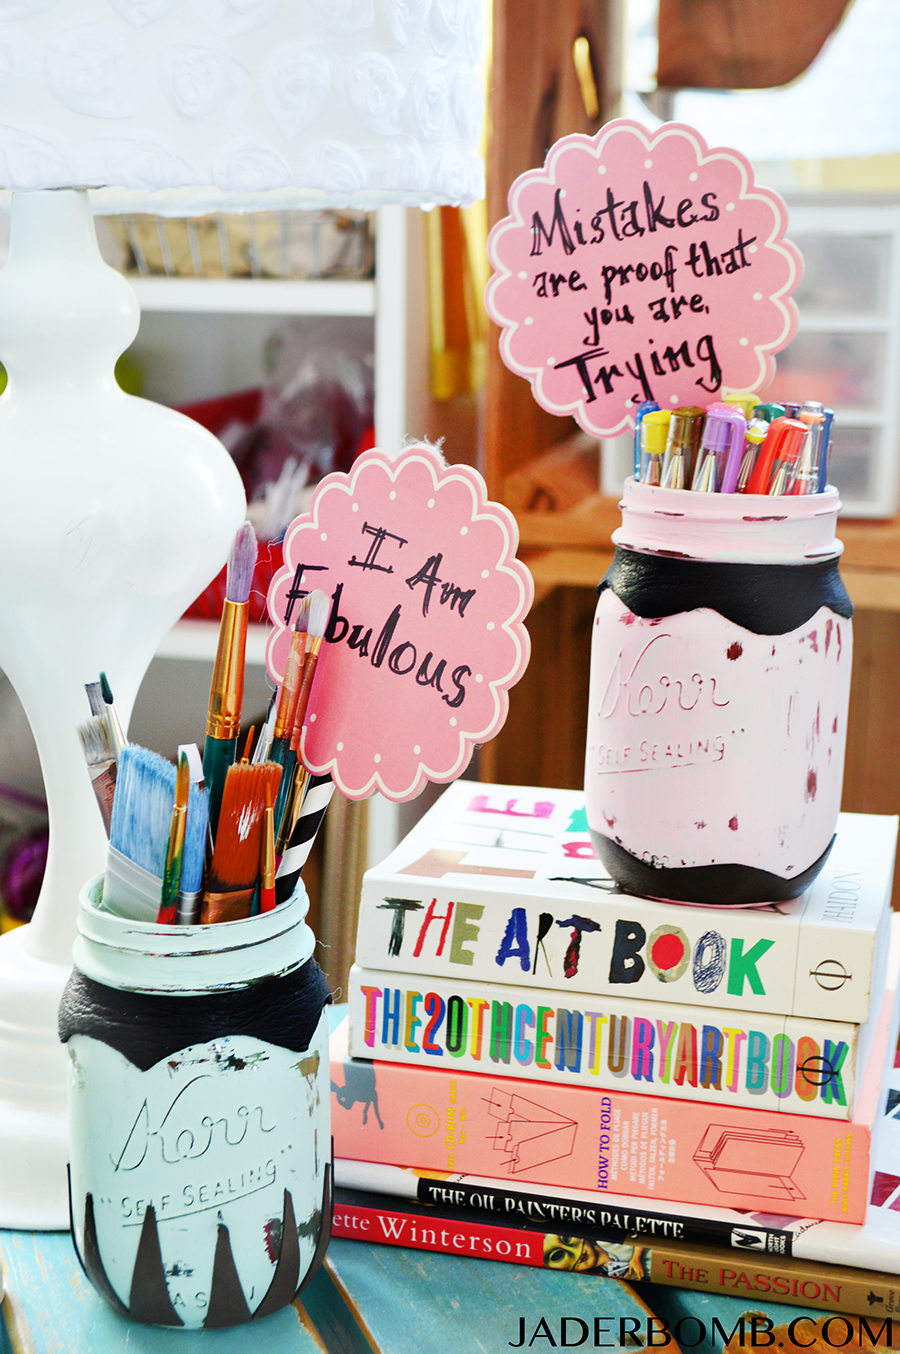
I made inspirational sticks in my mason jars and to make them you will need fun coasters and paper straws.
pink doily

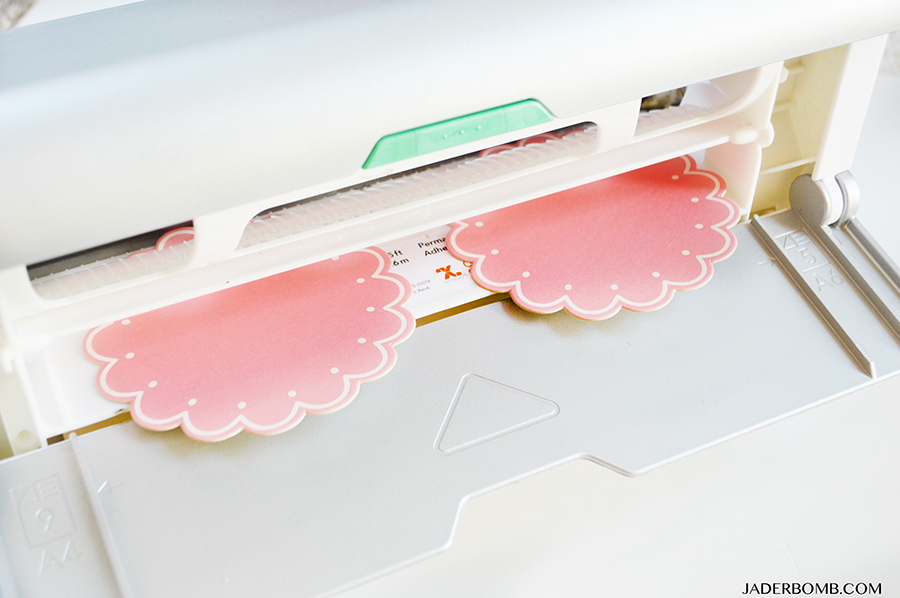
Step One: Place two of them in the back of your machine. Remember, we want to stick these two together.
how to use xyron machine

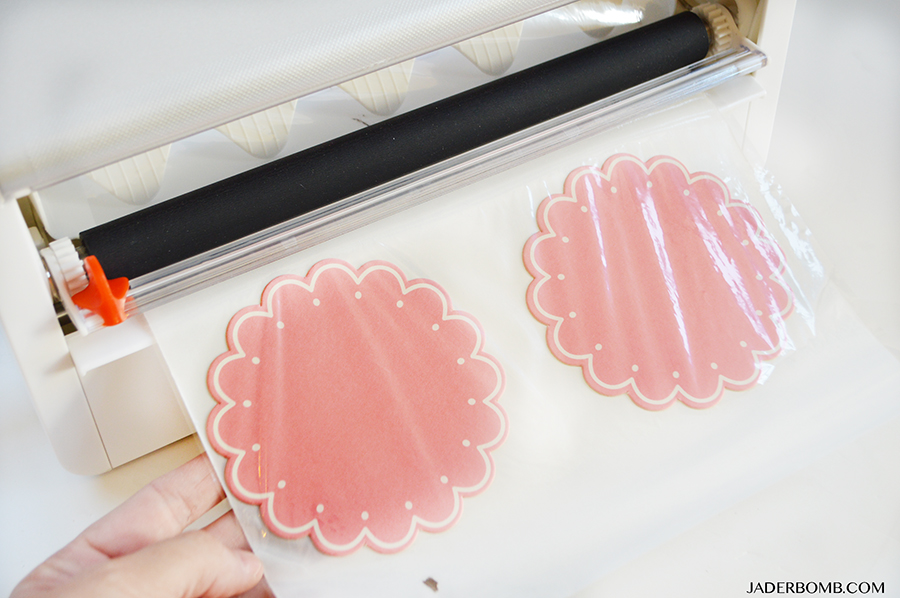
Step Two: Follow the steps I wrote for the leather. You will be doing the same exact thing no matter what you send through the machine. pink crafts

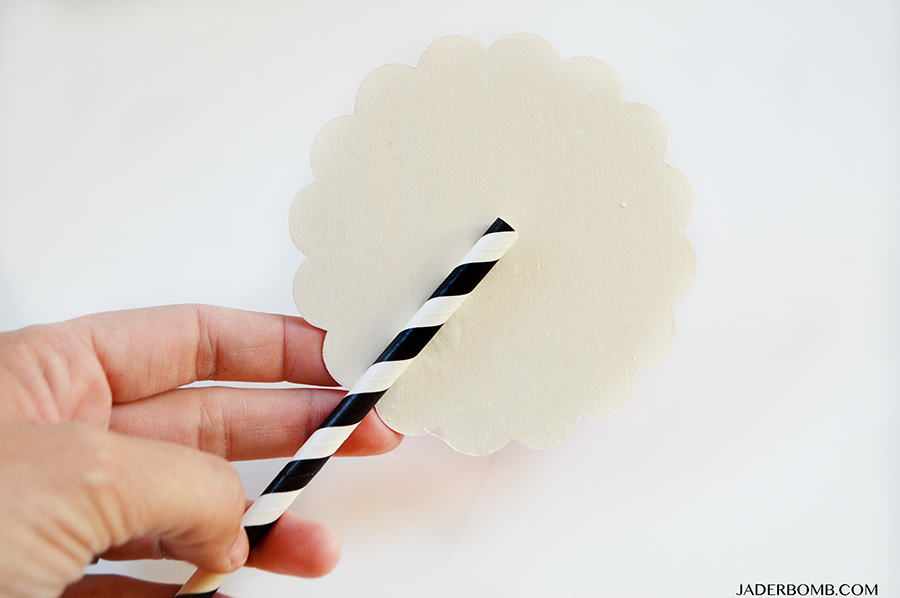
Step Three: Peel the coaster off the paper and stick a paper straw directly in the middle. Place the second coaster directly on top of the first one and press firmly together. You will want to smash the straw as well or they will peel apart. easy table setting projects

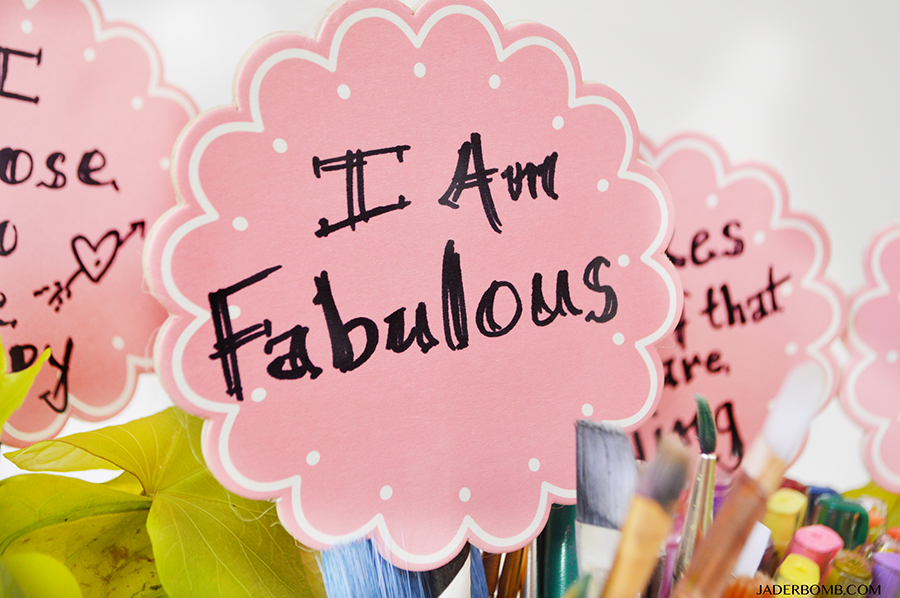
How pretty are these! You can use these for so many different occasions it’s unreal! Now comes the fun part, writing awesome inspirational quotes on them. party projects

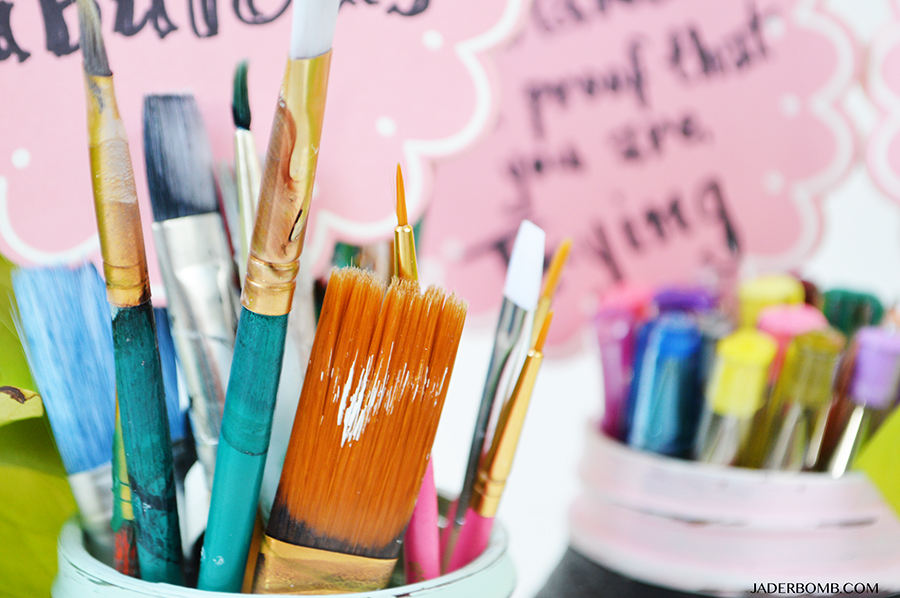
The best thing about these mason jars is you can fill them with anything your heart desires. I love the way the leather looks on these shabby chic mason jars. It takes them to a whole new level of modern awesomeness! party diy

how to store paint brushes

Don’t forget you are FABULOUS!fabulous quotes

girly projects

I hope you enjoyed this machine and I also hope you go out and get one because you will not believe all the things you will end up using it for.

Make sure to follow me for more amazing Fall and Halloween projects! You can fine me here: FacebookTwitterInstagram and Pinterest.
XOXO, Jade

Laminate.

With options like Laminate + Magnet, Laminate + Adhesive, or Two-Sided Lamination your items will never look better while being protected. Create laminated stickers or magnets from everyday items!

BUY ONE HERE! 


Project-Ranking-Format5

image001

WANT TO WIN $1000? All you have to do is upload a picture of your decorated tree on Michaels.com/sprucedup for the chance to win a $1,000 Michaels Gift Card!

The contest lasts until November 28 so feel free to share with your family and friends. You can see some of the current entries scrolling on the entry page!

Howdy Friends! I can’t believe it’s already November and Christmas is right around the corner. Seriously I feel like the older I get the faster things happen. I want to tell you something that you might not know about me… I LOVE Christmas so much that I am not even mad that I had to put my tree up in November. I have a small confession to make, I had my tree up in the middle of October. I know some might think that is a bit early but I wanted to take my time decorating my tree and I am very pleased with the way it turned out. If you didn’t see my Dream tree last year click HERE to check it out. This year I wanted to use a theme that I typically wouldn’t use. I love bright whimsical colors but something inside of me wanted a classic Christmas tree! The Dream Tree Challenge is something a lot of people look forward to seeing and trust me all of the Michael’s Makers can deliver trees on point!

This year we were sent a 7.5′ Pre-Lit Hartford Tree and I was very pleased with it. Once you pull apart the branches it is beautiful and full of white lights. From now until November 14 you can get FREE SHIPPING on all Christmas trees that are 6ft or taller on Michaels.com!!! I recommend this tree and on top of it you can get it for a great price!

dream tree challenge

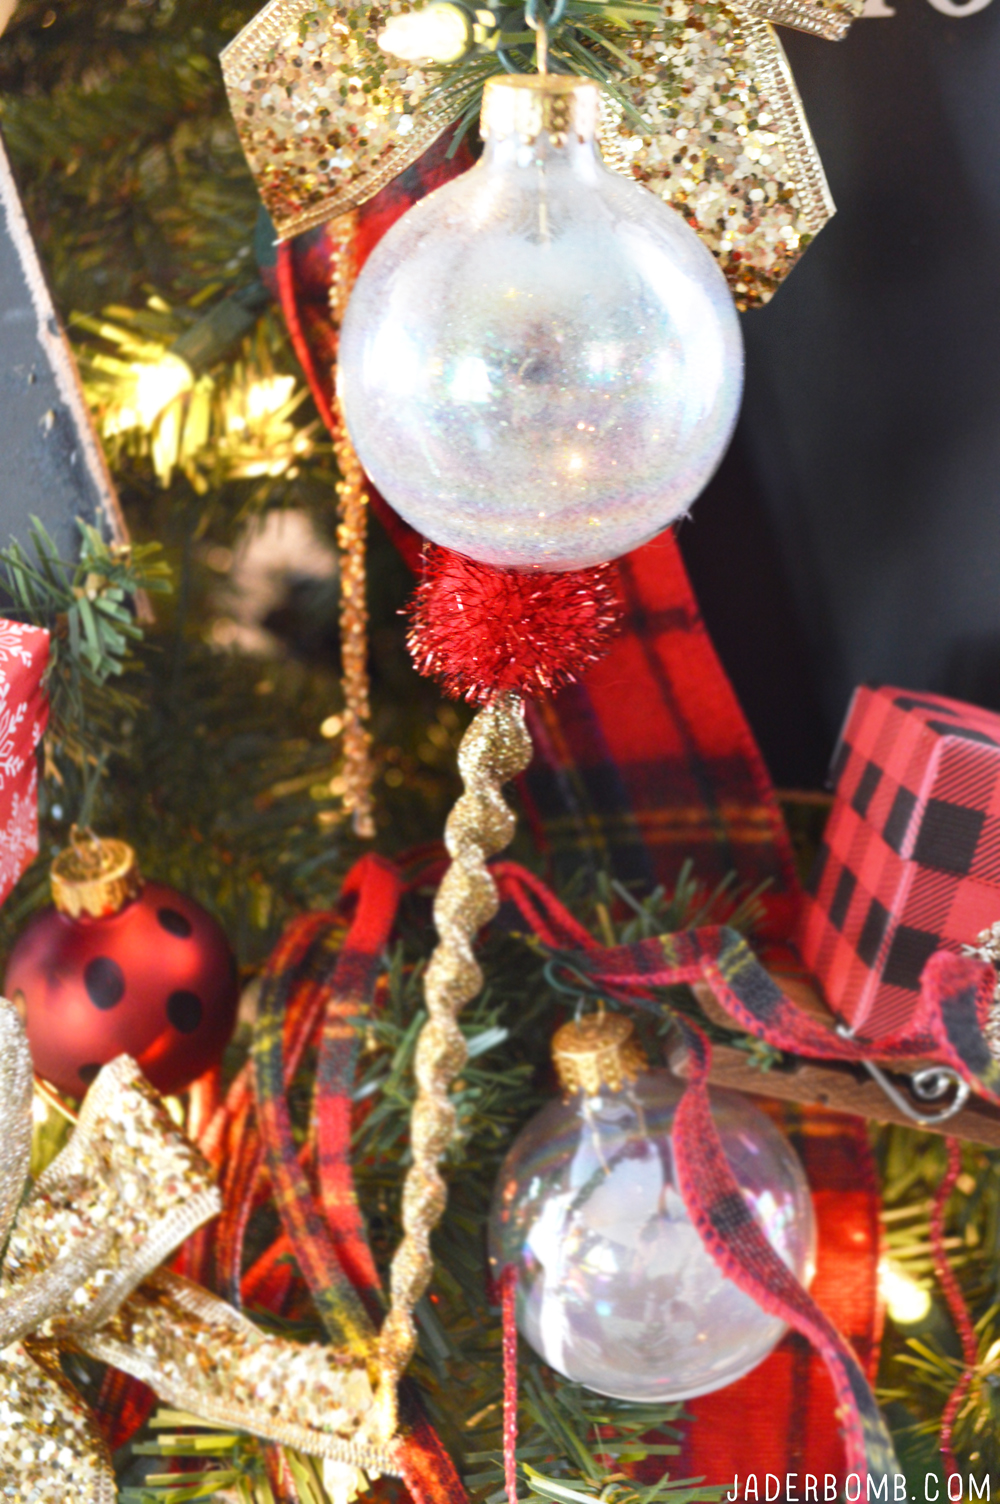
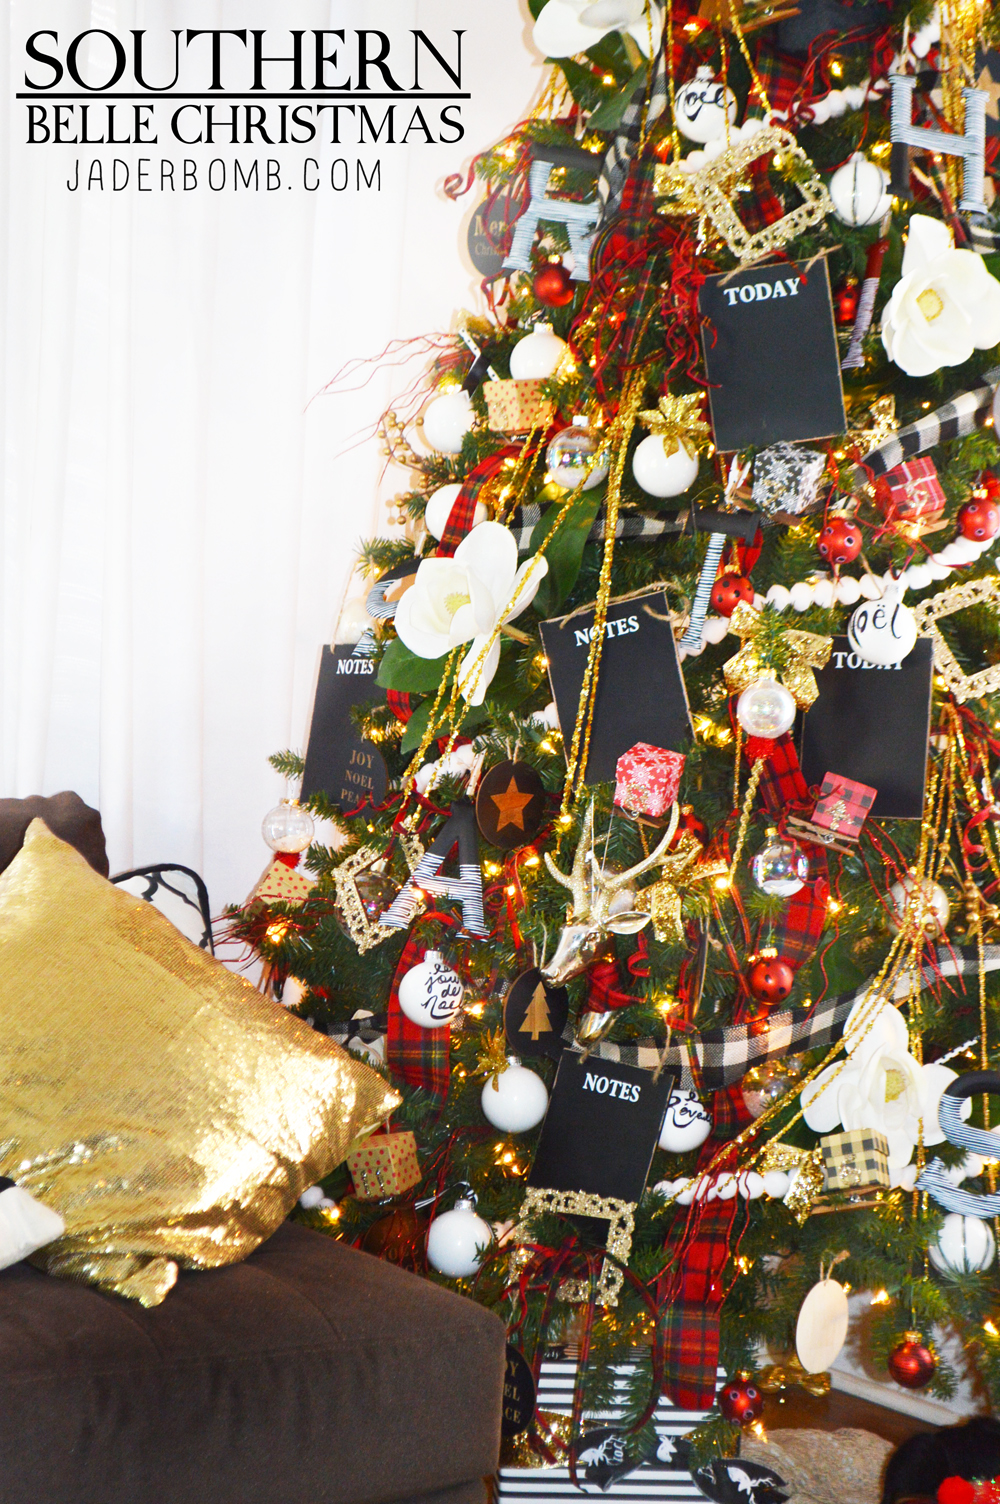
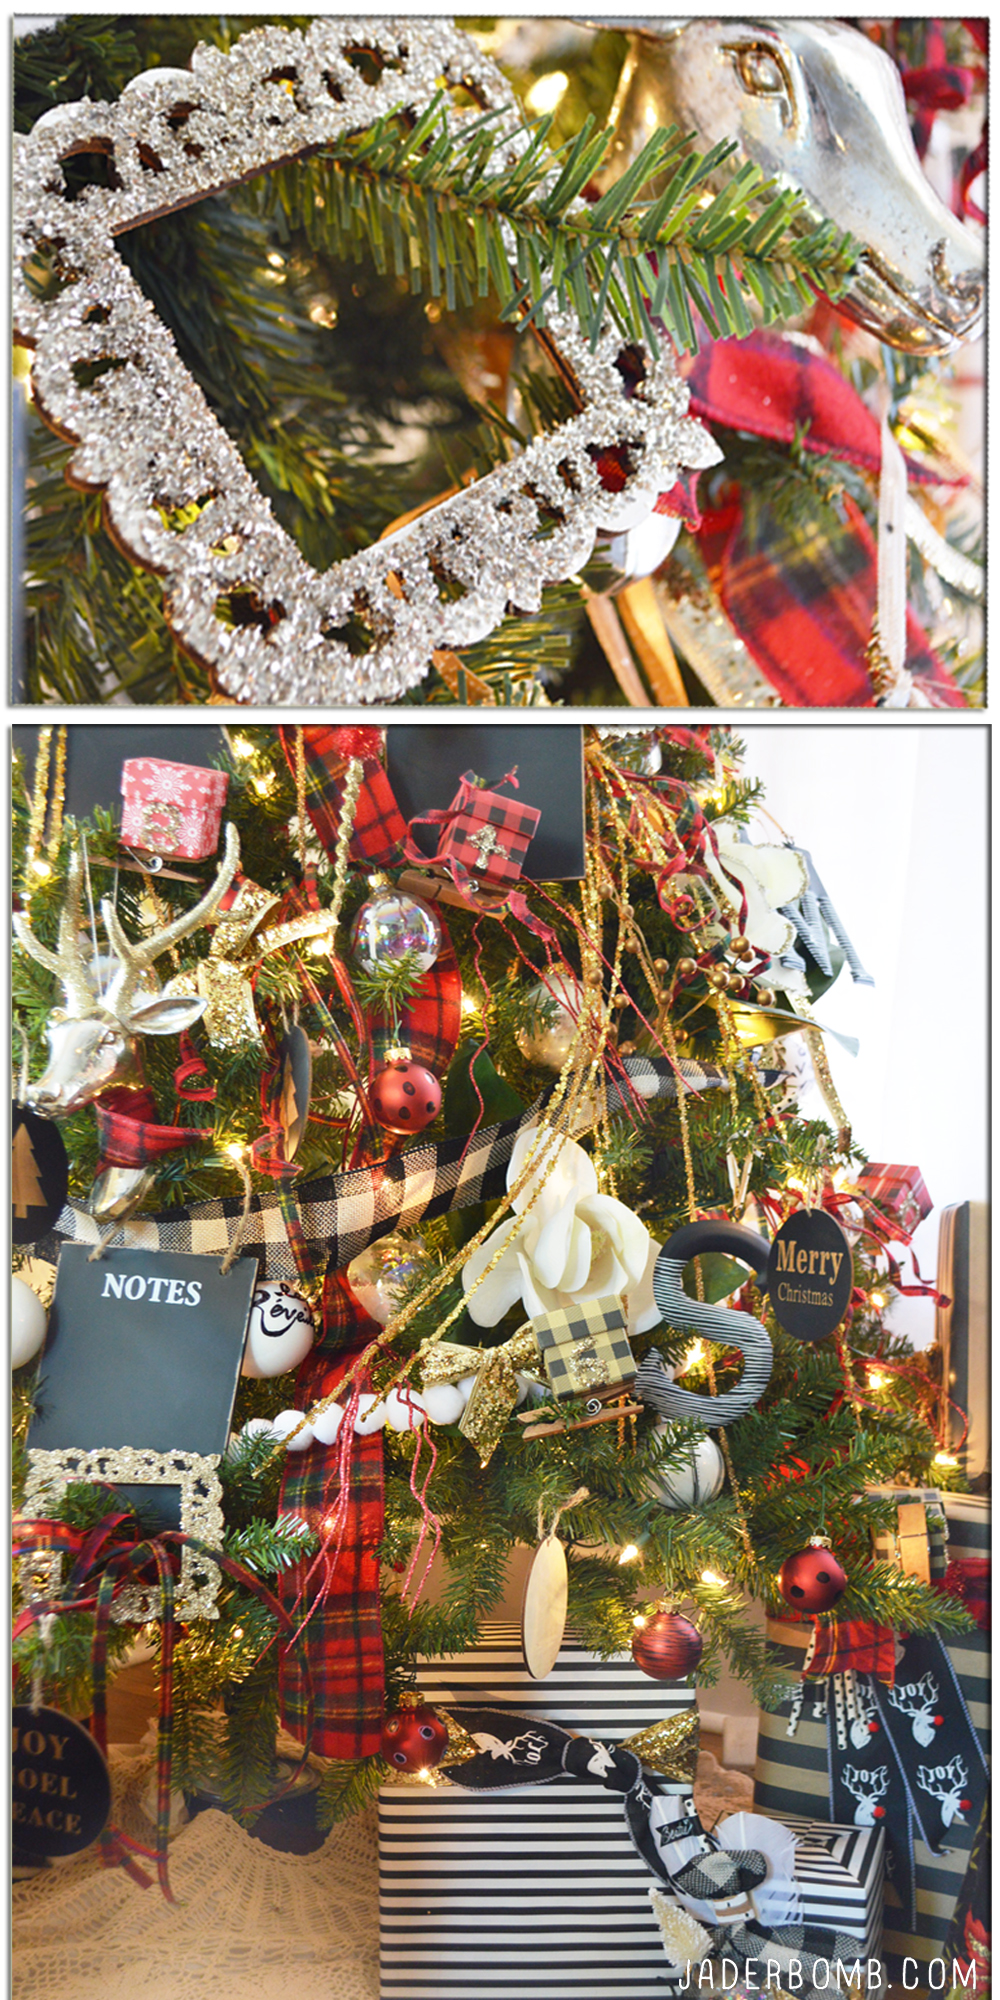
This year I wanted a tree that represented the state I live in, Louisiana. How did I achieve this look? Well it’s easy I added elements that I felt represented a good ole Southern Belle! I added olive branches, gorgeous magnolia’s, glass glitter on frames, plaid ribbon, cotton balls and ton’s of other surprises.

Now I believe the key to a great looking tree is filling that baby up with ton’s of decor. I like to add chunky items in it along with small trinkets. Go big or go home, hehe!

The first thing I recommend before decorating your tree is checking all of your lights! The worst thing that could happen is you decorate your entire tree then plug it in and some lights are out. Right!!!! 

If you have never decorated a tree before I suggest putting all of your ribbon up first. You want the ribbon to look like it’s part of the tree and that would be hard to do if you add your ornaments first. chalkboard christmas tree

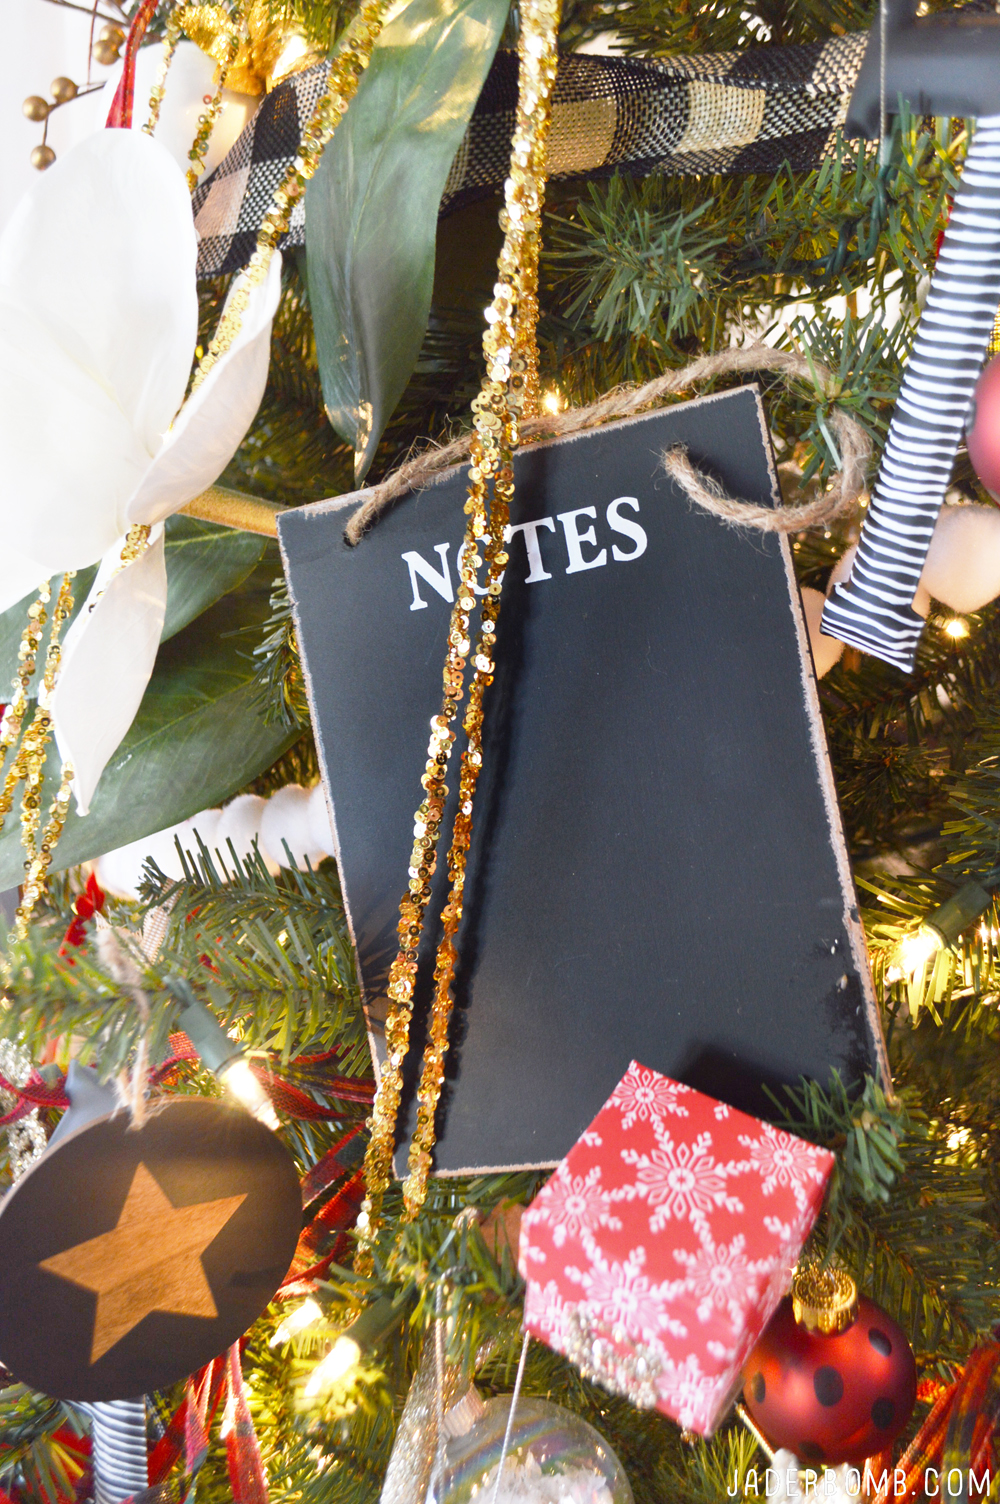
I love the idea of putting chalk boards in my tree so you and your family can write notes on them. You can use these from Michaels or make your own.

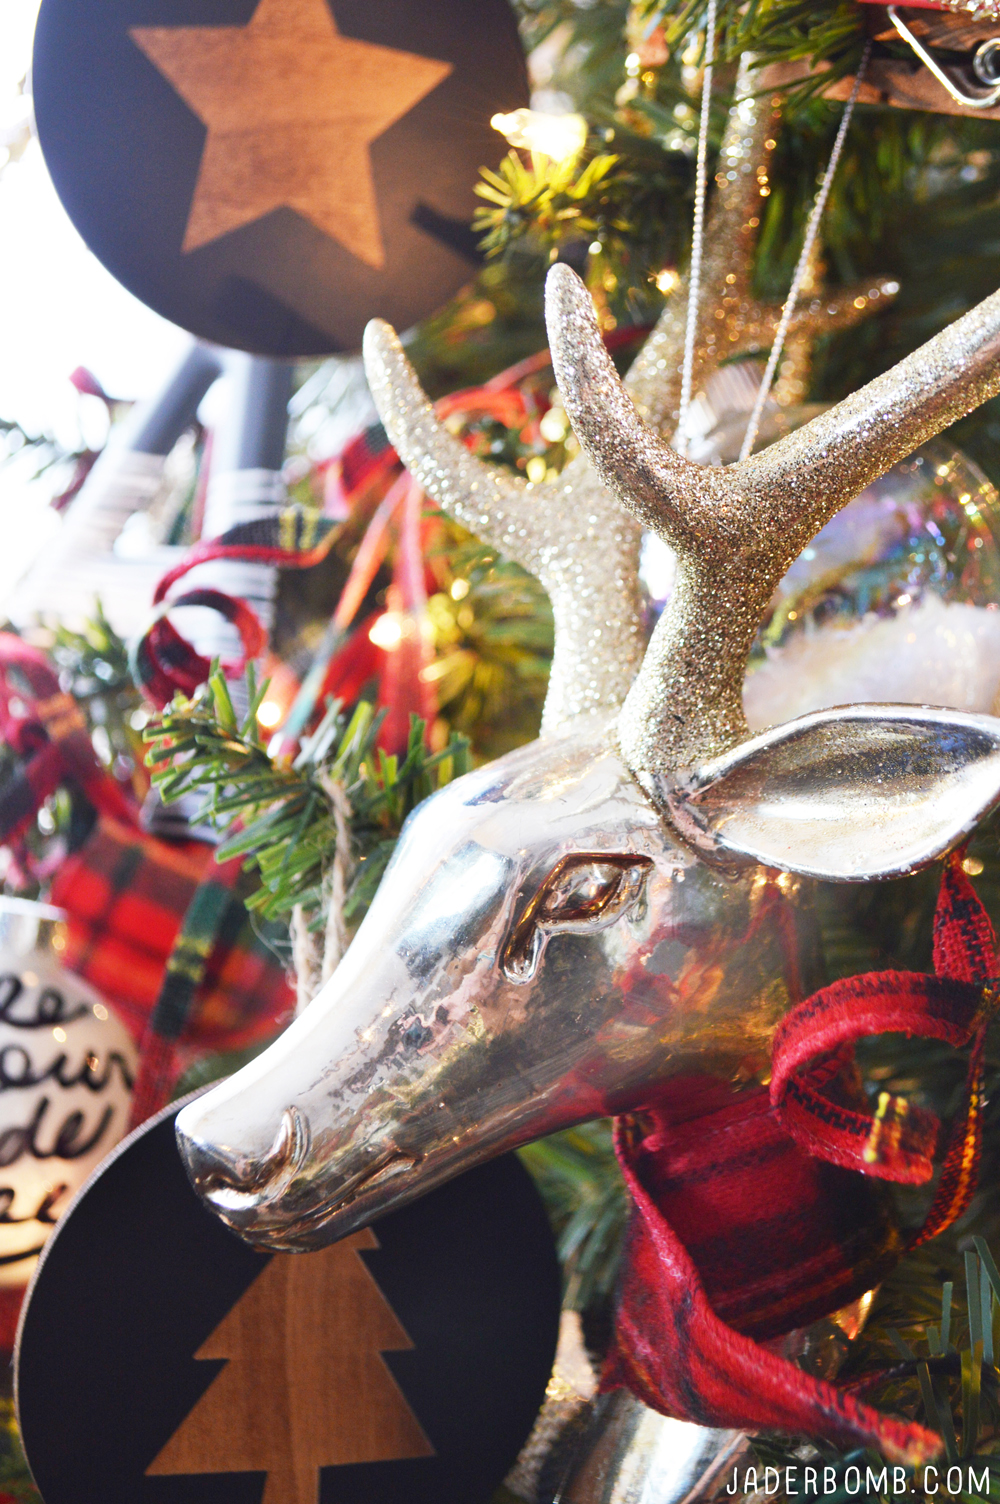
Deer decorations

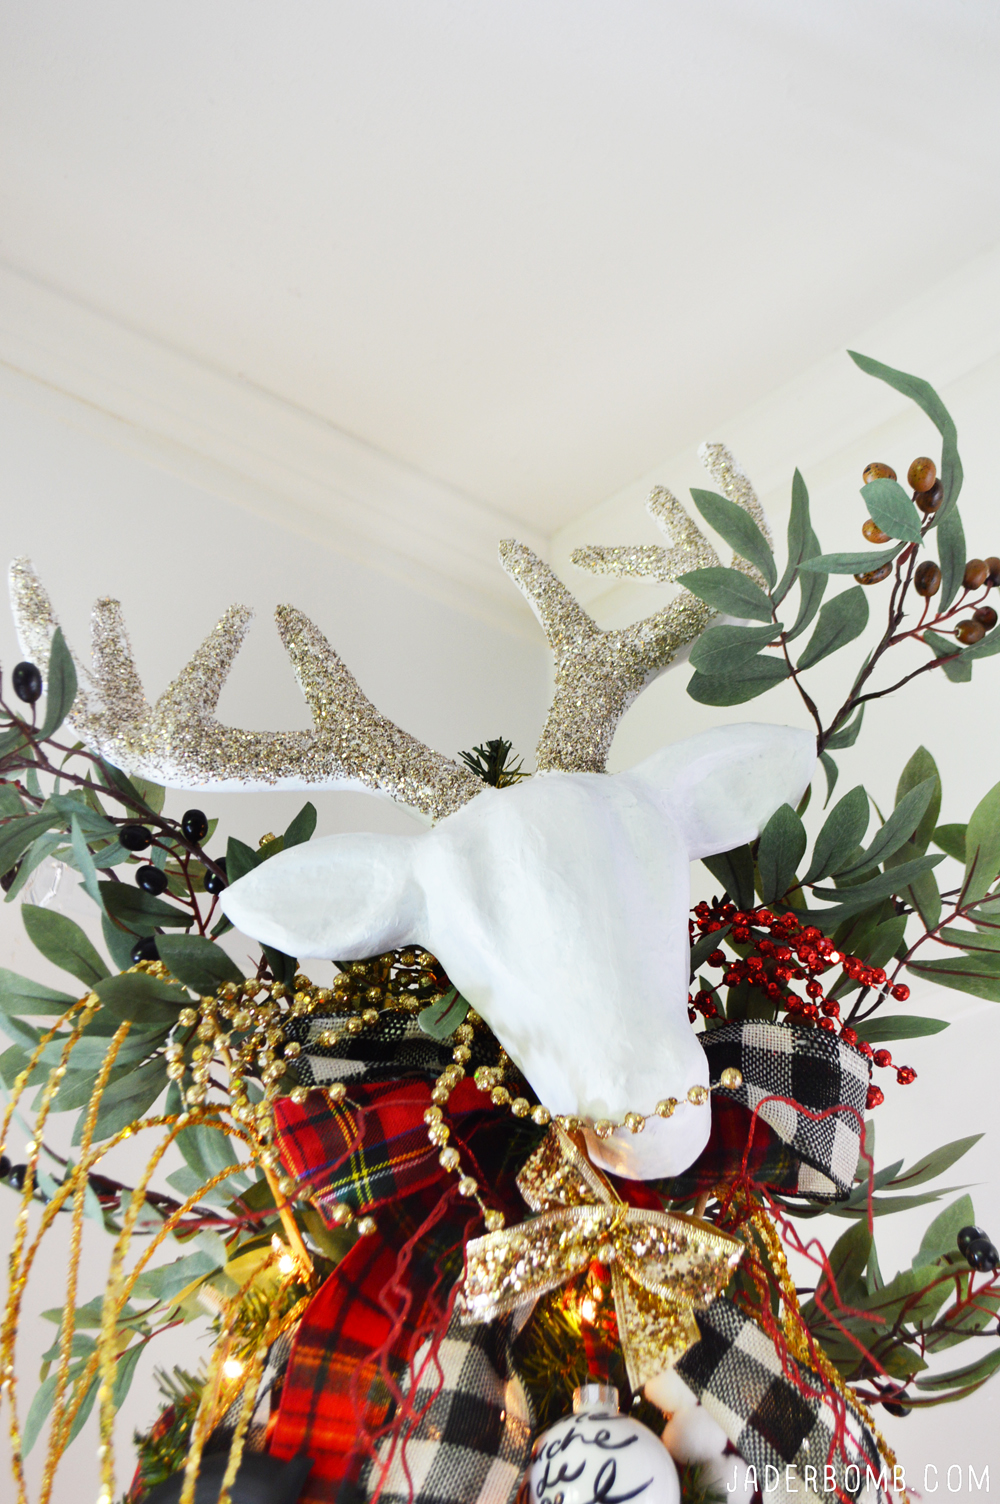
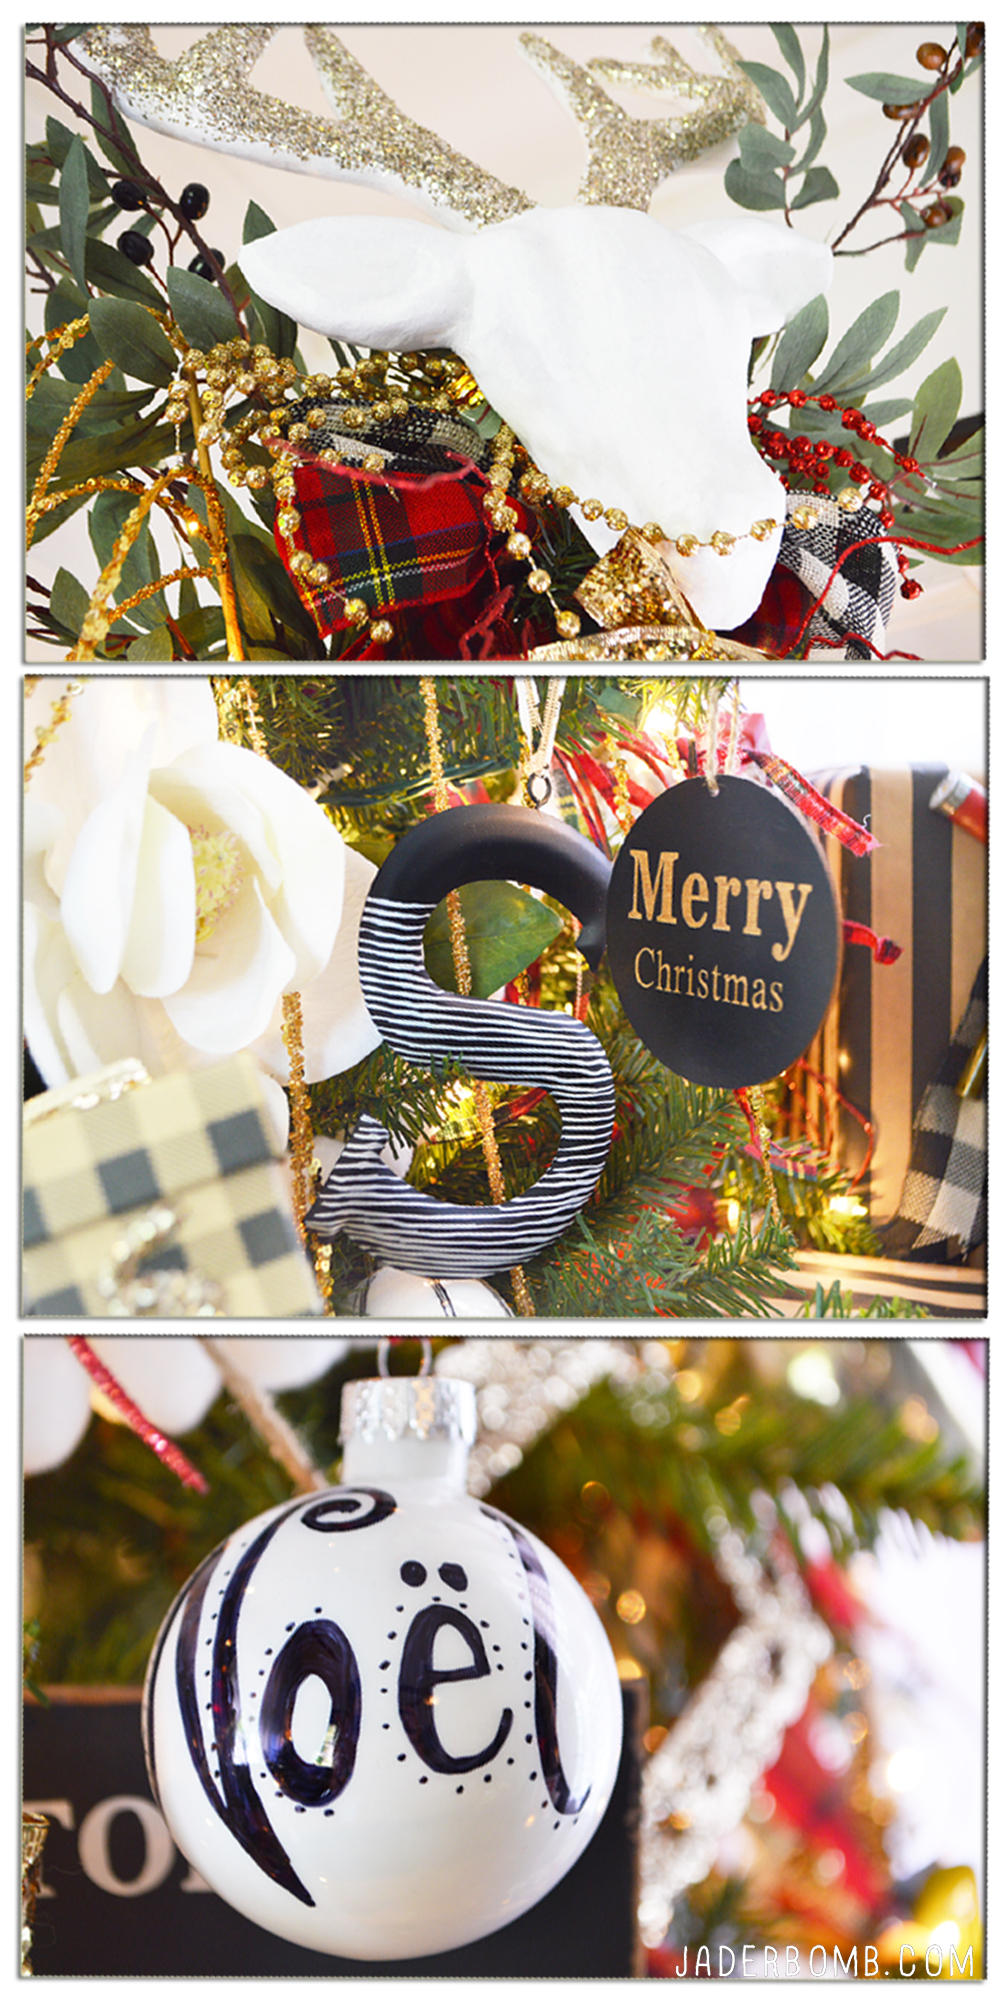
I fell in love with these glittered deer heads and when I saw them I knew they needed to be nestled in my tree. I used this one on the top of my tree. It’s cardboard but all I did was add white paint all over it then sprinkled glass glitter on the antlers.

TIP: Sprinkle the glass glitter on the antlers when the paint is still wet, it’s much easier that way.

diy christmas ornaments

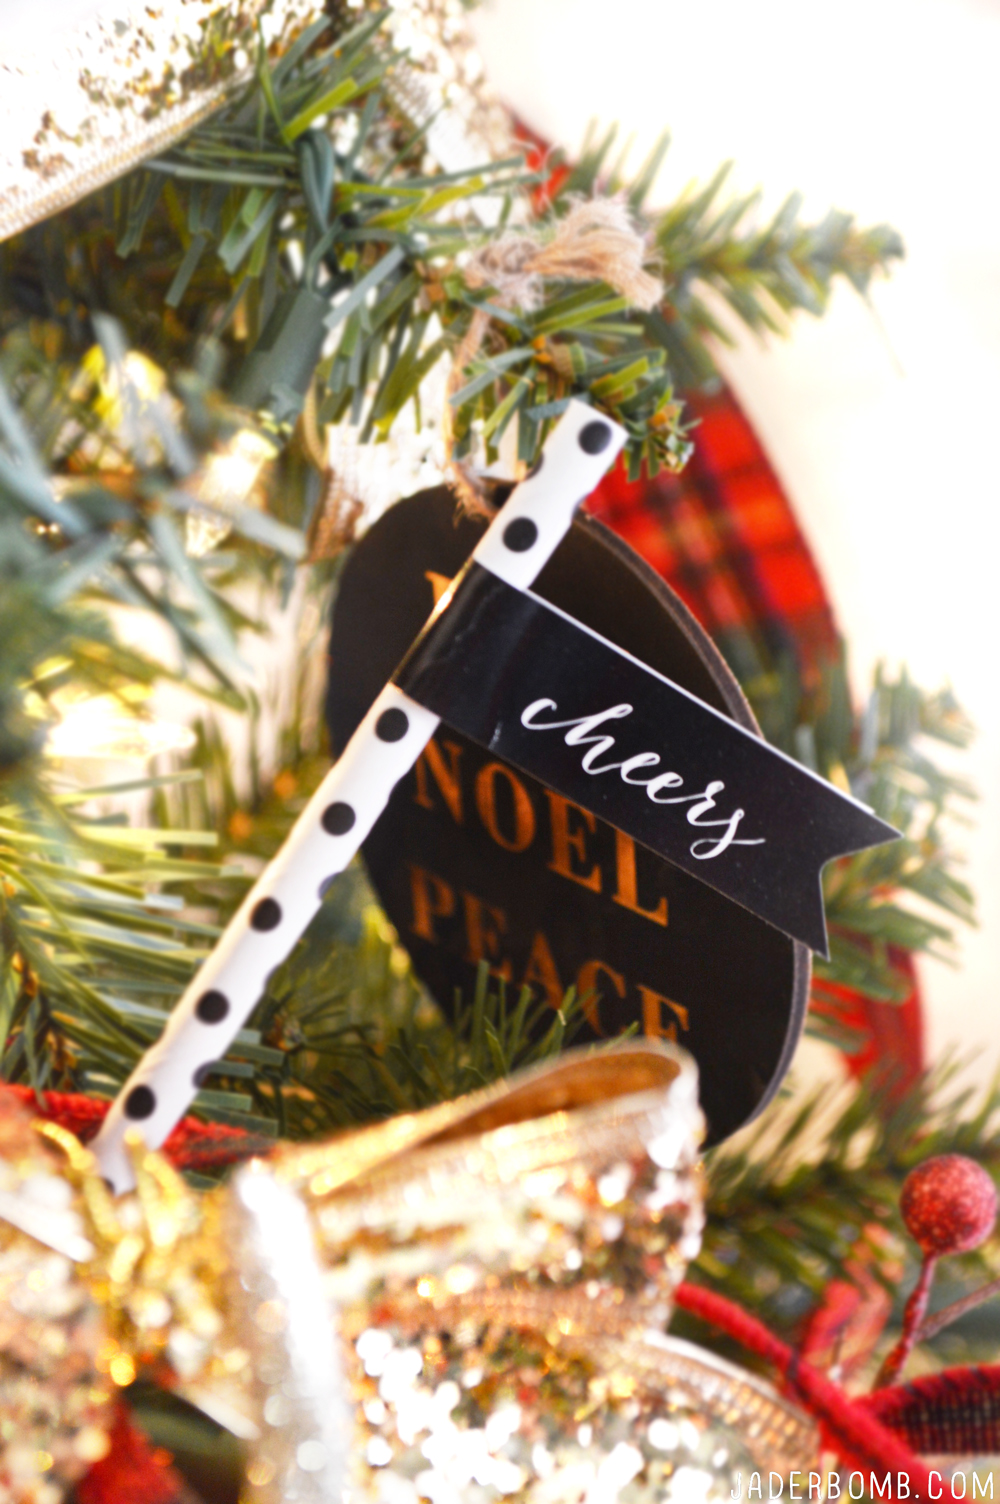
I added some fun elements in my tree like the paper straws below. You can order them here. I added stickers to the top of them that say “cheers”.

When you are ready just stick them all over your tree.

diy paper straw

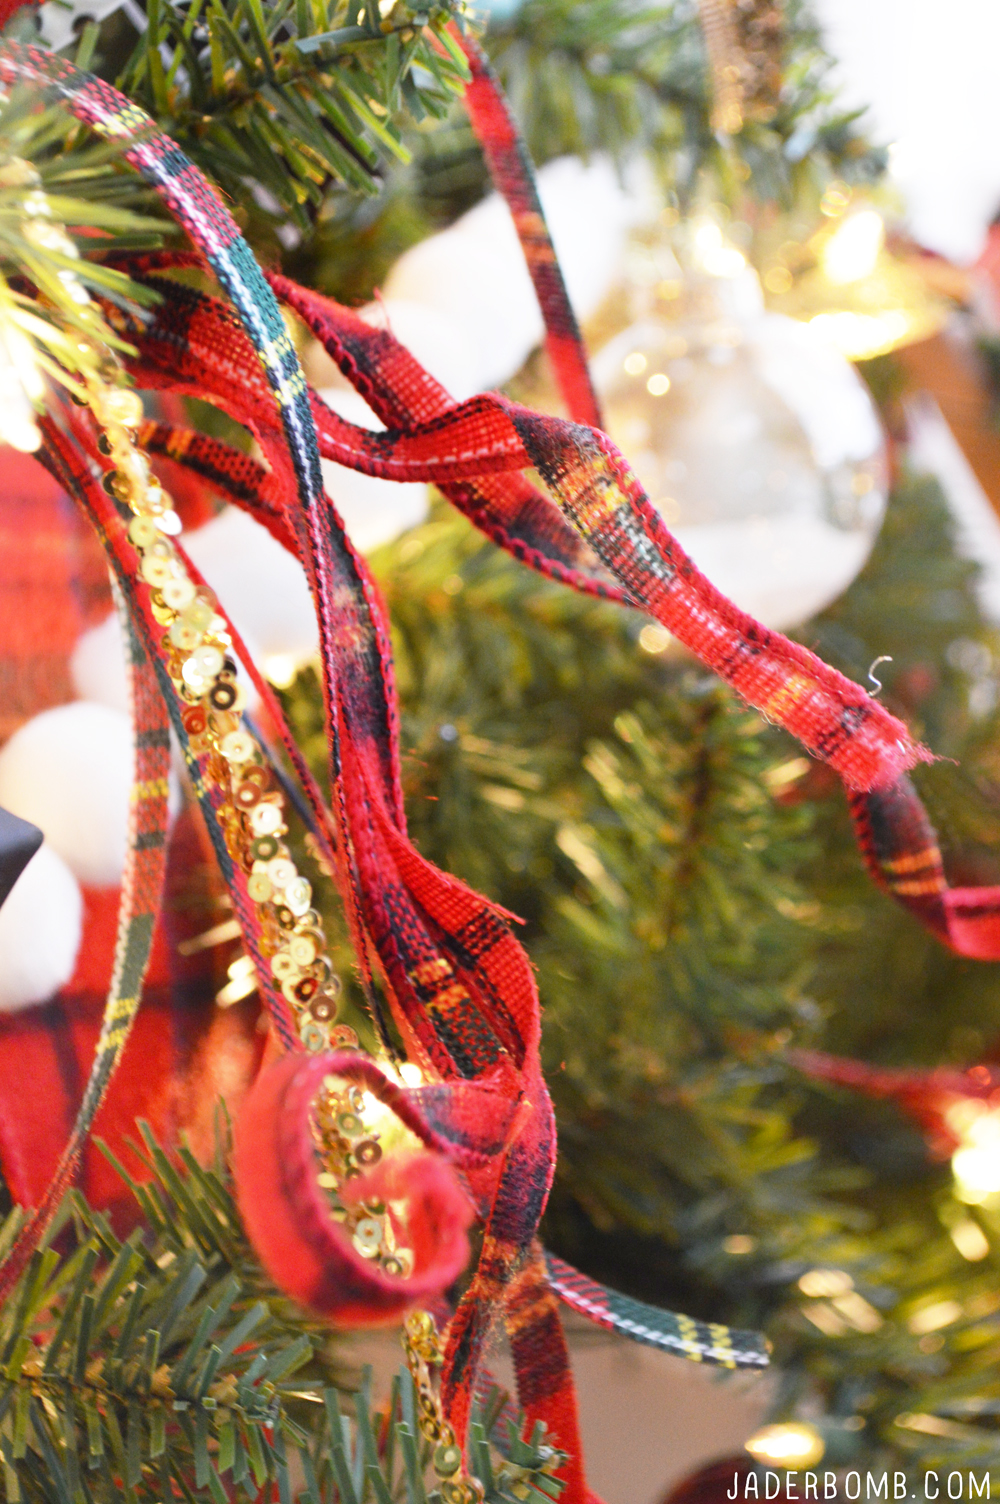
I used this beautiful plaid ribbon all over my tree. I felt it added the perfect amount of color and it made it feel very Southern!diy ribbon ornaments

To make these bouquets of ribbon I cut my ribbon into strips then put a bunch together. You can tie the ends with wire then stick them all over your tree. This trick is good for filling holes in your tree!easy christmas ornaments rustic plaid christmas tree

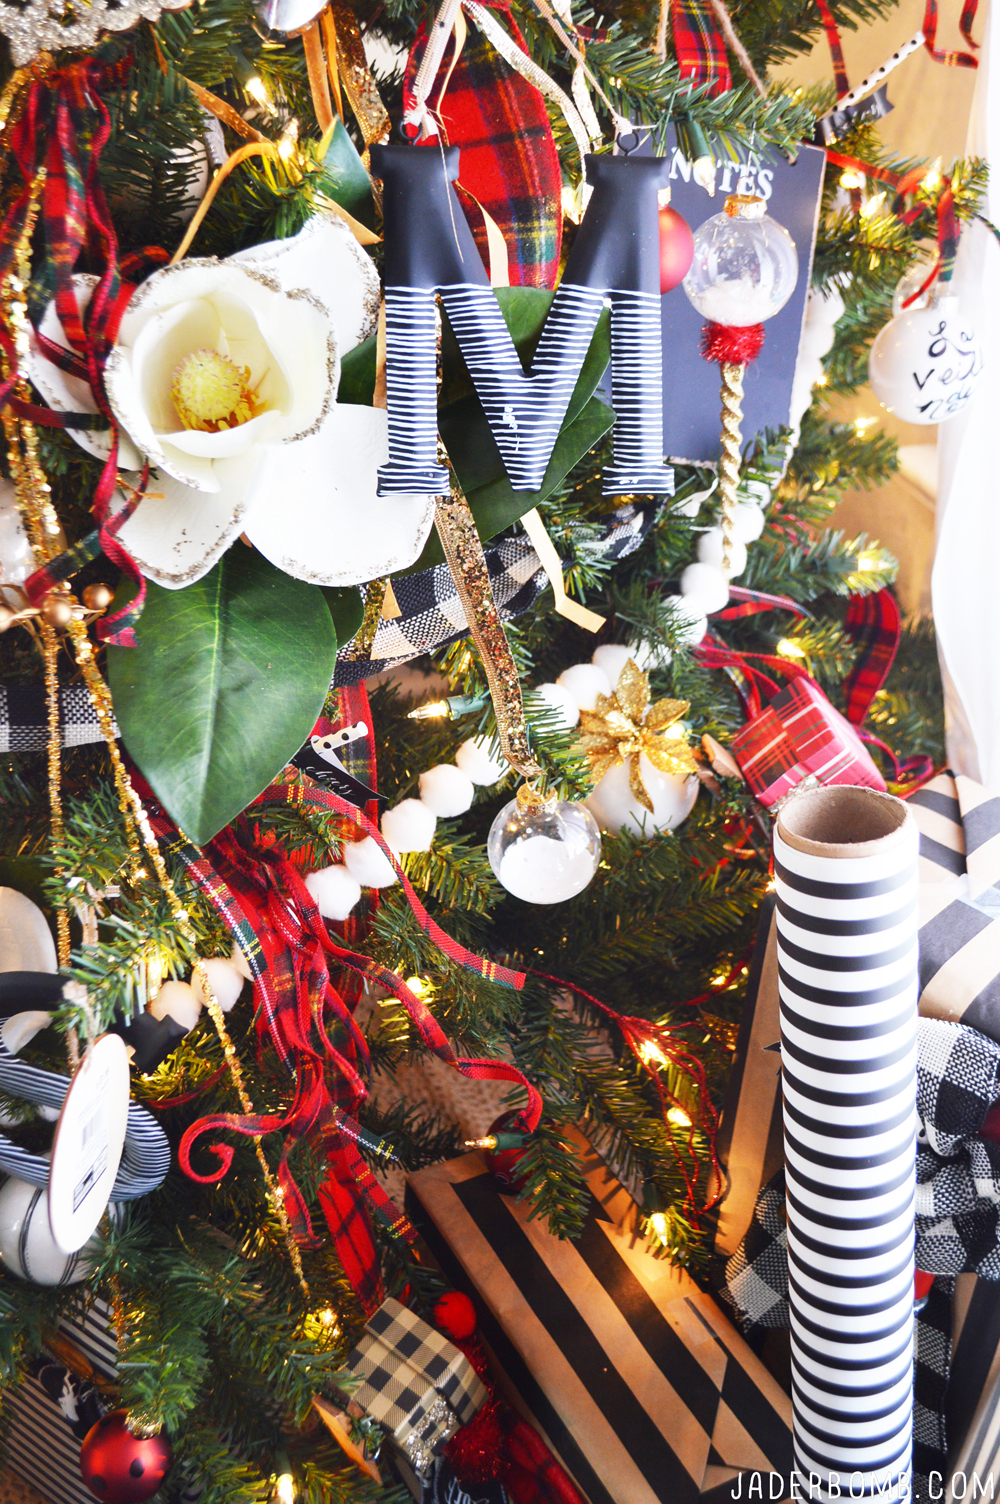
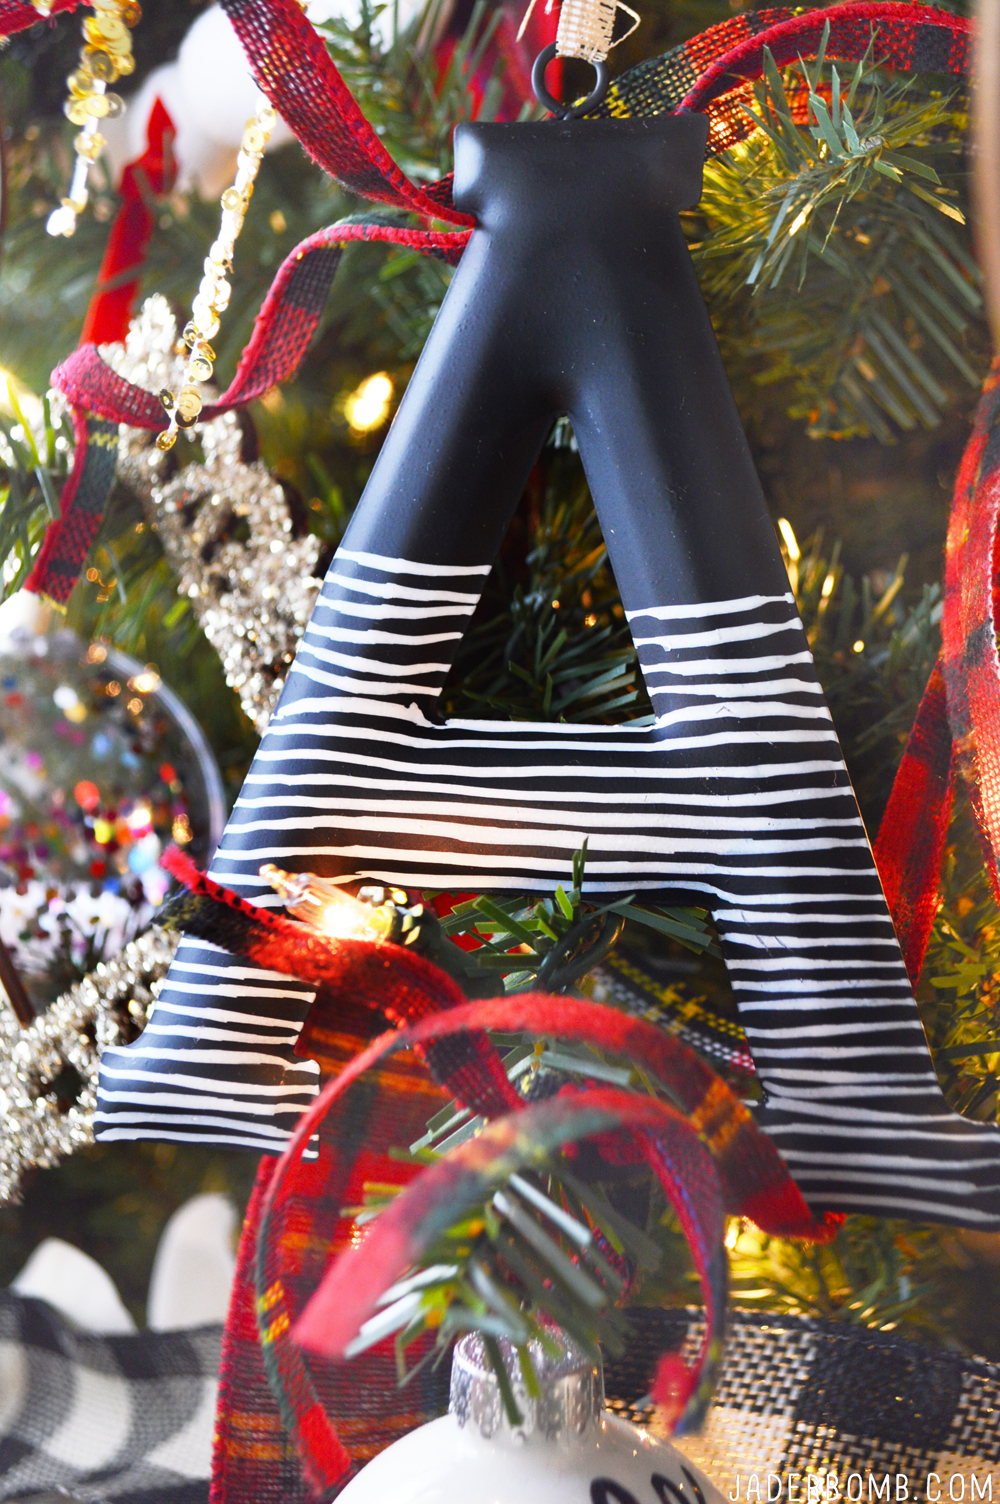
I purchased these black metal letters in the dollar bin and simply added white lines on them with a paint pen. Voila! plaid and stripes christmas I added a ton of Magnolia flowers in my tree. I wanted this flower to be the one thing that popped when you first looked at the tree. Let me tell you it POPS! magnolia christmas tree LOUISIANA CHRISTMAS I added white balls with french sayings written on them. Since I couldn’t find them already made I simply wrote on them with a sharpie marker. I love how they look mixed in with all of the other decorations.
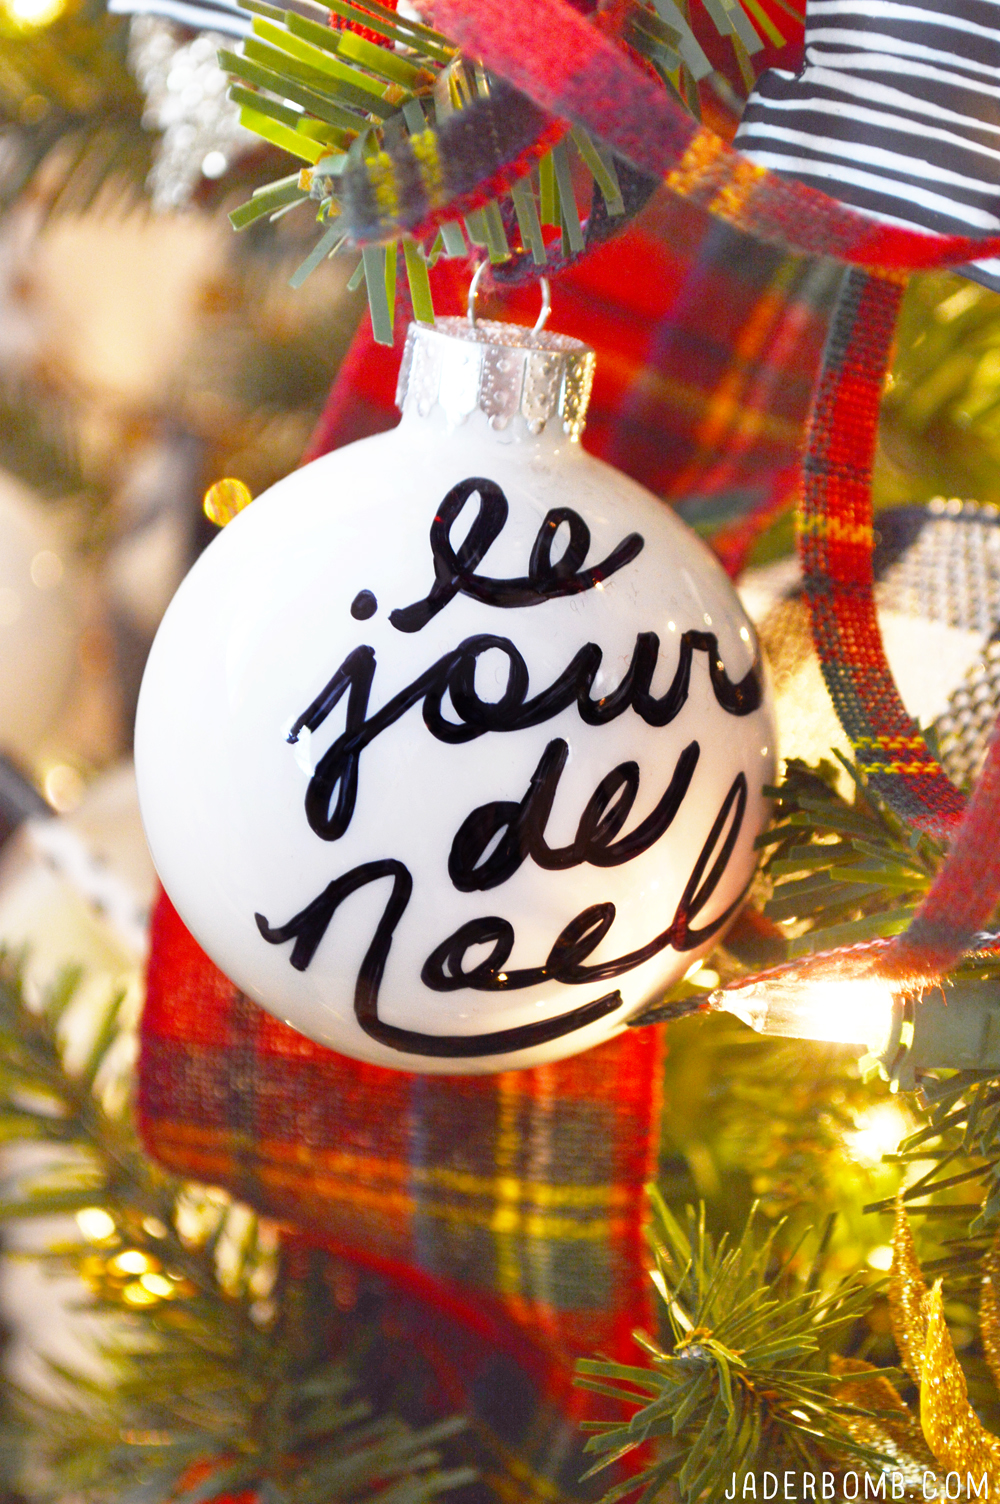
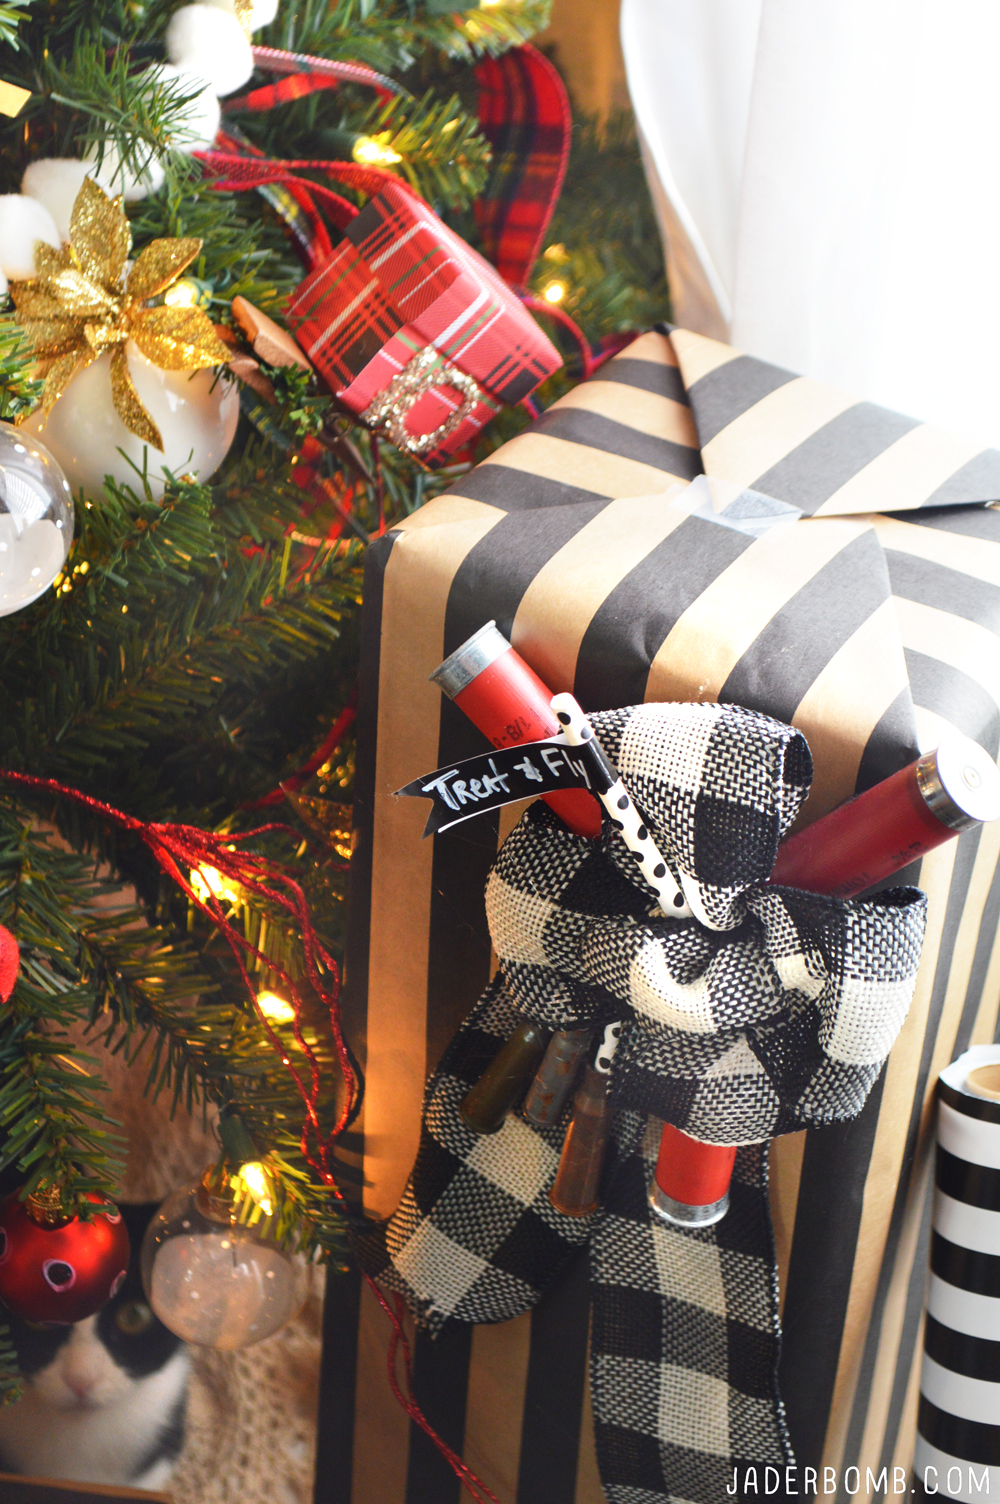
White balls are hard to find but Michaels has them ready for all of us DIY’ERS! le jour de noel

I added 12 plaid boxes in my tree to put little gifts in for my family. We will do this countdown the 12 days before Christmas. Hopefully your kids won’t open all of them, haha!southern belle christmas Don’t be afraid to add big elements in your tree like cute stuffed dolls. You will be surprised at how they add flavor to your tree.
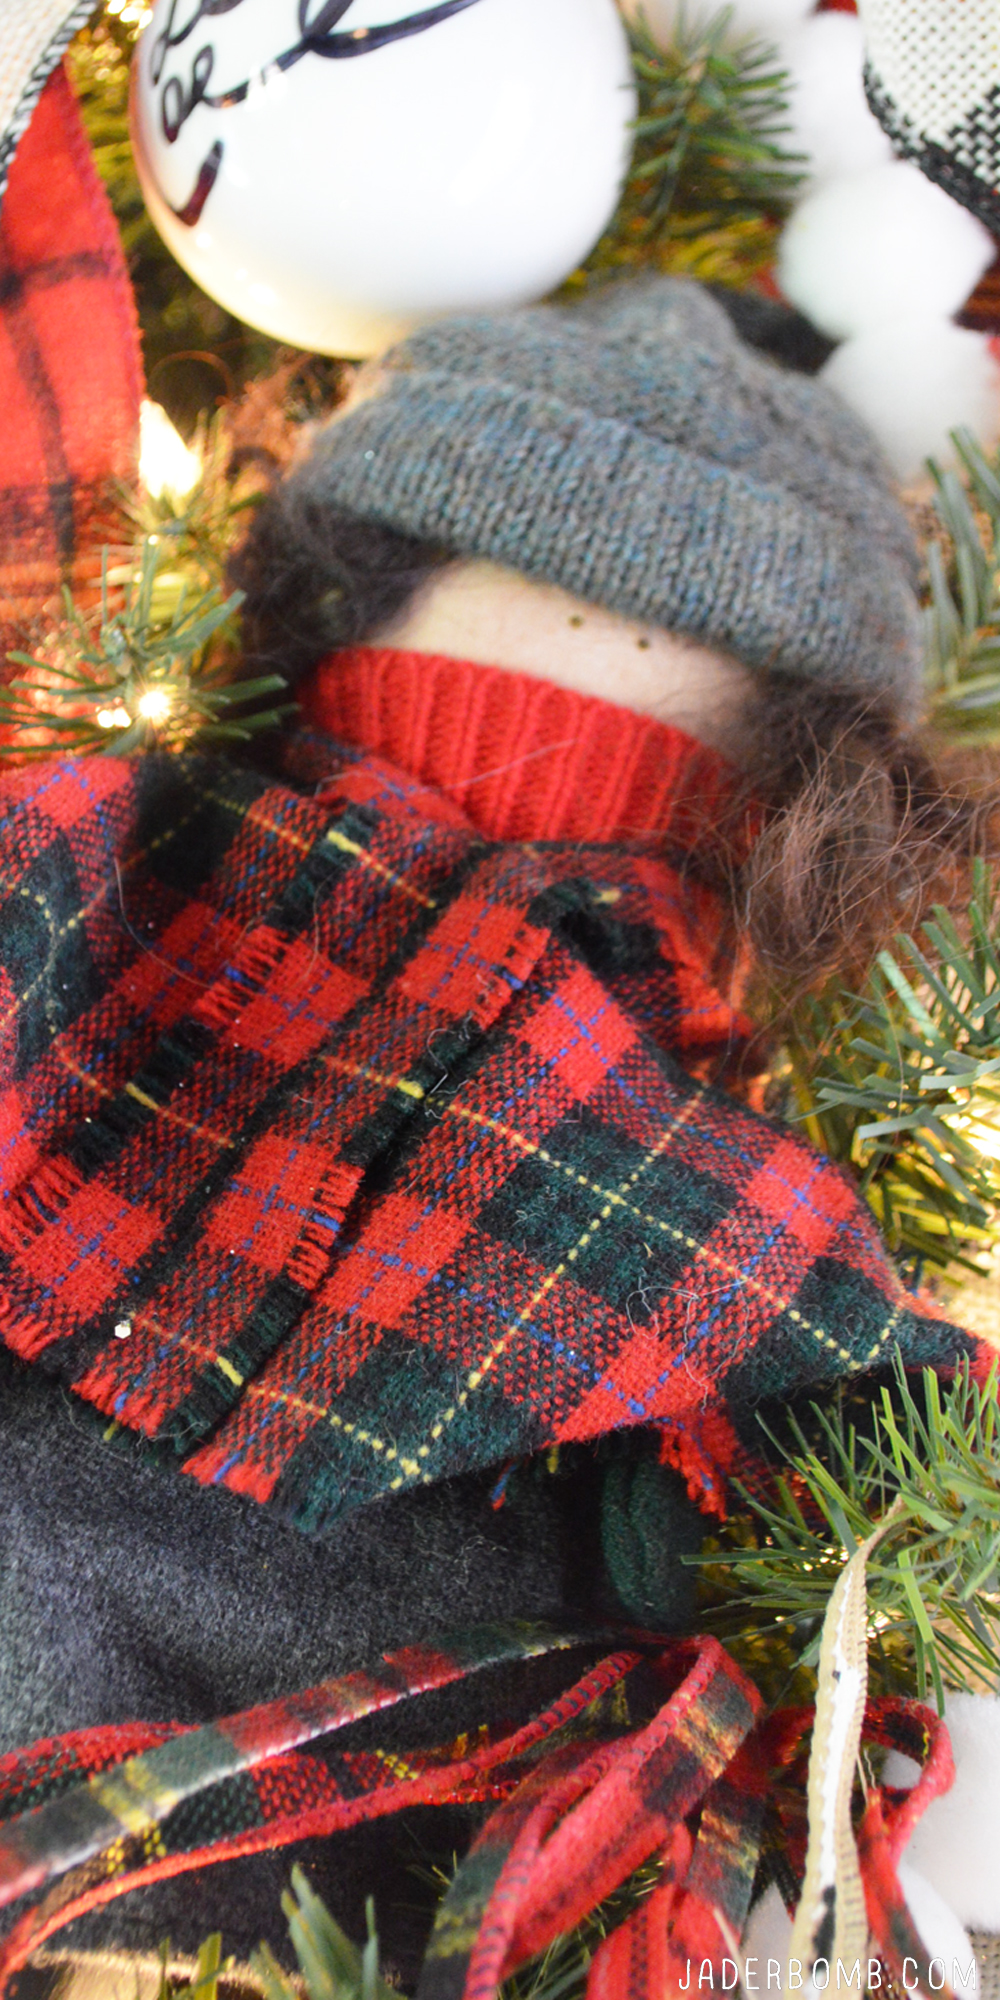
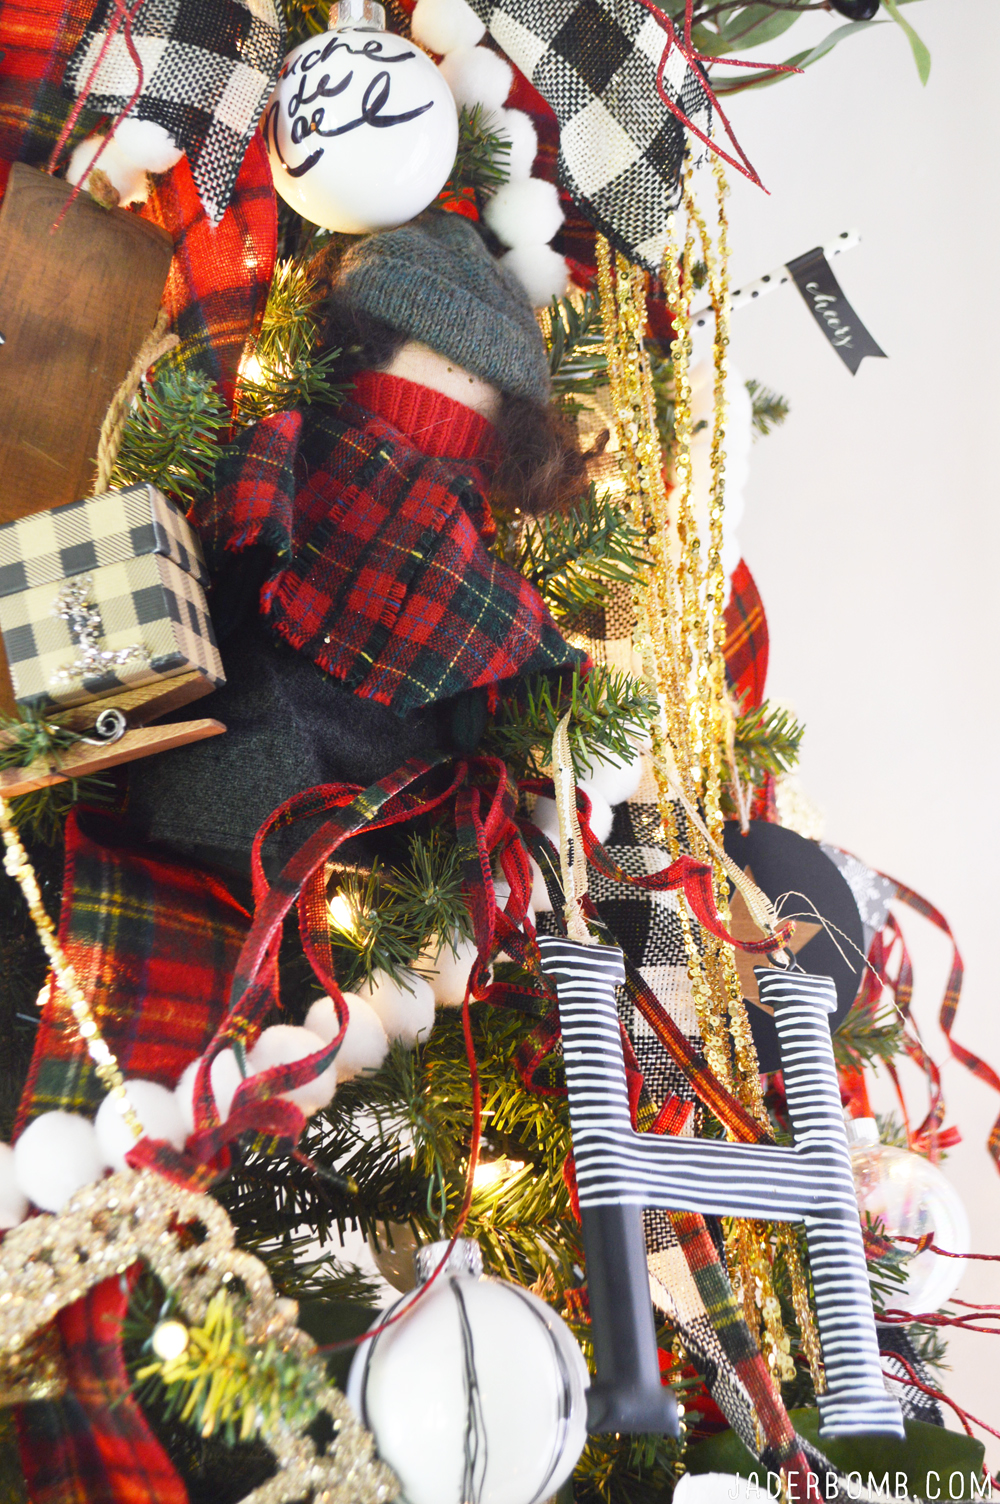
vintage doll christmas tree vintage christmas tree striped letters christmas tree I love decorating my gifts as much as I love decorating my tree. I believe it’s important to shower your presents with ton’s of love! Of course I have presents bought already so I just had to wrap them up and put them under our tree.
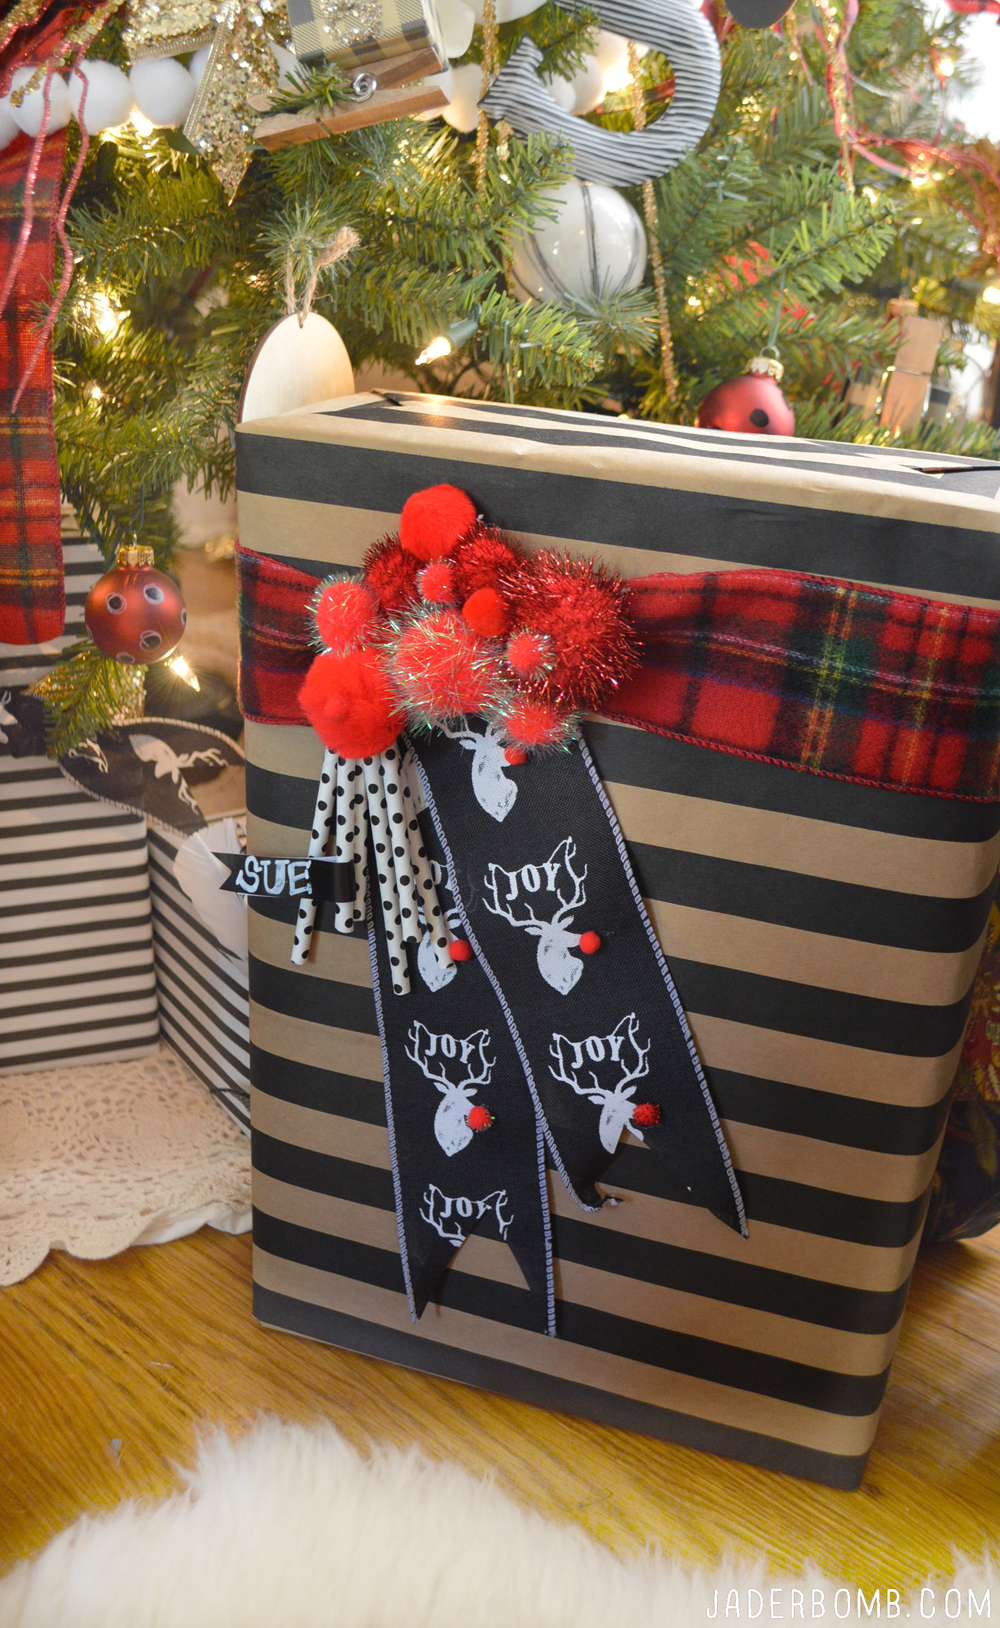
striped christmas I love the simplicity of empty frames in a tree. It adds depth while also looking elegant. Bathe the wooden frame with Mod Podge then sprinkle gold glass glitter on them.
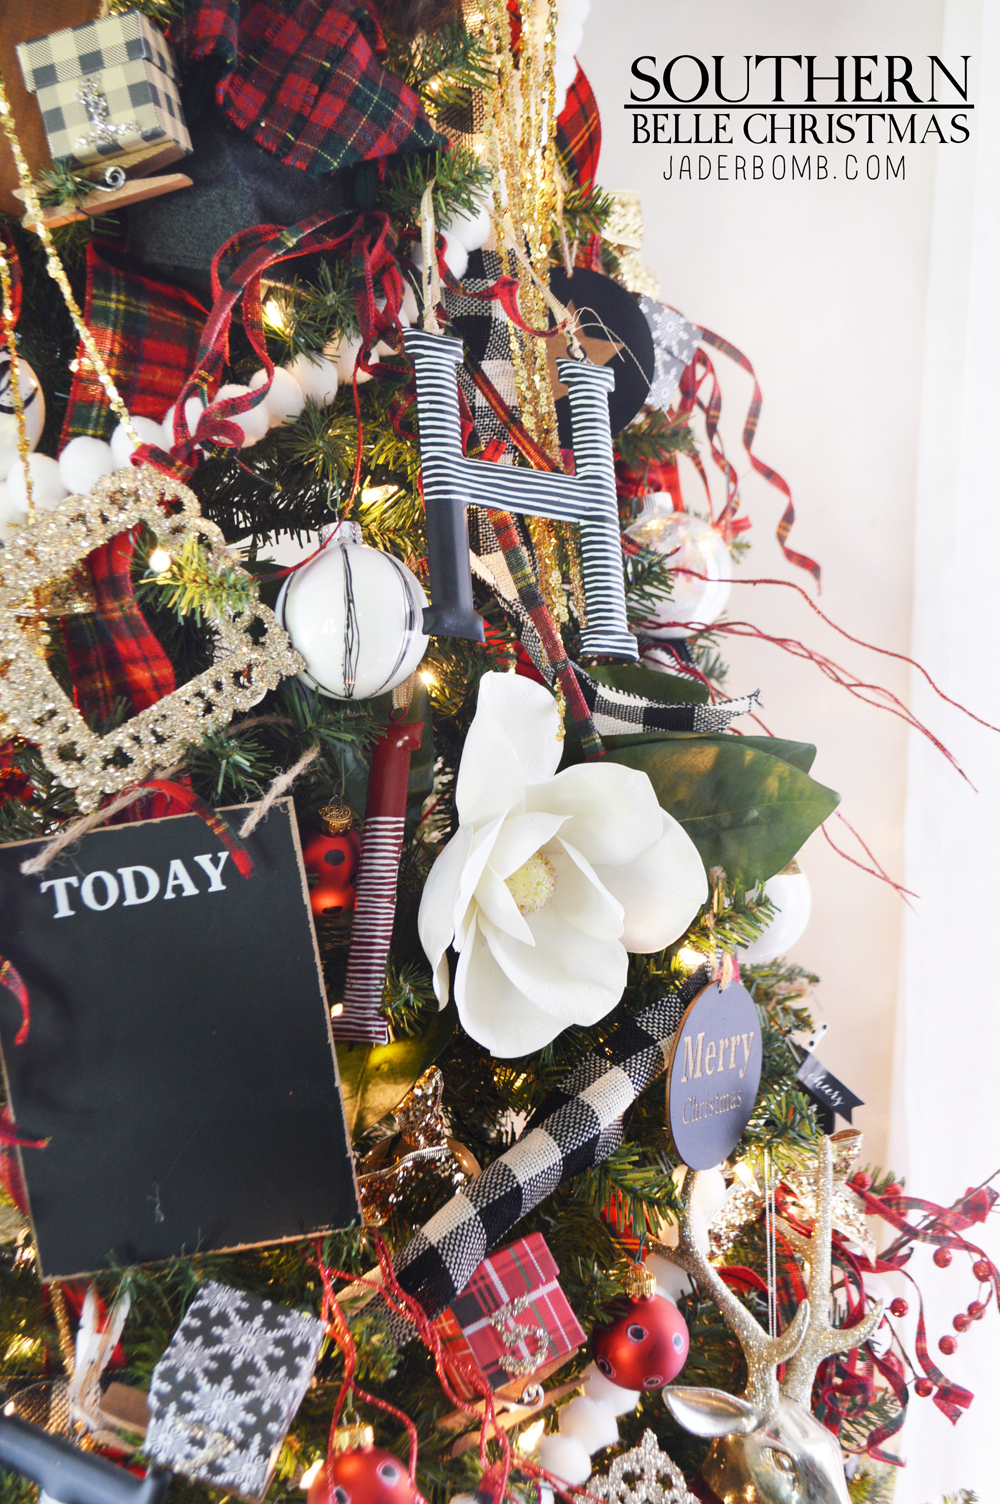
southern christmas tree SOUTHERN CHRISMAS DECORI love that Michaels has striped paper, believe it or not, it’s hard to find. I always buy 20 or more rolls of black and white paper because I use this all year long for gifts. You can purchase them here and here.
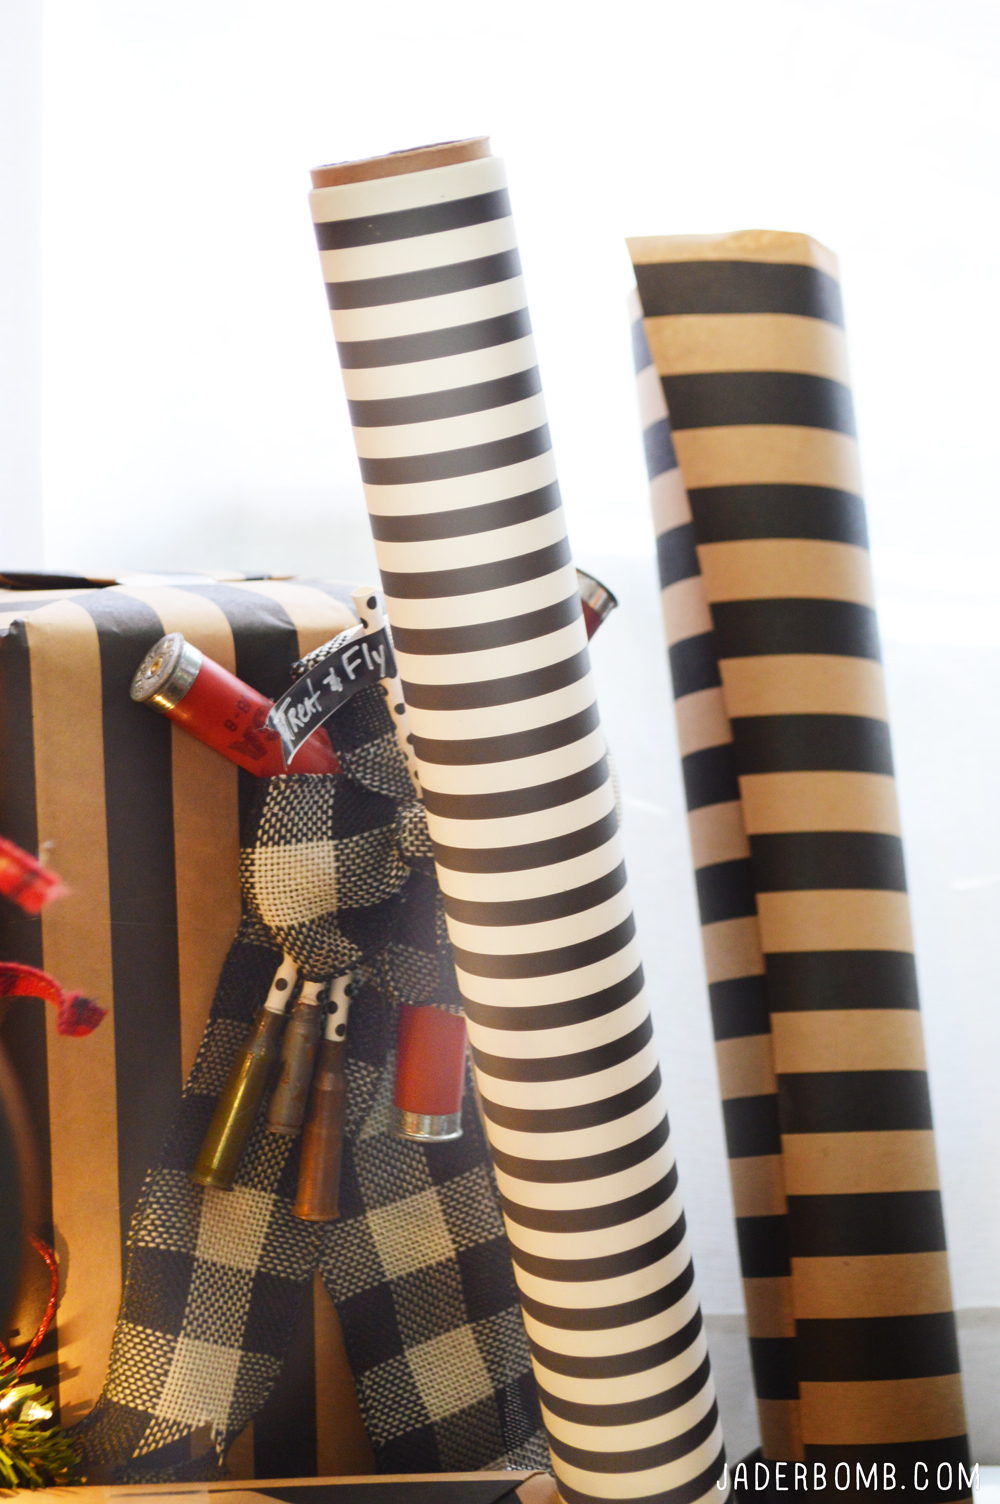
black and white wrapping paper

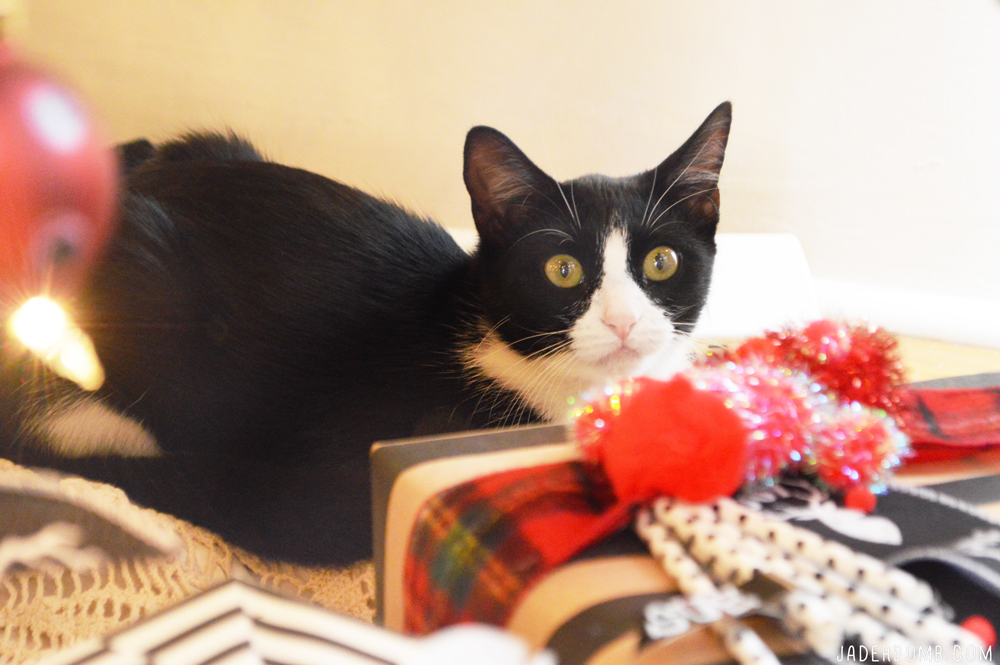
Last but surely not least is Hannah our cat. I think she loves the tree more than us! Let’s just say I am glad she was on the ground when I was taking these pictures and not IN THE TREE like she normally is. I mean, it is her first Christmas so I will let her slide. cat in a christmas tree

76925_MS_1101_MM_GS_Banner_1400x530-1024x388

Big Huge Hugs to you all! See you in the next post! Make sure to check out all of my Michaels Makers projects here!

jaderbombInspired to start decorating your own tree? Make sure you visit Michaels’ blog, The Glue String, to see the other 49 Michaels Makers’ dream holiday trees that were created this year. If you’re just getting started on your holiday decor, you can also check out some of the ornament projects and tutorials available on Michaels.com.

Check out all of the other Dream Trees! You will not regret it…