Tag Archives: crafts

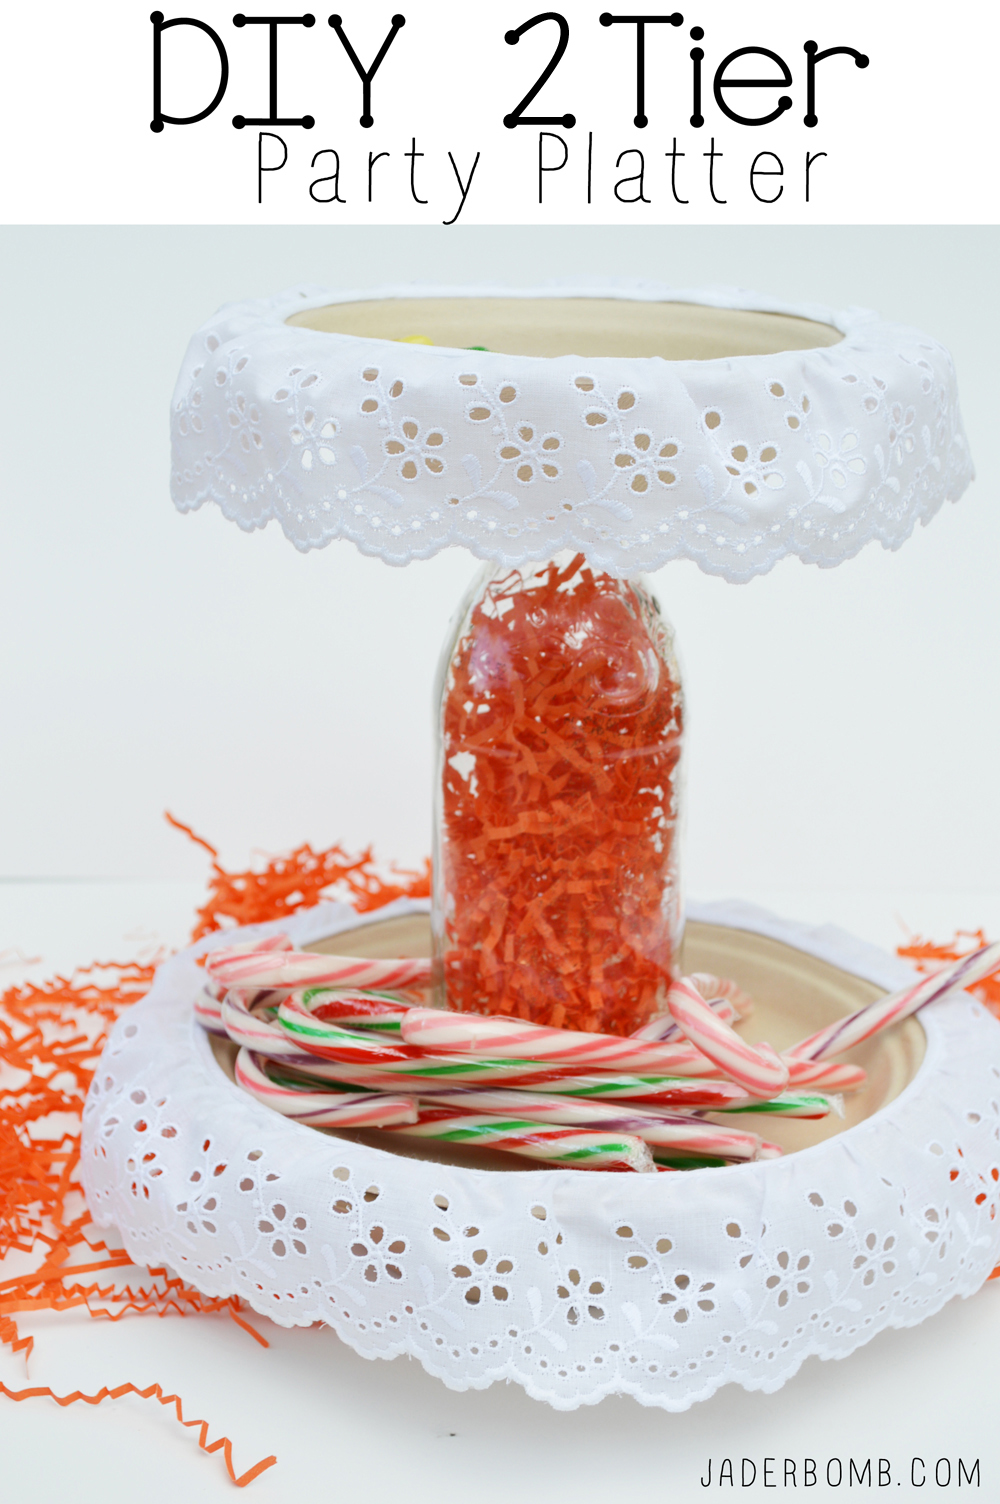
Today I will show you how to make a 2 Tier Party Platter. It’s really simple and did I mention you can toss it when you are done using it!

Yep today we will use paper plates (sturdy ones) for this project.

I don’t know about you but I like an easy clean up after a day full of chaos so this works perfectly. Let’s get started.
diy 3 tier party platter

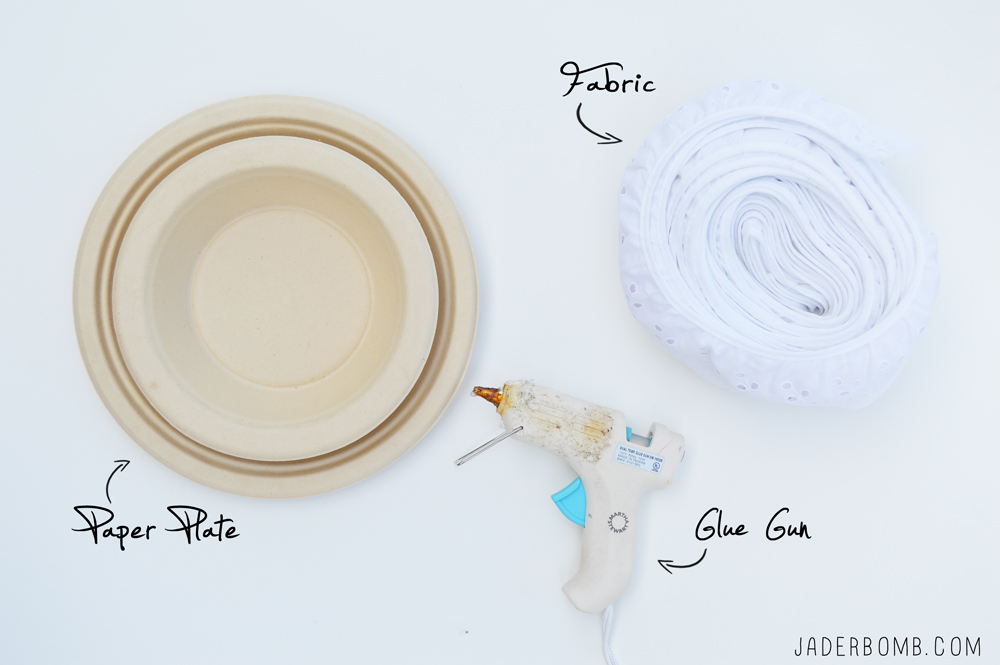
YOUWILLNEED

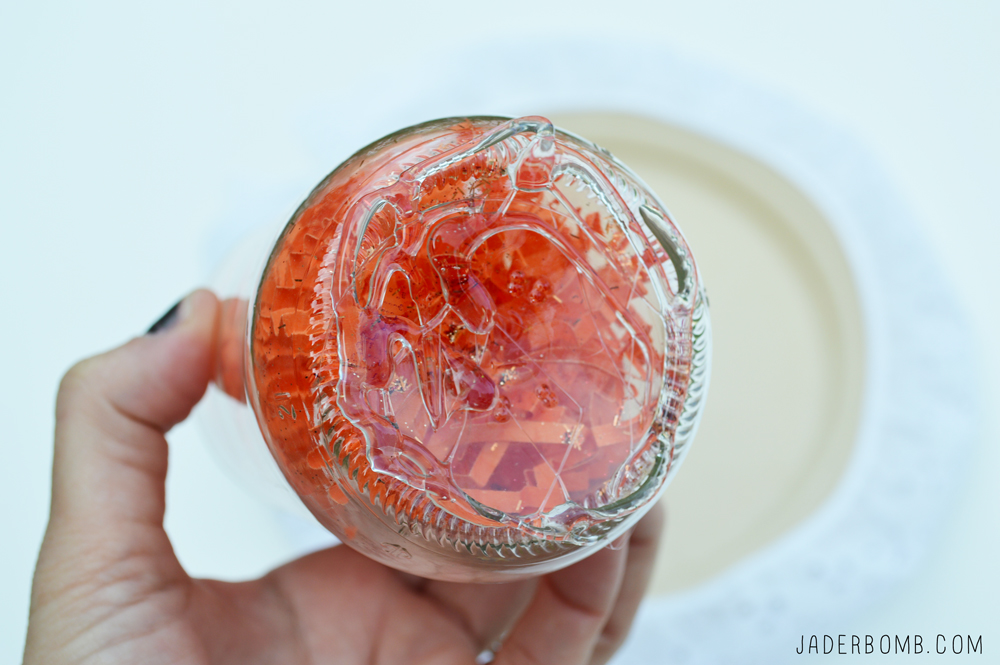
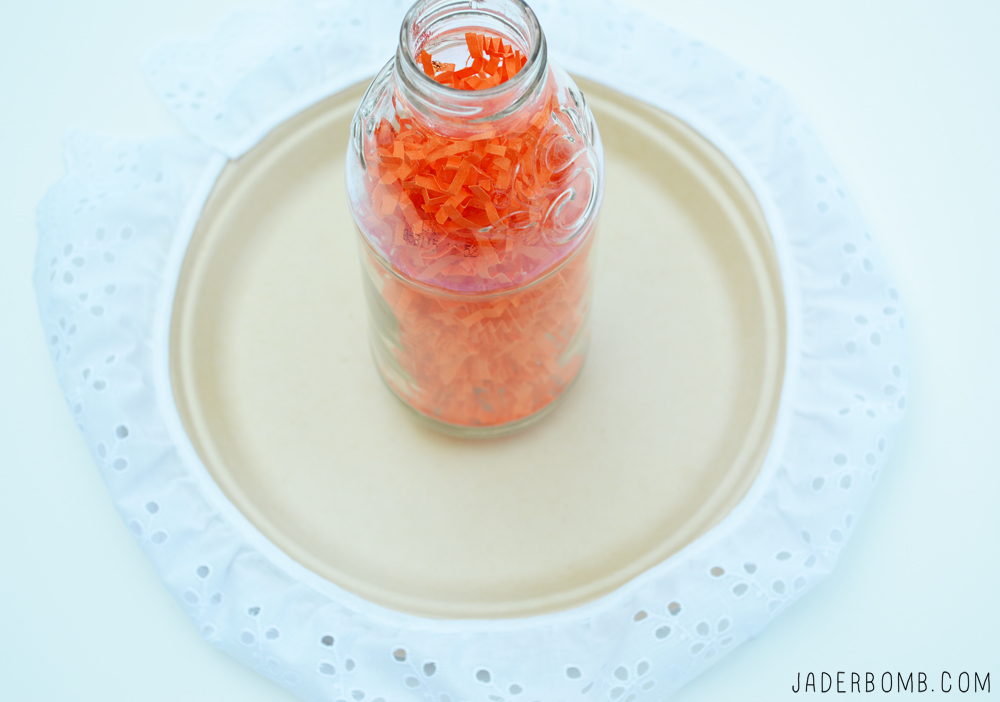
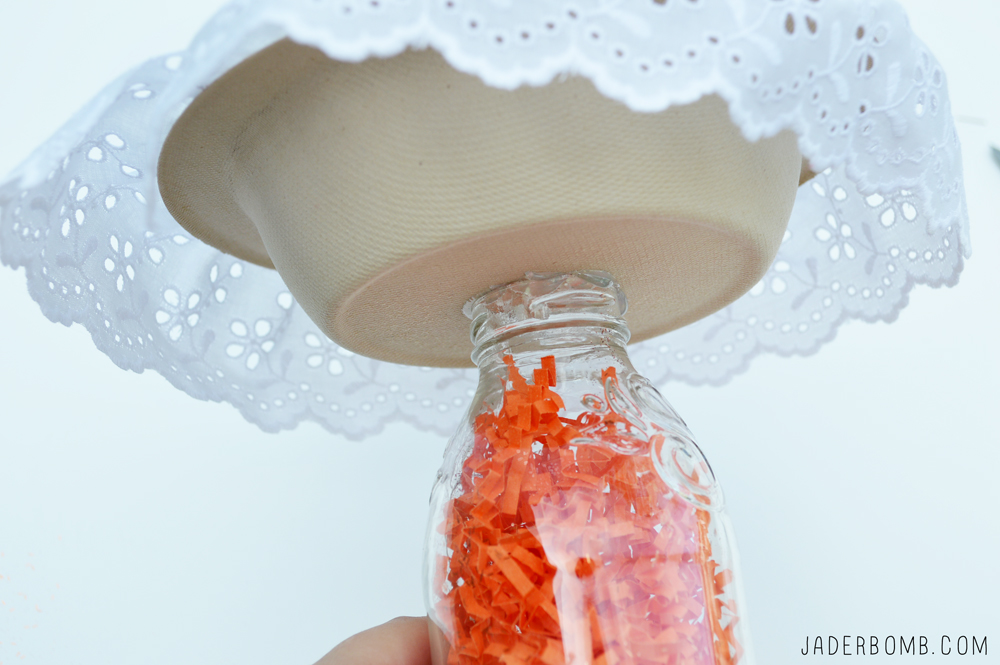
*Paper Plates * Fabric Lace * Hot Glue Gun * Empty glass bottle DIY Serving DishPut some hot glue under the bottom of the glass bottle. If you don’t have hot glue you can use E600. two tier serving dishGently place the glass bottle down onto the large paper plate, directly in the center. diy serving dish tutorialGently hold it there for a few minutes to make sure it dries completely.how to make a serving dishGet a small paper bowl and glue it to the top of the glass bottle. Hold until secure!2-tier platter

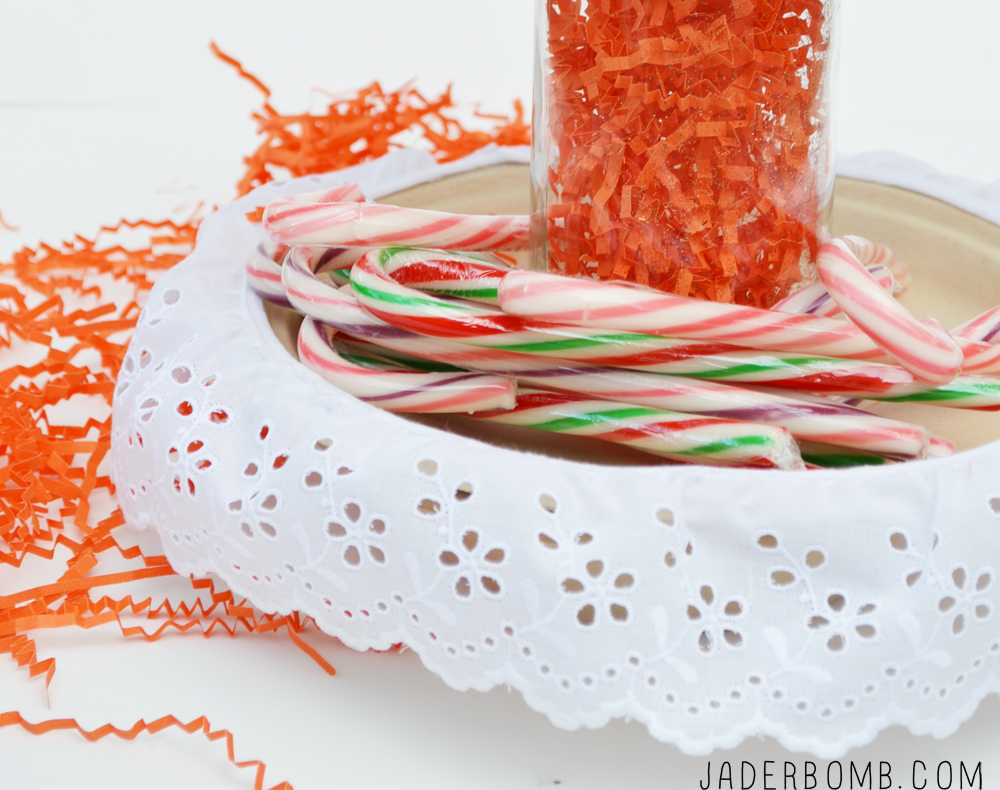
How stinking cute is this.

Things you can use this for:
*Put candy in for a holiday party
*Use as a makeup holder
*Keep in a space to throw your keys in and change
*Craft Supplies
*Kids toys

The possibilities are endless really. The best thing is it’s affordable and you can toss it if it get’s dirty and nasty.

What will you use your’s for?
ending1

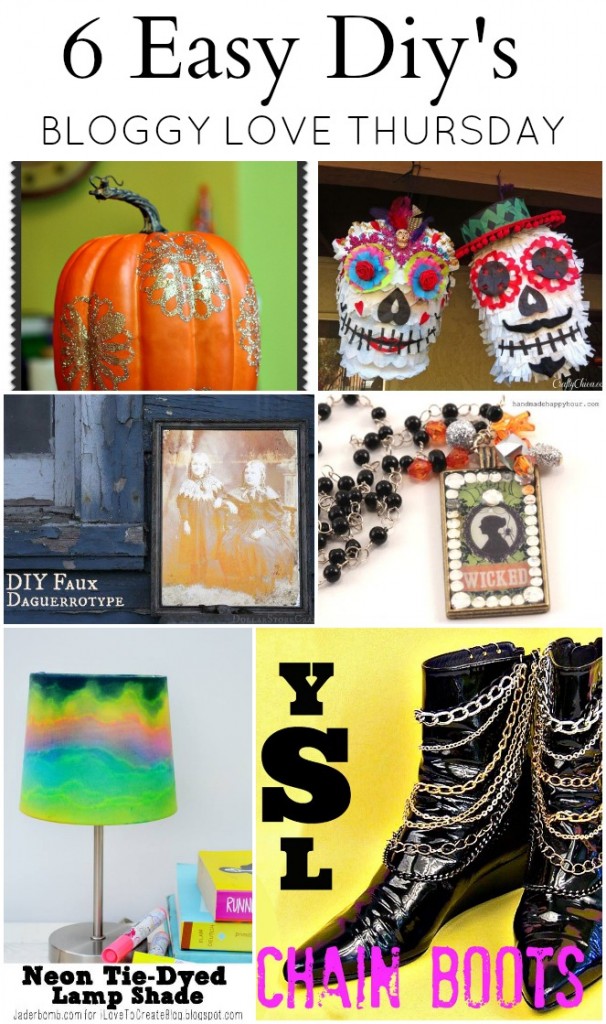
6 EASY DIY TUTORIALS It’s all about 6 EASY DIY TUTORIALS  today for Bloggy Love Thursday! I don’t know about you but anything fun, functional and easy makes me happy. Let’s see what everyone is sharing today!

Margot Potter shows us that gold is glamorous with this Gilded Pumpkin .

Cathie Filian shows us how to make a WICKED Halloween necklace with their products that are at Walmart (wahooo)

Mark Montano brings me to HEAVEN and back with these DIY chain boots!

Heather Mann just made my day with this DIY. Learn how to make a Faux Daguerreotype.

Kathy Cano-Murillo shows us the EASY way to make a PIÑATAS, and a sugar scull at that!

In case you missed my latest post for www.ilovetocreate.com check it out here! I show you how to make a COOL NEON LAMPSHADE!

I hope you enjoyed this roundup today!

ending1

Whoa Nelly! It’s almost Halloween already. Where does the time go? I know this sounds CRAY CRAY but I am already working on Christmas crafts!

SHAKING MY HEAD. I will tell you I have some wonderful things coming up and I can’t wait to share them with you!

HALLOWEEN CRAFTS

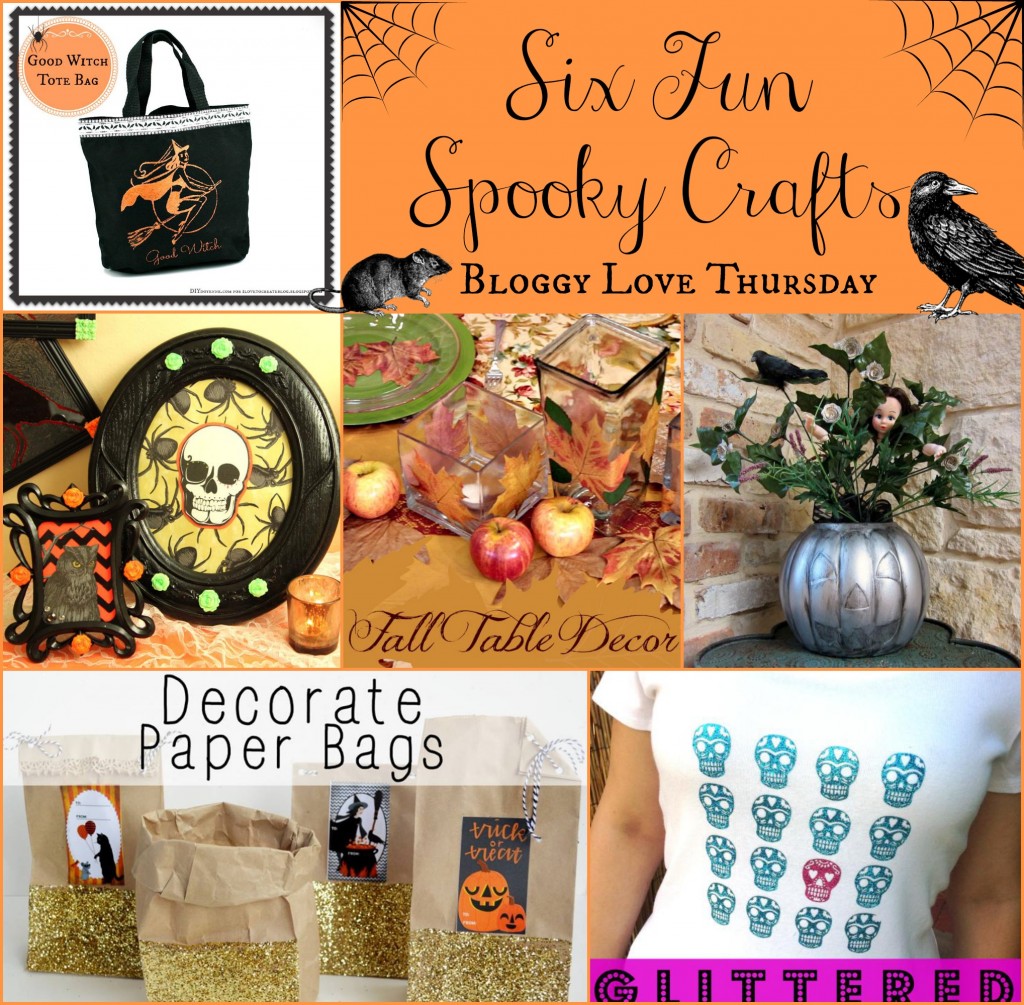
 I have some great Halloween Crafts to show you ! My friends rocked out glitter and glam this week.  

My, oh my Margot Potter is rocking my socks today with this silk screen witch tote bag. I wonder if I am a good witch or bad witch…

Cathie Filian and Steve Piacenza show us an easy way to decorate any mantle. Don’t worry if you don’t have a mantle, you can still use all these crafts somewhere else in your home!

Mark Montano takes our tables to a whole new level with his great fall table setting. Wait till you see what he did with LEAVES!

Heather Mann takes plastic pumpkins to pewter heaven this week. I love the head in this arrangement!

Kathy Cano-Murillo brings glitter and “sugar” together in this fun tutorial. I can’t wait to jazz up some shirts!

If you missed my tutorial on decorative paper bags check it out here!

Happy Crafting!ending

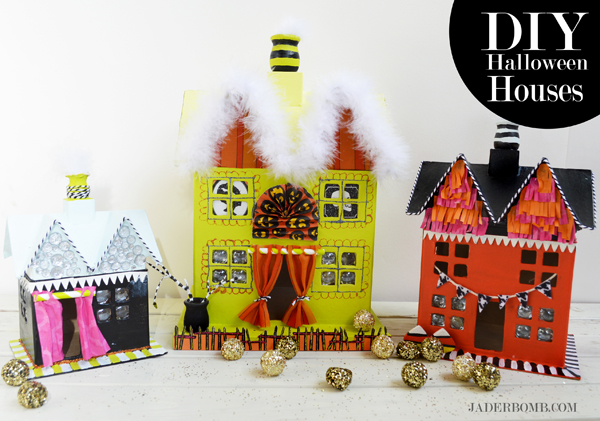
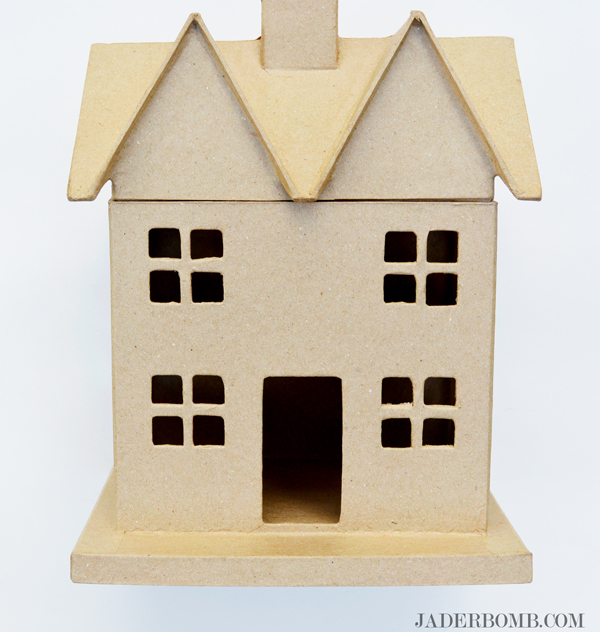
Today is a perfect example of my motto “Why buy when you can DIY”. It’a almost Halloween and I always dress up my house and studio with DIY Halloween Houses. I love today’s craft because you can keep it when the holiday is over or toss them to avoid clutter. I know you are prolly thinking I am crazy for saying I would toss them but I am pretty over the top like that. It’s one of those things that I wouldn’t want to stuff in the attic. After all it’s not like it’s a Glitterville collectible.  With that said, you can purchase these cardboard houses from Hobby Lobby and they are really inexpensive. I think the large house was around $5 and the other two were $2 and $3 dollars. I hope you enjoy them!

P.S. Check out today’s FREE Fall printable on Free Pretty Printables.

decorated cardboard boxes for halloween

diycardboardhouses

You can purchase these from Hobby Lobby!paintcardboardhouse

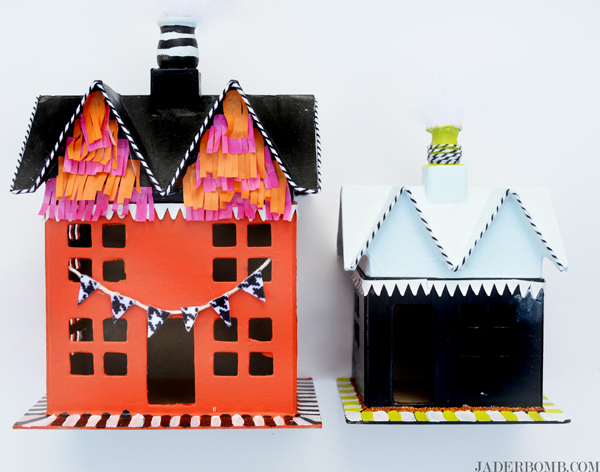
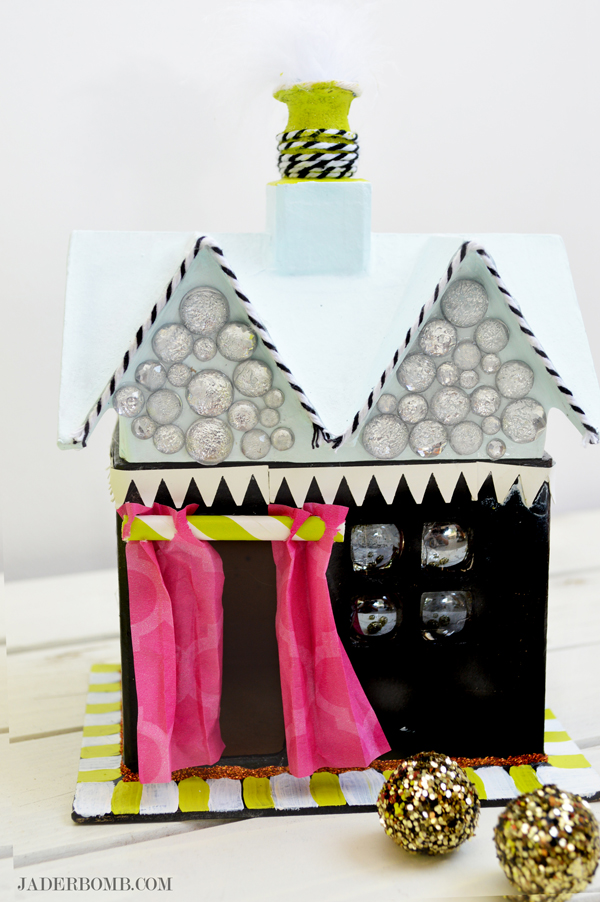
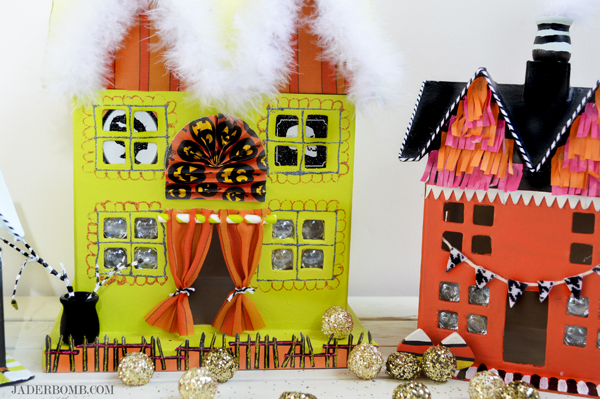
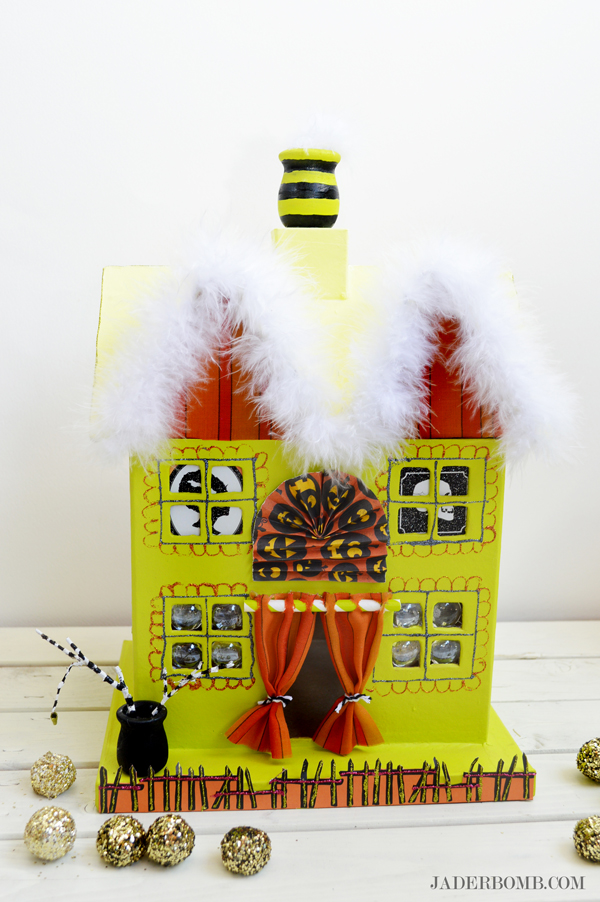
I started by painting the houses with acrylic paint. I lined the roof with baker’s twine and added tissue paper to the front of house. diy halloween house

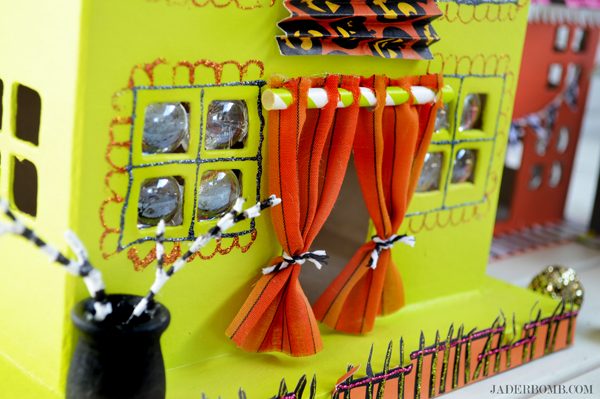
I used glass beads for the windows. For the curtain I used a paper straw and a piece of tissue paper. I let my godchild help me and I am so happy I did. It’s a fun craft that any kid can do and trust me it will keep them busy! halloweenroof

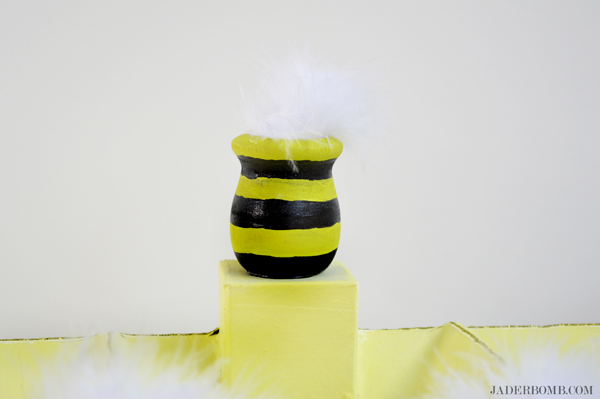
For the roof I used a little wooden planter and stuffed it with a fluffy boa! You can get these from the craft store also. I say use any fun goodies you have at home and be creative. After all that is where the fun comes in. how to decorate cardboard house

For the fence I cut a strip of Martha Stewart craft paper then added glitter to it. Just have fun with your house! halloween diy houses easy halloween diy houses

I hope you enjoyed these and you create your own magical houses for the holidays. See you in the next post!

Huge glittery hugs—See you in the next post! Visit me on FacebookTwitter,Pinterest, or Instagram!

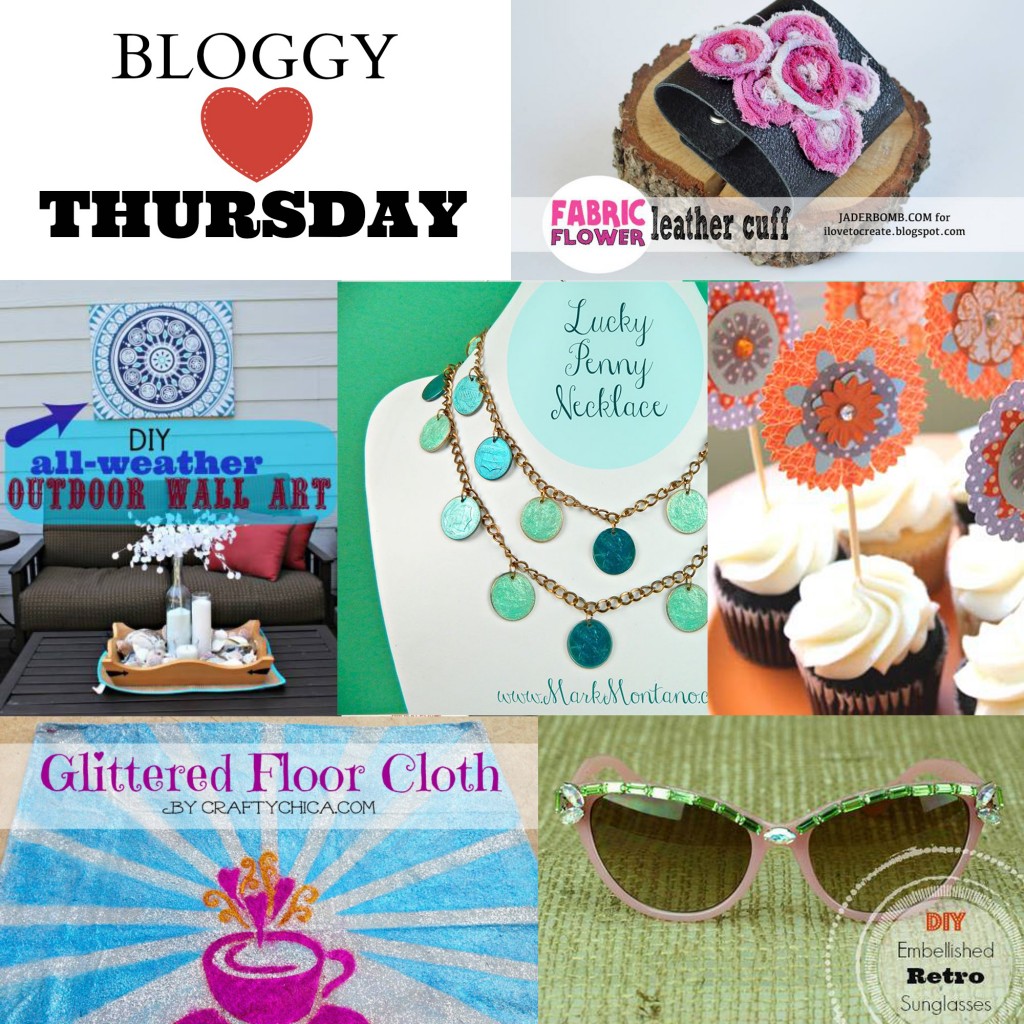
Good Morning Jaderbugs! I hope you are ready for some fun summer crafts because it’s Linky Love Thursday  and you know what that means! Time to show you what my crafty friends Cathie, Mark, Margot, Heather and Kathy made in their glittery studio’s. Well I would like to imagine all craft rooms are FILLED with glitter, right!

Don’t forget to show some love and visit their sites and facebook pages! ((( I will share the link to each craft in the comment section below))) ENJOY JADERBUGS! Hope you enjoy these fun summer crafts!

Fun Crafts


 Cathie Filian and Steve Piacenza made these fashionable cup cake toppers that I will surely be making. Check out what she made them out of!

Mark Montano made a statement piece for a “Few Cents“…. I think these could be made for every holiday! 

Dollar Store Momm took it on a whole new level with her genius outdoor art.

 CraftyChica.com Shows us how to turn a boring rug into a GLITTER FULL explosion!

Margot Potter The Impatient Craftertakes us all to a happy place with her Embellished Retro Sunglasses.

Wanna make a Leather Cuff? Check out my latest post!

Dream On, Dream On… Insert a tired face drinking coffee, singing this.  The other day I took a walk in my neighborhood ,remember the pictures I shared?  I have this odd desire to “collect” things that cross my path. Maybe it’s a little obsession or it could be that I am a little bit of a hoarder. I am sure people who know me reading this will laugh at that sentence. The only good thing is I get rid of these things as soon as I get them, so technically I am NOT a hoarder, haha! We will be making a dream catcher mobile today and trust me you will fall in love just like I did. Speaking of fall I can’t wait to start spraying these scents all over my house!
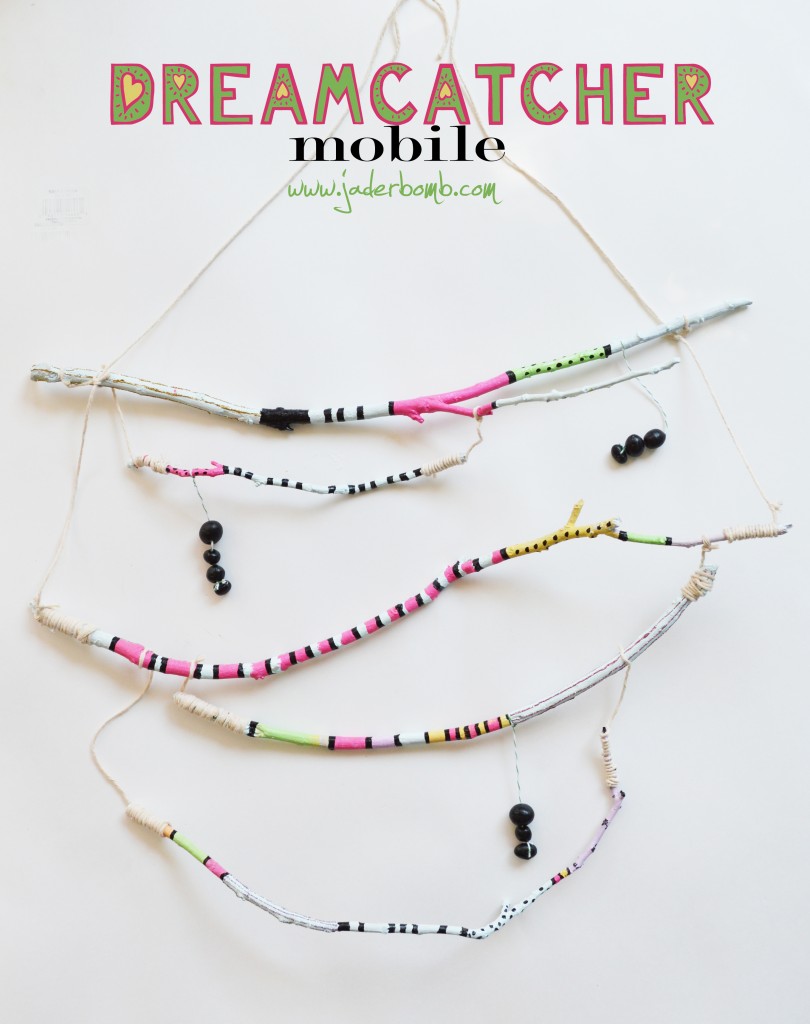
wooden dreamcatcher mobile

Wouldn’t this dream catcher look splendid on top of a baby’s crib?! It is sorta abstract v/s modern v/s county v/s whimsical.

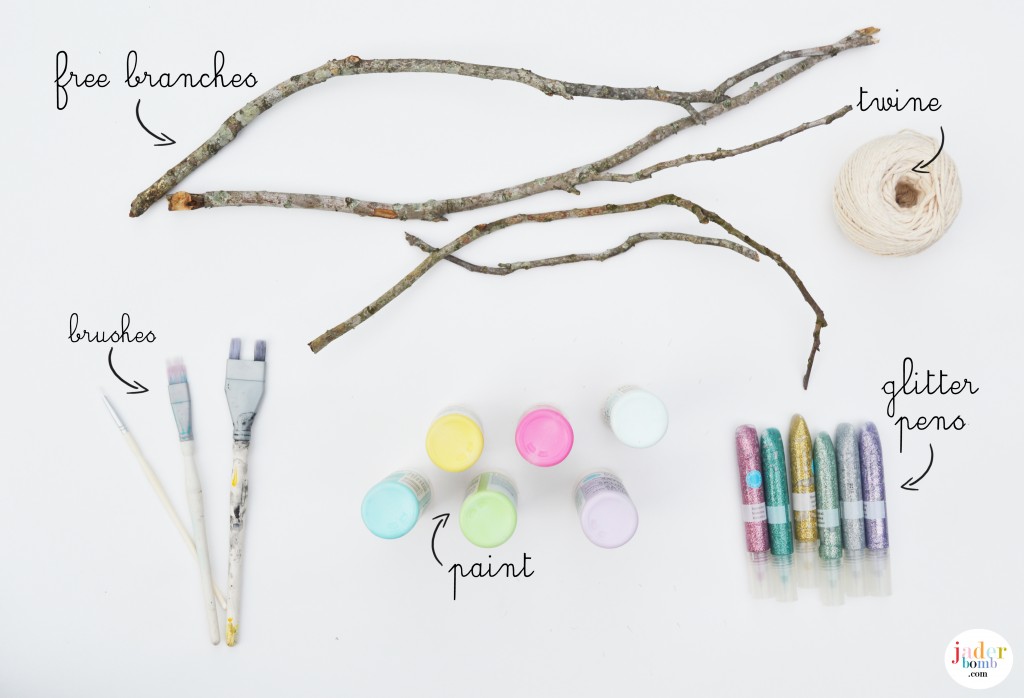
you will need

Branches | Twine | Glitter Pens | Brushes | Paint | Crayola Air Dry Clay | Lotsa Love

P.S. If you click on the links above you can purchase all of the items I used, oh and you can help feed me more eggs and grits!
wooden crafts

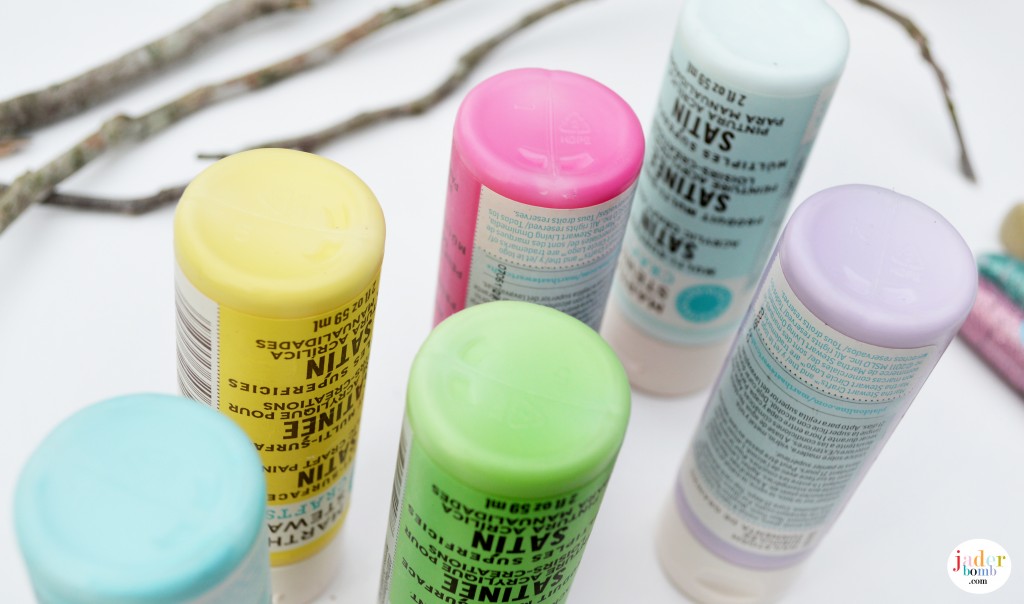
martha stewart paintHow delish are these colors! It’s like “Hey, I’ll take a plate of purple mush and green with envy”. I mean, if I could eat paint it would surely be this one!
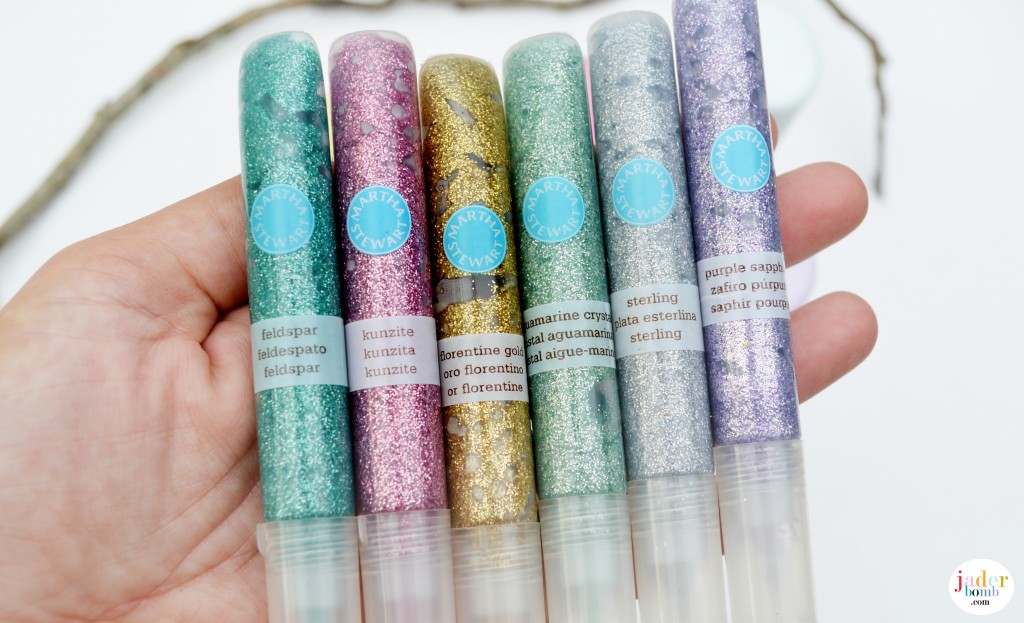
how to put glitter on wood

It’s been forever since I used these sparkly glitter pens and boy am I glad I busted them out of their cubby hole!
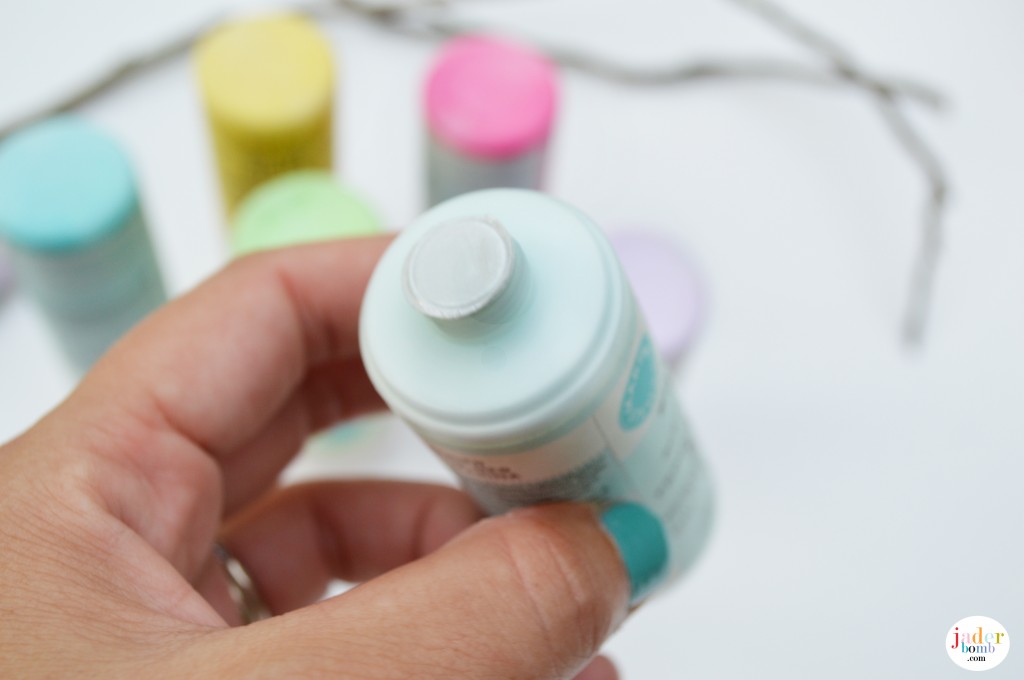
painting wood

 Make sure when you open your bottle of paint to remove the protective paper on top! Or you could do like me and keep squirting and NOTHING ever happen. You would think as long as I been using these paints I would remember about this little piece of paper, right!
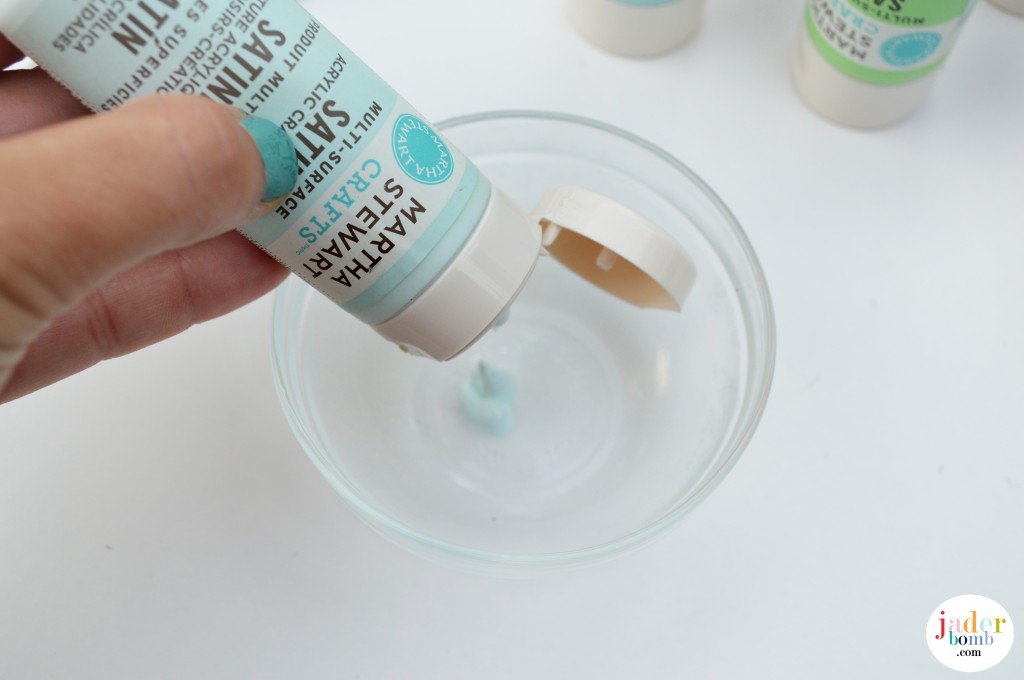
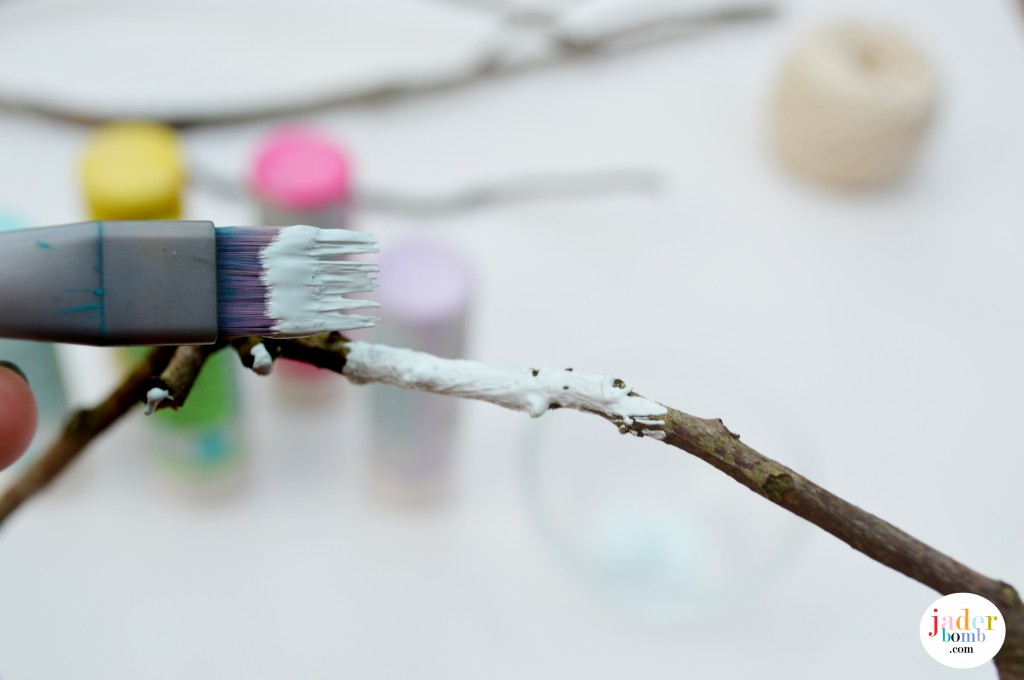
wood paint

learn how to paint on wood

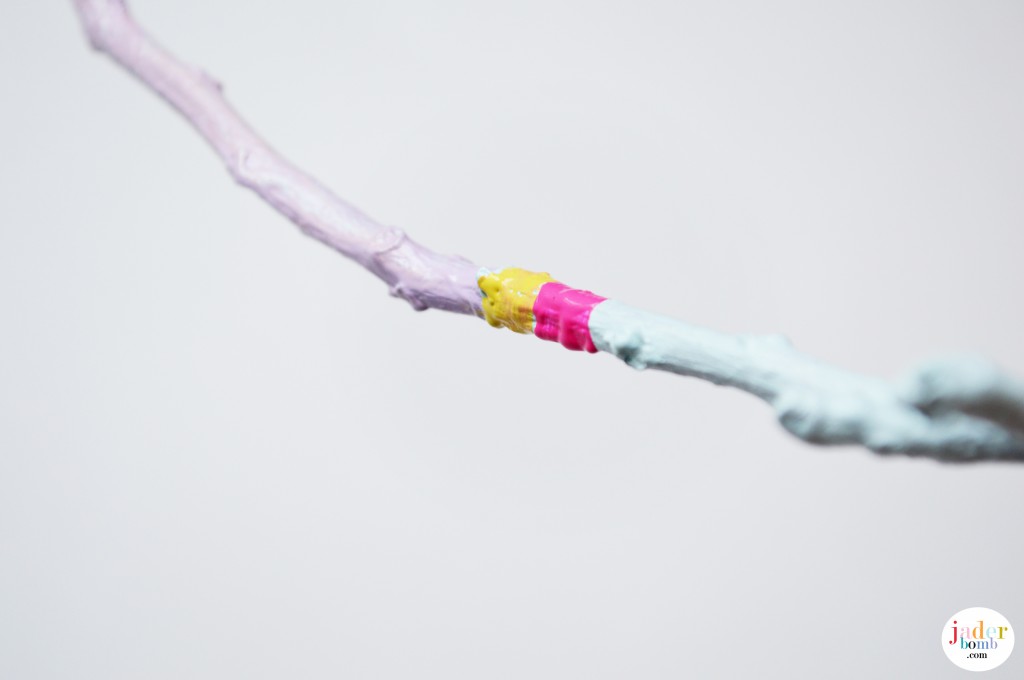
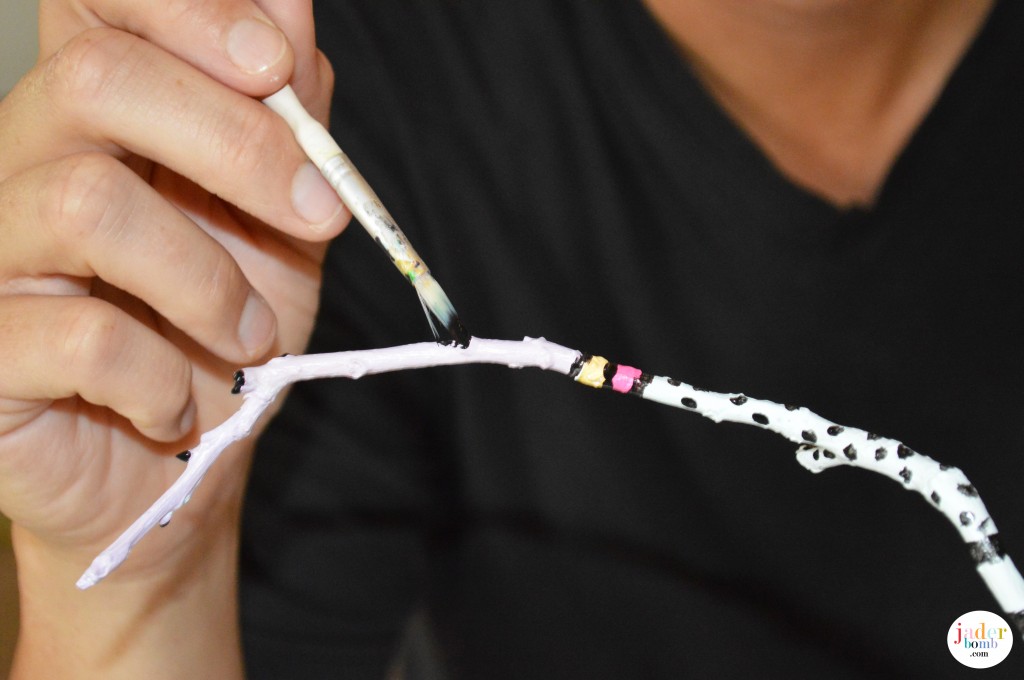
 I didn’t paint in a particular order, I just painted!
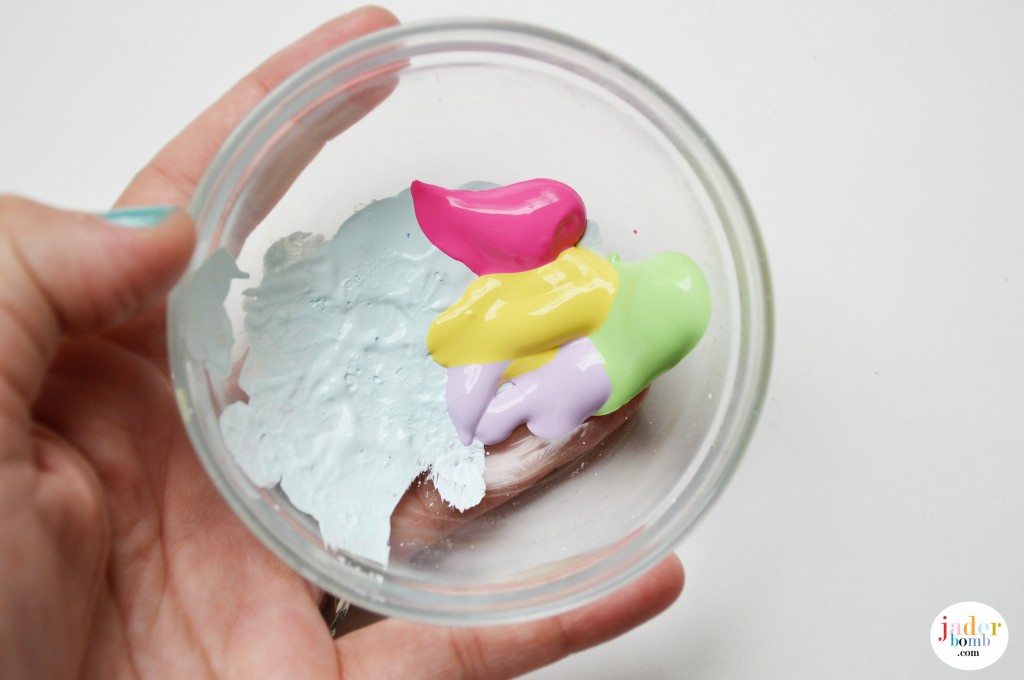
how to store your paint

how to use clay

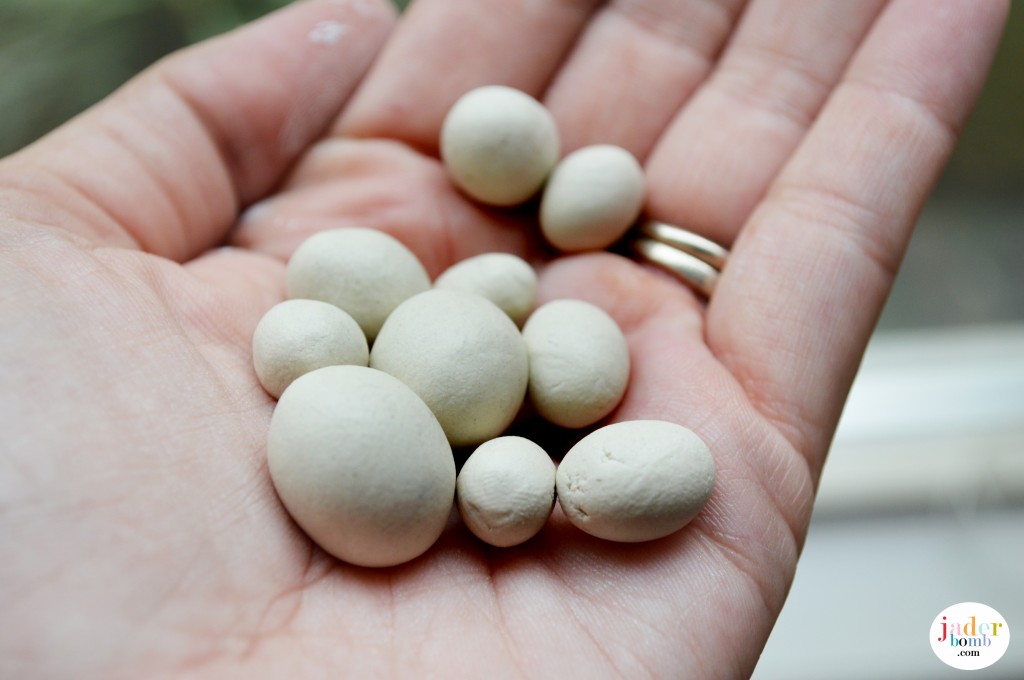
 I used Crayola air dry clay to form little balls. Make sure to stick a tooth pick through them before they dry.  Once they are dry paint them whatever color you want.
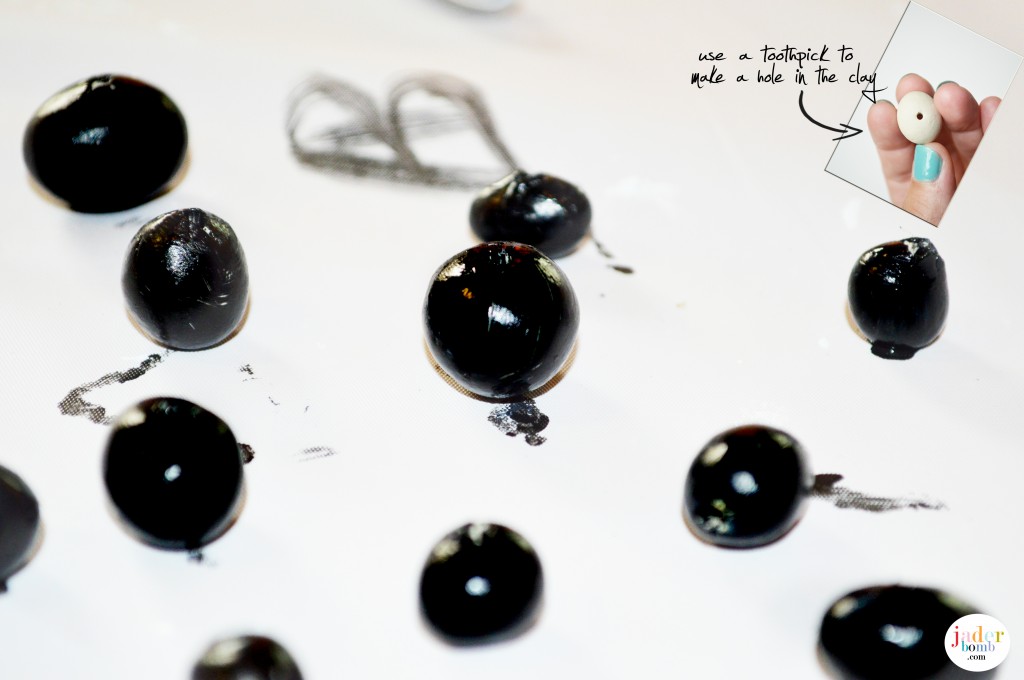
how to paint clay

painted wood crafts

crafting with wood

wood mobile

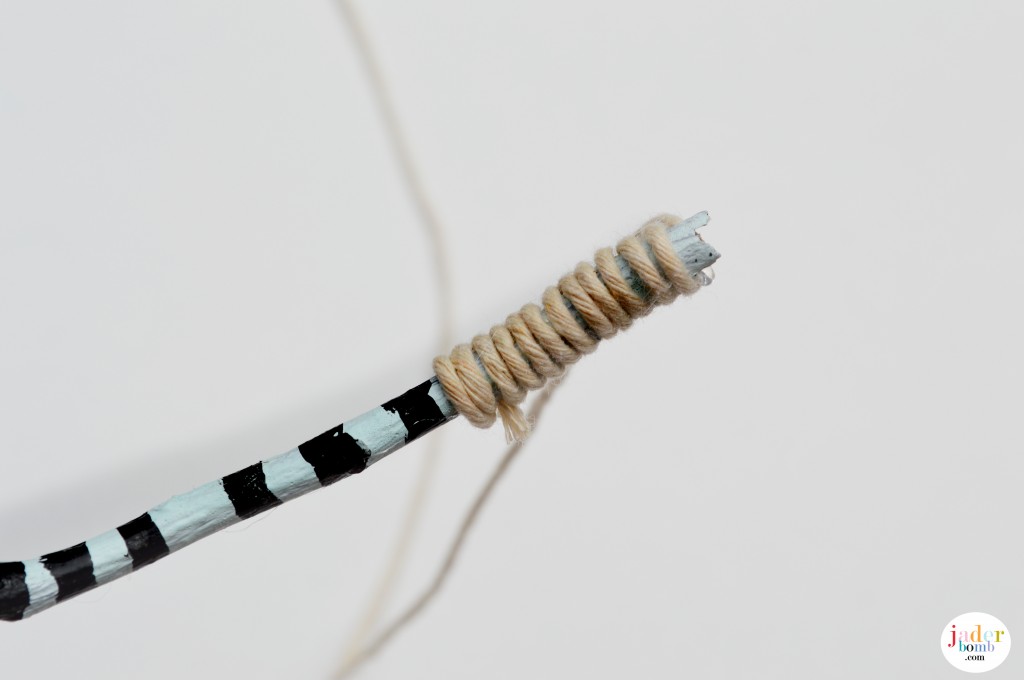
On the end of each branch hot glue twine in a circular motion, don’t forget to leave a long piece on the end to connect them to each other!
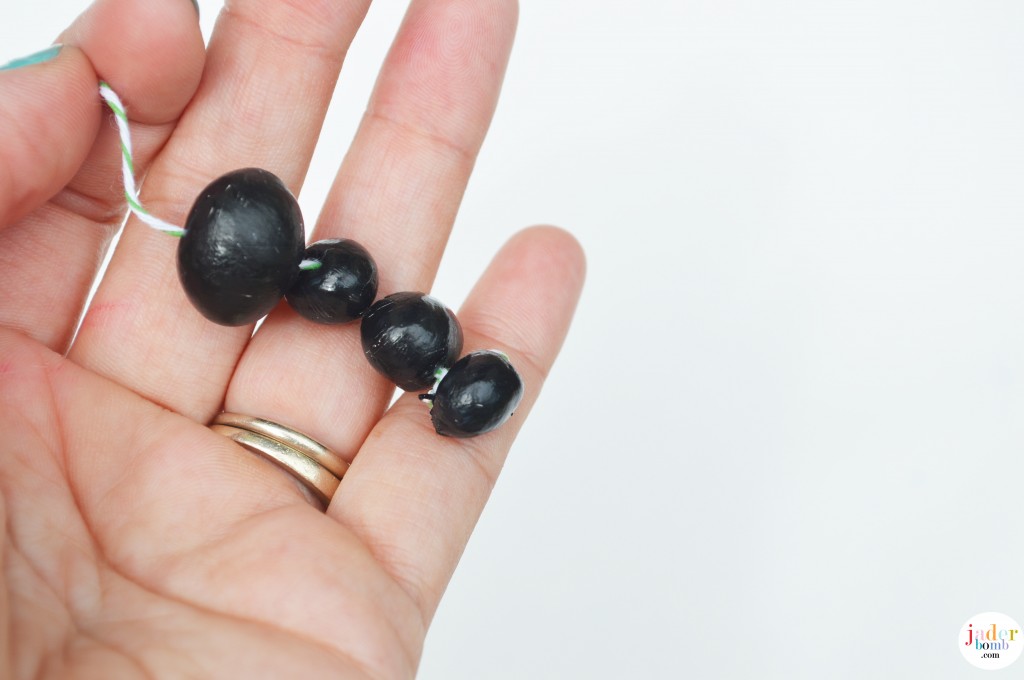
how to string beads

String your beads now! I used super thin twine for this.
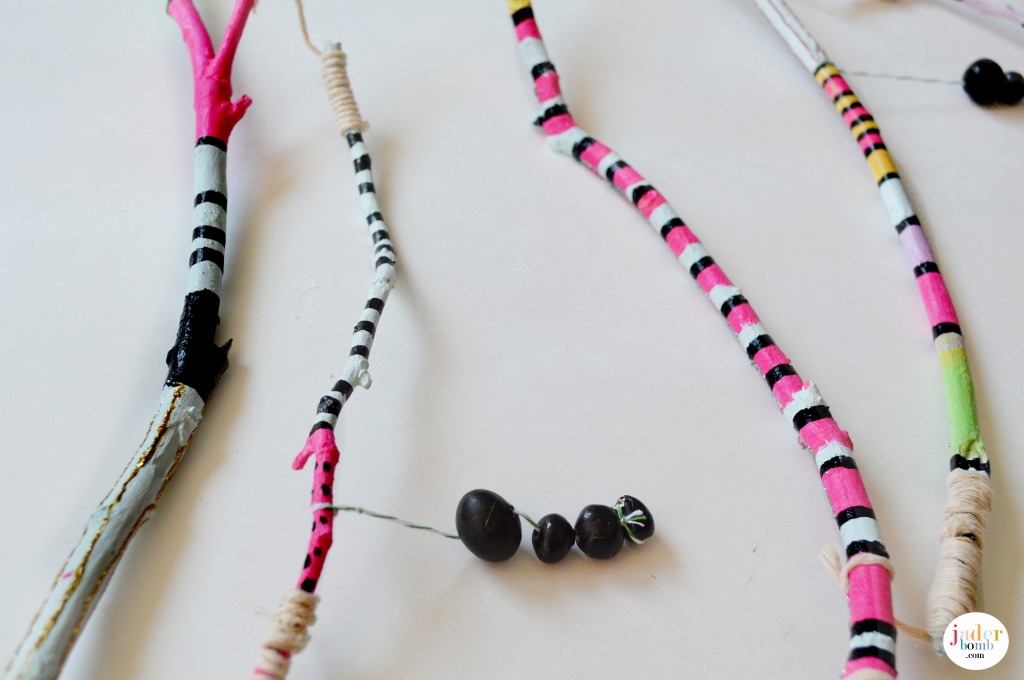
painting wood with paint

The next step is easy! Start connecting them any way you want, after all it is your dream catcher mobile.
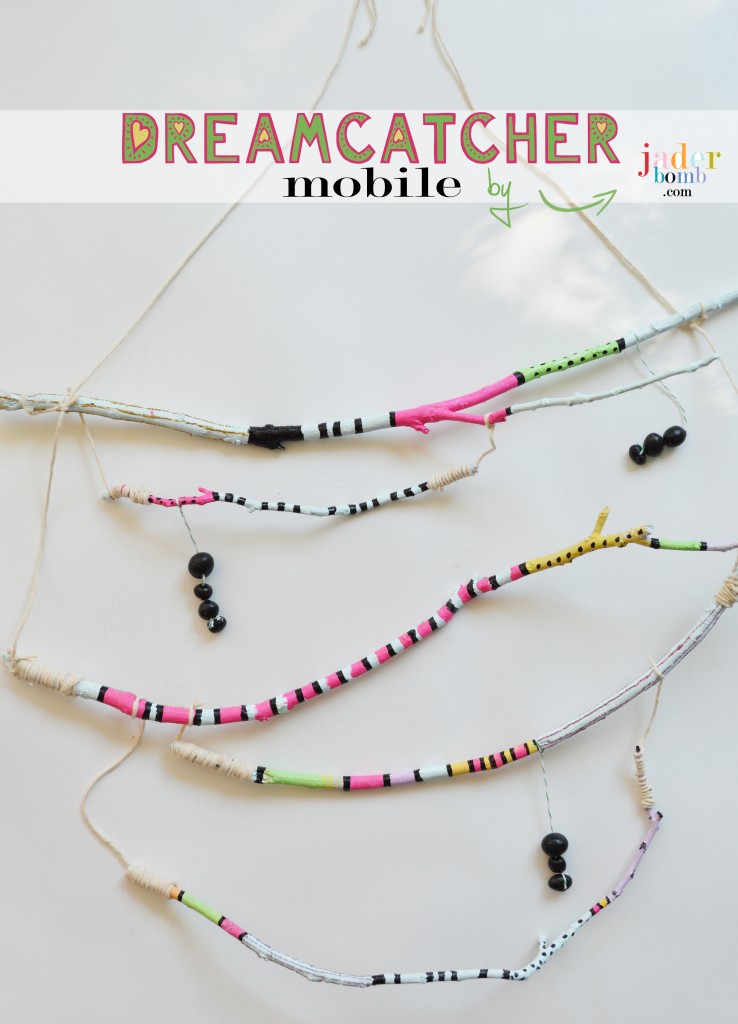
wood mobile tutorial

I hope you enjoyed this post, seriously from the bottom of my super hungry, growling stomach. I hope the next time you see branches on the side of the road you pick  them up!

Big HUGE glittery HUGS!

jaderbomb love