Tag Archives: home decor


Quote of the Day:
“We have two lives…the life we learn with and the life we live after that.” -Bernard Malamud

Video Inspiration for this post! Last night Beetle Juice played on ABC Family and I felt like having a party in the house. Nothing screams PAR-TAY Honey Boo Boo like PAR-TAY banners. Right now they have the 13 nights of HALLOWEEN so make sure and check out all of the classic movies playing. I suggest playing the video while you read the rest of the post, it’s sure to get you DANCING!

So, Washi Tape is pretty cool because you can use it for so many things. It’s really affordable until you become a washi tape addict then things can maybe get expensive. Sometimes at Michaels Arts and Crafts you can buy a pack of 3 or four for around 2.50. It might sound expensive but this stuff really last’s a long time. Once you start to get a collection then you can really get funky with your crafts.

INGREDIENTS:

*Washi Tape
*Scissors
*Baker’s Twine

(If you click on any of the above links you can order all of my ingredients)

What I really love more than washi tape is baker’s twine. There is something about this two toned string that makes me levitate and dance. I think when you add the black and white baker’s twine to things it adds a pop of color and it becomes a little magical to the eye.

The first thing you will do is lay out your baker’s twine on a flat surface.

Cut a piece of washi tape. I always like to cut a little more than I need. In the end we will be cutting these strips, plus it’s good to have some longer than other.

Lay your piece of washi tape on your flat surface and place your baker’s twine right on top of it. You want to make sure and place your baker’s twine is right in the middle.

Here is another angle for ya.

Fold it over so each side sticks to each other. Once you are happy with that you can cut it strait across or like I did below. It kinda adds a little “carnival” in your life!

I am really pleased with they way they turned out. Make sure you squeeze the washi tape around the baker’s twine so it is secure.

I hope you enjoyed this tutorial. Remember they make washi tape in every design you could think of. Here is a great site to order from. It’s Wishy Washi Tape . You will really enjoy this shop.

Quote of the day:
“After hard work, the biggest determinant is being in the right place at the right time.” -Michael Bloomberg
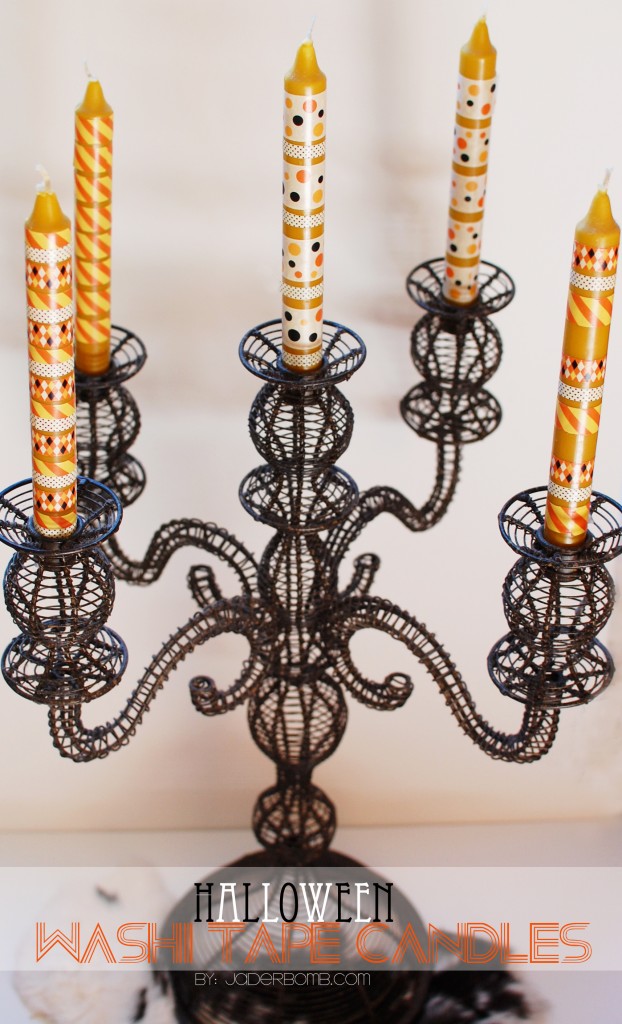
Are you ready to make Washi Tape Candles? I know I am so let’s get started!

I really love making crafts that are easy, affordable and easy. Yeah, I know I said easy TWICE because that is my favorite part about it!
Since your candles are made of wax when you are ready to take off your washi tape it will come right off. You won’t have to worry about damaging your candle. I used long thin candles because I wanted to dress up my centerpiece on our table. I keep this baby up year round. So, when Christmas comes around guess what I will do…prolly grab some white pillar candles and put Christmas washi tape on them. Wanna see how easy it is to do this? If you want to see how I made HOMEMADE WASHI tape click HERE.

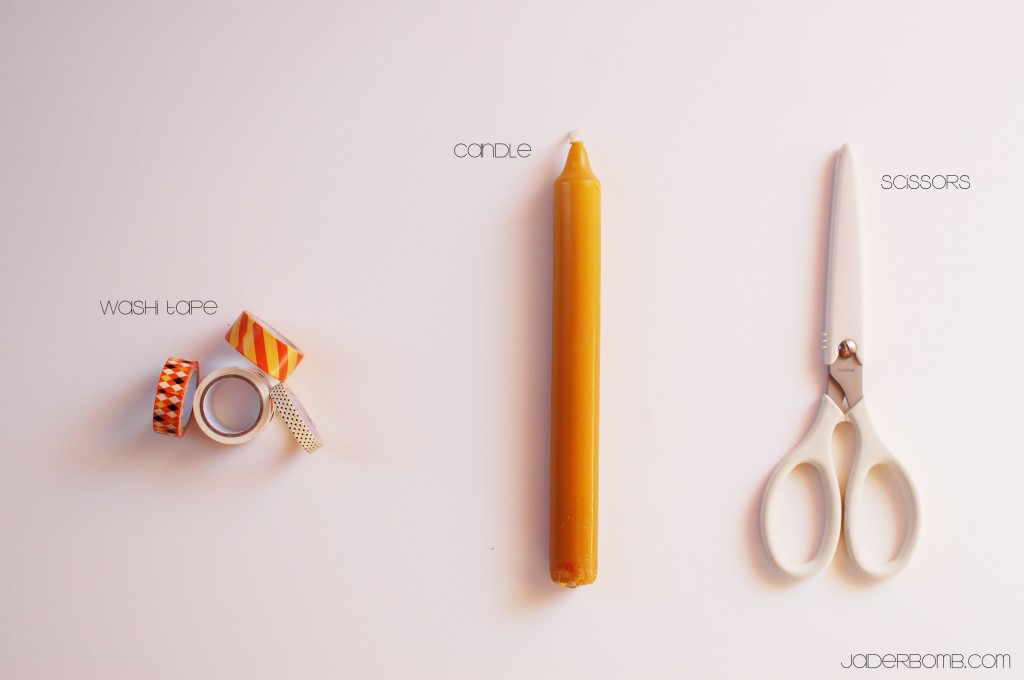
INGREDIENTS:

*Washi Tape
*Scissors
*Candles

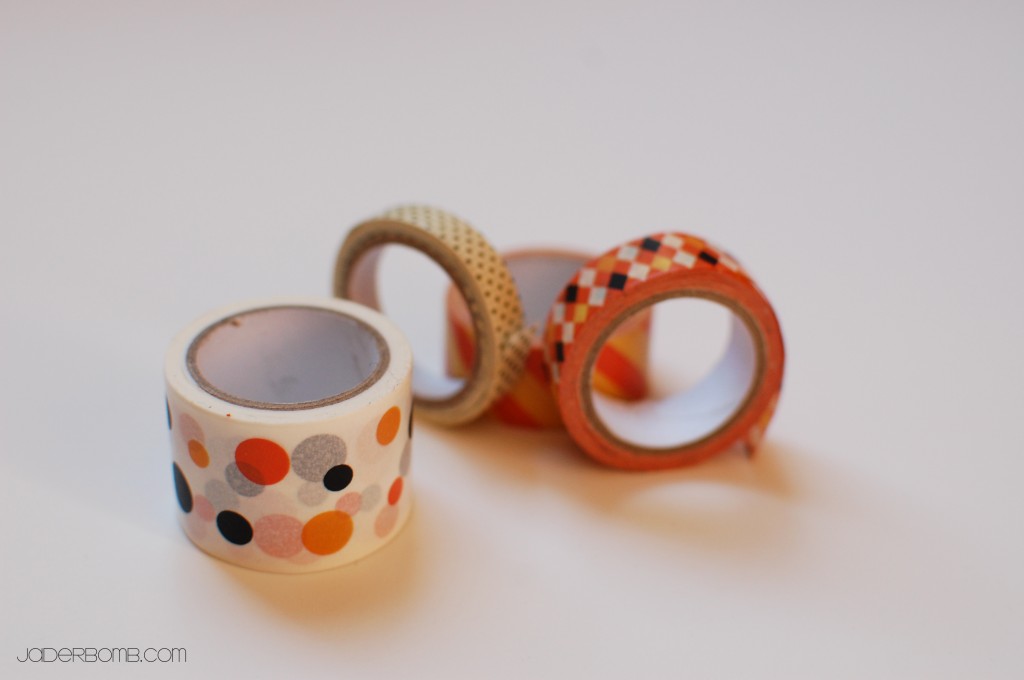
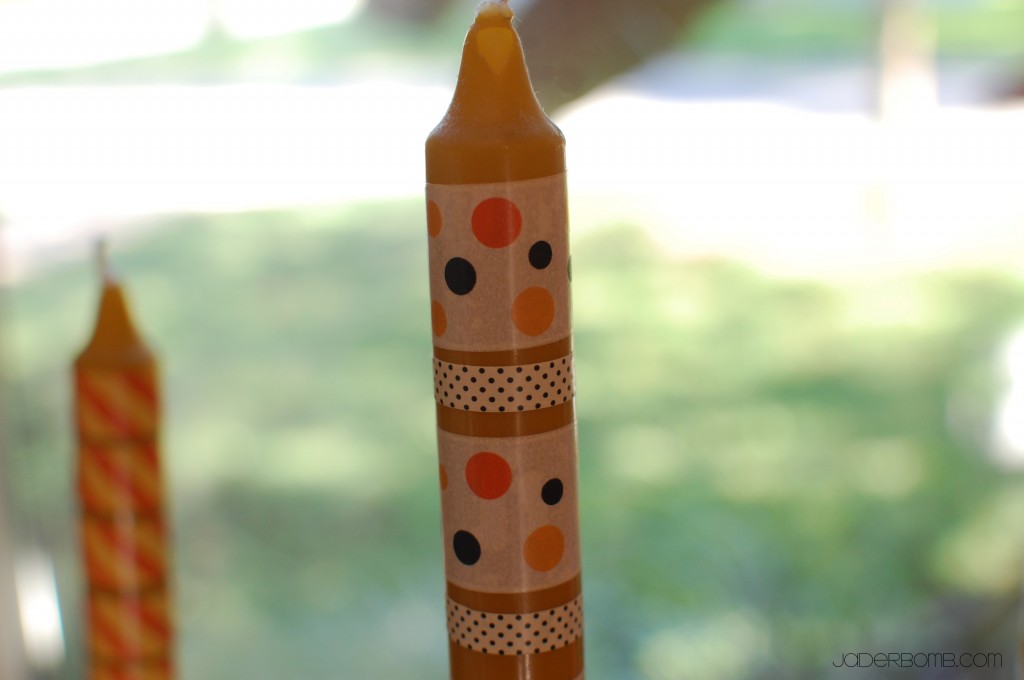
I am using Halloween washi tape by Martha Stewart. You can buy directly from the link under my ingredients (above).

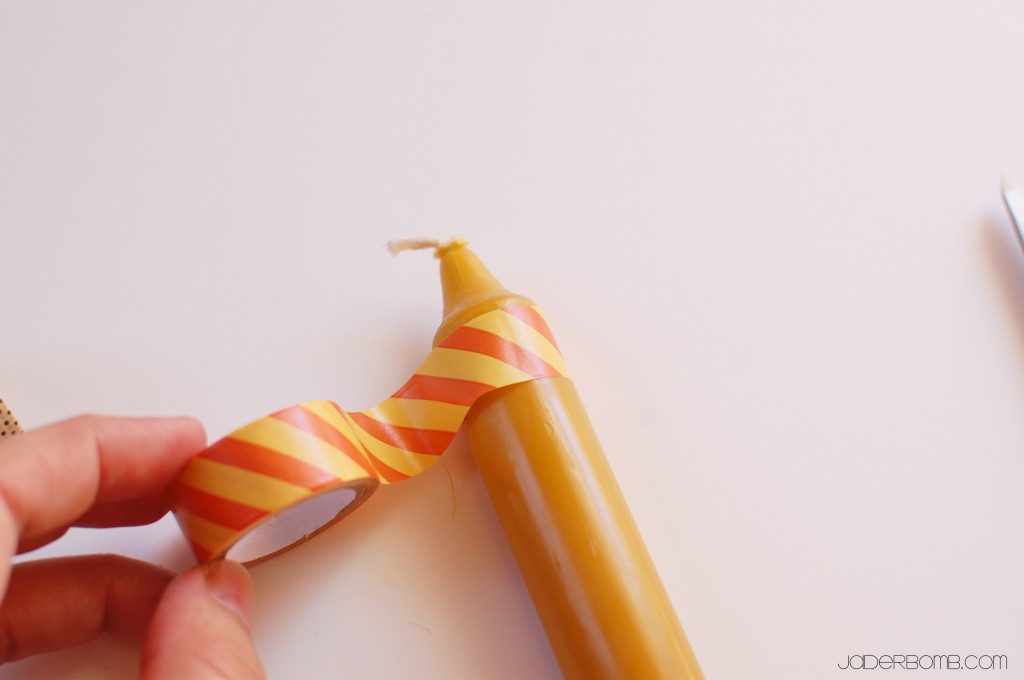
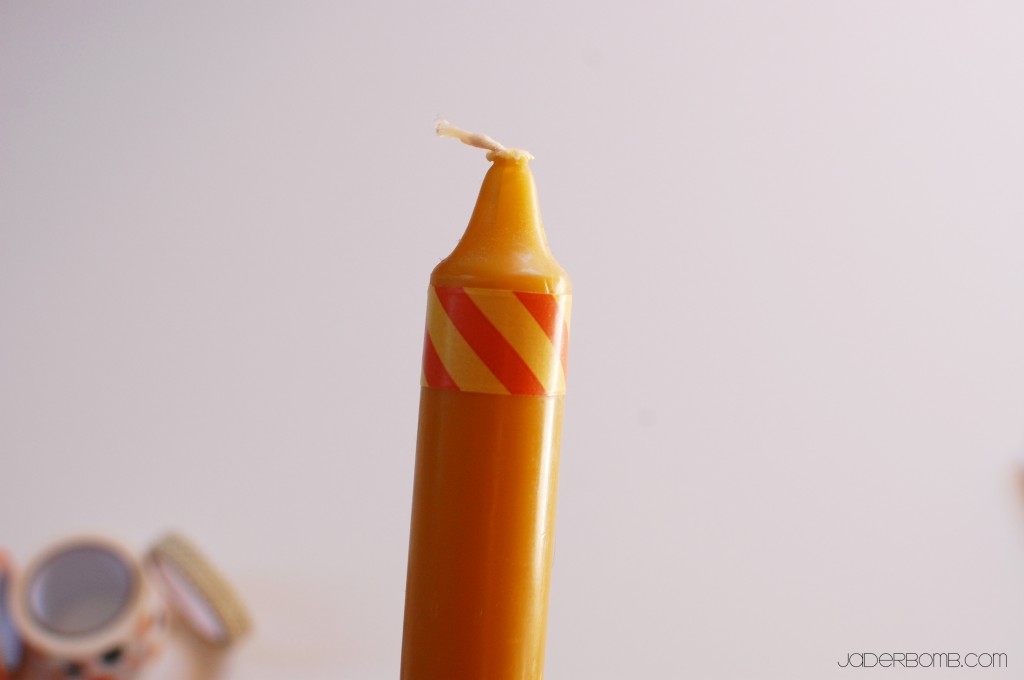
The first thing you will do is stick the end of the washi tape on the candle.

Wrap it till it meets the other end of washi tape, then SNIP it!

Tadah!
This is the end result! The fun thing about this craft is you can use whatever washi tape you want and this is practically good for ANY occasion. A simple candle can turn into a work of art with this tutorial.

I hope you enjoyed it… See you in the NEXT post.

*Have you seen my vintage CHRISTMAS lights printable. Click HERE to download it!


Quote of the day:
“All clouds are not rain clouds” – Latin Proverb

Video inspirations for this printable. I like these clown much more. Enjoy the video!

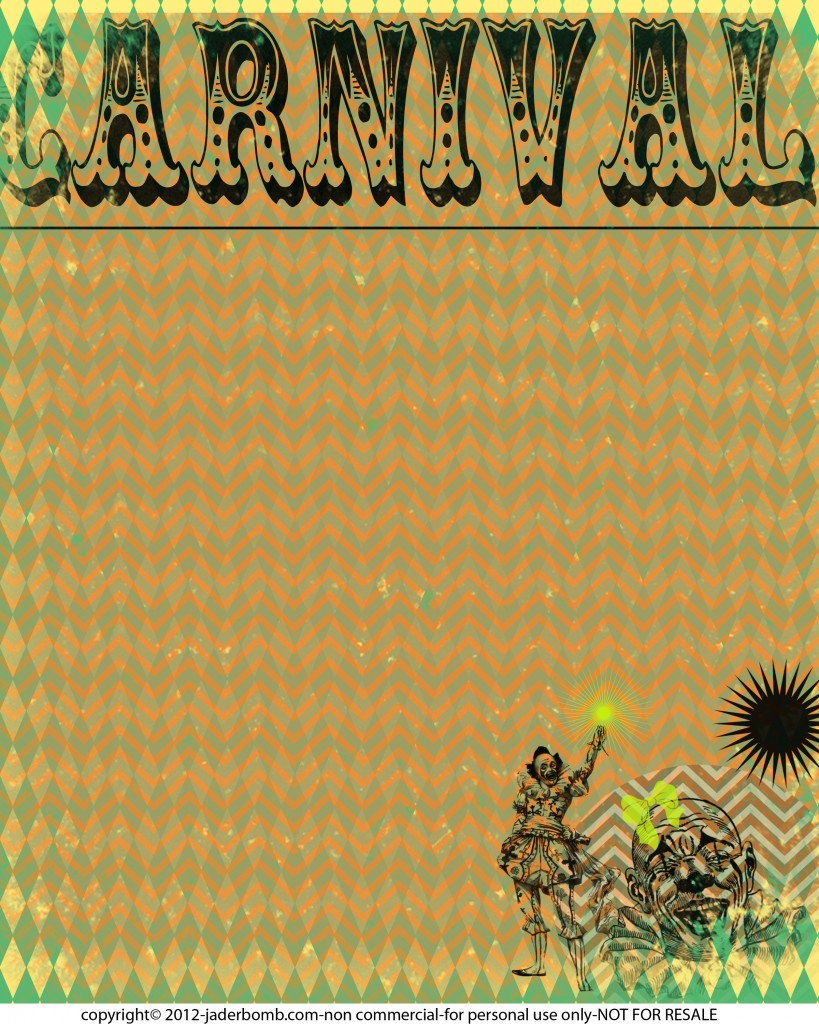
Click HERE for the full size PDF

You can print this out and use it for scrap booking, frame it with a picture in it, use if for Halloween decor or use it as a gift. There is so much to do with it. I am loving the diamonds all over and the font!

Happy Sunday
I made this scary carnival print for ya. There is something about clowns that freak me out. Maybe it’s the fact that you just DON’T know who or what is under all of that white paint.

The other day me and my dad were out and about and ran across this man, that we both know.

Dad : “JJ well look who it is”
Jade: “Yeah doobie the clown”
Dad : “HUH”
Jade: “Yeah, remember for my 2nd or 3rd birthday you hired him to be a clown at my party”
Dad : “LAUGHING OUT LOUD”
Jade: “(slapped him on arm and rolling my eyes) “STOP while I am trying not to laugh myself”
Dad: “YOU REMEMBER THAT JJ
Jade: “Just a little, haha. It sorta traumatized me”
Dad: (put’s arm around me and says: I’m sorry, we thought you would enjoy it)
Jade: Giving dooby the clown a hug because at this point he right in front of me.

Good news is he wasn’t in a clown suit. He’s a principle now. I am not scared of him anymore.

So the point is, clowns are not that scary if they are family friends. I still get freaked the freak out when I see a clown anywhere else. Maybe I will over come my fear and dress up as a clown this year.

Did anything ever scare you when you were little?

Quote of the day:

“Lose not courage, lose not faith, go forward.”

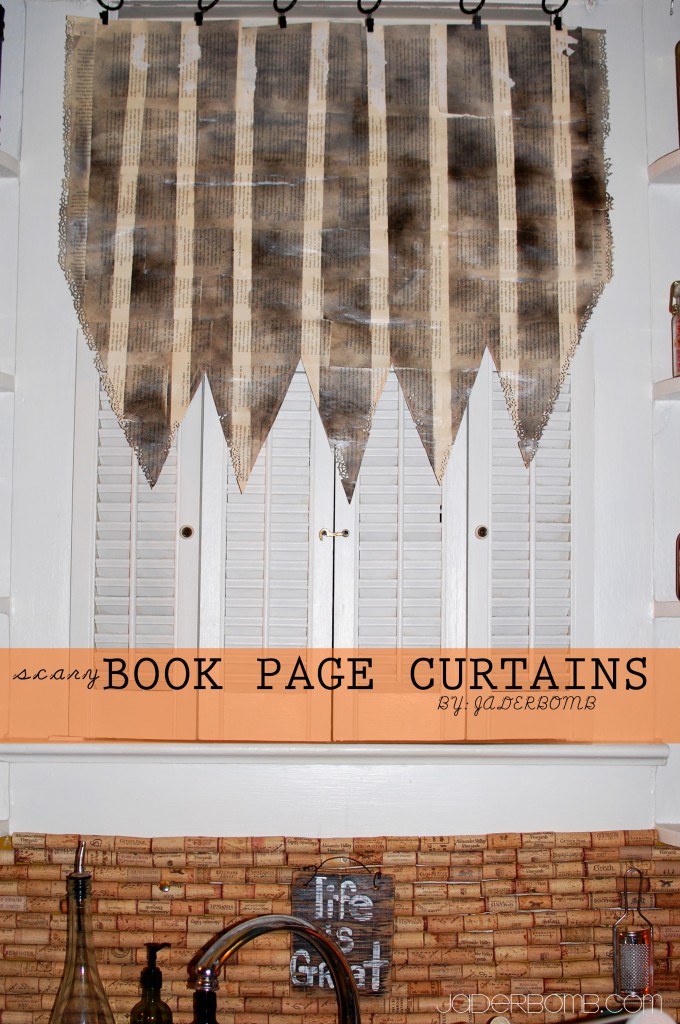
How much fun are these spooky book page curtains! I have to say I never every thought I would make curtains for my kitchen using pages from a book. But, why not?If it’s temporary until Halloween is over then we need to bring the spirit indoors!Let’s get going so I can show you how I made them!

INGREDIENTS:

*Book
*Adhesive Spray
(I love this one)
*Masking tape z
(Do you realize all that you can do with this tape?)
*Black spray paint
(you do NOT have to buy the most expense one either!
*Mod Podge
(I wish I could eat this stuff.)
*Brush
(not used a spoon for the Mod Podge)
*Martha Stewart Halloween Punch

The first thing you need to do is tear pages out of a book. I am using the FIRST twilight book because it will NEVER get old reading those pages. (I know I know I’m a sap)

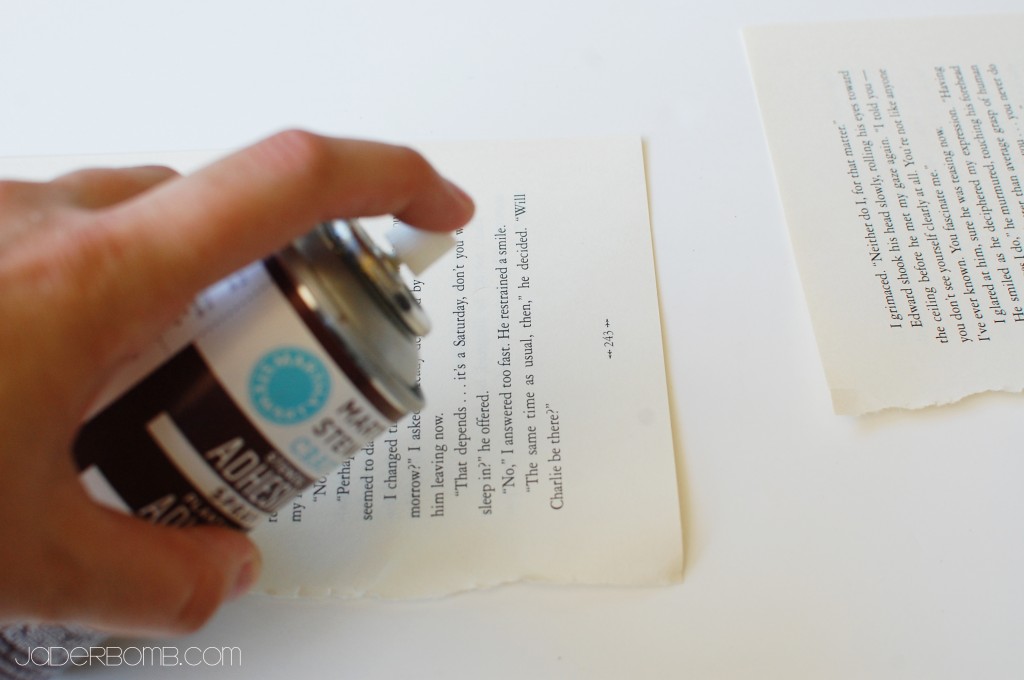
Spray the edge of your book pages with adhesive spray.

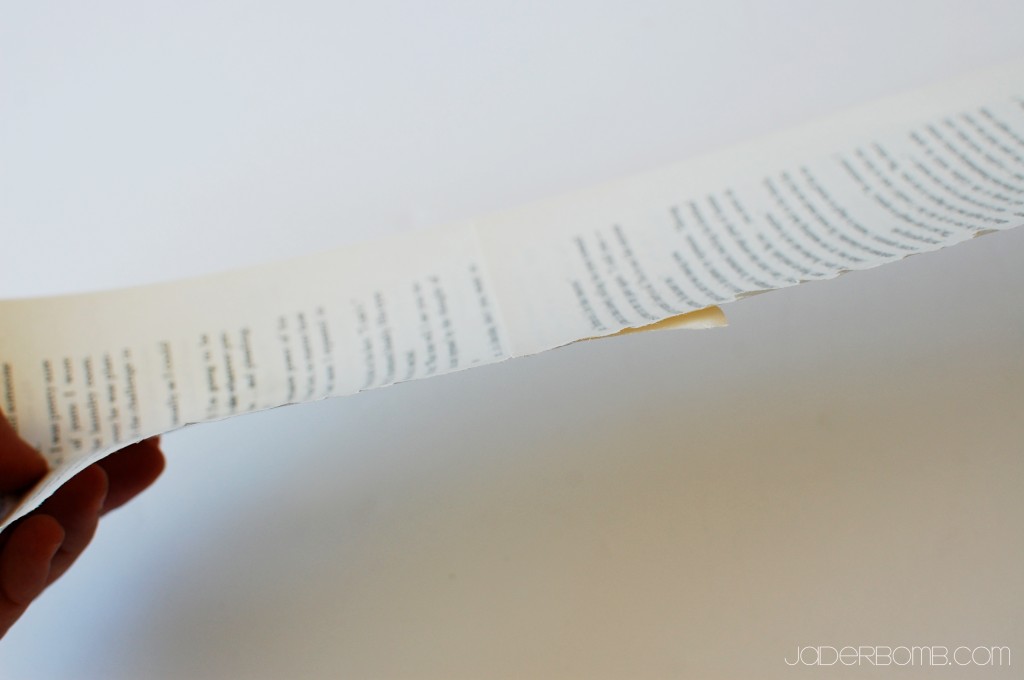
Then stick another book page on top. Just like this! (below, haha)
This is what it will start to look like once you get rolling! Hint: Once my sheet got large enough I would bring it in the house and place it on top of the window to see how much bigger it needed to be. I could of measured it and done it the “correct” way but that’s no fun! Notice the edges are punched with my Martha Stewart HALLOWEEN puncher!

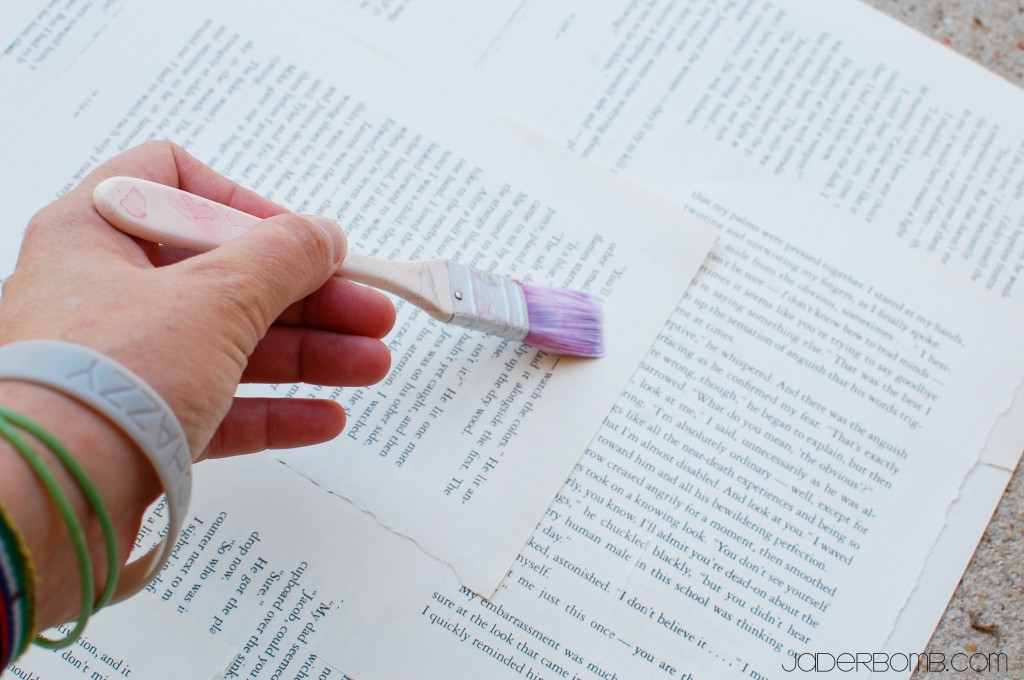
Once you have the correct size and you are done sticking pages together it’s time to break out the MOD PODGE! This is where you insert a BIG wahoooo.

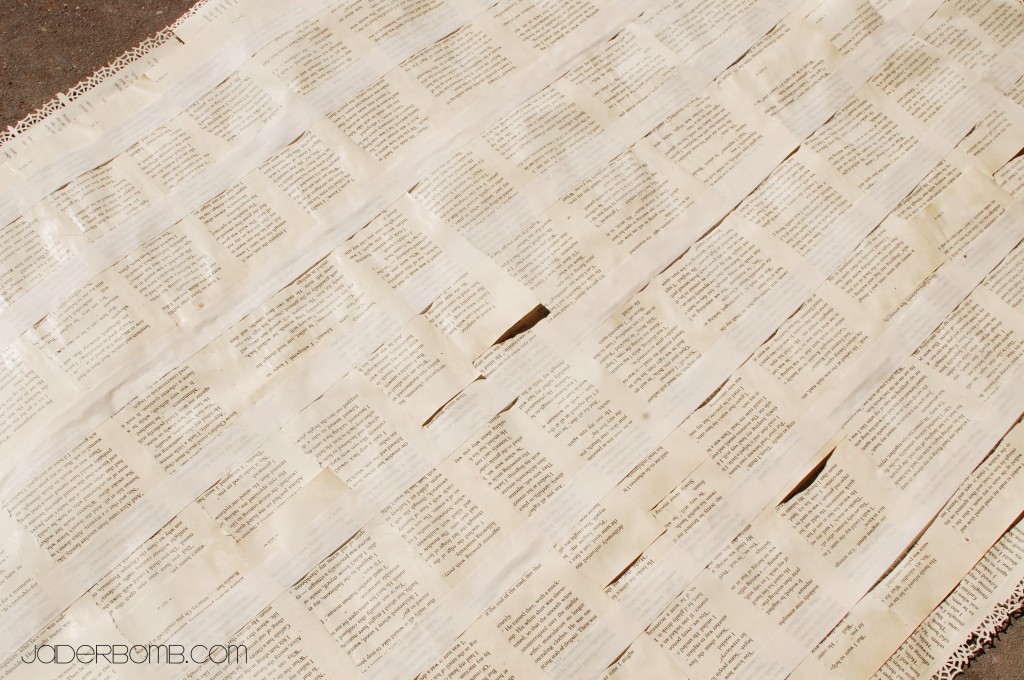
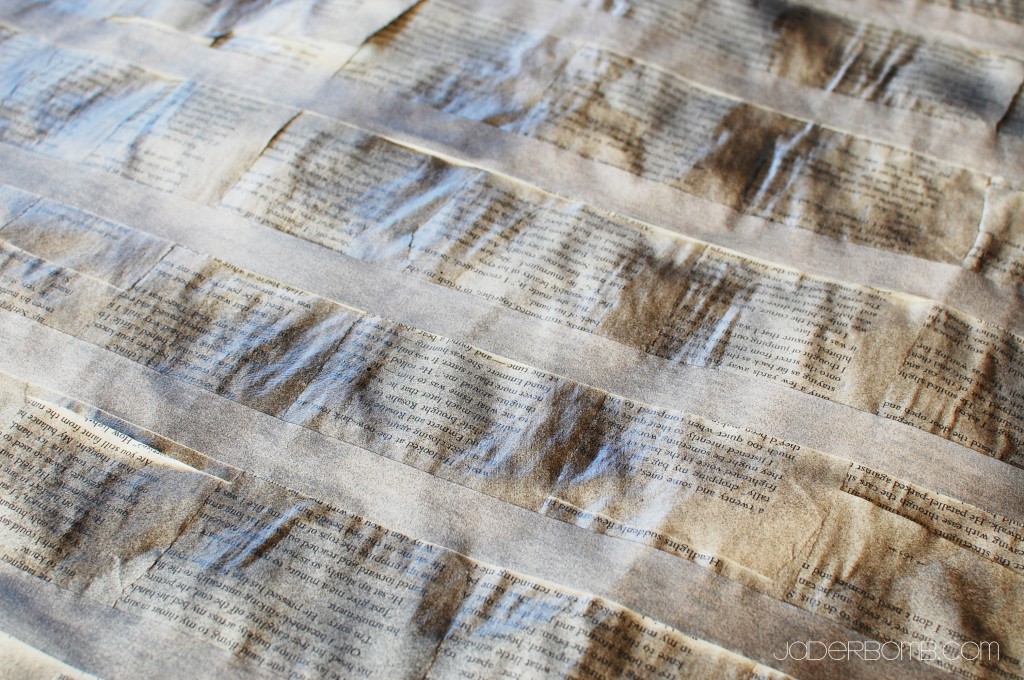
When your Mod Podge is completely dry lightly add strips of masking tape on top of your book pages. (see below)
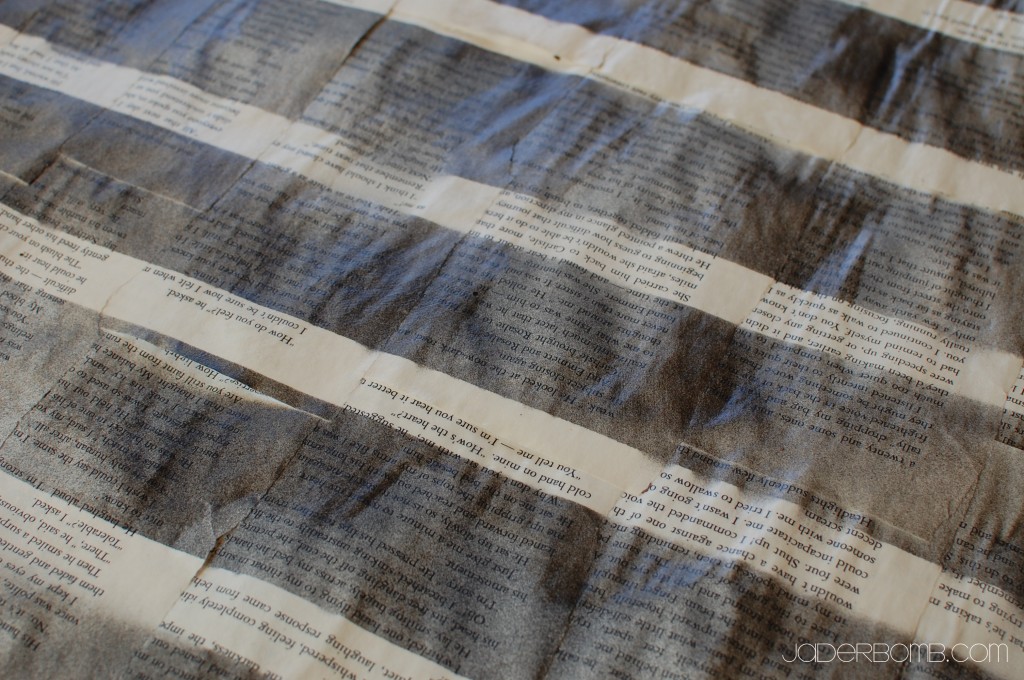
You don’t want to press too hard because it will tear the pages when you peel if off. Spray your pages with black spray paint. I didn’t spray a super thick coat because I wanted a washed, vintage look. You could spray it till it’s completely black if you want that look.

Keep in mind you can spray with whatever color you like.

When the spray paint is dry peel off the tape~ Be careful. I ripped a couple of my pages because my tape was pressed really good to them. (craft fail)

Thank goodness this was a scary Halloween look otherwise I would have “tossed” this project into the trash.

When I was completely done with all of the steps I put it up in my kitchen like the picture below. I drew where I needed to cut with a piece of chalk.
I then took it down and VOILA! A spooky HALLOWEEN curtain! What I love the MOST about these curtains is how they look with light coming through them. It really makes our kitchen feel spooky.

The great thing about this project is it’s practically FREE. It’s easy for anyone do to AND when the spooky holiday is over you can toss it without feeling bad. Although I might just keep mine up and stencil letters on it for THANKSGIVING. Yes, I love them that much.

See ya in the next post Jaderbugs!

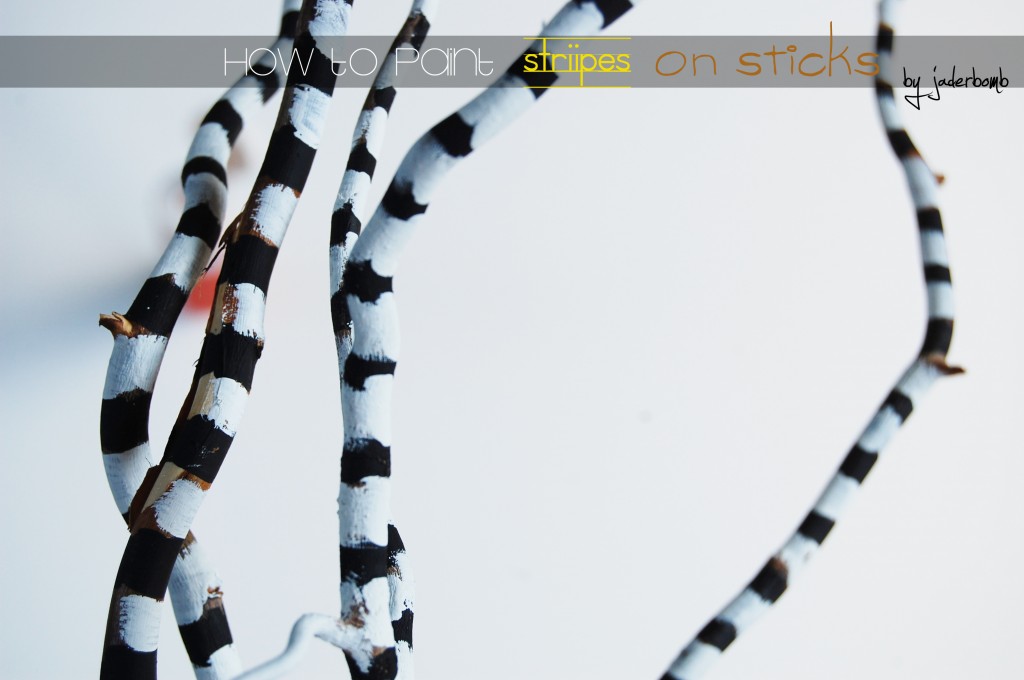
I am truly in love with this CHEAP stick painting craft.  My crafty buddy Stephen Brown has a lot of “black and white” stripes in his new book Glitterville’s Handmade Halloween: A glittered guide for whimsical crafting!

So, I figured I would do the same thing using sticks or branches. It really is so much cheaper than buying things in the store and it adds that whimsical touch to your home! Stick Painting can be very addictive so be careful, haha! I love to decorate my home or any space I visit with painted sticks. You can spray paint a ton of them one specific color and stick them in a gorgeous vase. That would fix any home decor problem and it is practically free. Unless you go steal the sticks from your neighbors yard because you can’t even keep your own trees alive.

Quote of the day: 

“I am BOLD enough to say, though not in a literal sense, that I almost prefer striving without success to success without striving.” 
-Georges Vanier

 stick painting

Let’s get started…

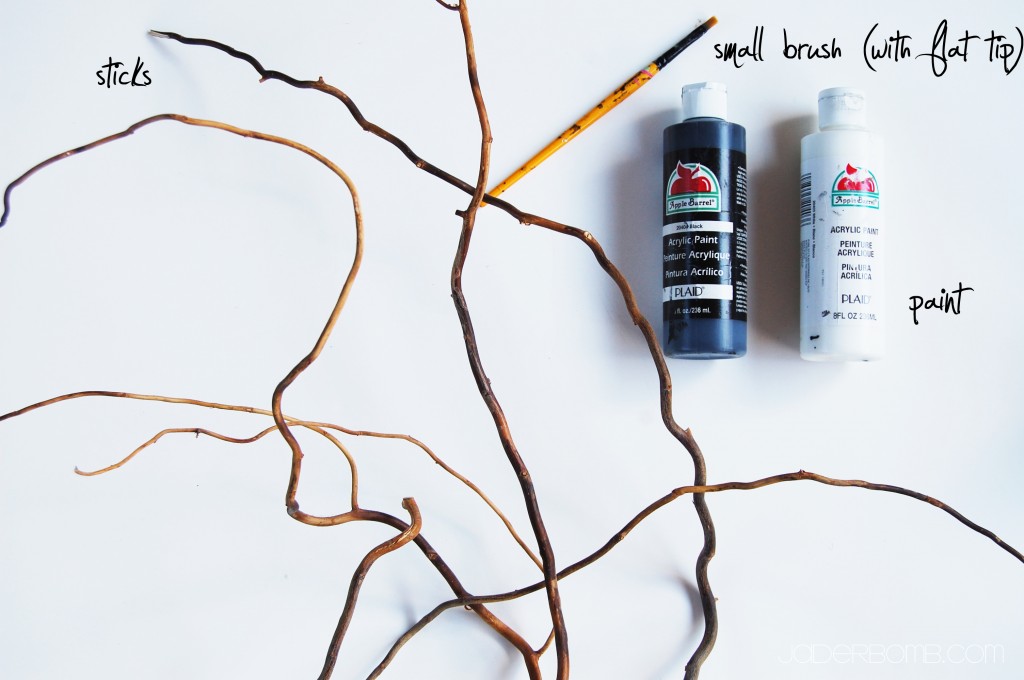
INGREDIENTS:

*PAINT

*BRANCHES or STICKS

*PAINT BRUSH

The first thing you need to do is squirt some paint on a saucer.

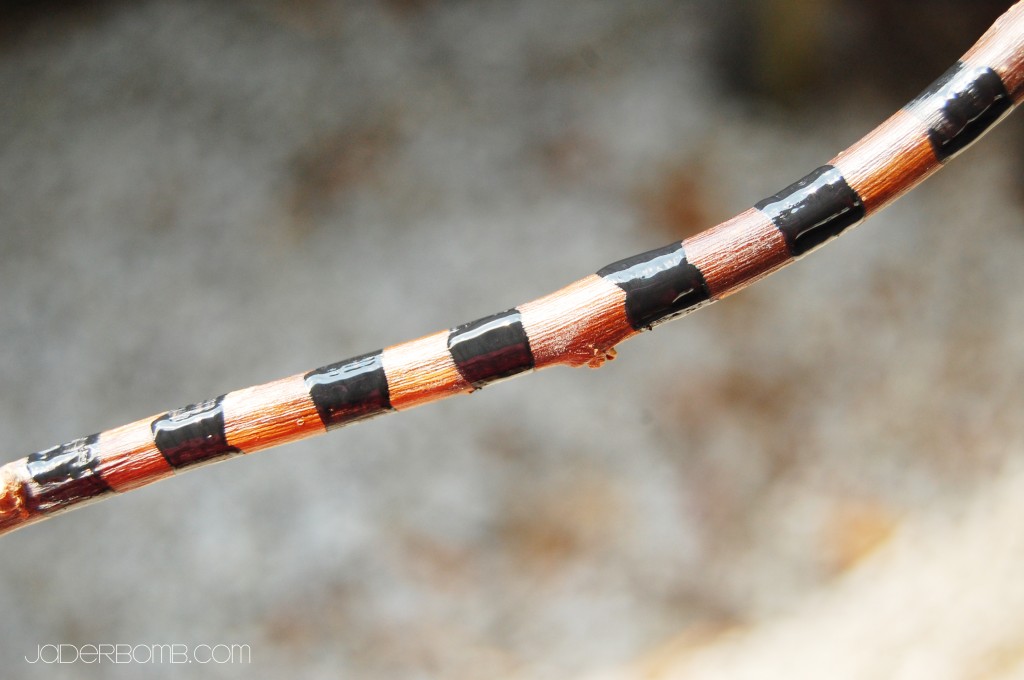
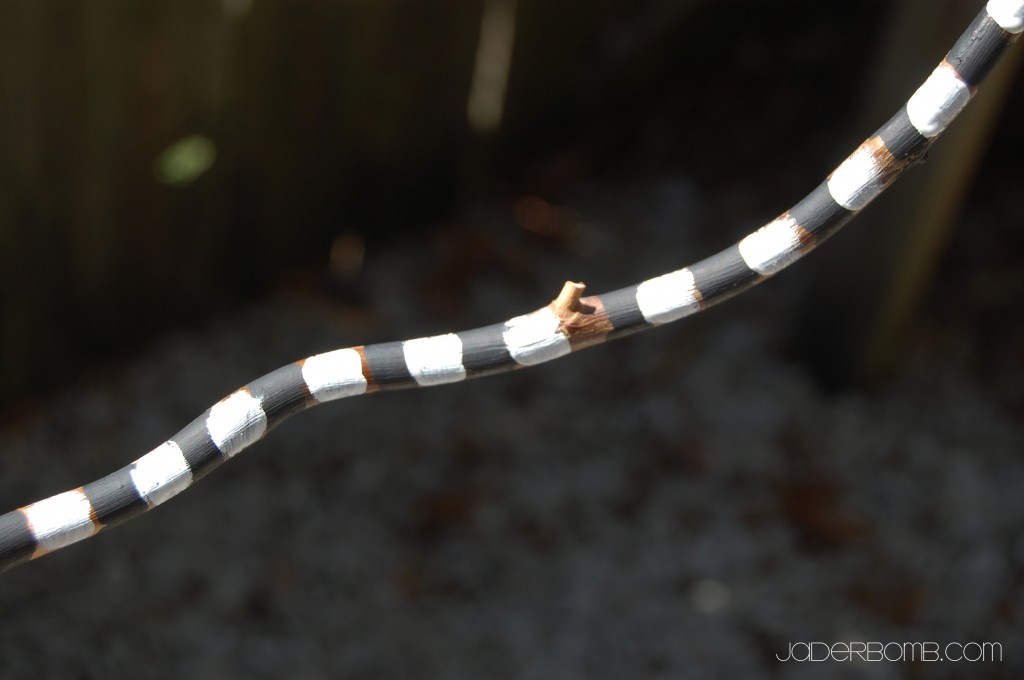
Next you will paint black stripes around your branches. I like to hold my brush on the branch and just slowly spin the branch.

After you add your black add your white! It’s that simple.

Huge Glittery Hugs, Jade

 Quote of the day: “Do a common thing in an uncommon way.” -Booker T. Washington

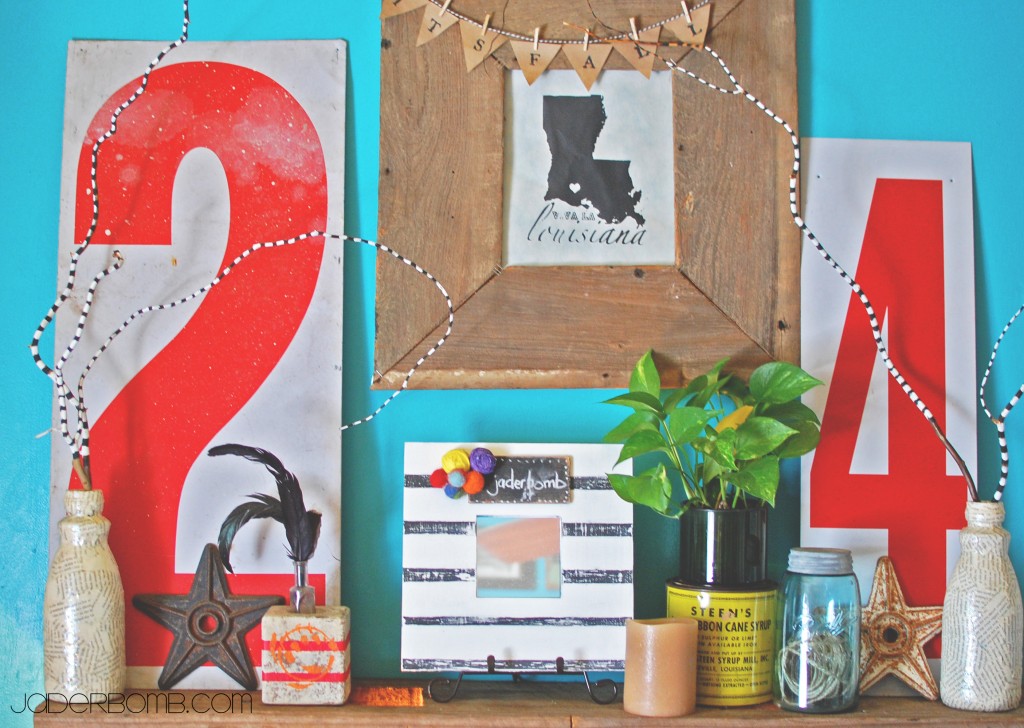
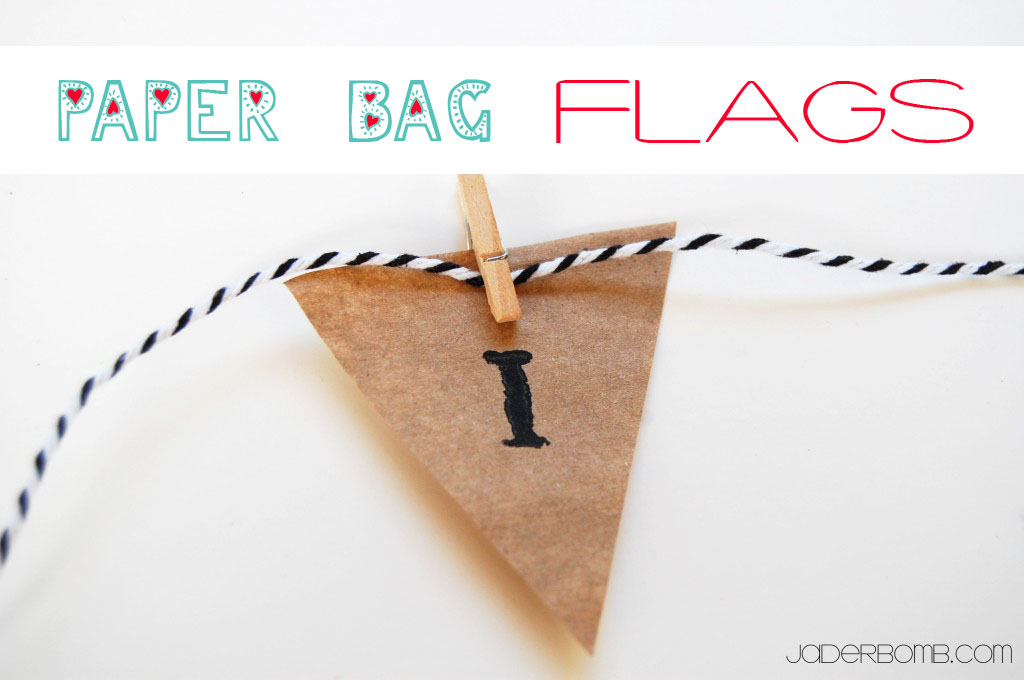
Today we will be making paper bag flags out of….. paper bags! I love finding things that can be re-purposed into something completely opposite of what it really is! The good thing about this tutorial is it’s easy and you can get as creative as you want by decorating them.

Let’s get started!

paperbagflags

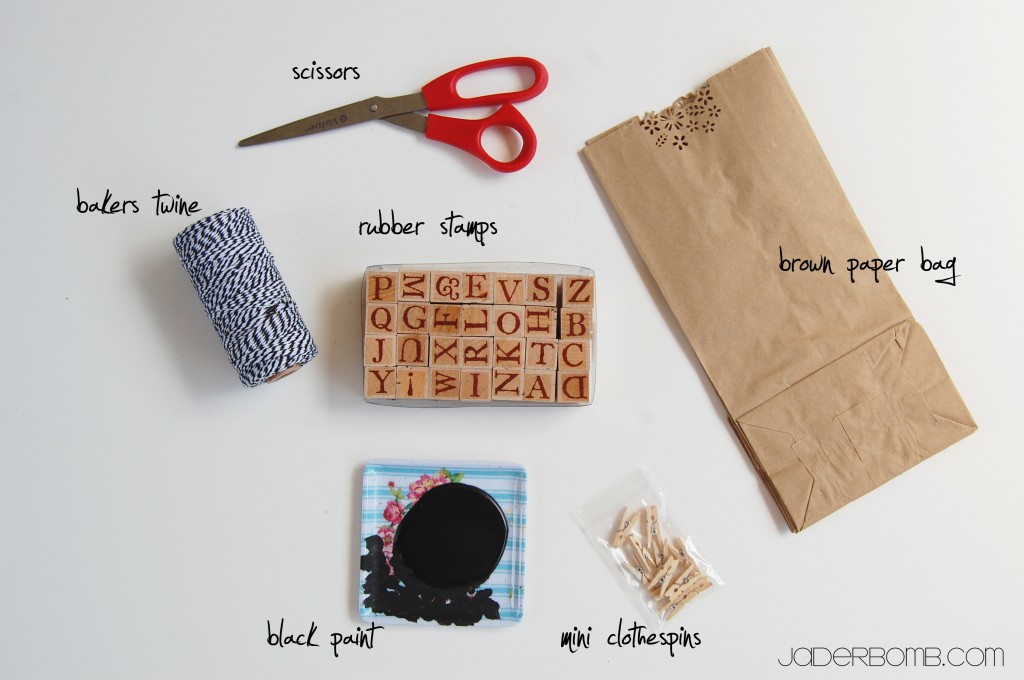
Ingredients:

*Scissors
*Brown Paper Bag
*Bakers Twine
*Rubber Stamps
*Black Paint
*Mini Clothespins

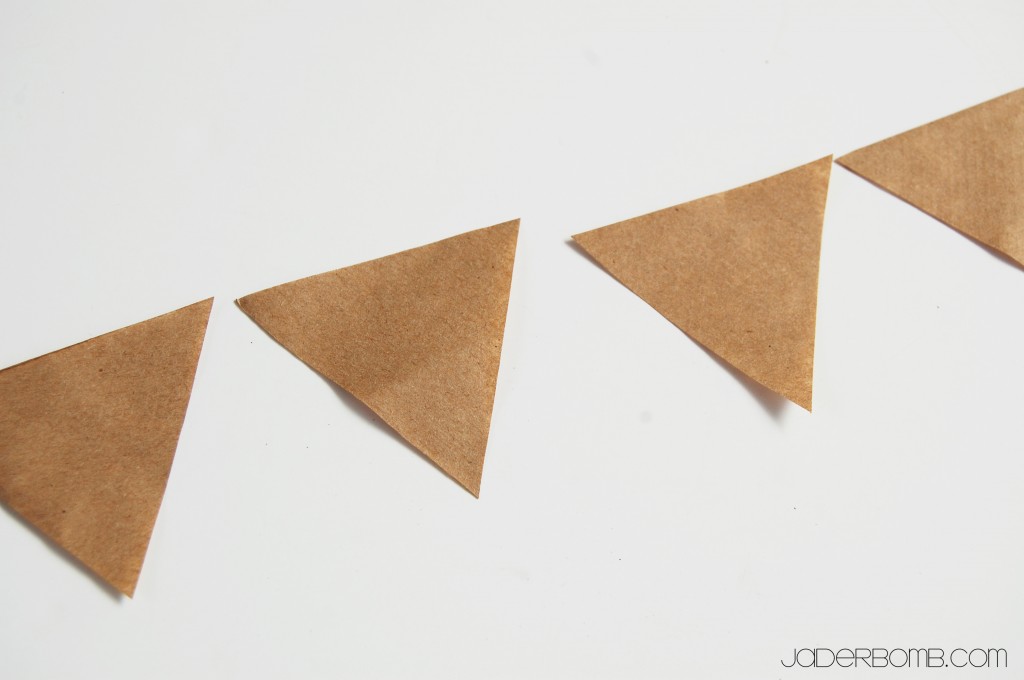
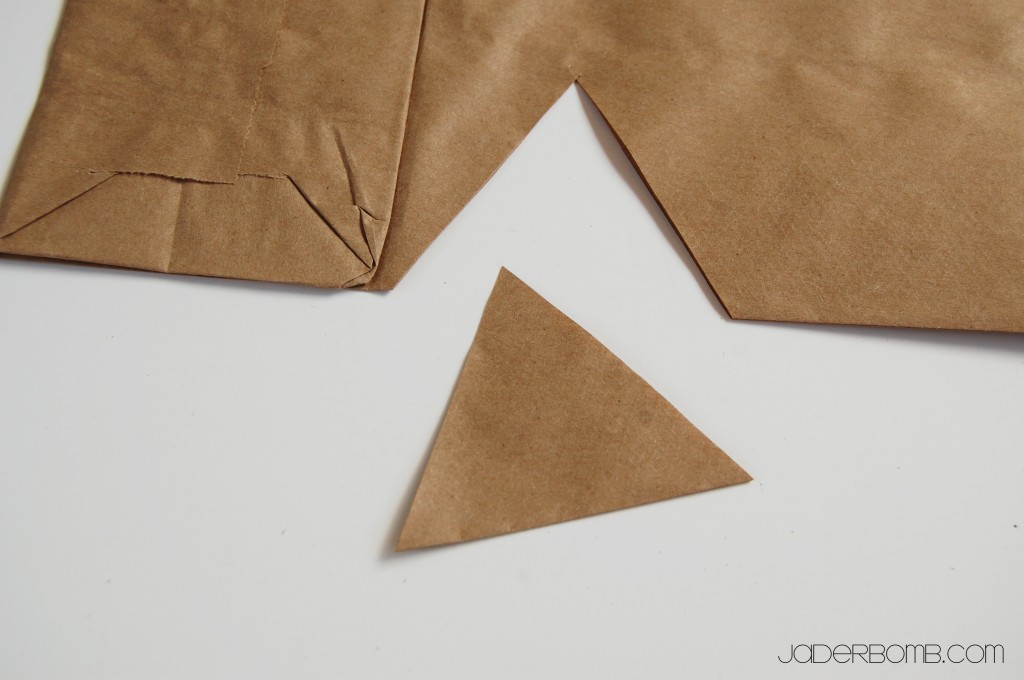
The first thing you will need to do is cut triangles out of the brown paper bag. (woop woop, this bag was fuh-ree)

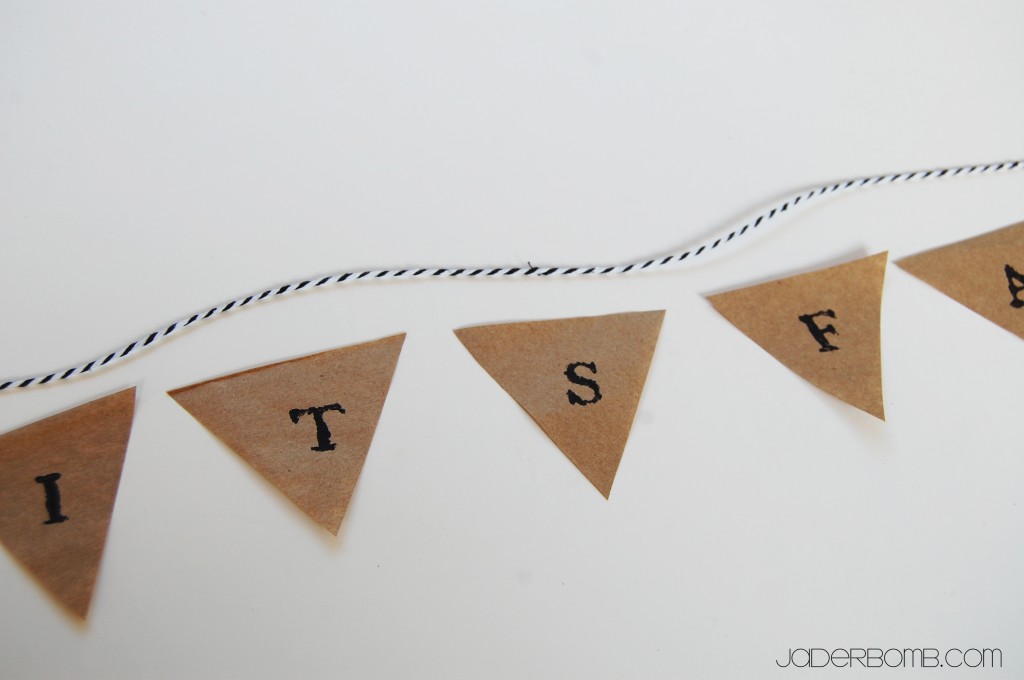
Tadahh! This is what mini triangles look like next to each other. I always get brown paper bags instead of plastic so you can imagine how many brown paper bags I own…

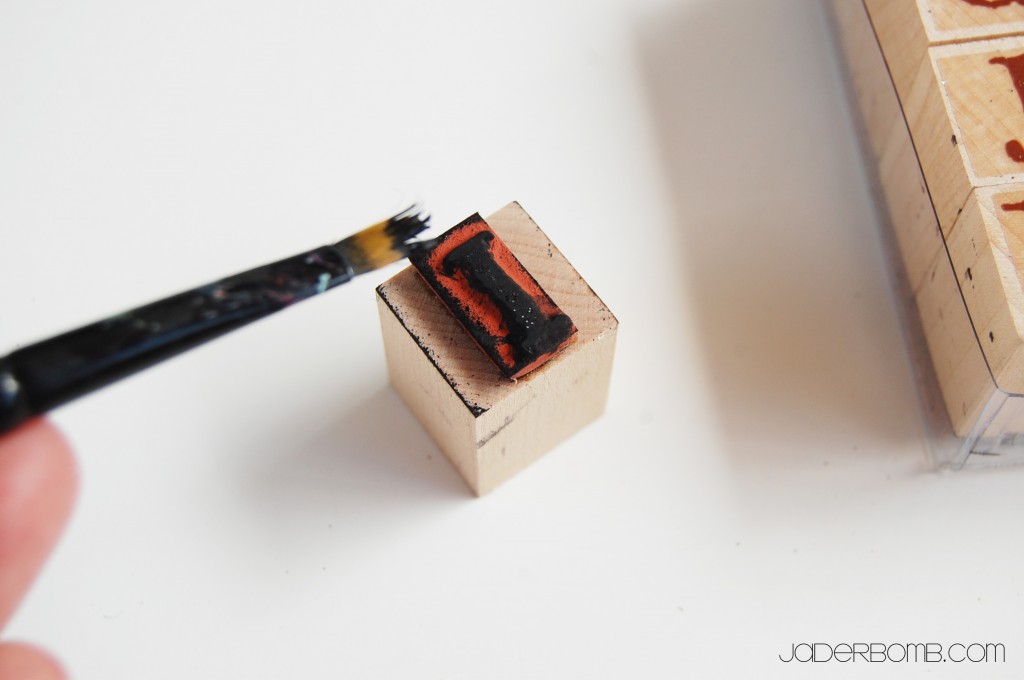
I like to use a paint brush on my rubber stamp because it has a different texture to it. Plus, it’s a little darker. Make sure you ONLY paint on the letter. You could also Mod Podge a smaller triangle in the middle using scrapbook paper. I buy my scrapbook paper here.

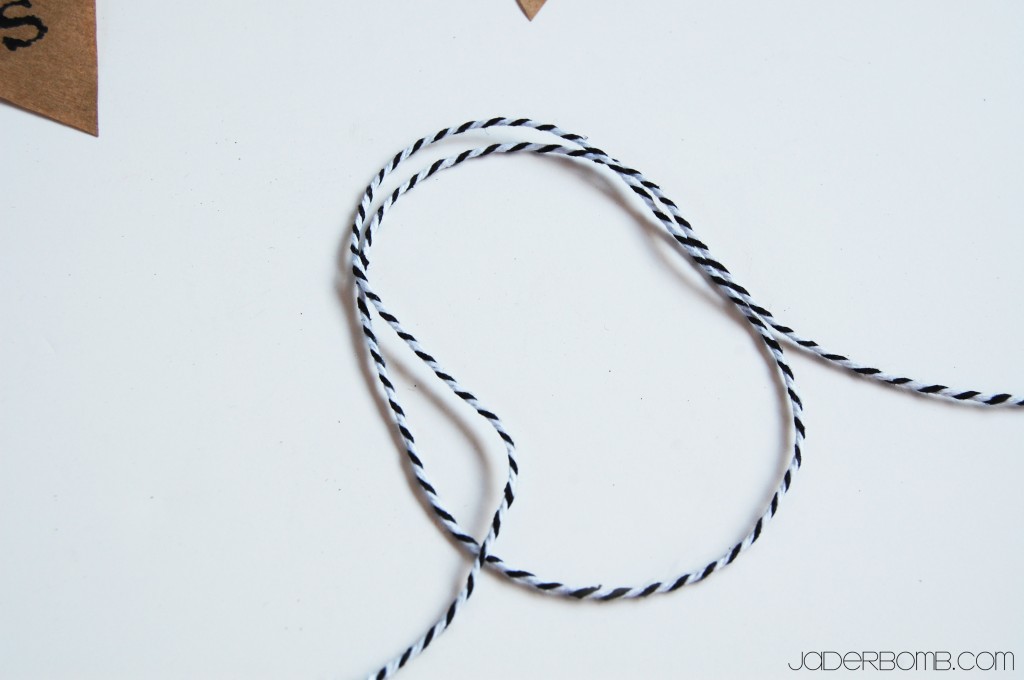
I think I am the only person that get’s {super duper} excited when I see bakers twine. Do you? What is your favorite color?

You can stamp whatever you want on your mini triangles. You can also cut them small or LARGE. It just depends on the space you are putting them in. When you are done with everything I like to lay everything out like this.

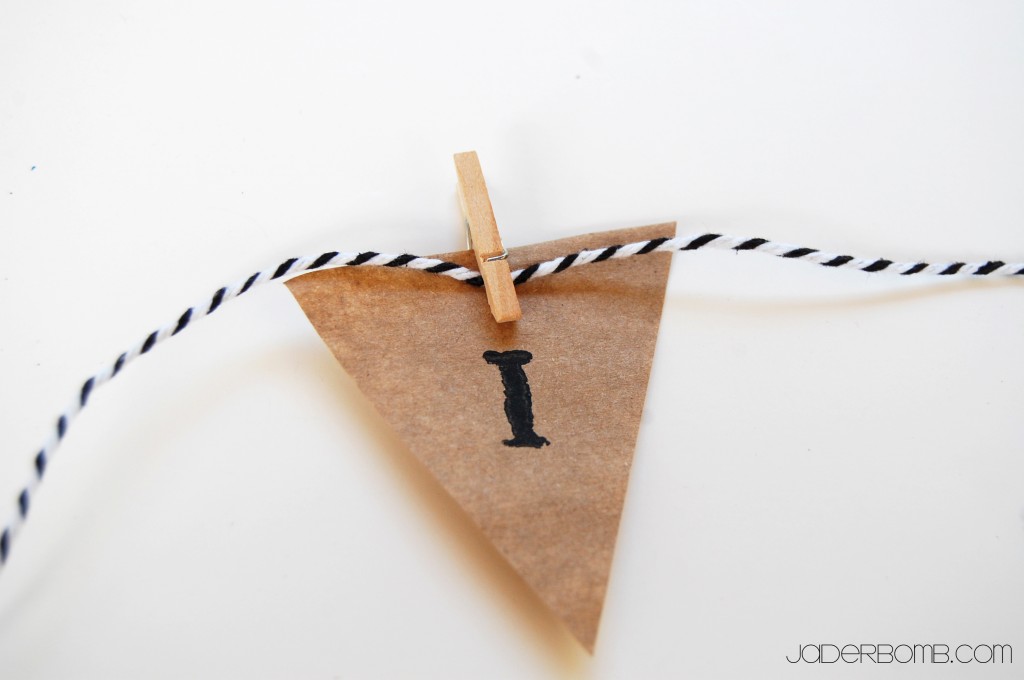
Last thing is to grab your mini clothespins {that you bought from my shop} and pin the twine to the mini triangle.

There you have it, Paper Bag Flags!

See how cute they look once you put them up. You can be completely creative with this and cut out fabric or scrapbook paper to do the same thing. This is a a great “COUNTDOWN” for kids. You could do this for the whole month of December and they could take down each number a day! How cute!
Huge Glittery Hugs, Jade