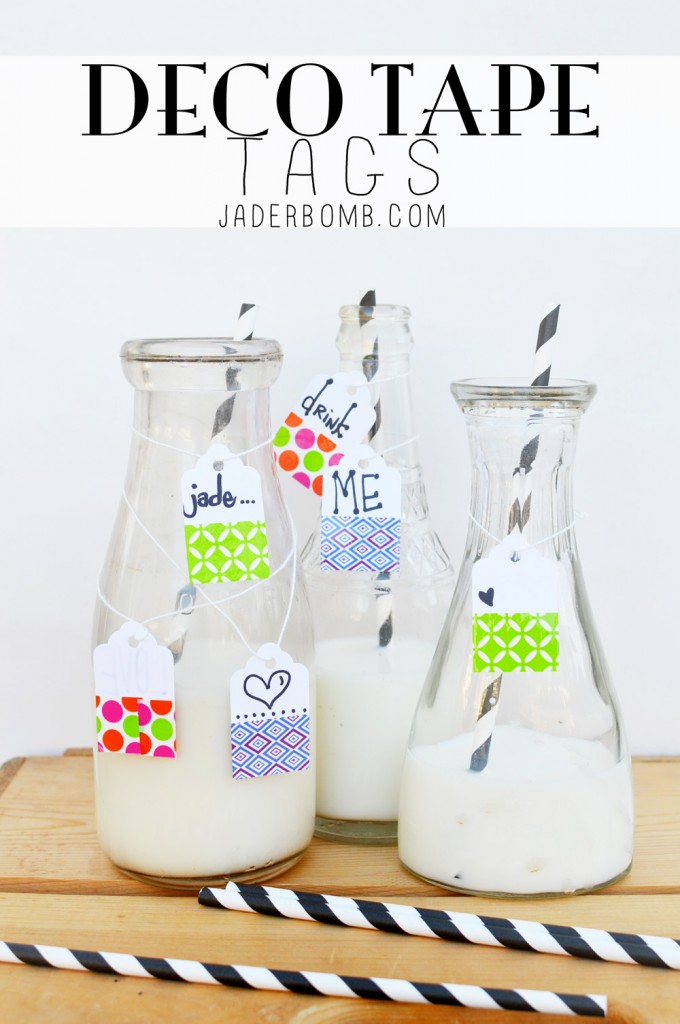
Coming to you live from my messy studio with a major quack announcement. There is a new tape out on the loose! That’s right, a new decorative tape called DECO TAPE.
It’s fierce, it’s bold and it will dress up everything in your life. Why be drabby when you can be “duck tape savvy”… (yes I just made that up)
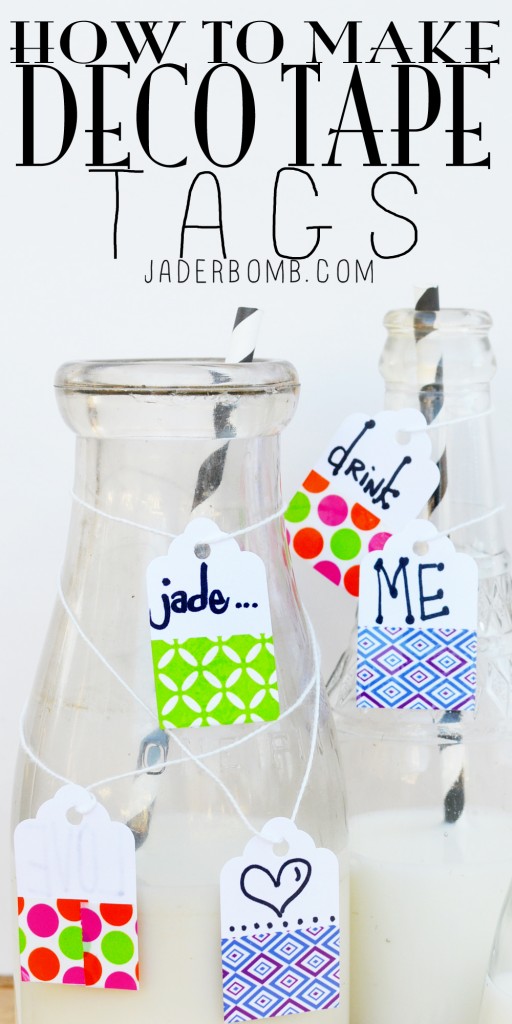
Today I will show you how to transform plain tags into ones that scream “LOOK AT ME”…
 Labels or Tags | Deco Tape
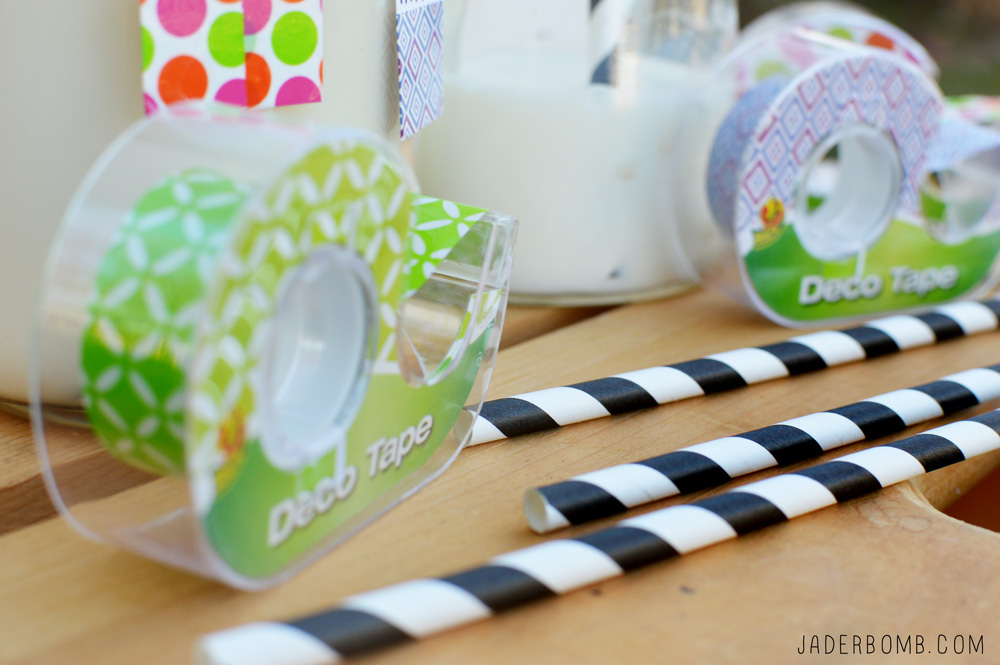
This tape comes in 4 different designs. You can use this tape to dress up anything from stationery to a phone case!
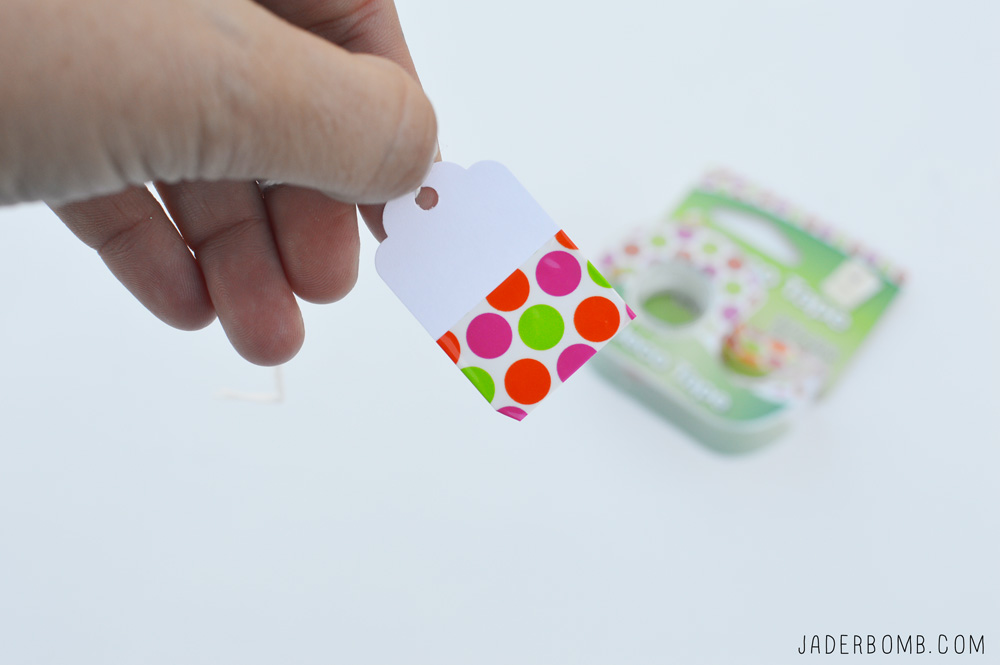
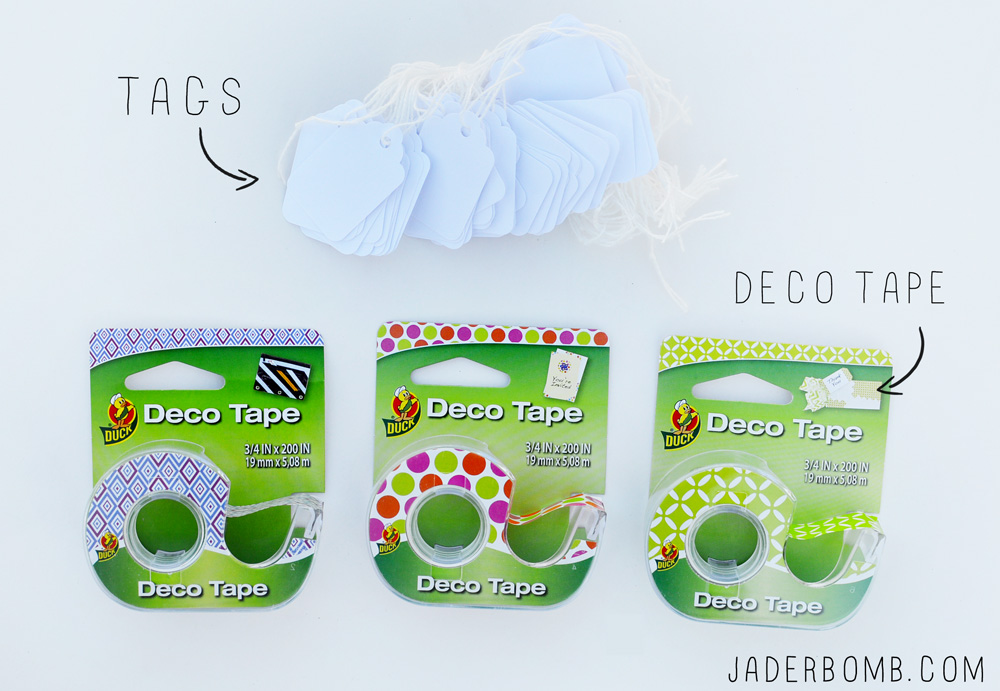 You simply tear a piece off and wrap it around the bottom portion of the tag. I tore a long piece to make sure it wrapped around the back completely then I cut the excess off with scissors.
You could use these for gifts, a special table setting, bottles or invitations. Endless ideas I tell ya!
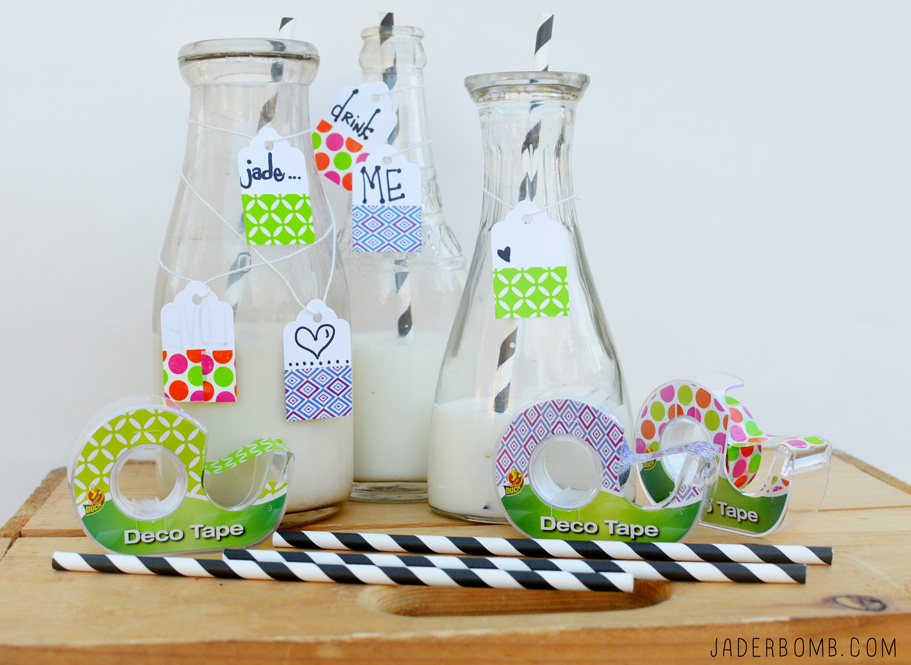
One thing you could do is have a tape party! Have tables filled with blank supplies and let your friends go buck wild with this tape. Make sure you tag DUCK TAPE and they might share it on Facebook or Twitter! I added a fun quote for you to think about. HUGE GLITTERY HUGS!
I hope you enjoyed this tutorial. What would you make with your tape?

 *
* The great thing about Martha Stewart’s stencils is the fact that they have a nice adhesive backing to them. This is good because they will not budge when you paint on them.
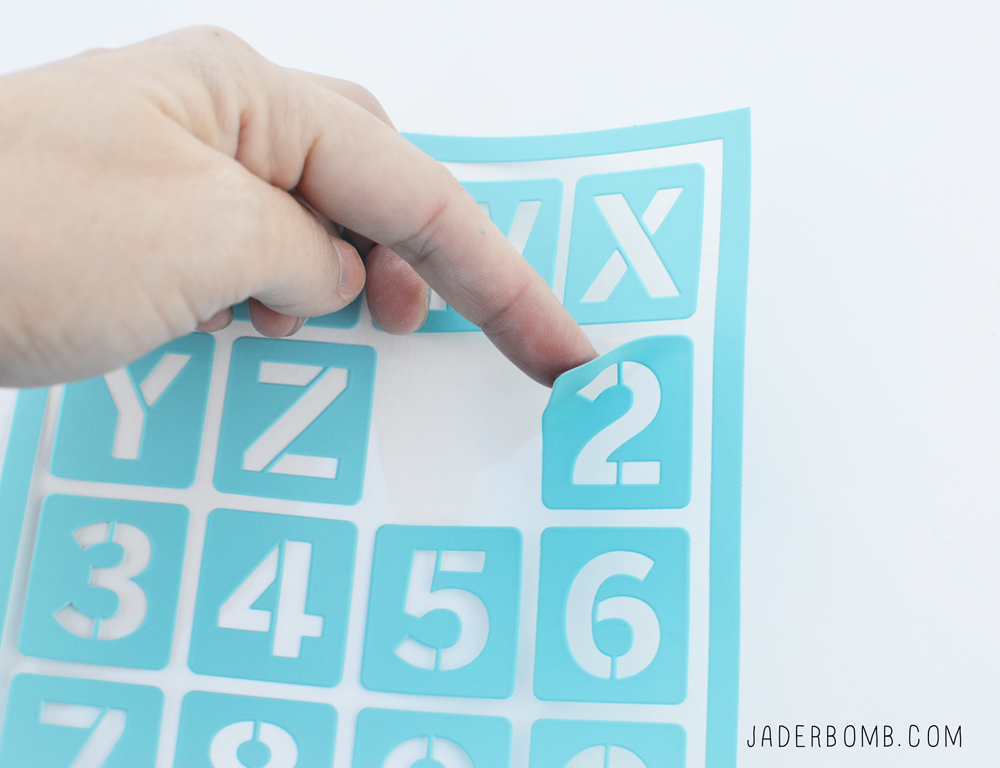
 Once your stencil is secure squirt a little bit of glass paint inside of your stencil.
 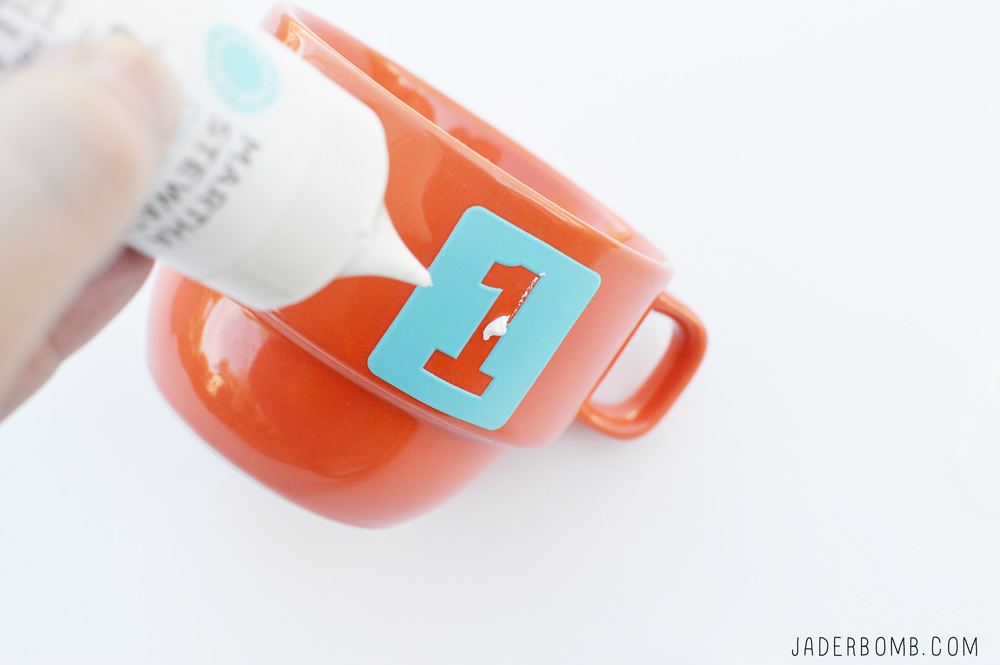 I love using daubers because they distribute the paint nice and even through out the stencil. They also help prevent bleeds since you are apply in an up and down motion.
 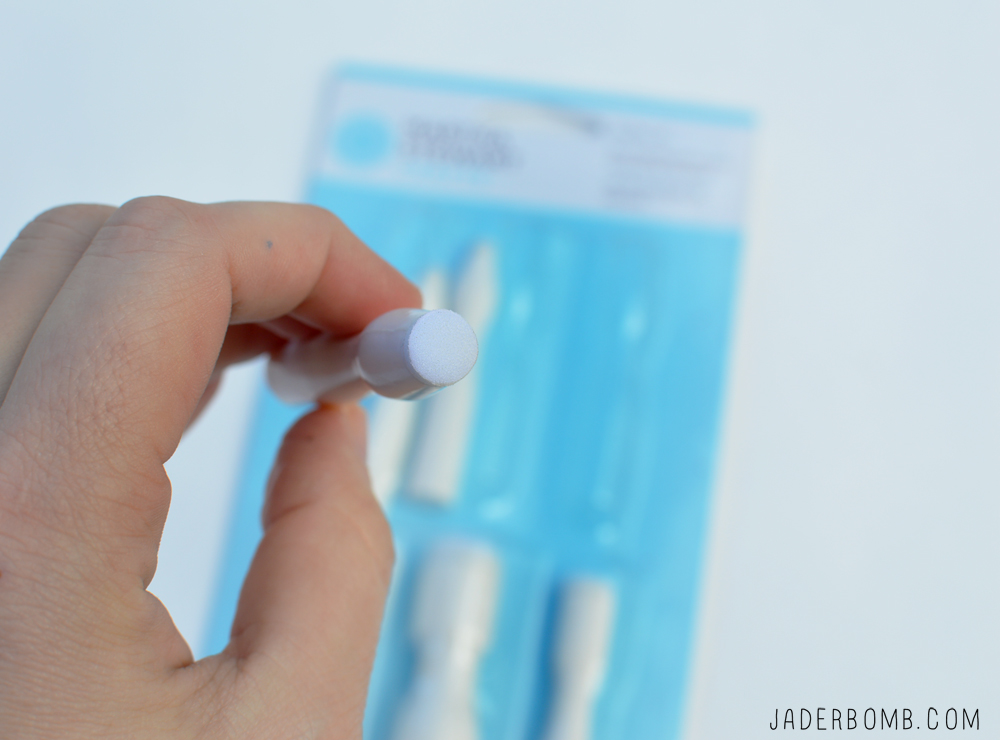 Apply one even coat and re-apply a second coat 10 minutes later. If you want a really opaque look add a third coat.
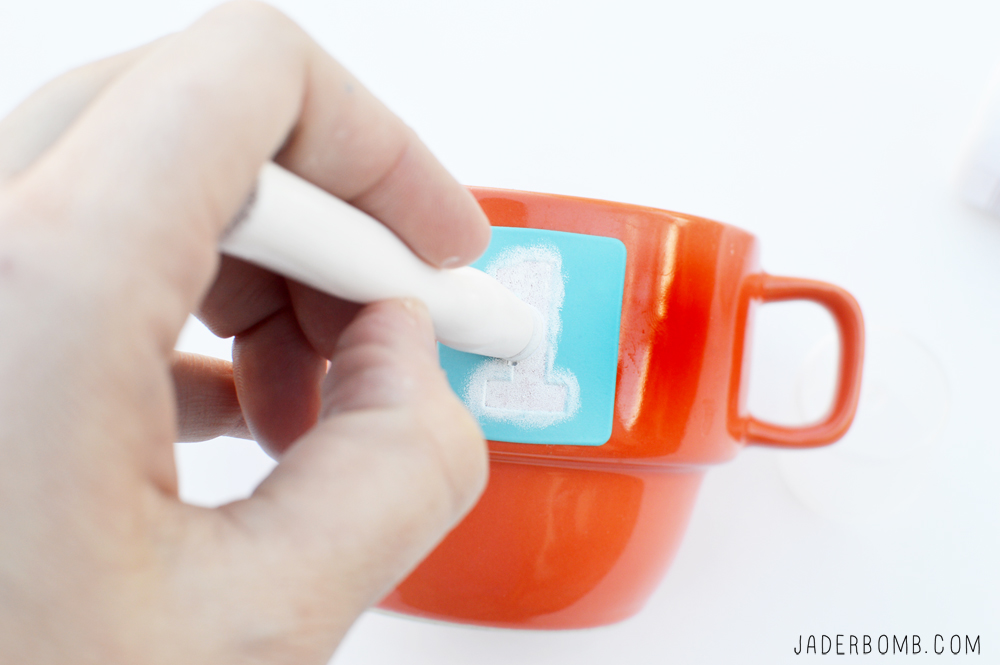
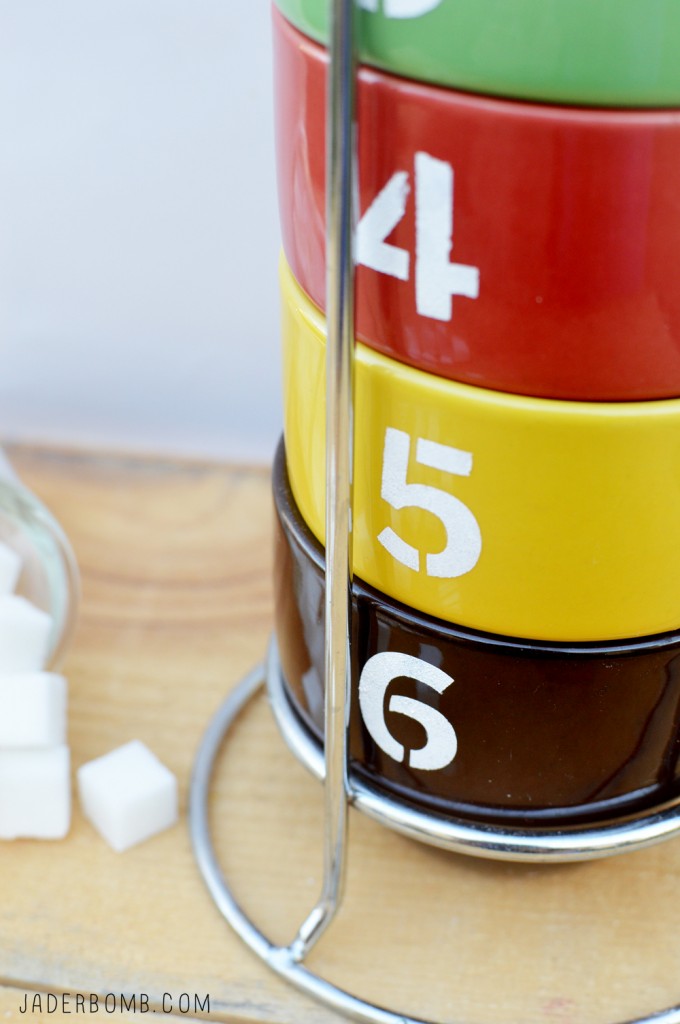 Allow them to dry over night and if you want lock in the paint you can bake them in the oven. The directions to doing that is on the bottle.
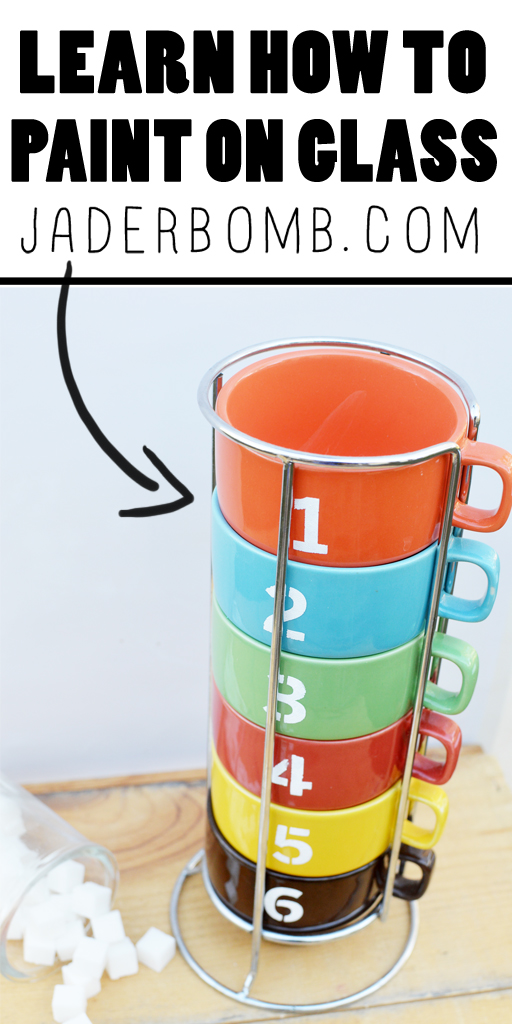
 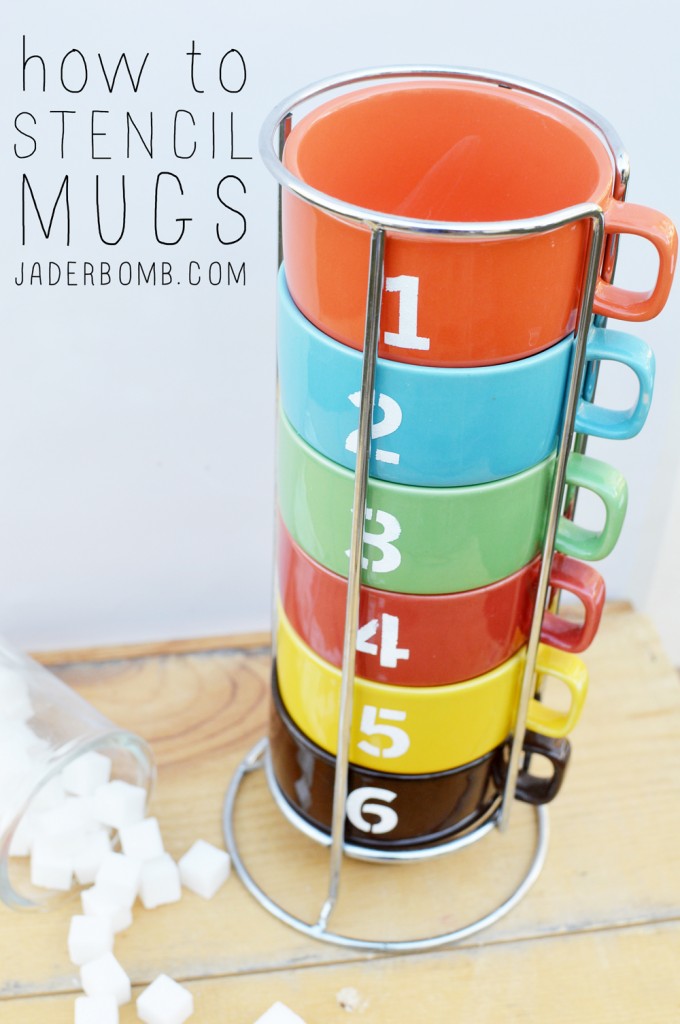 I hope you enjoyed this easy and fun DIY tutorial. I mean, you can put numbers on your mugs so you can count how many cups you drink in a day right!
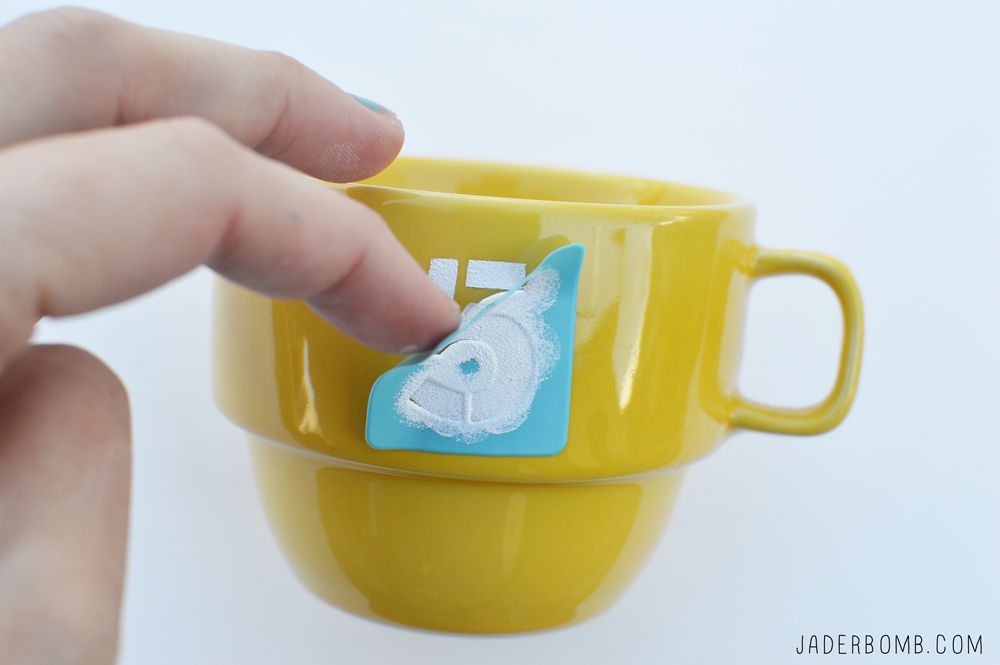
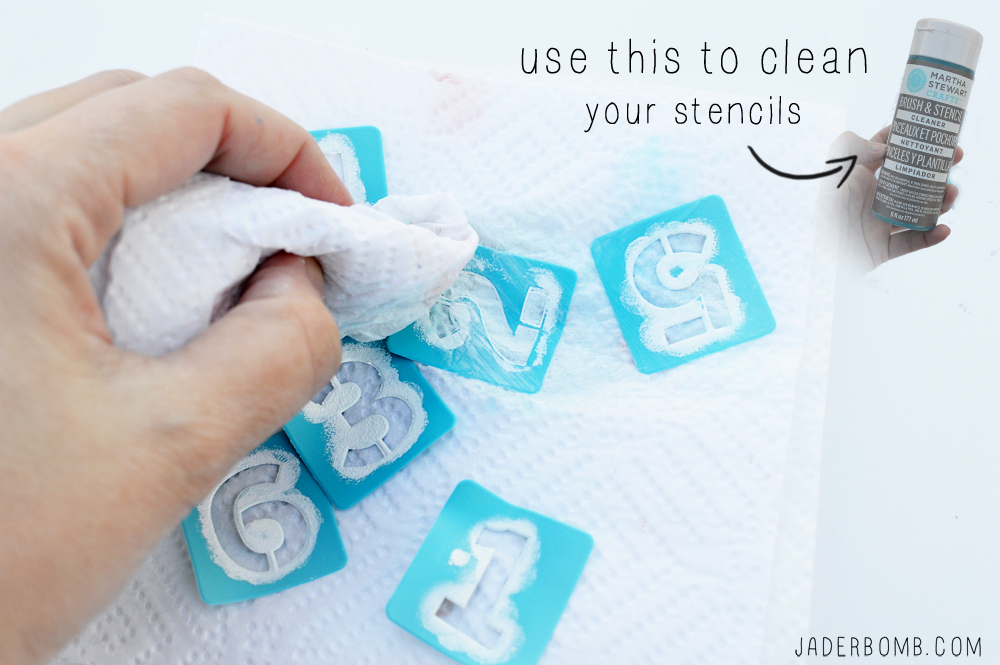
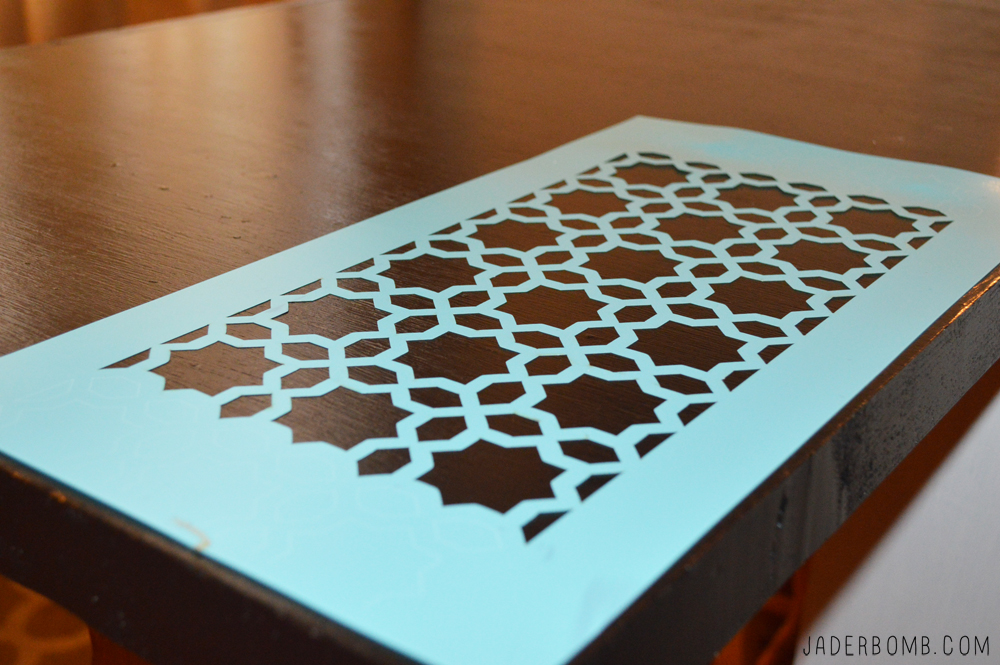 You will simply lay the stencil down on any surface, grab a sponge and lightly sponge on top of the stencil. I am very ocd so after every application I would wash the stencil and pat it dry. When you move onto the the next section just take one row and lay it on top of the last one you painted.
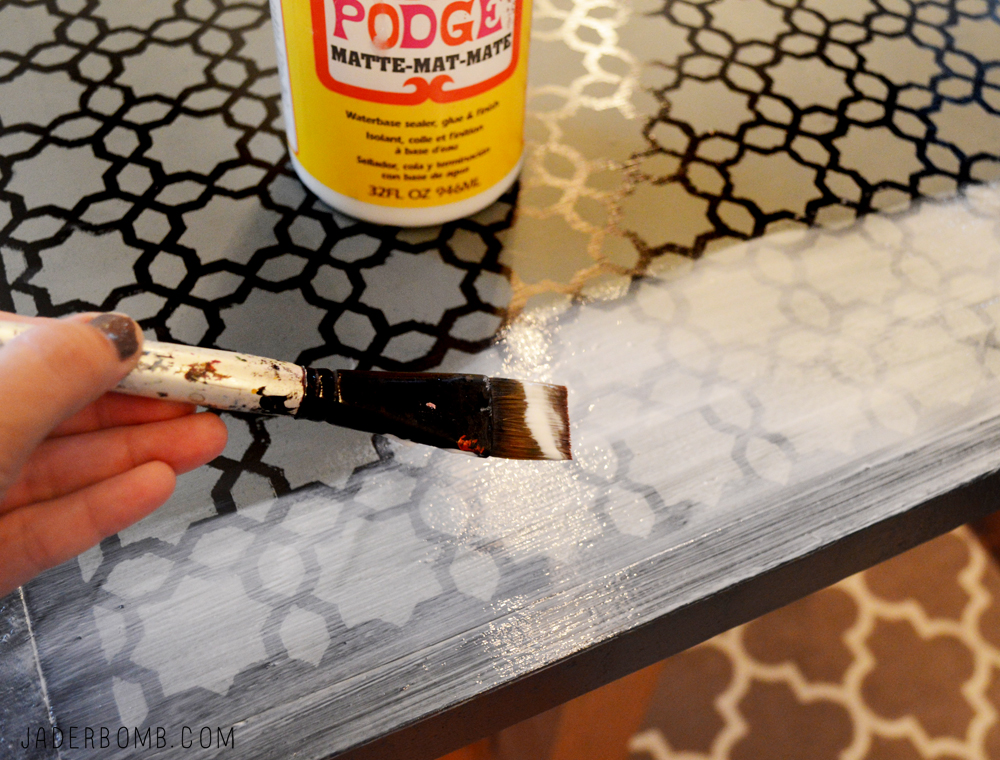
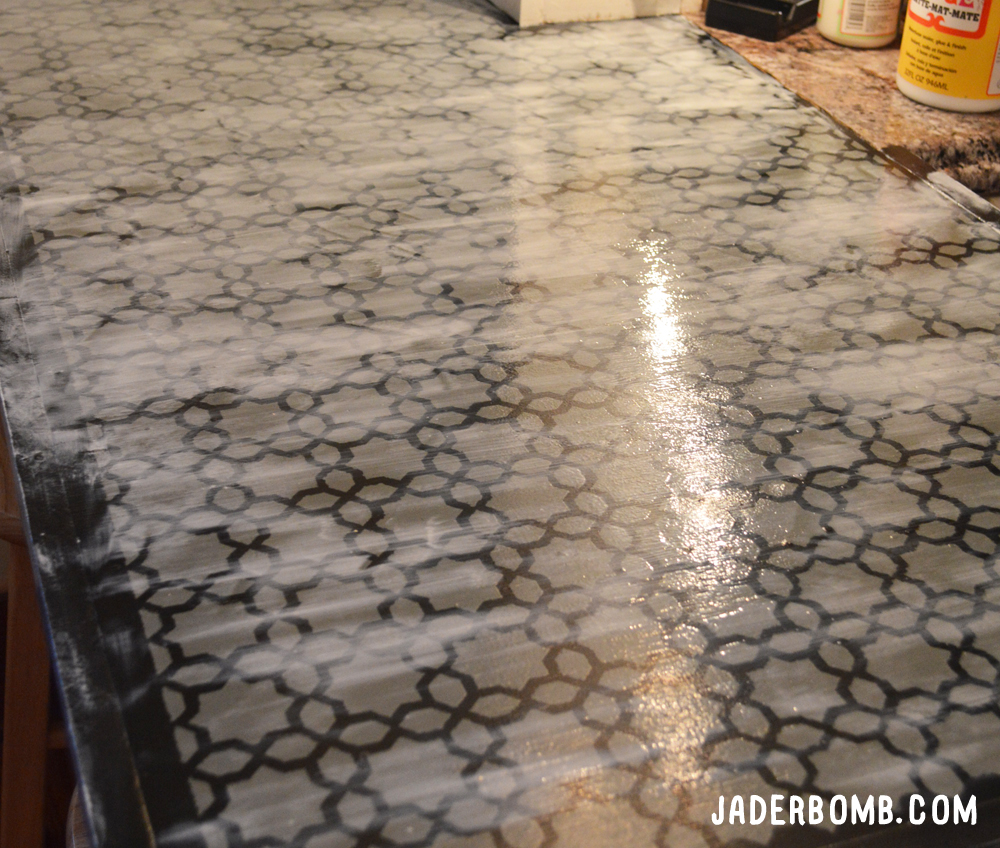
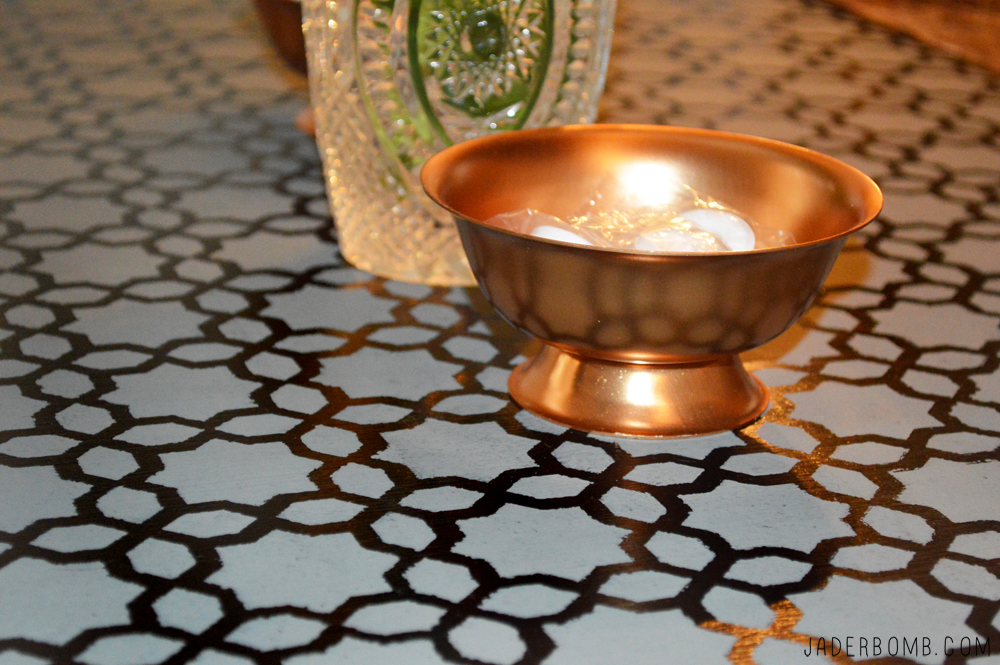
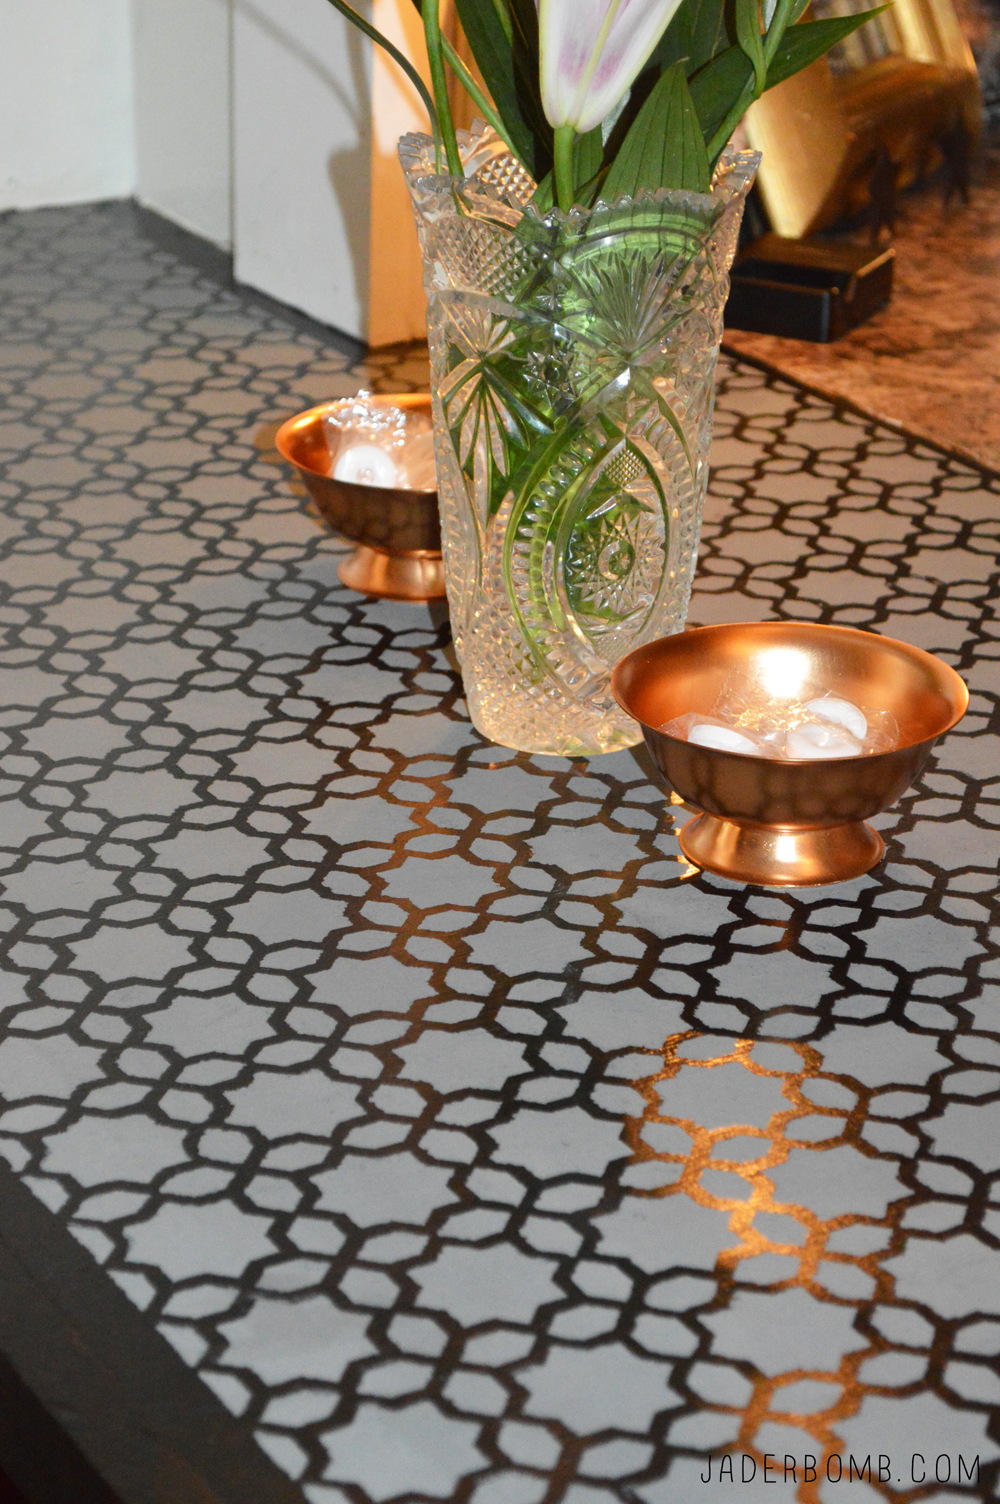
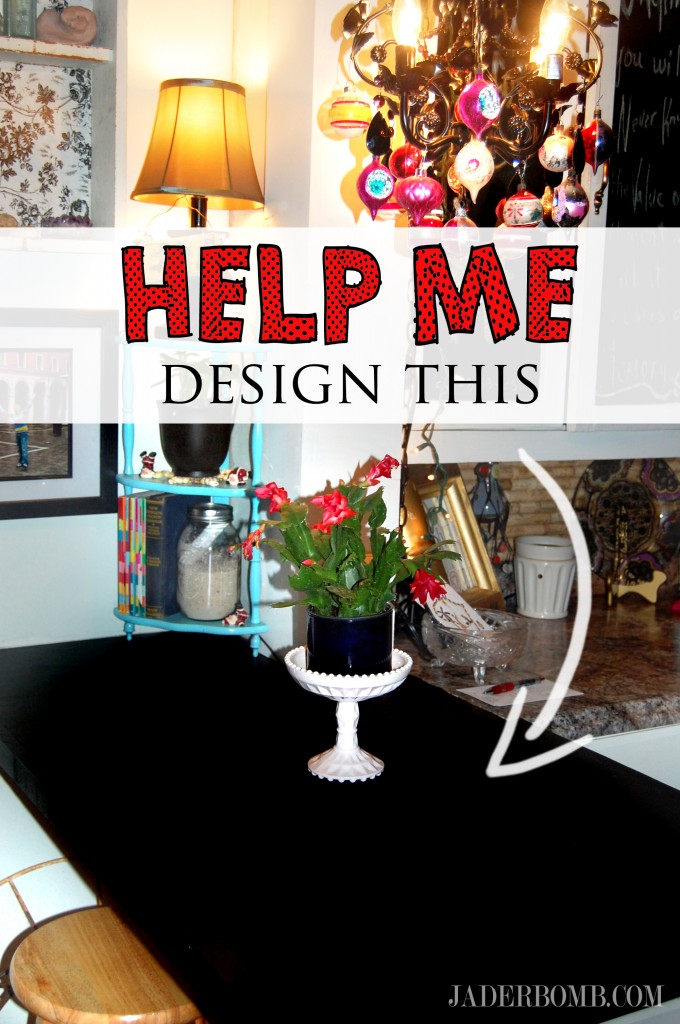
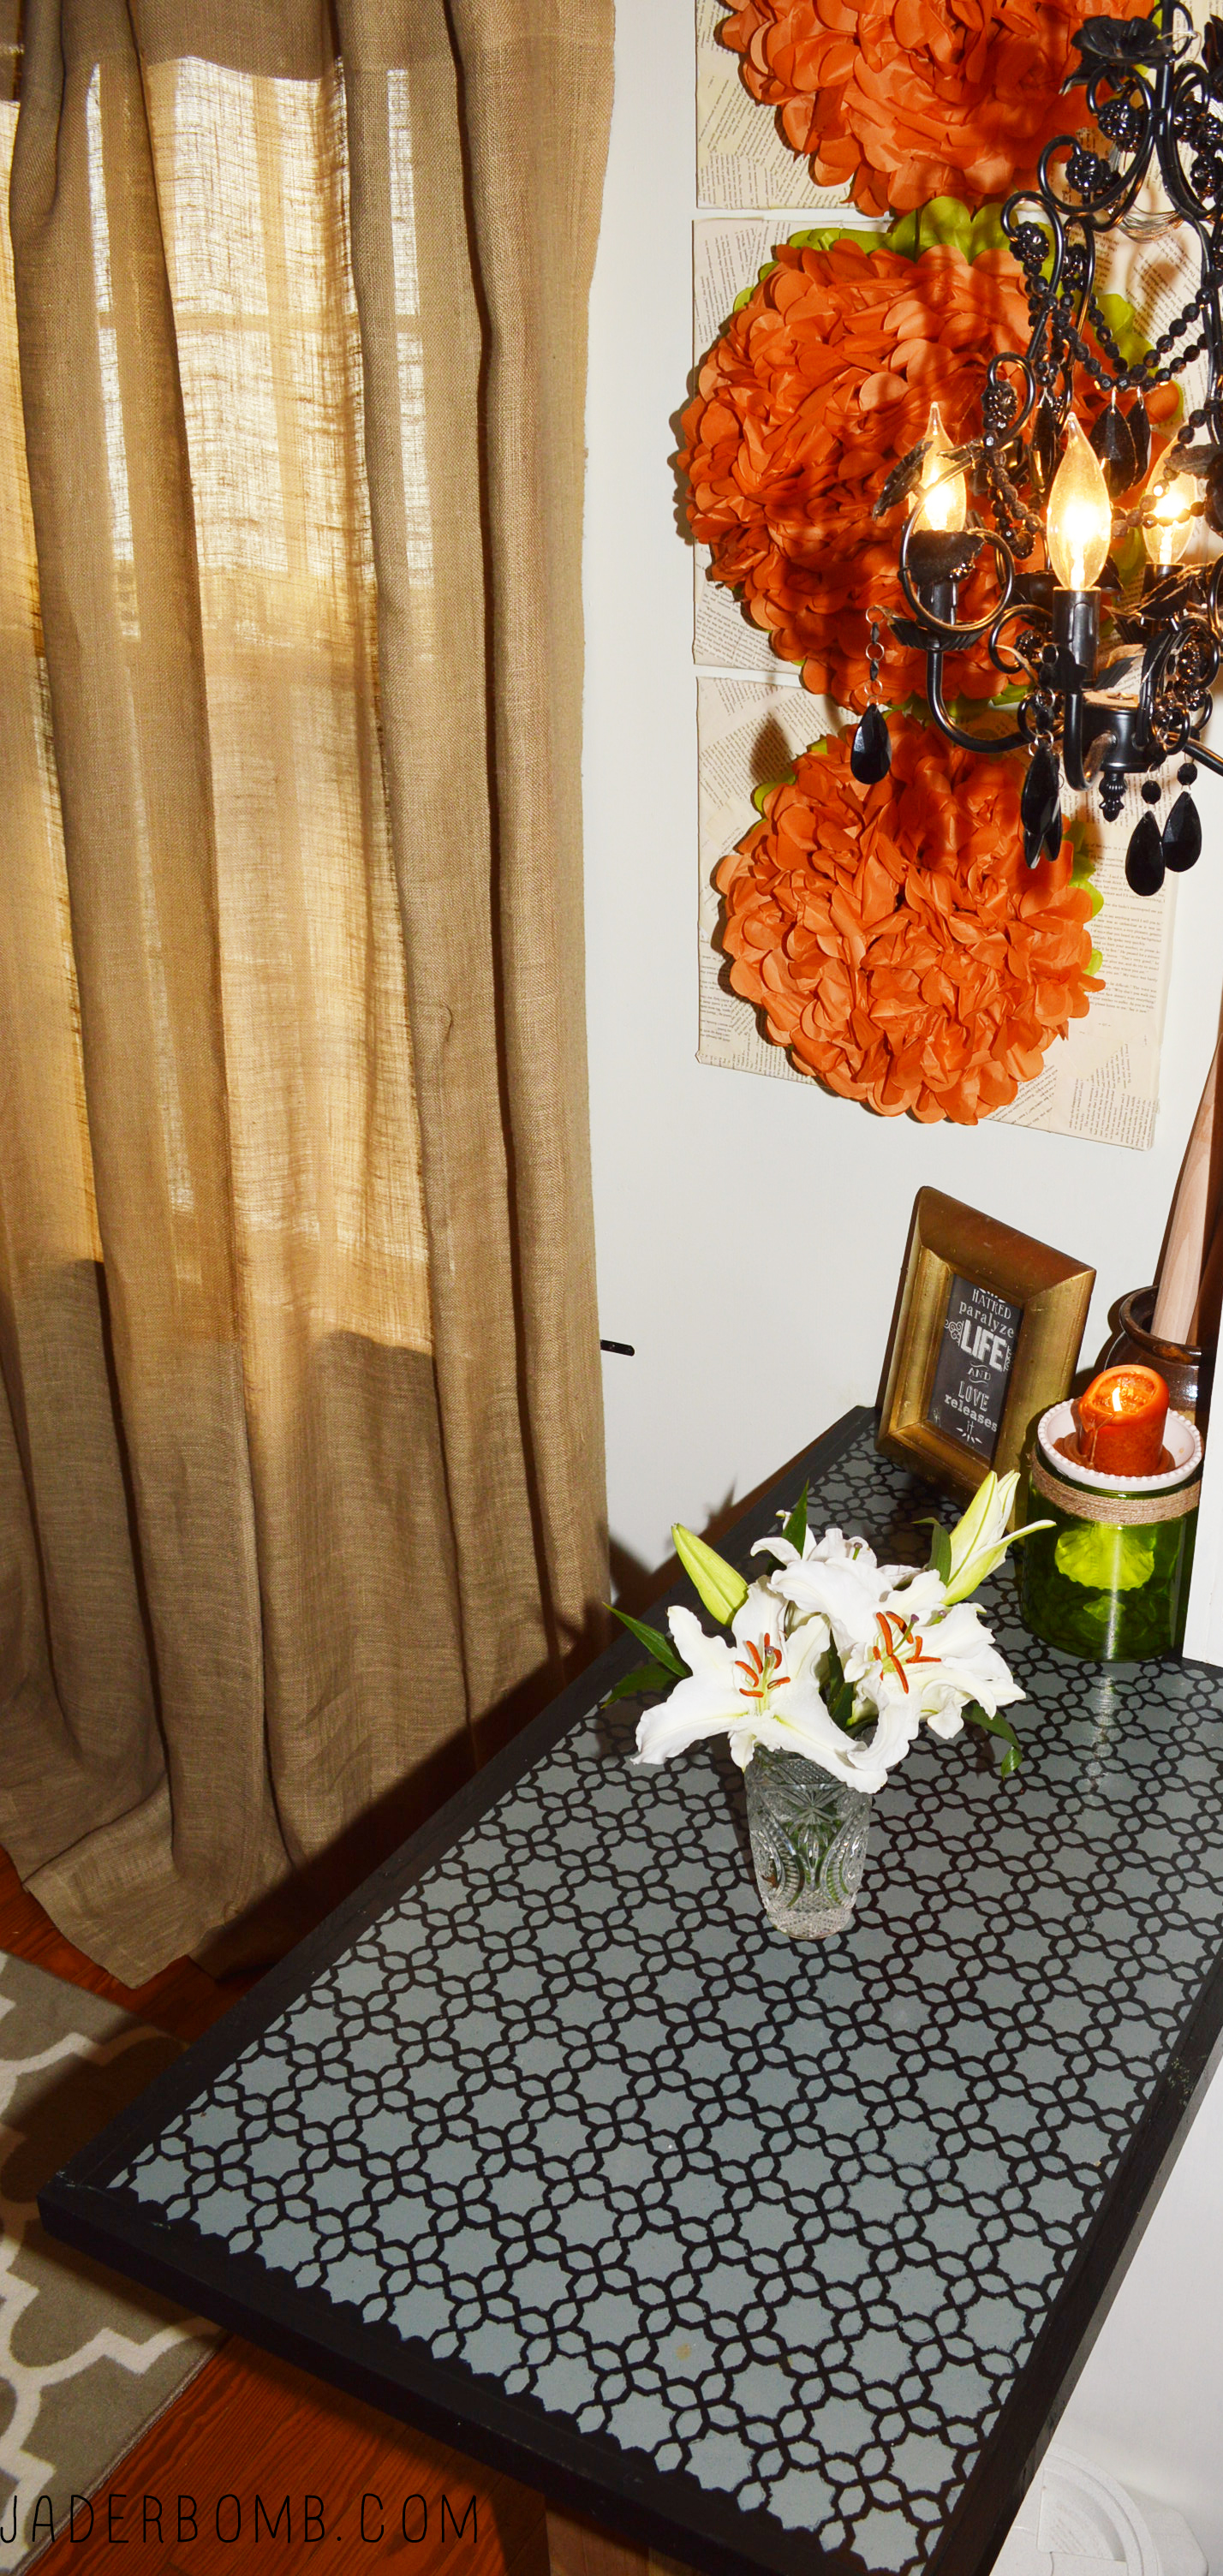 I am pretty sure you are gooing and gahhing looking at these pictures. I mean, this is something I am doing temporarily until I finish the kitchen. It does add pizazz to the space if I must say so myself.
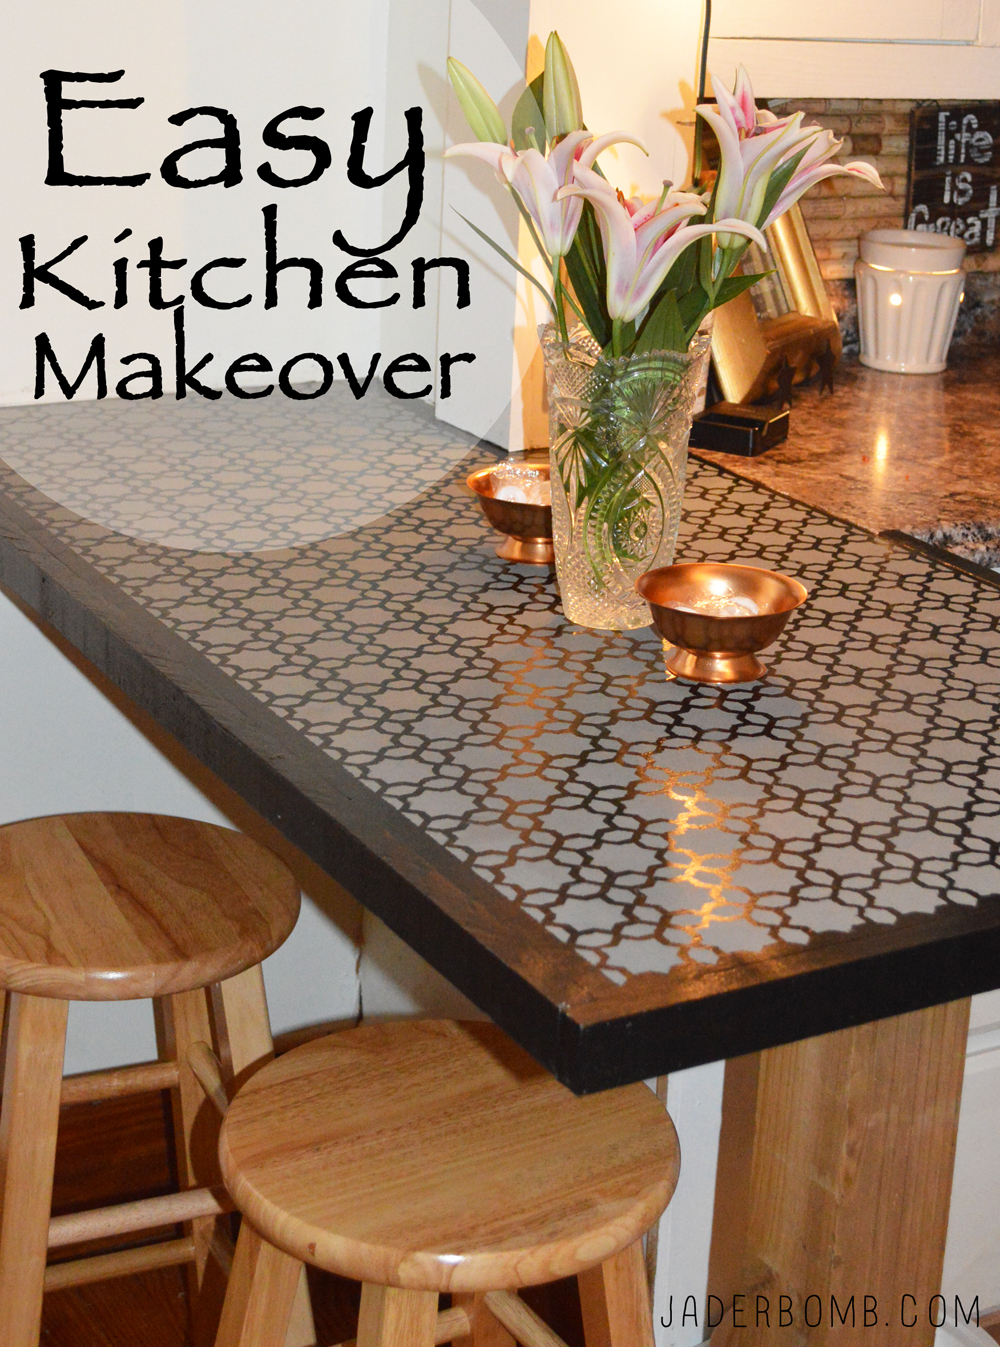

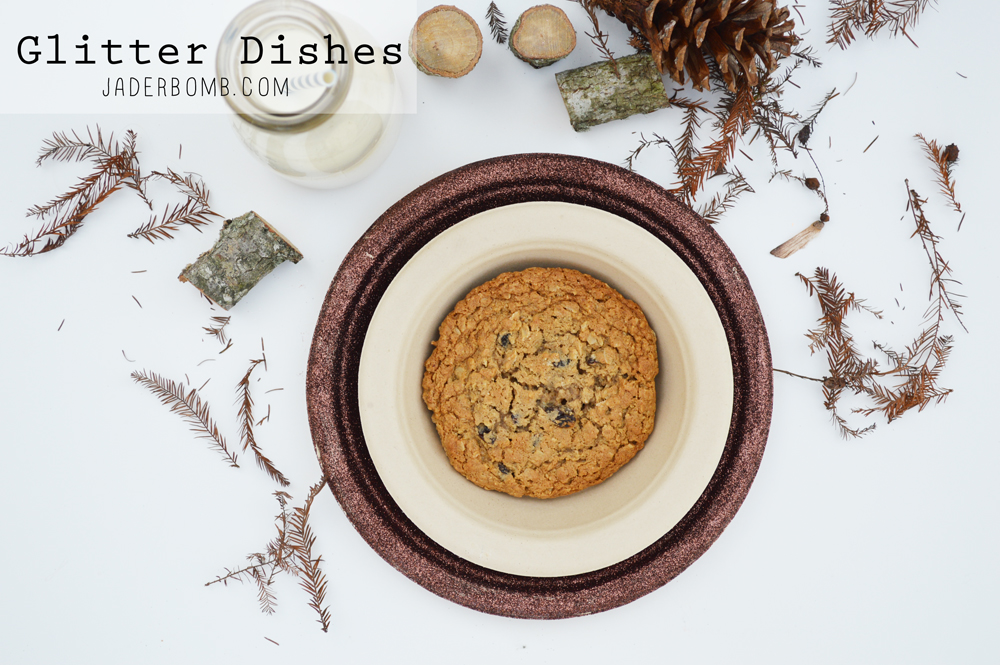
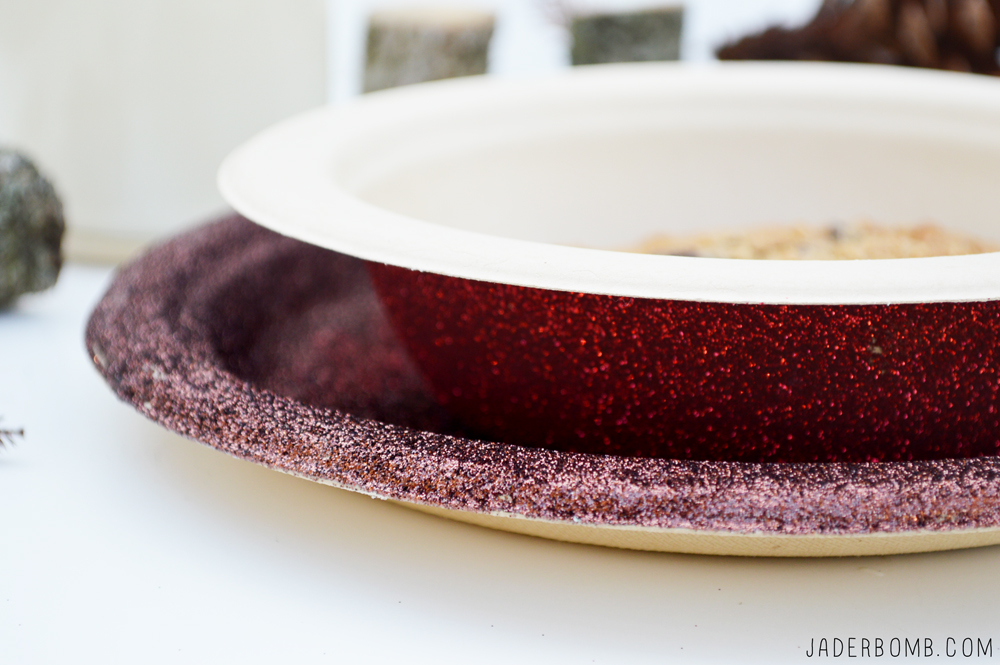
 *Paper Plates and Bowls * Glitter *Brush *Mod-Podge *LOVE
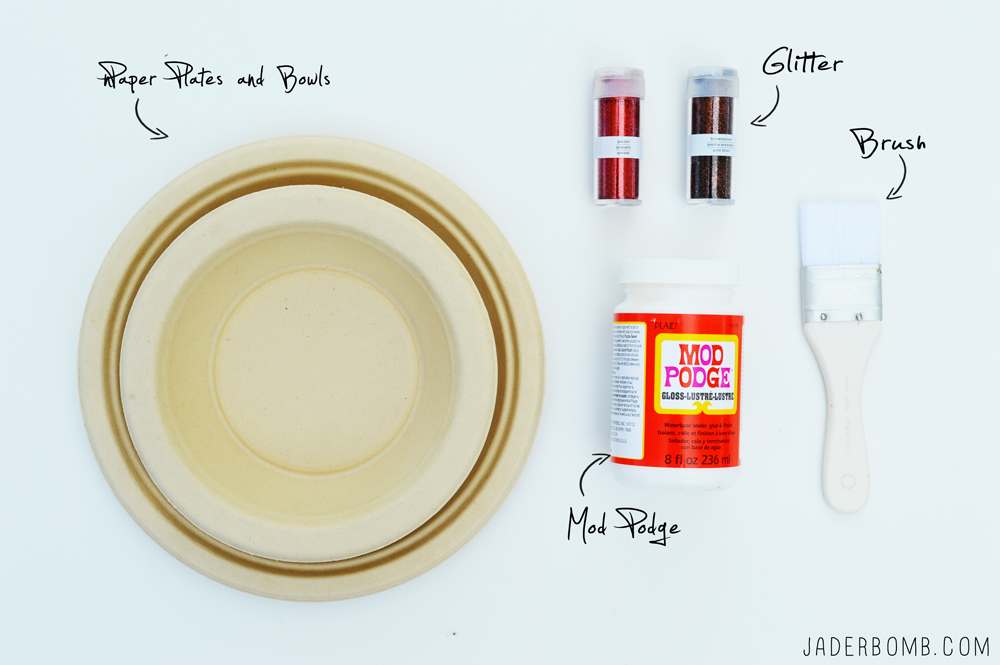 The first thing you want to do is coat your paper plate with Mod Podge.
 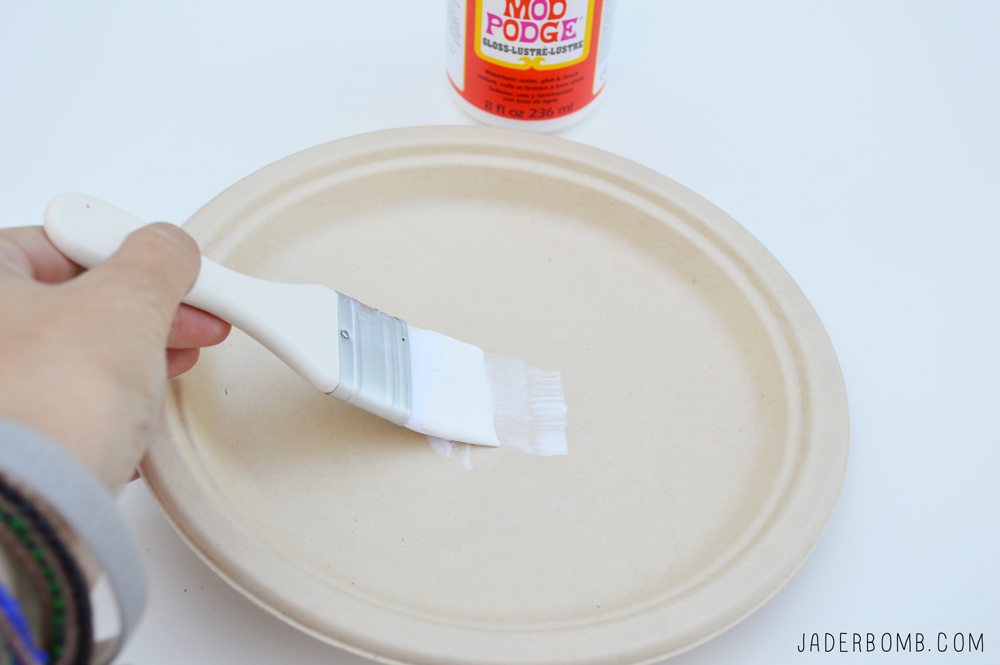 You want to work a little fast since Mod Podge dries very quick.
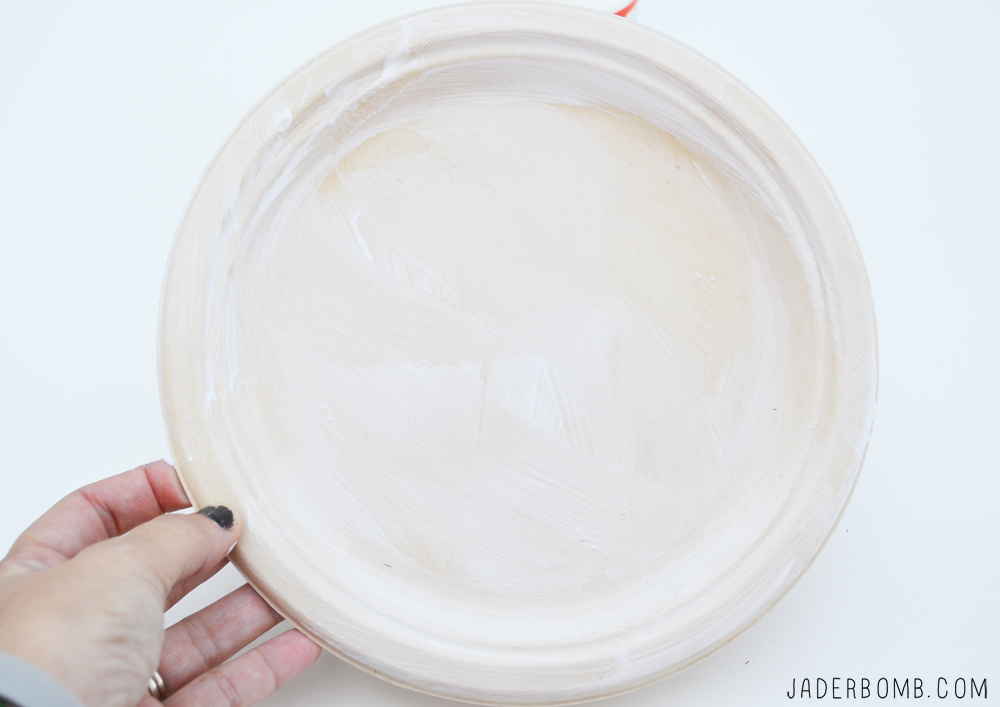 Sprinkle glitter over the wet Mod Podge. Don’t worry if it’s not perfect because after all it’s just going to be used as decoration. Did I mention you will throw it away after it’s used!
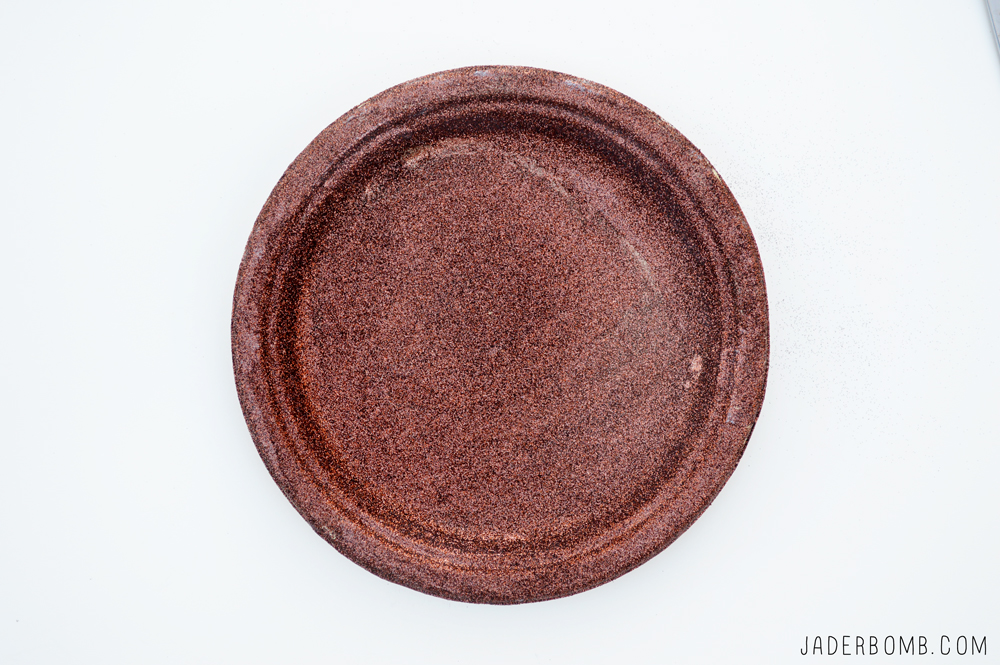
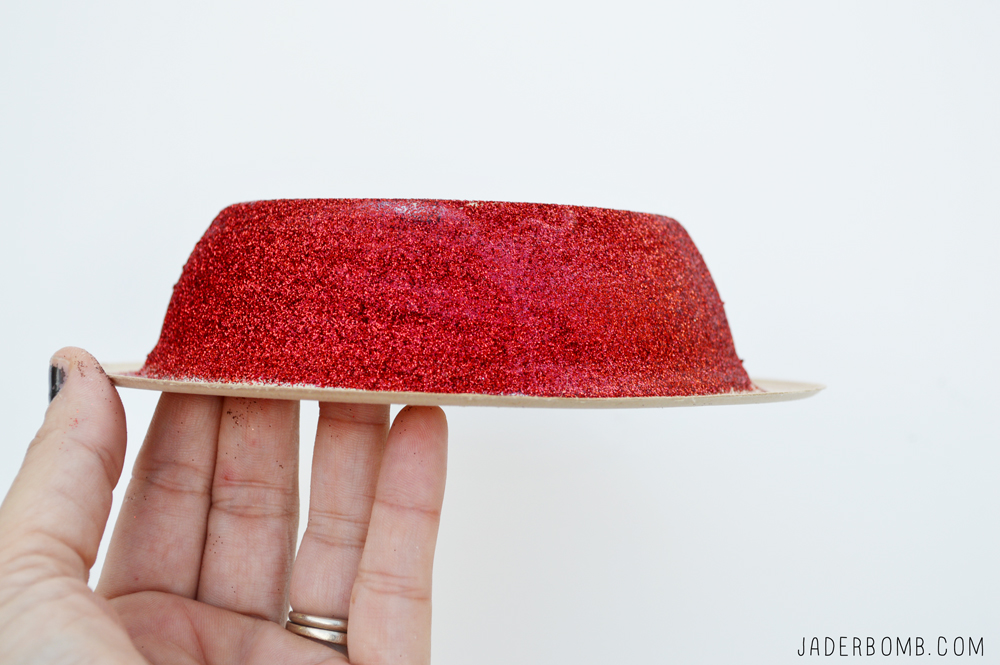
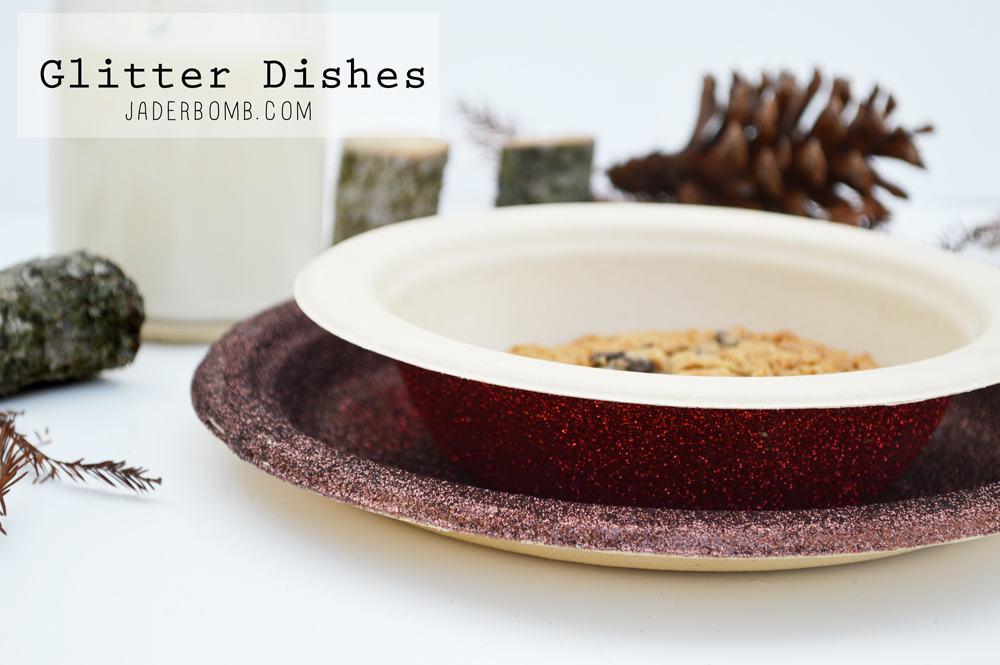 It’s seriously that simple! Fun thing is you can make them for every holiday and it will not break the bank.
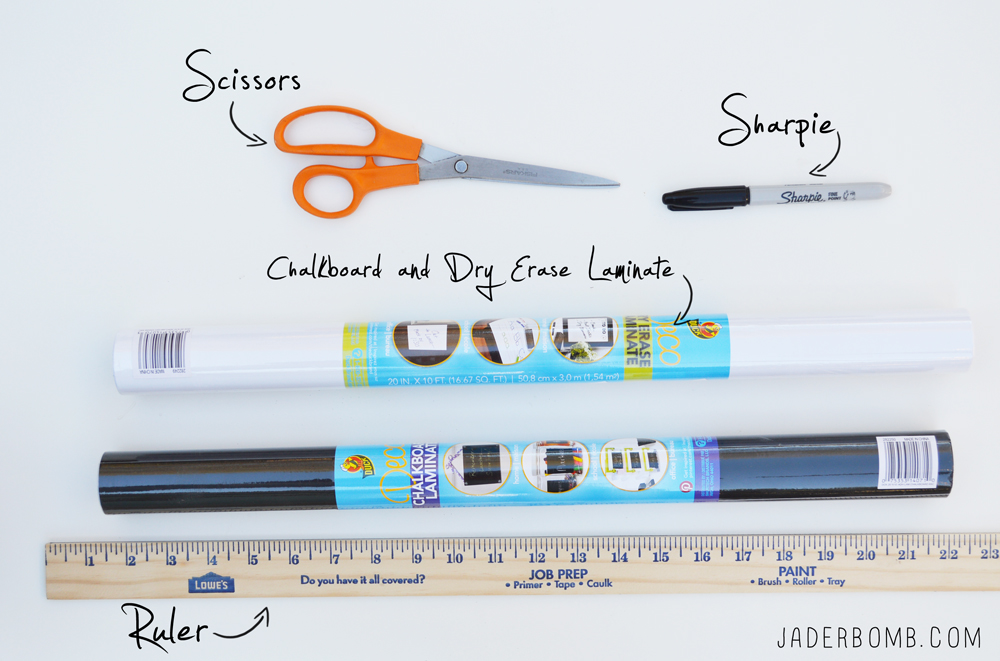 The first thing you want to do is layout your adhesive paper. I love this paper because you can simply peel the back off and voila!
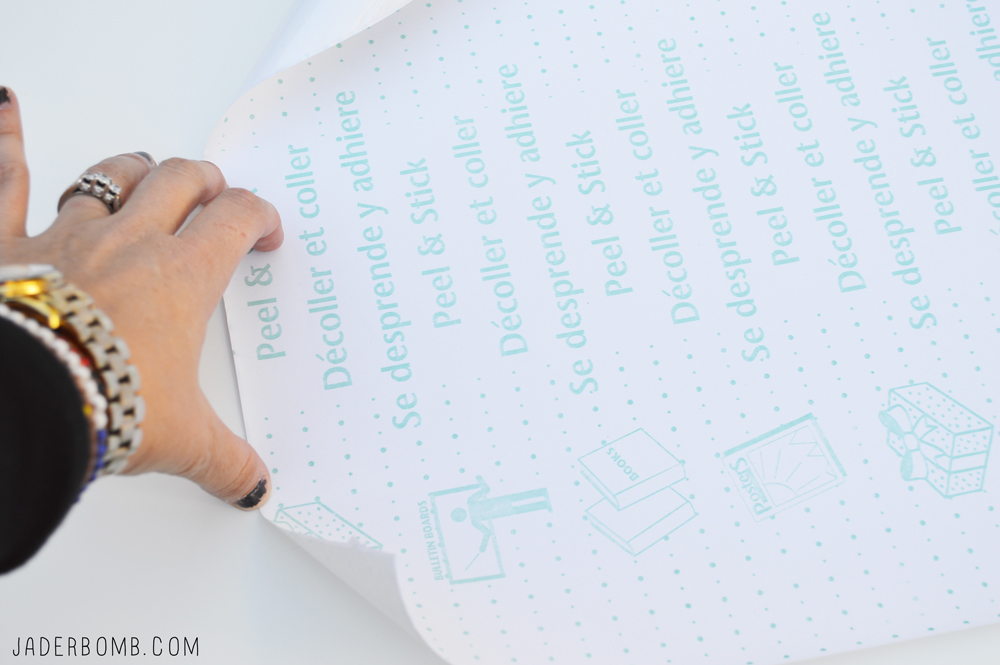
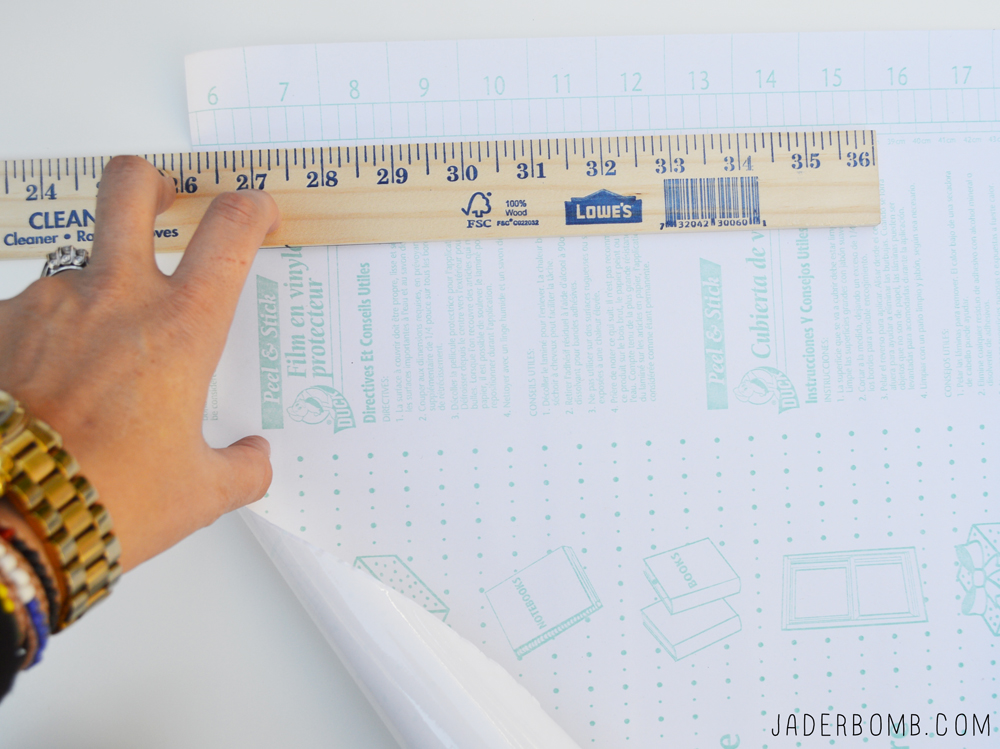 While your ruler is down grab your sharpie and trace over the line. This will just make it easier to cut. If you feel secure cutting the line that is already there then you don’t need to use sharpie.
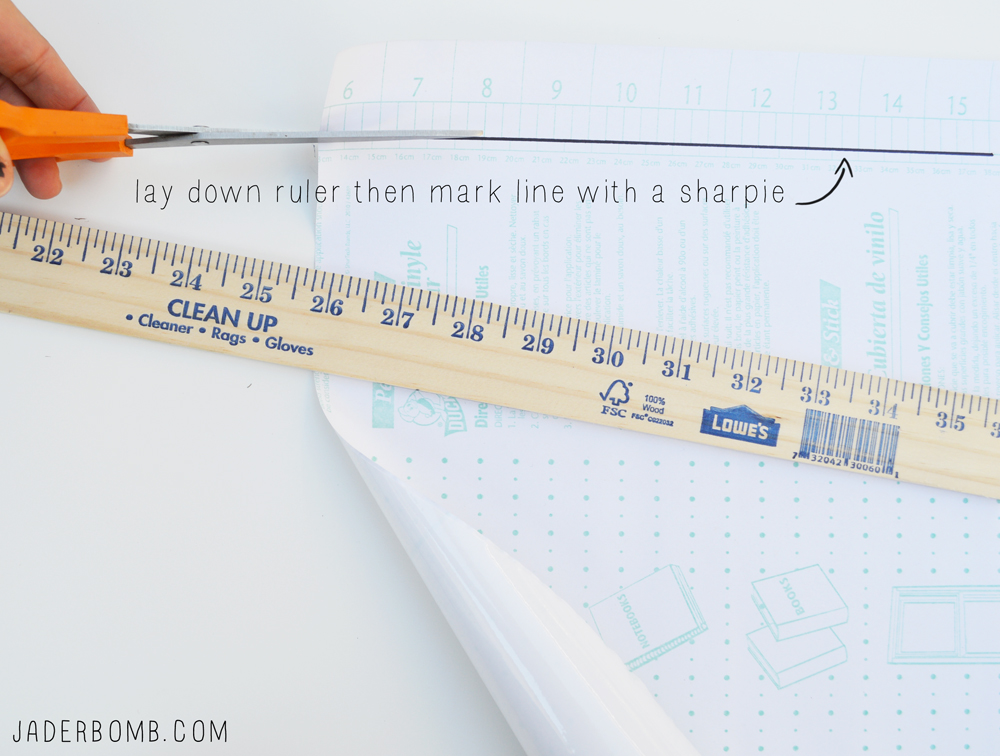 Once you cut your paper this is what it will look like.
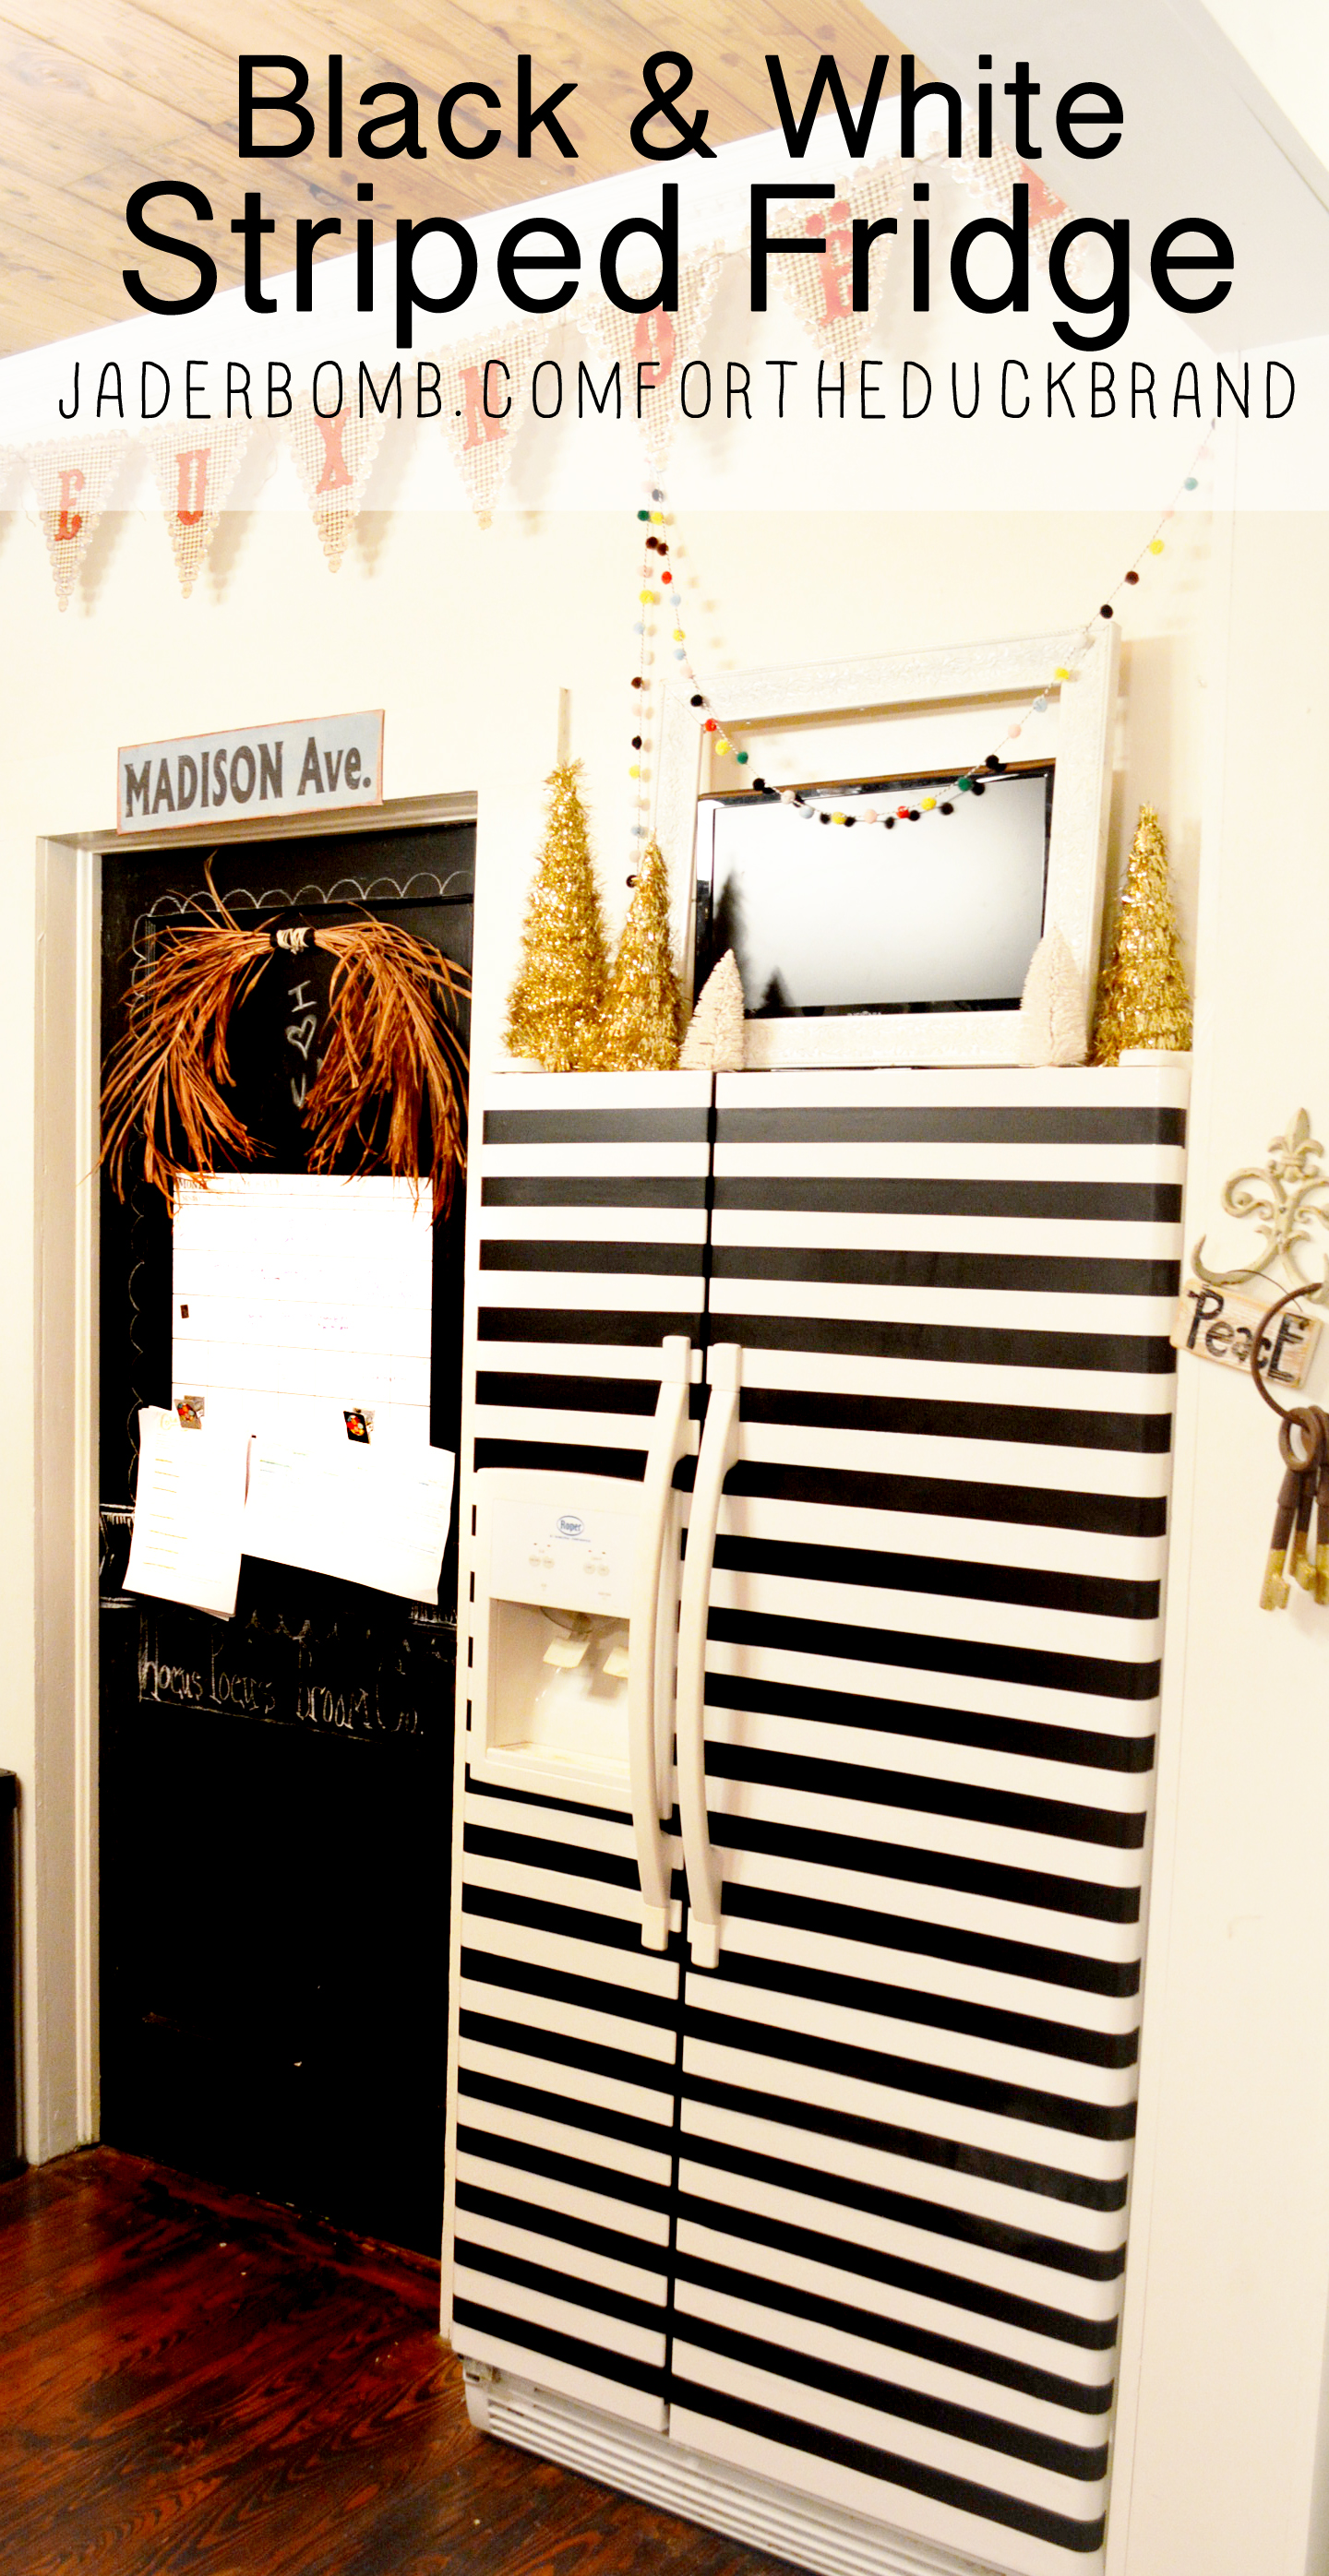
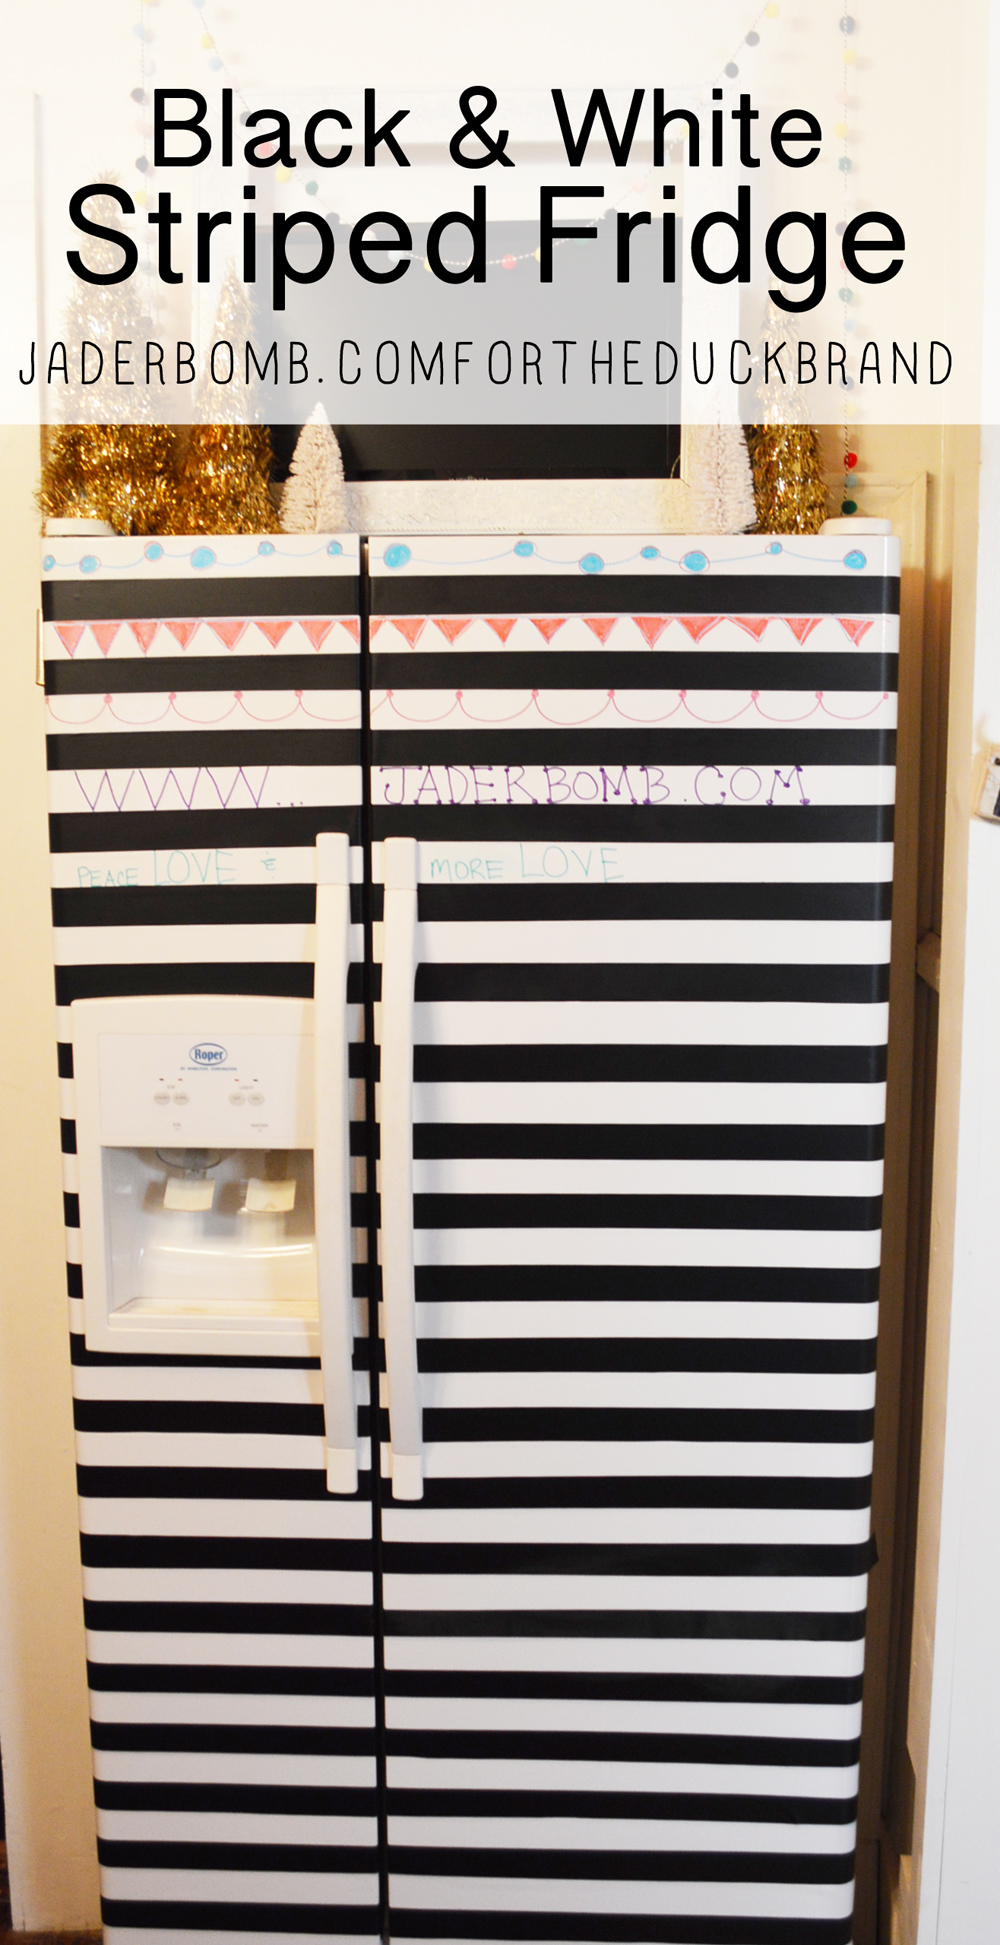
 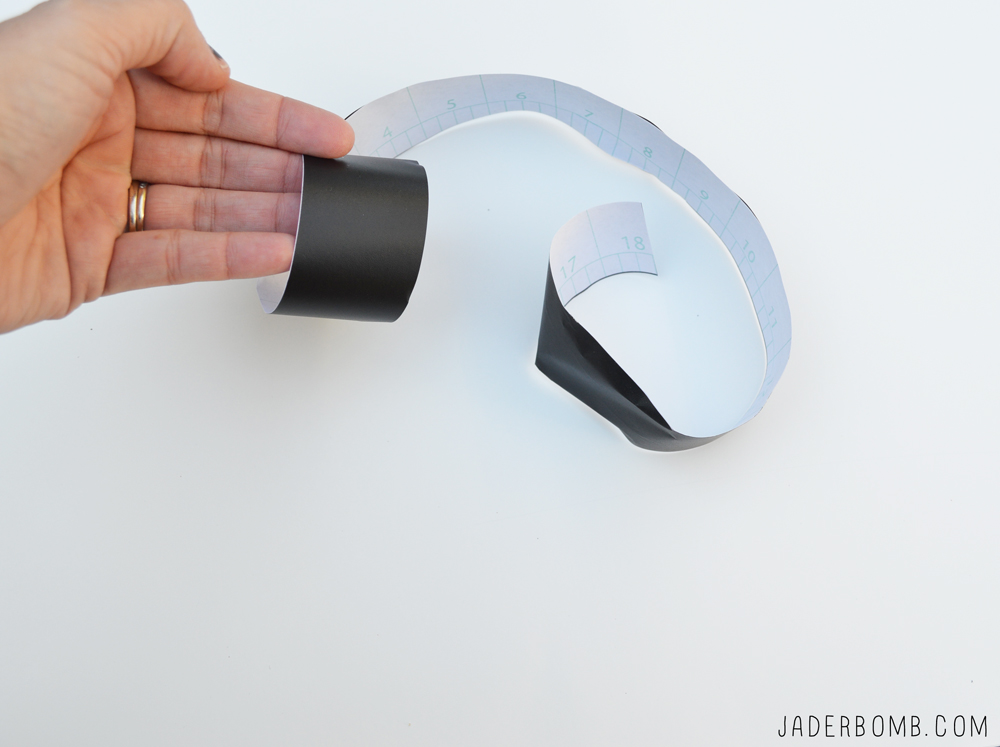 Time to move on to the fridge. Your boring fridge is about to get a complete face lift.
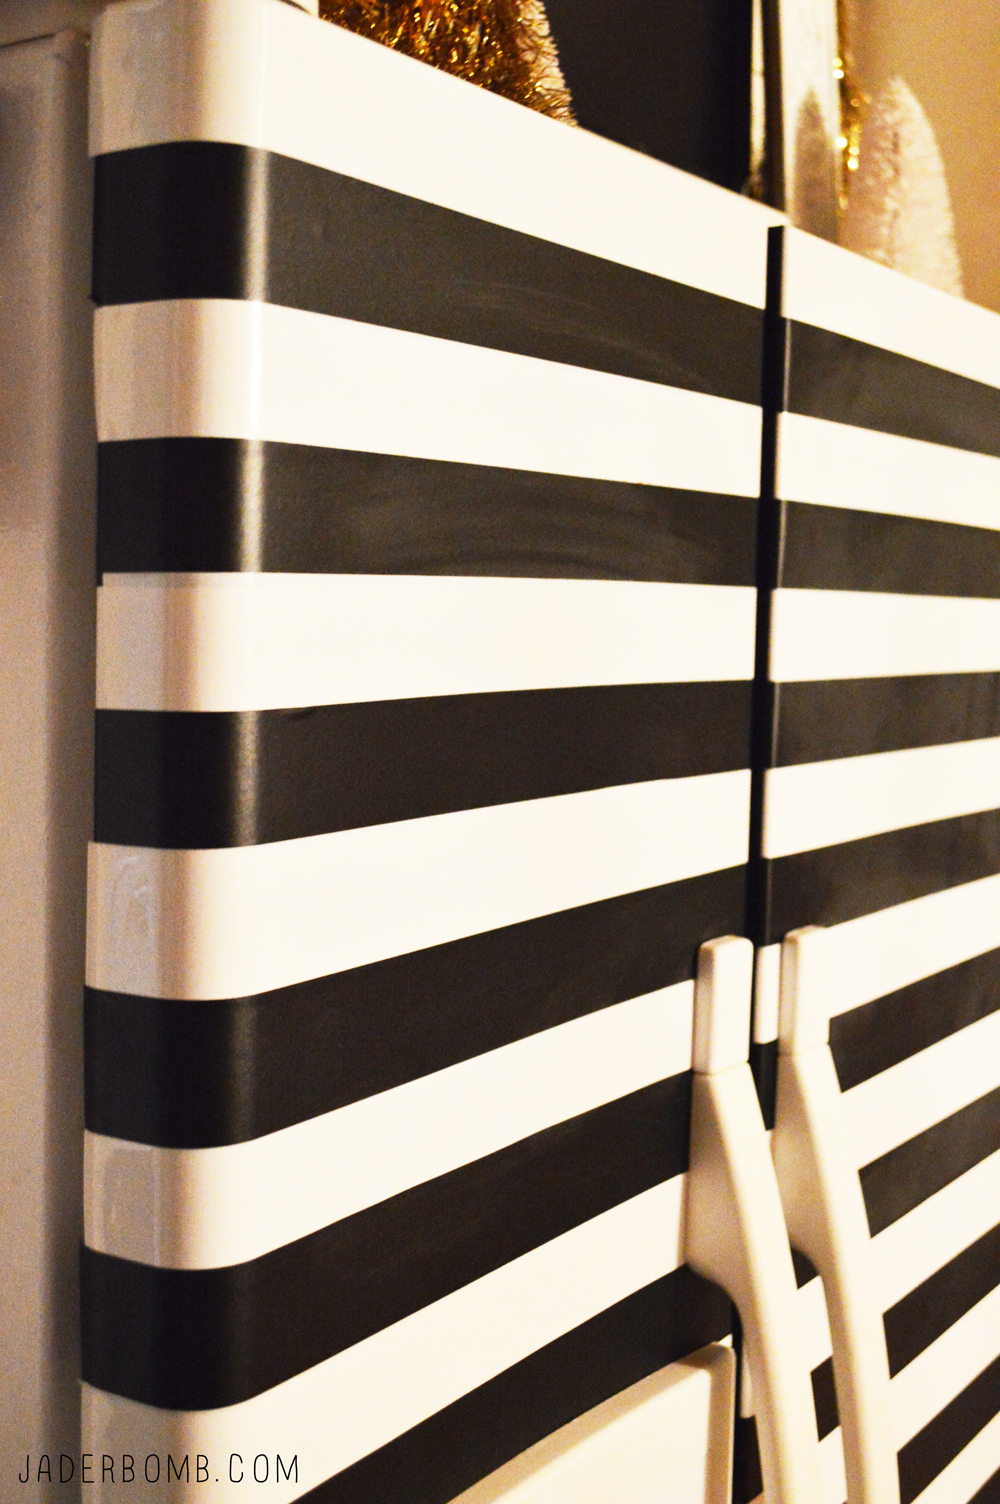
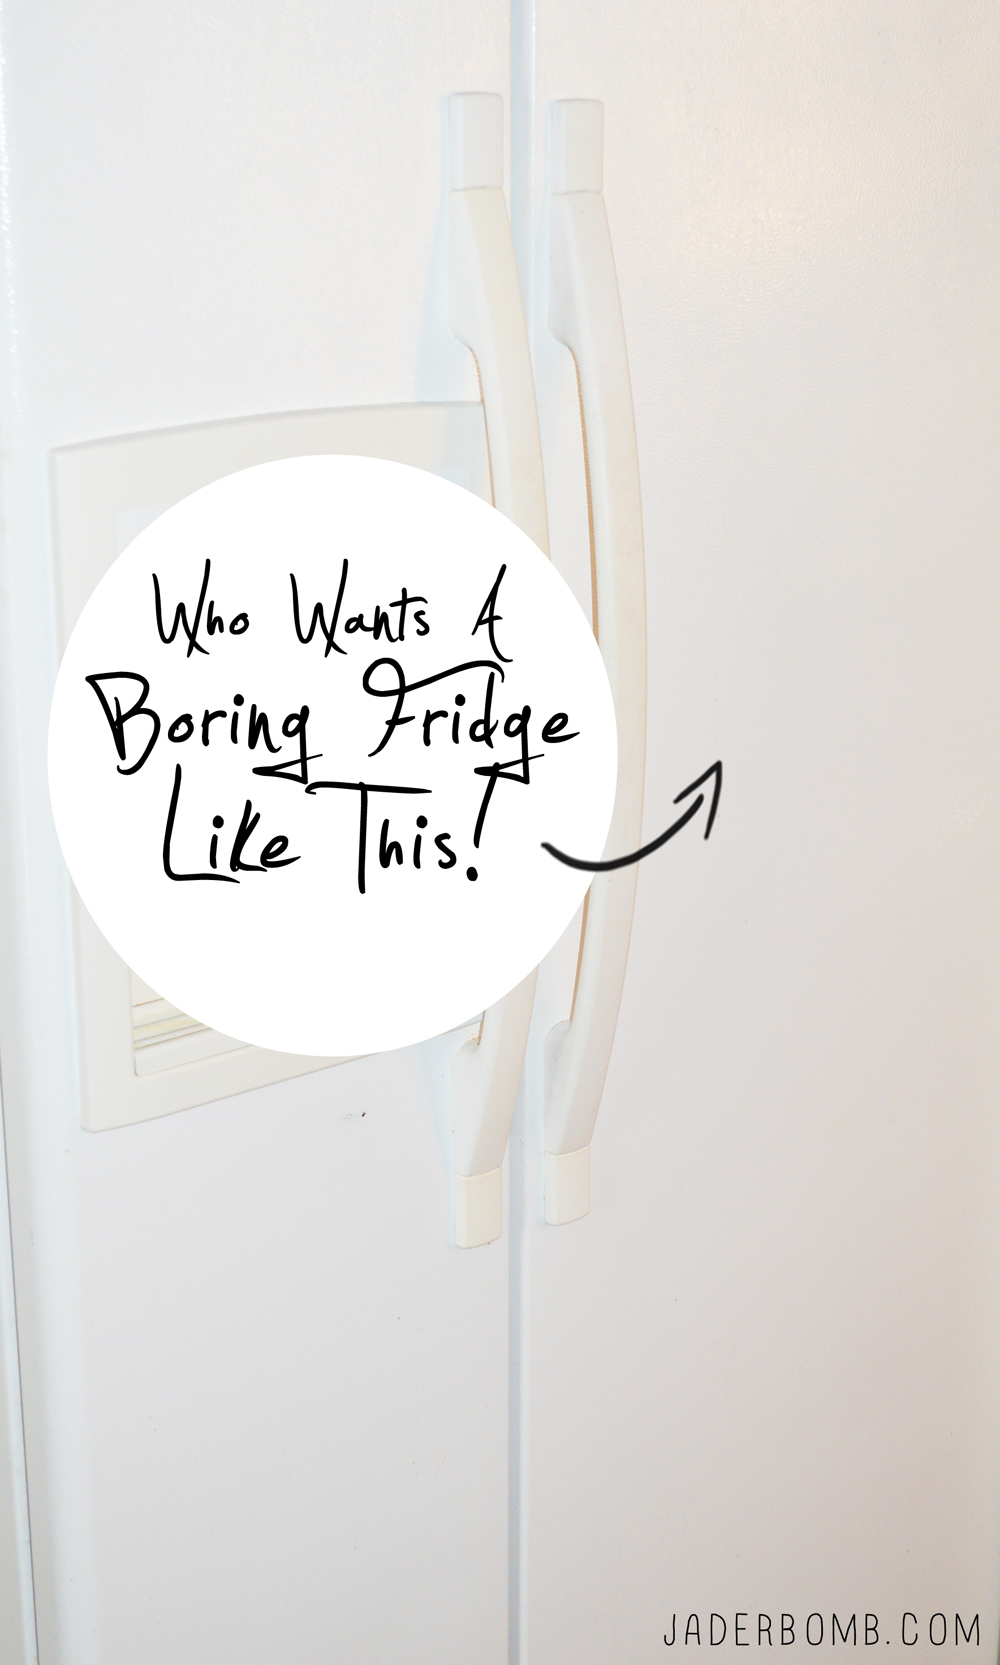 Just start alternating from chalkboard adhesive to dry erase adhesive! It’s that simple.
 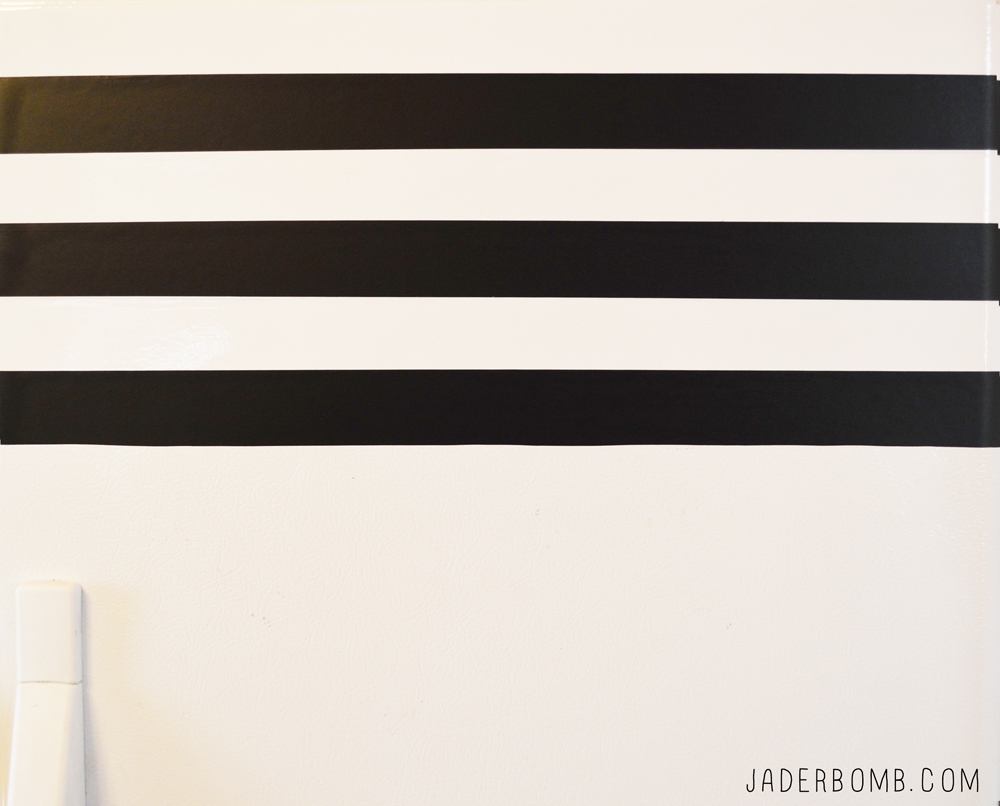 This is what it will start to look like. Are you in love yet?
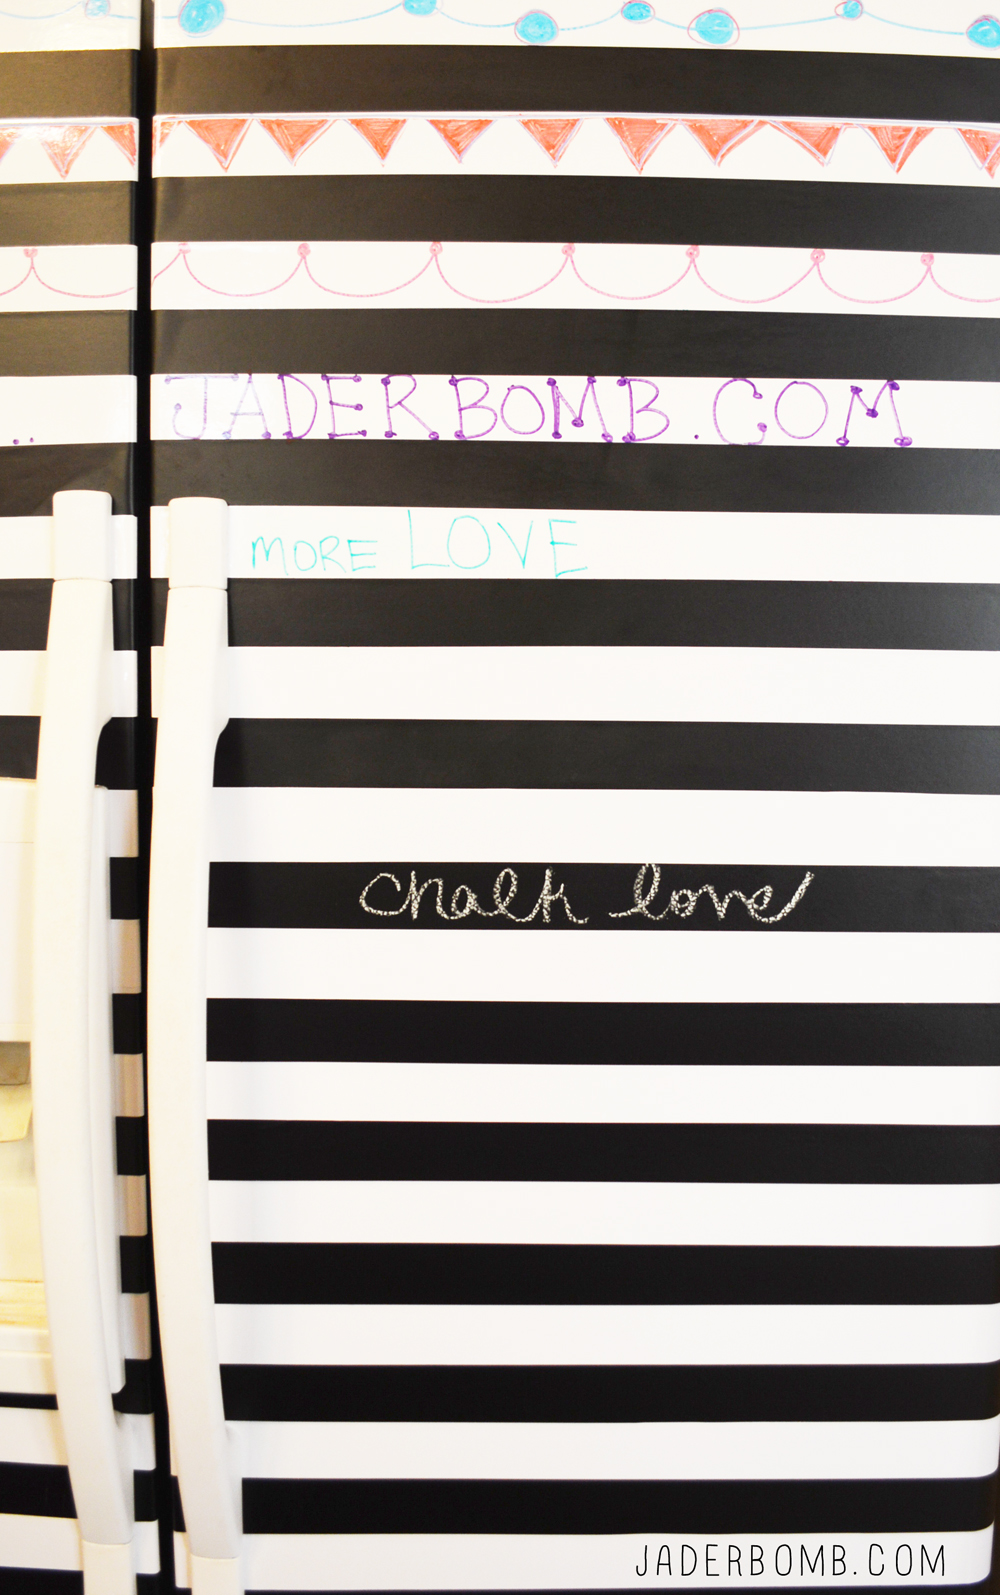
 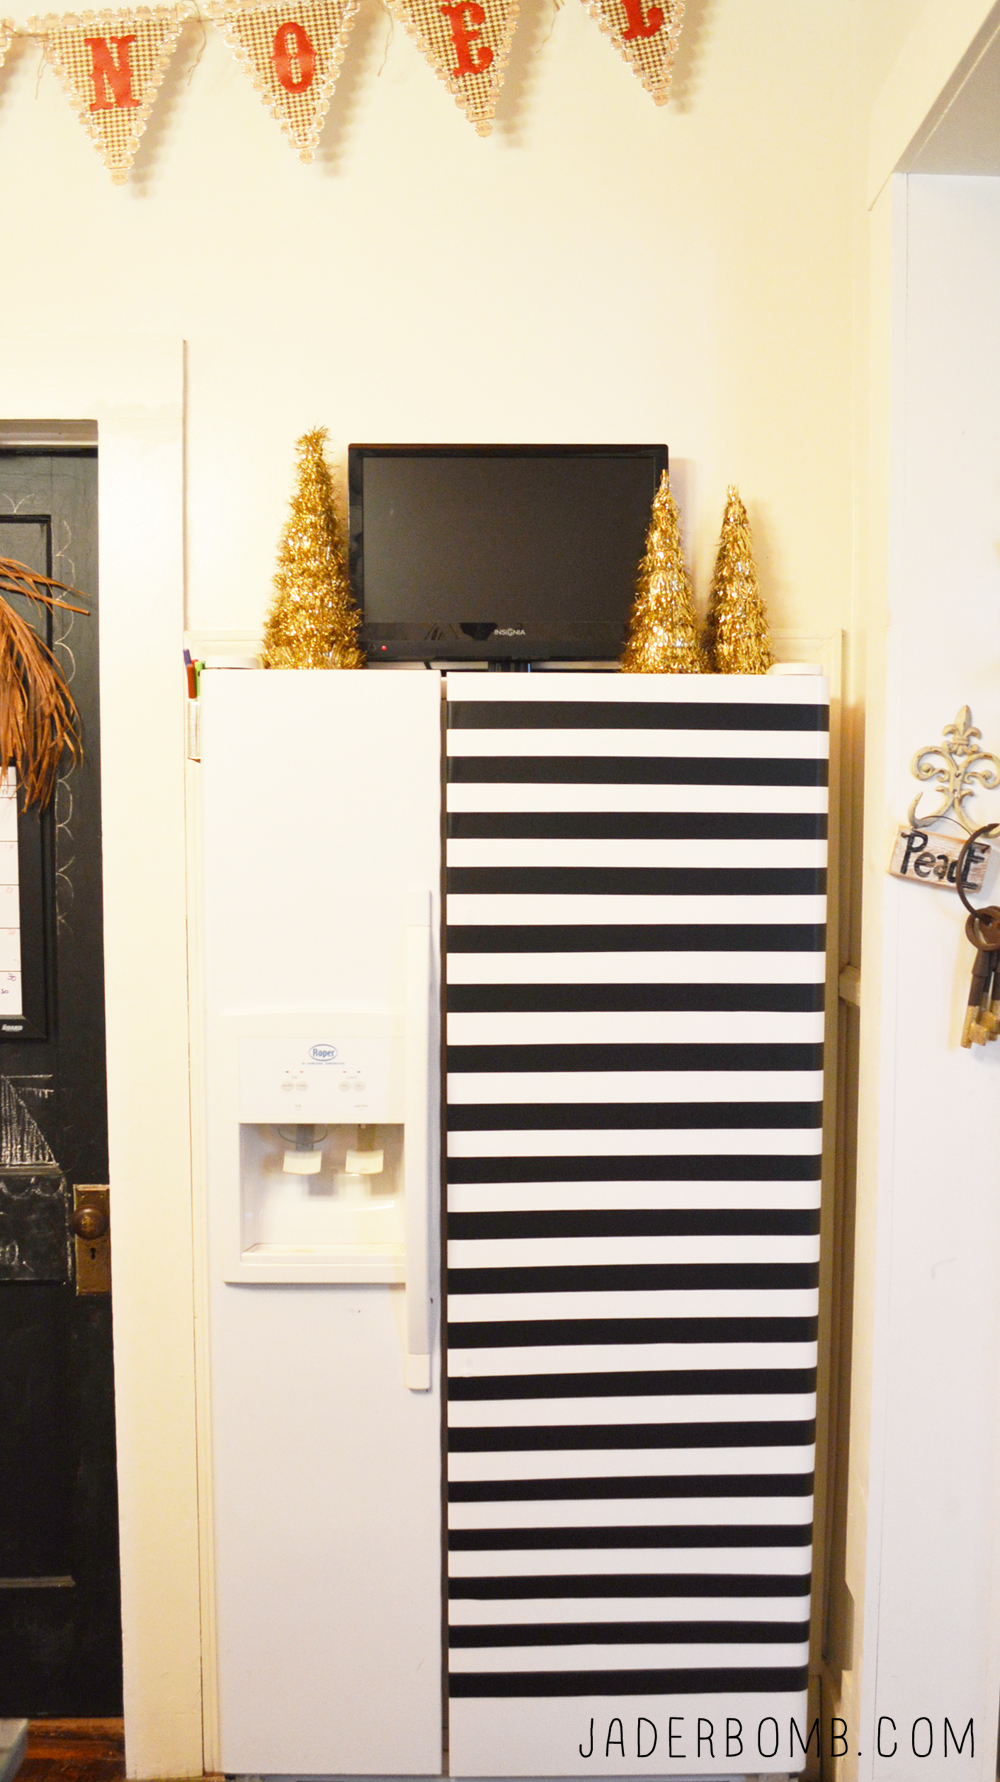 I love drawing on each line. The great thing is this will not damage your fridge at all! You can peel it all off whenever you want. The white is dry erase and the black is chalk board!