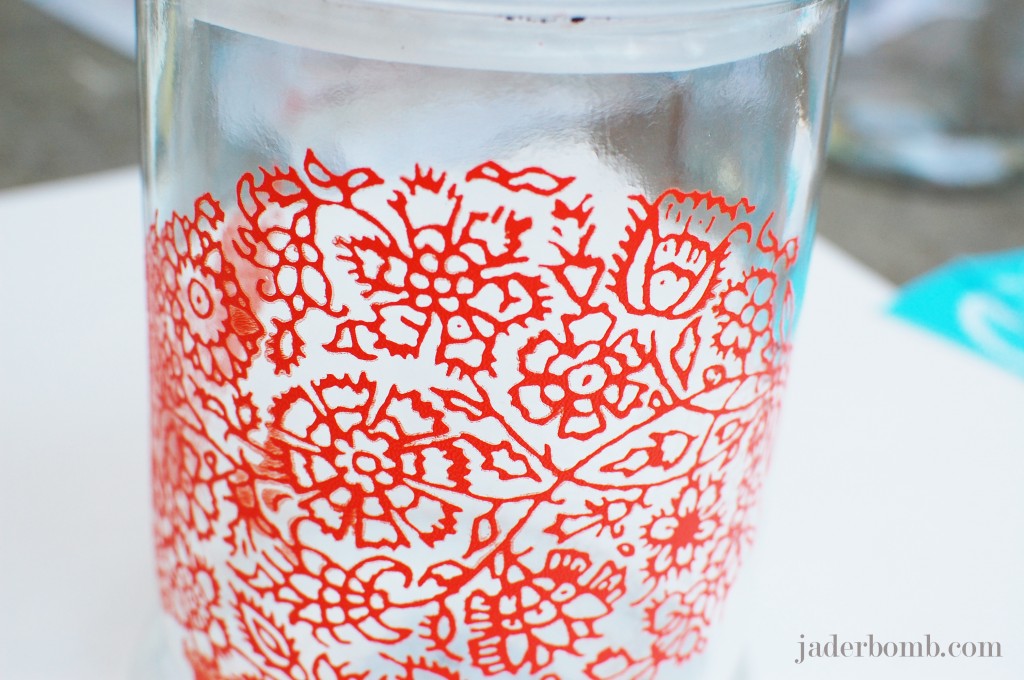
Happy 12 month’s of MARTHA! I am so glad you are here and I know you will love the tutorial I am sharing and the giveaway I am doing! This month’s box of goodies made me smile from ear to ear. I especially loved the floral paisley adhesive silk screens. Trust me when you use them you will become addicted. I made some fancy apothecary jars using them. Martha always knows what I love.
Let’s get started.
Oh, if you are not familiar with the 12 months of Martha let me tell you about it.
I will be sharing a new project each month using Martha Stewart Crafts.
#12monthsofmartha & #marthastewartcrafts <——(this is the hashtag you can use if you repin this or want to see other’s who are a part of this project)
I am super giddy about it and I think you will too. Each month you will get to see new items from the Martha Stewart crafts line that is brand spanking new~
So yes! You will be seeing things that are not yet in the stores…
You can find all of her products at Michael’s Arts and Crafts, Jo-Anns Fabrics & Crafts and Amazon.com.
I’ll be giving away Martha swag monthly – so be sure to subscribe to my email updates… —–> LOOK AT THE TOP RIGHT!
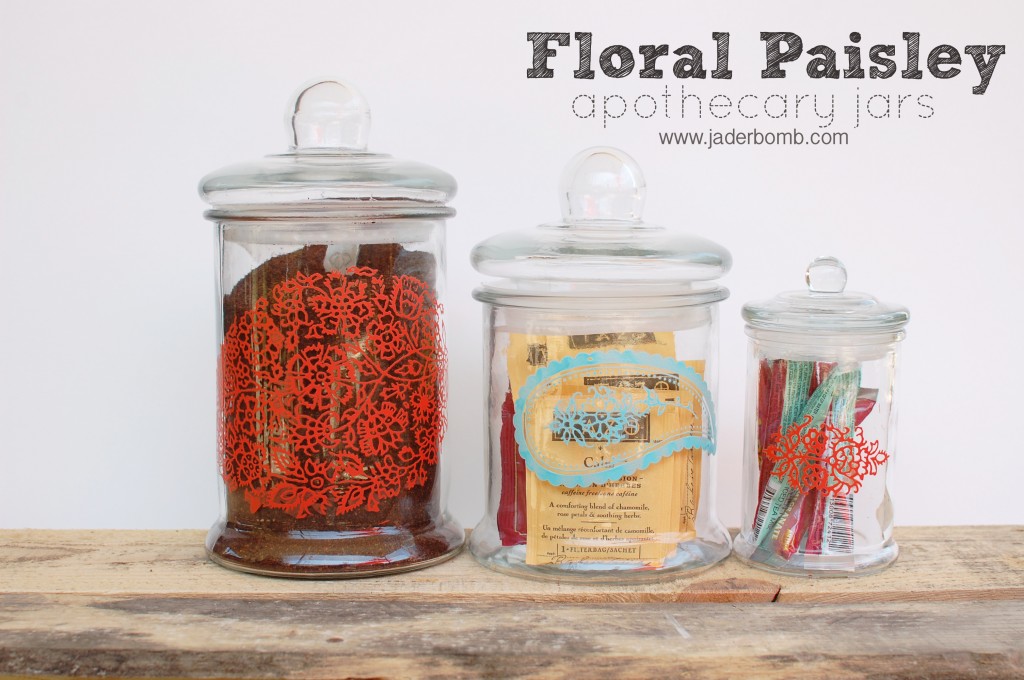
How simple, cute and elegant are these apothecary jars?! Seriously, these would look great in any room. I made them for my kitchen and I filled them with coffee, tea and pomegranate powder for my water.
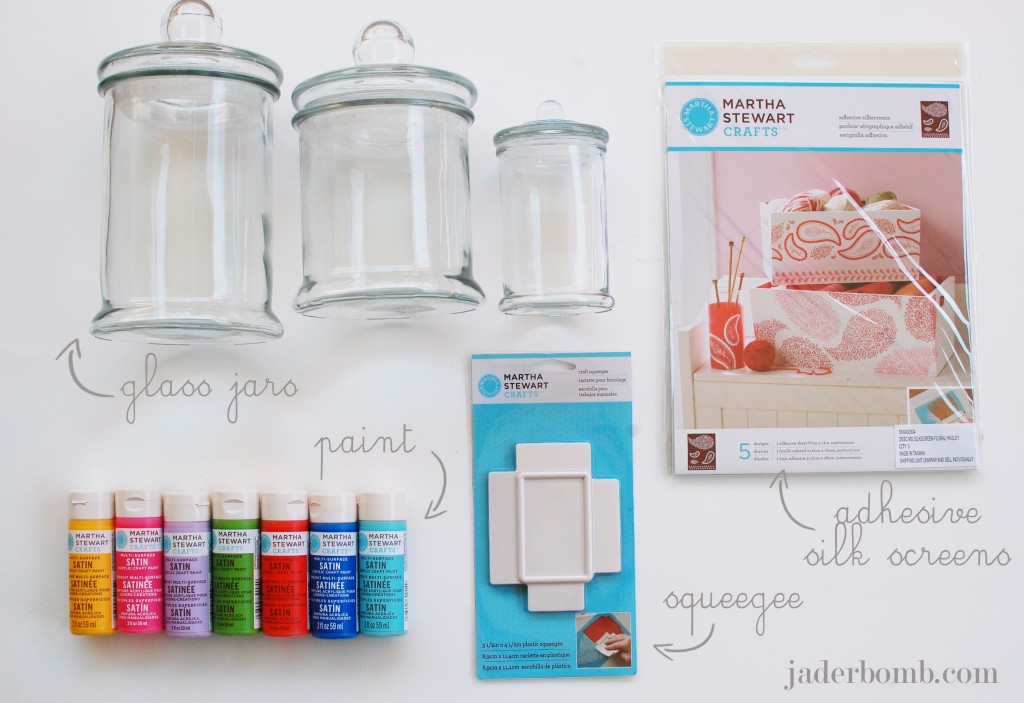
You will need:
*APOTHECARY JARS
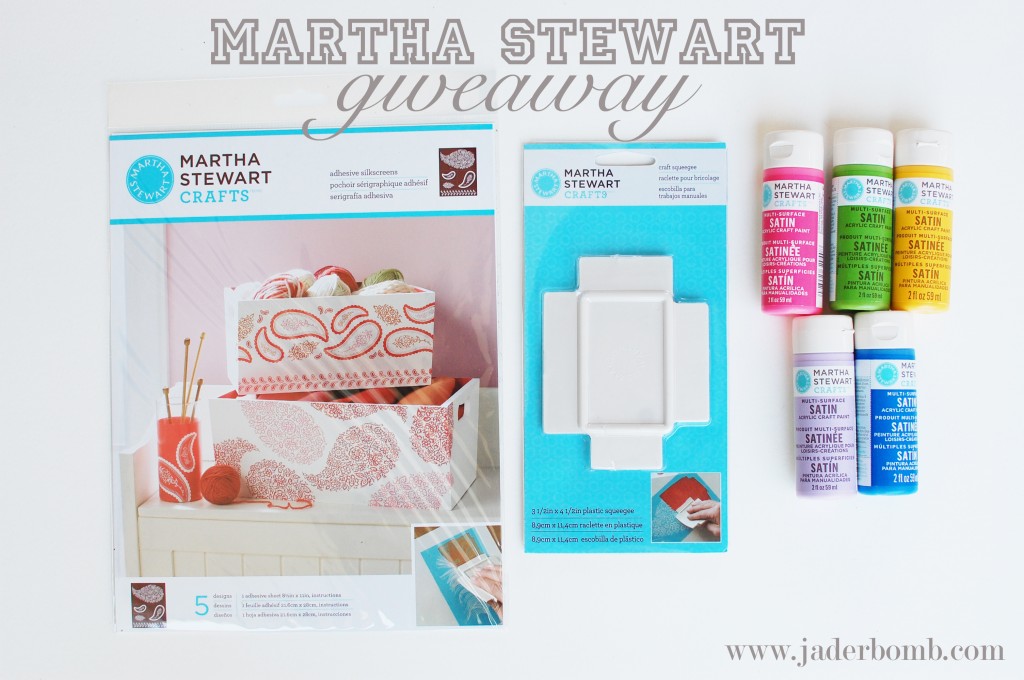
*MARTHA STEWART SATIN CRAFT PAINT
*MARTHA STEWART SQUEEGEE
*MARTHA STEWART FLORAL PAISLEY SILK SCREENS
*LOTSA LOVE
You can purchase all of the above supplies by clicking on the links.
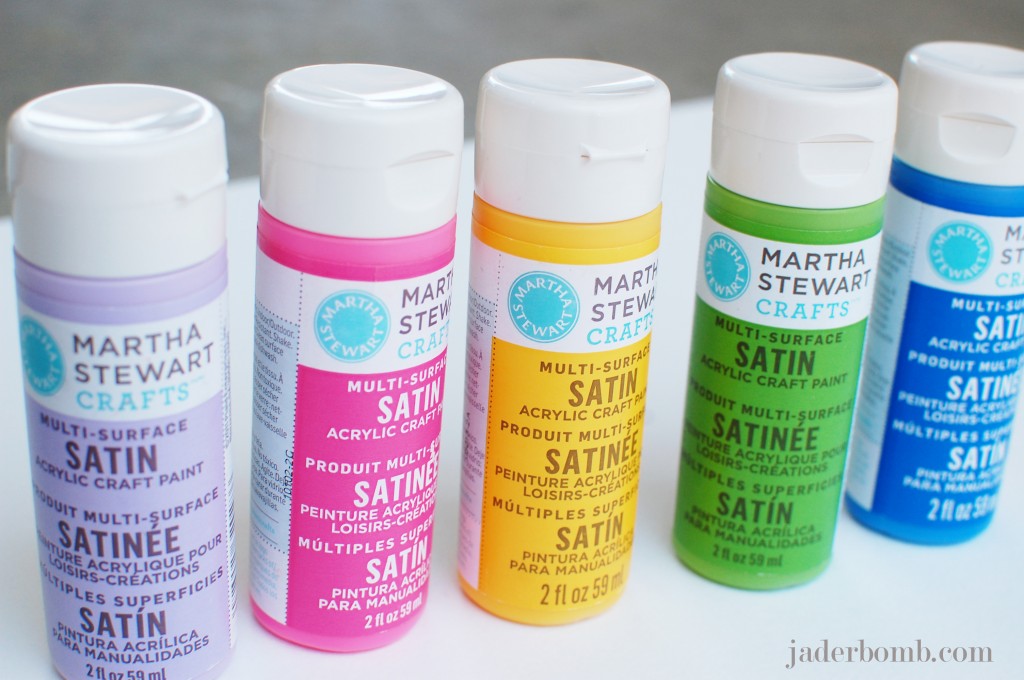
Don’t you just love these great colors. Someday’s when I feel down I just go in my studio and look through my tubes of paint. They are filled with happiness I tell ya. For this project I used Geranium and Pool.
(colors of paint)
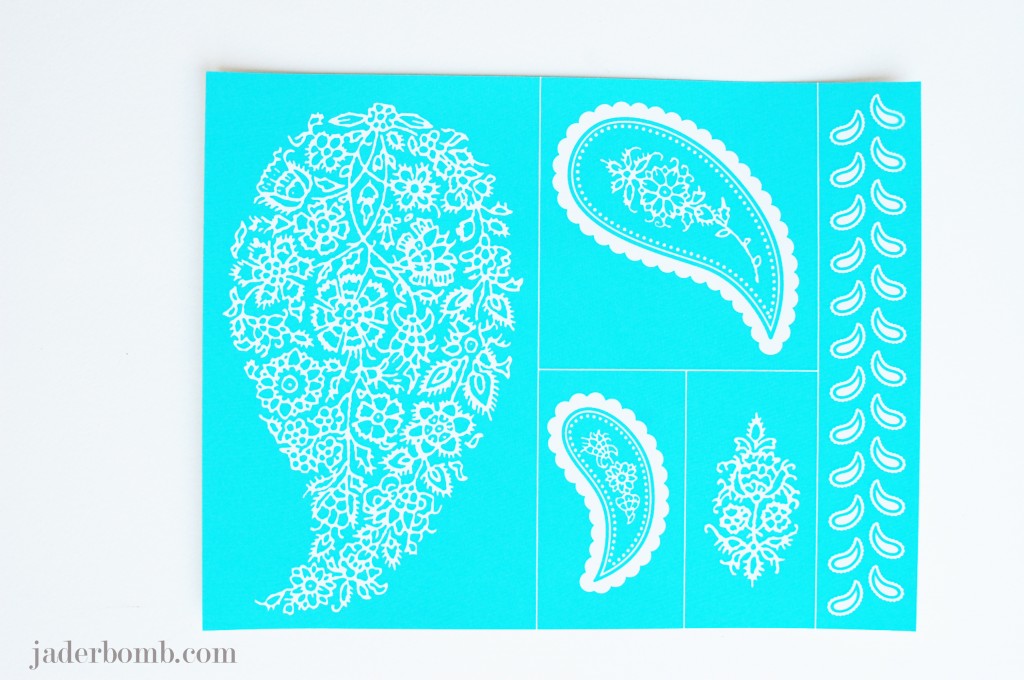
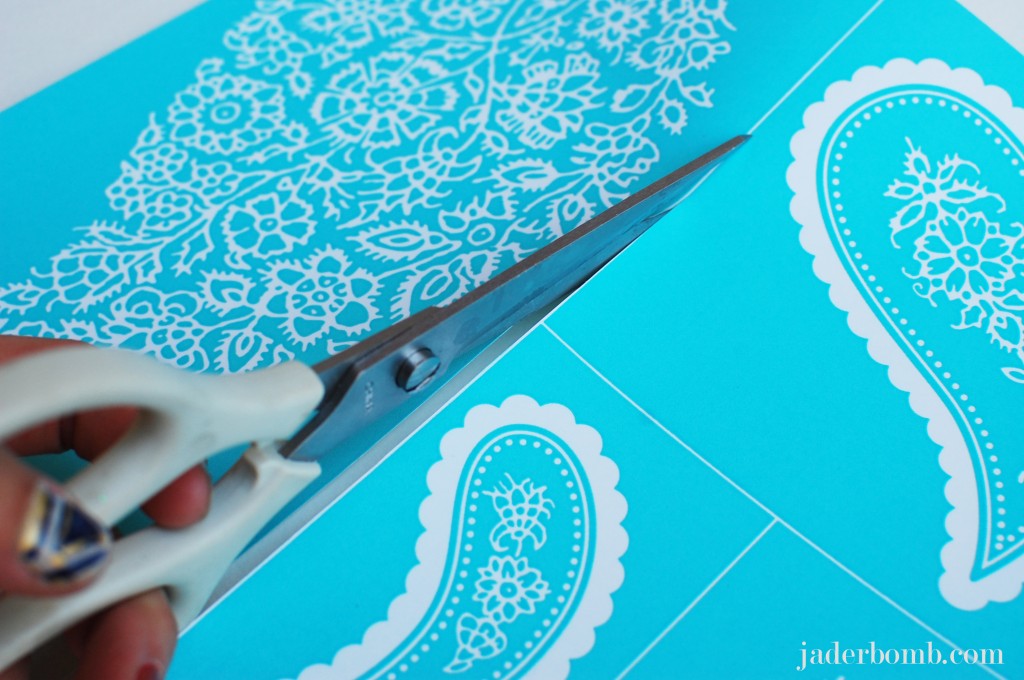
When you open your pack of silk screens they will look like the picture above, all connected on one sheet.
If you notice they have white lines separating each design. You should cut along the line to separate them.
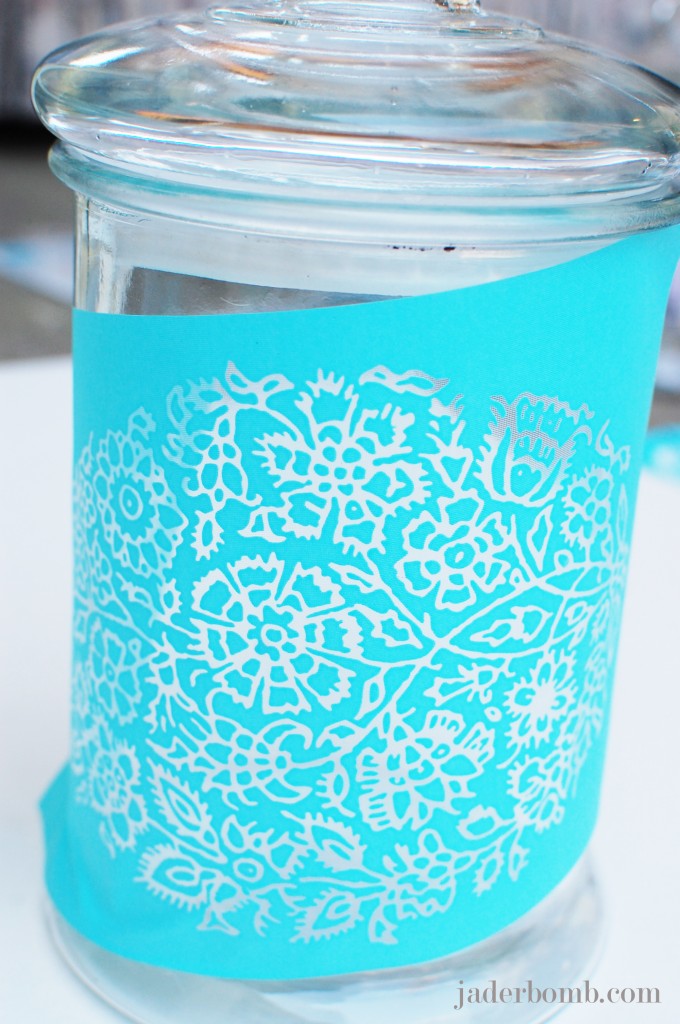
This is how they will look once you cut them.
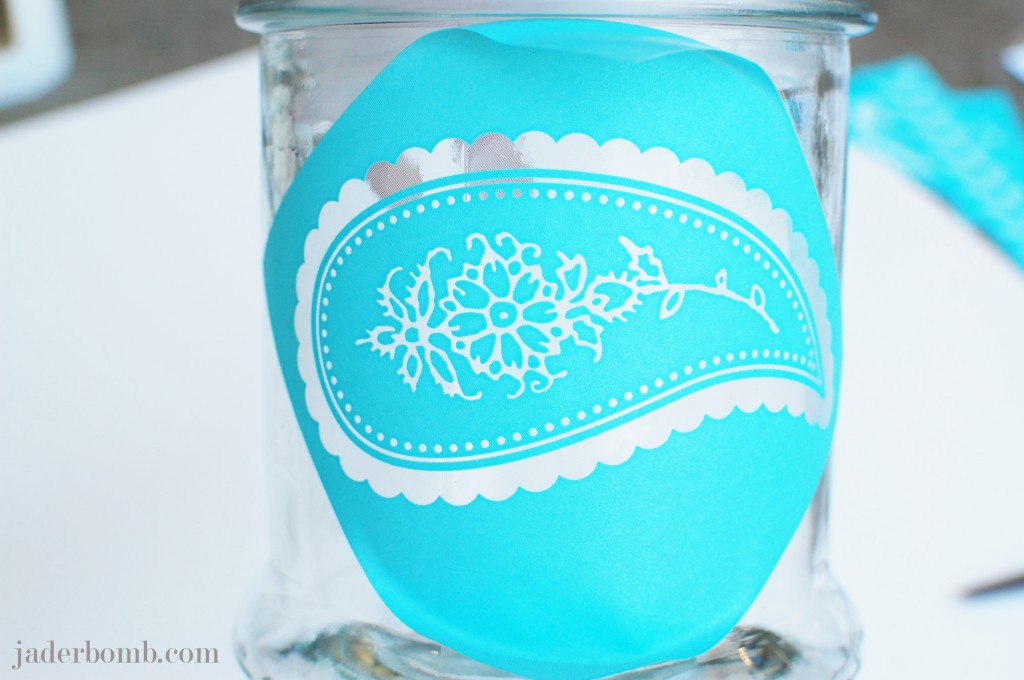
Find the image you want to use and gently peel the silk screen off of the paper. I like to start on a corner. Plus if it get’s crinkled it will not mess up the actual image. Once you remove the silk screen place it where you want on the glass.
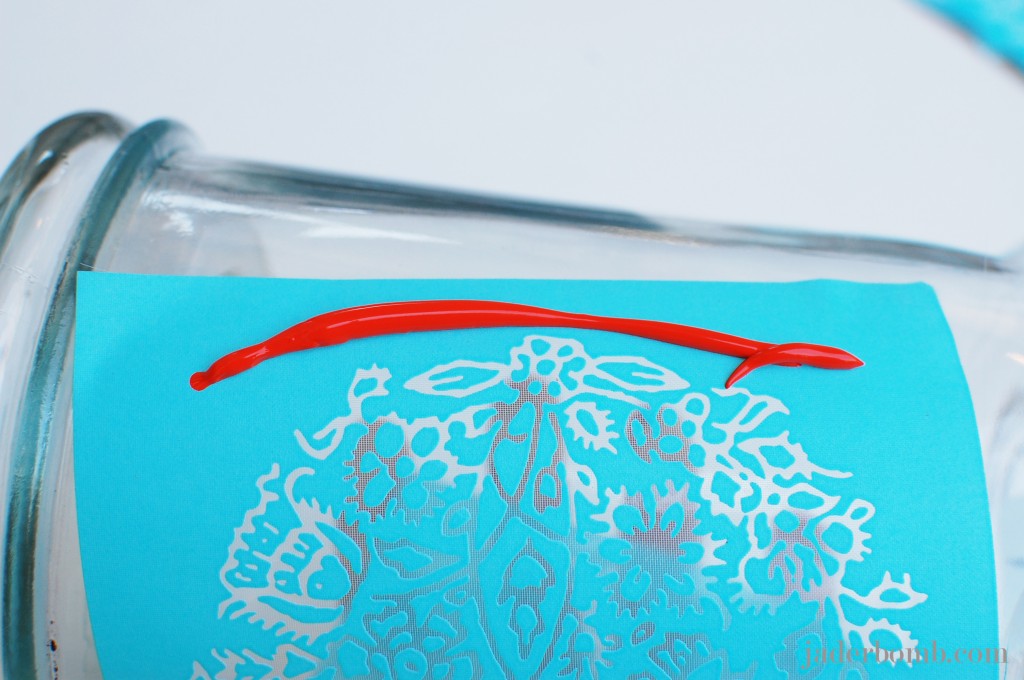
Once you apply your silk screen to the glass add a bead of paint right above the image.
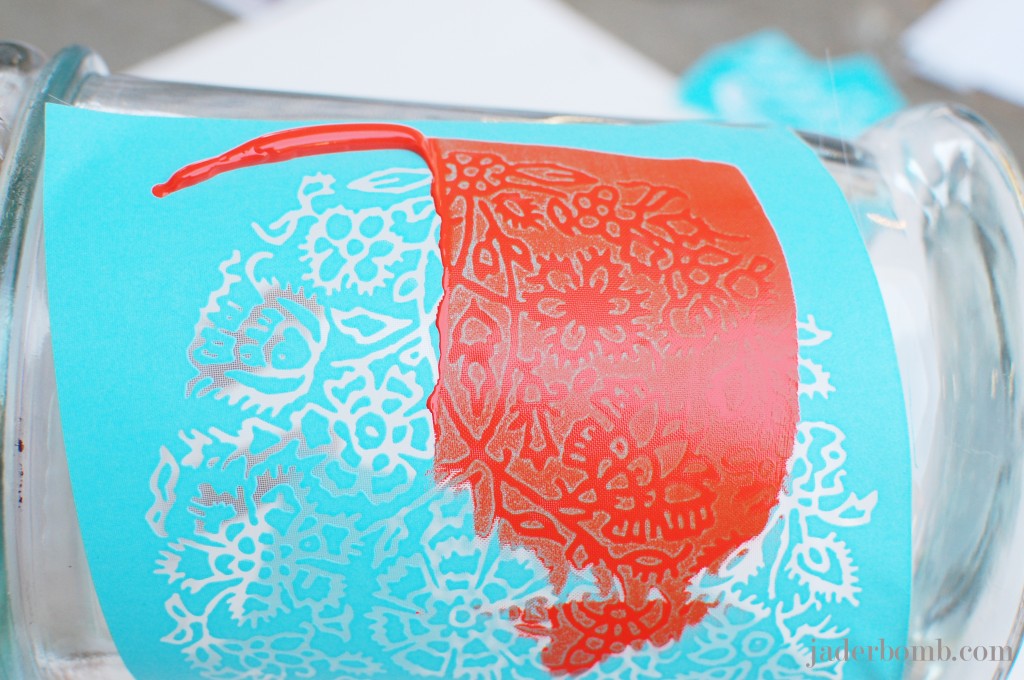
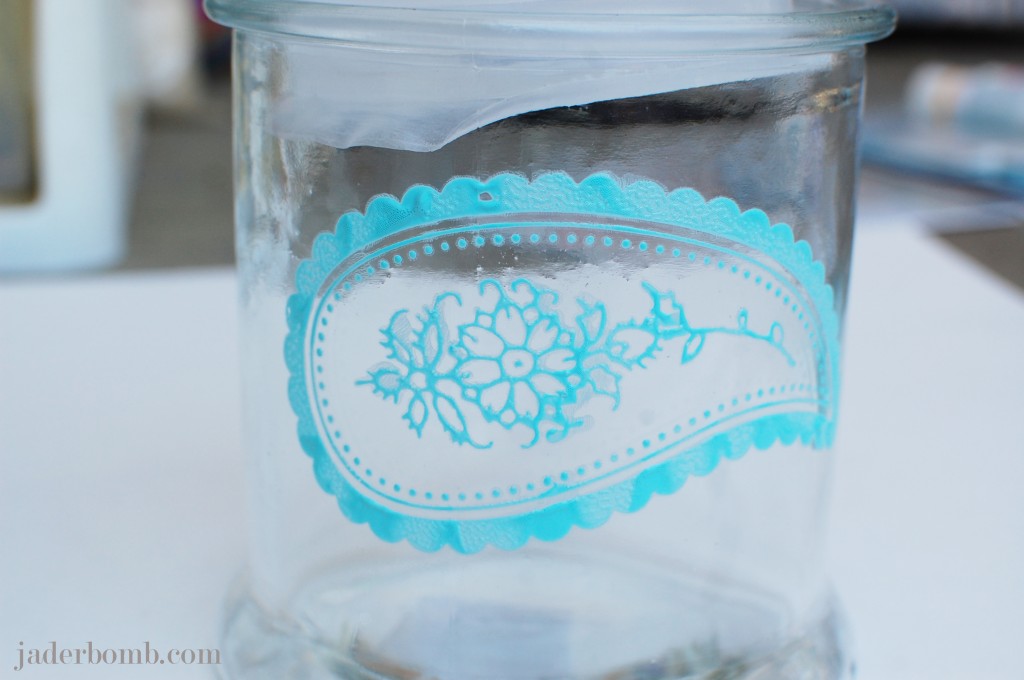
Get your squeegee and pull the paint down over the image. I suggest going from the top to the bottom in one stroke. It will make the paint consistent and even. Repeat the step if you have to do it in two layers.
As soon as you finish, peel the silk screen off of the glass. Very important that you wash it immediately. If you let the paint dry on the silk screen it will not work properly again. Once you wash it lay it out on a towel to dry.
Move on to your next jar.
It’s really that simple. I hope you enjoyed this tutorial! I have some great news… I am doing a GIVEAWAY featuring the supplies I used today… HOW AMAZING. Please enter by putting your information in the Rafflecopter box below. I am excited to see who will win all of these products. Don’t forget to share this fun giveaway with your friends.
THIS GIVEAWAY WILL END APRIL 12, 2013.
 *JANUARY craft HERE
* FEBRUARY craft HERE and HERE
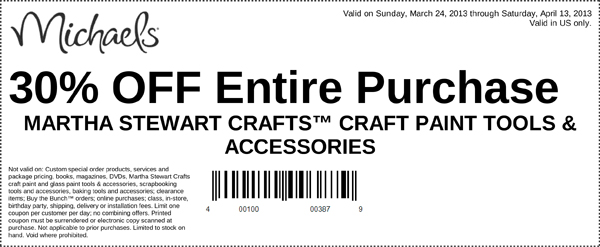
*Click HERE (US) and HERE (CANADA) for a 30% off coupon for any Martha Stewart Craft paint, tools and accessories
Want JADERBOMB delivered right to your inbox?
Just enter your e-mail in the box below!

