Mirror Mirror on the Wall who’s the best blogger of them ALL…. {{{teeheheheh}}}
I just had to, I mean it was calling my name don’t cha think! I remember when I was a little girl singing that song standing on my little stool in the bathroom. I never had ANYONE talk back to me in the mirror except myself! (imagine that)
Maybe the mirror we are crafting with today will deliver the message! {{{fingers crossed people}}}
So, one day I was driving down the road and saw tons of reflections all over the ground!!! I was like…EYYYY get out of my EYEBALLS!!!! I mean, I wasn’t sure If I wanted them gone because they were hurting my eyeballs or because I loved them so much! Who cares, I just knew I loved how pretty it looked!
Then I got a sneak peek at what was making all of this “wonderful-ness” happen. It was strings of “mirror’s” hanging from a tree. Right! I am totally cool with looking at myself in a mirror while pulling weeds. JS.
Let me remind you that the day this happened was about……10 years ago. Since then I have been making STRINGS OF MIRROR’S. Everyone that comes to our house LOVES them and wants me to make 25 billion of them for their house!! (hahaha)
I have them EVERYWHERE! It is the prettiest thing ever and I am sure you will love them also! It’s hard to get a good picture of them because they are always moving around (so sorry in advance). Let’s get started!
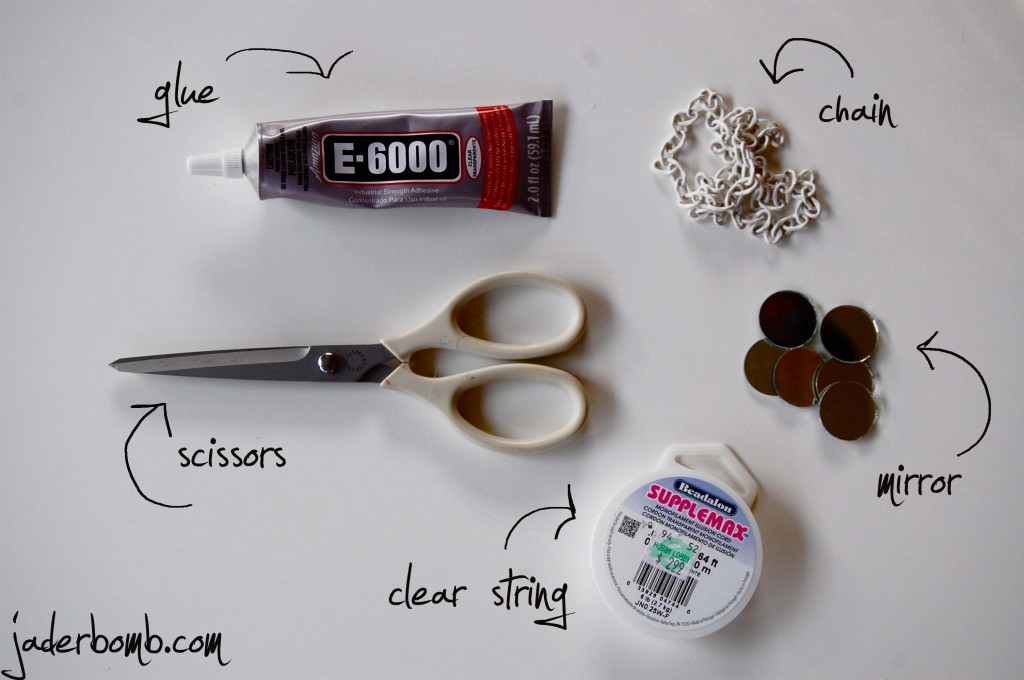
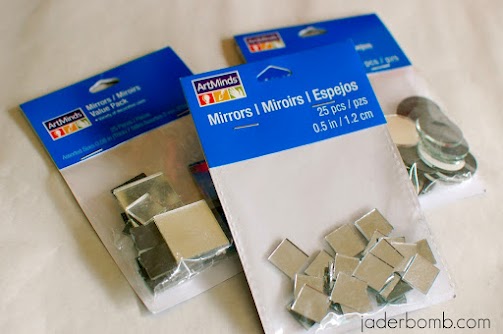 Each pack of these babies cost around $1.00. There’s 25 in each pack and that is PLENTY to make one string. I picked these up at Michael’s Art’s and Crafts. {Be careful because sometimes there’s little shards of glass at the bottom of the bag, so maybe wear gloves to protect your hands}
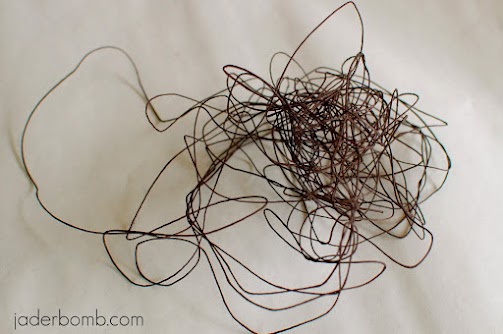 I used some random string I found in my studio. I am not sure the name brand but it is very thin and brown. I think I bought it from Wal-Mart in a pack of four colors. I think. What REALLY works the best is fishing string but I could not find any. However ANY string will work.
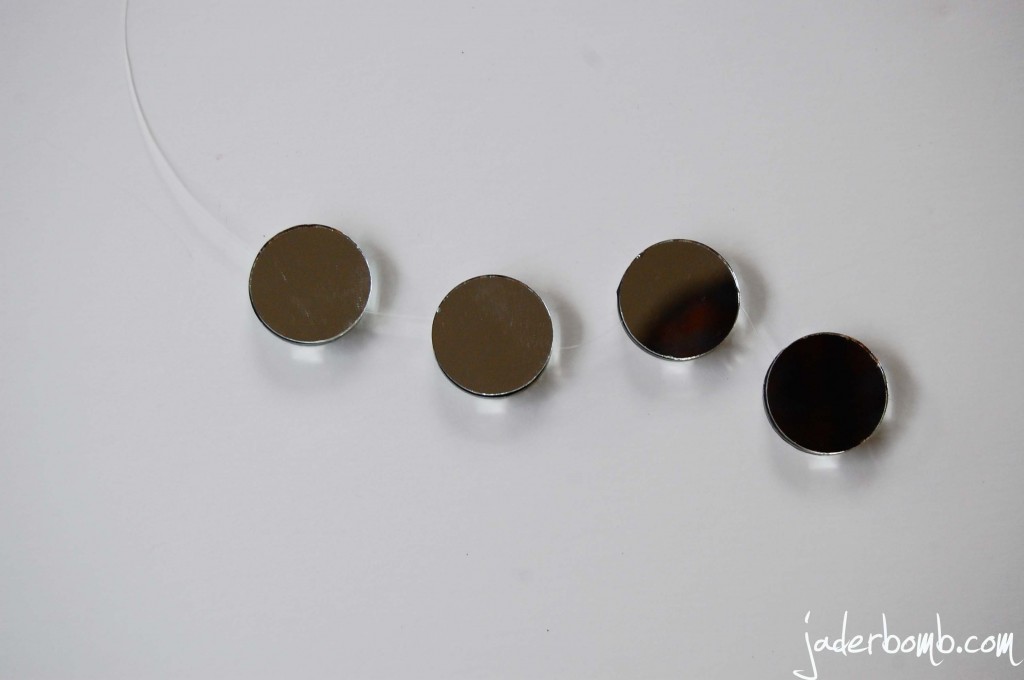
 The first thing you will do is get your hot glue gun add a dab of glue to one mini mirror. Put the string in the middle of the glue then hurry and place another piece of mirror right on top. This will secure the mirror. You now have the first one done and the goal is to do the same thing down the string till you are out of little mirror’s.
OH, I used my Martha Stewart crafts glue gun and sticks. This really is the best glue gun ever!
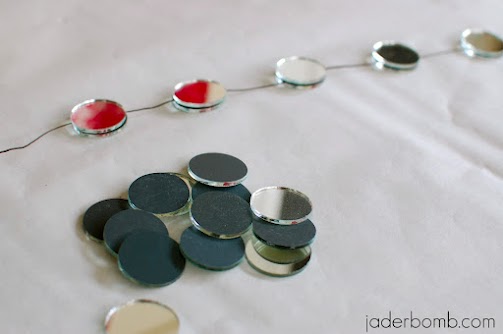 It’s coming together!!!! I mean you can “mirror mirror” all day long with these babies!
 I tied the string around a key ring on one end and this makes it easy to hang with. You can totally use anything else but this is very secure! Or you can do like I did yesterday and HOT GLUE my string to the TREE because I ran out of key rings. YES, I HOT GLUED IT TO MY TREE.
((who does that?)
 This is my little square pieces. It is much longer than this but it’s hard to tell in the picture. I tried to take a picture where you can see the whole thing but it made it hard to focus on the mirror’s.
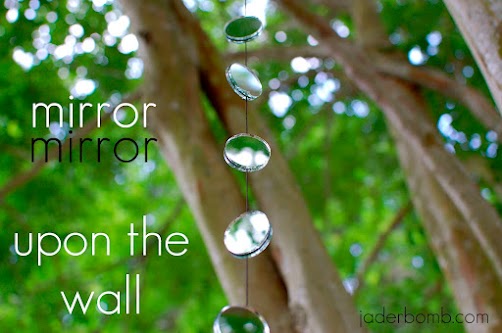 How pretty is this! It’s like a party in your eyes when you see them. Early in the morning when the sun is coming up there are a billion reflections all over my yard shining on my beautiful flowers and all over my house. I can’t even explain how pretty it is. Just wait till you see them going nuts when the sun is going down. It’s redonk-u-lous. I swear!
 So if you know me then you know “sometimes” I forget to water my plants. I usually remember when I look at them and they are dead! (((hahahaha))). I swore this summer I would nurse my plants. So far it’s working. Here is some plant I have hanging outside. See I am doing a good job! Turns out I have a green thumb… so far.
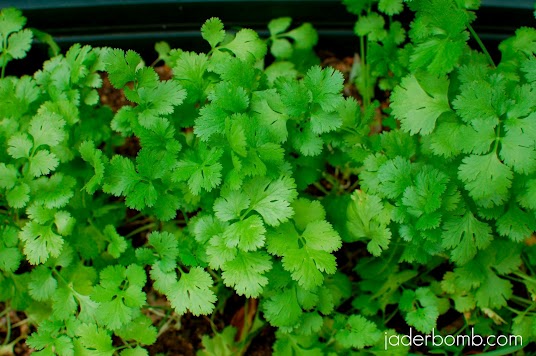 Check out my CILANTRO! It’s so pretty and FULL. I can’t wait to make homemade enchiladas with them!! ( recipe to c0me)
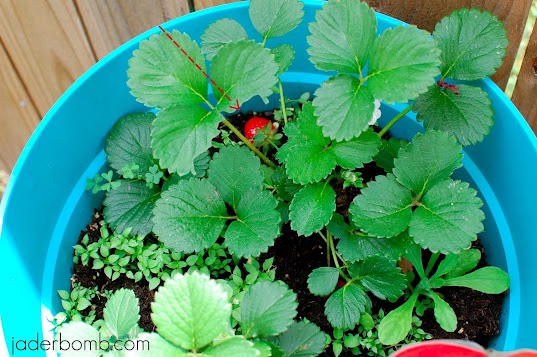 This here is my ONE strawberry. I am sure someone out there will say “hey….this girl stinks at gardening with all her weeds in her strawberries”… You are right. They prolly don’t belong in there with the beautiful strawberries but don’t you remember me saying I usually kill things. These weeds do NOT bother me. Ya know, if I pull them they will prolly die. That is not gonna happen.
Well Jaderbugs, I hope you had fun coming to my house for a little while! Just close your eyes and picture TONS of mirror reflections hanging all over, fresh cilantro in the air, pretty red strawberries in a pot full of weeds, enigma playing, nagchampa flowing through the air and me serving you a glass of sweet tea. Yeah, I think I will close my eyes and pretend I am there with you.
See you later on!!


