Tag Archives: mod podge crafts

The Simple Secret to Glittering!

I am finally sitting at my computer with my Frankincense burning, music playing, long nails that hit every other key on my keyboard, hot cup of coffee and a scattered brain that is thinking of all the things I need to get done! (insert eyes that might look crossed also, hehe) 

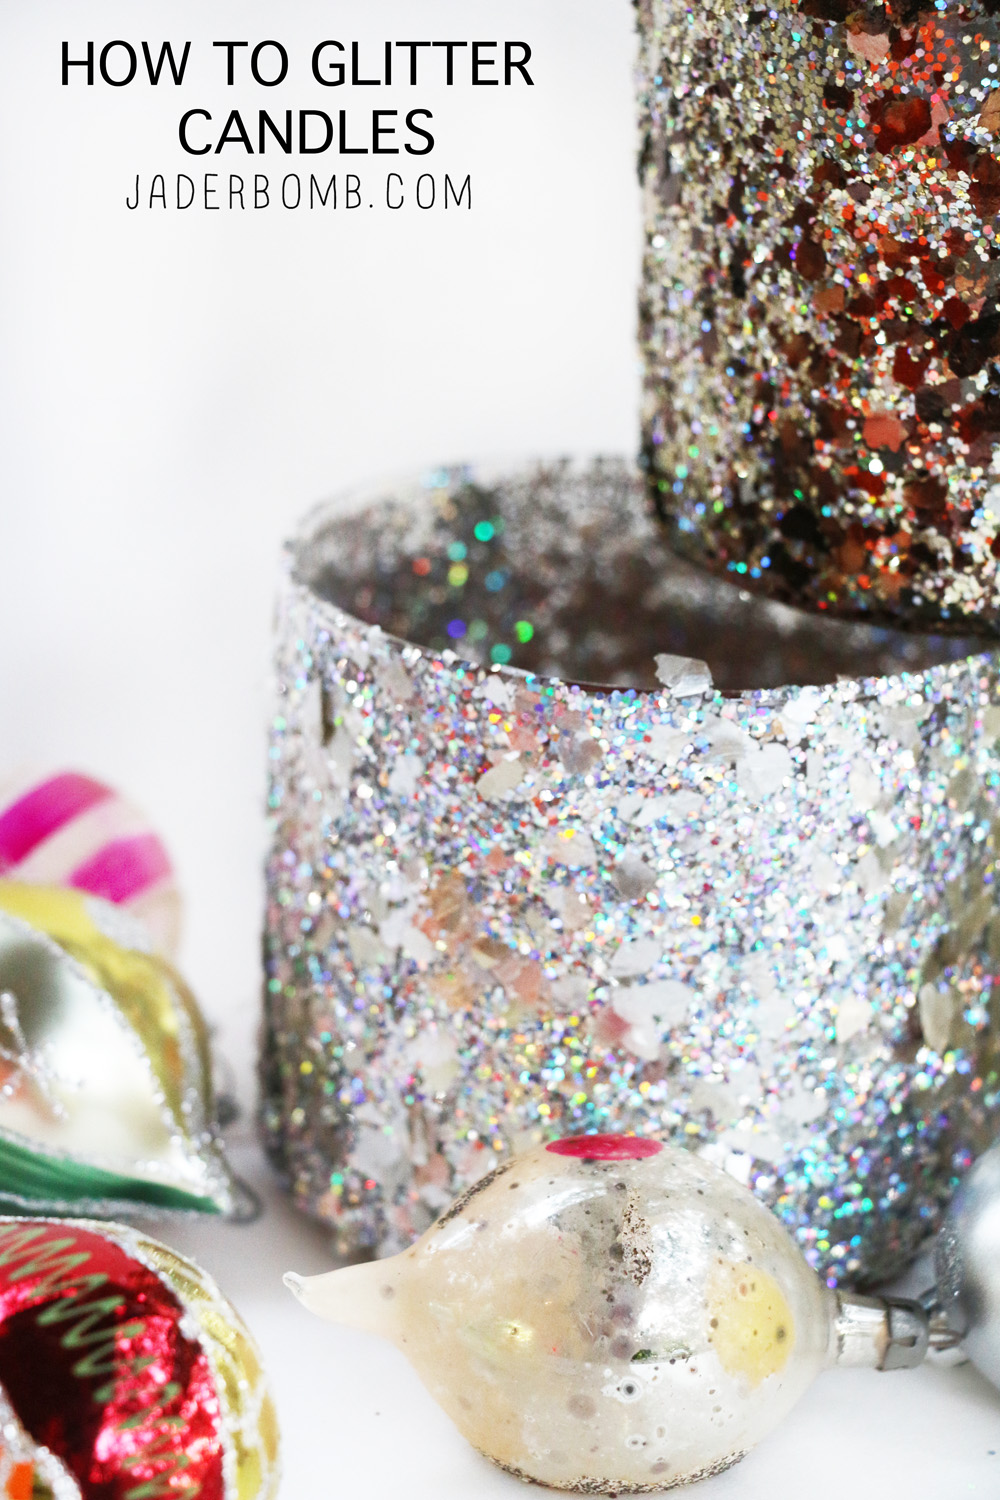
Today I am finally showing the project that so many people have been asking me about, how to Glitter Candles! This is one of my favorite projects because you can make them all year long. Am I the only person who is not really feeling Christmas this year? It just feels like it’s going by way too quickly, but then again I hear the older you get that is what happens with all holidays! I think tonight I will just get in my cozy pajamas with a hot cup of cocoa and watch my favorite Christmas cartoons which should make me feel like I am 8 again! Have you seen these CRAZY ornaments I made!

Something I should express right now is I recommend this only for glass candles. You can the outside of wax candles I just don’t suggest burning them. 
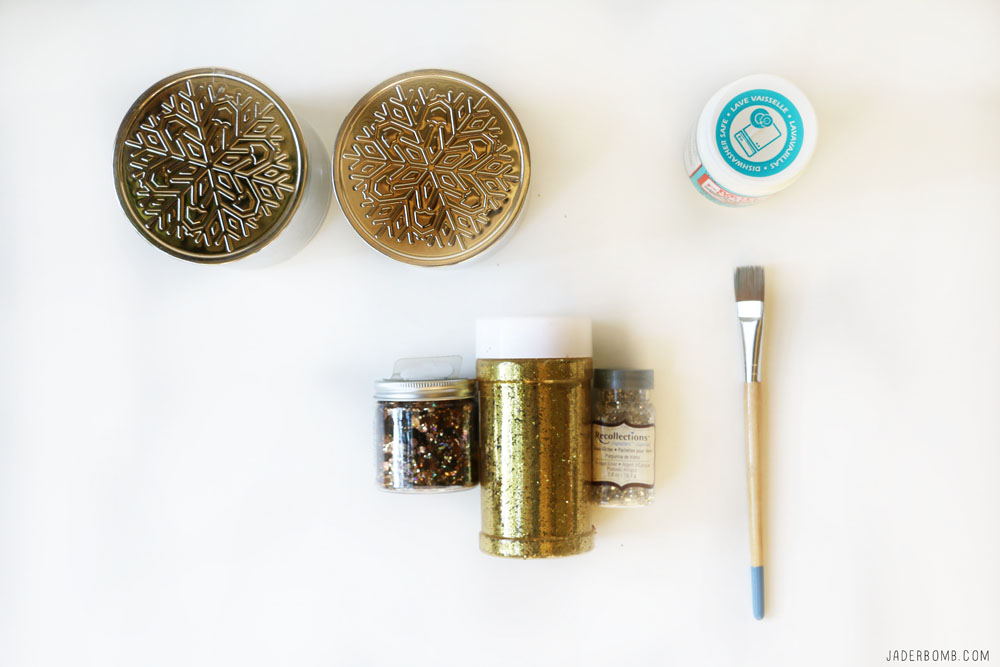
Glitter Candlesyou will needGlass Candles | Mod Podge | Glitter | Craft Brush | Lotsa Love ♥
easy-chrismas-candles

The first thing you will do is apply a generous amount of Mod Podge to the outside of the glass. It will be white and that is ok. If you do not put enough Mod Podge the glitter will not stick properly. 
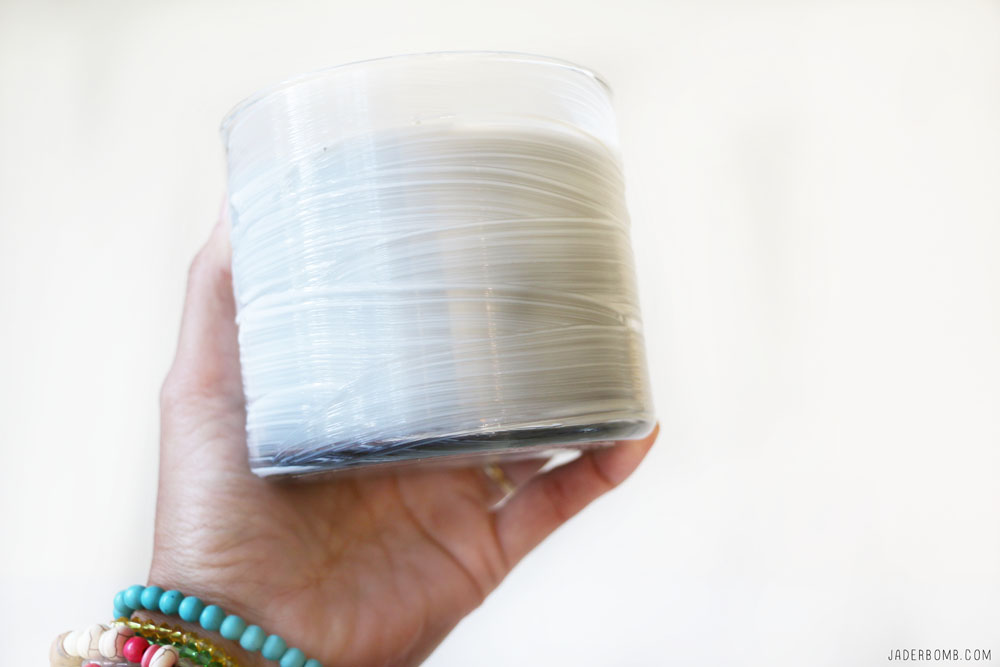
how-to-mod-podge-glass

The next thing you will do is apply the glitter. Keep in mind there are so many varieties of glitter out there. If you use fine glitter it will adhere easily to the glass and if you use glass glitter you will need a lot of Mod Podge because the glass pieces are bigger and heavier. You do realize Glitter Candles are about to take over your life now!christmas-candles
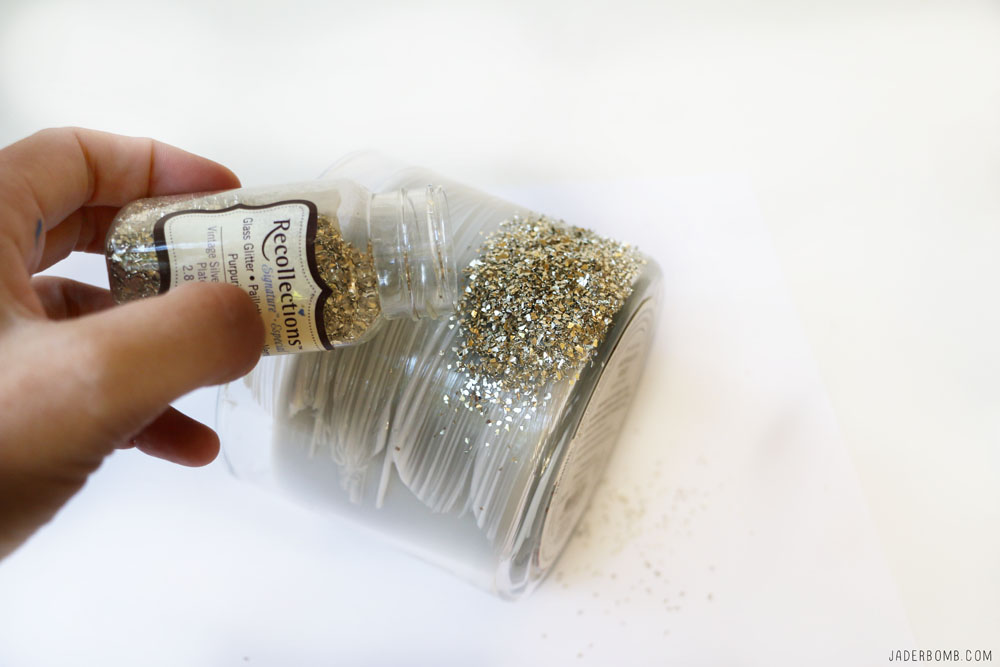
How beautiful are these Glitter Candles! You will love this project because you can dress up candles to suit your home decor and you will be shocked at how expensive they will look! We won’t tell anyone we got them on sale! 

I am always looking for ways to repurpose items that are somewhat plain. glittered-candles
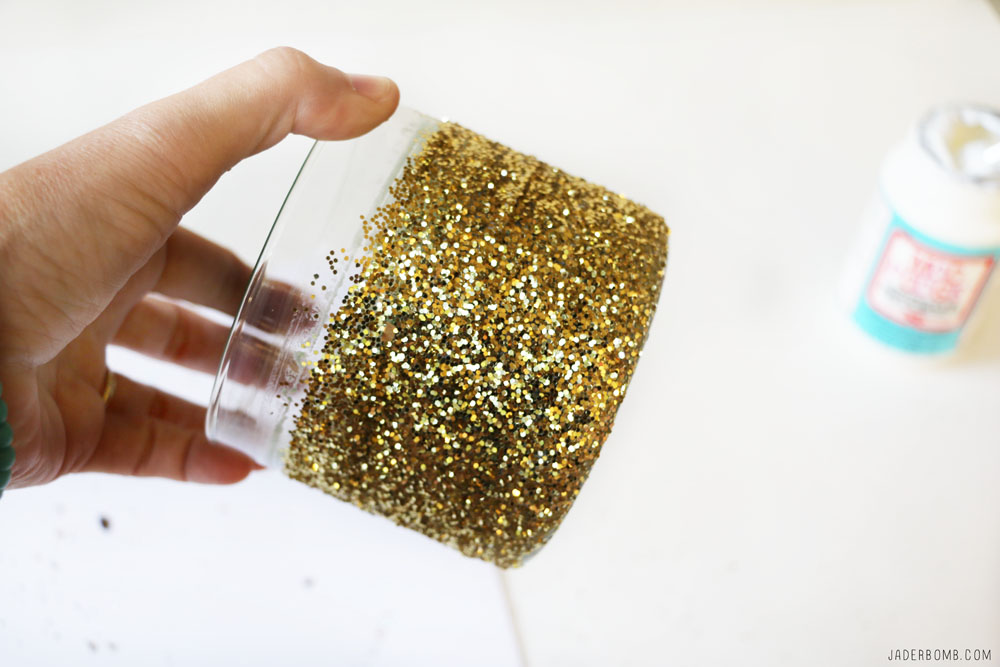
A great tip is to mix your glitters together and make your own blend! Once you add glitter, let them dry completely then add a layer of Mod Podge on top of the entire candle, this will seal your glitter to prevent it from shedding. Keep in mind your Mod Podge will dry clear in the end! 
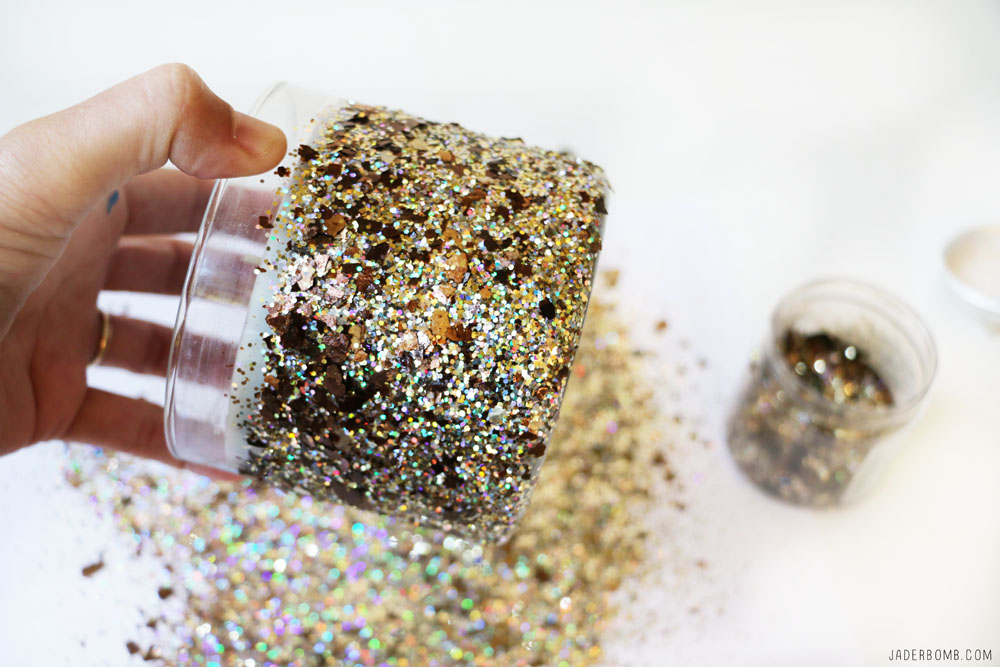
how-to-glitter-candles

Looking for that perfect gift, you can purchase candles, follow my steps and coat the outside with glitter then give them away as gifts! You can create a DIY that they will not get from anyone else. By adding your special touch to them, it will make then much more personal!glittered-christmas-candles
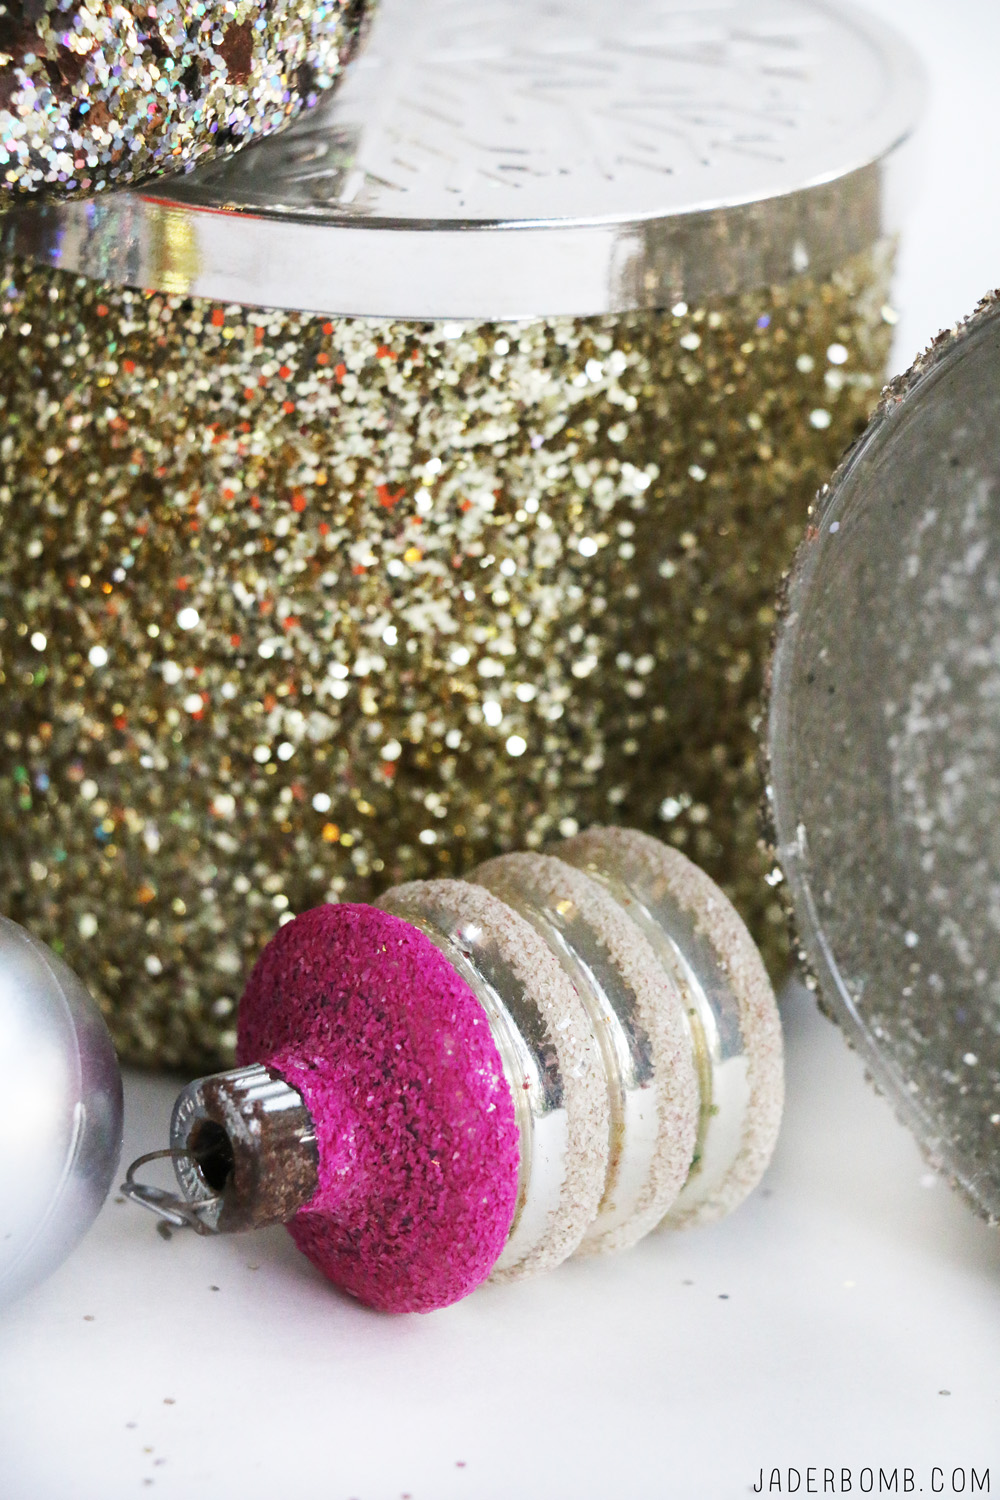
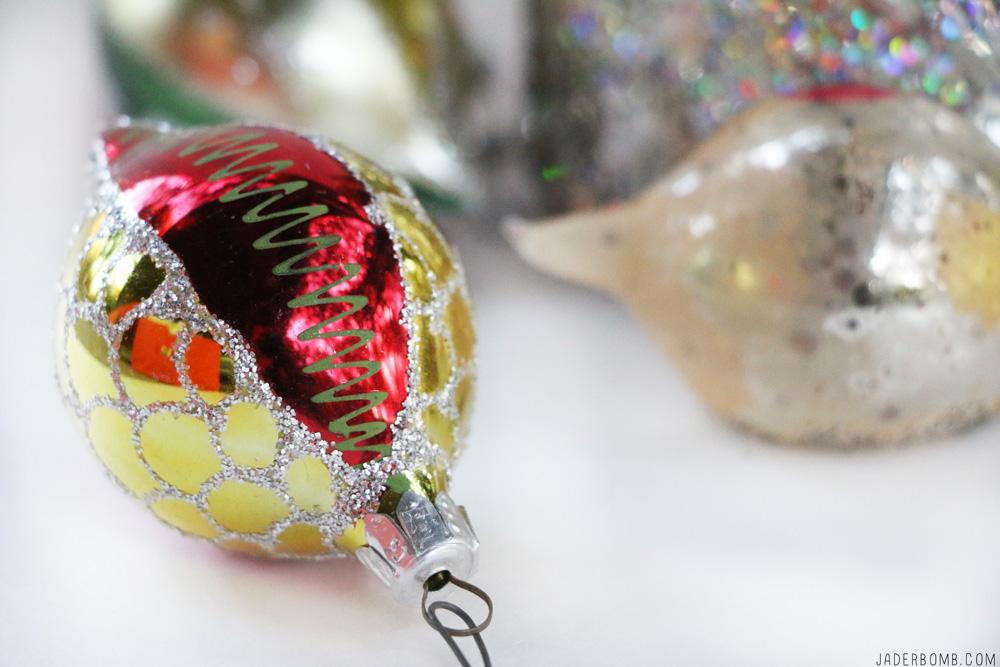
Who else is in love with vintage glass blown ornaments. I have a little shoe box of them that were given to me from a very important person so I take really good care of them. My goal is to collect enough over time to fill an entire tree. vintage-ornaments
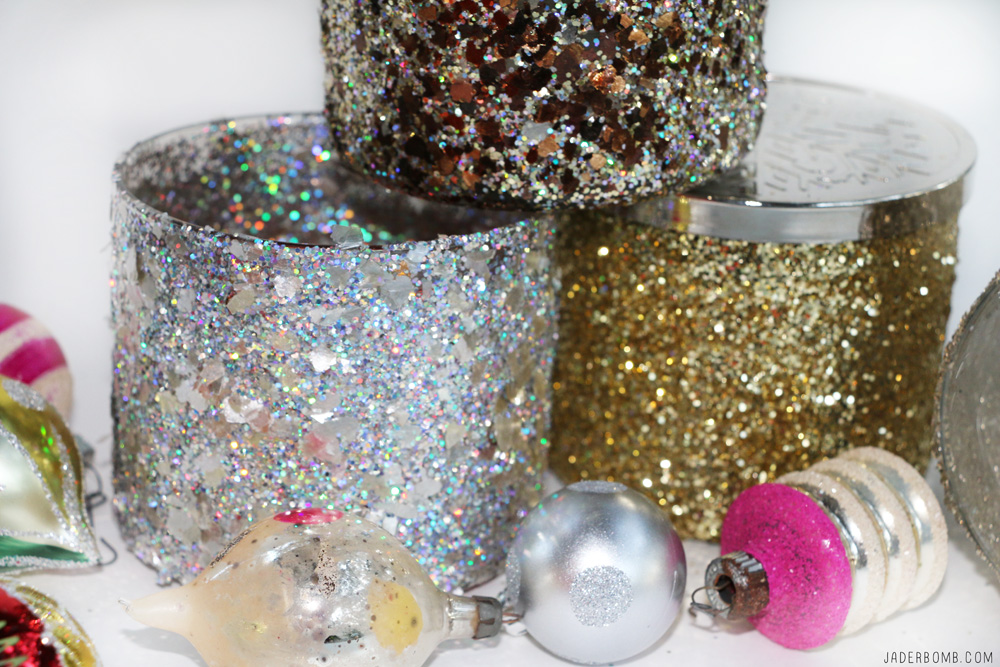
Don’t they look great all stacked together! Don’t forget to share these Glitter Candles with the world!mod-podge-glitter
easy-glittered-candless

I hope you enjoyed this awesome post! See you later!

hashtag-logo-1

Don’t forget to follow me on all my Social Media spots! I get down and dirty on them. Fa real! Are you in love with Glittered Caneles yet?

FACEBOOK | INSTAGRAM | TWITTER | PINTEREST 


Quote of the day:
“We must go and see for ourselves.” -Jacques Cousteau
 
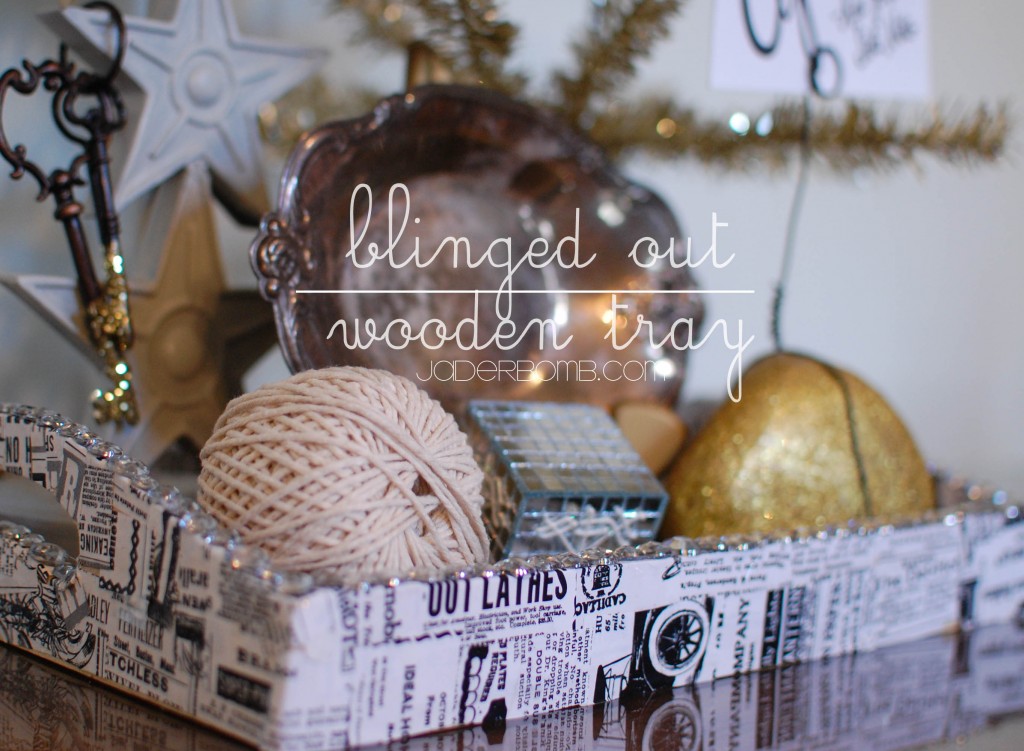
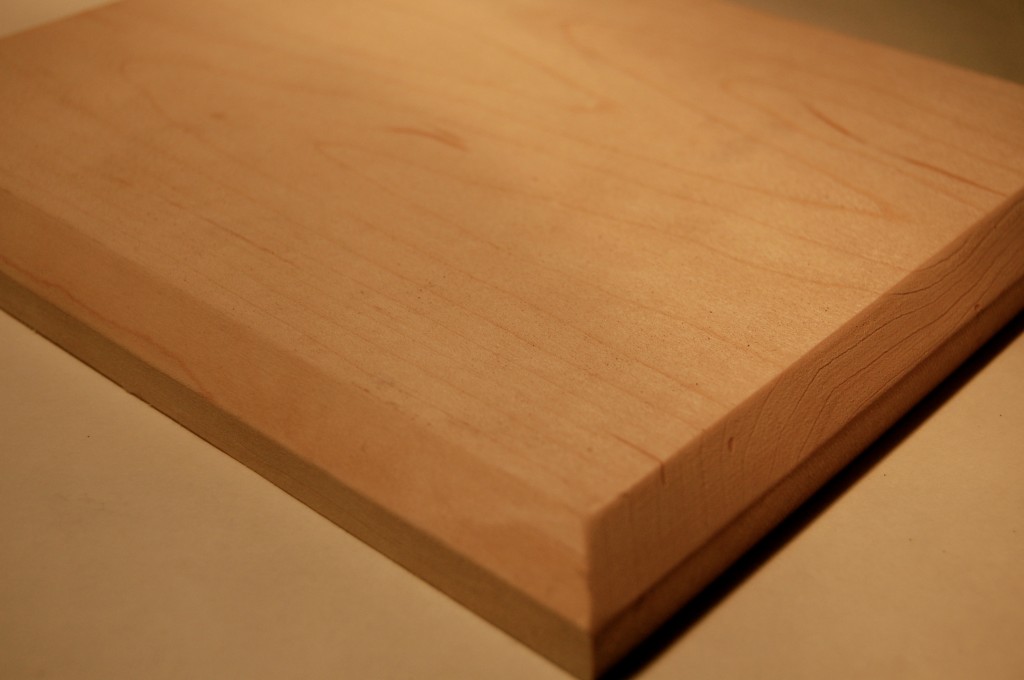
Wow! what an amazing year it has been. To start off the new year I have a cute last minute New Year’s treat for ya! I always love decorating around a holiday so New Year’s is full o’bling and I love that. Today I will show you how to turn a 3dollor wooden tray into pure bliss. Let’s get started!

How To Decoupage a Wooden Tray

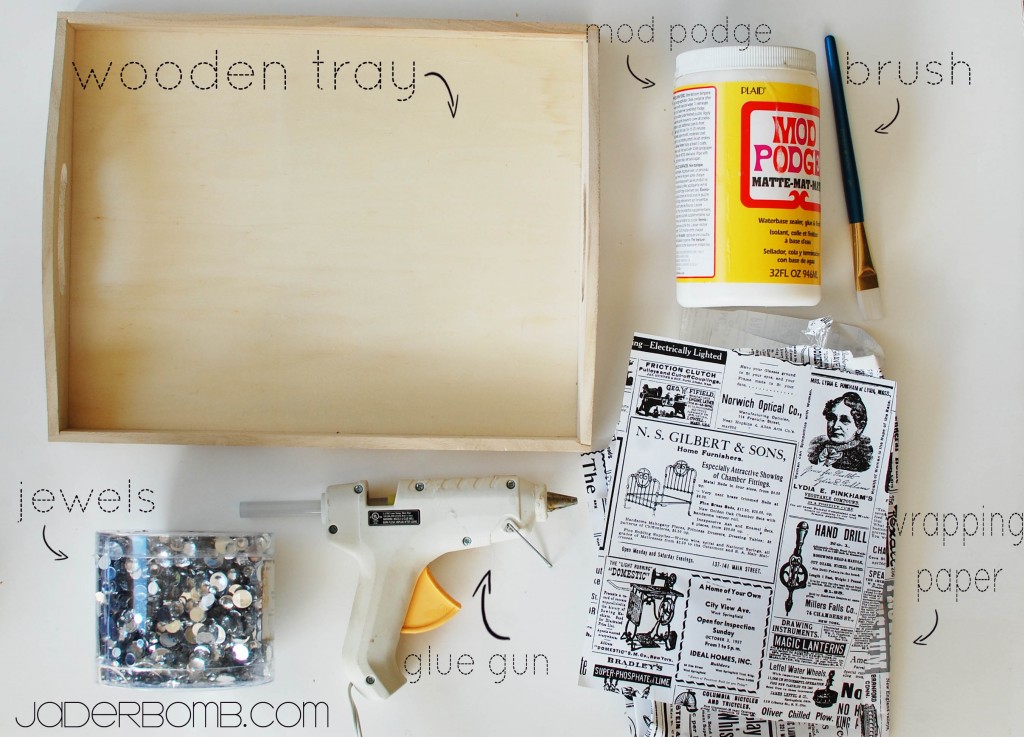
Ingredients:

*Wooden Tray
*Mod Podge
*Brush
*Jewels
*Wrapping Paper
*Glue Gun

How To Decoupage a Wooden Tray

How To Decoupage a Wooden Tray

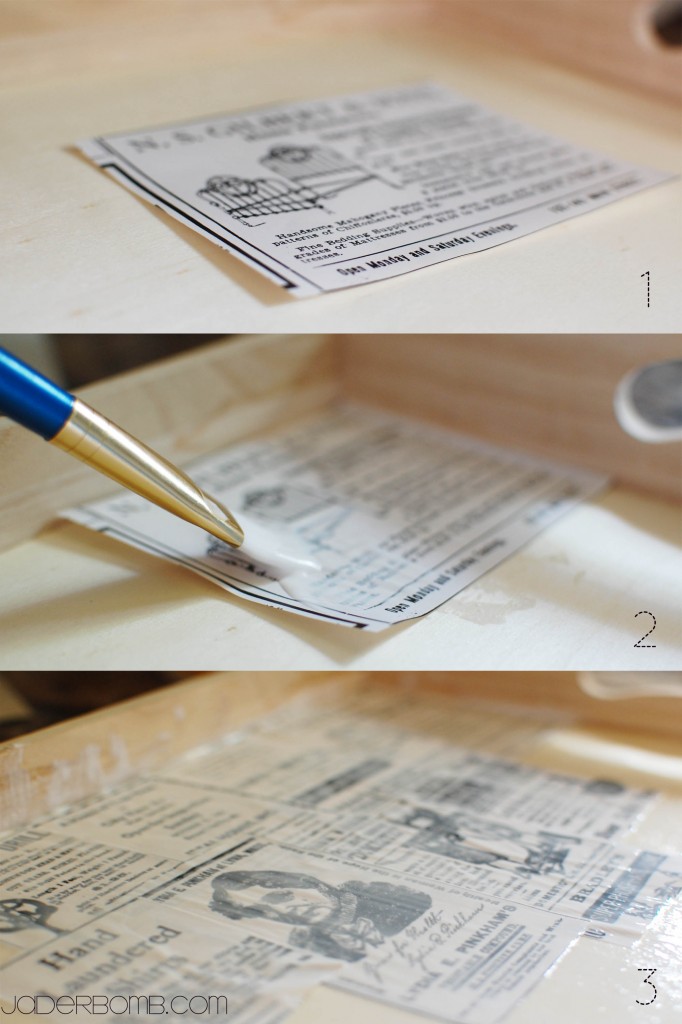
You will continue to Mod Podge until the entire tray is covered. Don’t worry if this is your first time using Mod Podge. It looks Matte when you paint it on but dries clear. Thanks goodness! This is why I use this on the “daily”.

How To Decoupage a Wooden Tray

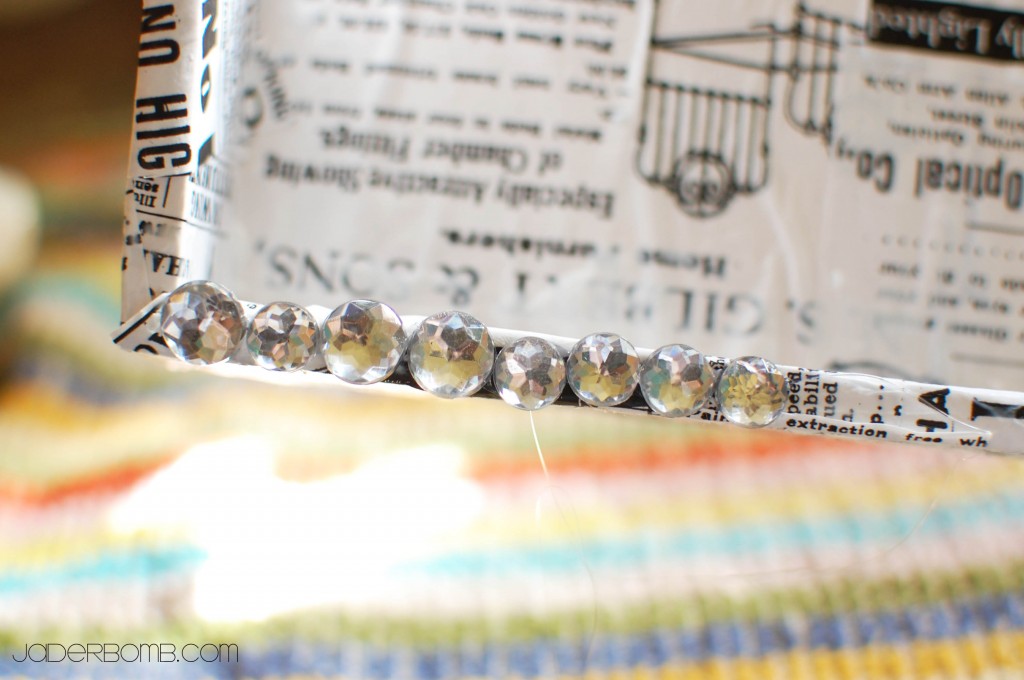
Once you have it all covered with your material you are using and it’s dry you can start gluing on your jewels.

I just make a line of hot glue then place my jewels down. Don’t do a super long line because it dries pretty fast.

How To Decoupage a Wooden Tray

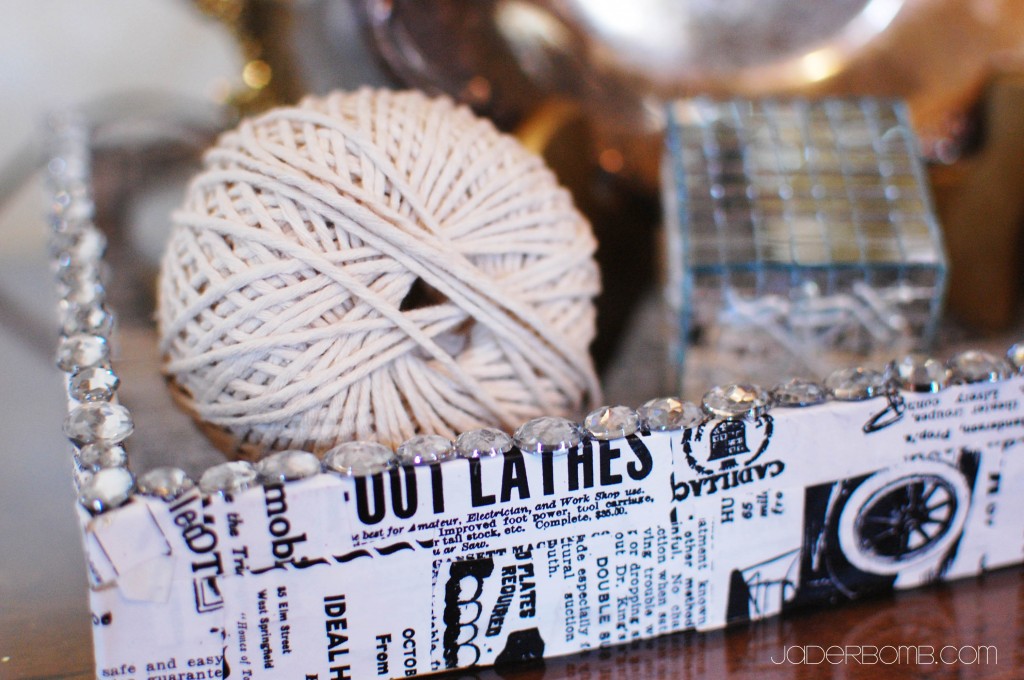
This is what it will look like when you are done. I think it’s gorgeous and the good thing is it’s super affordable! You can make these for someone and give it to them as a gift! 
How To Decoupage a Wooden Tray

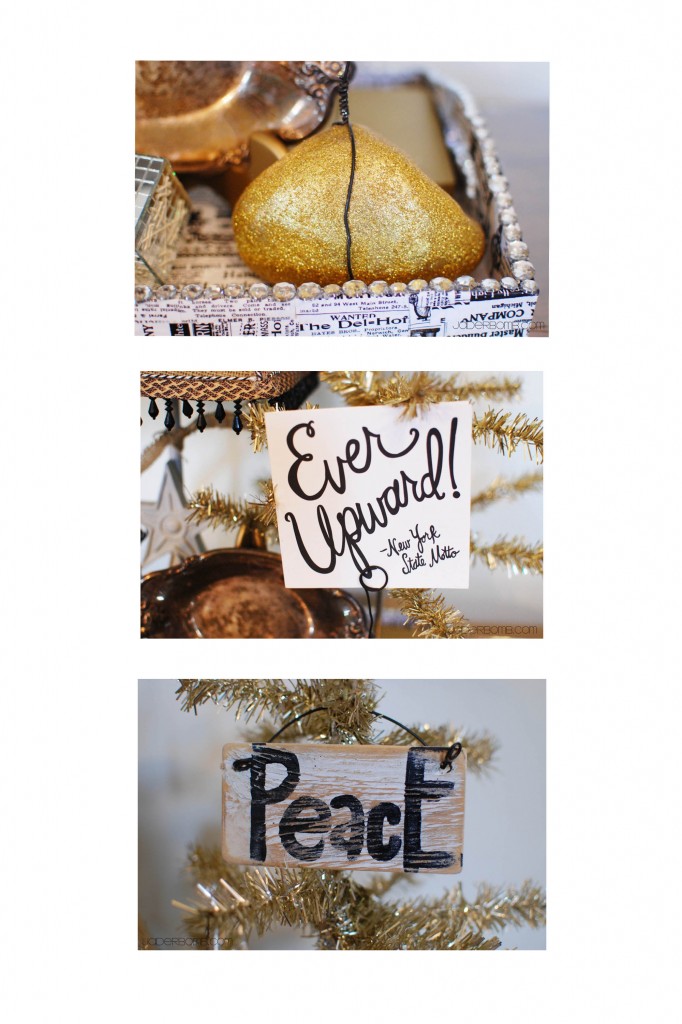
Here are a few ornaments I put in my tray. I hope you enjoyed this tutorial. Can’t wait to see ya in the next post!

Don’t forget to make it a DIY kinda day!


DSC_00028

Petit Collage

 I totally fell in love with this craft once I started doing it. Sometimes I wonder if I am the only person who thinks of THOUSANDS of other things you can do while trying to finish one thing… haha (I think they listed that as ADDDDDDDD)

It’s ok cause this ADD is getting me to LOT’S of places! You can make this craft for a just about anything! I promise jaderbugs that when this countdown is over (in 9 day’s) I will start posting ALOT of JADERBOMB crafts that have been put on the back burner. Boy do I have a lot to show you!

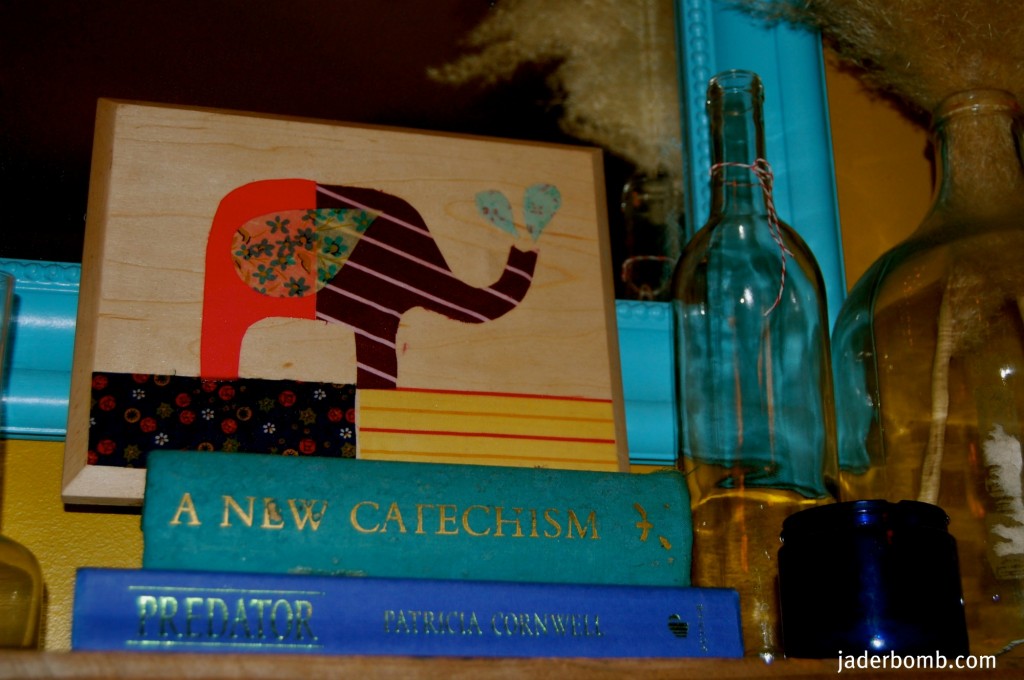
This adorable animal collage has a charming vintage twist and is perfect for a child’s bedroom or playroom.

Tools and Materials
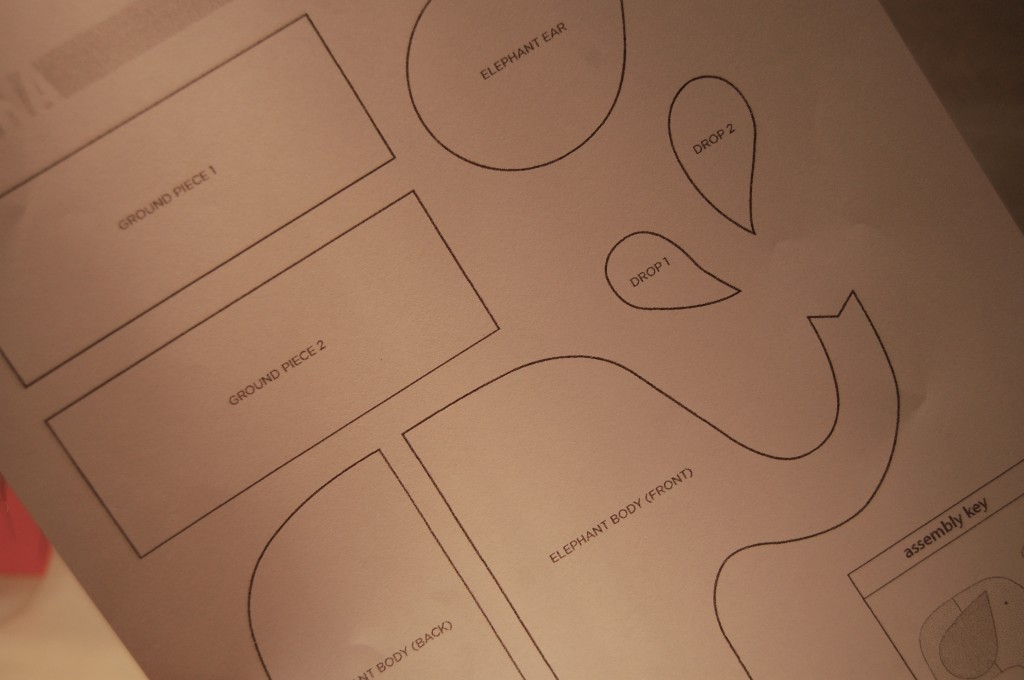
Owl or elephant template
Scissors
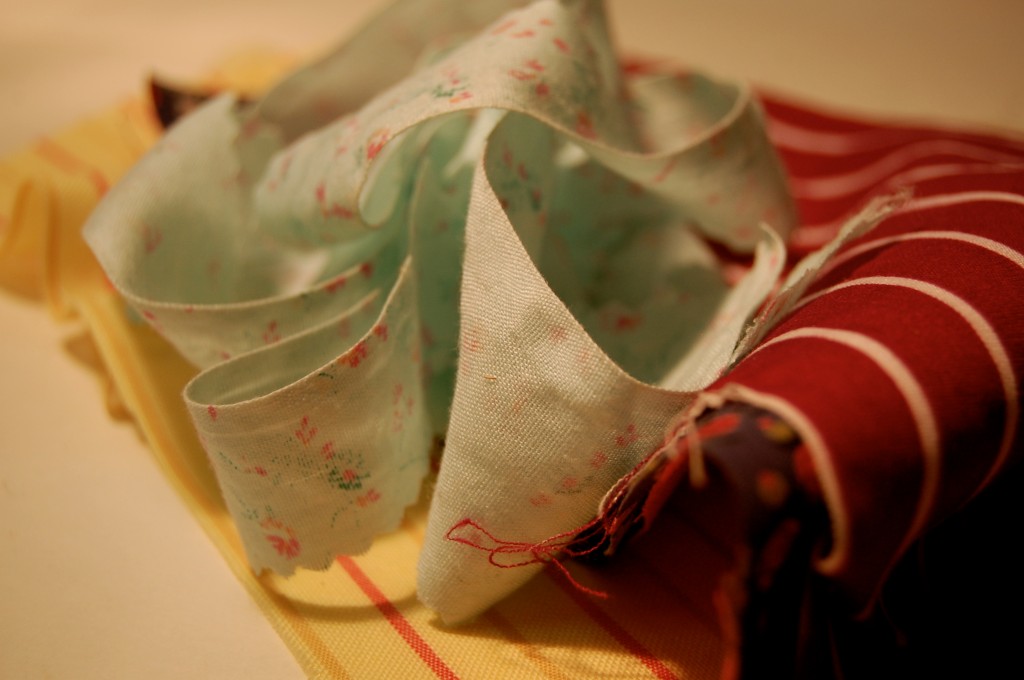
Assorted papers such as maps, bills, wrapping paper, book pages, wallpaper swatches, fabric,etc.
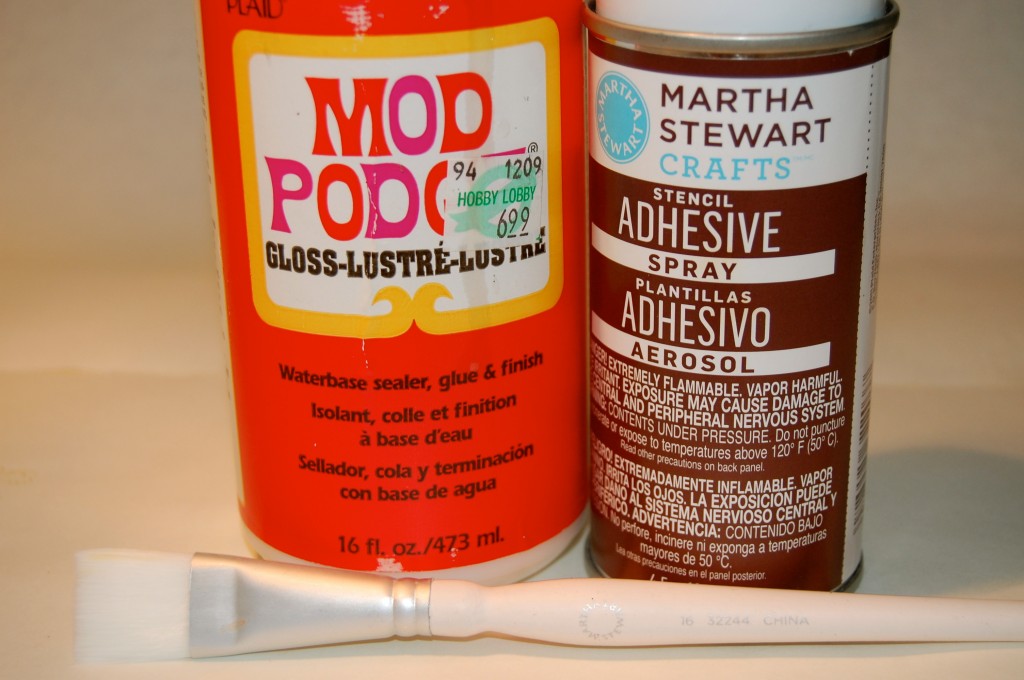
Mod Podge
Paint brush
Pushpin

Template is listed above for you.

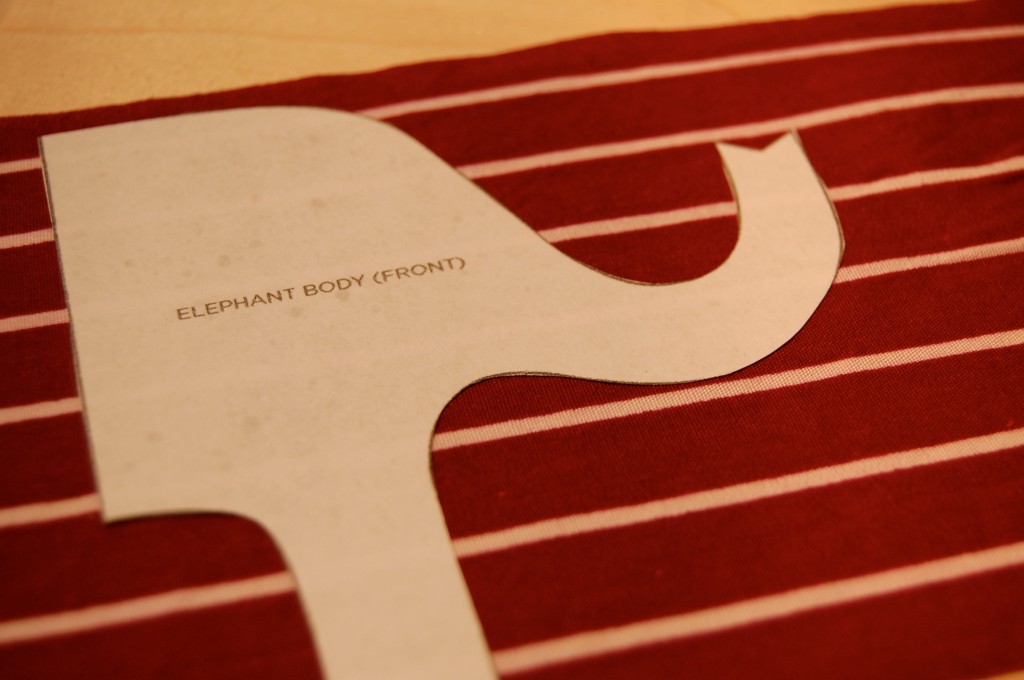
Clip each template shape to a piece of decorative paper and cut out along lines.

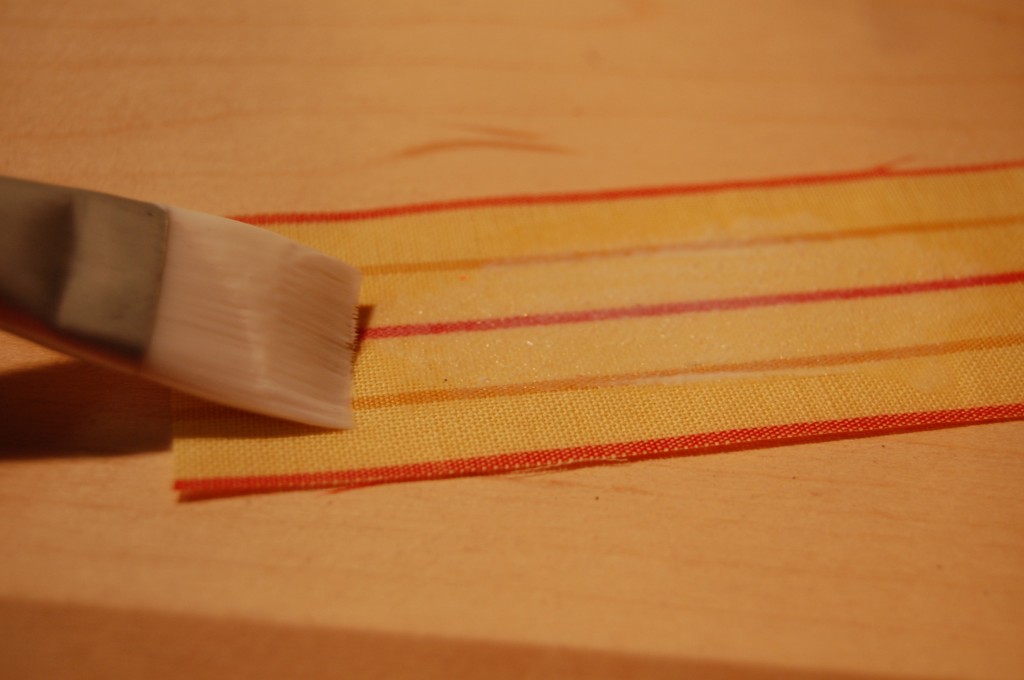
Using the assembly key as a guide, adhere shapes to art board with Mod Podge, being sure to brush Mod Podge under and over the paper. Tip: To remove air bubbles, pierce with a pushpin and smooth.

Set aside until dry to the touch, and then finish with two additional coats of Mod Podge.

Hoping you get full of Mod Podge and enjoy every second of it, Jaderbomb

Here is the elephant template I used. Check out the designer of this template and craft at Petit Collage.com!

Check out Martha’s original craft HERE and you can purchase Martha Stewart’s Encyclopedia of Crafts here!

CLICK HERE TO WATCH VIDEO

(me on the show!)
Click HERE to read all about it!!!
 IF YOU DECIDE TO DO ANY OF THE CRAFTS, SHOOT ME AN EMAIL AND I WILL ATTACH  IT TO THE POST WITH A LINK THAT GOES STRAIT TO YOUR BLOG!  IF YOU DON’T HAVE A BLOG JUST EMAIL IT TO ME AND I WILL PUT IT UP!!!!
JADE@JADERBOMB.COM
Thanks to Martha Stewart crafts for sponsoring me with craft supplies!