Tag Archives: plaid.com

Homemade Laundry Soap Detergent

Well. I finally did it. About a year ago I remember seeing a blogger friend try a “similar” recipe and I though, “What, that can’t clean like the nice expensive ones do”… Then I lived my life for the next year buying my nice expensive laundry detergent. Certain it WAS the best after all. Then about 3 months ago I saw a random pin on making some! Still didn’t convince me. I was certain my GAIN was the best.  ((plus I don’t love change))

Then about 4 days ago mother in law made me some. I hesitated at first because of fear. The fear of actually “LIKING” it and abandoning my good ole GAIN. I smelled it and it smelled SOO good (even though my brain tried to convince me it wasn’t GAIN)…. Crazy but I am a total texture girl. I LOVED the way it looked and the texture it presented to me. OK. I am buckling at this point… Am I really thinking about trying this stuff….. I had to. It just sat there saying:

I’m CHEAPERRR
I’m prettierrrrr
I’m HOMEMADEEEE

So I put a batch of clothes washing and “tested” this stuff that keeps popping up in front of my eyes. I went about my business doing other chores until my nose sniffed some ridiculously  awesome smell. “There’s no way”, I said. BUT WAY! I secretly got super duper excited and after taking out my first batch I scattered through the dirty clothes to gather ANOTHER load! I kid you not.

So I sit here. Ready to share with you an amazing way to save SOOO much money (don’t worry I will break it down) by making your own laundry detergent.

Ingredients:

I got my BORAX from Wal-Mart. I got lucky because someone must have known I was coming and put ALL of the ingredients I needed right next to each other. Thanks Wal-Mart for making my life amazing! This box was about 3 bucks. The Borax cleans, disinfects and softens the water.

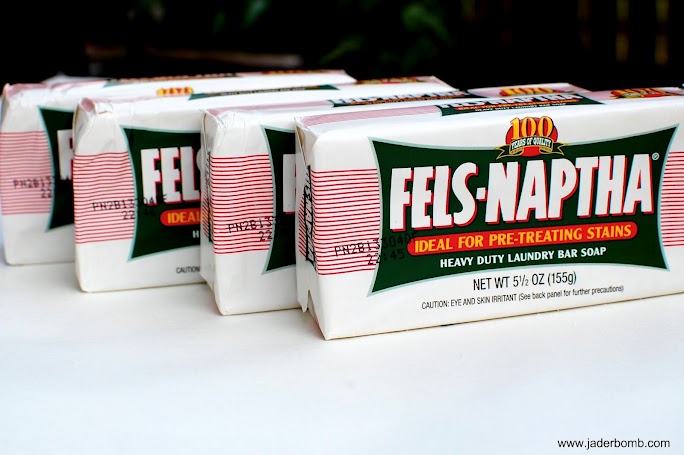
These babies were only .99 cents each! Epic deal. The Fels Naptha Soap is a heavy duty laundry soap bar & stain remover.

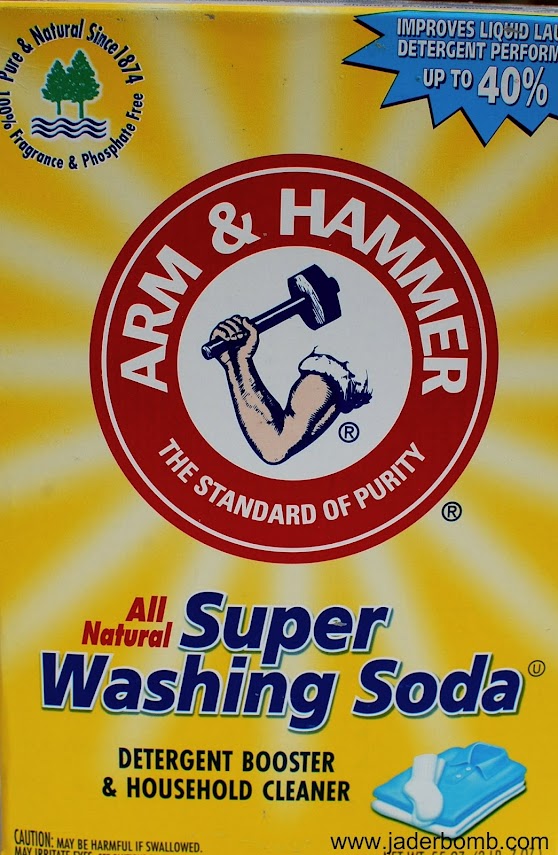
This was around 3.49 for the box. Still liking this!!! Arm & Hammer Washing Soda works on grease and neutralizes odors.

Mother in law told me she added this to enhance the smell so I figured I would try a little bit of it. I think she used another ingredient but I can’t remember what. Our recipes are not exactly the same but I am pretty sure they do the same job!! This was around 4.60 but well worth it.

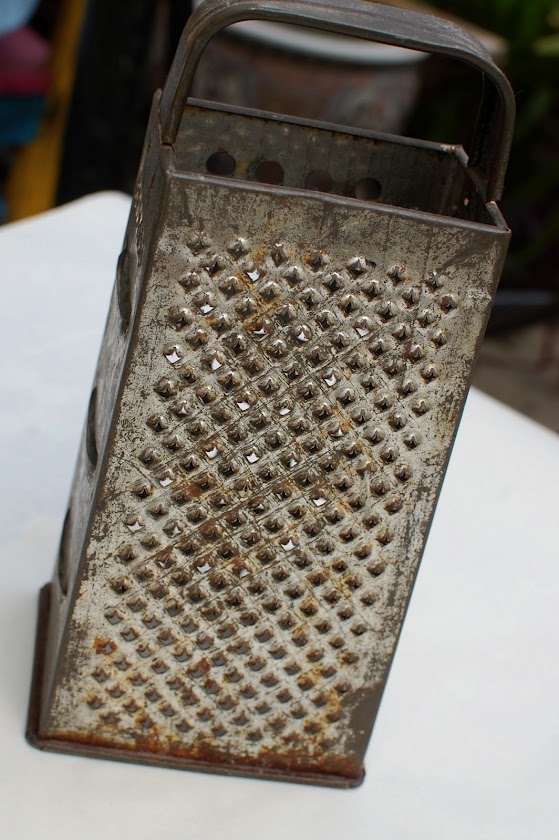
Get something you won’t use for cheese (((ever again))) hehe…I had an old grater so I figured I would add to everything else it has been through.

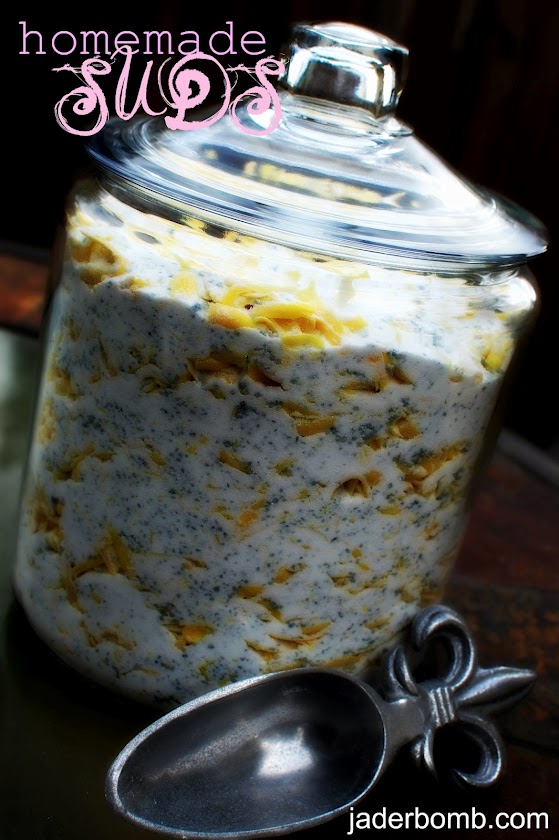
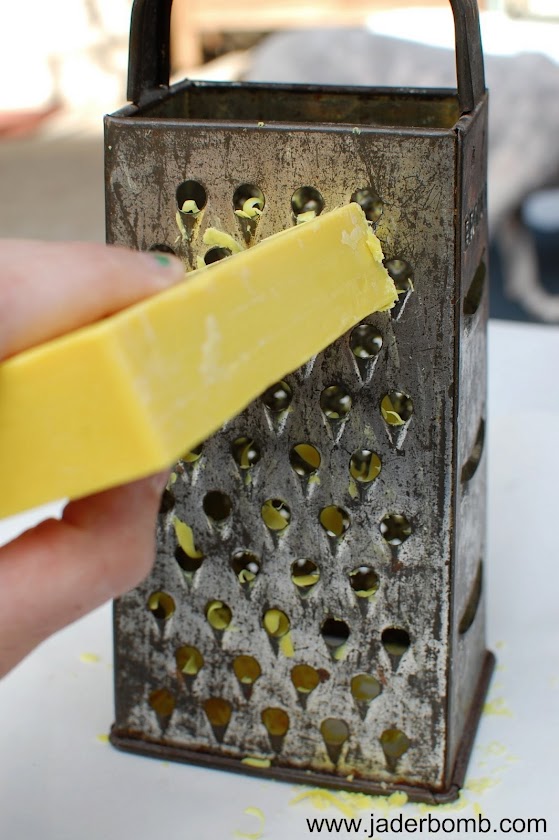
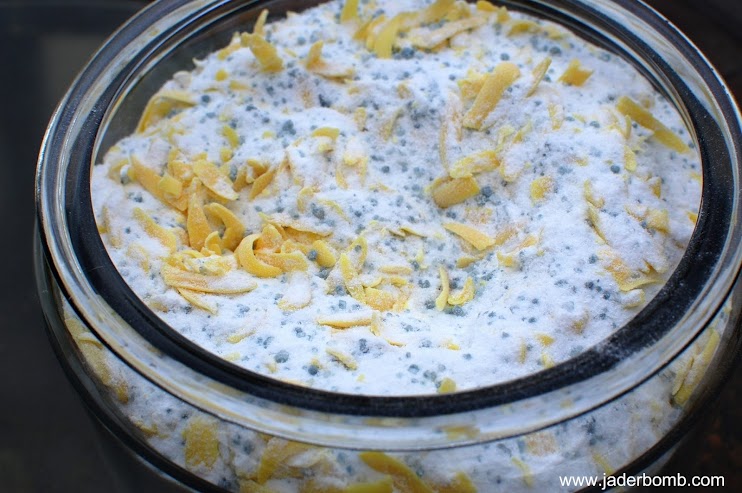
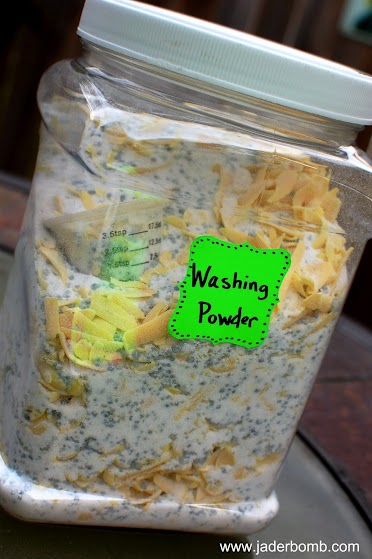
Start by grating your bars of soap. I will put the recipe at the bottom of this post but I grated 4 bars of soap and pouring in all of your ingredients  (recipe below) it will look like this!!!

So pretty right!!!

I made some for my dad and I had to think of something to put on it so he would ALWAYS know what it was!! (you know men, they never REALLY pay attention more than once)… So I grabbed some bright neon labels that I had.

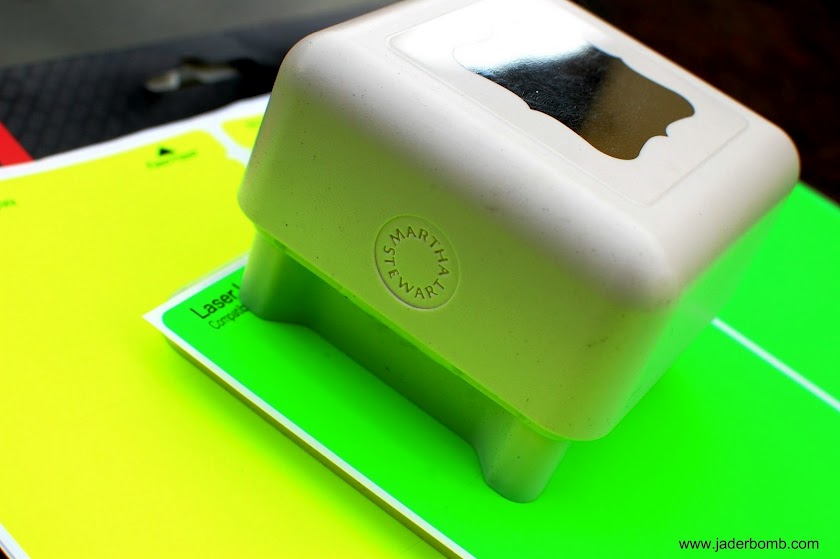
I grabbed one of my Martha Stewart punches and punched out a little sucker!

Just bright enough for him to ALWAYS see! (and not too girly)

If you follow the recipe below you will have enough laundry soap to wash 110 or 200 bad loads of laundry.  Trust me, I scooped the whole batch to figure this out! Let me explain my numbers.
The recipe calls for 2 tablespoons per batch HOWEVER if you are washing a small load or if you don’t have a big washing machine I recommend using 1 tablespoon
So if you use 2 tables spoons for every batch then you will get 110 loads out of it!
If you use 1 table spoon then you will have 200 batches…. AMAZING RIGHT.
If you are like me then you will have some batches that are big and some small but either way it’s amazing how much you have here! Plus it’s all good for ya and full of natural ingredients!
Total price to purchase all the items to make my own detergent was around 14 bucks.
 Homemade detergents do not have alot of  suds.   Don’t worry, this is normal and your clothes will still come out redokulousley clean.

Large Batch Recipe 

4 – Bars Fels Naptha Laundry Soap
1 box of  – Cups Mule Team Borax
1 box Cups Arm & Hammer Washing Soda
1 bottle of Purex Crystals

Grate soap using cheese grater. Combine all ingredients in a bowl and stir well. Place in sealed container or tub and measure out two tablespoons (or 1/8 cup) for each load. I put a medicine cup for my dads batch. Two scoops from that is 2 tablespoons. I know everyone has tons of those suckers laying around!

Smaller Batch Recipe

2 – Cups Laundry Soap Shavings
(you can get this easily from one bar)
1 – Cup Mule Team Borax
1 – Cup Arm & Hammer Washing Soda

Follow instructions for above recipe.

I sure hope you enjoyed this post and let me know how yours comes out!!

Sending you all sortsa good energy to wash every single piece of clothing in your house (like I did),

This post is brought to you Plaid’s Martha Stewart line of paint and stencils. I received product for this post. All opinions expressed are 100% mine. You can check out Plaid’s full Martha Stewart product line here

Happy Happy Happy Tirdsday…. (teehee) just joking! I have to tell ya, the creative juices have been working in overtime lately! I can’t seem to produce things as fast as they pass through my head. I am like, “head, stop it”, “where were you with all of these ideas 2 months ago”…. OH, I know I was kinda focused on my Martha Stewart  project. Do you remember that! If not check it out HERE.  It was such a massive project but at last, I finished it. I wanna say I passed with flying colors. {{fist pumping}}. I think Martha approved, hehe.

I went to Walmart the other day and got this awesome “Dr. Seuss ” looking plant. You know what I am talking about right? The Ponytail Palm. I found this cool site that gives you a little more information on it.  It is really “cartooooonie” looking which makes me really happy!

Let’s see what else is new…. OH Google friends is shutting down soon so if you were one of my followers on there you will have to find a new way to follow me. You can find me on Google+, or sign up for my RSS feed ( which means anytime I post something it will be sent to your email).  Either way is a great way to stay in touch! Of course you can find me on my facebook and twitter, and that is all on my website! 

Ok! I am ready to share this fun and random craft with ya!  OH I am sorta doing a MOD PODGE “paper” review because I have been having this one and never used it! I always use the gloss and sparkle one. This was a chance for me to finally try it out. Plus I wanted to see just how good the “paper one” worked on “fabric”. SO FAR SO GOOD!!!

Ingredients you will need are: fabric, scissors, hot glue gun, mod podge terra cotta pot, twine and a creative brain for 10 minutes! Don’t forget to check out my friends website! MOD PODGE ROCKS! It is SUPER fun and I am sure you will find a ton of things to do on it ! She is like the MOD PODGE queen… (at least in my eyes)

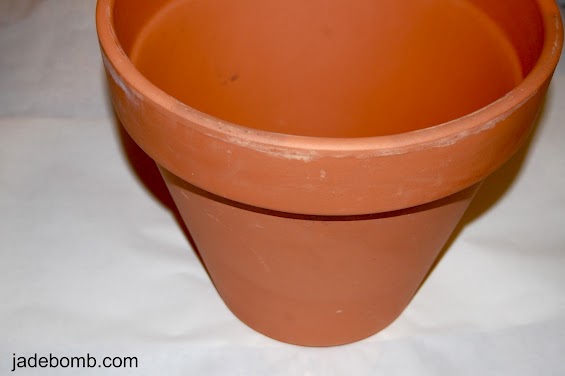
First thing we will do is grab our pot. I said “terra cotta” but you can really use ANY pot you have. I got this one at Wal-Mart for like…3 bucks!

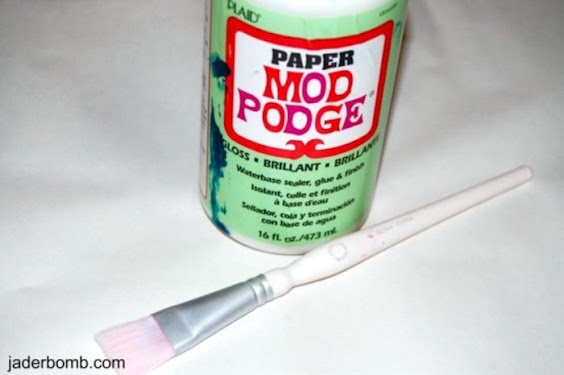
So I know I said this was a new “Mod Podge” that I was reviewing but you might wonder why it’s FULL of blue paint. Well, because it has been living in my studio for quite some time and it has seen a few falls and spills near it! HAHA. Of course I am using my Martha Stewart brush! I have done MANY reviews on this product and let me tell you it is worth every penny! Did you know Mod Podge comes in tons of different ways. Here are a few!

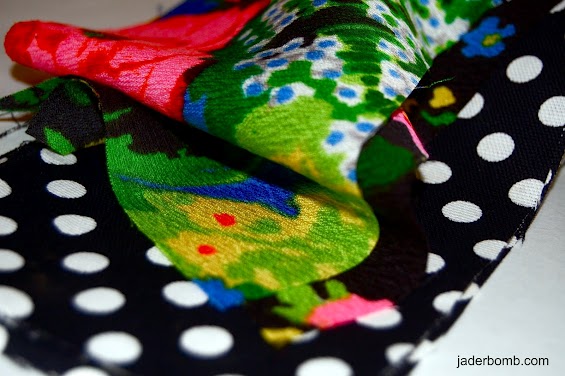
I went in my fabric closet and found some fun colors that looked great next to each other. Personally I think black and white go with ANYTHING!

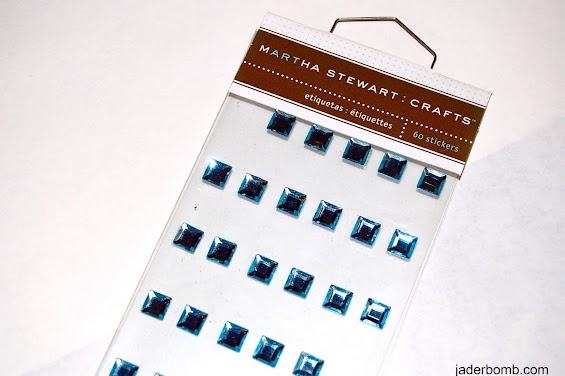
I had these little “jewel” stickers. I think they are made for scrap booking but I figured I would try them in a different way. I know you will love the end result! Oh, you can get some of these little babies at Michaels Art’s and Crafts!

Don’t forget to grab your hot glue gun and a pair of  “good” scissors. I used this glue gun and these scissors. Personally I like them the most and I have tried MANY before these landed in my hands! They were heaven sent! (thanks Martha) haha!

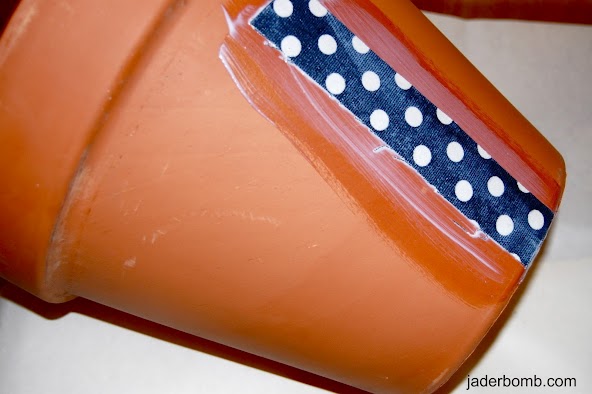
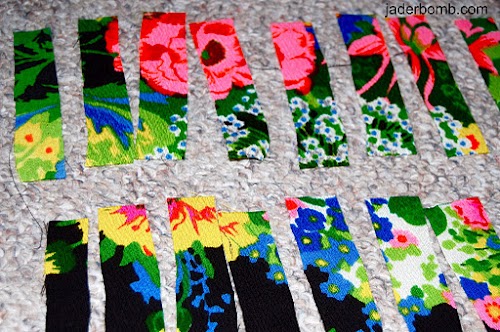
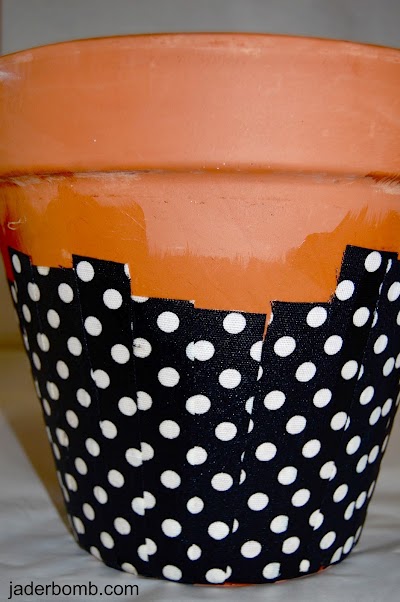
Start by cutting your fabric into strips and mod podge each one down. One at a time. It’s easy if you brush on top of your pot with the mod podge then place your strip down. Once it is down put a GOOD coat on top of it. Don’t worry if it looks really white, all Mod Podge dries CLEAR!

P.S. If you are using a fabric that has a print on it keep the strips next to each other so it “sorta” lines up when it’s all down.

This is what it will look like when you are done with the bottom. You want to do the bottom THEN the top. See, I told you it dries crazy clear! So pretty, right!

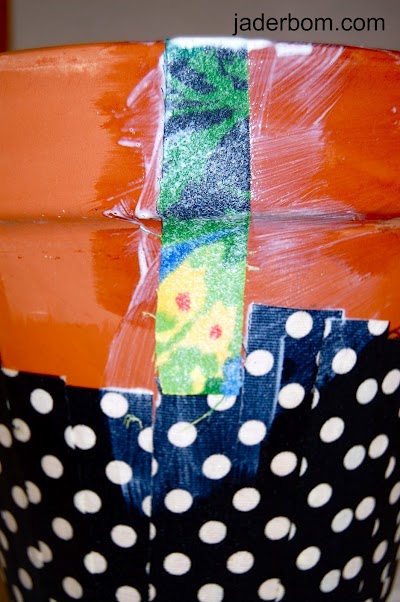
After you do the complete bottom, and it dries then you can start the top. Don’t worry, if they don’t match perfectly in the middle. We will be putting a strip of fabric there.

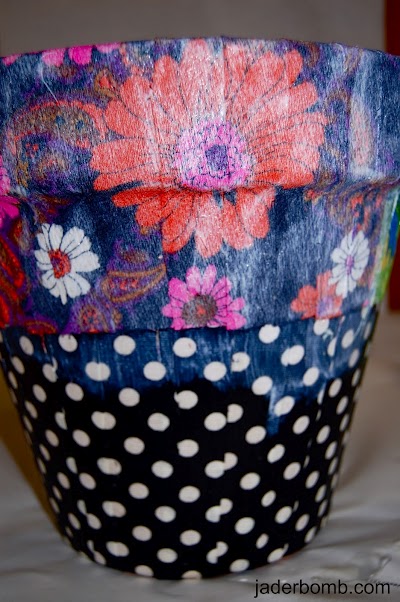
This is what it will look like full of Mod Podge and NO strip separating the two.

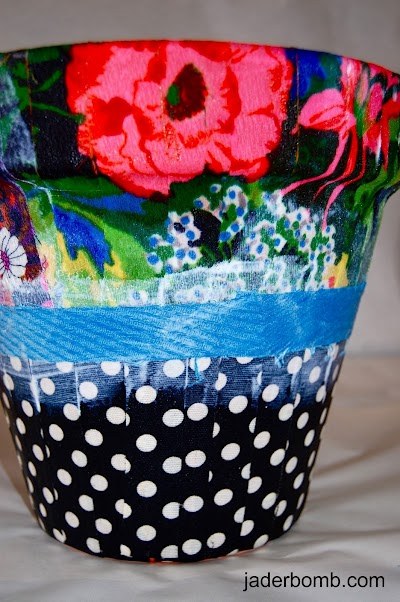
Look how pretty the top looks!! It’s crazy how this excites me! (craft geek)…After your top dries you will put a strip (whatever color or design you choose) in the middle to cover where they meet up. Use the same procedure.

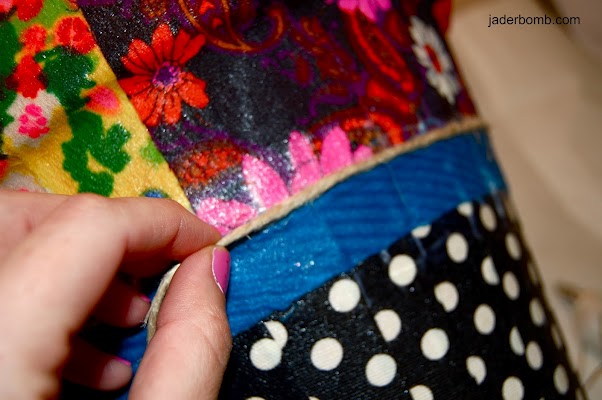
Next thing we have to do is hot glue down our twine along the edges of the center strip. Be careful not to burn your fingers!!!

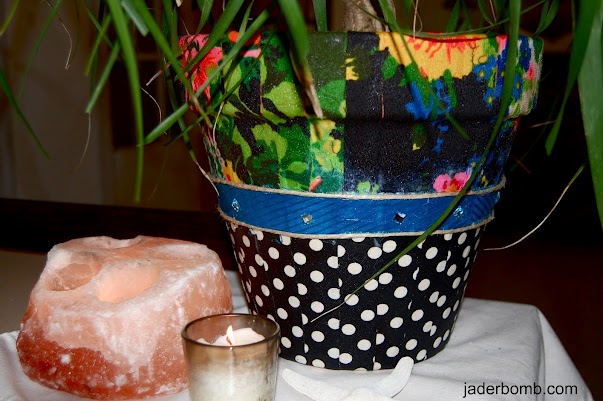
If you notice in the MIDDLE of the strip I hot glued the sticker jewels to it. It just adds that PERFECT touch to it!

And this my Jaderbugs is the final result. Our Pony Tail tree finally has a cute little home, for now. (haha) Don’t worry if you have little hot glue strings hanging out ALL over your pot. Once your fabric is COMPLETELY dry you can just rub it off. Obviously I took these pictures WAY before it was dry! HAHA

I hope everyone is dreaming of memories of their favorite pony tail they rocked at some point in time,