Tag Archives: turquoise

Jewelry takes people’s minds off your wrinkles – Sonja Henie

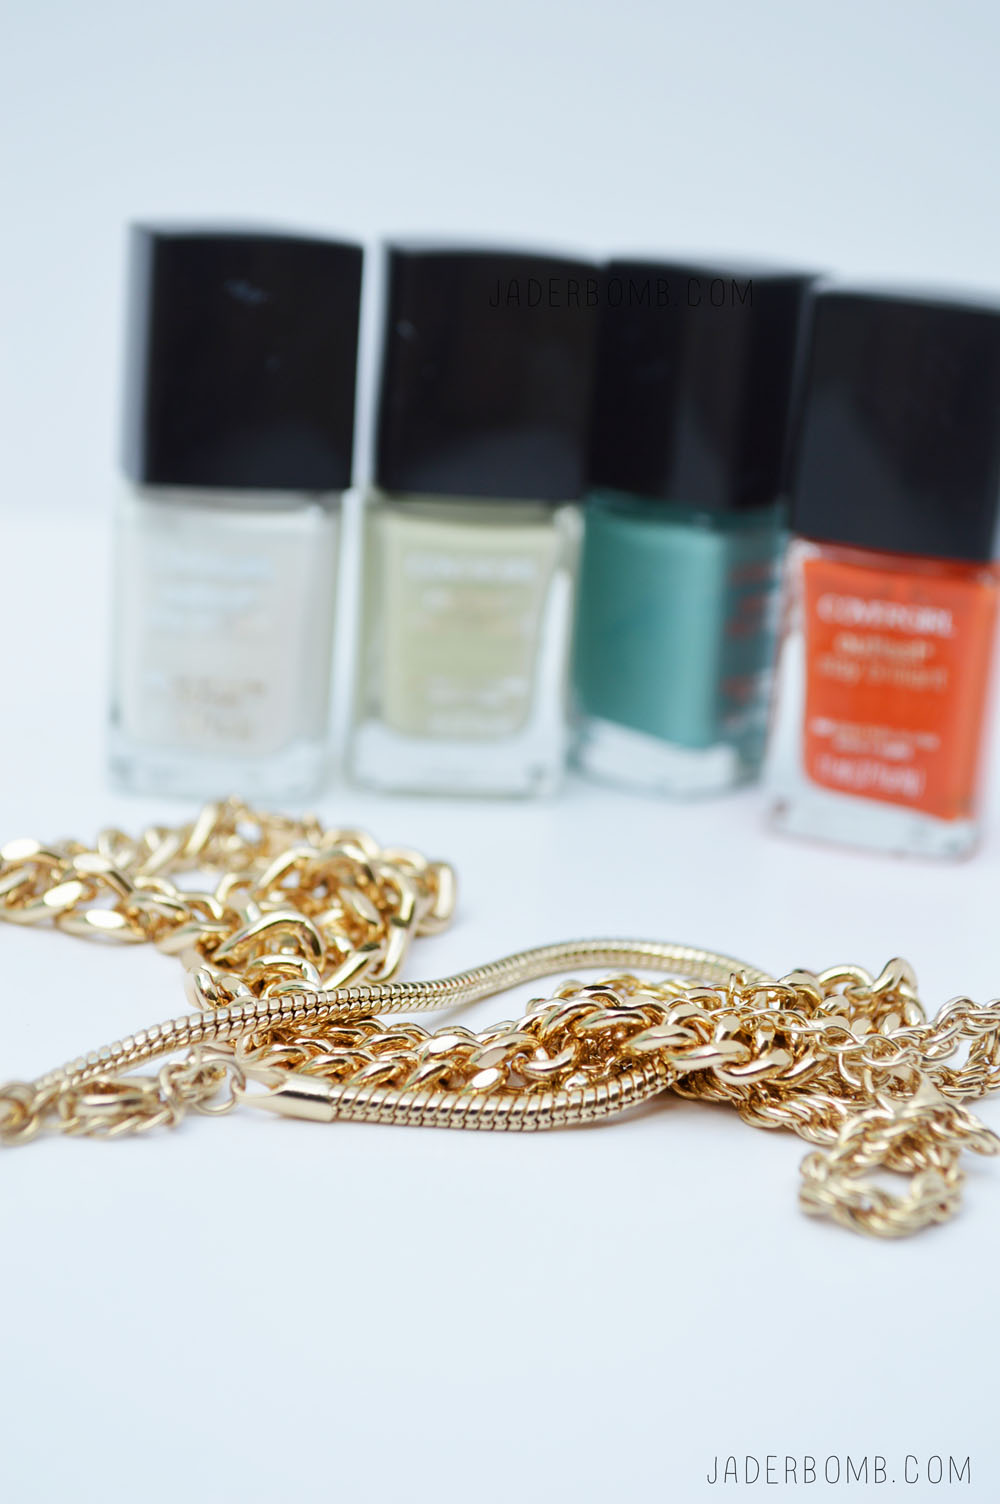
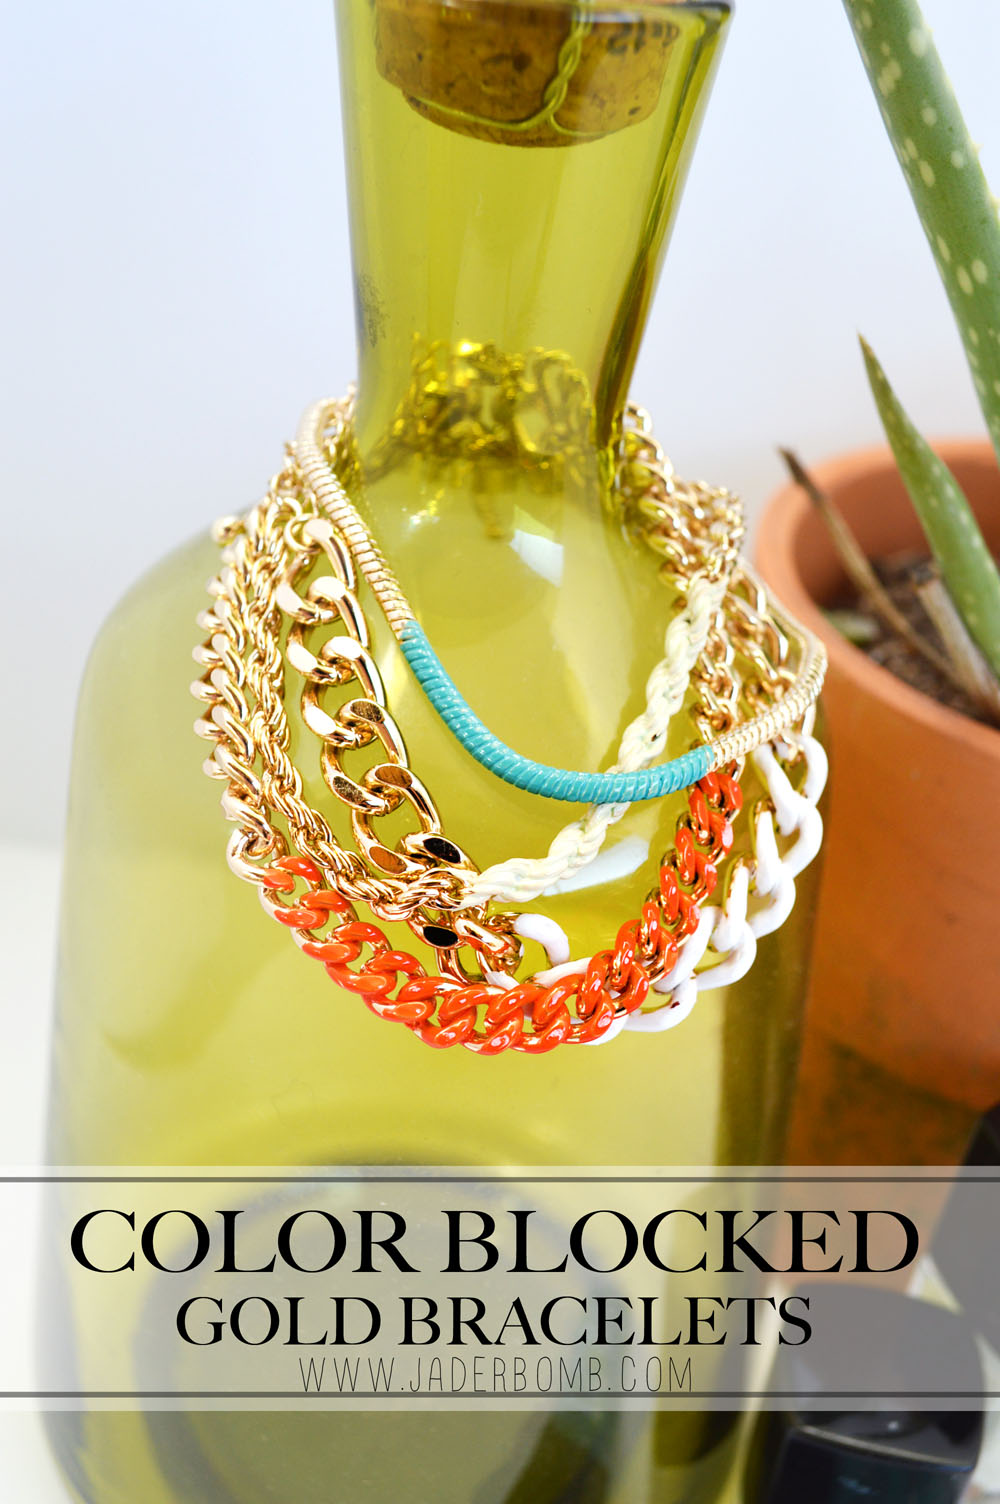
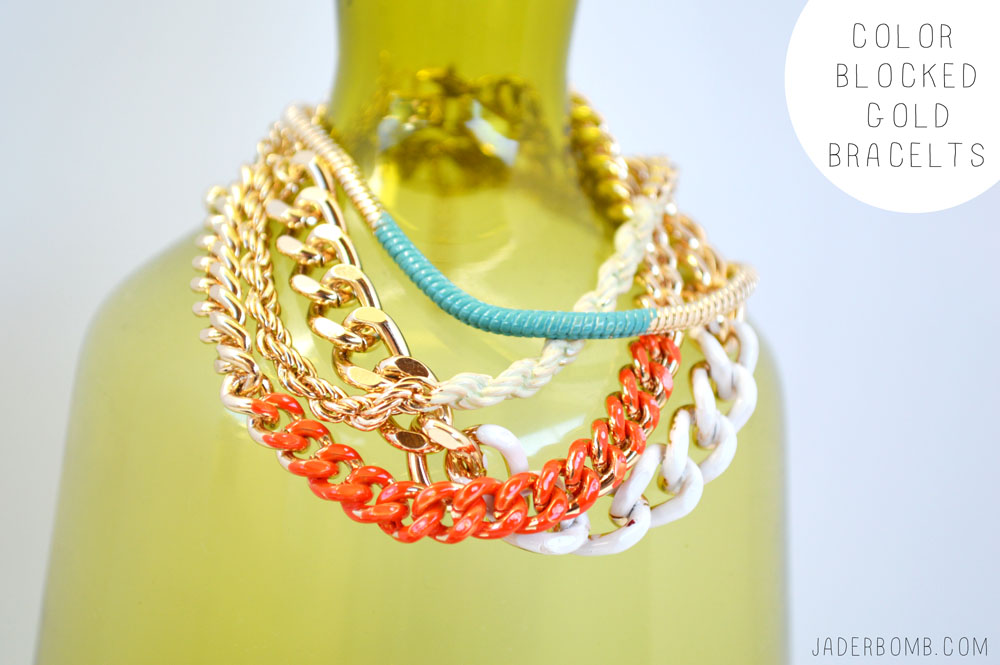
Hey everyone! I am just getting back from the most amazing trip ever and I wanted to share this tutorial with you on making Color Blocked Gold Bracelets . I will be sharing more about the my trip later this week so make sure to come back and check it out!

If you are like me then you can sometimes be cheap! Very cheap!

I personally call it being “smart”, right. I found a set of gold bracelets a while back at Old Navy and bought them. Check out what I was REALLY doing there when I found them.  I wasn’t sure exactly what I would do with them but I knew I would figure it out and it would be RAD. If you like gold check out this cute gold flag banner I made for a cake.

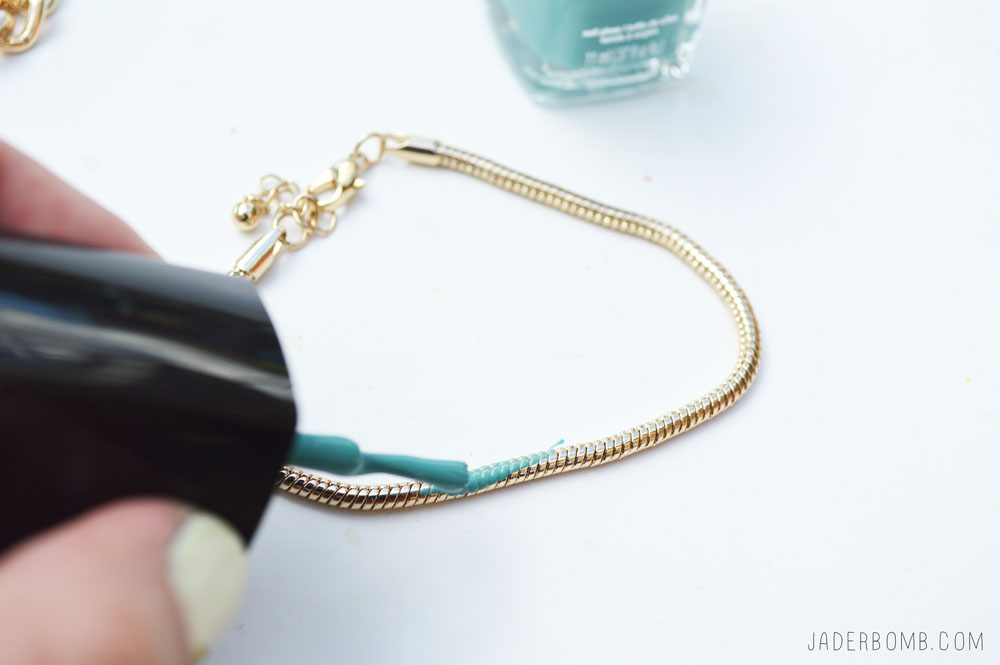
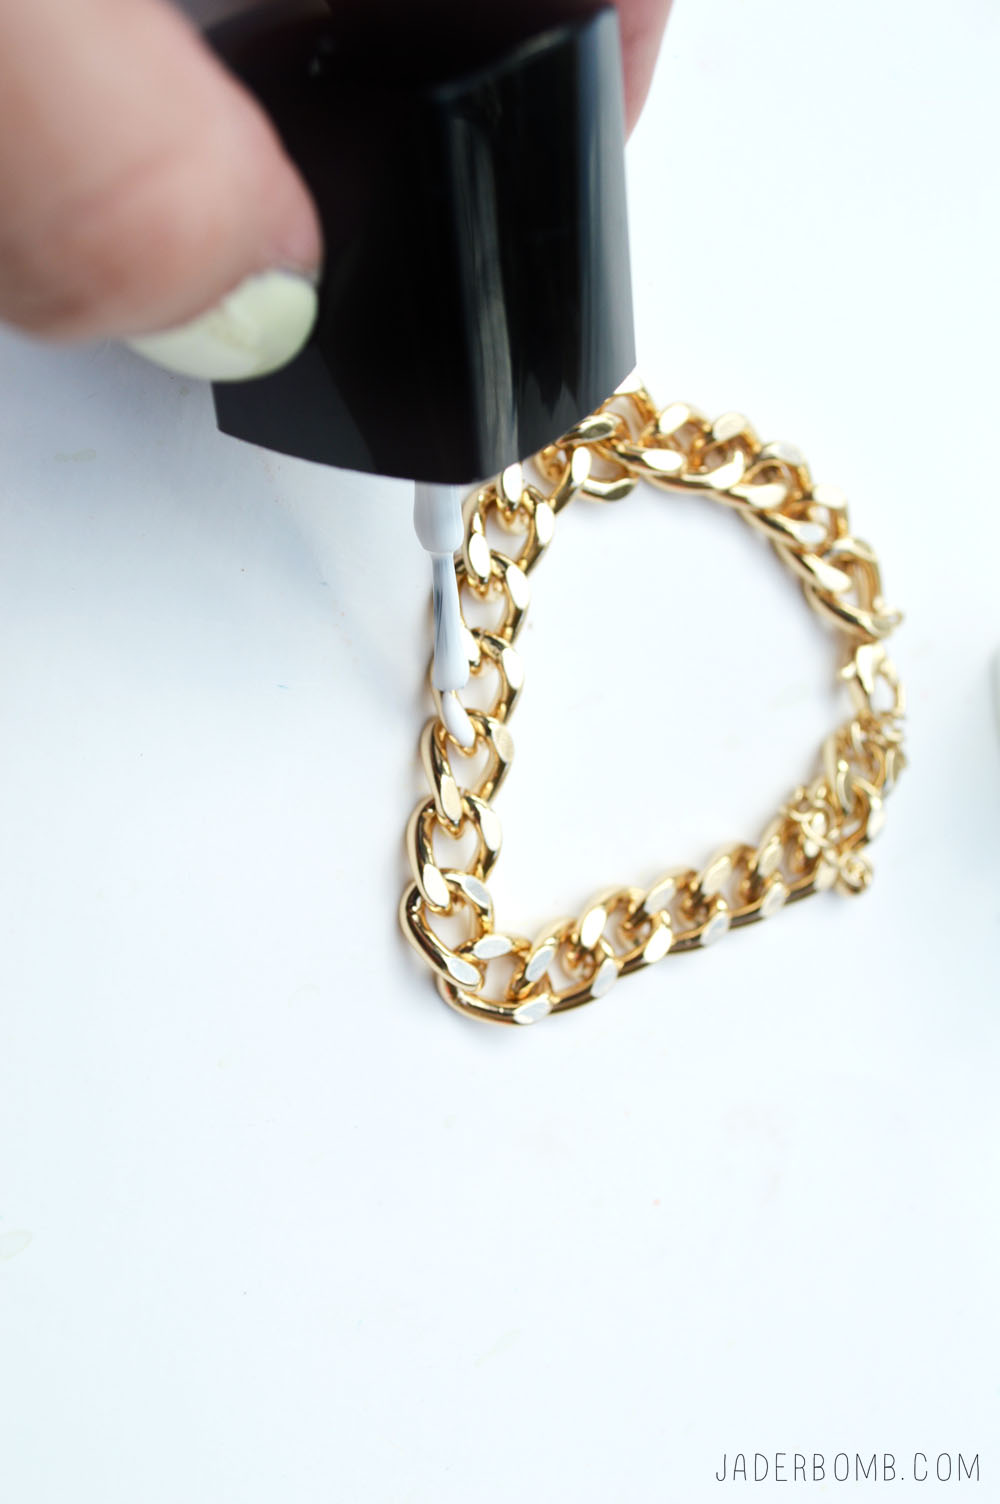
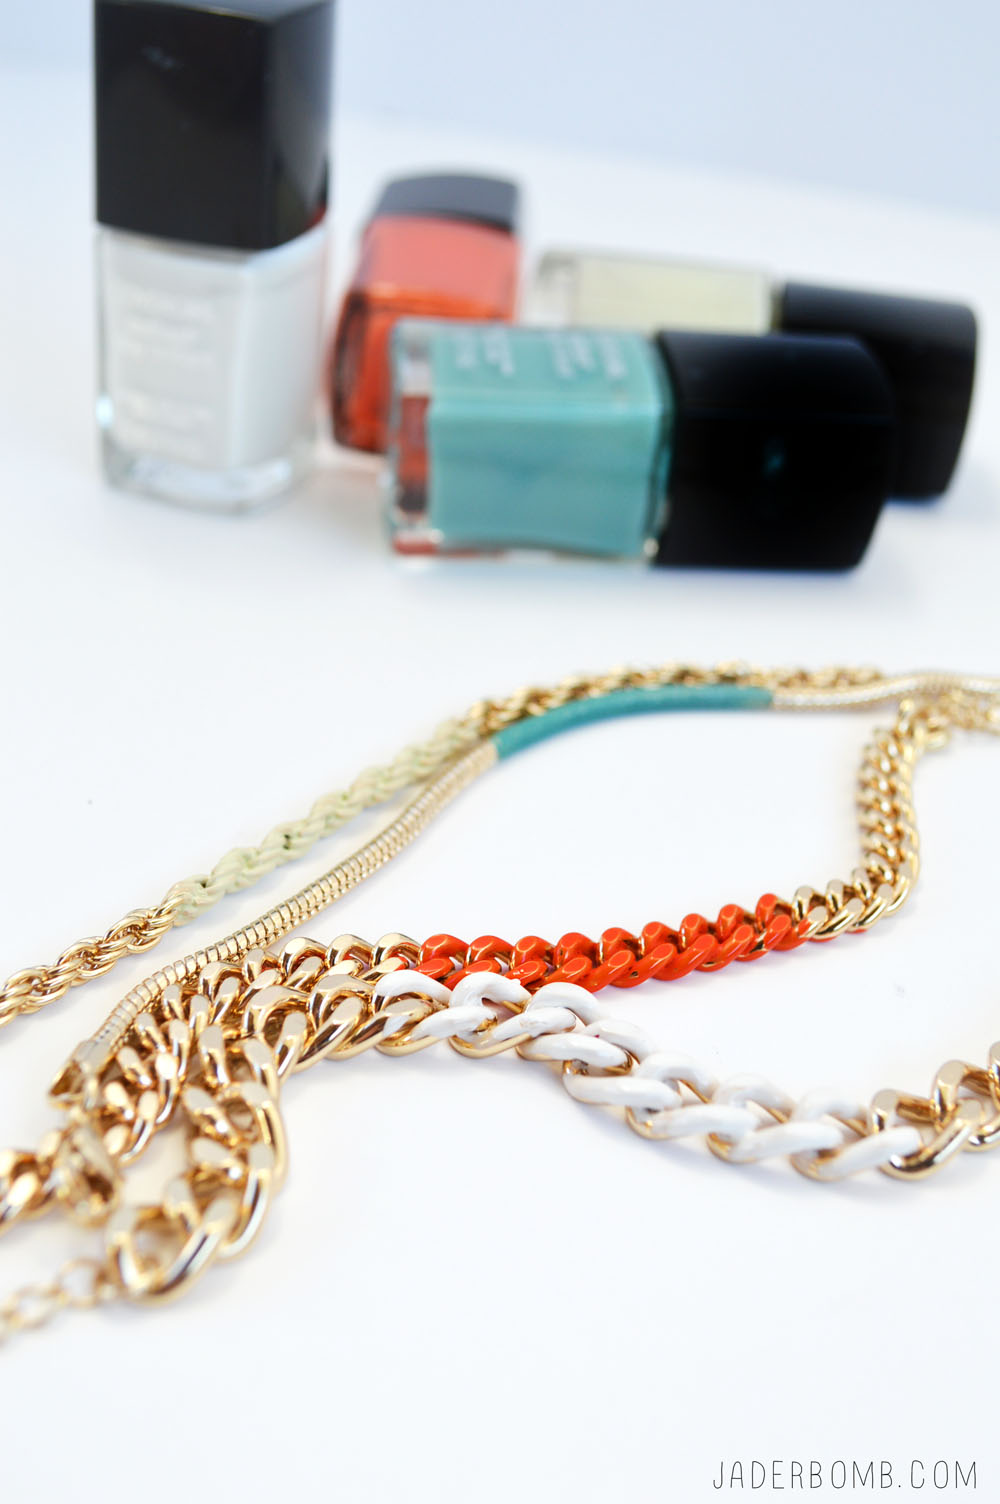
I finally decided I wanted to add a splash of color to them. Finger nail polish is the best thing to apply to metal because it stays on for a LONG time. Let’s get started.Color Blocked Gold Bracelets How beautiful are these bracelets. I knew they would be a hit on my vacation and now I am madly in love with them. I think I need about 10 more on my wrist.
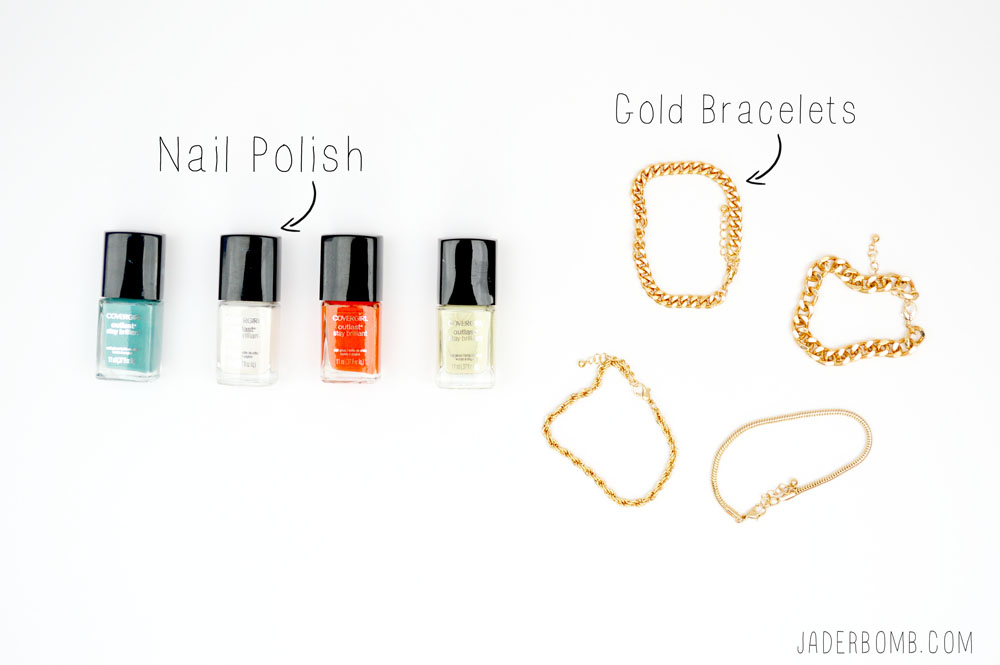
You will need:
1. Nail Polish
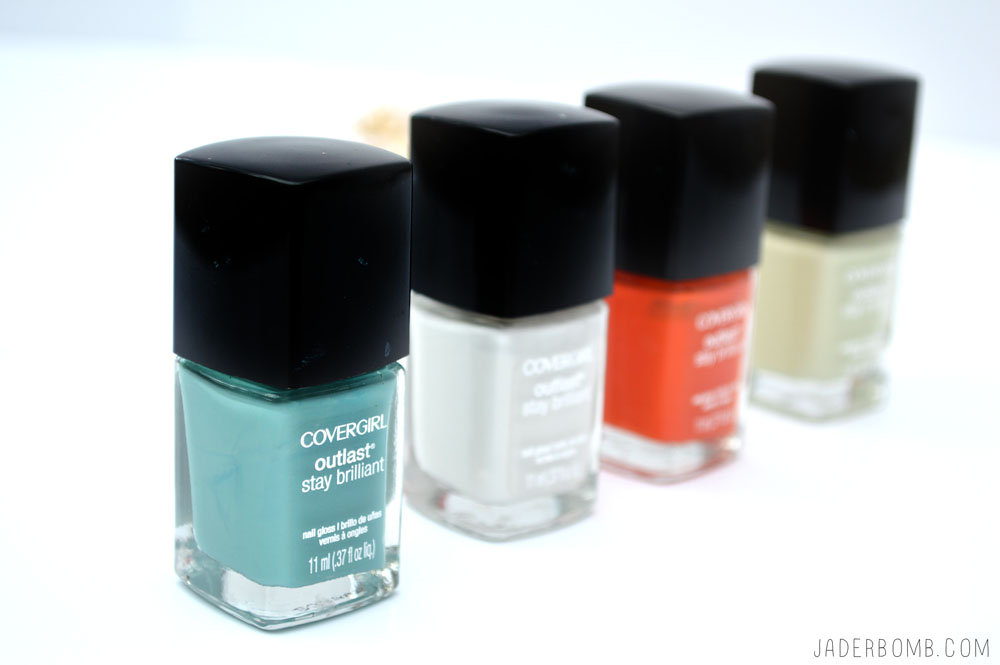
2. Gold Bracelets or Gold ChainHOW TO PAINT METAL JADERBOMBI am using Covergirl outlast stay brilliant nail polish. I am in love with all of their colors and they fit perfectly with my smile!
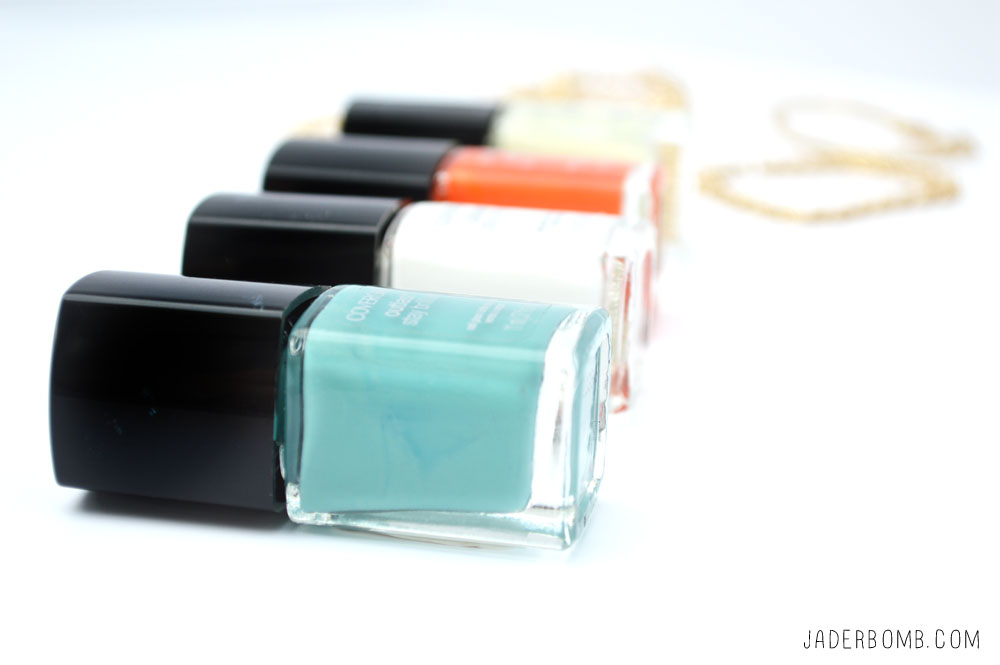
If you want to purchase all of the colors from one spot make sure to click my affiliate links below! The colors I am using in this post are:
1. Mint Mojito 285
2. Snow Storm 110
3. Go-Go Mango 245
4. Salt Water Taffy (not sure of number)FINGERNAIL POLISHED JEWELERY
COVERGIRL NAIL POLISH DIY

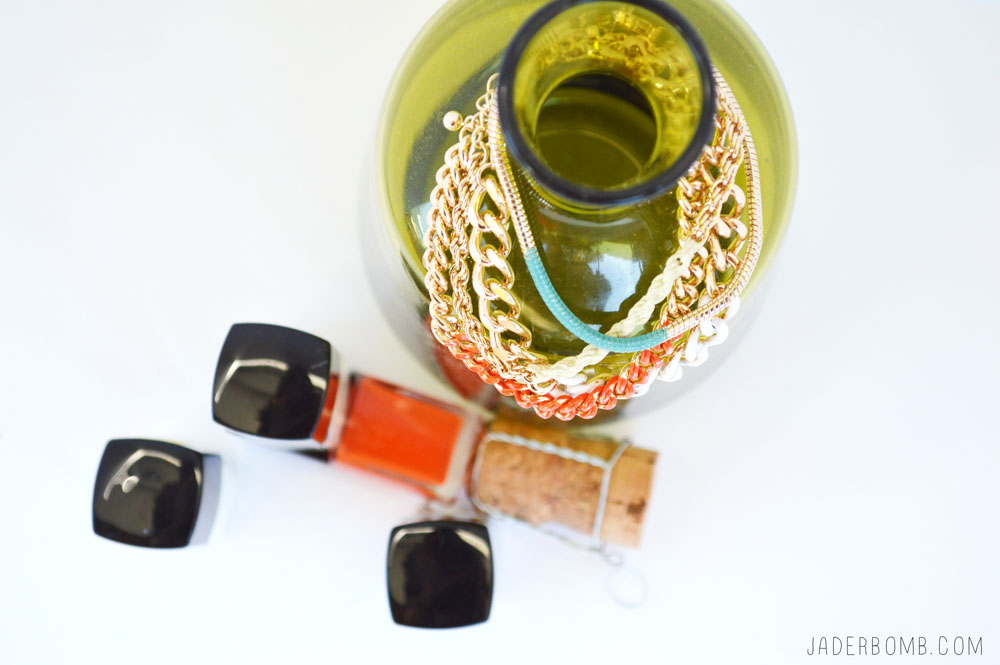
15 gold diy'sStep 1:  Lay out your gold bracelet on a clean surface and coat one side with nail polish.painting gold braceltsMove on to the next one and remember to coat one side at a time. It doesn’t take too long for the polish to dry. In 10 minutes you can flip it over and do the other side. I like to do about 2 good coats  of each color. My goal is to give it a matte finish. how to paintYou can see below how it will look if you only do one side of the bracelet. Depending on the links I would decide if I wanted to do both sides on some of them. diy braceletsOne tip I have when storing bracelets is to sling them over the top of a really cool jar. You can find these at garage sales or vintage stores. Plus it looks really pretty. EASY KIDS CRAFTS
I hope you enjoyed this tutorial and you tell all of your friends about it…. NOW GO COLOR BLOCK!EASY COLOR BLOCKED JEWELERY
HEY! Easter is coming up and if you like to dye eggs then you have to see what I did with some HERE.  If you like to give gifts for Easter then check out THIS! Everyone will love these babies. 

Don’t forget to follow me on ALL of my SOCIAL MEDIA sites to see all the juicy and fun stuff I post! Just click on the links below and they will take you strait to them!

FACEBOOK | INSTAGRAM | TWITTER | PINTEREST

BIG HUGS TO ALL OF YOU GLITTERY CRAFTERS! XOXO, JADE

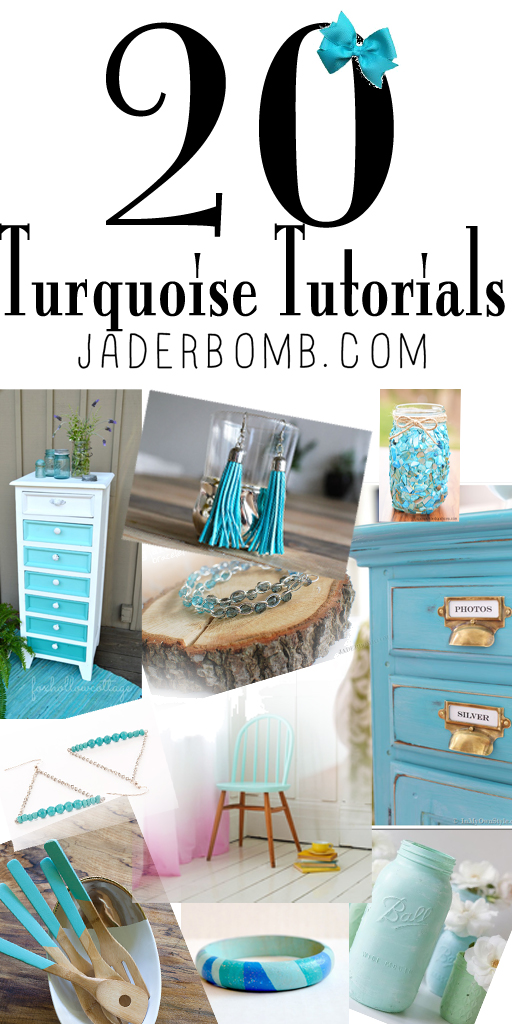
I have been feeling totally “Turquoise-ey” lately so I figured I would do a fun round up of 20 TURQUOISE TUTORIALS. I have noticed lately that this particular color is taking over the world and boy am I happy about that.

Me and turquoise go back to circa 1985 when my dad would wear these jewels all over his neck, fingers, waist and even lighter. My dad was always wearing turquoise. That is until he got over it, but let’s face it nobody ever get’s “over” turquoise especially the REAL stuff.

Enjoy the roundup! I made a nice image (below) for you to PIN on Pinterest so pin away.

20 turquoise tutorials pinterest

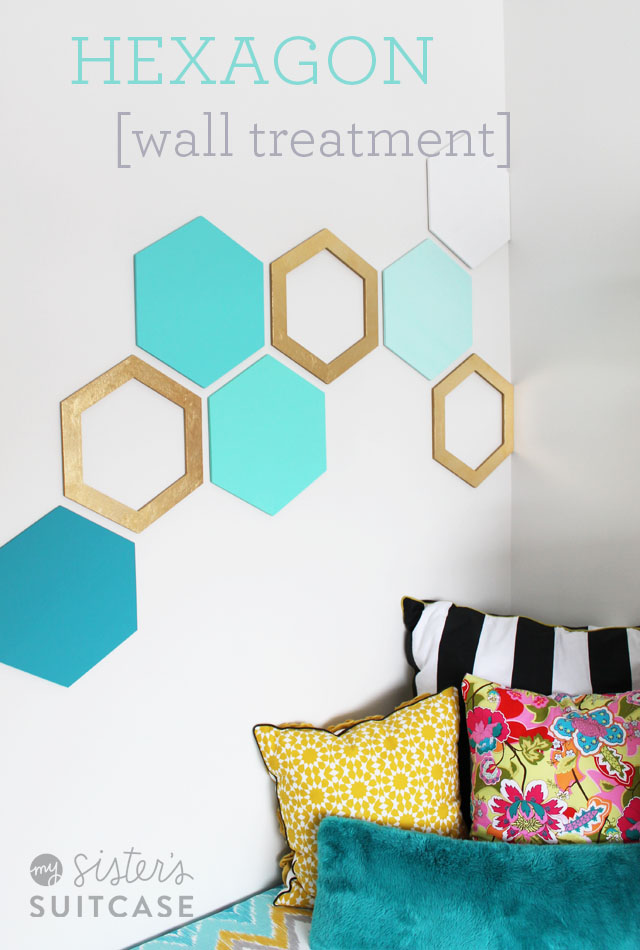
Turquoise Wall Treatment Easy Hexagon Wall Treatment via My Sister’s SuitcaseTurquoise Tutorials
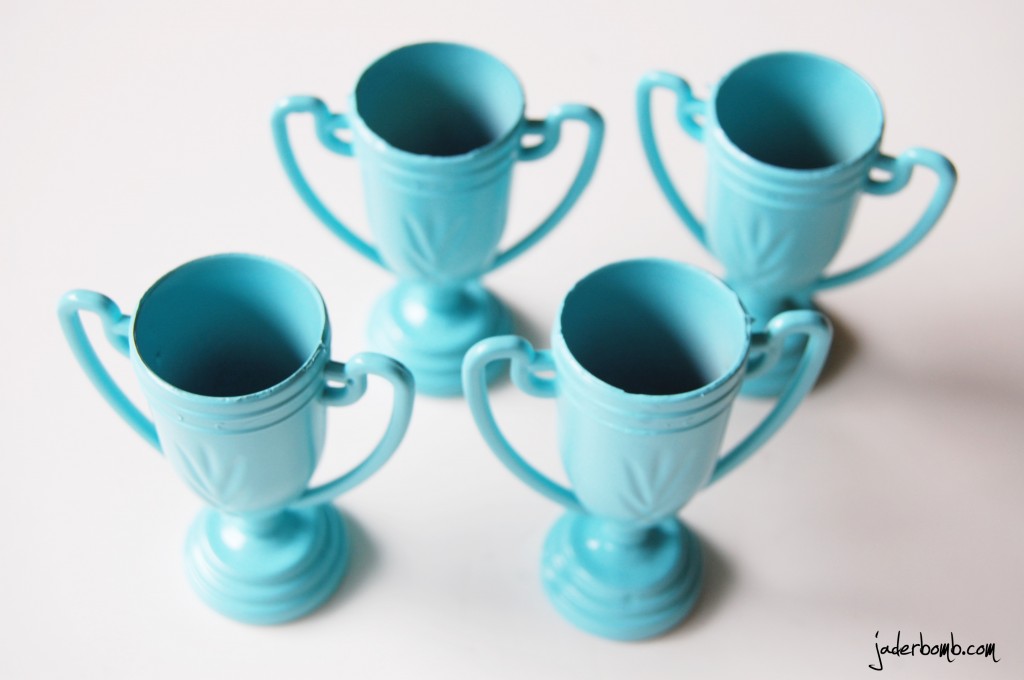
Trophy Cup Flowers via Jaderbomb
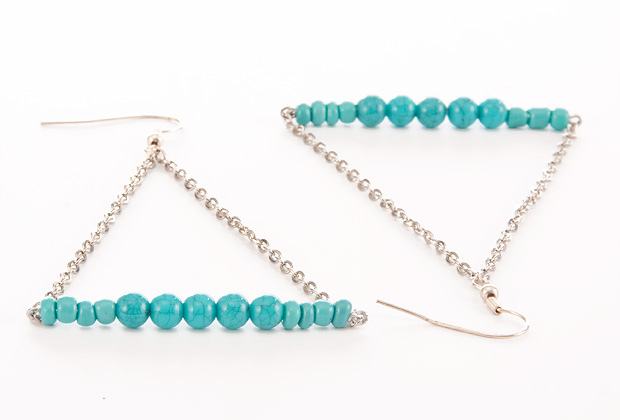
turquoise diy earrings
Earrings Tutorial via Fashion Blog

20 Turquoise Tutorials
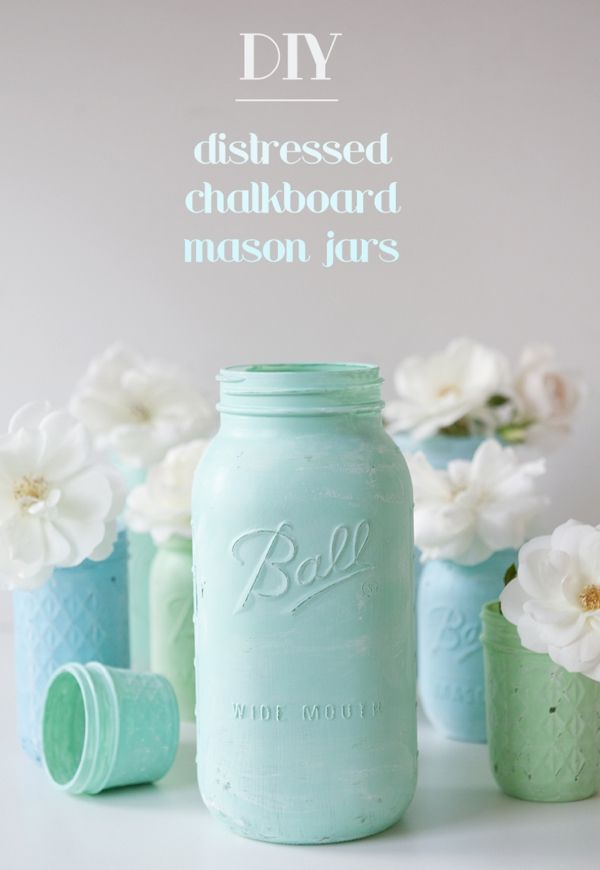
How to make Distressed Chalkboard Jars via Something Turquoise 20 Turquoise Tutorials
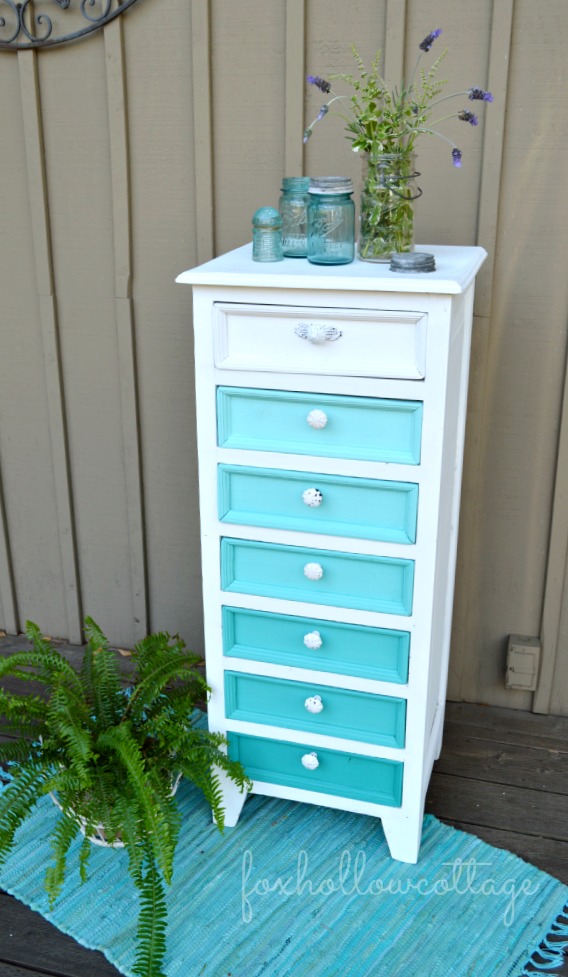
Aqua Ombre Painted Furniture via Fox Hollow Cottage
20 Turquoise Tutorials
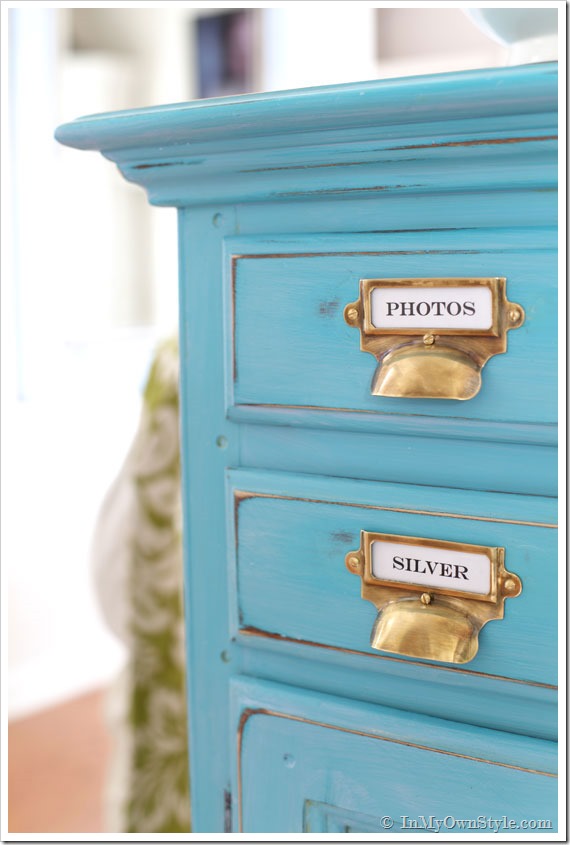
How to make distressed furniture via In My Own Style
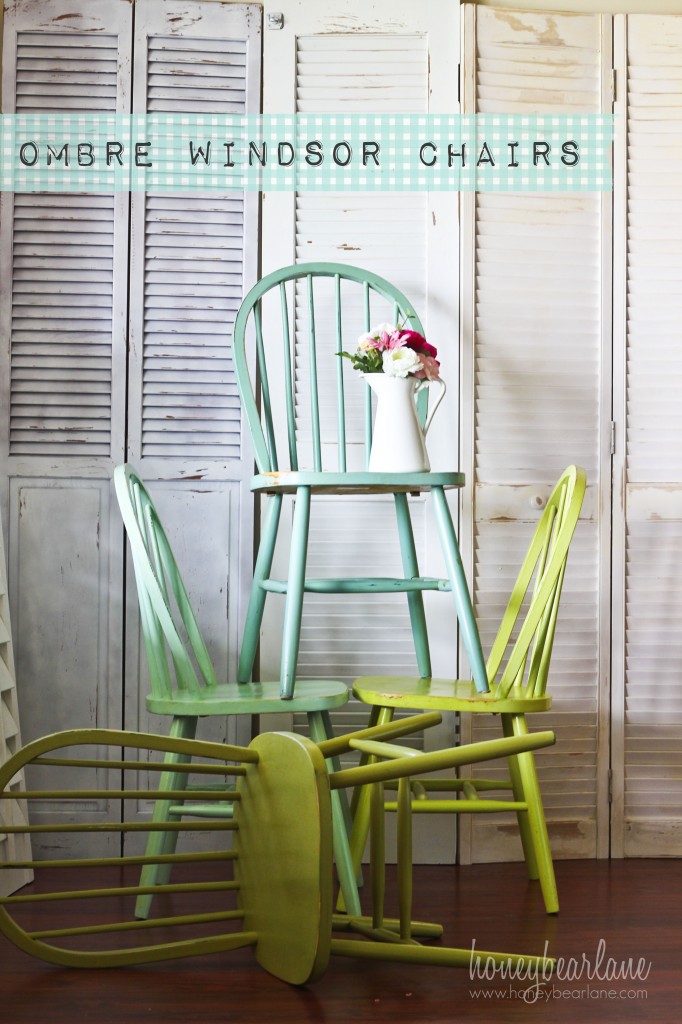
ombre-windsor-chairs-682x1024
Ombre Windsor Chairs via Honey Bear Lane
20 Turquoise Tutorials
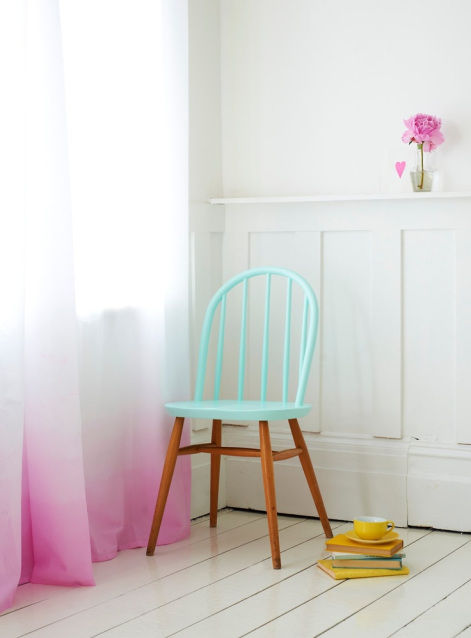
Half Painted Furniture via Craft Hunter
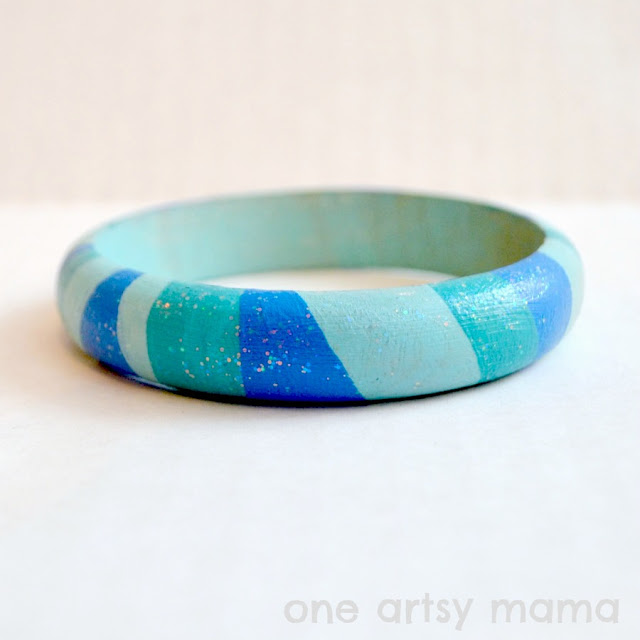
http://crafthunter.com.au/2013/10/16/diy-trend-half-painted-furniture/ Painted Wooden Bangles via One Artsy Mama
Turquoise Tutorials
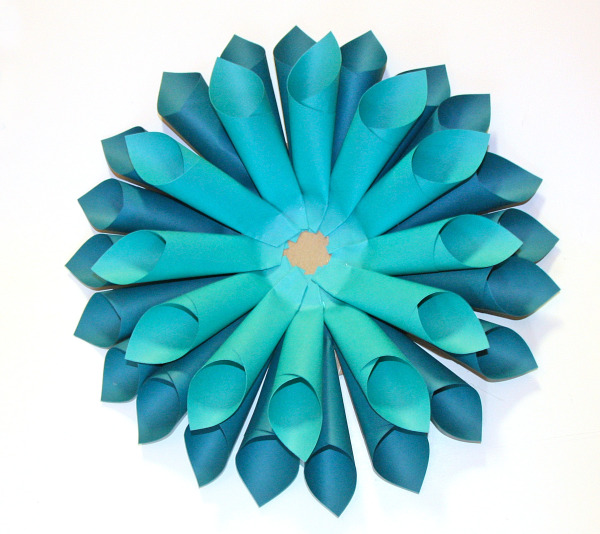
Paper Dahlia via Stars and Sunshine
20 TURQUOISE TUTORIALS
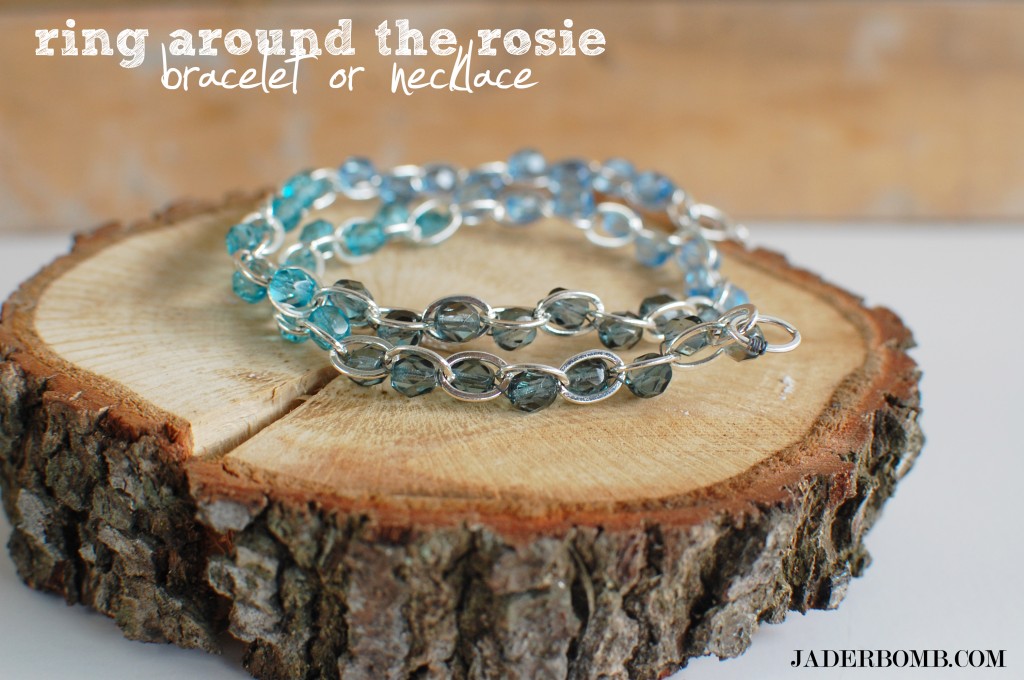
Ring around the Rosie Wrap via Jaderbomb 
Turquoise Background
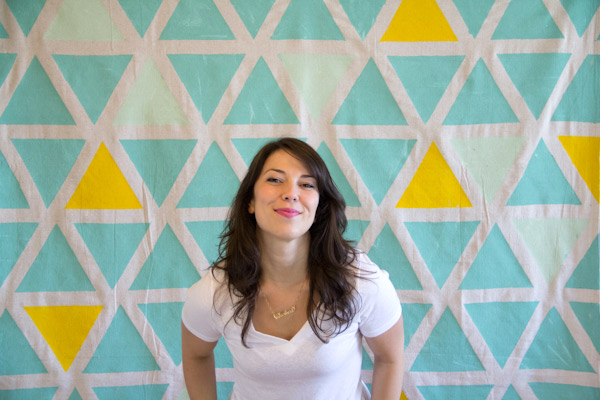
Geometric Photo Booth Background via Lovely Indeed
Turquoise Tutorials
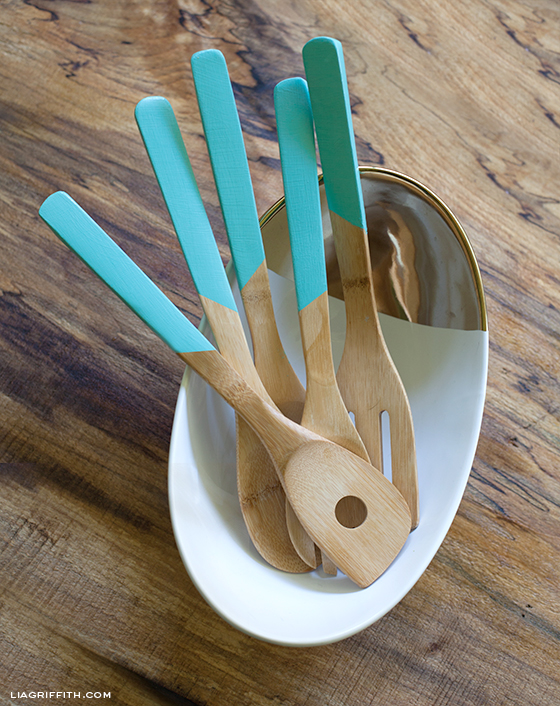
Faux Dip Painted Wooden Handles via Lia Griffith 
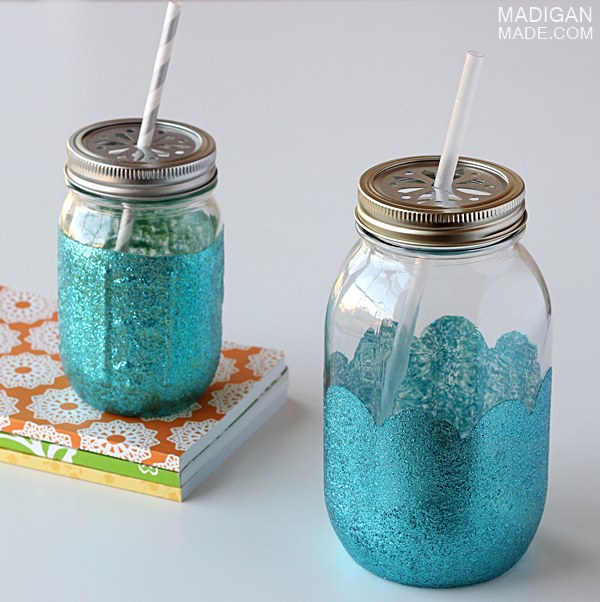
glitter-mason-jar-drink-containers-01_zps3db42f35
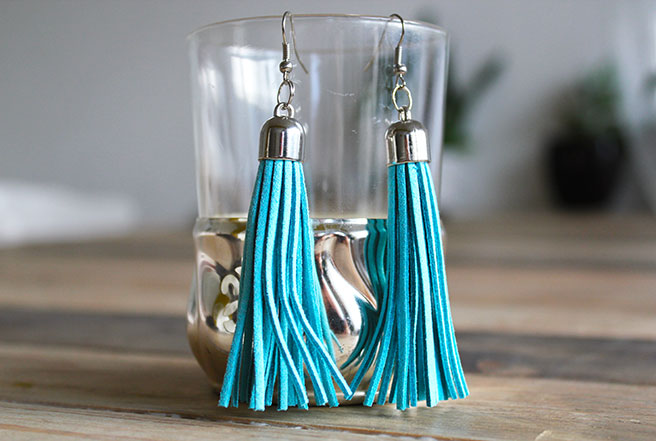
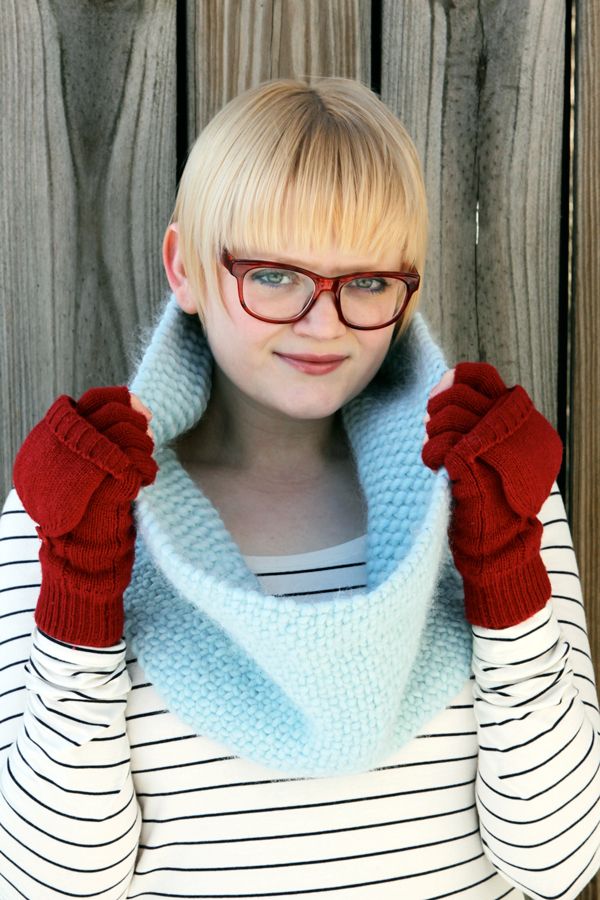
Glittered Mason Jar Cups via Madigan Madeturquoise earrings Tassel Earrings via Lana Red Studioturquoise scarf
Faux Woven Cowl via Hands Occupied 
Turquoise Tutorials
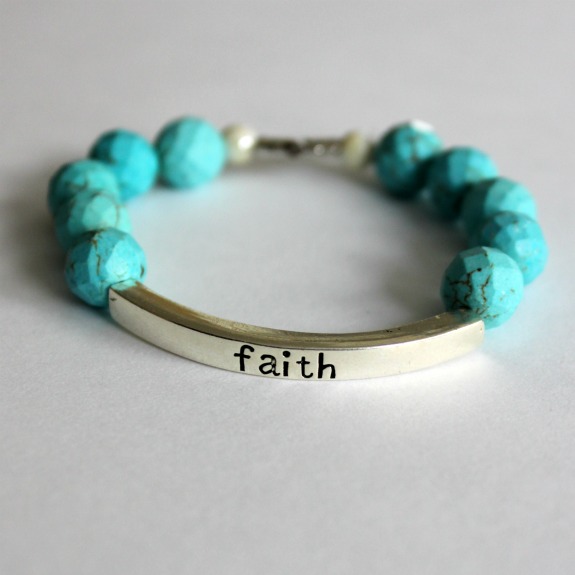
Turquoise and Silver Faith Bracelet via Wait till your Father get’s home
Turquoise diy
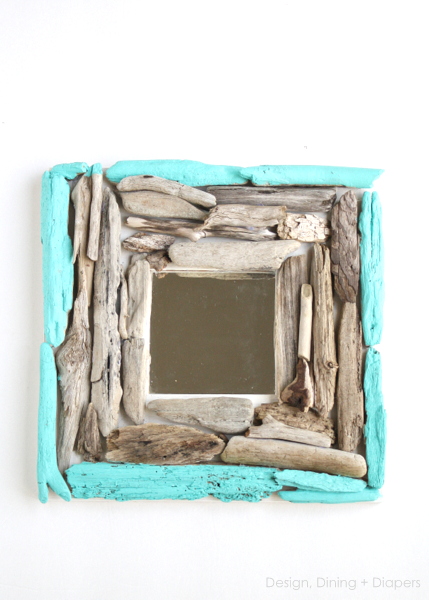
Diy Drift Wood Mirror via Design Dining Diapers 
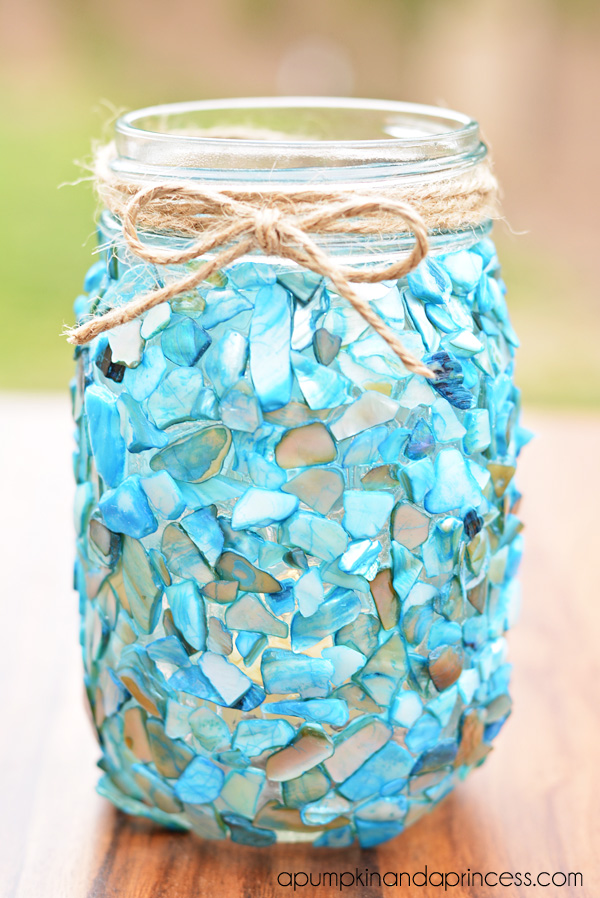
Beach-Mason-Jar-Lantern-Craft
Beach Inspired Mason Jar via A pumpkin and a Princess

I hope you enjoyed this roundup! Make sure to come visit me on Pinterest HERE and Facebook HERE! Huge love and glittery hugs!

ending1


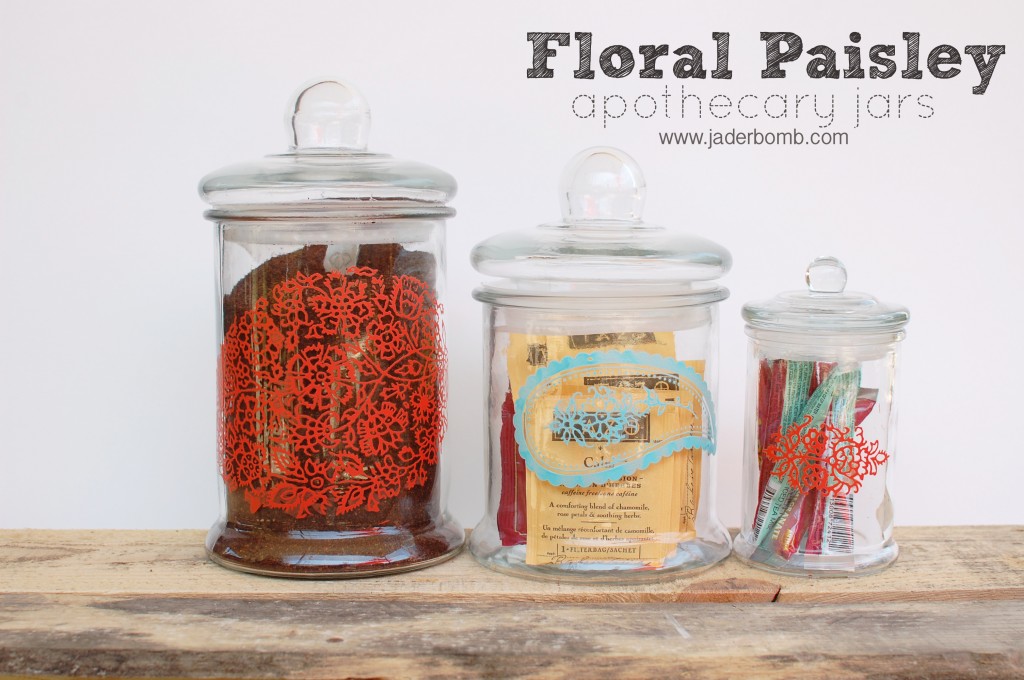
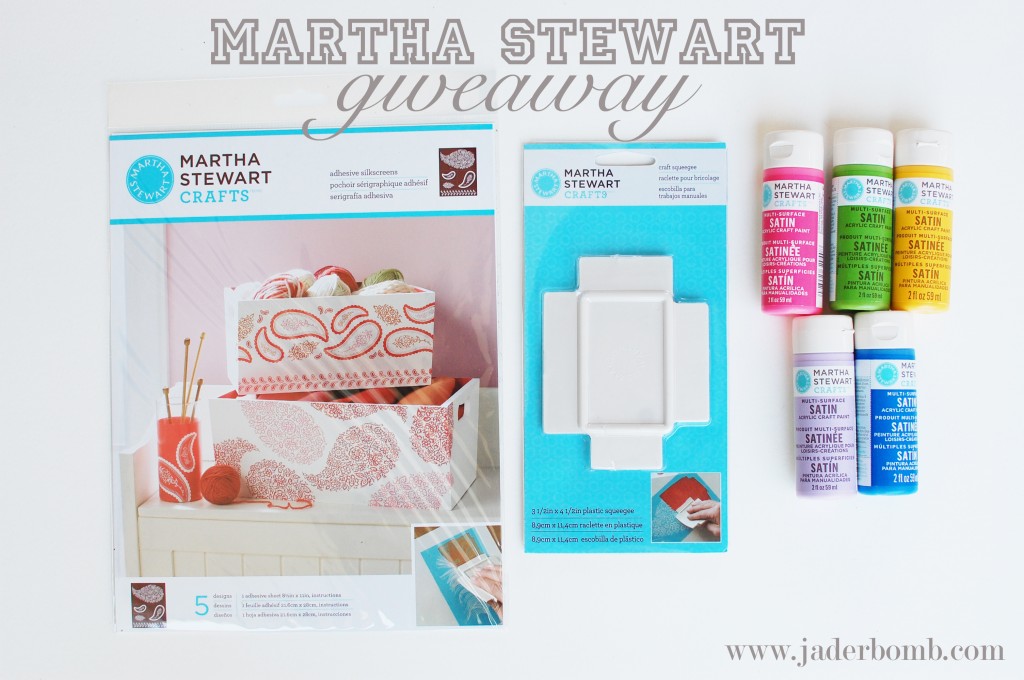
Happy 12 month’s of MARTHA! I am so glad you are here and I know you will love the tutorial I am sharing and the giveaway I am doing!  This month’s box of goodies made me smile from ear to ear. I especially loved the floral paisley adhesive silk screens.  Trust me when you use them you will become addicted. I made some fancy apothecary jars using them. Martha always knows what I love.
Let’s get started. 

Oh, if you are not familiar with the 12 months of Martha let me tell you about it.

I will be sharing a new project each month using Martha Stewart Crafts.
#12monthsofmartha & #marthastewartcrafts <——(this is the hashtag you can use if you repin this or want to see other’s who are a part of this project)

I am super giddy about it and I think you will too. Each month you will get to see new items from the Martha Stewart crafts line that is brand spanking new~

So yes! You will be seeing things that are not yet in the stores…

You can find all of her products at Michael’s Arts and Crafts, Jo-Anns Fabrics & Crafts and Amazon.com.

I’ll be giving away Martha swag monthly – so be sure to subscribe to my email updates… —–> LOOK AT THE TOP RIGHT!

Martha-Stewart-Giveaway-APOTHECARY-jars-jaderbomb

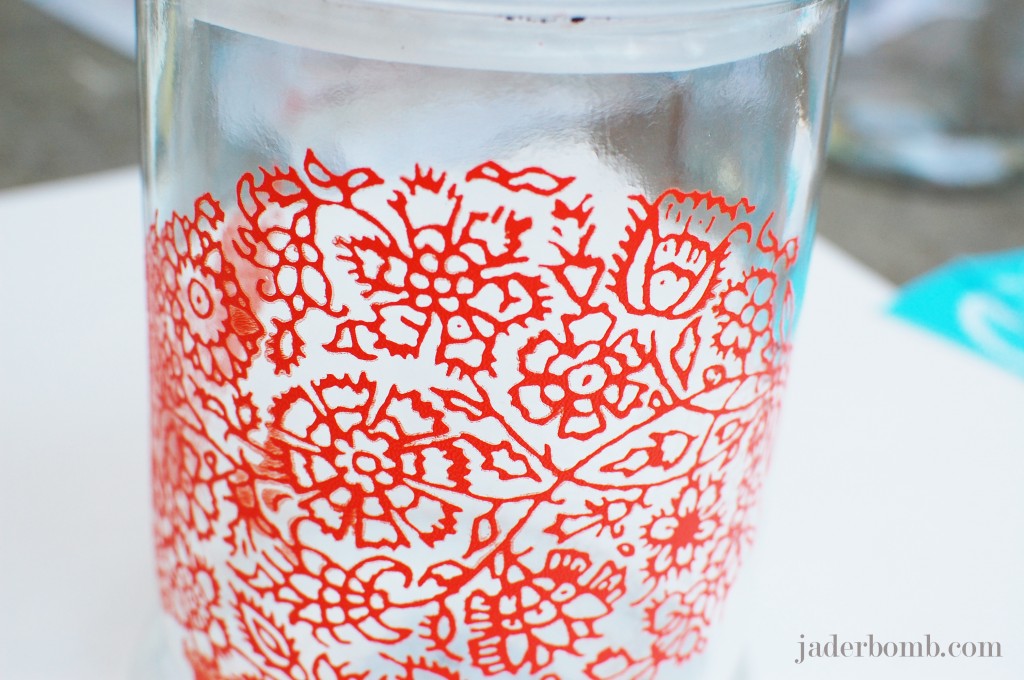
 How simple, cute and elegant are these apothecary jars?! Seriously, these would look great in any room. I made them for my kitchen and I filled them with coffee, tea and pomegranate powder for my water.

Martha-Stewart-Giveaway-APOTHECARY-jars-jaderbomb

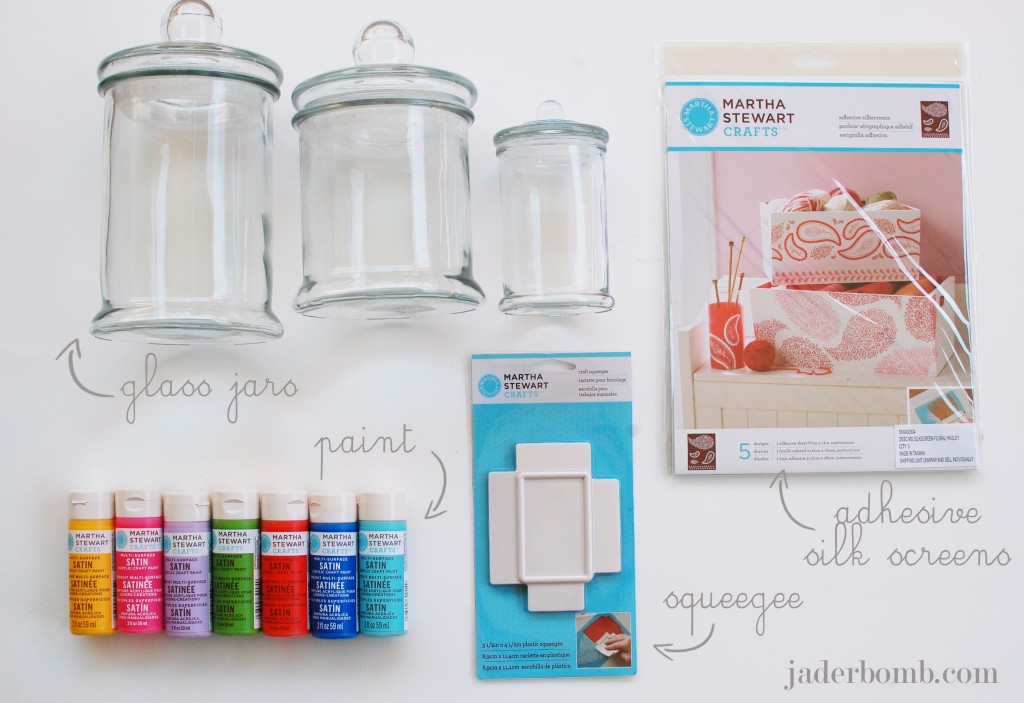
 You will need:

*APOTHECARY JARS
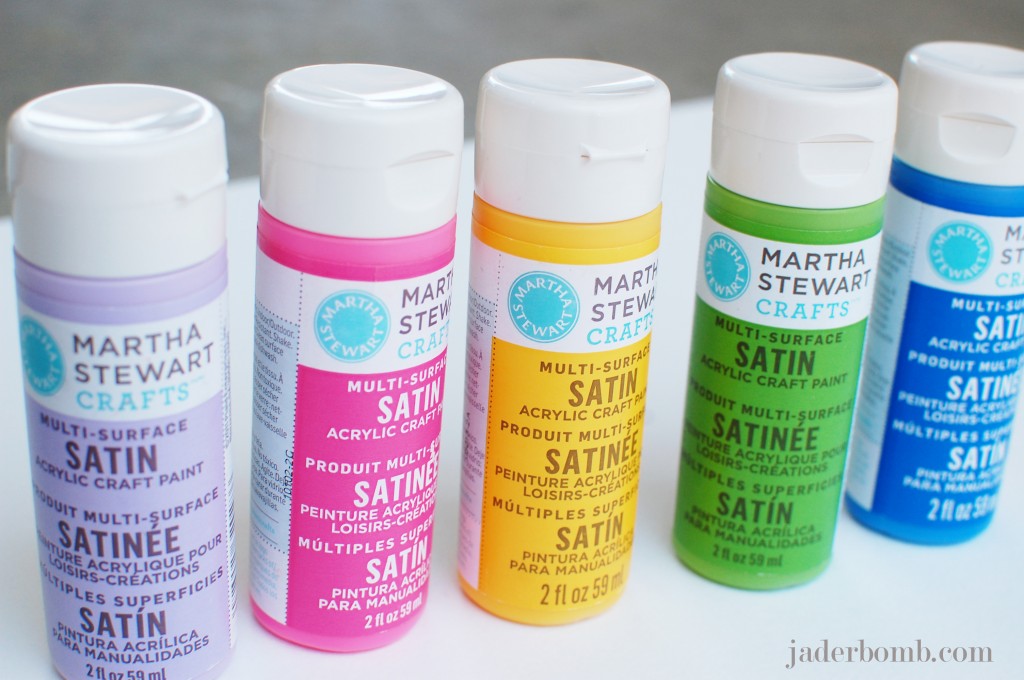
*MARTHA STEWART SATIN CRAFT PAINT
*MARTHA STEWART SQUEEGEE
*MARTHA STEWART FLORAL PAISLEY SILK SCREENS
*LOTSA LOVE

You can purchase all of the above supplies by clicking on the links.

Martha-Stewart-Giveaway-APOTHECARY-jars-jaderbomb

 Don’t you just love these great colors. Someday’s when I feel down I just go in my studio and look through my tubes of paint. They are filled with happiness I tell ya.  For this project I used Geranium and Pool.
(colors of paint)

 Martha-Stewart-Giveaway-APOTHECARY-jars-jaderbomb

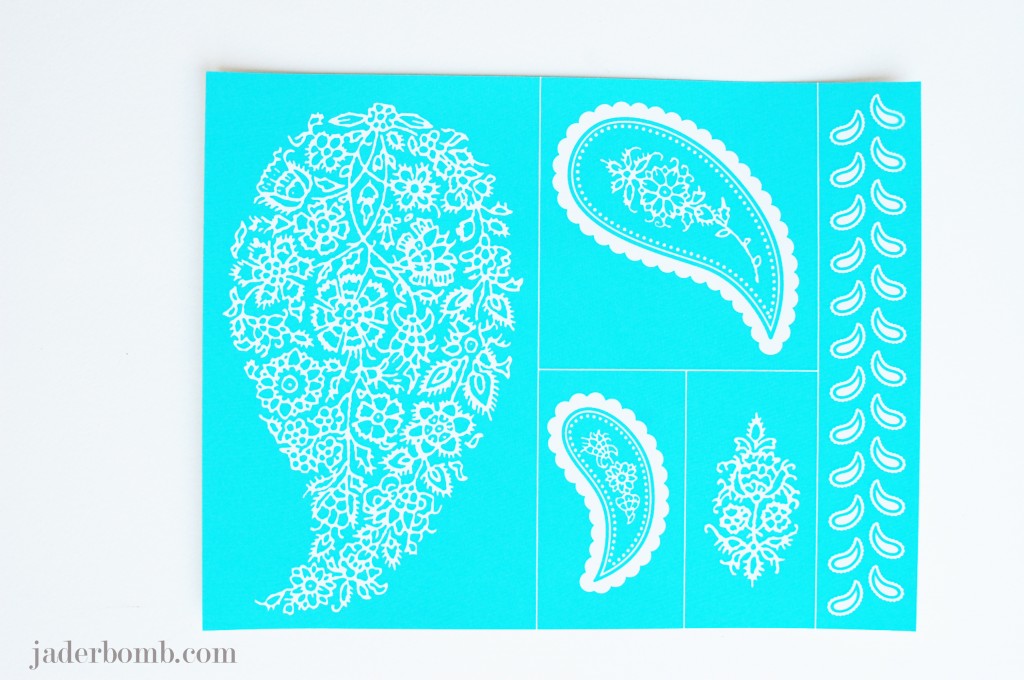
 When you open your pack of silk screens they will look like the picture above, all connected on one sheet.

Martha-Stewart-Giveaway-APOTHECARY-jars-jaderbomb

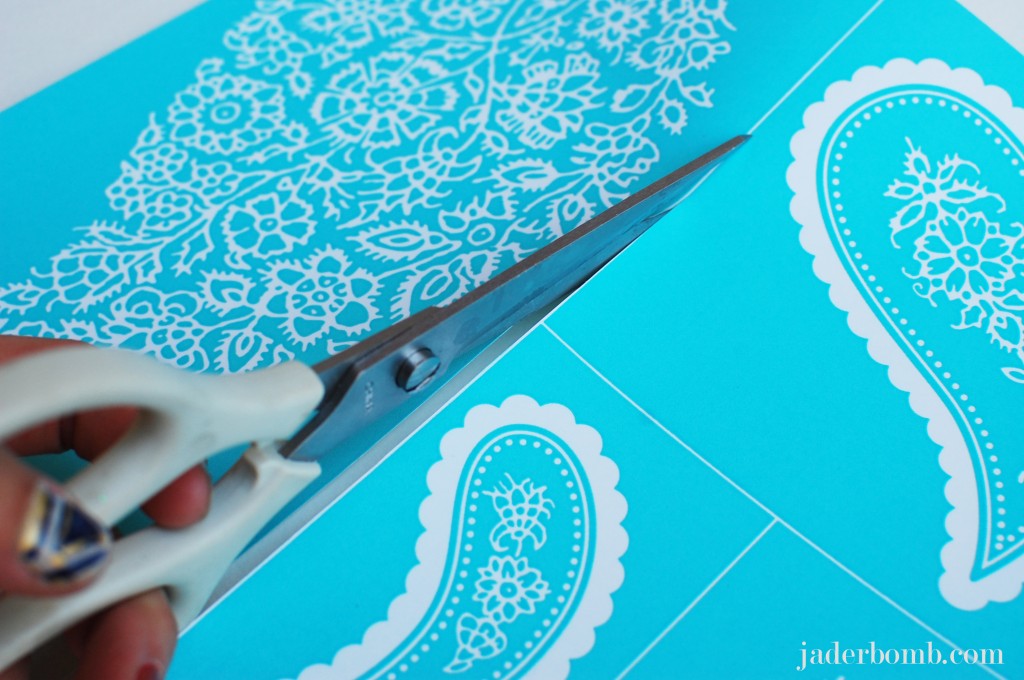
If you notice they have white lines separating each design. You should cut along the line to separate them.

Martha-Stewart-Giveaway-APOTHECARY-jars-jaderbomb

 This is how they will look once you cut them.

Martha-Stewart-Giveaway-APOTHECARY-jars-jaderbomb

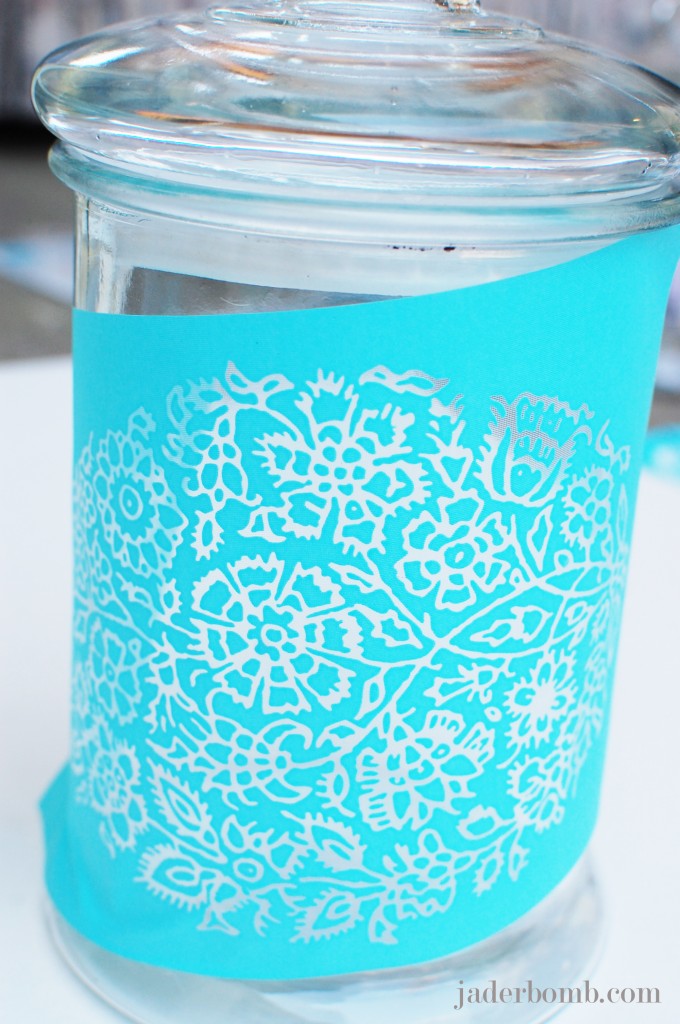
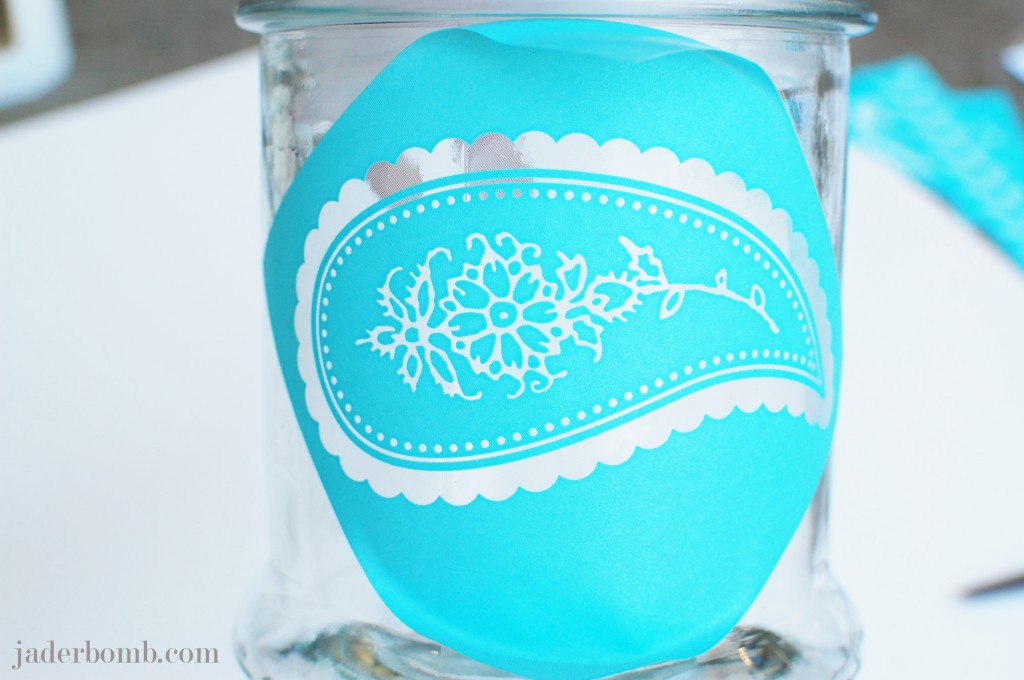
 Find the image you want to use and gently peel the silk screen off of the paper. I like to start on a corner. Plus if it get’s crinkled it will not mess up the actual image. Once you remove the silk screen place it where you want on the glass.

Martha-Stewart-Giveaway-APOTHECARY-jars-jaderbomb

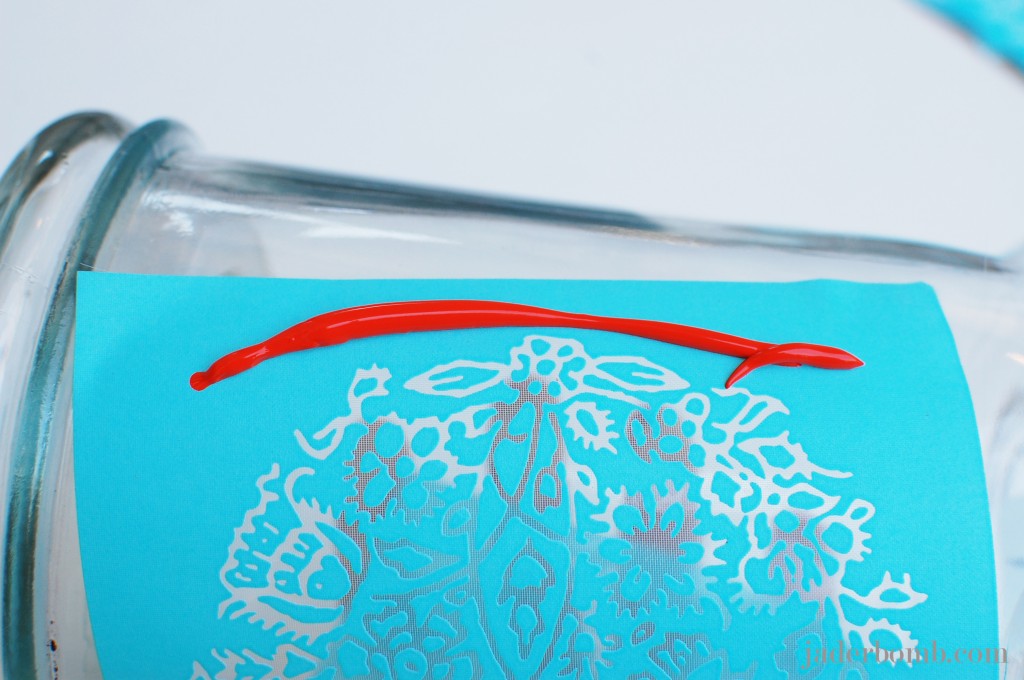
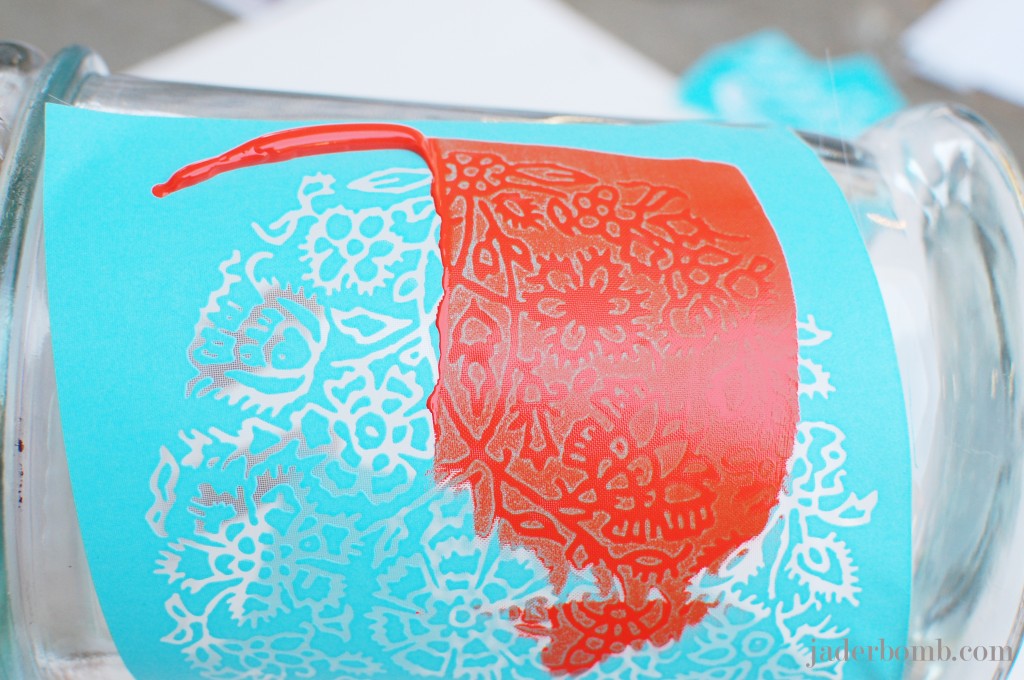
Once you apply your silk screen to the glass add a bead of paint right above the image.


Martha-Stewart-Giveaway-APOTHECARY-jars-jaderbomb

 Get your squeegee and pull the paint down over the image. I suggest going from the top to the bottom in one stroke. It will make the paint consistent and even. Repeat the step if you have to do it in two layers.

Martha-Stewart-Giveaway-APOTHECARY-jars-jaderbomb

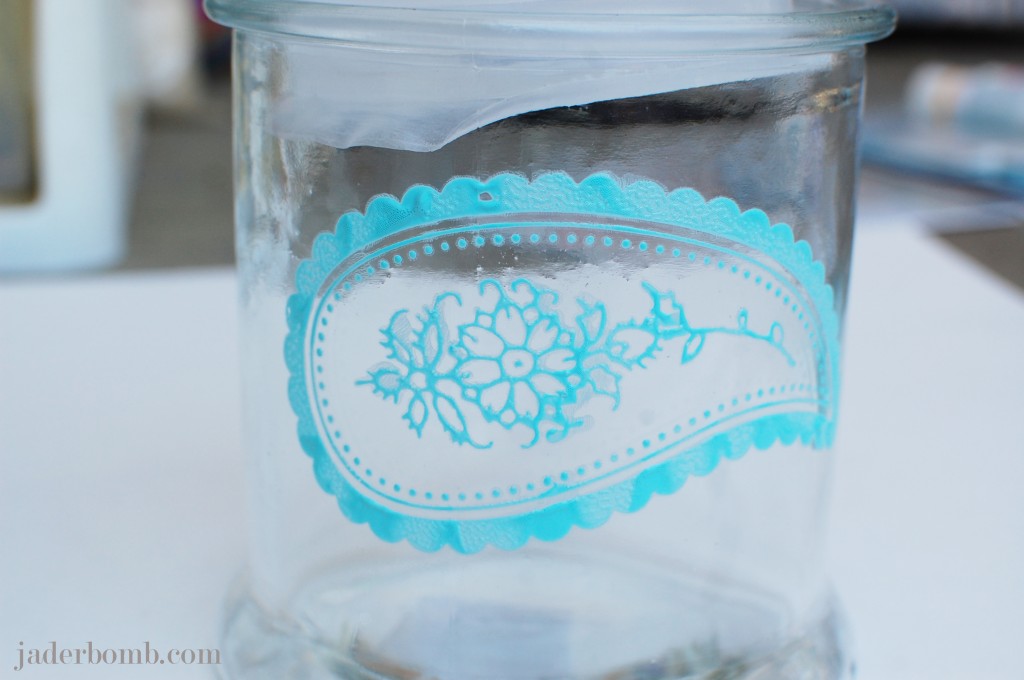
 As soon as you finish, peel the silk screen off of the glass. Very important that you wash it immediately.  If you let the paint dry on the silk screen it will not work properly again. Once you wash it lay it out on a towel to dry.

Martha-Stewart-Giveaway-APOTHECARY-jars-jaderbomb

 Move on to your next jar.

Martha-Stewart-Giveaway-APOTHECARY-jars-jaderbomb

It’s really that simple. I hope you enjoyed this tutorial!  I have some great news… I am doing a GIVEAWAY featuring the supplies I used today… HOW AMAZING.  Please enter by putting your information in the Rafflecopter box below. I am excited to see who will win all of these products. Don’t forget to share this fun giveaway with your friends.

THIS GIVEAWAY WILL END APRIL 12, 2013.

Martha-Stewart-Giveaway-APOTHECARY-jars-jaderbomb

a Rafflecopter giveaway

jaderbomb *JANUARY craft HERE
* FEBRUARY craft HERE and HERE

ST_Martha_Stewart_Crafts_Coupon
*Click HERE (US) and HERE (CANADA) for a 30% off coupon for any Martha Stewart Craft paint, tools and accessories

Want JADERBOMB delivered right to your inbox?
Just enter your e-mail in the box below!

Enter your email address:

Delivered by FeedBurner

MarthaStewartPost


You can ring my BELL

Well what was I to do? Ya know!
I have been wanting some of those vintage BALL jars, you know… the ones that have that beautiful {{hinty winty}}} of teal…..Well I found them, only thing is they are expensive! So I decided I would try to make some on my own.  Heck. It was pretty darn easy if I say so myself.
I just got some glass paint from Michael’s Arts and Crafts and a little spongy wunggy brush. That’s it yall!
So let’s get going!!!!
p.s. I know I know.. I used a “KERRRR” jar but it’s ok because we are gonna make it look like a BALL jar!
p.s. yep. that’s all i used!
p.s. the left picture only has ONE coat of glass paint on it.
the right picture has TWO coats of glass paint on it!
p.s.  I just went out in my yard and pulled some roses!! So prettyy!!
p.s. Ohhhh I totally found this REAL BALL JAR about 30 min after I painted the “KERRR” jars!!! I totally been having it for years but put it away because I “guess” I used to think it was GREEN!! BUT ITS NOT!!!! OHHH EMMMM GEEEEE
p.s. how awesome is the window over my kitchen sink! <3
I hope you all loved this crafty wafty my little jaderbugs!!!
Until next time…
peace..love.jaderbomb.