Tag Archives: how to use mod podge

The Simple Secret to Glittering!

I am finally sitting at my computer with my Frankincense burning, music playing, long nails that hit every other key on my keyboard, hot cup of coffee and a scattered brain that is thinking of all the things I need to get done! (insert eyes that might look crossed also, hehe) 

Today I am finally showing the project that so many people have been asking me about, how to Glitter Candles! This is one of my favorite projects because you can make them all year long. Am I the only person who is not really feeling Christmas this year? It just feels like it’s going by way too quickly, but then again I hear the older you get that is what happens with all holidays! I think tonight I will just get in my cozy pajamas with a hot cup of cocoa and watch my favorite Christmas cartoons which should make me feel like I am 8 again! Have you seen these CRAZY ornaments I made!

Something I should express right now is I recommend this only for glass candles. You can the outside of wax candles I just don’t suggest burning them. 
Glitter Candlesyou will need
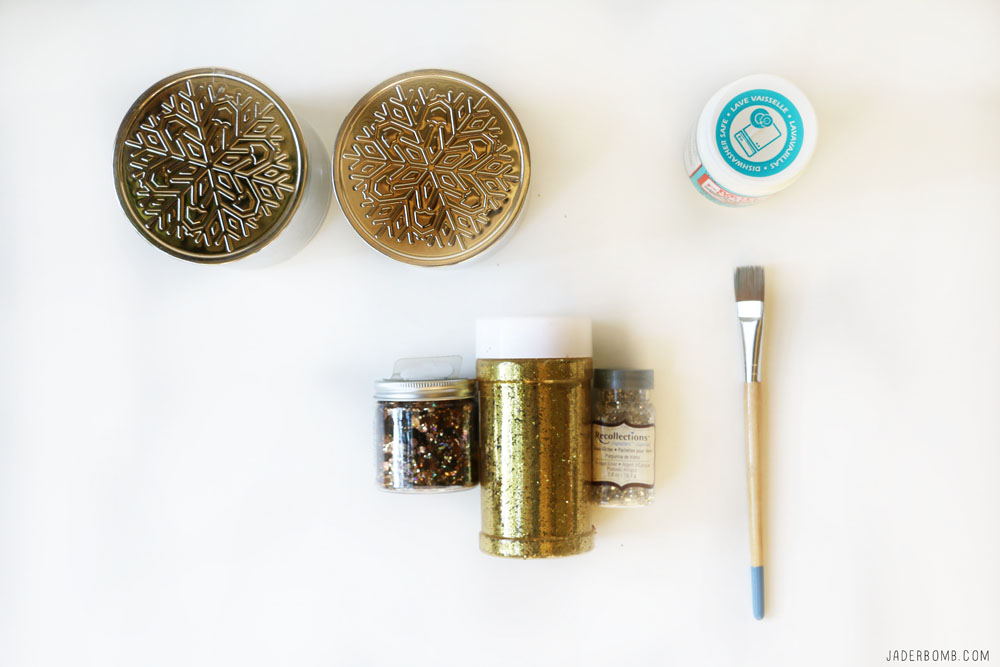
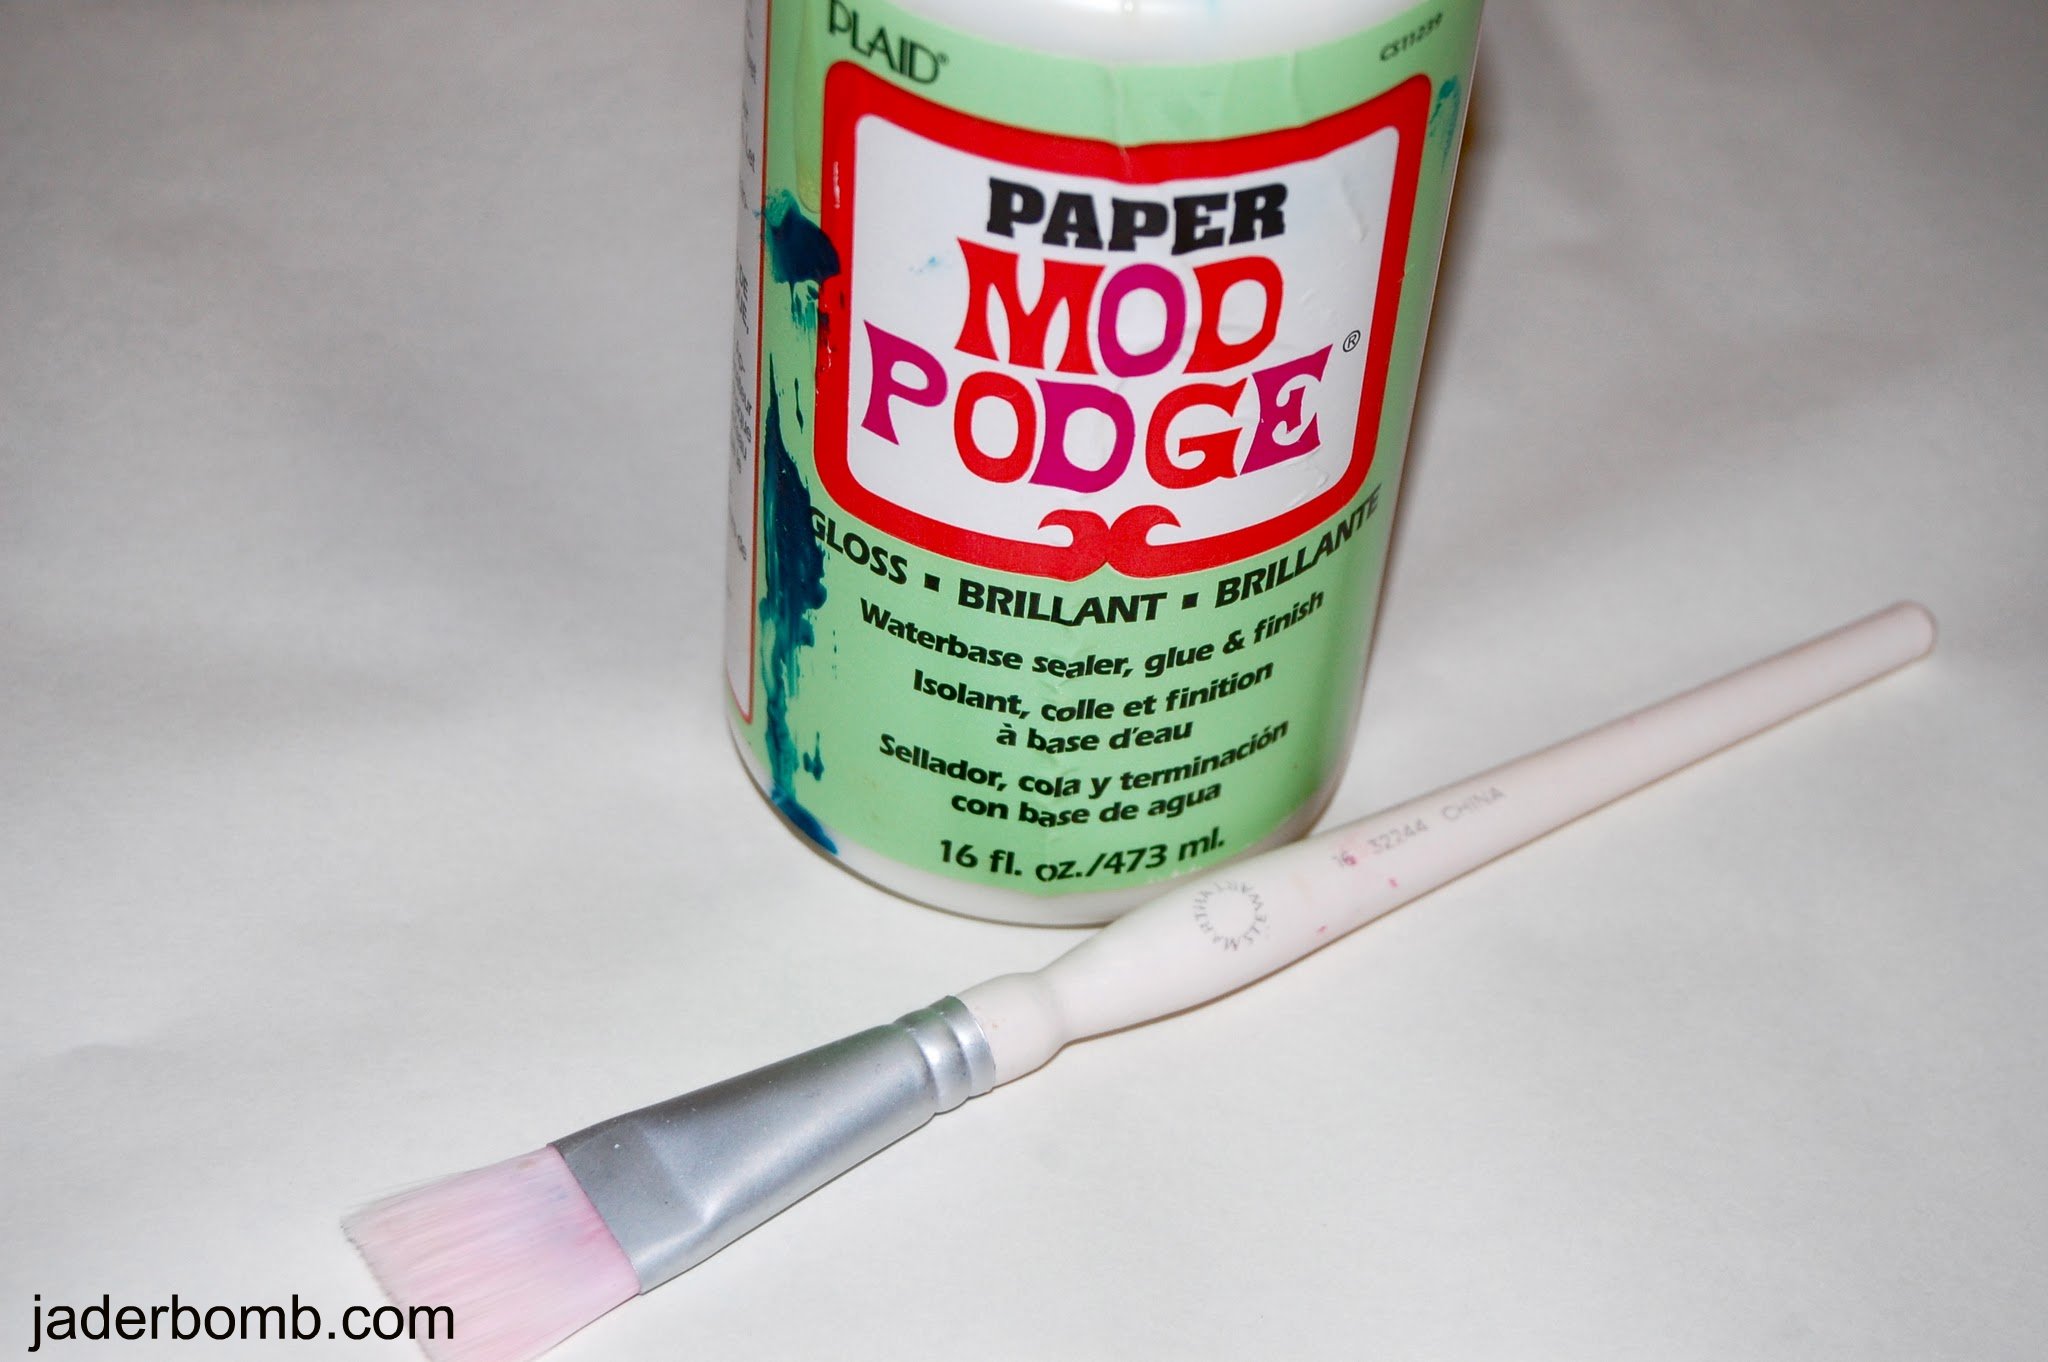
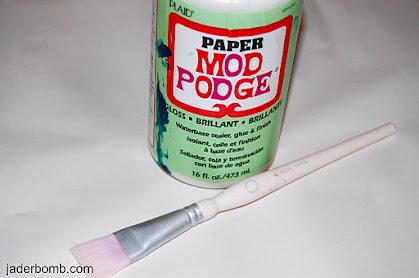
Glass Candles | Mod Podge | Glitter | Craft Brush | Lotsa Love ♥
easy-chrismas-candles

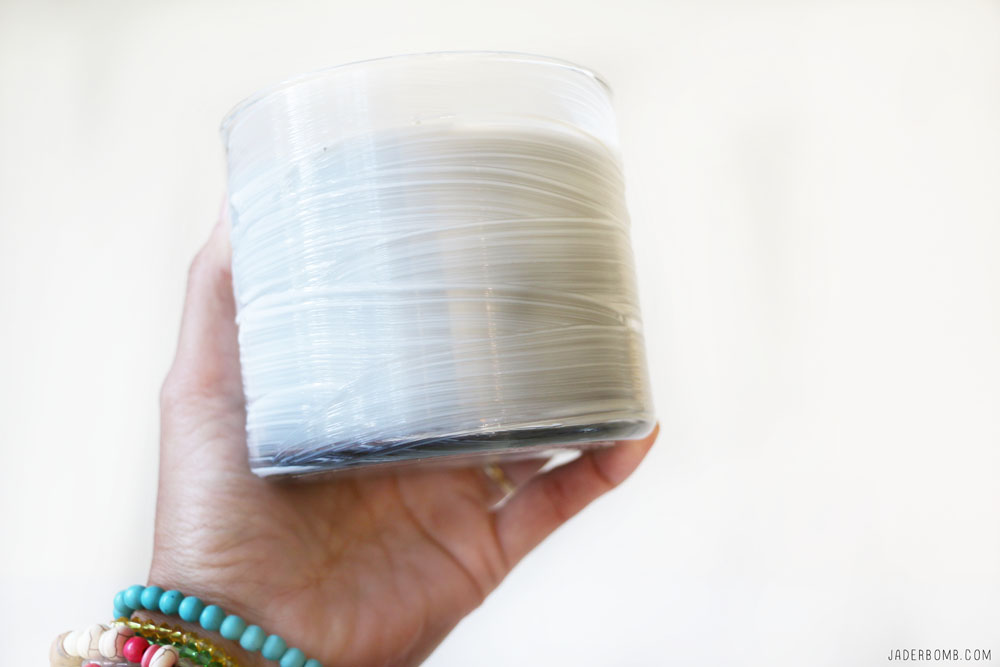
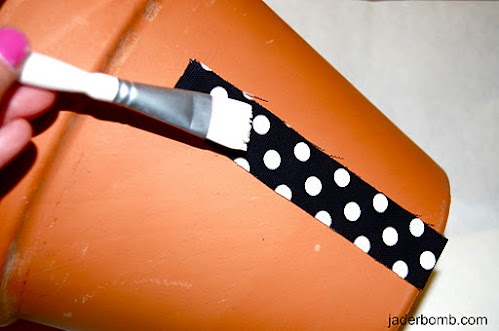
The first thing you will do is apply a generous amount of Mod Podge to the outside of the glass. It will be white and that is ok. If you do not put enough Mod Podge the glitter will not stick properly. 

how-to-mod-podge-glass

The next thing you will do is apply the glitter. Keep in mind there are so many varieties of glitter out there. If you use fine glitter it will adhere easily to the glass and if you use glass glitter you will need a lot of Mod Podge because the glass pieces are bigger and heavier. You do realize Glitter Candles are about to take over your life now!christmas-candles

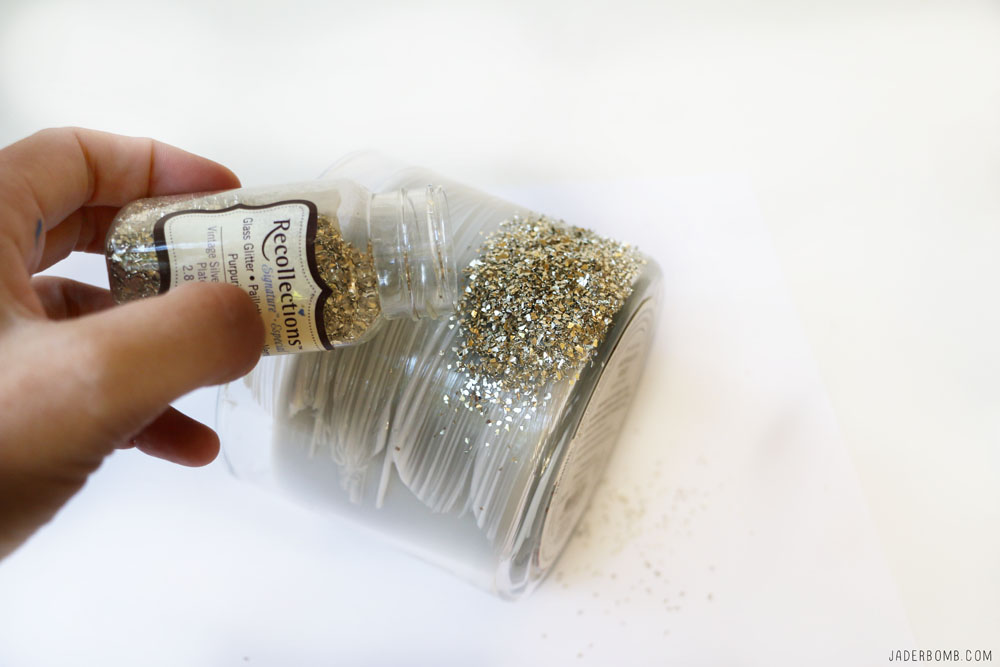
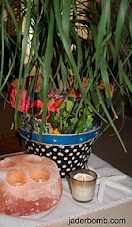
How beautiful are these Glitter Candles! You will love this project because you can dress up candles to suit your home decor and you will be shocked at how expensive they will look! We won’t tell anyone we got them on sale! 

I am always looking for ways to repurpose items that are somewhat plain. glittered-candles

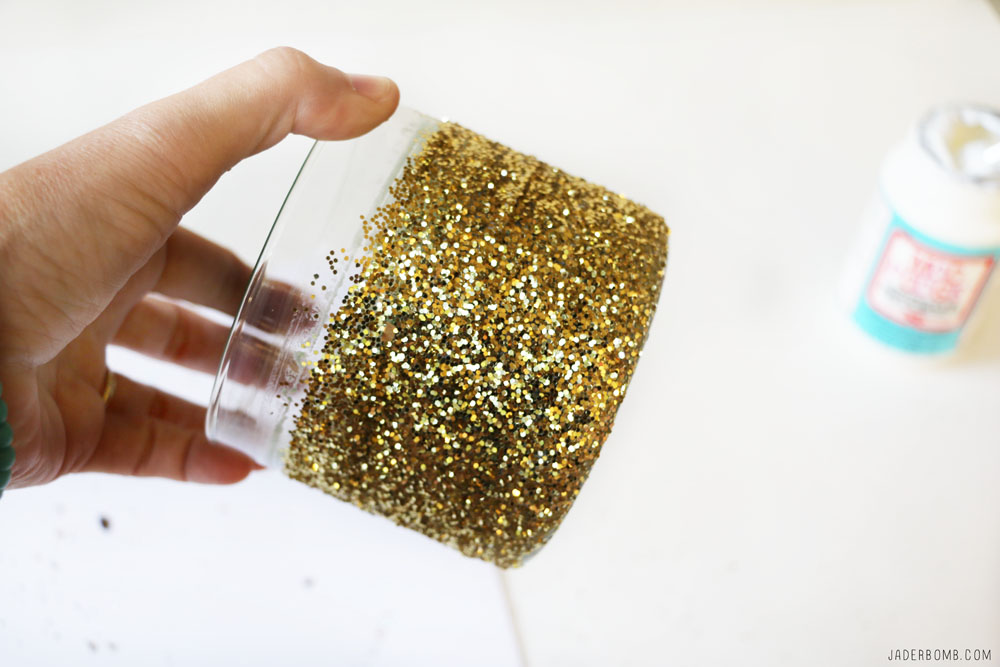
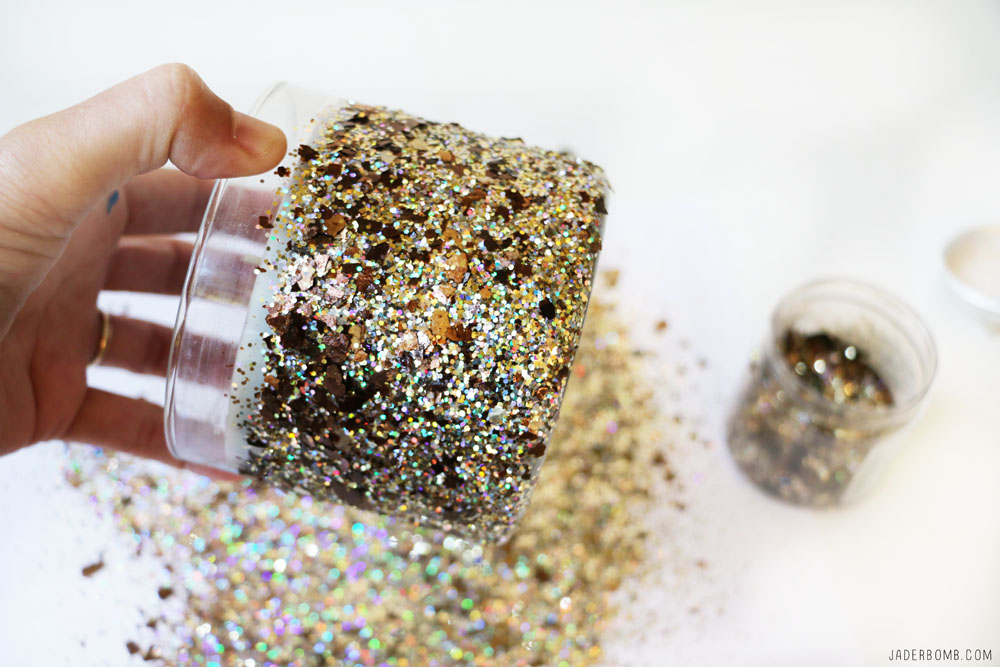
A great tip is to mix your glitters together and make your own blend! Once you add glitter, let them dry completely then add a layer of Mod Podge on top of the entire candle, this will seal your glitter to prevent it from shedding. Keep in mind your Mod Podge will dry clear in the end! 
how-to-glitter-candles

Looking for that perfect gift, you can purchase candles, follow my steps and coat the outside with glitter then give them away as gifts! You can create a DIY that they will not get from anyone else. By adding your special touch to them, it will make then much more personal!glittered-christmas-candles

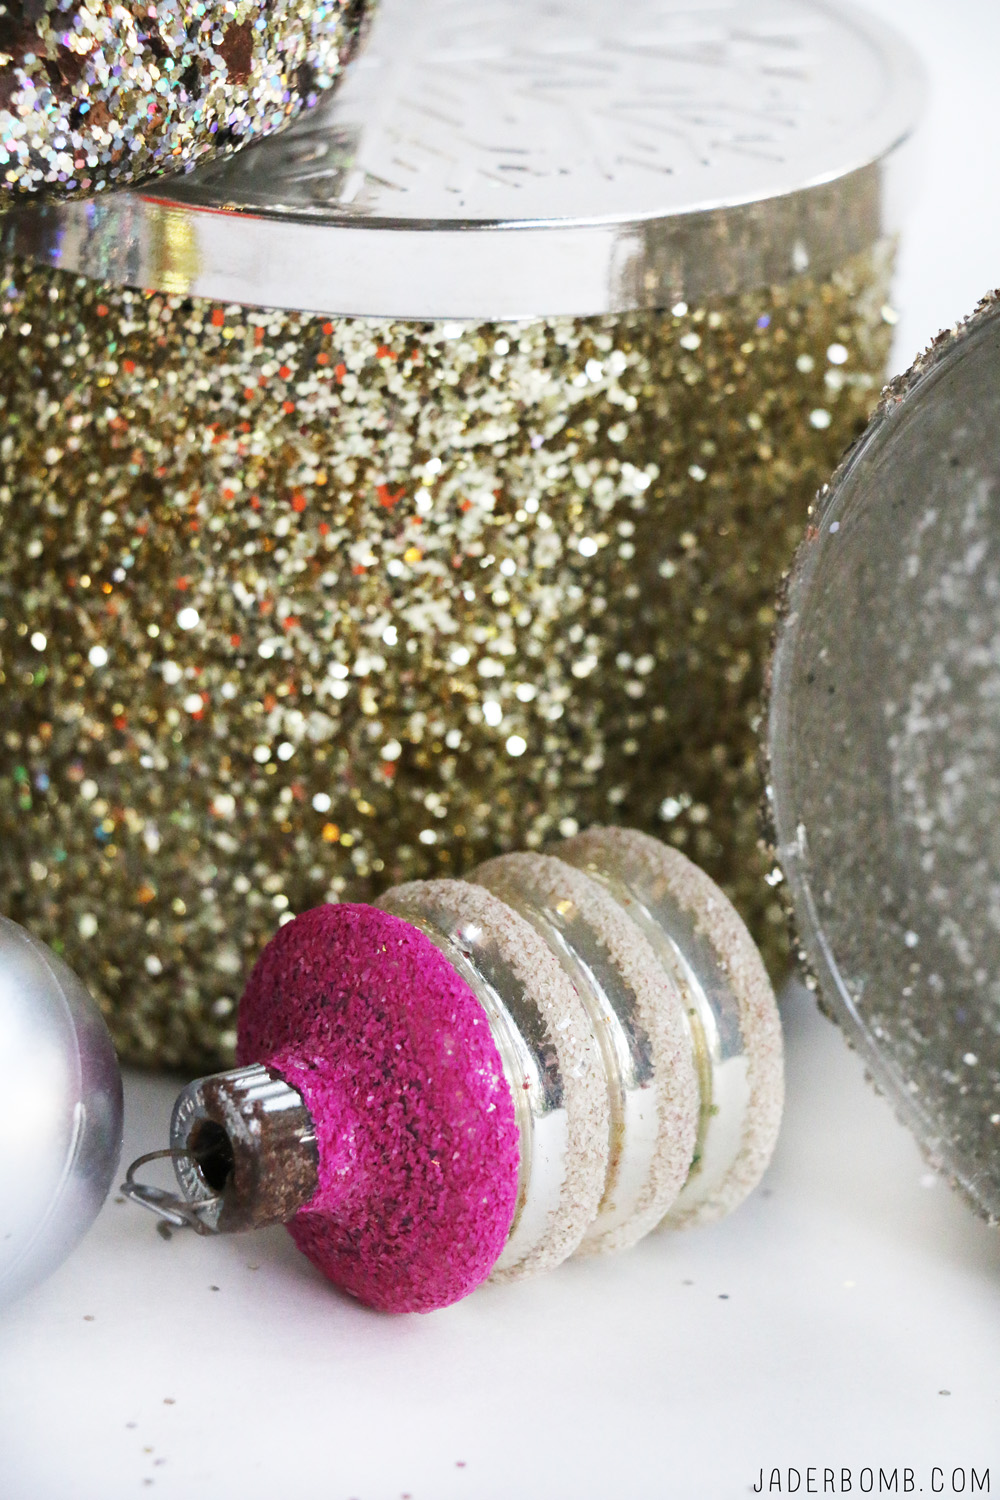
Who else is in love with vintage glass blown ornaments. I have a little shoe box of them that were given to me from a very important person so I take really good care of them. My goal is to collect enough over time to fill an entire tree. vintage-ornaments

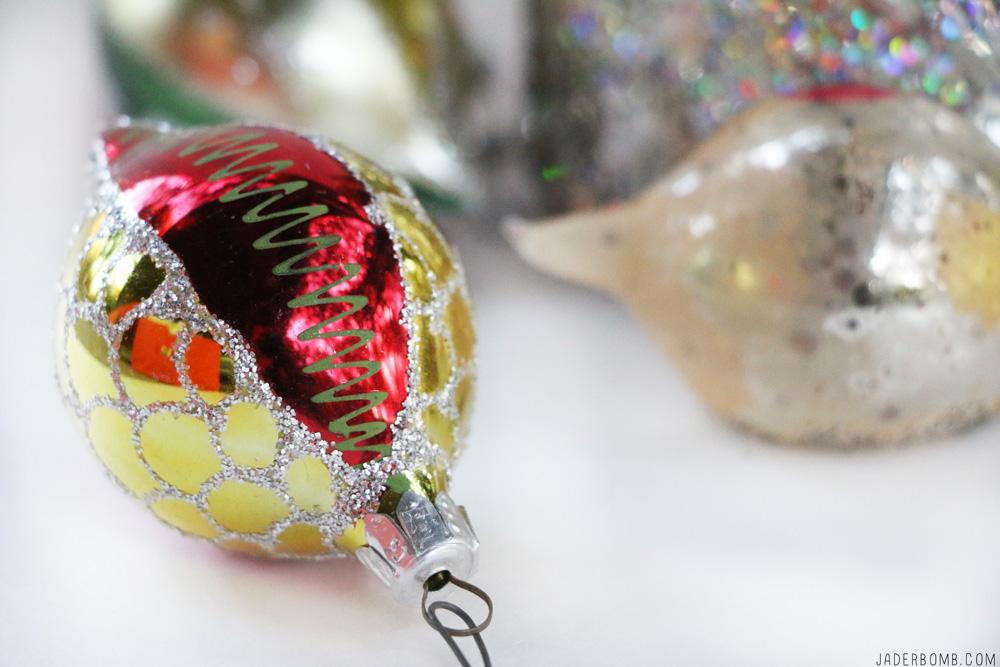
Don’t they look great all stacked together! Don’t forget to share these Glitter Candles with the world!mod-podge-glitter

easy-glittered-candless

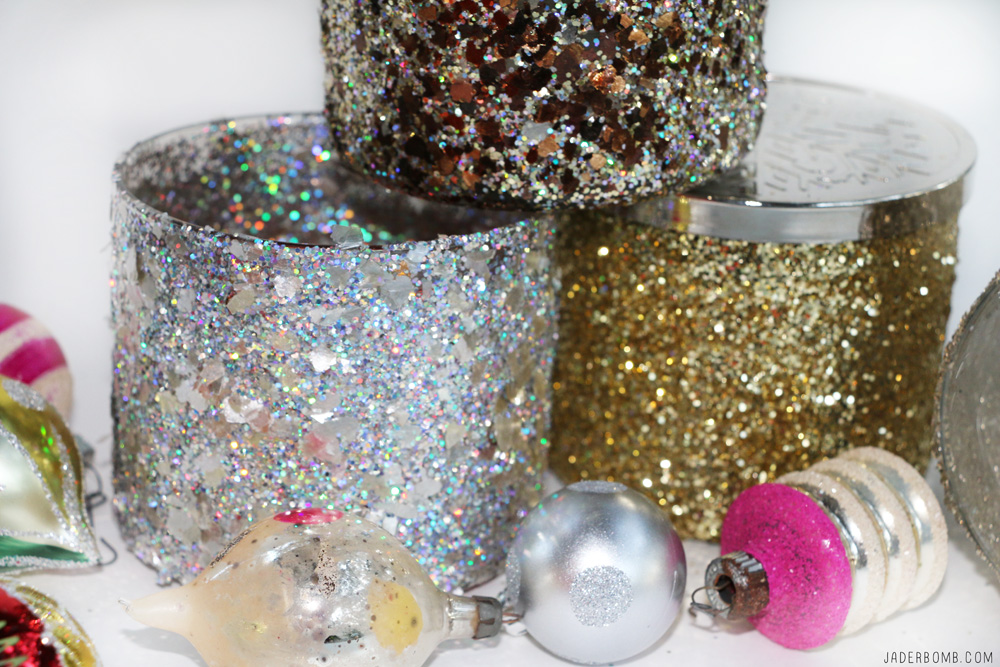
I hope you enjoyed this awesome post! See you later!

hashtag-logo-1

Don’t forget to follow me on all my Social Media spots! I get down and dirty on them. Fa real! Are you in love with Glittered Caneles yet?

FACEBOOK | INSTAGRAM | TWITTER | PINTEREST 


Hi. My name is Mod Podge.

What? You didn’t know that? Ok so my name is Jaderbomb but if I could create a “craft kid” I would totally name “it” Mod Podge. If you follow my blog then you should be familiar with this container of AWESOMENESS! Seriously. It’s like magic in a container. A really pretty container.

My friend Amy Anderson wrote this AMAZING book  Mod Podge Rocks! Decoupage Your World.

She is also the founder of the blog Mod Podge Rocks!

I remember the first time I used Mod Podge. I coated my paper and freaked out because it was completely white. Being the crafter that I am I never read the instructions which simply stated it dries clear. I actually started crying because it was a craft I was working on for a couple of days and was VERY happy with the way it turned out. I thought I ruined it (no fist pump insert here).

UNTIL THE NEXT MORNING.

When my eyes landed on the craft I think my heart skipped a beat and instead of being happy about how the project ended my brain immediately started thinking about what it could do next with Mod Podge.

This is where the addiction started.

If you have never used Mod Podge or you have but are not aware of just how much you can do with it, then this book is for you. It has over 40 projects teaching you different ways you can use Mod Podge. The crafts in this book are fun and creative.  There are a ton of techniques and tricks in the book to make your experience using Mod Podge AMAZING!


This here is my friend Amy Anderson! Isn’t she cute as a button. (hehe) I wanted to show you a sneak peak of some of the crafts in the book. These are just the ones that really got my attention so put your seatbelt’s on because we are about to Mod Podge the world!

Ok. Bottom line. This is the cutest thing since sliced bread. I love working with bottle caps because you can put fun images in the center and make them very unique. I bet you would of never thought a now and later wrapper would be this cute on a person, right! Amy always proves us all wrong!

I love this stool on the left. It’s a great way to dress up any room in your house!
Check out the puzzle message board. Perfect for everyone!


I love taking something I have and adding a special touch to it.

Decorate a vintage suitcase…

Dress up your personal space with this fun Christmas glass block…


I love that the book is a soft cover. It really makes it easy to tote around or use while crafting. It’s filled with 128 pages of awesome material. The book is broken up into sections like:

WEARABLES
HOME DECOR
& HOLIDAY

In the beginning of the book there is a quick run down on each Mod Podge Primer. This is very helpful if you are not all that familiar with the product. Even if you are familiar it’s a great refreshment course!

Here are a few different Mod Podge Primers:

GLOSS
MATTE
SATIN
HARD COAT
FABRIC (LOVE)
PAPER
OUTDOOR (HELLOOOO)
SPARKLE (HEAVEN IN A CONTAINER BTW)
and a very fun Mod Podge product called:
DIMENSIONAL MAGIC

I promise you when you get this book your brain will be FILLED with ideas!

 I know what your thinking. You need this book. Maybe for yourself or you might know someone who will fall in love with it also! I think YOU need it!

You can get Mod Podge Rocks! online HERE or get it at your local book store!

The good news is today you can WIN it!!!!!

One of my Jaderbugs will have this book in their possession very soon!!!!

GIVEAWAY TERMS:

I will be using Rafflecopter for this giveaway. You will have a couple of ways to win this book.

 The REQUIRED entry is this one. Tell me why you want to win the book. Leave your answer in the comment section of this post.

 If you really want to get more entries you can come back every day and write a new comment or tweet about it!  This giveaway is only open to US residents!

This giveaway will end next Saturday which is July 14th 2012.

Remember the ONLY required entry is leaving a comment, the rest are optional. But I promise if you do the rest you will have a better chance at winning! Share with your friends! We can always see who shares with social media outlets! Thanks Jaderbugs!

GOOD LUCK!!!


***Disclosure: I was supplied with the Mod Podge Rocks book for free but all my opinions are 100% honest***

a Rafflecopter giveaway

Happy Sunday Jaderbugs! I hope everyone is having a happy and peaceful day! Guess what! We bought a fish today.
{{insert a big ole yay}}

Just one more thing for ME to clean, haha! I really think it’s the prettiest fish I have ever seen. It’s obviously a Beta because let’s face it, I couldn’t keep anything else alive. How do I know? I have tried MANY a few times and never been successful. So, we get home with our fish and I notice all of this WHITE stuff all over it. I’m thinking wow Jade, you have had it for 3 hours and already gave it a bacteria infection. Just kidding, but I did look it up and it is an infection. They say (whoever “they” are) this happen’s from being in those little containers for so long and they don’t ever clean the water! I transfered it to a much bigger bowl, put shiny jewels at the bottom, stuck 2 big sand dollars in them and gave it tons of fresh water!

ALERT! ALERT! I wrote this post this afternoon and three hours after Free Willy came home… it DIED! I know, I can’t believe it either! Click HERE to see Free Willy.

Wer’e not sure what we are gonna name it yet but I’m thinking something like….Free Willy! What do ya think! I mean, I know it’s not a WHALE but I sure saved it’s butt!!!!

Now to the craft.

INGREDIENTS:

If you want to glitter your rock do this step before so you know how big it needs to be!

Make sure when you do this part that the wire it tight!

You know I am using my Martha Stewart glitter! It’s is by far my FAVORITE!!! I do a section then let it dry before I move on. You can glitter the whole thing at one time if you want to!

This is how your rock will start to look if you decide to “glitter” it!

I like to use a round object to “start” if off then use my finger to roll the rest

I LOVE MOD PODGE! My friend Amy’s new book just came out! Make sure to check it out! It has TON’S of amazing project’s in it. It’s called MOD PODGE ROCKS!

I love this picture! I feel like the rock and the picture go perfectly together!

Everything about this picture makes me smile!

Sending you ton’s and ton’s of big hugs!

Hey y’all!! Happy GOOD FRIDAY!!!
I am not quite sure how I am actually typing right now because I ate SO much crawfish today my fingers are FULL….I could just feel my stomach expanding as I slowly swallowed each and every yummy crawfish!

It’s almost Easter time and you know my motto “it’s never too late to get it done”… If you want to spice up some plastic eggs for your Easter table then get this craft done ASAP! Just don’t accidentally EAT one!!! ((haha))

You want to start by getting some PERFECT PLASTIC  eggs. I think these babies are around 2 dollors a bag!

I used four main ingredients for this project.
1.Mod Podge  (I get this from Michael’s Arts and Crafts) I brush the Mod Podge on the egg then sprinkle glitter so it dries on there!
2. Martha Stewart Glitter  (Just incase you have NEVER used this glitter now is the time! You will fall in love)
3.  Martha Stewart glitter glue set
4.  Martha Stewart brushes

These nuggets are amazing!

 I tell ya, these look so good I just want to take a bite out of one!

I hope everyone is STILL enjoying this wonderful FRIDAY night! Enjoy your “EASTER” weekend and come back tomorrow for MORE EASTER fun!

Giving you a BIG hug through the computer,

This post is brought to you Plaid’s Martha Stewart line of paint and stencils. I received product for this post. All opinions expressed are 100% mine. You can check out Plaid’s full Martha Stewart product line here

Happy Happy Happy Tirdsday…. (teehee) just joking! I have to tell ya, the creative juices have been working in overtime lately! I can’t seem to produce things as fast as they pass through my head. I am like, “head, stop it”, “where were you with all of these ideas 2 months ago”…. OH, I know I was kinda focused on my Martha Stewart  project. Do you remember that! If not check it out HERE.  It was such a massive project but at last, I finished it. I wanna say I passed with flying colors. {{fist pumping}}. I think Martha approved, hehe.

I went to Walmart the other day and got this awesome “Dr. Seuss ” looking plant. You know what I am talking about right? The Ponytail Palm. I found this cool site that gives you a little more information on it.  It is really “cartooooonie” looking which makes me really happy!

Let’s see what else is new…. OH Google friends is shutting down soon so if you were one of my followers on there you will have to find a new way to follow me. You can find me on Google+, or sign up for my RSS feed ( which means anytime I post something it will be sent to your email).  Either way is a great way to stay in touch! Of course you can find me on my facebook and twitter, and that is all on my website! 

Ok! I am ready to share this fun and random craft with ya!  OH I am sorta doing a MOD PODGE “paper” review because I have been having this one and never used it! I always use the gloss and sparkle one. This was a chance for me to finally try it out. Plus I wanted to see just how good the “paper one” worked on “fabric”. SO FAR SO GOOD!!!

Ingredients you will need are: fabric, scissors, hot glue gun, mod podge terra cotta pot, twine and a creative brain for 10 minutes! Don’t forget to check out my friends website! MOD PODGE ROCKS! It is SUPER fun and I am sure you will find a ton of things to do on it ! She is like the MOD PODGE queen… (at least in my eyes)

First thing we will do is grab our pot. I said “terra cotta” but you can really use ANY pot you have. I got this one at Wal-Mart for like…3 bucks!

So I know I said this was a new “Mod Podge” that I was reviewing but you might wonder why it’s FULL of blue paint. Well, because it has been living in my studio for quite some time and it has seen a few falls and spills near it! HAHA. Of course I am using my Martha Stewart brush! I have done MANY reviews on this product and let me tell you it is worth every penny! Did you know Mod Podge comes in tons of different ways. Here are a few!

I went in my fabric closet and found some fun colors that looked great next to each other. Personally I think black and white go with ANYTHING!

I had these little “jewel” stickers. I think they are made for scrap booking but I figured I would try them in a different way. I know you will love the end result! Oh, you can get some of these little babies at Michaels Art’s and Crafts!

Don’t forget to grab your hot glue gun and a pair of  “good” scissors. I used this glue gun and these scissors. Personally I like them the most and I have tried MANY before these landed in my hands! They were heaven sent! (thanks Martha) haha!

Start by cutting your fabric into strips and mod podge each one down. One at a time. It’s easy if you brush on top of your pot with the mod podge then place your strip down. Once it is down put a GOOD coat on top of it. Don’t worry if it looks really white, all Mod Podge dries CLEAR!

P.S. If you are using a fabric that has a print on it keep the strips next to each other so it “sorta” lines up when it’s all down.

This is what it will look like when you are done with the bottom. You want to do the bottom THEN the top. See, I told you it dries crazy clear! So pretty, right!

After you do the complete bottom, and it dries then you can start the top. Don’t worry, if they don’t match perfectly in the middle. We will be putting a strip of fabric there.

This is what it will look like full of Mod Podge and NO strip separating the two.

Look how pretty the top looks!! It’s crazy how this excites me! (craft geek)…After your top dries you will put a strip (whatever color or design you choose) in the middle to cover where they meet up. Use the same procedure.

Next thing we have to do is hot glue down our twine along the edges of the center strip. Be careful not to burn your fingers!!!

If you notice in the MIDDLE of the strip I hot glued the sticker jewels to it. It just adds that PERFECT touch to it!

And this my Jaderbugs is the final result. Our Pony Tail tree finally has a cute little home, for now. (haha) Don’t worry if you have little hot glue strings hanging out ALL over your pot. Once your fabric is COMPLETELY dry you can just rub it off. Obviously I took these pictures WAY before it was dry! HAHA

I hope everyone is dreaming of memories of their favorite pony tail they rocked at some point in time,


Petit Collage

 I totally fell in love with this craft once I started doing it. Sometimes I wonder if I am the only person who thinks of THOUSANDS of other things you can do while trying to finish one thing… haha (I think they listed that as ADDDDDDDD)

It’s ok cause this ADD is getting me to LOT’S of places! You can make this craft for a just about anything! I promise jaderbugs that when this countdown is over (in 9 day’s) I will start posting ALOT of JADERBOMB crafts that have been put on the back burner. Boy do I have a lot to show you!

This adorable animal collage has a charming vintage twist and is perfect for a child’s bedroom or playroom.

Tools and Materials
Owl or elephant template
Scissors
Assorted papers such as maps, bills, wrapping paper, book pages, wallpaper swatches, fabric,etc.
Mod Podge
Paint brush
Pushpin

Template is listed above for you.

Clip each template shape to a piece of decorative paper and cut out along lines.

Using the assembly key as a guide, adhere shapes to art board with Mod Podge, being sure to brush Mod Podge under and over the paper. Tip: To remove air bubbles, pierce with a pushpin and smooth.

Set aside until dry to the touch, and then finish with two additional coats of Mod Podge.

Hoping you get full of Mod Podge and enjoy every second of it, Jaderbomb

Here is the elephant template I used. Check out the designer of this template and craft at Petit Collage.com!

Check out Martha’s original craft HERE and you can purchase Martha Stewart’s Encyclopedia of Crafts here!

CLICK HERE TO WATCH VIDEO

(me on the show!)
Click HERE to read all about it!!!
 IF YOU DECIDE TO DO ANY OF THE CRAFTS, SHOOT ME AN EMAIL AND I WILL ATTACH  IT TO THE POST WITH A LINK THAT GOES STRAIT TO YOUR BLOG!  IF YOU DON’T HAVE A BLOG JUST EMAIL IT TO ME AND I WILL PUT IT UP!!!!
JADE@JADERBOMB.COM
Thanks to Martha Stewart crafts for sponsoring me with craft supplies!