Author Archives: jaderbombllc

About jaderbombllc

I am a Southern DIY blogger and Designer known for fearlessly conquering anything and everything do-it-yourself. I aim to create unique designs by working through my thoughts, dreams, emotions, and tons of glitter! I believe in doing things that make my heart flutter and smile, and I live by my motto, “Life is simple and so should your style.” To learn more about me, visit jaderbomb.com or email me at [email protected]. You can also visit my Etsy shop at jaderbomb.etsy.com. Make sure to check out my FREE PRINTABLES site www.freeprettyprintables.com My biggest accomplishment thus far is being a guest on the Martha Stewart show, yes she smells good. I love my dog Ceaux Ceaux, pens,the smell of Christmas, GOLD, Dr. Pepper and blogging. BTW: I bleed glitter, all shades.

The Simple Secret: How to Spray Paint like a Pro! 

Disclosure: This post is sponsored by HomeRight and contains affiliate links. All opinions are my own.

Hey y’all! It’s been a hot minute and I am so happy to hang out with y’all online today and show you how to spray paint like a pro! How many of you are in awe that Summer is already here? I woke up the other morning and freaked out when I realized it was May! Now let’s be real, I write dates down daily and I have been writing May down for some time now, but it REALLY hit me that it’s almost Summertime. I just pray I am not the only one who has these “realizations”, haha! How many of you are ready to see a spray paint shelter for small paint projects!

Don’t get me wrong I love Summer, said no one ever! Incase you didn’t know I live in the hottest place in the world. LOUISIANA. Who doesn’t love walking out of your house at 7 am and within 2 minutes your back is sweating and mosquitos are eating you alive. It’s ok because now I have a small spray shelter I can turn into a magical getaway with watermelon and fans, or I can just paint small projects in it! Let’s get started!

If you are anything like me then you love to transform lot’s of things with spray paint. I am super stoked to share this product with you! I usually grab something, plop it in the grass then spray away with my spray paint. Yep, overspray is all over the place when I am doing this. I won’t mention the time I spray painted too close to my car (insert eye roll).

This Small Spray Shelter from HomeRight is seriously the best thing to ensure that you won’t get overspray on anything! Did I mention how easy this baby is to set up? You just unzip the small package it comes in and magically watch it open up.

  • Set Up Anywhere
    This portable, lightweight Spray Shelter makes it easy to position on a tabletop, floor or workbench. It naturally pops up into position to be used almost instantly.
  • Spray Paint the Right Way
    The Small Spray Shelter is a tent-like structure that provides a safe area to spray paint or stain, and protects your surrounding area from overspray drift. It can be used with aerosol cans, airless paint sprayers, or HVLP sprayers like the Finish Max or Super Finish Max.
  • Sets Up Quickly
    In just a few simple steps, the Small Spray Shelter can be set up in your working area. That means there’s more time for painting!
  • Great for Small to Medium Projects
    This small, temporary Spray Shelter is perfect for spraying lamps, wood crates, home decor, and other accessories!
  • Contains Overspray Drift
    Designed to contain overspray by directing airflow away from your project. This provides greater protection for your piece and breathing area.
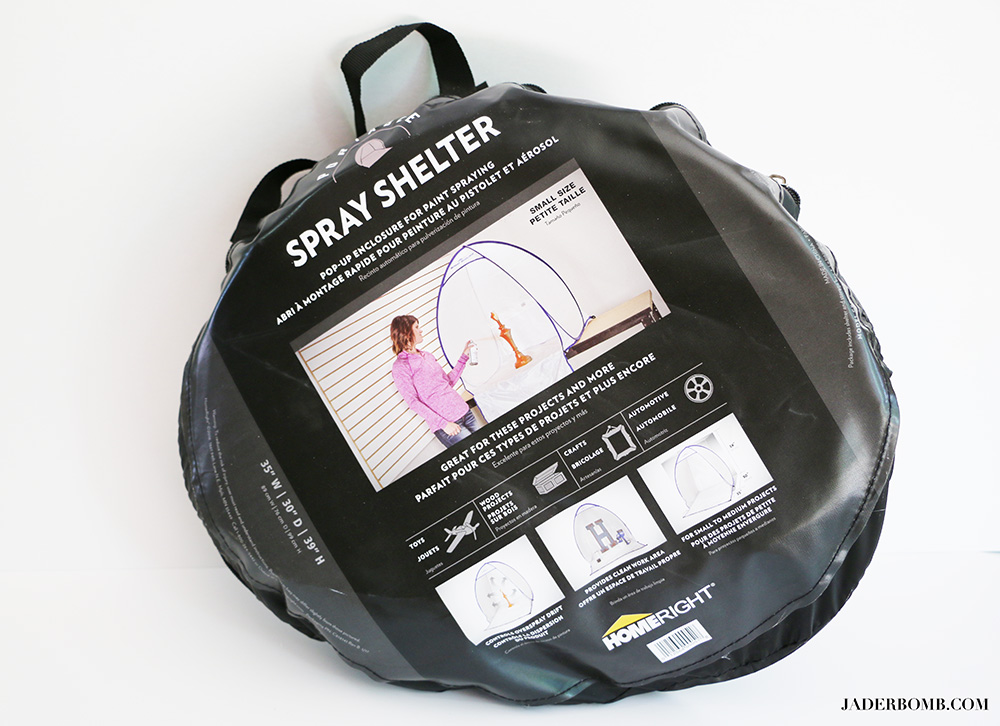
I was really impressed with the packaging and how easy it is to put back in the bag. It comes with two handles at the top making it easy to carry around from one spot to another. I won’t lie the first time I had to fold it back up I probably sacred my neighbor. If I had to guess I may have looked like a flamingo that was just learning to walk while stepping on and off a few balloons. Yes, I know sometimes this DIY life turns us into things we never knew we could be!

I thought I would be nice and save yourself from this embarrassment so you can click below to see this easy video showing you how to put it away when you are done with it!

Click here to see video

Today I will be showing you how to make some chic and cute Summertime flower pots that will look great on your front porch. Of course we will be using the spray shelter so let’s get started.

You will need:
Home Right Spray Shelter
Ceramic or Plastic Pots
Spray Paint
Painters Tape
Glitter (Optional)
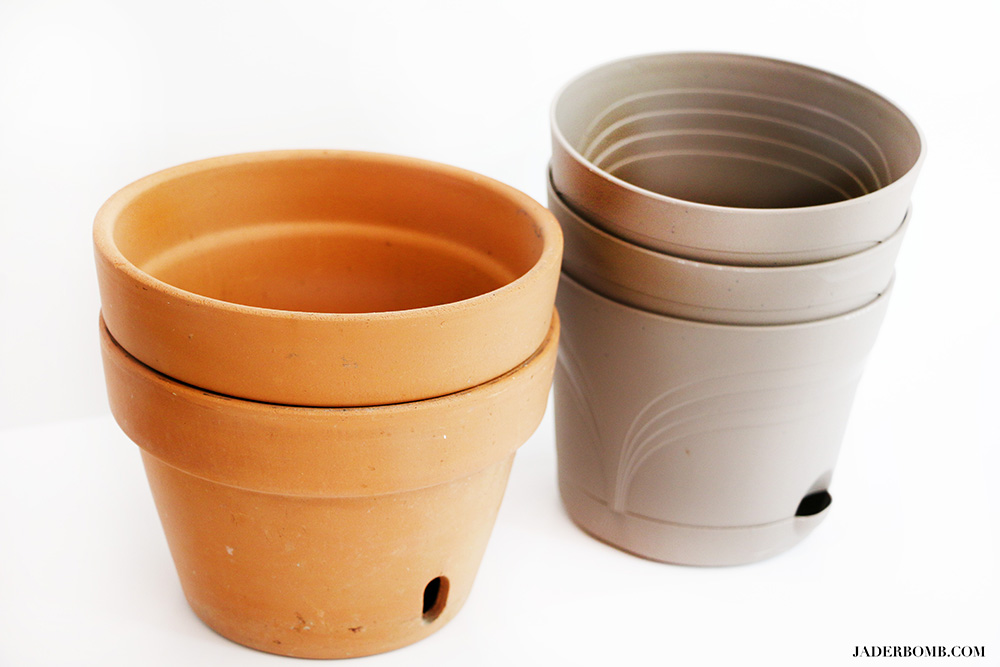
I wanted to mix up my pots by using some terra cotta and some plastic. It really doesn’t matter which ones you choose to use what’s important is to make sure you use the right spray paint. Your project will come out better if you use spray paint designed for plastic, so be aware of this before you start your project. 
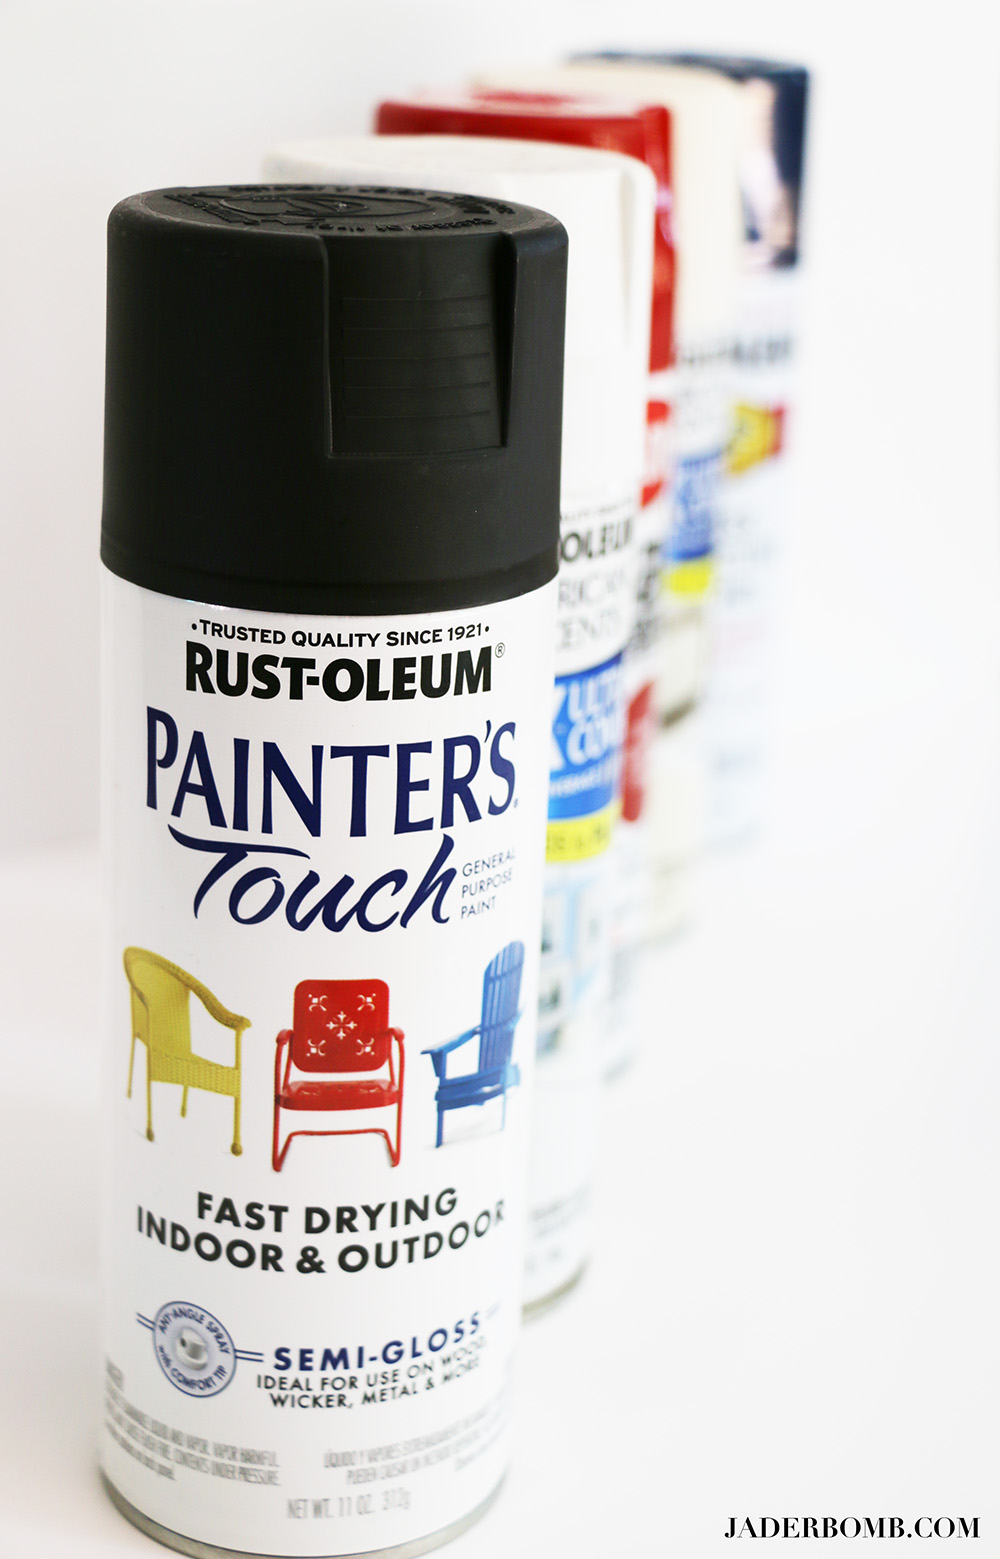
Now it’s time to have fun with your project. Get out all the colors you want to use because we will be doing some striping on our pots, which means we will use more than one color on a pot. I am officially ready to teach you how to spray paint like a pro? Who’s ready?
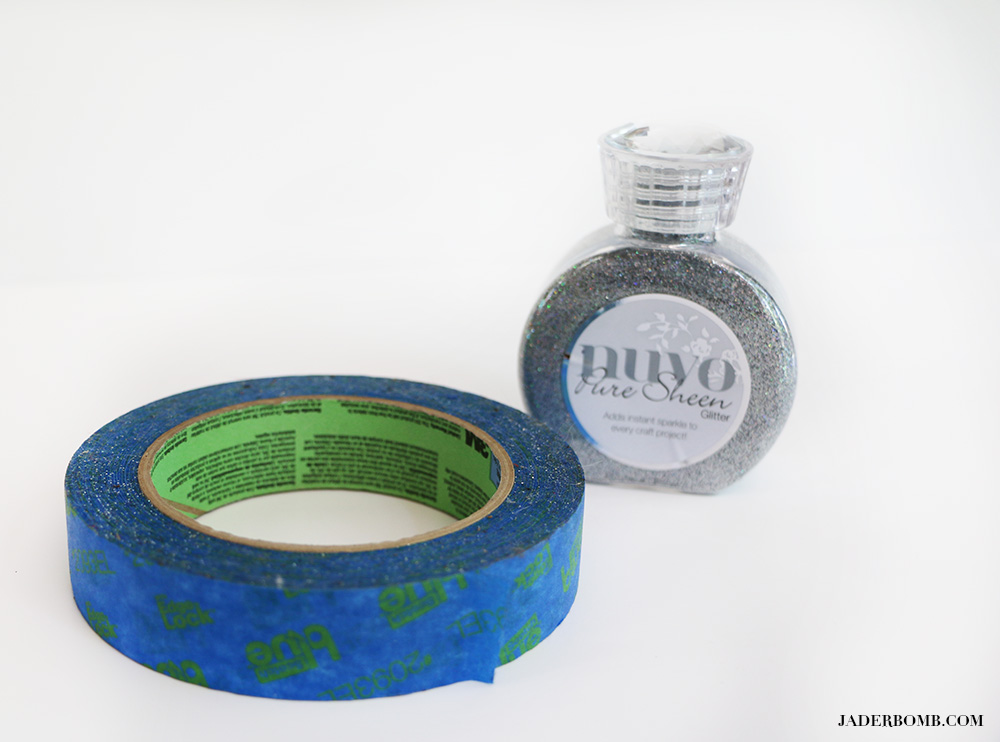
I suggest always using painters tape because it sticks nicely on the pots and is easy to peel off. I am going to be using a little glitter on some of my pots because, why not! Glitter makes everyone smile so I figured it could possibly make my plants smile too!
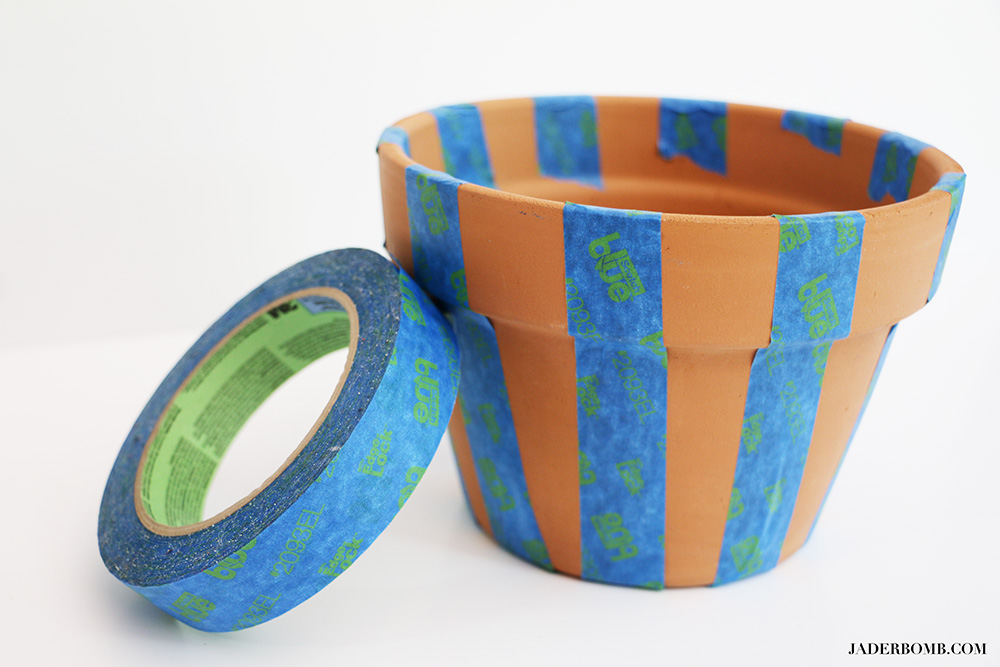
Step ONE: Clean off the outside of the pots to get off dirt and prep for spraying. Start by adding one strip of tape from top to bottom along the pot. Don’t be too hard on yourself, these tape lines do not have to be perfect. Once they are fully painted the lines look great!
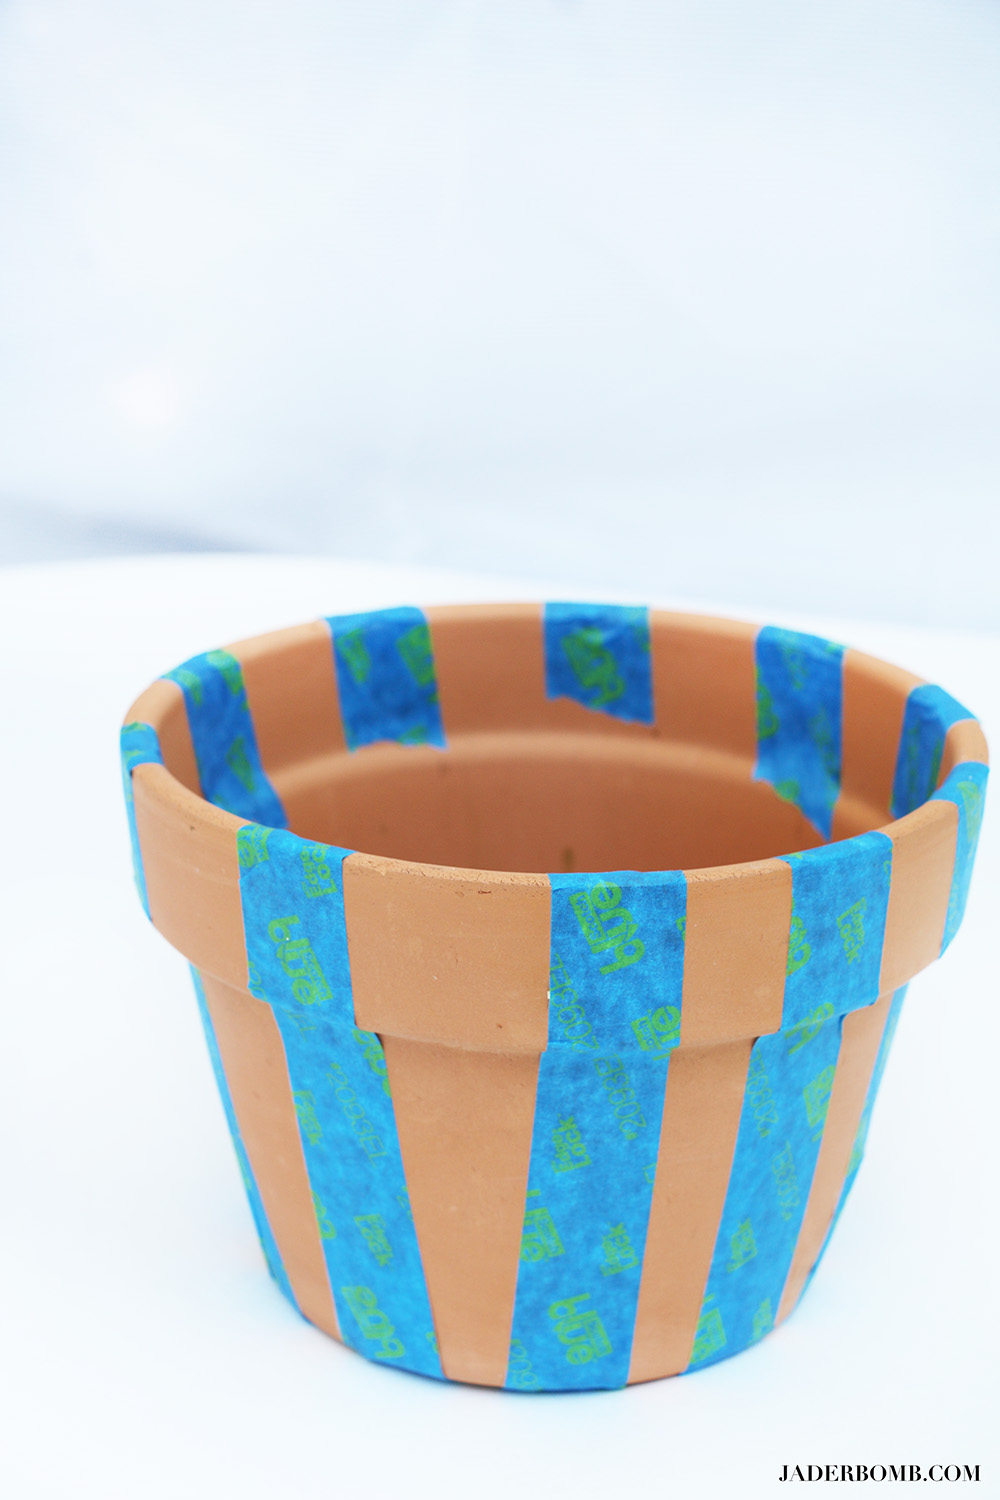
Step TWO: Once your pots are all taped up it’s time to paint them with your spray paint. I suggest placing a piece of cardboard or foam board on the base of the spray shelter so your pot is on a hard surface. It will prevent it from tipping over. Spray multiple light layers of spray paint until its fully coated. 
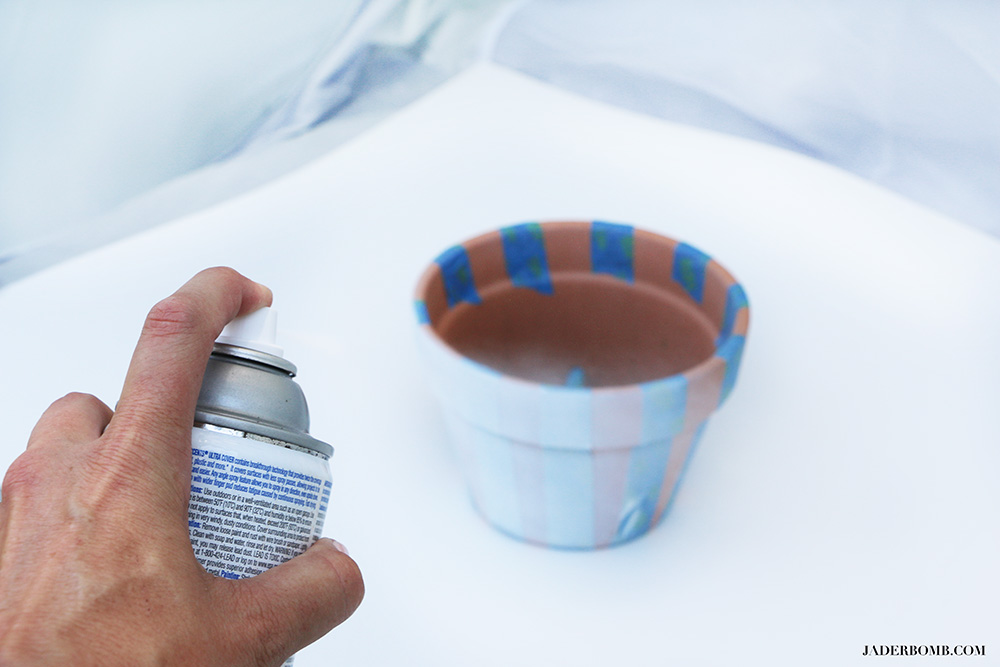
You can see below how the first layer of spray paint will look. Here is a good example of the size of the paint shelter. This is a medium sized pot and there is still an ample amount of room left! I placed a lamp in here and it barely took up half of the space.

Here are a few projects I used spray paint for and boy I wish I had this spray shelter!

Check out this paper towel holder and this glass vase!
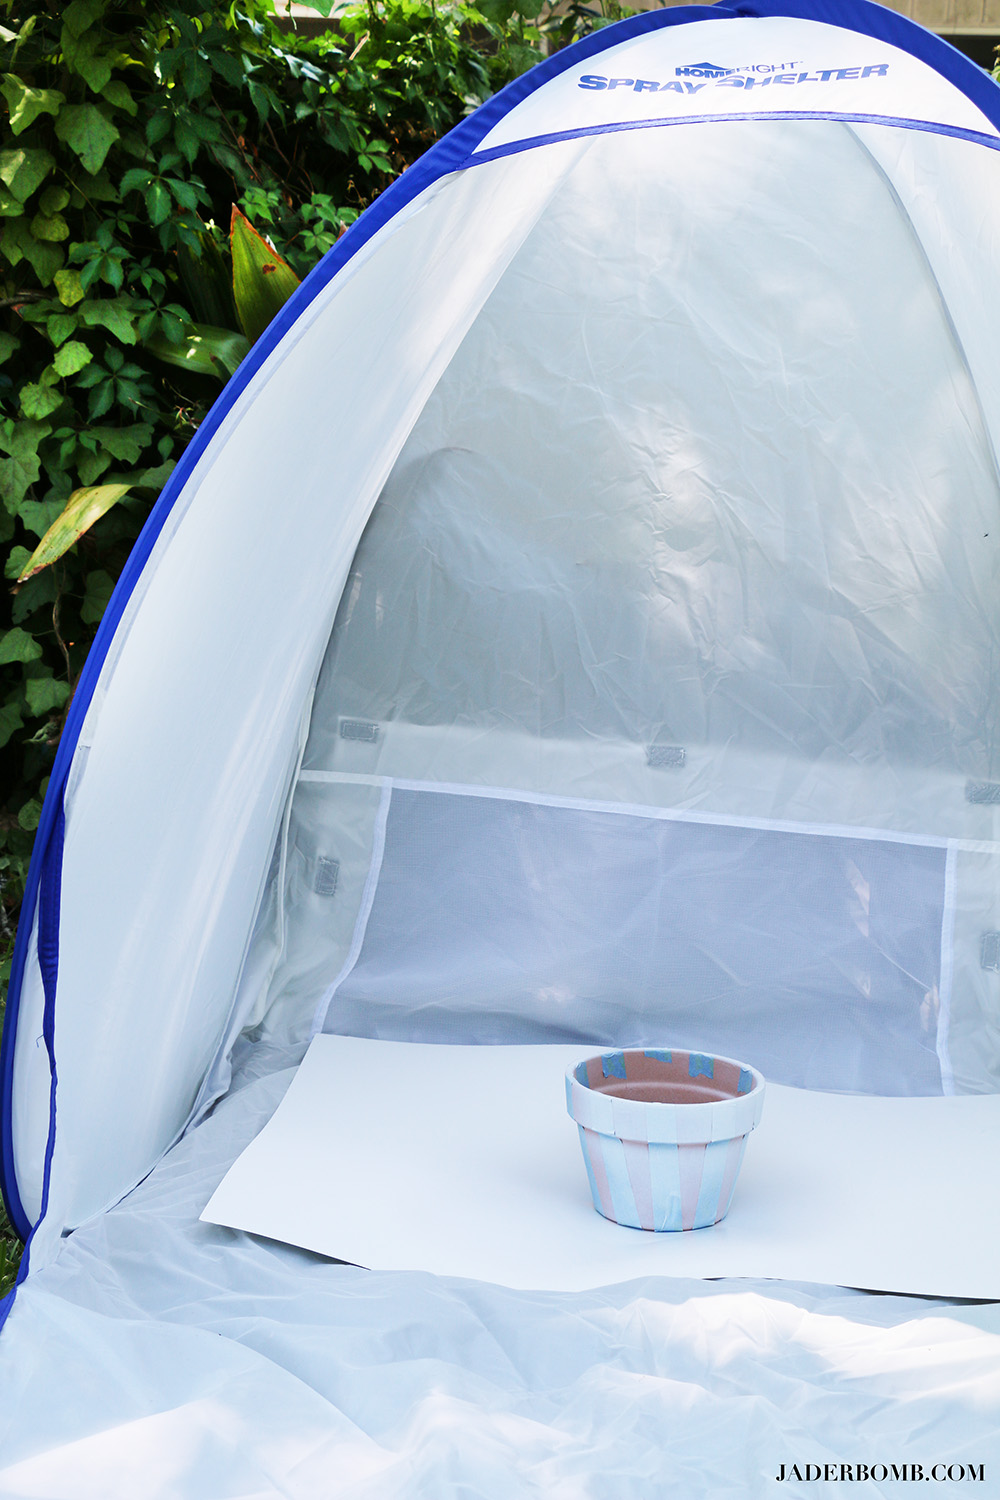
Step THREE: Let it sit for a hot minute until it’s fully dry.

You can see below how the white looks once you put spray about 4 coats of spray paint on it.
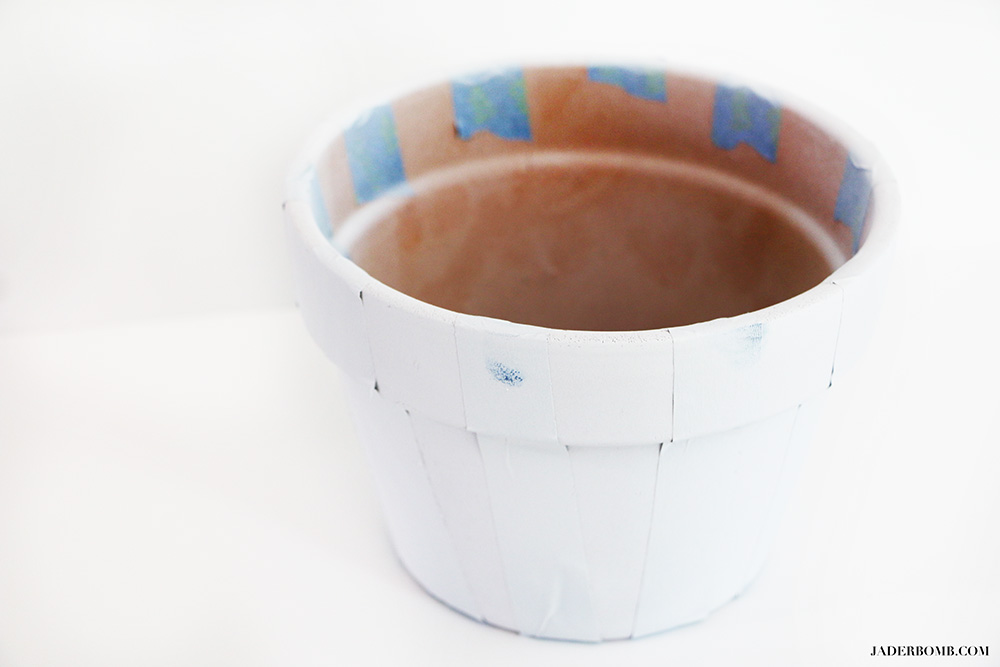
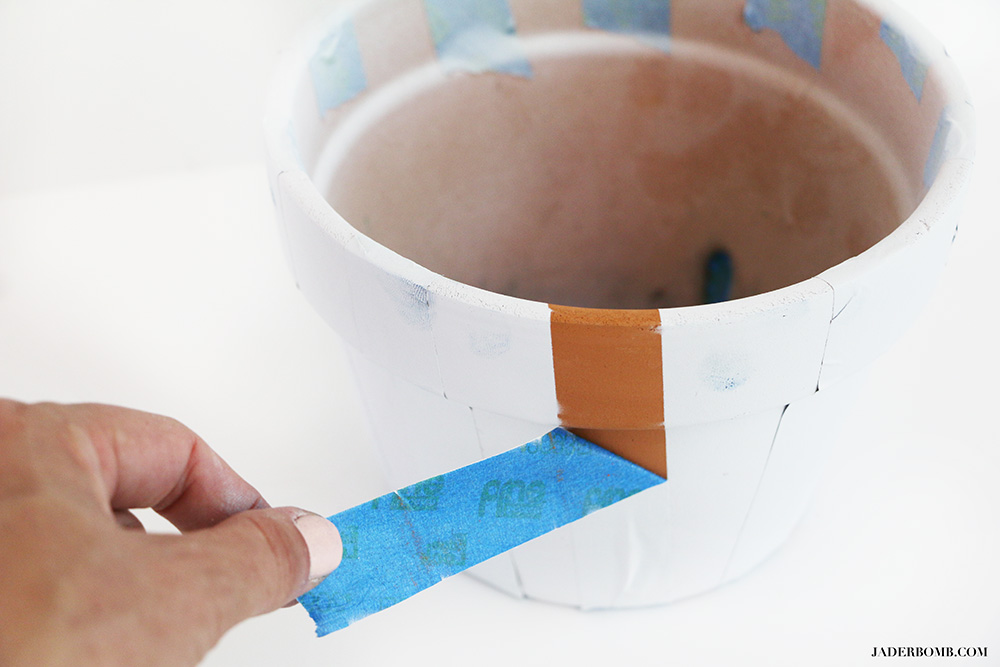
Step FOUR: Once it’s dry carefully peel off the tape. Don’t fret if some of the white bled under the tape. In the end it will look very vintage when you add your plants. 
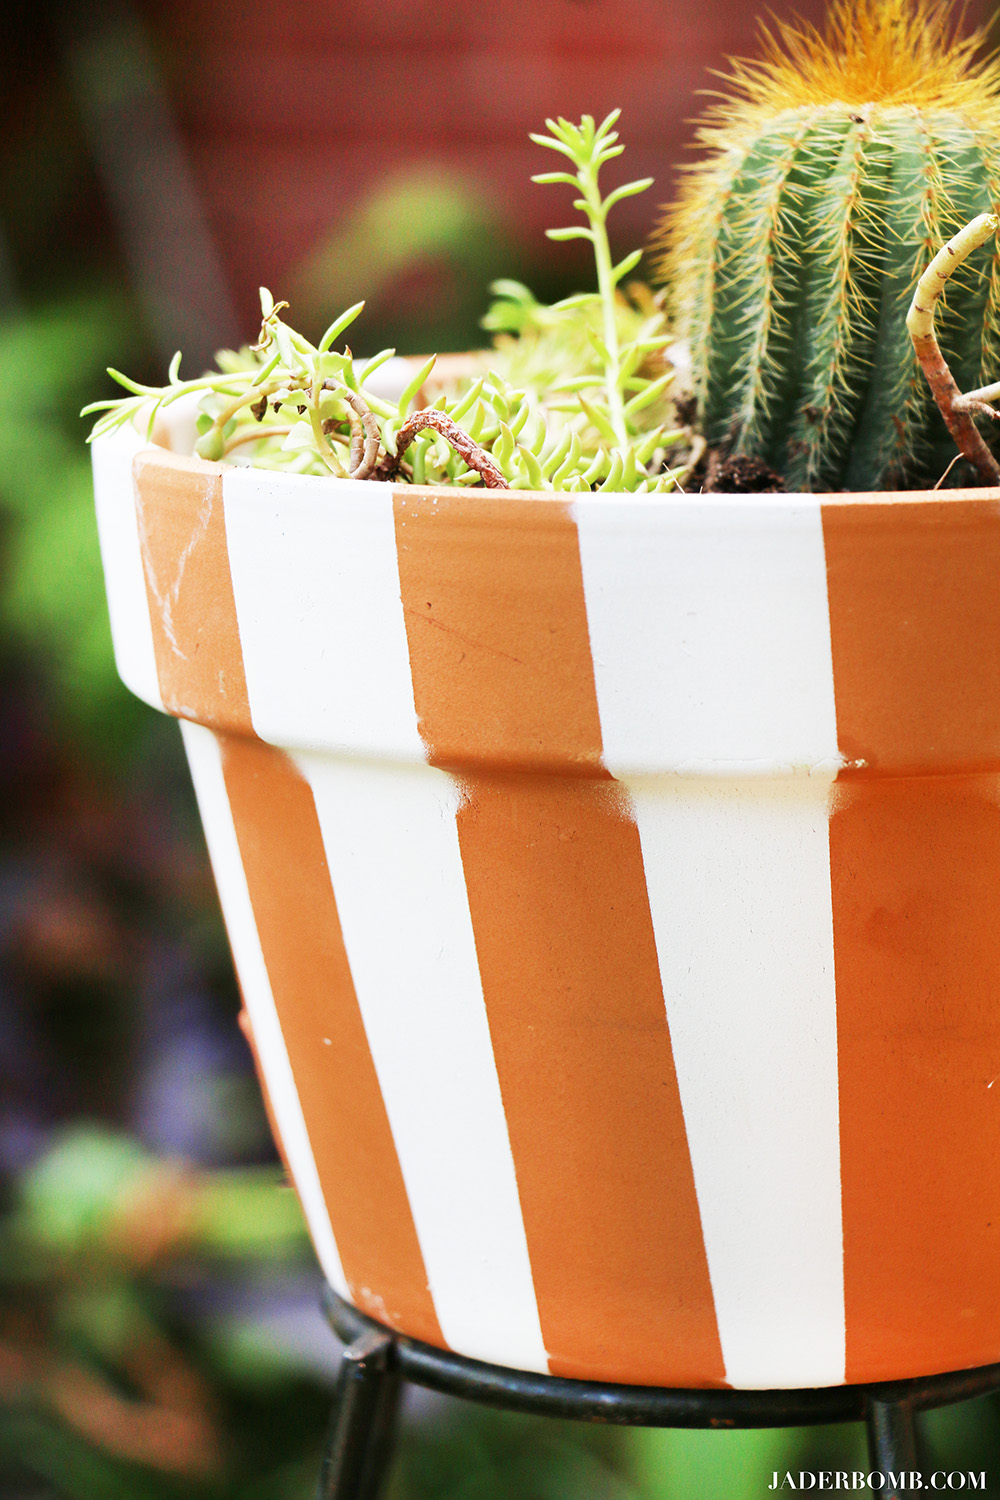
Now that you know how to make these pots you can get busy with tons of other colored pots. I am seriously loving the look of the natural terra cotta and white! 
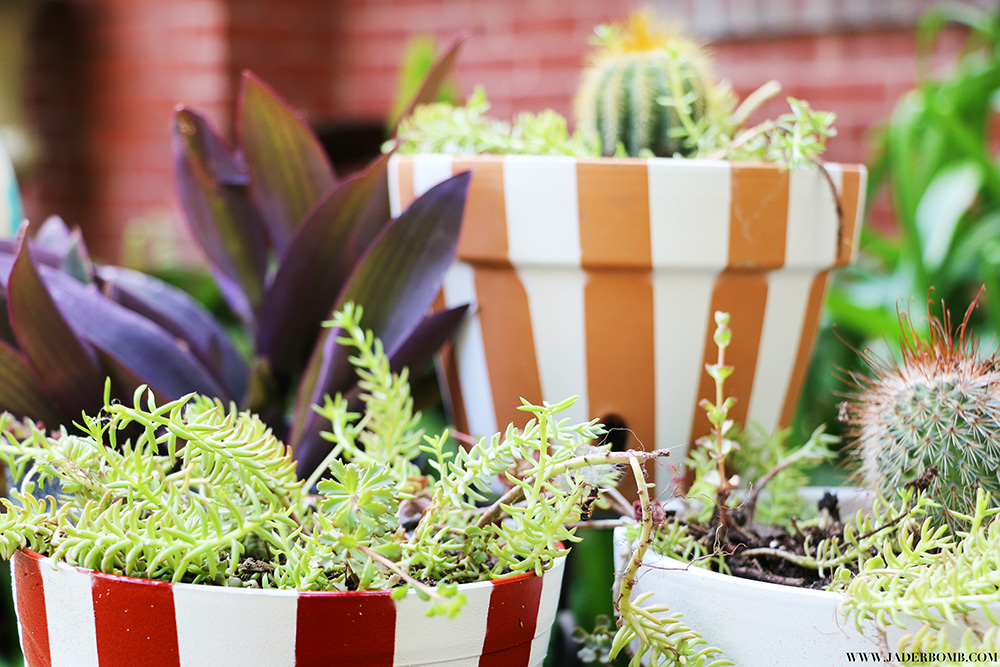
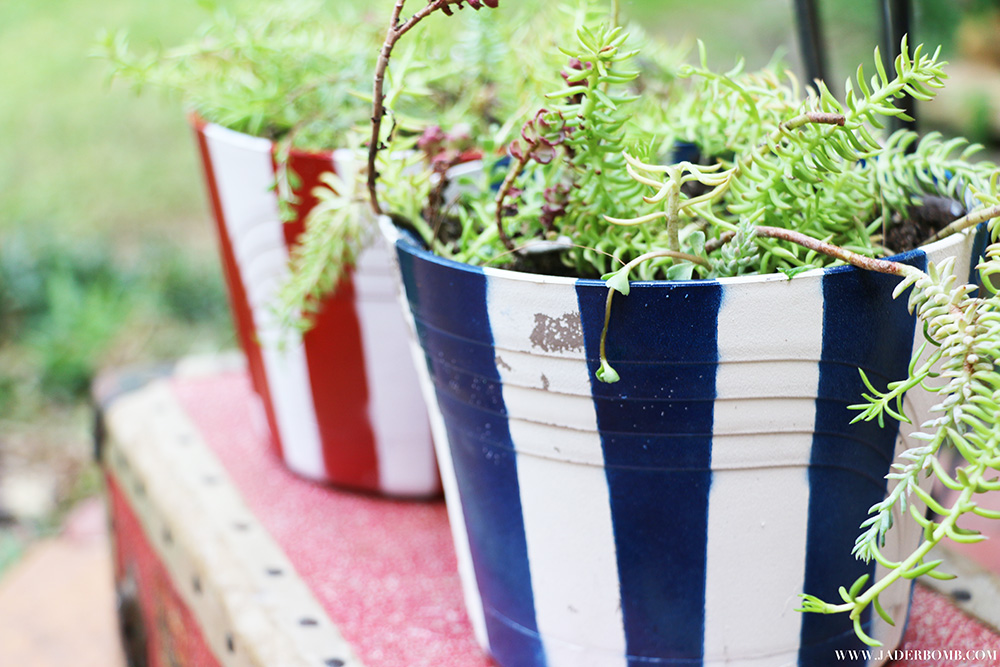
For the red and white ones I painted the pots all red, let them dry then applied tape to them and painted them white. When you peel off this paint it’s like circus heaven! I find these all look sorta like 4th of July pots!
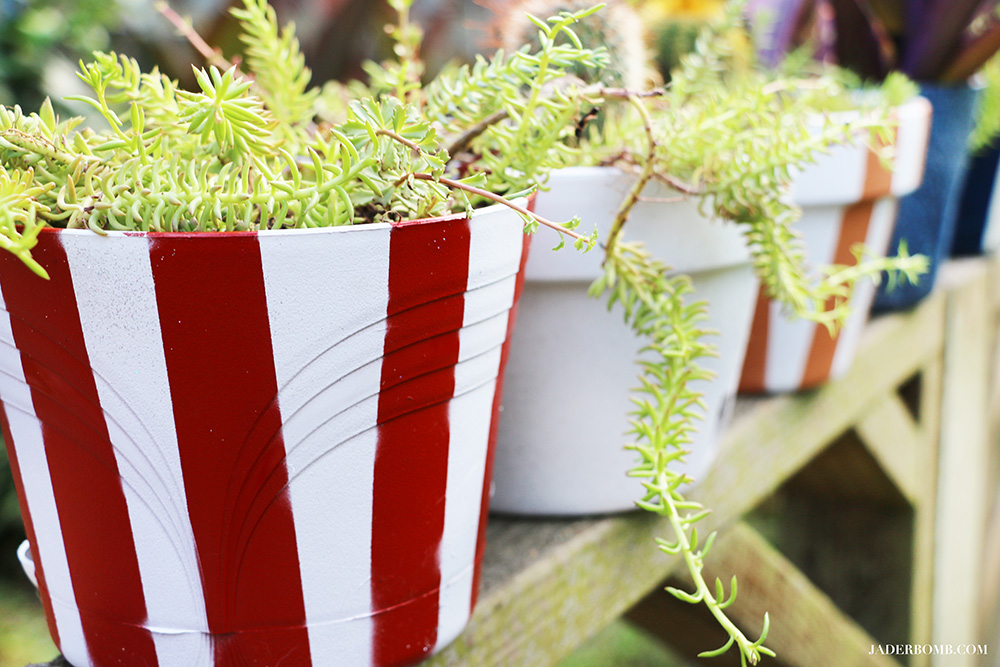
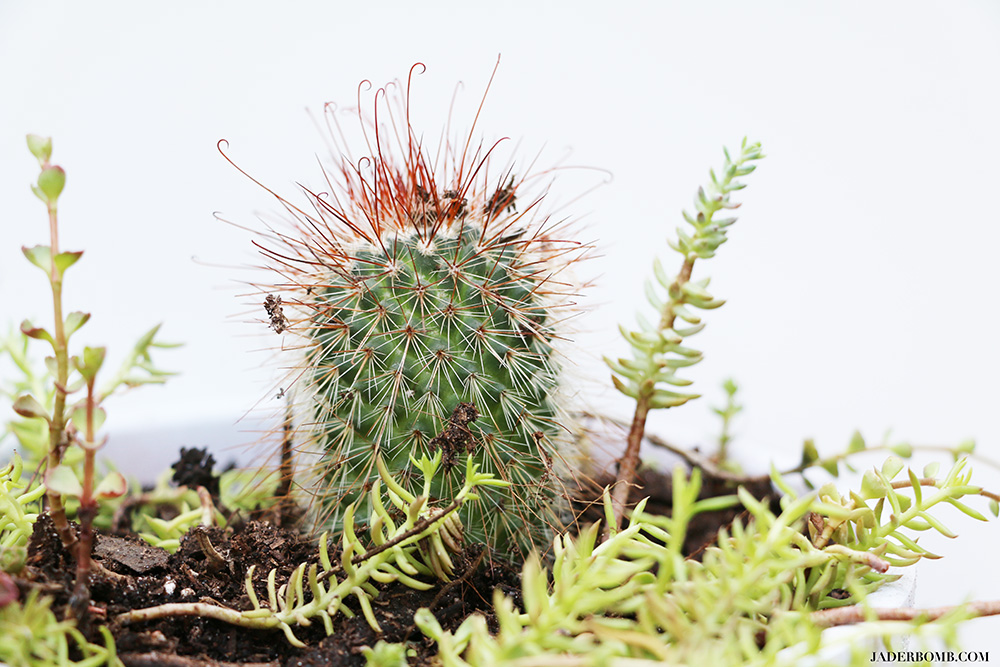
I decided to plant cacti and wax plants so they could last a while. For some strange reason I can’t seem to keep anything alive except plants that require low maintenance, go figure. 
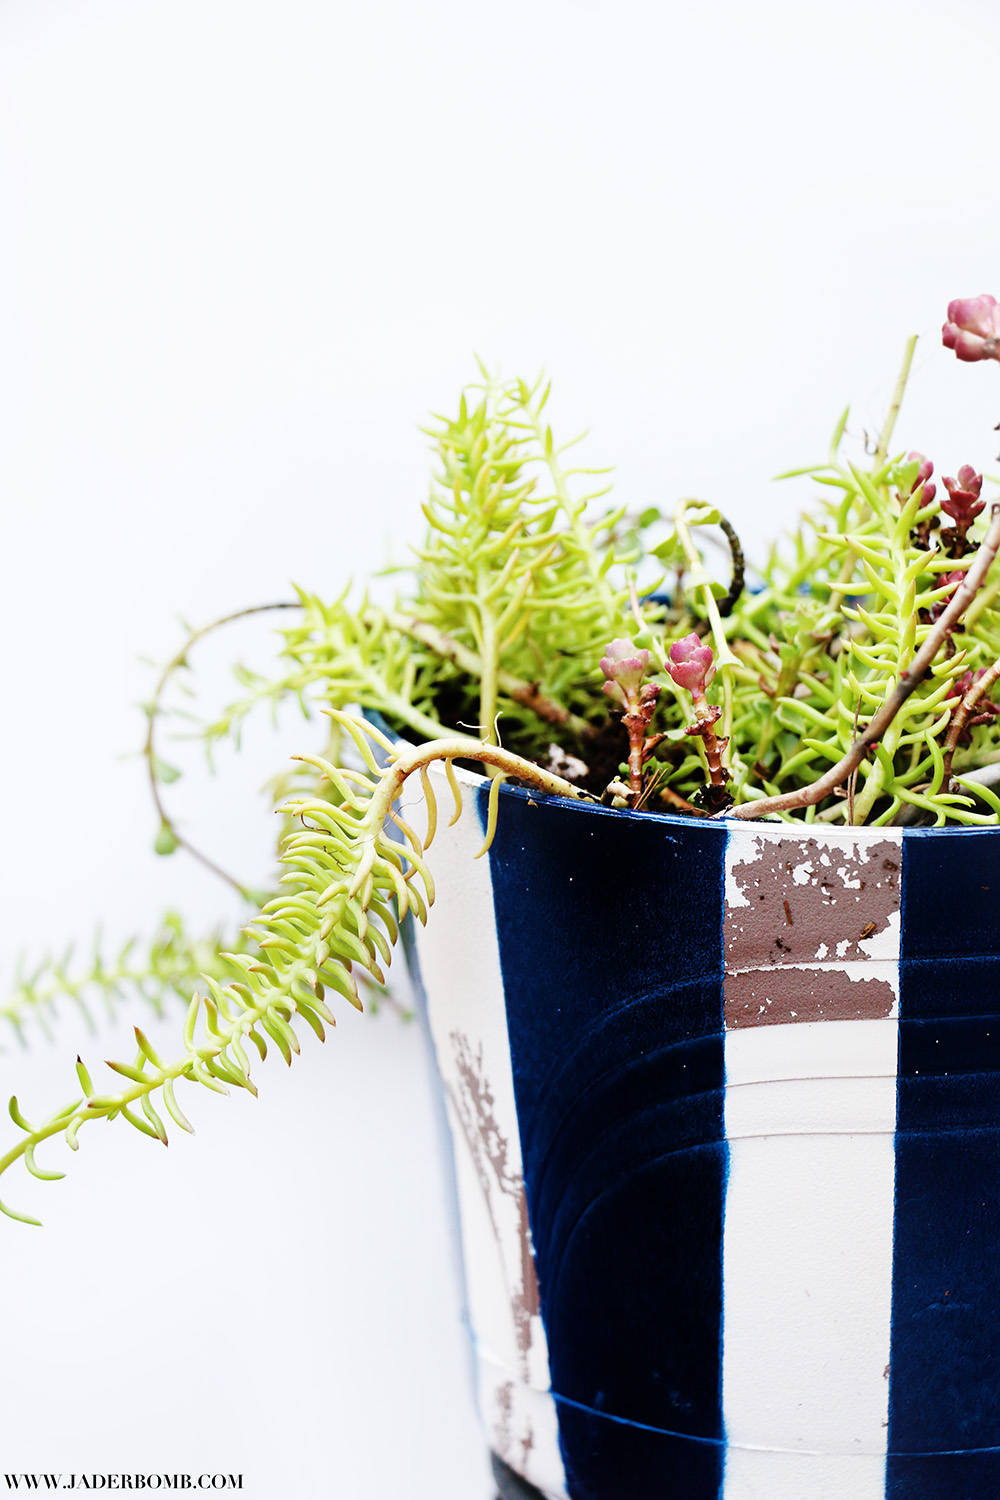
I wanted the blue and white to look a little distressed so I put the painters tape on the pot before the white was completely dry then peeled it off before the blue was completely dry. Kinda reminds me of denim!
How darling are these babies!  This spray paint shelter for small projects is the perfect thing to have on hand, trust me! If you have enough room in your garage or covered spot you can keep it up year round! Maybe put a cat bed in it for a mini house when you are not using it, haha!!! 
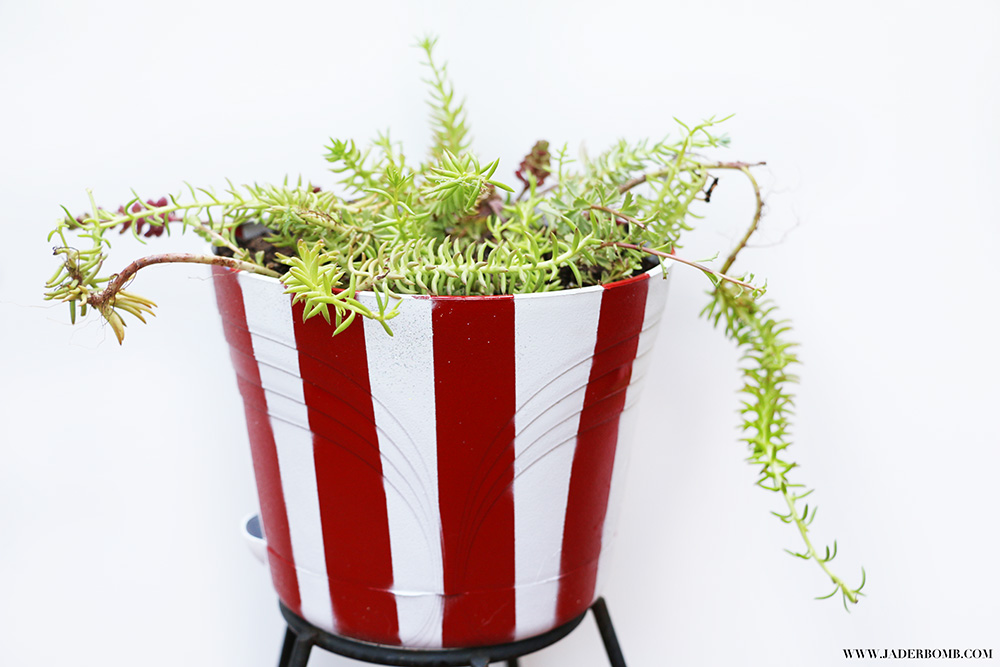
I say one is my favorite until I look at another one then I go back to square one, confused! HAHA! I have officially showed you How to Spray Paint like a Pro, and I can’t wait to see what you create using your spray shelter! 
I hope you enjoyed this post! Can you imagine what a bunch of rainbow ones would look like all together with stripes. Make sure to hop on over to the Home Right website so check out all of their products and projects! You can also find them here on FacebookTwitterInstagram, and Pinterest.

Don’t forget to follow me on all of my social media channels because I love all of you to pieces!!!!

FACEBOOK | INSTAGRAMTWITTER PINTEREST 


The Simple Secret to a Decorating Your Front Door! 

Hey Friends, Happy Thursday. I have sorta been “MIA” for a few weeks and I have a perfectly good reason! LIFE! Yes that is exactly what is going down… It’s funny how one thing happens in your life then next thing you know something else happens and then you are a month absent on your blog, SMH!

Today’s roundup is full of happy and fun doormats that are all done by someone but made easy because they are ready for you to purchase them! Sure you can make all of these if you really wanted but somedays it is just easier to click “BUY”, can I get an amen! So let’s get started because you need to get one of these rad mats for your front door!

Don’t forget to write in the comment section which one is your favorite one, I might be doing a GIVEAWAY!

Let’s GO!

Where To Find The Cutest Doormats

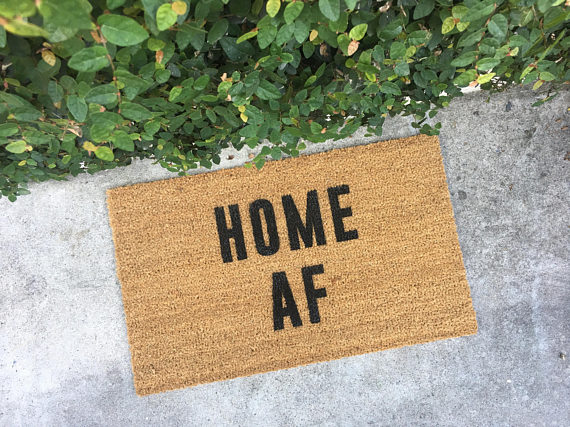
“Home AF” Doormat (via Shop Josie B)

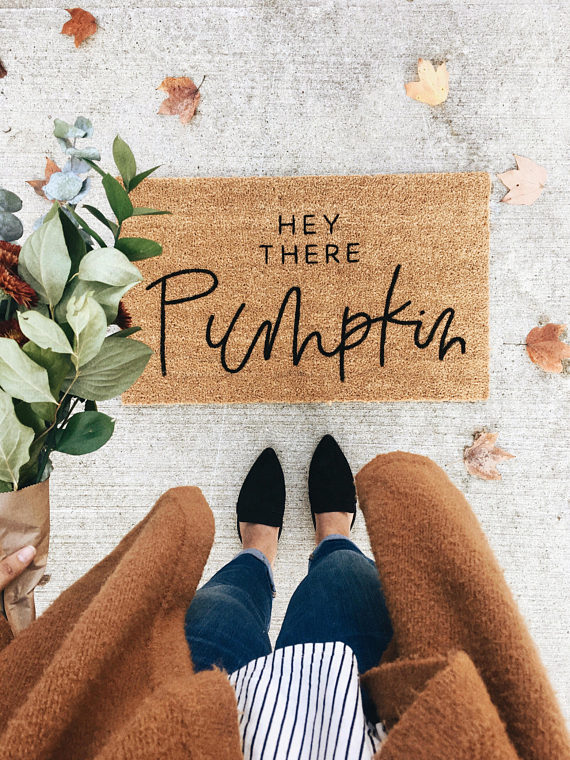
“Hey there Pumpkin” Doormat (via OlivePaperCompany)

“Gangta’s Paradise” Doormat (via foxandcloverboutique)

“Hit me baby one more time” Doormat (via foxandcloverboutique)

“Come back when you have Tacos & Booze” Doormat (via foxandcloverboutique)

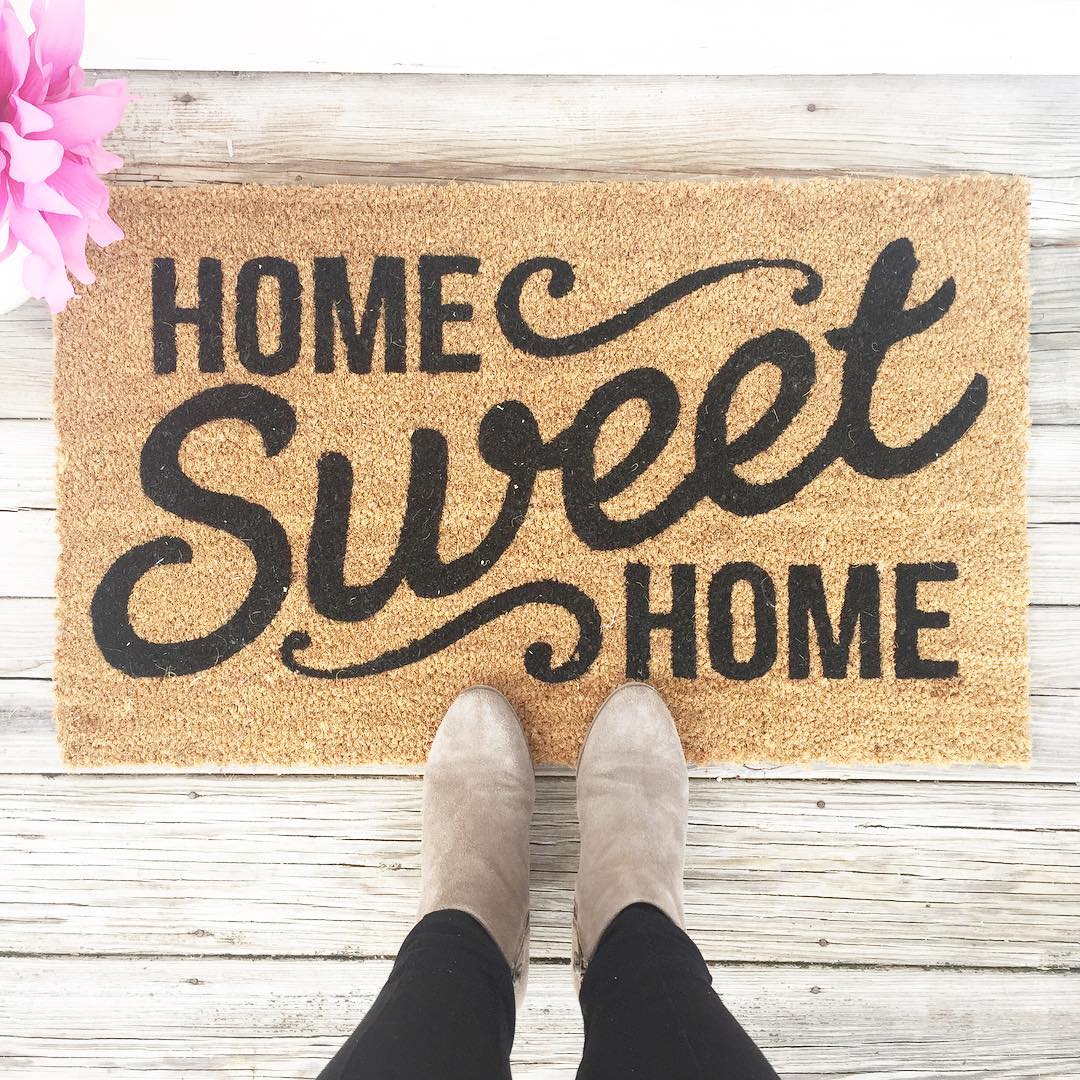
“Home Sweet Home” Doormat (viaTarget)

“Home” Doormat (viaTarget)

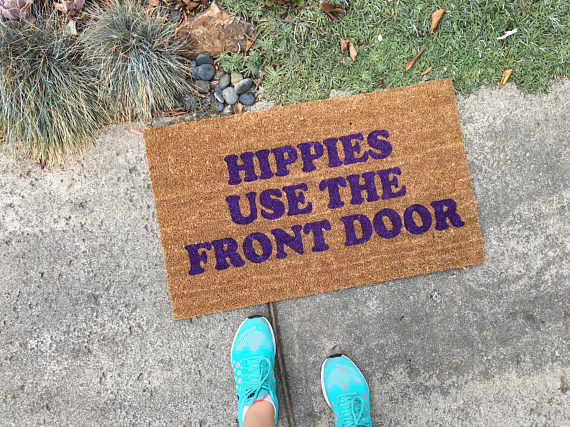
“Hippies use the Front Door” Doormat (via NickelDesignsShop)

“Namate” Doormat (via NickelDesignsShop)

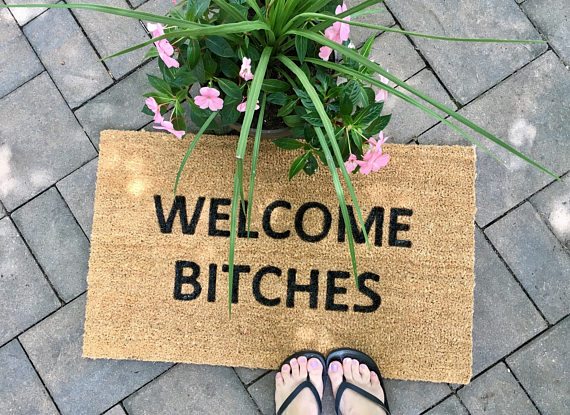
“Welcome Bitches” Doormat (viaToniAnnsBellaArte)

“Hi Honey” Doormat (via BoxwoodCo)

“Yay You’re Home” Doormat (via BoxwoodCo)

“Mr & Mrs” Doormat (via BoxwoodCo)

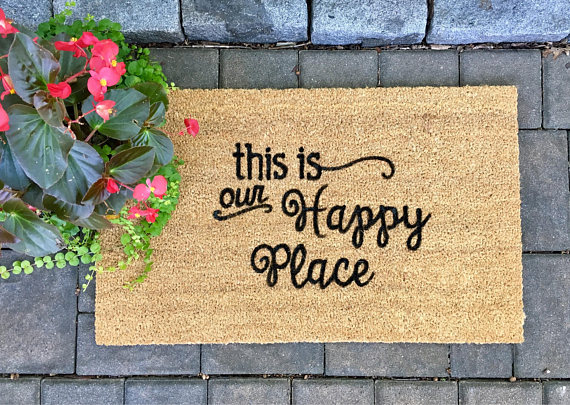
“This is our Happy Place” Doormat (viaToniAnnsBellaArte)

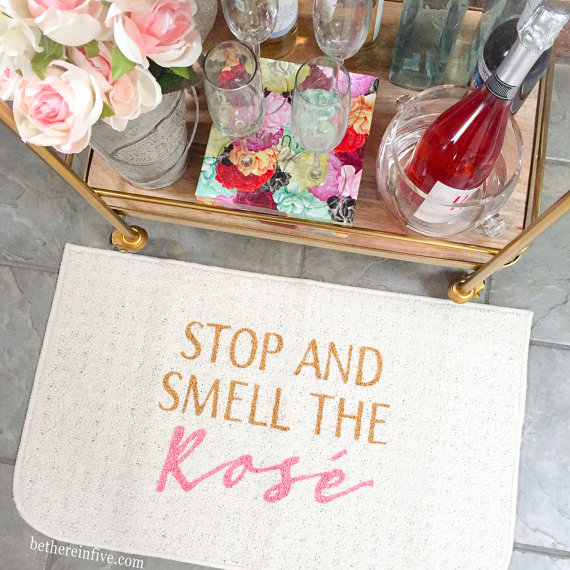
“Stop and smell the Rose’” Doormat (via BeThereInFive)

“I like you very much’” Doormat (via NickelDesignsShop)

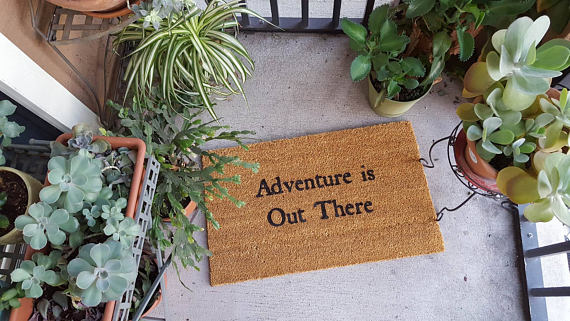
“Adventure is Out There’” Doormat (via WineWhiskersBowtique)

“Welcome to our Jungalow” Doormat (via BoxwoodCo)

“Hakuna Ma’Vodka” Doormat (via MiciStore)

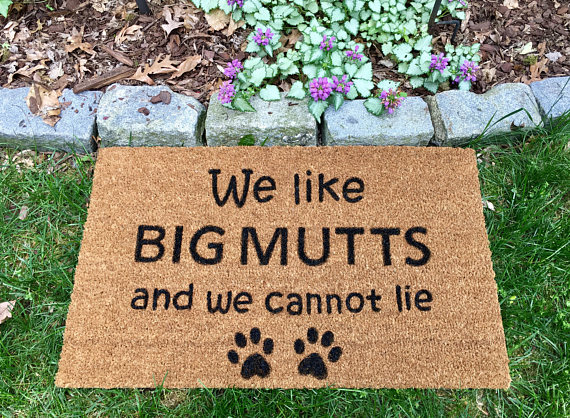
“We like Big Mutts and we cannot lie” Doormat (via ToniAnnsBellaArte)

“Nice Underwear” Doormat (via MiciStore)

I hope you enjoyed this post and don’t forget to pin all these images all over your Social Media Channels!

Don’t forget to follow me on all of my social media channels because I love all of you to pieces!!!!

FACEBOOK | INSTAGRAMTWITTER PINTEREST 
XOXO, JADE


The Simple Secret to a DIY Deer Head! 

If you are anything like me then you love all things that scream “Bohemian”. Truly being bold with colors and not being afraid to project our style is the ultimate goal. I know everyone has different tastes and that is totally cool, but I think more people should really embrace putting things in their personal spaces that evoke a happy feeling.

DIY Deer Head

In today’s post I wanted to bring together a project that kids could partake in and also be put used as beautiful home decor in any space. 

I think the cool thing about these markers is they dry almost instantly so you don’t have to worry about bleeding onto the skin if you are working on something big. They are opaque, meaning the colors are bright and bold however you can draw on top of previous colors and you will create different shades. Who’s ready to get started on this DIY Deer Head!

Magic Markers

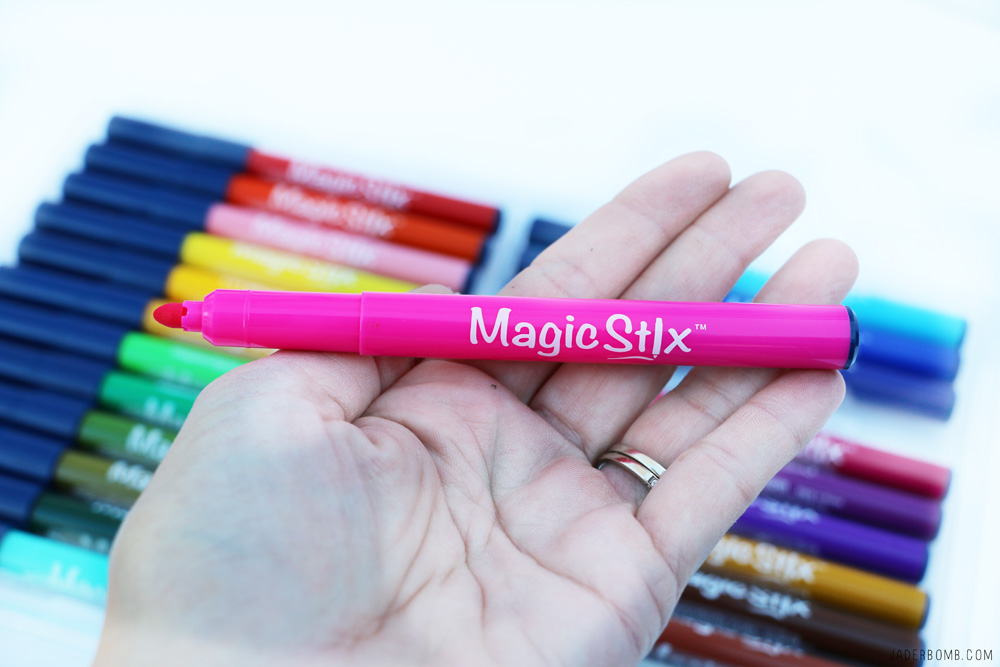
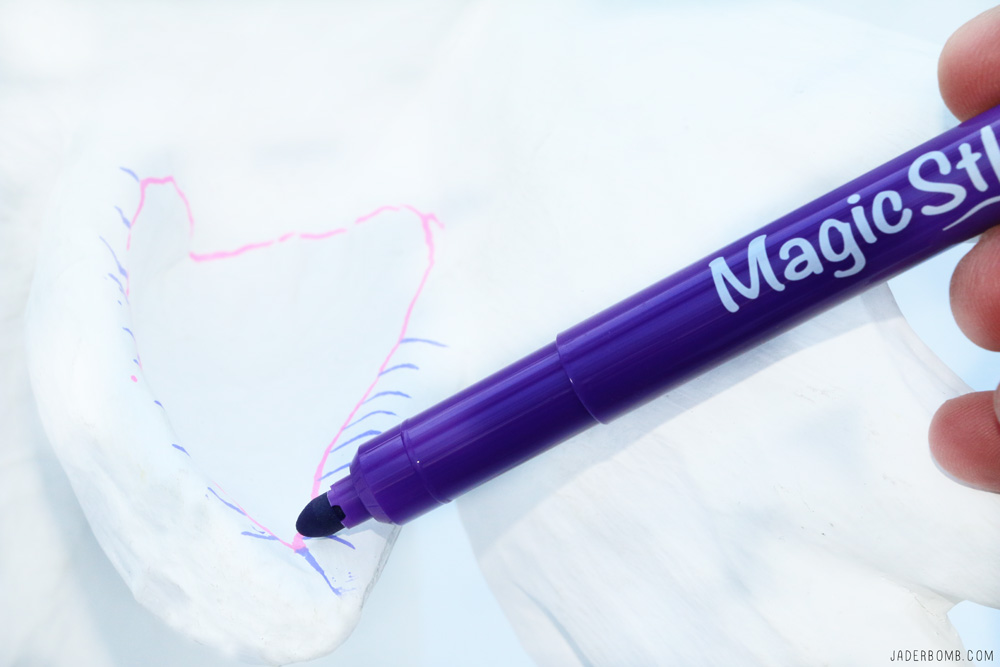
Magic Stix markers are a revolutionary new product to bring safe, creative fun to your crafts! Magic Stix are guaranteed to bring long lasting color to the page with the cap off for up to 7 days without drying out. With 12 classic colors, these washable and non-toxic markers will remain fresh use after use, project after project. Did you really grasp what I just said? 7 days without drying out! If you want to know the truth they actually can stay open for MUCH longer and they won’t try out. 

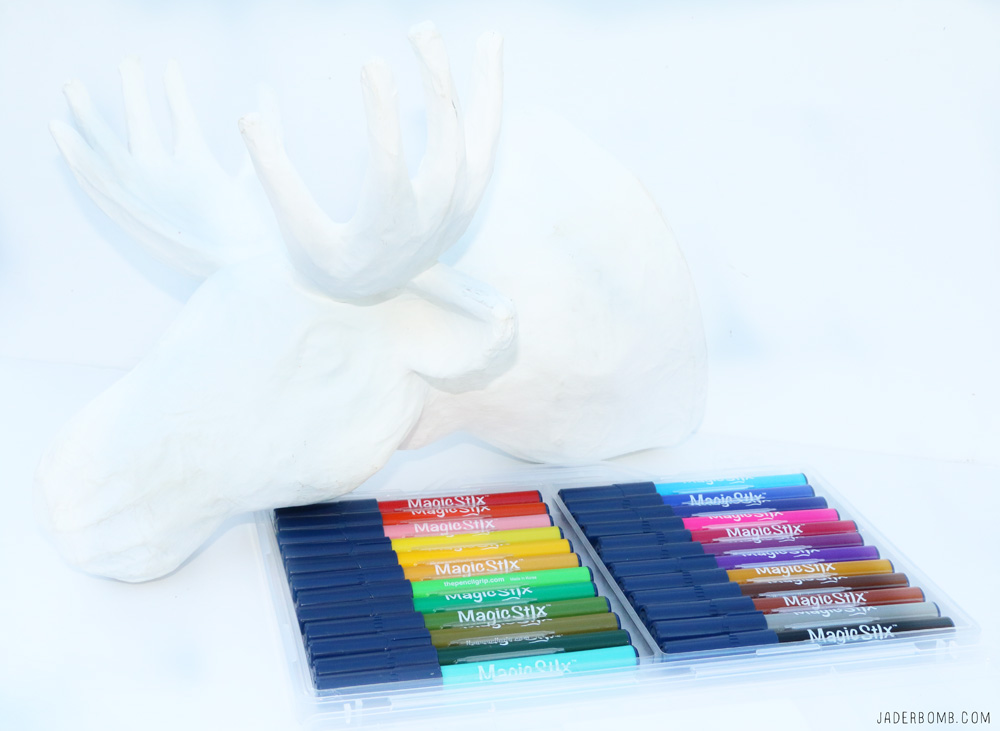
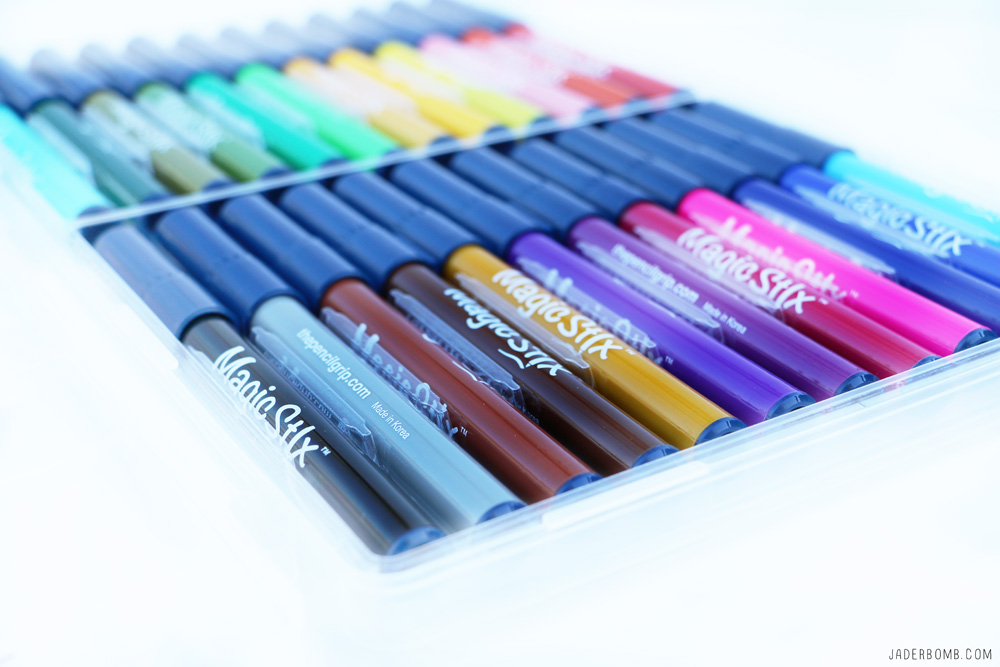
The markers come in a 24 pack and I will tell you that whoever designed the colors for this pack did a swell job. They vary from very bright all the way down to slight skin tones. 

Magic Stix 24pk- Washable Markers

Retails for USD$ 19.99


Magic Stix Markers

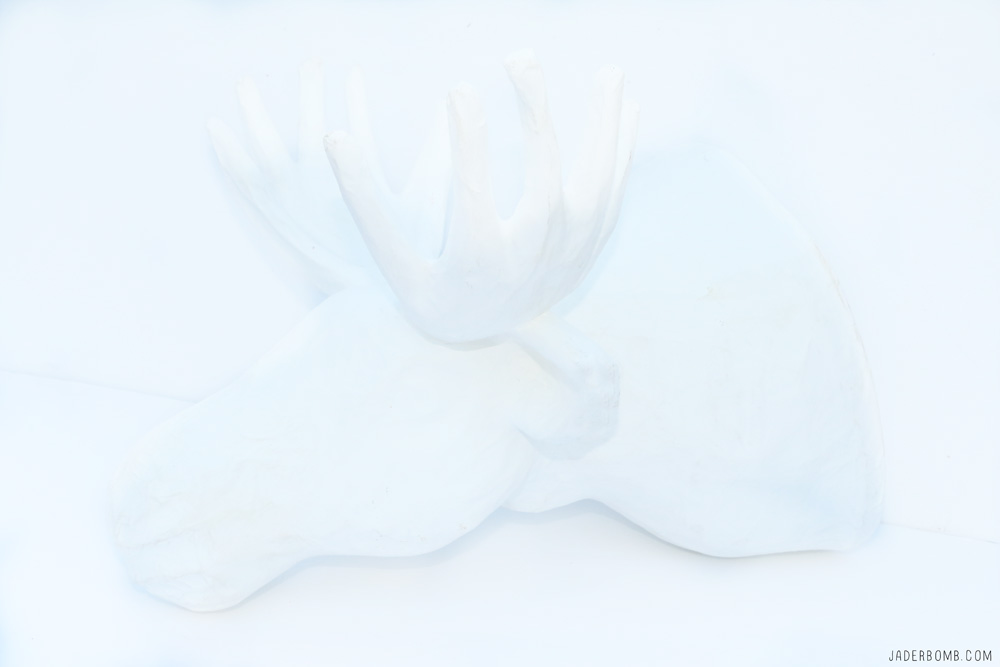
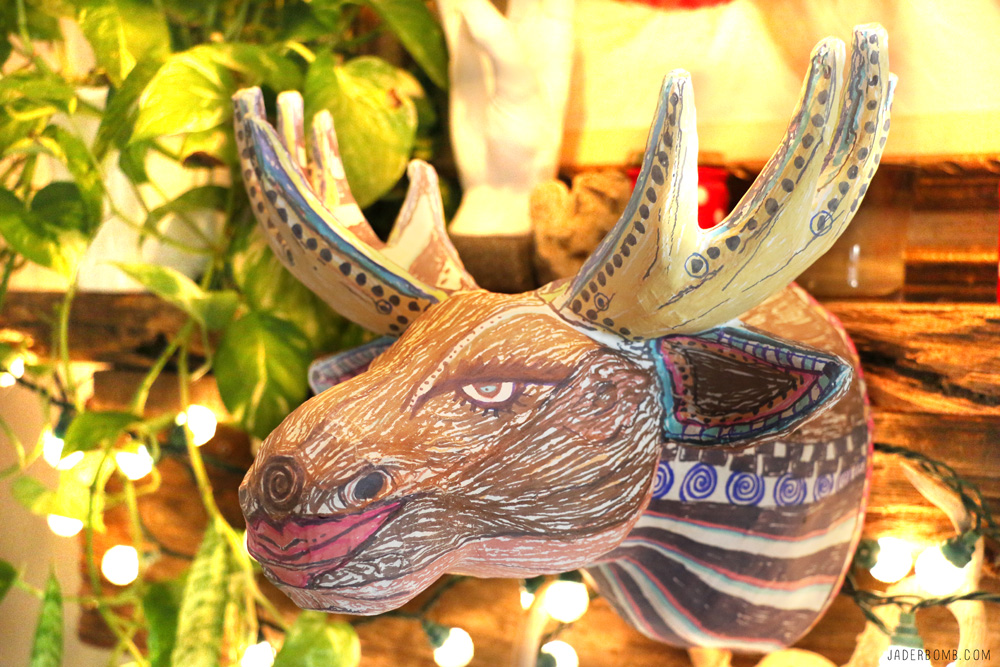
It’s hard to see in this picture because it’s white on white but in today’s post I am using a paper mache deer head. Faux items like this are swarming the craft stores and I thought I would add it to my bohemian decor. I loved the surface and I thought it would work great with these awesome markers. Did I mention that you can use these markers on any surface!  How to make a Deer Head

The first thing you will do is not panic! Sometimes when you see a blank “canvas” in front of you your brain just doesn’t know where to start. My advice to you is just START!!! Keep in mind the more colors you add the more it will come together. 

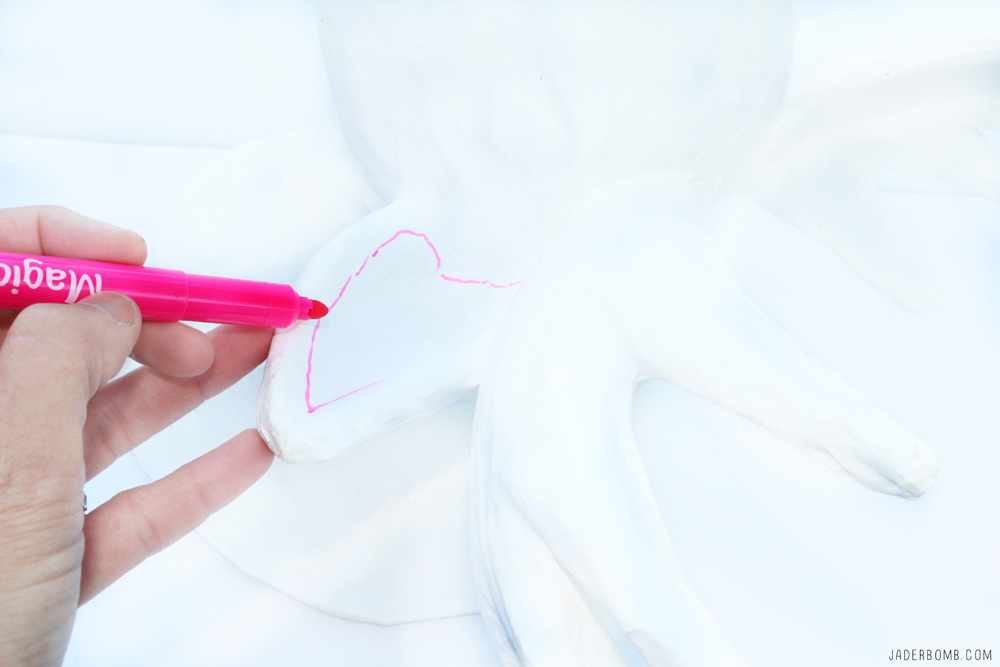
If you are wondering if I had a design plan before I started this deer head the answer is no.  I tend to live on the edge and just let things flow. Most of the time this is when my best projects come into fruition. I thought it would be a good idea to start on a small surface and work my way onto the rest of the deer head. It’s just me and the deer ear at this point, haha! DIY Deer Projects

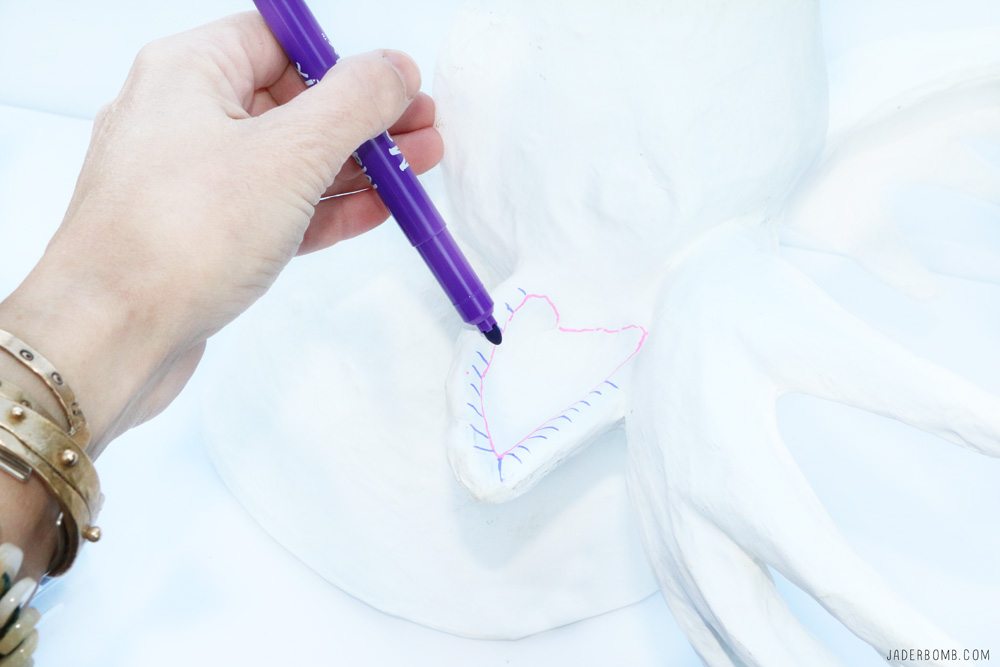
After completing my first line I branched out and started adding lines. Now if you are not wanting to live on the edge like I do you can easily find designs and patterns online to go off of. I love how fast these markers dry once applied to the surface. 
Easy Kid Projects

They work almost like a paint marker. Keep in mind the shade of the marker may be different depending on the material you are using. This deer head is made of paper so the ink in the marker gets soaked up a lot more versus on paper. Rainbow Markers

Pleased is an understatement with how it turned out. I worked on this head for a few nights while watching Netflix. While figuring out my design for this DIY Deer Head Candice took control of the markers for a hot minute and was enjoying helping me! DIY Deer Head Tutorial

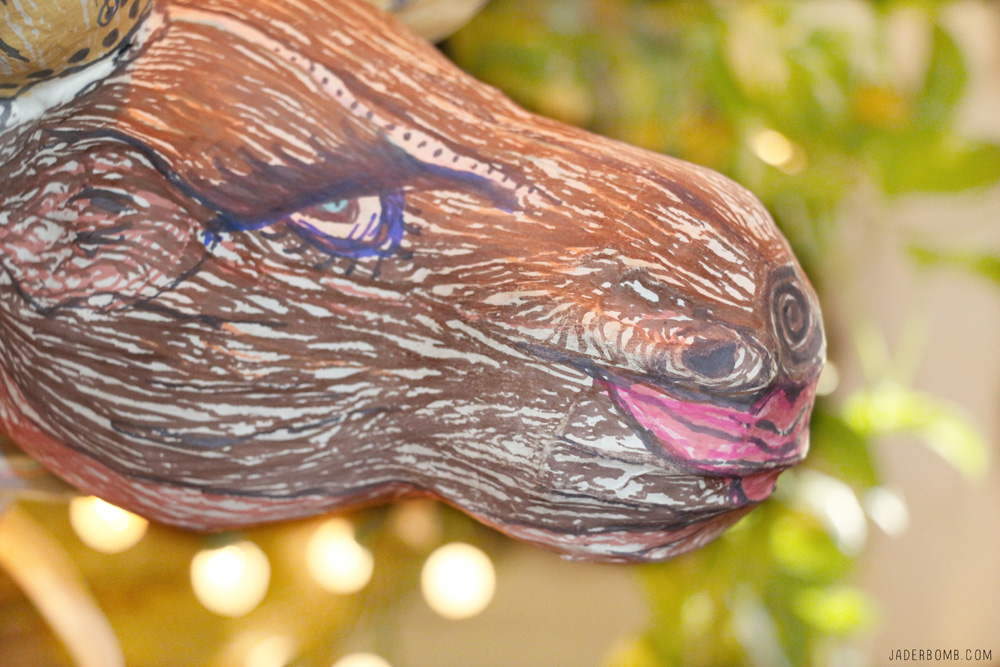
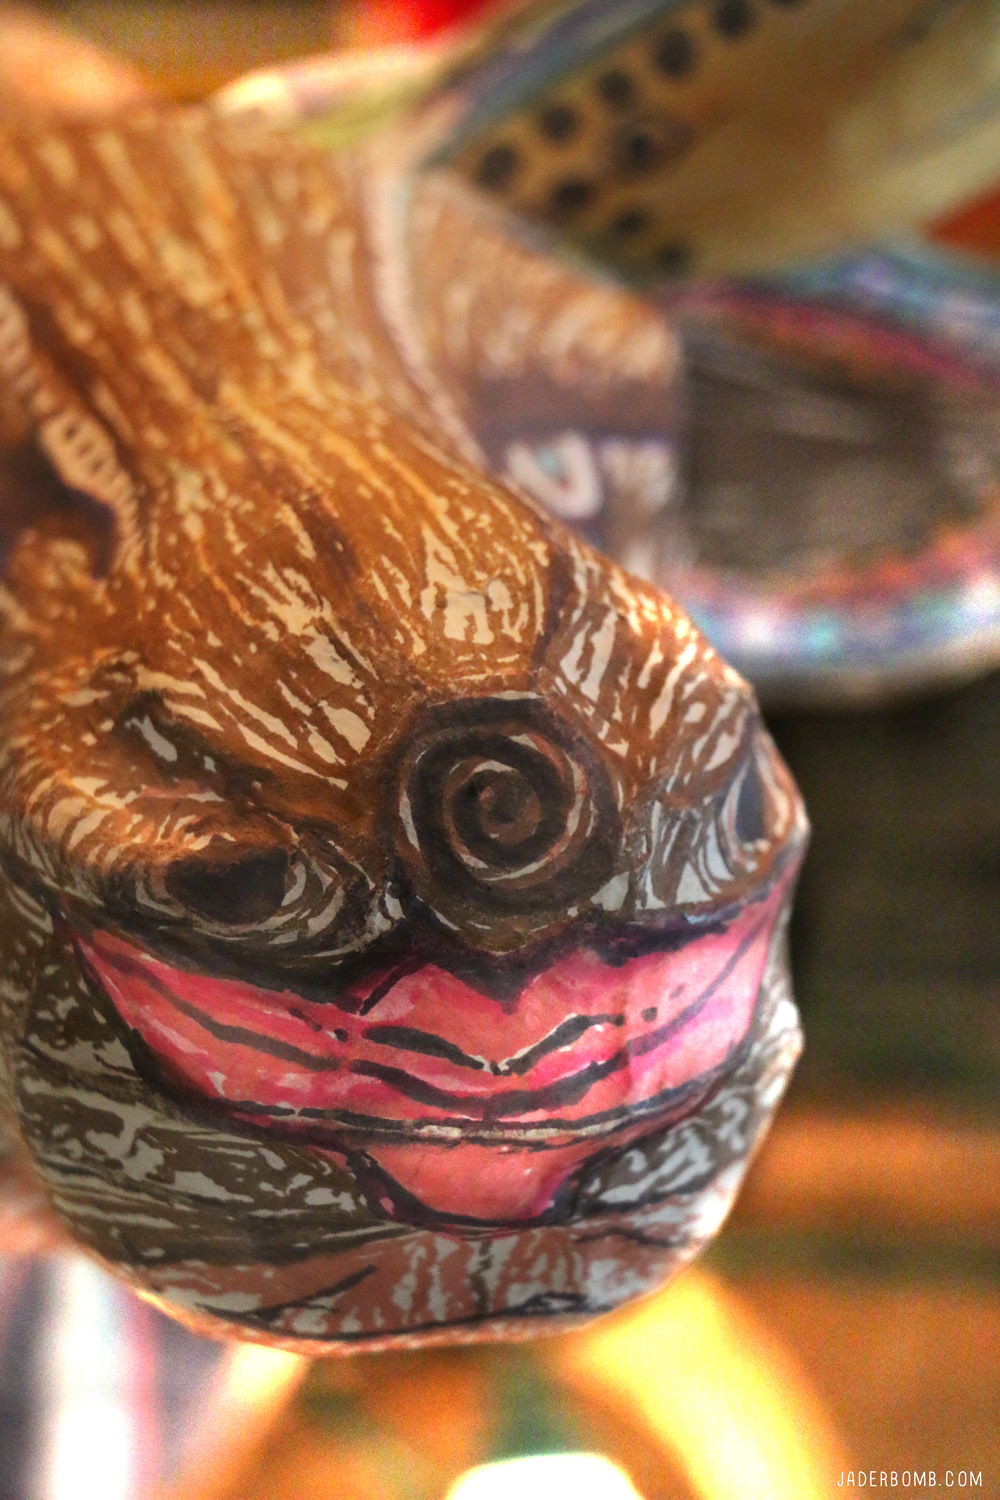
The good thing about Paper Mache is that the surface is rugged so when you draw on top of it it gives an automatic 3-D look to it. Fun Kid Projects

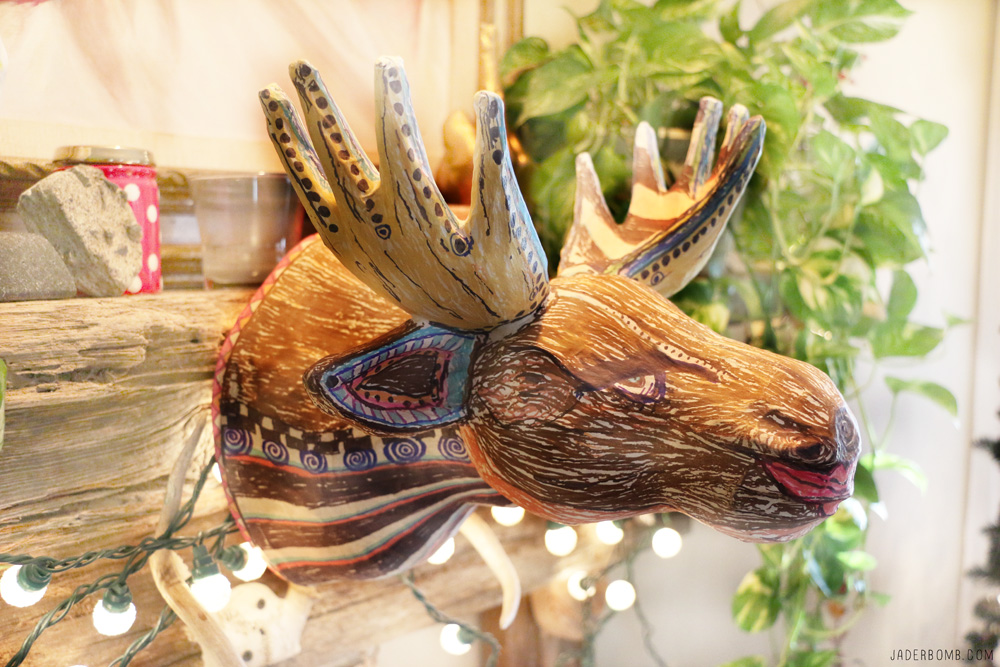
I wanted to make my deer look a little frisky so I made sure to add some bold lips! Come on, you know this makes the deer look superb! How to draw lips

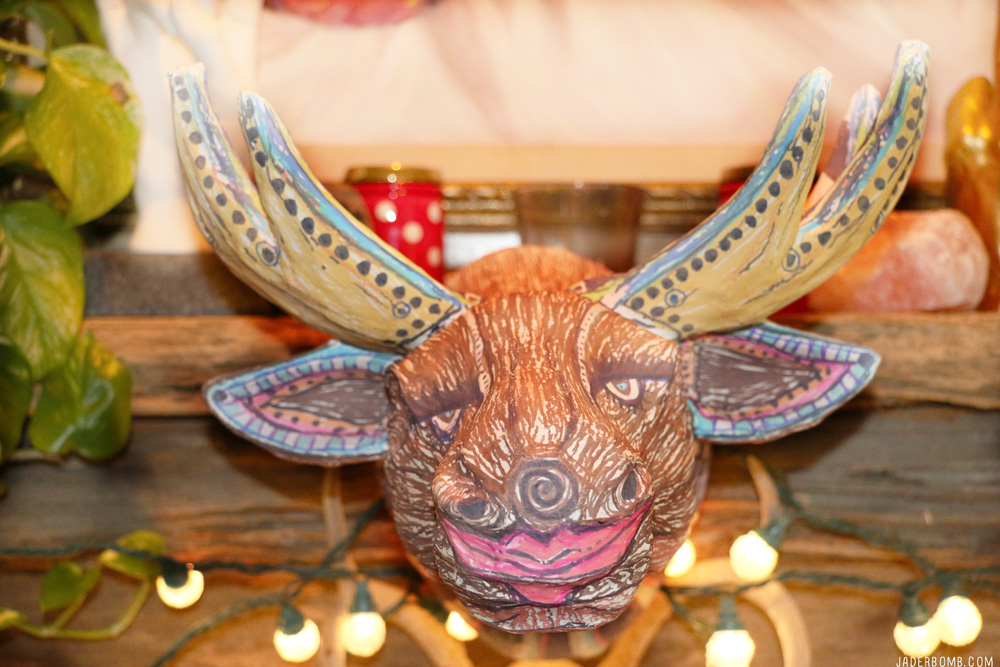
To make my life easier the back of this deer head had a spot where you could easily hang it up on a nail. It worked out perfectly because it fits perfect on my faux mantle. That’s right, faux mantle. Mantle Projects

This DIY Deer Head would look good in a modern home and it would also look great in a kids space. There is no way you can walk past this cute deer head and not smile from ear to ear. Paper Mache Projects

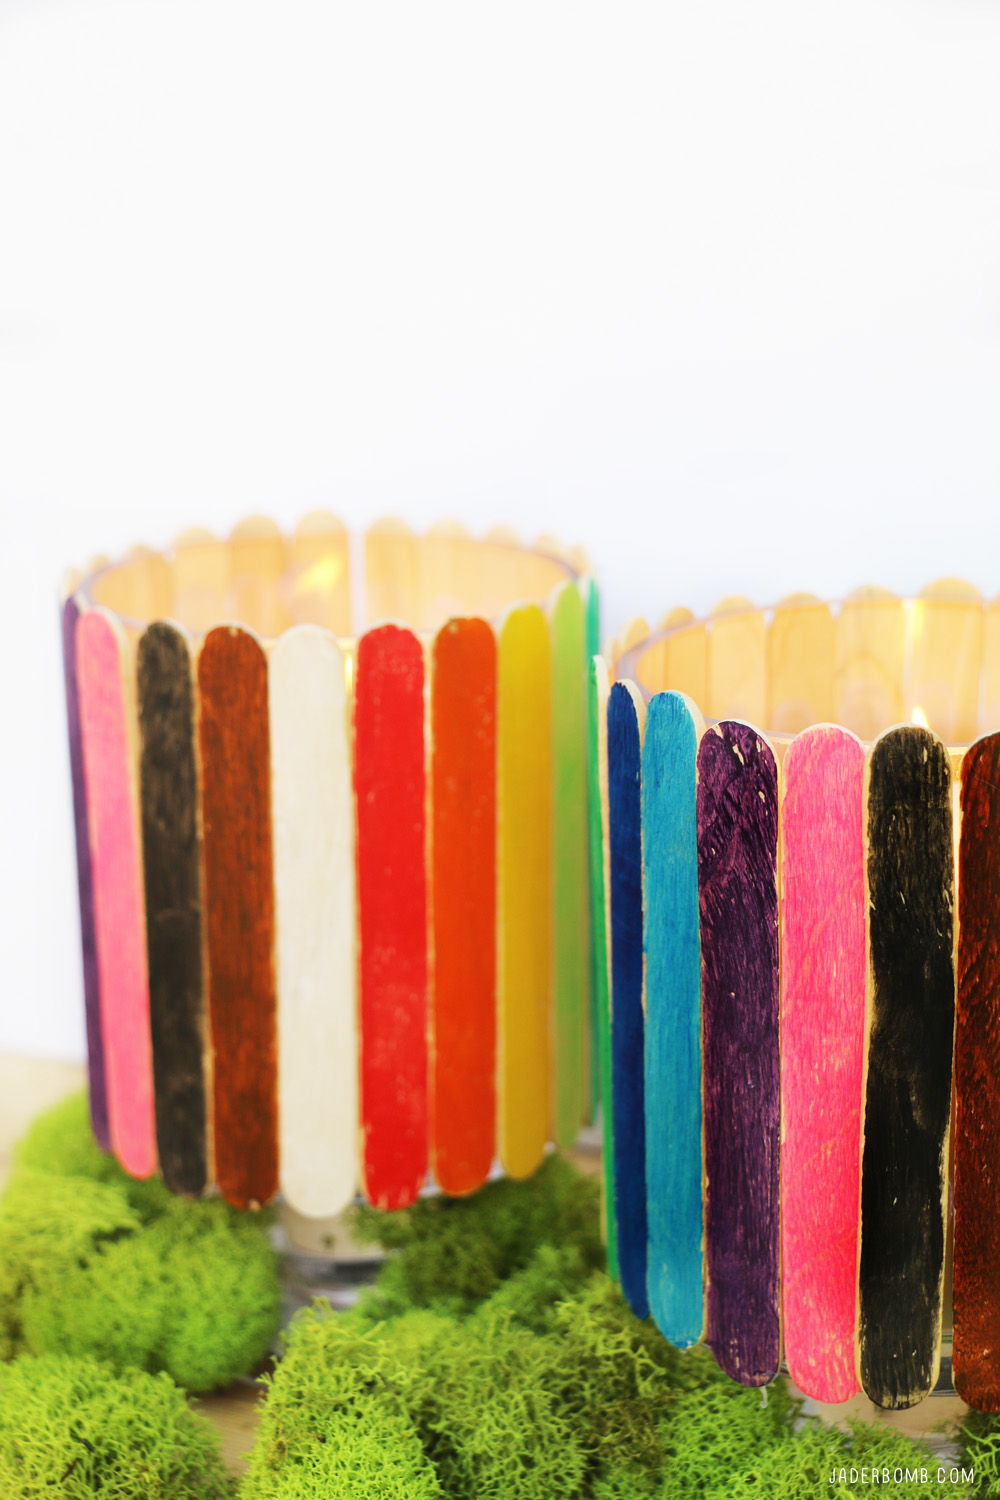
Check out what I created using their Magic Stix make sure to click here to see the full tutorial! They have the best Solid Tempera Paint sticks as you can see below! This brand has definitely got their color pallets down! Popsicle Projects DIY

THIS POST IS SPONSORED BY The Pencil Grip, however all opinions on these products are completely mine.

I hope you enjoyed this fun super fancy deer head DIY project! Make sure to check out all of the Pencil Grips line of products! You will swoon for days! 

See you in the next post, until then hugs from my computer to yours!

Don’t forget to follow me on all of my social media channels because I love all of you to pieces!!!! 

FACEBOOK | INSTAGRAMTWITTER PINTEREST 


Winter White New Year’s Eve Decor With Treetopia is the way to go this holiday season! 

THIS POST IS SPONSORED BY TREETOPIA. I HAVE BEEN PROVIDED PR SAMPLES IN EXCHANGE FOR WRITING THIS POST. 

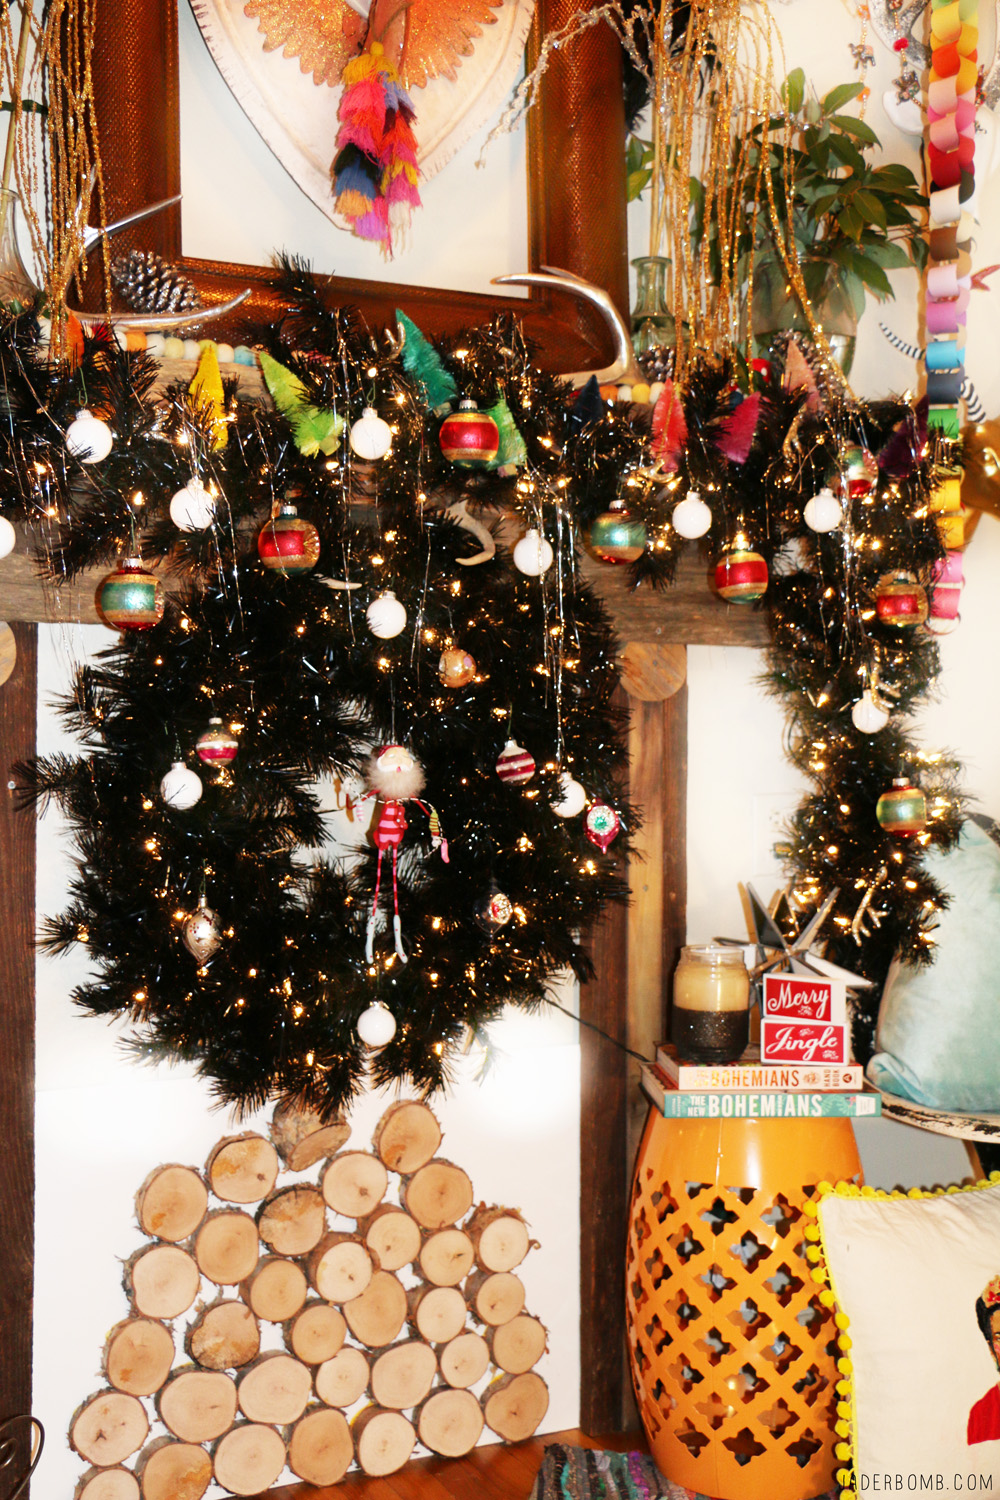
Happy New Year friends!! It’s almost here so I wanted to show you a few tips on how to keep some of your Christmas decor up while blending it with New Years decor without having to transform your space over and over! This past November I revealed my gorgeous Black Tuxedo Christmas Tree with you and boy oh boy I was nervous about that one. For one, I never saw myself even wanting to use a black tree for Christmas however I bit the bullet and said if I don’t try it now I never will. Yes, if you are wondering I fell madly in love. You can check out the FULL POST HERE.

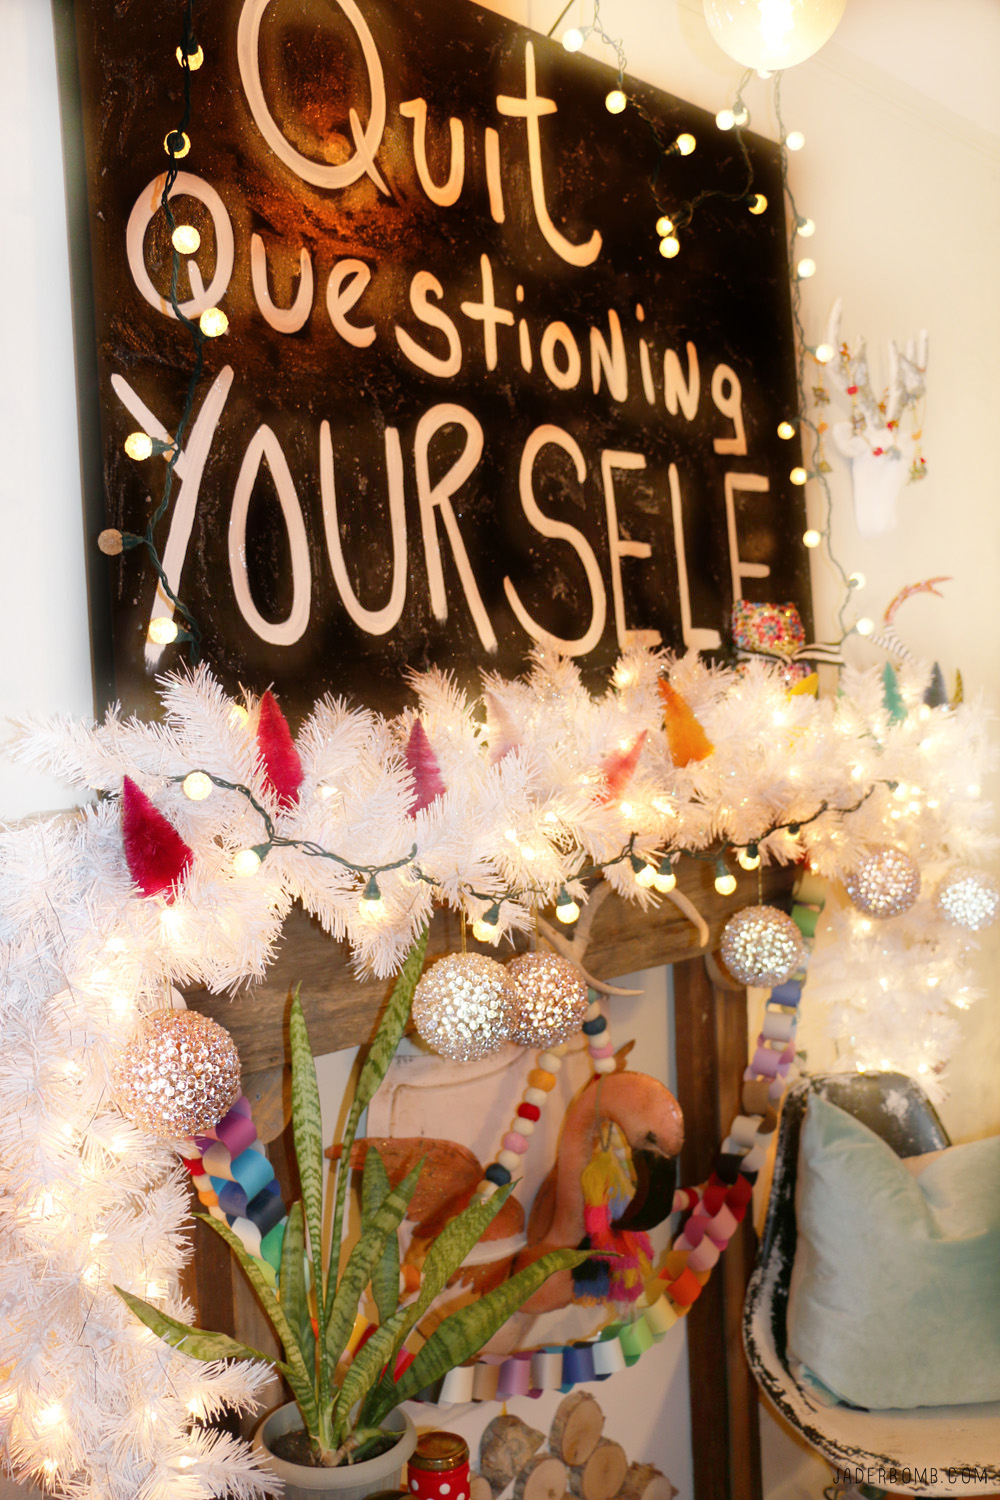
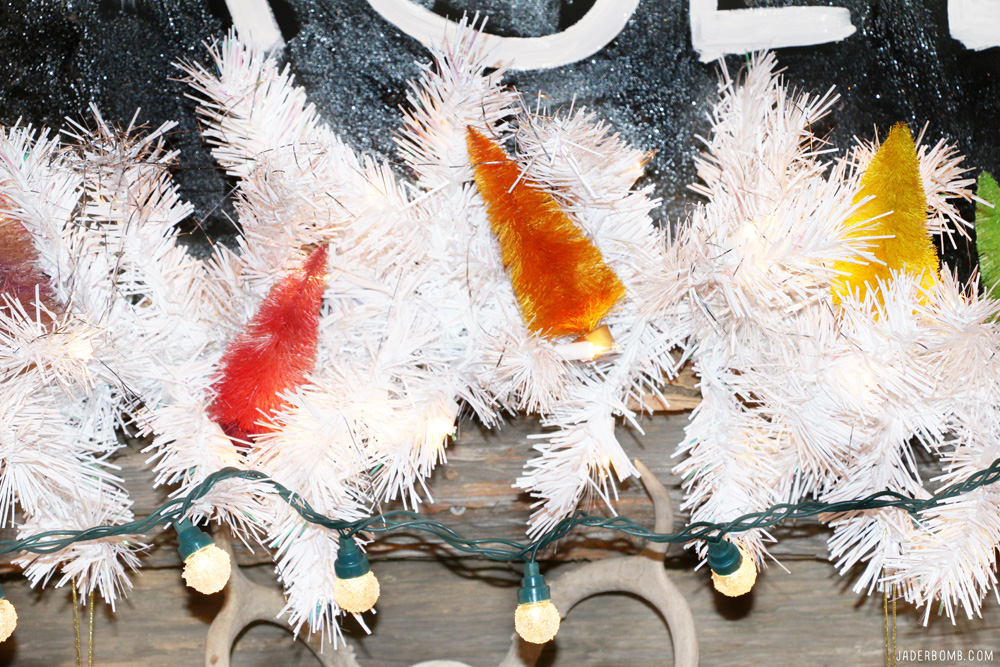
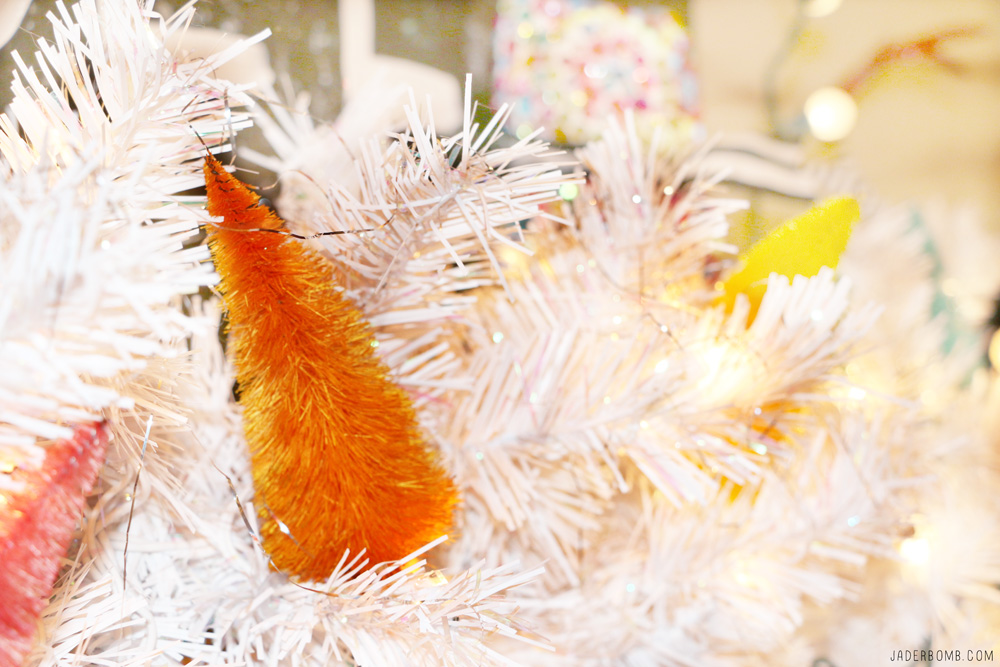
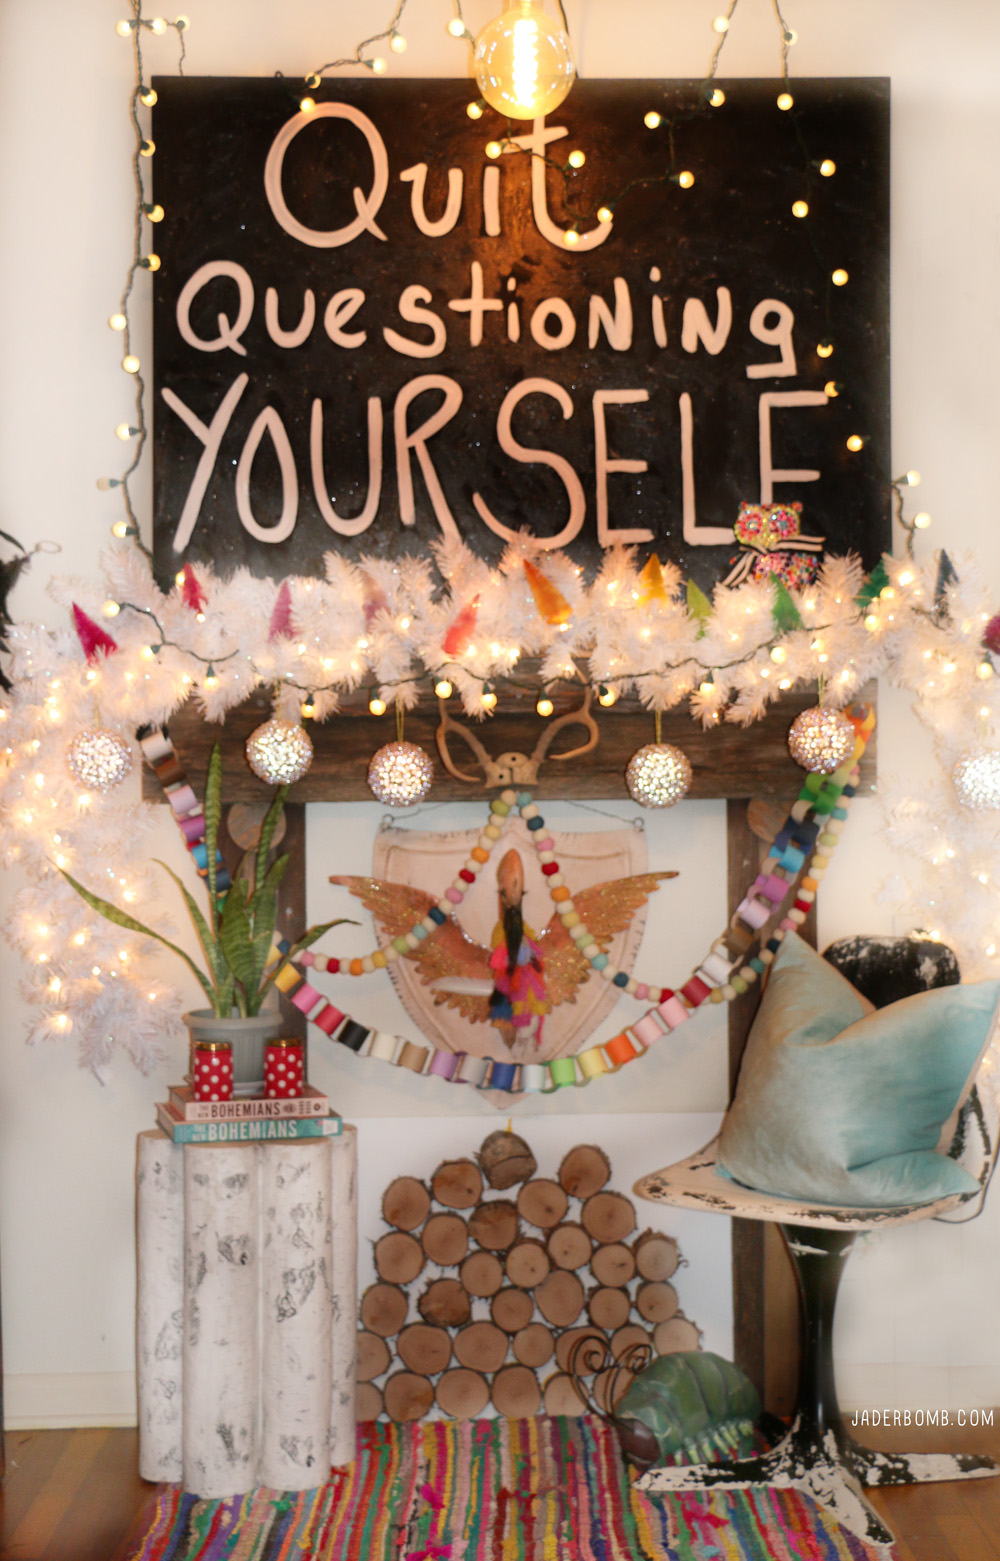
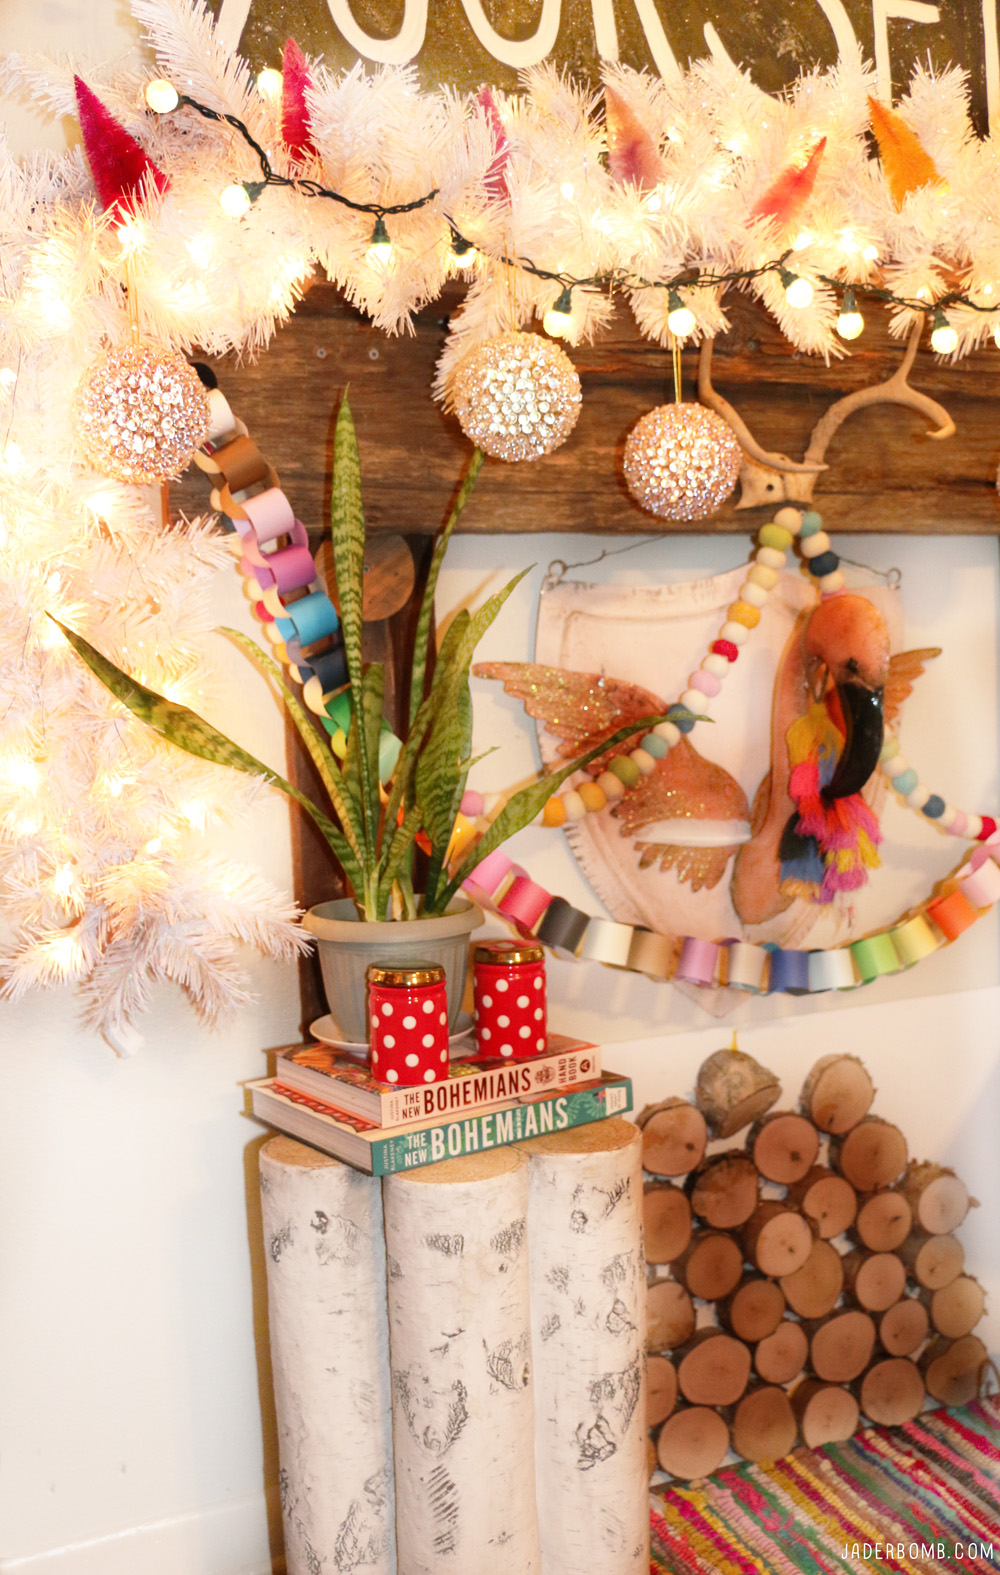
Now that Christmas is over I am not quite in the mood to take down ALL of my Christmas decorations but I wanted to ring in the New Year with a little change. Can’t we all agree change is good at some point. I also am big into using the same products and changing things around to make them look completely different. With that being said this New Years I am trading out my black garland for a winter white one, by Treetopia. I kept my rainbow bottle brush trees in them and added these Sweet as Sugar Frosted lights to my already Pre-Lit Garland. 

I am from the South so I say “Go big or go home”…. Treetopia knew what they were doing when they created these massive gemmed up pearl ball ornaments

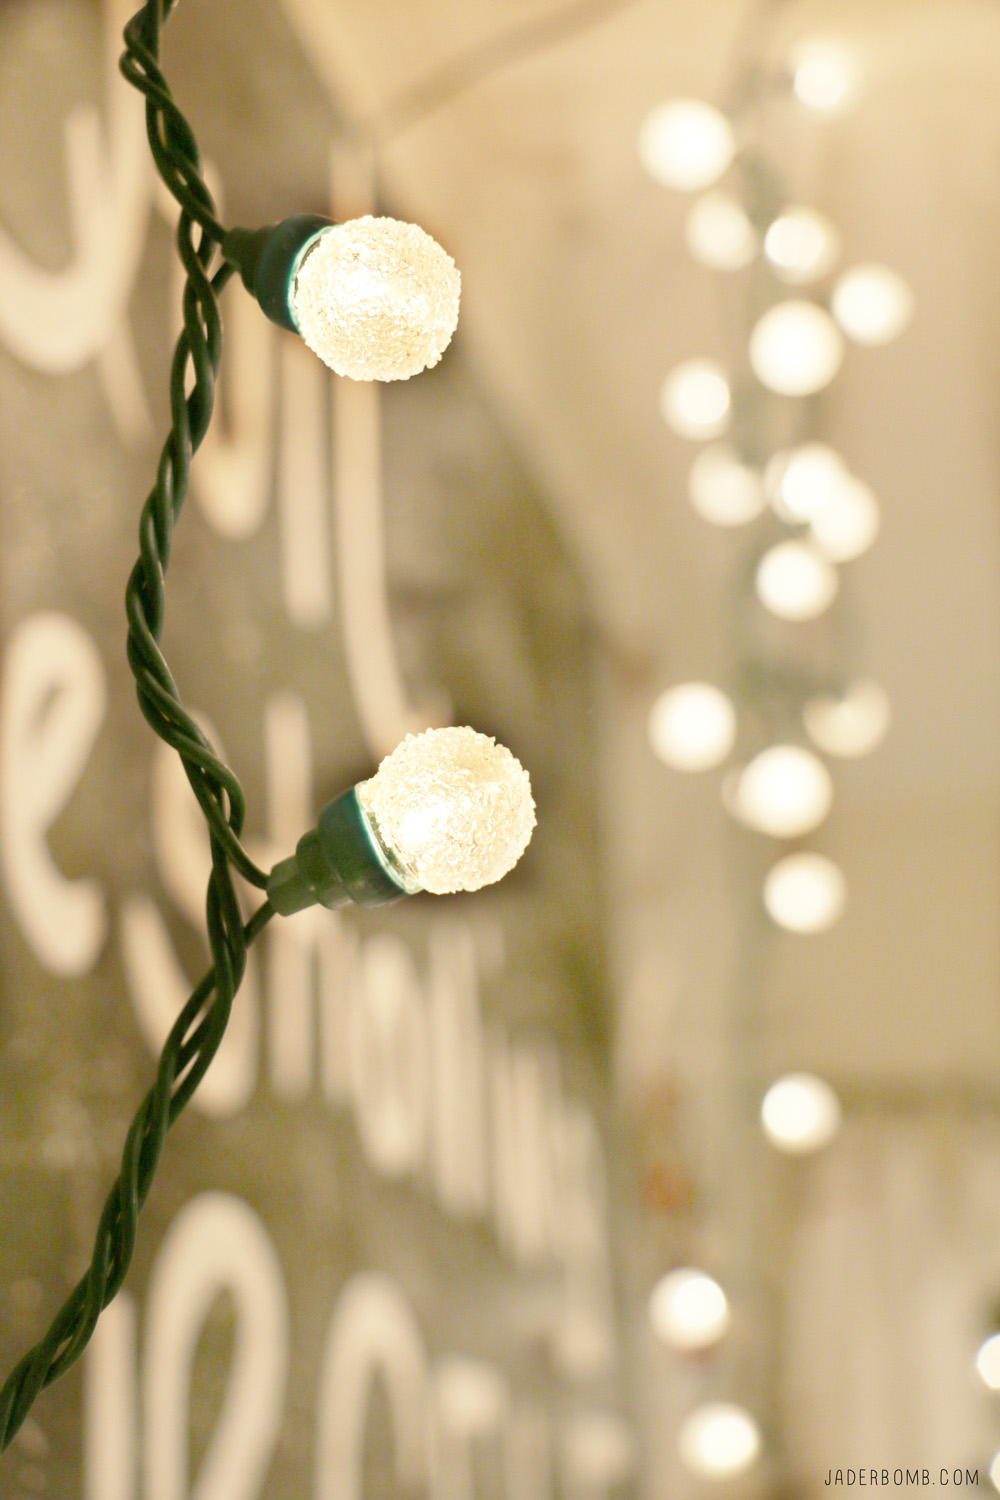
I love that I am using the same color scheme that I used for Christmas in my New Years decor. Saves me from having to put up all of the Christmas decorations at one time! I also strung some of the Sweet as Sugar Frosted lights throughout the garland. 

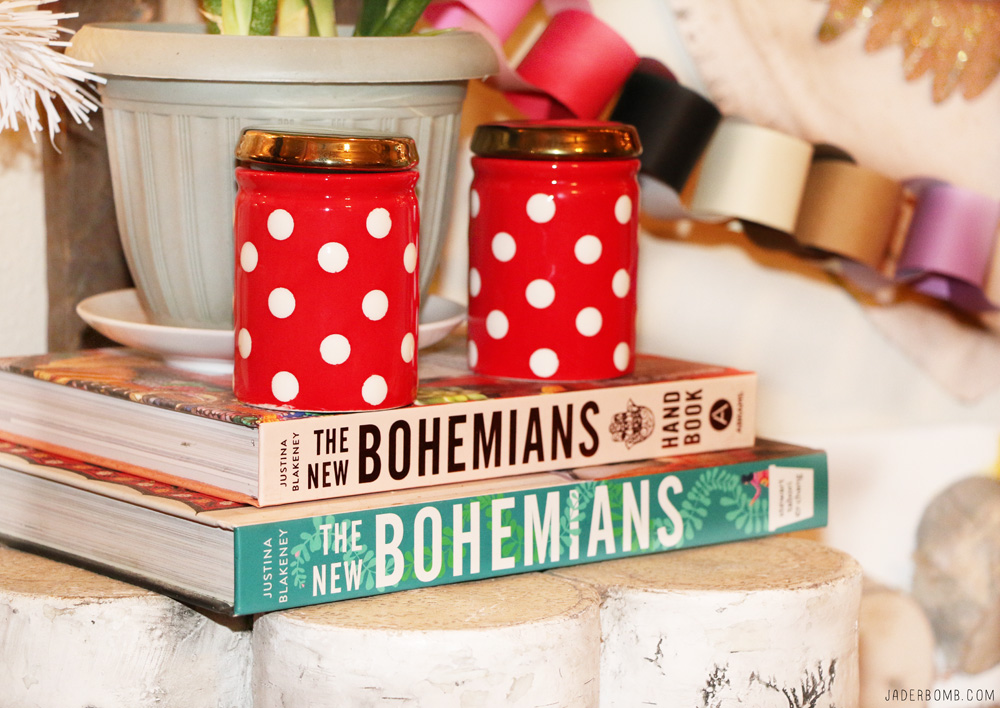
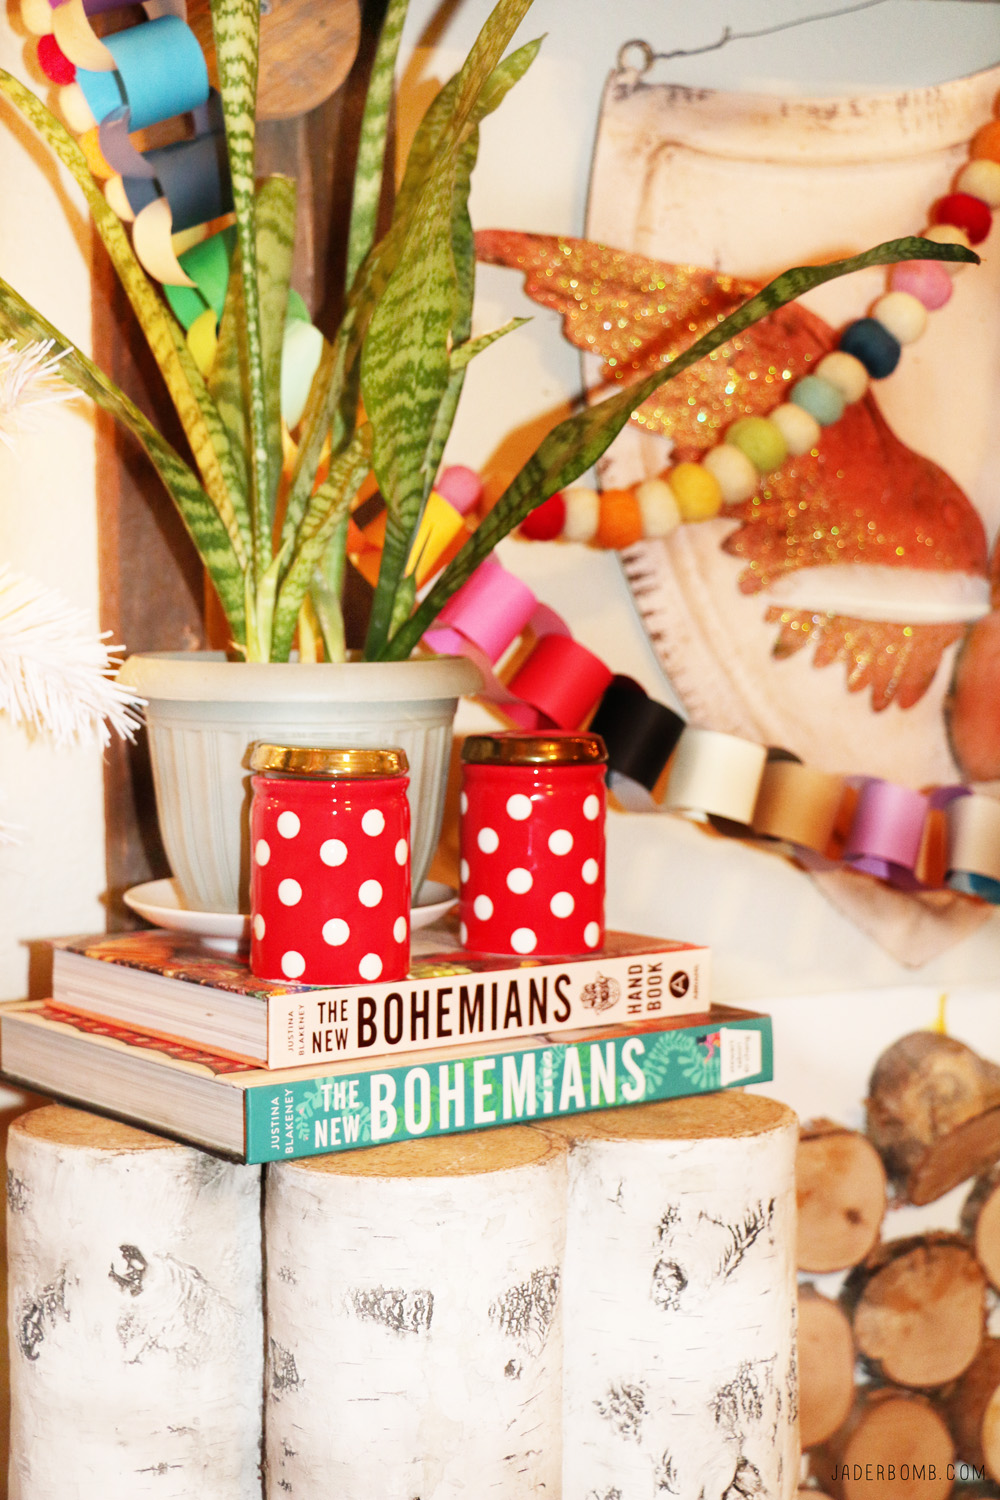
Gotta have decor to go with our theme right! Why not throw in a few books to make your space look cozy!

These frosted lights will surely be up all year long in my house. They add just enough light to make any space look magical. 

I love how the Gemmed up Pearl ornaments look quite massive hanging from my mantle. 

Are you ready for New Year’s Eve? Check out the other blogs in the Merry Chicmas to Glam NYE Blog Hop!

I hope you enjoyed this post and remember don’t let the holidays stress you! It’s all about bringing out all of the things that make you feel so happy inside and that reflect your personality. Make sure to check out all of the other bloggers and their posts, I am sure you will get some pointers from them too! See you in the next post! Hugs!!

The Simple Secret to a Bohemian Dream Tree! 

I am super stoked that am part of the 2017 Treetopia Christmas Blog Hop!

Do you realize what this means? It means I have literally decorated my Christmas tree the day after Halloween.  Treetopia wants to help everyone add ton’s of glitz and glam to your holidays by celebrating a Christmas with some fabulous Treetopia bloggers! Did I mention I was giving away one of these trees today!!! Make sure to scroll to the bottom to see how you can enter!

I a proud to kick off the season with a Merry CHIC-Mas Boho inspired Christmas tree! Boho isn’t your style, no worries! Make sure to check out the four other talented bloggers this week!

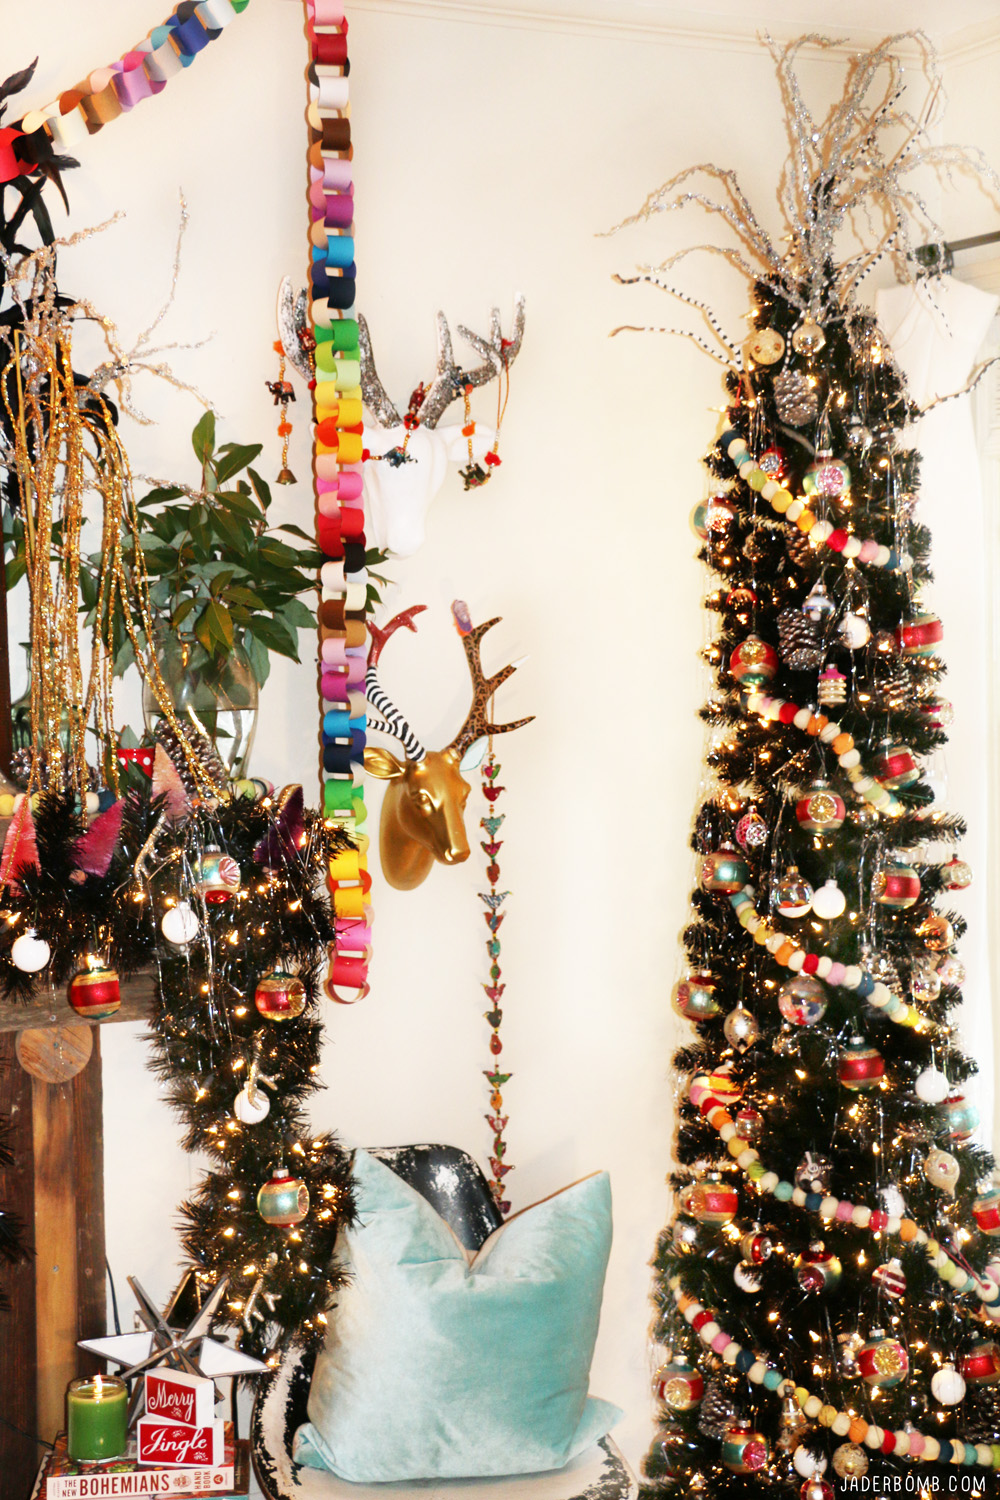
I chose the beautiful and chic Treetopia 7′ prelit Stiletto Black Pencil Tree.

This sleek black stiletto tree comes with 300 clear lights, 569 branch tips and weighs 19 pounds. 

This tree is the femme fatale of artificial Christmas trees!  Remember my red stiletto tree I did? If not make sure to check it out here

Initially I was unsure of the theme I wanted to use then it clicked. Being true to my personality I knew instantly that having a tree up isn’t always about doing what everyone is doing. Just like the clothes you put on daily, your tree should represent who YOU are! 

I am a boho loving, free spirited human that loves glitter and color. So there you have it, this is my spirit tree! 

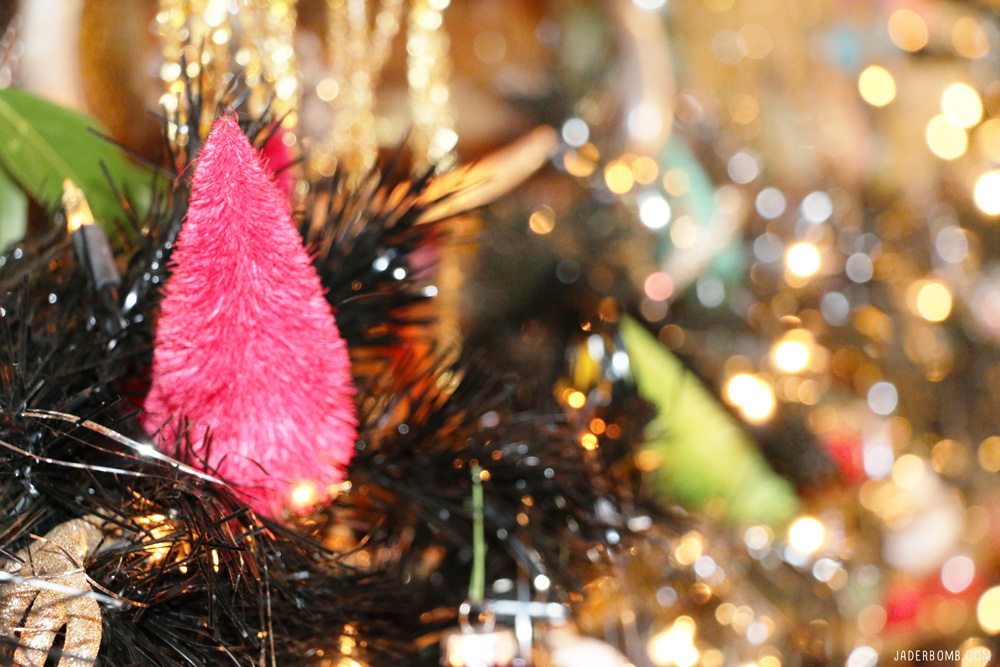
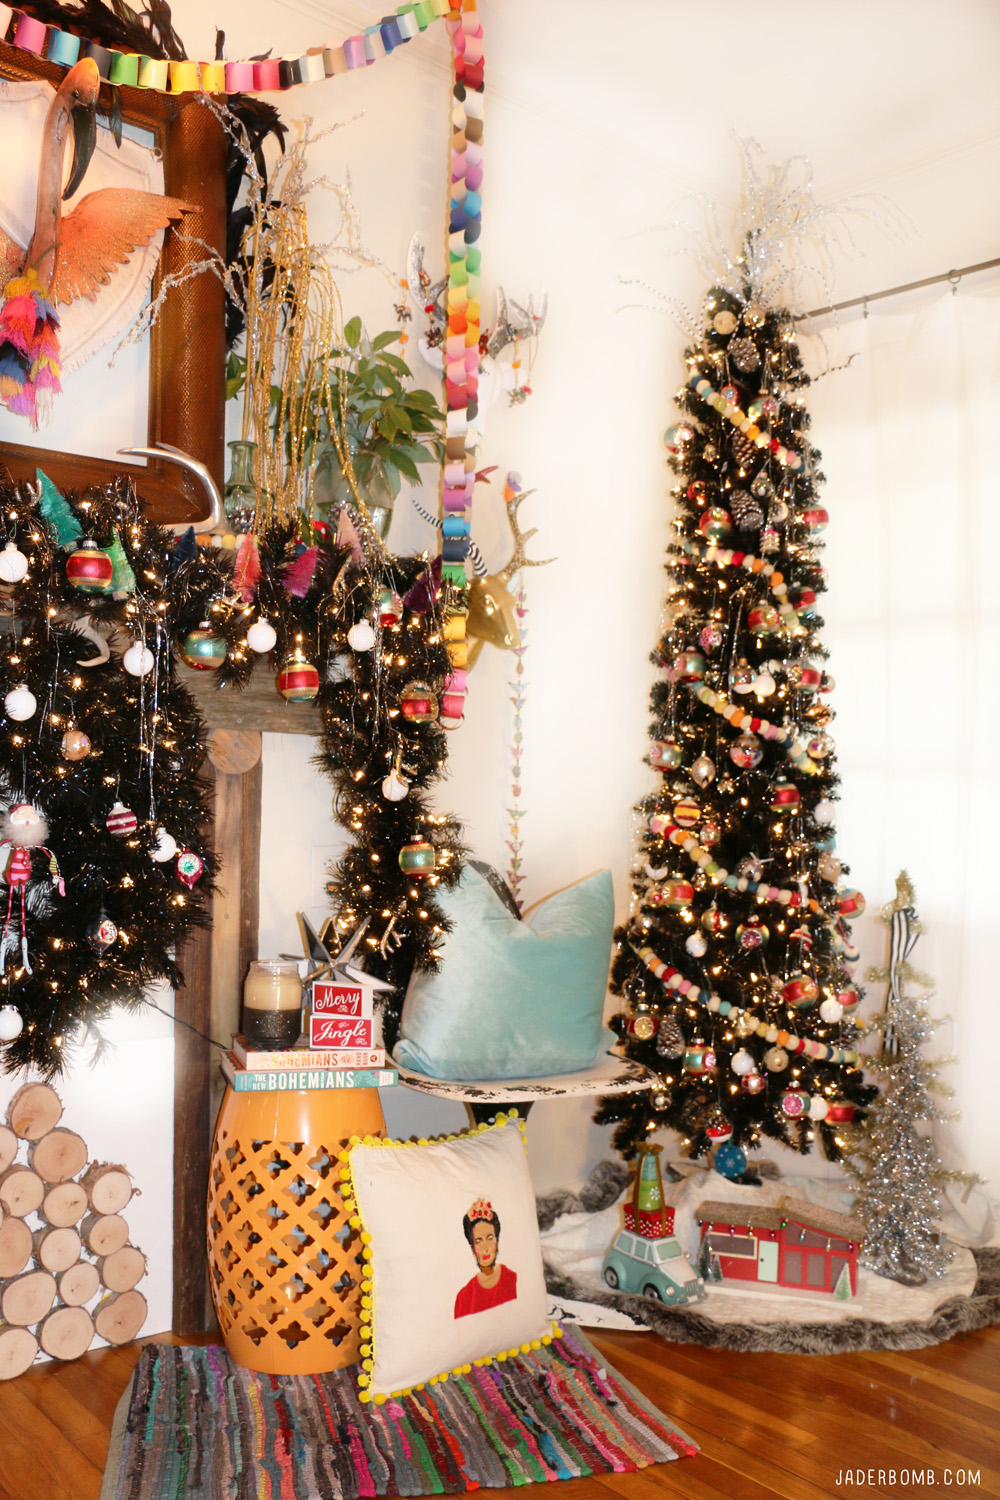
I wanted to use items I personally love that I created so I had to incorporate my diy dyed bottle brush trees. They married perfectly with my Treetopia garland

Make sure to check out all of the Black trees that Treetopia offers! You won’t be dissapointed!

Typically I like big full trees but there is something special about the pencil tree. The fact alone that it fits nicely in any space is a win/win for me. This tree is especially nice if you don’t have much space to work with!This tree will surely compliment any space you put it in, it’s that beautiful and sleek. Add ton’s of bright colors and objects to it and you are surely gonna make any space fill vibrant and happy! 

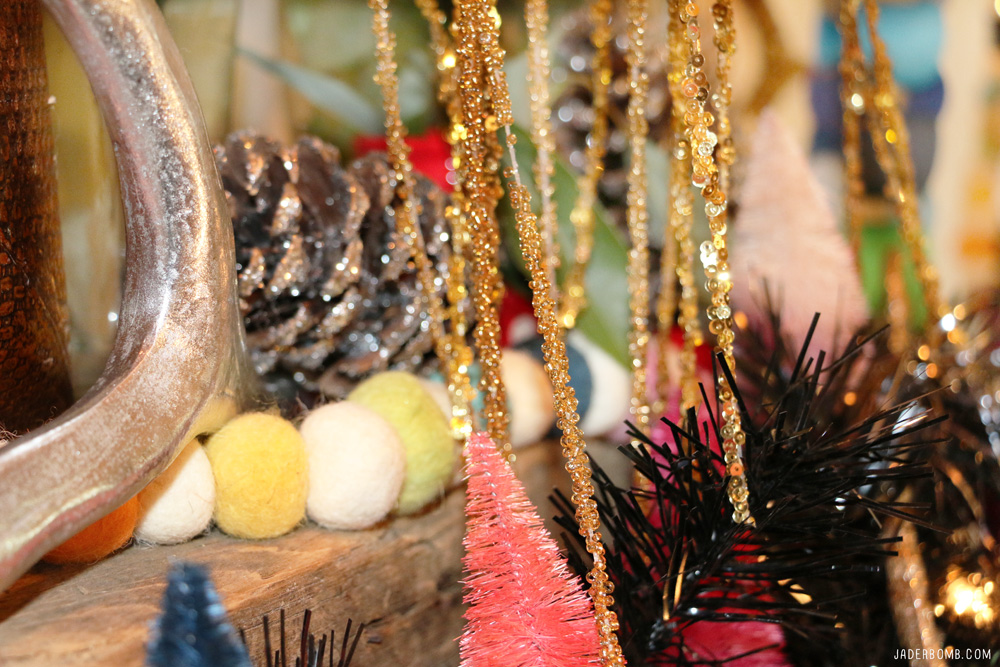
You can’t have a BOHO Christmas tree without felt garlands and gold glittery strings draping from it. When going for the Boho look you can combine so many different items and put them all together! 

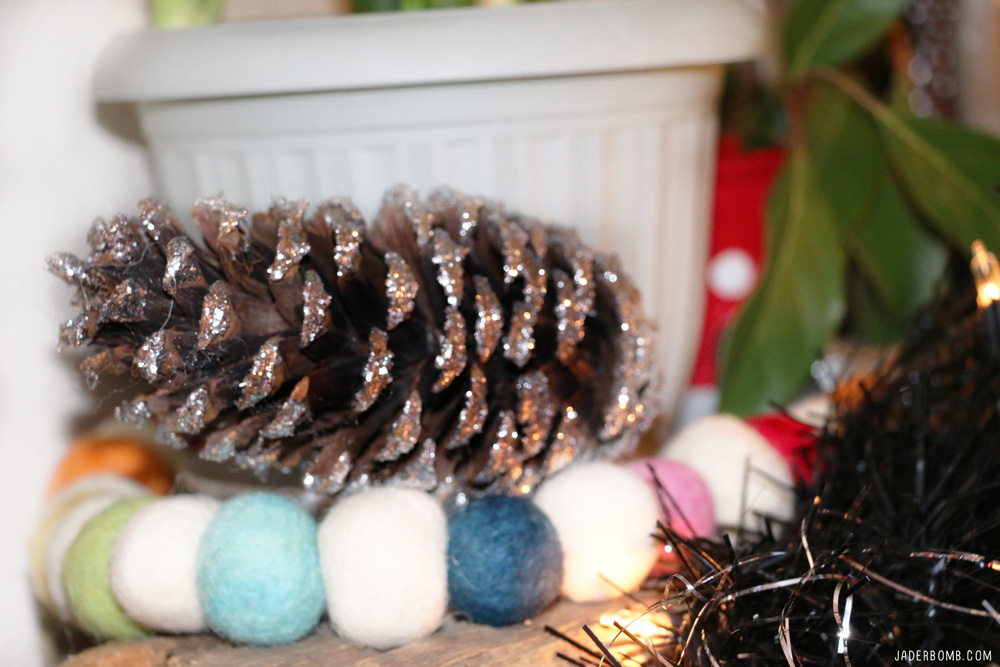
I love using pine cones every year for some reason, they remind me of being a kid and running around filling up my bag with as many as I could find. The result always ended up with my dad pouring gasoline on my hands to get all the sap off. 

To make these add little glue to the tips then sprinkle them with glitter can transform them instantly. 

Place them on mantles, fill up jars with them, stuff them in open spots in your tree or make a fun garland. 

For me I like to turn my space into a sanctuary that I will enjoy being in. Instant gratification! 

The foliage is crafted with fire proof materials, the Stiletto Black Pencil Tree makes a safe and stylish centerpiece for Halloween, Christmas, or whenever! I wanted to add a few other vintage skinny trees to make my space feel that much more unique. 

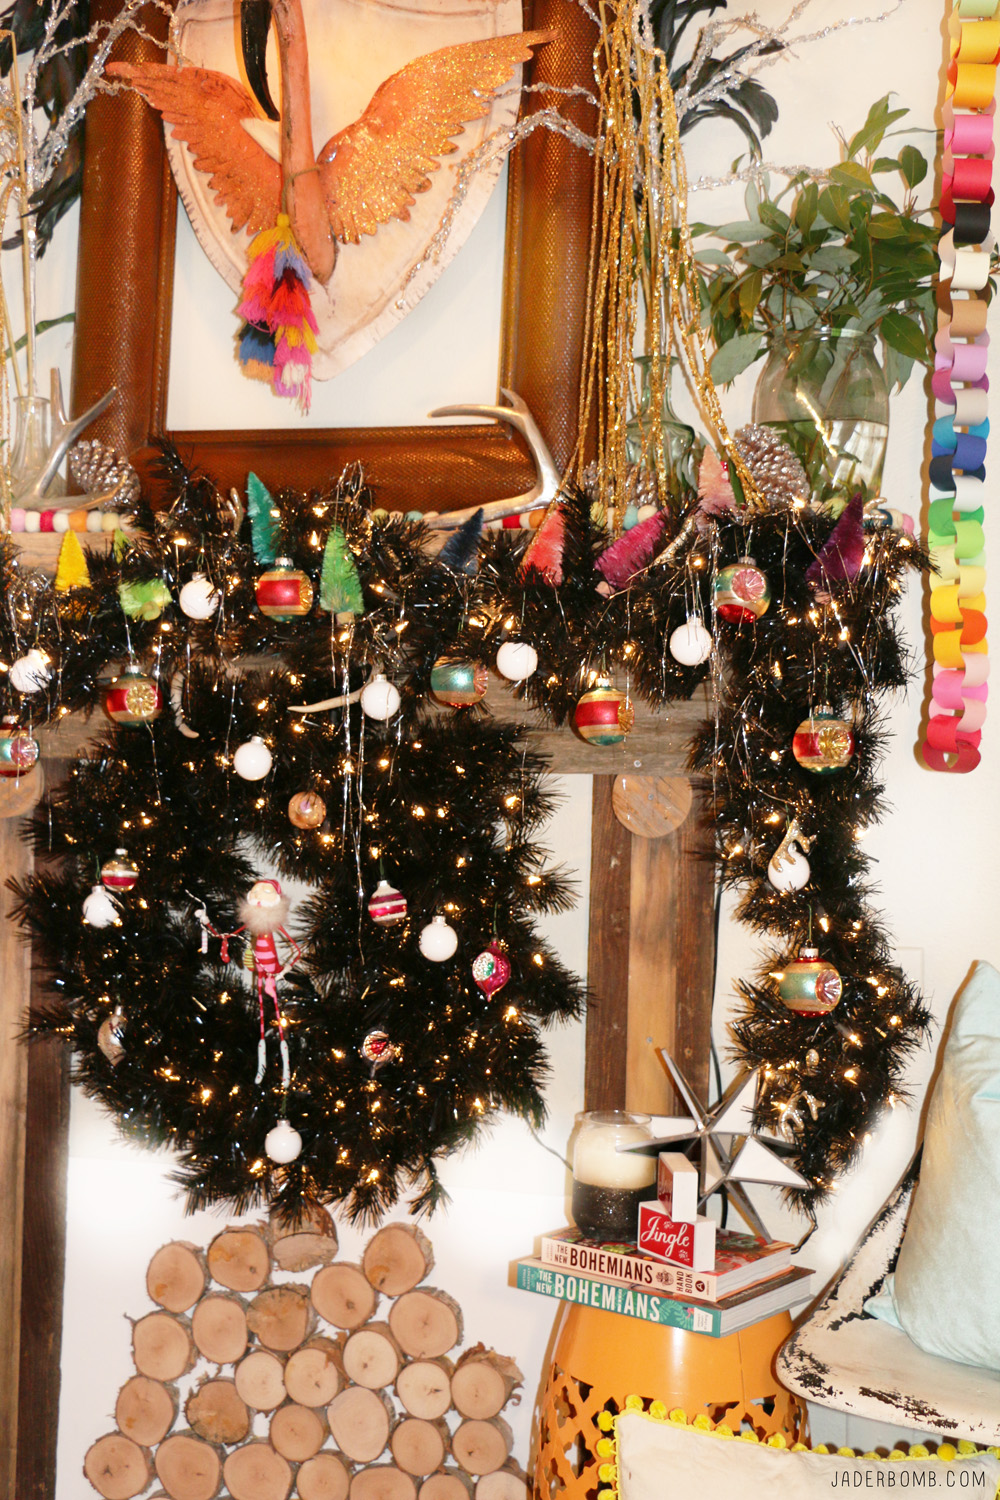
Every year I am grateful that I still have these glass vintage ornaments passed down to me. You just can’t find ornaments like these in stores these days so I wanted to add them to soften the stark blackness of the tree. 

With its tall and slender silhouette, this black bombshell slips comfortably into any space, even in the tightest of spots. 

Going old school means going back to your roots, right! I had to make a rainbow paper garland like we used to make in elementary school. 

I was amazed at how beautiful they turned out!

Switch on its shower of shimmering lights and there’ll be no escape from the hypnotic charm of this pencil Christmas tree.

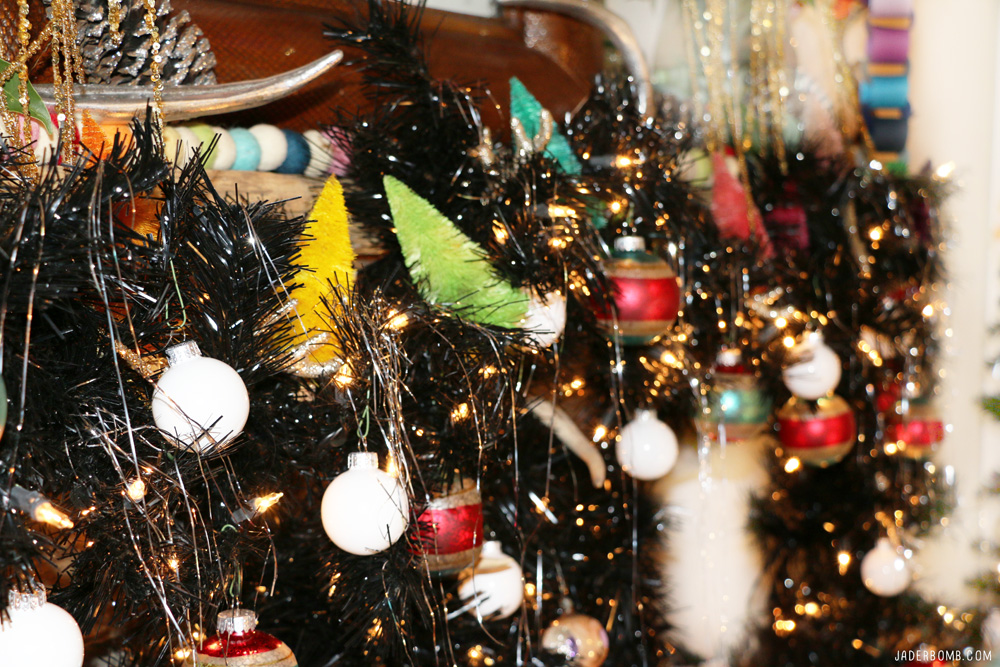
These bottle brush trees added the perfect touch to brighten up my tuxedo garland!

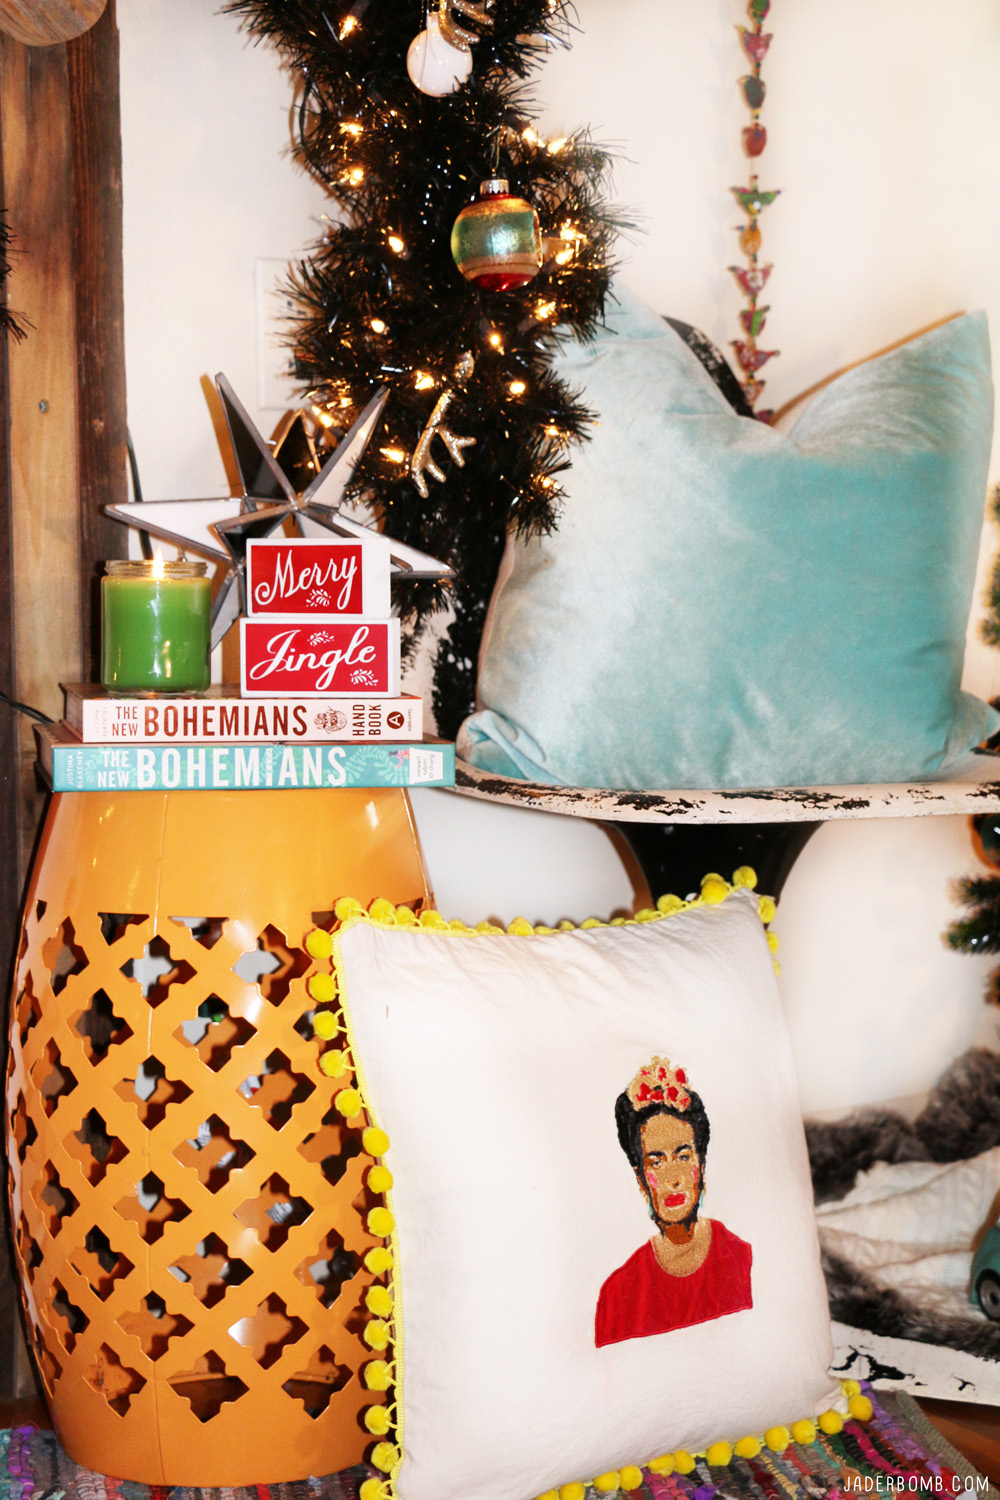
A friend of mine gave me this Frida pillow a few years ago and it added the perfect touch to my theme along with my Bohemian books. 

If you are not a garland person you might think twice about that now! I love the felt garland wrapped around my black stiletto tree, kinda looks like candy!

Decidedly bold and unconventional, the Stiletto Black Pencil Tree adds a sleek, sexy twist to your holiday home décor.

If you decorate with ton’s of color it’s always good to off set the color with modern white ornaments. They do the perfect job of making everything else pop. 

I hope you enjoyed this post! See you in the next post, until then hugs from my computer to yours!

Don’t forget to enter the tree giveaway! I will pull a winner MONDAY and Treetopia will ship you a tree just like this, minus the ornaments (haha)!

a Rafflecopter giveaway

Follow me on all of my social media channels because I love all of you to pieces!!!! 

FACEBOOK | INSTAGRAM | TWITTER PINTEREST 
**I received Treetopia products complimentary as part of my collaboration with them for the 2017 Christmas Blog Hop.***

The Simple Secret to decorating a small mantle! 

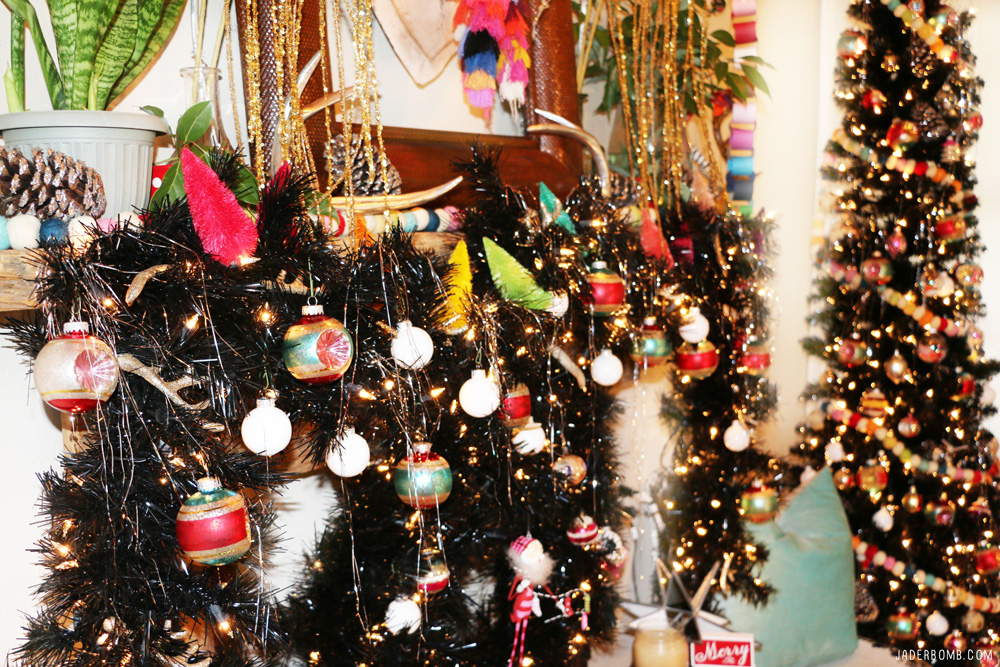
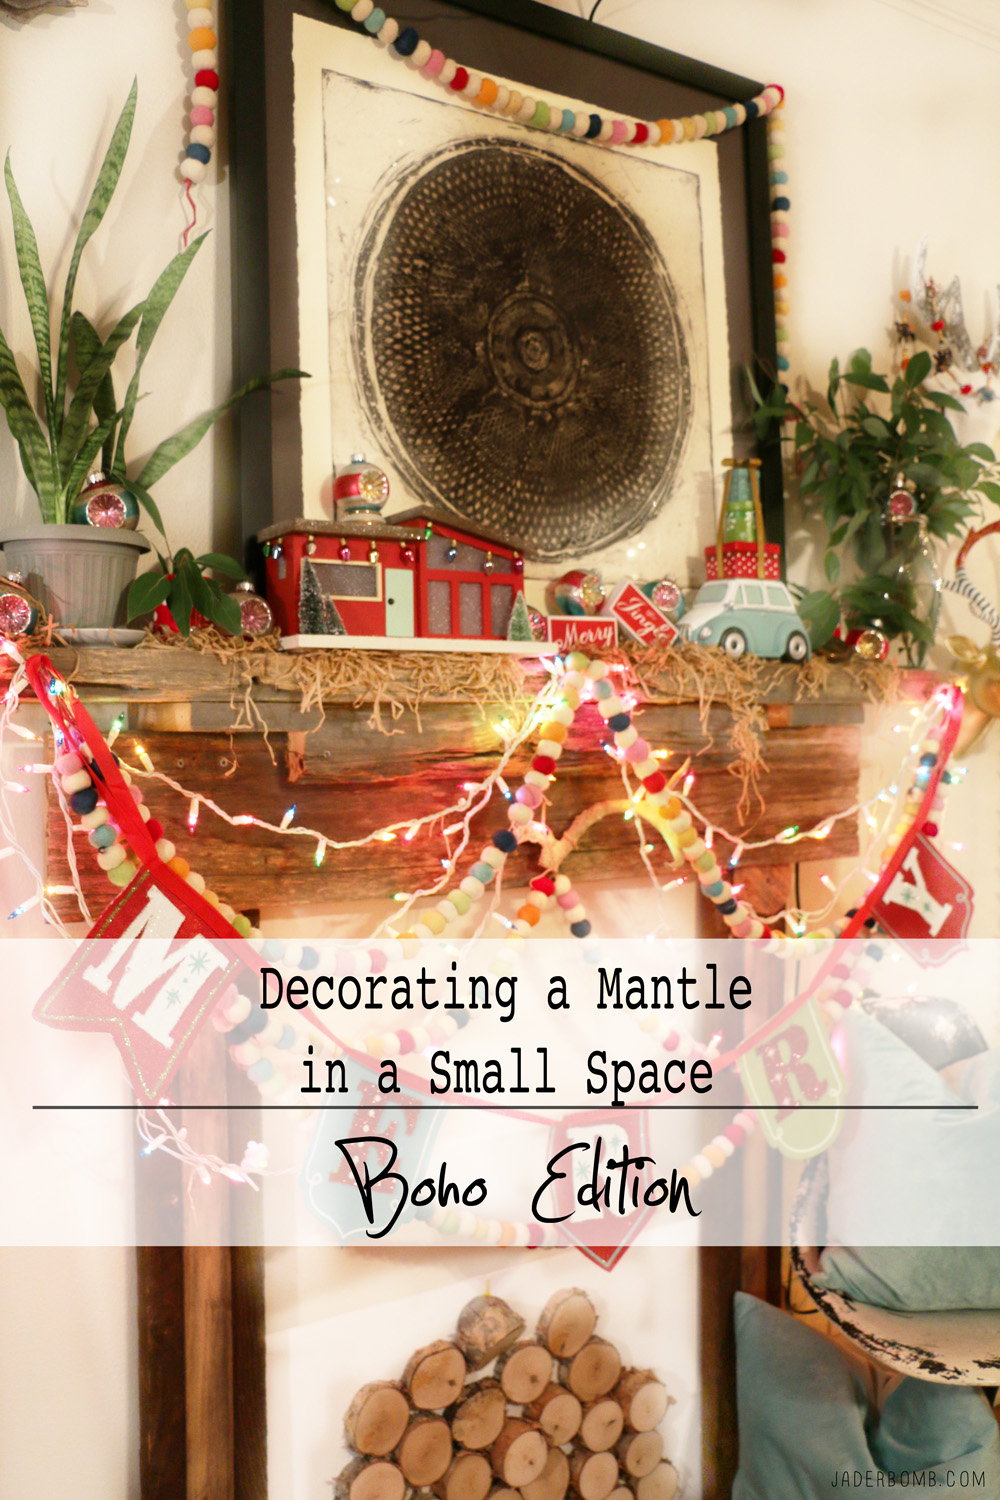
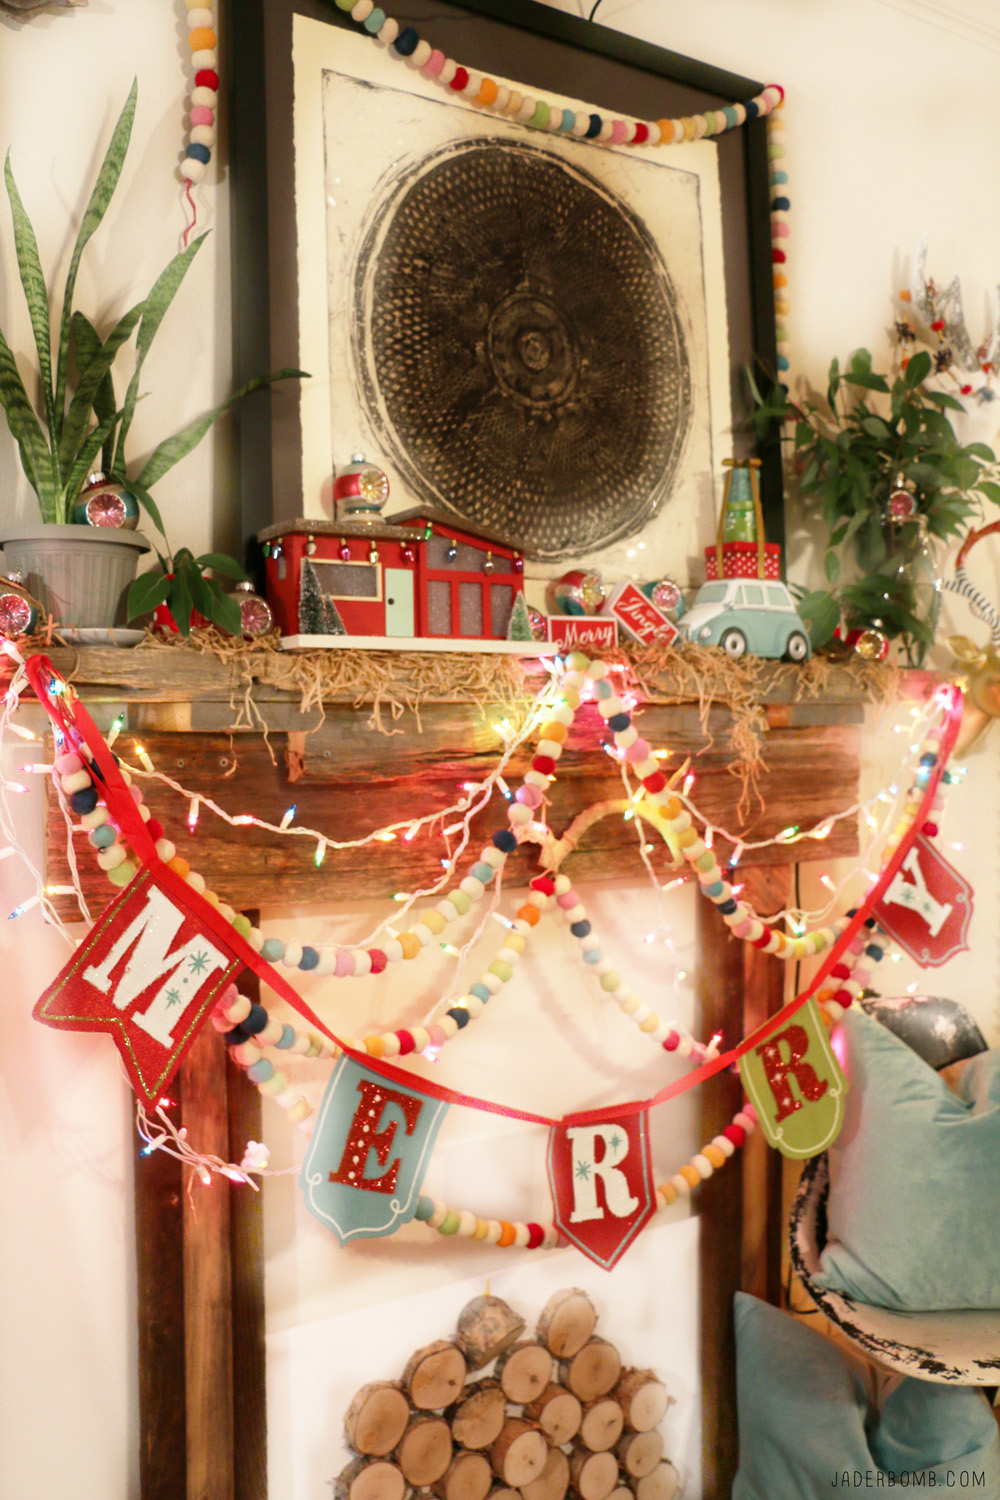
With Christmas right around the corner I thought it would be a great time to show you some of the new home decor items available at Michaels.  I love decorating with bright whimsical colors and as you can see I went with just that this year!  I will show you how to decorate a tiny mantle, let’s go!

Santa’s MAKEshop is now open at Michaels!  From holiday décor to trimmings for your tree, you can find everything you need to make your holiday magical! 

If you are wondering this is the first year I opted out of doing the Dream Tree Challenge for Michaels and I can’t lie it feels a little strange. Instead I wanted to showcase items that you can use in your personal space that still give off the magic of Christmas. Go all out this holiday season with a Winter Wonderland Tree, a Southern Belle Tree or a Pastel Tree. 

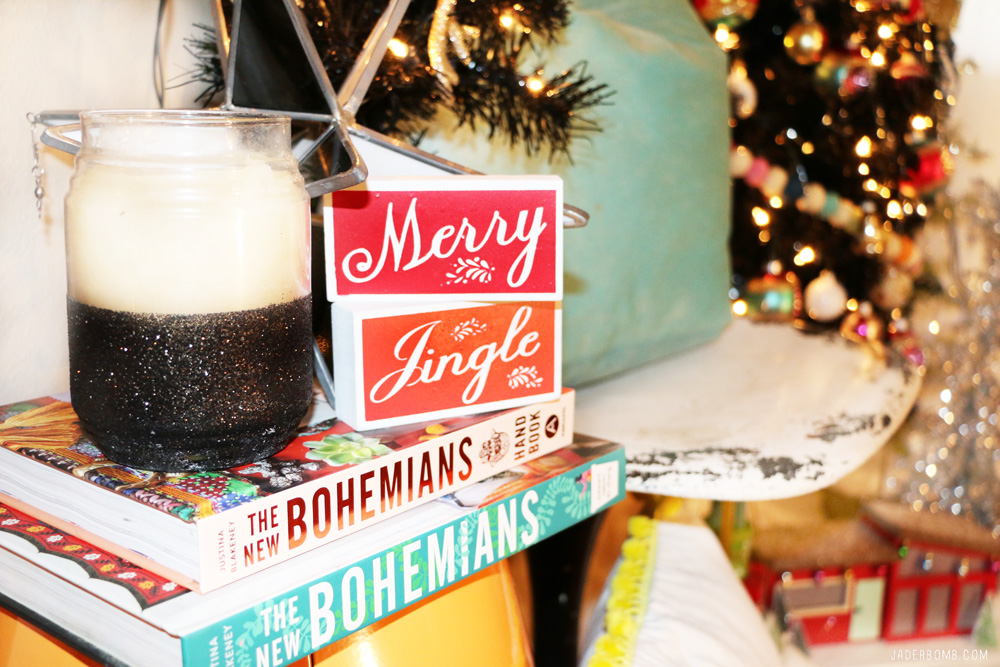
You can always add DIY glittered candles to your decor to ass some pizazz. If you have left over candles you can turn them into this!

If you are interested in purchasing all of the items I used in my post online just click here and you can shop away in the comfort of your home!

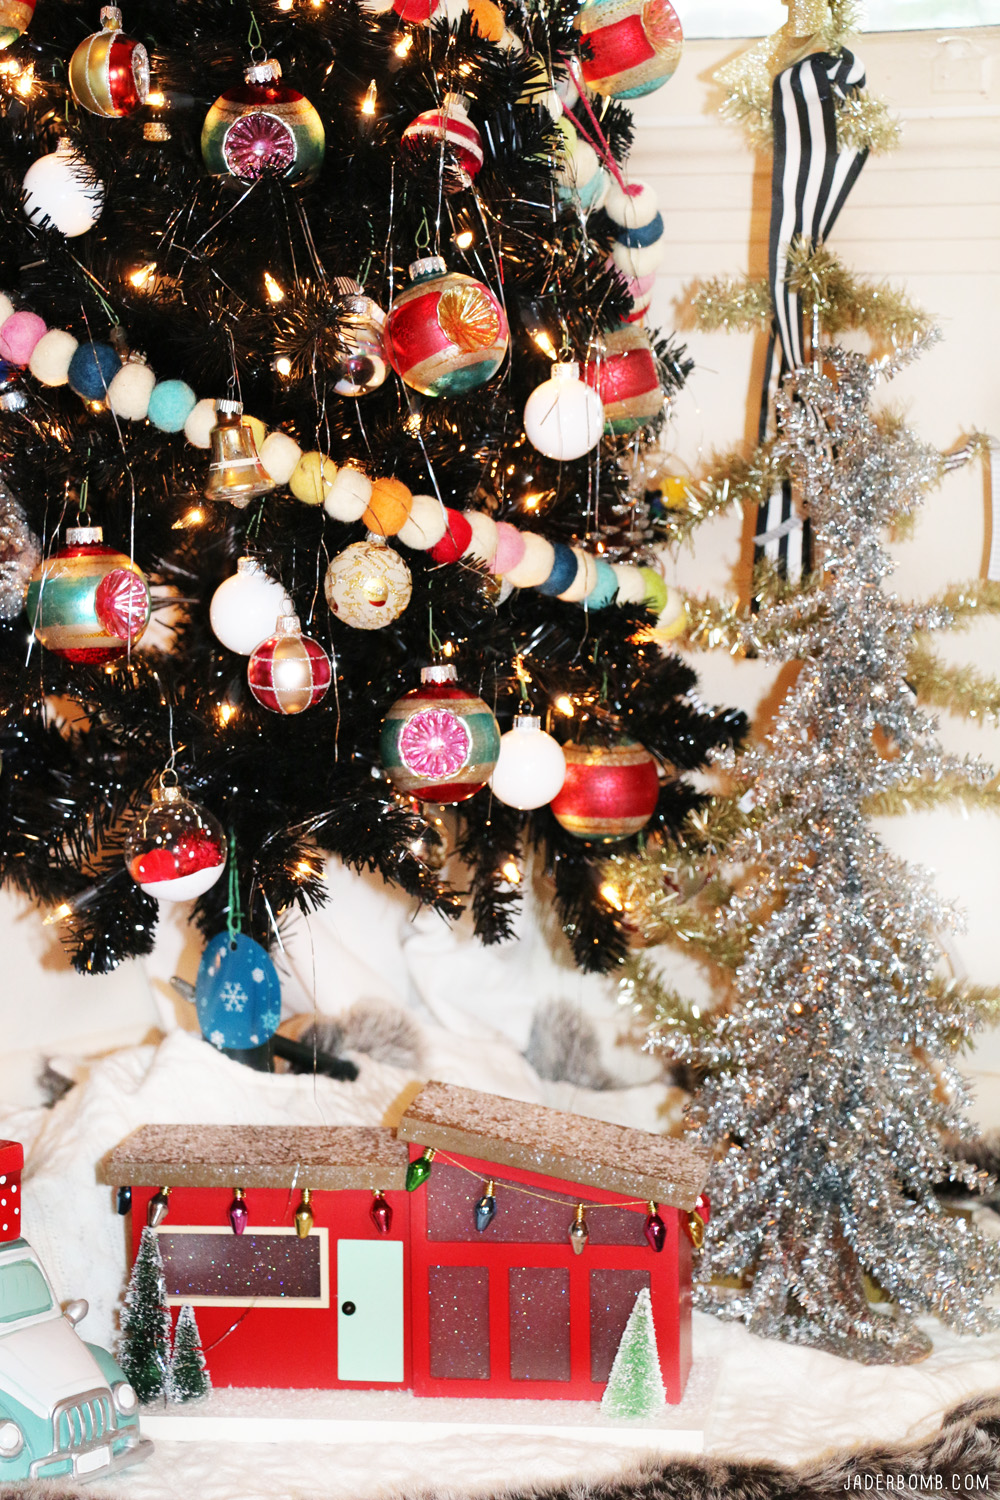
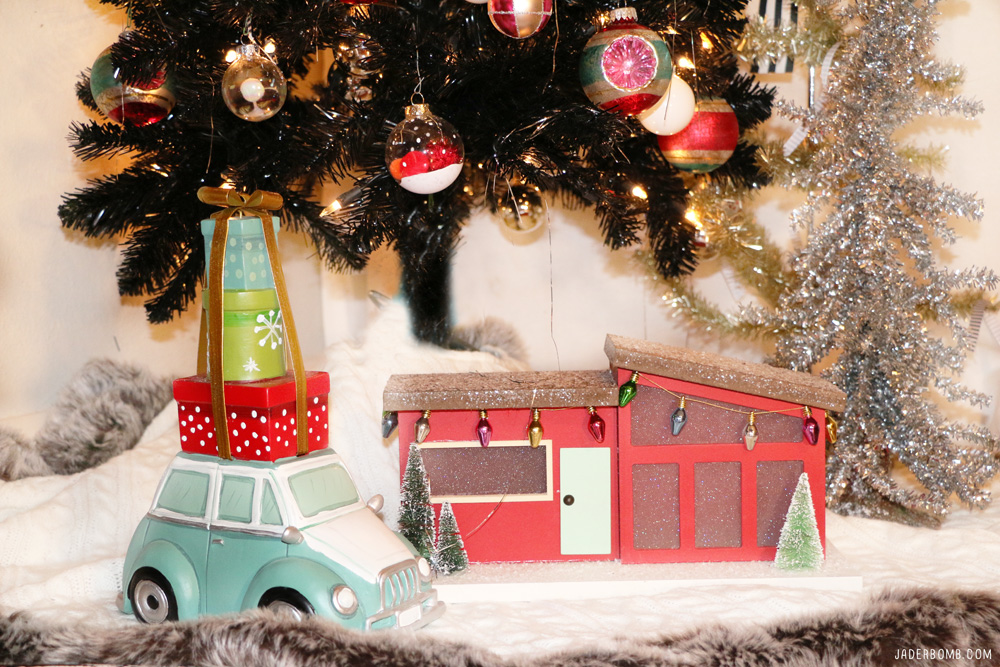
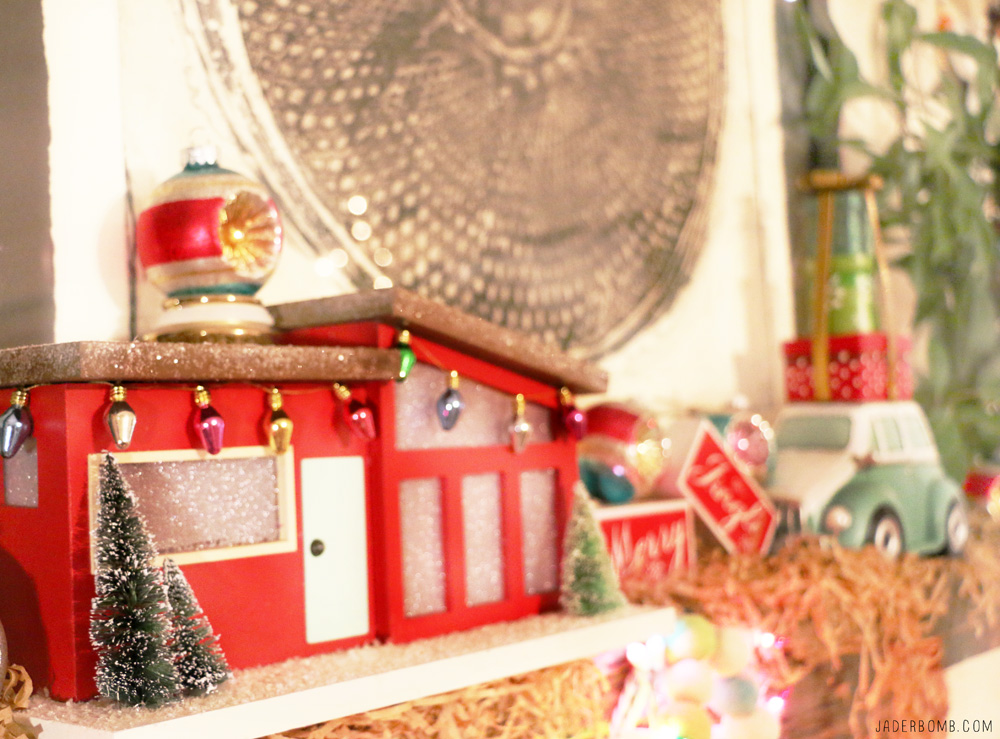
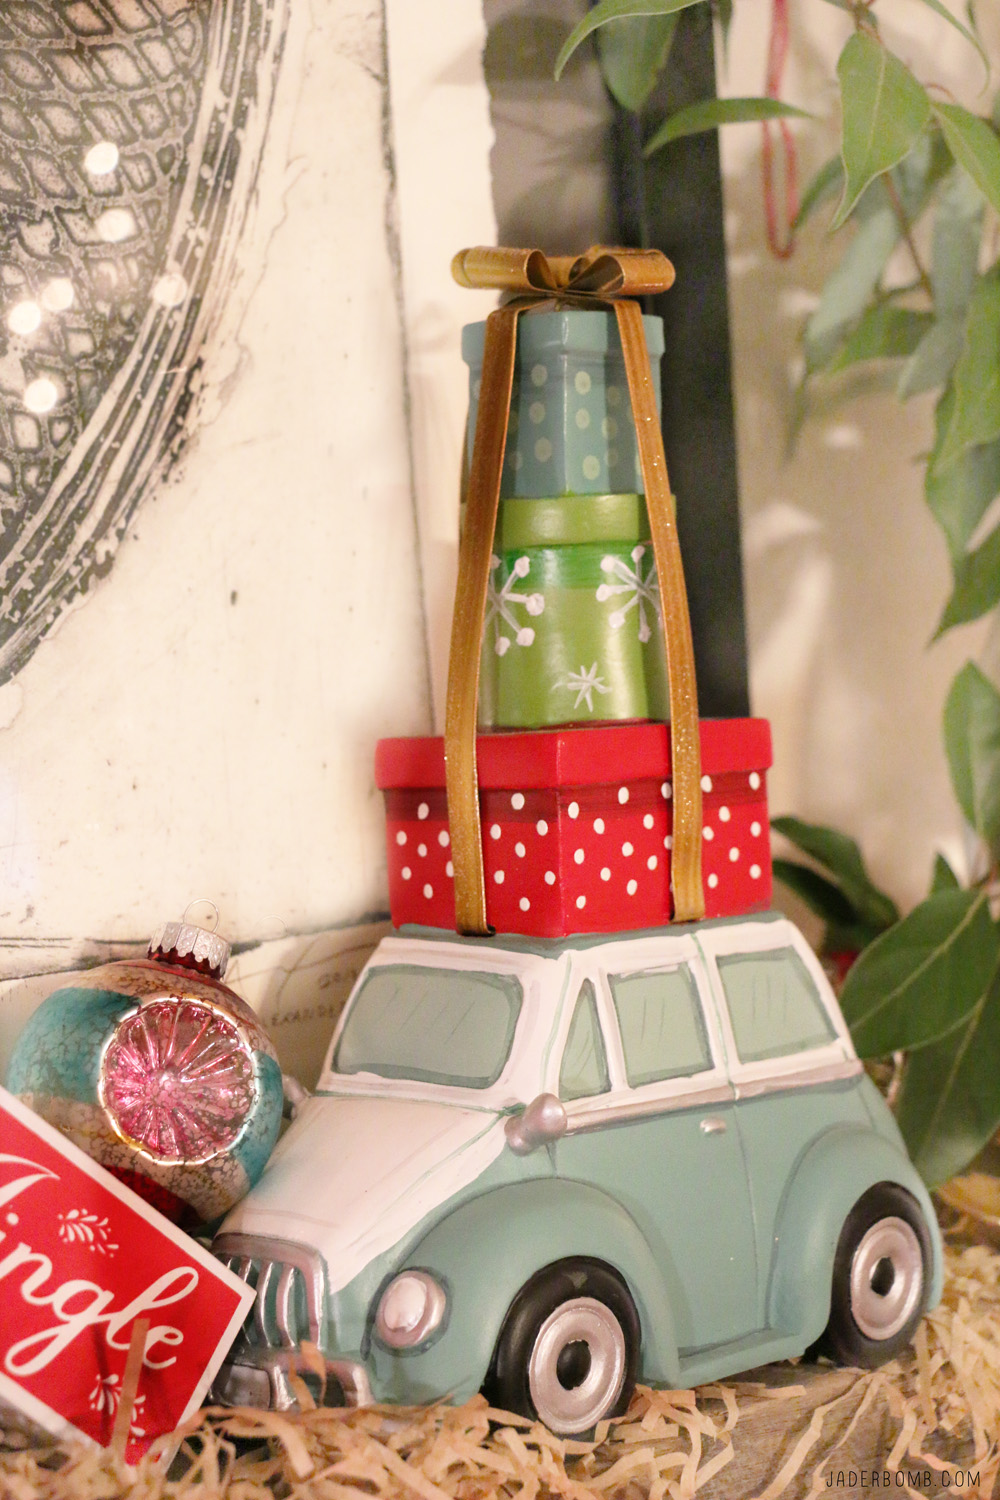
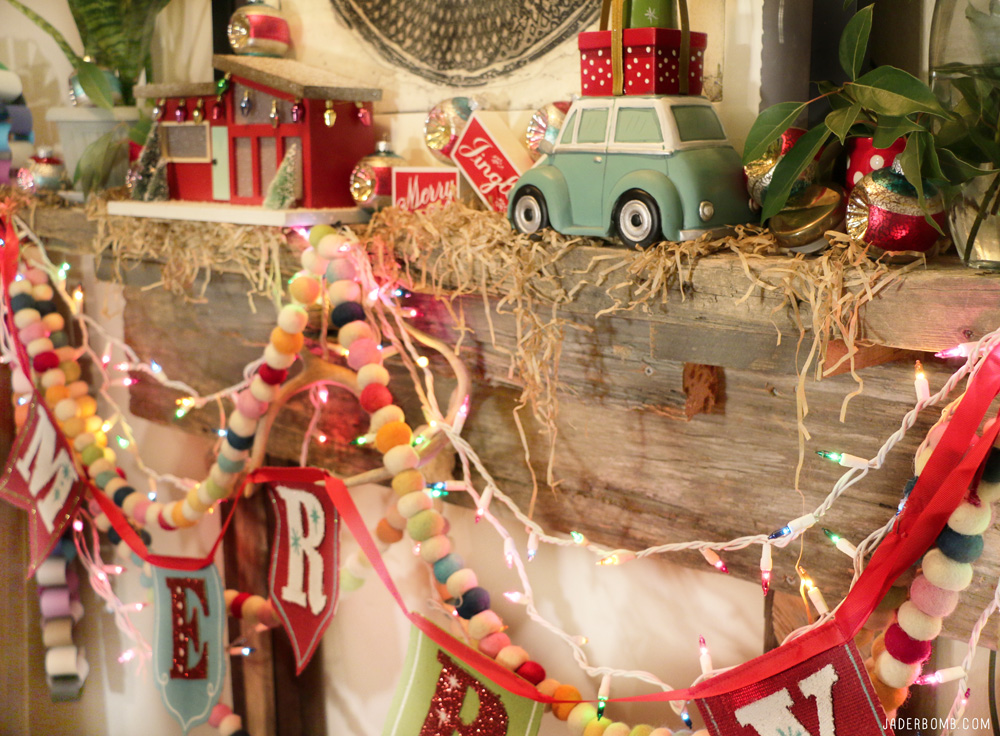
This year I was really impressed with Michaels! The vintage items in the Jingle Jolly section blew me out of the water. The vintage home and car with the presents melted my heart. Typically I try to purge Christmas items however I will be keeping these for the long haul. 

Still not sure what theme you want to do this season, here are a few Christmas ornament ideas that might inspire you. 

Michaels has quite a few themes this season for you to choose from. They have Alpine Décor,Jingle Jolly WayFrosted ForestCostal Décor (limited stores and online) and Boho Décor (limited stores and online).

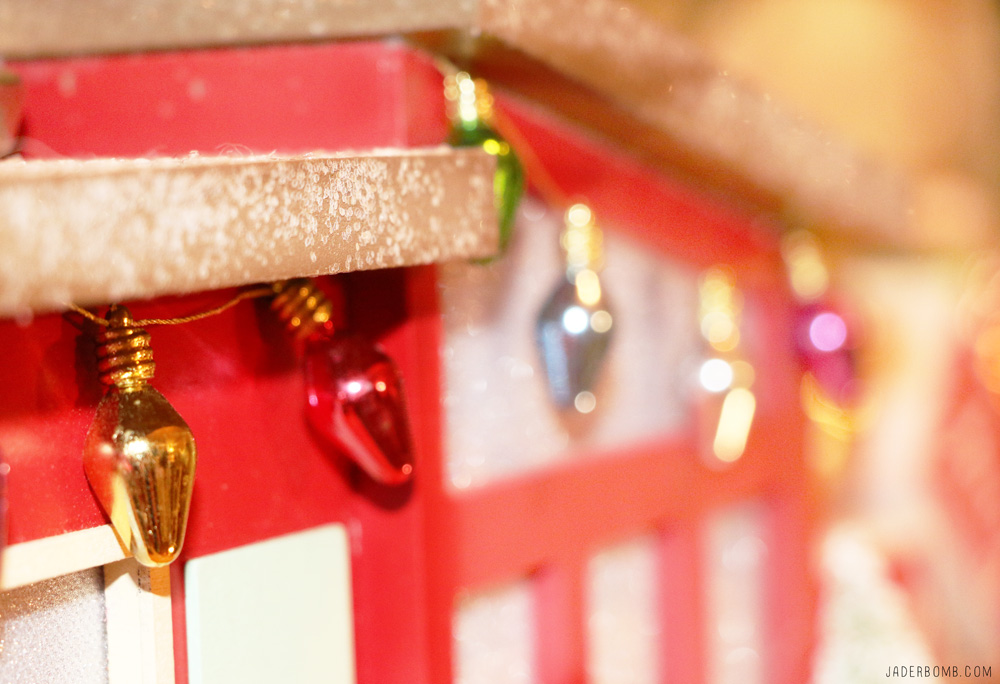
How cute are these miniature lights on the front of the vintage house. These bring me back instantly to my childhood for some odd reason. 

Very seldom I want to keep up garlands all year round but I can promise you that these felt ones will stay up all year. 

If buying garlands is out of your price point here is an easy way to make your own using cotton balls

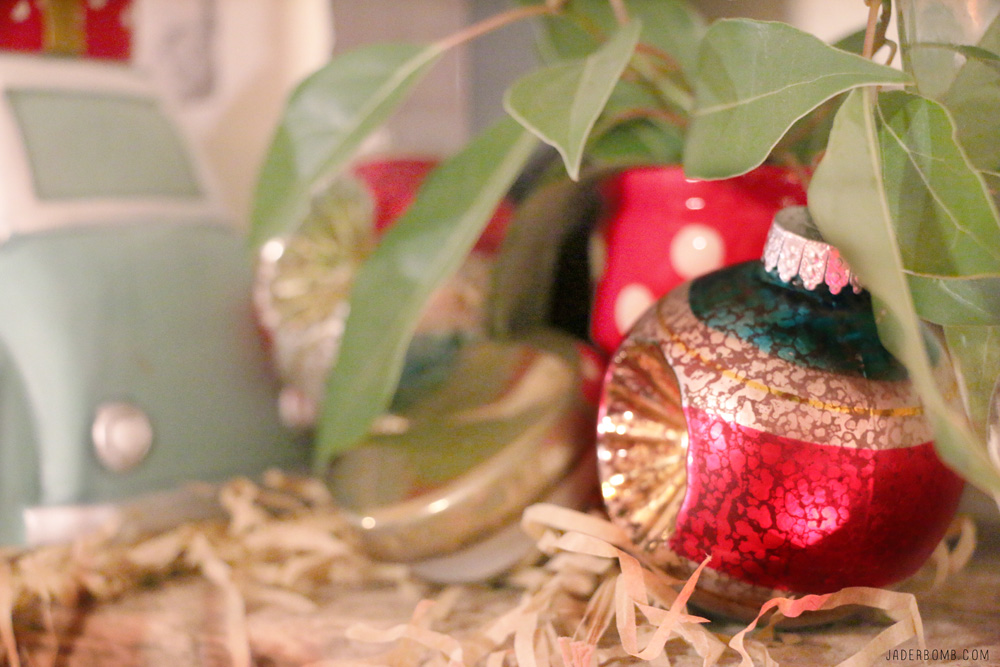
Nothing feels more like Christmas than Vintage ornaments however check out these Ice Cream Cone Ornaments that I created a few years back.  You can’t go wrong with beautiful sequined ornaments either.  Can you believe I still have these.  See I don’t purge as well as I would like to think, haha! 

I have a good quantity of real glass vintage ornaments from my Pop Stew that I cherish every holiday season.  It never fails they always make it into my decor each year.  The “faux” vintage ornaments are not made of glass but in person they look like they are.  The plastic ones are great since I don’t have to worry about them breaking!

Something that would look great on your mini mantle besides this cute car is DIY bottle brush trees and I have the perfect tutorial on how to dye them any color you want.  Can’t you just see this car in your head rolling down the streets in New York city? 

Sadness overcomes me knowing that I will be taking all this down for another Christmas post.  Don’t fret I will merge it all together. There is no way I will opt out of these decorations this season!

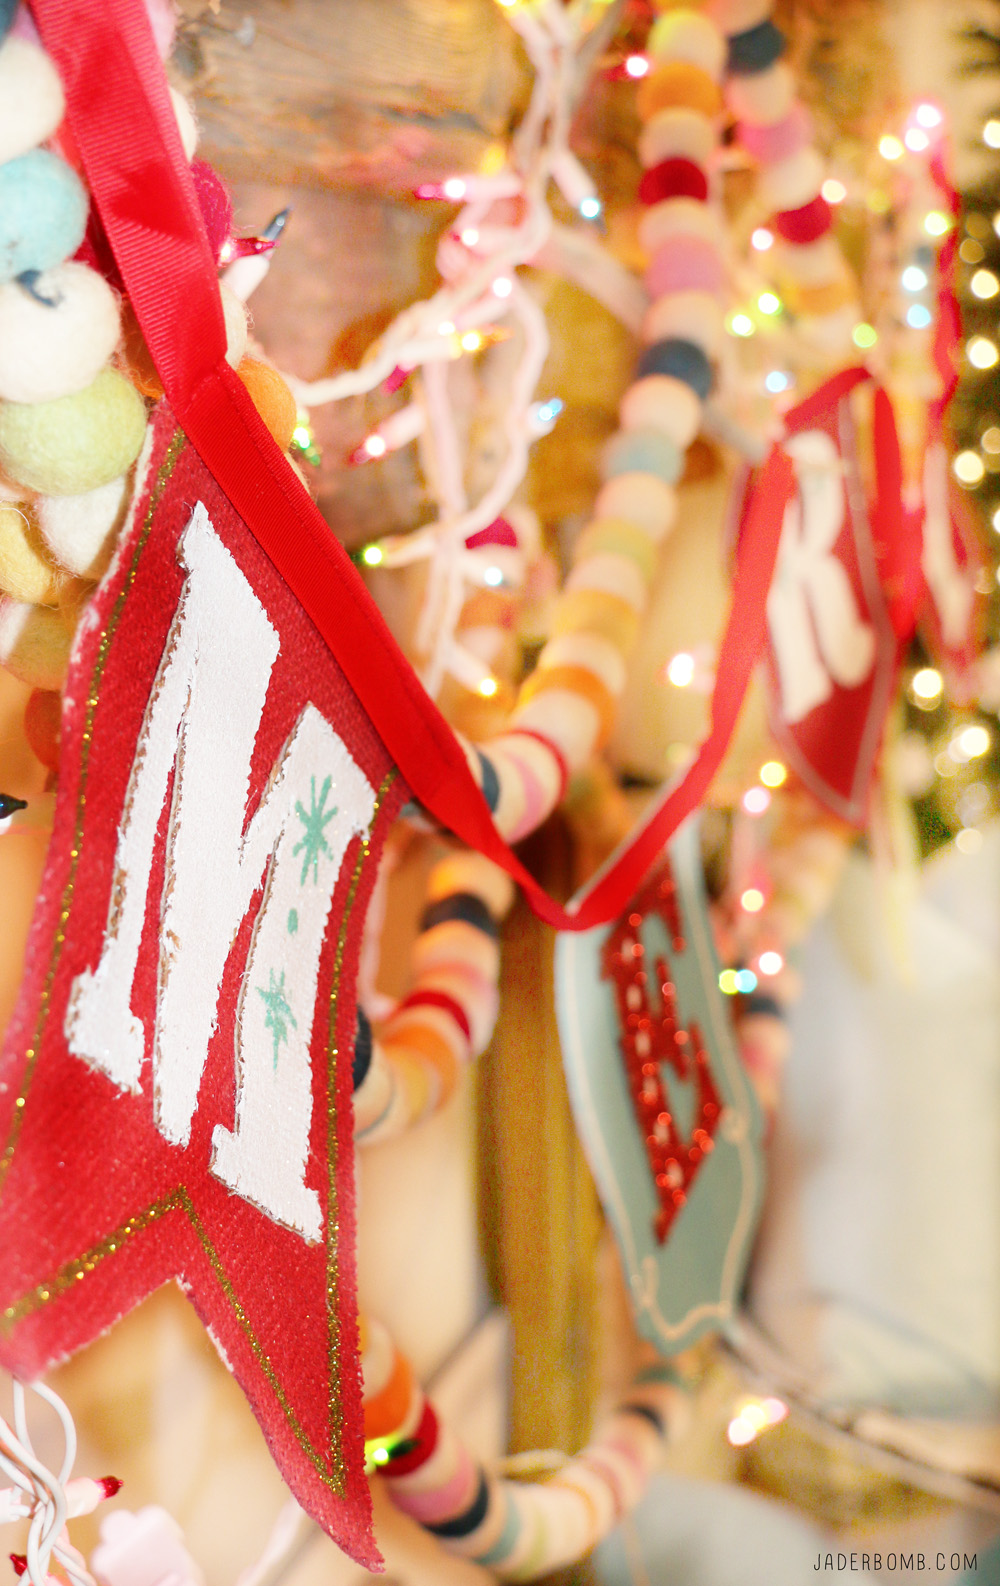
Every season I put up banners and I fell in love with this MERRY one.

Impressed is what I am with the quality of them which means I can re-use them each year. 

Stay tuned this week I will be showing you how I made my faux stacked wood!

I hope you enjoyed this project as much as I did! See you in the next post, until then hugs from my computer to yours!

Don’t forget to follow me on all of my social media channels because I love all of you to pieces!!!! 

FACEBOOK | INSTAGRAM | TWITTER PINTEREST