OPTIMISM: 1. Hopefulness and confidence about the future or the successful outcome of something.
With high hopes of bringing happiness and optimism to everyone in the world, Folgers is launching “The Best Part”, a social platform that will allow people to connect and share positive stories through Facebook, Twitter and Instagram. Little gestures are exactly that, little. However, you would be surprised at how easy it is to change someone’s life or day by doing little things. It’s all about Staying Optimistic.
 This is my third post for this awesome campaign and I surely hope I am spreading happiness and joy to your lives when you read each post. I am enjoying sharing these hopeful stories with you and I think this one might be my best one yet.
I live in Louisiana and we encounter a lot of hurricanes since we are so close to the Gulf of Mexico. In 2005, we got hit really hard with Hurricane Rita and a month later New Orleans was hit very bad by Hurricane Katrina. Everyone seemed to be out of their homes, jobs and separated from their loved ones. Lots of people from New Orleans moved around for temporary housing.
The Cajundome in Lafayette (where I live) was a huge shelter and let me tell you it was pretty chaotic here. This story is 100% about being OPTIMISTIC! One day me and my friend Michelle decided we were gonna go to the Cajundome and visit some of the families there. You know, just giving them some love and good energy considering the circumstances. While we were there we met a family who thankfully remained together but did lose everything to their name. The family had 4 kids and it was gut wrenching to see this. We hung out with them for a few hours and before we left we both decided we wanted to do “OUR” part in this situation. Even if it was for one family or one person.
We decided that we would go in half and buy them clothes, pajamas and snacks. Before we left we got all of their sizes, favorite colors and favorite toy/character. We went straight to the store to pick out things for them. While there we said to each other, “What more can we do?…”
We wanted to get them out of that shelter for a few hours and let them be kids again, however this was a difficult decision. I stayed OPTIMISTIC and trusted this vision. We went back to the Cajundome to bring them their clothes and asked the parents if they would mind us taking the kids for the day on Sunday to let them play outside and cook for them. Can you believe they said YES?
The next morning we both drove there and picked them up. They were so excited to see us that morning. Sunday was a great day. We cooked and gave them a day of normalcy and freedom. Before they left I let them take showers and got into their new pajamas. They all were so sad to leave and it was very hard on my soul knowing what they were going back to while I went to bed in my cozy home.
But, the moral of this story is never judge a person because you don’t know their entire background. Don’t get me wrong, doing something like this requires a lot of positive intuition and trust but not everyone is harmful. What I gave to those kids that day was OPTIMISM. I pray that they will always remember that Sunday.
Optimism. What brings joy to your life? Please share with the world!
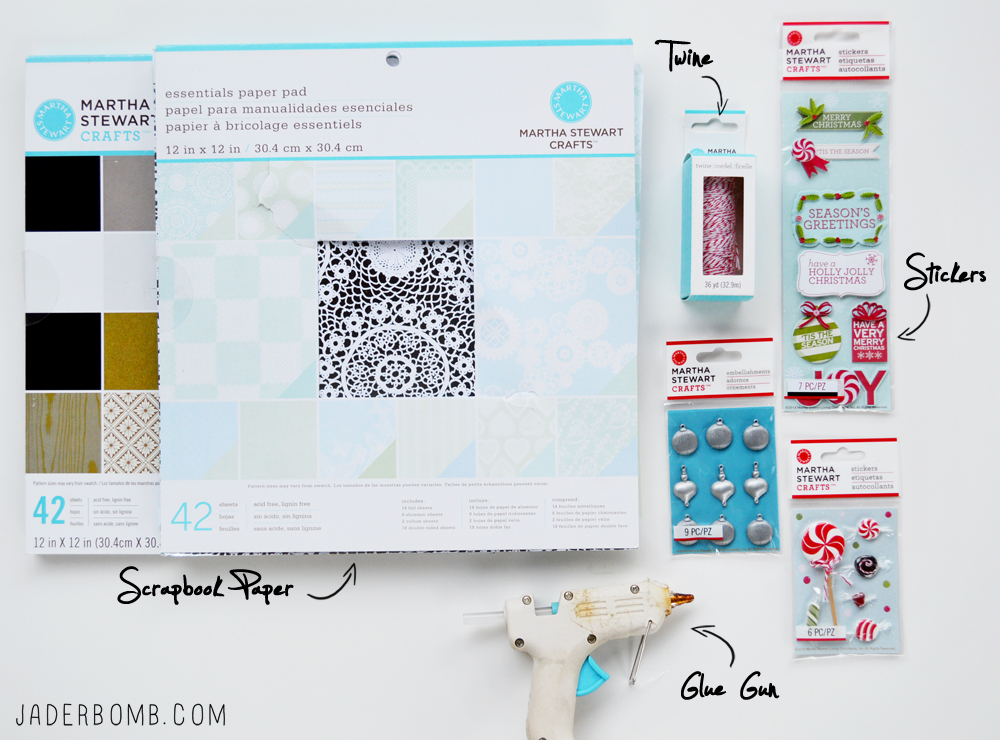
The Best Part is an online community that’s dedicated to brightening your day—every day. How? It’s by spreading optimism, one share at a time.  The Best Part posts inspirational stories, encouraging quotes, good news and other upbeat items on Facebook, Twitter and Instagram—and encourages fans and followers to share that optimism with their friends. Because when optimism is shared, it grows, making an even more positive impact on our world. Check out what others are sharing on Facebook, Twitter and Instagram.

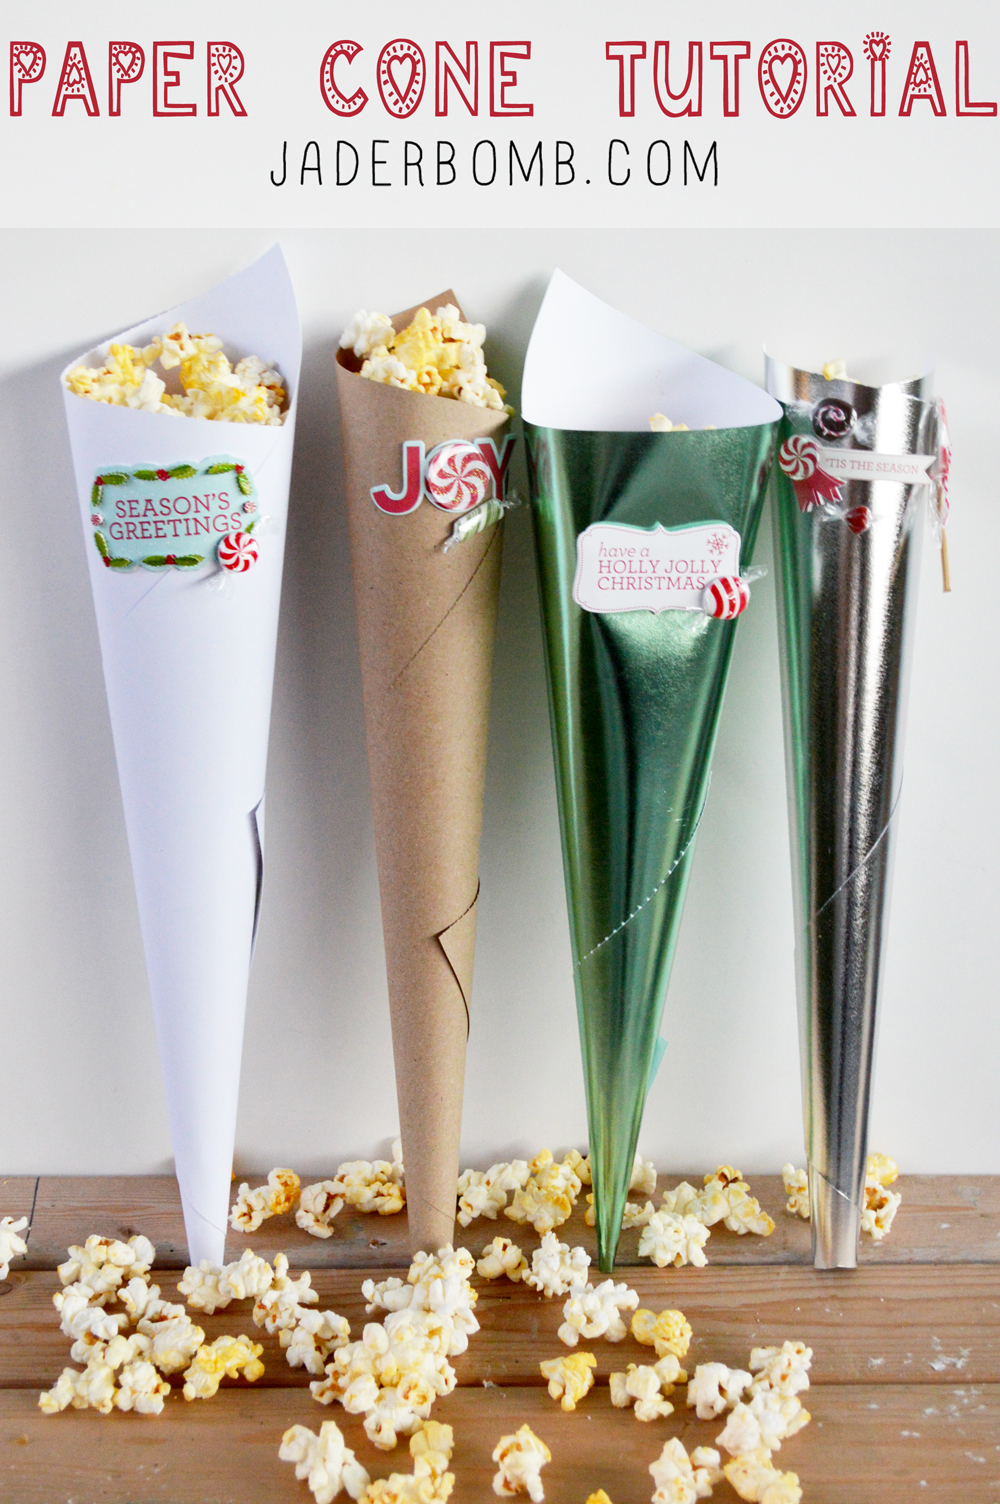
 The first thing you will do is lay a sheet of paper out flat and start rolling from one corner to the next. It might feel awkward at first but you will get the hang of it.
 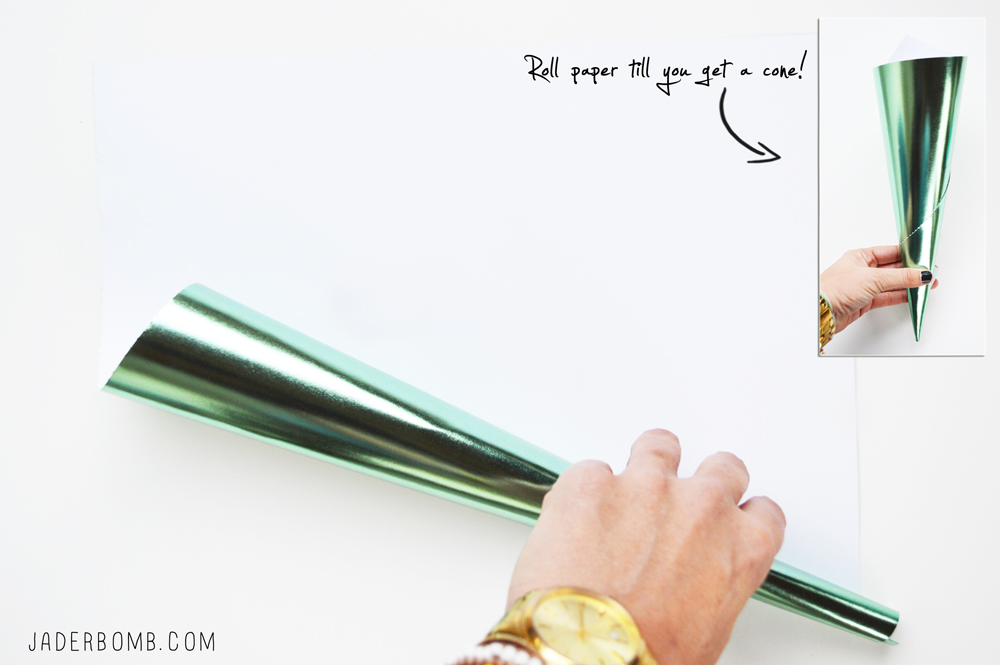 It will start to look like this on the end. With a little practice (maybe a minor heart attack) you will get a nice pointed tip.
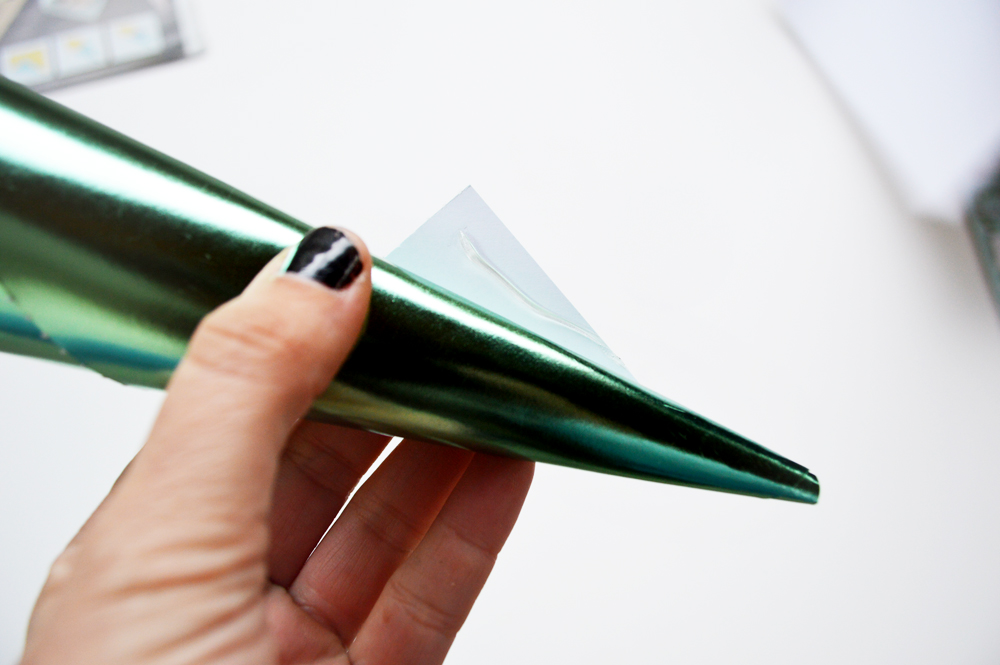 When you are done rolling your paper you will have this little piece of paper hanging off of the top. Don’t worry it’s supposed to be there. If it’s big enough you can fold it down and clip it with a button or something. You can use a hole puncher and attach with baker’s twine also.
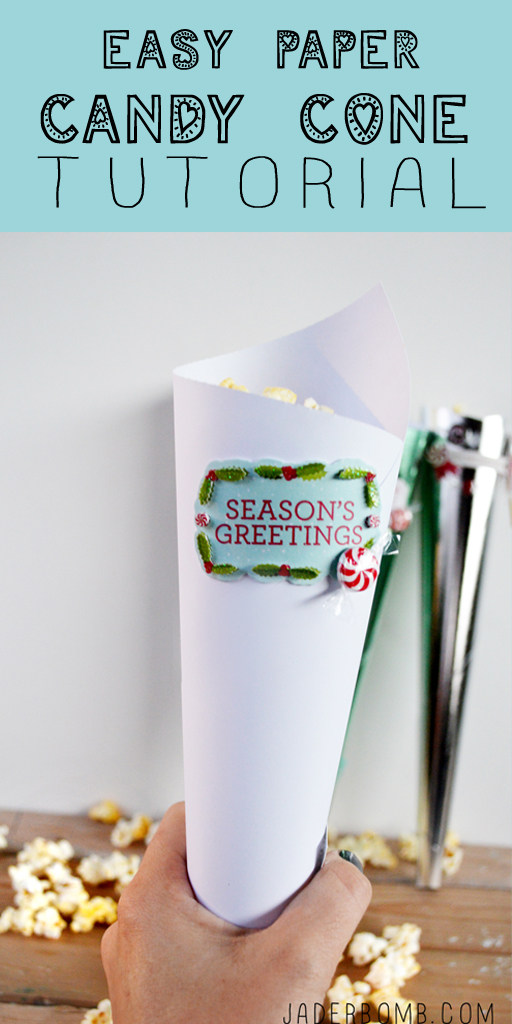
  I used Martha’s new stickers on my paper cones. I love how they add just enough to the cones.
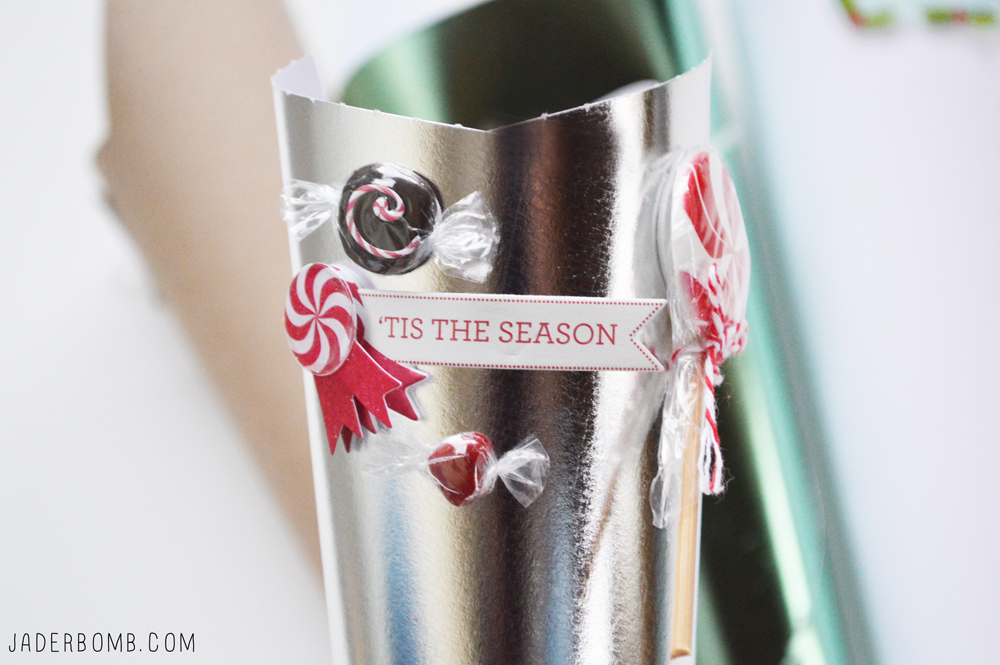
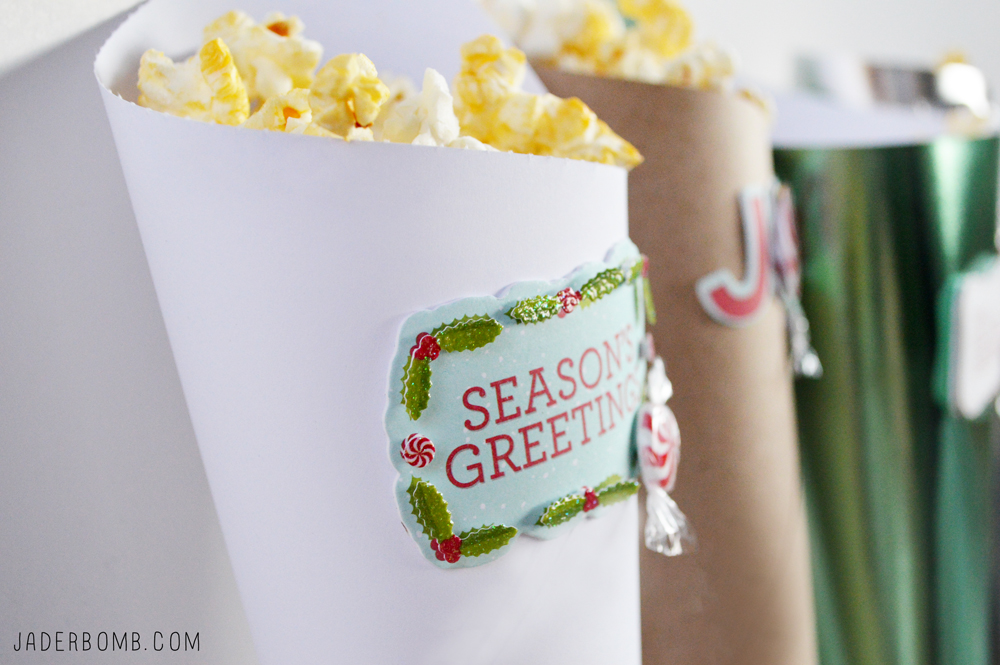 You can fill these with anything your little heart desires. I wanted to hand out popcorn to my family and thought that would be the perfect filling.
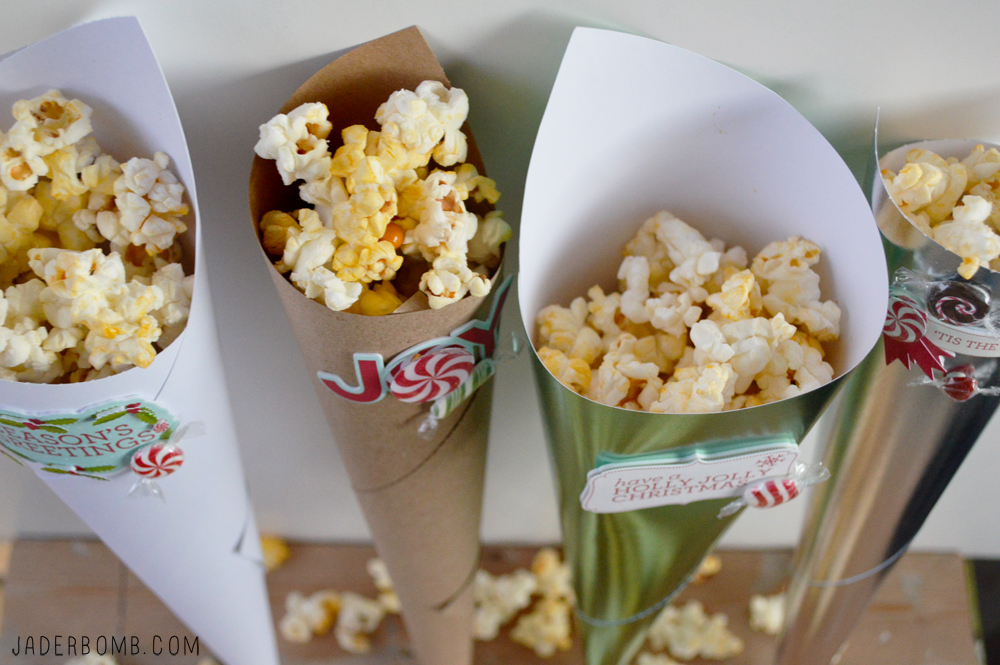
 Disclosure: I’m part of the
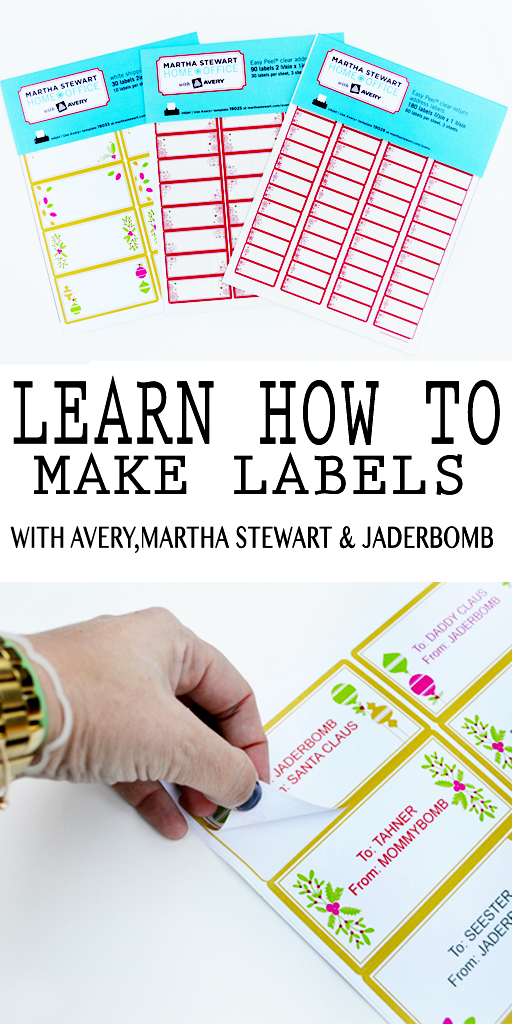
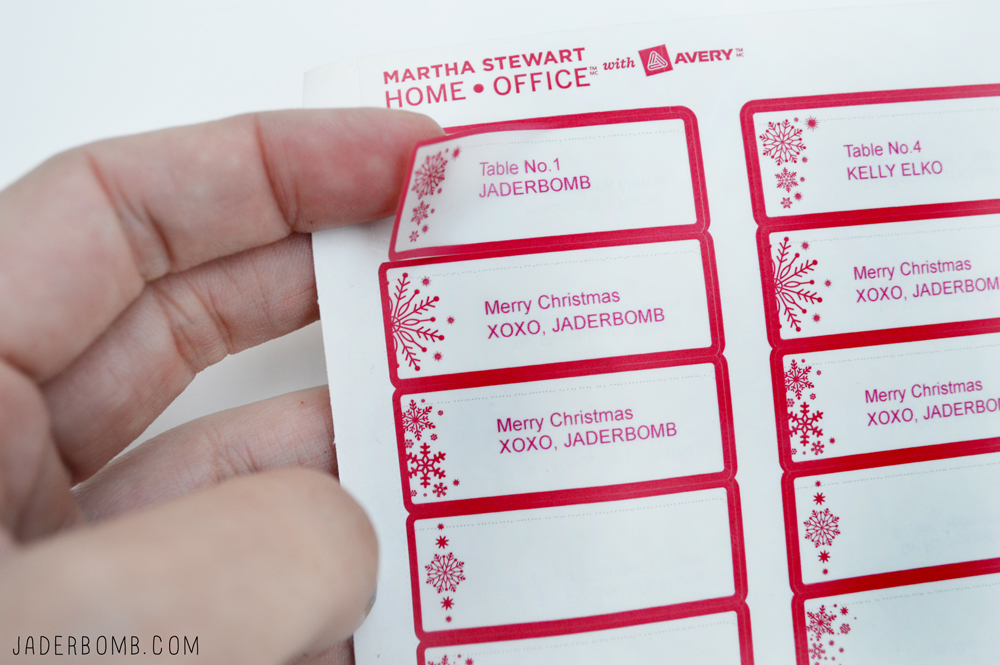
 I like to give everyone cards for Christmas and these printable labels make anything look real “Fannncyyyy”. Everyone will think you spent hours hand carving their label (not really), but it sounds nice!
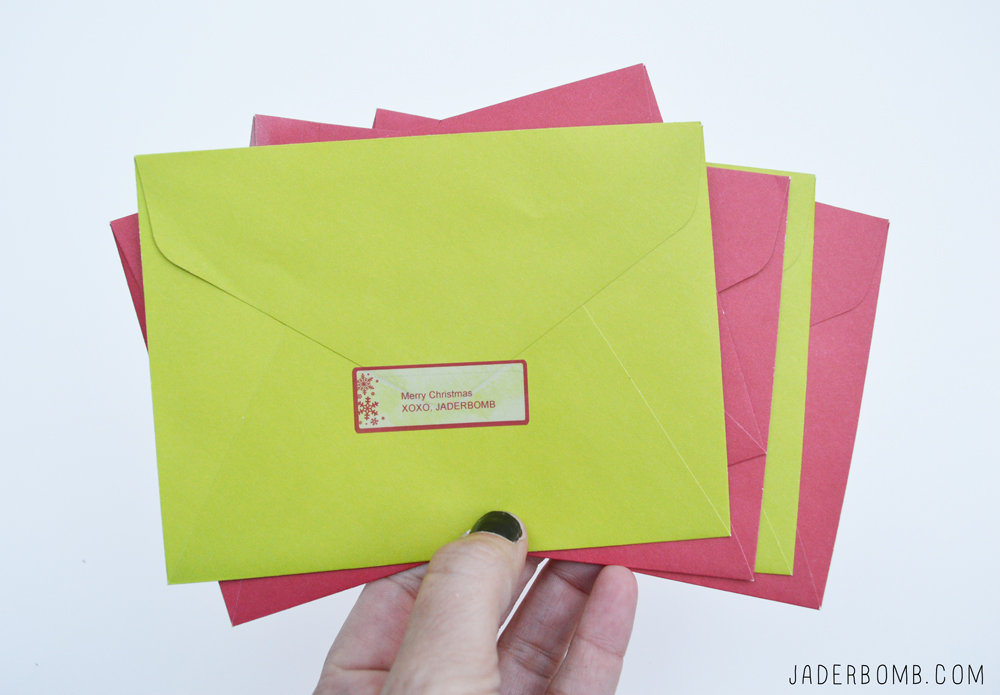
 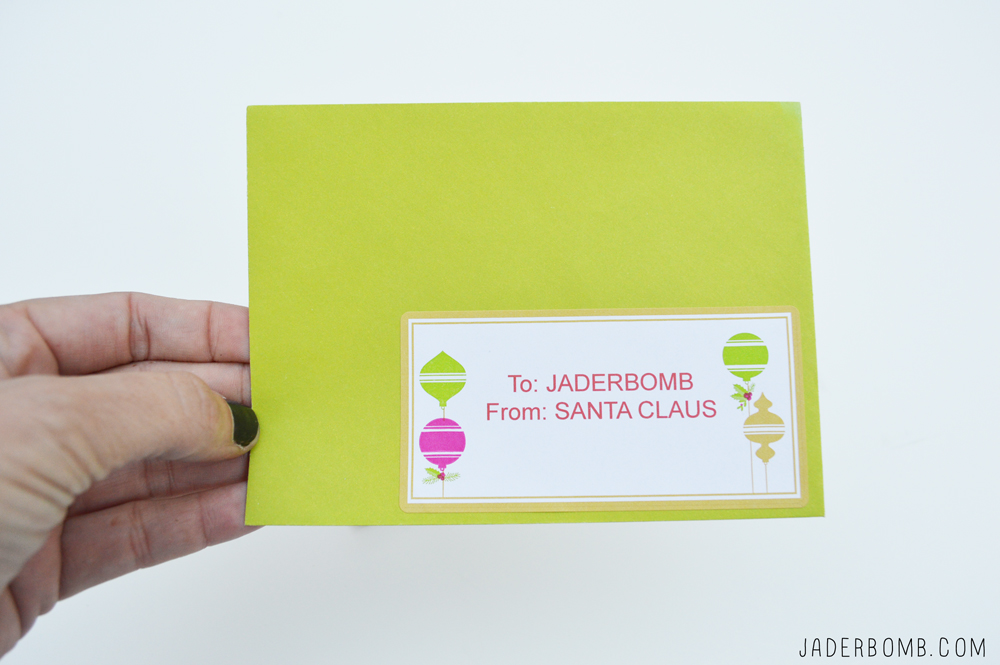 I guess now I have to fill envelopes with globs of money. I will just put more in mine and open it in my closet when everyone is sleeping. Hopefully the Santa won’t catch me.
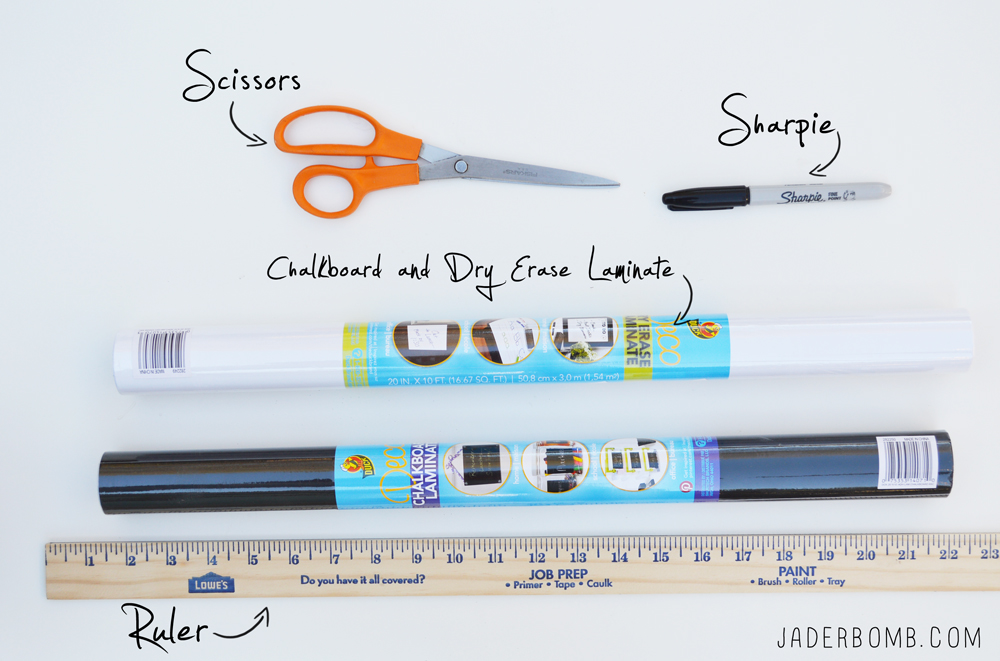
 *Paper Plates and Bowls * Glitter *Brush *Mod-Podge *LOVE
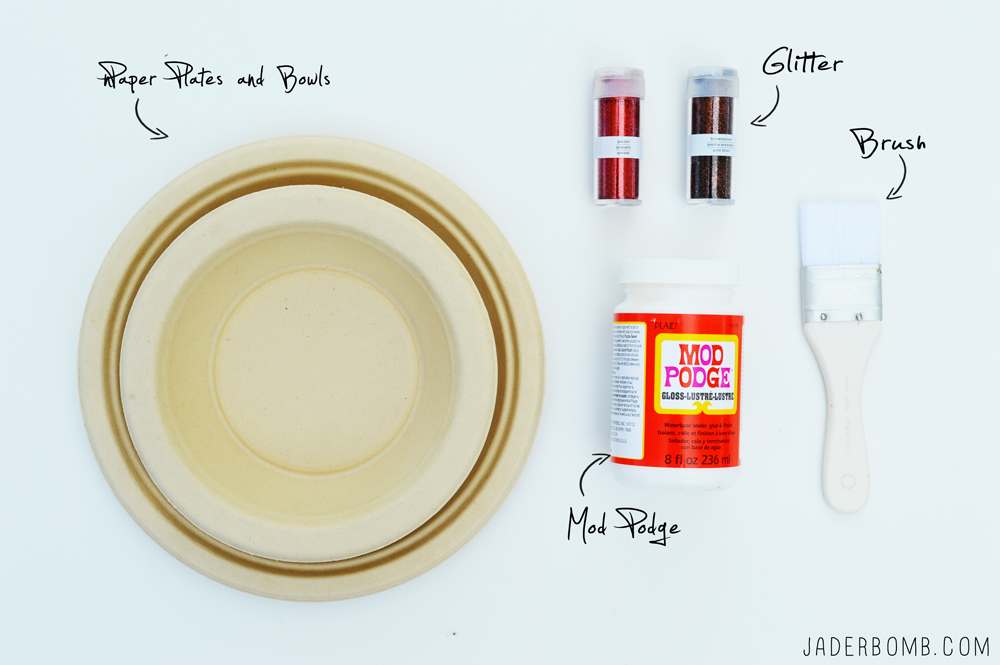 The first thing you want to do is coat your paper plate with Mod Podge.
 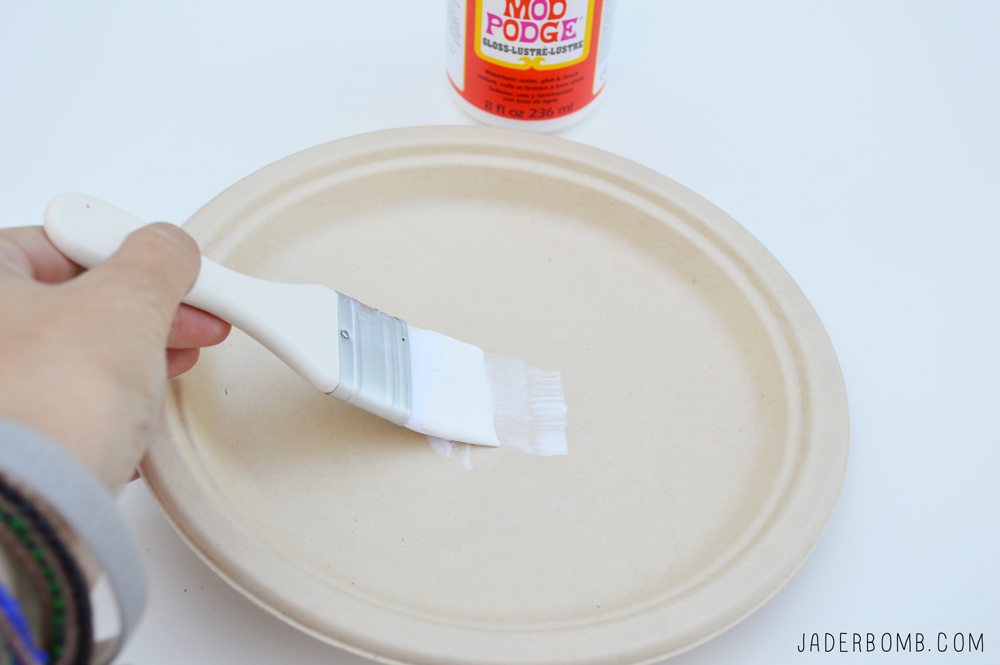 You want to work a little fast since Mod Podge dries very quick.
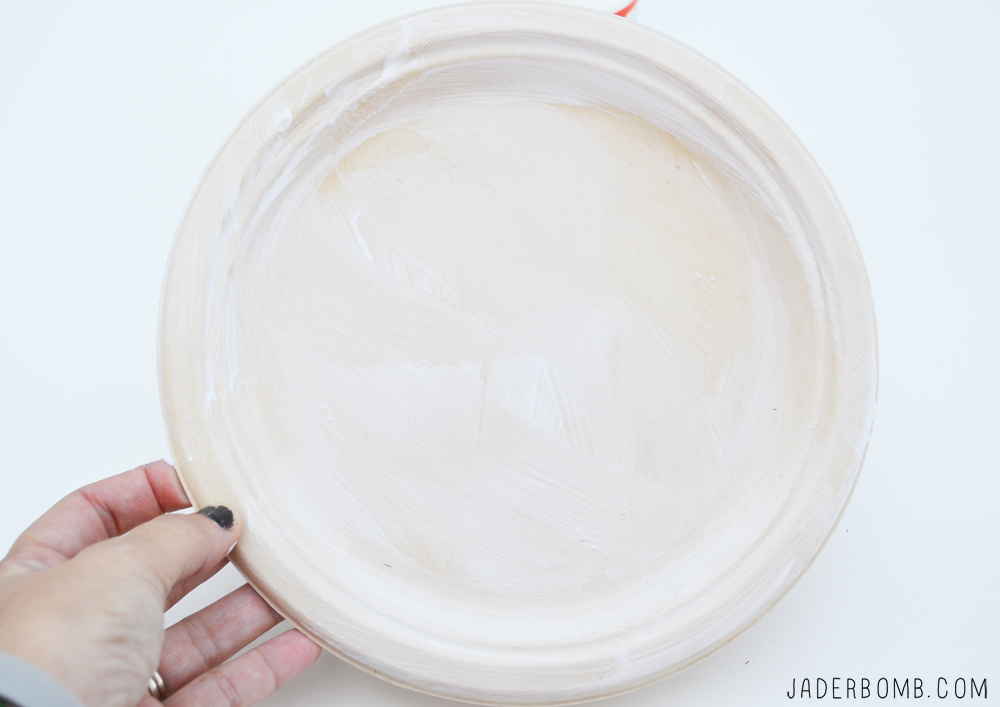 Sprinkle glitter over the wet Mod Podge. Don’t worry if it’s not perfect because after all it’s just going to be used as decoration. Did I mention you will throw it away after it’s used!
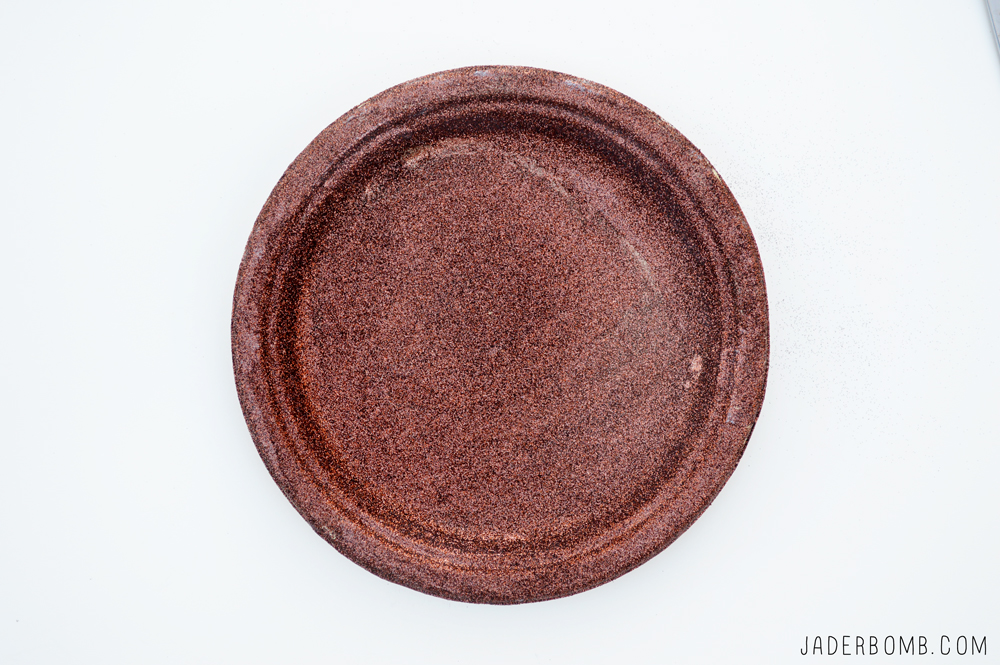
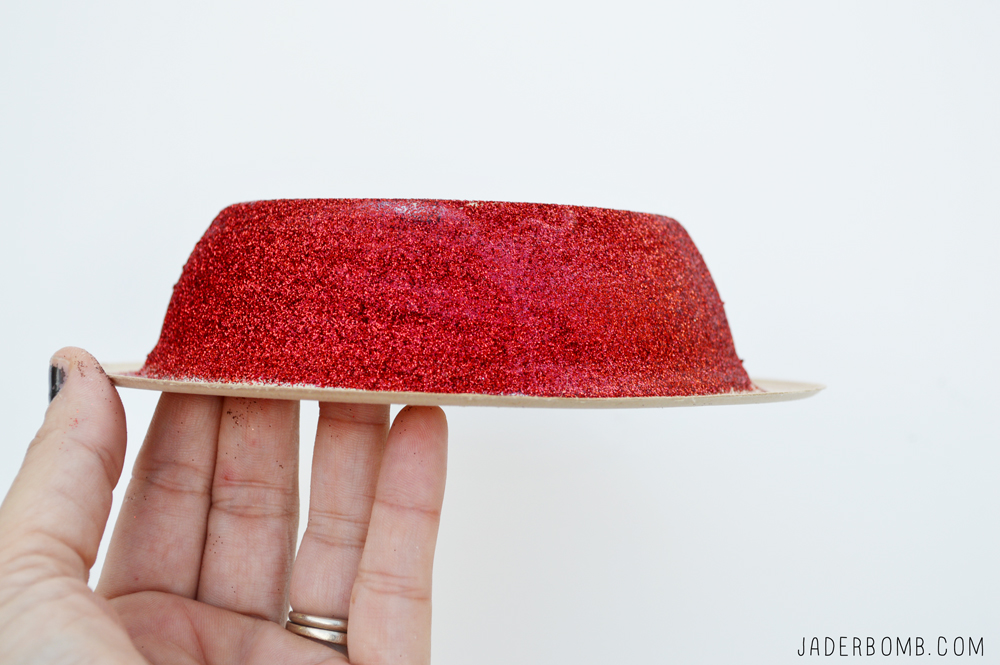
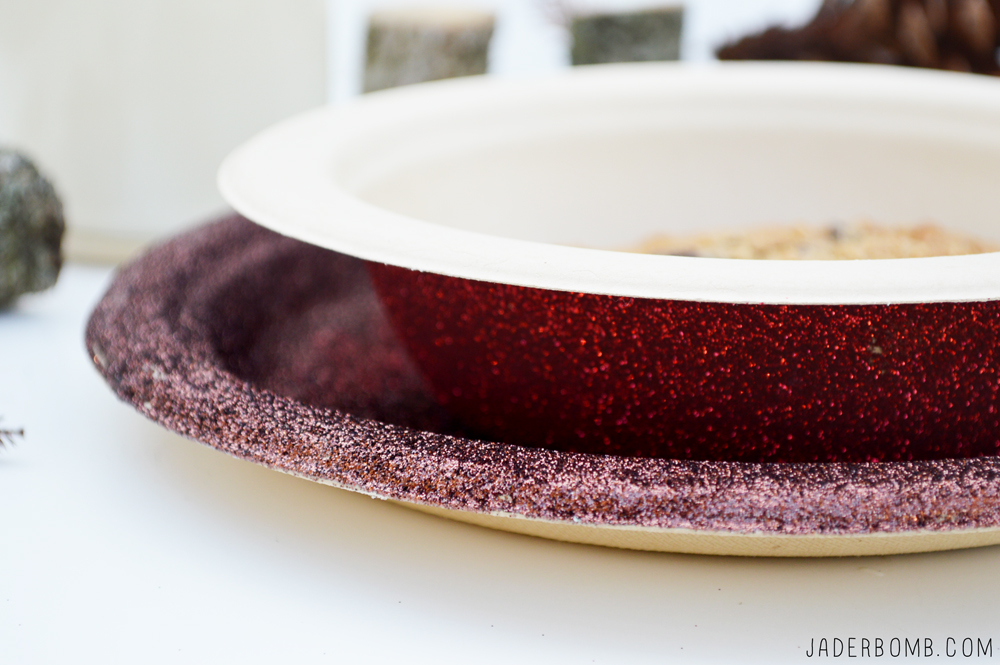
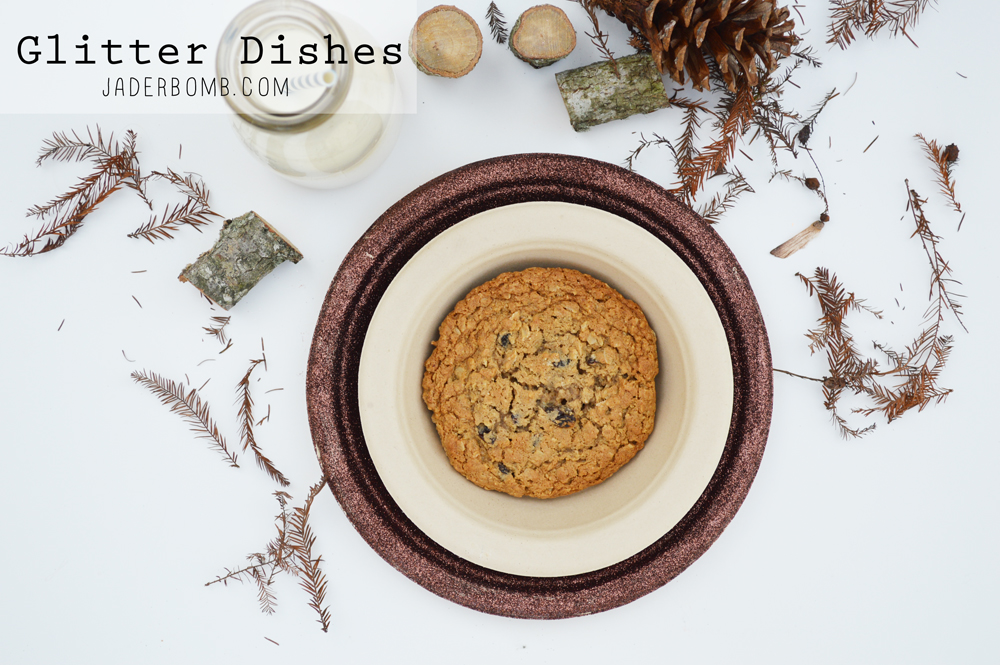
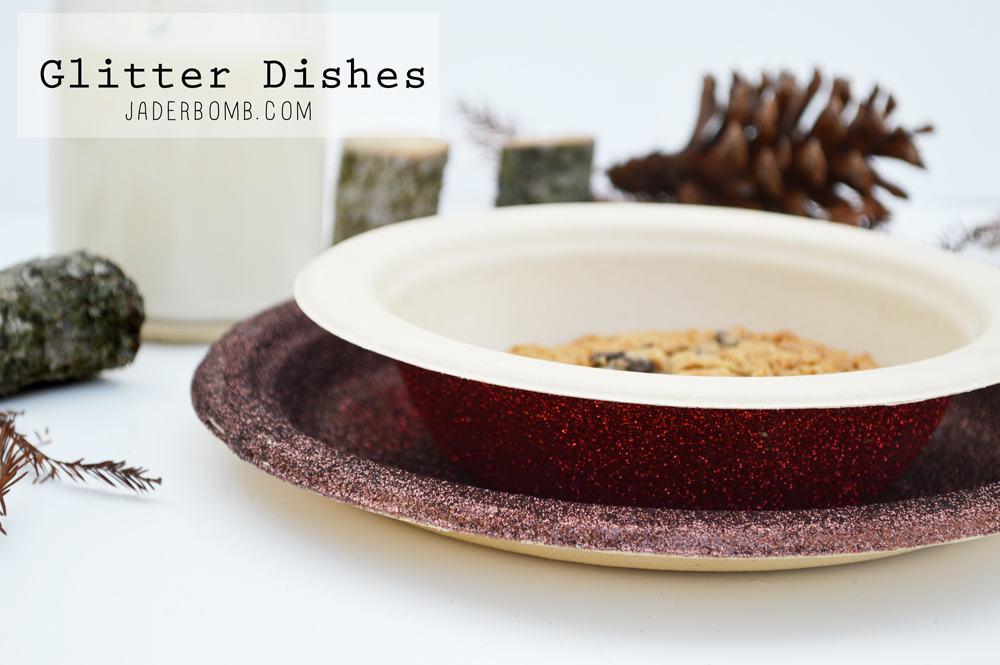 It’s seriously that simple! Fun thing is you can make them for every holiday and it will not break the bank.
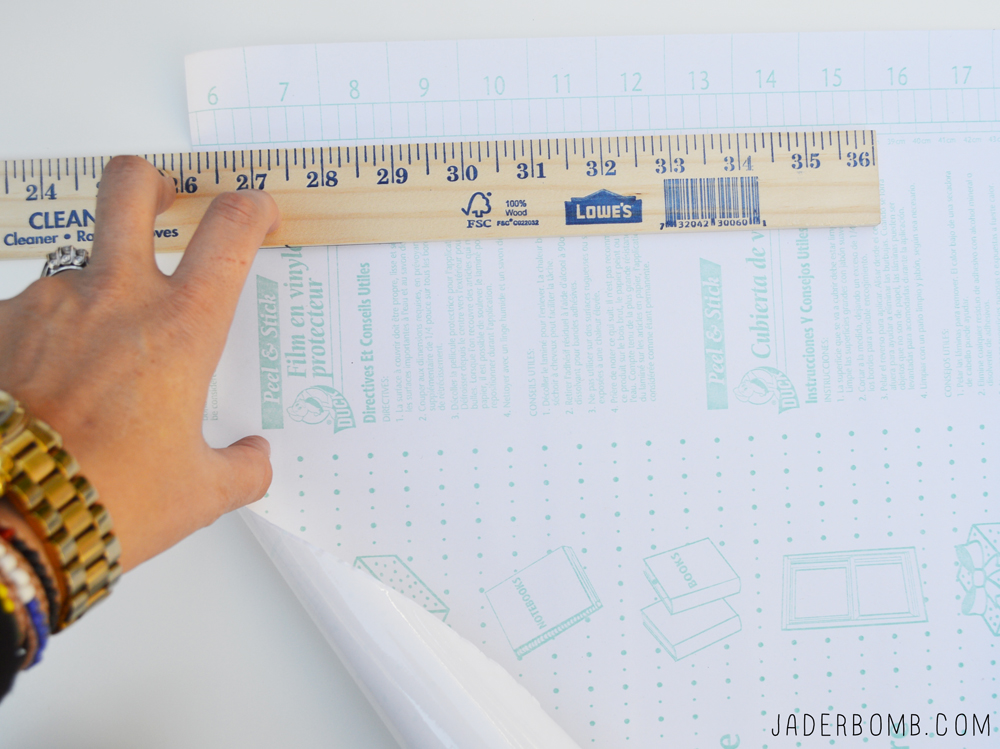
 The first thing you want to do is layout your adhesive paper. I love this paper because you can simply peel the back off and voila!
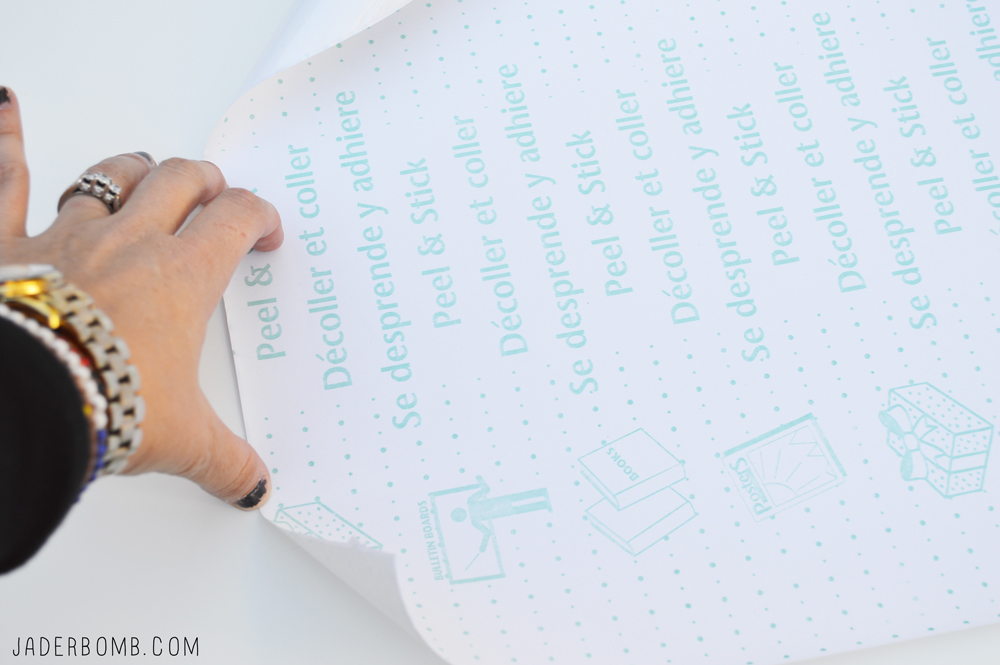
 While your ruler is down grab your sharpie and trace over the line. This will just make it easier to cut. If you feel secure cutting the line that is already there then you don’t need to use sharpie.
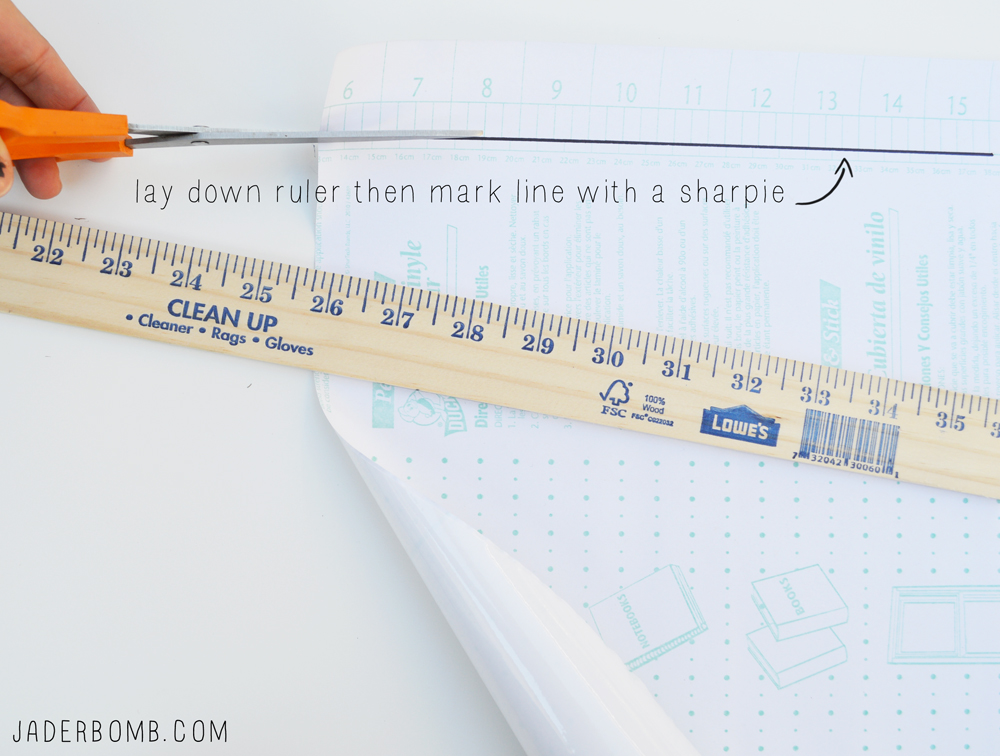 Once you cut your paper this is what it will look like.
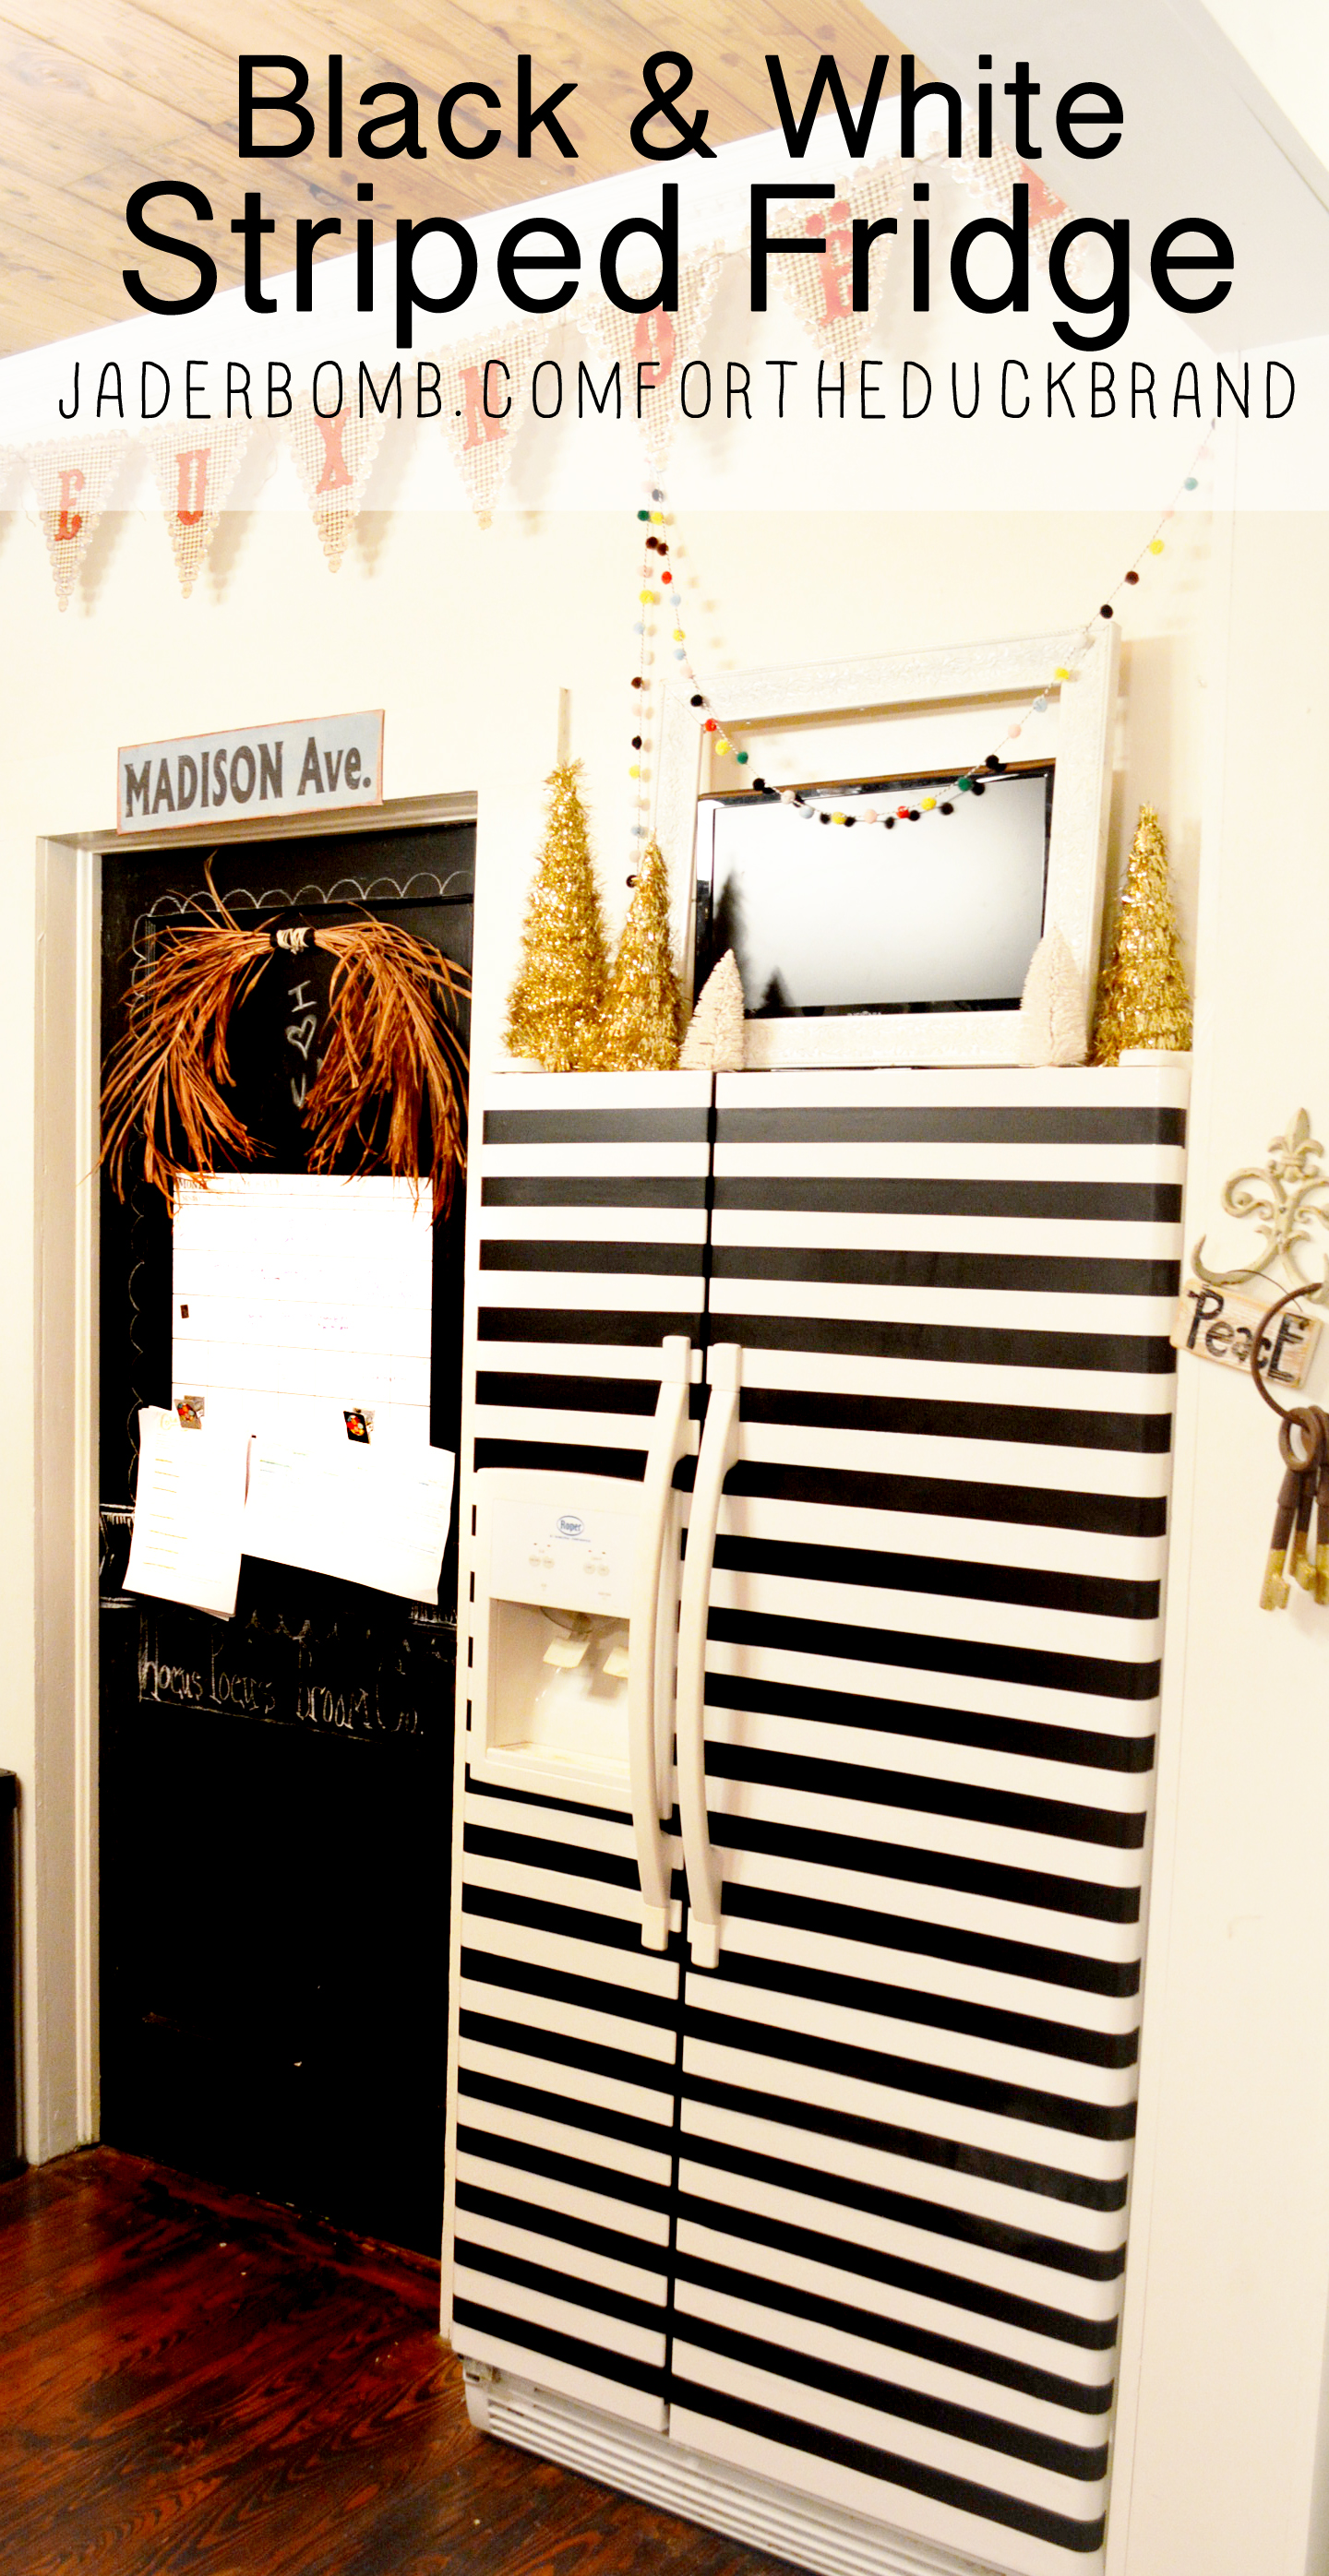
 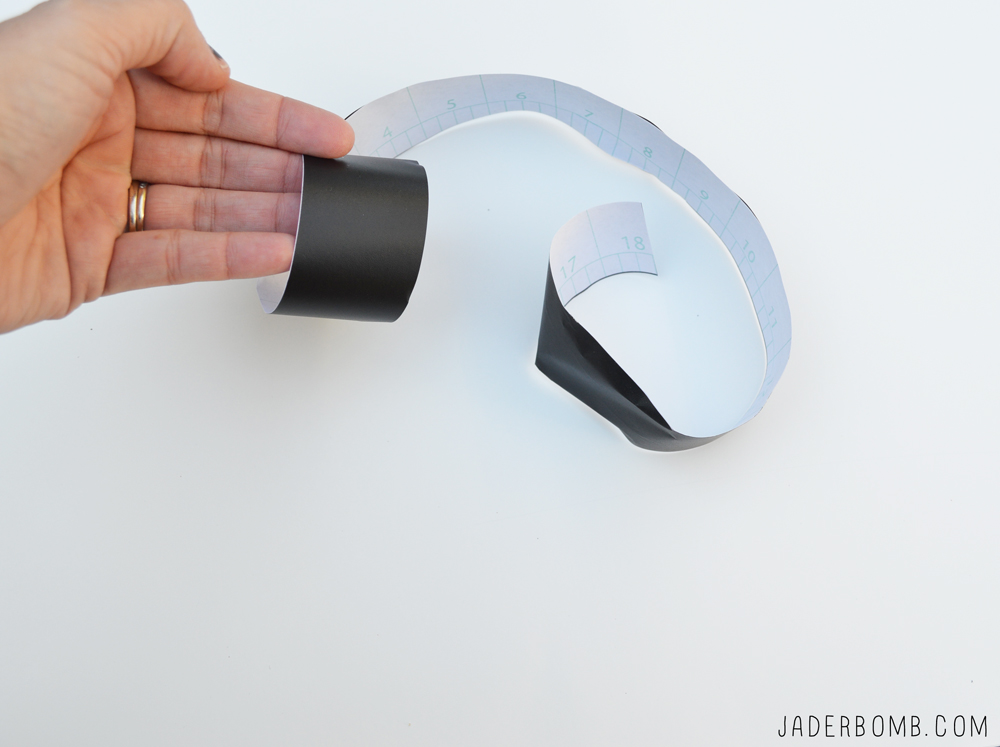 Time to move on to the fridge. Your boring fridge is about to get a complete face lift.
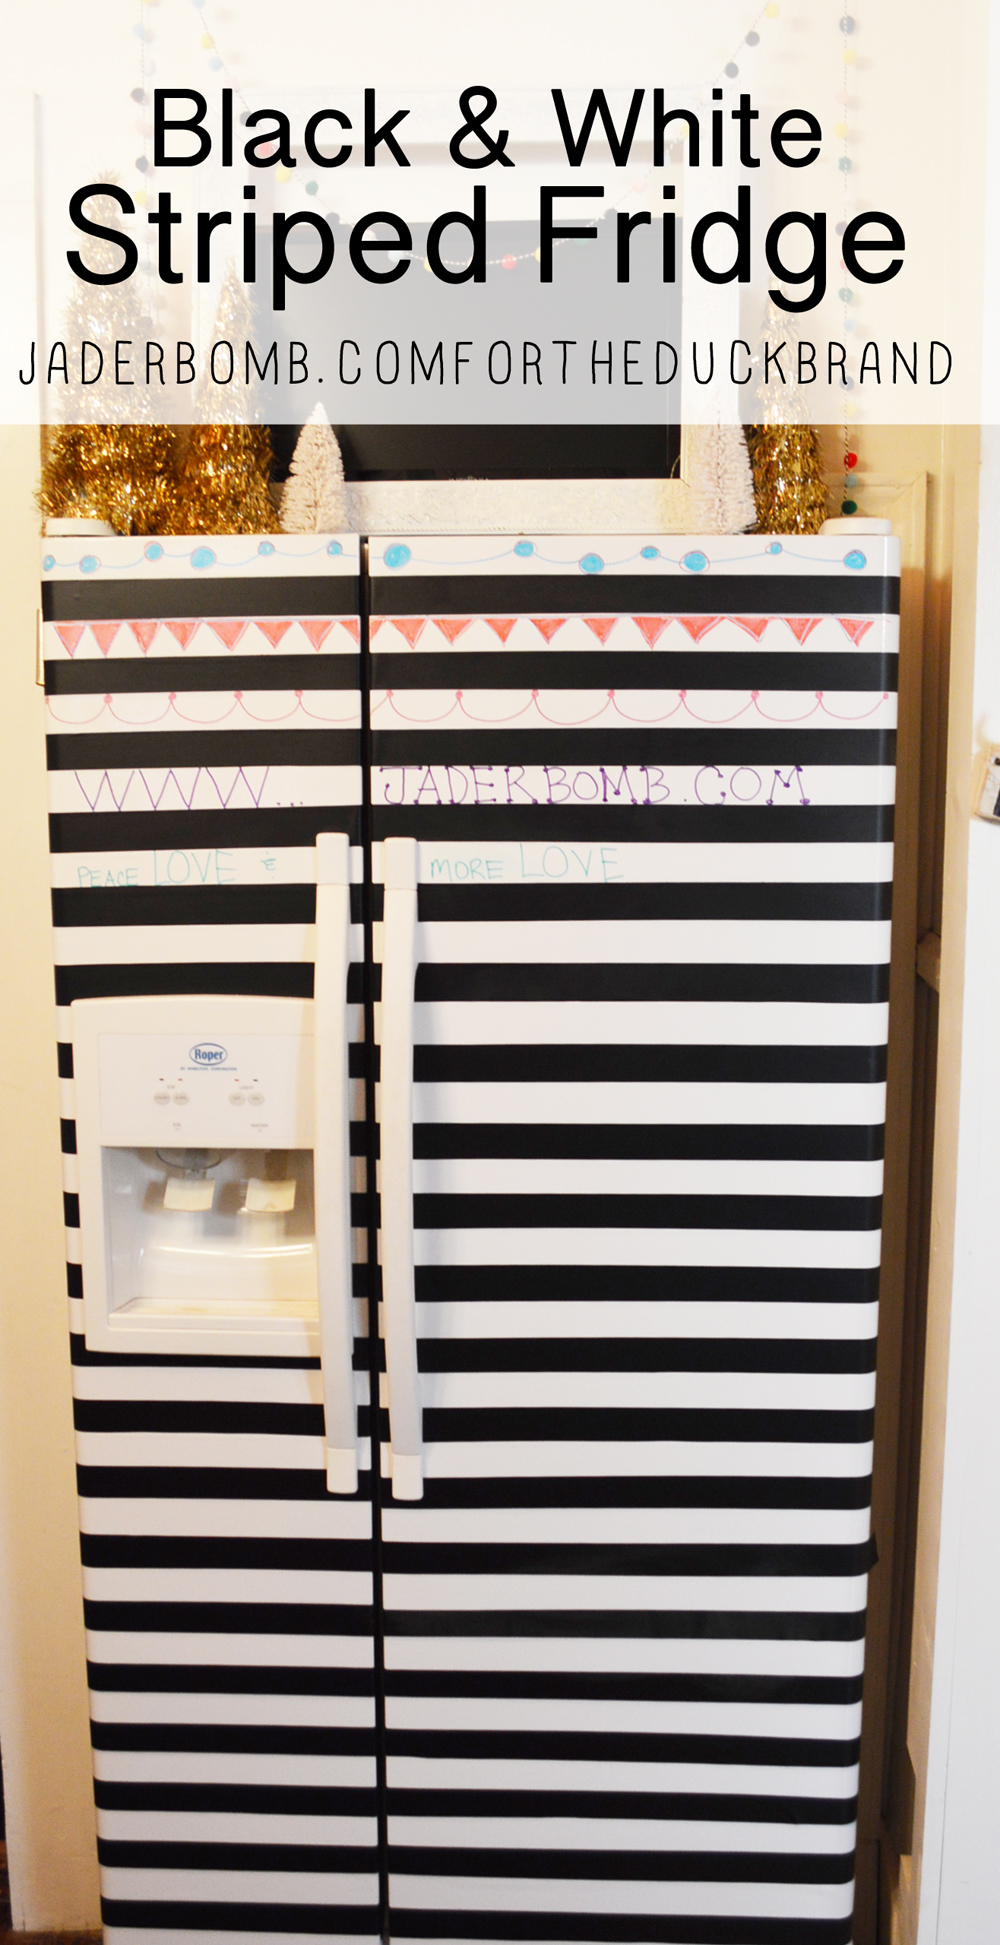
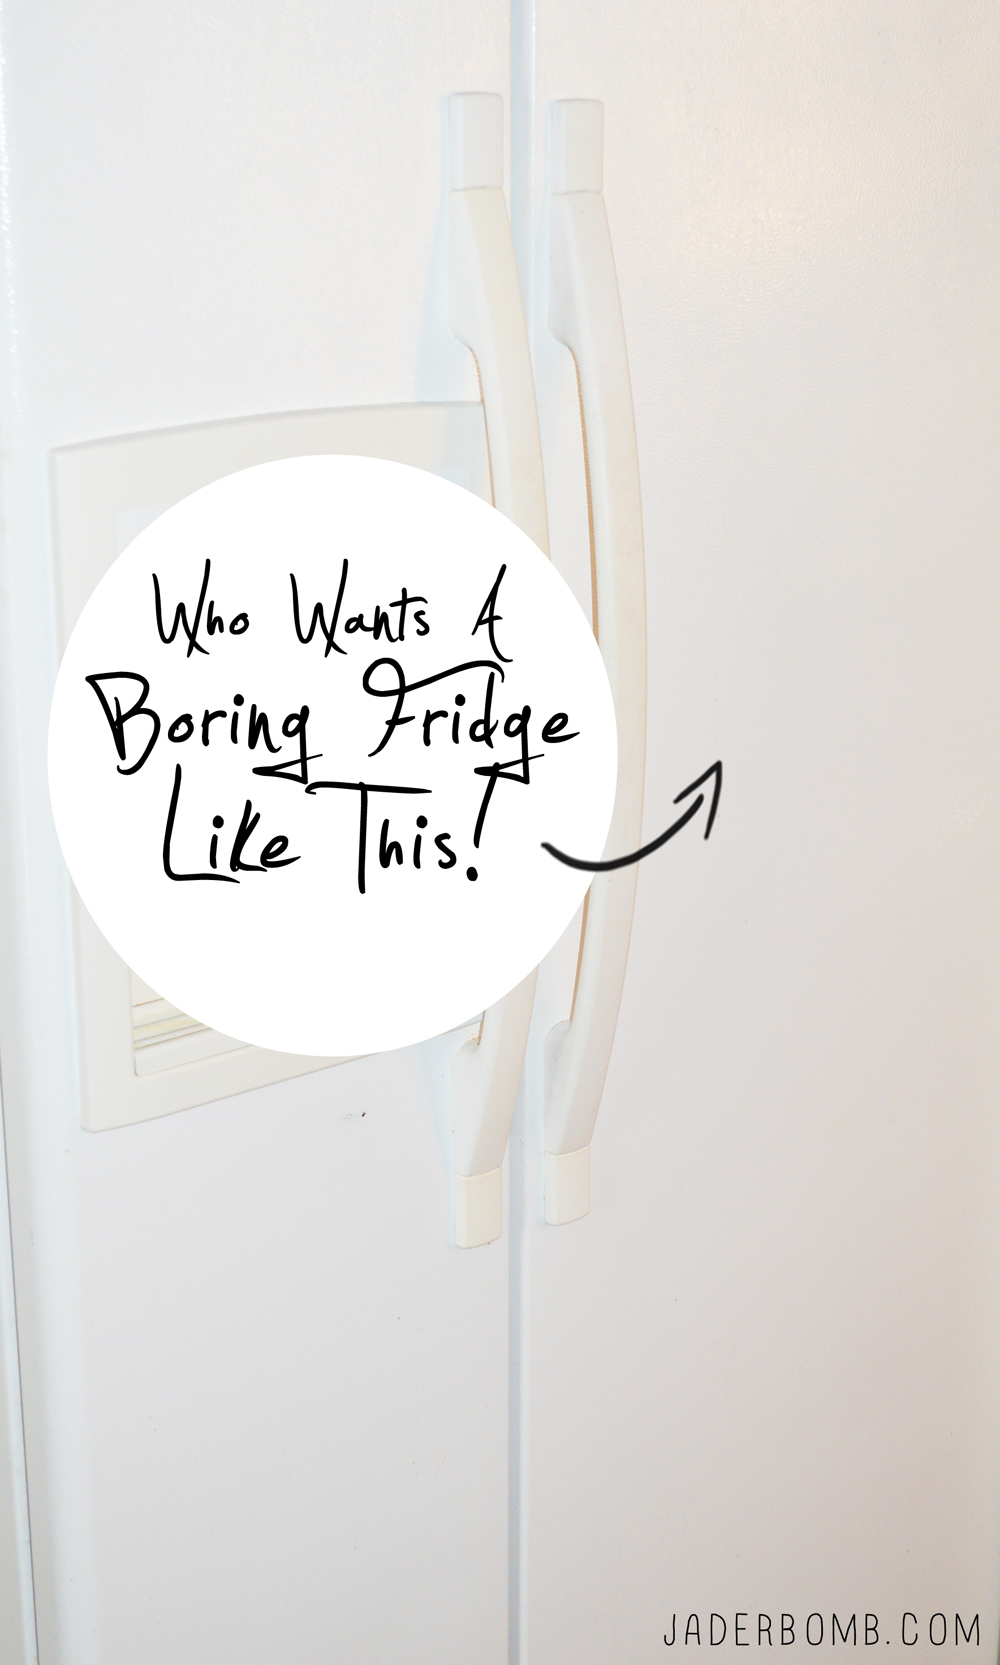 Just start alternating from chalkboard adhesive to dry erase adhesive! It’s that simple.
 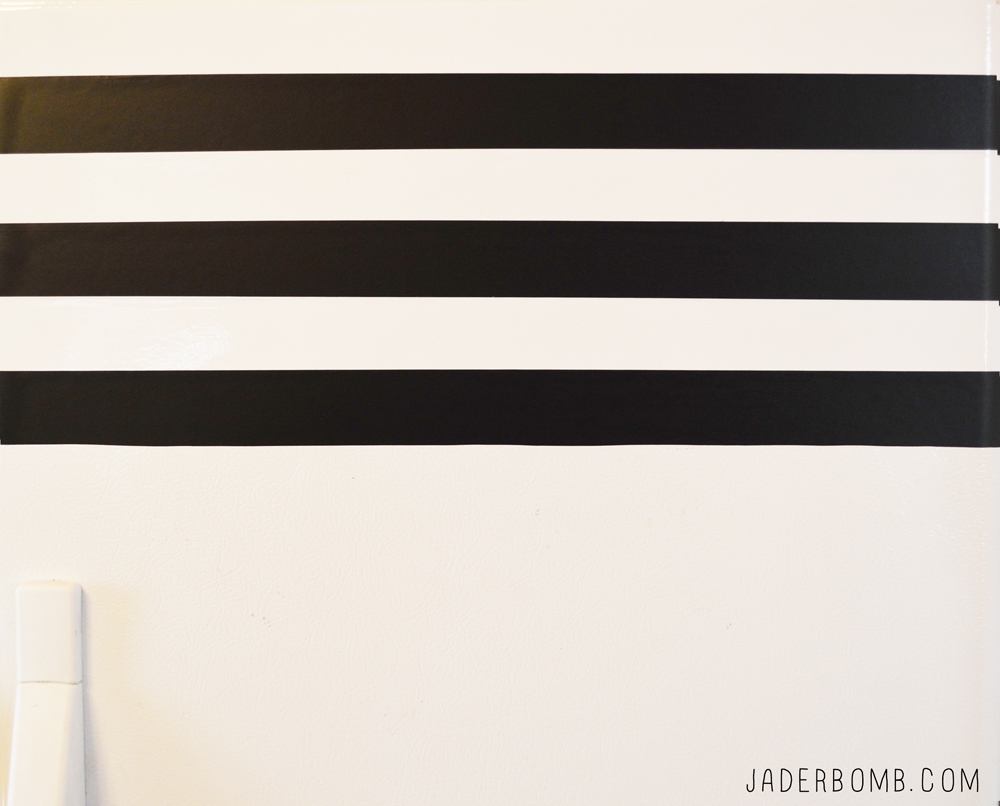 This is what it will start to look like. Are you in love yet?
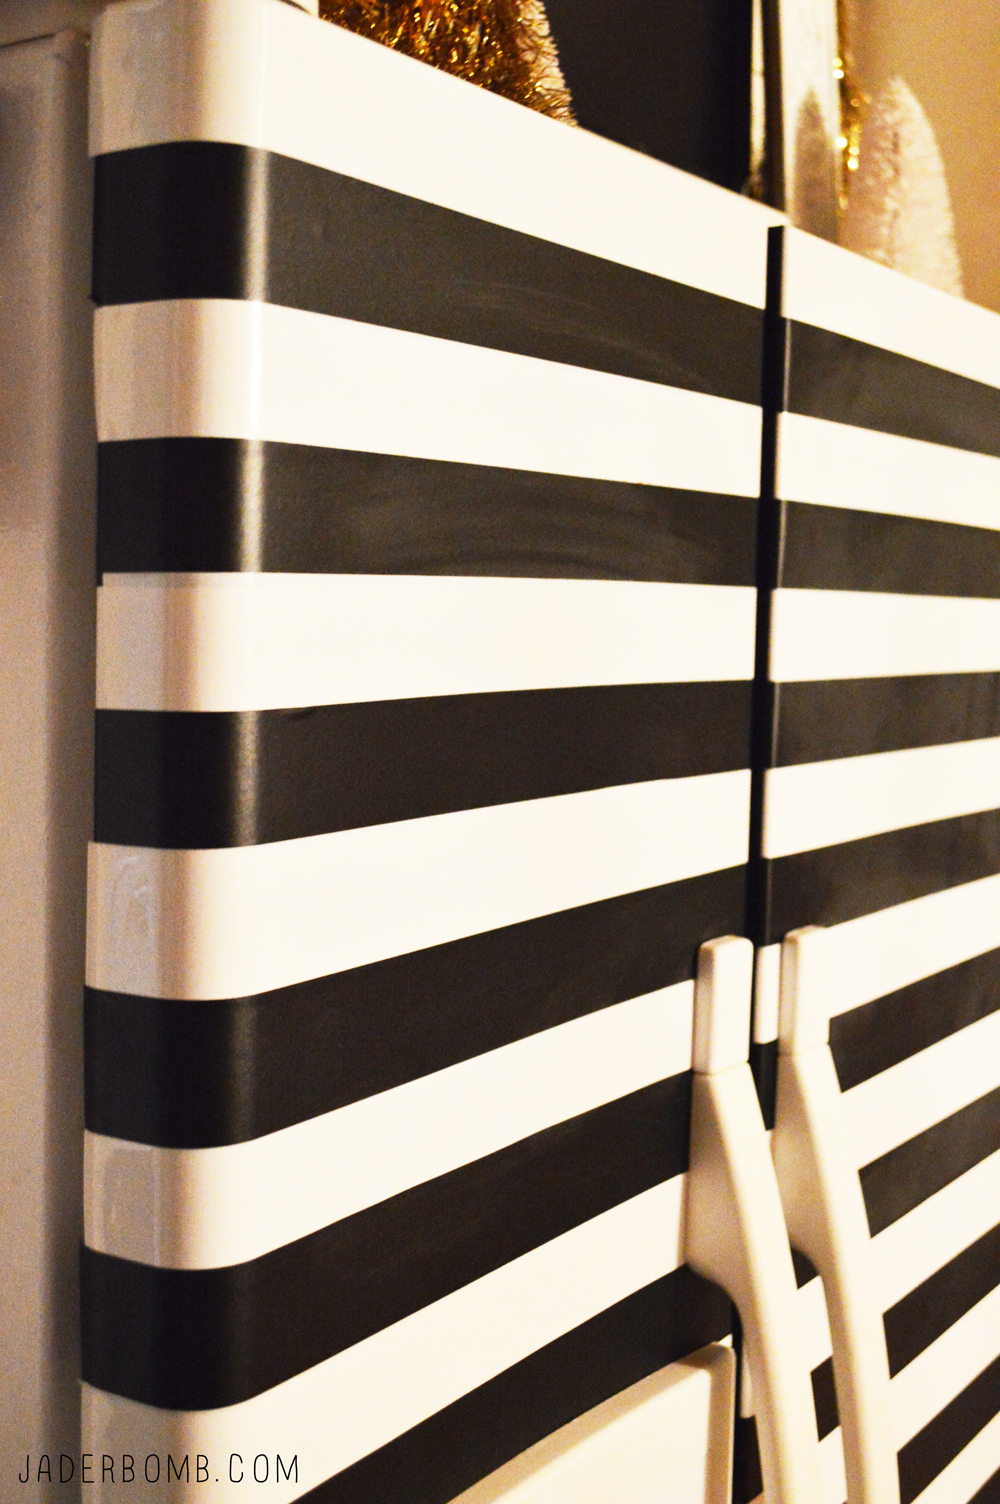
 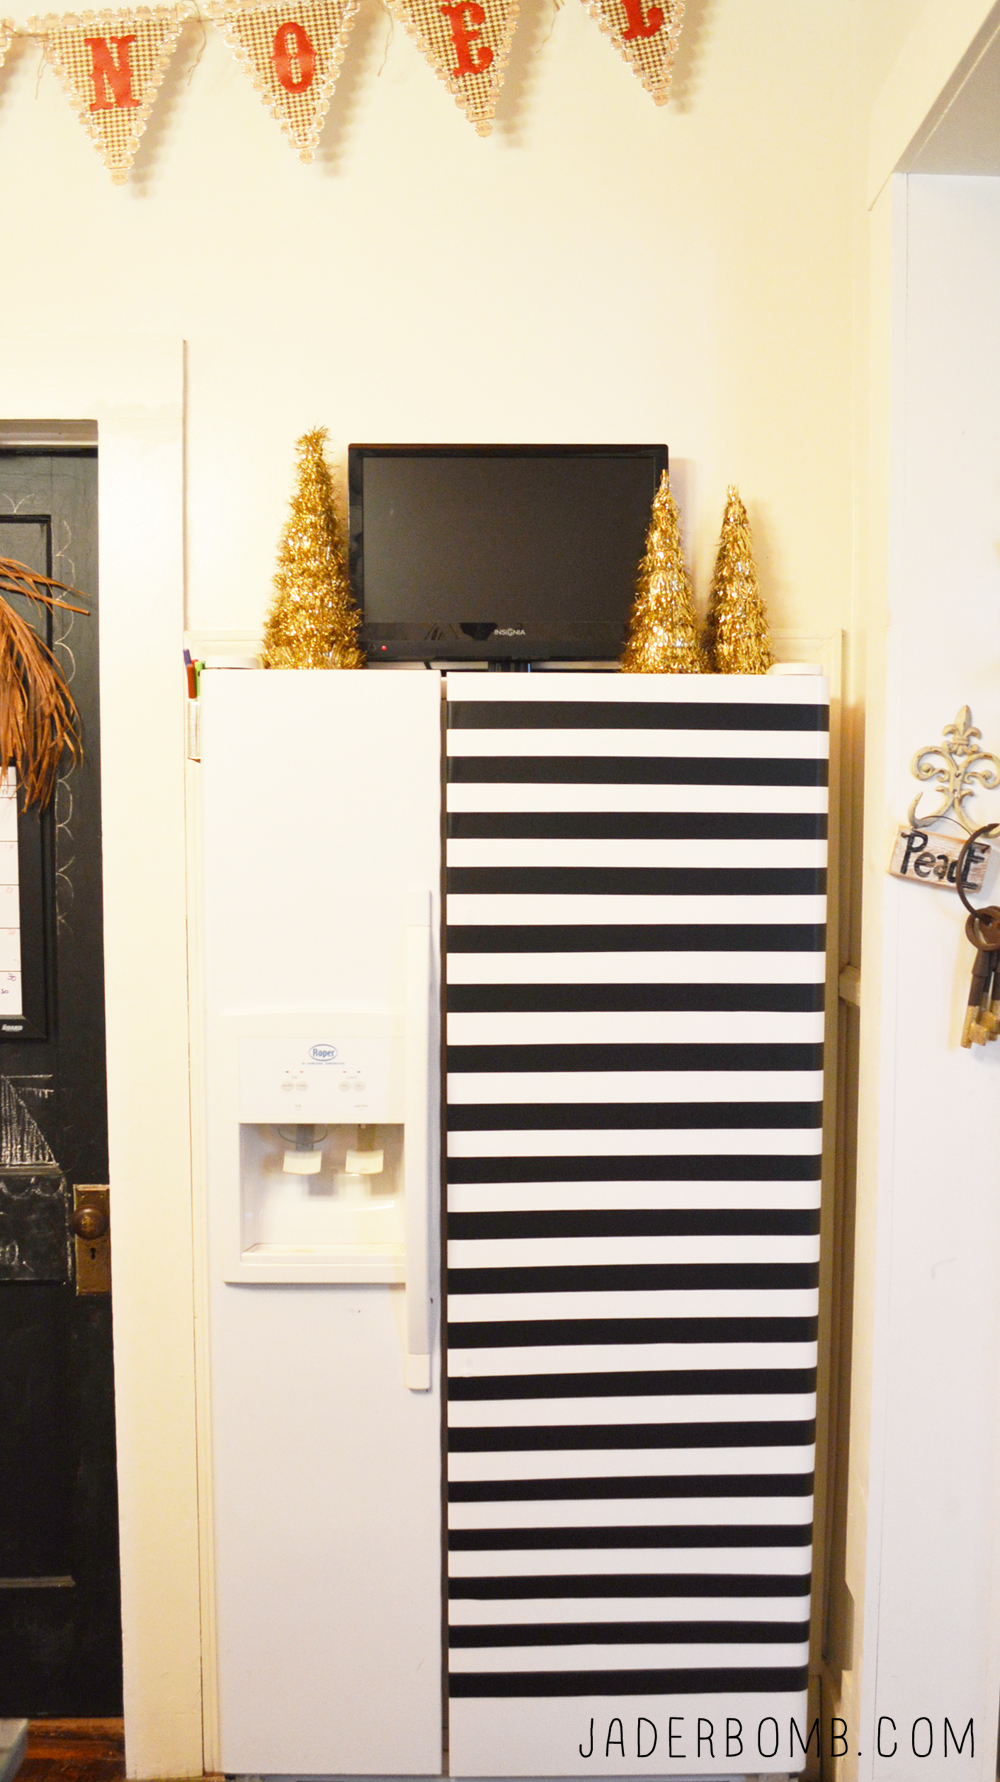 I love drawing on each line. The great thing is this will not damage your fridge at all! You can peel it all off whenever you want. The white is dry erase and the black is chalk board!
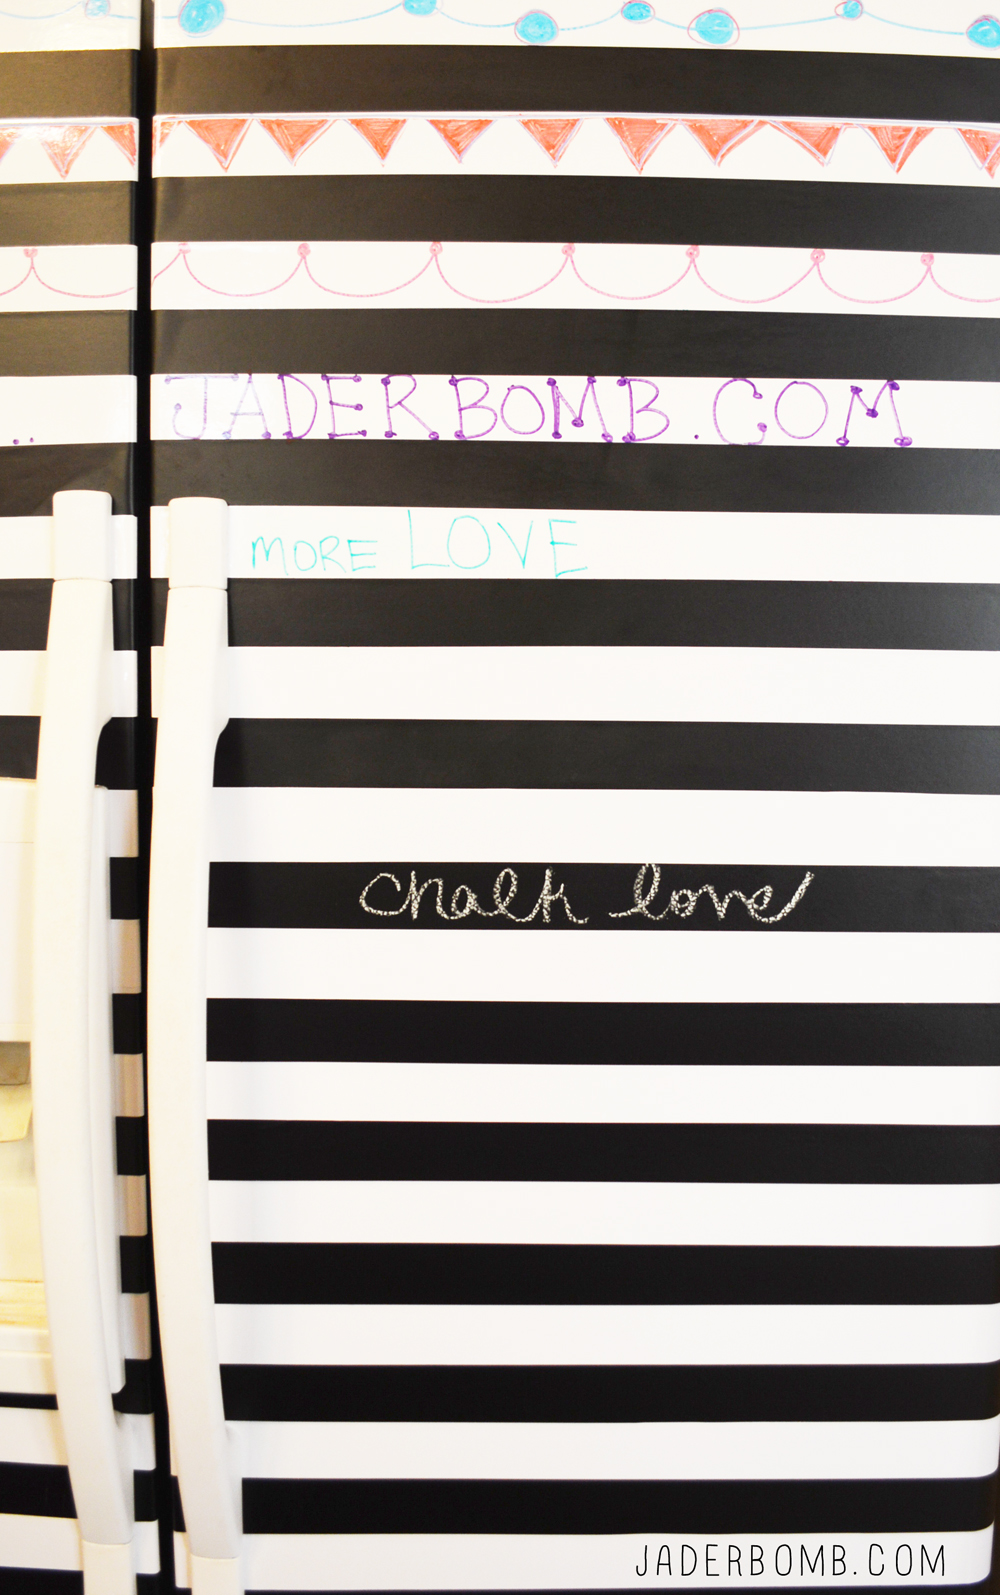
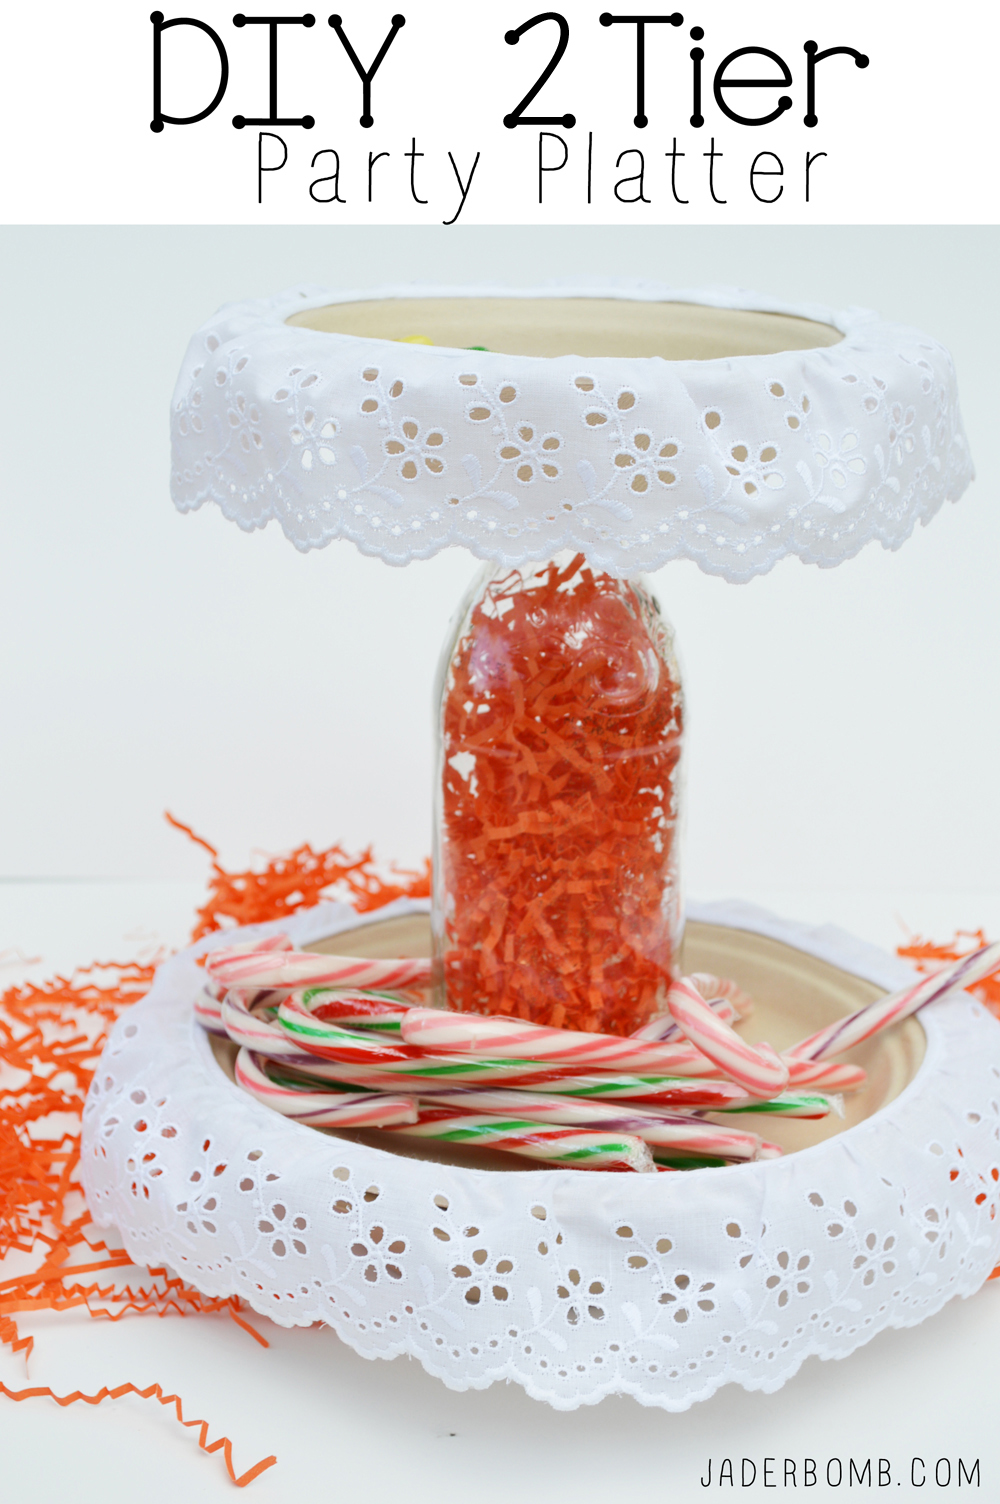
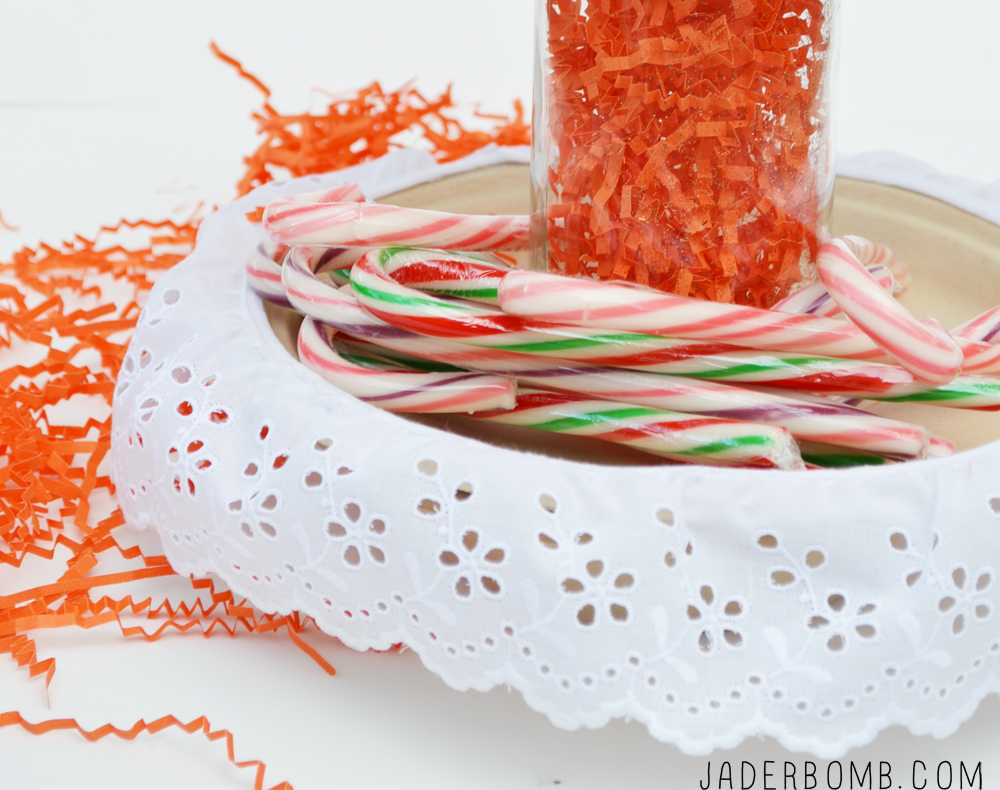
 Put some hot glue under the bottom of the glass bottle. If you don’t have hot glue you can use E600.
 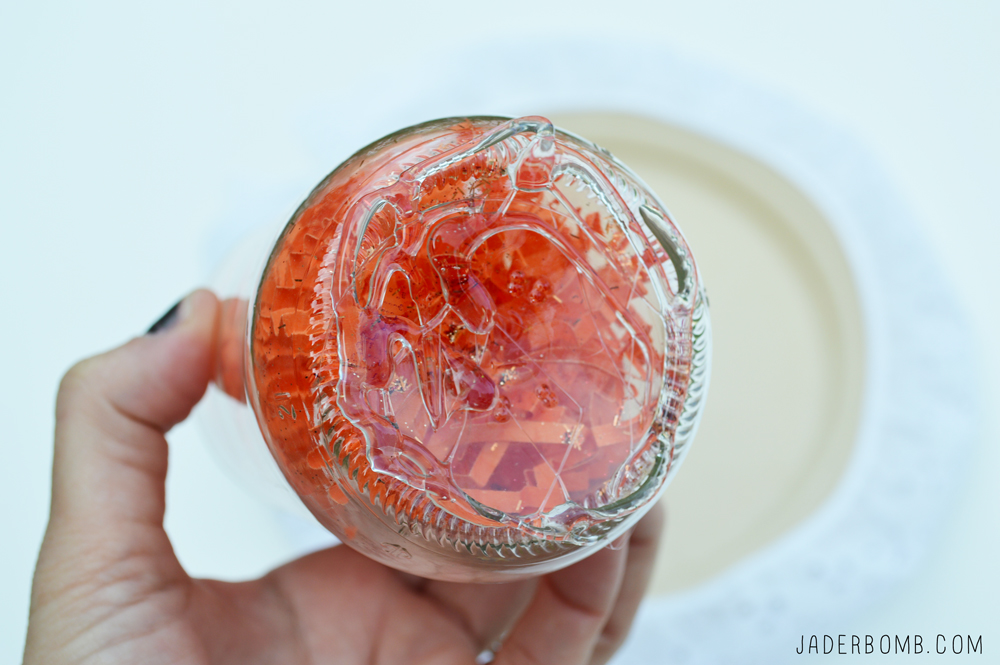 Gently place the glass bottle down onto the large paper plate, directly in the center.
 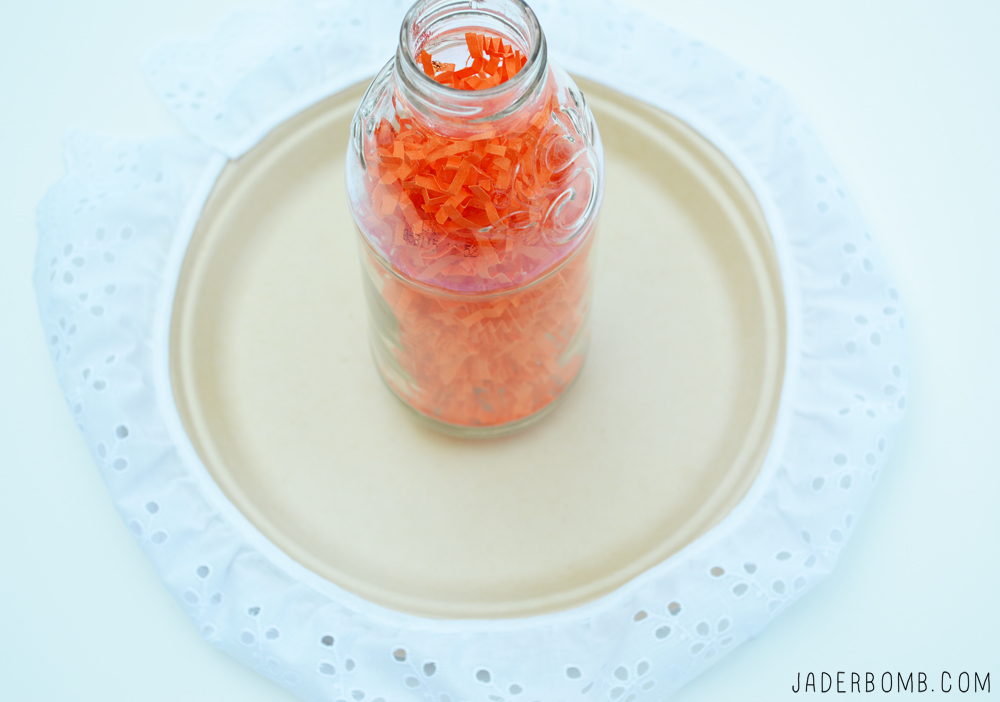 Gently hold it there for a few minutes to make sure it dries completely.
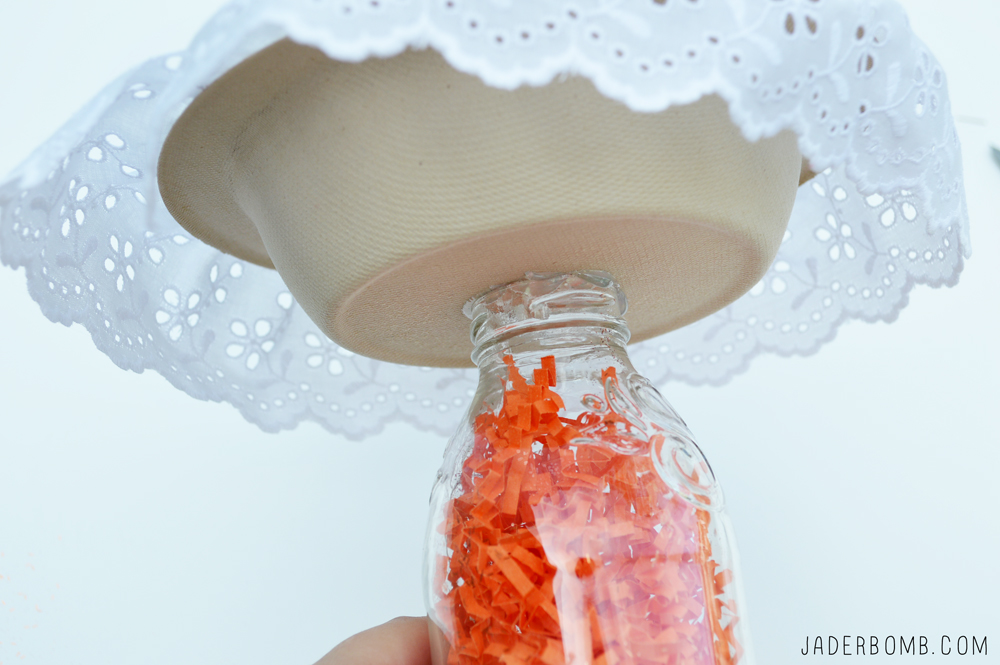 Get a small paper bowl and glue it to the top of the glass bottle. Hold until secure!