Author Archives: jaderbombllc

About jaderbombllc

I am a Southern DIY blogger and Designer known for fearlessly conquering anything and everything do-it-yourself. I aim to create unique designs by working through my thoughts, dreams, emotions, and tons of glitter! I believe in doing things that make my heart flutter and smile, and I live by my motto, “Life is simple and so should your style.” To learn more about me, visit jaderbomb.com or email me at jade@jaderbomb.com. You can also visit my Etsy shop at jaderbomb.etsy.com. Make sure to check out my FREE PRINTABLES site www.freeprettyprintables.com My biggest accomplishment thus far is being a guest on the Martha Stewart show, yes she smells good. I love my dog Ceaux Ceaux, pens,the smell of Christmas, GOLD, Dr. Pepper and blogging. BTW: I bleed glitter, all shades.

(insert blood, sweat, burns, tears, eye rolls and maybe a few ugly words here)

Yes, our cabinets have chalk paint on them. Check out how we did that here.

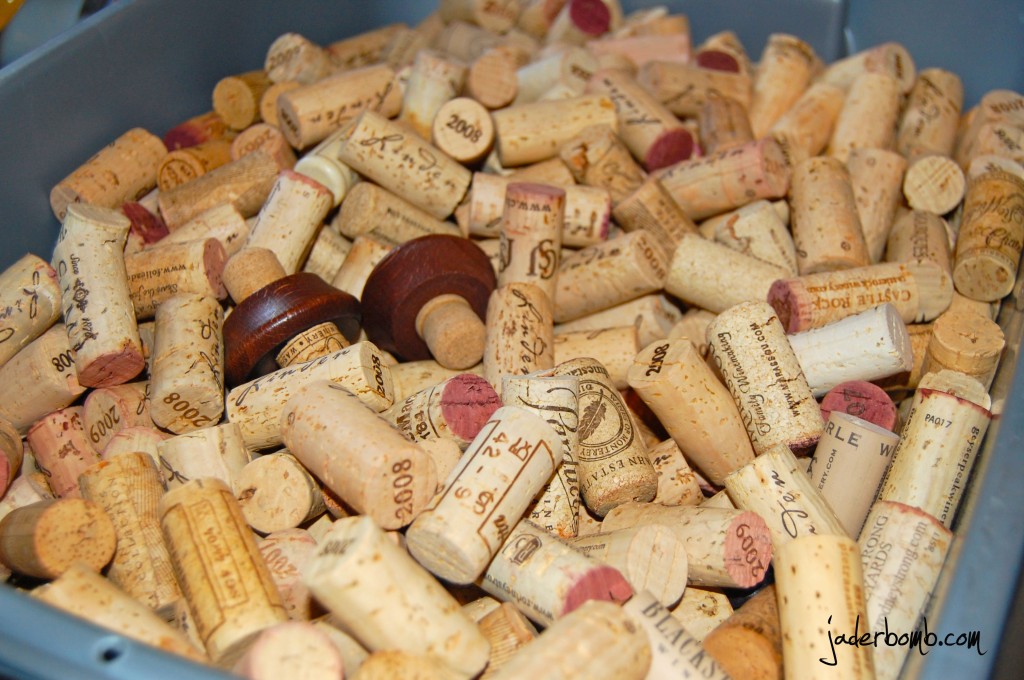
One might encounter some of these these things while covering a wall with wine corks. A friend had bags full and gave them to me SCORE!!!!!!

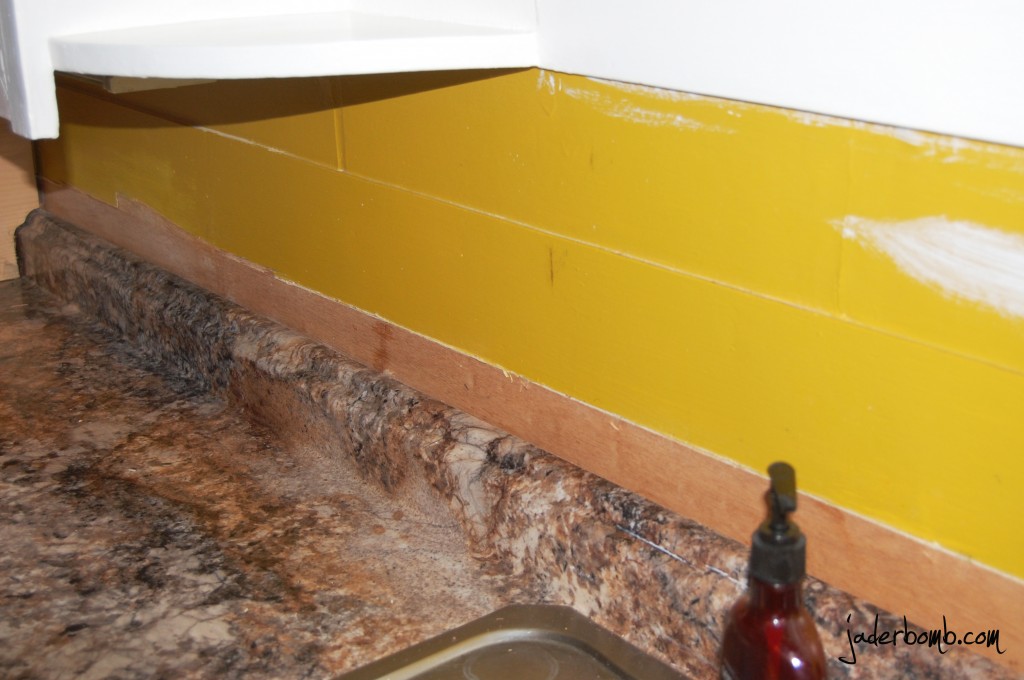
I posted sometime last week the hot mess going on in our kitchen. Remember? Check it out here. When the dad’s put our new cabinets in they were  lower than our old ones.  The wall behind the sink was a hot mess when we were done with the installation so we were gonna put glass or tiles until I had a Jaderbomb moment.

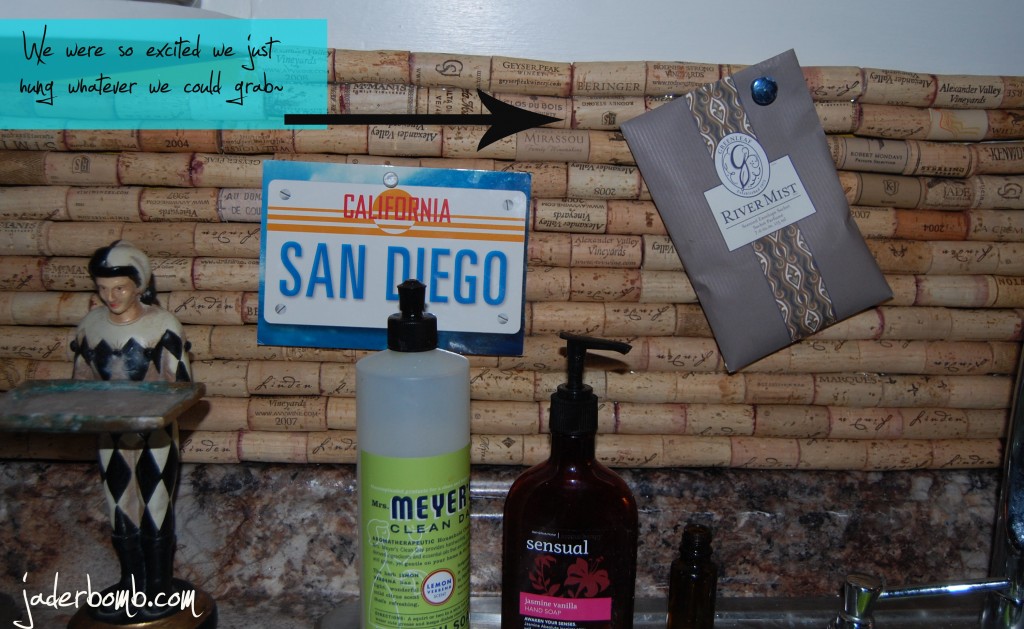
CORKS!!! CORK BACKSPLASH!

Ashy just looked at me with this weird stank eye and then her eyes got big and she said “I LOVE IT”….
{{I was worried for a hot minute}}

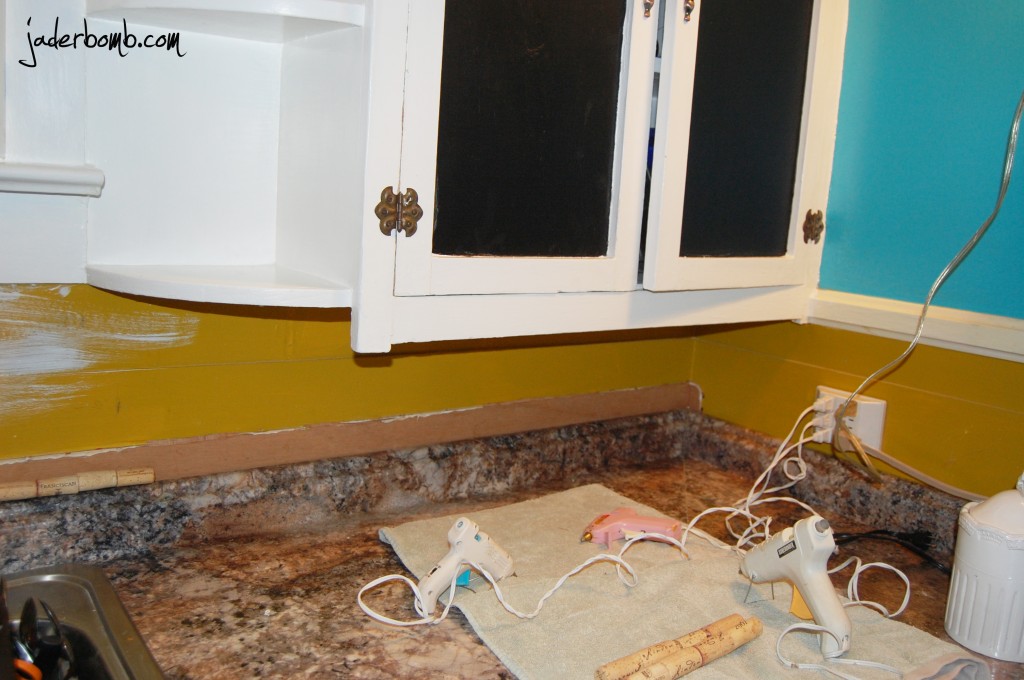
Let’s get started. You will need corks (alot), glue gun(s) and lot’s of glue sticks! You can do like me and plug in 3 glue guns!!!! I think that is where I started to insert the burns and bad words. It seemed like every 3 minutes I would lean over and burn my arms. HAHA.It was the best time ever!!!

See the wall. UGLY!

I have the three glue guns all plugged and ready to be overworked!!!

First thing you will do is hot glue four corks together like this!

The picture to the right is me holding two “sticks” together. They are not glued together. Hot glue is the best thing to use for this because it dries really quick.
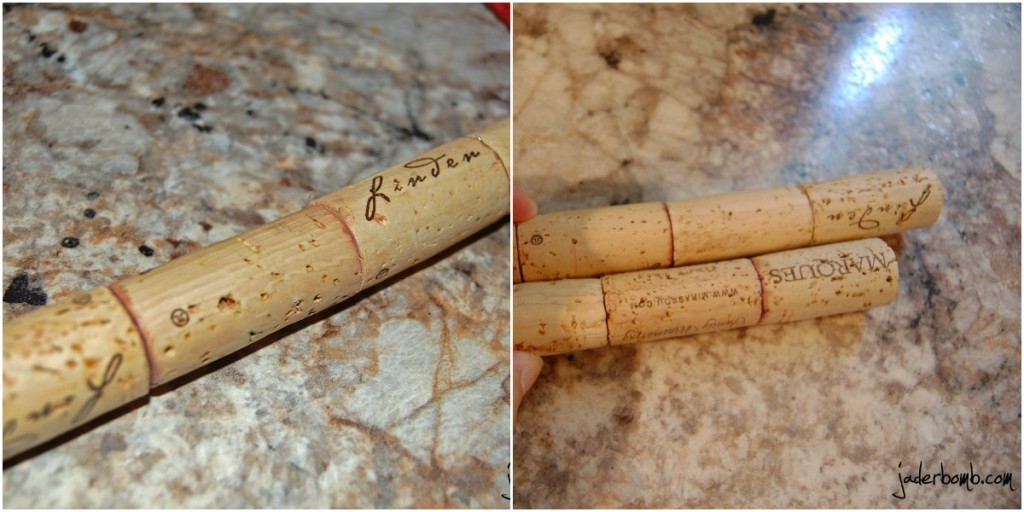
 So you will glue 4 together. Put a long line of hot glue on the back of all 4. Then stick it on your wall. I started from the bottom and made my way up. I also did play around before to have an idea of how many rows I would need to make it to the top. See the thing is with corks is they are all different sizes. So when you get to the end you might have more space at the top in some spots and other spots might be perfect. If you don’t want to glue 4 together, you can glue ONE on at a time on the wall. Phew, good luck! But play around with the corks because sometimes moving them around will make them fit better.

TAKE YOUR TIME!

You really want to try your best to have STRAIT lines. That will make it look clean and crisp in the end.

HAHA!!!! Check out this post on what I use to clean my dishes! It is truly the BEST!

Don’t forget to come back for the COMPLETE reveal! Believe it or not there is MUCH more!!!!  We actually kept the top part of the cabinets because they are REALLY old and we just love them!

There ya have it, and instand cork board! Until next time…

Make it a DIY kinda day,

Jade

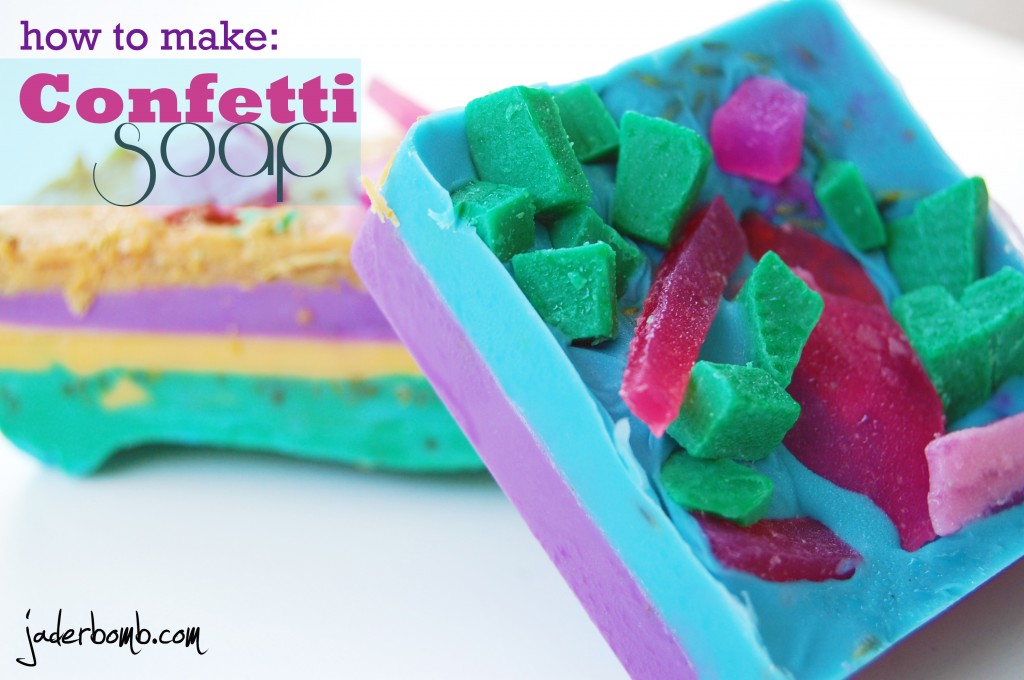
Happy CONFETTI DAY. Wait. It’s just Sunday (minus the sun here in Louisiana). I wonder if there is an actual confetti day…
That would be UH-MAZING. Just think how cool it would be if there was edible confetti, besides the kind you put on your cakes or cupcakes {{even tho that kind is YUMMYLICIOUS}}

The other day I found a bag of glycerin cubes in my studio. Notice I said “FOUND”. Typically when you “FIND” something that means it always existed but you just have too much S$*# you don’t  know it exists. That would be me. Remember, I told you years ago I am an organized hoarder. It was perfectly placed in it’s location and NOT hidden. Just in a cabinet I somehow forgot was there. Who forget’s a cabinet? ME. (insert a big TOO MUCH TO DO FACE)

Let’s start making some SOAP jaderbugs

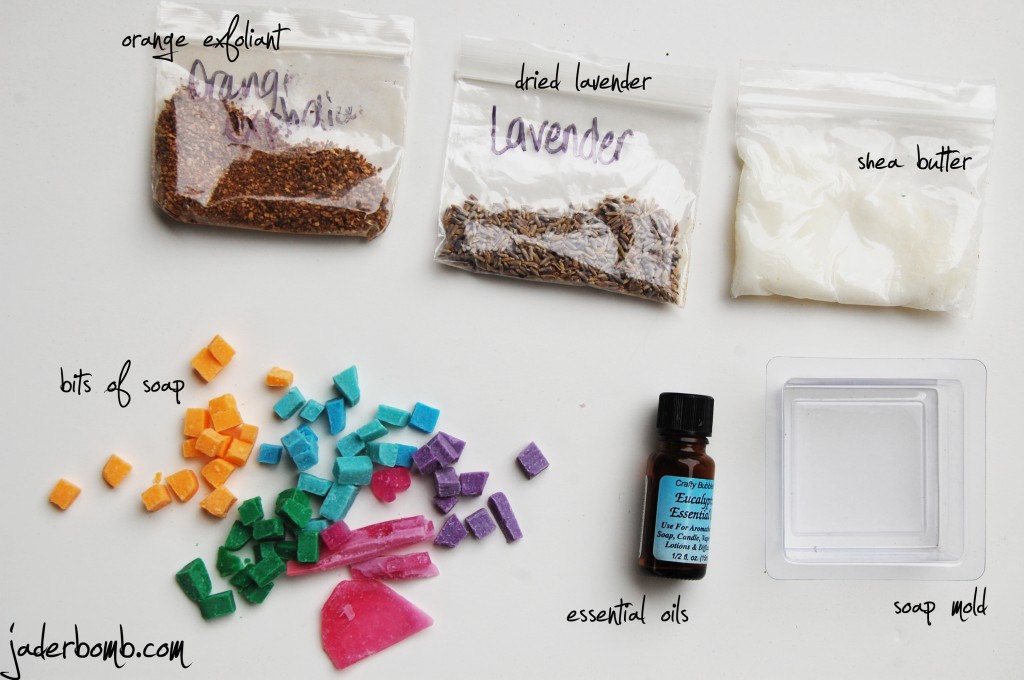
INGREDIENTS:

This soap was so fun to make, lil one even had a blast doing it! I bought my bag of glycerin soap from HObby Lobby. If you are not familiar with the glycerin I am talking about check it out here. You could prolly buy it at ANY craft store.  The extra bags of goodies are optional. Just depends if you want that in your soap. The orange exfolient helps gets dead skin cells or your precious skin, I LOVE THIS STUFF!

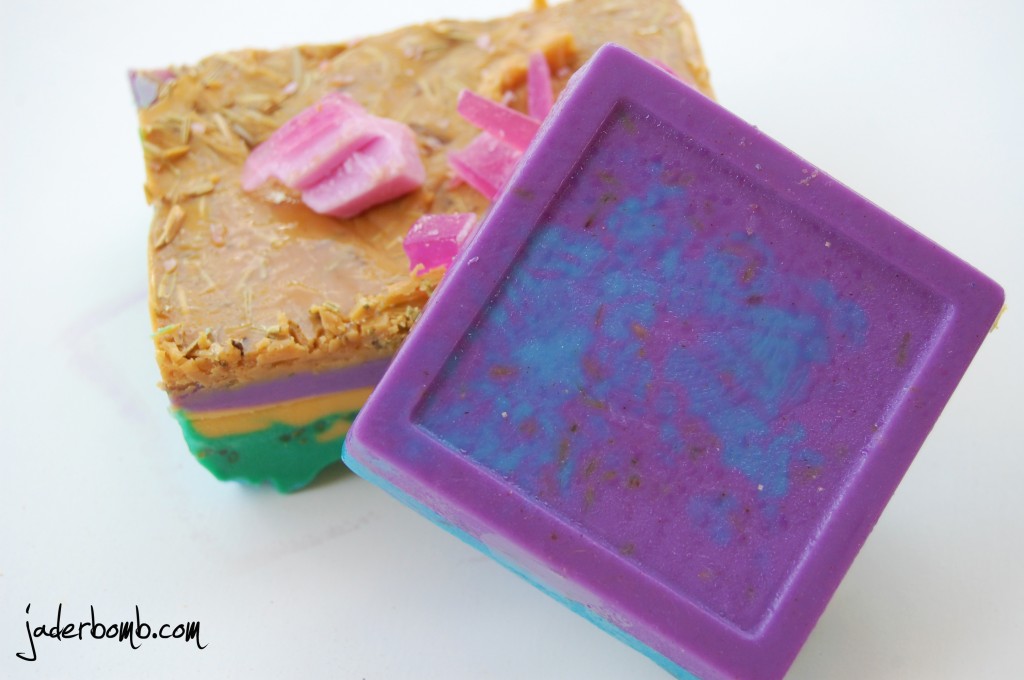
If you notice I have colored cubes of glycerin in the ingredients picture. All you have to do is melt some cubes, add whatever coloring you want to it (by the way there is soap dye and it’s super cheap), pour it in a mold, let it harden up (about a few hours), pop it out of mold and cut into little cubes. THAT’S ALL! P.S. all of the ingredients are from Hobby Lobby!

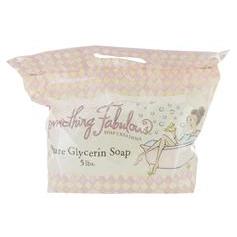
This is what the bag looks like. It’s a 5lb bag for 19.99.  You can actually order it online if you don’t have this store near you! If you decide to order some you can use their 40% off coupon right now! That means you will pay 11.94 + tax for this bag!
WHAT A DEAL!

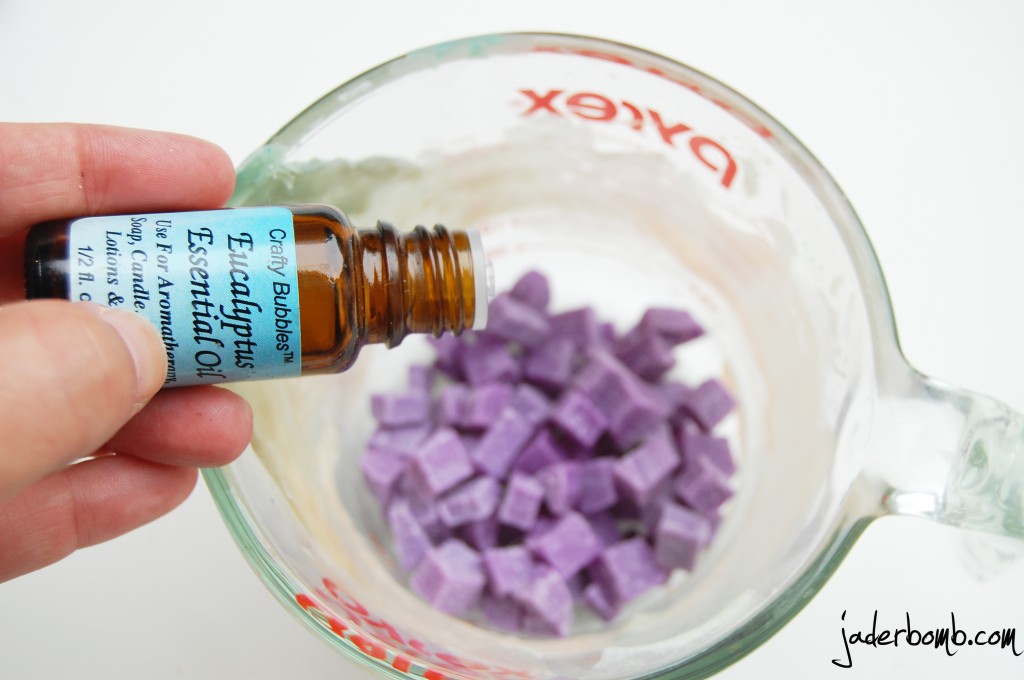
Put some colored cubes into a glass container, add whatever oils you want to it and heat it up in the microwave. I like to do it for 30 second’s then stir. If you don’t have TON’S of cubes then that will be enough time. If it’s not all melted just pop it in for 30 more seconds! VOILA!

Excuse my redonkulously dirty piece of glass. I promise, this baby is only used to make soap (thank goodness)…
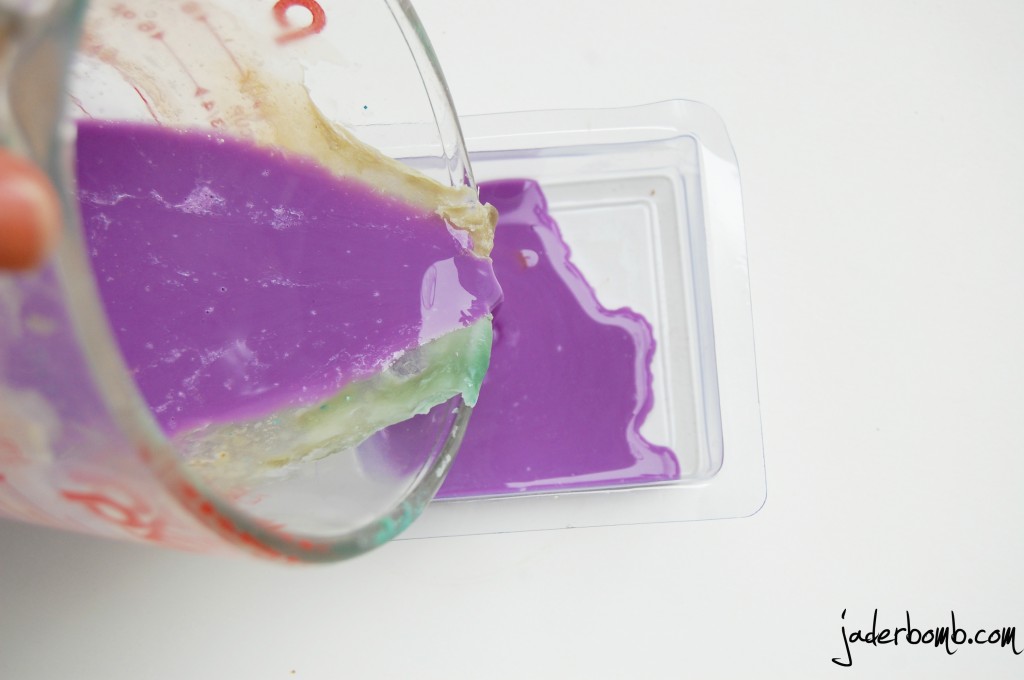
Pour your first color into your mold. Let it sit for about 7 minutes in the freezer.

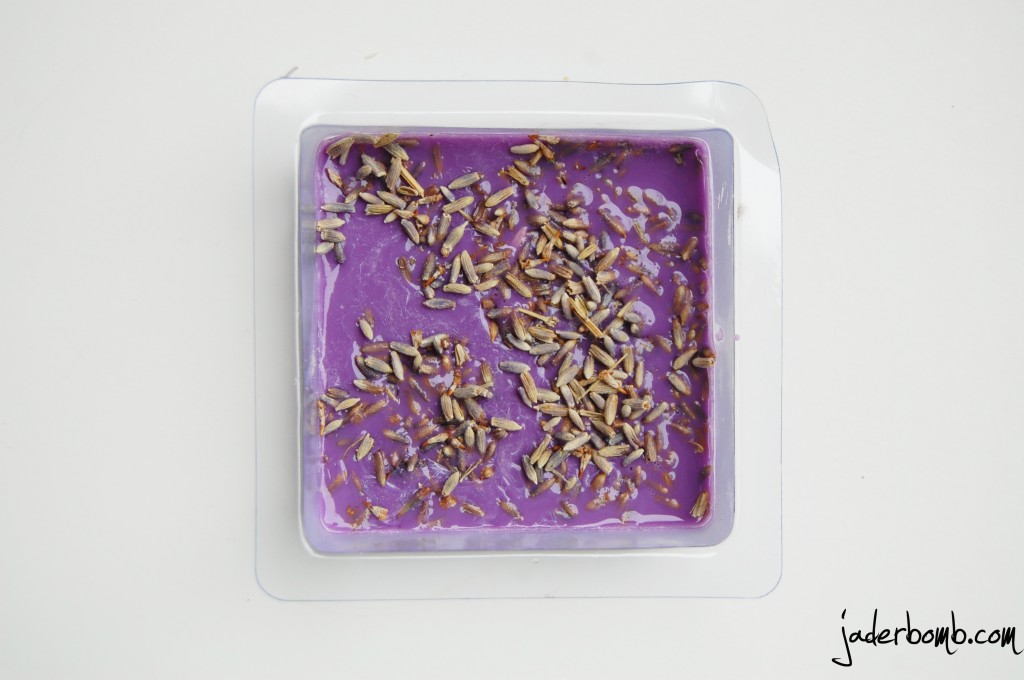
Before I popped mine in the freezer I added dried lavender on the top of hot soap. I love texture in my soap and this my friend is a “good” texture!

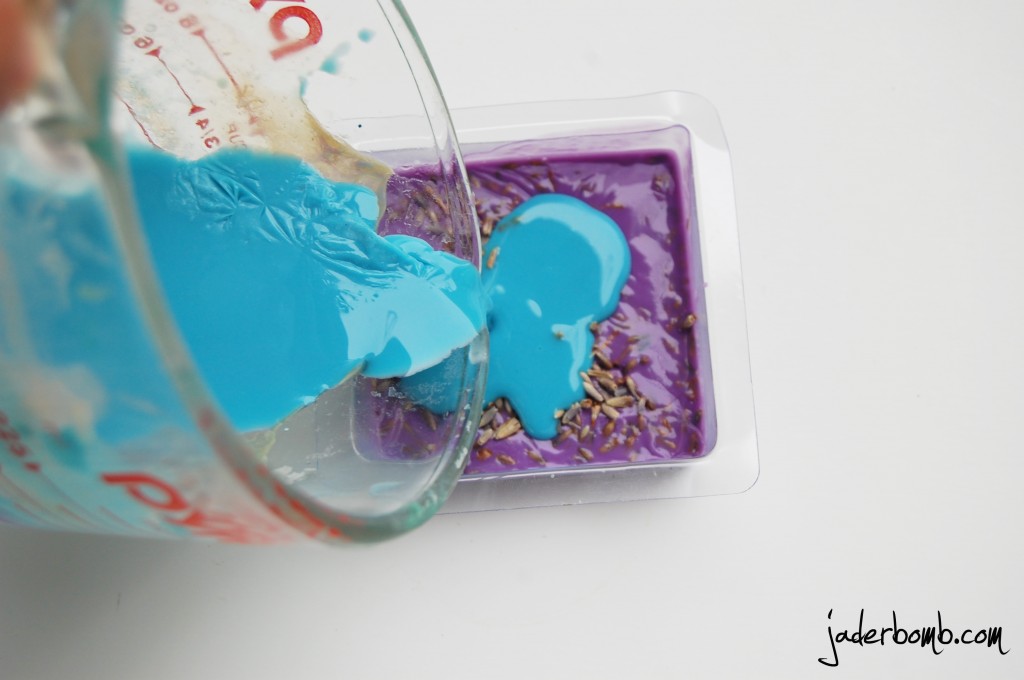
Right before you take your first color out of the freezer start melting your next. Remember, you don’t want your first layer to be completely frozen! You want it to be a little oozy. Pour your second color right on the top! HOW PRETTY ARE THESE COLORS!!!!!! Don’t forget to add your scent to each layer!

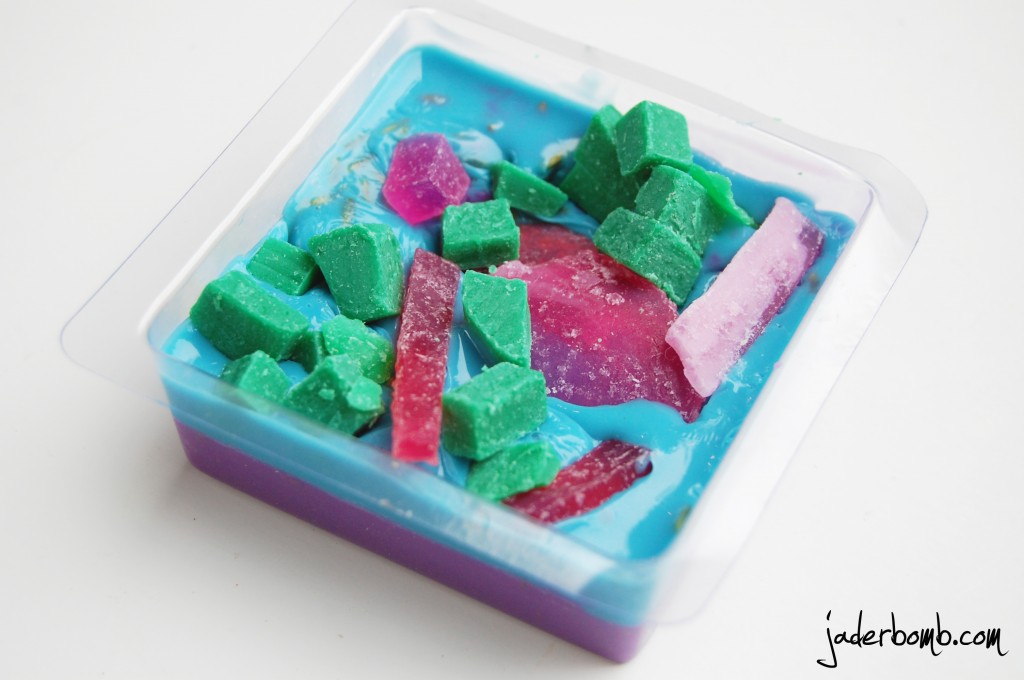
Right after you pour your second color, add a lot of different colored cubes to the top. They will melt a little where they are touching the hot glycerin but what’s left on top will stay just like this! I like to put TON’S of cubes on top! If you notice I left some long to change the texture of the “confetti” look! Don’t forget to pop it into freezer after this step!

Remember how I told you when you pour your second color to make sure your first color was NOT completely dry? This is why! It gives it a tie dye effect!

I hope you are about to get in your car and get your ingredients to make confetti soap! Be creative! Use the colors you LOVE the most!

Don’t forget to get your 40% off coupon HERE! You can print it out if you don’t want to order online!!! It’s good till July 21st!

Until next time Jaderbugs,
Make it a DIY kinda day!

OK. I got this product in the mail from Craft Test Dummies and did a review of it. You know I will tell ya like it is on my blog, right? I review a lot of products and it’s not in my nature to dog any (at least not on the blog)… Some products are “ehhh” ya know…and some are “AYYYYYYY” ya know!!!

ehhhh = I wouldn’t buy it with my own money because ehhhh it ‘s not that great.

AYYYYYYY= YOU NEED THIS!!!!

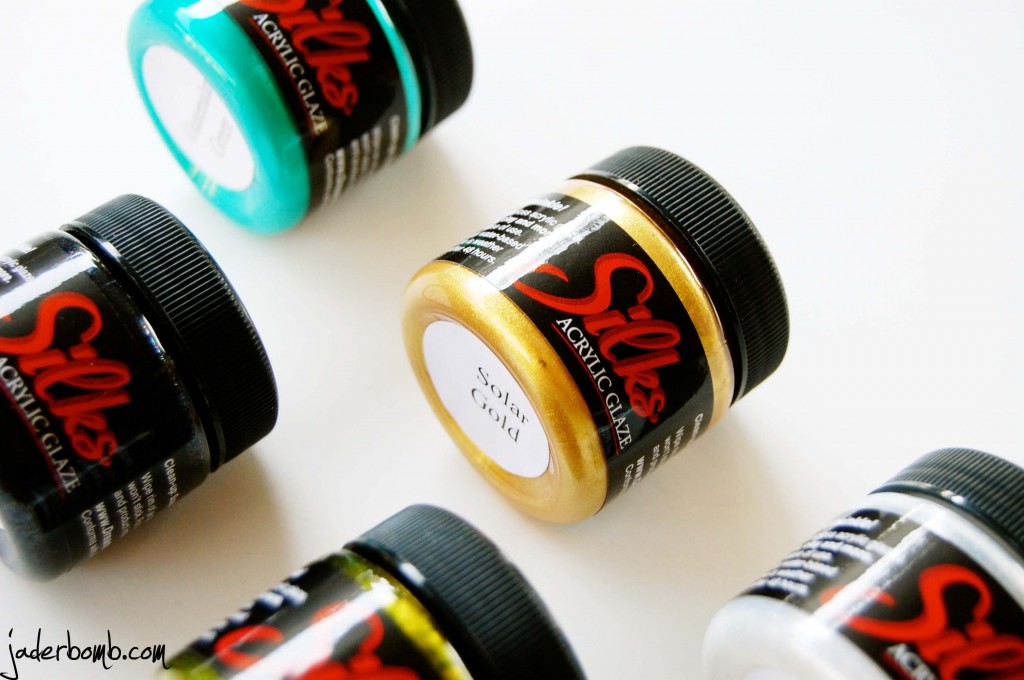
Silk Acrylic Glazes….Well this product is AYYYYYYYYYY!!!!
(click on the link above and you can order some)

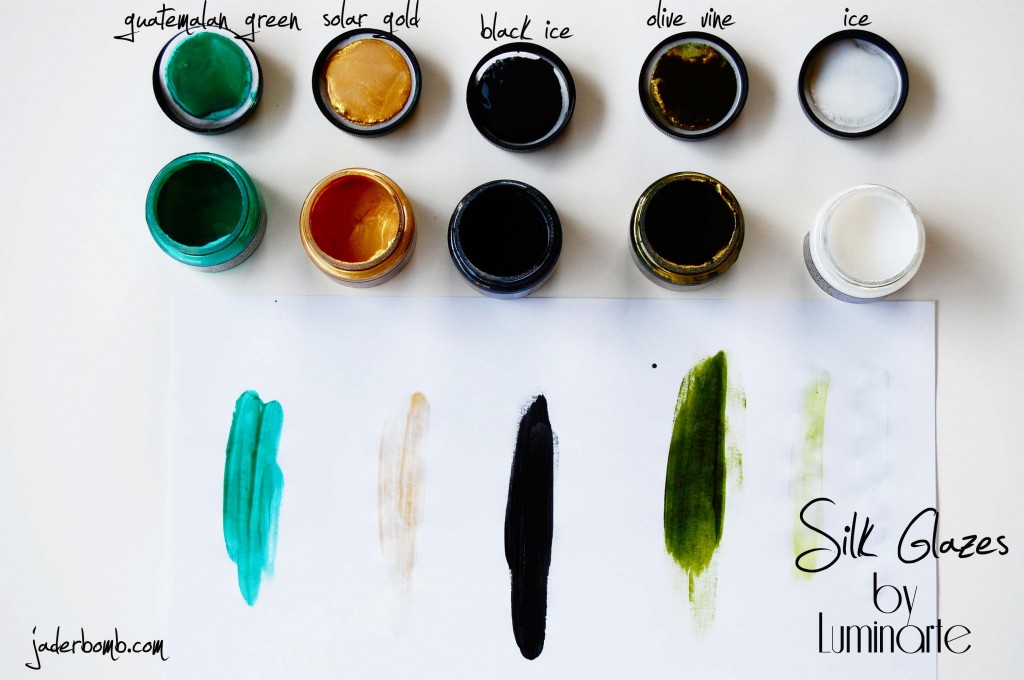
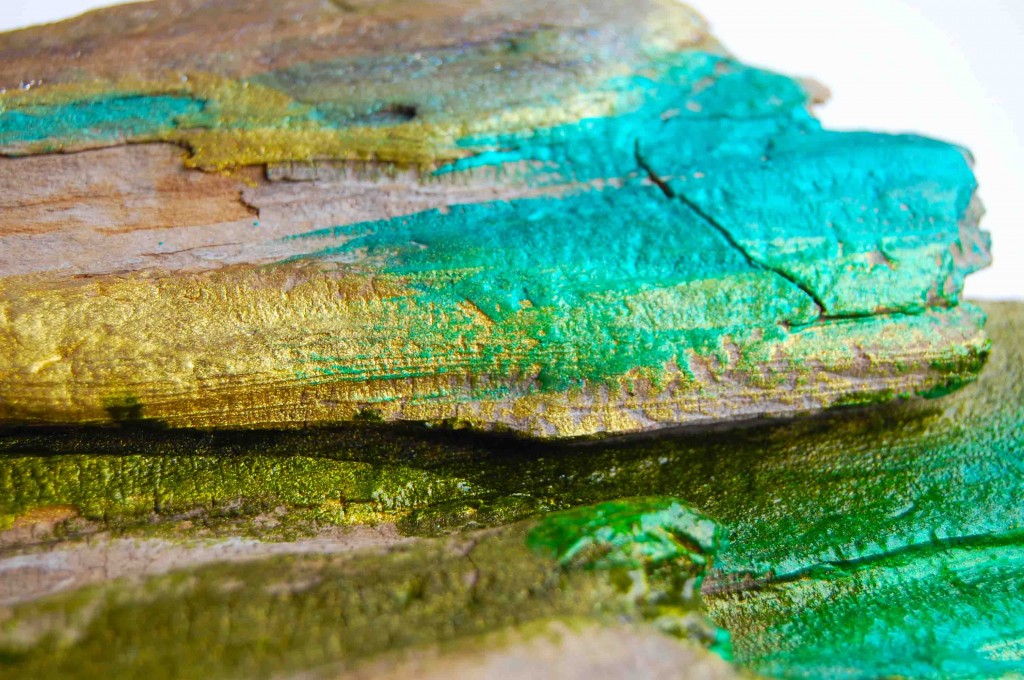
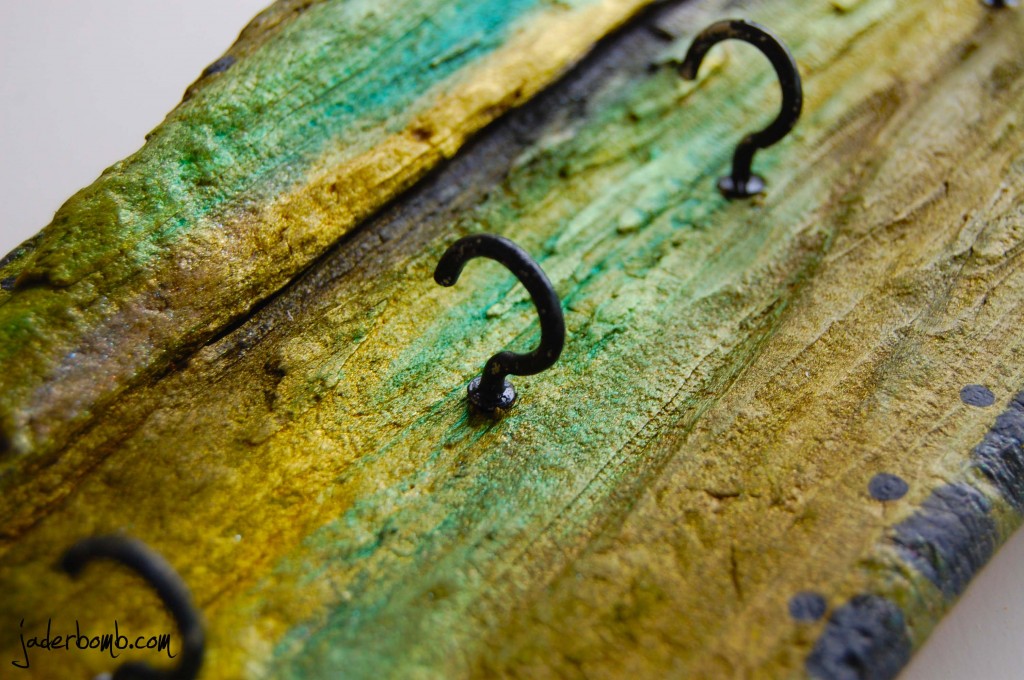
I could not believe how amazing this glaze was! I tried it on paper and it so shiny but put it on wood and the BOOM CHAKA LAKA. You know how paint on wood works right? You put one coat and it pretty much covers the wood completely. Well this glaze is so cool because you can layer it on top of other colors and it blends so PERFECT! I like that it doesn’t dry super duper fast allowing time to blend certain colors together.

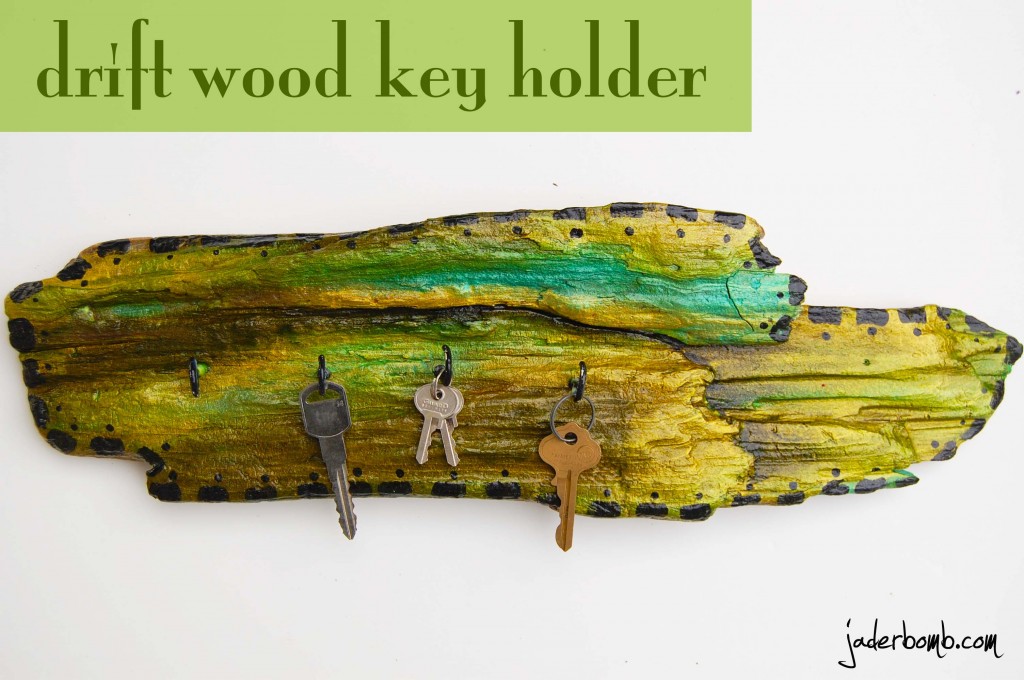
Let’s get started so we can make THIS:

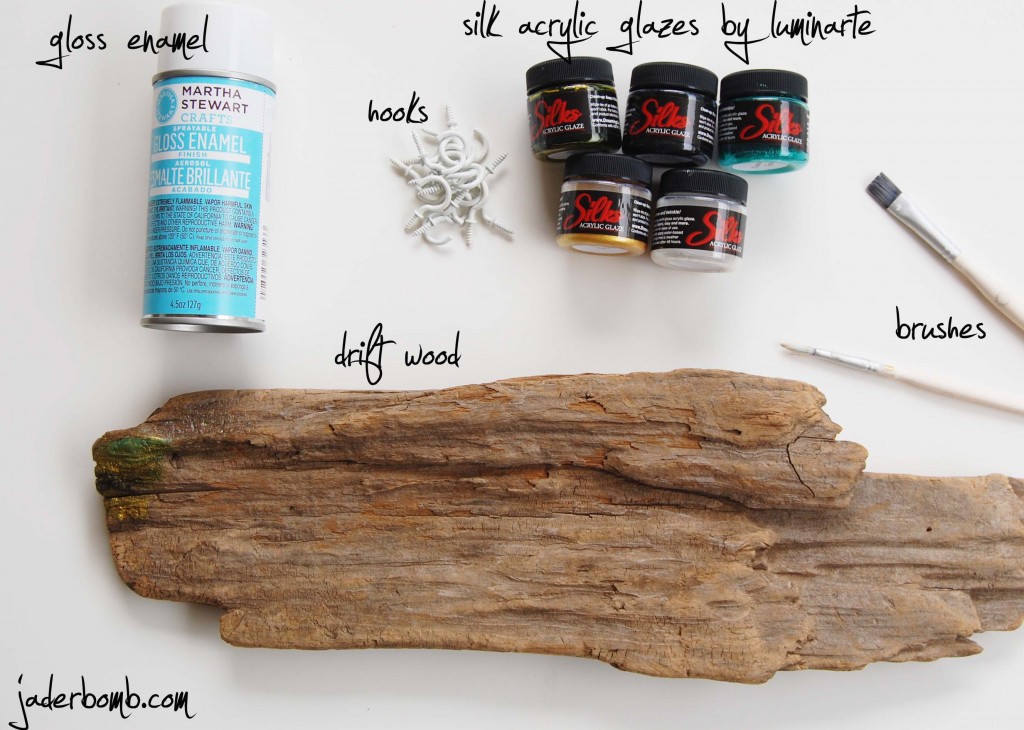
INGREDIENTS:

I got to choose my colors that were sent to me and  I was so pleased with the colors I picked! I was sorta unsure because I typically go for BRIGHT, SHINY, BOLD or PINK colors! hahaha

They have a light feel to them. They are almost translucent when you put your first coat on but once you add a few layers the magic happens.

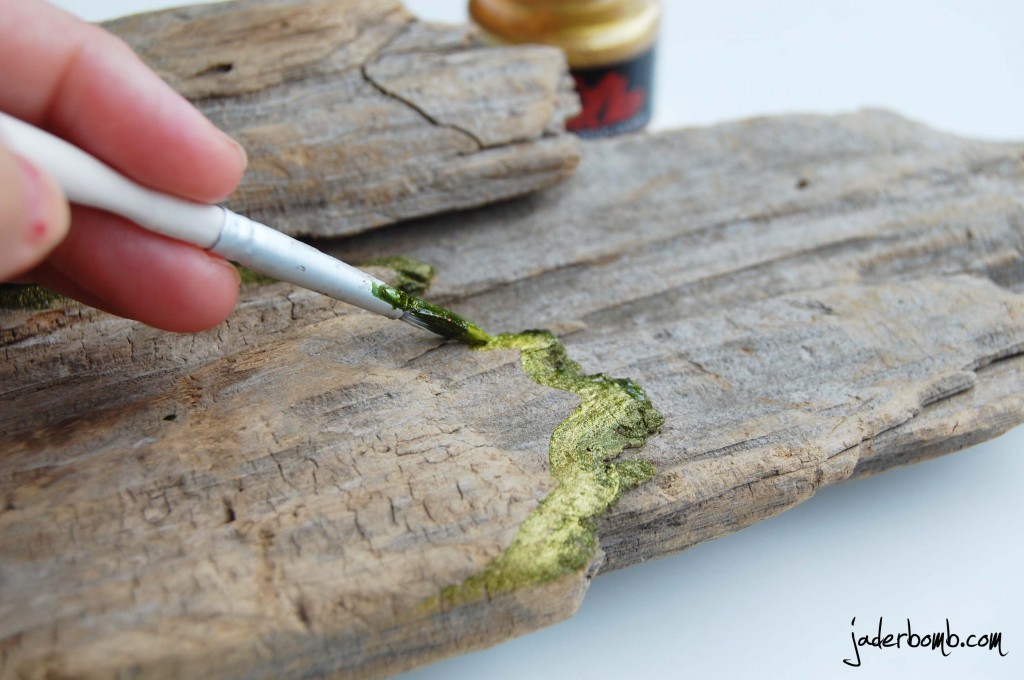
I started by going with the grain of the wood. I just added darker colors near edges and lighter colors every where else. Remember cracks and holes are where the darker shadows are so if you are wanting it to look a little natural keep that in mind.

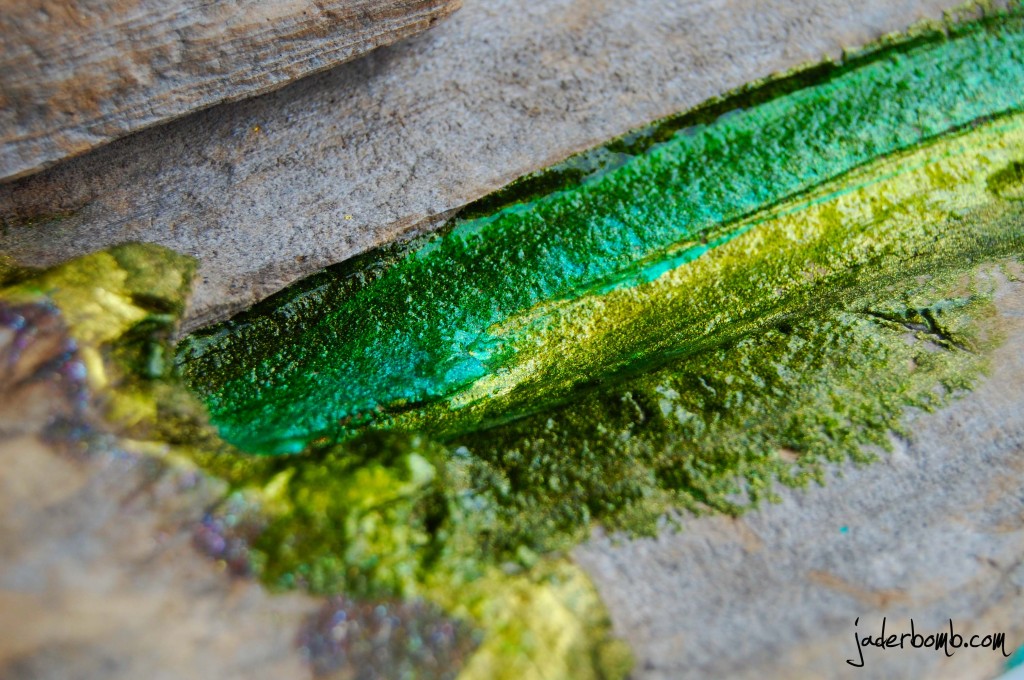
Remember how I told you earlier to blend your colors together? This is what I meant. Are you drooling yet! The colors are so rich!

My hooks were white and I just spray painted them black.  Now, you might be using different color’s than I used so white might work for you. I bought these hooks at Target. If you don’t have these glazes but you want a similar effect, water down some paint and apply them in light layers. It WILL NOT look completely like this but you could totally get it close.

I promise, these are worth the money and if you used paint first then these you would TOTALLY see the difference!

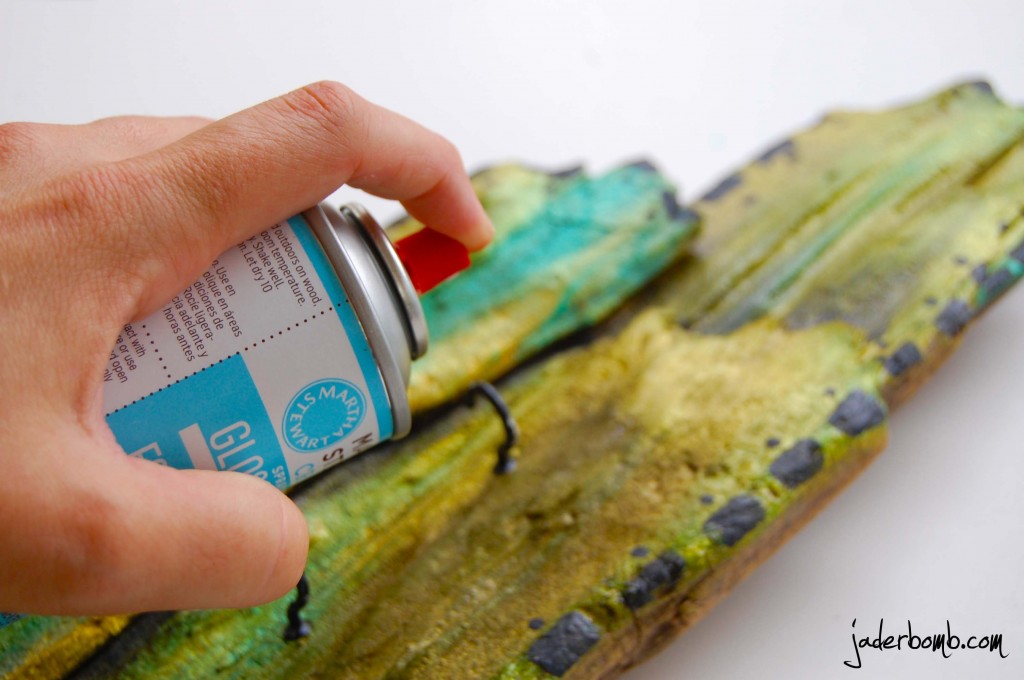
When you are done with painting, you need to spray it with a sealer. I love Martha Stewart’s Gloss Enamel spray. You can get it at Michael’s or anywhere else her products are sold. It kinda dries with a flat finish so if you want a shiny finish throw some Mod Podge on top of the wood.

 I hope you enjoyed this fun tutorial! Come back tomorrow to see how I made CONFETTI SOAP!
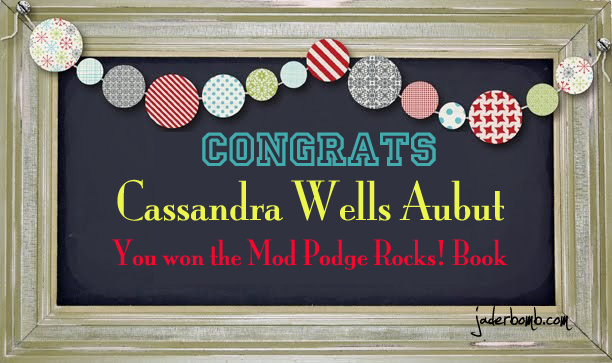
FYI: Today was the day I announced the winner of the MOD PODGE ROCKS! book giveaway! Congratulations to:

(Cassandra, please contact me with you information to mail the book, THANKS)

You can follow me HERE too:

Facebook
Pinterest
Google +
Twitter

Don’t forget to make it a DIY kinda day!

I had so much planned for today. Make a new craft, or two. That kinda got put on hold but I am totally not complaining. I’ll give you a sneak peak at what “happened” yesterday only because I am way too tired to do anything more than that. Big daddy (my daddy-o) and Ashy were doing a SMALL project in the kitchen. I left. Her dad came over. The men took action.

Did I know what was going on. No.
(Insert a loud, evil laugh right now. A delirious laugh will work)

Let me not confuse you jaderbugs because what happened yesterday has BEEN planned. You know, the kinda plans you talk about FOREVER but never do. It’s always ok because you continue to tell yourself “oneeee dayyy”.

Yesterday was that day when we let the boys be boys. Why should YOU be excited? Well because we have NO choice now but to do the FUN kitchen remodel that we have BEEEENNNN waiting to do. That means. AMAZING DIY’S COMING YOUR WAY!  I swear our dad’s are truly the best.

Mother n law saw my reaction when I walked in the door and said “hey, I have to go to Academy and Ross and WHEREVER else, wanna come with me“…. She always know how to save the day. (love you always and forever for that). We prolly had TOO much fun once we left. {{that means $$$ was spent}}

Ashy said when we left they boys (our dad’s) really cut up! She said on the last piece of wood her dad kicked it like a karate kick and laughed! I think they were more excited about this than us! hahaha

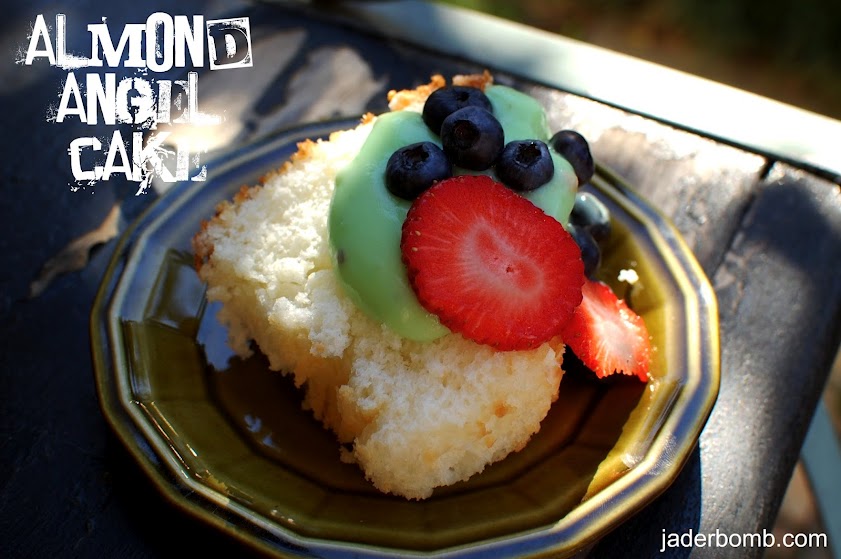
I also posted a great tutorial I did a while back on Angel Food Cake! Try it, because it’s YUMMY-LICIOUS!

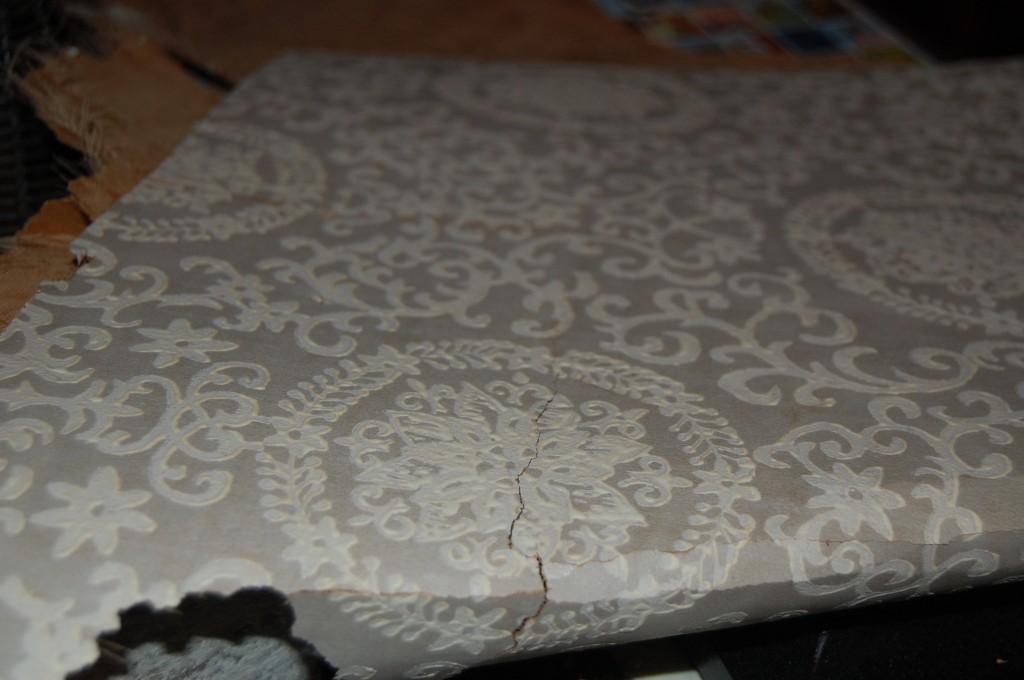
Check out the AMAZING original wall paper under everything! This is prolly 70 years old. Maybe older. Can’t wait to save it and do a craft with some of it!

Click HERE to get to the cake post!

Until the next post,

Make it a DIY kinda day! xoxo

Hi. My name is Mod Podge.

What? You didn’t know that? Ok so my name is Jaderbomb but if I could create a “craft kid” I would totally name “it” Mod Podge. If you follow my blog then you should be familiar with this container of AWESOMENESS! Seriously. It’s like magic in a container. A really pretty container.

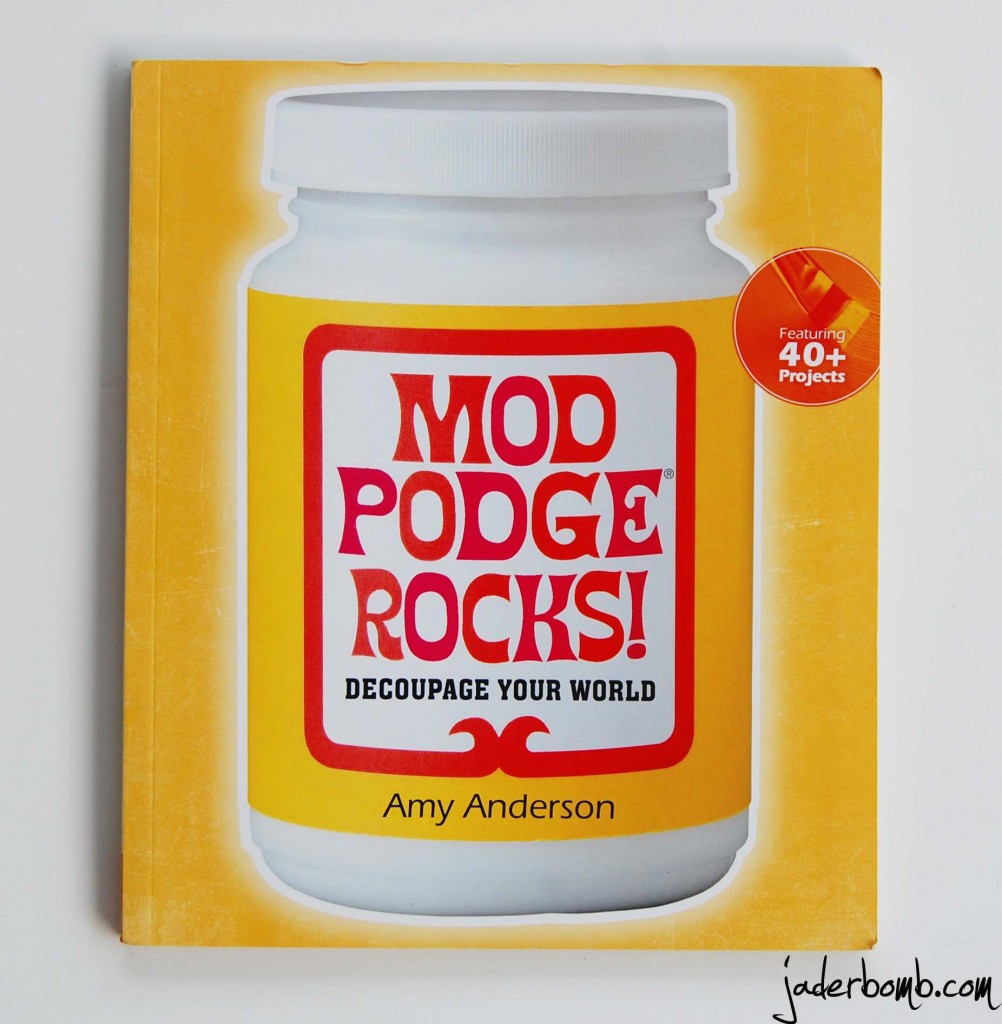
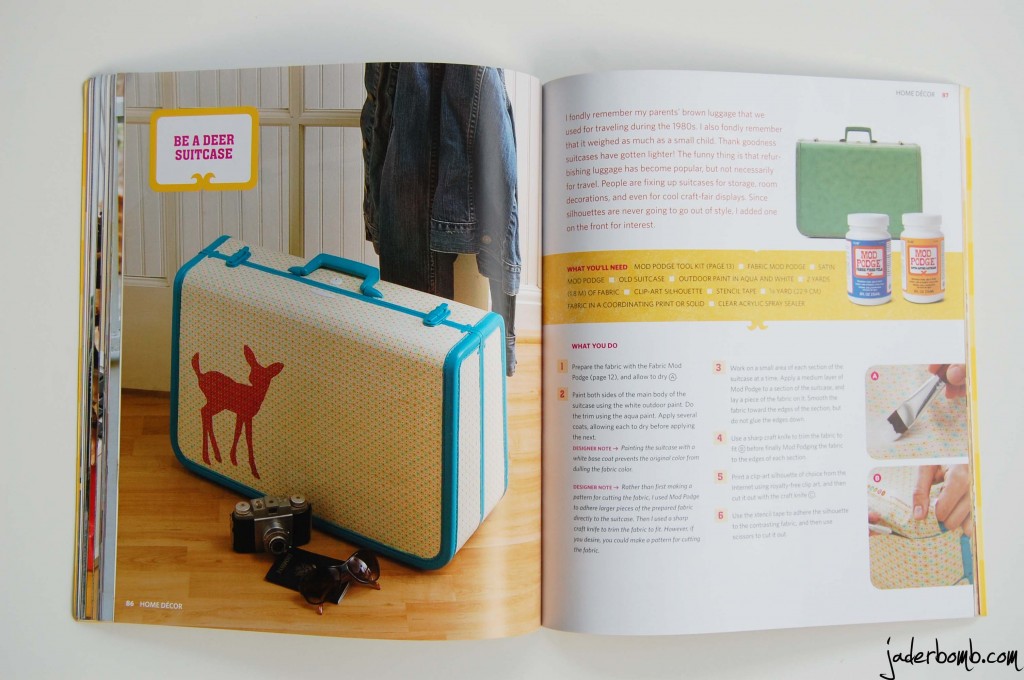
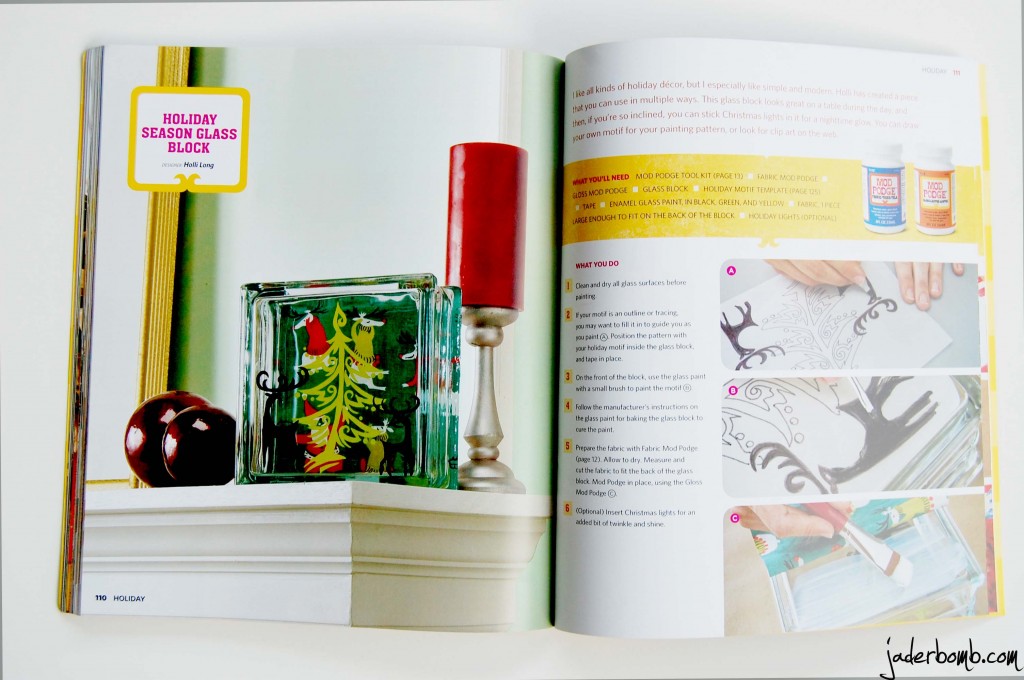
My friend Amy Anderson wrote this AMAZING book  Mod Podge Rocks! Decoupage Your World.

She is also the founder of the blog Mod Podge Rocks!

I remember the first time I used Mod Podge. I coated my paper and freaked out because it was completely white. Being the crafter that I am I never read the instructions which simply stated it dries clear. I actually started crying because it was a craft I was working on for a couple of days and was VERY happy with the way it turned out. I thought I ruined it (no fist pump insert here).

UNTIL THE NEXT MORNING.

When my eyes landed on the craft I think my heart skipped a beat and instead of being happy about how the project ended my brain immediately started thinking about what it could do next with Mod Podge.

This is where the addiction started.

If you have never used Mod Podge or you have but are not aware of just how much you can do with it, then this book is for you. It has over 40 projects teaching you different ways you can use Mod Podge. The crafts in this book are fun and creative.  There are a ton of techniques and tricks in the book to make your experience using Mod Podge AMAZING!


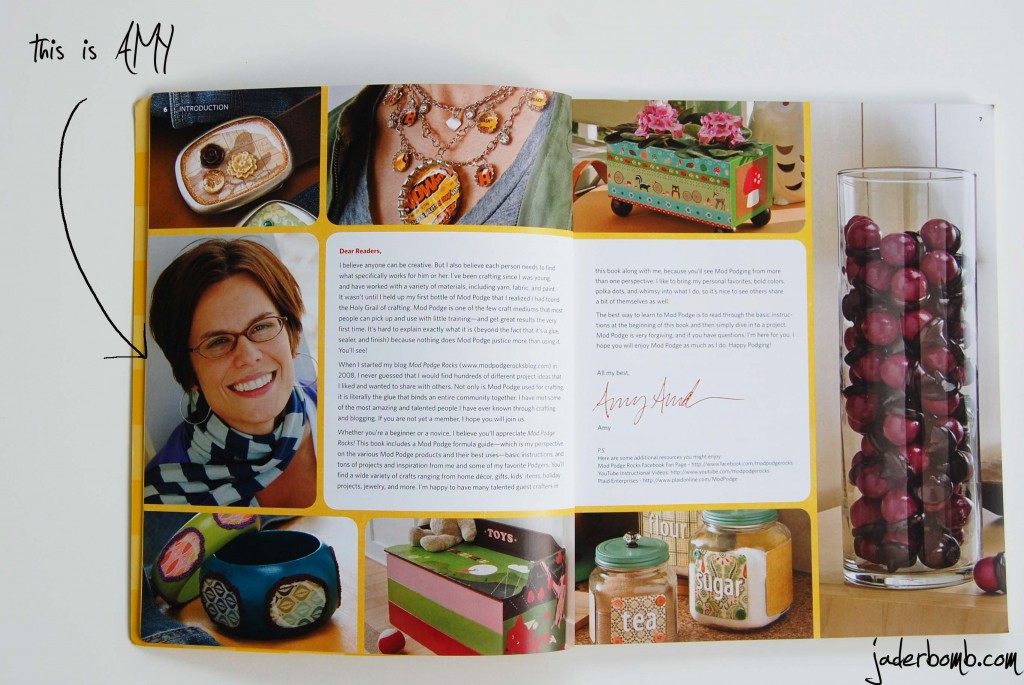
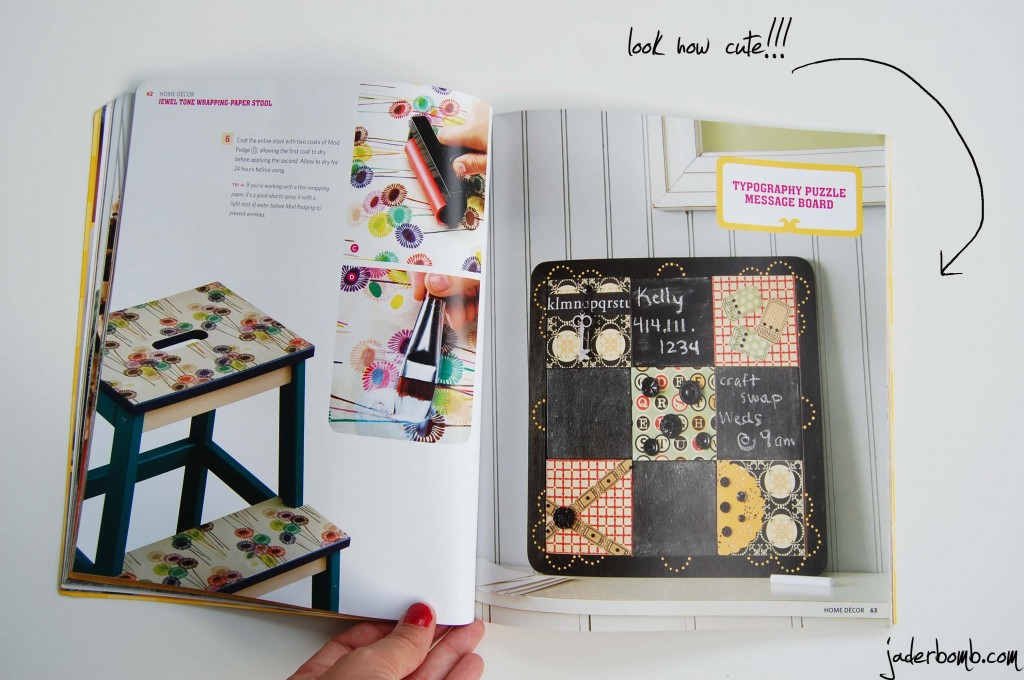
This here is my friend Amy Anderson! Isn’t she cute as a button. (hehe) I wanted to show you a sneak peak of some of the crafts in the book. These are just the ones that really got my attention so put your seatbelt’s on because we are about to Mod Podge the world!

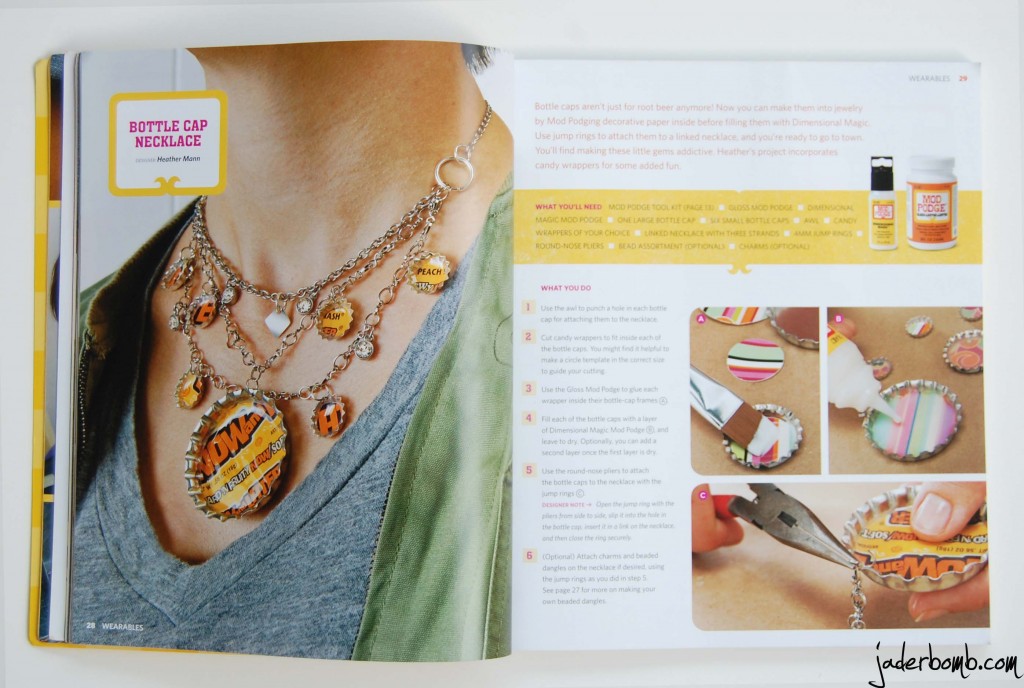
Ok. Bottom line. This is the cutest thing since sliced bread. I love working with bottle caps because you can put fun images in the center and make them very unique. I bet you would of never thought a now and later wrapper would be this cute on a person, right! Amy always proves us all wrong!

I love this stool on the left. It’s a great way to dress up any room in your house!
Check out the puzzle message board. Perfect for everyone!


I love taking something I have and adding a special touch to it.

Decorate a vintage suitcase…

Dress up your personal space with this fun Christmas glass block…


I love that the book is a soft cover. It really makes it easy to tote around or use while crafting. It’s filled with 128 pages of awesome material. The book is broken up into sections like:

WEARABLES
HOME DECOR
& HOLIDAY

In the beginning of the book there is a quick run down on each Mod Podge Primer. This is very helpful if you are not all that familiar with the product. Even if you are familiar it’s a great refreshment course!

Here are a few different Mod Podge Primers:

GLOSS
MATTE
SATIN
HARD COAT
FABRIC (LOVE)
PAPER
OUTDOOR (HELLOOOO)
SPARKLE (HEAVEN IN A CONTAINER BTW)
and a very fun Mod Podge product called:
DIMENSIONAL MAGIC

I promise you when you get this book your brain will be FILLED with ideas!

 I know what your thinking. You need this book. Maybe for yourself or you might know someone who will fall in love with it also! I think YOU need it!

You can get Mod Podge Rocks! online HERE or get it at your local book store!

The good news is today you can WIN it!!!!!

One of my Jaderbugs will have this book in their possession very soon!!!!

GIVEAWAY TERMS:

I will be using Rafflecopter for this giveaway. You will have a couple of ways to win this book.

 The REQUIRED entry is this one. Tell me why you want to win the book. Leave your answer in the comment section of this post.

 If you really want to get more entries you can come back every day and write a new comment or tweet about it!  This giveaway is only open to US residents!

This giveaway will end next Saturday which is July 14th 2012.

Remember the ONLY required entry is leaving a comment, the rest are optional. But I promise if you do the rest you will have a better chance at winning! Share with your friends! We can always see who shares with social media outlets! Thanks Jaderbugs!

GOOD LUCK!!!


***Disclosure: I was supplied with the Mod Podge Rocks book for free but all my opinions are 100% honest***

a Rafflecopter giveaway

Happy Happy Friday Jaderbugs!!!!! I am so excited to show you this recipe. My little family loves when I make pancakes. We got this baby cakes maker and I can’t lie, we were not sure it would make PERFECT cake balls. But it did. We actually tried to make spiderman cake balls. EPIC FAIL. Decorating a BALL is much harder than it looks! I would post a picture of them but you might change your opinion about me (paaahahah)

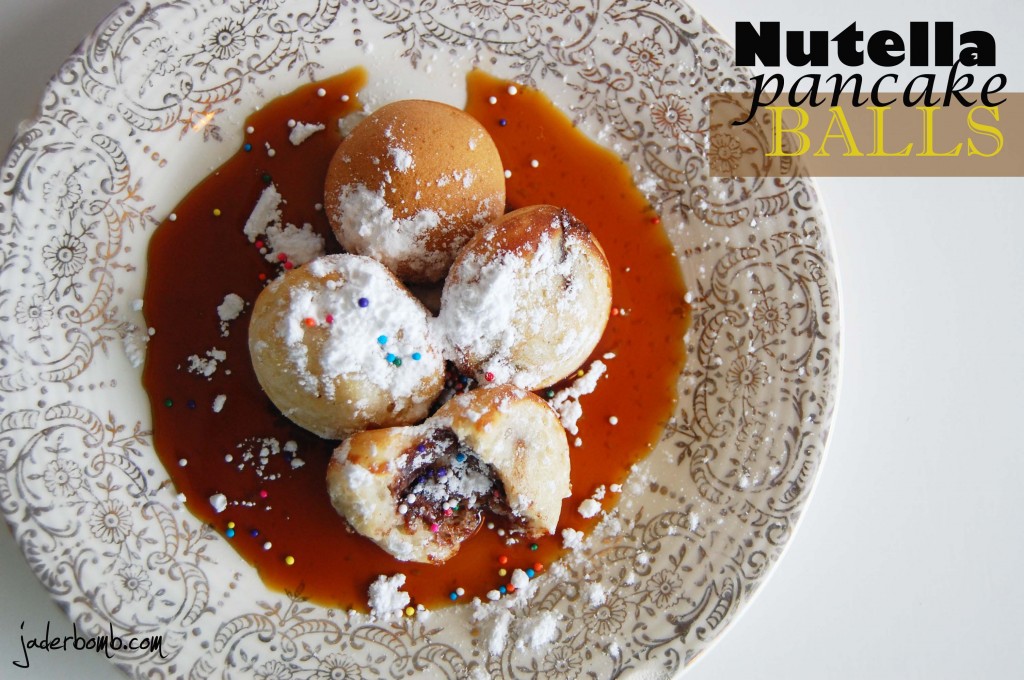
The recipe I am posting today is super easy and if you don’t like Nutella, you simply don’t have to put it. I am pretty much IN LOVE with the stuff so watch out! We are making NUTELLA PANCAKE BALLS!


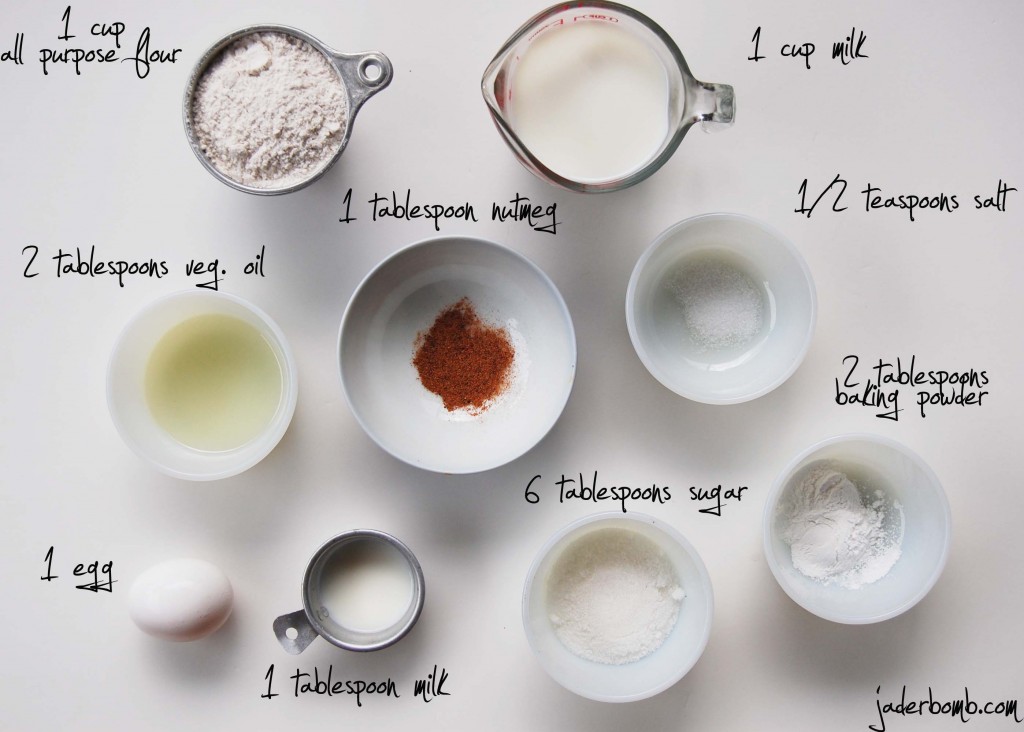
INGREDIENTS:

The ingredients are pretty basic. That makes it easier, a lot easier! I remember when I was a little girl, my mom made the BEST pancakes! That is prolly why I love them so much to this day!
Start by mixing your oil, egg and 1 cup of mil together until it’s well blended. In a separate bowl sift flour, baking powder,nutmeg, sugar and salt together. When you are done sifting, you can add the flour mixture to the milk mixture. Blend very well.

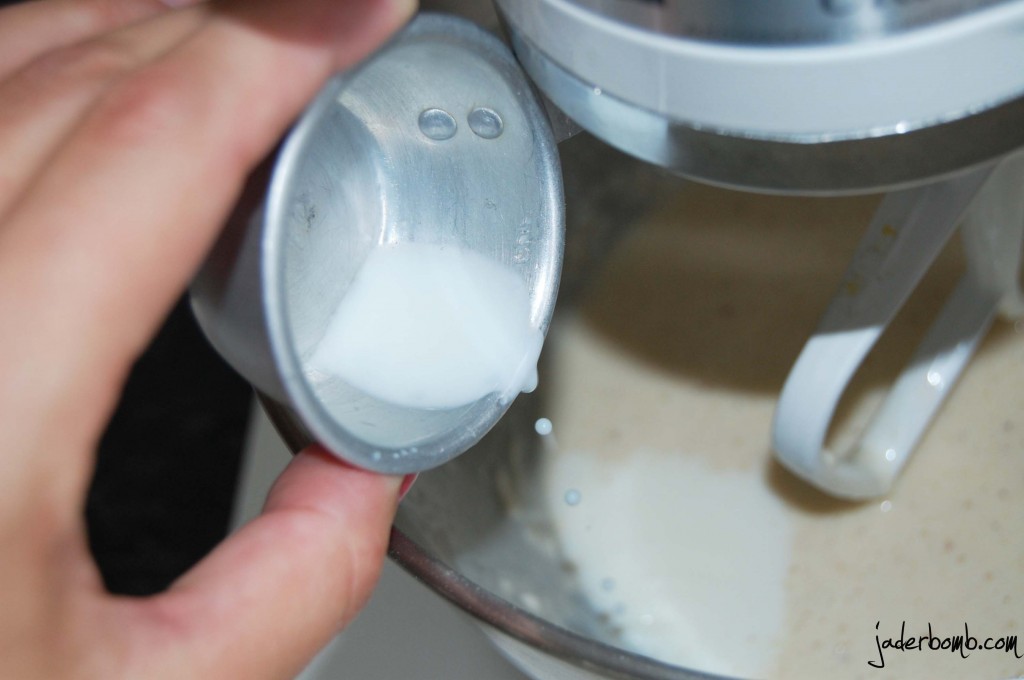
When you are done mixing all of the milk mixture and flour mixture add in that extra little tablespoon of milk.

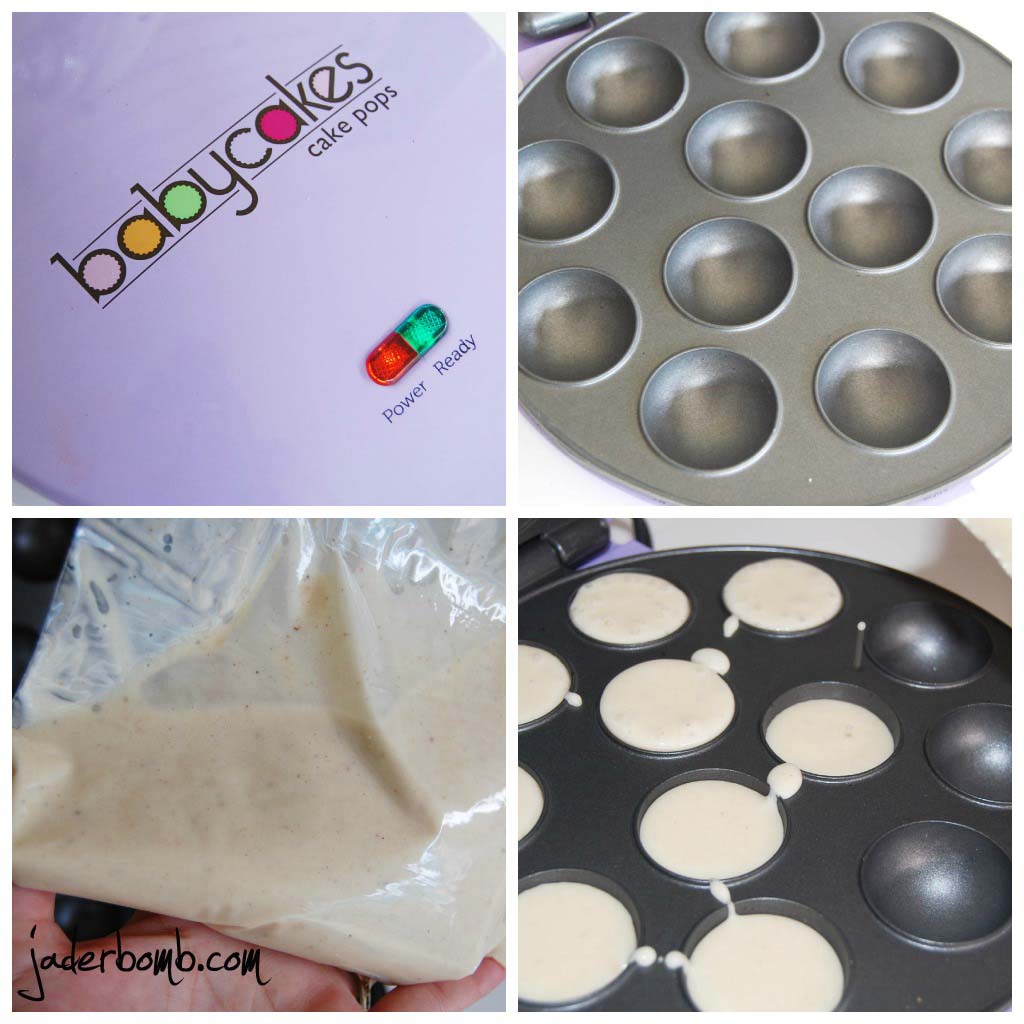
Instead of using a frying pan for this sucker I am using this amazing Baby Cake’s Cake Ball maker. I know what your thinking. This is not cake balls. Guess what! You can use this sucker for ANYTHING. Which is why I am loving it more and more each day. Ashy made cornbread balls the other day when she made homemade chili. Can we say DELISH! Baby Cakes cooked them SO good! They were bite size which means they were perfect for single bites! Everyone ate the cornbread balls before the chili was gone! So, after this I thought. Why not make pancake balls. Let me tell ya. CUHRAZY good. If you don’t have one you can purchase it at Bed, Bath and  Beyond. It’s only $19.99! Get one here!!!!

I like to pour my batter into a ziplok bag. It makes is SO easy to pour out!

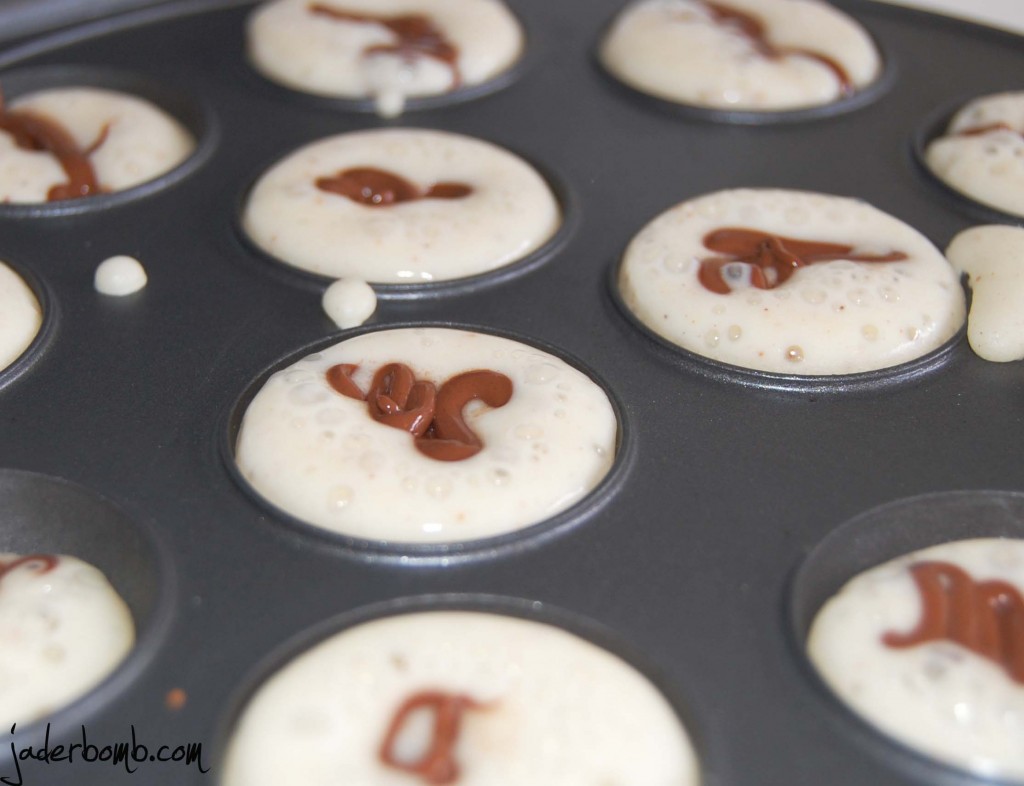
 Right after I pour my batter in I start squeezing my Nutella right in the middle. Yes, I put my Nutella in a Ziplok bag too! It makes it super easy. One hint tho, you want to go QUICK when doing this step! It starts cooking them right away and you want to close the top as soon as possible!

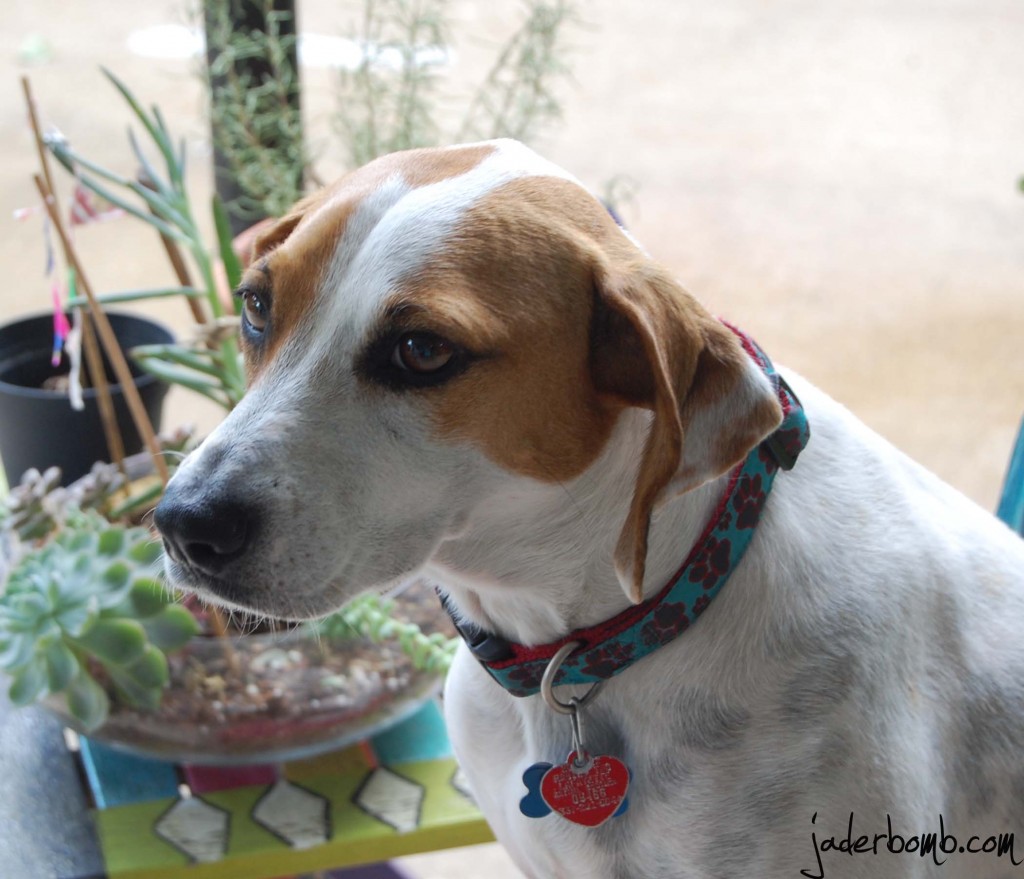
Even Ceaux Ceaux had fun watching the whole family do this. I think she was laughing in her head at us!  Don’t forget to check out her blog!

I hope you enjoyed this fun recipe!

Sending you lot’s of hugs and positive energy,

 WHAT IS YOUR FAVORITE FLAVOR PANCAKE SYRUP?