

Well happy day after labor day! How was your weekend? I totally wanted to post more crafts this weekend but I honestly just didn’t feel like it. I know, what kind of person am I?
If it makes things a lil better, I DID crafts.. I was just too lazy after I finished them! Good news is, I will be putting them all up this week!!! YAY FOR YOUUUU~~~
Tru-st me, they are worth coming back for!
I am ready to get started!
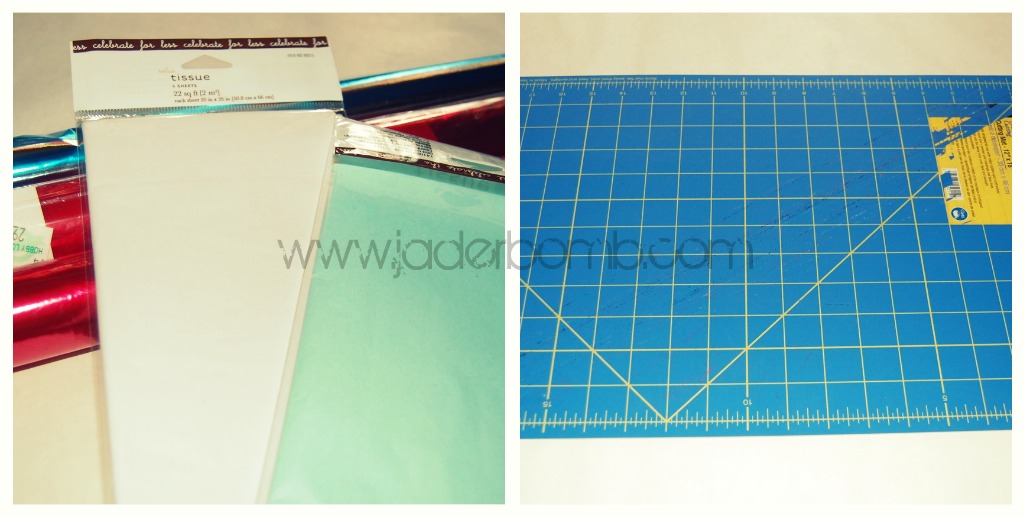 |
| left: tissue paper right: rotary mat (or you can just use scissors) |
 |
| left: ruler. you can use whatever you have, this is just used to hold tissue down while cutting middle: rotary cutter ( or you can use scissors lol) right: twine (you can use any other rope that you would like) |
 |
| p.s. place your tissue down on rotary mat. when you take the tissue paper out of packaging you want to unfold it till there is only ONE fold in the paper. then leave it just like that. |
 |
| left: place ruler down on tissue paper right: use rotary cutter to cut {{remember, you can use scissors if you don’t have these materials LOL}} |
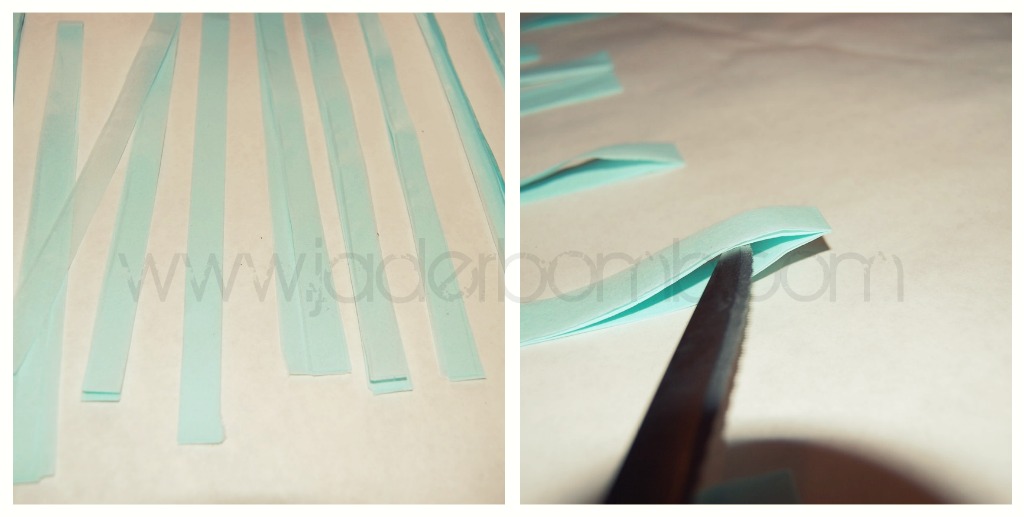 |
| left: this is what your strips should look like when you are done cutting them right: remember when I told you to keep ONE fold in tissue before you cut… if you did it correctly this is what your strips should look like. i just used a knife to separate the tissue. |
 |
| left: this is what it will look like after you separate the tissue right: twist the middle section of the tissue leaving each side still loose (remember, don’t twist too hard because it will tear the tissue) |
 |
| left: you want to put twisted part of tissue on top of the twine…. right: then fold each side over and twist them together. |
 |
| p.s. this is what they should start to look like. you can add as many colors as you would like~~~ |
 |
| p.s. tadahh… how cute are these little suckers! you want to keep in mind that they should “hang” from something otherwise you won’t get the {{dangling}} effect!!! I just used thumbtacks to hang them from the ceiling. |
 |
| p.s. i know it looks like it’s touching the wall but I promise it’s not!!! |
 |
| p.s. i love love love the silver tissue paper! and the cool thing is you can just replace or add certain colors for different holidays!!!! |
Al-righty my little “jaderbugs”, I hope you enjoyed this craft tutorial as much as I did!!!
The cool thing is it’s super easy and so much fun to do. Let me warn you ahead of time that it is very time consuming! Although it is worth it in the end!!!!
P.S. IF YOU DON’T GET MY BLOG POSTS’ SENT STRAIT TO YOUR EMAIL GO TO MY BLOG AND AT THE TOP RIGHT CORNER YOU CAN ADD YOUR EMAIL ADDRESS. I MEAN, YOU DON’T WANNA MISS A POST RIGHT!!!
Sending you lots of hugs filled with silver lined tissue paper,
jaderbomb
© Copyright jaderbombllc, All rights Reserved. Written For: JADERBOMB
Would LOVE it if you would link this project up at my turquoise lovin' party going on right now!! http://www.sweetlittlegals.com/2011/09/turquoise-lovin-3.html
Thanks for the comment! I will surely link up!!!
This is an awesome idea…thanks for sharing it with us…
http://turnedgypsy.blogspot.com
Chris
Pingback: - Check out this room in my house!