The Simple Secret to using Popsicle Sticks!
Today is the day that we all learn what to do with those left over popsicle sticks! Wait, does anyone even eat popsicles anymore? When I was little I would rush to get to the wooden taste of the stick! The craft stores fixed our problems by selling these sticks in packs I will tell ya! I am excited to team up with Kwik Stix for this project and show you how to brighten up your personal space with good ole popsicle sticks.
♥ This is a sponsored post. All ideas and beliefs are based completely off of my personal opinion and I only post products on my blog that I stand behind. 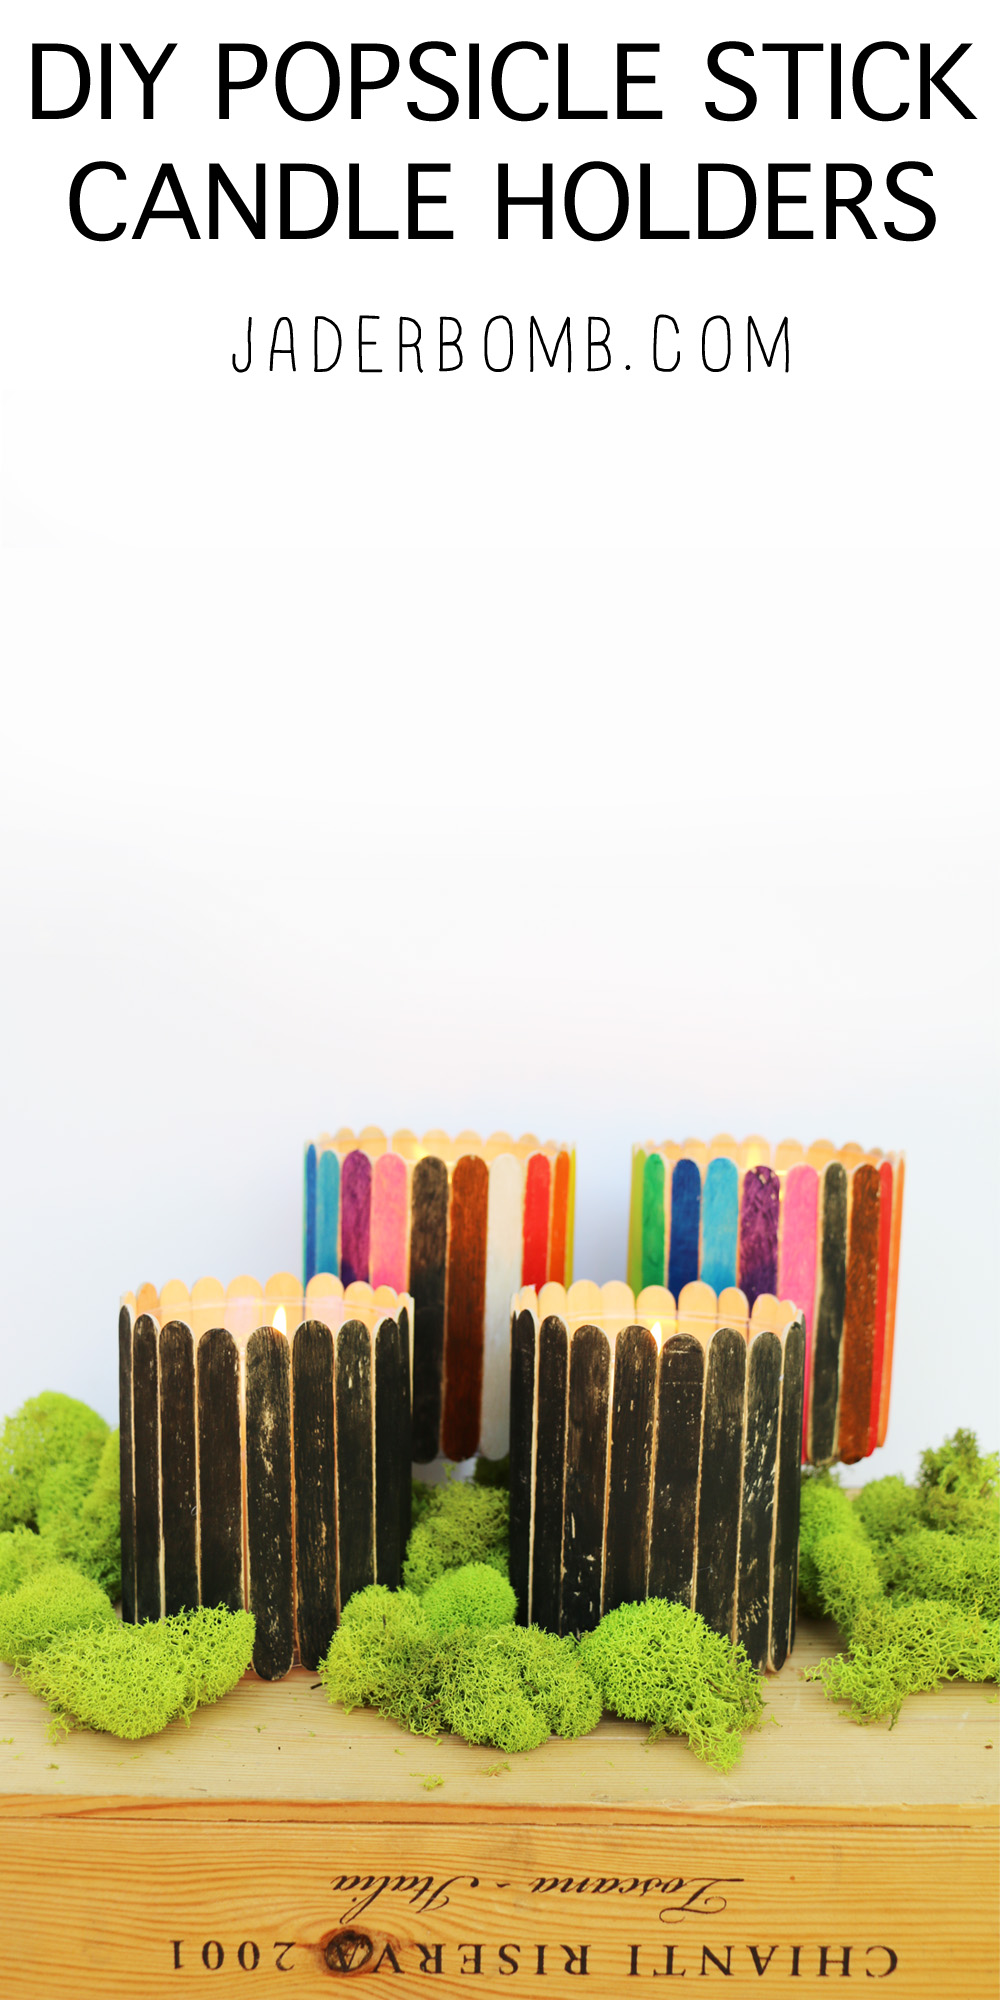
You will need: High Temperature Glue Gun * Glass Candle Holders * Candles * Craft Sticks * Kwik Stix from the Pencil Group 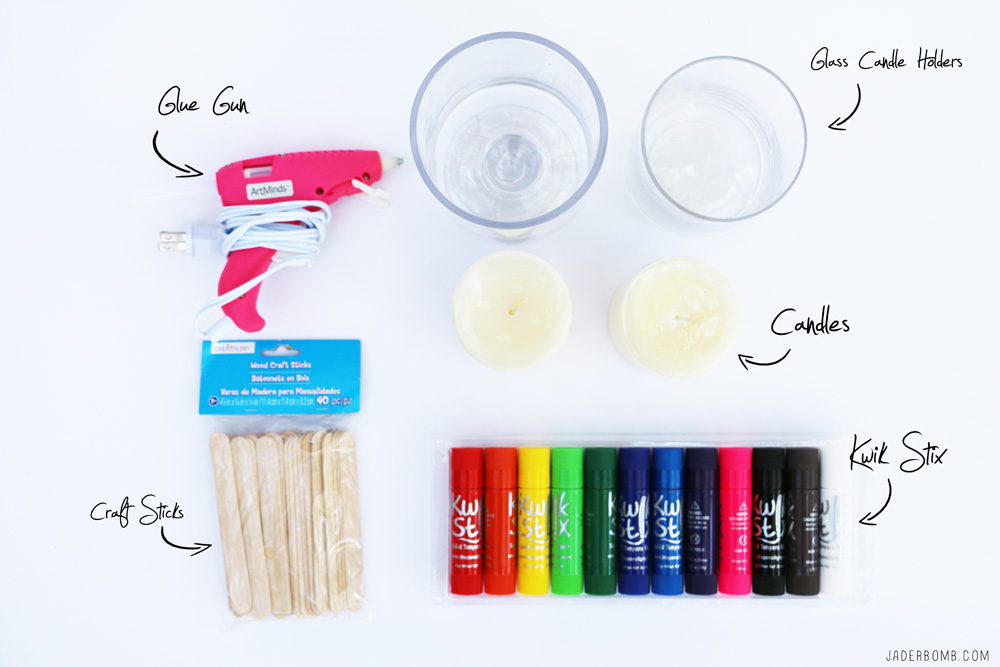
Tired of the endless mess of painting? Fear not! Kwik Stix Solid Tempera Paint sticks take the mess out of painting while keeping all the fun! Simply uncap, twist, and paint! Kwik Stix have a fast drying formula that allow them to dry in 90 seconds ( YES 90 SECONDS ) while still leaving a paint-like finish! You can also purchase these from your local Michaels stores or click here to purchase.
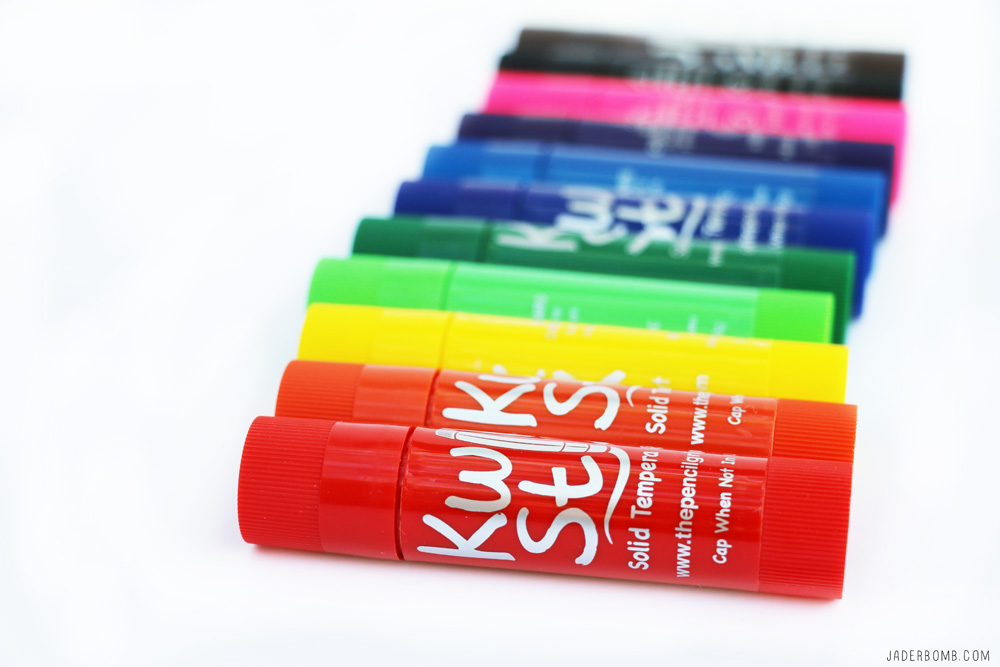
No cups, smocks, water or brushes required. Kwik Stix come in assorted vibrant colors with coverage that won’t crack. Great on poster paper, cardboard, wood and canvas and much more!
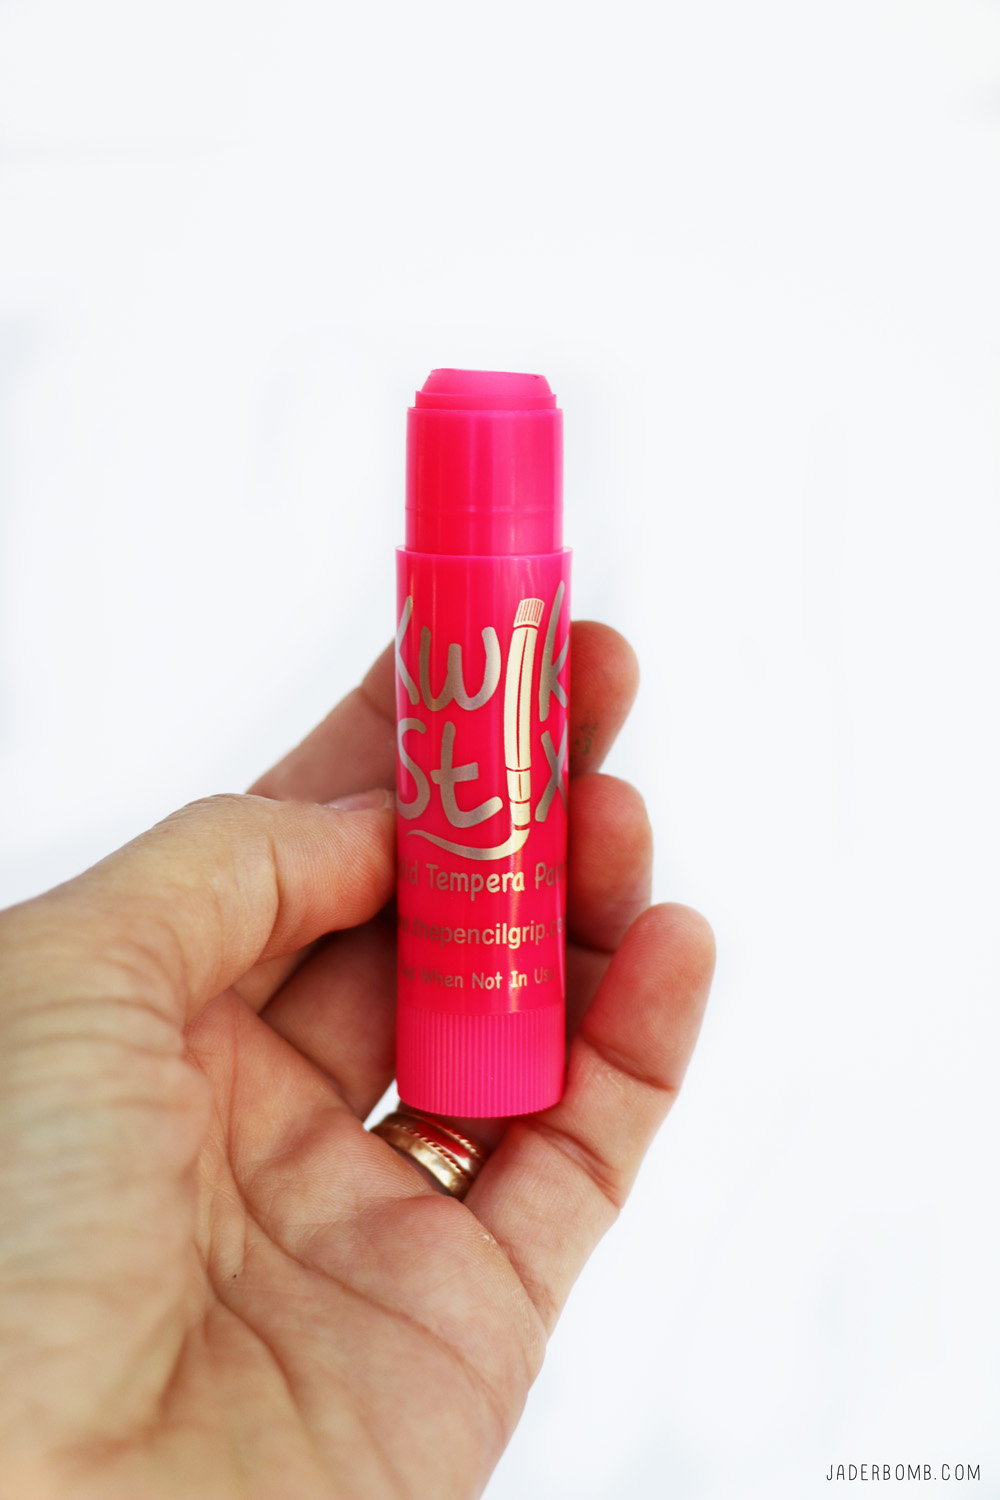
Let’s just all take a moment and stare at this beautiful hot pink paint stick! I literally opened it and thought about using it as lip stick! You can’t lie- you thought the same thing as me!
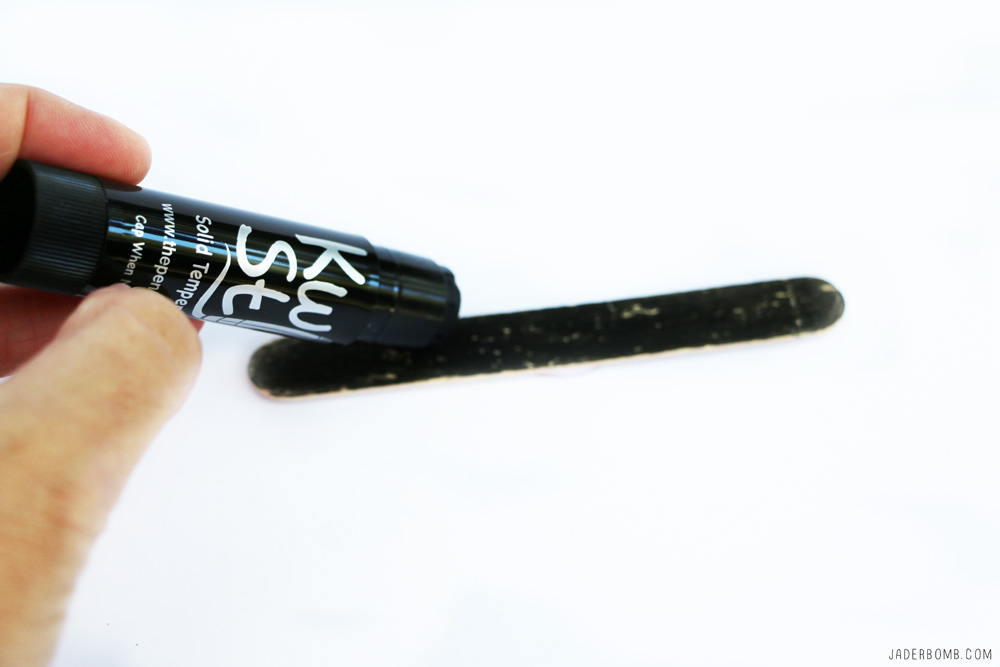
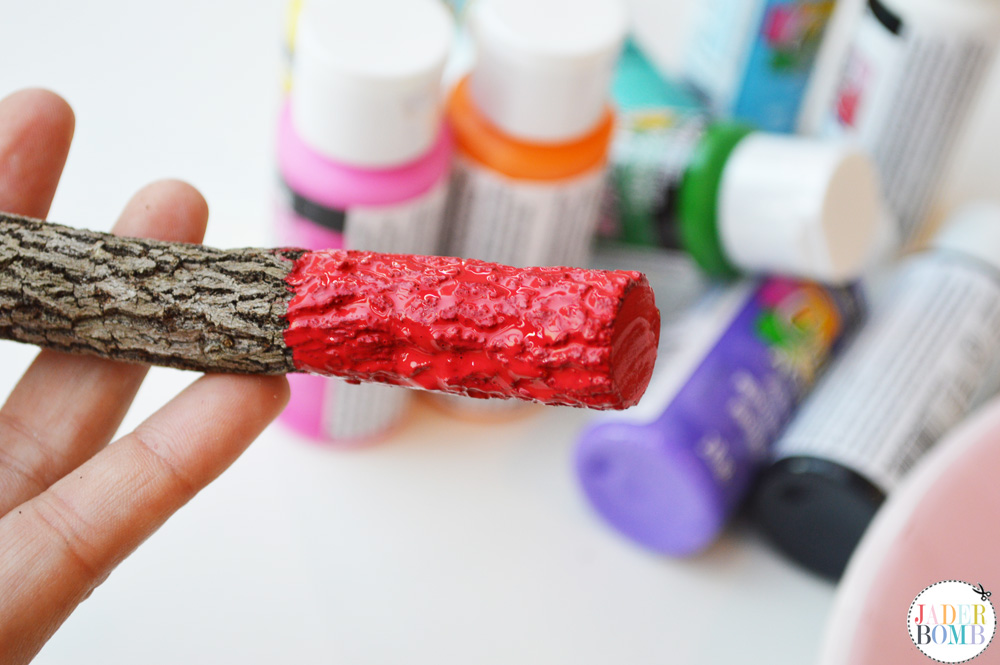
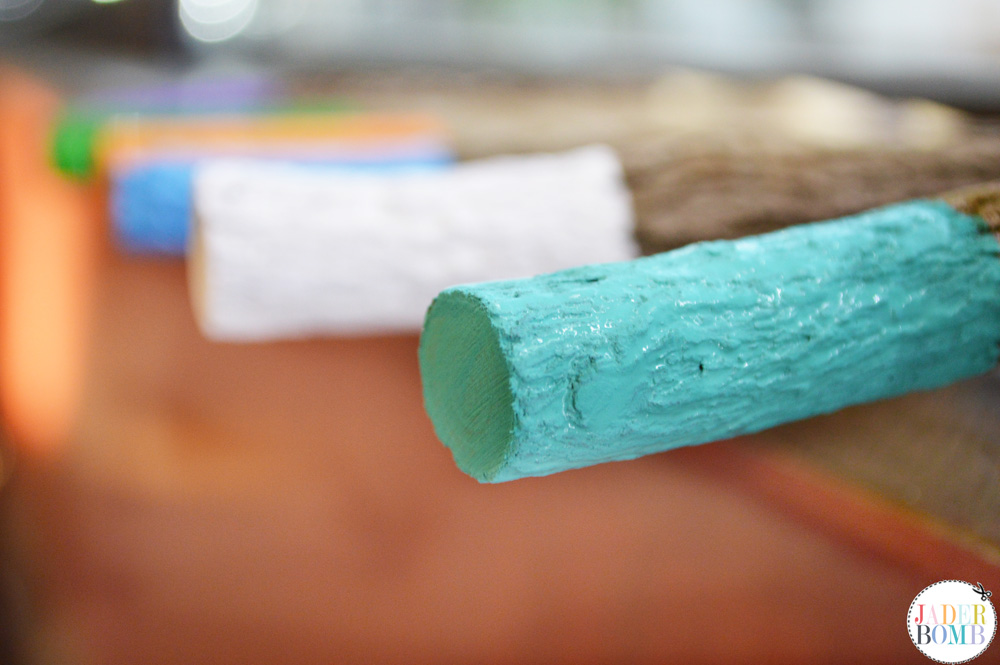
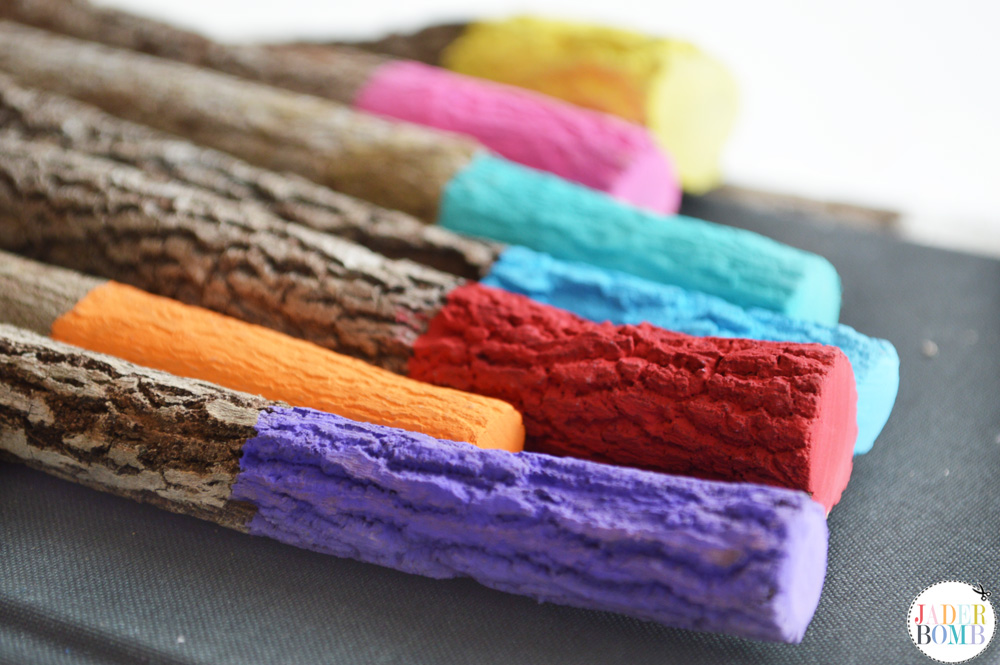
Step one: Paint one side of your popsicle stick with the color of your choice.
I wanted to have a fun theme and a more elegant theme so pull up your britches because it’s gonna be a fun ride with me today!
I was quite surprised to see this product in action and I literally mean this! At first the paint appears wet but then within seconds it starts to dry. It’s the most fascinating product that I have used in a while.
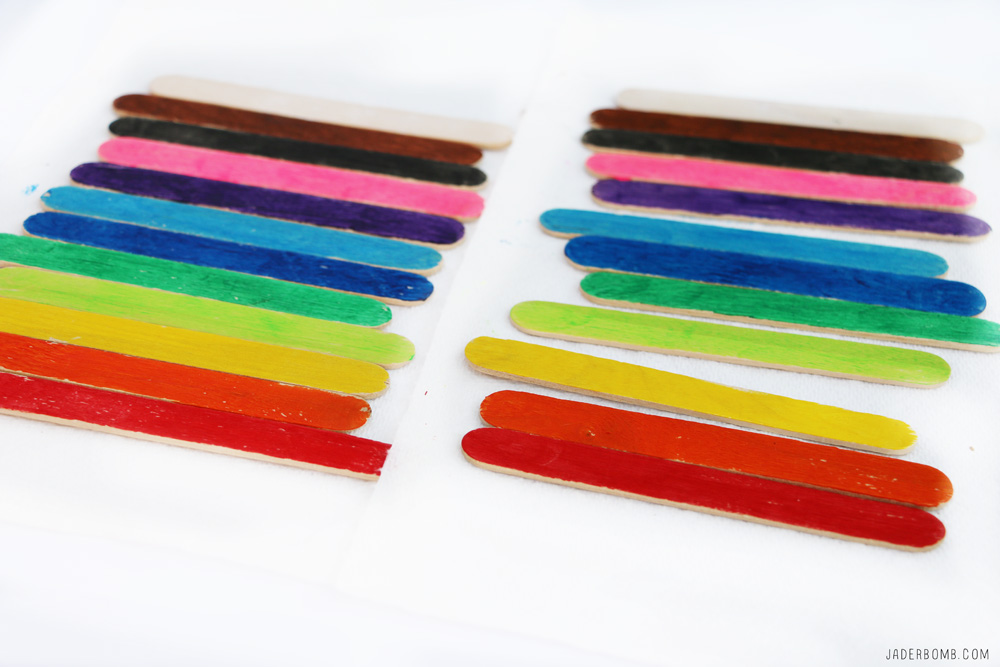
The colors literally come alive once you apply it, which had me thinking. Why didn’t anyone ever make colored popsicle sticks? Just a thought…
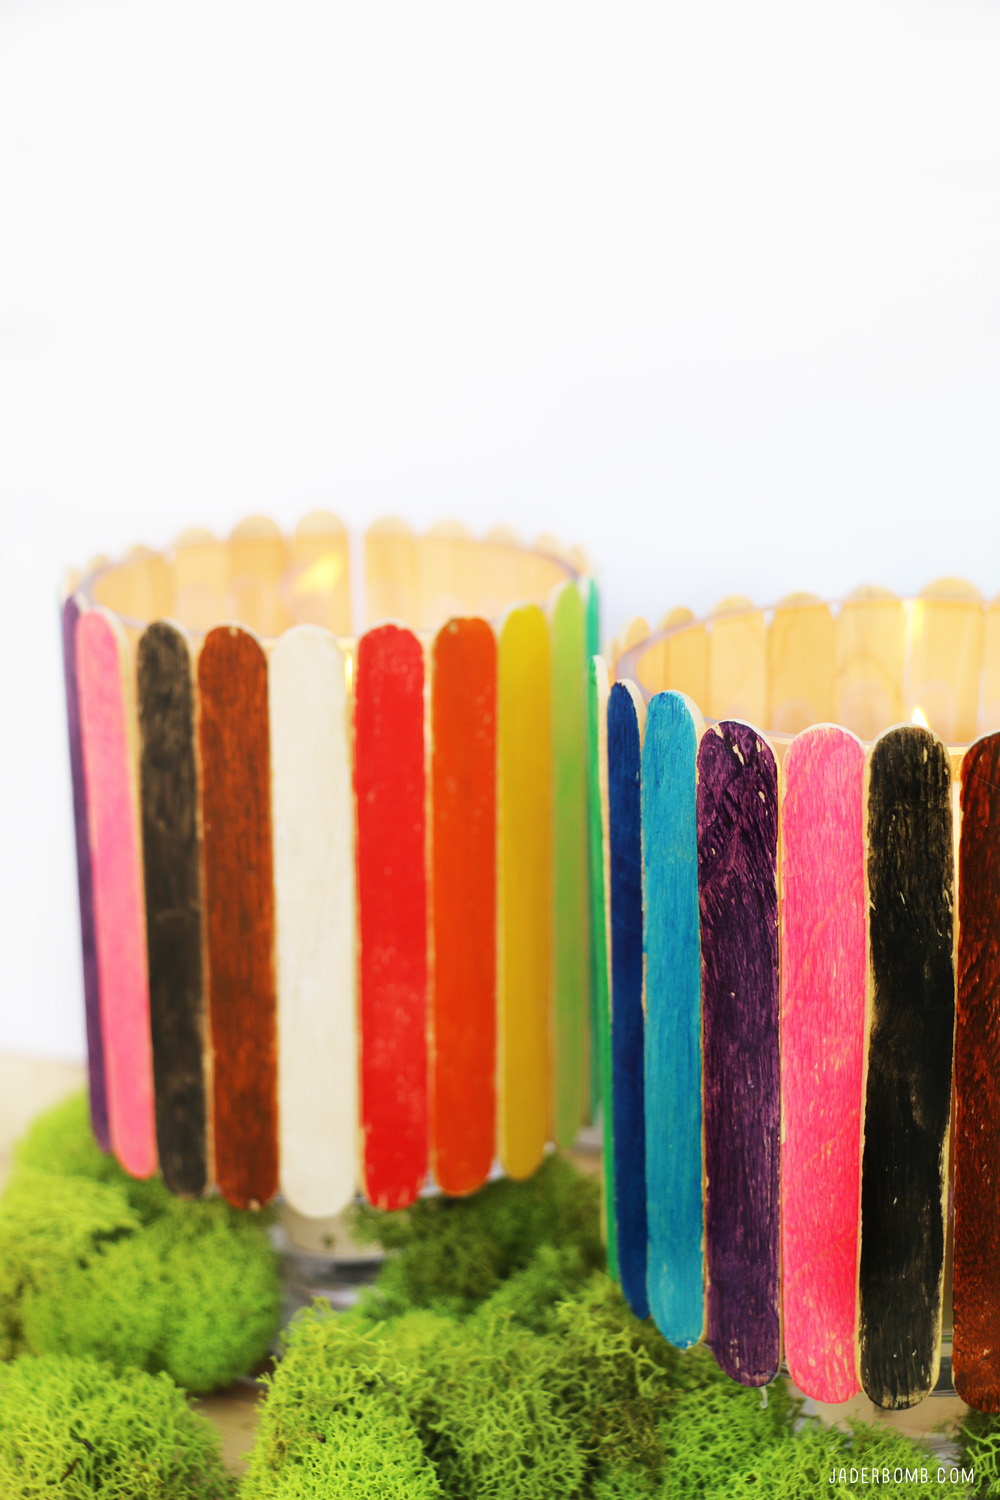
I asked myself what kind of picket fence would I would want around my house and if you know me then you know I would pull for ” Team Rainbow” but some days I wake up and feel like Cher and my inner sophisticated side comes out, which leaves us with a black picket fence.
 The black popsicle sticks kinda remind me of the Nightmare before Christmas. Personally I would keep these candle holders up all year long and decorate around them! Can I get an AMEN! My imagination is screaming like a kid on Christmas morning thinking about all the things I can create with these paint sticks.
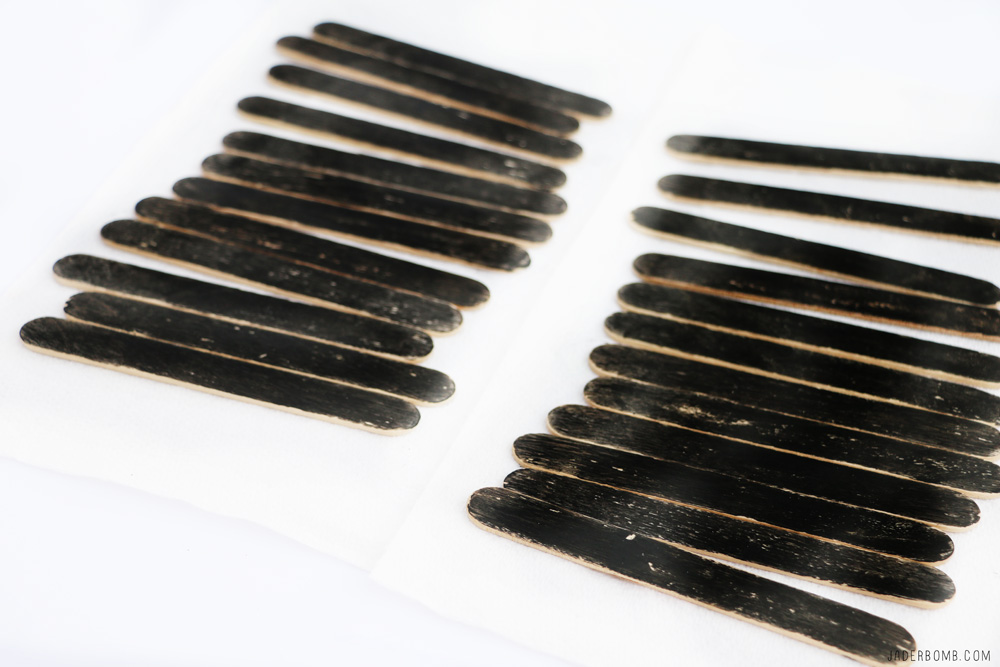
Clean your glass candle holders with cleaner before glueing the popsicles to them. The glass needs to be really clean otherwise the sticks won’t stick properly.
Once you are ready get your glue gun and start glueing them on one by one. If small kids are doing this project, now is the time I would suggest having an adult help out. We don’t want to burn those little fingers. Let your kids color the sticks- trust me they will love it!!!!
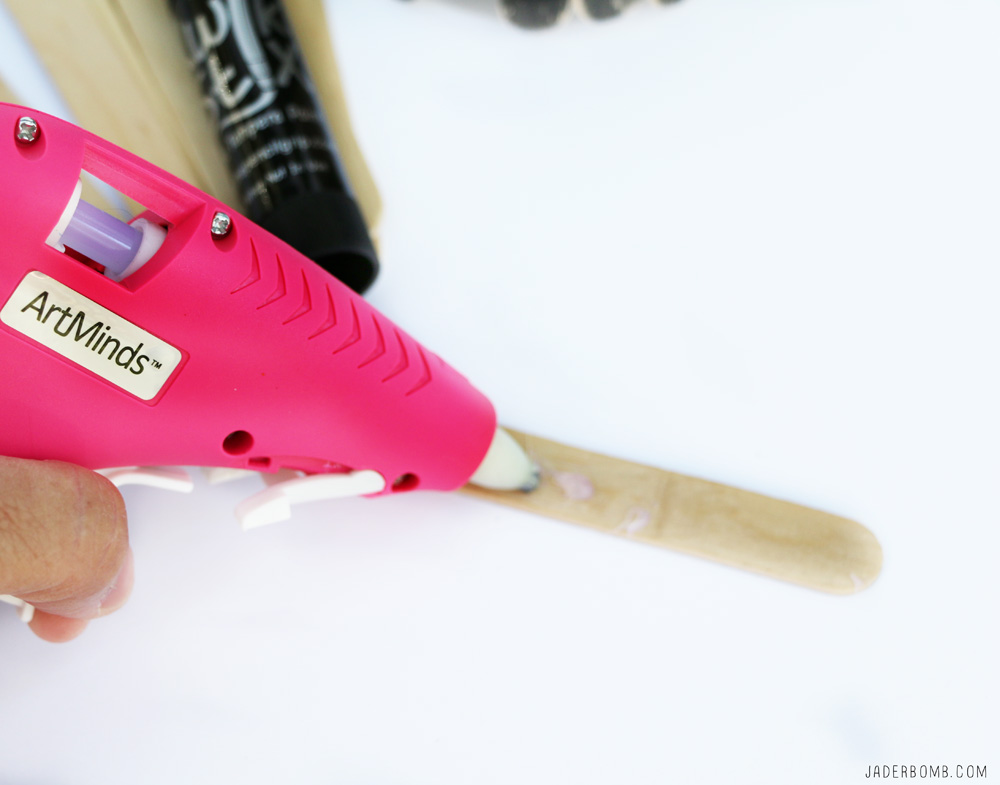
I made two passes with my glue gun to make sure there was enough glue on them.
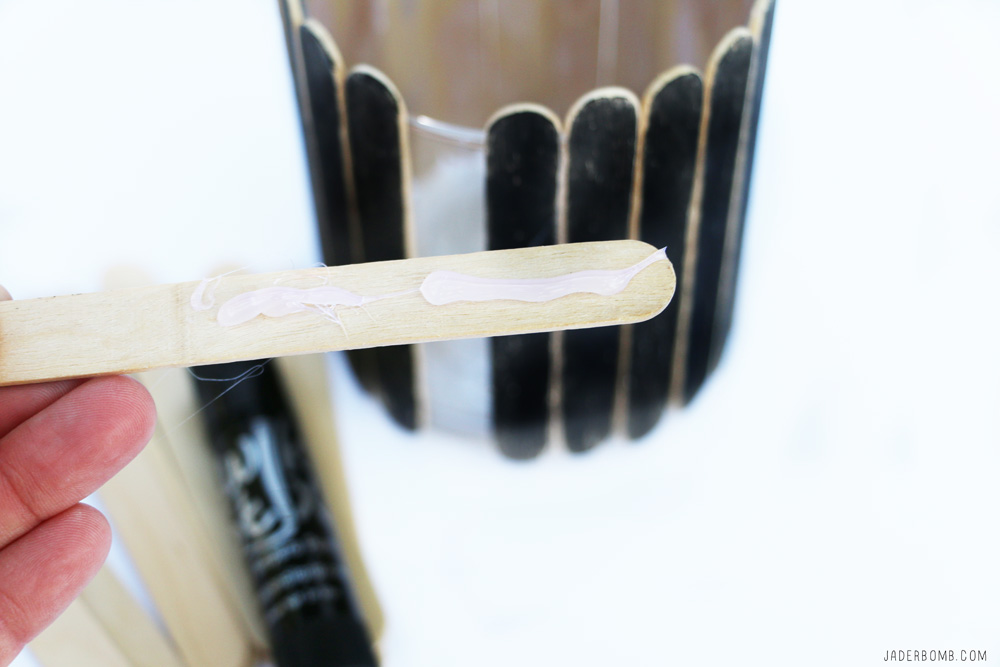
Make sure to press firmly on each stick right after you place it on the candle holder.
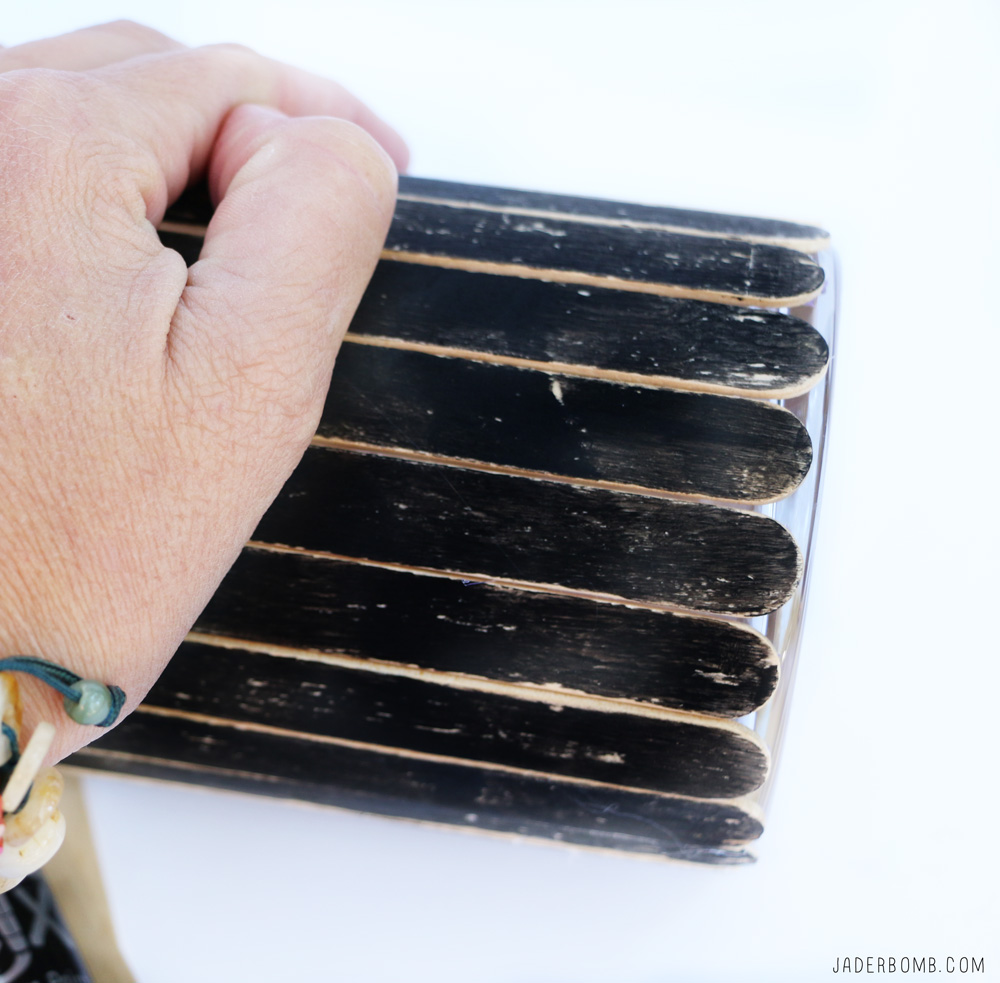
I am really in love with these Tempera Paint sticks. They are perfect for people on the go since they dry so quickly, this means no mess for the parents to clean up after!
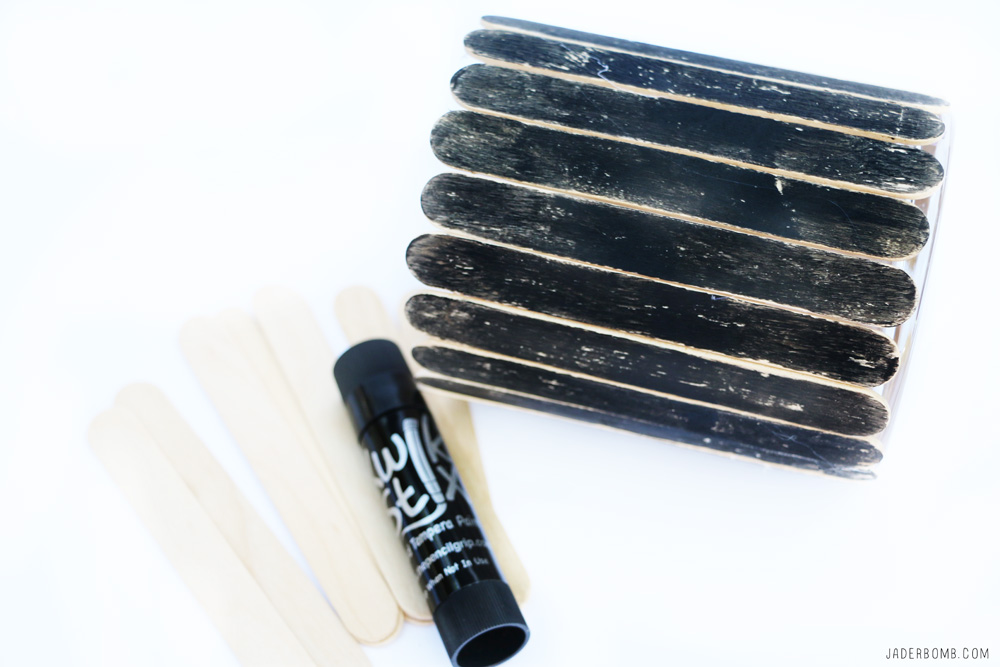
Not sure what to do when you are busy cooking, cleaning and working? Throw some popsicle sticks on the table with these paint sticks and you won’t hear a word for hours. Seriously how do I know this? it happened to me, I found myself so zoned into painting them that I didn’t realize I painted much more than I actually needed!
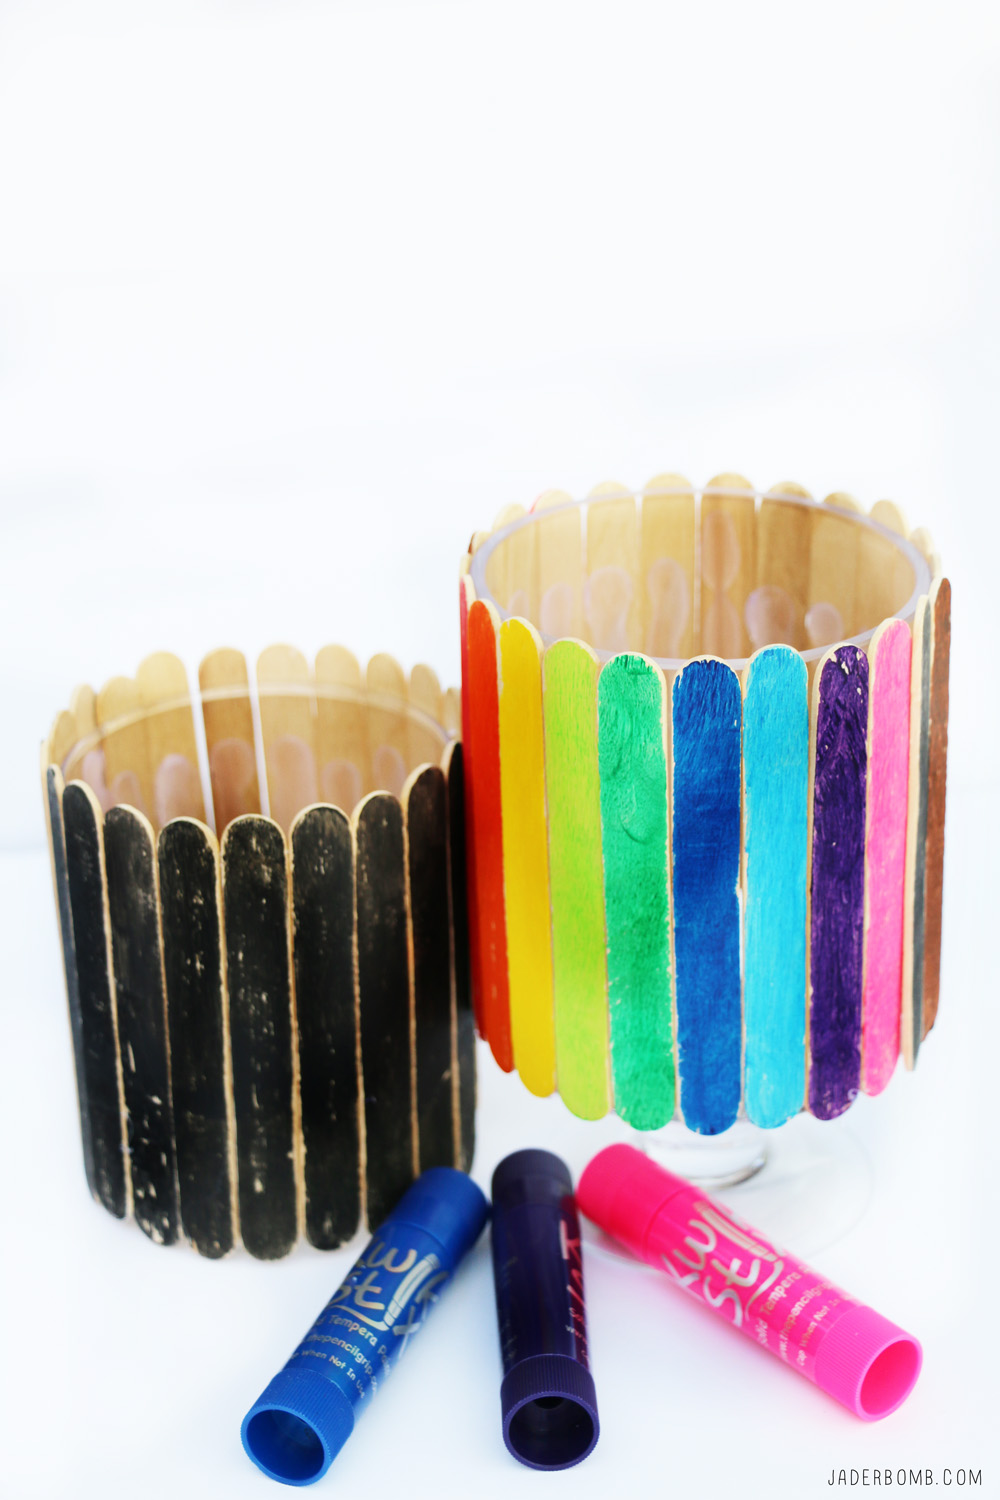
How beautiful are these picket fence candle holders!
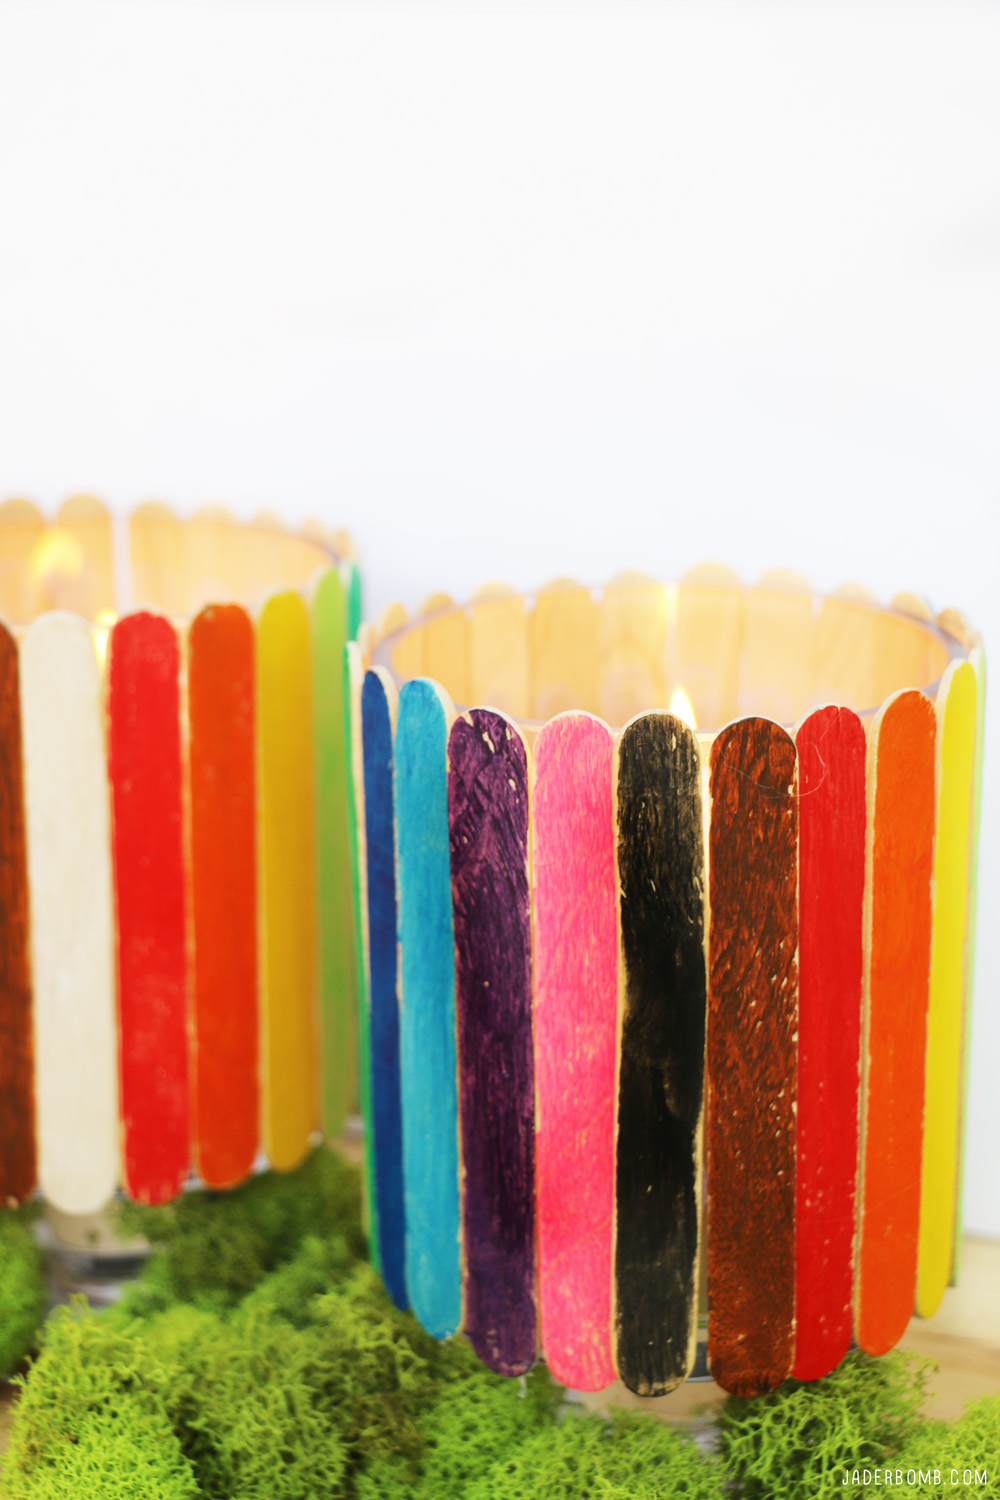
Just close your eyes and imagine yourself snuggled up on the couch watching your favorite movie with these just glowing away, pure happiness.
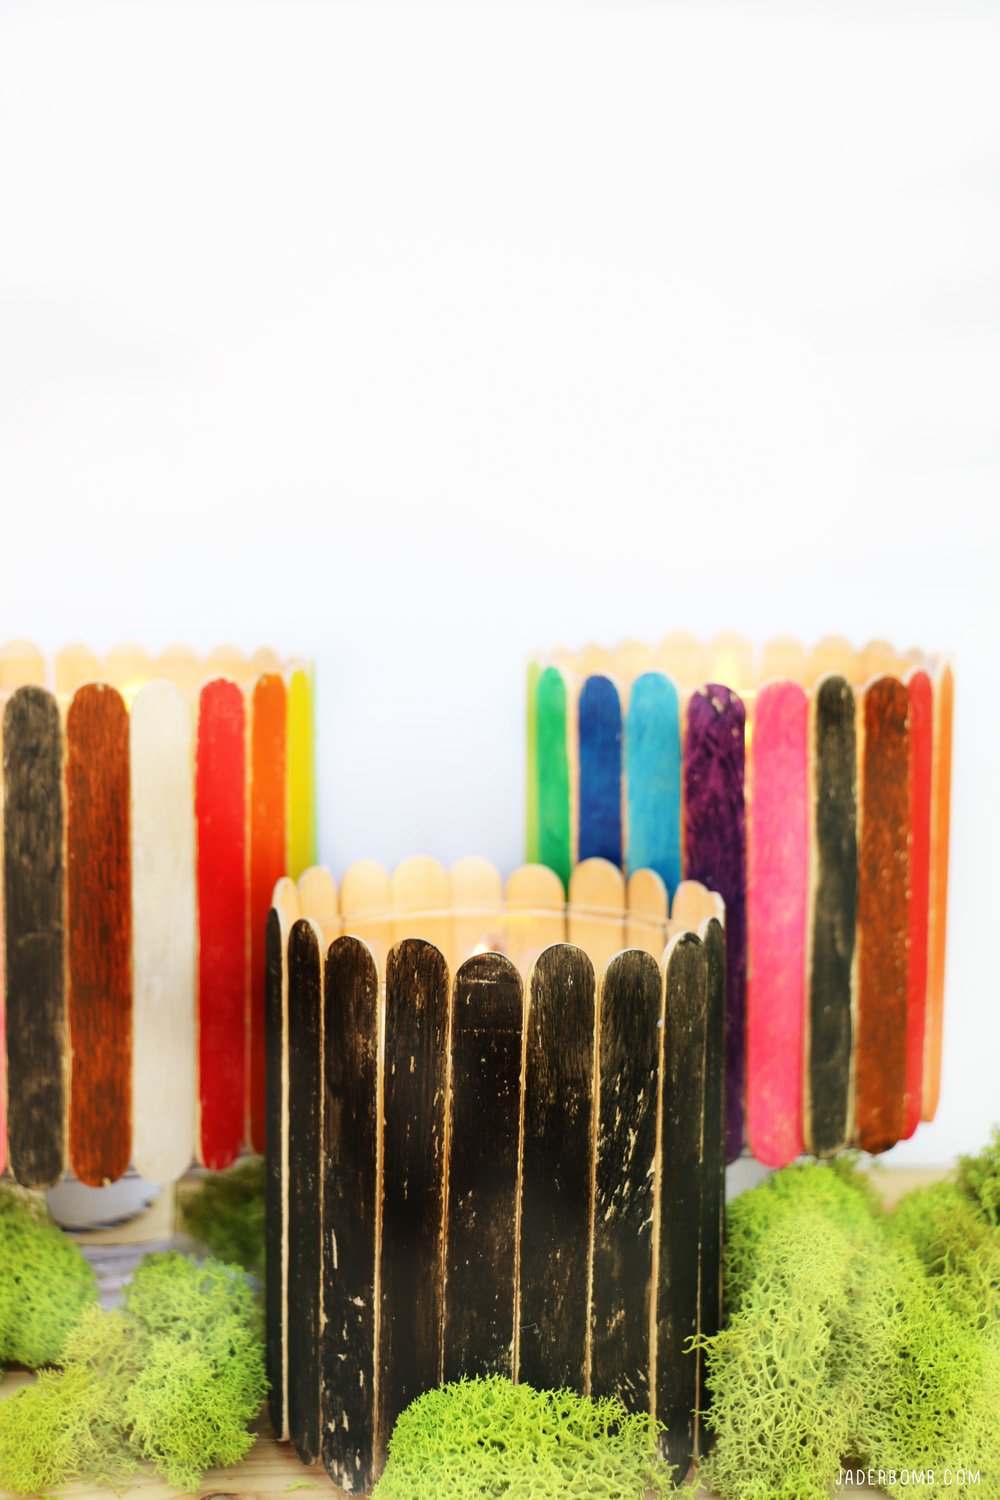
Fill these containers up with candy and treat your guests to a warm surprise.
You are welcome, I just made life amazing for you!
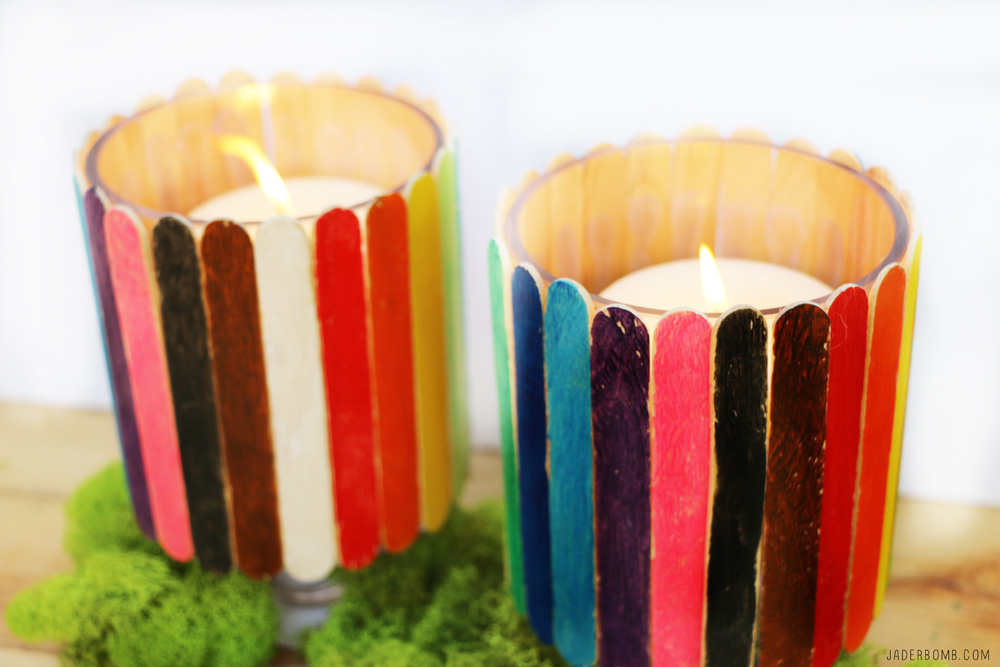
The ideas are endless with these tempera sticks! I can’t wait to try them on paper! 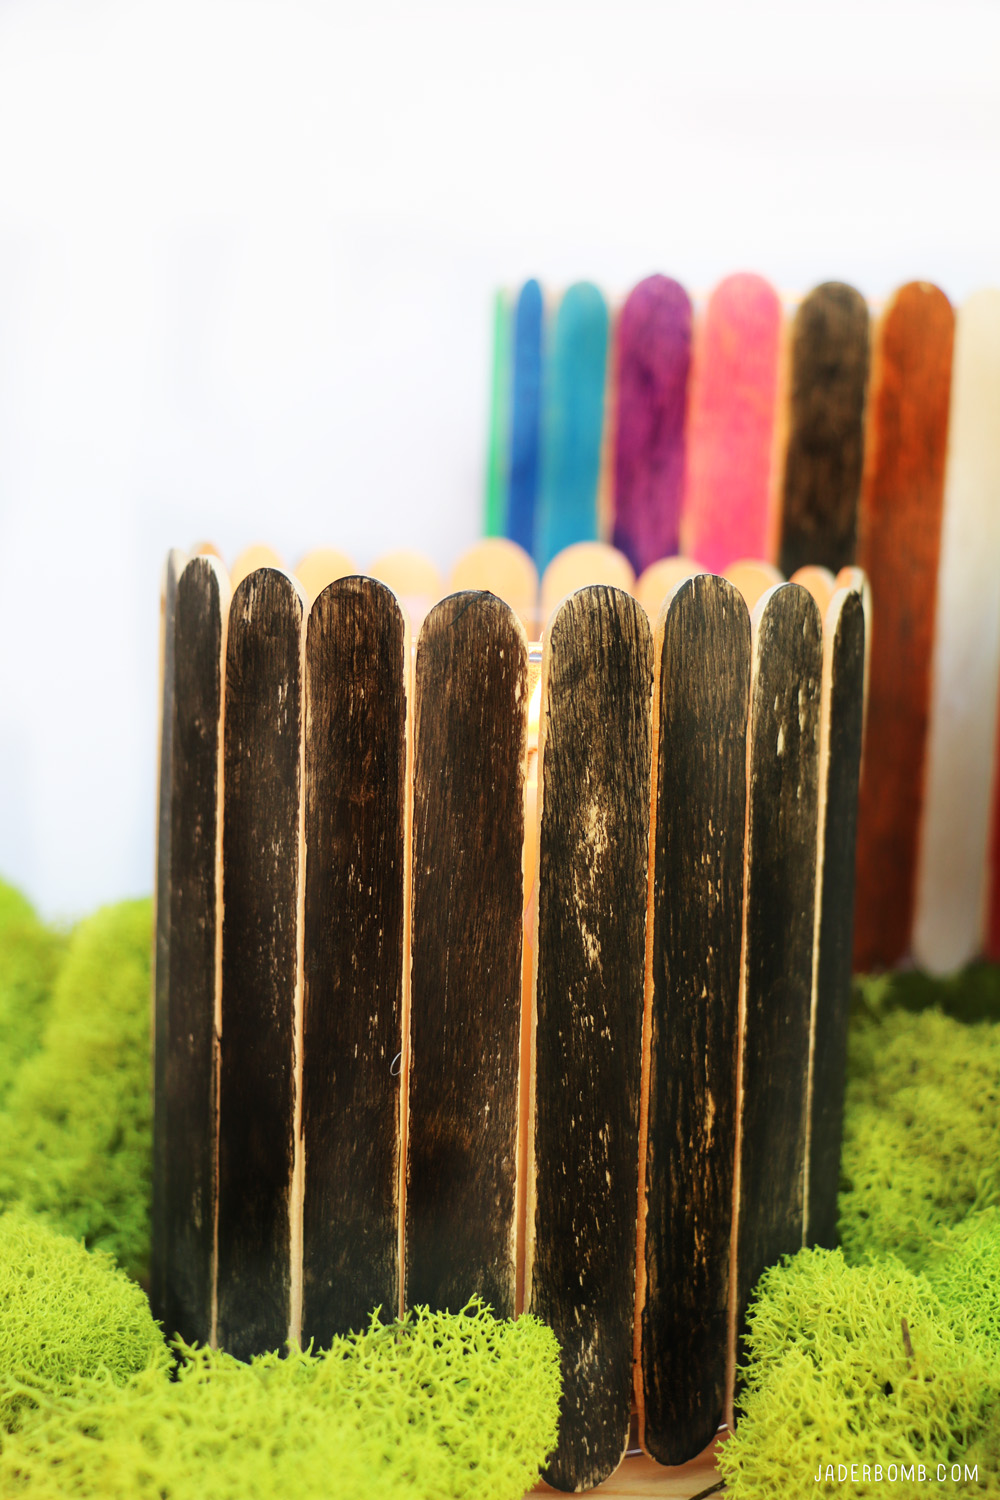
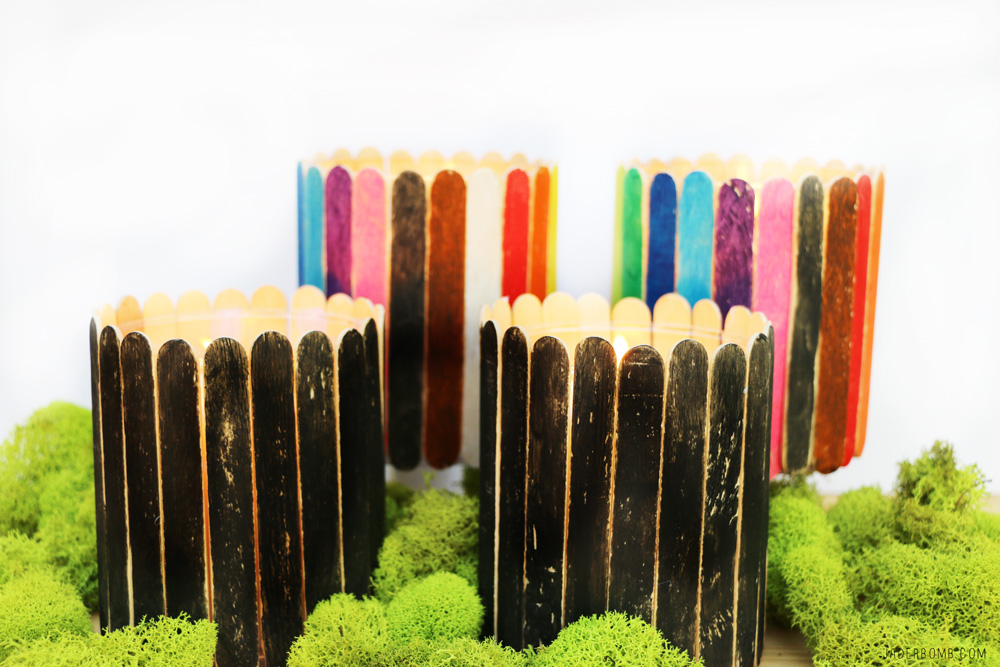
I feel like these belong on the set of a whimsical movie with lightning bugs flying around. Did I mention you could put these on your desk with pencils and pens in them. You can put so many different things in them just use your imagination. 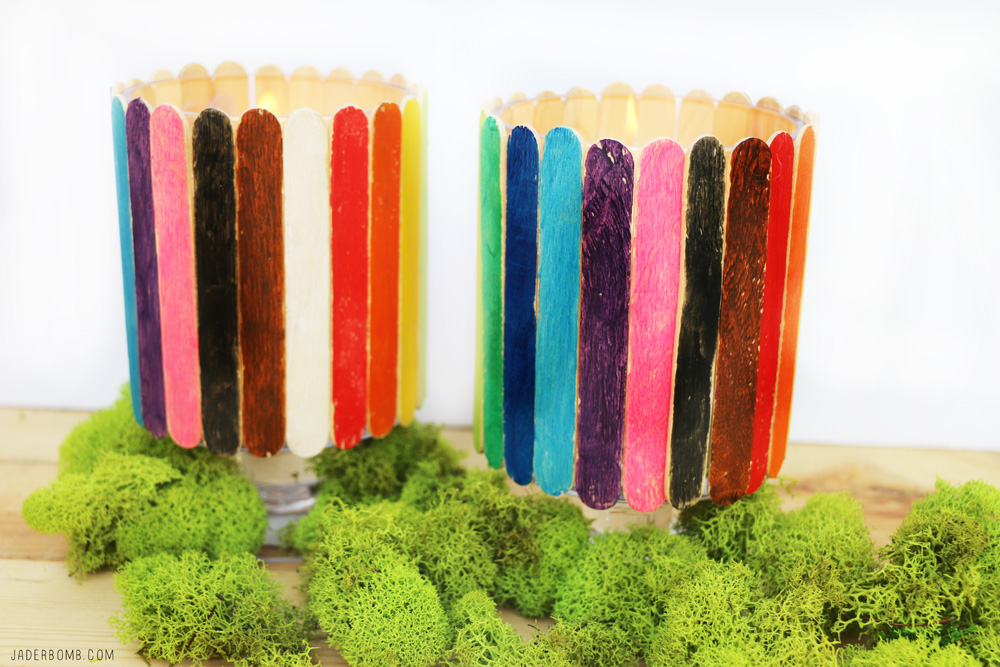
Check out all of the Kwik Stix colors. You can purchase from The Pencil Grip.
I hope you enjoyed this project as much as I did! See you in the next post, until then hugs from my computer to yours!
Don’t forget to follow me on all of my social media channels because I love all of you to pieces!!!!
FACEBOOK | INSTAGRAM | TWITTER | PINTEREST

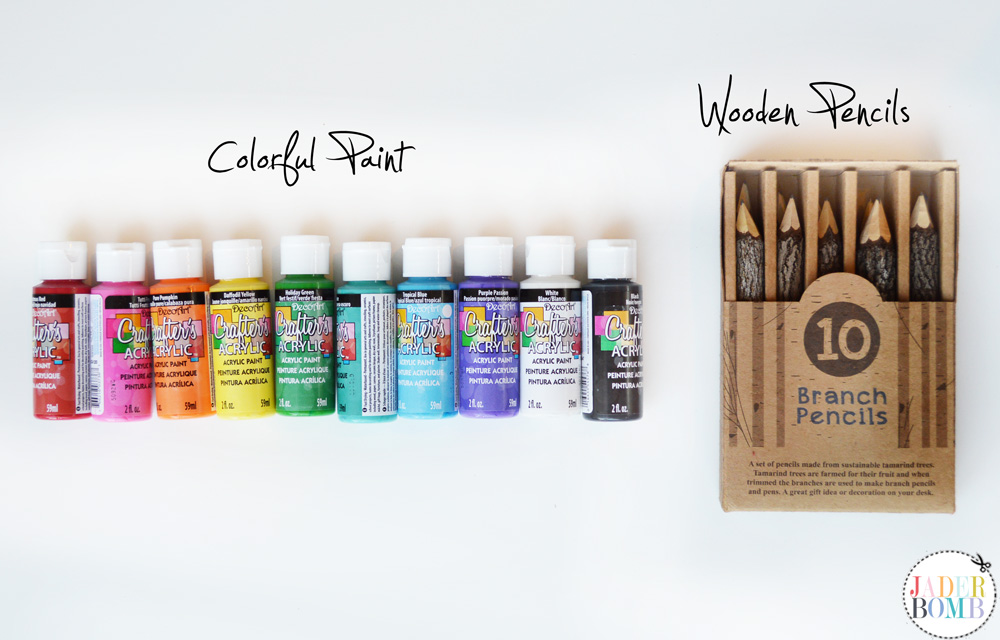
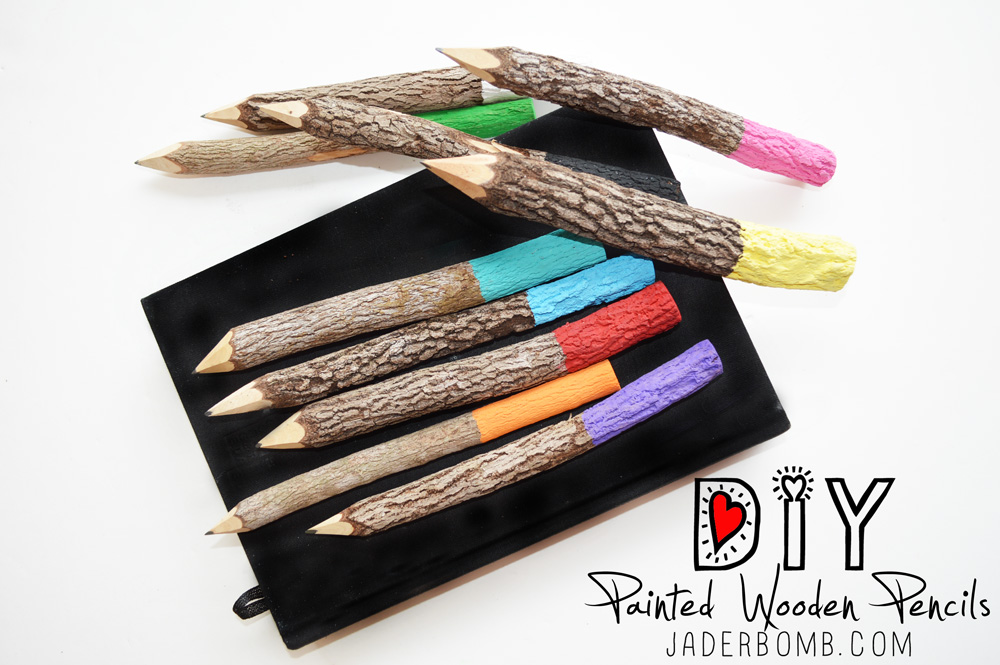 The things you will need for today’s project is a pack of


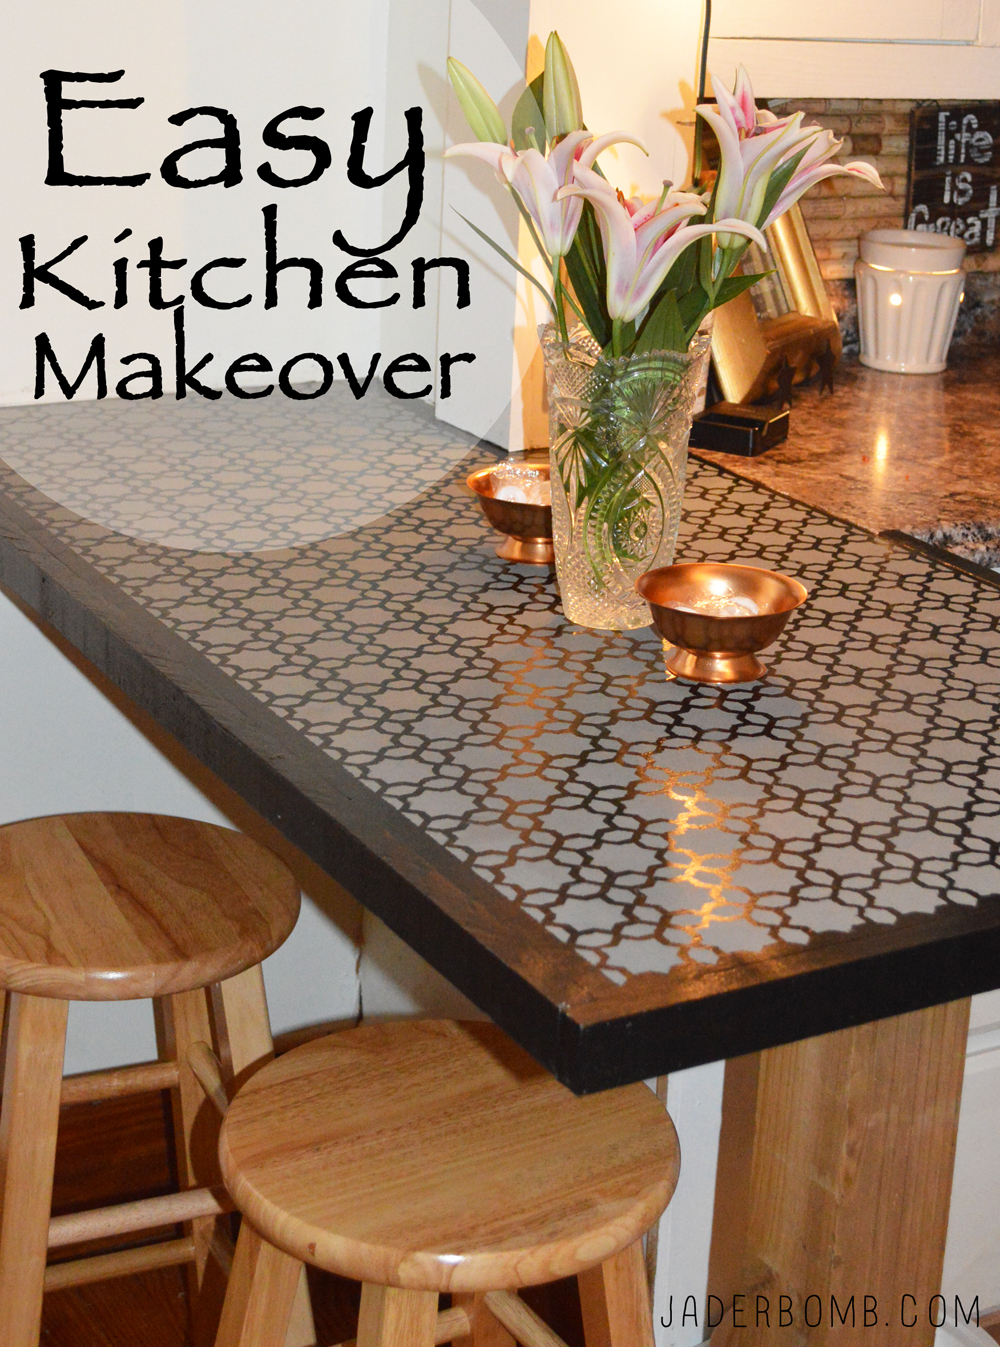
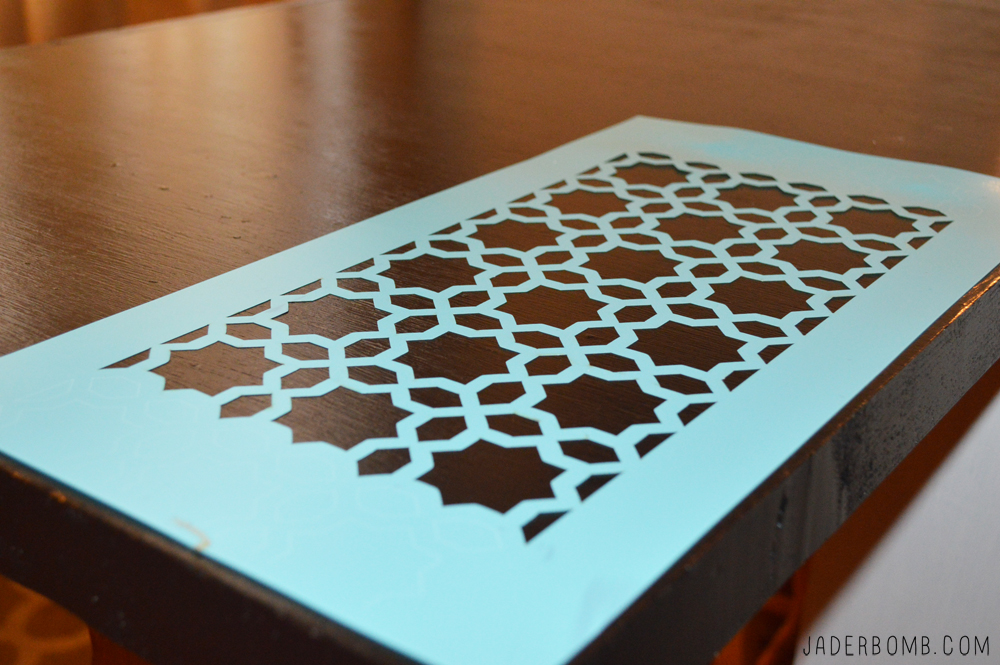 You will simply lay the stencil down on any surface, grab a sponge and lightly sponge on top of the stencil. I am very ocd so after every application I would wash the stencil and pat it dry. When you move onto the the next section just take one row and lay it on top of the last one you painted.
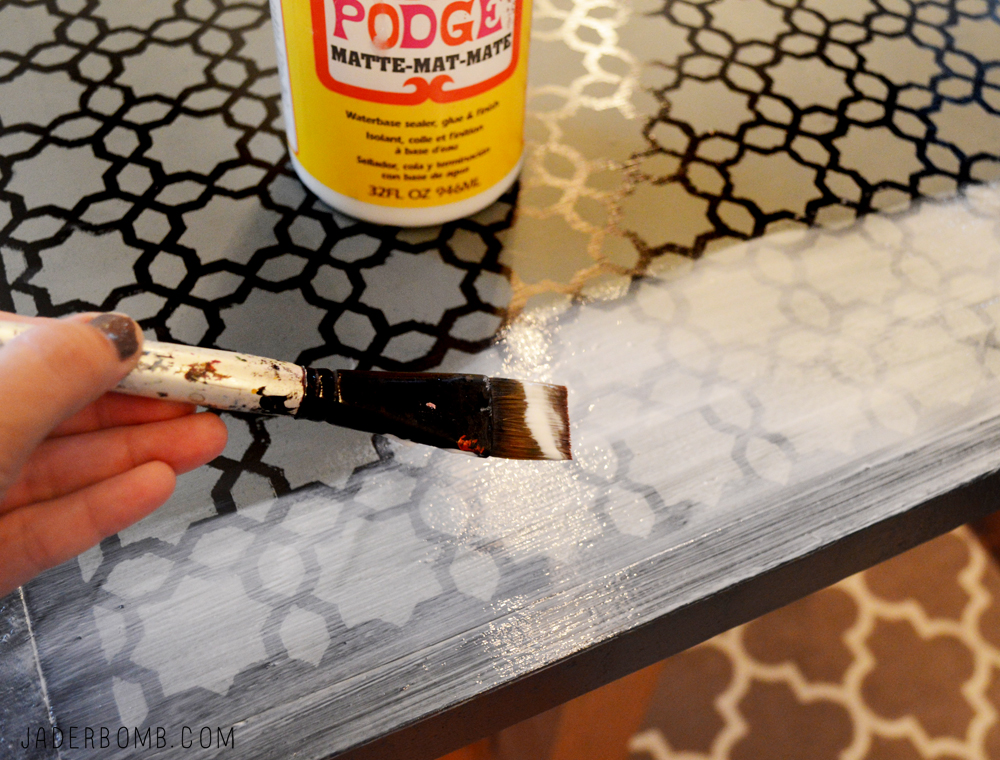
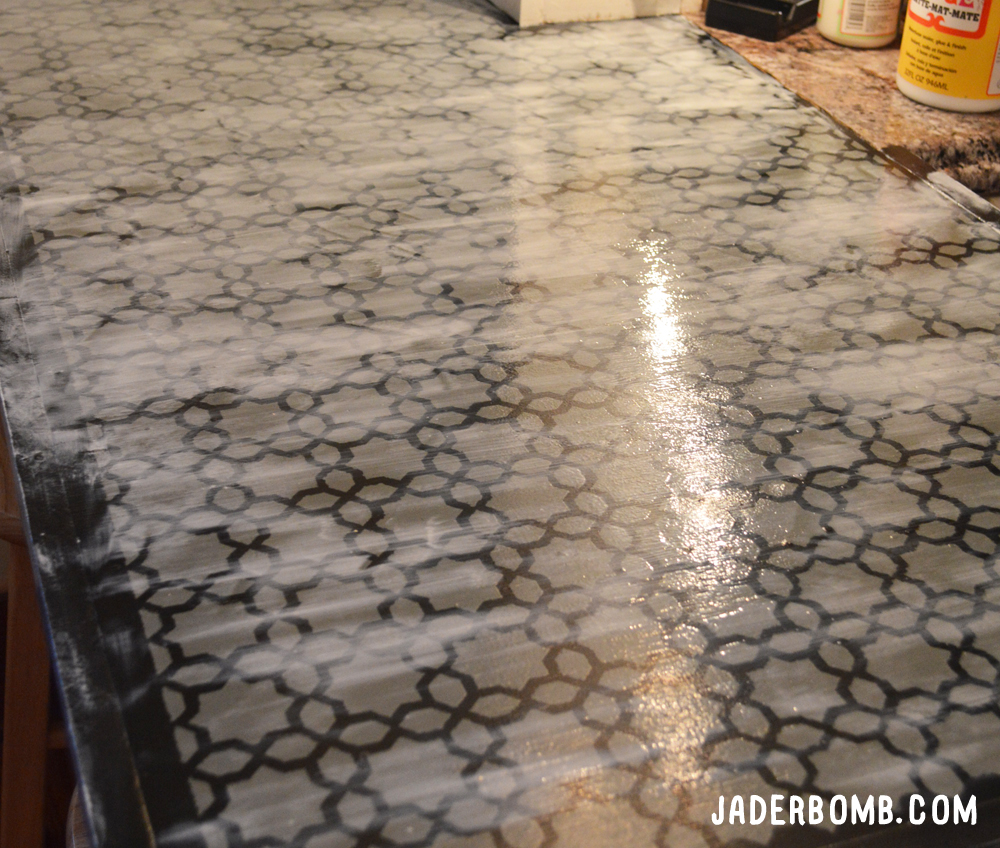
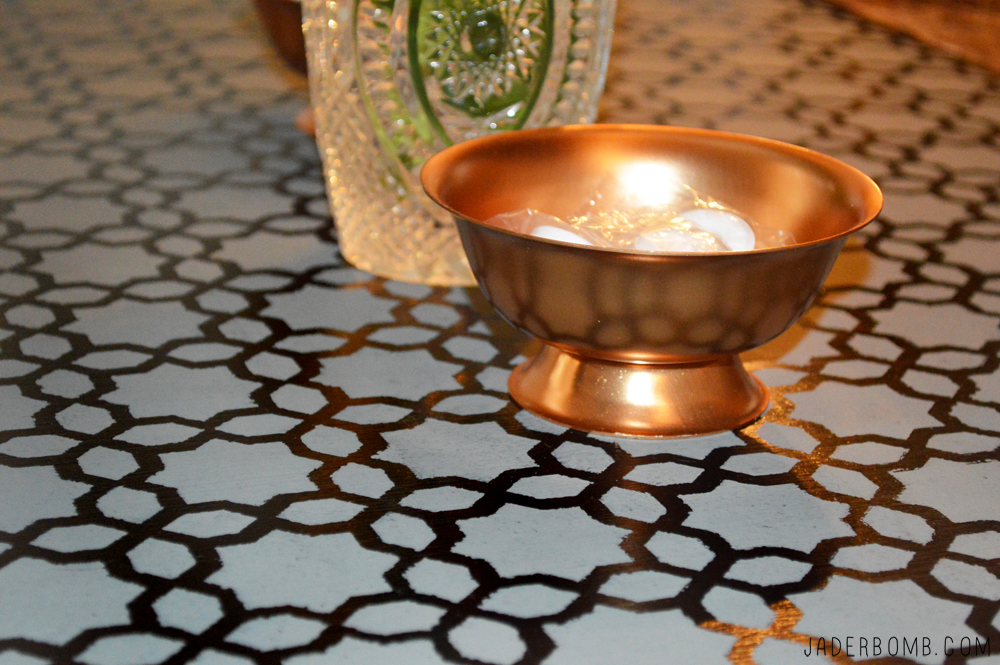
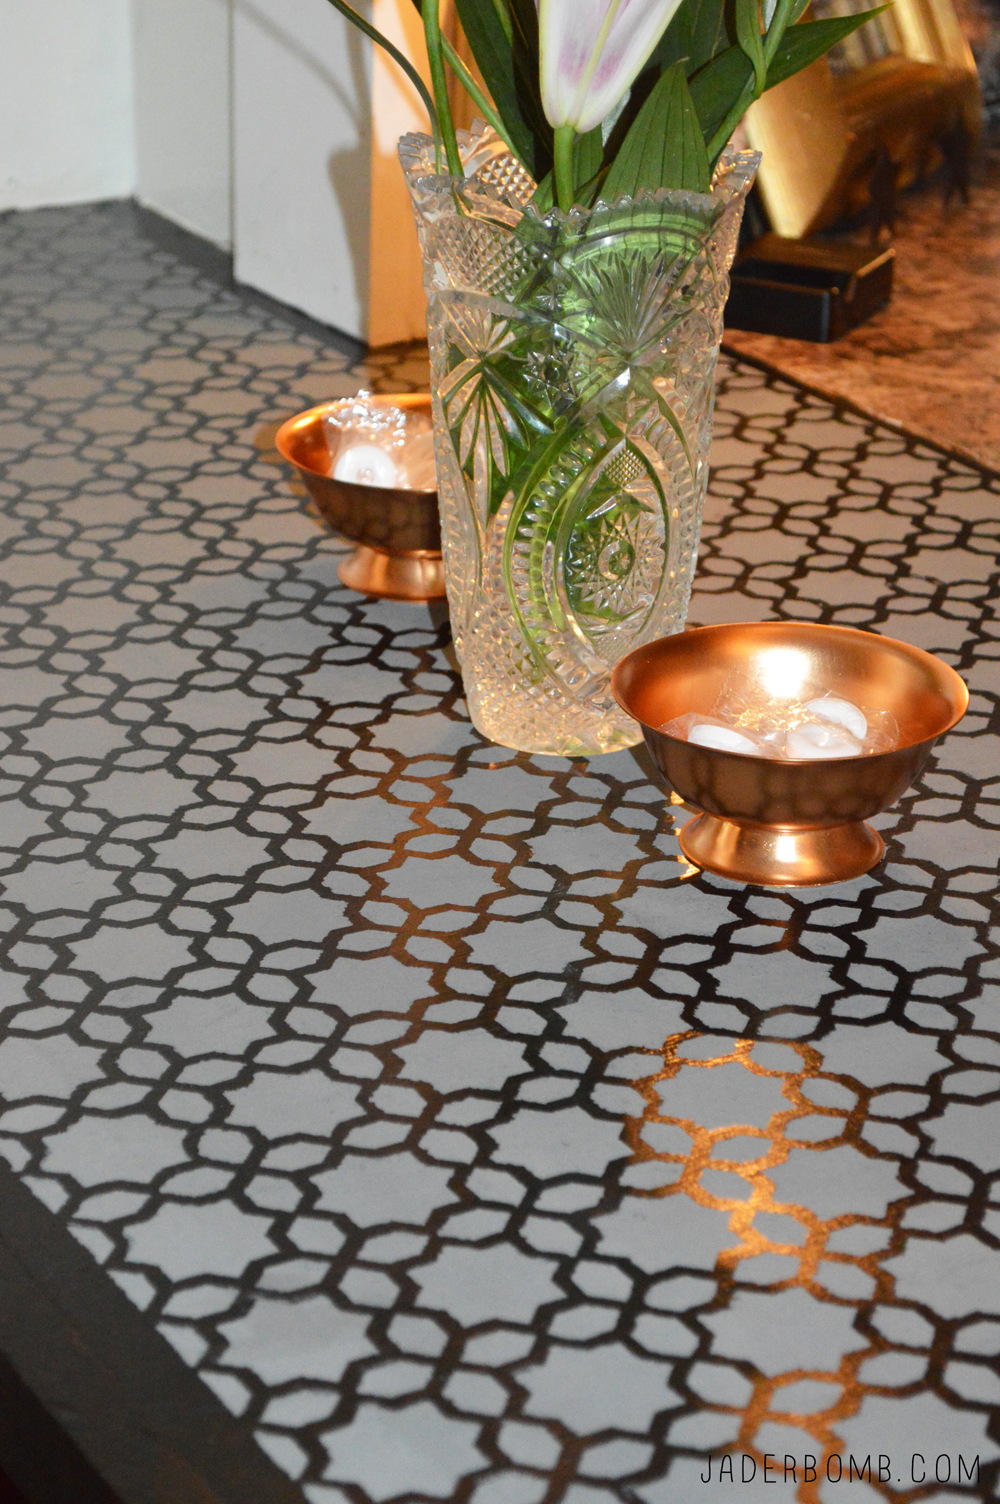
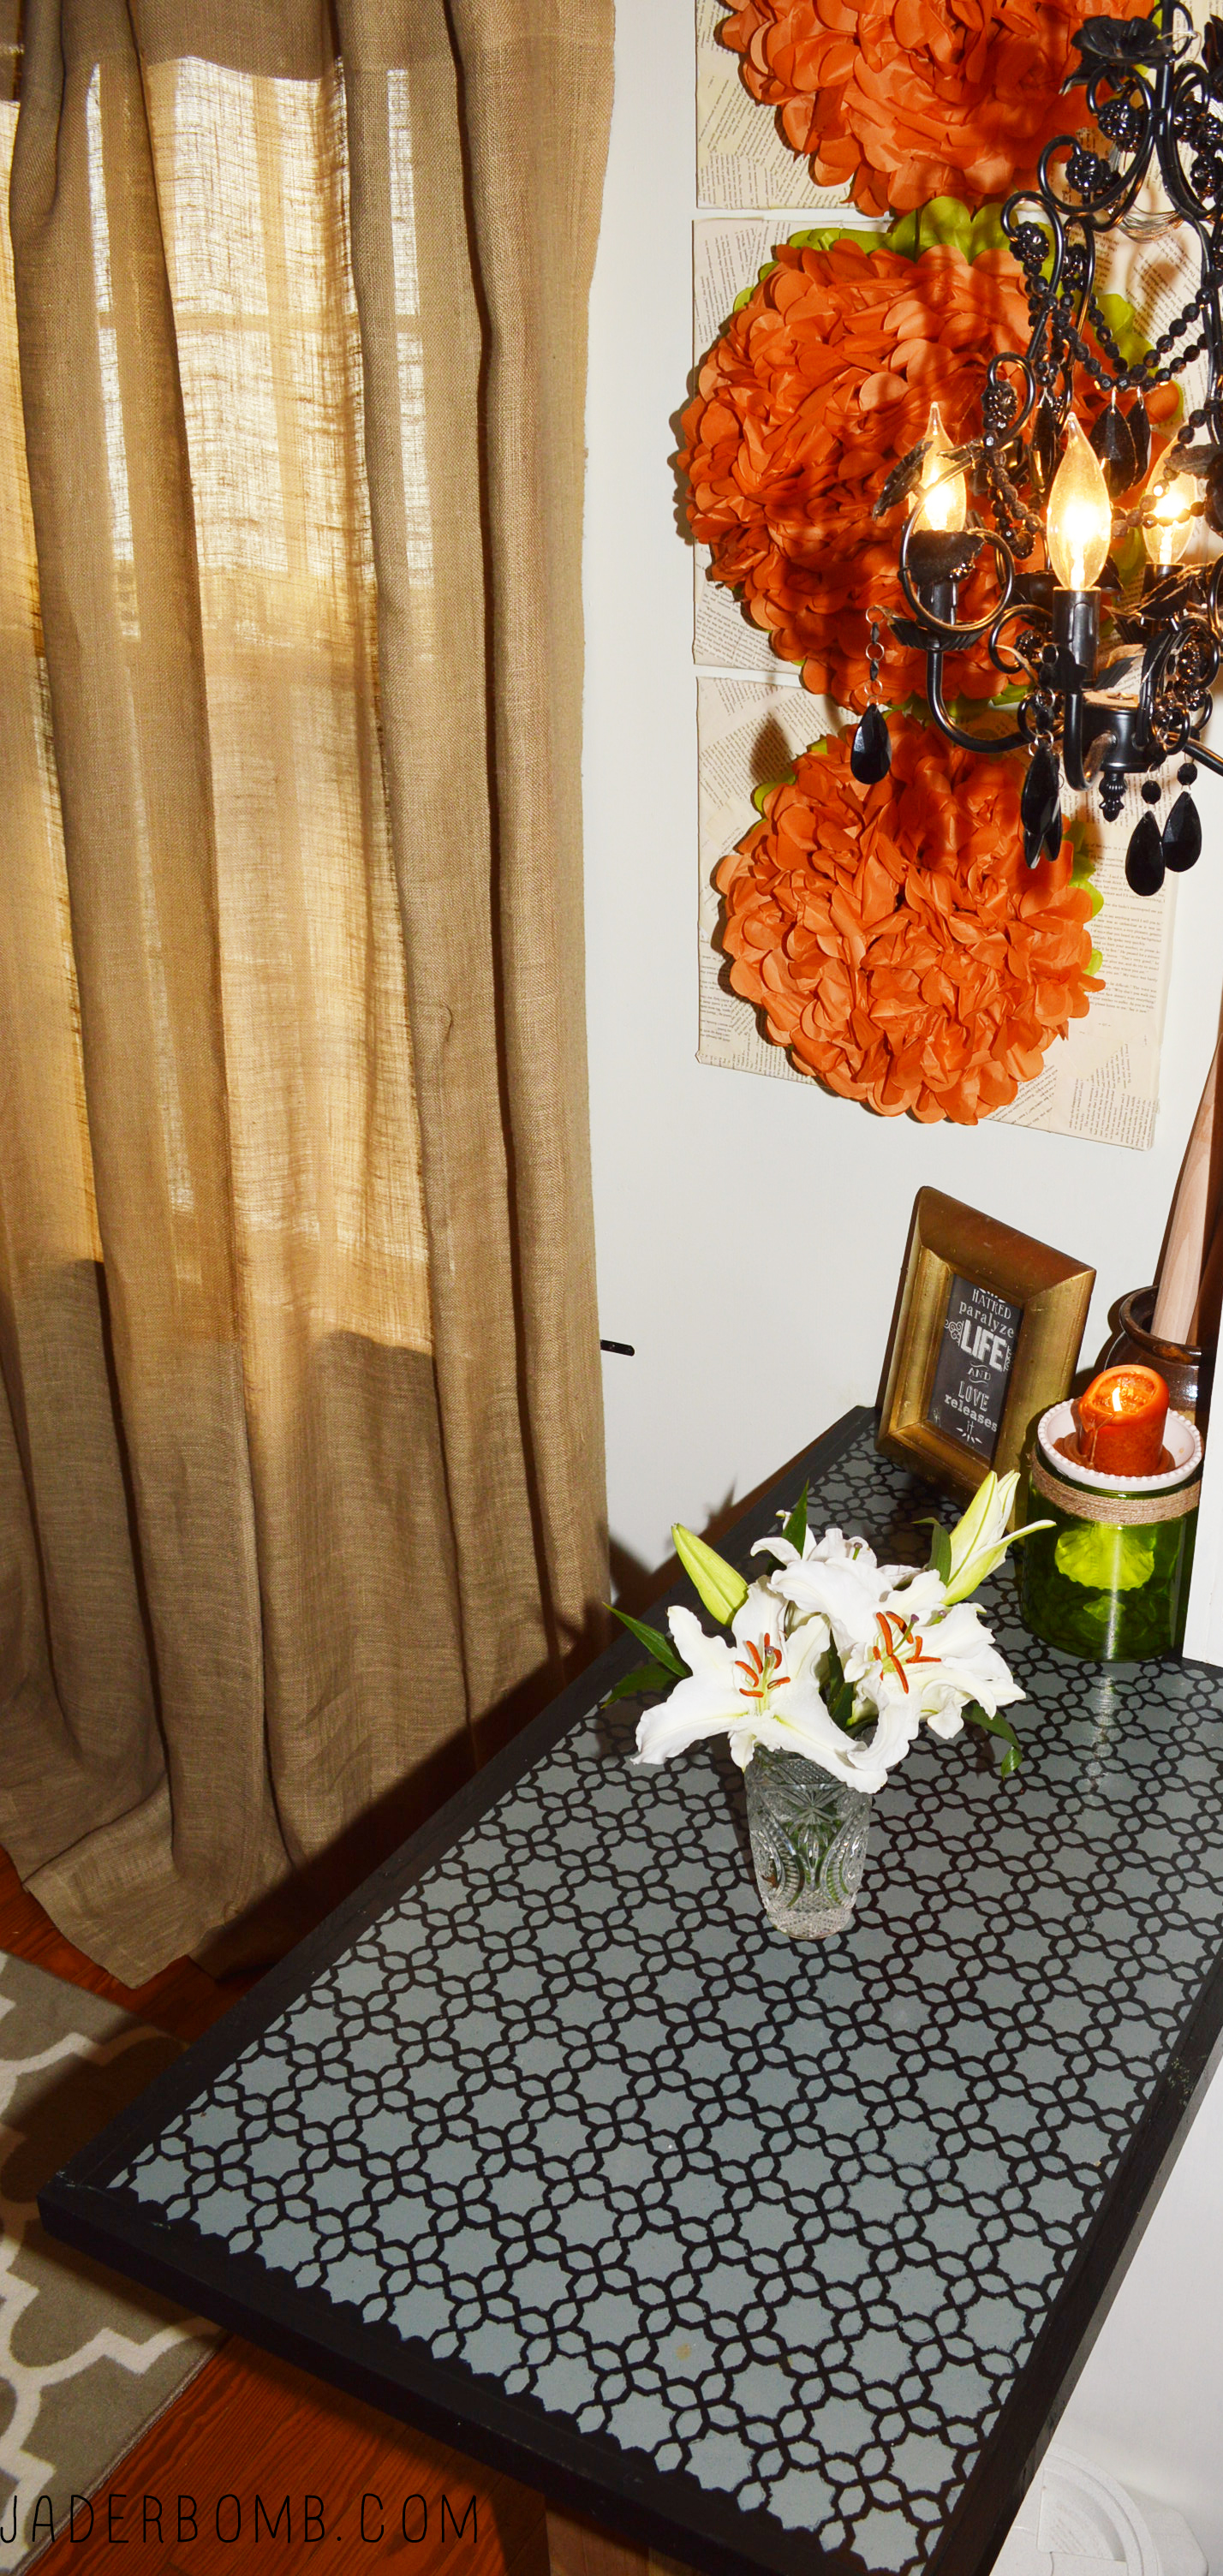 I am pretty sure you are gooing and gahhing looking at these pictures. I mean, this is something I am doing temporarily until I finish the kitchen. It does add pizazz to the space if I must say so myself.