Tag Archives: home decor

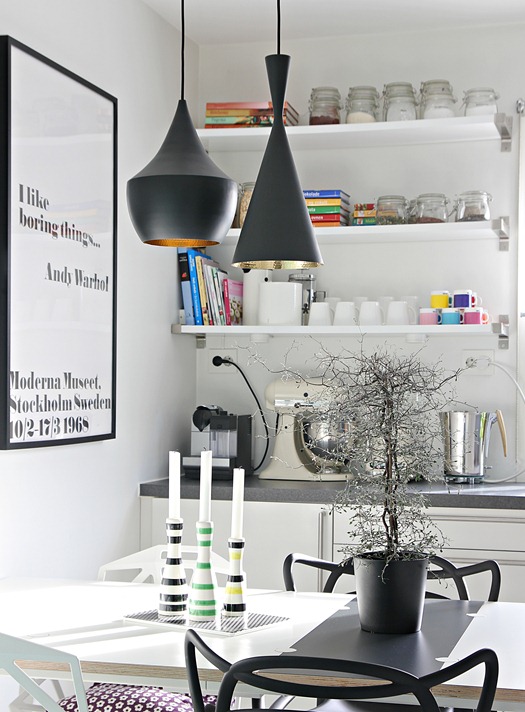
Enjoy this round up of Black and White Kitchens . Don’t worry if you feel like these pictures are unattainable because the fact is you can take one or two things from each picture and that will make your space feel completely different! I never look at a picture and try to replicate it because that would not represent me and my style! Make an inspiration board on pinterest and document small things you like about each room. You will always have that to go back to. Make sure to follow my black and white board or follow all of my amazing boards!

Lately I have been loosing my mind and making everyone around me crazy. If you know me then you KNOW how much I love color. I am a bright & eclectic person and my house typically reflects that. Until a few months ago. I got really tired of seeing color. Maybe it’s because my new studio space is filled with loads of color and I practically live in there. So slowly I have been transforming every room in our house to black & white. It’s clean and crisp and I can still add pops of color here and there without having to paint a wall. You know how they say your taste buds change every 7 years, well maybe mine are changing. Yes I am referring to taste as in style! We are also doing lot’s of renovations in our home so stay tuned!
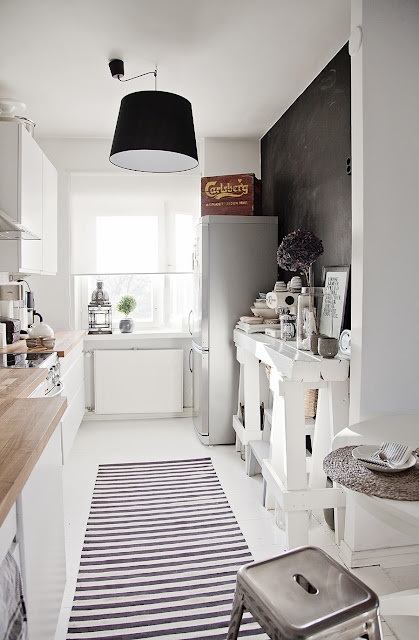
Black and White Kitchens

Bright and Clean Space
Source | Mrs. Jones
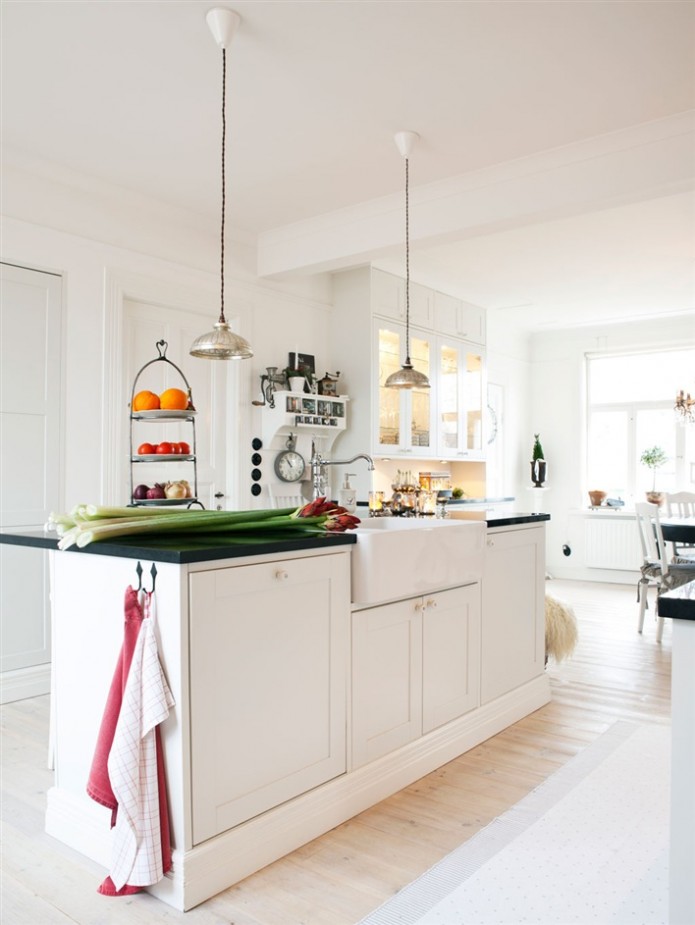
black and white kitchens

Nice Open Floor Plan | Great for Entertaining
Source | Damask & Dentelle
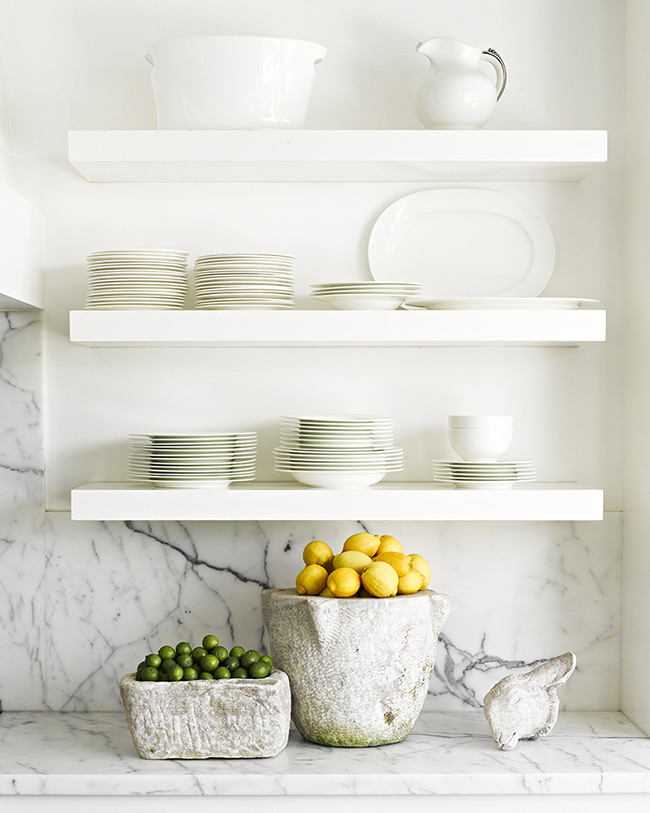
black and white kitchens 1

Shelves v/s Cabinets
Source | Jeffery Alan Marks 
black and white kitchen

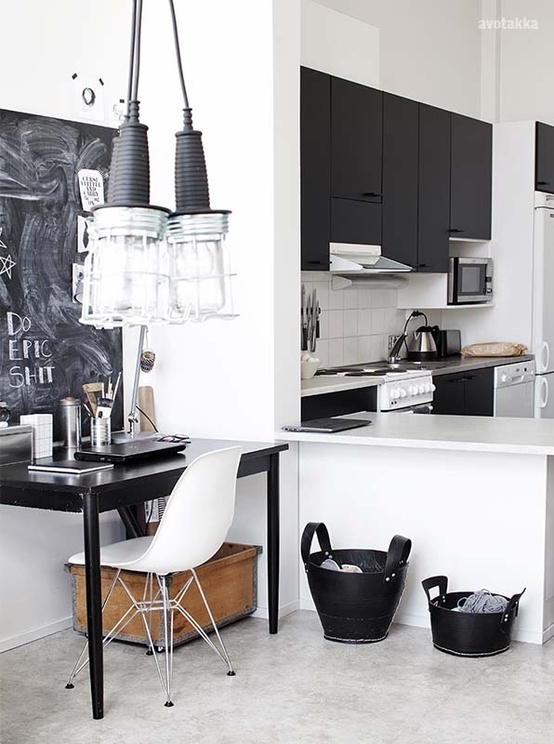
Modern and Simple
Source | Avotakka 

Black & White Kitchens

Black and White with a POP of Color
Source | Nordic Leaves

Huge glittery hugs—See you in the next post! Visit me on FacebookTwitter,Pinterest, or Instagram!
ending

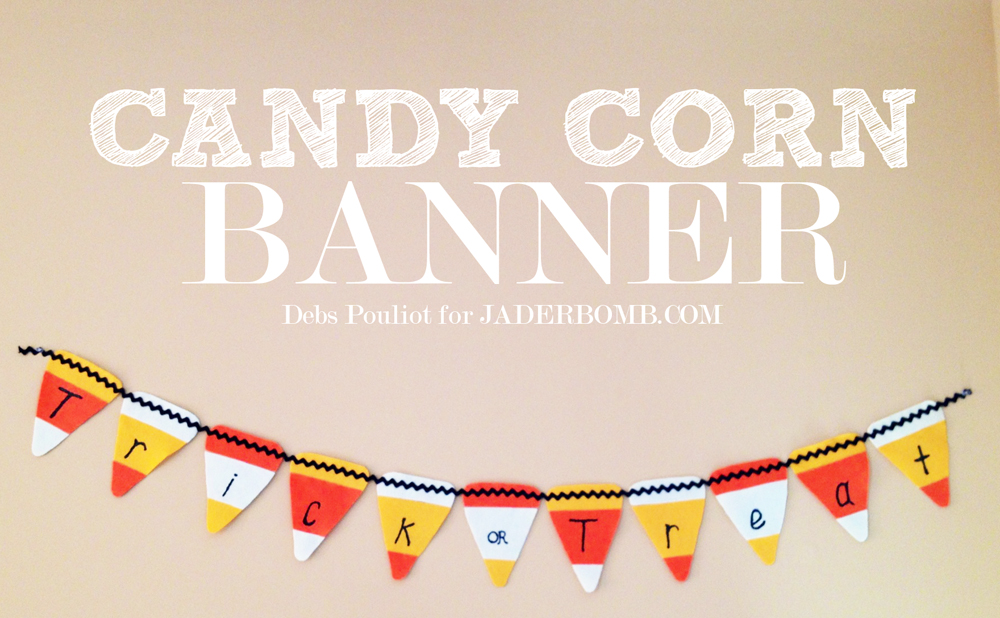
Happy Sunday Y’all! I took a break today and my friend Deb’s will show you how she made her “Candy Corn Banner”. It’s super cute and I know you will just swoon over it. I am super excited today because Martha Stewart featured my candy corn lamp on her website.

Candy Corn Banner

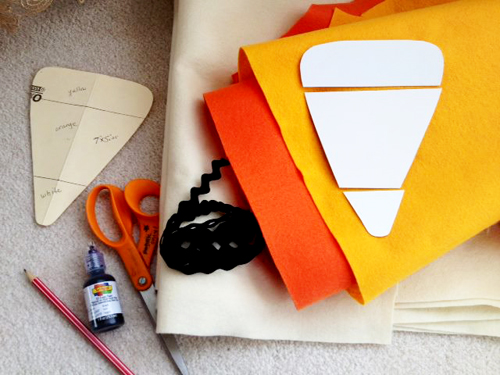
you will need

1/4 yd of yellow felt
1/4 yd of orange felt
1/4 yd of white or off white felt (I used off white)
2 yds black medium ric rac or other ribbon
1 small bottle of black dimensional fabric paint
Fabric scissors and paper scissors
2 pieces of cardboard (can use a cereal box or manilla folder)
Pen or marker tape
Candy Corn Template Candy Corn Template


CANDY CORN SUPPLIES

  1. Print the candy corn template to be about 7″x5.25″
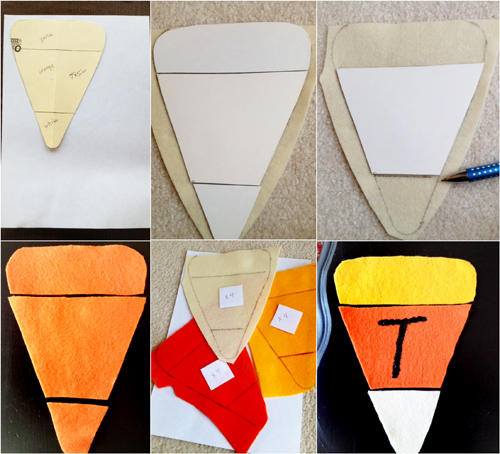
  2. Trace and cut out two candy corn shapes on cardboard (cardboard is sturdier to draw around over the felt). Leave one template whole and cut the other into thirds as shown in the pic.
  3. Trace around cut templates on felt until you have four felt candy corns in each color for a total of twelve (Even though my banner was only 11 pieces I used an extra candy corn to write “or” on).
  4. Lay out the shapes alternating colors as shown to form the candy corns.
  5. Use tape to attach candy corns together from the back (you can also sew them together with a zigzag stitch).]
  6. Glue or sew on the ric rac along the tops, connecting them all side by side to create the banner.
  7. Write T-r-i-c-k- or T-r-e-a-t with the dimensional paint, let dry and then display on wall or in doorway.
  8. Note: you can also make these from card stock or if you want to display your banner outdoors, you can use vinyl/waterproof fabric.

DIY CANDY CORN BANNER FALL

I got the felt from Joann’s. It was reg $4.99 per yd on sale for 40% off and I only purchased 1/4 yd of each colour (felt squares may cost a bit more). Since I already had the dimensional paint and tape, the entire project cost less than $5! I hope you enjoyed my craft! You never know, you might see more of me on here! XOXO, DEBS

Check out these Fall and Halloween tutorials.


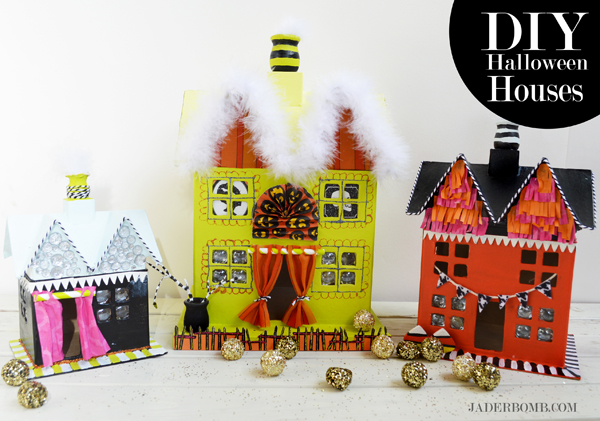
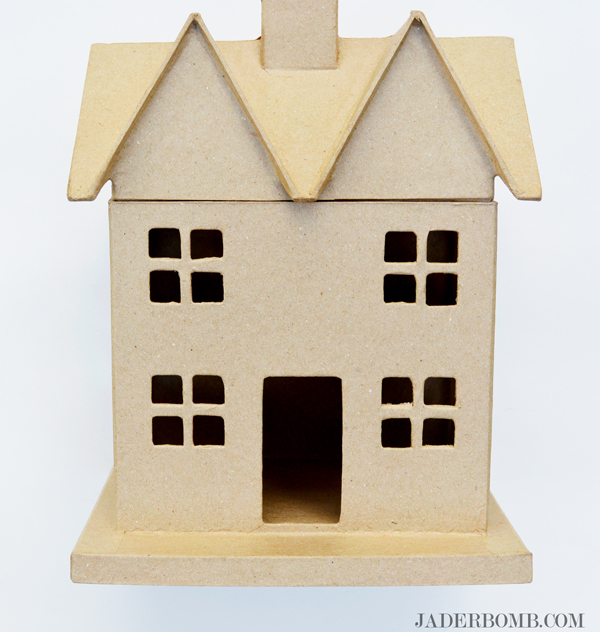
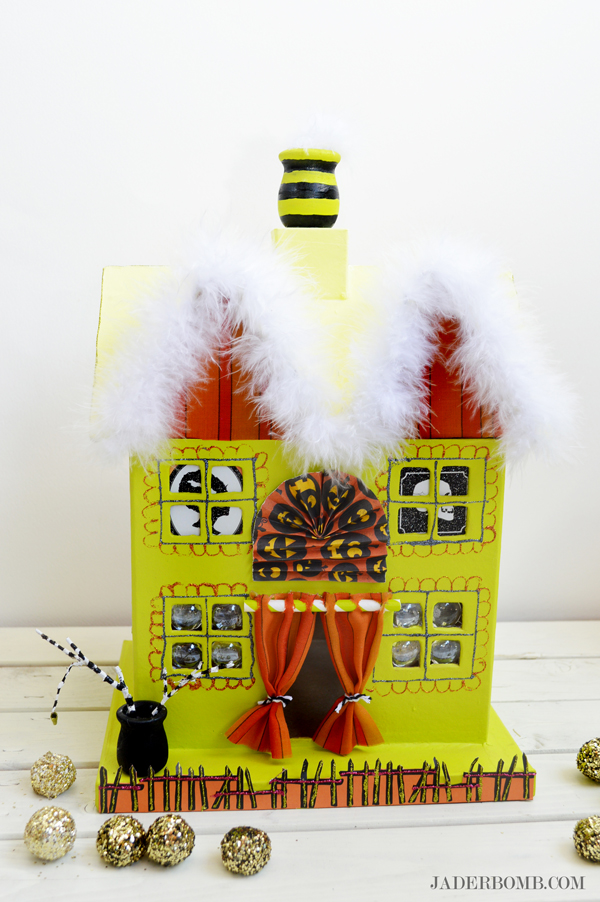
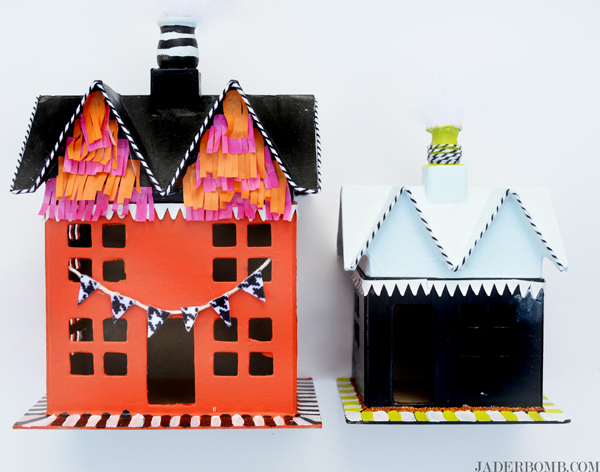
Today is a perfect example of my motto “Why buy when you can DIY”. It’a almost Halloween and I always dress up my house and studio with DIY Halloween Houses. I love today’s craft because you can keep it when the holiday is over or toss them to avoid clutter. I know you are prolly thinking I am crazy for saying I would toss them but I am pretty over the top like that. It’s one of those things that I wouldn’t want to stuff in the attic. After all it’s not like it’s a Glitterville collectible.  With that said, you can purchase these cardboard houses from Hobby Lobby and they are really inexpensive. I think the large house was around $5 and the other two were $2 and $3 dollars. I hope you enjoy them!

P.S. Check out today’s FREE Fall printable on Free Pretty Printables.

decorated cardboard boxes for halloween

diycardboardhouses

You can purchase these from Hobby Lobby!paintcardboardhouse

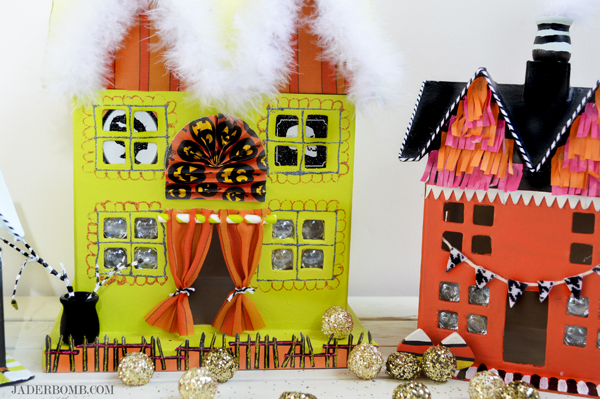
I started by painting the houses with acrylic paint. I lined the roof with baker’s twine and added tissue paper to the front of house. diy halloween house

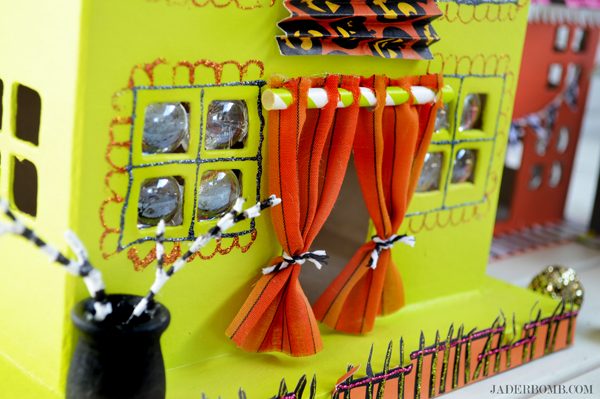
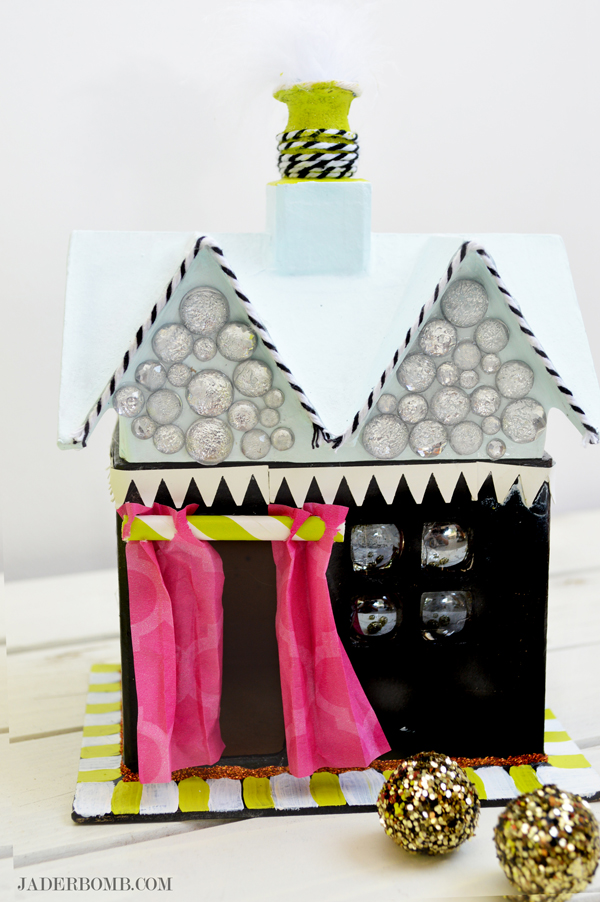
I used glass beads for the windows. For the curtain I used a paper straw and a piece of tissue paper. I let my godchild help me and I am so happy I did. It’s a fun craft that any kid can do and trust me it will keep them busy! halloweenroof

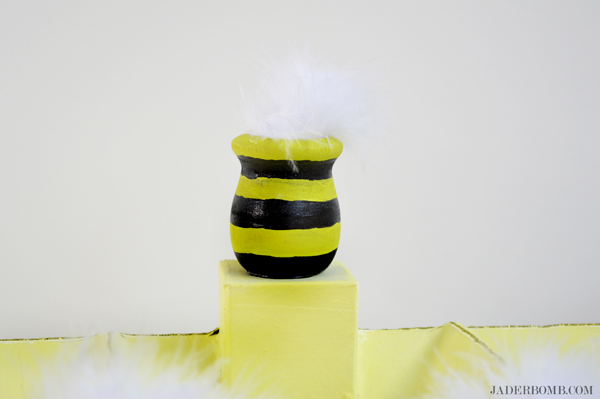
For the roof I used a little wooden planter and stuffed it with a fluffy boa! You can get these from the craft store also. I say use any fun goodies you have at home and be creative. After all that is where the fun comes in. how to decorate cardboard house

For the fence I cut a strip of Martha Stewart craft paper then added glitter to it. Just have fun with your house! halloween diy houses easy halloween diy houses

I hope you enjoyed these and you create your own magical houses for the holidays. See you in the next post!

Huge glittery hugs—See you in the next post! Visit me on FacebookTwitter,Pinterest, or Instagram!
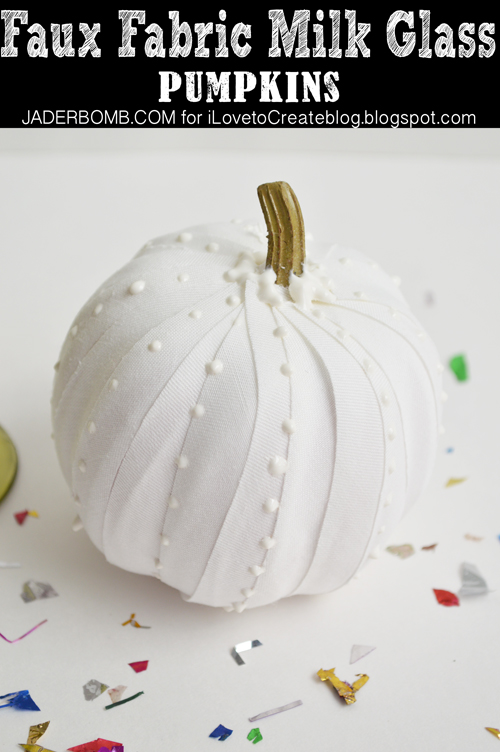
I am not quite sure what I love more white pumpkins, fake pumpkins or a good ole milk glass pumpkin. If you have never heard of a fake milk glass pumpkin then you are in for a real treat. I created some today and they are on the I Love to Create blog. It’s sorta like a “white Fall” instead of a “white Christmas”.

Let’s be real ok. I try my best to think logically when I craft. In other words I think about YOU then ME. 

I know me and Martha are pretty much best friends and all but I am NOT her. With that said I can’t afford to buy 27 real pumpkins and embellish each and every one of them. I have to eat ya know. Which is why I craft with FAKE ones. The kind that you can decorate, store in a huge tupperware then take them out the next year to use all over again. Please tell me I am not the only one who does this. What’s funny is I went in my attic today to look for things I made last year and I couldn’t seem to find anything.

Maybe last year when I was about to put them up I realized it was more work to take down the ladder, walk up the stairs and store them nicely so I just threw them all away. I tend to do cray-cray stuff like that anyways. I will more than likely find what I was looking for when I take down Christams decor.

Milk Glass Pumpkin

All Photos by Jade Harrington / Jaderbomb

Wanna see everything I have created for the I Love to Create blog? Check it out here!

I hope you enjoy this tutorial. Big huge glittery hugs from my fake pumpkins to yours!

Visit me on FacebookTwitter,Pinterest, or Instagram!
jaderbomb love


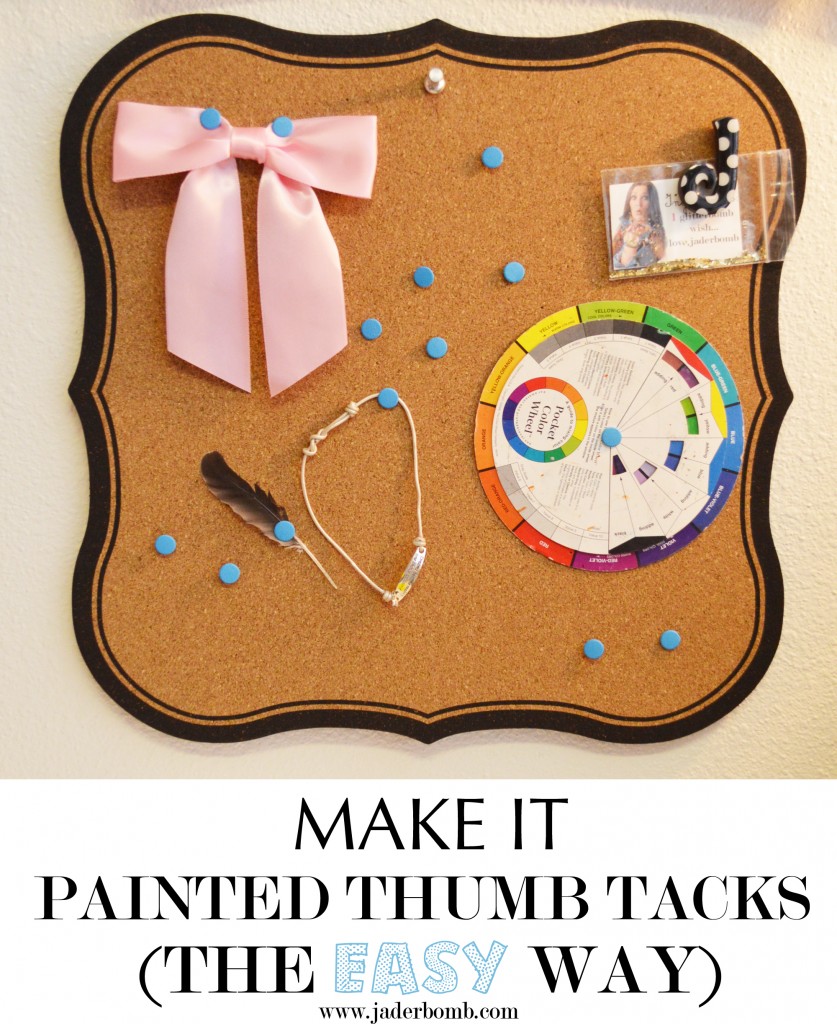
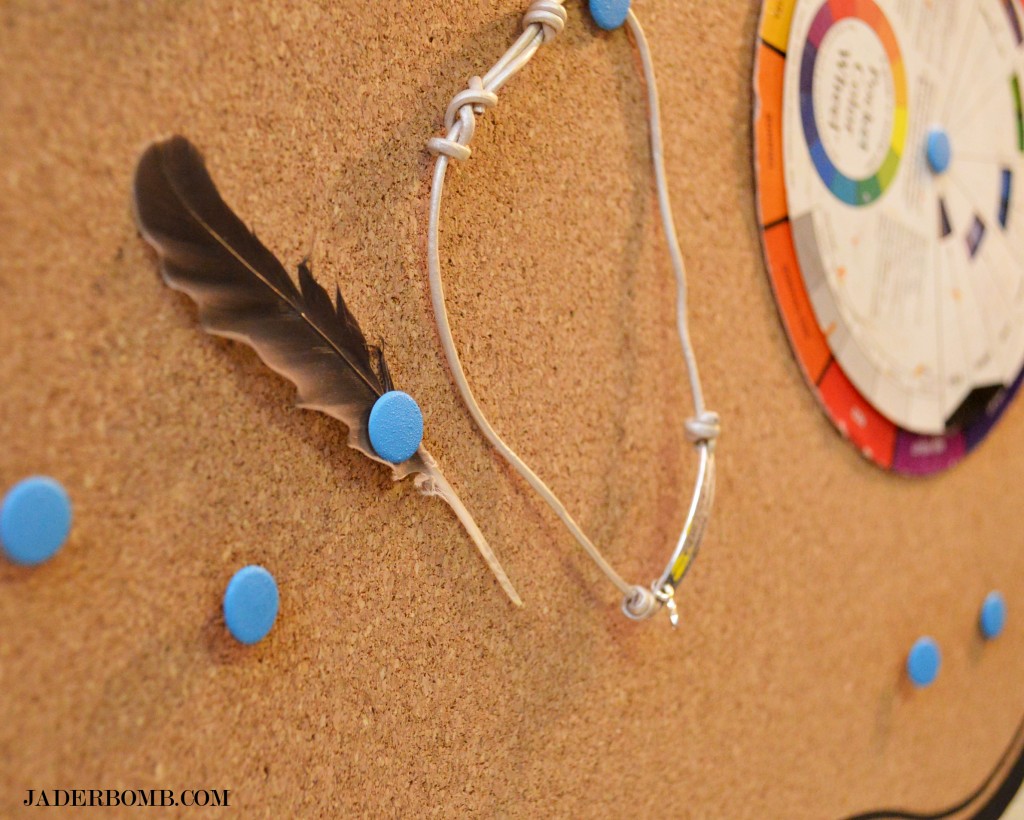
Who wants boring white thumb tacks on a fun bulletin board like this? I know I don’t!

Which is why I made painted thumb tacks. Let’s be real, white thumb tacks cost .99 and colored ones in the store cost 3.99.

I simply love this  because I can change the tacks for holidays, special events or to match a room. I always have multiple bulletin boards in different spots in my house and trust me they are filled up. I use them for inspiration and daily reminders of who I am, what I love and things that always make me smile. For example yesterday was the Wifey’s birthday and she got this awesome card that is now on my board. Yep I stole it. It was a shark sitting in a recliner watching him on television. The quote said, ” It’s ME week”. You get it? SHARK WEEK!

Everyone knows I love shark week and Wifey’s birthday.

Like this board? You can get it here.

 PAINTED THUMB TACKS

spray-paint-thumbtacks

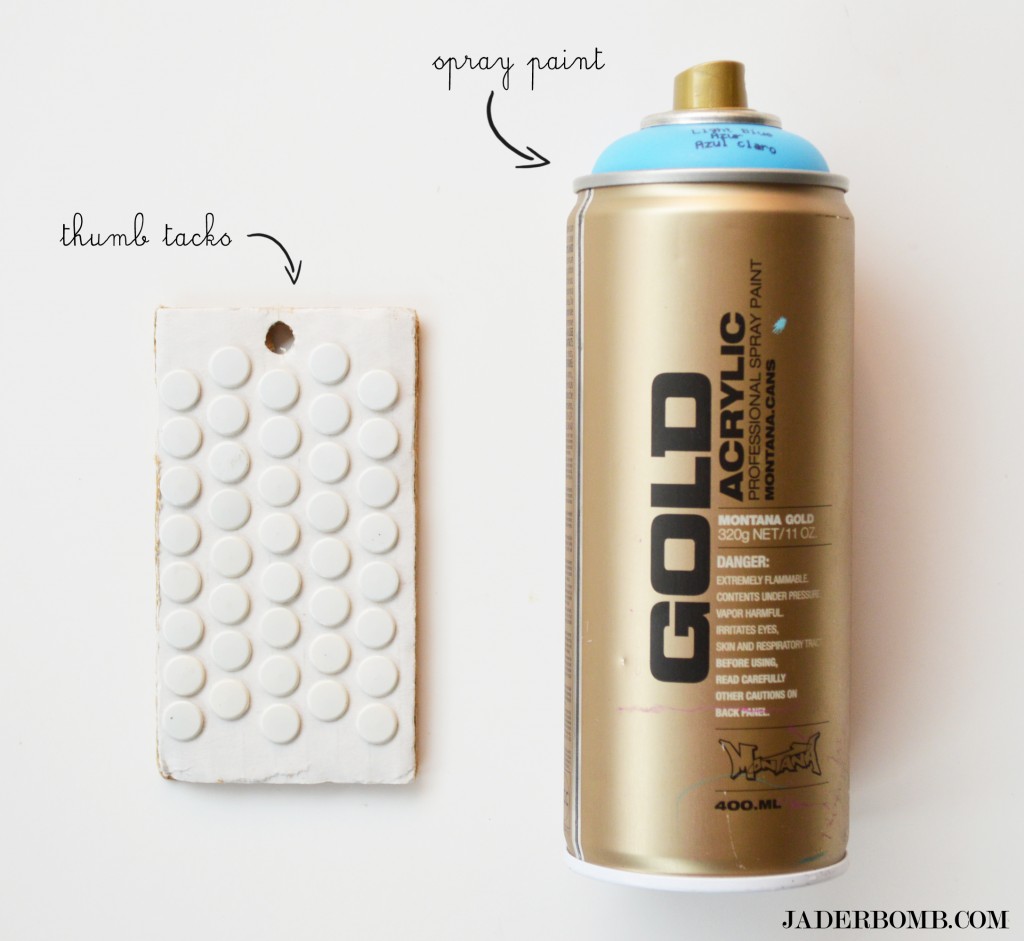
YOUWILLNEED

*SPRAY PAINT
*THUMB TACKS

steps-to-painting-thumbtacks

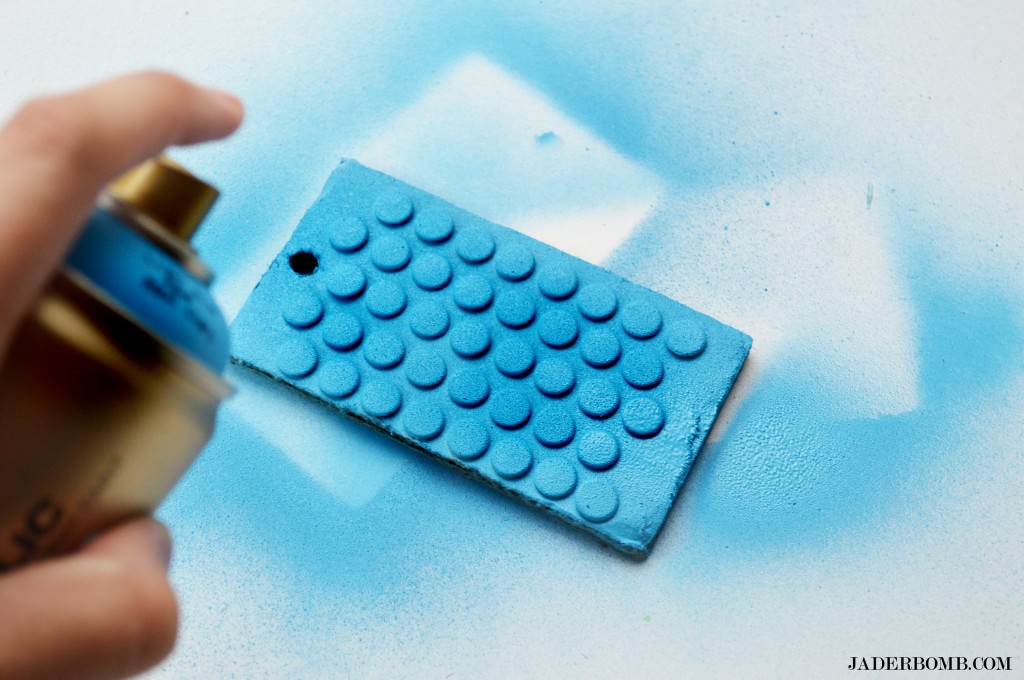
Lay out your tacks in a well ventilated spot and spray away.  I started with a light coat then added another one when it was dry.

painted-thumb-tacks

You have to admit this is super cute! I know for me certain colors make me happy which is why I love this tutorial. Everything on the board screams inspiration why not let the tacks do the same.

See you in the next post!

jade

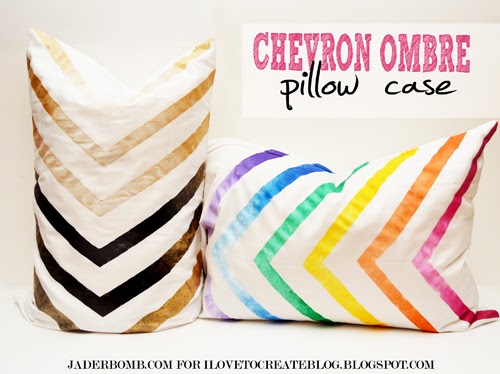
Welcome to the happiest place on earth, well besides Disneyland. Today I will show you the chevron pillow cases that I created for the I love to create blog. Incase you do not know already, I am a contributor for them and I post every two weeks. So that is something you can surely look forward to. Click here to get to the site.

First things first. I had a blast making these. I originally planned to make two rainbow ones but the Universe told me to make a more sophisticated one for anyone who is not fond of every color on earth.

chevron pillow cases

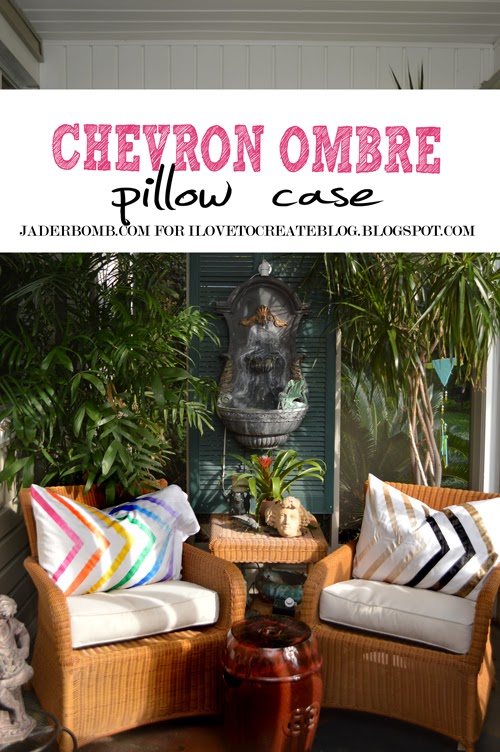
So I did. I am super giddy about the multi-colored one however I am very happy with the black, white and gold one. I hate to even say this because it’s going against my rainbow fairies’ orders but I like it better than the multi-colored one. I know you are shaking your head right now in disbelief. How could I like anything more than rainbow!

Could I use the excuse that I am from Louisiana and I love the Saints? Even if I can’t I am still going to go with that.

diy-chevron-pillows-jaderbomb

After looking at the darker pillow case I realized that it would be so easy to accessorize with a load of chevron pillows. A group of black and white would look so stinking chic. Sheet, I am shaking my head just thinking about it.  How-to-paint-on-fabric

Hopefully you are jumping like a jumping bean right about now. Have fun making these and make sure to send me pics of the ones you make!  I’d love to see what creative colors you choose to use. See you in the next post Jaderbugs!

jade