Tag Archives: Jaderbugs

Happy I can’t believe it’s almost Halloween/Labor day. I know, they don’t really go together too much but I found it pretty ironic that I am working on Halloween printable’s on Labor day. I guess I am defining “labor” in a good way, right! I also can’t wait to show you the craft that I did today. It is the most precious thing ever and it will be up tomorrow on The Graphics Fairy-Crafts website. I am not sure if I mentioned to you that I am now a contributing editor for her site. I am super excited because maybe I will become a mini fairy. I will always let you know when to head over her way to see my post. Don’t you worry, I will always post a final result picture on my blog the day of or the day before it goes live on her site!

I started working on some fun Halloween printable’s today and I think you will love them.

What I love most about them is how versatile they are. You can do so much with them. I left the black circle frame empty so you can personalize it any way you choose.  If you don’t have photoshop I suggest using a program like PicMonkey that is free for anyone to use.

I like to put initials in the center, print it out and glue on the top of a journal. It’s an easy way to dress up a boring notebook.
+hint: my post tomorrow is all about dressing up notebooks, and you don’t want to miss it.

FREE FOR NON COMMERCIAL USE ONLY. FOR PERSONAL USE ONLY
Prints up to a 8×10. [watermark is not on download]

Click below to download your free PDF
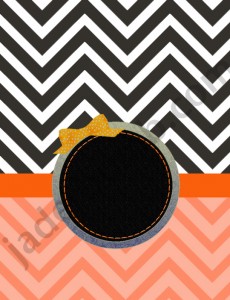
orange and black chevron cover printable jaderbomb

 FREE FOR NON COMMERCIAL USE ONLY. FOR PERSONAL USE ONLY
Prints up to a 8×10. [watermark is not on download]

Click below to download your free PDF
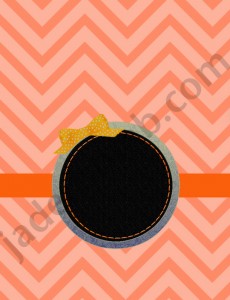
orange chevron cover printable jaderbomb

FREE FOR NON COMMERCIAL USE ONLY. FOR PERSONAL USE ONLY
Prints up to a 8×10. [watermark is not on download]

Click below to download your free PDF
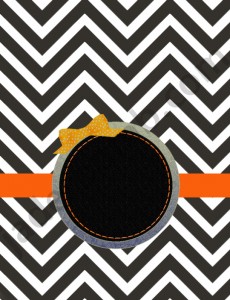
black chevron cover printable jaderbomb 

 I hope you enjoyed these free printable’s because I had so much fun making them! If you have ANY requests leave them in the comment section below and I can possibly get it done for you! Come back Wednesday for a fun fall fleur de lis printable!

[ My free printables are for jaderbomb readers only ]
Don’t forget to sign up for my RSS feed ! 

See ya in the next post

So it’s Simmer down Sunday and it’s time to break out the instagram pictures of the week! This week has been {cray-cray}.
The one good thing that came out yesterday on the blog was my new  photo game:

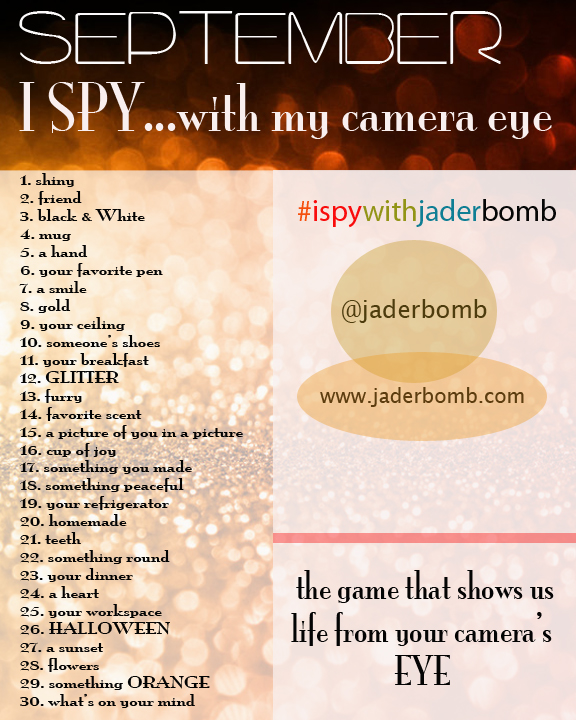
I SPY with my CAMERA eye 

 STOP and CLICK. It’s a simple way to SEE things we are “normally” too busy to see. Ready to play?

Follow me on INSTAGRAM

@jaderbomb

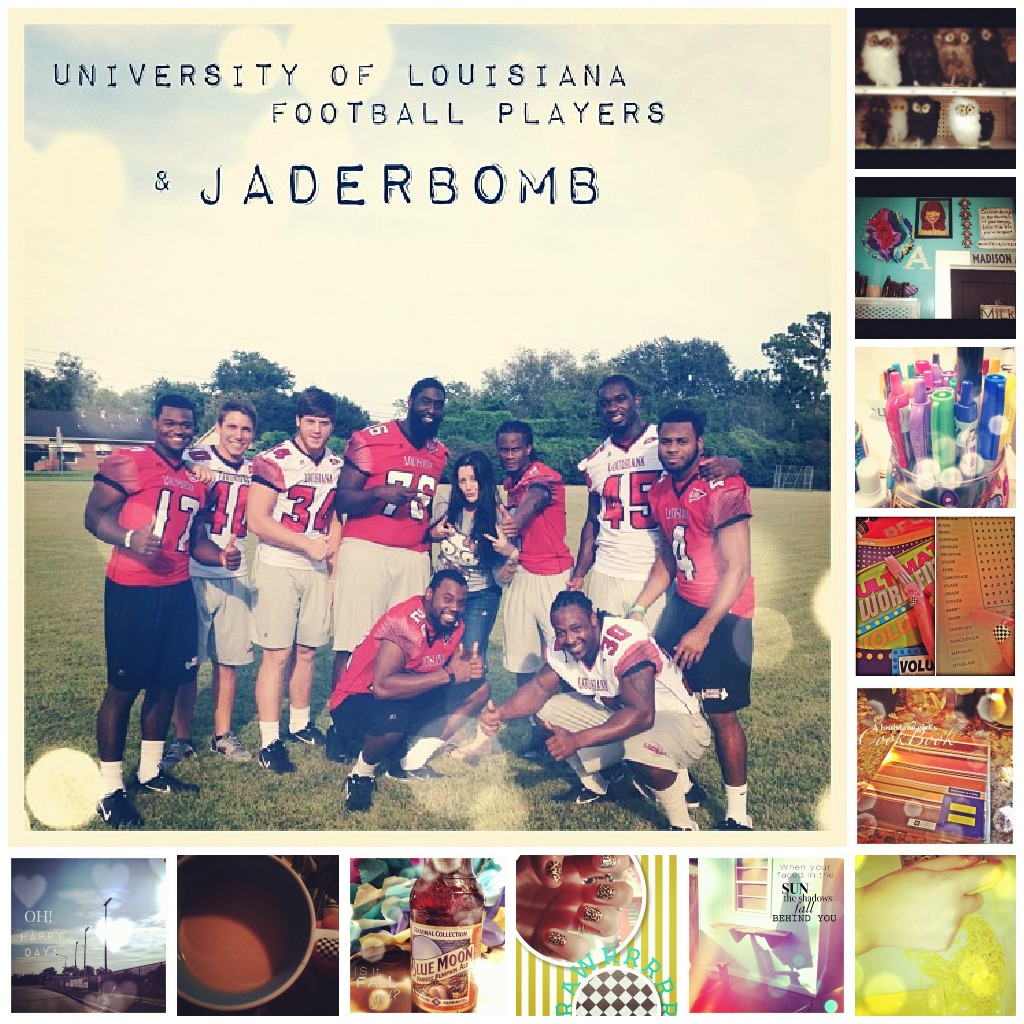
+Jaderbomb and the University of Louisiana football team
+ Cute little owl’s at Michaels Arts and Crafts (me and glitterville have this in common, haha)
+My kitchen wall with my Peggy Bundy painting
+My favorite Pens
+The amazing crossword puzzle that had “JADE” in it
+Everyone needs a “binder” cookbook with an equal right’s sticker on it!
+Making my homemade detergent while Hurricane Isaac came over
+Who does NOT love leopard fingernails?
+New pumpkin harvest blue moon
+I love when I see a “half moon” in my coffee mug
+The lovely weather before Mr. Isaac came over

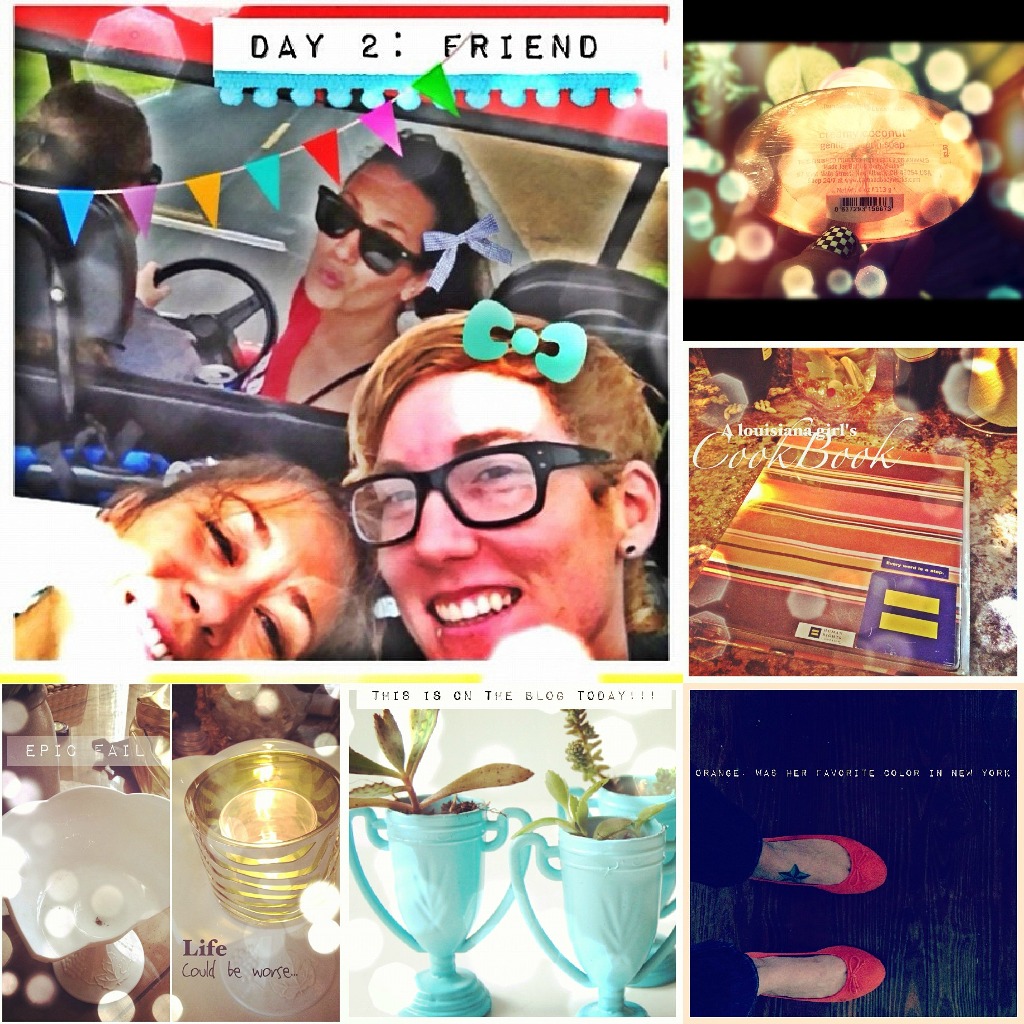
+Day 2 on I SPY with my CAMERA EYE
+My “rare” find of the week. And old bath and body works bar of soap
+Just wanted to share another CLOSE up of a “Louisiana girl’s” recipe book
+My New York shoes, only my “fairy” understands this
+My fun trophy flower pots that I made this week, check them out HERE
+My antique milk glass that broke while hanging something on the wall. stay tuned

+I had to share this picture again. I mean the sky has hearts in it 😉
+I love when my Ashy sends me morning sky pictures
+dear, isaac. why are you so beautiful?
+are you in love yet?
+Making my Ashy her birthday cake…we even had a special guest, Isaac. haha
+I am totally digging clouds lately. Are you?

Here is the list for the month of SEPTEMBER! Have you started yet? It’s easy!

Sign up with Instagram. Take a picture everyday. Share on facebook and twitter.

It’s really that simple. The cool thing is you can link up your facebook and twitter through your instagram account. It’s like 3 in 1.

The most important thing is tag each with this:

#ispywithjaderbomb

That’s it Jaderbugs! Click HERE to read more about my photo game!

See you in the next post!

So, I am not sure if I should say “good night” or “good morning” to ya. It’s 1 in the morning and I am up wide the scrap awake. Really Jade, scrap?  I think it might have a little to do with the fact that I went to bed around 8:30 last night. Well who can we thank for that?

My good friend Ricky Mic  earache…  Sometimes we don’t agree on the timing of this crap happening but it won last night. So I figured I would finish this amazing post for ya since Ricky Mic Earache didn’t let me yesterday.

Quote of the day: “One isn’t necessarily born with courage, but one is born with potential.” -Maya Angelou

INGREDIENTS

Jumbo Straws
Ribbon
Glass cup (you can use any glass cup you have)
Glass beads (you can get these at Wal-Mart also)
Metallic Spray Paint
Glue Gun 

Make sure to check your home supply before buying any of these materials. You might just have most of them already!

Lay out your straws.

Start spraying them with the Metallic Spray. You might notice once you start spraying the air from the can will push some of the straws around. You can even glue the straws onto the glass and then spray paint. Again, just whatever you feel most comfortable doing!

This is what they will look like once you spray them.

I found it easiest to put a line of hot glue down on the glass first.

Then quickly place your straw on top of the hot glue. Be careful not to touch the glue because this could burn you.

It’s starting to come together!

When you are done with all of the straws get your ribbon and place it on top of the straws.

Put hot glue down on one end of the ribbon.

Quickly wrap the ribbon to the other side sticks to the glue. You want to make sure your ribbon is pretty tight.

Can you believe how simple this is so far?

I had some fun ribbon laying around so I decided to embellished with it. You can use anything you personally like to “decorate” the outside with.Put different color ribbon around it, tulle or anything FUN! I glued the glass beads around my ribbon to dress it up a little. Once you finish decorating, voila!

It’s really that simple. I like crafts like this because it’s an easy way to get creative and decorate any space really quick. Keep in mind if you don’t have Metallic sprays, you can spray the straws ANY color!

Here is a picture of the printable I made last week. I told you it’s cute in a frame. If you want it click HERE.

I hope you had fun in Jaderbomb land today! If you have a minute say a prayer for the Gulf Coast. We are about to get slammed by Hurricane Isaac.

See ya in the next post!


Happy Monday! Today will be all about Beautiful Vintage Bottles! I hope you had a great weekend! Sometimes the weekends go by so quickly, don’t they? Hopefully you have ton’s of glass bottles hanging around because this craft is addicting. There is something about transforming a plain bottle into a little work of art. Vintage decor always has a spot in my ever beating heart. Maybe it’s how delicate vintage things look. Plus it has a story. Unlike something you would buy off of the shelf. Which is why I am doing this craft because not everyone has “access” to all things vintage.

INGREDIENTS:  

Click any of the links to purchase these items:

Martha Stewart Paint
Bottle Caps
Martha Stewart Bakers Twine
Martha Stewart Stencil  
Food Coloring
Sequins
Silk Acrylic Glazes
Glass Bottles
Mod Podge Sparkle
Mod Podge Dimensional Magic
Martha Stewart brushes
Lace string
Buttons
Martha Stewart Foam Pouncer 
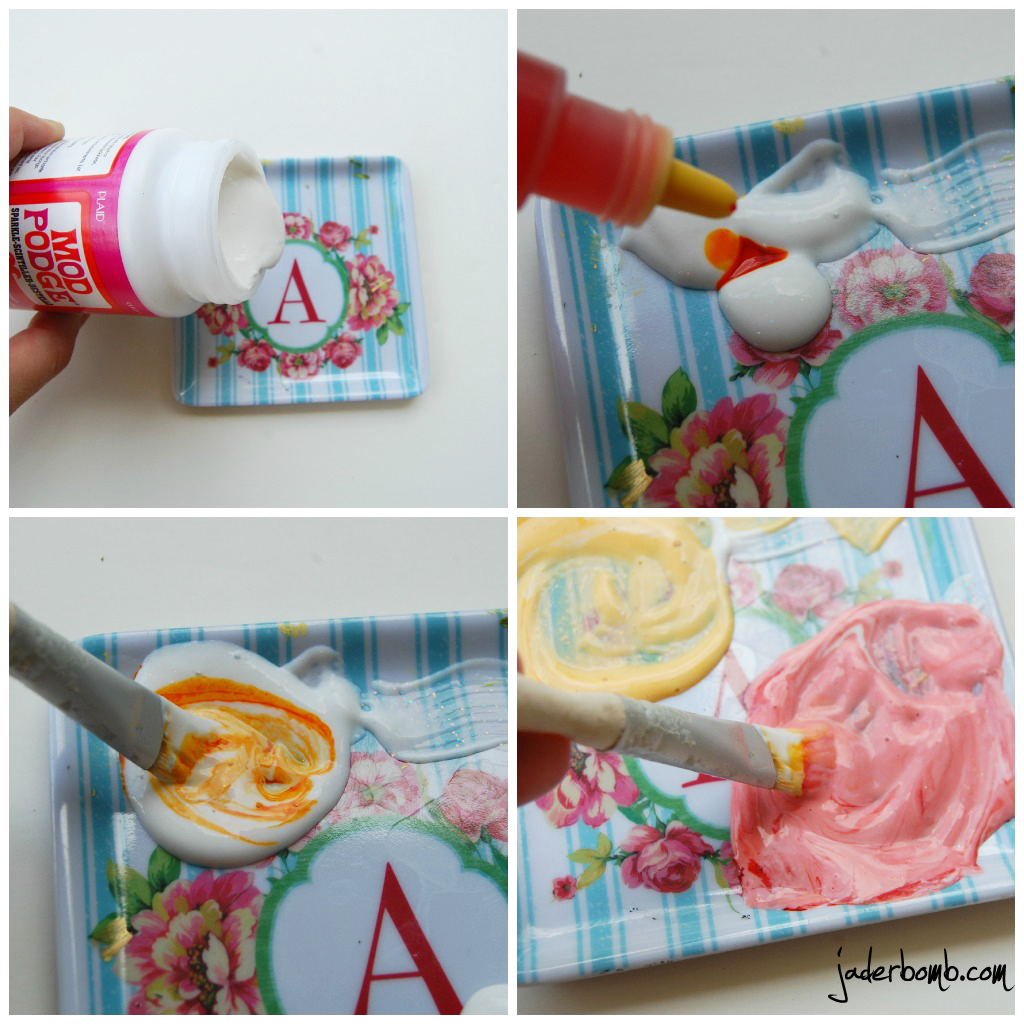
First thing you will do is mix some Mod Podge sparkle with a little bit of food coloring. Let me tell you that you only need a few drops. You don’t want it to be super dark . We want it to dry translucent.

When you are done mixing start brushing your Mod Podge on. Seriously when I paint glass I always get super excited inside! It’s like WOW! How come I didn’t know about this years ago. (fist pumping)

You might have to put 2 layers. It just depends on how dark your mix was. I always set it in the sun right after I paint the glass. It dries really quick.

Now I will tell you about my good friends RIDICULOUSLY amazing site. I am sure you heard of her…

The Graphics Fairy. Boom. Pow. Wow. That is what you will feel when you get to her site. You might just get glued to the puter for a bit longer than you had planned. I swear. I experience it all of the time, haha.

Once you have the images you want it’s time to “dress” them up! I am using these amazing silk acrylic glazes. Do you remember when I used them in this post? I am using the glazes as a resist which means when I put any other paint on top of the glaze it won’t stick to the glaze. This is a really cool technique because you can create a lot of dimension in your art. I am using Olive Vine for this image. Find the wreath with Bee in it here.

What I did first was take my stencil and put it around my image. Lightly pounce your glaze onto the stencil.

With the next image I used a butterfly stencil inside of my graphics fairy image. I repeated the previous step. For this color I mixed some Olive Vine with Ice. It made such a pretty color!

For the Horse I thought this stencil would be interesting to use. The solar gold is AMAZEBALLS!

Once you finish doing all of your stenciling you will get some acrylic paint and put a light coat on top of your entire image. Don’t worry about the edges being perfect because we will be doing something in a minute with them. After you apply the paint quickly rub with a paper towel. You will notice the glaze will pop through the paint. Sometimes if I find the acrylic paint is too thick I will add a pinch of water to thin it out. I actually suggest doing this!

I love pink and green together…
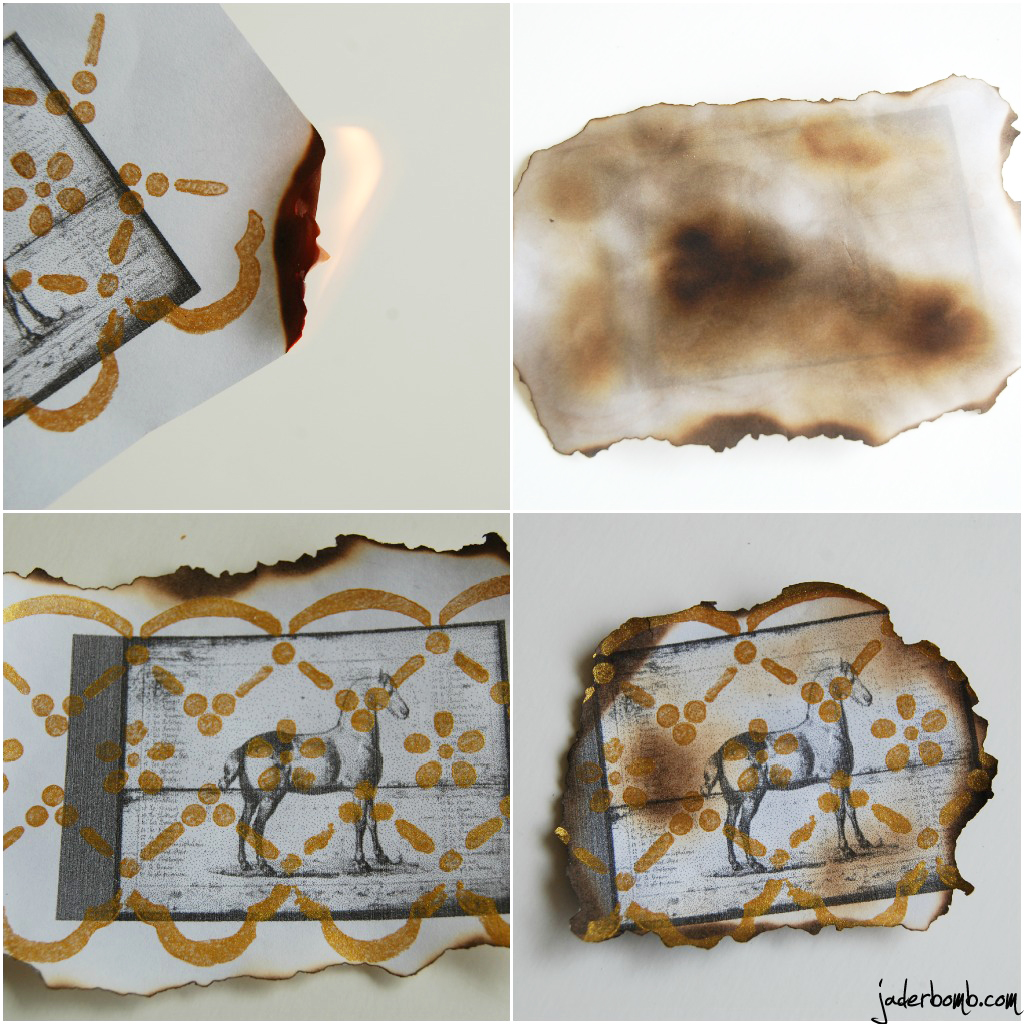
After you are done with your painting and everything is dry we will start the BURNING. I always love when I get to play with fire. Don’t ya! I light it for a second then quickly blow it out. I like this process because it doesn’t burn to much at one time.
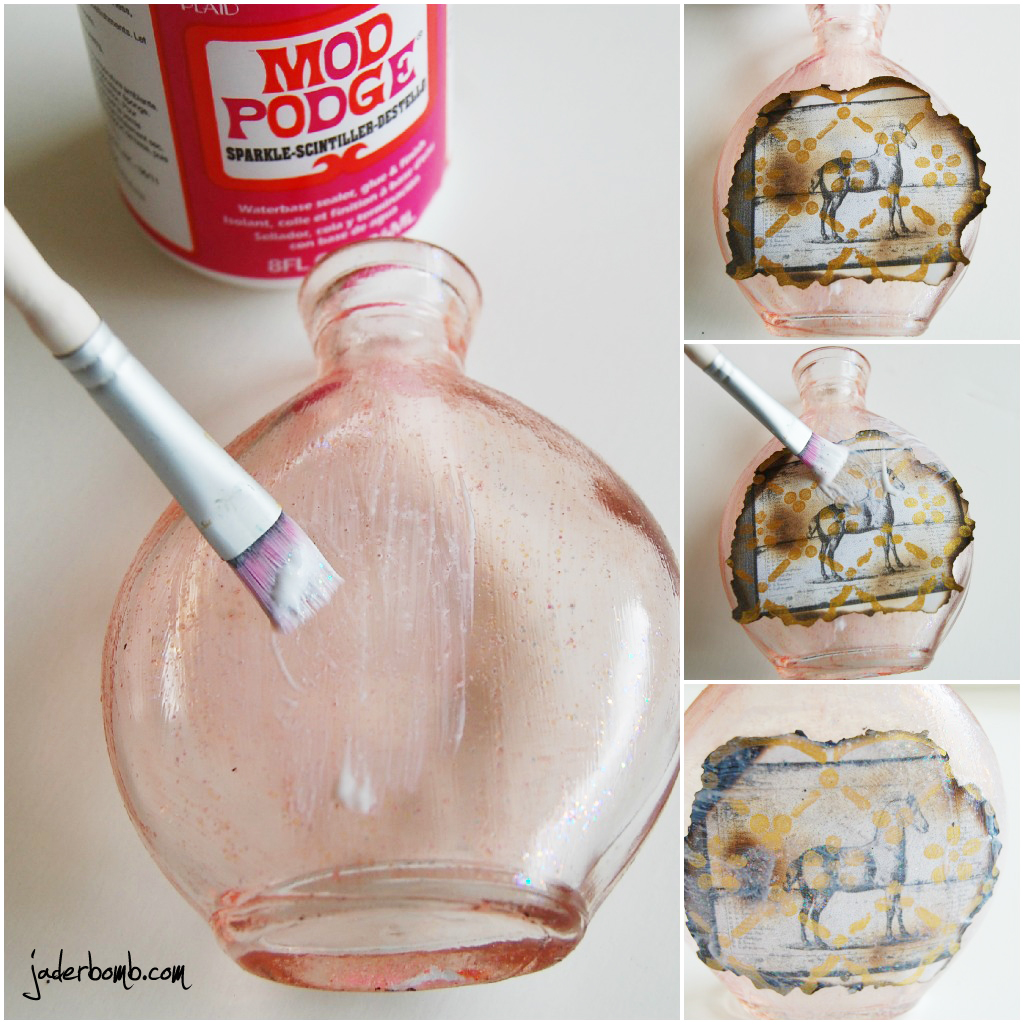
When you are done burning and happy with the size it’s time to MOD PODGE!!!! I wanted to make my bottles “shine” so I used the Mod Podge Sparkle. If you have not used this one yet… Get ready because it’s so pretty you might actually try to taste it…(no, I didn’t do this haha)

When you have all of your images on the bottles and they are dry we will start to decorate them. If you notice in my “ingredients” there are things there that I didn’t actually use. I just wanted to give you some ideas of things you CAN use to decorate with. Sometimes it helps to actually see it then your brain will say.. “ey, I like that”.

This lace actually has a sticky side so you can peel and stick. It’s that easy! I wrapped some baker’s twine around the neck of one to add a cute touch to it.

If you are wondering WHY the bottle to the left is missing it’s butterfly, it’s because when I tried burning the underneath of the paper I was talking to someone and guess what… I burned right through the paper. Do you see that brown spot on the horse picture? This is what happens if you put the flame “under” the image for a FEW seconds. It makes it look a little old (unless you burn it through and through). I just grabbed another image from the Graphics Fairy and placed it on top. This project is also fun because you might realize when you are almost done that you want to add another layer to your bottle. Which is ALWAYS good!

Be careful that you don’t drop any bottles on the ground while transporting them. (yes I broke one)

You might find yourself doing the same craft over again…

Well Jaderbugs, I hope you enjoyed this craft as much as I did!  Don’t forget to follow me here (below).


Happy Saturday Jaderbugs!

I know I mentioned in a previous post that I was gonna share everything that happened at BlogHer12. I still am. Don’t let this little instagram video fool ya. I have TON’S of pictures that I took with the “real” camera but wanted to do my weekly instagram still. We had so much fun and I met ton’s of amazing people.

Some people in the slide show are Martha Stewart,  Karen from The Graphics Fairy, Missy from Bitten and Bound, Darcy Miller from Martha Stewart Weddings, Sarah Carey from Everyday Foods, Kathy/Crafty Chica, Haley from the Zen of making, Jenny from Craft Test Dummies, Simone from Spazzgirl, Margaret Cho, and Jennifer from Hydrangea Hippo.

I can’t wait to share my tutorial’s this week. They are surely fun and fun. (I know I said that twice but that’s how I feel about them).

Sometimes I wonder if I am the only one who is MADLY addicted to instagram. Thinking of addicted. I think I am addicted to my phone too. Who isn’t these days!!!

See ya in the next post Jaderbugs!
OH! One more thing. I am adding something new to my weekly posts. Can you guess?

OUTFIT OF THE DAY.

I will start with doing this once a week, on Friday’s. I am really excited because I love fashion but I never thought to share it with my Jaderbugs. I can’t wait because I will be showing you fun things you can do with things you “prolly” already have.

Off to the video!


See you in the next post!

What is your FAVORITE instagram filter?

Happy Tuesday Jaderbugs! I know, I have totally been MIA for the last couple of days. Your thinking ” what happened to jaderbomb”, “is she still blogging”… You know I couldn’t EVER stop blogging. Plus I love you too much. I sorta have a pretty good excuse. I was at BlogHer 12. I promise to tell you all about it in another post. Trust me I had a TON of fun and I can’t wait to share with you how amazing it was.

Lately I am attracted to anything and everything black and white. It’s classic and traditional which makes it very versatile for anyone. I remember when I was a little girl we had a piano in the house and I loved looking at the keys on it. Maybe that is where my love of it started. I even have black and white stripes in my logo!

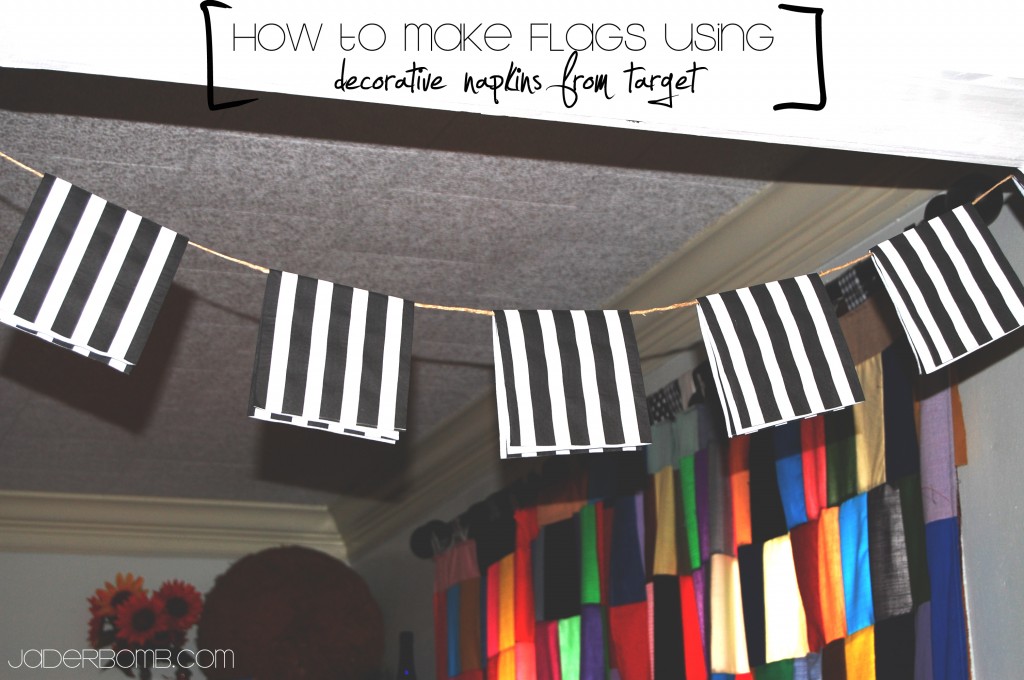
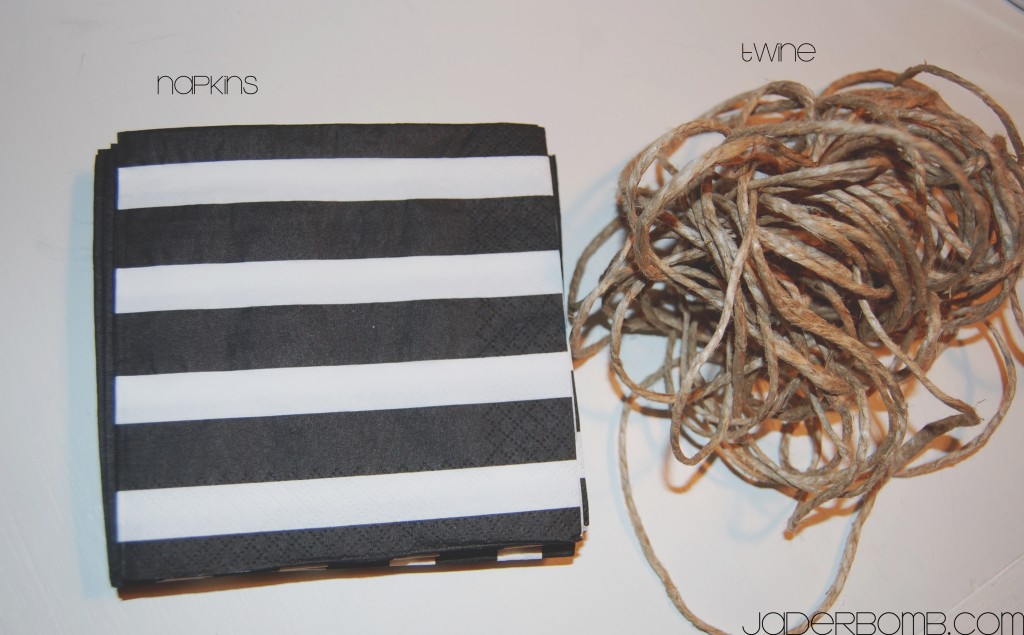
The other day while walking around target I smelled something black and white around me. When my eyes saw this pack of decorative napkins I totally saw the light. You know that light that say’s “BUY ME” or I will HAUNT you. So the fear inside of me bought them. The reason why I wanted to share this with you is because it’s a really affordable way to dress up a room for any occasion. Do you realize how many pretty napkins you could buy and decorate with? It’s cheaper than fabric too!!!

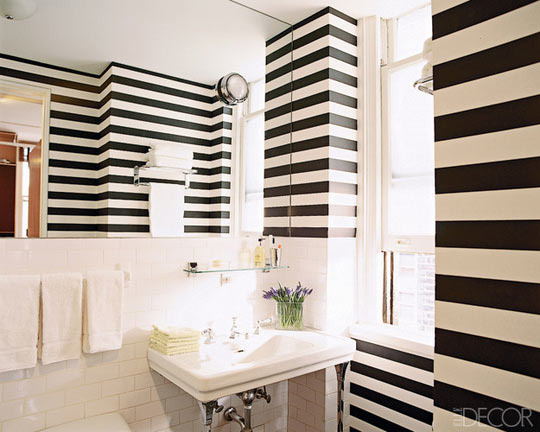
This picture inspired me so much! Are you thinking what I am thinking? That you NEED this room in your house!!
This picture is from architect Steven Learner‘s upgraded guest bath in his Manhattan loft. I think it’s perfect because you can NEVER go wrong with black and white stripes.

Let’s get started!

INGREDIENTS:

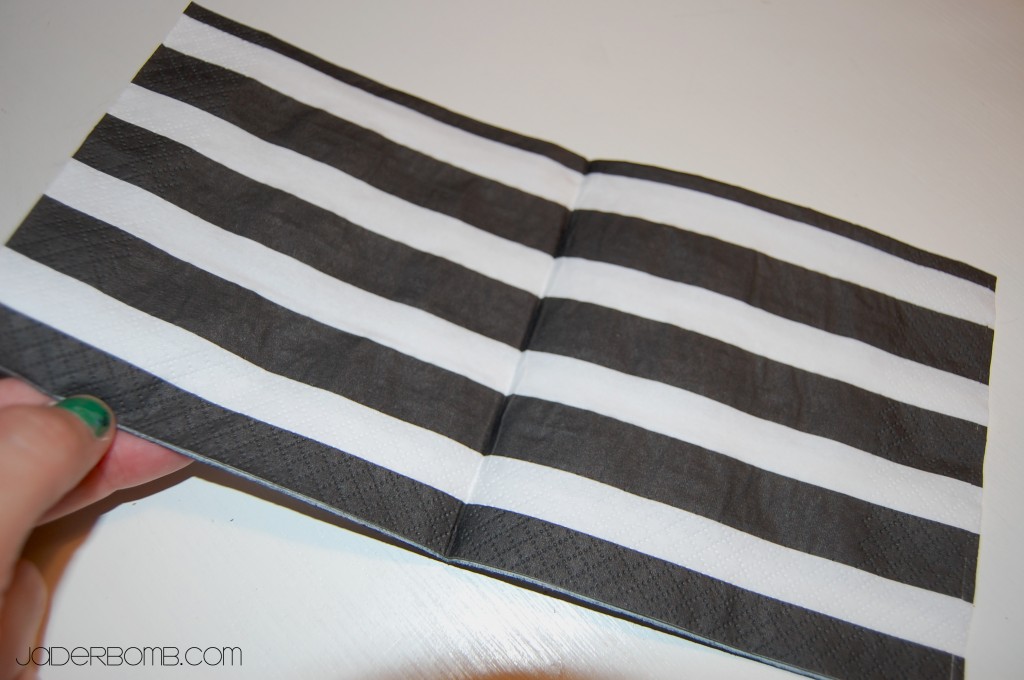
How cute are these napkins! I just want to MOD PODGE them all to a wall. {{wait, why did I just say that outloud}}
That mean’s I have to try it. Sorry Ashy.

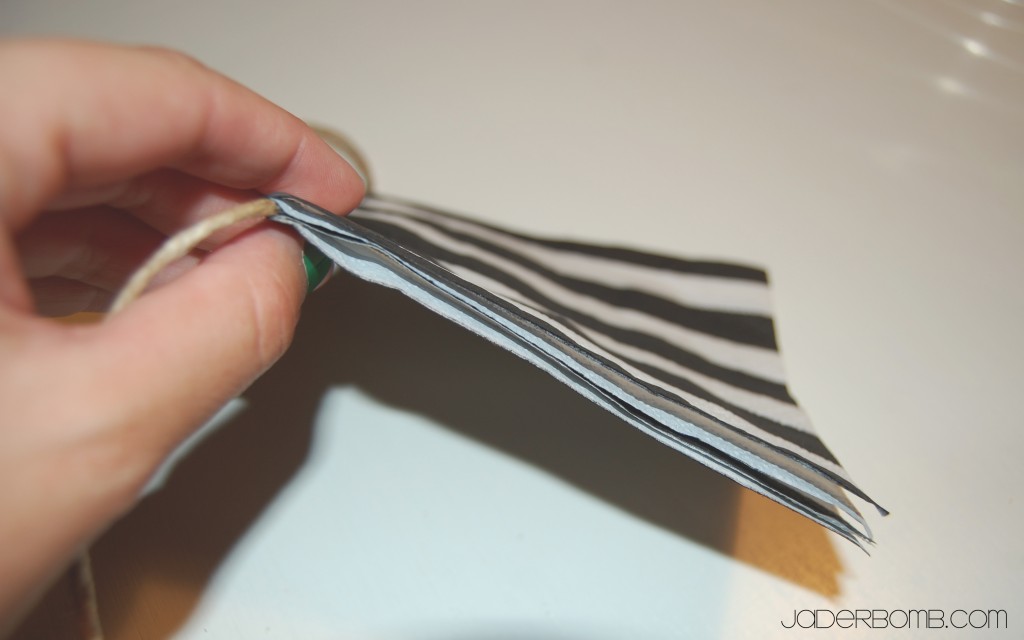
When you open the napkin, put a little bit of hot glue down the middle.

Then hurry and put the twine on top of the HOT HOT glue! Continue the till your all done!

 BAM! INSTANT FLAG!

So you see! It’s that easy and affordable to dress up a room in a JIFFY WIFFY! Going get some ZZZ’S.

See ya in the next post Jaderbugs…