Tag Archives: Jaderbugs

Seriously. HOW. COOL.ARE THESE.

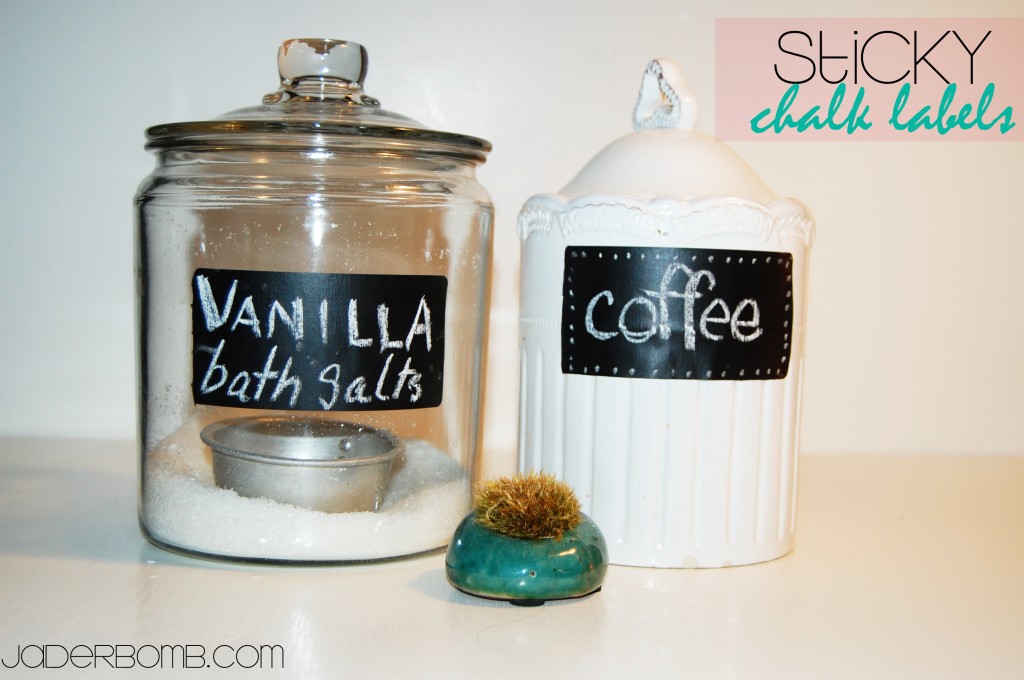
With all of the excitement and  preparation for Blog Her 12 I forgot to post this baby! I am telling you my mind is going bonkers lately! We have this canister in our bathroom that I keep bath salts in. I am ALWAYS changing the scent of the salts so I wanted to put something on the canister that displayed what was in it. I didn’t want anything PERMANENT so after a little bit of thinking I though this would be cool.

Do you realize how much you can do with these labels! They are perfect for canisters in your kitchen, notebooks or gifts! How cute would it be if you would make these labels and put them on your christmas gifts you give out. You can write the name of person it is for! If you do something like that but your scared it would get wiped off, spray it with hairspray after. It will seal the chalk!

Let’s get started!

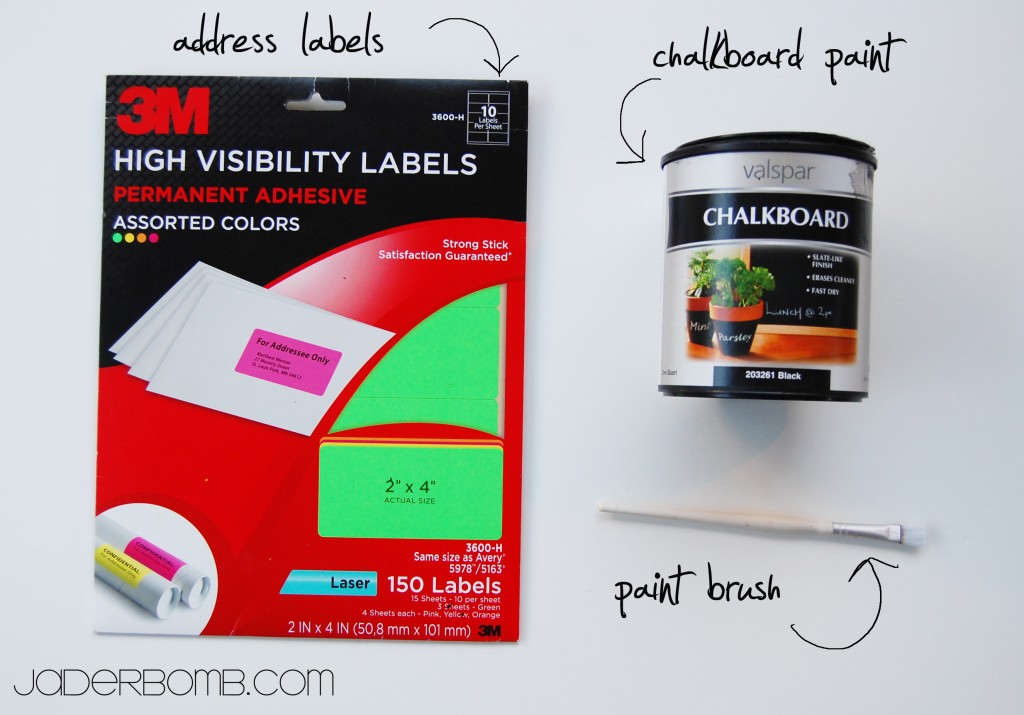
INGREDIENTS:

I got my address labels from Office Depot .  They are fun and bright! Check out what else I made using these labels here!

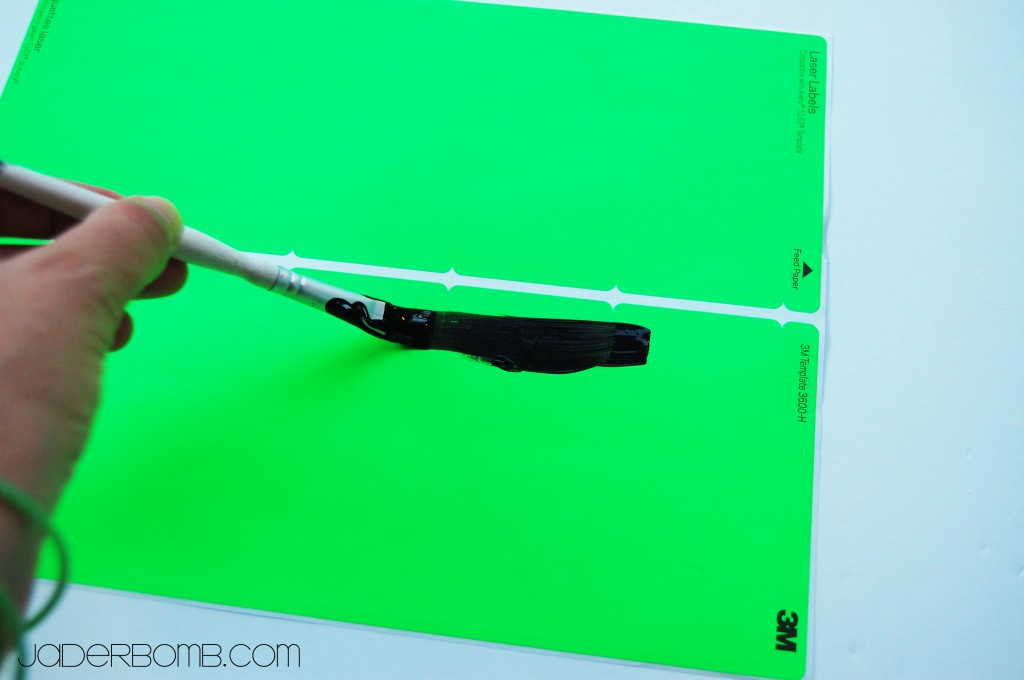
First thing you want to do is start painting your labels. I just painted the entire sheet. It is worth it in the end! After they dry, just peel the off and stick them where you want them! Yep, Jaderbugs… It’s that easy!!!

This is what my face looks like before it sees NEW YORK! I know, it doesn’t look that excited but it IS!

Guess who I will be seeing while I am there…..I will give you a few names so you can feel as excited as I am!!!!

1. Martha Stewart
2.  Katie Couric
3. Margaret Cho

I know, I am just as excited as YOU! I will be doing LIVE tweeting using hash tag #blogher12
Can’t wait to see my Graphic Fairy!

See ya in the city that doesn’t sleep [living my dreams everyday],

PERSONALIZE YOUR PENS

Happy Tuesday Jaderbugs!!!! You know what happens tonight right?!?!?

CRAFT WARS!!! (click on link)

If you have not seen it yet, you “must” make it priority! It’s great to finally see a craft show on television!

MORE CRAFT, LESS PAWN…haha

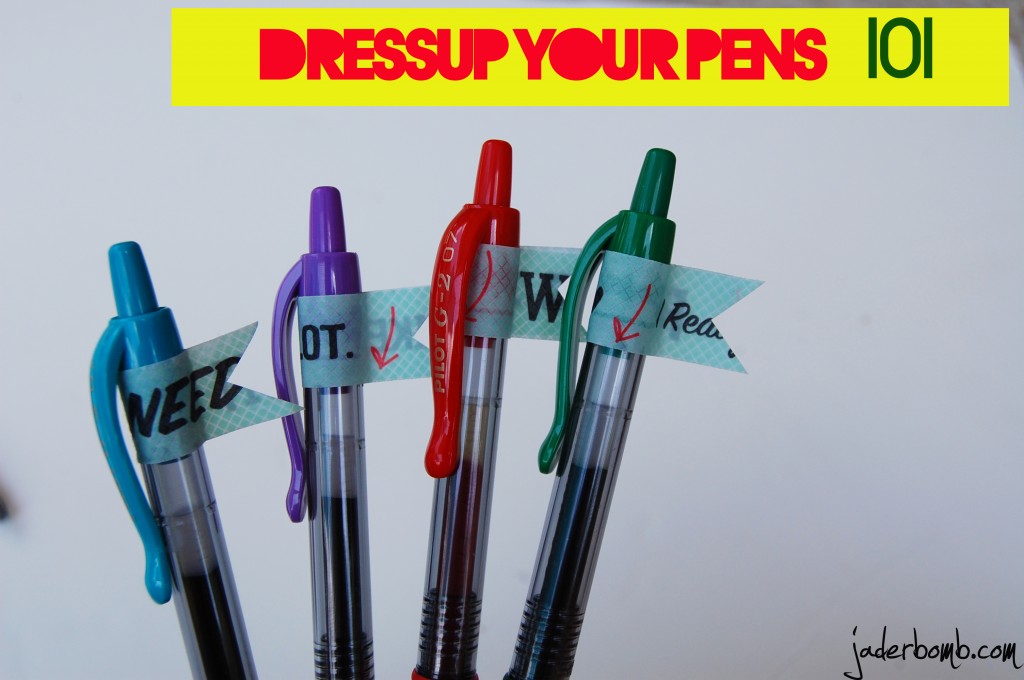
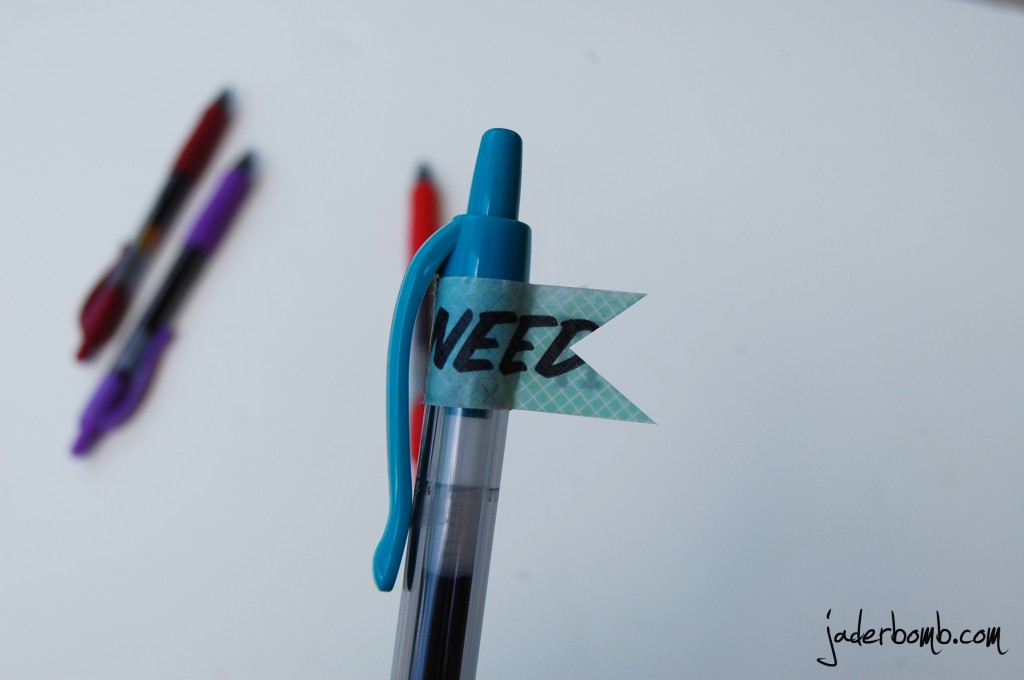
One of my fellow blogger’s WHIPPY CAKE posted a fun picture of her pens she “personalized” the other day on instagram. I just knew I had to do a TUTORIAL on it for all of my Jaderbugs! Check out her  Etsy shop!  She sells out of things really quick!!! So hurry and check her out!

  I thought this was a great idea and wanted to show you how to make it. It’s really not that hard but people like me LOVE “STEP BY STEP” tutorials! I know some of you will be going to BlogHer soon and this would be PERFECT for that!

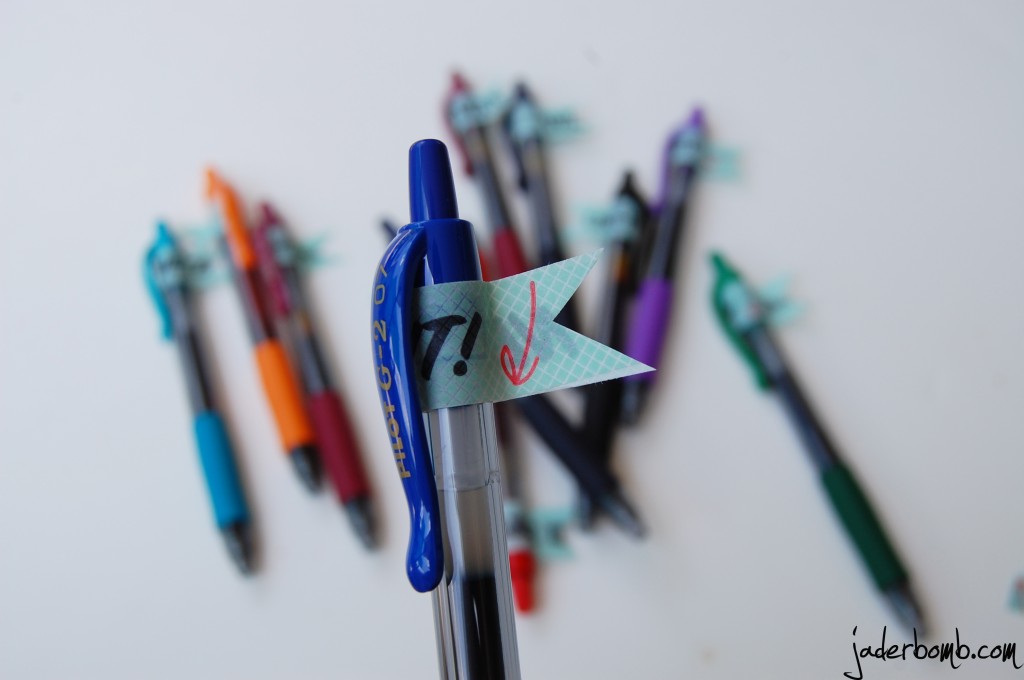
 How cute is this! It’s like they are saying “Hey I am cold in here, grab me a scarf”

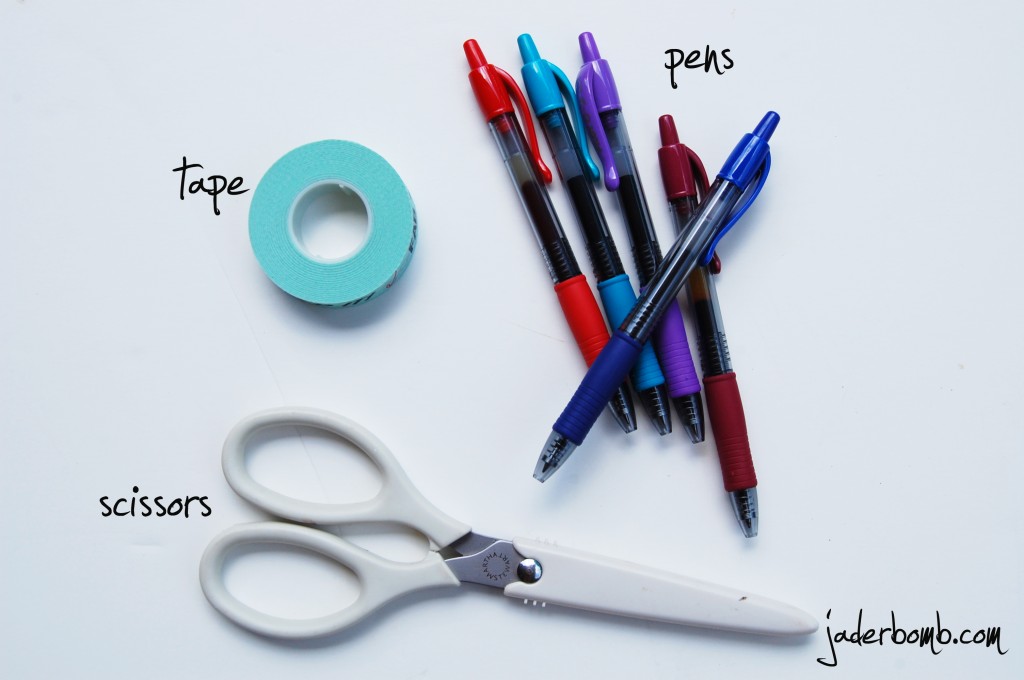
You will only need a few ingredients for this project. {insert a big ole YAYYYY}

Let’s get started.

INGREDIENTS:

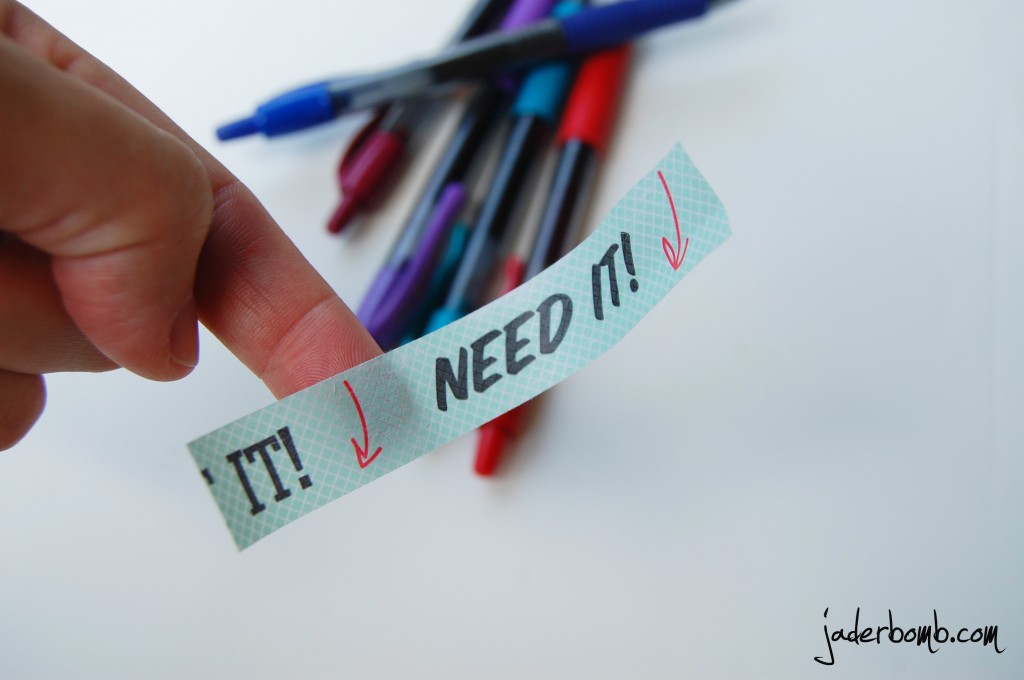
I used washi tape for this. You can buy it online here  or sometimes they will have decorative tape at your local craft stores! I promise this stuff can become addicting! I purchased the one I am using from Michaels Craft store.

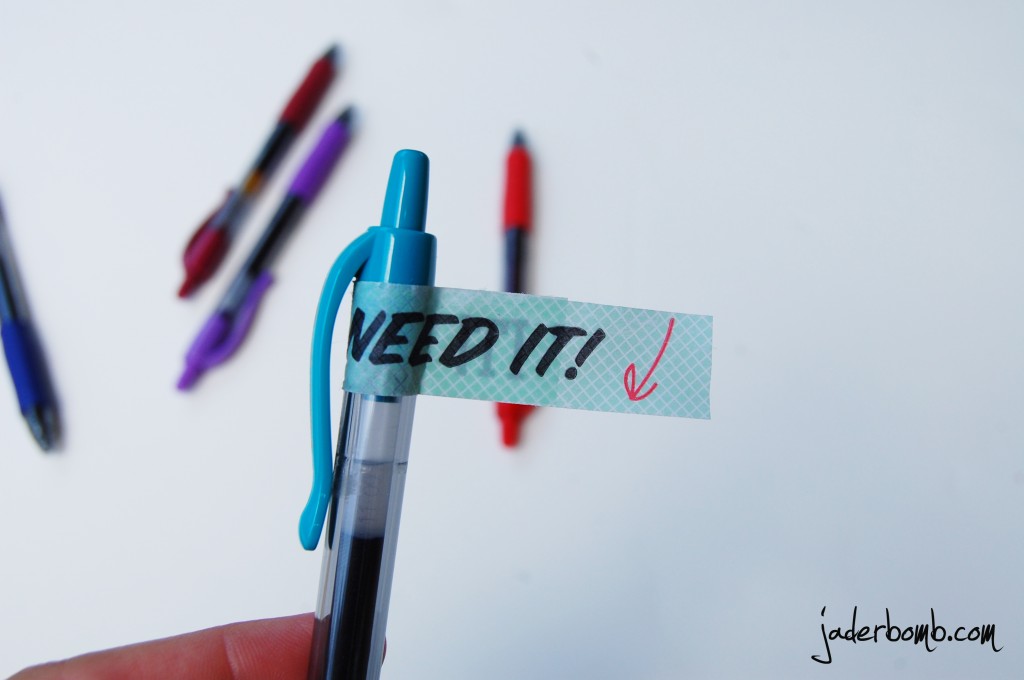
First thing you will do is cut a piece of tape and wrap it around pen. Make sure you stick both ends together evenly.

 After you do that, get out your scissors and cut a letter V in it.

Tadaahhhh! It’s that simple. In no time you can personalize all of your pens. Shoot’s, if you live a in a house like I live in pens go missing really quick! The key is putting pretty, pretty tape on them. Well, we will see because that might actually be a hit!

or NOT!

I hope you are all having a great morning and see ya tomorrow for another fun new craft! Giveaway coming soon so stay tuned!!!!

Sending you loads of love and washi tape hugs,

(insert blood, sweat, burns, tears, eye rolls and maybe a few ugly words here)

Yes, our cabinets have chalk paint on them. Check out how we did that here.

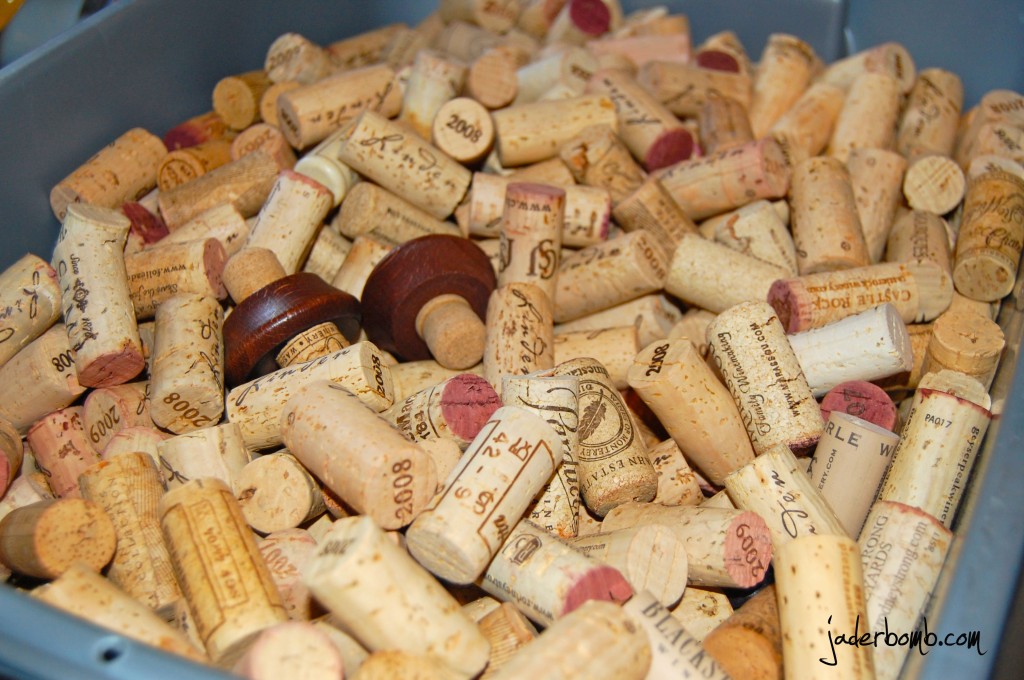
One might encounter some of these these things while covering a wall with wine corks. A friend had bags full and gave them to me SCORE!!!!!!

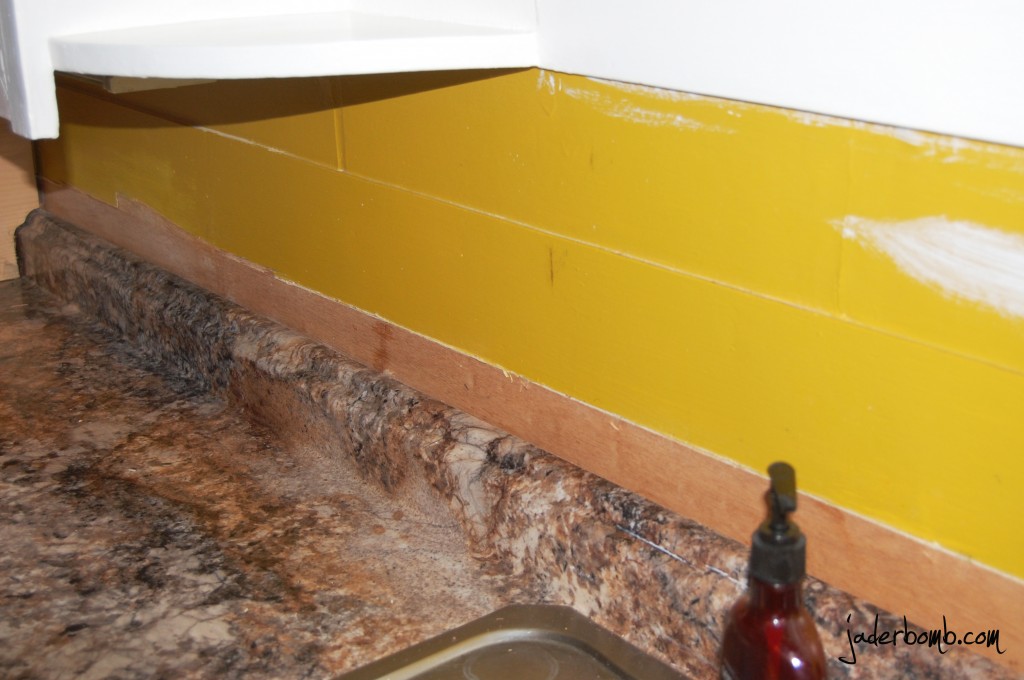
I posted sometime last week the hot mess going on in our kitchen. Remember? Check it out here. When the dad’s put our new cabinets in they were  lower than our old ones.  The wall behind the sink was a hot mess when we were done with the installation so we were gonna put glass or tiles until I had a Jaderbomb moment.

CORKS!!! CORK BACKSPLASH!

Ashy just looked at me with this weird stank eye and then her eyes got big and she said “I LOVE IT”….
{{I was worried for a hot minute}}

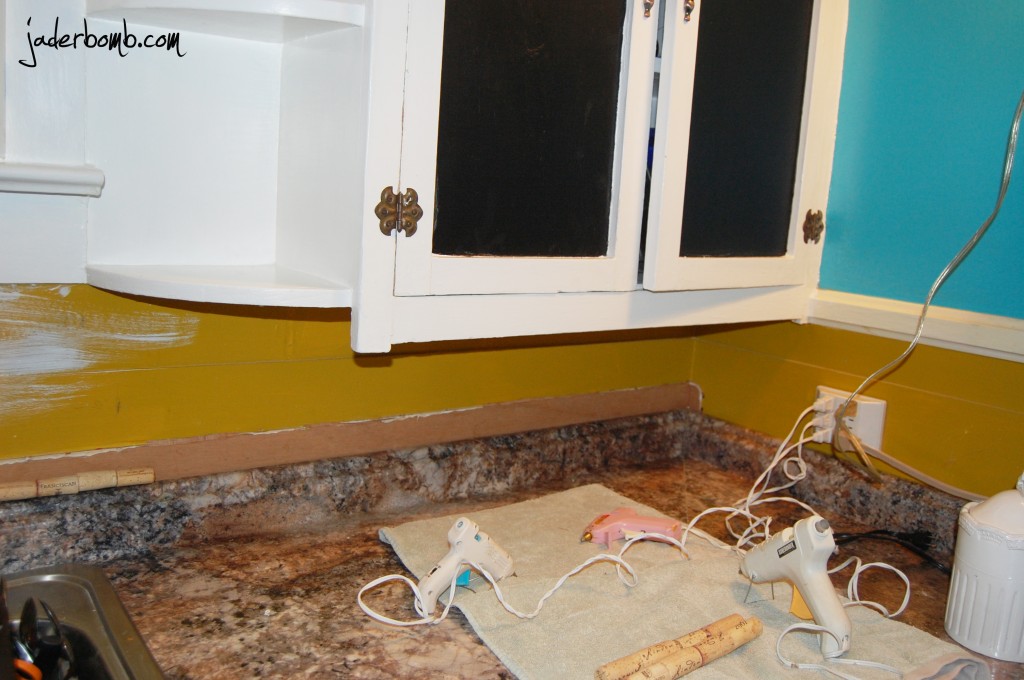
Let’s get started. You will need corks (alot), glue gun(s) and lot’s of glue sticks! You can do like me and plug in 3 glue guns!!!! I think that is where I started to insert the burns and bad words. It seemed like every 3 minutes I would lean over and burn my arms. HAHA.It was the best time ever!!!

See the wall. UGLY!

I have the three glue guns all plugged and ready to be overworked!!!

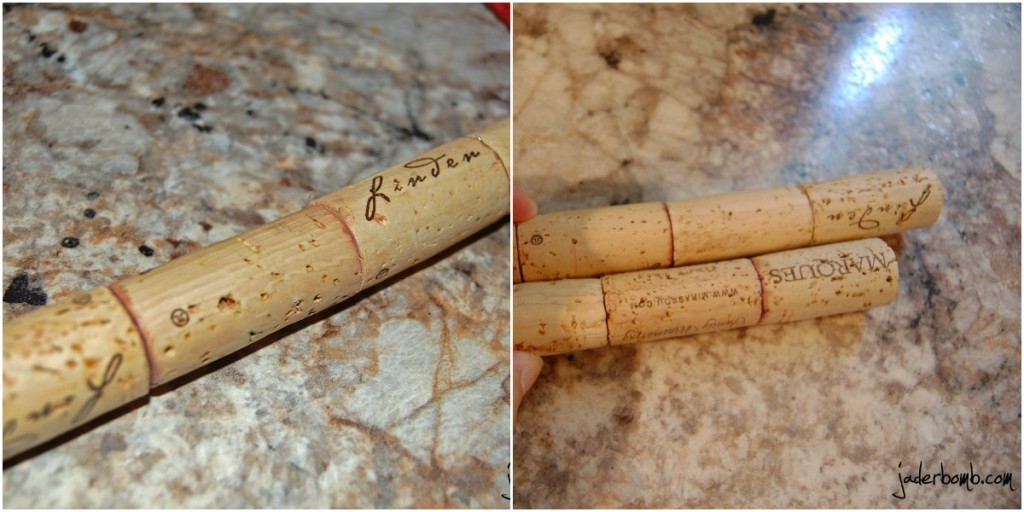
First thing you will do is hot glue four corks together like this!

The picture to the right is me holding two “sticks” together. They are not glued together. Hot glue is the best thing to use for this because it dries really quick.

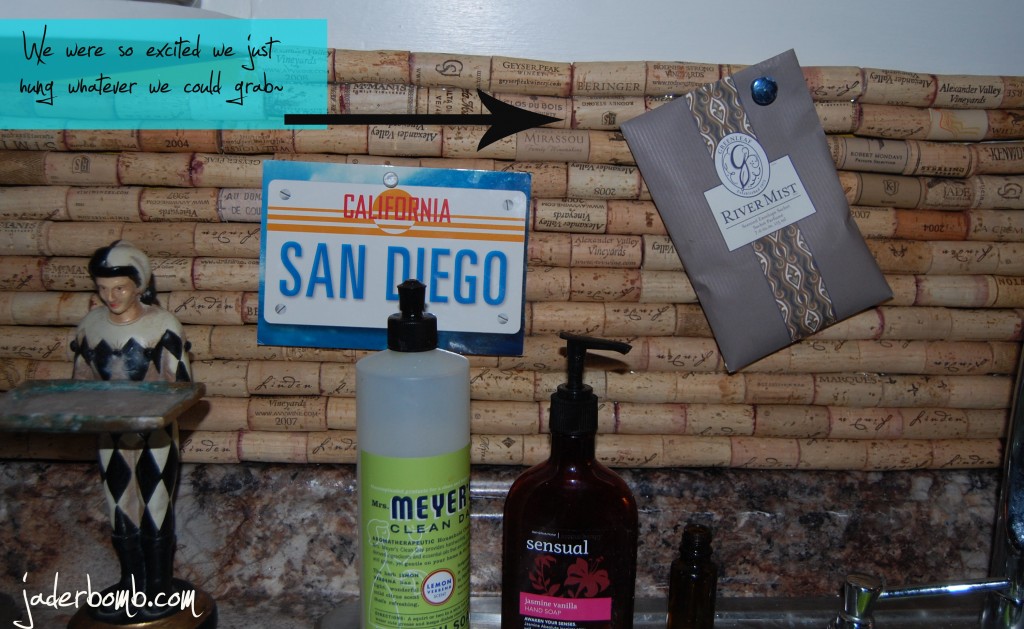
 So you will glue 4 together. Put a long line of hot glue on the back of all 4. Then stick it on your wall. I started from the bottom and made my way up. I also did play around before to have an idea of how many rows I would need to make it to the top. See the thing is with corks is they are all different sizes. So when you get to the end you might have more space at the top in some spots and other spots might be perfect. If you don’t want to glue 4 together, you can glue ONE on at a time on the wall. Phew, good luck! But play around with the corks because sometimes moving them around will make them fit better.

TAKE YOUR TIME!

You really want to try your best to have STRAIT lines. That will make it look clean and crisp in the end.

HAHA!!!! Check out this post on what I use to clean my dishes! It is truly the BEST!

Don’t forget to come back for the COMPLETE reveal! Believe it or not there is MUCH more!!!!  We actually kept the top part of the cabinets because they are REALLY old and we just love them!

There ya have it, and instand cork board! Until next time…

Make it a DIY kinda day,

Jade

Happy CONFETTI DAY. Wait. It’s just Sunday (minus the sun here in Louisiana). I wonder if there is an actual confetti day…
That would be UH-MAZING. Just think how cool it would be if there was edible confetti, besides the kind you put on your cakes or cupcakes {{even tho that kind is YUMMYLICIOUS}}

The other day I found a bag of glycerin cubes in my studio. Notice I said “FOUND”. Typically when you “FIND” something that means it always existed but you just have too much S$*# you don’t  know it exists. That would be me. Remember, I told you years ago I am an organized hoarder. It was perfectly placed in it’s location and NOT hidden. Just in a cabinet I somehow forgot was there. Who forget’s a cabinet? ME. (insert a big TOO MUCH TO DO FACE)

Let’s start making some SOAP jaderbugs

INGREDIENTS:
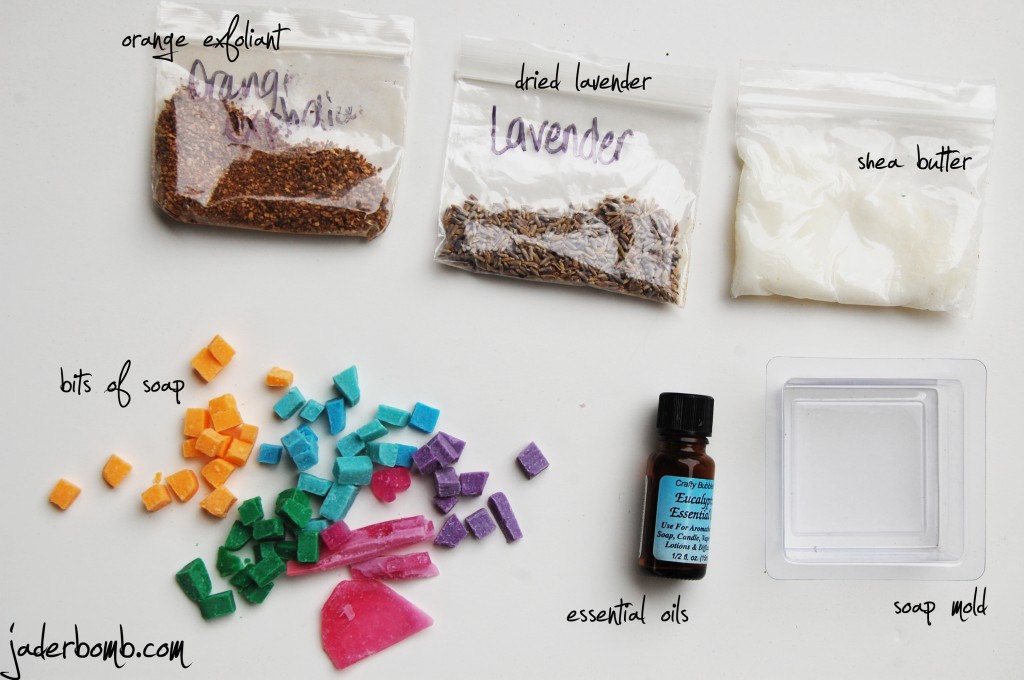
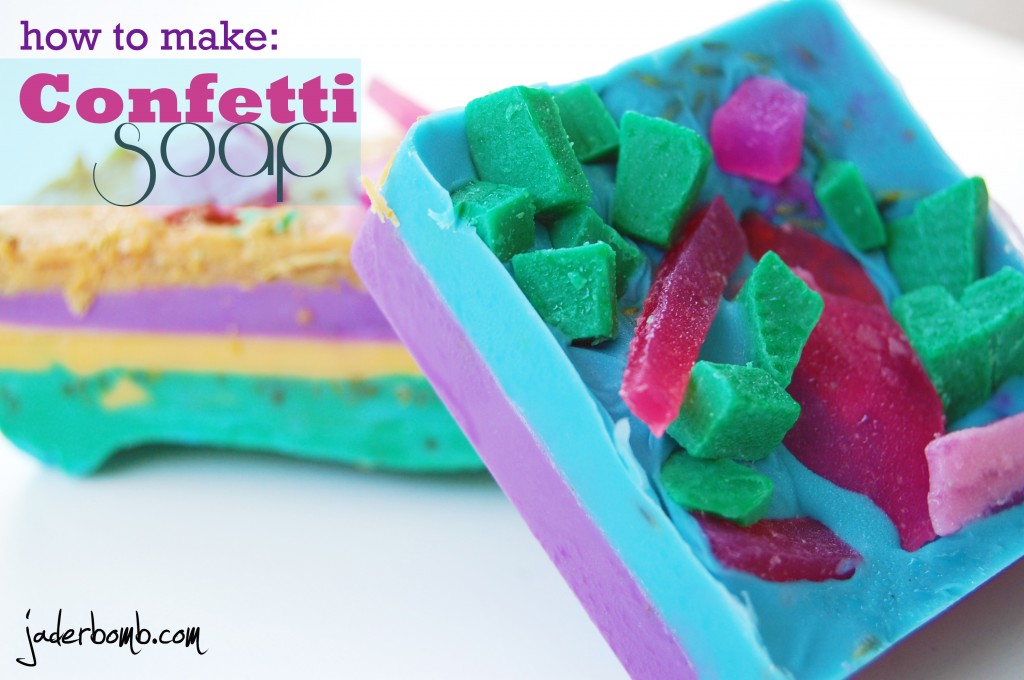
This soap was so fun to make, lil one even had a blast doing it! I bought my bag of glycerin soap from HObby Lobby. If you are not familiar with the glycerin I am talking about check it out here. You could prolly buy it at ANY craft store.  The extra bags of goodies are optional. Just depends if you want that in your soap. The orange exfolient helps gets dead skin cells or your precious skin, I LOVE THIS STUFF!

If you notice I have colored cubes of glycerin in the ingredients picture. All you have to do is melt some cubes, add whatever coloring you want to it (by the way there is soap dye and it’s super cheap), pour it in a mold, let it harden up (about a few hours), pop it out of mold and cut into little cubes. THAT’S ALL! P.S. all of the ingredients are from Hobby Lobby!
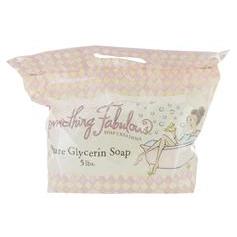
This is what the bag looks like. It’s a 5lb bag for 19.99.  You can actually order it online if you don’t have this store near you! If you decide to order some you can use their 40% off coupon right now! That means you will pay 11.94 + tax for this bag!
WHAT A DEAL!
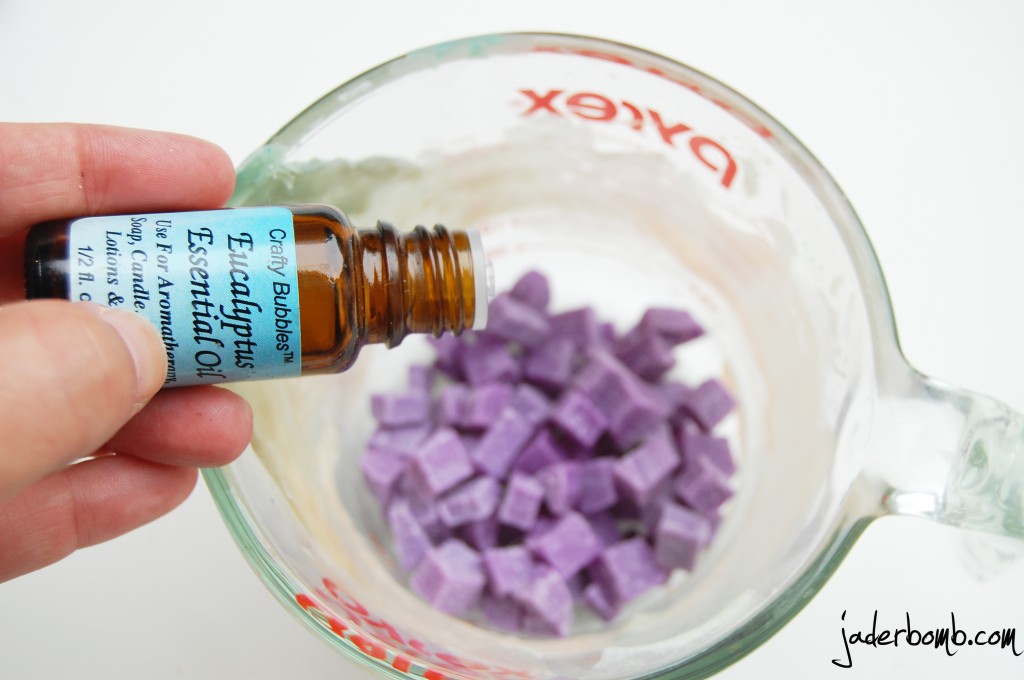
Put some colored cubes into a glass container, add whatever oils you want to it and heat it up in the microwave. I like to do it for 30 second’s then stir. If you don’t have TON’S of cubes then that will be enough time. If it’s not all melted just pop it in for 30 more seconds! VOILA!
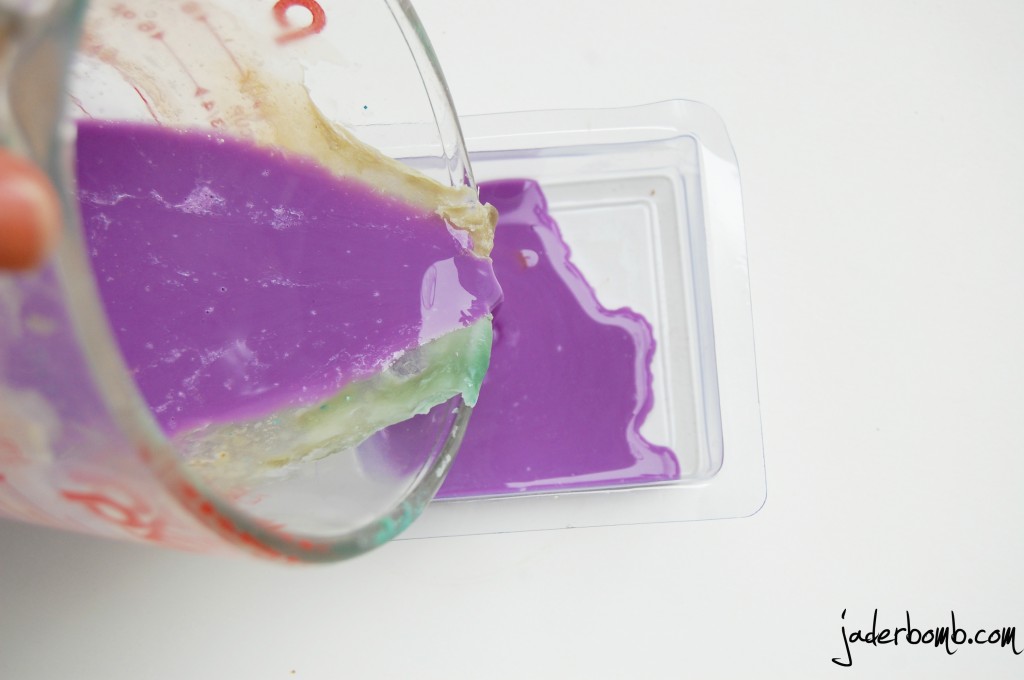
Excuse my redonkulously dirty piece of glass. I promise, this baby is only used to make soap (thank goodness)…
Pour your first color into your mold. Let it sit for about 7 minutes in the freezer.
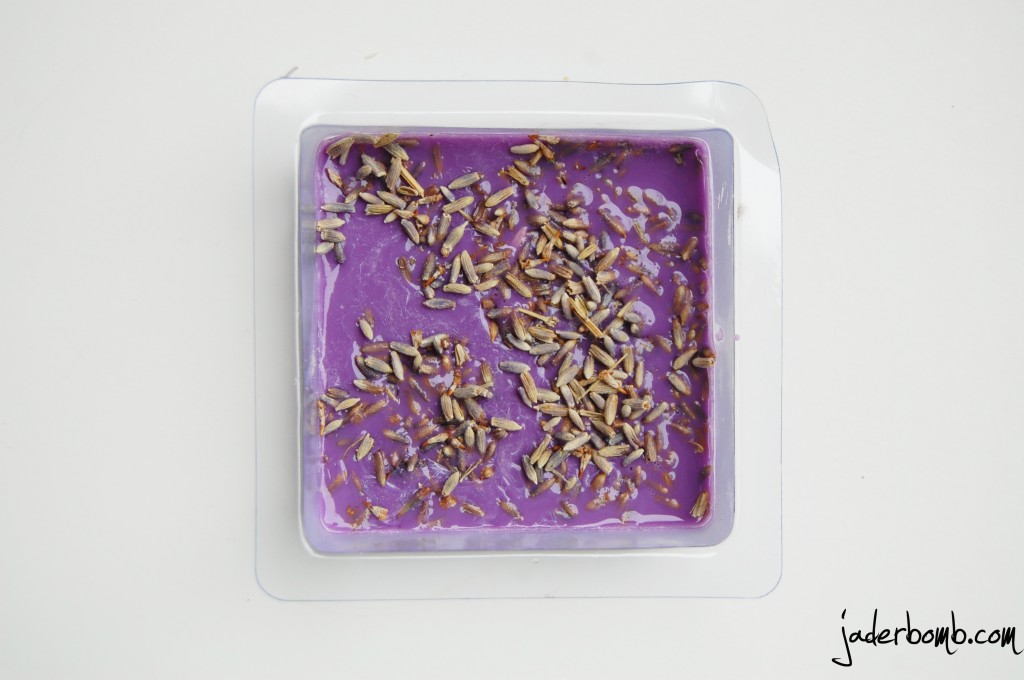
Before I popped mine in the freezer I added dried lavender on the top of hot soap. I love texture in my soap and this my friend is a “good” texture!
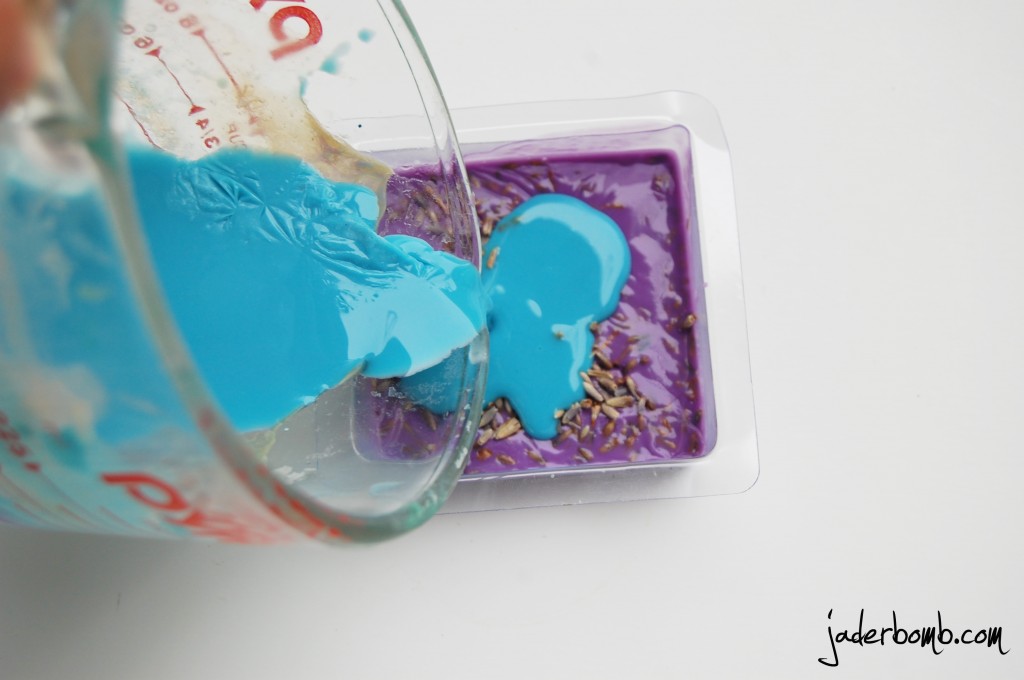
Right before you take your first color out of the freezer start melting your next. Remember, you don’t want your first layer to be completely frozen! You want it to be a little oozy. Pour your second color right on the top! HOW PRETTY ARE THESE COLORS!!!!!! Don’t forget to add your scent to each layer!
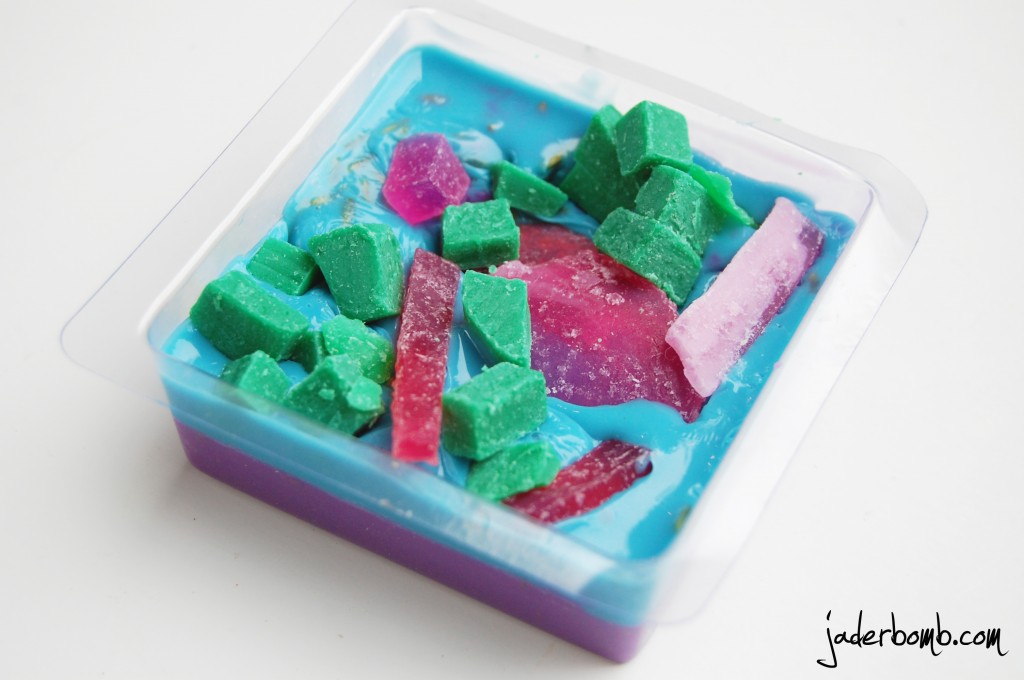
Right after you pour your second color, add a lot of different colored cubes to the top. They will melt a little where they are touching the hot glycerin but what’s left on top will stay just like this! I like to put TON’S of cubes on top! If you notice I left some long to change the texture of the “confetti” look! Don’t forget to pop it into freezer after this step!
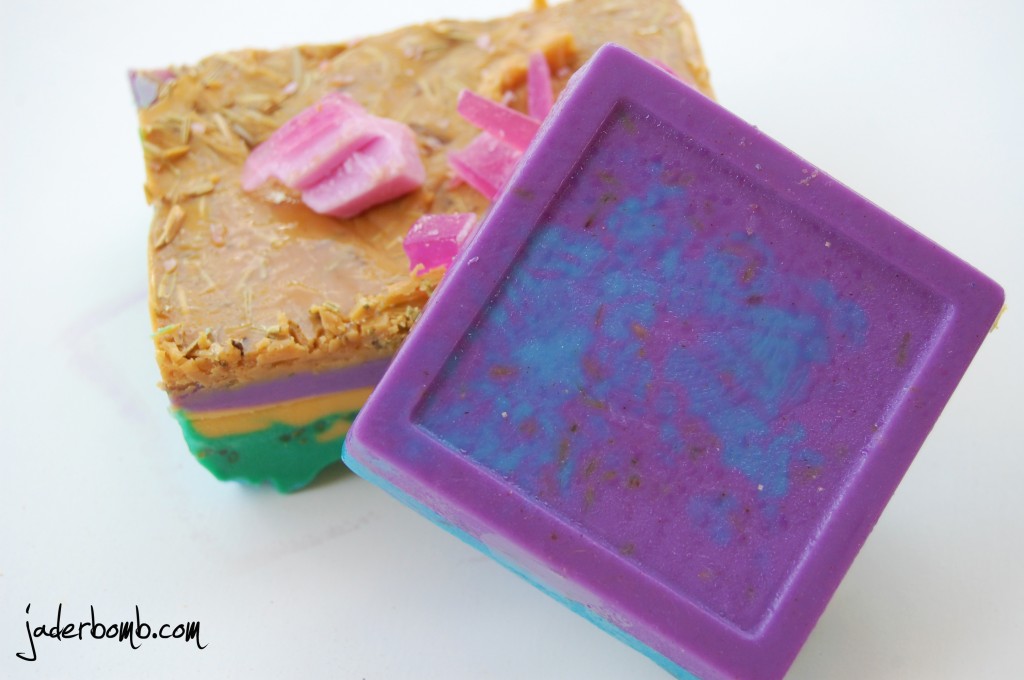
Remember how I told you when you pour your second color to make sure your first color was NOT completely dry? This is why! It gives it a tie dye effect!

I hope you are about to get in your car and get your ingredients to make confetti soap! Be creative! Use the colors you LOVE the most!

Don’t forget to get your 40% off coupon HERE! You can print it out if you don’t want to order online!!! It’s good till July 21st!

Until next time Jaderbugs,
Make it a DIY kinda day!

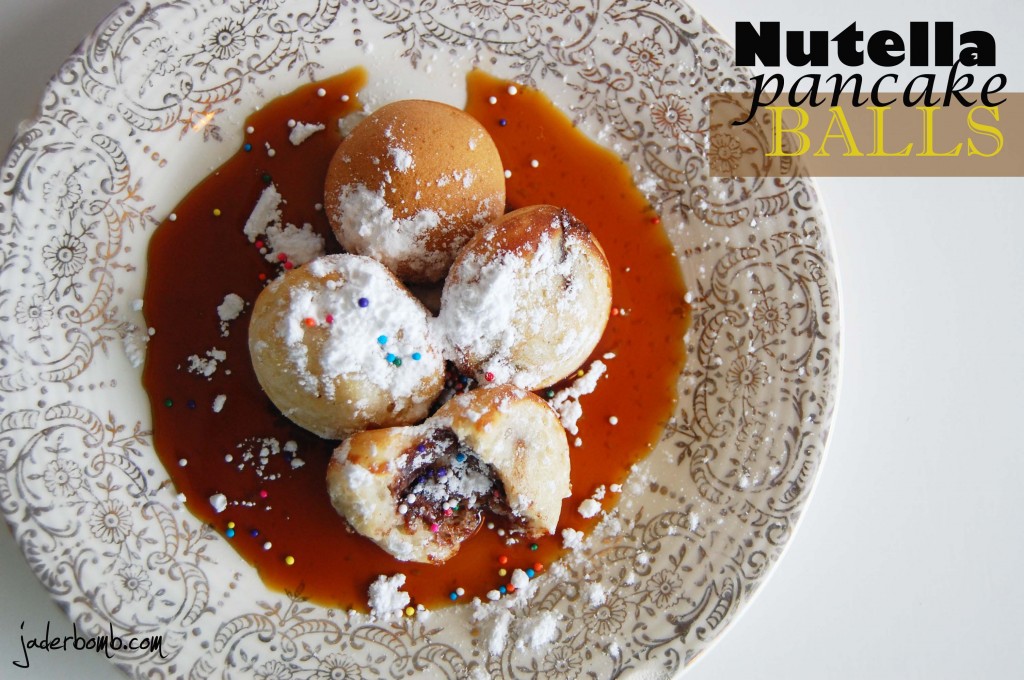
Happy Happy Friday Jaderbugs!!!!! I am so excited to show you this recipe. My little family loves when I make pancakes. We got this baby cakes maker and I can’t lie, we were not sure it would make PERFECT cake balls. But it did. We actually tried to make spiderman cake balls. EPIC FAIL. Decorating a BALL is much harder than it looks! I would post a picture of them but you might change your opinion about me (paaahahah)

The recipe I am posting today is super easy and if you don’t like Nutella, you simply don’t have to put it. I am pretty much IN LOVE with the stuff so watch out! We are making NUTELLA PANCAKE BALLS!


INGREDIENTS:

The ingredients are pretty basic. That makes it easier, a lot easier! I remember when I was a little girl, my mom made the BEST pancakes! That is prolly why I love them so much to this day!
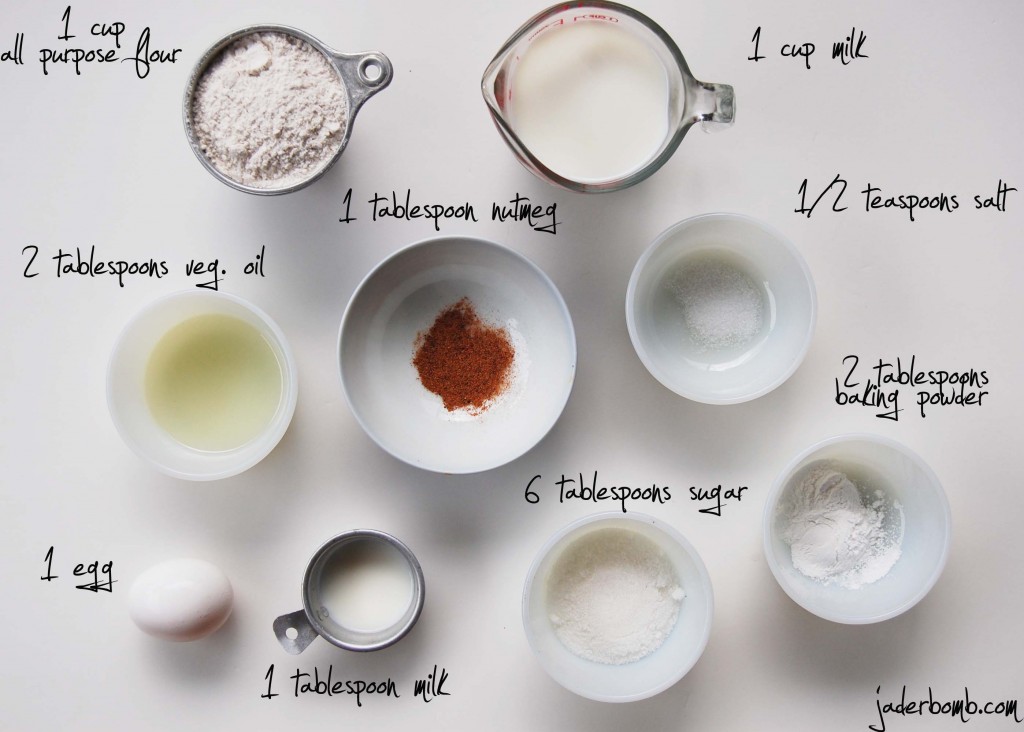
Start by mixing your oil, egg and 1 cup of mil together until it’s well blended. In a separate bowl sift flour, baking powder,nutmeg, sugar and salt together. When you are done sifting, you can add the flour mixture to the milk mixture. Blend very well.

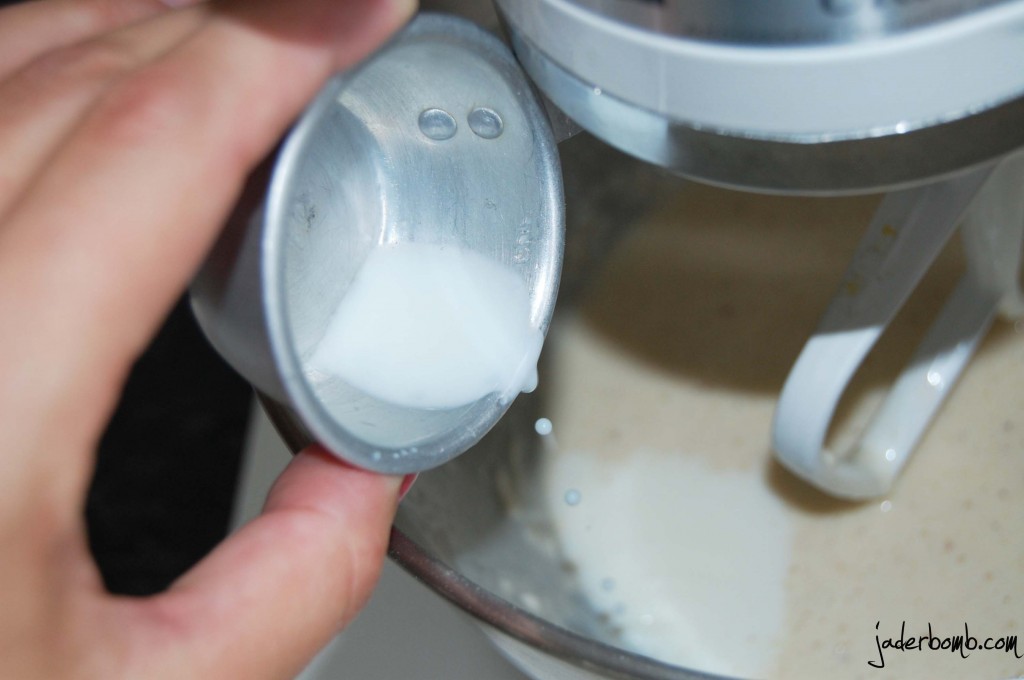
When you are done mixing all of the milk mixture and flour mixture add in that extra little tablespoon of milk.

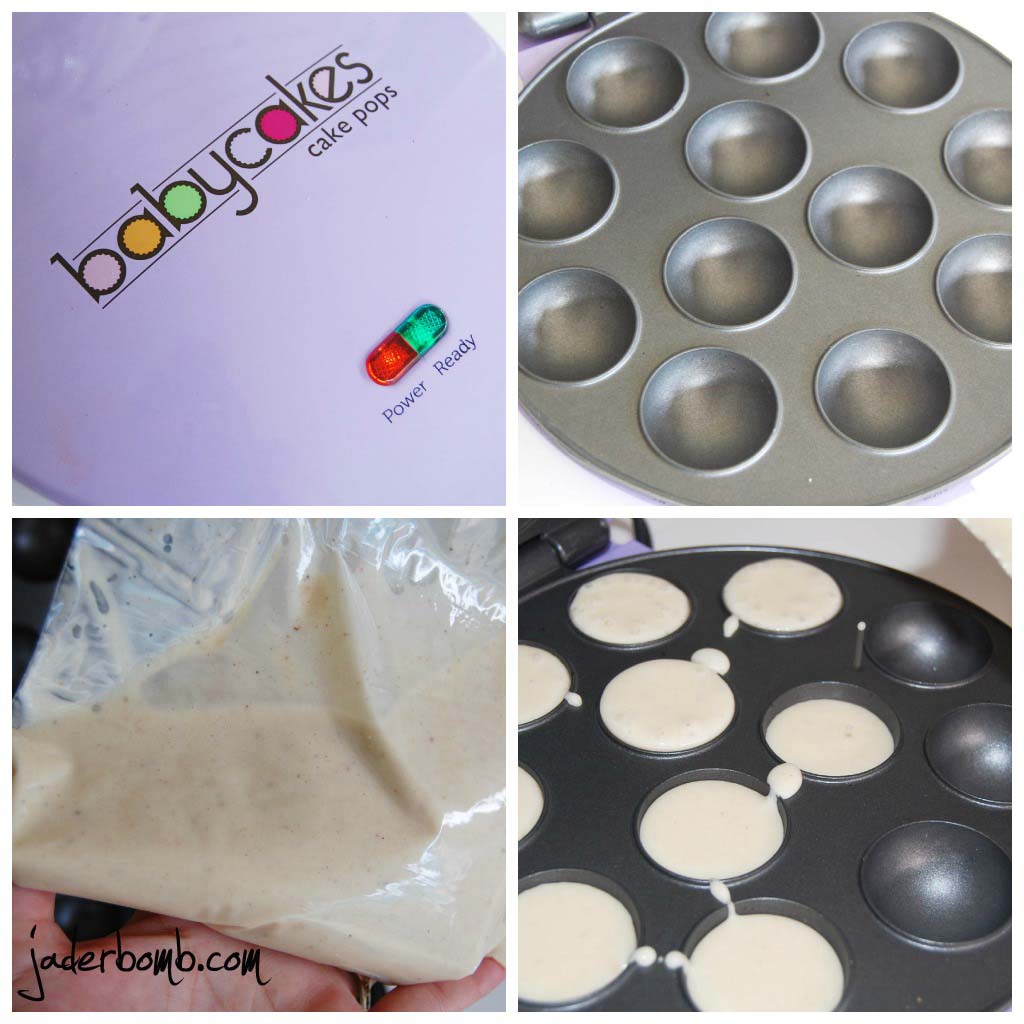
Instead of using a frying pan for this sucker I am using this amazing Baby Cake’s Cake Ball maker. I know what your thinking. This is not cake balls. Guess what! You can use this sucker for ANYTHING. Which is why I am loving it more and more each day. Ashy made cornbread balls the other day when she made homemade chili. Can we say DELISH! Baby Cakes cooked them SO good! They were bite size which means they were perfect for single bites! Everyone ate the cornbread balls before the chili was gone! So, after this I thought. Why not make pancake balls. Let me tell ya. CUHRAZY good. If you don’t have one you can purchase it at Bed, Bath and  Beyond. It’s only $19.99! Get one here!!!!
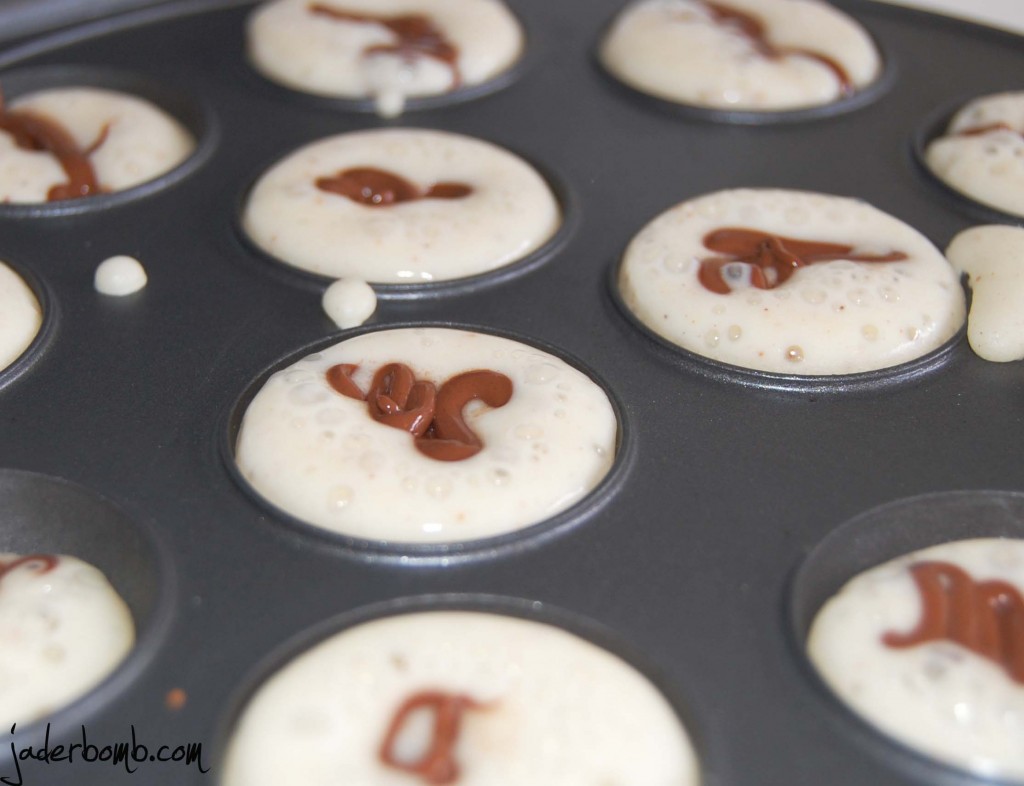
I like to pour my batter into a ziplok bag. It makes is SO easy to pour out!

 Right after I pour my batter in I start squeezing my Nutella right in the middle. Yes, I put my Nutella in a Ziplok bag too! It makes it super easy. One hint tho, you want to go QUICK when doing this step! It starts cooking them right away and you want to close the top as soon as possible!

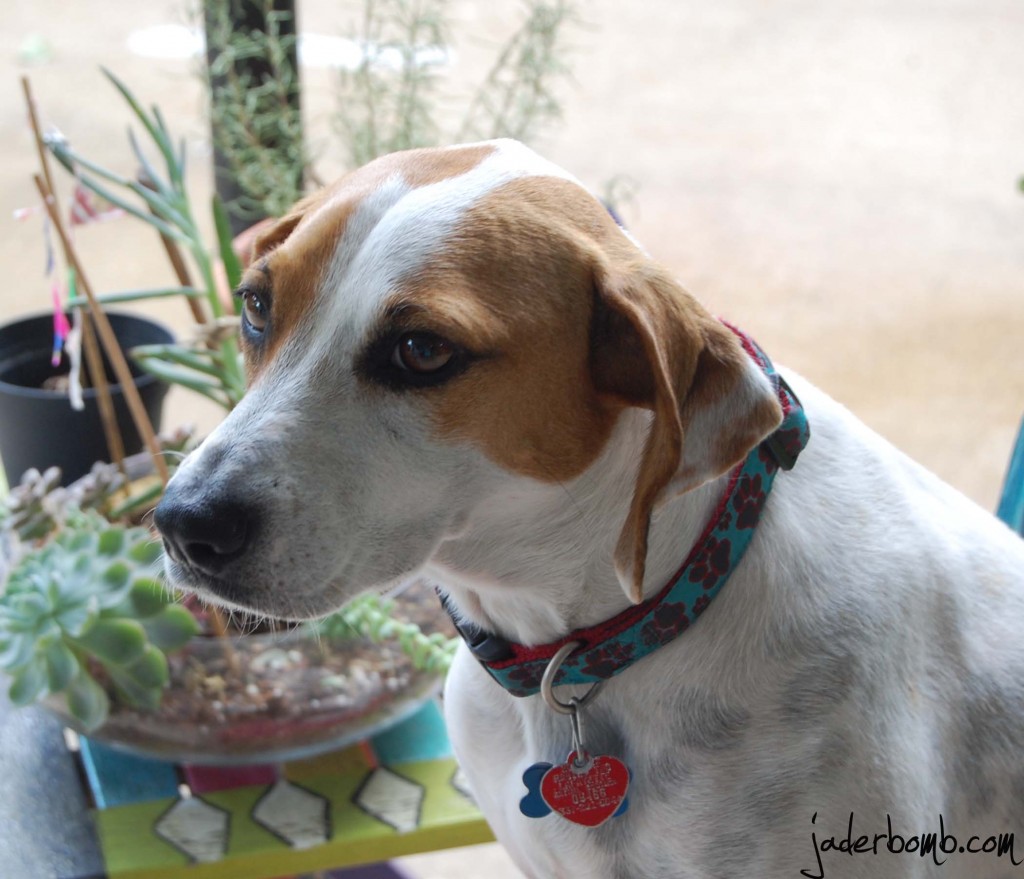
Even Ceaux Ceaux had fun watching the whole family do this. I think she was laughing in her head at us!  Don’t forget to check out her blog!

I hope you enjoyed this fun recipe!

Sending you lot’s of hugs and positive energy,

 WHAT IS YOUR FAVORITE FLAVOR PANCAKE SYRUP?

I think the world needs to see, hear or do this. I will sorta call this a little project/game. It surely makes you stop and smell the roses (or camera buttons).

A blogger friend started this and I think it’s magnificent. It’s called Photo a Day. You guessed it, it’s exactly what it means. Each day you are to take a picture of whatever the description is for that day and post it on instagram. If you are not familiar with Instagram you can find it in your App section on your phone.

You ask: Why do I do this every day? How do I have or find the time to do this? How do I remember? The best thing I can tell you is this. Yes, somedays you might forget but after the first week you will start to remember. I find the time just like I do everything else in my life. My life is busy and hectic, but all for the right reasons. I do this because it forces me to STOP. Take a look around ME. Take a PICTURE. Then file it in my MEMORY. You might start noticing things that you would have passed by any other day.

You start seeing the beauty in things that are simple, like the texture on something or the colors in a certain picture.

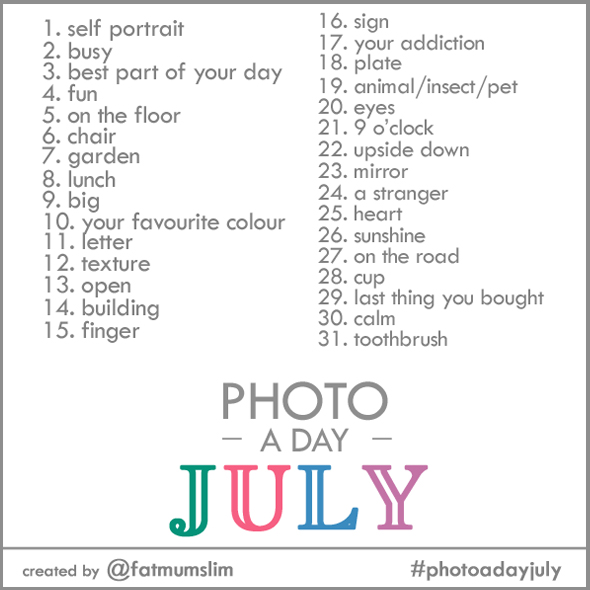
So, FATMUMSLIM does a new one every month. I will post my month of June below and I will also put the new list for July up. Save it to your phone so you won’t forget where to find it. Do it! I promise it will bring happiness to your life. Share your pictures daily with your Twitter or Facebook friends. I can guarantee they will appreciate them!

Share with the world, at least in my case that is what I am doing. It feels good to release and not care who sees them! I need to start getting used to that! hahaha

Here is the new JULY list: Make sure when you share your pictures you use the hashtag #photoadayjuly

 Enjoy my June #photoadayjune

Don’t forget to come back in the morning! I will have a FUN new post up! I will give you a hint. BLACK AND WHITE!
Find me here too!