Tag Archives: pumpkin

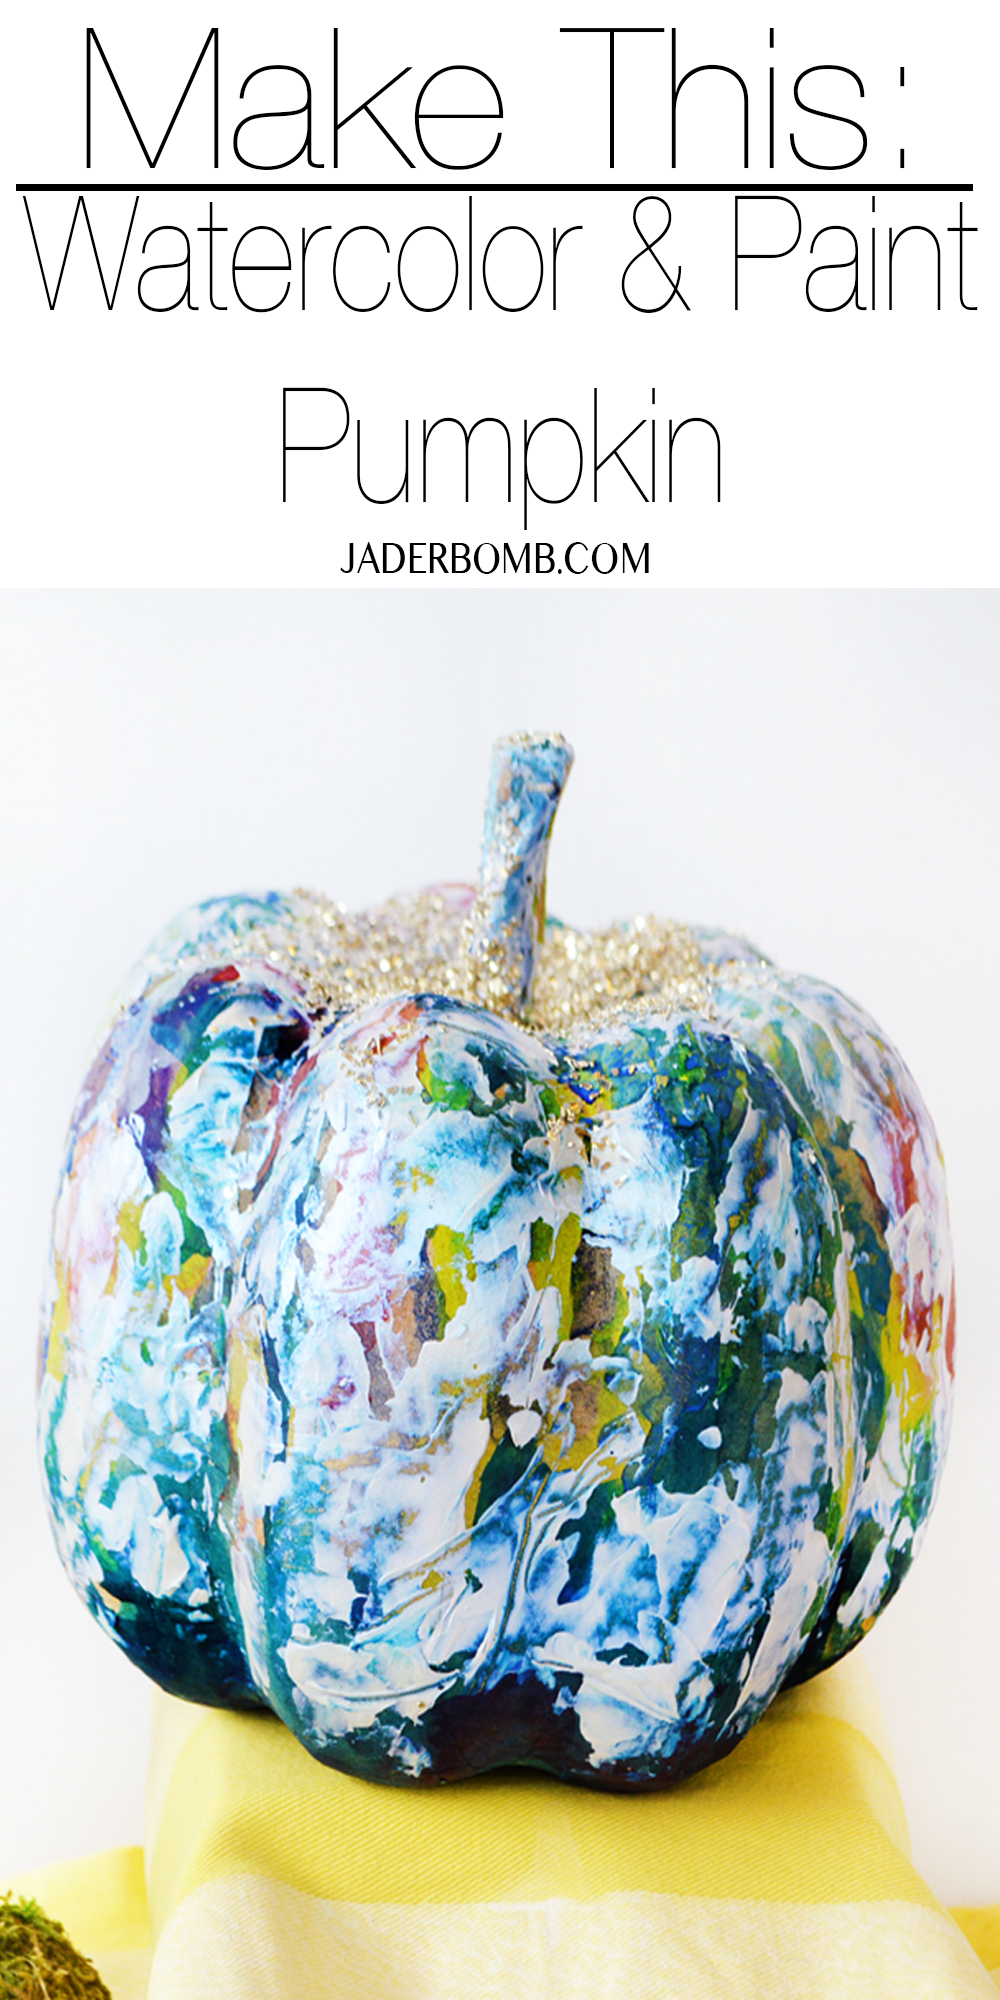
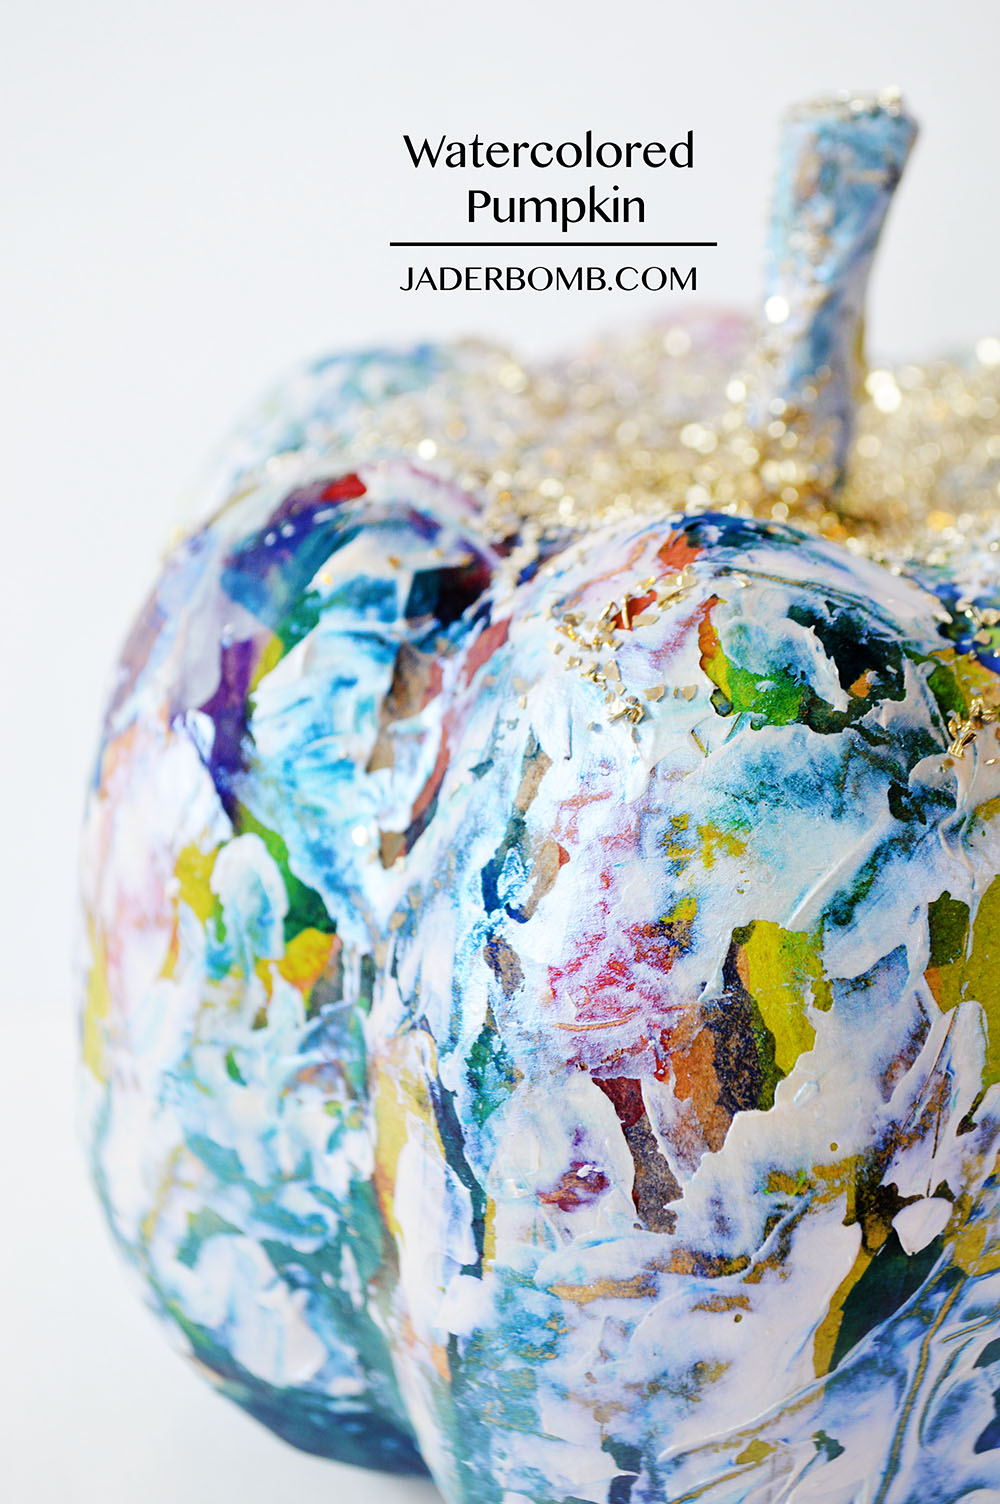
Howdy Jaderbugs! It’s hump day and I have something fun I want to share with you. I created this Watercolor and Paint Pumpkin the other night and I have a confession to make. Usually when I create a project for YOU I take step by step pictures of the process however today is different. The other night we were working late in the studio and I decided to “play” with a few craft pumpkins for shits and giggles. I honestly had no intention of doing a project I just felt like dressing up a boring pumpkin. Once it was complete I thought it was butt ugly. I know, can you believe I thought that!

When I finished the pumpkin I put in on a table in the studio and C passed by and said she loved it. I said, SURE you do (haha). After a few words I realized she ready did and that made me smile. It spent the night on the table and the next morning when we went back to the studio I passed by it and I truly fell in love. I think we all know that feeling looking at something the next day and realizing the beauty in it. I decided to share it with you but I don’t have any step out pictures. It was very easy to make so I will list all of the steps and hopefully that will work for you. Enjoy! Watercolor and Paint Pumpkin
Grab a kraft pumpkin from the craft store. You want to get the “cardboard” pumpkin so the watercolor will absorb in it. A plastic pumpkin will not work as well.
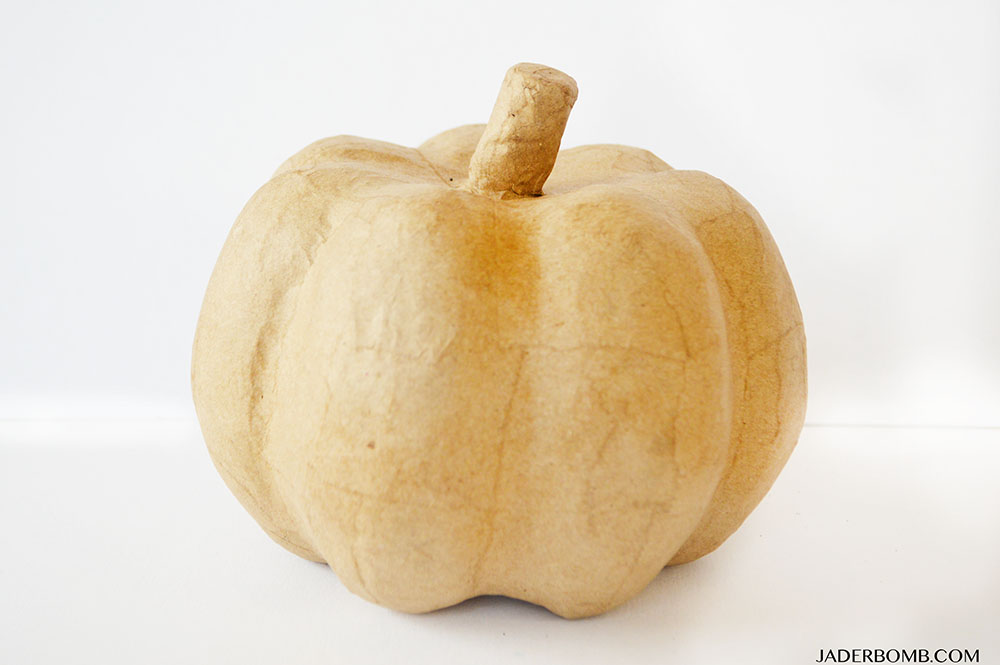
craft pumpkin

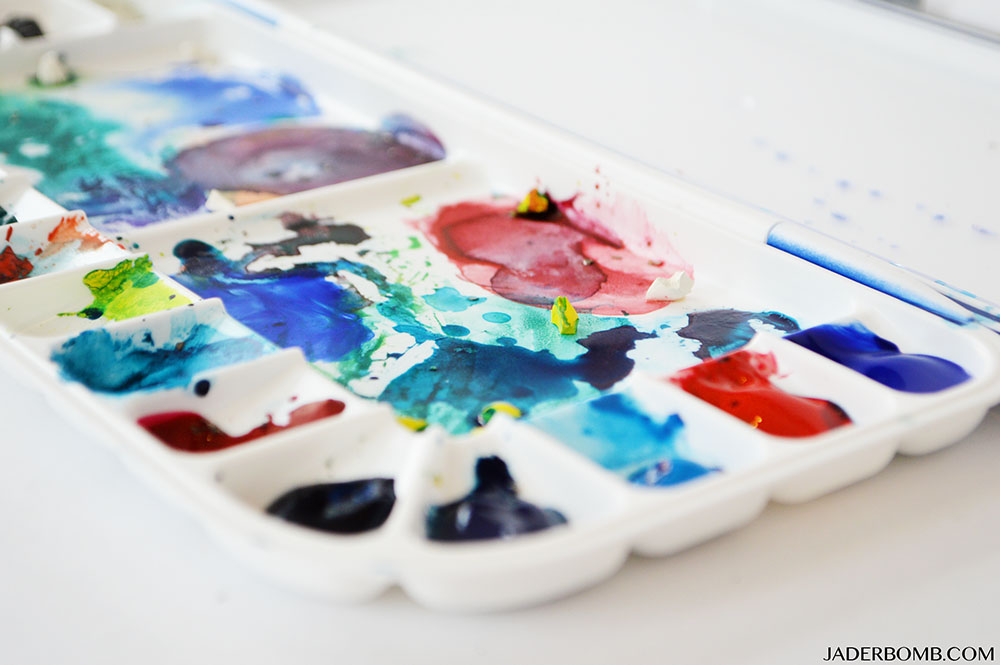
I used liquid water color, the pigment is much better. how to water color
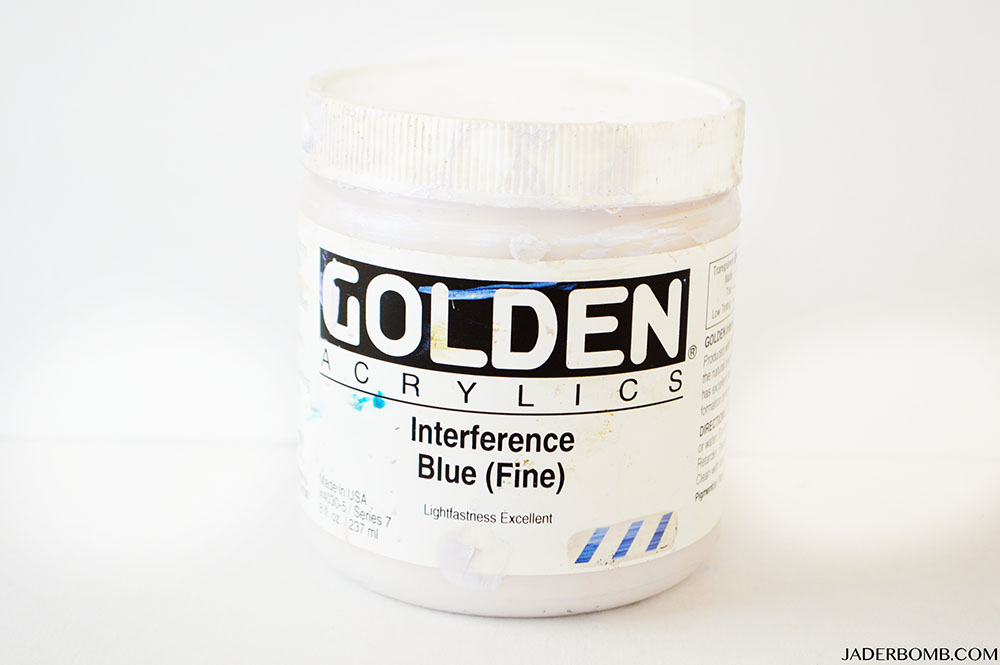
I also used this interference blue paint in the end. I will explain the steps below. neon paint
Step 1: Add watercolor all over your pumpkin. You can use as many colors as you want. I used every color known to man kind. When you are done with this step let your watercolor dry completely.

Step 2: Now that your pumpkin is dry we can add our interference blue paint. You can use any other paint just make sure it’s iredescent. I used a palette knife to spread the paint all over my pumpkin. I wanted it to look sorta messy and thick. A brush will not create the same look y’all, trust me.

Step 3: I slathered (yes slathered) paint at the top of my pumpkin and sprinkled gold glass glitter all over it. Now if you don’t have glass glitter you can use any glitter you want but I will tell you if you have never used glass glitter then you are totally missing out.

Step 4: Sit back and stare at it. Seriously. Grab a drink and stare.
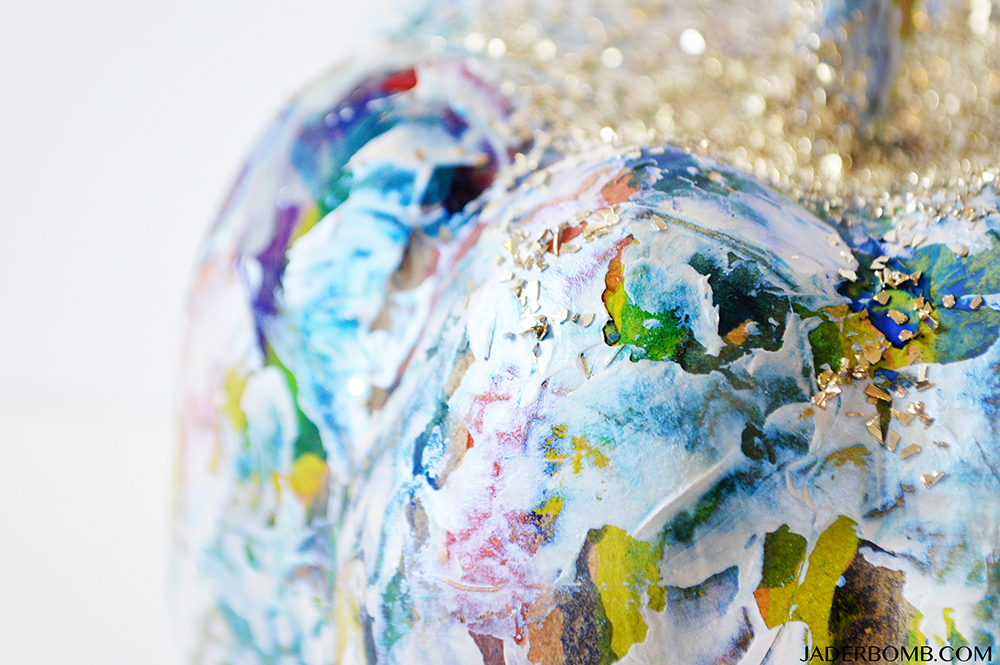
textured pumpkin

I am super pleased with this baby! I usually give my pumpkins away to friends but this sucker is staying with me. Let me know if you need any help or questions in the comment section! painted pumpkin
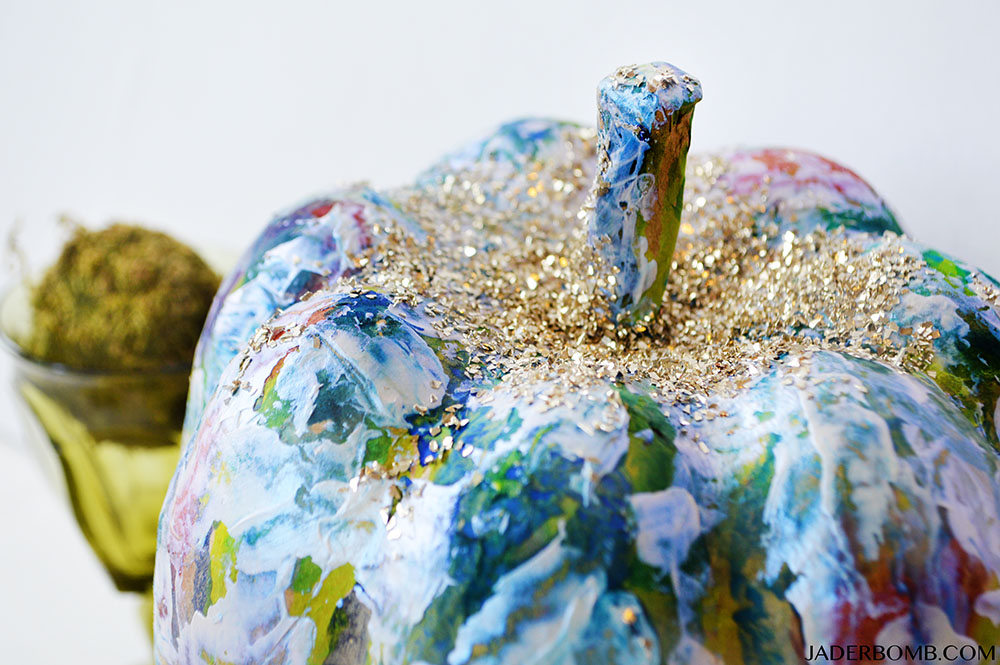
Don’t forget to SHARE because the WORLD needs to see this beauty, fa real!painted pumpkin project
Make sure to check out my awesome Halloween dog costume I made for Michaels!

HASHTAG LOGO

Don’t forget to connect on social media! Make sure to use use the hashtag #JADERBOMB on Instagram or Twitter or Facebook so I can keep track of all your awesome creations! HAVE A GLITTERY DAY! ♥, Jade


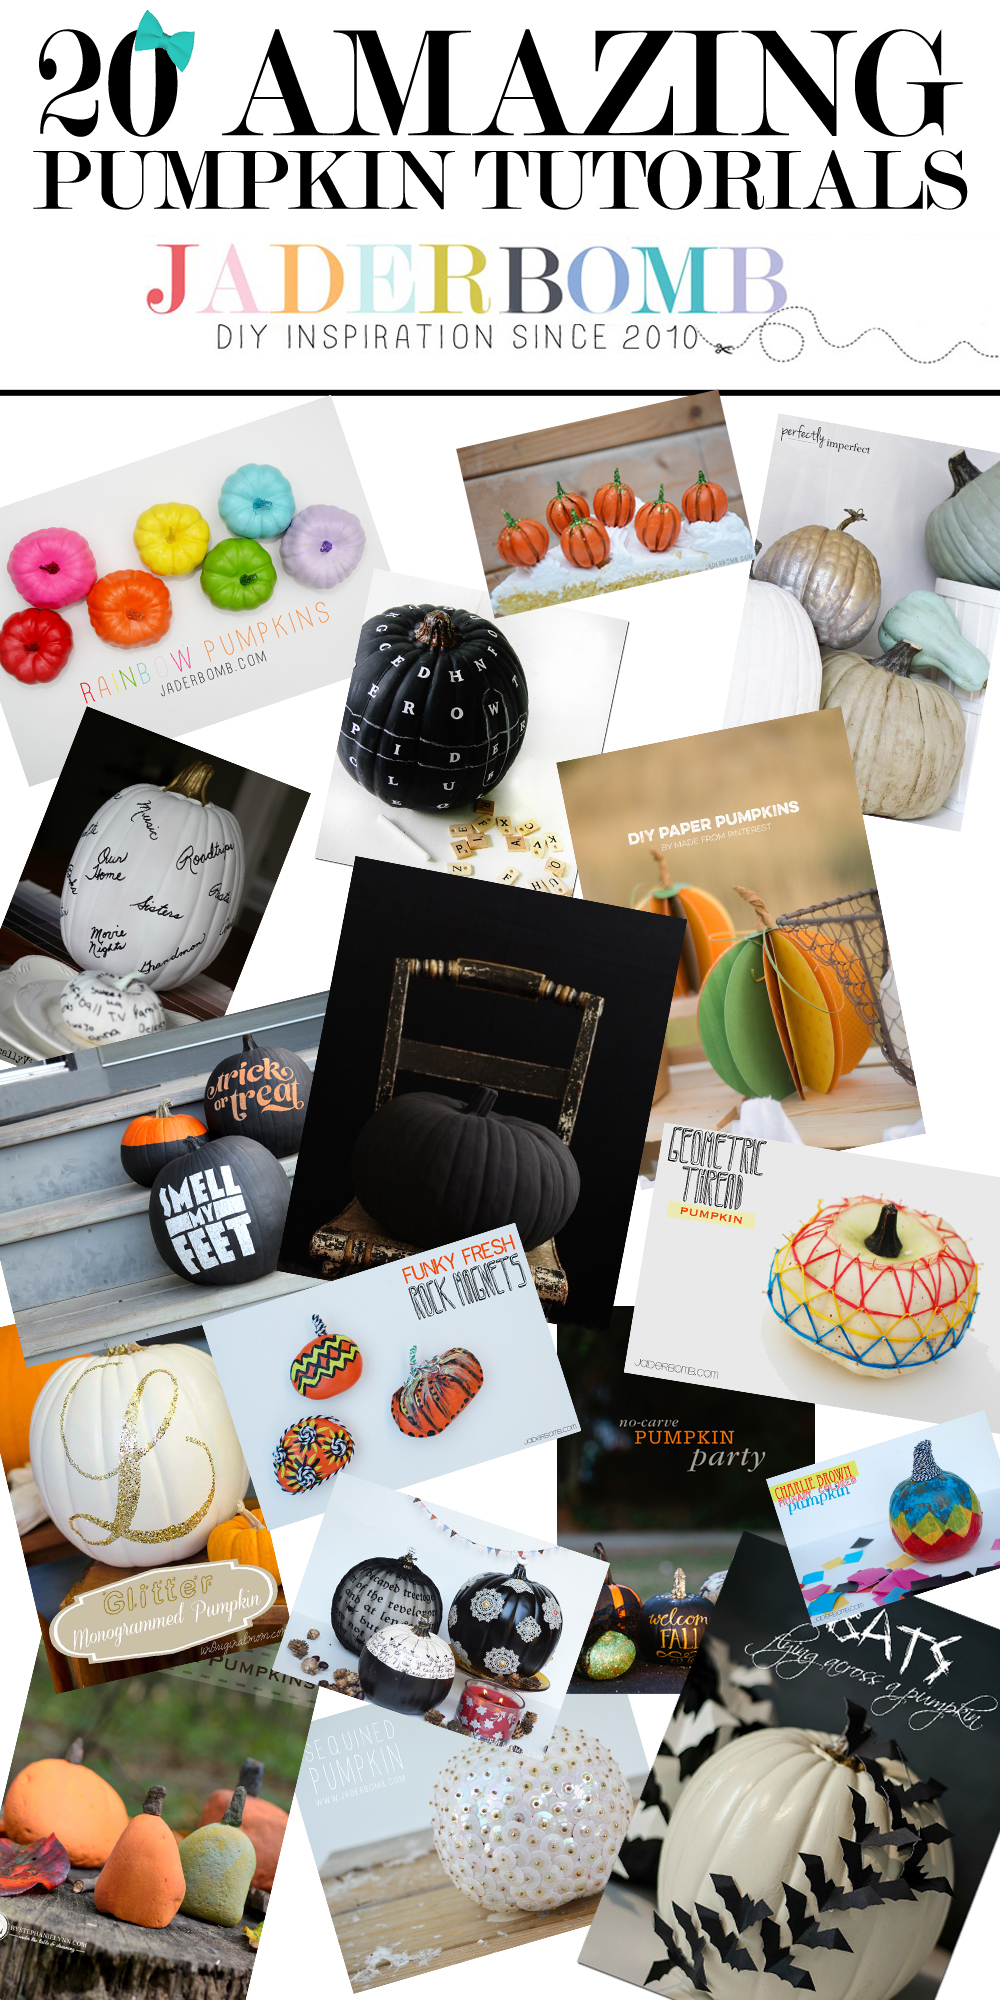
I am so excited to share with you these 20 Amazing Pumpkin Tutorials. Fall is here and it’s that time of year to break out the pumpkins and show off our best designs. For many it’s a time to experiment and see just how creative you can get with decorating your pumpkins.  Make sure to share this post all over with your friends and family because they might need to see some of these pumpkin babies! I guess it’s appropriate for me to say, “Happy Fall Y’all”…

Jaderbomb Template
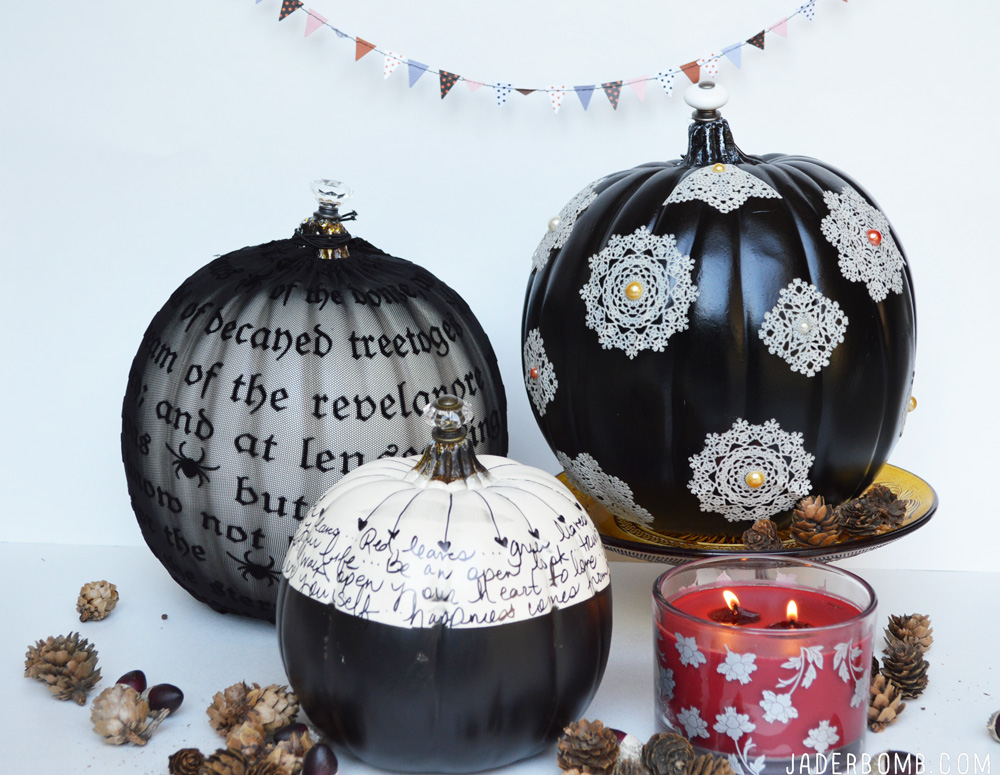
Lace PumpkinsBlack and White Pumpkins via Jaderbomb

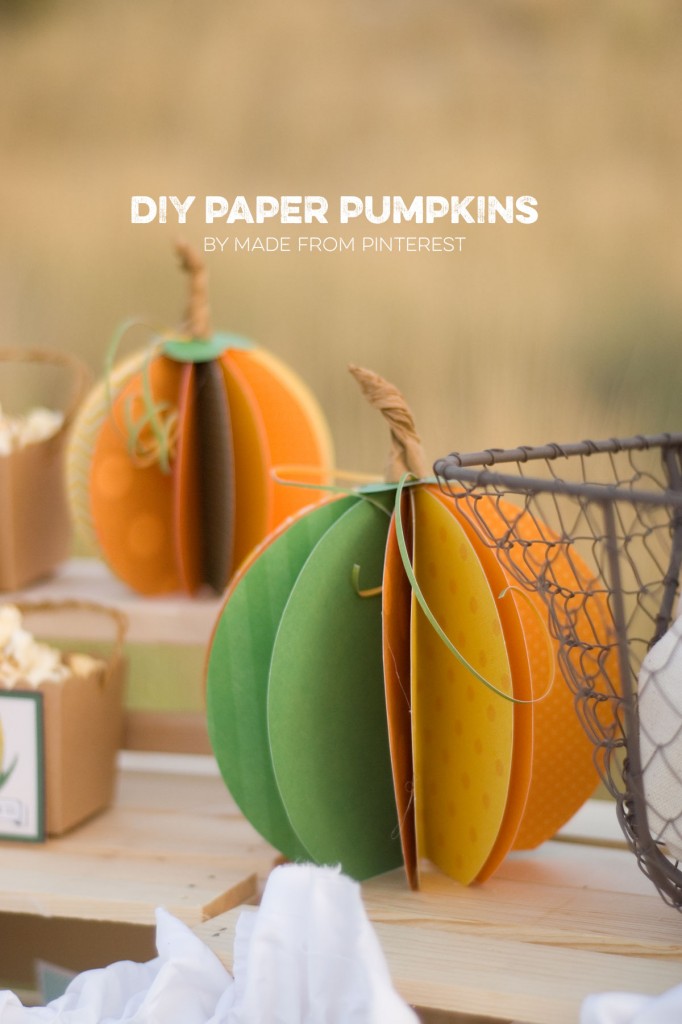
paper-pumpkins1-682x1024Paper Pumpkins via MadefromPinterest

finalChalkboard Pumpkins via FairGoods

PerfectlyImperfect-PaintedPumpkins2_zps6e1e642f

Shabby Chic Pumpkins via PerfectlyImperfect

glitterpumpkin_title

Glittered Monogrammed Pumpkin via UnOriginalmom

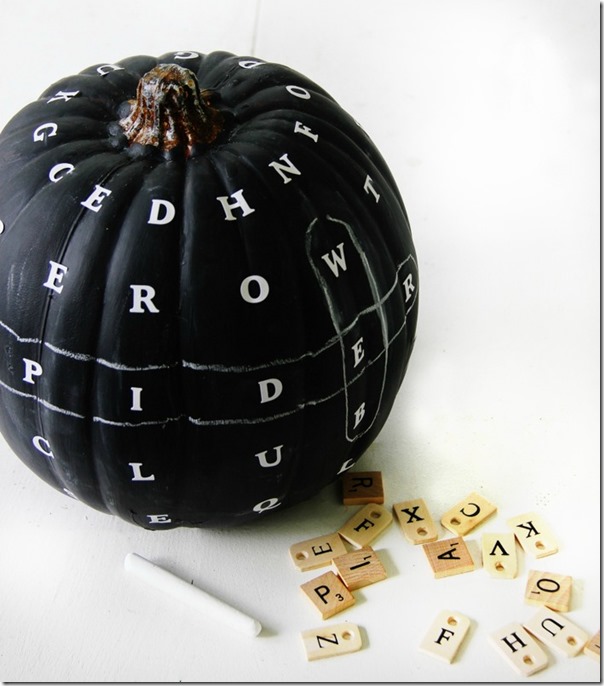
word-find-chalkboad-pumpkin-project_thumb1

Chalkboard Word Find Pumpkin via Thistlewoodfarms
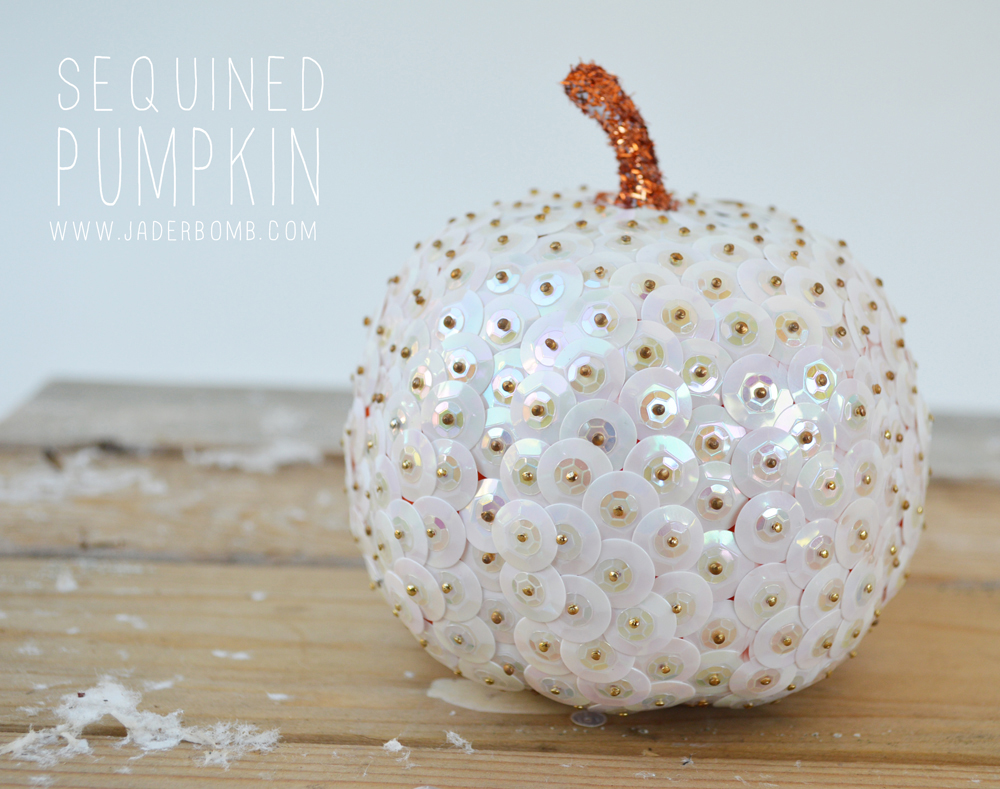
SEQUINED-PUMPKIN14

Sequined Pumpkin via Jaderbomb

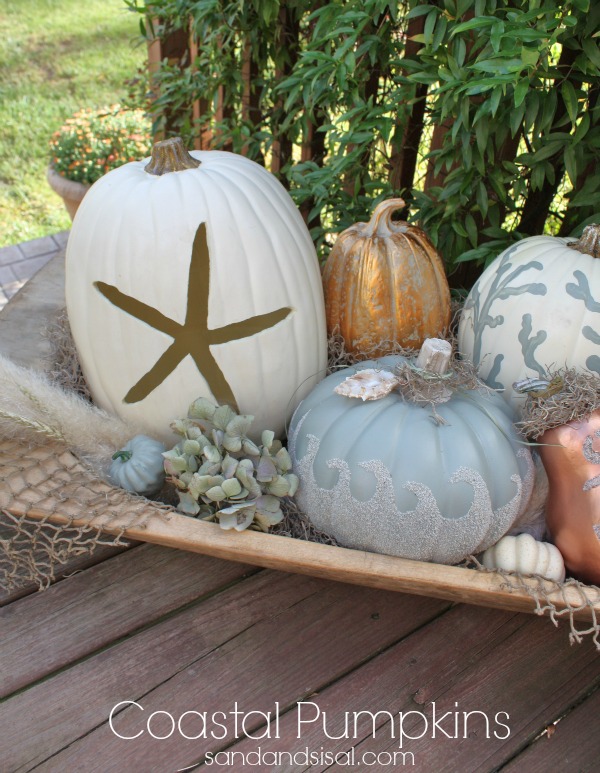
Coastal-Pumpkins-by-Sand-and-Sisal

Coastal Pumpkins via SandandSisal

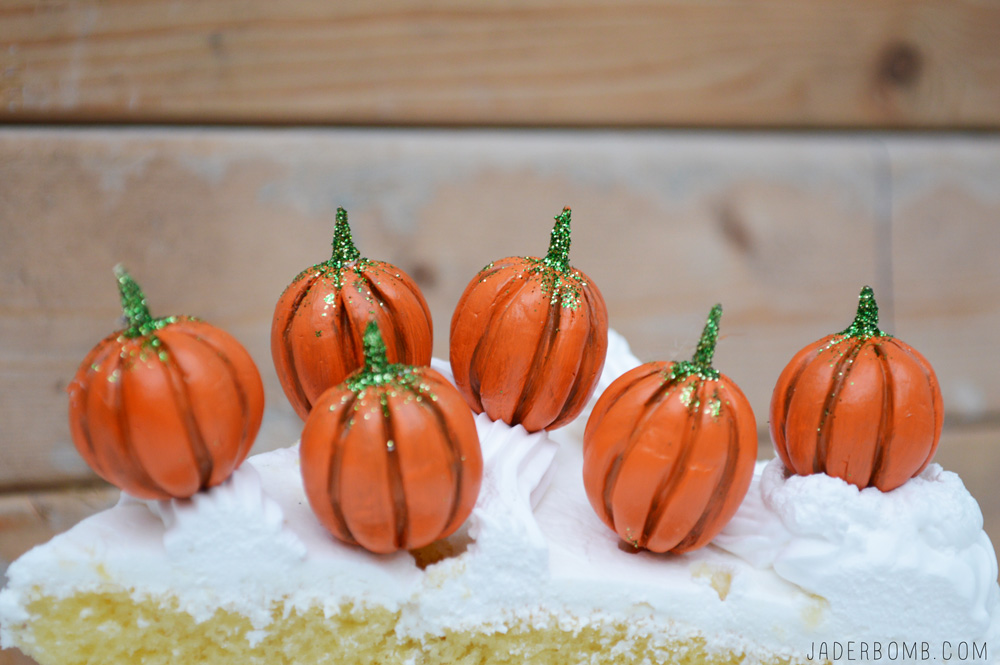
how-to-make-cake-toppers-for-halloween

Pumpkin Cake Toppers via Jaderbomb

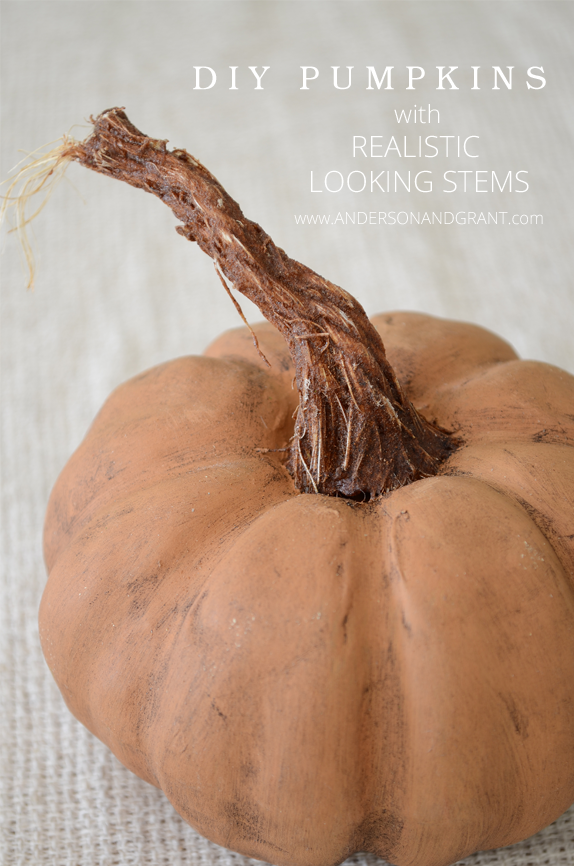
DIY Pumpkins with Realistic Looking Stems from Anderson and Grant

DIY Pumpkins with Realistic Stems via AndersonandGrant

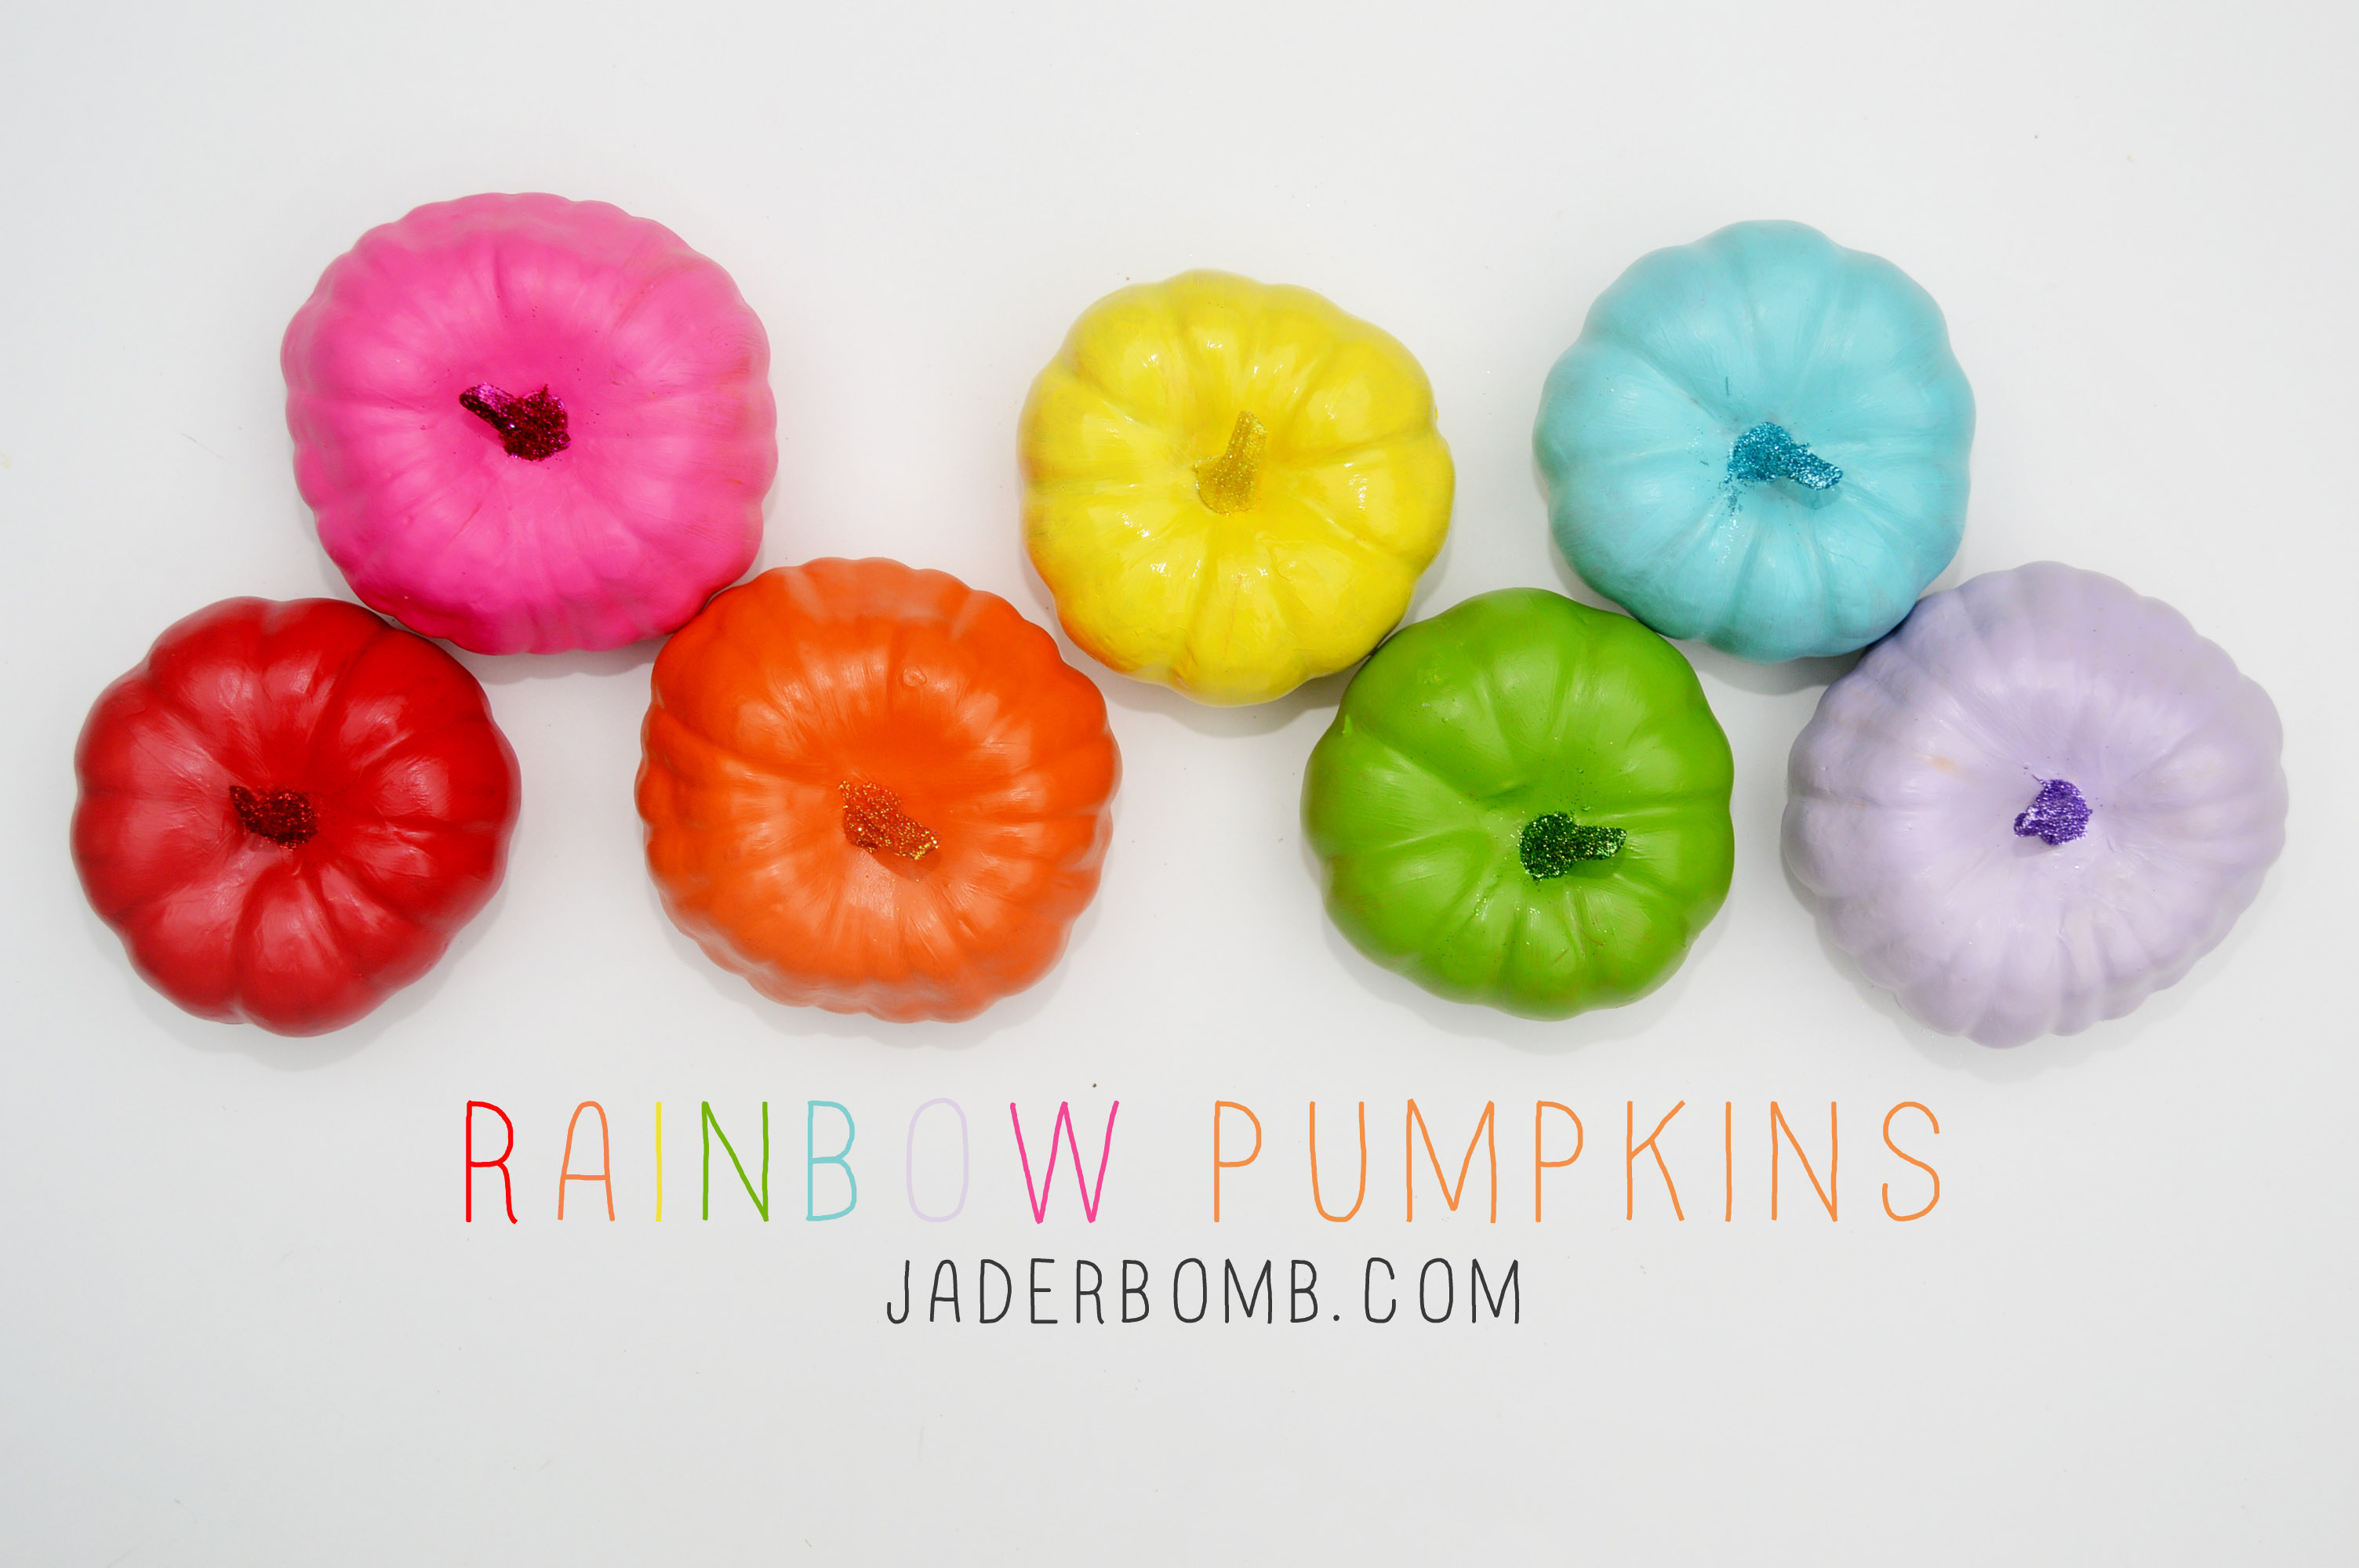
RAINBOW PUMPKINS

Rainbow Pumpkins via Jaderbomb

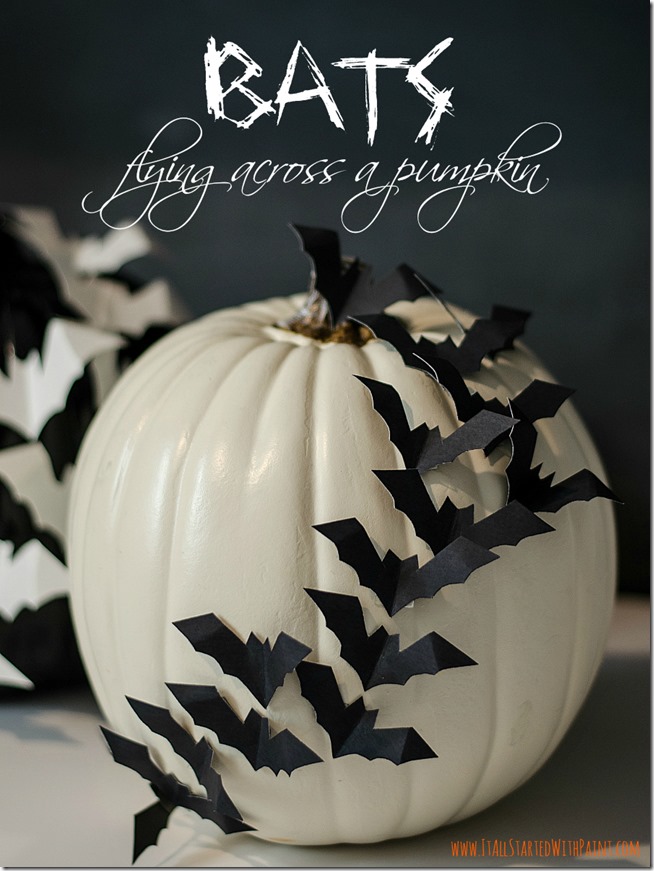
Bats-On-Pumpkin-No-Carve-6-2_thumb

Batz Pumpkin via Itallstartedwithpaint

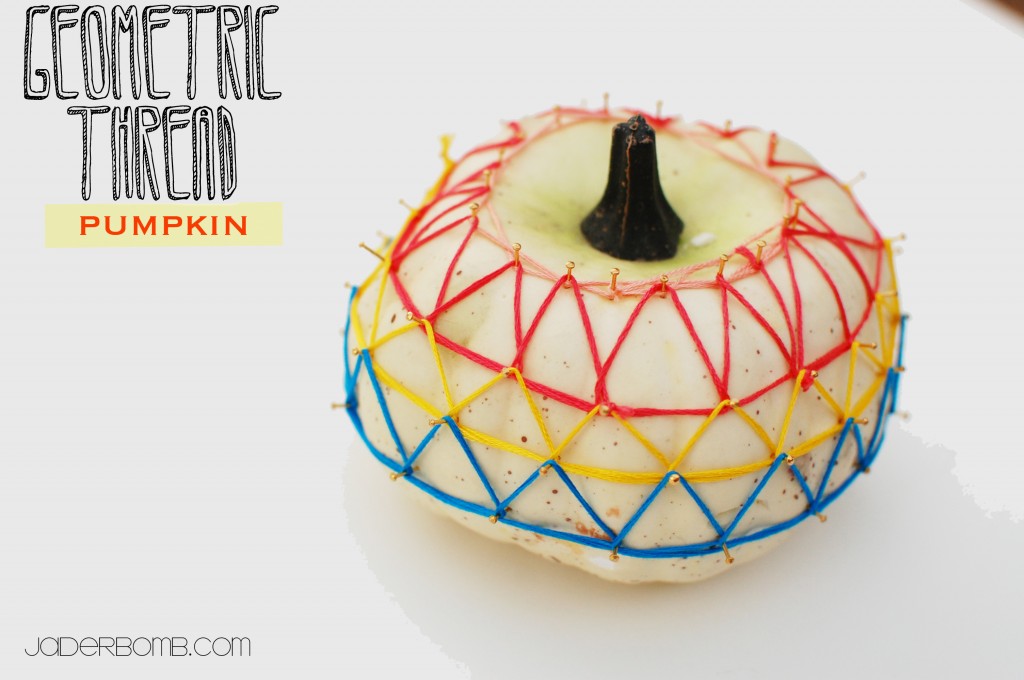
DSC_06352-1024x680

Geometric Thread Pumpkin via Jaderbomb

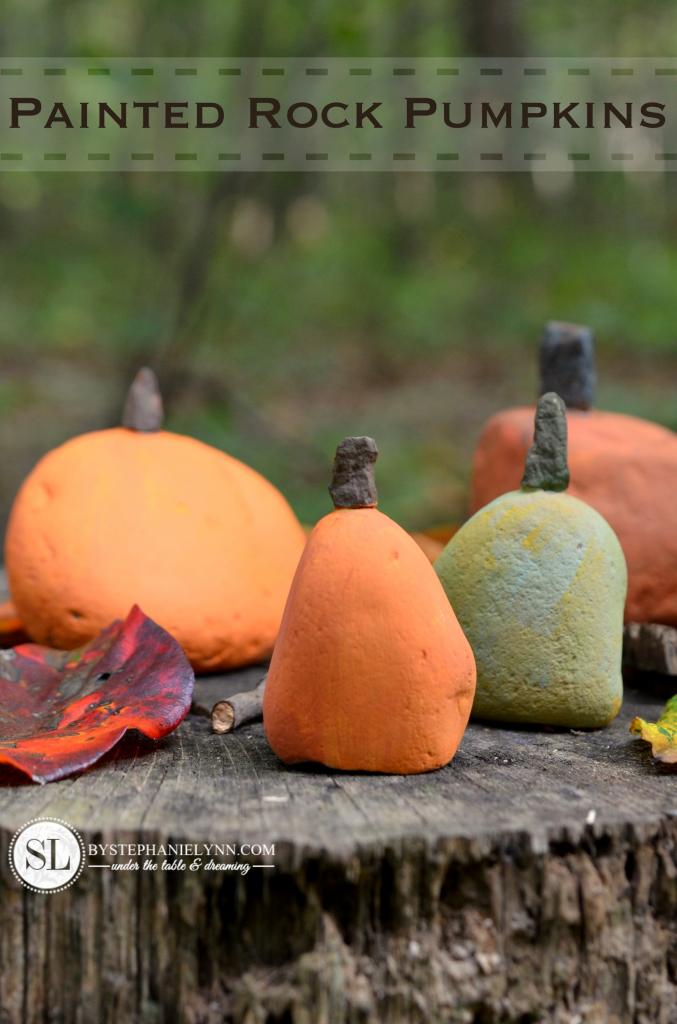
PaintedRockPumpkinswetones_zps4d3de98e

Painted Rock Pumpkins via ByStephanieLynn

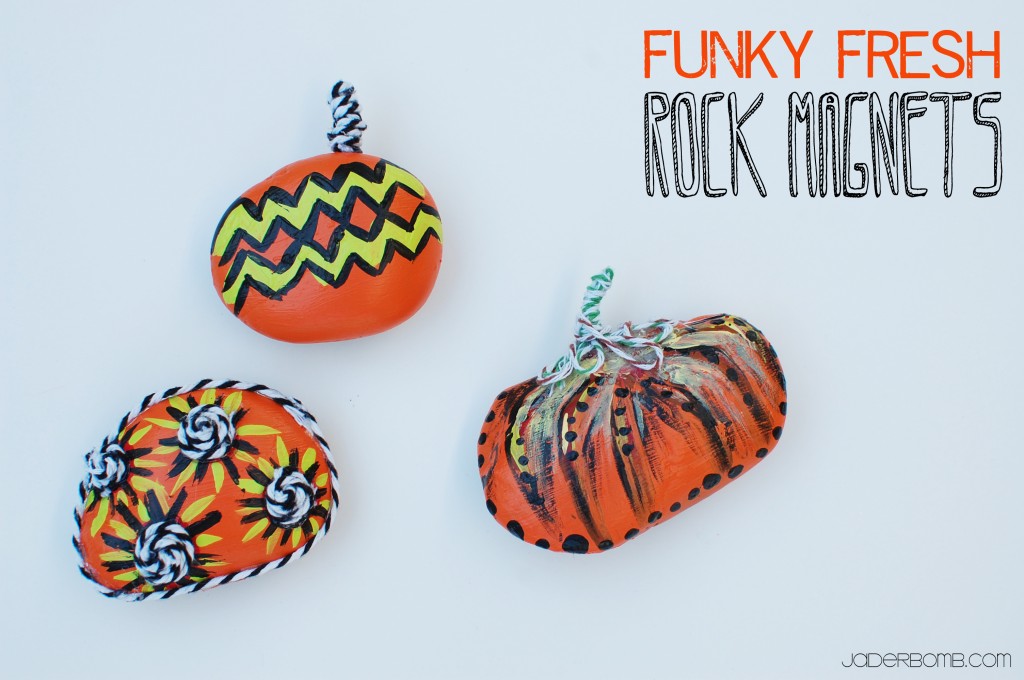
DSC_05842-1024x680

Funky Fresh Rock Magnets via Jaderbomb

DSC_0618-1024x703

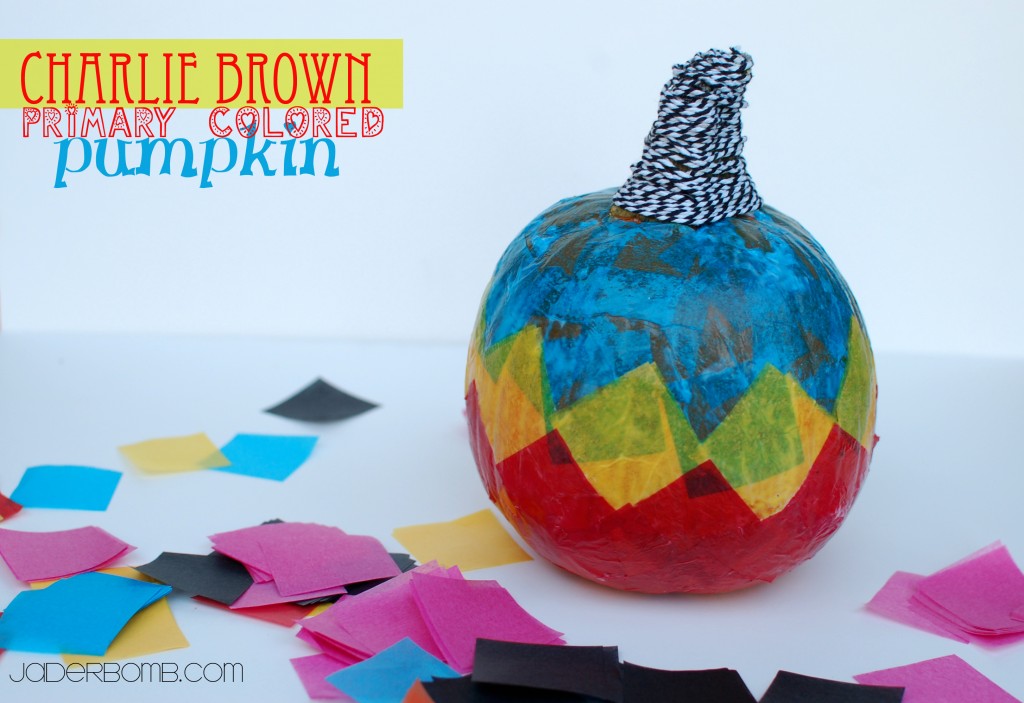
Charlie Brown Primary Colored Pumpkin via Jaderbomb

DIY-Donut-Pumpkins-600x900

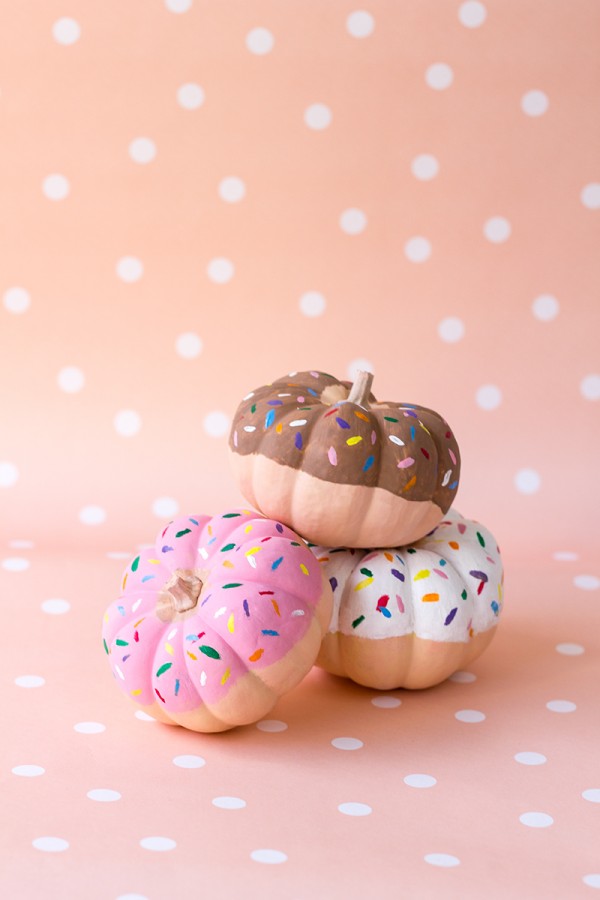
Donut Pumpkins via StudioDIY

How-to-Make-Thankful-Pumpkins

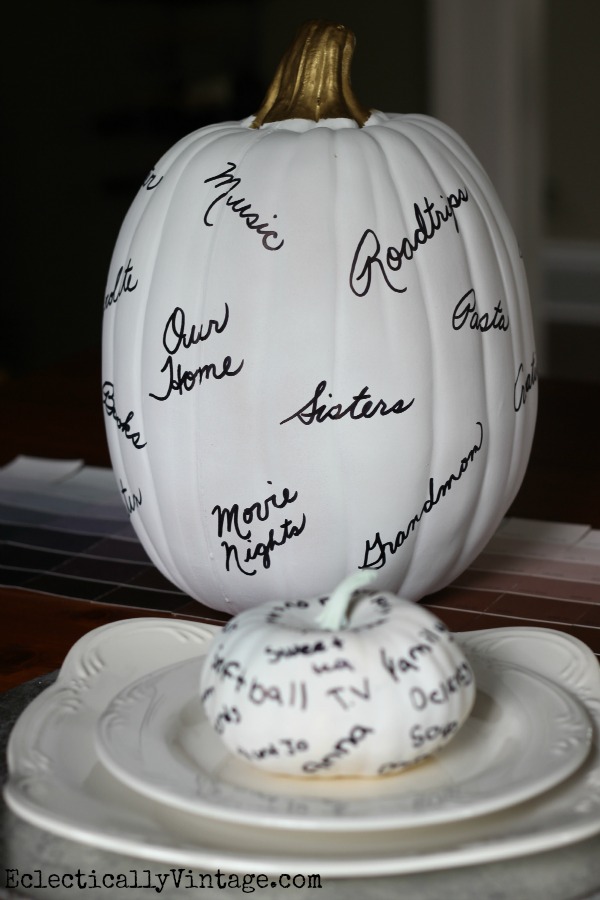
Thankful Pumpkins via EclecticallyVintage

No-carve-Pumpkin-Party
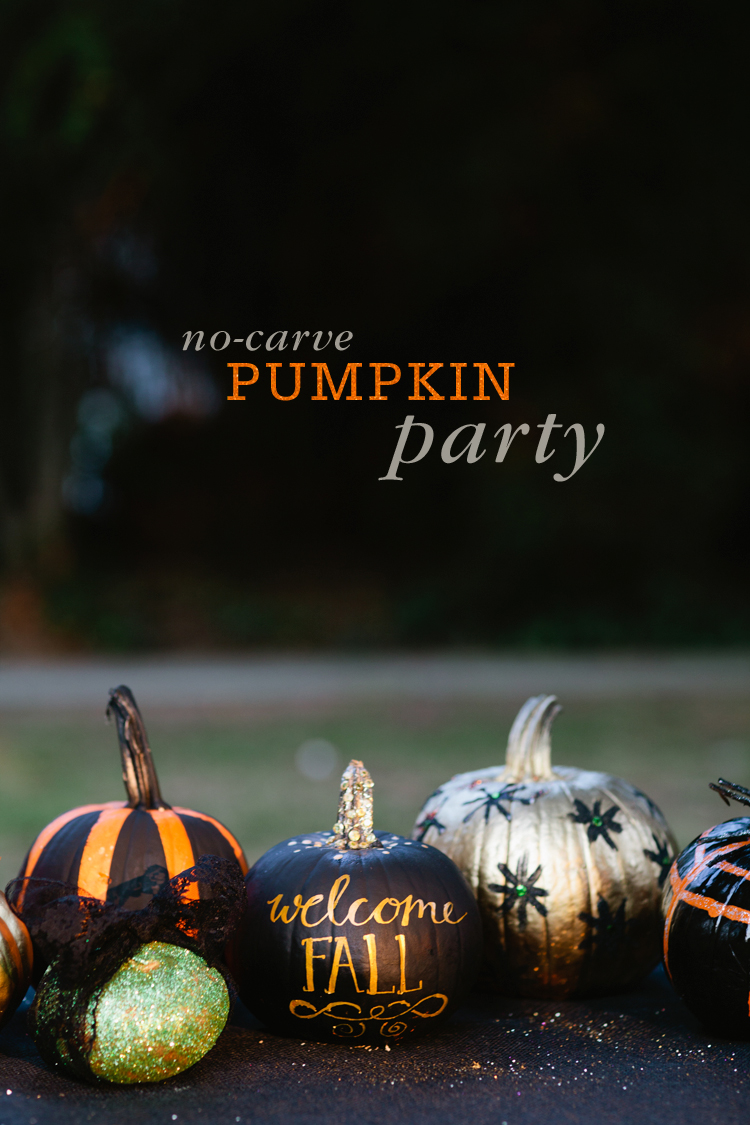
No Carve Pumpkins
via Freutcake

enhanced-buzz-7711-1380212175-25

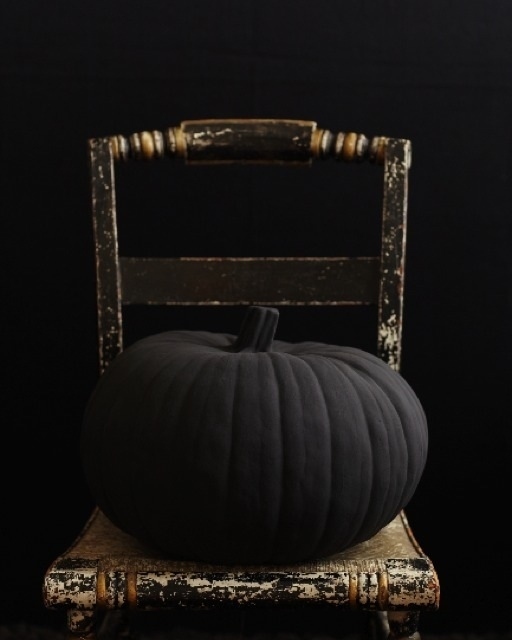
Big Black Pumpkin via Sweet Paul 

HASHTAG LOGO

Don’t forget to connect on social media! Make sure to use use the hashtag #JADERBOMB on Instagram or Twitter or Facebook so I can keep track of all your awesome creations! HAVE A GLITTERY DAY! ♥, Jade
Make a Sequined Pumpkin

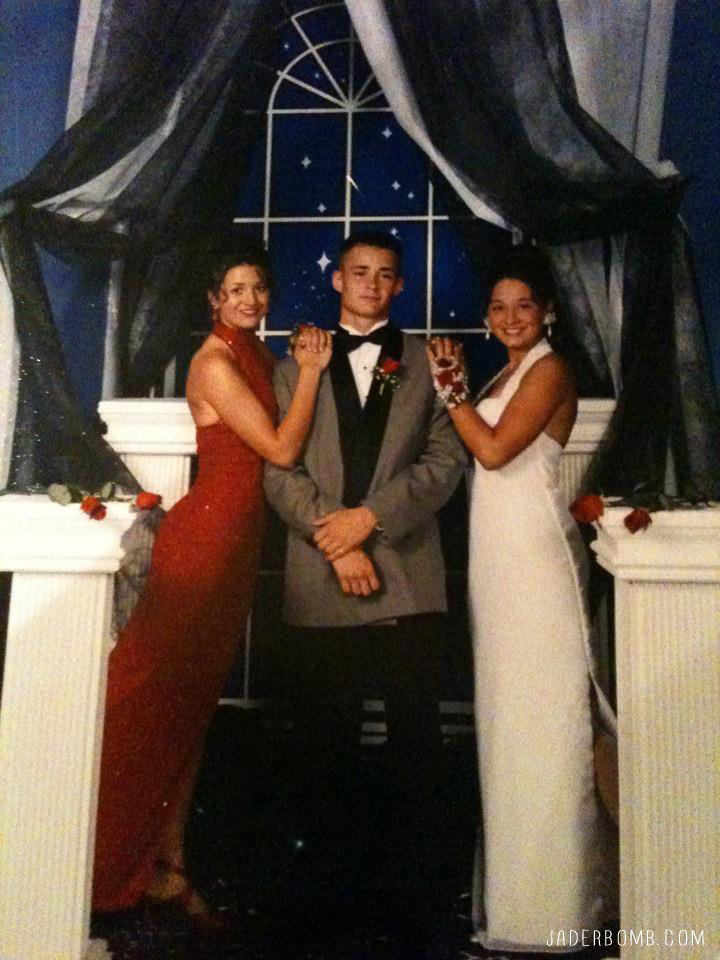
What is the first thing that comes to my mind when I think about sequins? Well of course I think of my freshmen homecoming dress.

Let me tell you that thing was blinged out! I will post a picture at the bottom of this post for you to see, don’t judge… TeeHee

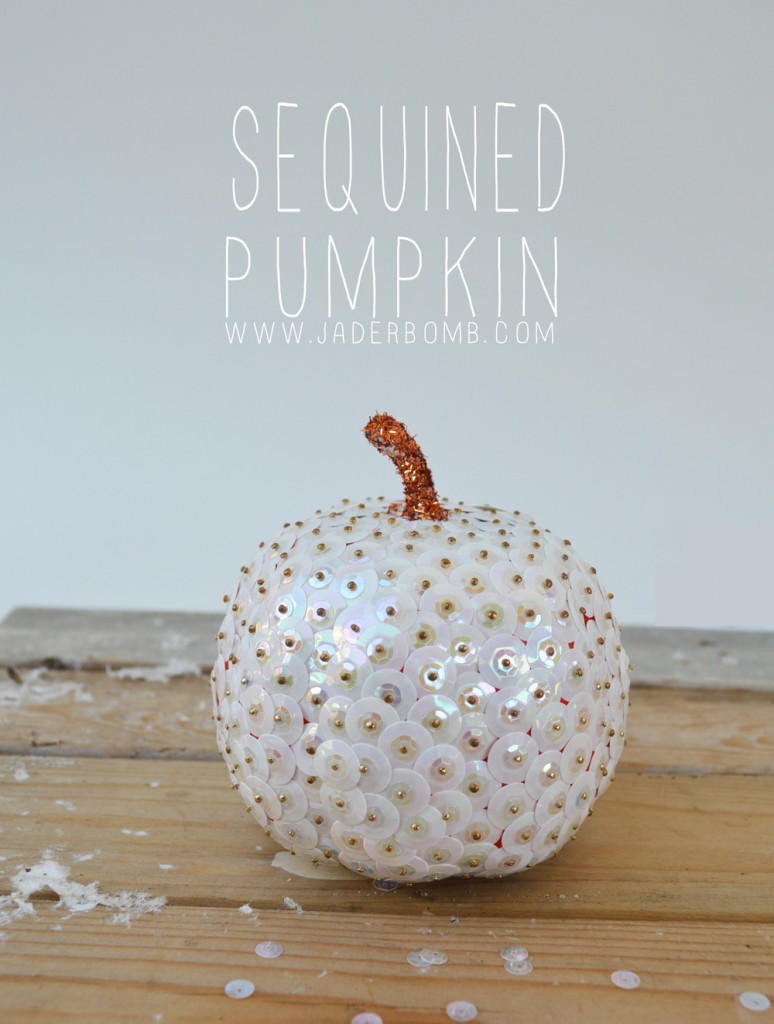
Today I will show you how to make a Sequined Pumpkin.

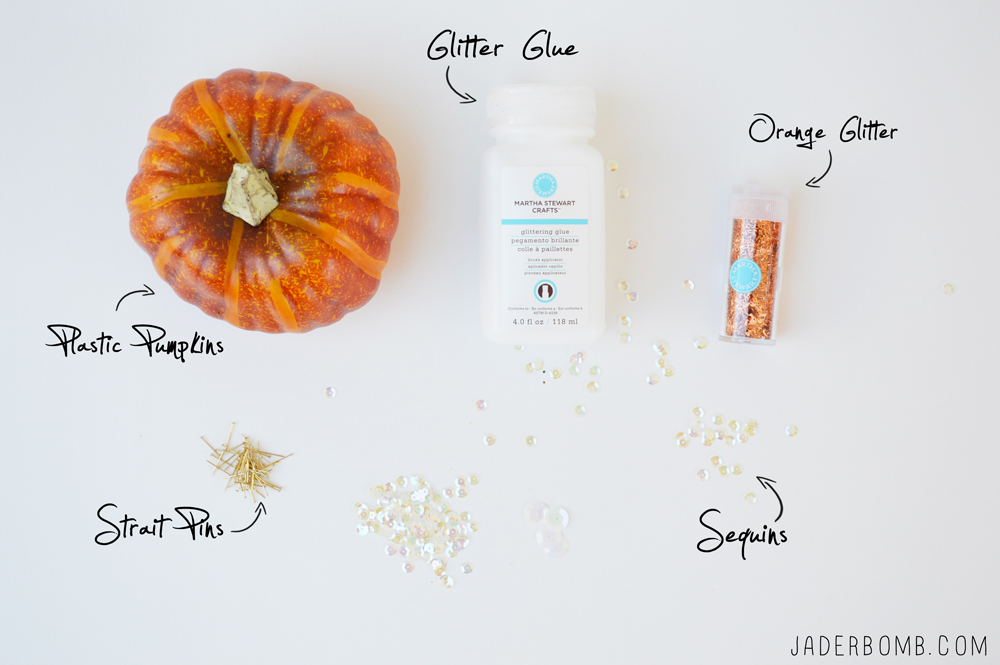
YOUWILLNEED*Plastic Pumpkin
*Glitter Glue 
*Orange Glitter
*Head Pins
*Sequins (small and large)

If you don’t have any of the supplies I used in today’s post you can click on the links to purchase any of them!
Sequined Pumpkin Supplies

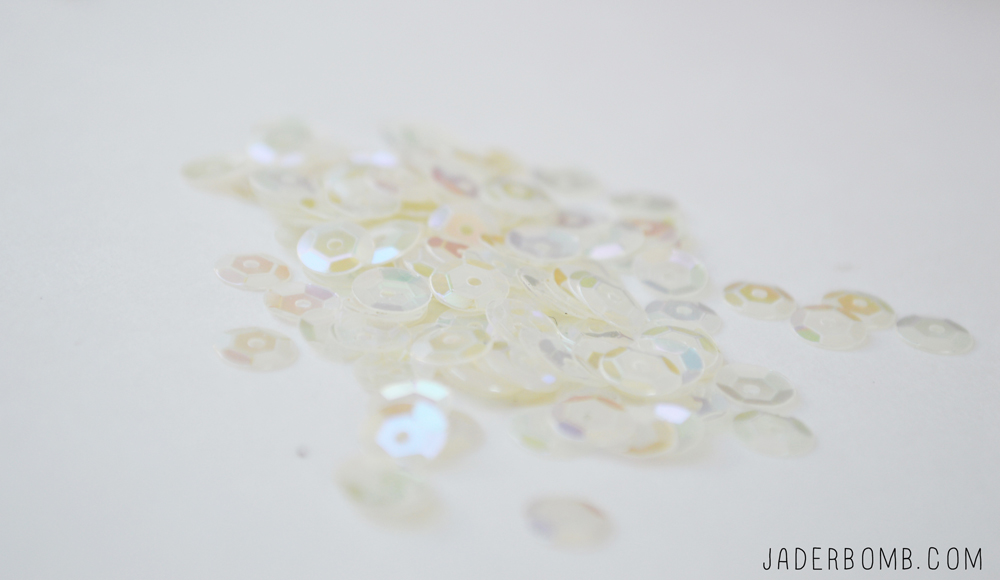
How gorgeous are these sequins! I used the same iridescent color but in two sizes. It looks good when there is a small one in front of the big one.

Sequined PumpkinI am using gold head pins. I like the gold because it adds some color to the sequins and dresses up everything.
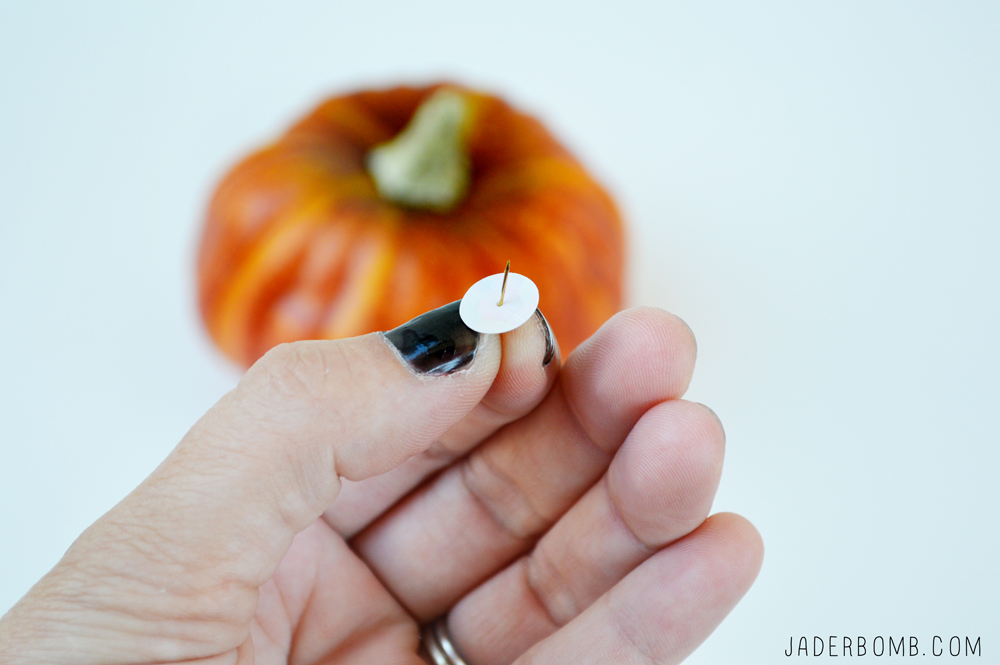
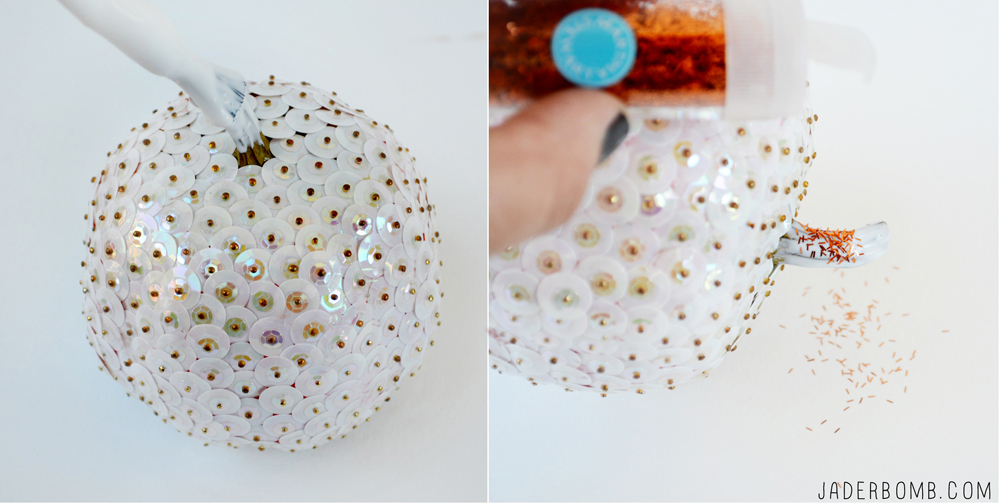
The first thing you will do is place a small sequin on the pin then the large one right on top of that one.

Sequined Pumpkin how to Start placing them in your pumpkin starting the very top.
Sequined Pumpkin tutorial

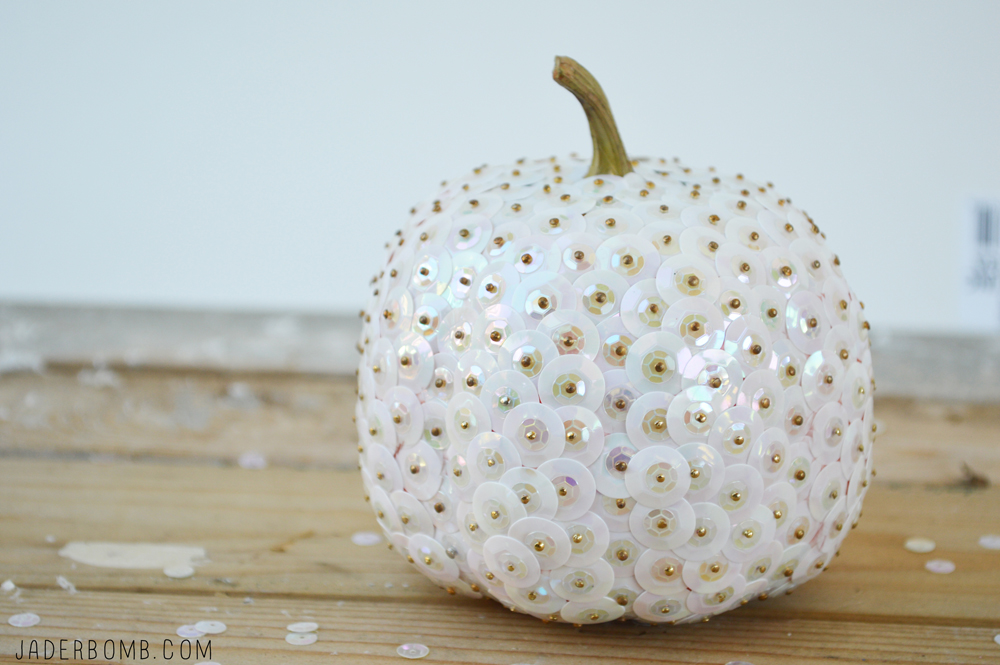
This is what it will look like once you have completely finished it. It’s so pretty I could eat it. Well not really but you get my point! Sequined Pumpkin

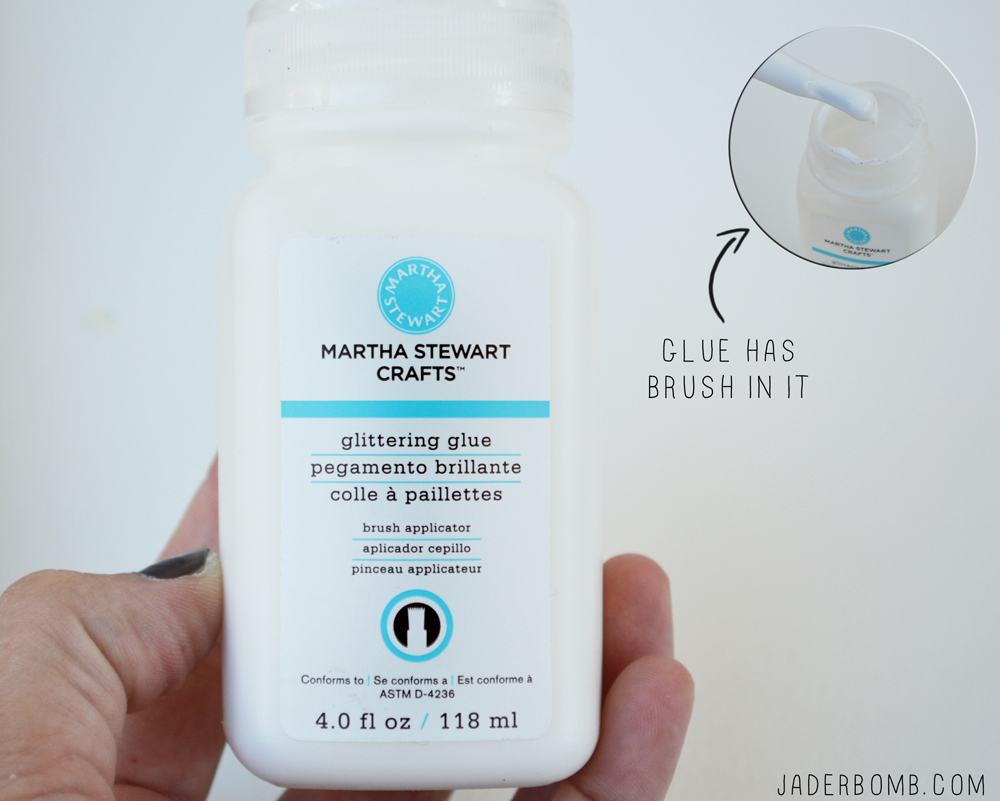
If you want to bedazzle it some more grab some glitter glue. If you don’t have glitter glue you can use any glue you have. Glitter Glue

Coat the stem with glue then sprinkle with glitter. I used orange but you can use any color that you want. DIY Sequined Pumpkin

It’s really that simple. The good news is we still have Thanksgiving to decorate for and you could make some gold and brown ones. I will warn you that they are very time consuming however they are worth it in the end.

When you are saving them up after the holiday’s make sure to place each one in a single ziplok bag so they don’t get dingy.
Sequined Pumpkin

HERE IS THE LOVELY DRESS! Yes that me in the red dress with my bro and seester! 402676_3167671267390_30998326_n

I hope you enjoyed this tutorial! See you in the next post!

in other news

*Check out my latest post on The Graphics Fairy
*Starting NOVEMBER 1st, I will be the featured PINNER for FAVE CRAFTS! I will share the direct link on my FACEBOOK and TWITTER!
*I will be in the upcoming issue of GREEN CRAFTS magazine! It comes out November 1st at craft stores. For sure Hobby Lobby!

Quote of the day:
“It is the first duty of the citizen to be calm.

Won’t you take me to… FUNKY TOWN with FUNKY ROCKS… with FUNKY MAGNETS…

You get it, I am pretty excited about these babies. However I never even got to put them up because dad took them to Hawaii and already gave them away! He said all of his friends there would love them. I was hoping he would of “forgot” to give them away. Eh. He didn’t.

Good thing is it’s only rocks! I can make TON’S more Jaderbugs! Let’s get started on our halloween rock magnets

Halloween Rock Magnets

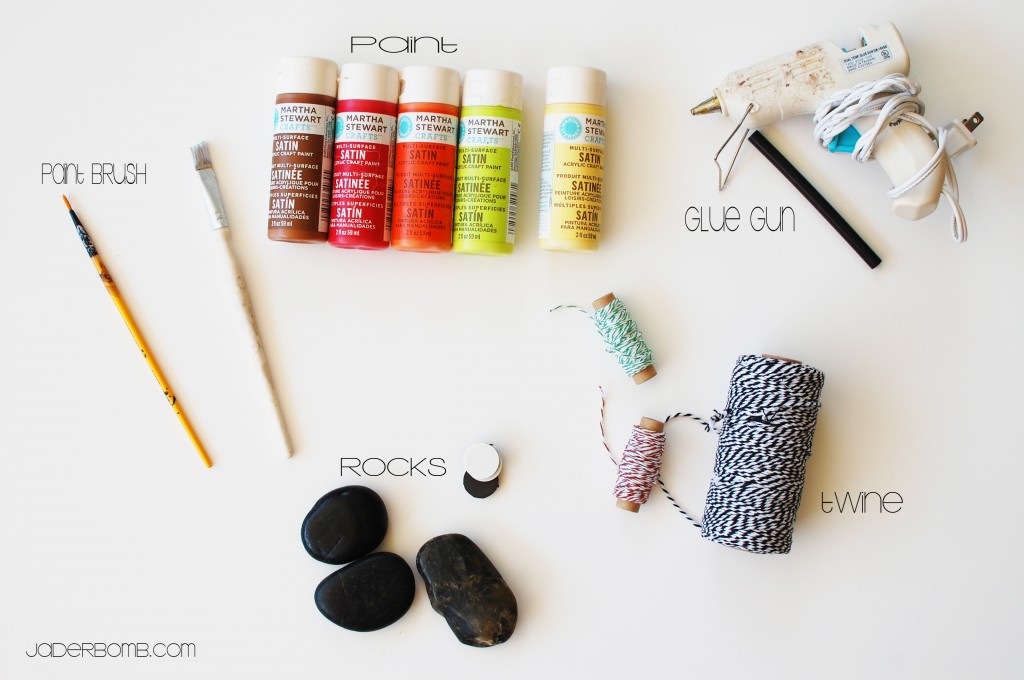
 INGREDIENTS: 

*Paint
*Glue Gun
*Craft Brush
*Baker’s Twine
*Rocks
*Magnets

Make sure you click on the links of ingredients to order these items!

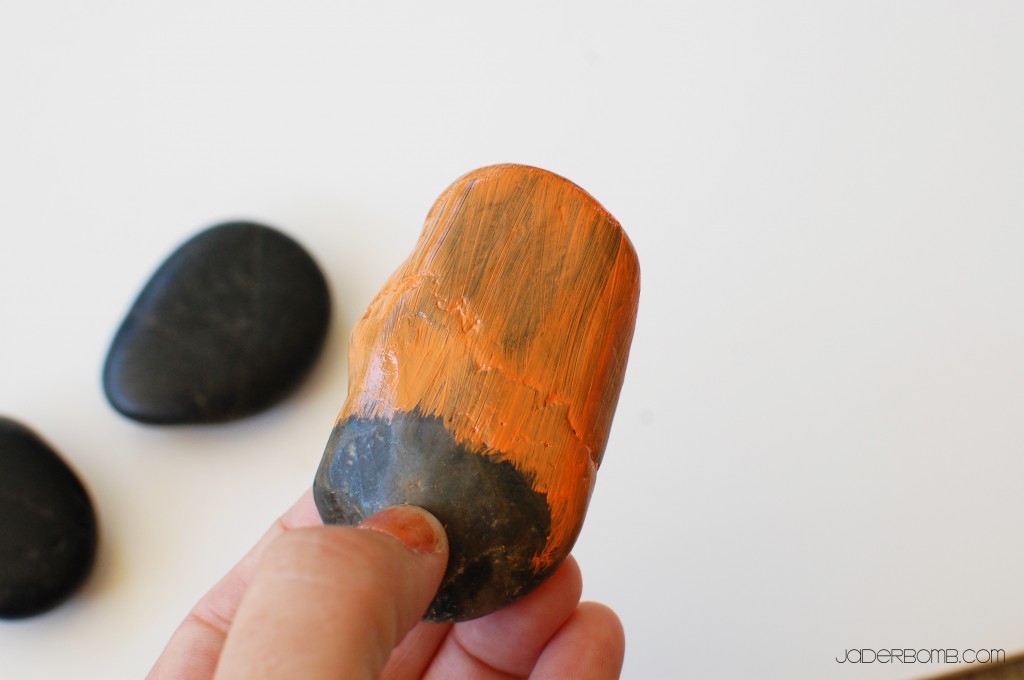
The first thing you will do is paint your first coat of paint onto the rock. I like to do one half, let it dry then do the other half. Remember your first coat will be translucent to a certain degree.

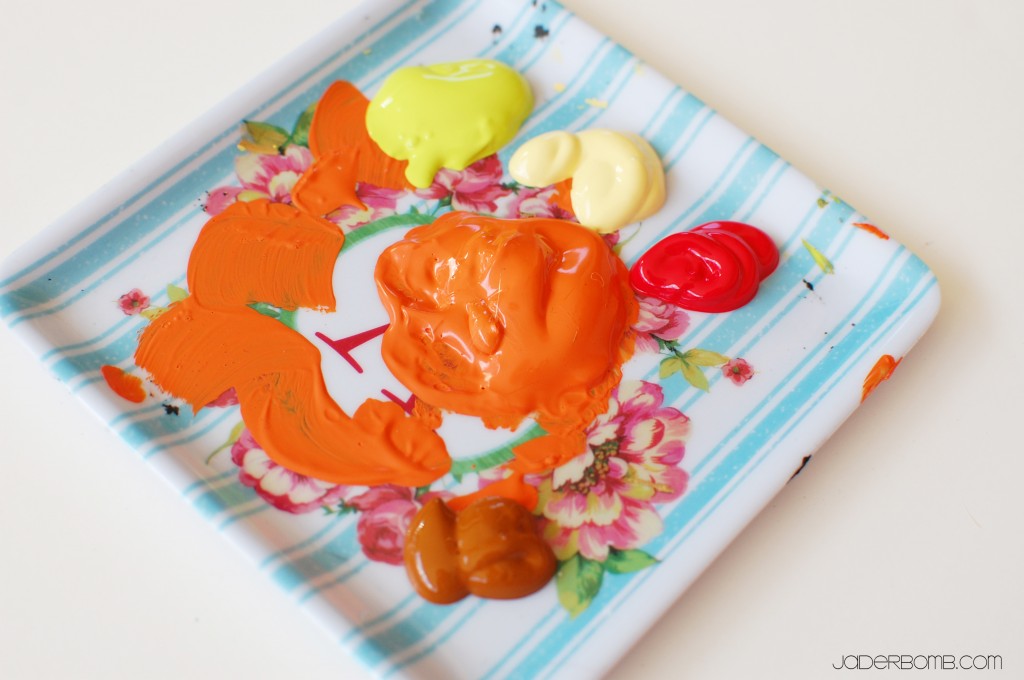
I love taking pictures of my paint. It looks so pretty! NO. I don’t want to eat it, today.

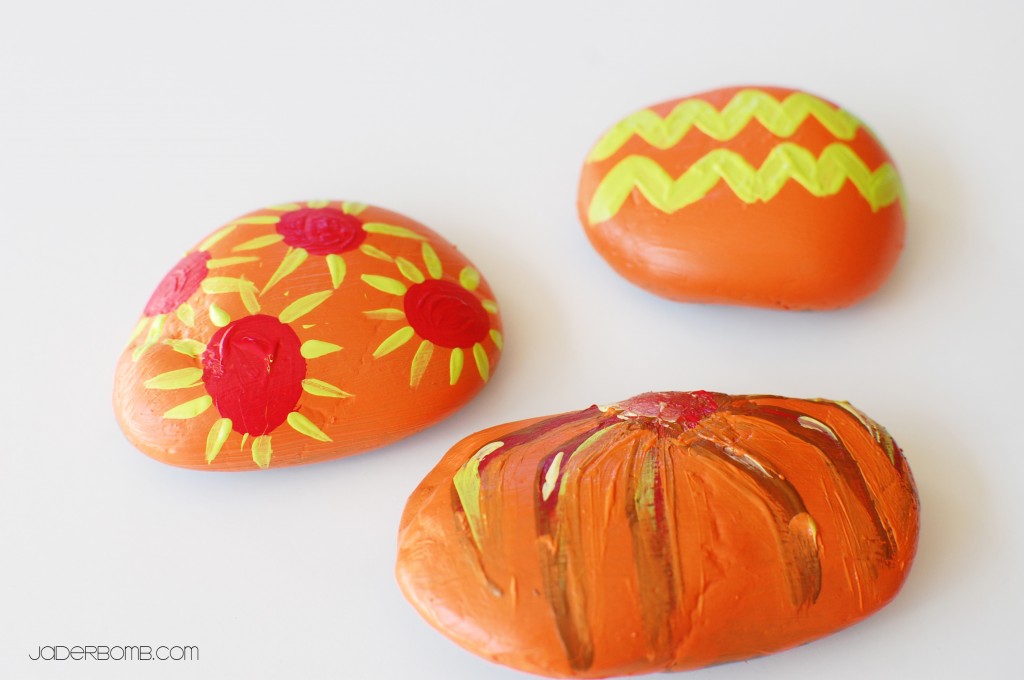
Once your rocks are fully coated you can start painting your design on them. I really enjoy whimsical, organic designs.  Remember if you are putting different designs on your rocks to let each color dry thoroughly. I won’t show you the rocks that threw in a pile because I thought I had magical brushes that would not mix the paint together.

HAHA

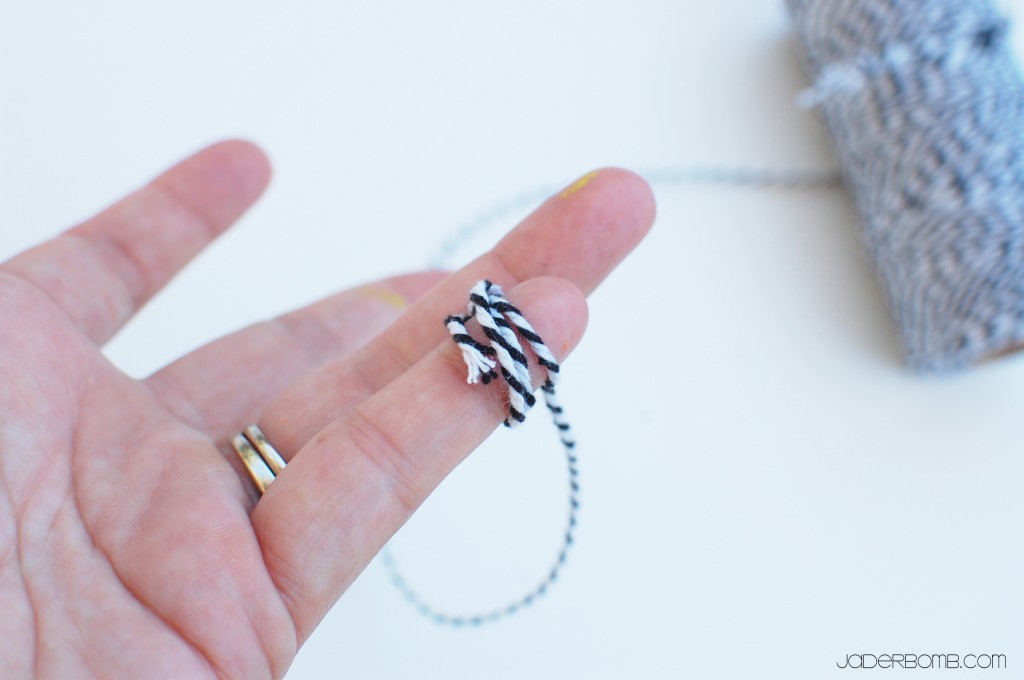
To make the little designs with your baker’s twine I like to start by wrapping them around my finger like this. If you find an easier way please do that!

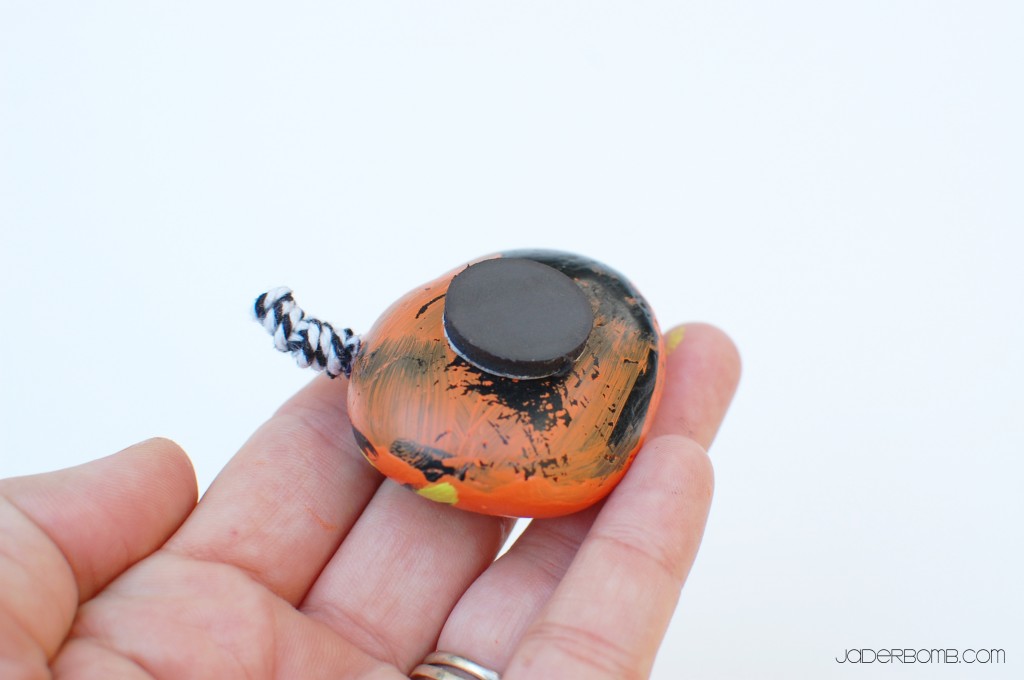
I know. I was lazy. I did NOT paint the  backs of my rocks. I mean, had I known they were taking a trip to Hawaii I would of.  But, once you are done painting and gluing you can place your magnet with an adhesive backing to the back of the rock. Where ever you choose to put your baker’s twine just hot glue it down.

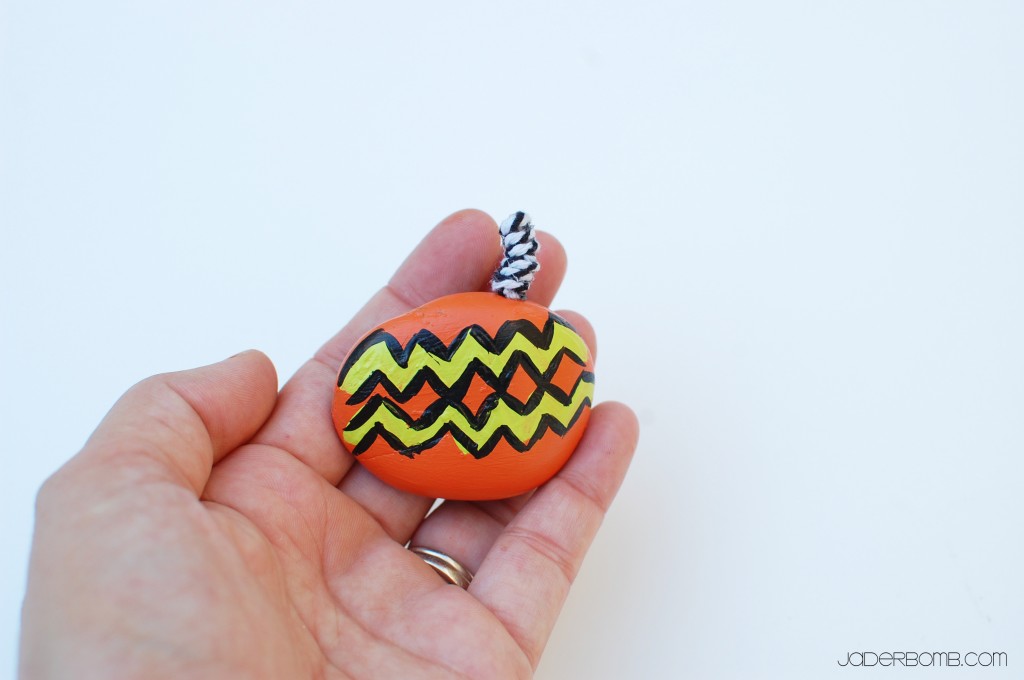
This one kinda reminds me of Charlie Brown’s shirt. I love the way the black and white baker’s twine makes everything pop!

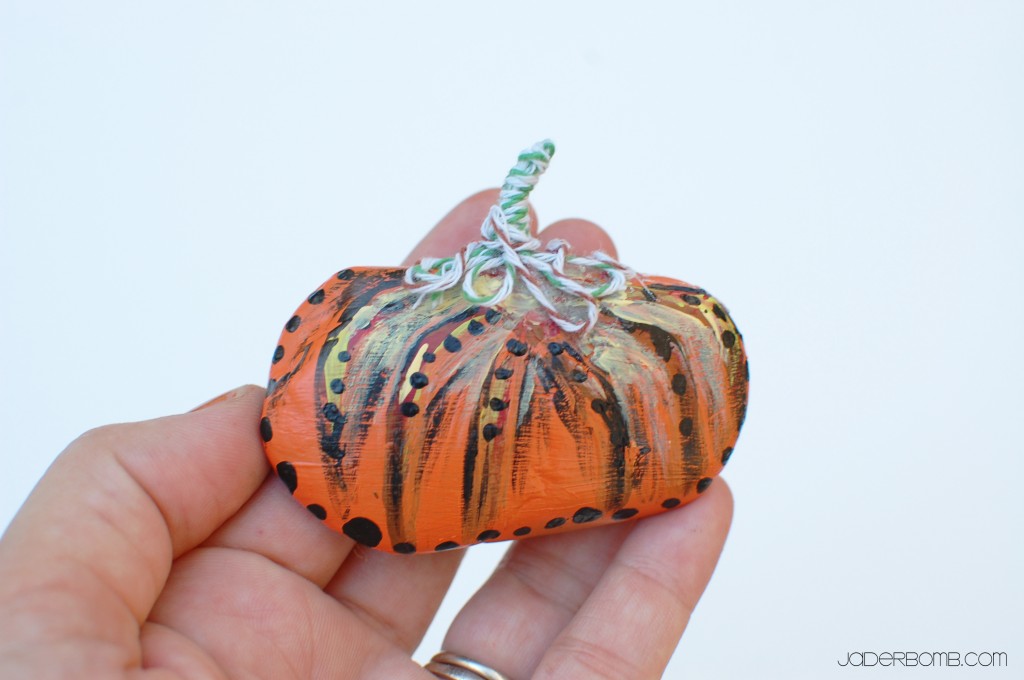
I am totally in LOVE with my little pumpkin. Guess I will make a new one!
(Insert shaking head here, haha)

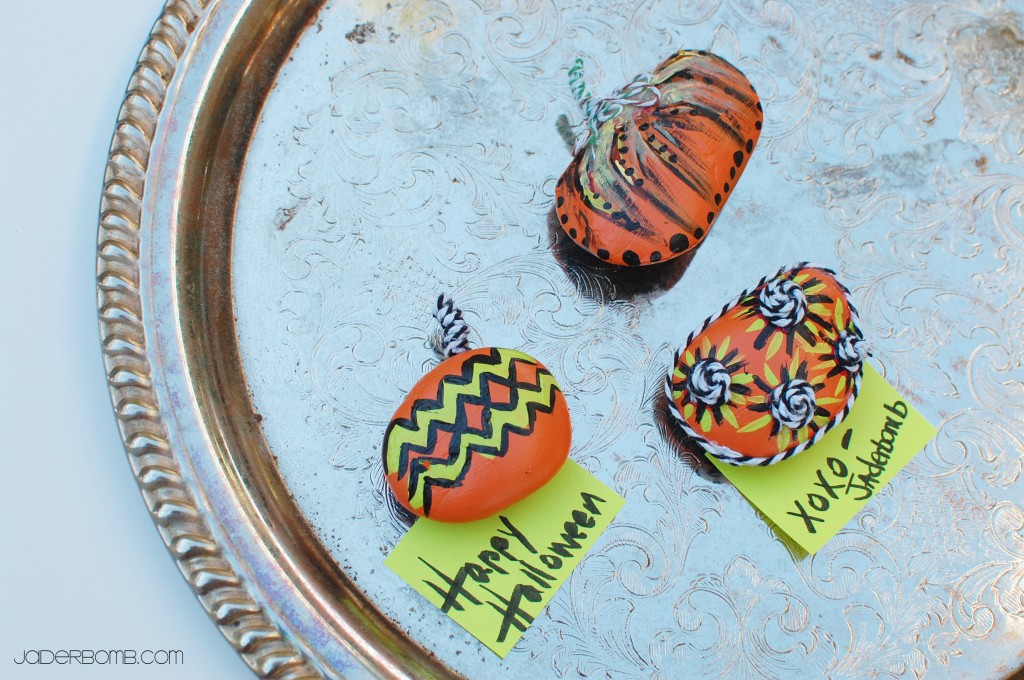
I have this vintage serving plate in our kitchen and I use it to post important notes. These little magnet’s were cute on it.

I hope you enjoyed this tutorial, see ya in the next post! Make sure you come visit me in these places too! (look below this line, hehe)

Check what else I did  these Halloween earrings that look like these magnets here.

Happy Birthday Daddy! You are my rock and my world. I do not know where I would be without you and I will FOREVER be grateful for you. I can’t wait to spend many many more birthday’s with you!

Love, Your Pumpkin

Pumpkin Pie Potpourri-Tutorial

Hey there all you little Jaderbugs! How is your week{end} going! I HOPE good because today is FRIDAY!!!!
I used to get excited about the weekends when they only consisted of getting up late in the mornings and watching cartoons. Drinking coffee milk and more coffee milk. 
I really meant to post this alot earlier but had some unexpected things take place and here I am finally home and making SURE I post for all of my jaderbugs! 
I hope you enjoy it because “lemme” tell you this baby smells GOOD! Let’s get started! 


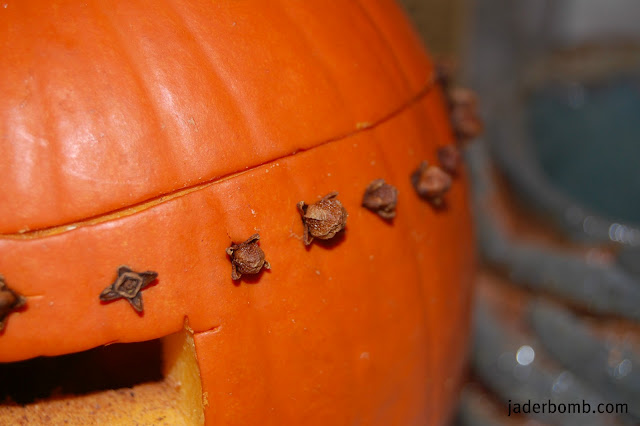
p.s. I just used cloves and nutmeg.
p.s. just cut the lid of. put holes in pumkin.
p.s.  After cleaning the pumpkin add some ground nutmeg

sending you all cheese and doodads!!! jaderbomb


Check out Martha’s original craft HERE


(me on the show!)

Just in case you are not aware of my countdown I am doing right now you can click HERE to read all about it!!!
Make sure you click on the Martha countdown tab on my blog to see the crafts I have already done!
Thanks to Martha Stewart crafts for sponsoring me with craft supplies!