Tag Archives: spring crafts

Today I am sharing 8 fabulous Spring DIY ideas for you! I am totally digging all of these and I know you will too!

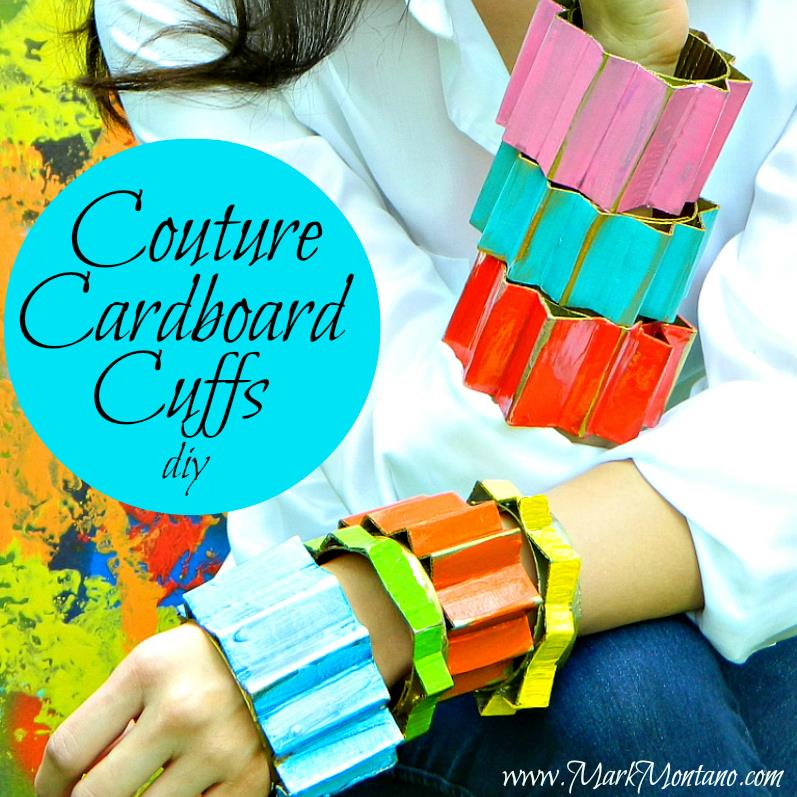
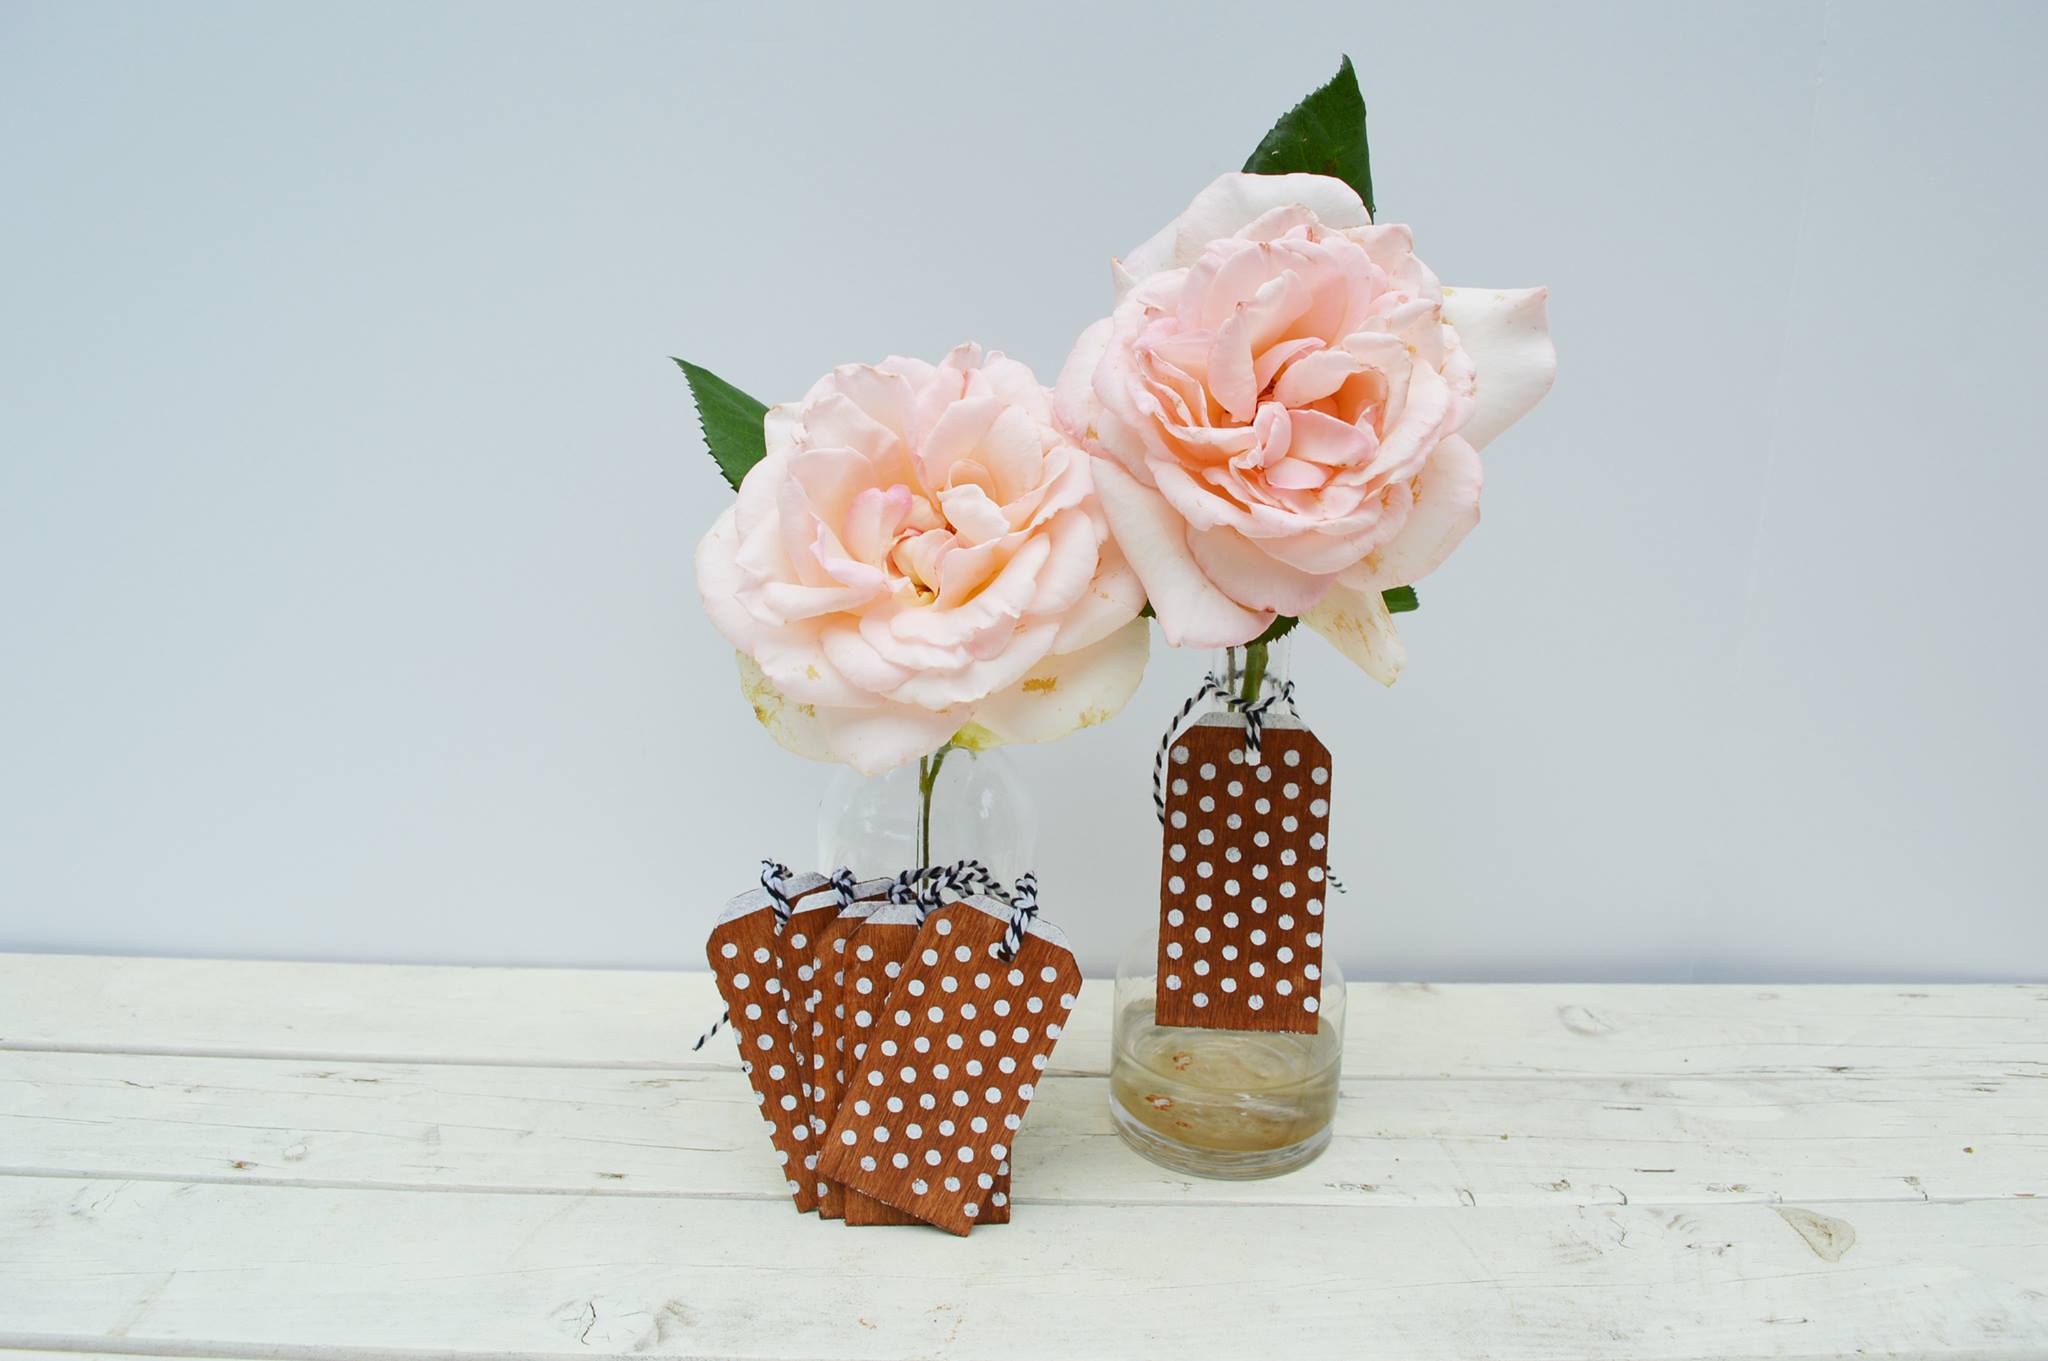
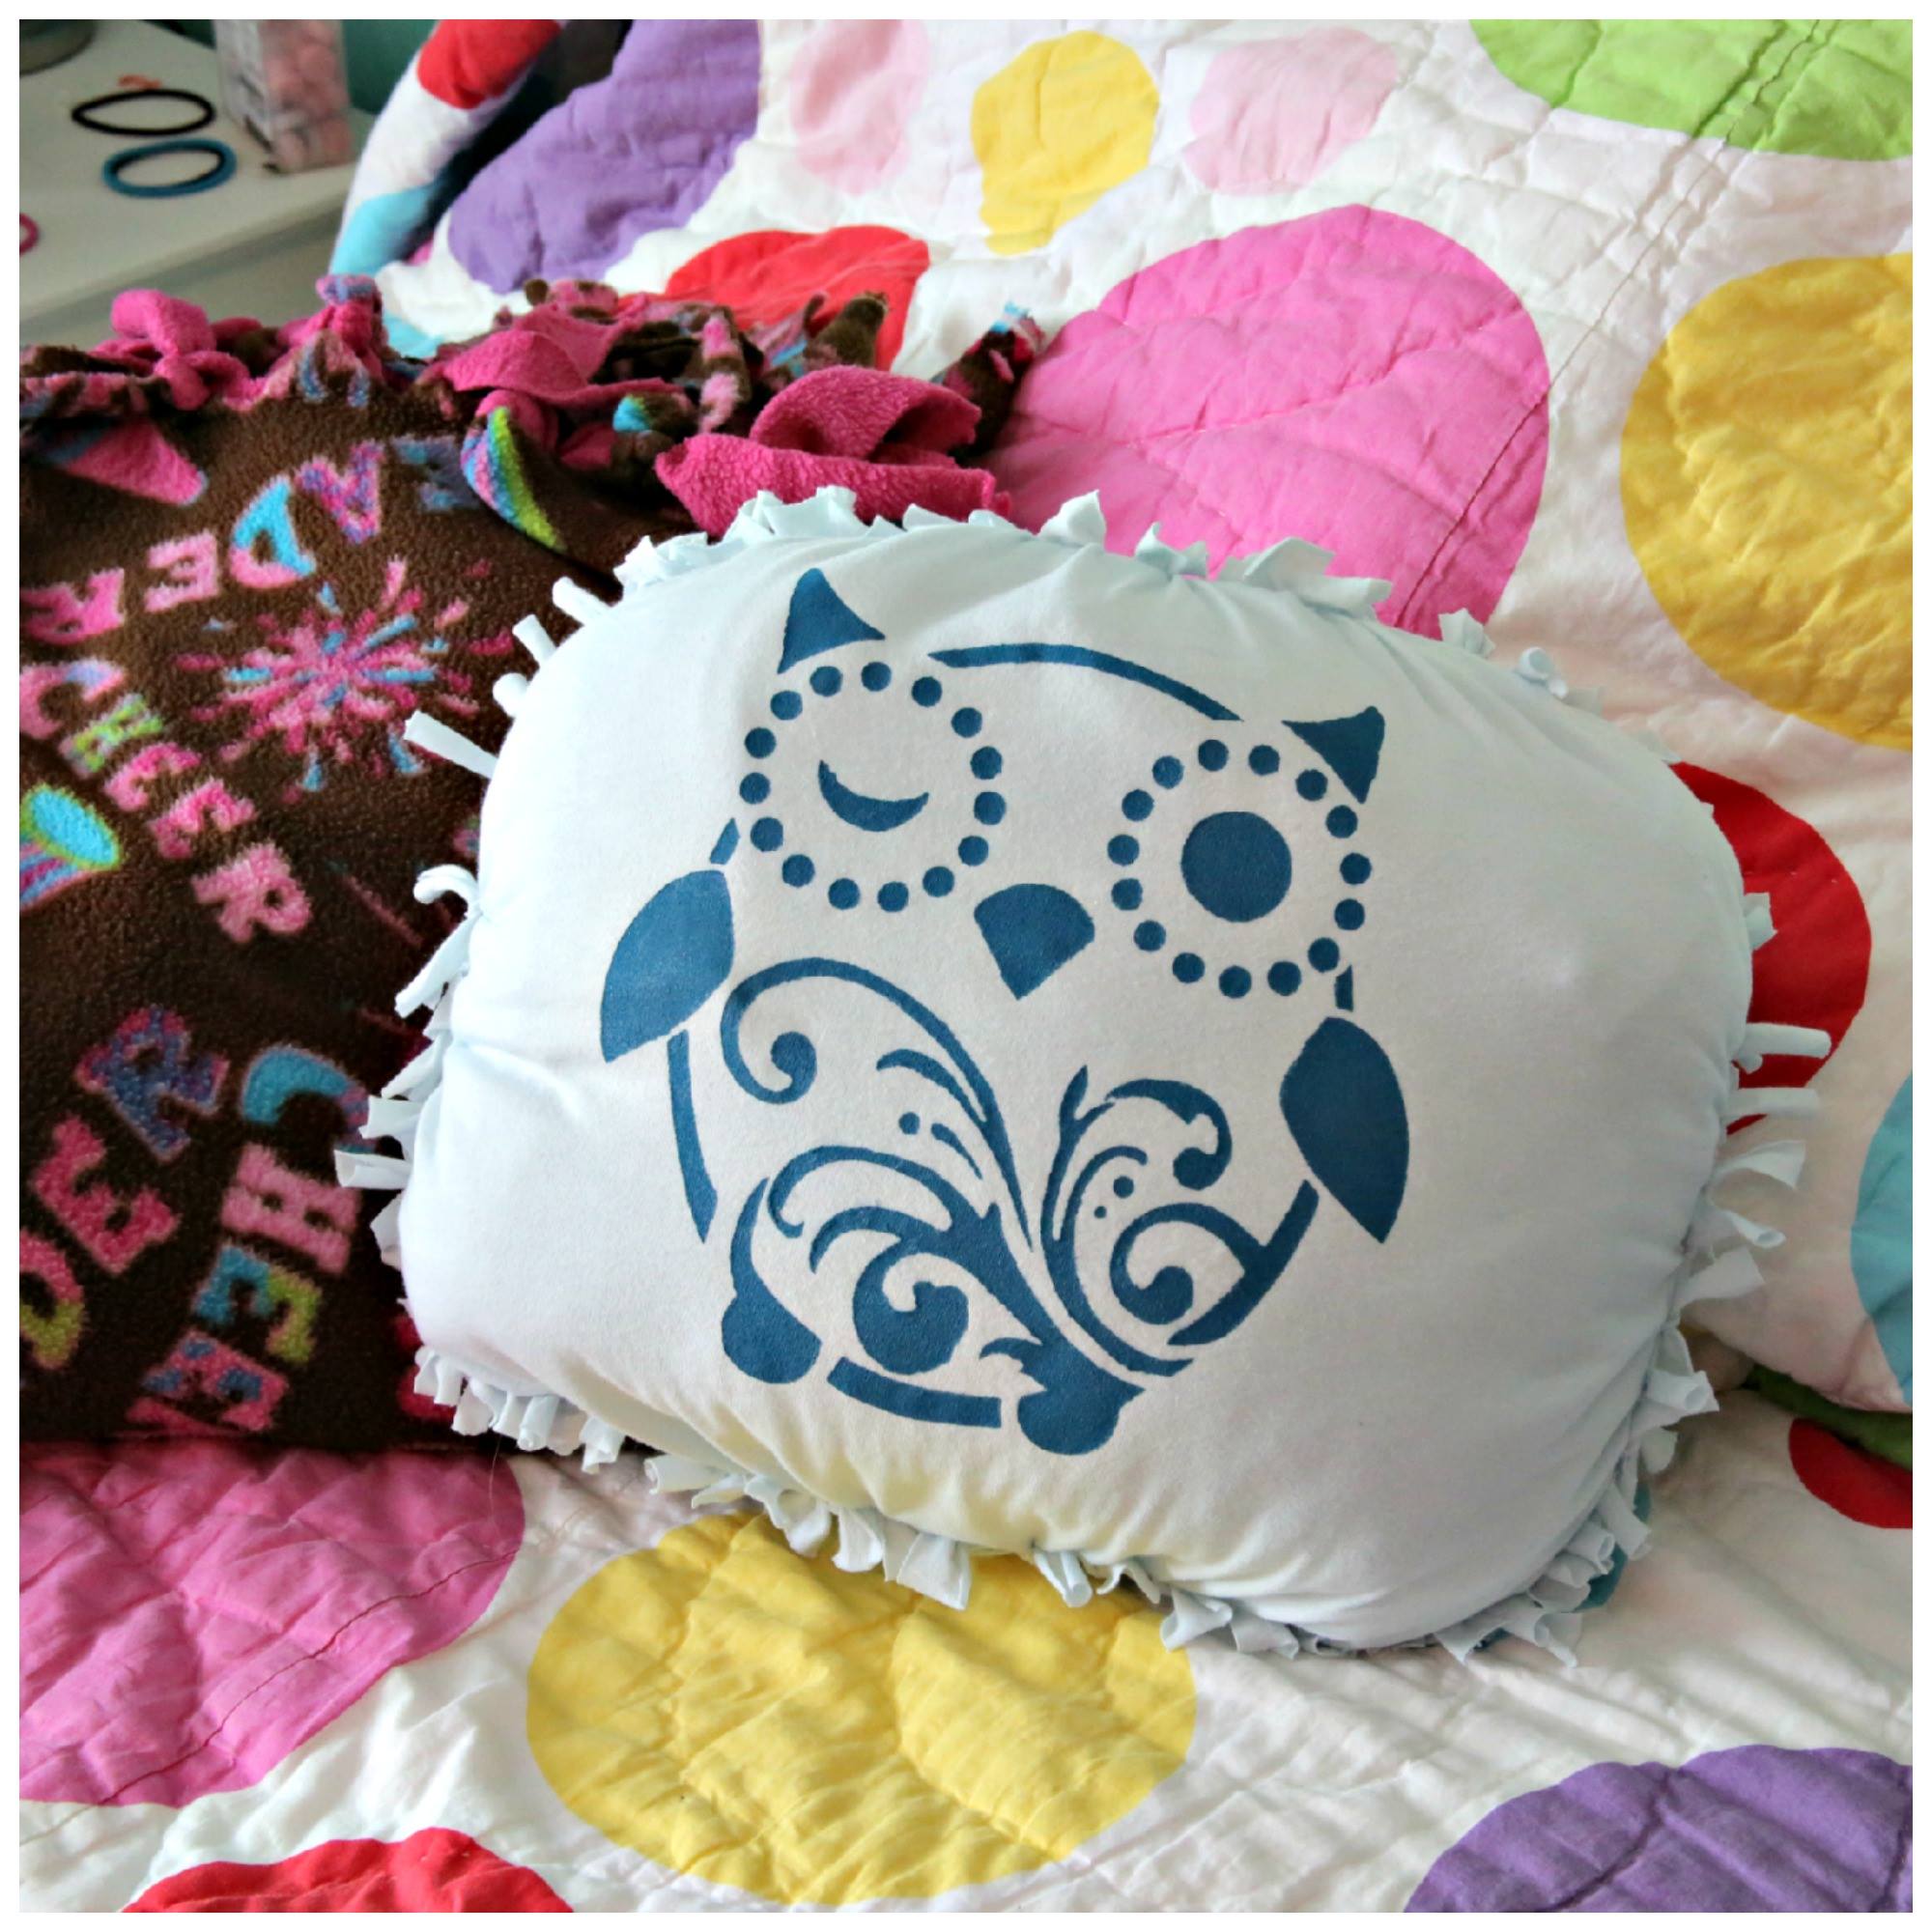
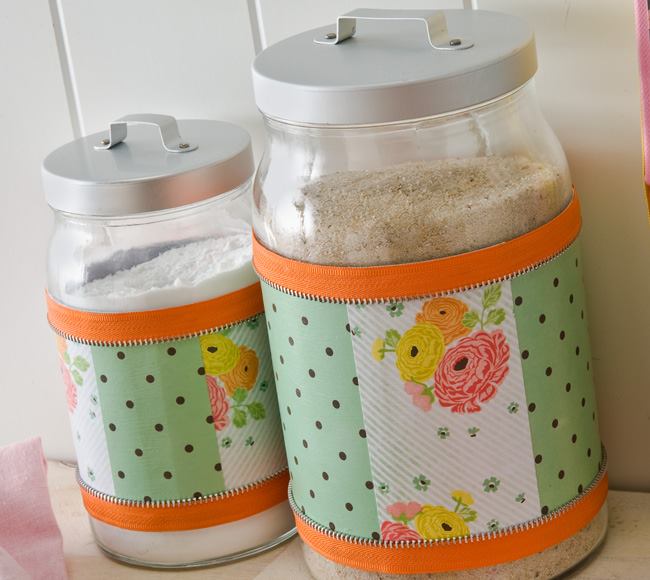
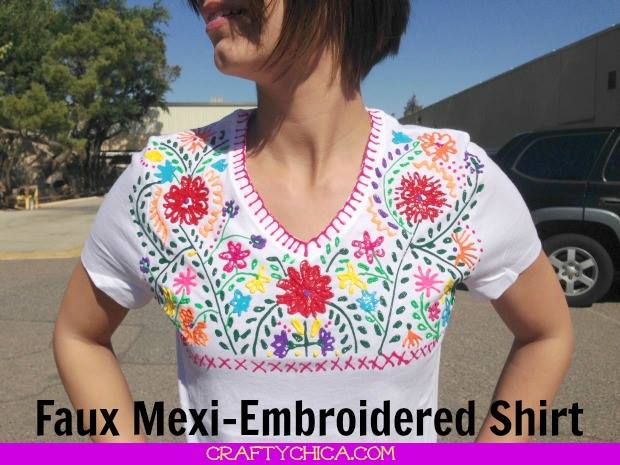
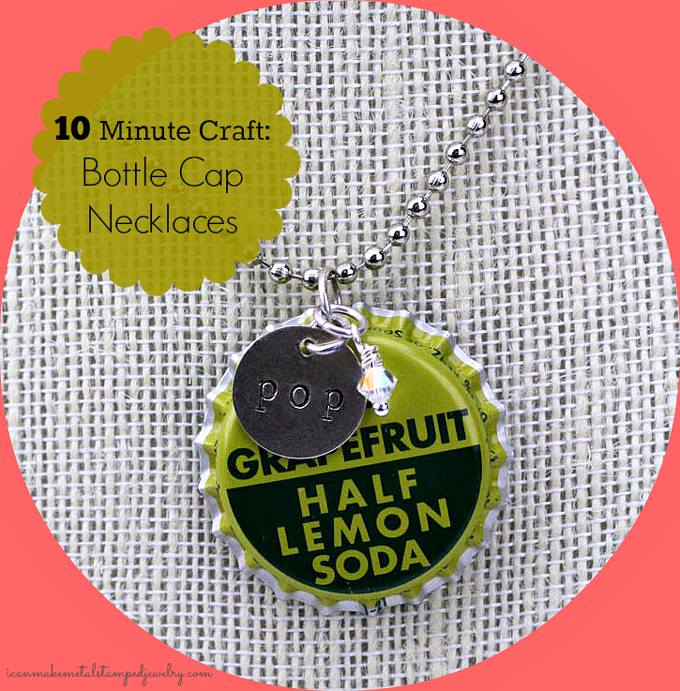
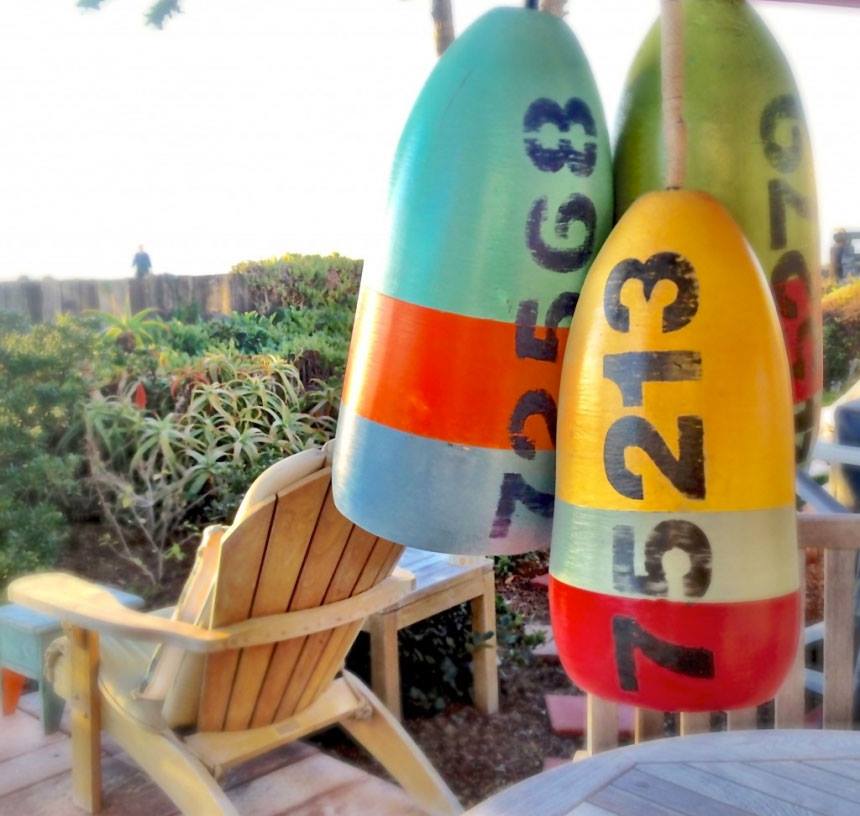
8 spring diy ideas10322865_706905942684411_1806537284_nFlipping out in my seat right now after seeing these Cardboard Bracelets via Mark Montano 10337225_780404541993710_1163284420_o I am still swooning over these Vintage Tags I made. 10332782_10151983529080807_199672462_oHow great are these No Sew T-shirt Pillows via Dollar Store Crafts10318681_10152391290137429_932705686_n If you can’t find the right design for your space make your own Mod Podge Kitchen Canisters via Cathie and Steve for Plaid10299491_10203170965050855_1246376546_nI After just coming back from Mexico and purchasing a handmade shirt like this I am SO excited about these Faux Mexi-Embroidered Shirt via Crafty Chica 10287214_10152441745362774_1136324868_n  What better way to make a statement than with these Stamped Bottle Cap Necklaces via I Can Make Metal Stamped Jewelry 1621856_10201789206672554_3790879087361822878_n I think I need a thousand of these Buoy Lights via Debi’s Design Diary
1907301_10201784531675682_1473211412694449788_n

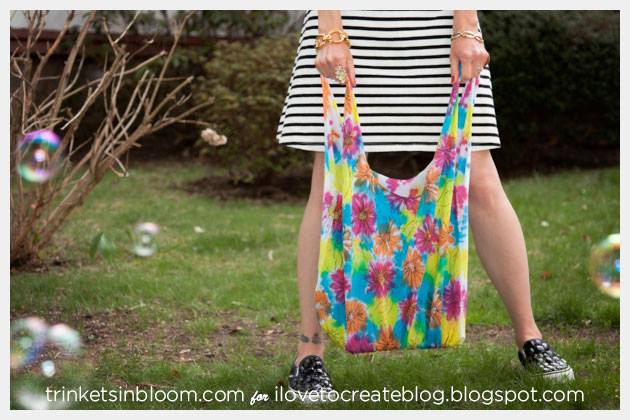
If you are like me then you have ton’s of old T-Shirts so why not make a Hobo T-shirt Bag via Trinkets in Bloom

Don’t forget to connect on social media! Make sure to use use the hashtag #JADERBOMB on Instagram or Twitter or Facebook so I can keep track of all your awesome creations! HAVE A GLITTERY DAY!
♥, Jade

P.S. If you LOVE printables then check out my sitefollow where you can download hundreds of FREE printables!

HASHTAG LOGO


12monthsofmarthaHappy 12 MONTHS of MARTHA day! What? You didn’t know I blogged for my best friend? Martha just left and I gave her this cupcake liner planter that I made, she loved it…. (hehe) Check out all of my posts here. Don’t forget to enter my AMAZING GIVEAWAY!
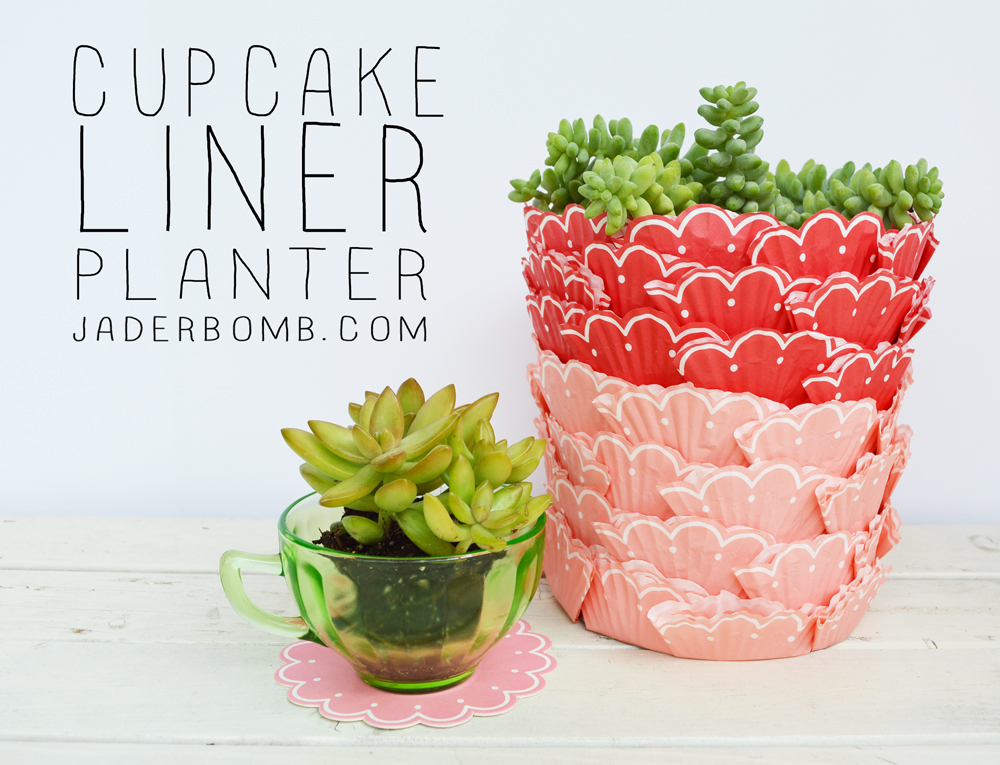
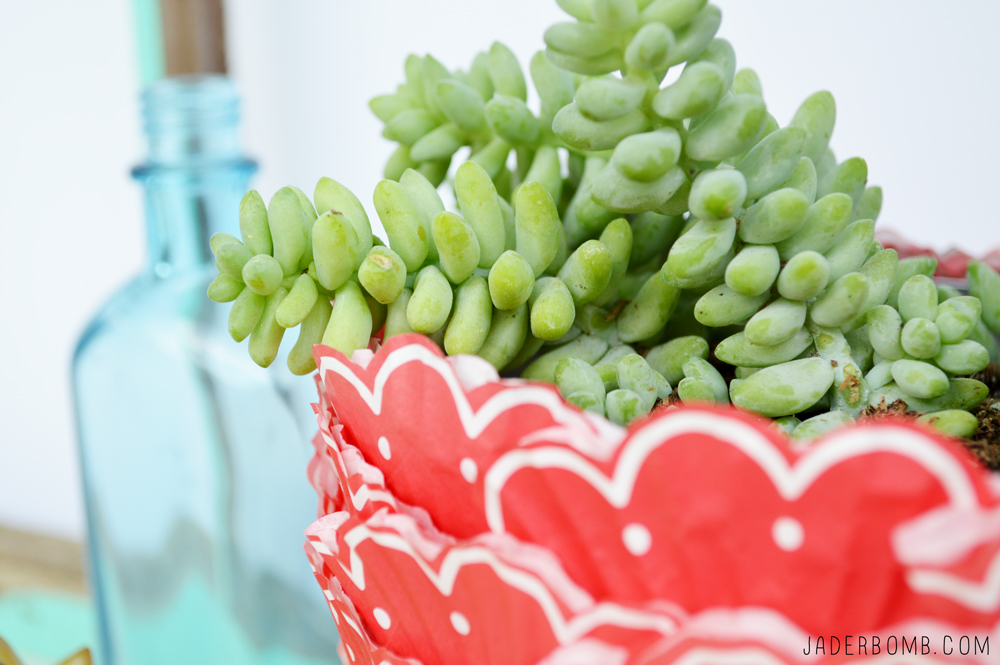
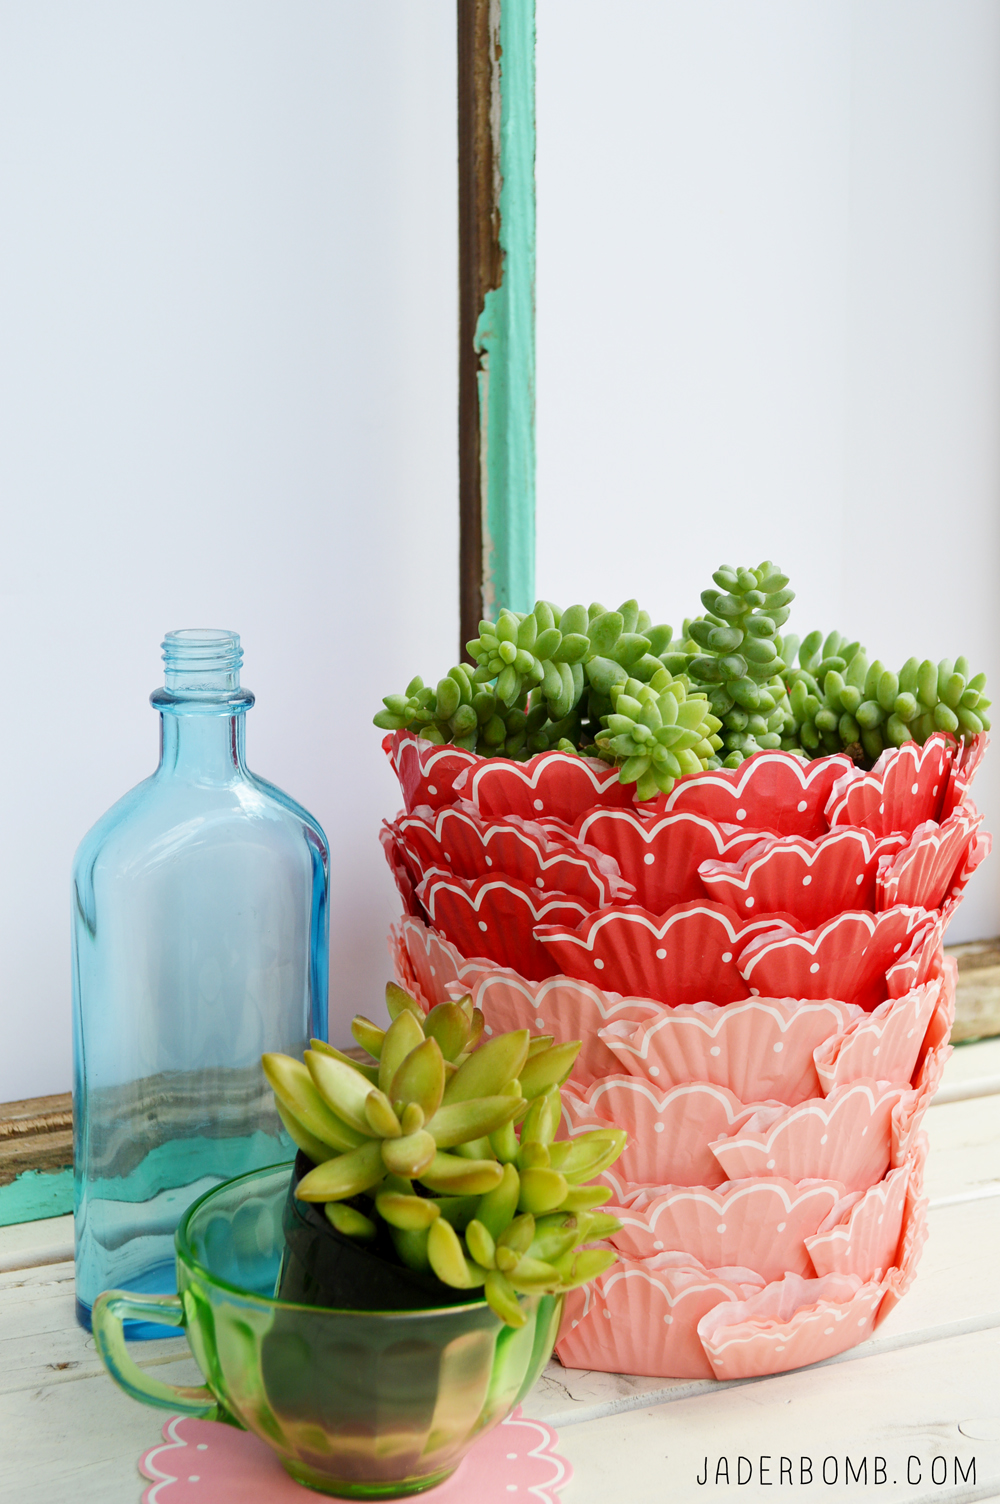
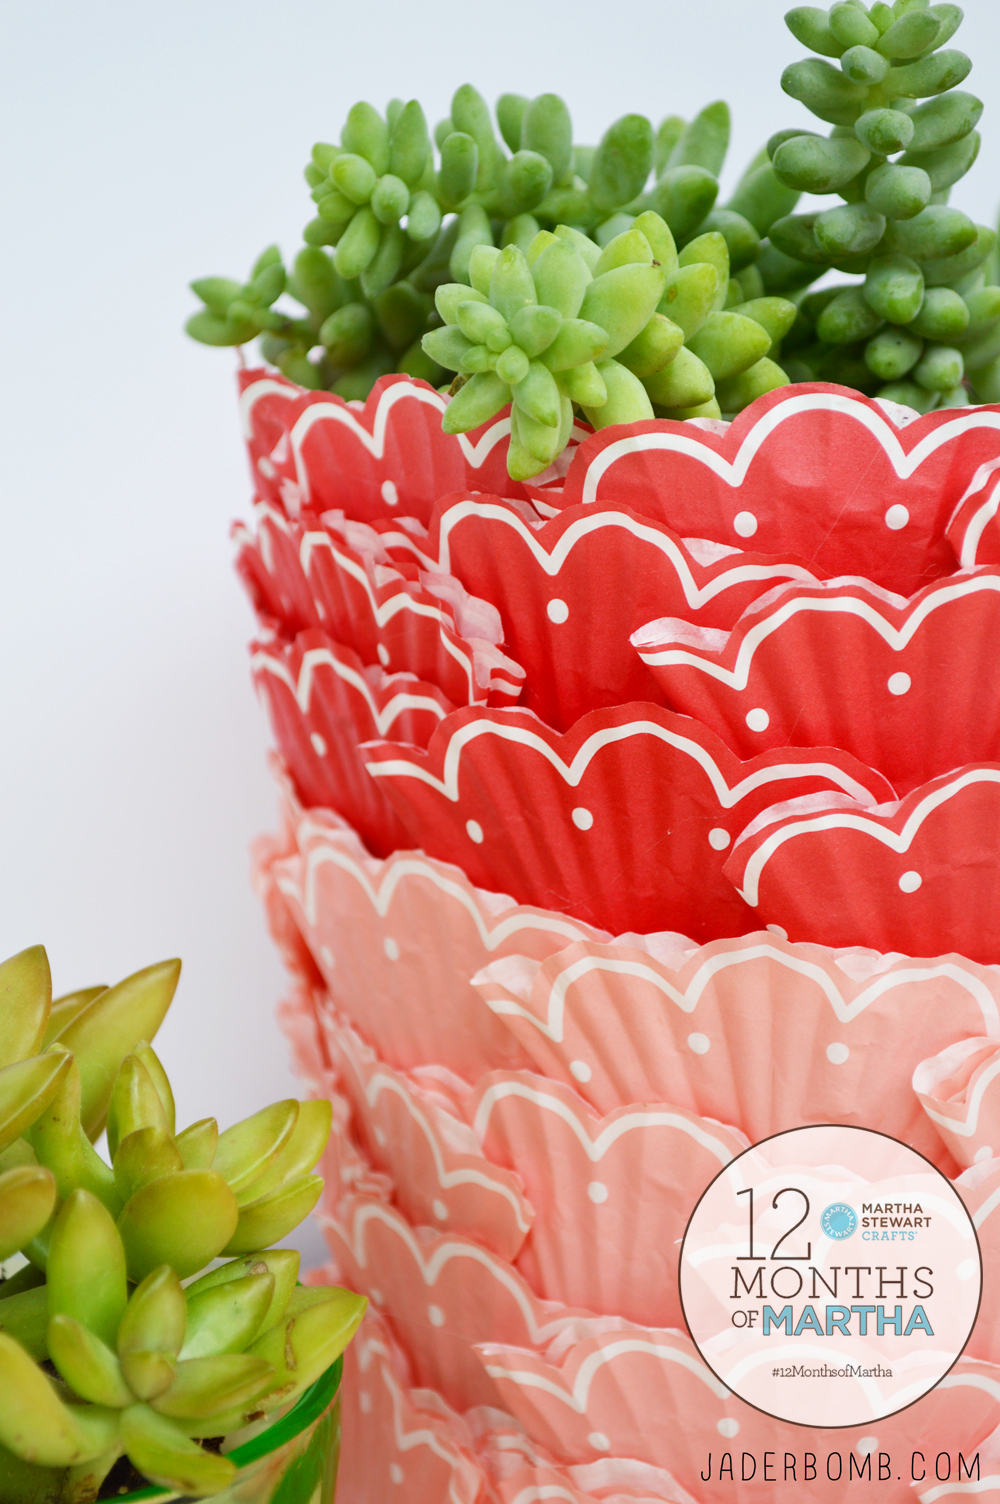
My succulent was sad and depressed so I made her a lovely home to hang out in. Who would of ever thunk it! A planter made out of cupcake liners. However this would not have been possible without the help of beautifully designed cupcake liners, right! Remember my cupcake hat that was featured in KIDS CRAFTS 123!cupcake liner planter
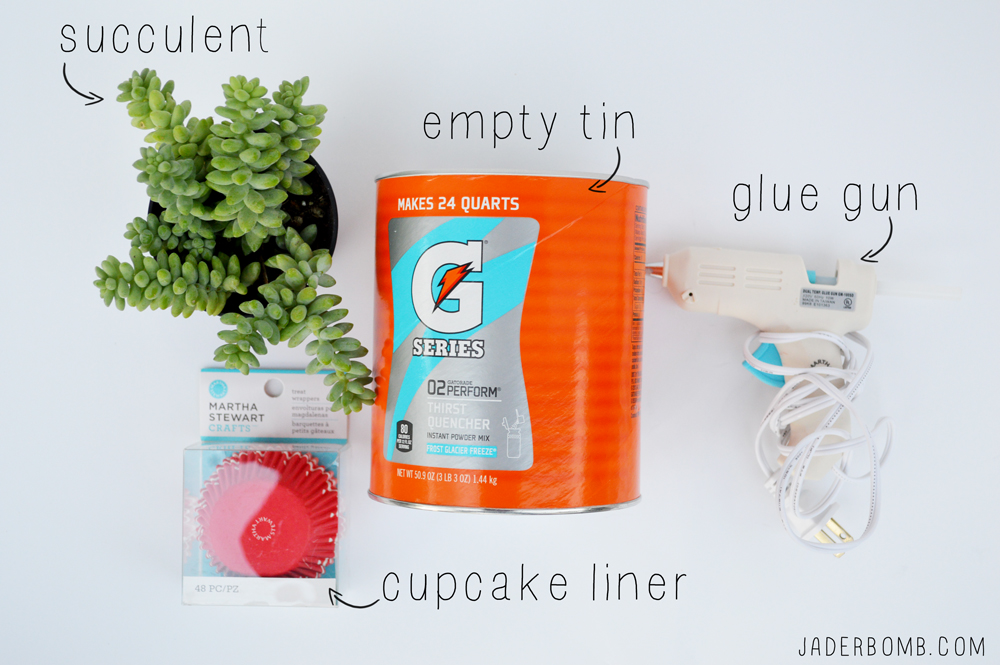
You will need:
Succulent | Empty Tin Can | Glue Gun | Cupcake Liners diy planter
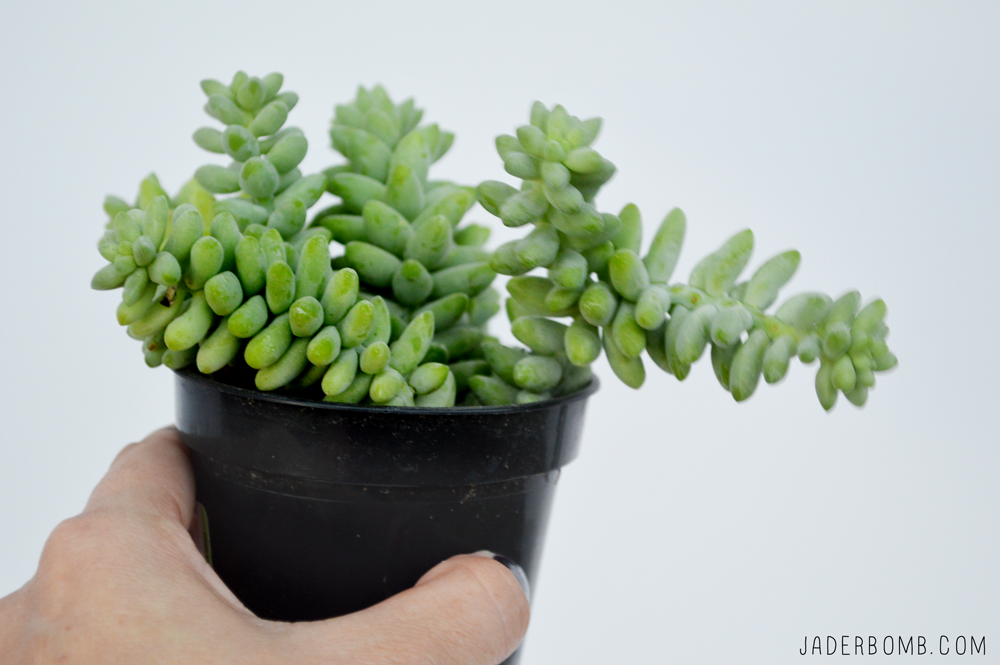
What is it about succulents that make you smile!jade plant diy
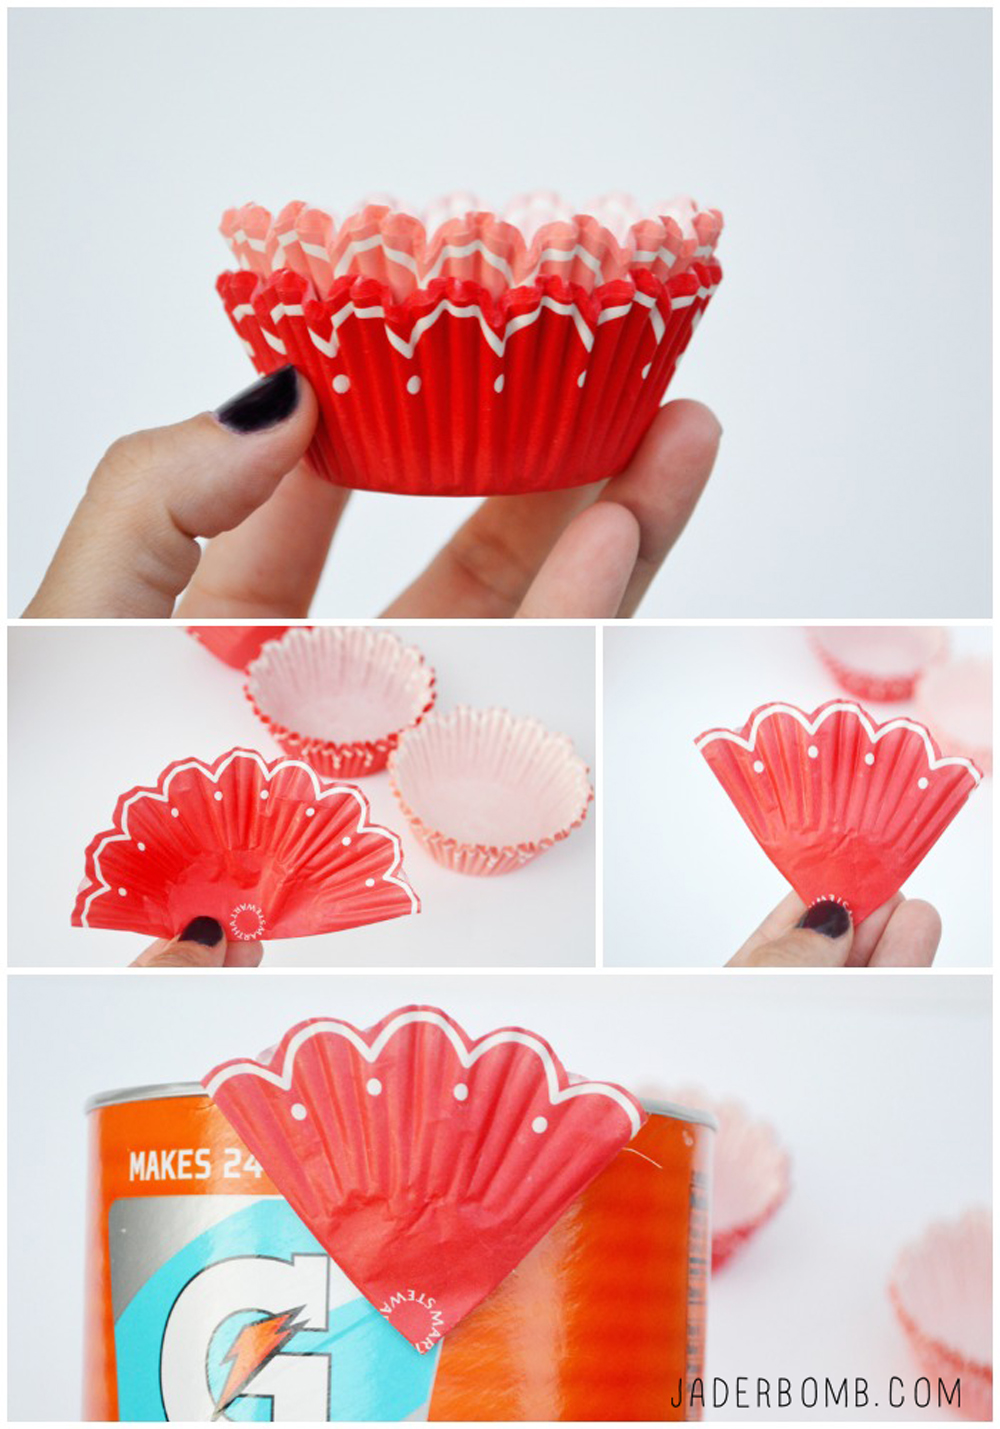
Step One:
Take a cupcake liner and fold it in half.

Step Two:
Fold it again in half.

Step Three:
Start hot gluing it to the tin can. I started from the top and made my way down so they would over lap each other.

1.jpg
Time to enjoy your creation!easy home craftsdiy craft
succulent-crafts
How easy was this craft! Not only will you fall in love with it but if it get’s damaged you won’t loose sleep over it. Want to check out more of my 12 months of Martha posts’, check them out here.
ST_12_months_of_Martha_Logo-1

XOXO, Jade

Wanna follow me on some social medias sites? COME ON!
FACEBOOK | INSTAGRAM | TWITTER | PINTEREST


Burst of BUTTERFLIES TUTORIAL

Howdy roo Jaderbugs! It’s Saturday and I have so much stuff to do my brain is like
“oh my lawdddddd who do you think I am”…
and I am like…
“hellooo your my brain your supposed to work overtime”…..
and then out of anger my brain is like….
” well how bout this.. “I’m off for the night, good luck finding a new brain”
There you have it. It’s going to be that kind of day!

But lemme tell you about this tutorial. So you know I love “MARTHA STEWART” (((really Jaderbomb,we know))). All of her punches are fabulous. I swear they punch out PERFECTLY and you would think they would go bad after um, 500 punches but NO! I think it actually get’s better! It’s springtime and I thought it was the right time to do a butterfly craft! This would look great in a little girl’s room. There is something whimsical and magical about a butterfly. I always seem to “relate” to them.
{{real or fake}}

Let’s get started.

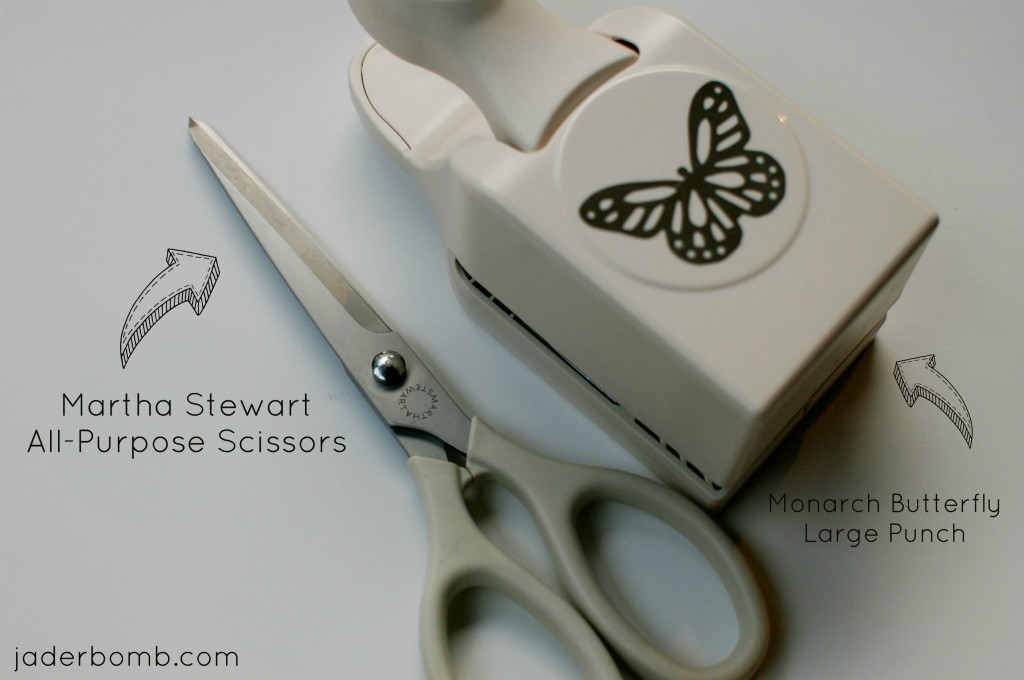
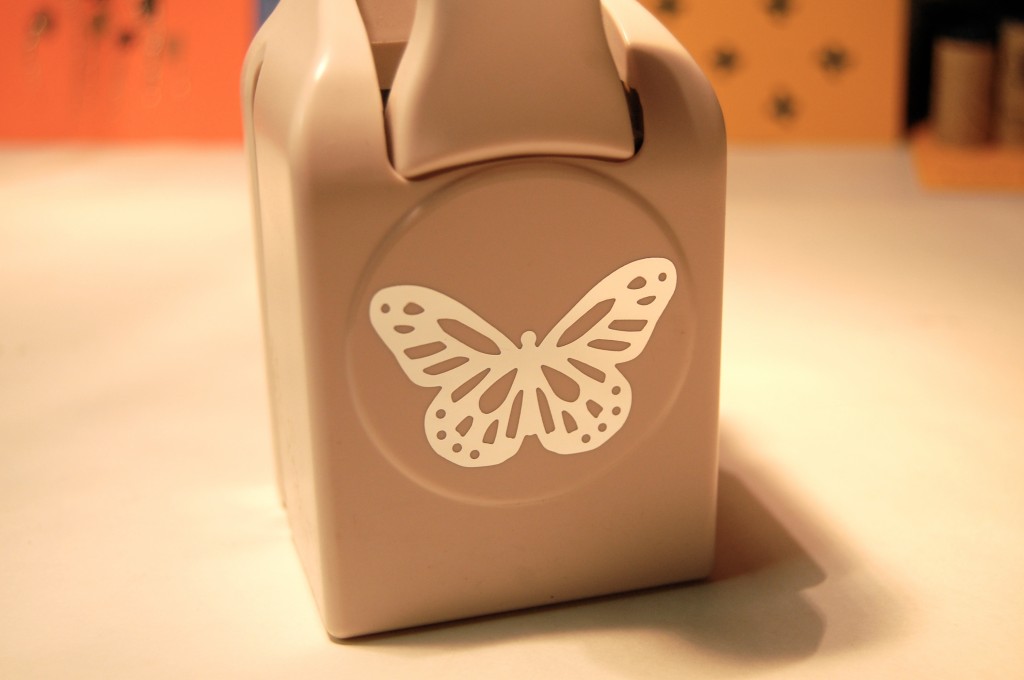
Monarch Butterfly Large Double Punch
Scissor All Purpose

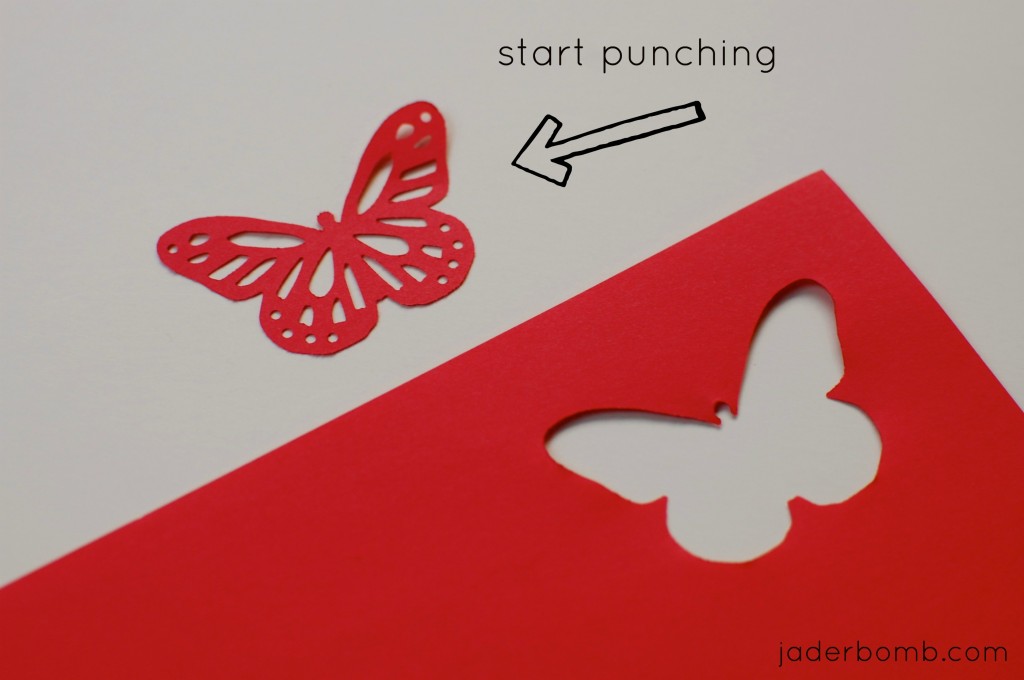
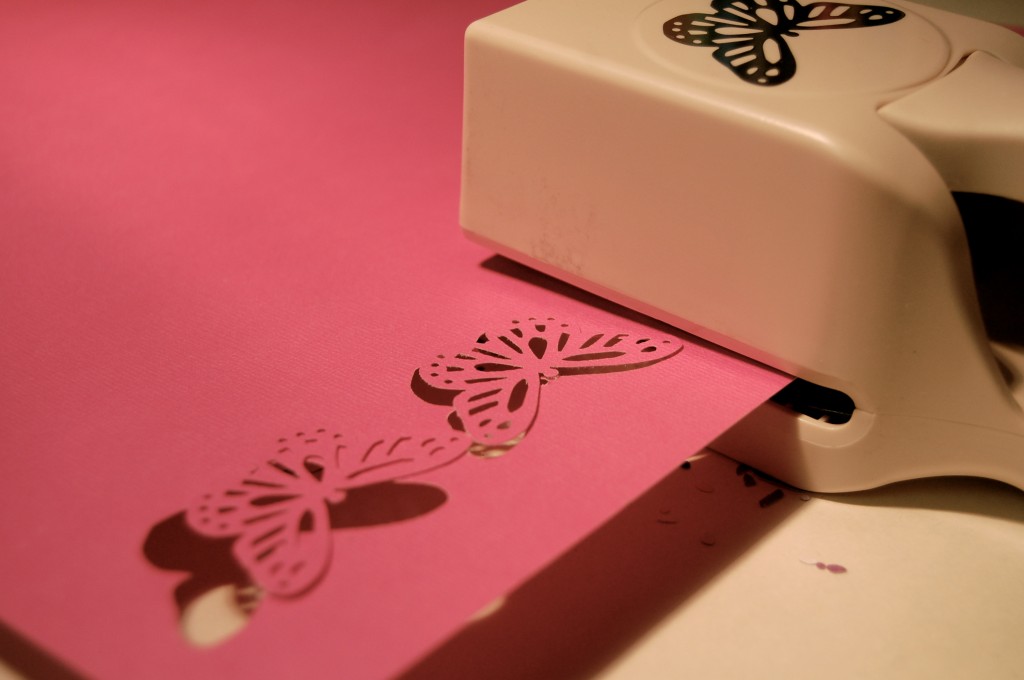
Do you see how perfect!!

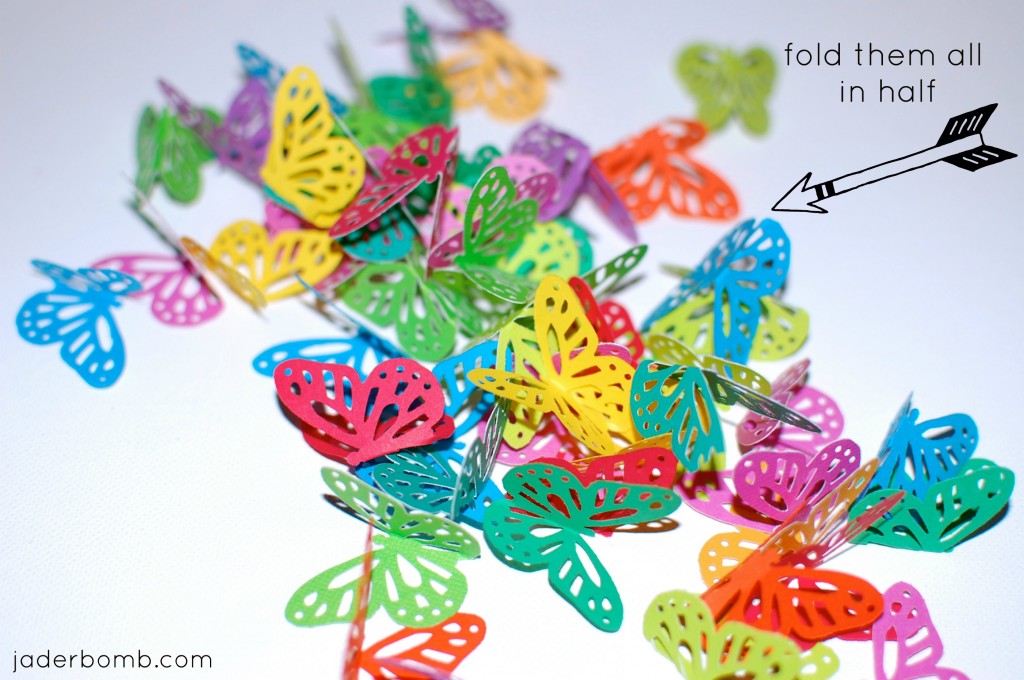
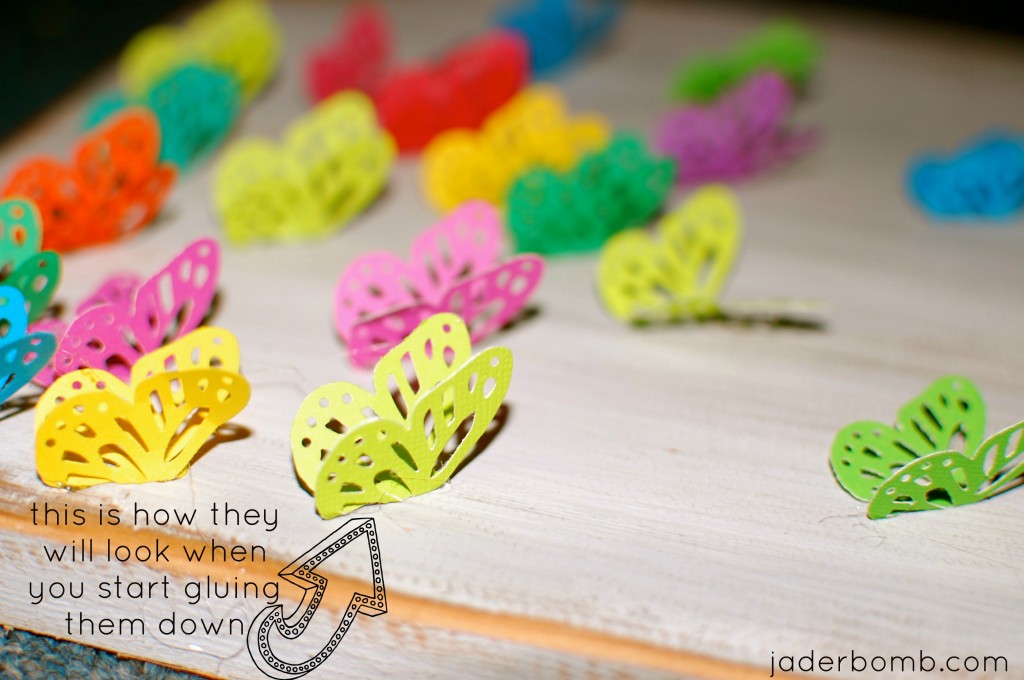
Once you get them all punched out you need to bend them all in half. This will make them look like they are flying!

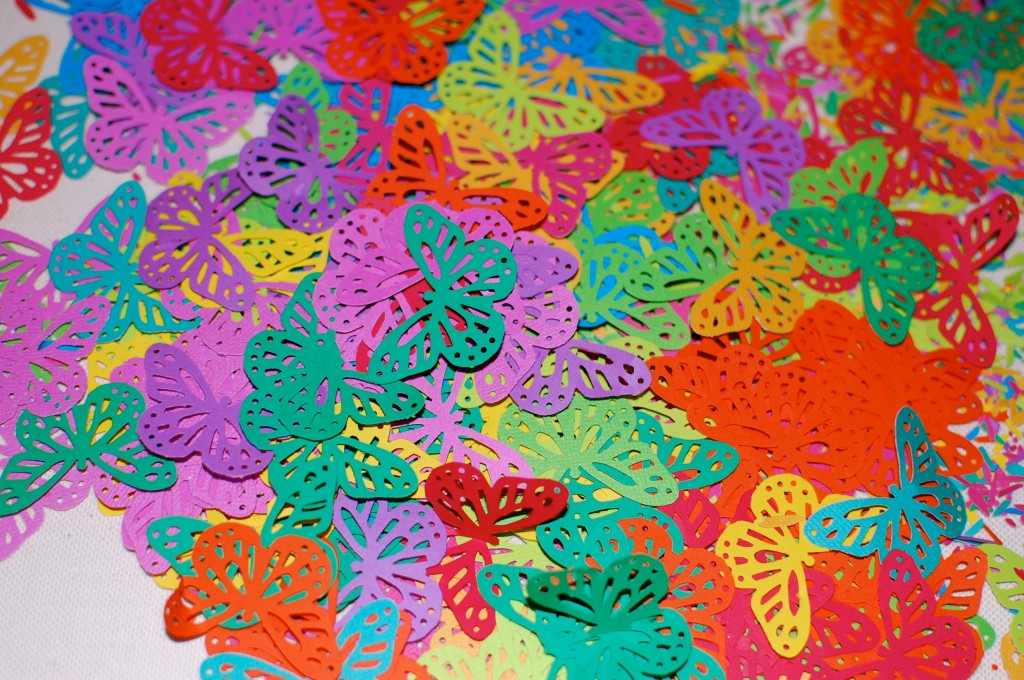
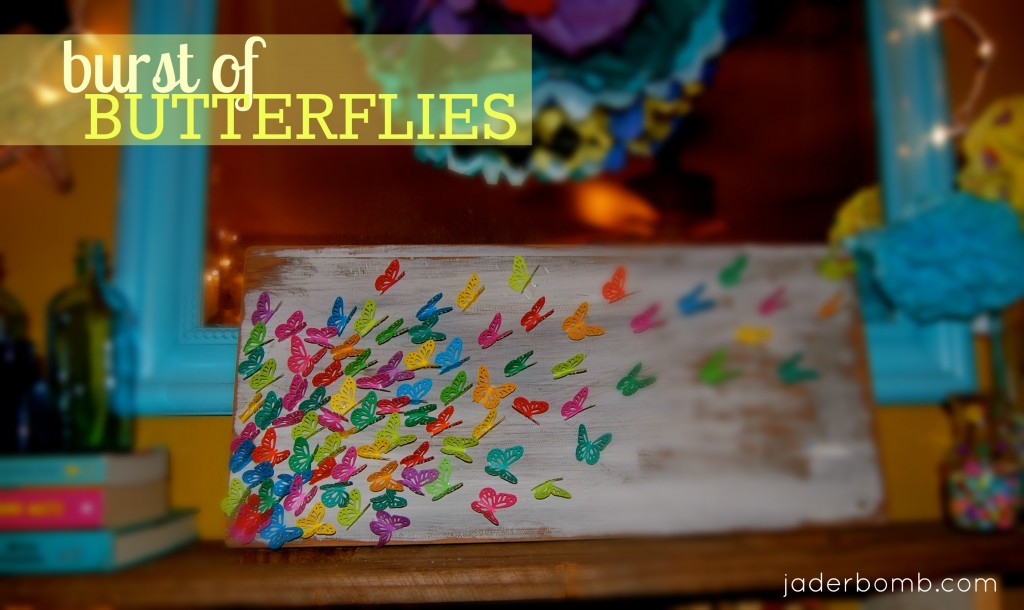
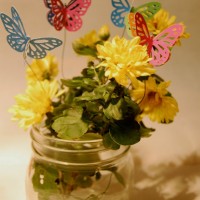
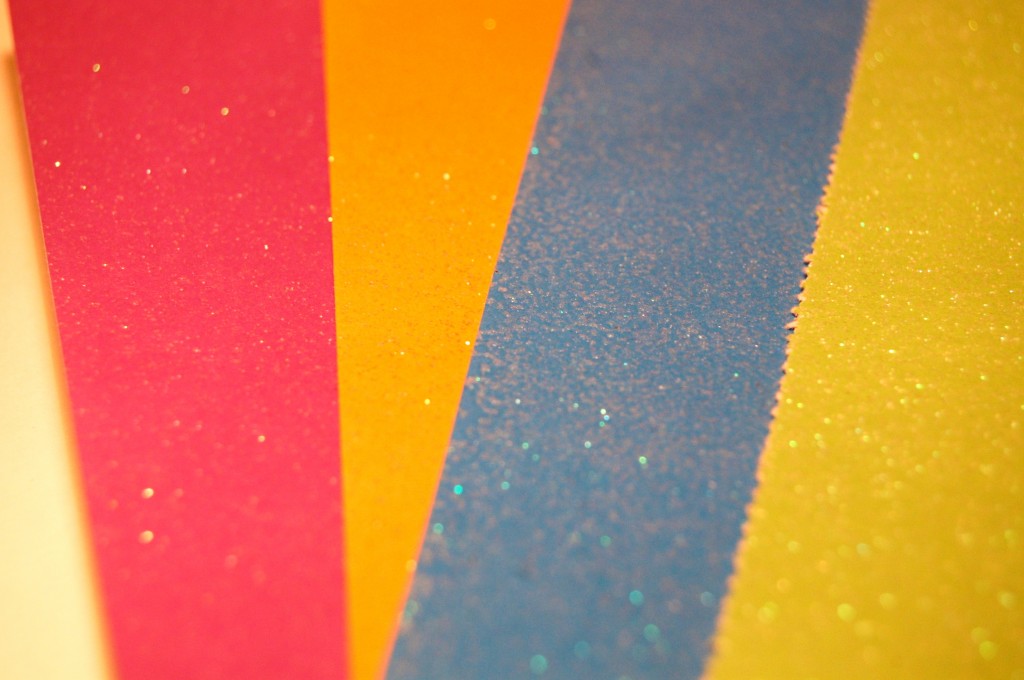
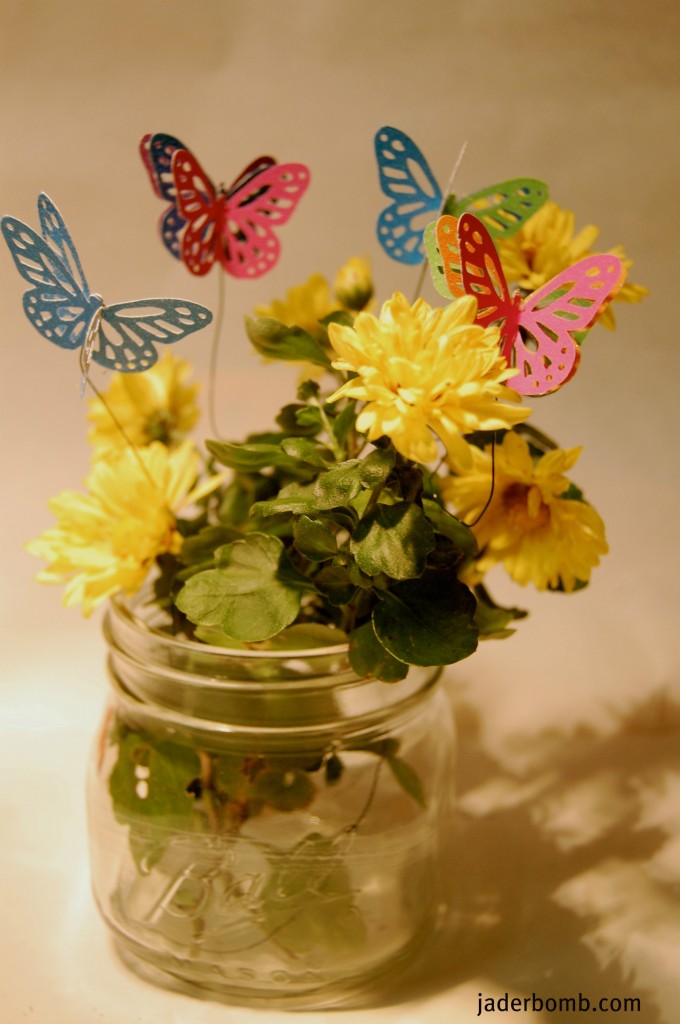
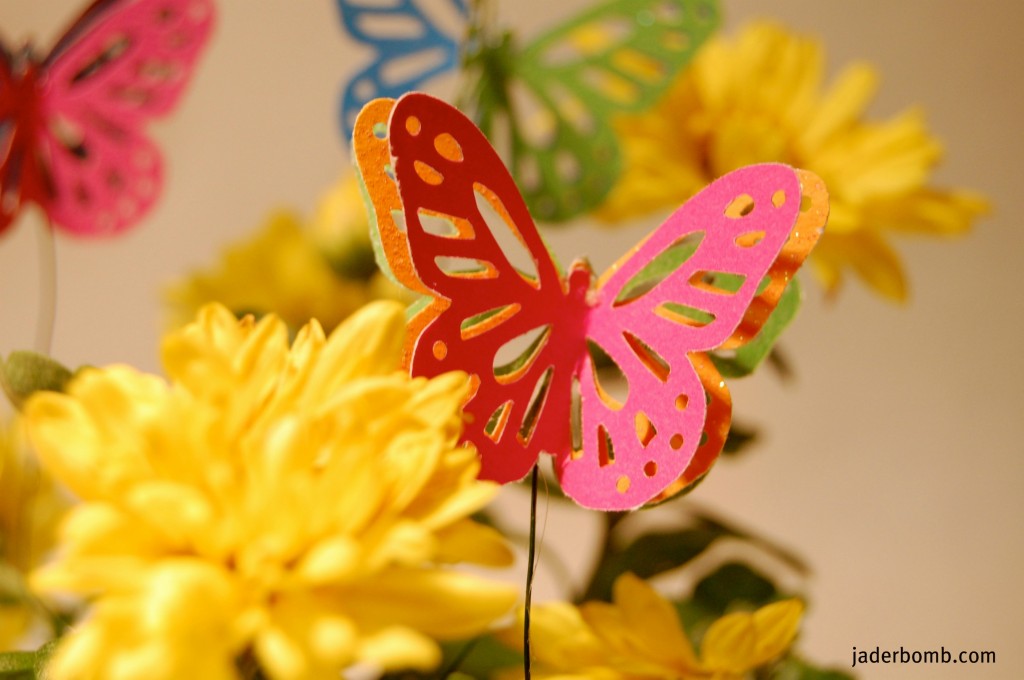
There you have it! You very own BURST of BUTTERFLIES!!!! The great thing about this project is that you can make all of the butterflies one certain color or you can use your favorite two colors. It’s all up to you! You can use glitter paper, paper with designs on them, or construction paper! This makes it very affordable.

 If you really want you can punch out of loose leaf paper and color them or use markers to add details! See, there are SO MANY things you can do with these magical babies!

Sending you butterflies from all over the world,

PINTEREST , TWEET ME, FACEBOOK MEH

Paper Butterflies Tutorial


I am sitting here eating cool ranch doritos and watching Dog the Bounty Hunter. LEMME tell you how nice this is! I forgot what life was like without reality television. Remember the Cosby’s… Seinfeld… I still love those shows!

{{ Oh wait, what about Roseanne!! I LOVED that show growing up }}

I can’t wait to share with you fun and exciting EASTER crafts the rest of this week! It’s time to decorate and I will be your assistant ((wink wink))

I could not wait to share this craft with you because it’s perfect for EASTER and SPRING. I mean, if you LOVE butterflies then you will keep these suckers up year round! It is absolutely the easiest craft ever and you will have a blast doing it!

Let’s get started Jaderbugs

Get a Monarch Butterfly Punch. You can order one or get it at Michaels Arts and Crafts.

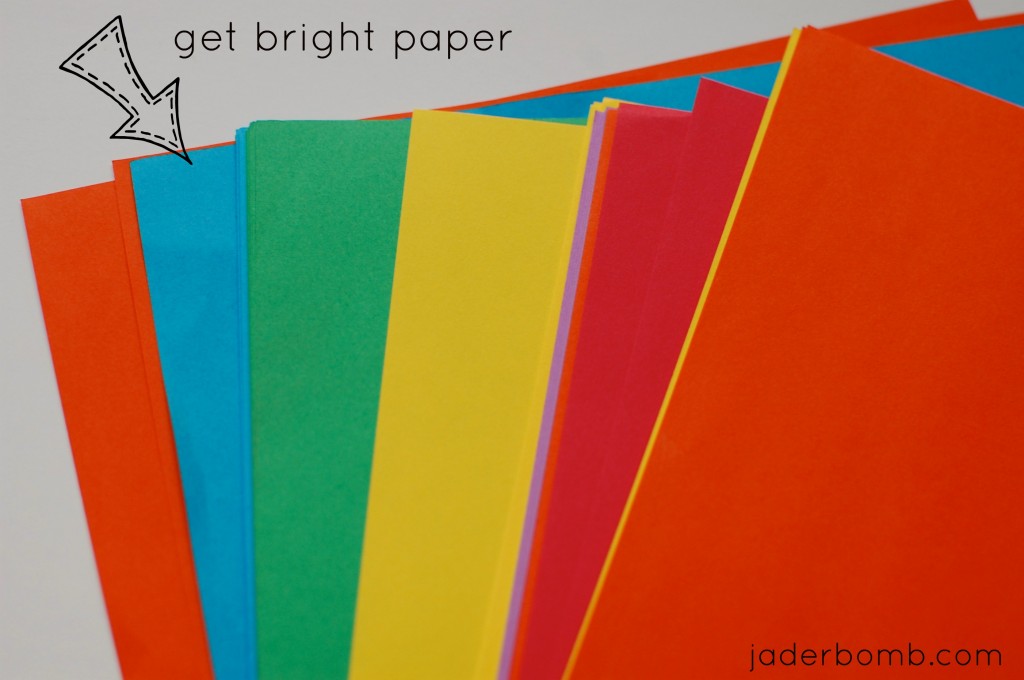
Grab some scrap book paper and get to punching!

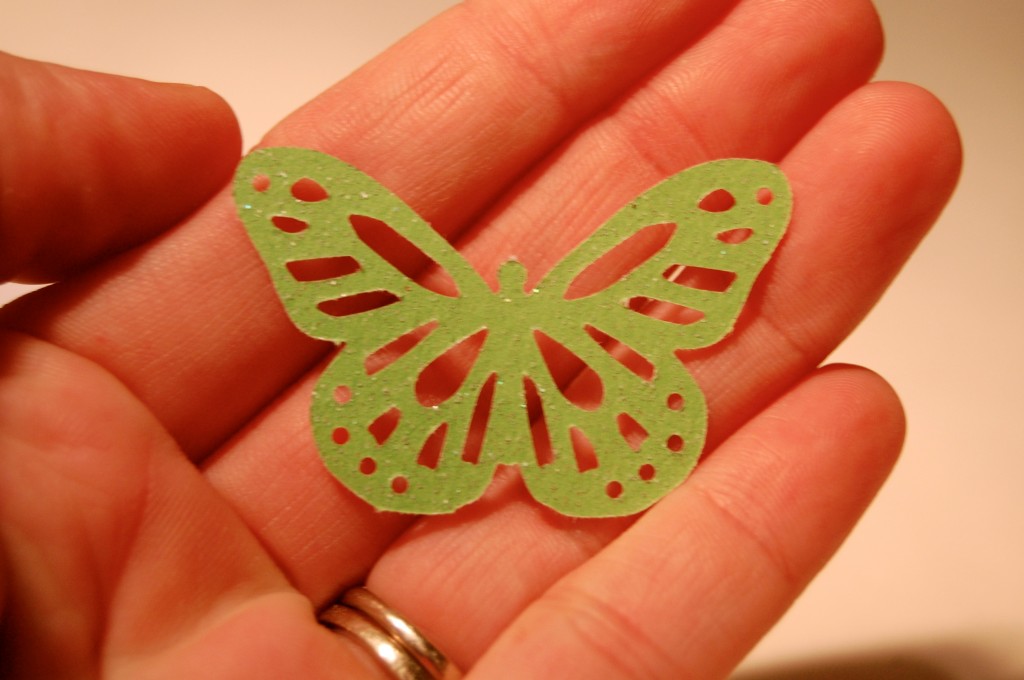
Place your paper in the slit and give it one good punch. You barely have to press it. It really works so easily!

How pretty is this!

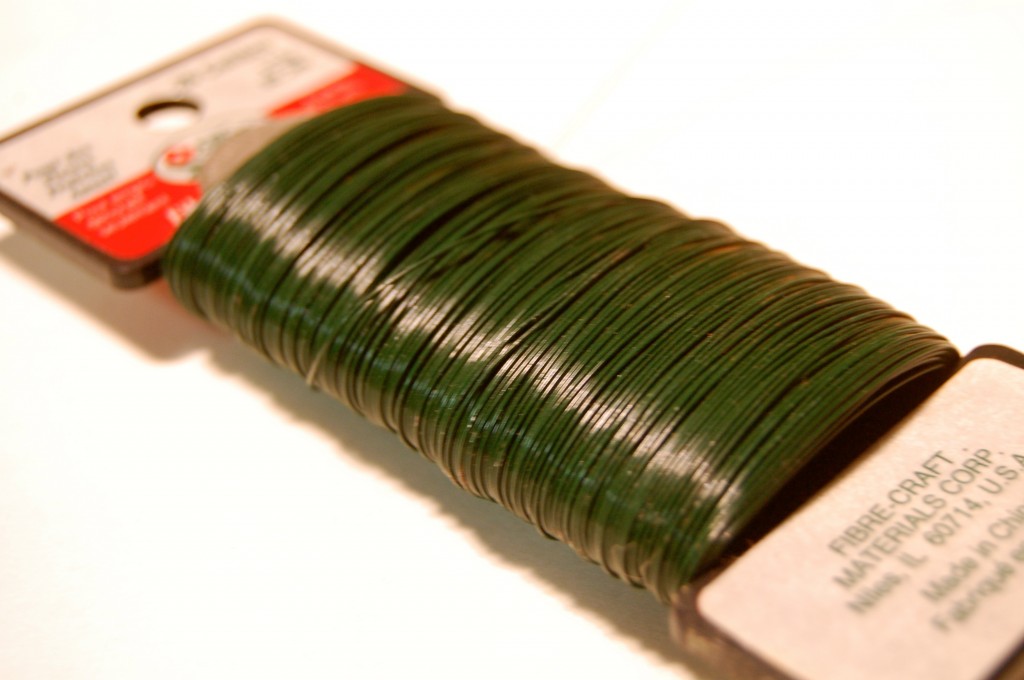
I am using floral wire which you can get at your local craft store.

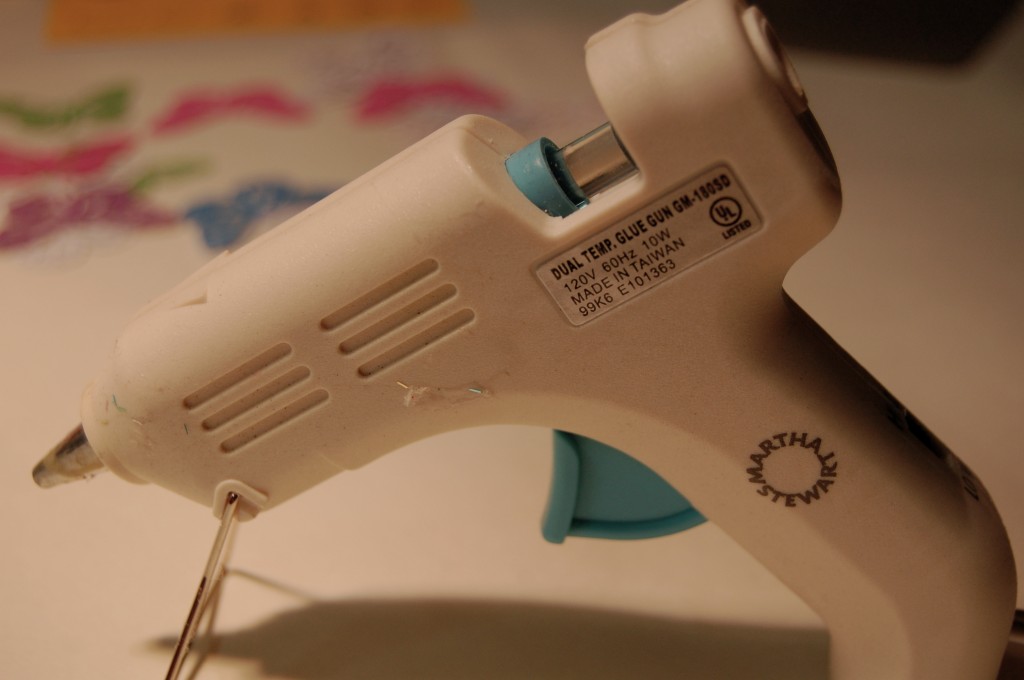
Get your handy dandy glue gun! This glue gun has dual temperature  so it’s really cool to work with! A must have for your “wish” list!

They come out FLAWLESS!

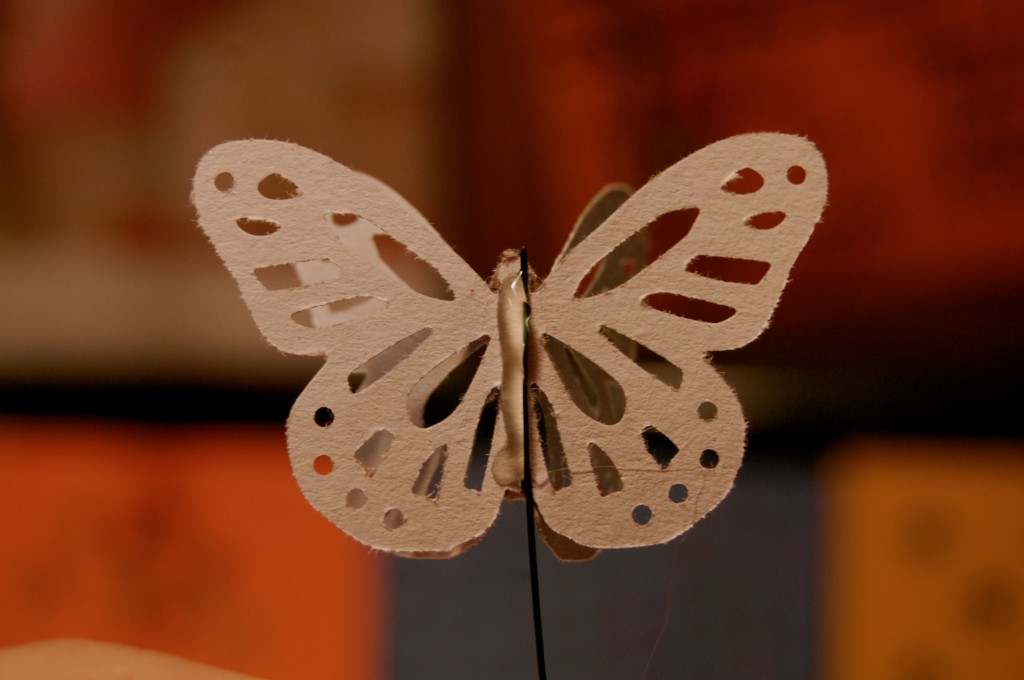
After you punch your butterfly out put a line of hot glue along the back of it then place a piece of your floral wire in the glue.

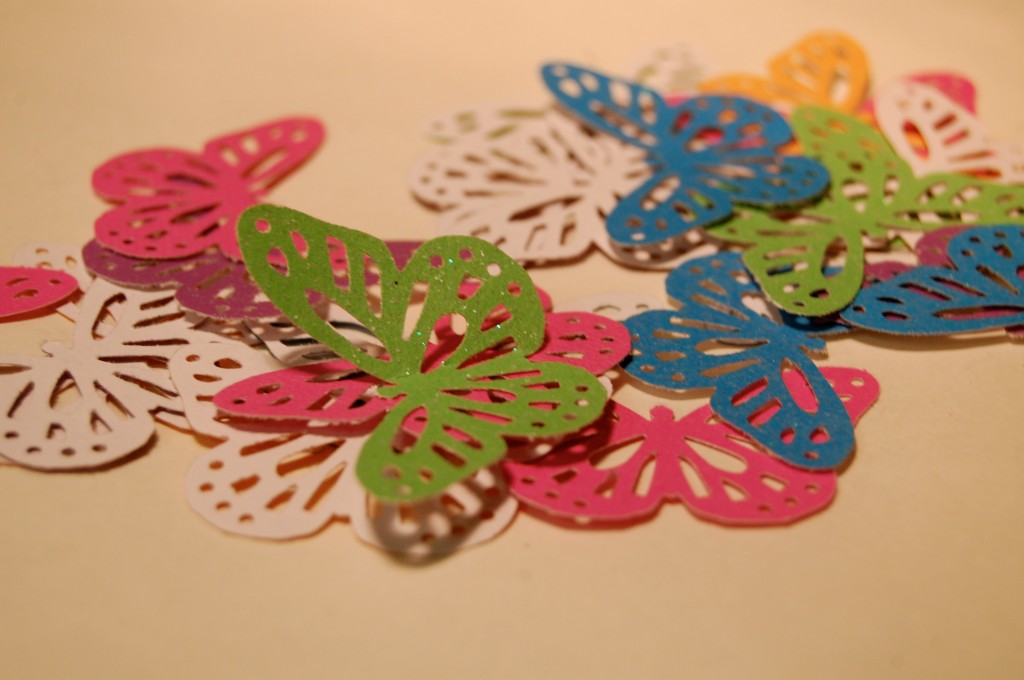
I like to glue two or three butterflies on top of each other. It adds a whimsical touch. Make sure if you do this you separate the butterflies.

 Sending you butterflies to make your world brighter,

This post is brought to you Plaid’s Martha Stewart line of paint and stencils. I received product for this post. All opinions expressed are 100% mine. You can check out Plaid’s full Martha Stewart product line here