Author Archives: jaderbombllc

About jaderbombllc

I am a Southern DIY blogger and Designer known for fearlessly conquering anything and everything do-it-yourself. I aim to create unique designs by working through my thoughts, dreams, emotions, and tons of glitter! I believe in doing things that make my heart flutter and smile, and I live by my motto, “Life is simple and so should your style.” To learn more about me, visit jaderbomb.com or email me at [email protected]. You can also visit my Etsy shop at jaderbomb.etsy.com. Make sure to check out my FREE PRINTABLES site www.freeprettyprintables.com My biggest accomplishment thus far is being a guest on the Martha Stewart show, yes she smells good. I love my dog Ceaux Ceaux, pens,the smell of Christmas, GOLD, Dr. Pepper and blogging. BTW: I bleed glitter, all shades.

Quote of the day:
“Radical Chic, after all, is only radical in Style; in its heart it is part of Society and its traditions – Politics, like Rock, Pop, and Camp, has its uses.”
 Tom Wolfe

Happy hump day Jaderbugs! I am seriously in shock that Christmas is already here. I mean, it’s not “here” but it’s HERE! Have you done all of your last minute things to get ready? I still have a little left to do but for the most part what is done is done and what needs to get done…well we will see!

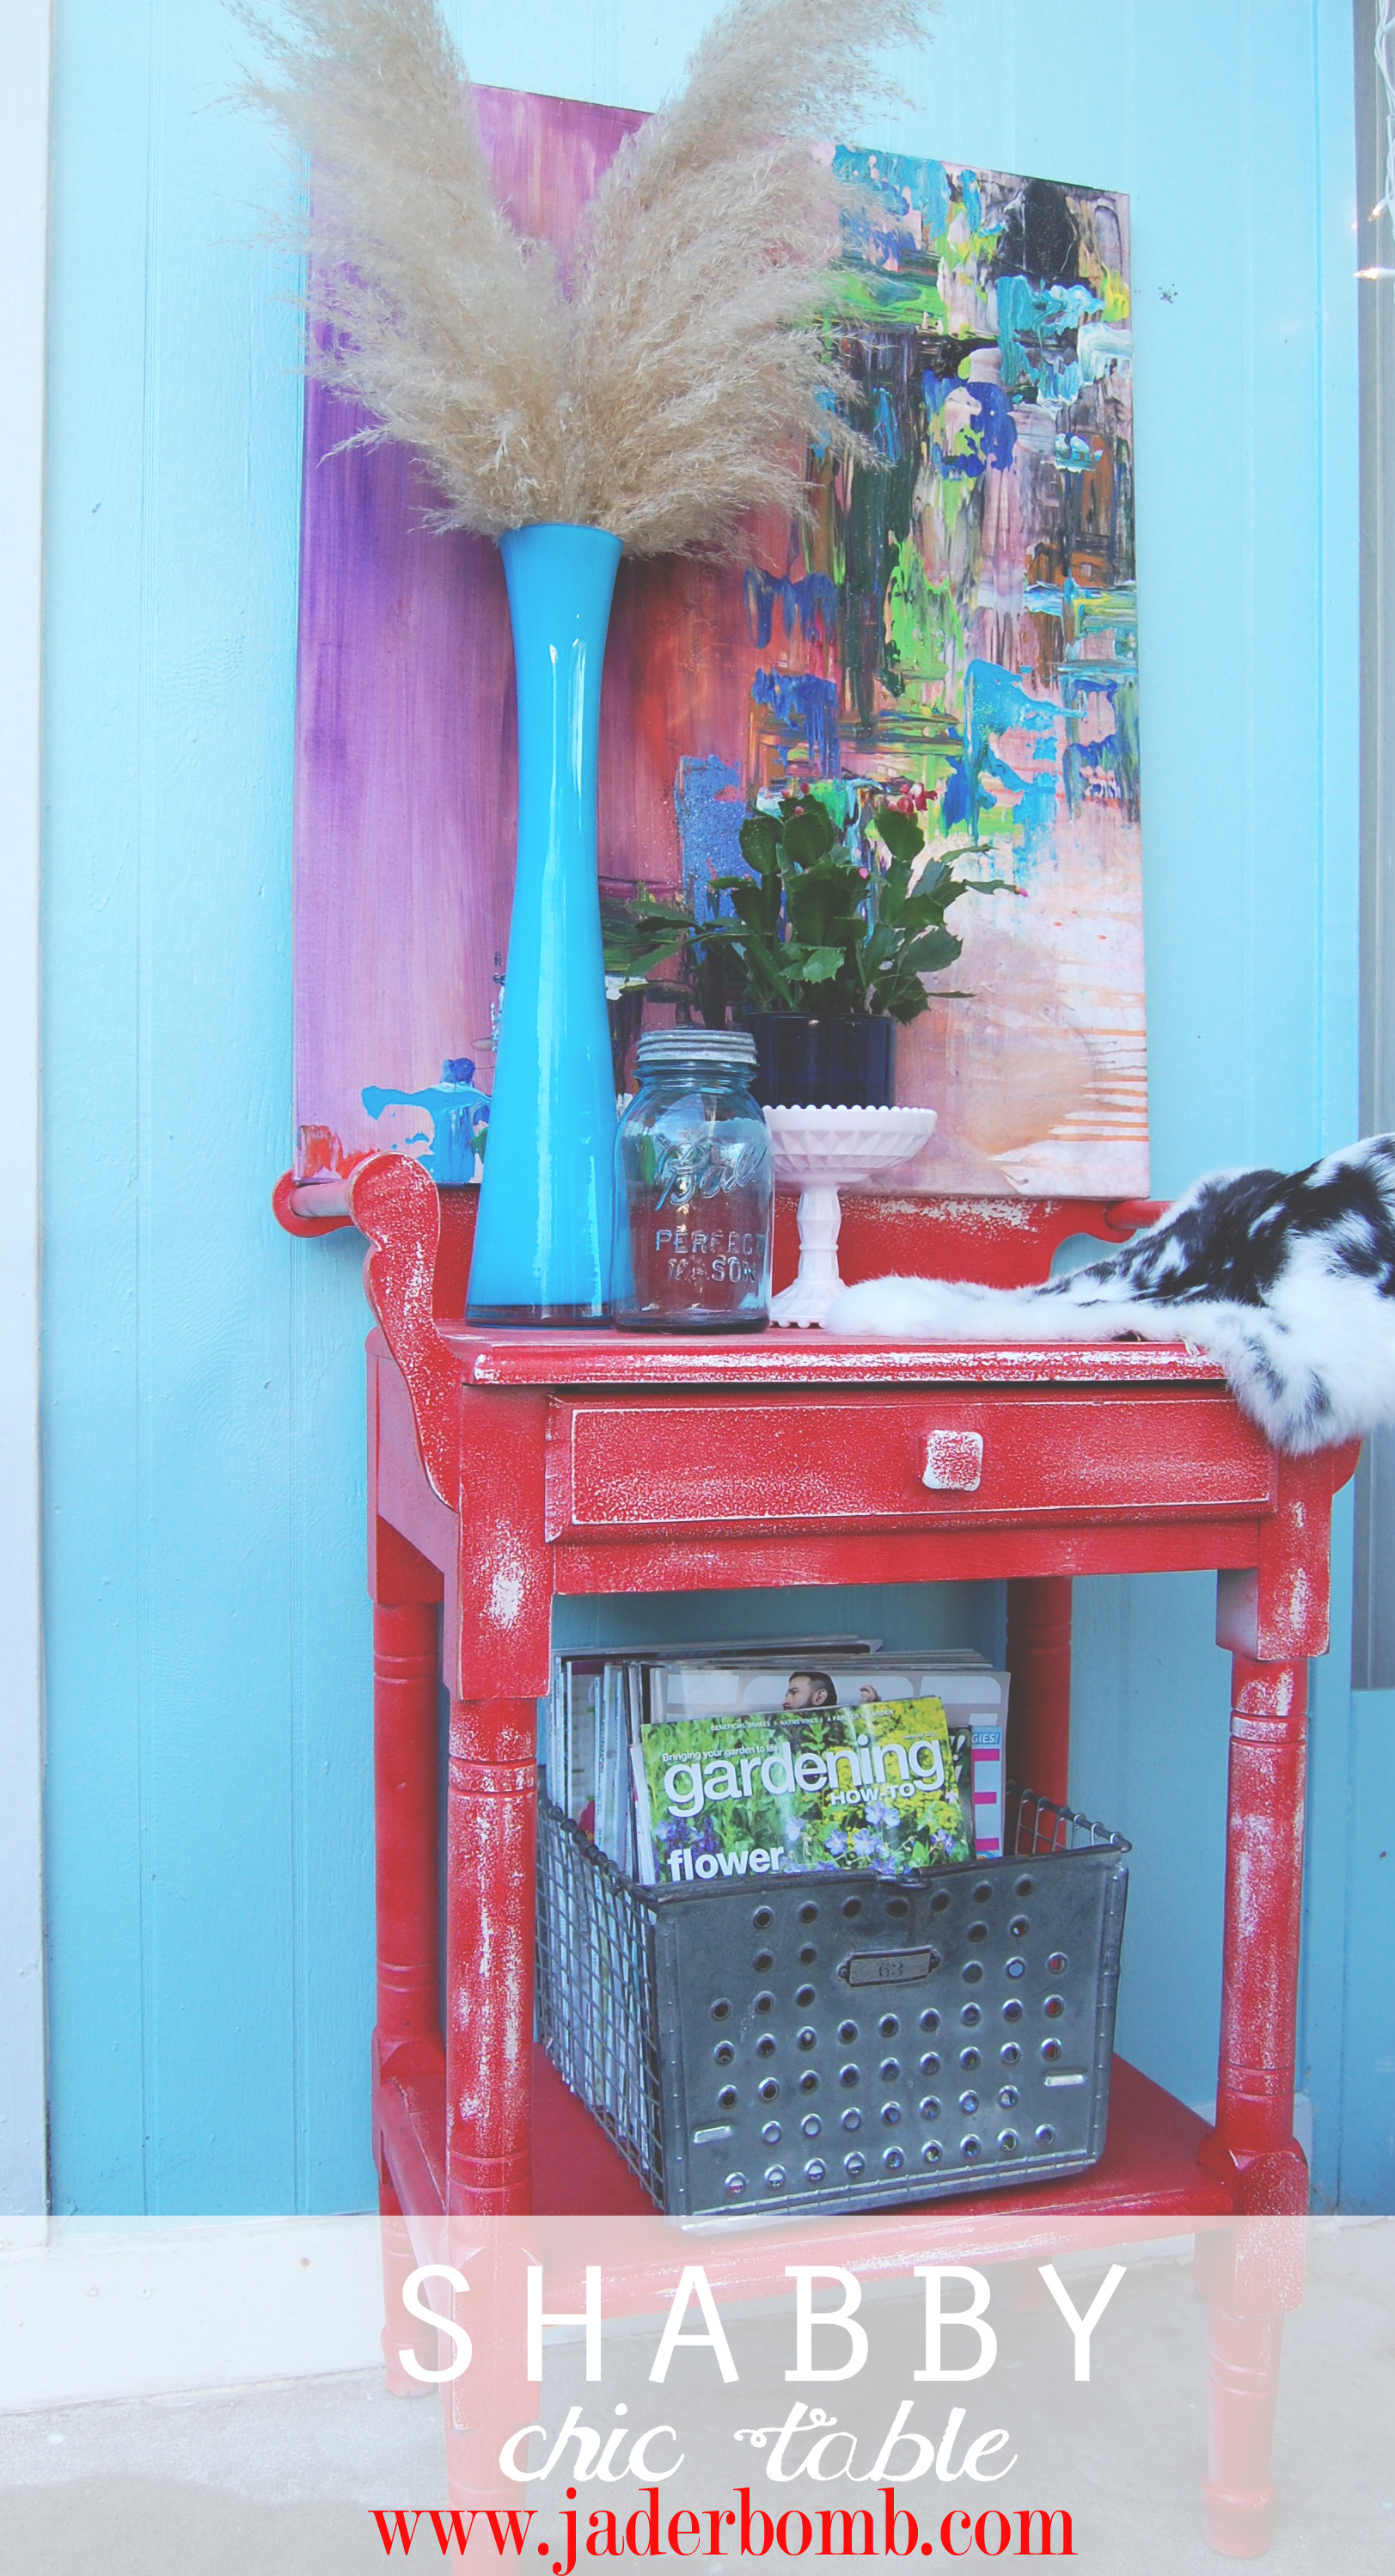
Today I will be showing you how to turn a boring piece of furniture into Shabby Chic’ness. Yeah, I know most things “Shabby Chic” are soft, white, frosty, light blue/green, clean and crisp. Things go a little different in our house. Shabby Chic to me is something that look’s vintage and worn. Let’s get started, I can’t wait to show you my Shabby Chic Furniture.


Shabby Chic Furniture

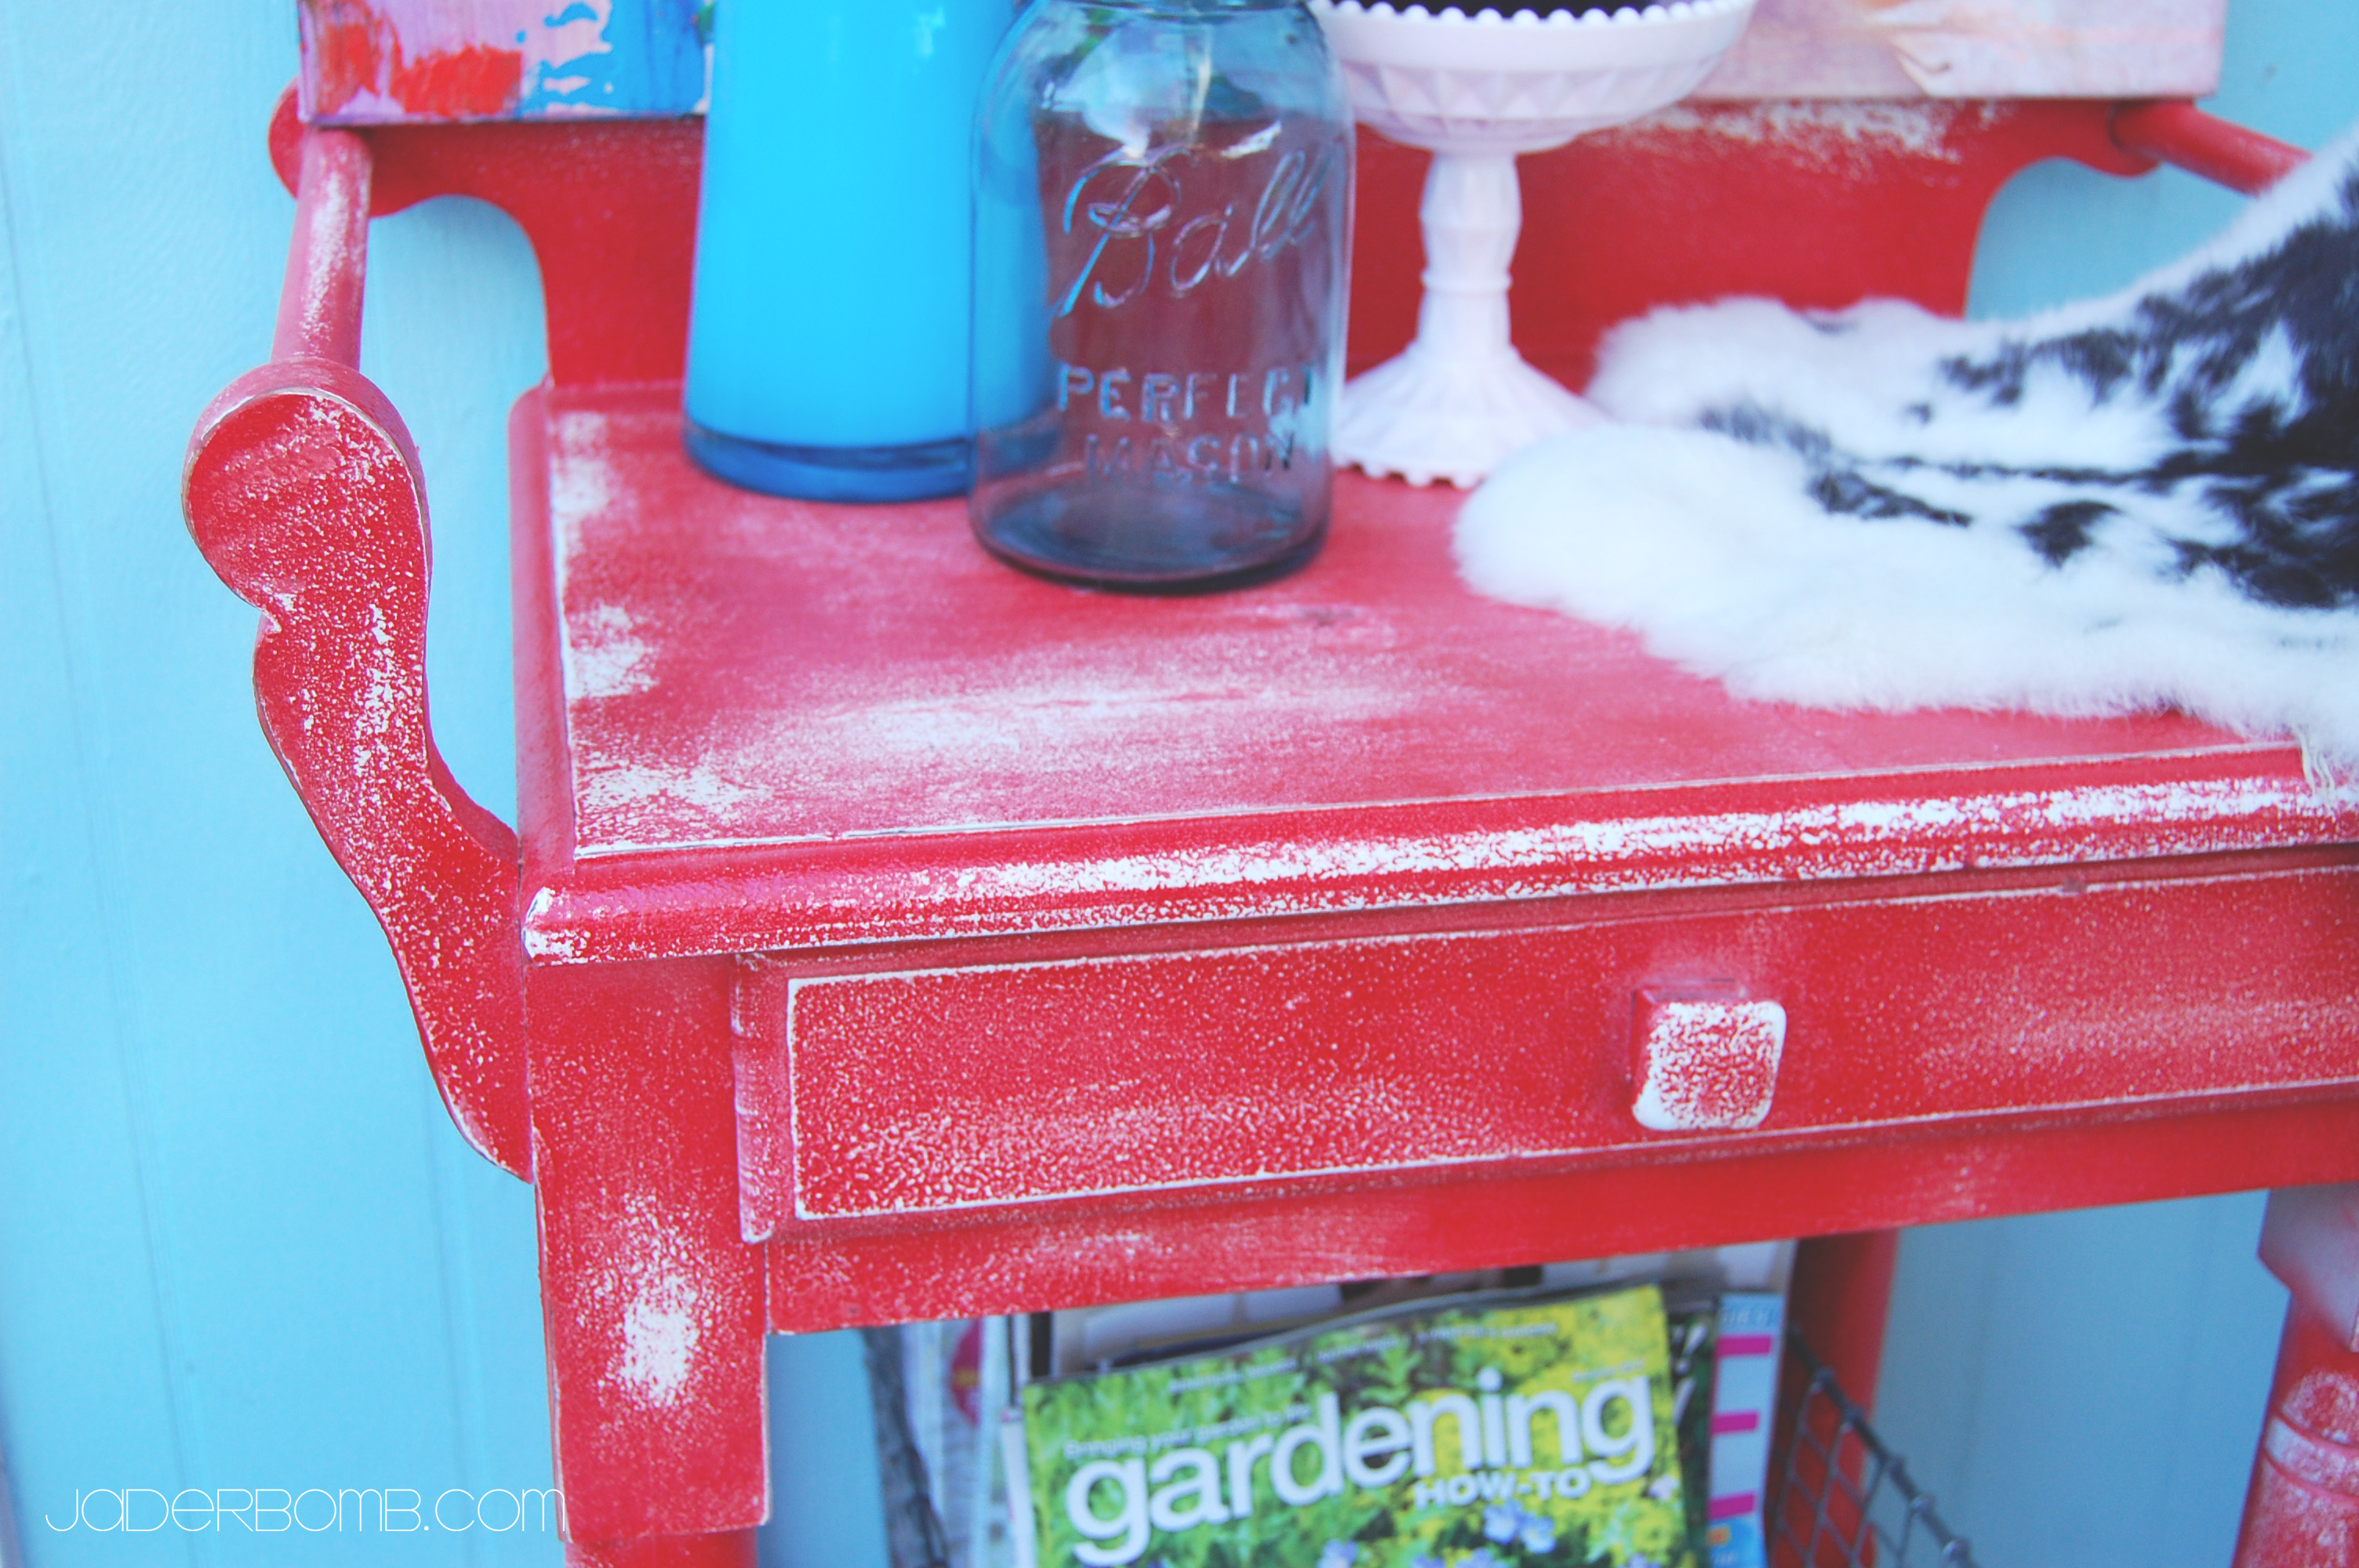
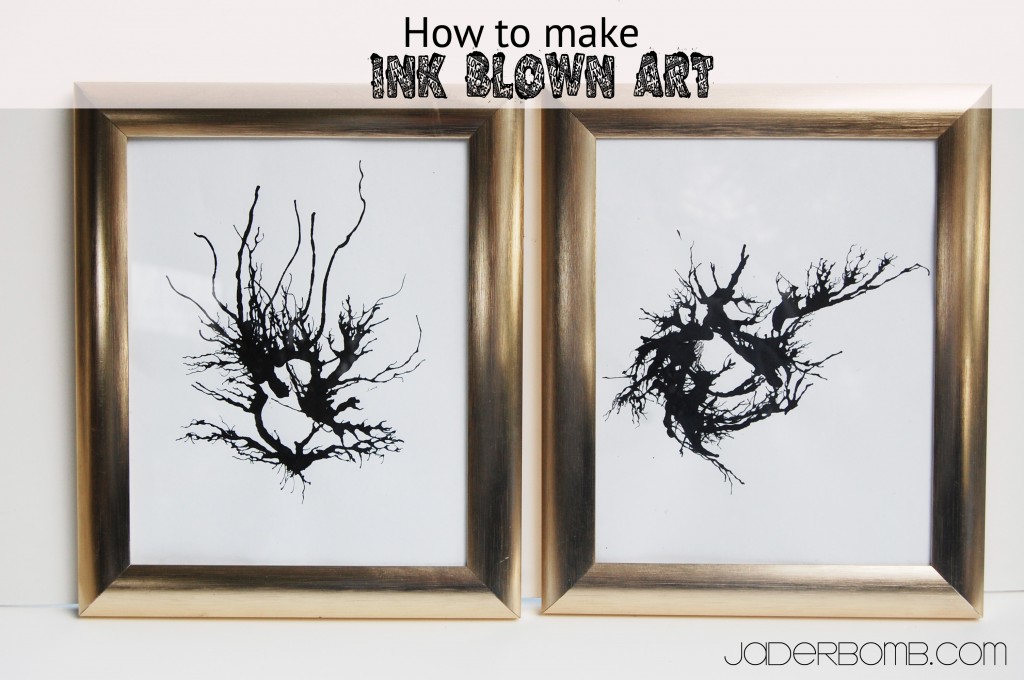
Here is a preview of what I made. I figured it was Christmas and this would look great with our decor. The good thing about making over a small piece like this is you can change the color anytime you want!

Shabby Chic Furniture

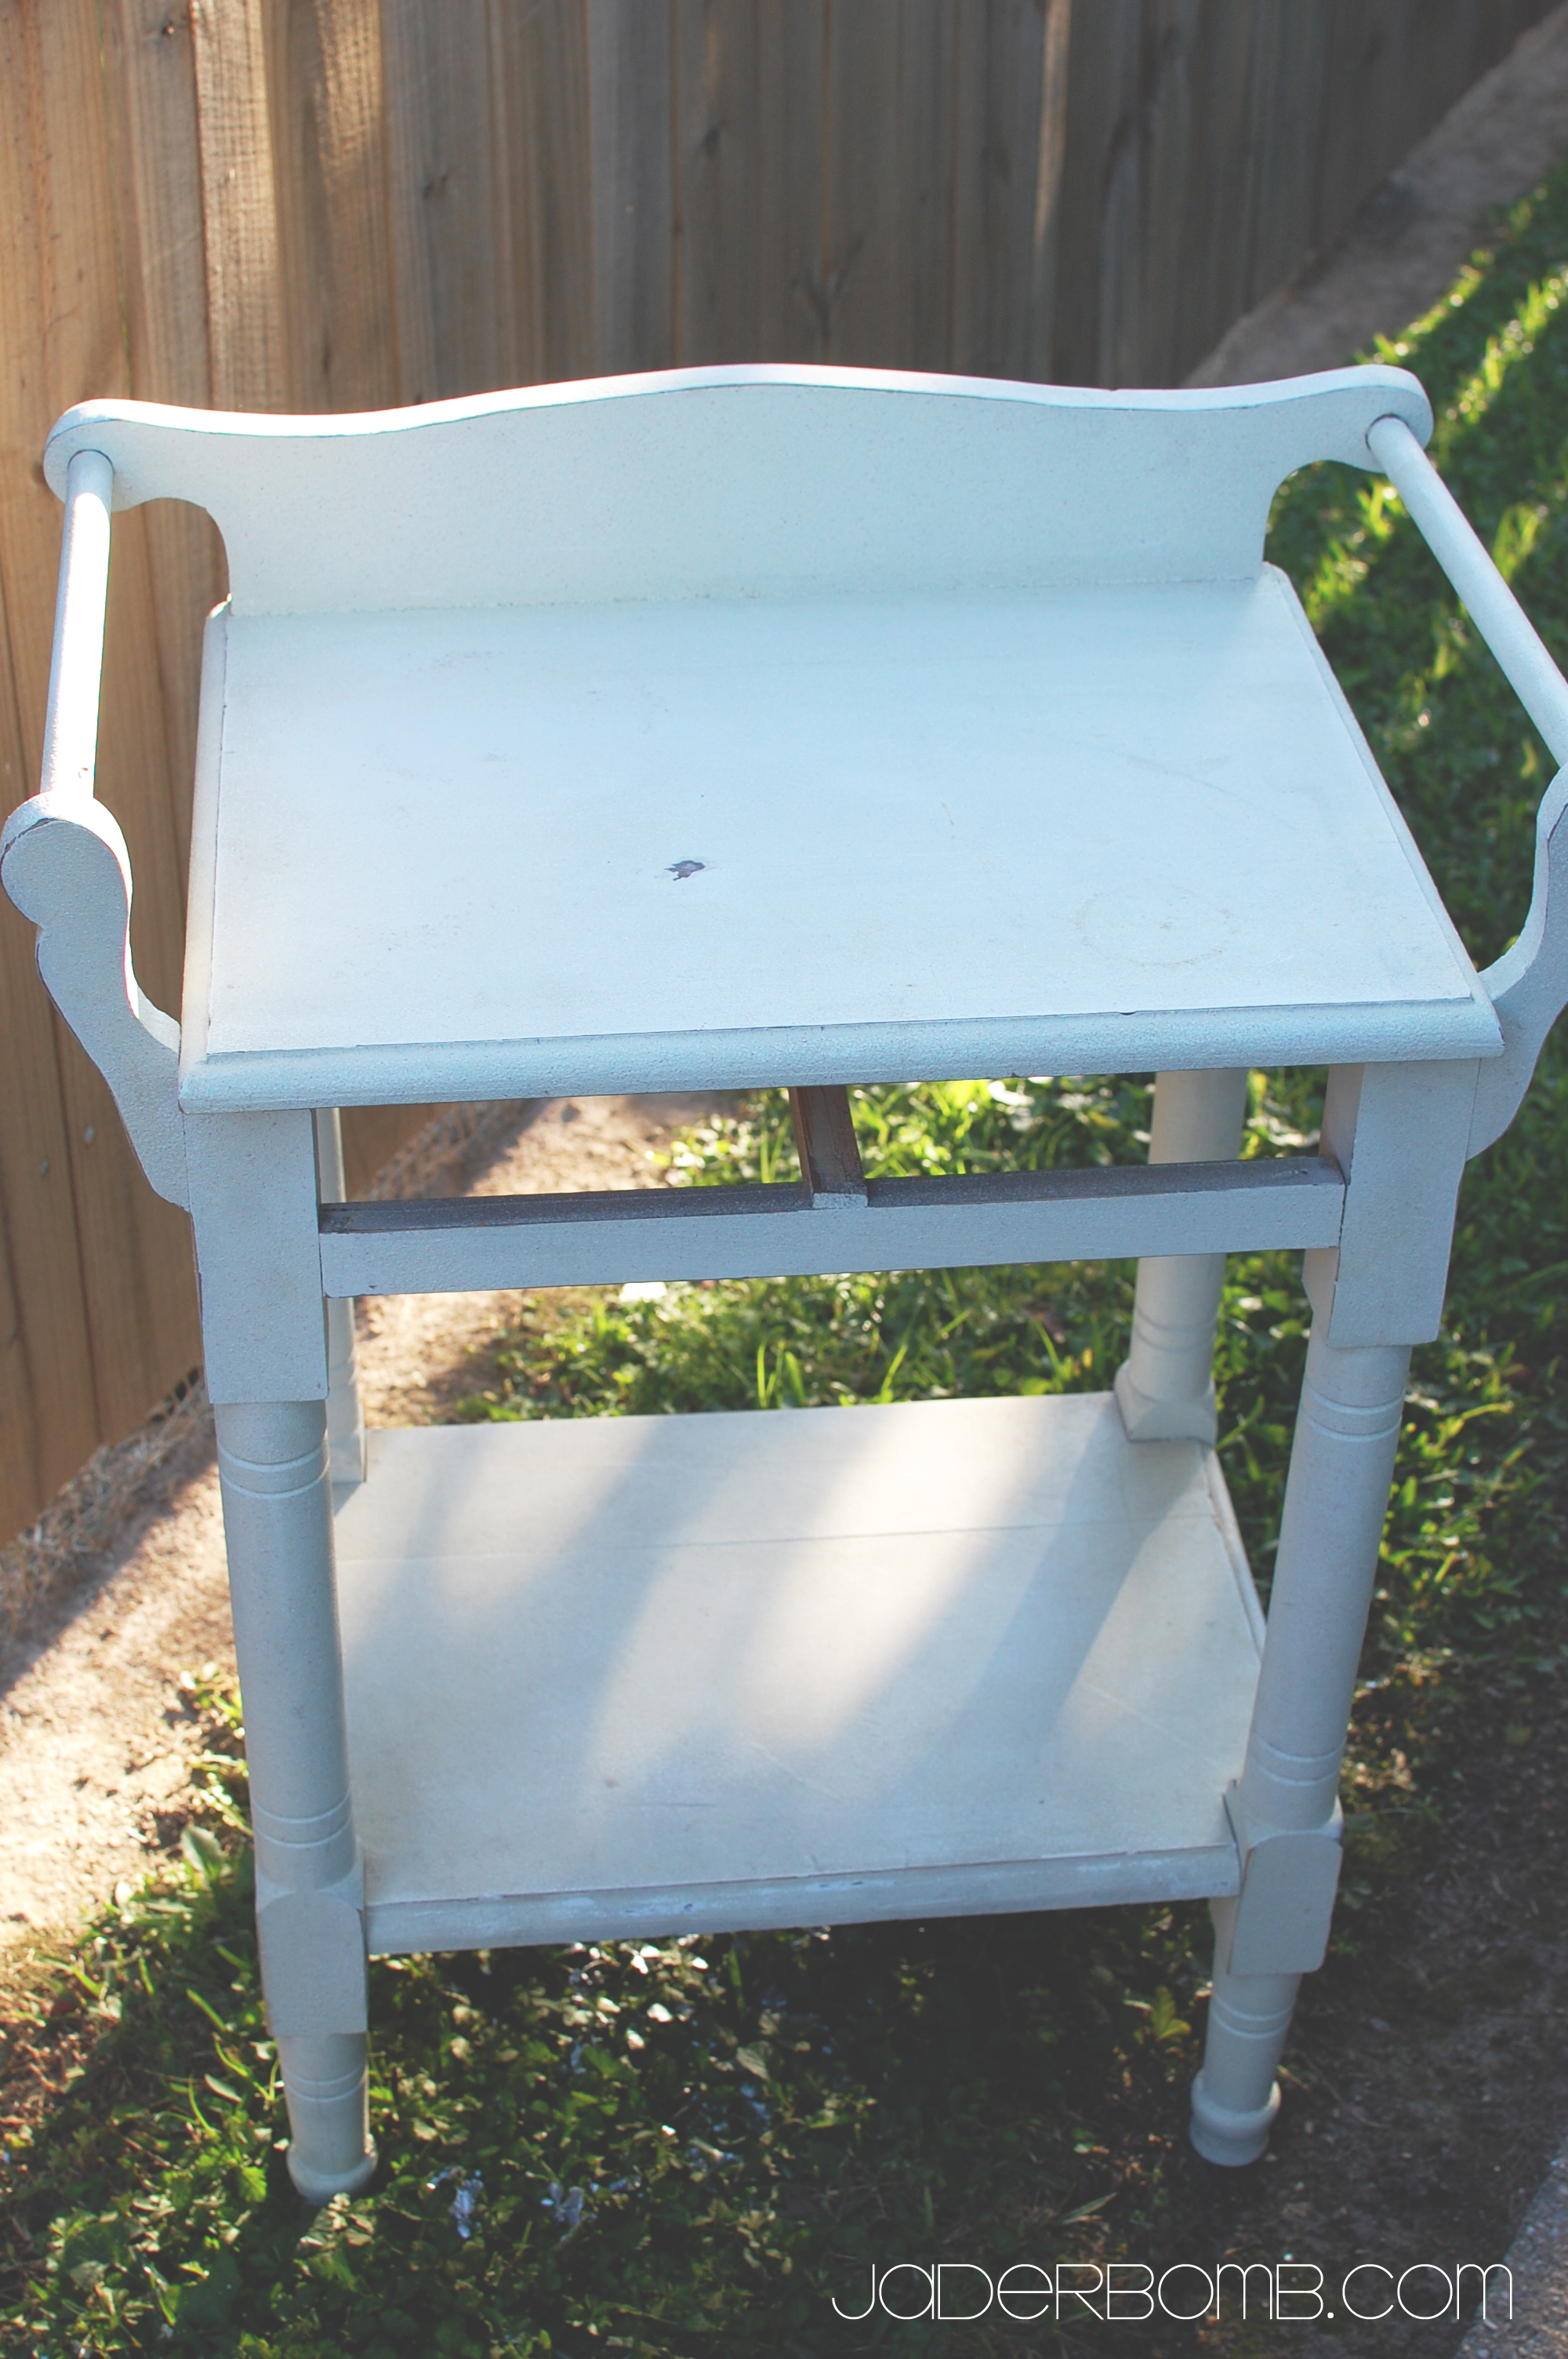
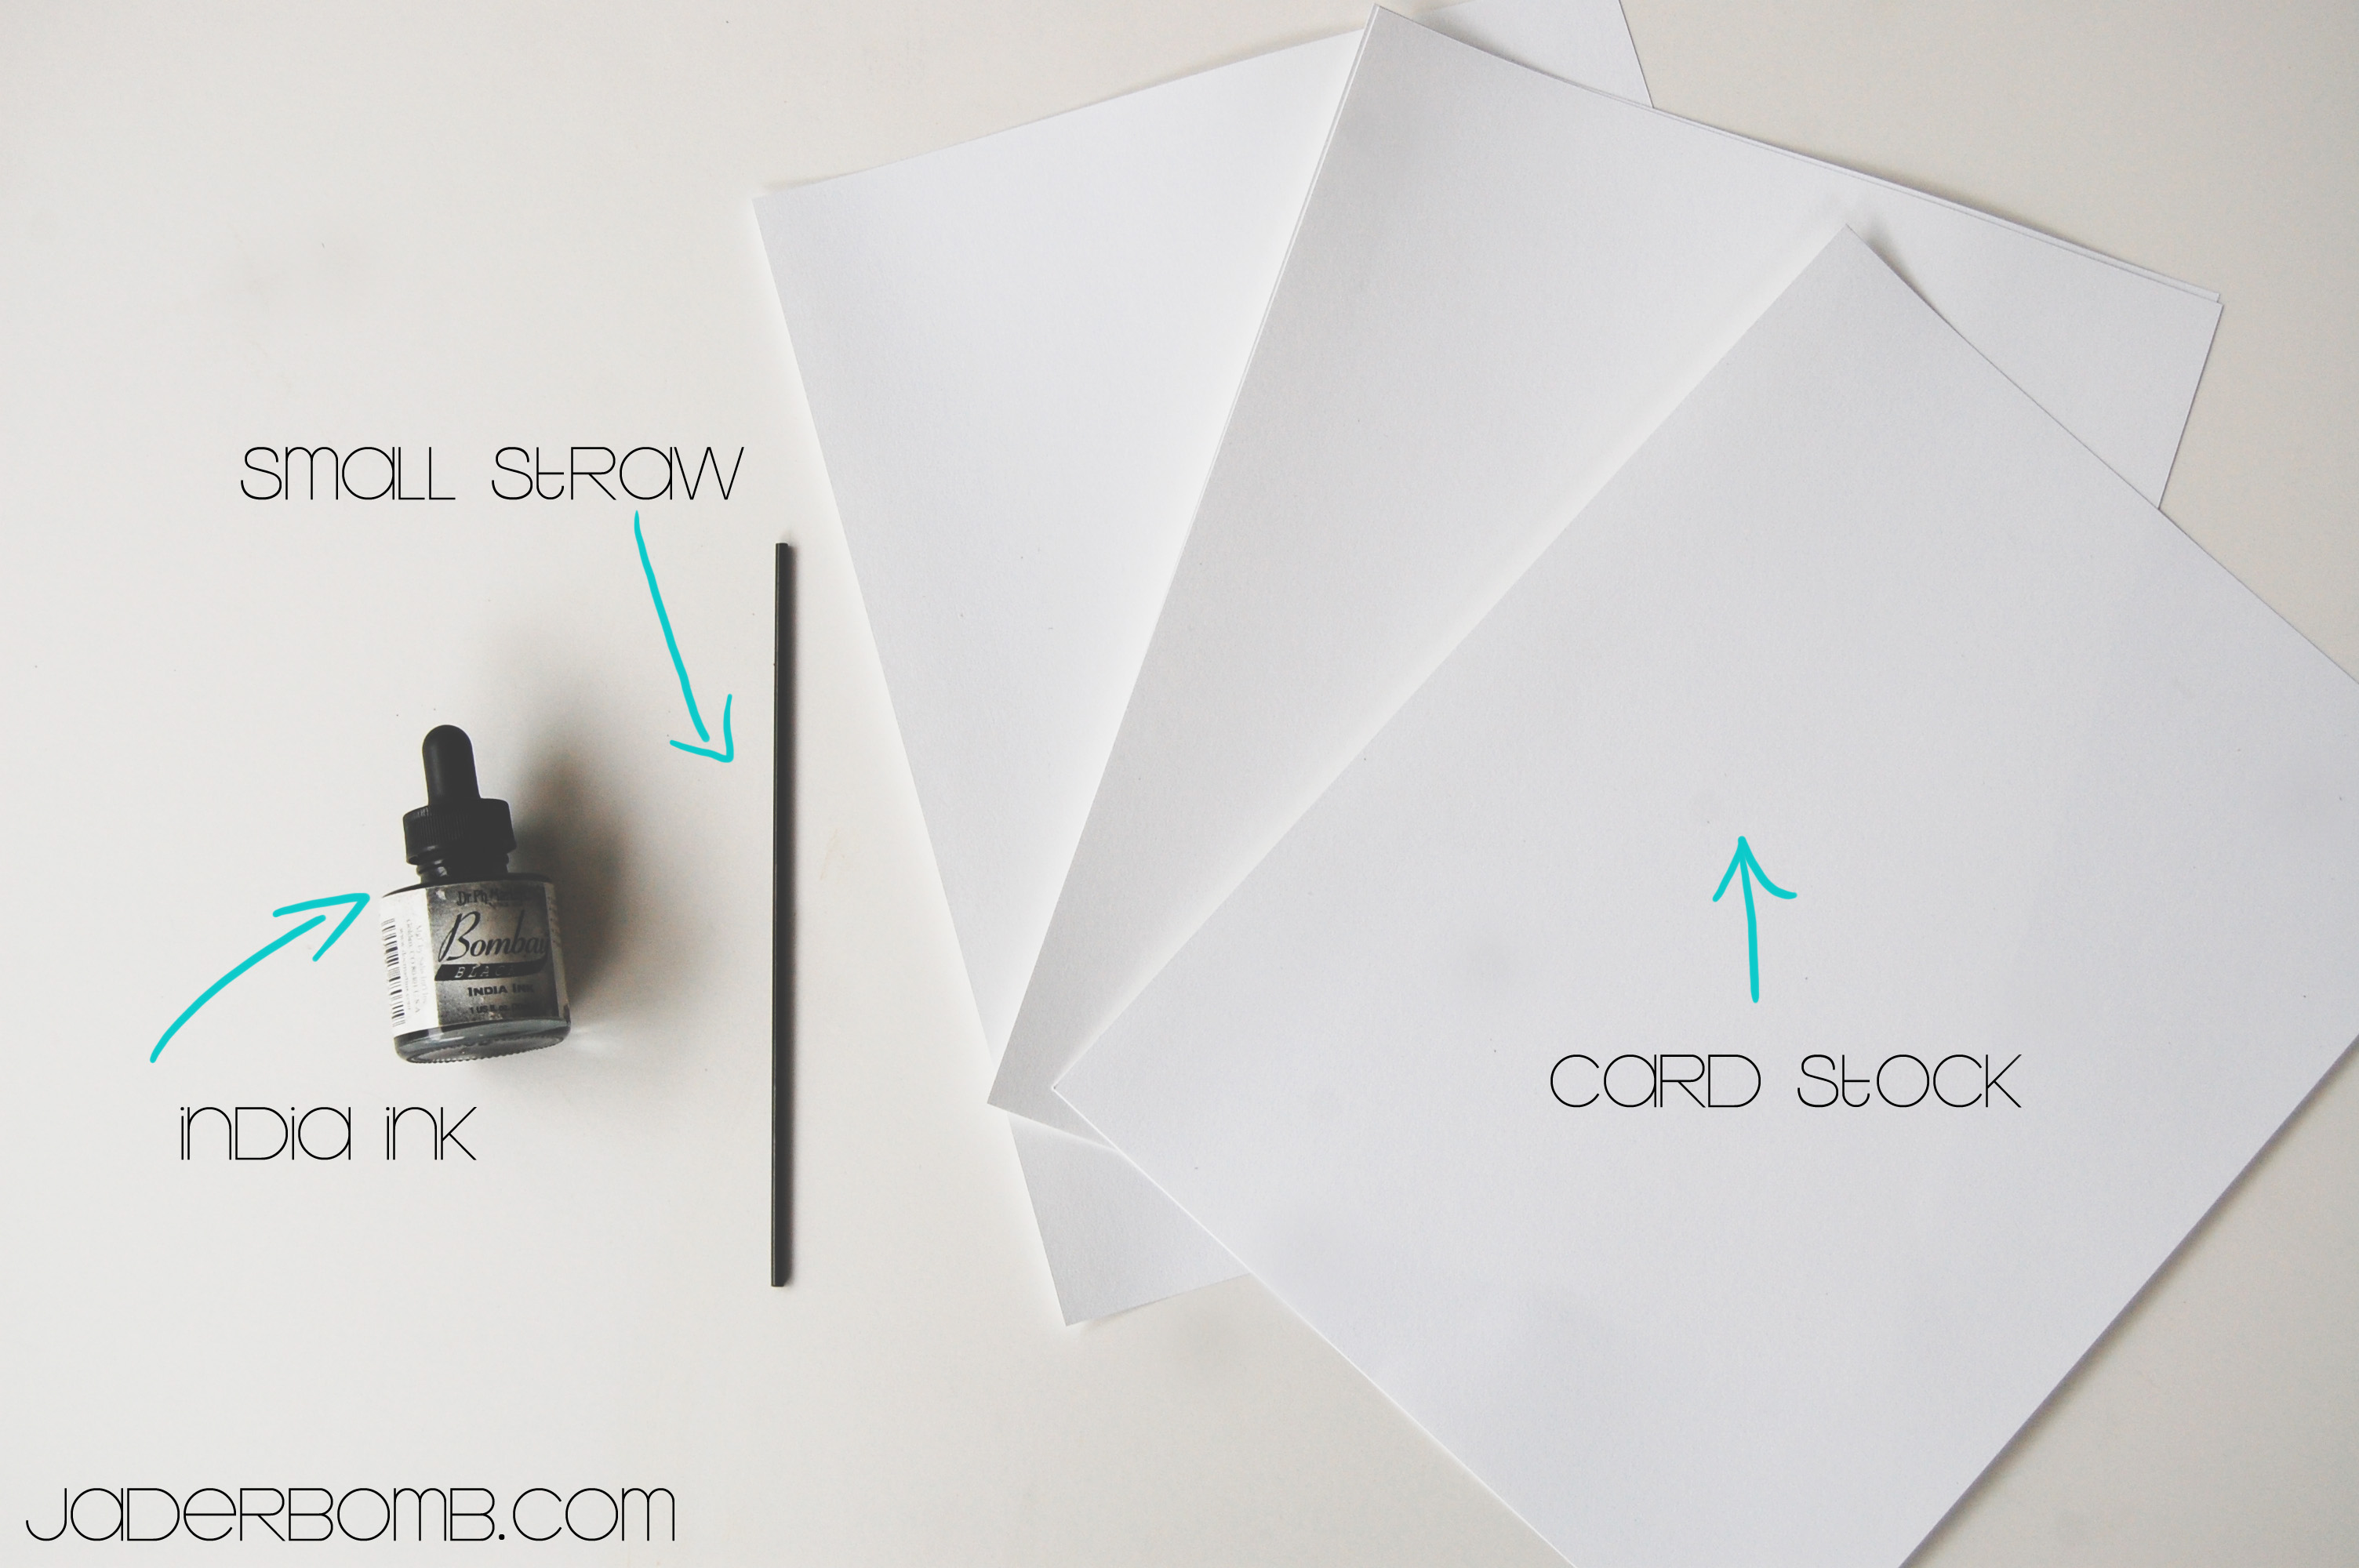
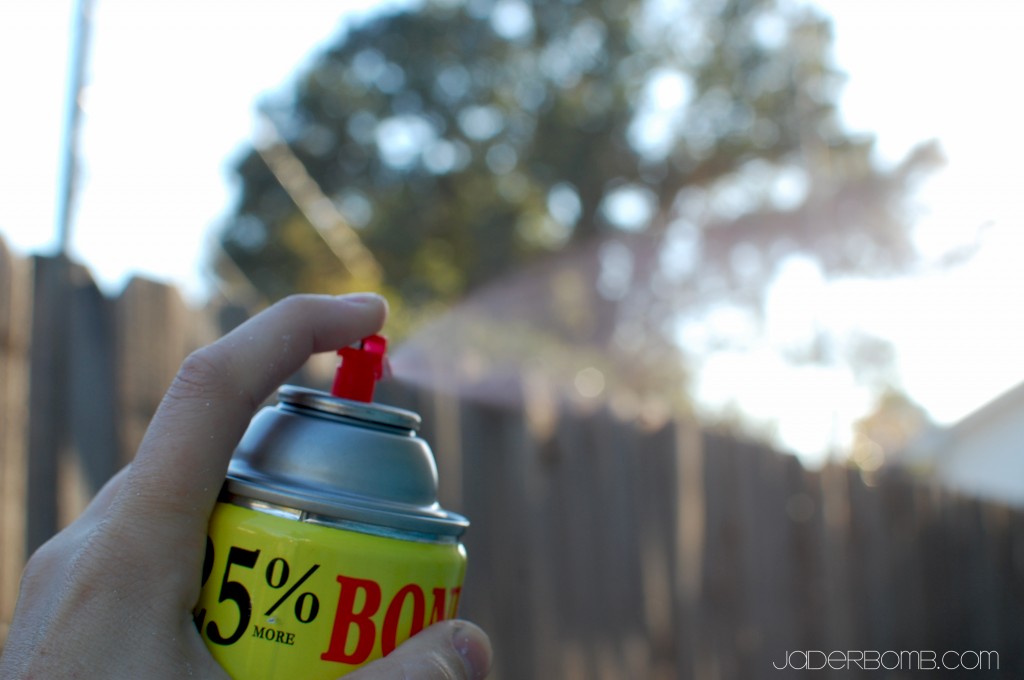
The first thing you will need is the piece of furniture you are making over. I put it in a spot that is out of the way and open so when I start spraying it with spray paint it won’t choke anyone.

Shabby Chic Furniture

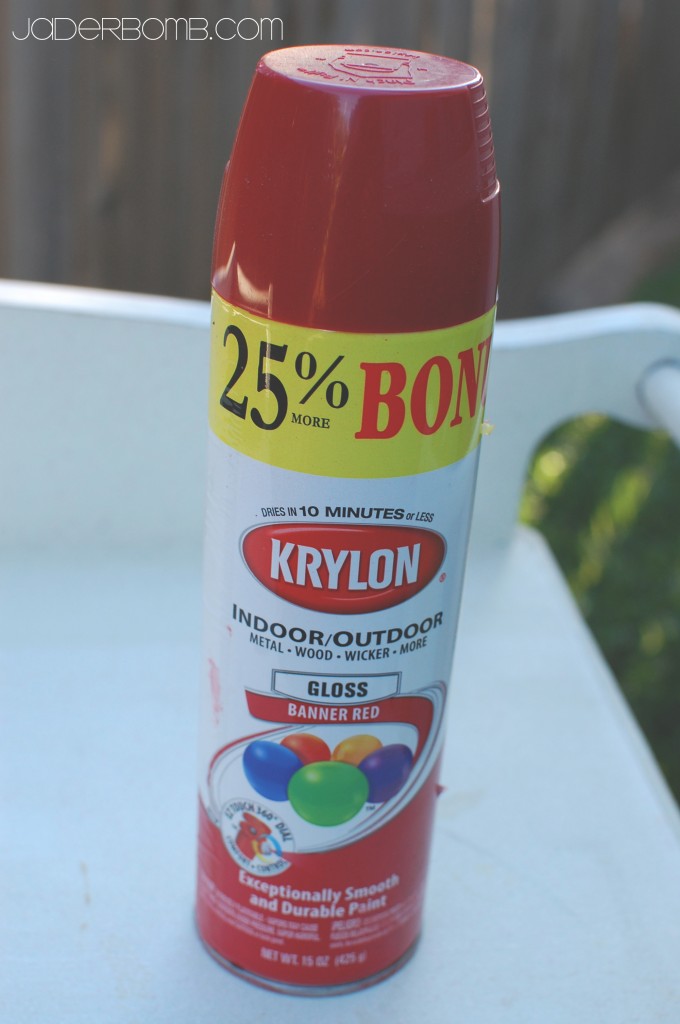
Get your spray paint ready. I LOVE Krylon spray paint. It’s smooth and doesn’t leak at at all. The other thing I love about this line are the colors! Have you seen them? Krylon has the BEST colors to choose from. I used the indoor/outdoor gloss color in Banner Red.

how to make shabby chic

Look how smooth it is! I thought this was so pretty.

red shabby chic

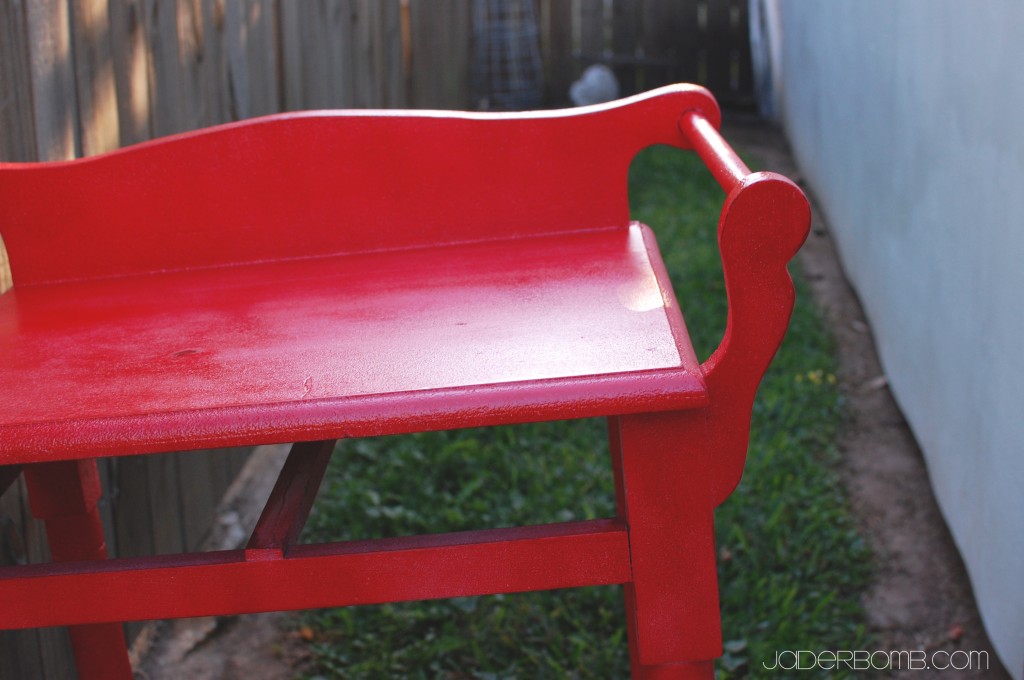
This is what it will look like when you spray it with about 2 coats. I wouldn’t worry too much about getting it FULLY coated because we will be sanding it in just a few minutes. Let it dry for about 3 hours before you start sanding.

diy shabby chic

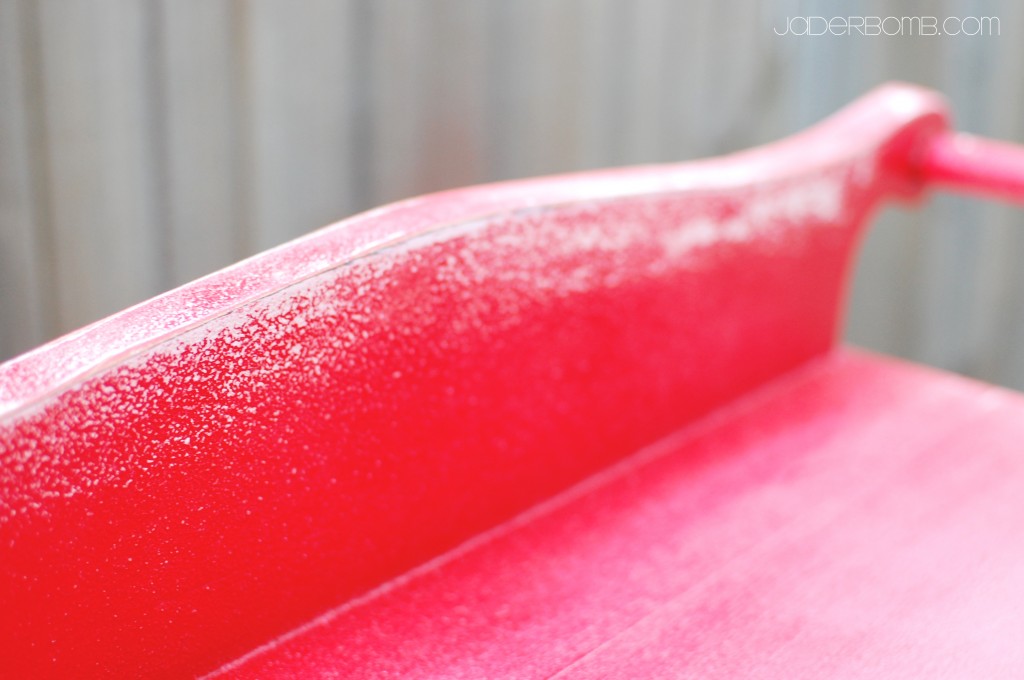
When it’s dry, grab a piece of sand paper and start sanding. You can see that I sand around the edges the most. The fun thing is you can sand wherever you want. Make it your own masterpiece.

shabby chic furniture

Here is the end result. I love how bright it is. Remember you can get this look with any color. Use a color that makes you happy when you look at it. I promise you will love it so much more if you do that. Well gotta run! See ya in the next post.

Don’t forget to make it a DIY kinda day! GlitterBOMB hugs,

jaderbomb

Facebook Twitter Gplus Pinterest YouTube E-mail RSS

Quote of the day:

“Animals outline their territories with their excretions, humans outline their territories by ink excretions on paper. ” Robert Anton Wilson

Happy Monday Jaderbugs! I hope everyone had a ridiculously good weekend. Here in Louisiana it was rainy and gloomy. But that didn’t stop the crafting I tell ya. I have always been a fan of line drawings. They capture things that paint couldn’t ever capture which is why I am so excited to share this craft with you today. The thing I love the most about this craft is ANYONE can do it. It’s super simple and they turn out fabulous. Who would of ever thunk it?

You can have some ideas of things you want to create before you start or you can just go with the flow. I had a few images in mind that I wanted to create. You can lightly draw on your card stock with a pencil so you have a simple guideline to follow.

Ink-Blown-Art

INGREDIENTS:

*Card Stock
*India Ink
*Small Straw or Big Straw

Purchase all of the items I used by clicking on the links in the ingredient section.

Let’s get started!!

Ink-Blown-Art

Here are all of the things you will need. If you use a small straw know that it will give you FINE lines, if you use a big straw it will give you THICK lines. I used a small one.

Ink-Blown-Art

This is the india ink I used. I purchased it at Hobby Lobby.

Ink-Blown-Art

The first  thing you will do drop a little drop of India ink on your card stock.

Ink-Blown-Art

This is what it will look like.

Ink-Blown-Art

Grab your straw and start blowing. The harder you blow the more you will see the ink blow in every direction. If you wiggle the straw back and forth while you blow the lines will really take off.

Ink-Blown-Art

The picture above is “supposed” to be a woman with her hair all around her. Do ya see it?

Ink-Blown-Art

Do you see Holly Hobbie in the picture? My Holly Hobbie is reading a book. I love her.

Ink-Blown-Art

This is the trash can that Ash used to have. I found this one on Etsy, you can buy it HERE.

I love this because it’s completely affordable and it will spruce up ANY space!

I hope you enjoyed this tutorial! Don’t forget to make it a DIY kinda day,

jaderbomb

Quote of the day:
“When I work 14 hours a day, seven days a week, I get lucky.” -Armand Hammer

Happy Sunday Jaderbugs. I have been seeing a huge increase on color blocking. It’s really huge in the fashion world and I am noticing a lot of home decor being color blocked. I think I have been doing this for years but didn’t realize it. Maybe I just can’t ever decide on a color so I put all the ones I love! Smart idea, not sure. I guess when people come over and they “oohh and ahhh” over things in our house I will take that as I am doing something right or interesting. Sheesh, maybe they don’t know what to say so “oohh and ahhh” is the only thing that can come out of their mouth, haha. (sucka punched)

So, for this particular tutorial I was totally inspired by my friend Meg Allan Cole. She is pretty amazing and anytime I am needing a smile I just head over to ANY of her sites. Here are a few that you have to check out.
*Her You Tube
*Her Blog
She just did a video on color blocking animals. No silly not real ones, haha. Little miniature ones to decorate her tree with. They turned out so flipping cute. Check them out HERE.
She totally inspired me to do this craft. Ashy bought me these set’s of keys years ago and can you believe they have been hidden for the last year or so. What can I say I go through different decorating phases at a time. I thought it would be perfect to give them a make over and bring them back into the public arena. I think they came out great, what about you?

You can color block anything! The possibilities are really endless. Let’s take a look at the tutorial.

If you are on Pinterest they have a really cool color blocking board by West Elm. Click HERE to follow it.

Colorblocked-Keys

INGREDIENTS

*Brush
*Paint
*Masking tape
*Keys
*Whatever object you are using

(You can order all of the items I used in my tutorial by clicking on the links in the ingredients)

Glittered Keys

Colorblocked-Keys

The first thing you will do is tear a piece of masking tape and put it around your object in one spot. You want to create a strong separation of the colors. This will do it for you. Once you do this, start painting. I am only painting one end of my key but if you wanted to do the other end you would wait for the gold to dry, tape it off then paint the other end. It’s really that simple.

You could also put paint into a cup and dip your items.

Colorblocked-Keys

These are my keys now! They have a whole new look to them. I can display them again, yayyyyyy.

Colorblocked-Keys

I also color blocked these mini keys. I wanted to make them POP so I threw on some fun glitter!

Colorblocked-Keys

Then hung them from my cook book stand.

Colorblocked-Keys

I think they came out great! I am already thinking of what colors will be next to the gold. I think HOT pink and Chartreuse!

Don’t forget to check out Meg’s hot spots, you will be happy there I promise! {fine, pinky promise}

THINGS COMING UP THIS WEEK:
*POST ON PUTTING IN OUR MOEN SINK
*INK BLOWN ART TUTORIAL
*VLOGG ON LAST MINUTE MARTHA STEWART CHRISTMAS PRODCUTS (FUN)
*SHABBY CHIC RED TABLE
*HOW TO MAKE AN UGLY CHRISTMAS SWEATER (VLOGG AND TUTORIAL)

Make it a DIY kinda day! See ya in the next post,

jaderbomb

I am featured on the front page of Yahoo! Homes

Quote of the day:
“What you can’t do in one day you must do in two.”-East Anglian Proverb

Happy Friday Jaderbugs! I couldn’t wait to share this amazing thing that happened yesterday. It is pretty awesome, at least for me it is. When I started my blog 2 1/2 years ago I never imagined it would end up defining me as a person. This blog, sorta saved me. It all started as a way to “show” the things I love. I had NO intention of ever having a DIY-Craft blog. Guess the Universe showed me, hehe.  I have always been crafty I just never realized that others could possibly enjoy the things I create as much as I do. I never understood this thing that my brain does. I can look at something and the thoughts just come flooding in. Sometimes they are so overwhelming that I have to jot them down just to remember them. If I don’t jot it down I feel like I might not ever think of it again. This is mainly how I create all of my crafts that I post on Jaderbomb. Don’t get me wrong, I get ton’s of inspiration from everything I encounter daily but I can’t ever stop thinking of ways to “change” things or simplify them. I love showing ways to use every day items to decorate your home with. There is something special that happens to a person when they see something beautiful that they made. It’s something a store bought item can’t ever give to you.

A few weeks ago I got an email from a friend asking if I wanted to be in an article about hosting a crafting party. Of course I said YES, while I was JUMPING all over the place. I didn’t know exactly what it was for or where it was going to be but I am down with anything crafty. The best thing is that I was able to do this with a good friend of mine, Lenore. She was the producer of my show when I was on Martha Stewart. Click here to check it out.

So here is the picture of the front page of Yahoo!Homes! I am SOOO excited you just can’t imagine! If you click on the picture below it will take you there. They featured my
Cotton Ball Garland and my Candy Decorations

See that shiny gold candy picture!

I feel so blessed and can’t wait to share with you more amazing things happening in Jaderbomb land! Enjoy this good read.

Screen Shot 2012-12-13 at 2.01.47 PM

Continue reading

Quote of the day:

“My recipe for dealing with anger and frustration: set the kitchen timer for twenty minutes, cry, rant, and rave, and at the sound of the bell, simmer down and go about business as usual.
Phyllis Diller

Happy Thursday Jaderbugs! I couldn’t wait to make this for you one day. It seemed like I kept putting it off and little one kept reminding me that I “STILL” didn’t make it.  So I decided this was the perfect time. I hope you enjoy it as much as my family enjoys it.
We like to make this, put a movie on and sit together pulling off each little piece. It’s like an edible puzzle.

Oh, and when you put the biscuit pieces in the container to SHAKE let your kids get involved by doing that task. It is sorta like dancing with food. {haha}

 MONKEY BREAD -RECIPE


MONKEY BREAD

1 CUP WHITE SUGAR
1 TEASPOON CINNAMON
1 BLOCK OF MARGARINE
3/4 CUP BROWN SUGAR
2 CANS (10 COUNT) BISCUITS
CRISCO

BEFORE YOU START PUT YOUR STOVE ON AT 350 DEGREES

1. GREASE BUNDT PAN WITH CRISCO. CUT BISCUITS INTO QUARTERS THEN CUT THE QUARTERS IN HALF.

2. MIX SUGAR AND CINNAMON IN A LARGE TUPPERWARE CONTAINER

3. PLACE BISCUITS PIECES INTO CONTAINER AND SHAKE UNTIL THEY ARE COATED. THIS USUALLY DOES NOT TAKE LONG AT ALL

4. SEPARATE AND DROP INTO THE BUNDT PAN.

5. GET A SMALL POT AND MELT YOUR BUTTER AND BROWN SUGAR. WHEN IT IS COMPLETELY MELTED POUR THIS MIXTURE OVER YOUR BISCUITS IN YOUR BUNDT PAN.

BAKE FOR 35 MINUTES

WHEN THE TIME IS UP REMOVE FROM THE OVEN AND TURN IT OVER IMMEDIATELY ON WHATEVER YOU ARE PUTTING IT ON.

I USUALLY “WIGGLE” IT OUT BY MOVING MY BUNDT PAN WHILE IT IS ON MY PLATTER.

THAT’S IT JADERBUGS! IT’S THAT SIMPLE.

DSC_0156How-to-make-Monkey-Bread

What is your favorite “family” recipe to make? Let me know in the comment section below!

jaderbomb

Happy Tuesday Jaderbugs! I am so excited to finally share with you how I make Washi tape. Washi tape is pretty popular these days but what’s not popular is how much they cost. Sometimes you can snag them for a good deal but most of the time they are a little over priced. Now let me warn you that the washi tape I make does not tear like the “paper” washi tape. Sometimes that bugs me BUT most of the time I remember how much money I saved and that I could make tape with any print I like then I feel much better.  Don’t ya see, it’s like personalizing something…In a way. I also made a you tube video while I made the tape. I hope it makes you feel all warm and cozy inside. Hehe

Below is a picture of the ones I just made. If you are wondering what the gold paper is click HERE to find out.

INGREDIENTS:

*Wax Paper
*Rotary Cutter
*Cutting Mat
*Double stick tape
*Wrapping Paper
*Flat Ruler
(for a cutting mat)
or use something with a flat surface to cut
*Scissors
(use this if you don’t have a rotary cutter)

First thing you will do is lay a sheet of wax paper down.

Put a strip of double stick tape on it.

I usually put a alot.

Tear some wrapping paper and lay it right on top of the tape. Now your tape is stuck to the wax paper on one side and the wrapping paper on the other.

Once you are sure your tape is secure on the paper flip everything over.

It’s hard to see in the paper but in person you can now see where your strips of tape are. Get your ruler out and line it up on one side of the tape.

Grab your rotary cutter. If you don’t have a rotary cutter or flat ruler you can just hand cut the strips of tape with scissors. I just think it goes faster with the rotary cutter which is why I use it.

Now you are ready to start cut cut cutttinggggg (I was just singing that btw).
Cut one side of the tape on the mat.

Then move to the other side of the tape. When you are finishing cutting you will notice it will be one long strip of paper. Trim the edges where there is NO tape and VOILA!

You can now start wrapping all of your tape into a roll like I did below. I cut a little strip of cardboard to wrap around the entire roll. This hold it all in place.

How precious are these babies. I can’t wait to use these on all of my Christmas presents. When you are ready to use them cut a piece, pull the wax paper off and stick it where you want. It’s that easy!!!

I hope you enjoyed this tutorial!

Don’t forget to make it a DIY kinda day
See ya in the next post