The Simple Secret to Hand Painted Journals!
Happy Summertime y’all! Can’t believe it’s almost time for school to start! Is it just me or do you all feel like this summer has flew by like a bird chasing a worm, haha! Doesn’t the early bird get the worm?! I remember as a kid being so excited to start a new school year. Me and my mom would go to the local store and check everyday for the supply list to come out. Was I the only one excited about this little sheet of paper?
Now let’s fast forward a little because back when I was a little. Lisa Frank was in style, you know the “good ole days”… These day’s things just feel so generic and don’t get me wrong I love basic colors and styles however this day and age DIY is the way to go… There is nothing more meaningful than creating something yourself and sporting your own unique style.
Today I will show you an easy way to turn a basic journal into a work of ART ♥ 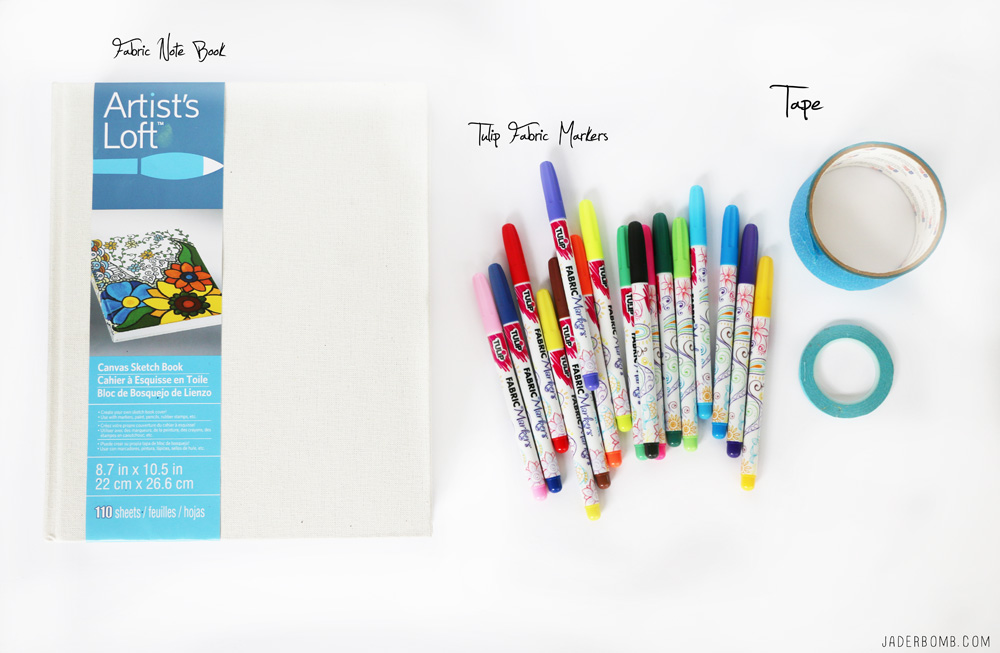

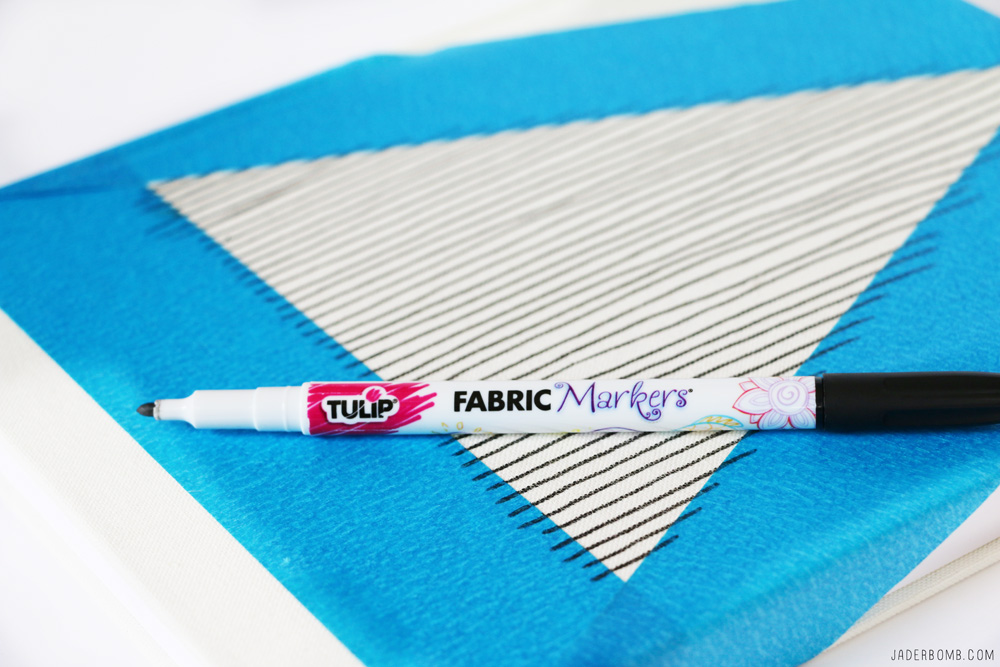
Blank Canvas Notebook | Tulip Fabric Markers | Painters Tape
You can order all of these products from Michaels by clicking on the links above!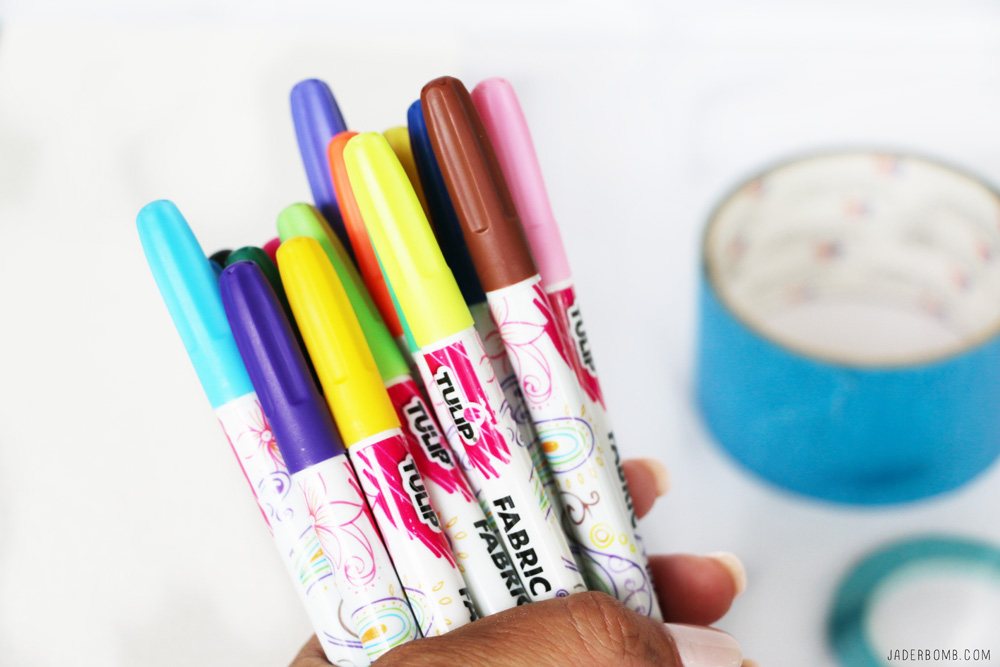 If you know anything about what I love then you already know how much I LOVE Tulip fabric markers. You can use these on so many different products and create amazing designs. Check out other things I created HERE. Let’s also talk about how wonderful the color selection is! I mean, there is like four different shades of each color! Swoon 101!
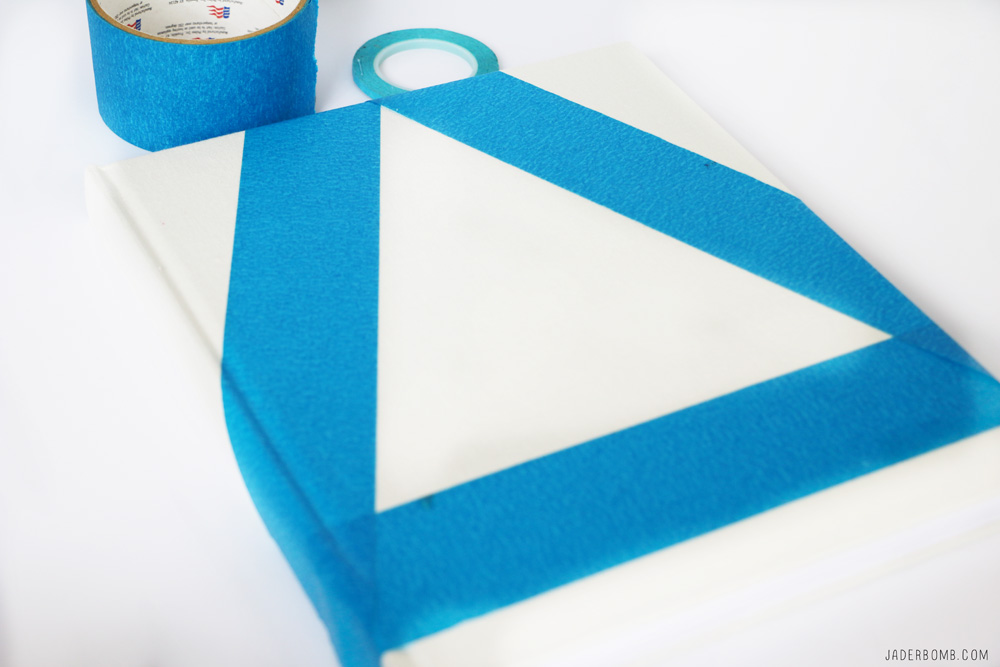
Step One: Make sure your canvas journal is completely clean then use the painters tape to create your design. I am sticking to geometric designs for this post. Sometimes less chaos is better believe it or not!
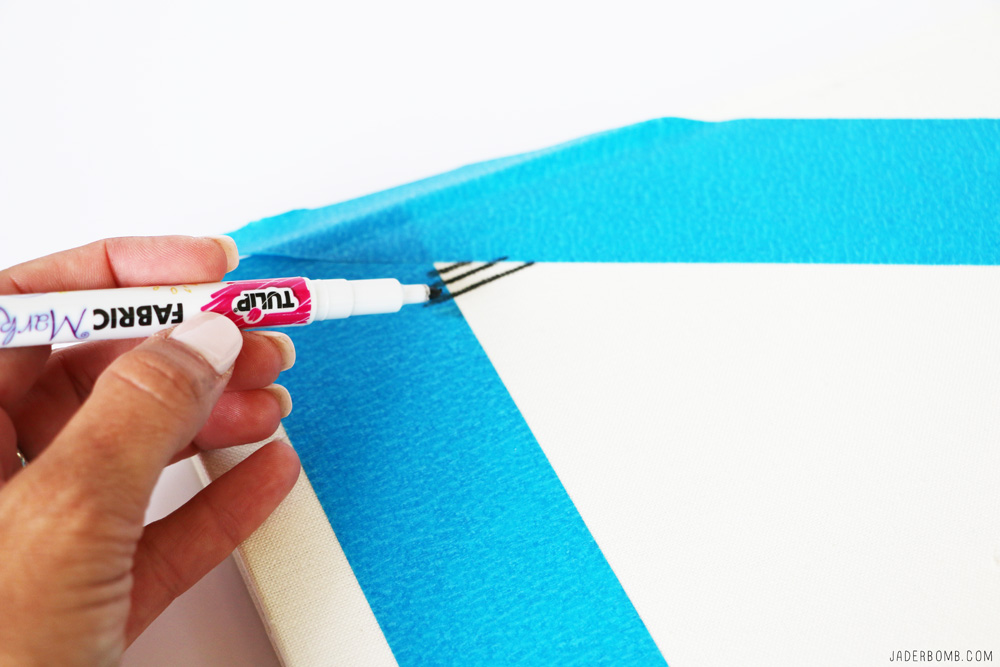
Step Two: Get the fabric marker color you want and go to town! I am doing lines for all of my journals because I think it’s very modern, clean and crisp. I love that these would also look amazing on your dining room table stacked with other books.
Step Three: Admire what you just created! Insert huge laugh right about now!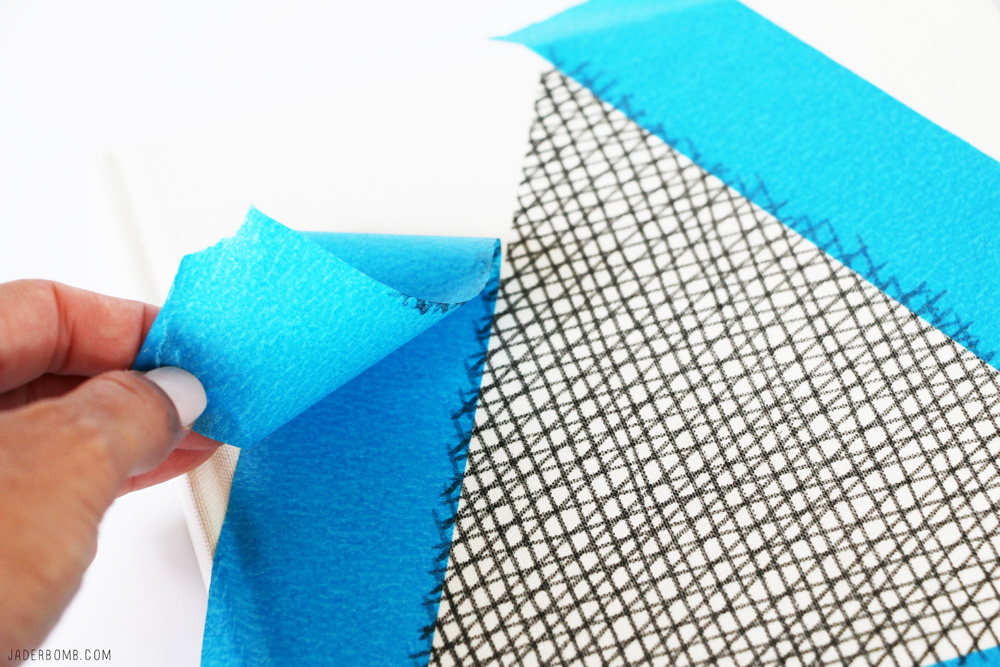
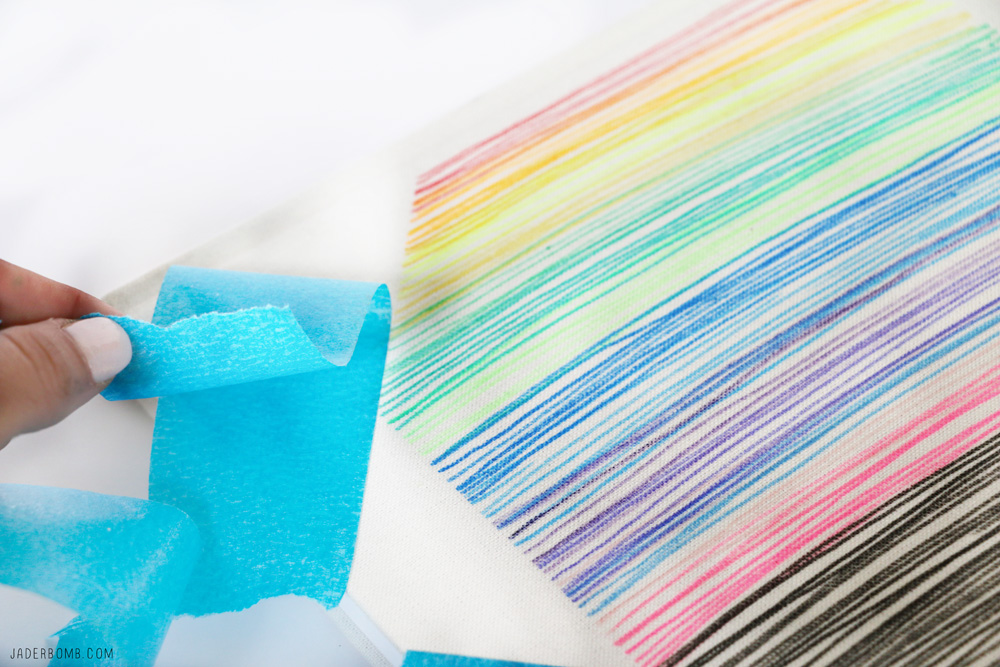
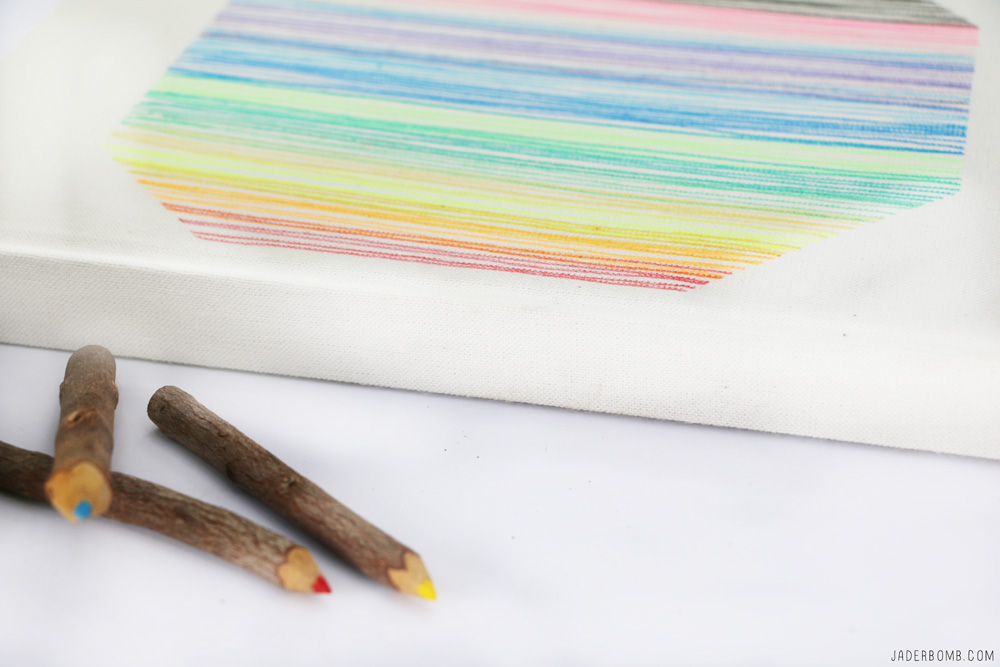
Step Four: After letting your markers dry into the canvas for about 10-15 minutes gently peel off your tape. If you are using painters tape it will peel off really easy! What are you left with? Well, beautiful crisp lines that will make your heart pound for days!
The great thing about this project is you can give a journal with a pack of fabric markers to someone as a gift and they can create something special that they will remember forever. 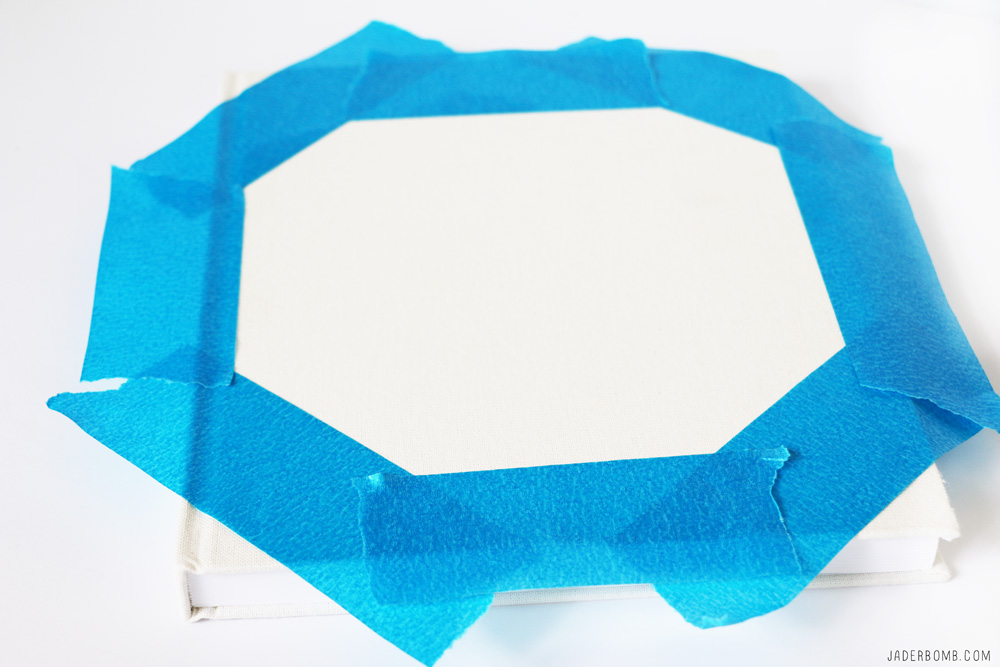
I am repeating the same steps but doing a different design! What’s great is you can even overlay designs with the tape. It’s the best project to show off your creativity. 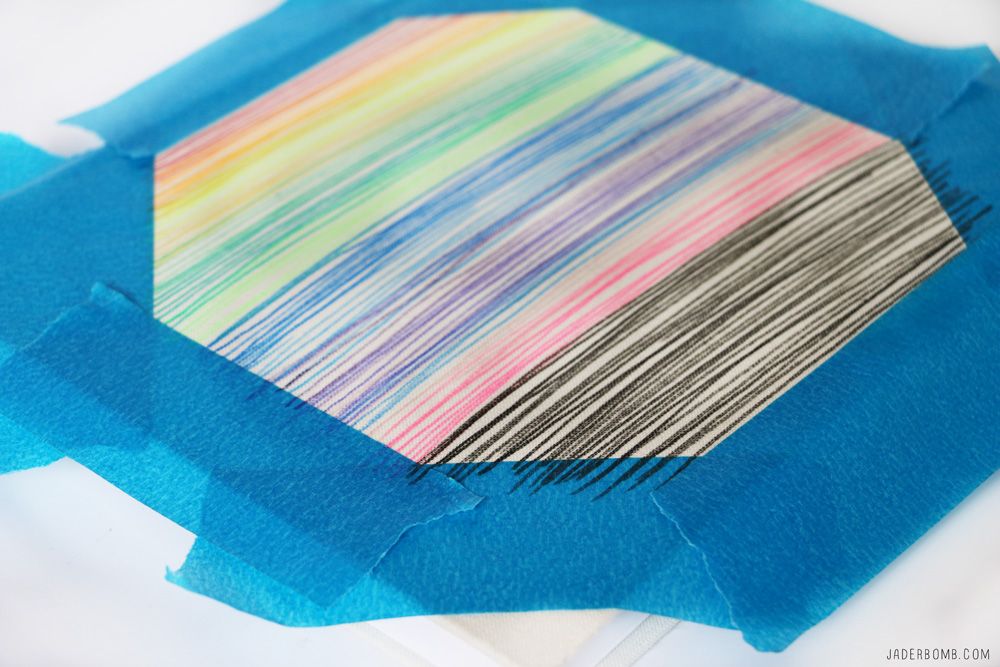
I am totally digging all of these wonderful colors! For me when I see bright colors it just instantly makes me feel better inside and I am sure it will do the same for you!
There are so many different things you can do with a blank canvas… If you want you can write your favorite quote on it or you can freehand a special drawing, the possibilities are endless!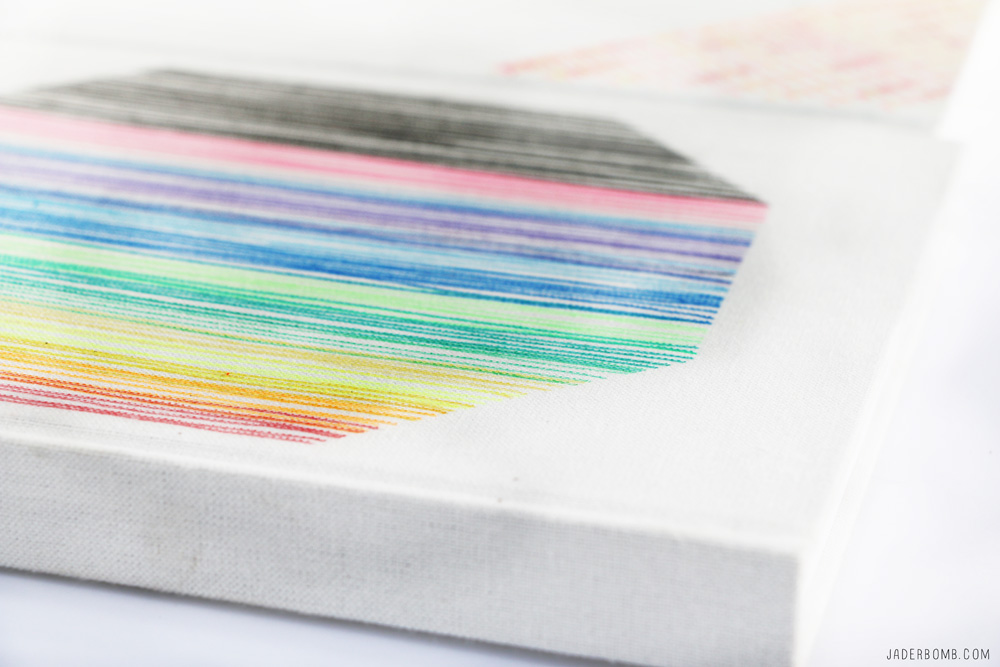
I even used some very thin tape to get a different look. Mix and match with thin tape and thick tape it’s all up to you!
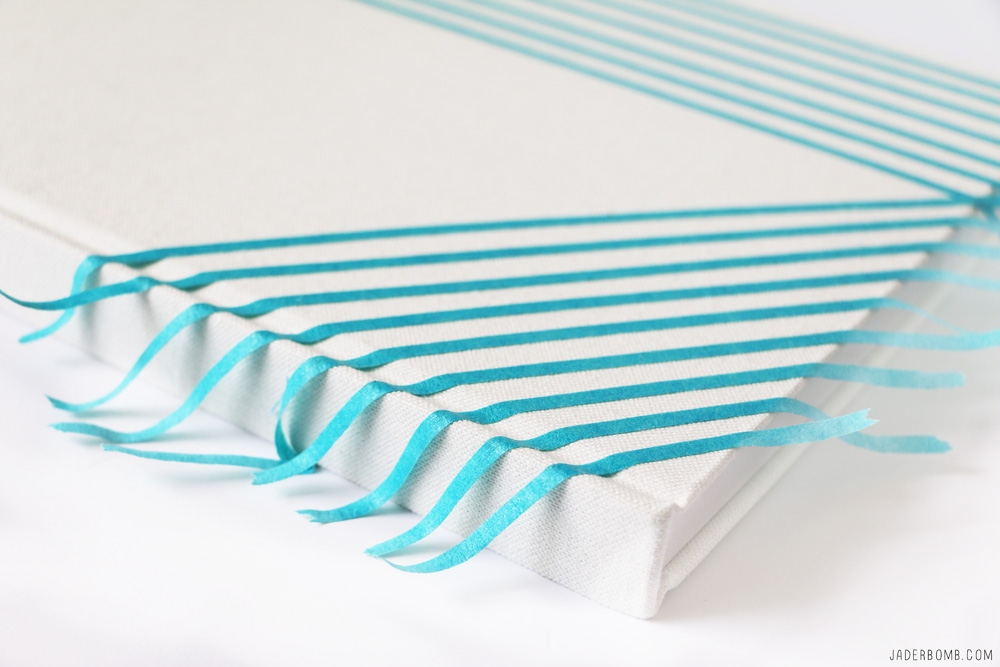
If you notice below I drew lines completely over the tape to create one long line only because I know when I remove the tape I will have a white line where my tape is. 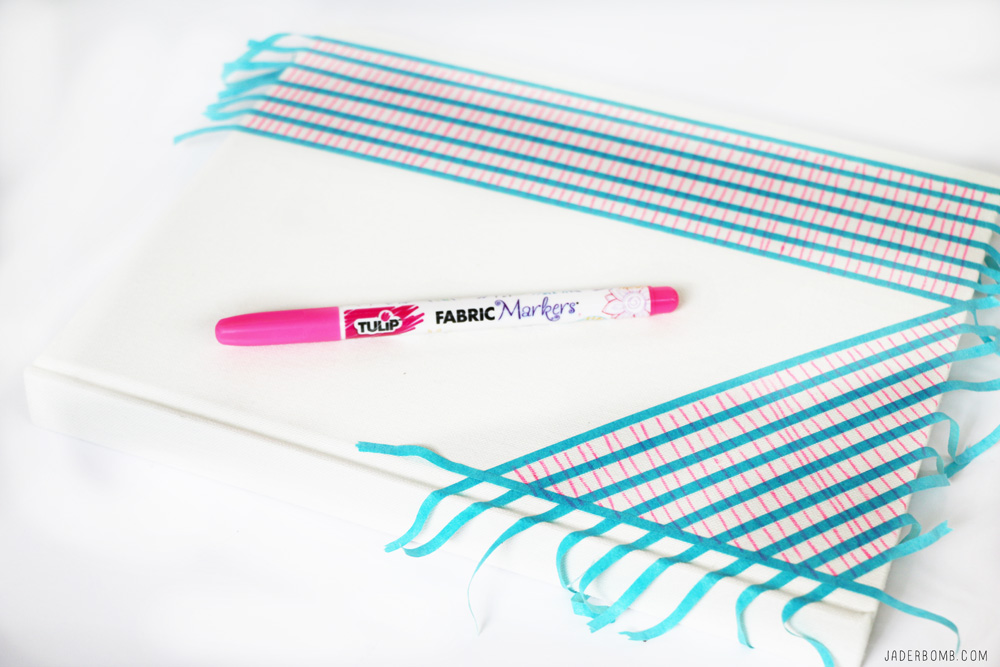
Don’t forget to mix and match your colors because they blend really nicely together. 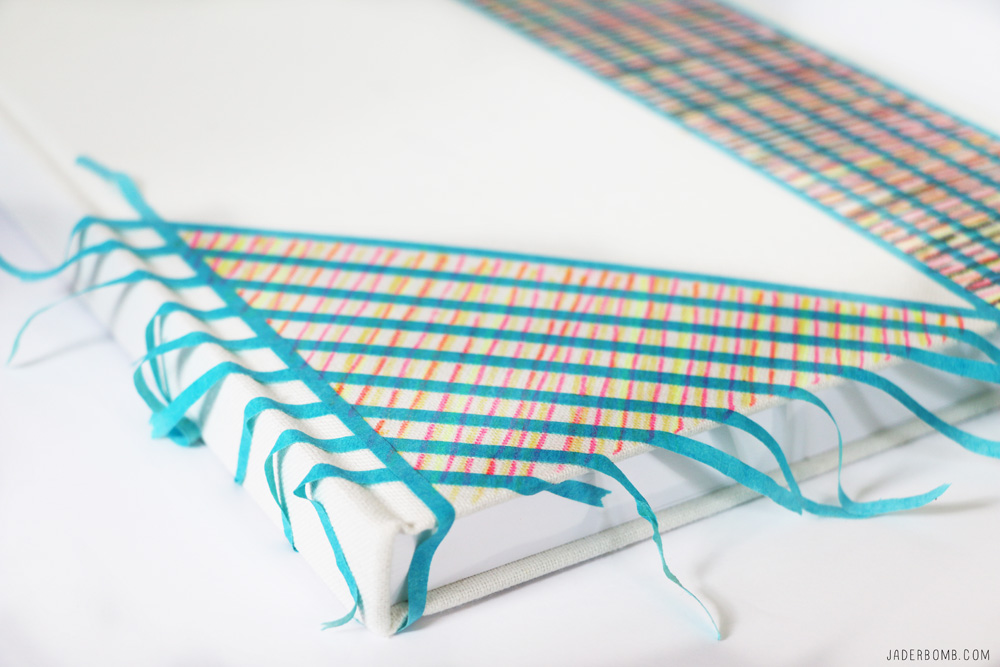
When I tell you pulling this tape off in the end is my favorite part… It’s like heaven to my fingers. Not even joking!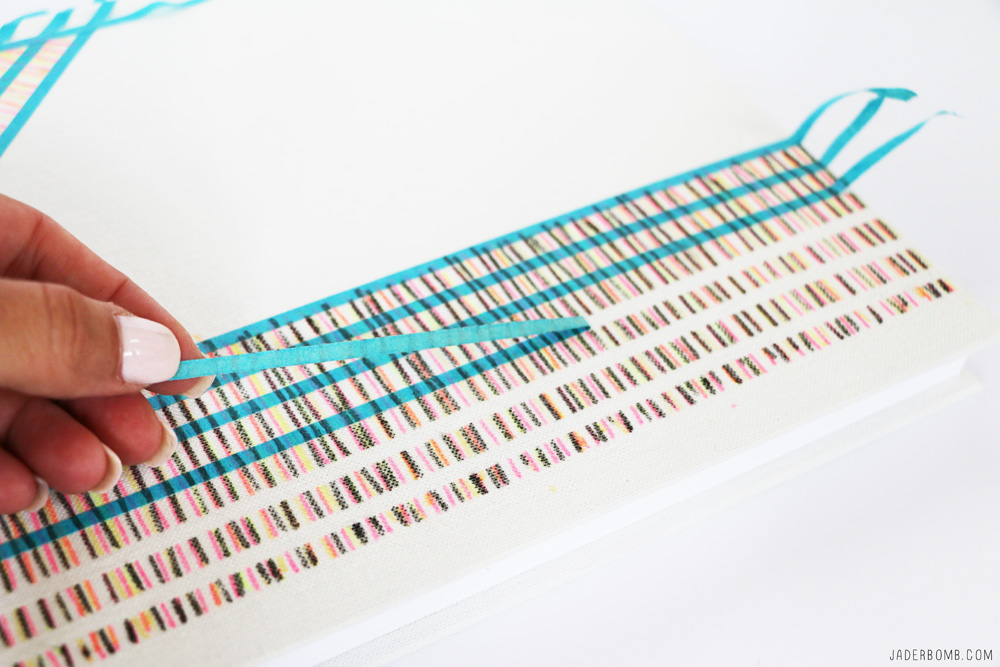
l like to use black as a accent color! It just adds a little BANG to the colors. 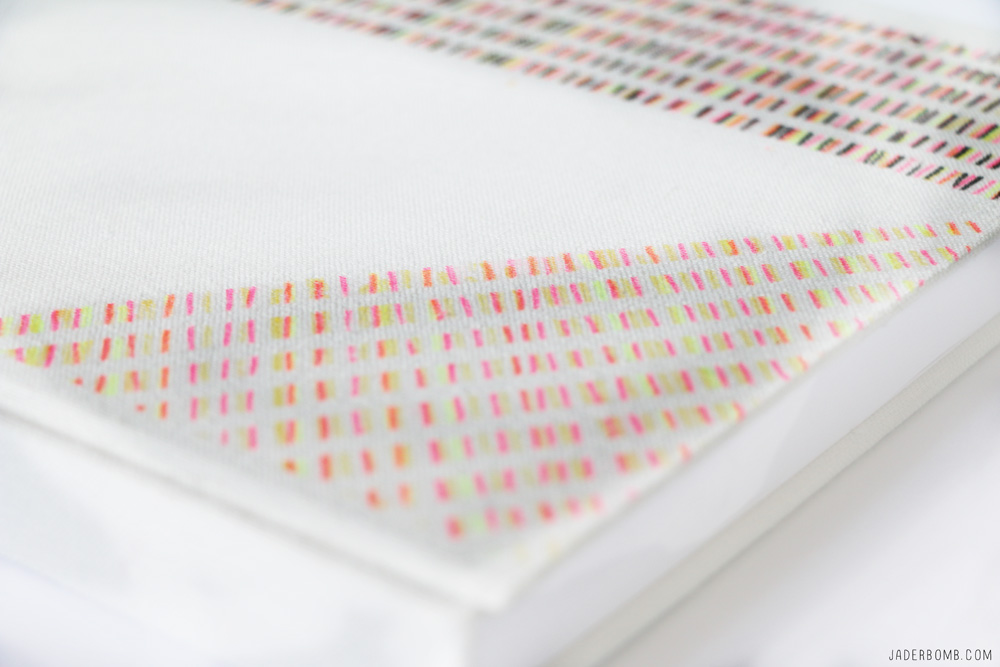
With over 800 new styles of craft paint, Michaels has more paints for more surfaces! Check out some of their new finishes including ultra-metallic & watercolor and get started on your next DIY!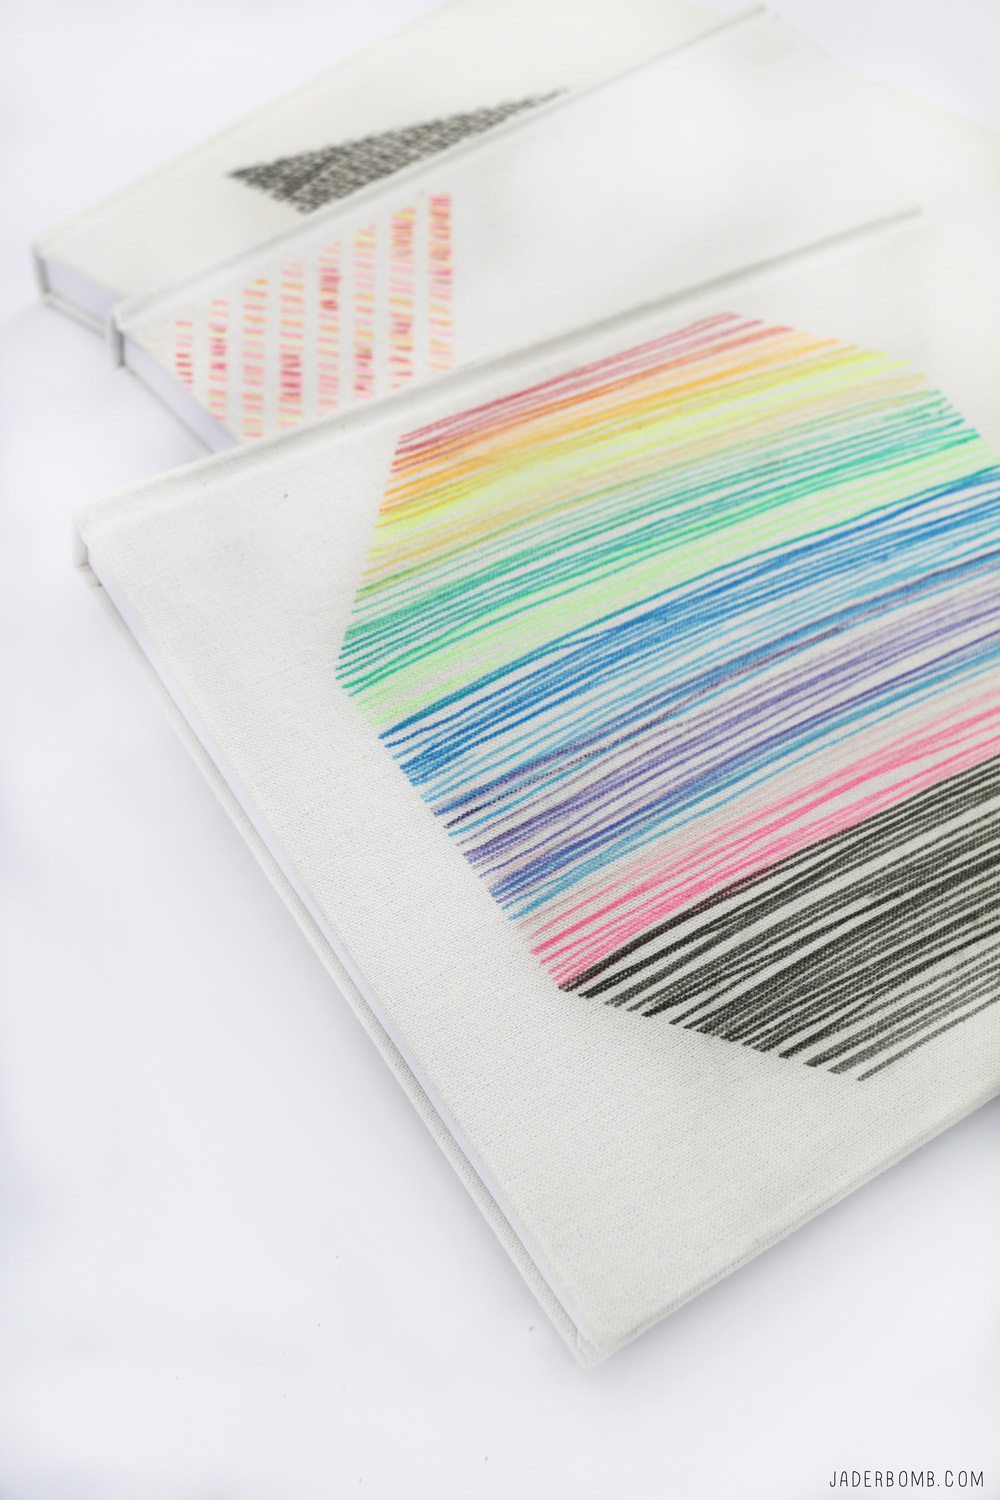
Remember my Fairy Gardens I made? Click HERE to see them, trust me you don’t want to miss them! I have these babies all over my house and they just bring me so much peace and happiness. 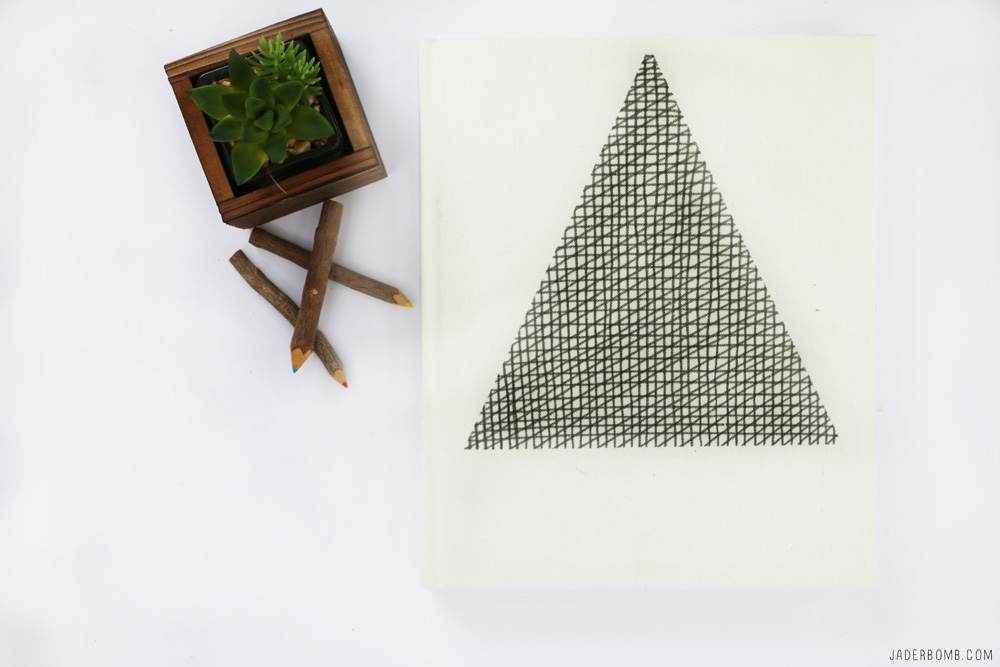
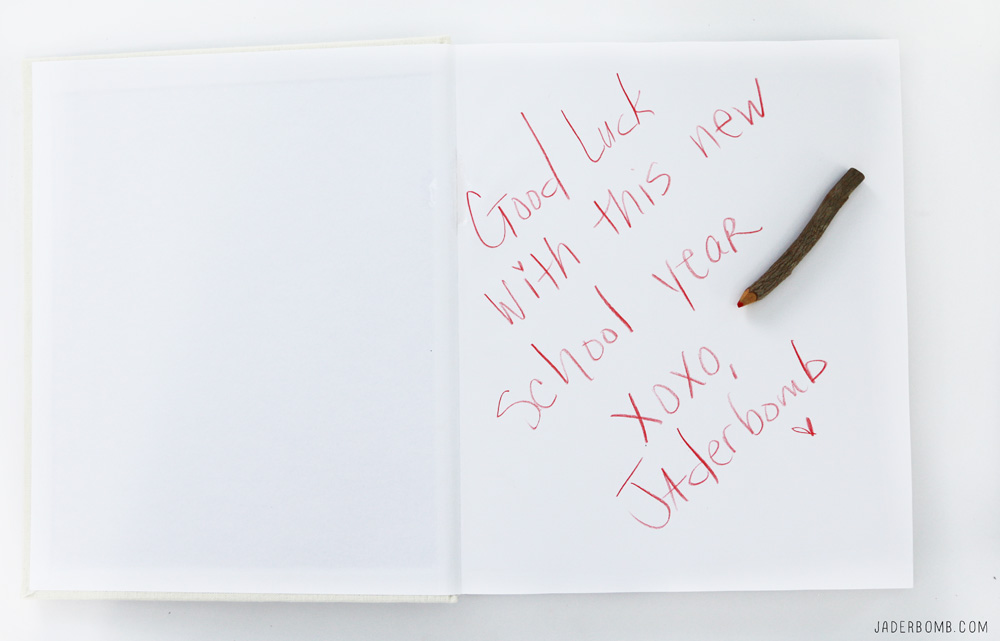 I hope you enjoyed this project because I sure had fun making it! Sheesh I already gave away two of my journals… Wonder what I should do with the last one! Maybe I will keep it for myself! Hugs from my computer to yours, I LOVE YOU!
Looking for even more inspiration? Make sure you visit Michaels’ blog, The Glue String, to see the rest of the Michaels Makers’ DIY projects!
 Don’t forget to follow me on all of my social media channels because I love all of you to pieces!!!!
FACEBOOK | INSTAGRAM | TWITTER | PINTEREST


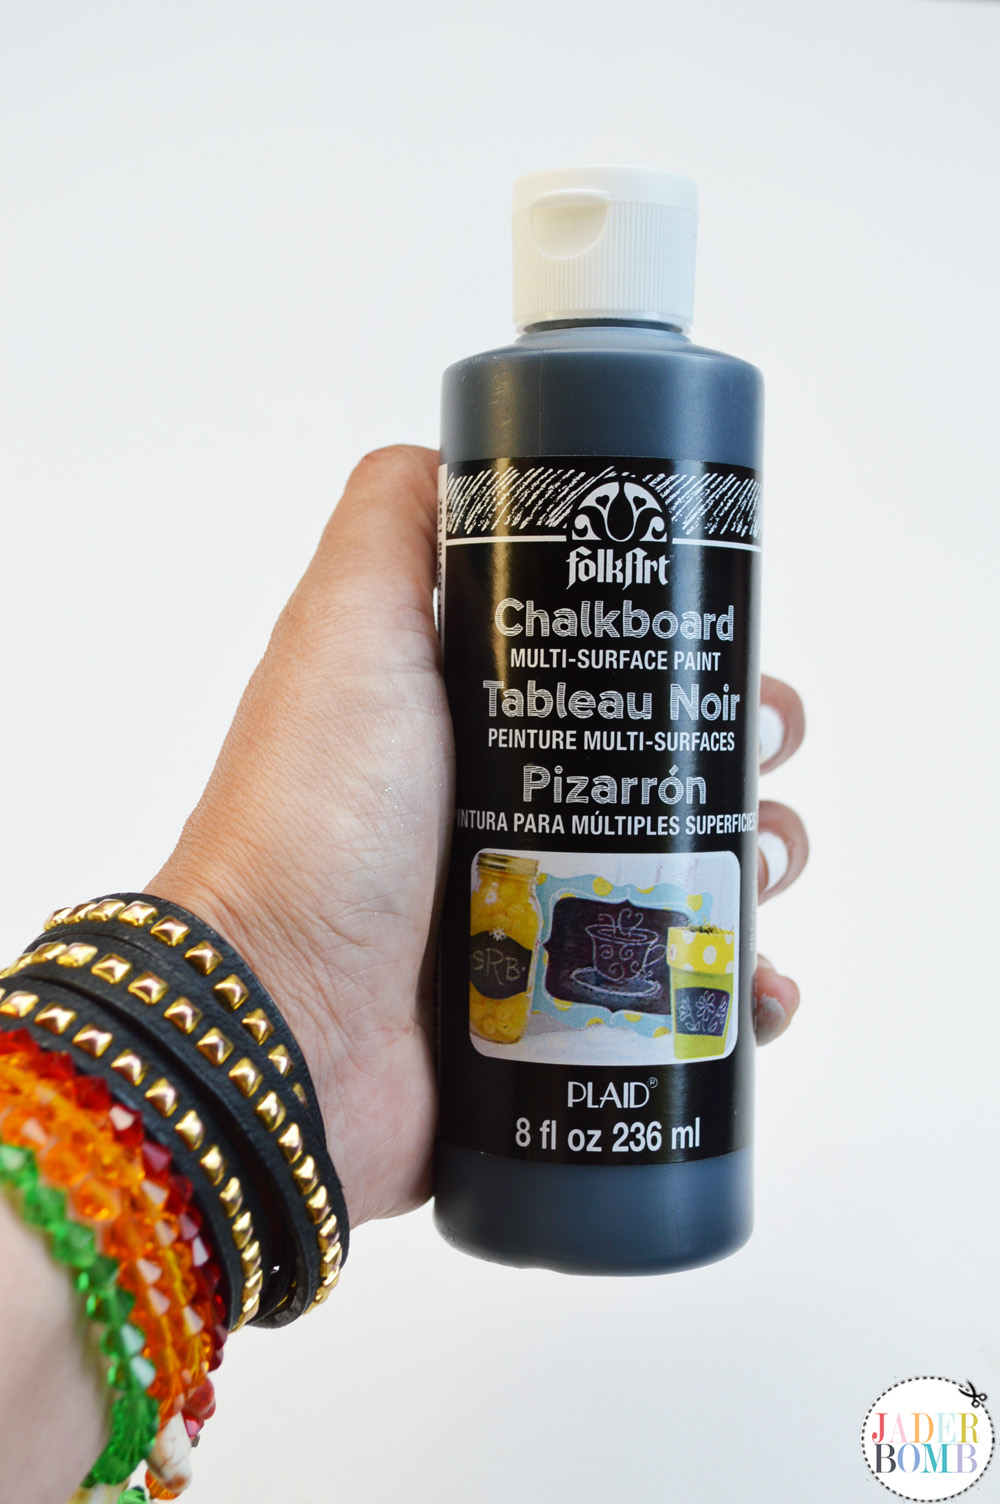
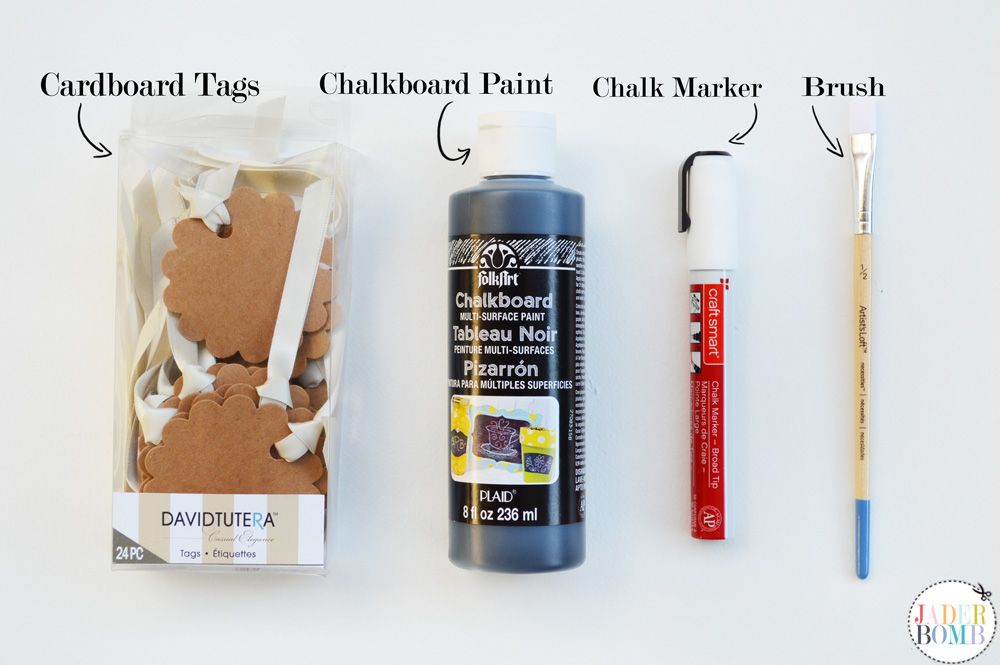 I am absolutely in love with this chalk paint from FolkArt. It’s convenient and very compact. It also comes in multiple colors!
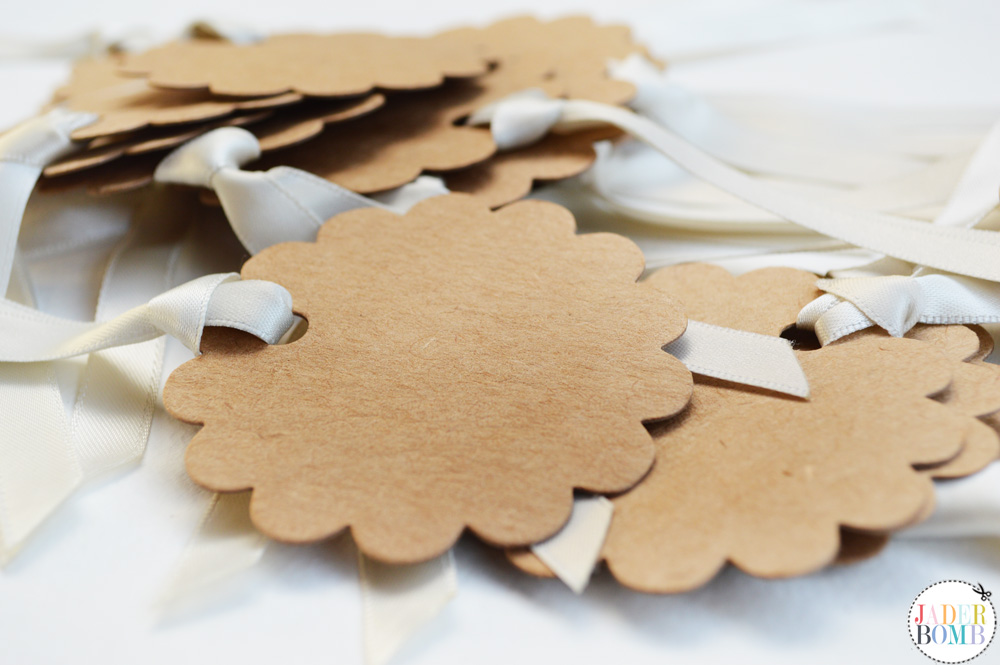
  These particular tags came with ribbon on them. Make sure to remove the ribbon before you start painting them.
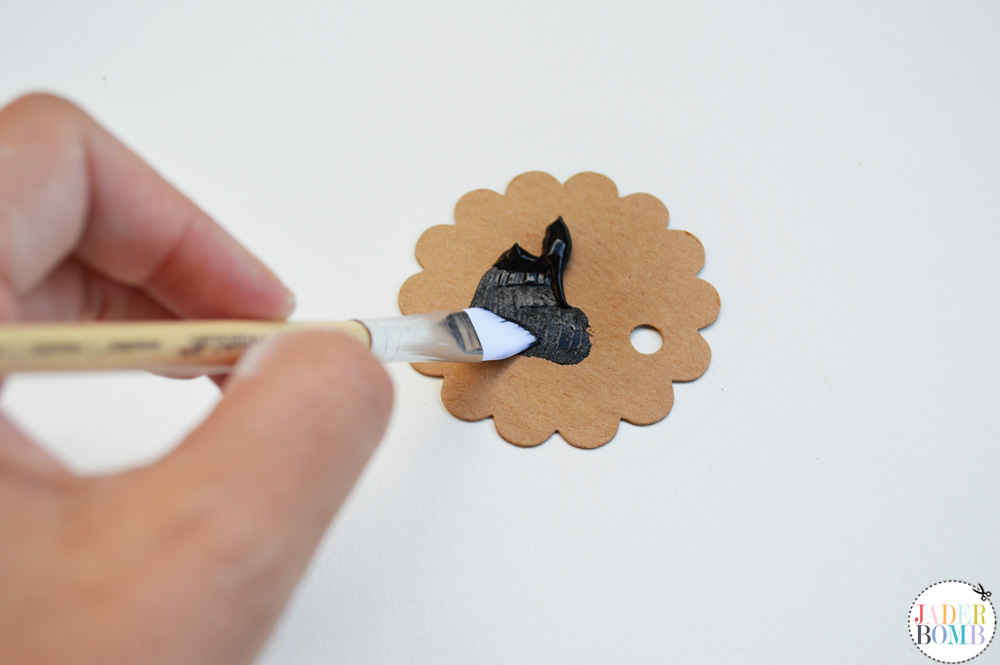 Let one side dry before you turn them over to paint the other side.
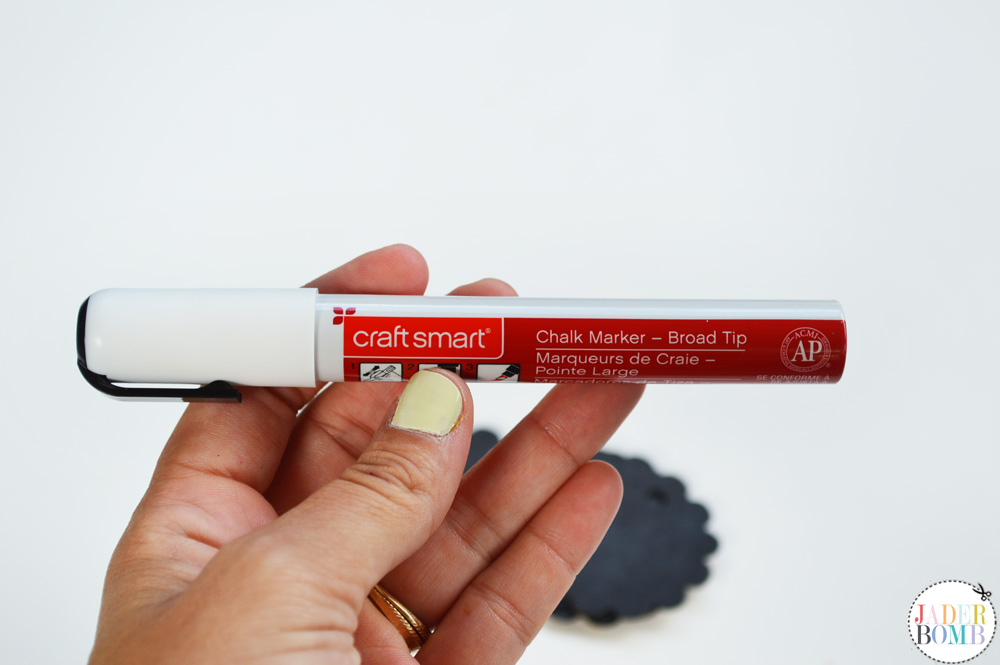
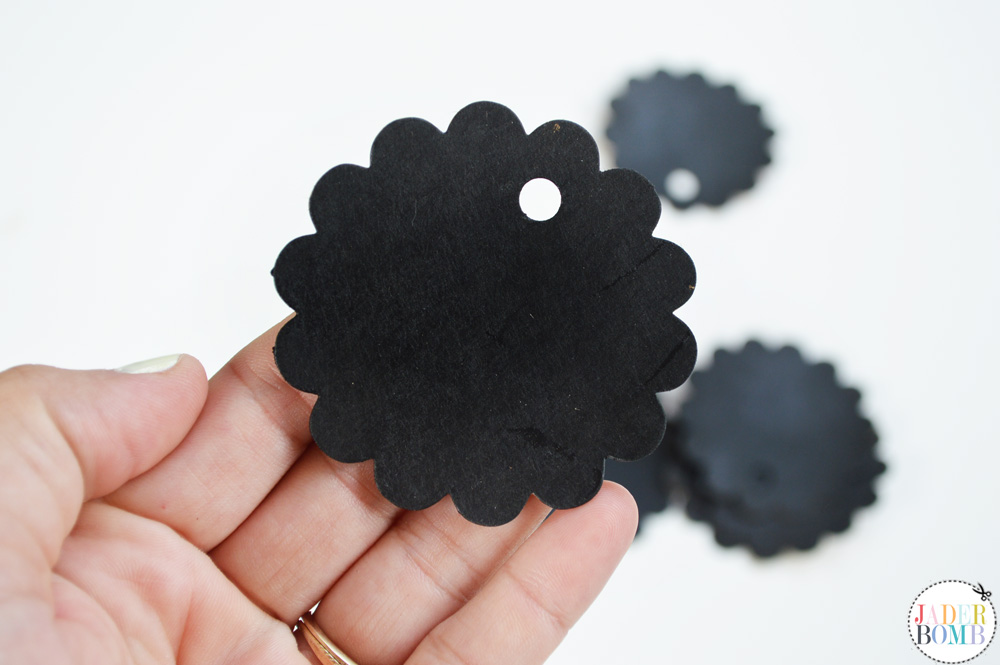 If you love chalk then you will love these markers! It works just like a paint pen and the best part is when it dries it looks just like chalk! You can also wipe the chalk away with a wet washcloth and start over again.
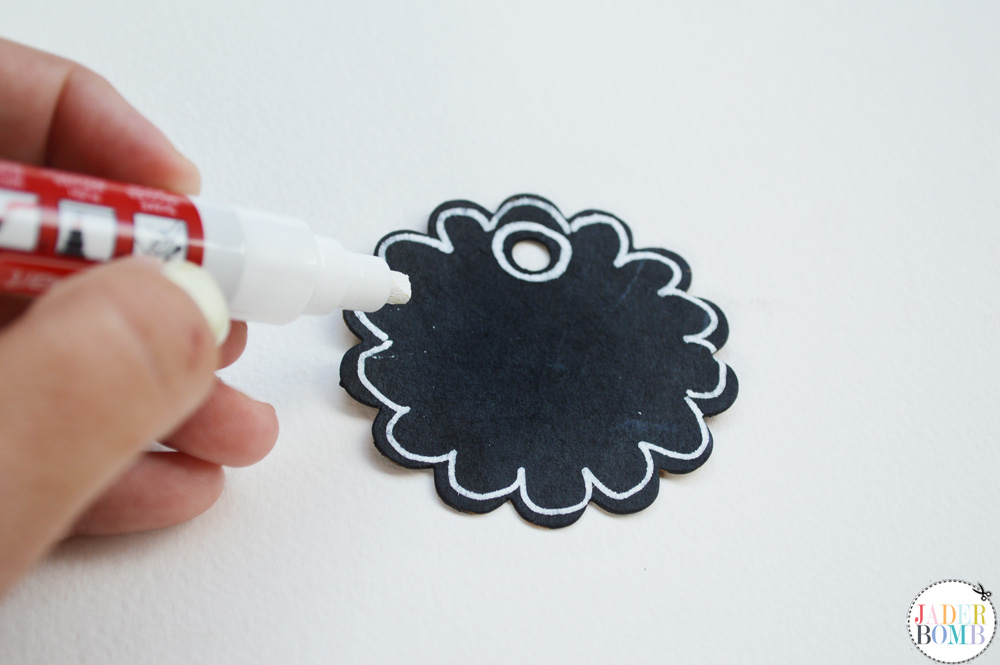
 Once they are dry, have fun drawing whatever you want on them.
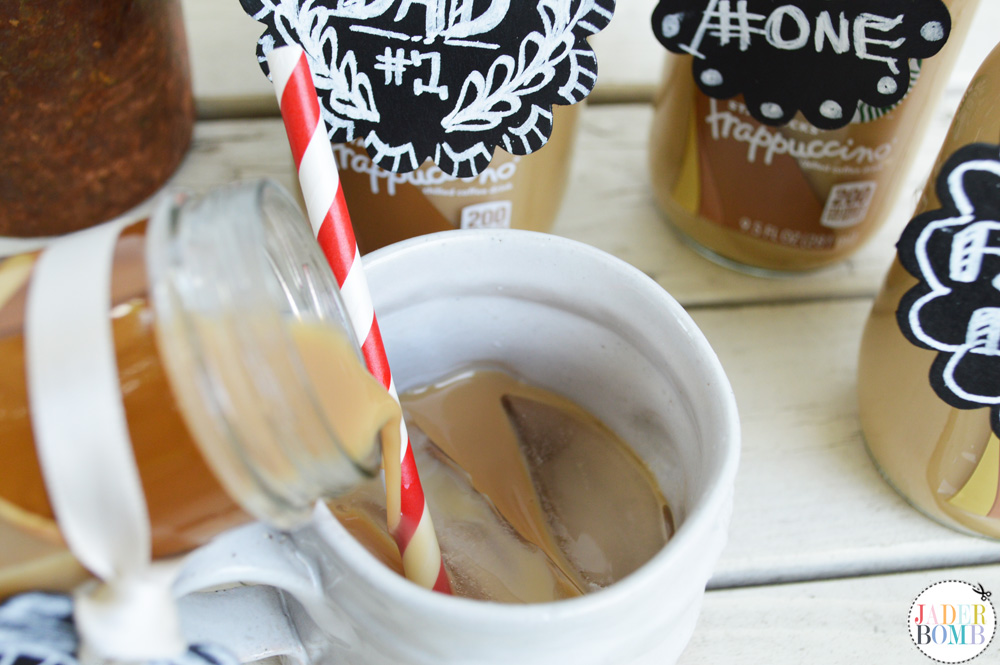
 I thought it would be cute to re-apply the ribbon and attach them to coffee bottles. You can buy a 6 pack and give them to someone as a gift with personalized labels.


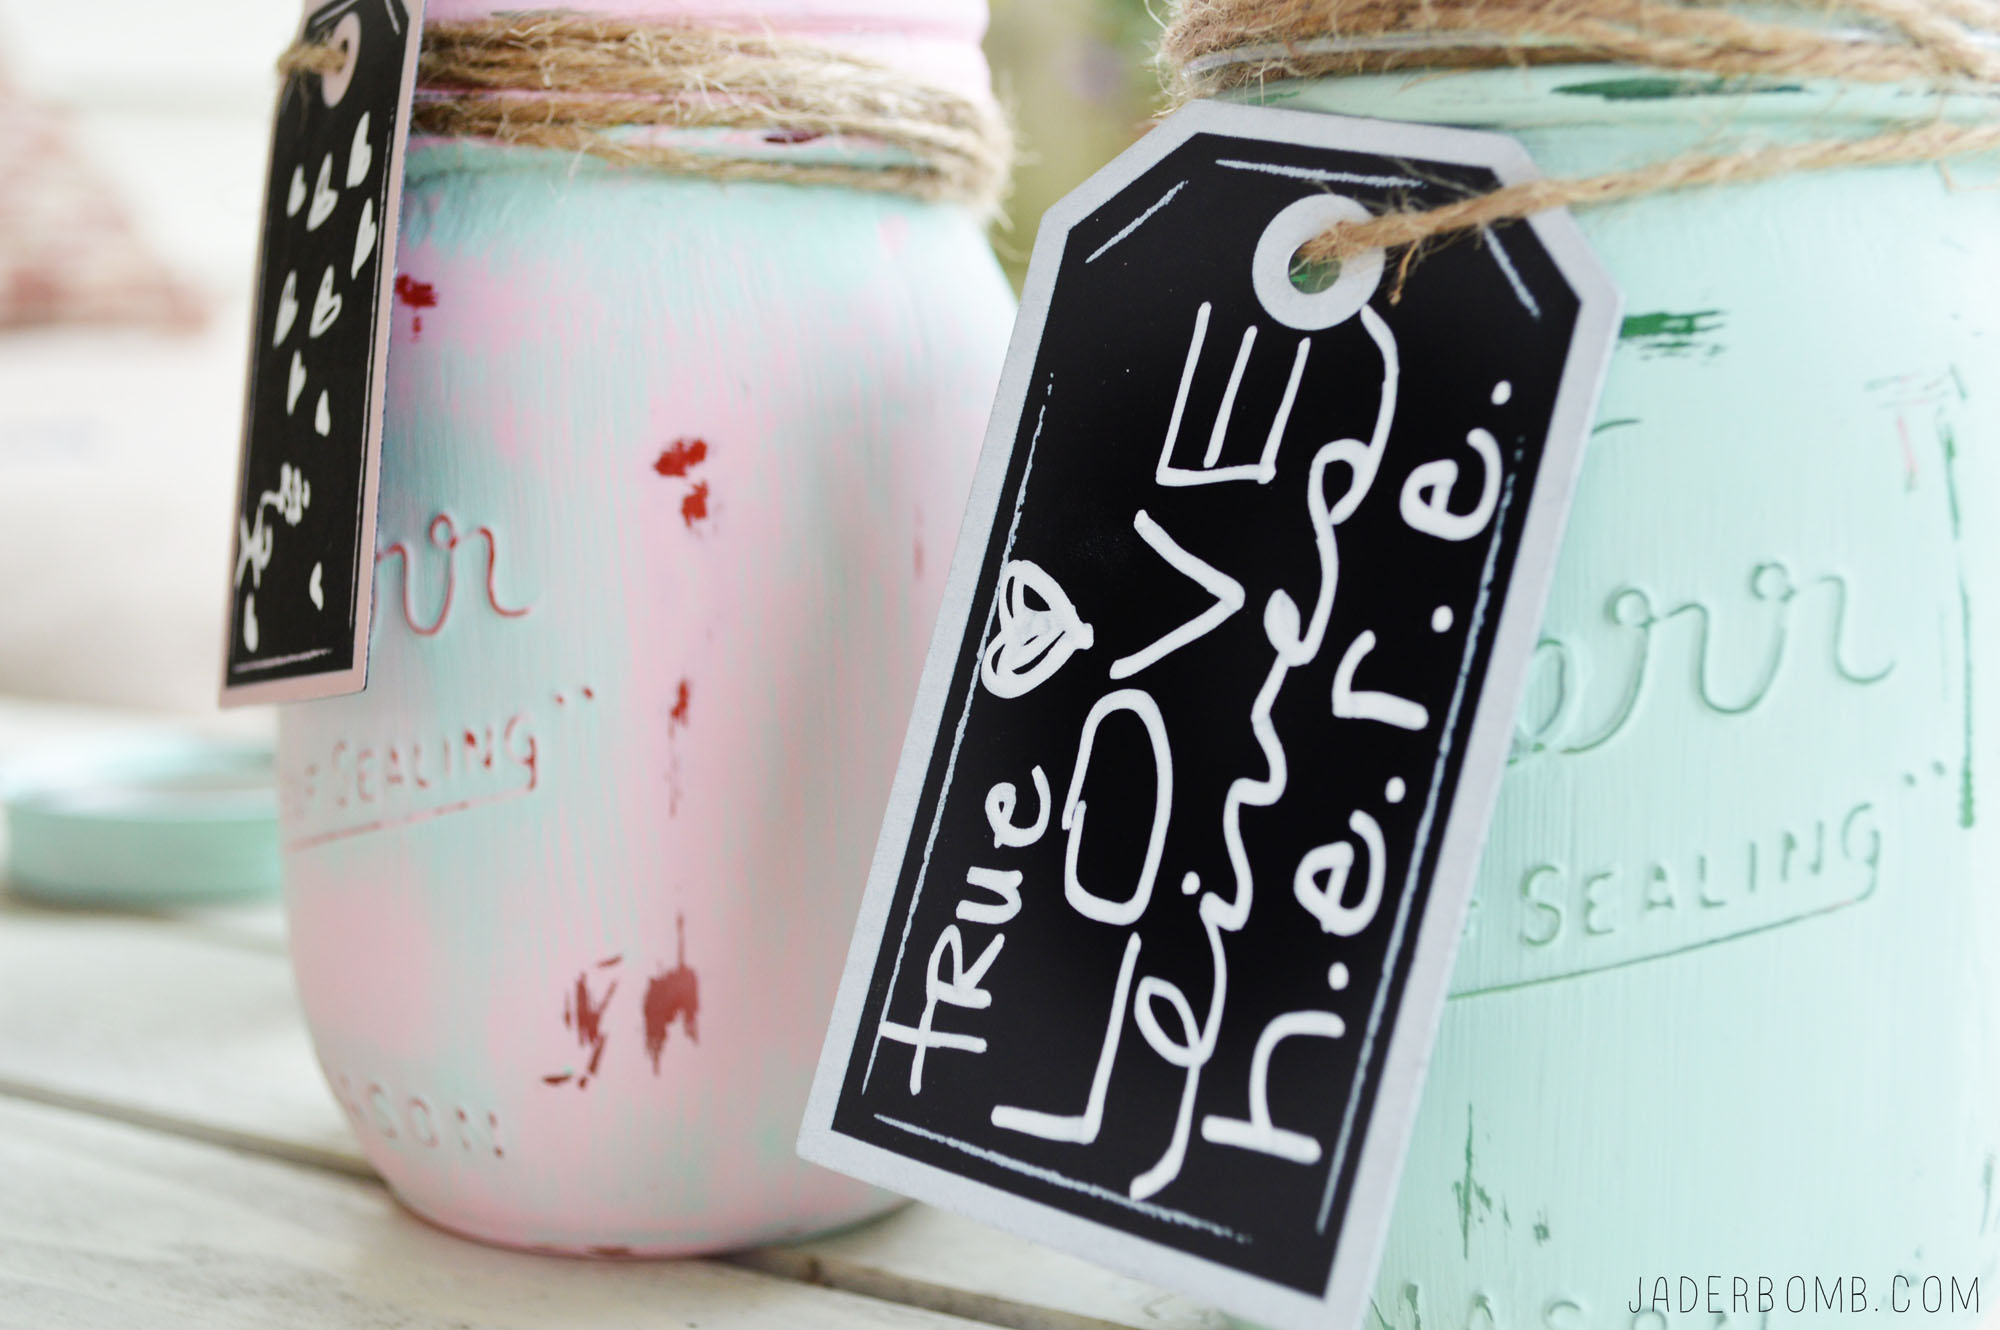
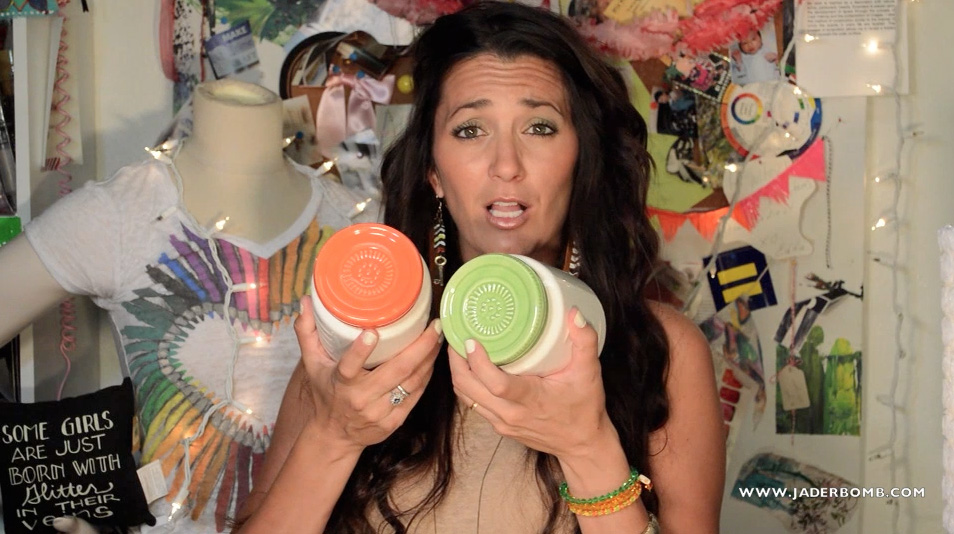 These ceramic jars have lids on them and a painted chalkboard label on the front. You can put clothespins, pens, rulers or trinkets in them.
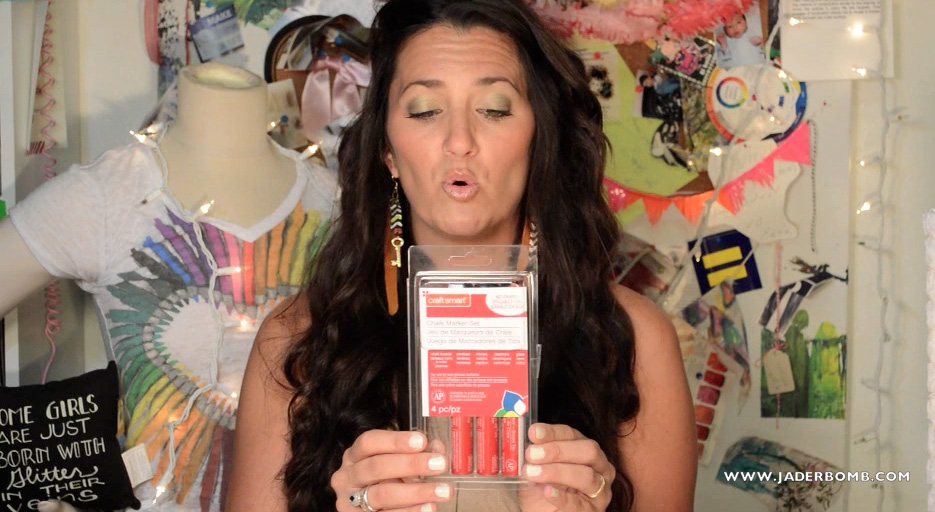 If you like chalk paint or writing on chalk boards then you have to get these markers. I have always wanted some but for some reason I never got them. I am all like “Girl why did you wait on this”….
 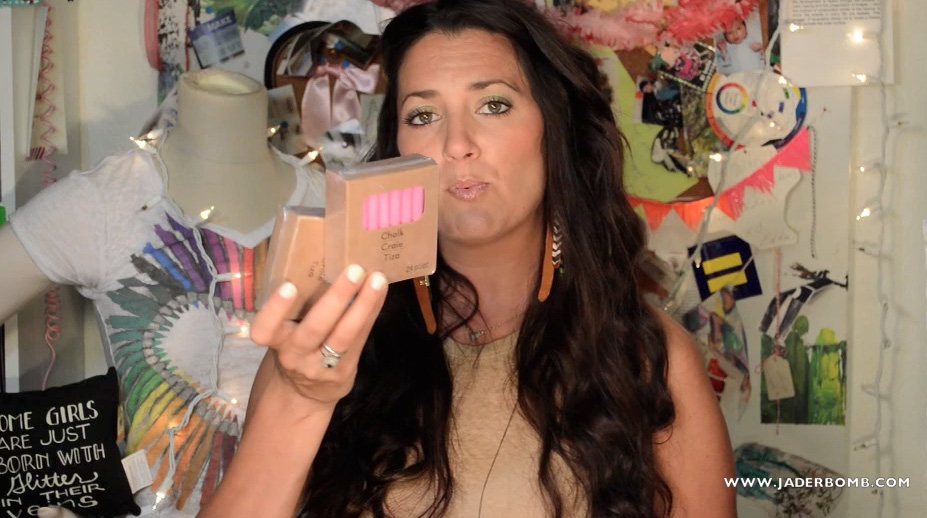 If you want to go back to your roots grab some plain chalk. Michaels has many color options to choose from. I purchases every color, imagine that!
 How cool is this adhesive chalkboard calendar! You can move this calendar around multiple times and it will continue to stick. Pretty amazing!
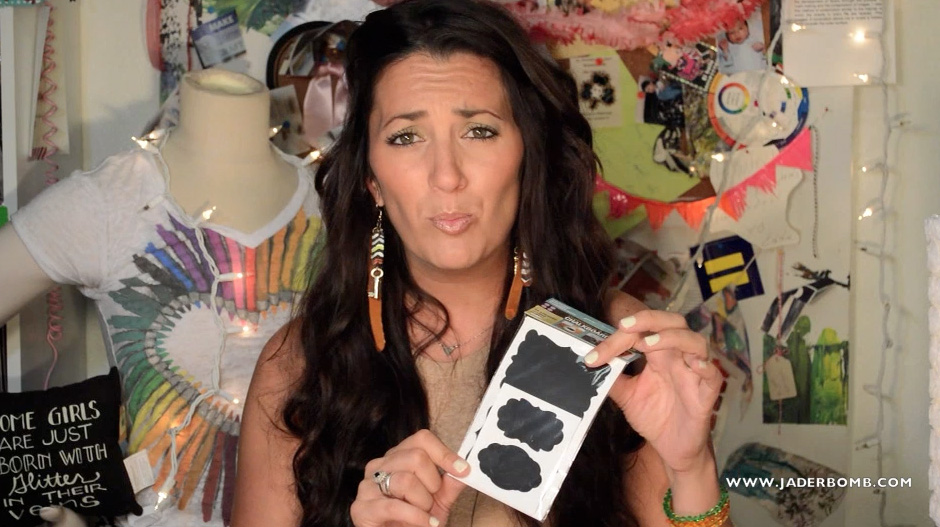 Everyone needs labels so why not get chalkboard labels. You can place them anywhere and write your own special message. I love when labels are black because they seem more elegant so this is a win win!
  I fell in love with this black canvas which you can get in the canvas section at Michaels. This is great as an inspiration board or a bulletin board to put all of your favorite pictures and memorabilia on.
  You can never have enough colored pens! These are by Recollections and come with 20 different colors.
  I have never been a fan of gel pens until I used gel pens, haha! These are also by Recollections and come with 20 different colors. I stay organized by using certain colors for different events, birthdays, blog deadlines, and my son’s practices and games. If you have never color coordinated your agenda book then now is the time.
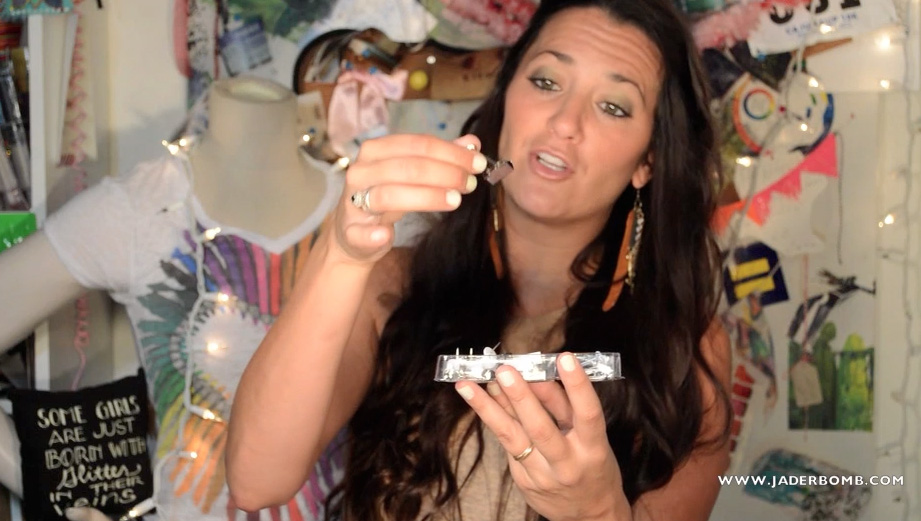 I love this set of push pins, clothespins and binder clips. Michael’s has packs with multiple colors so you can match your room decor.
 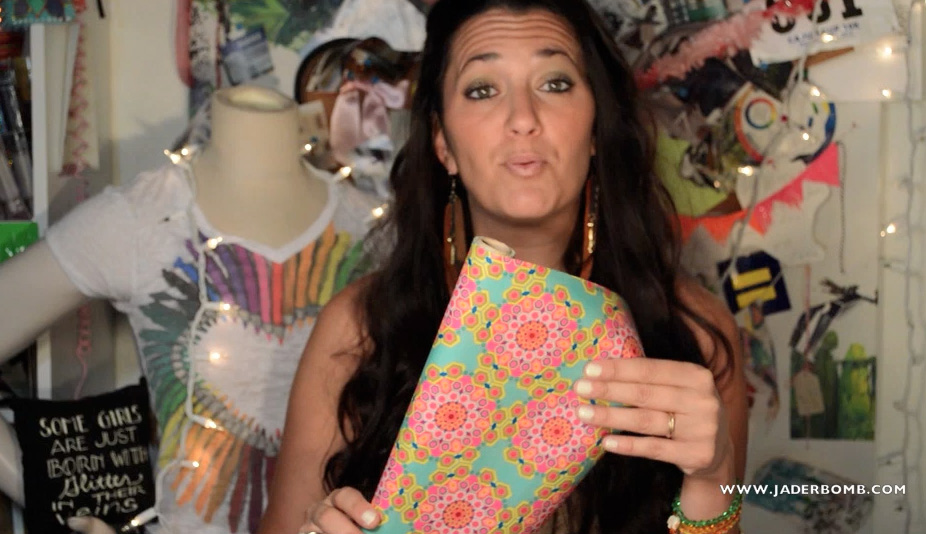 This wrapping paper is not only FABULOUS but can be used to line the inside of a locker, wrap books or to wrap a gift with!
 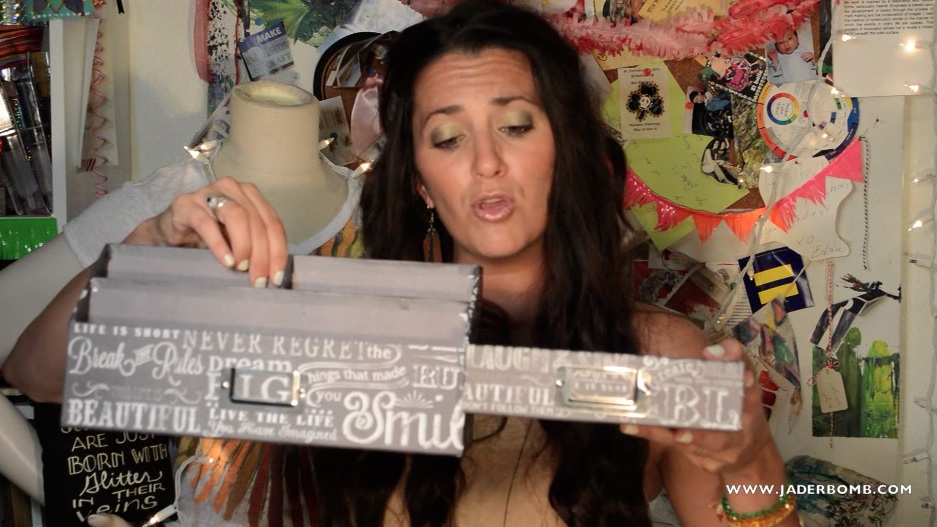 Stay organized on your desk with these paper trays. I love that they look like real chalkboard art. You can also slip a piece of paper in the front of them to label them.
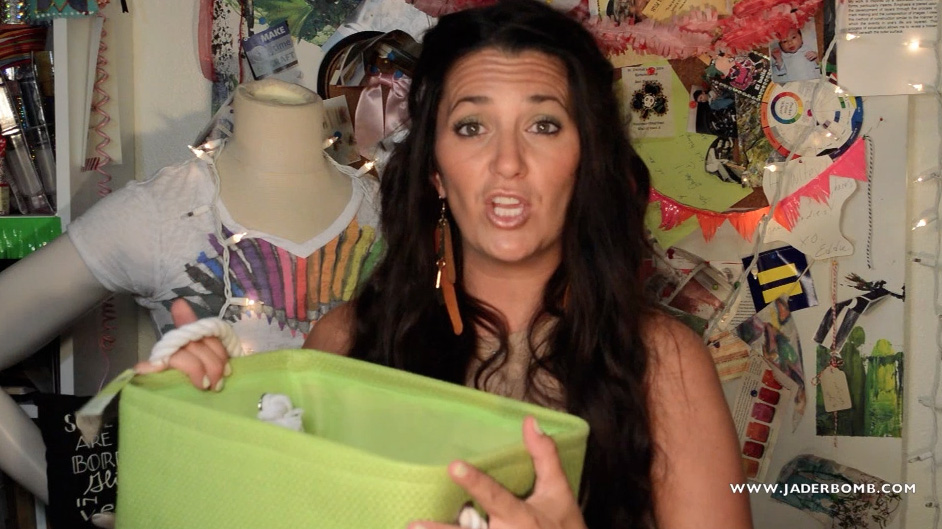 Grab some colorful bins to prevent things from getting scattered all over. These are great for socks, bows, undies, craft supplies or things to keep out of your way.
 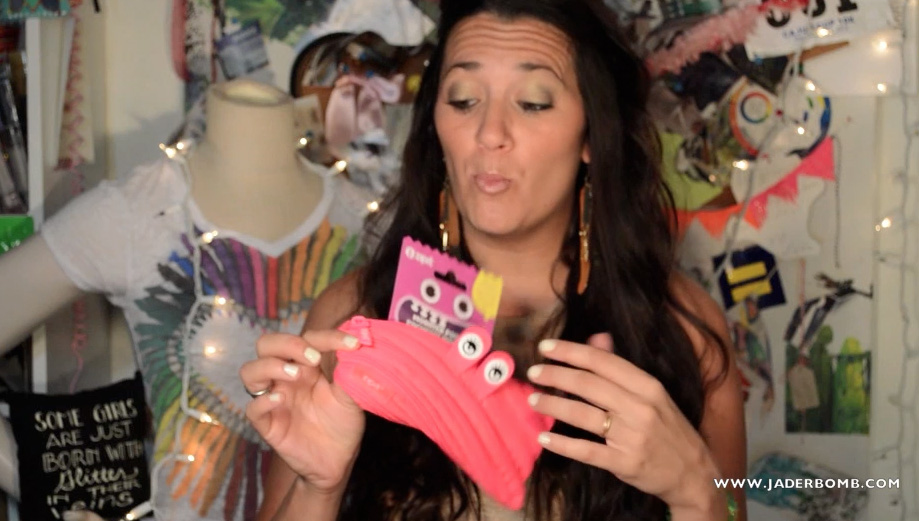 Who wants a boring pencil bag when you can get this rad monster bag. It’s so cute! When you unzip it the teeth show! This is worth getting just incase you are having a bad day, it will surely make you laugh.
 Plastic trays are great to throw things in that you use on a daily basis. You can put your keys, id’s or money in them. When you wake up everything is there and you will never forget what’s in it.
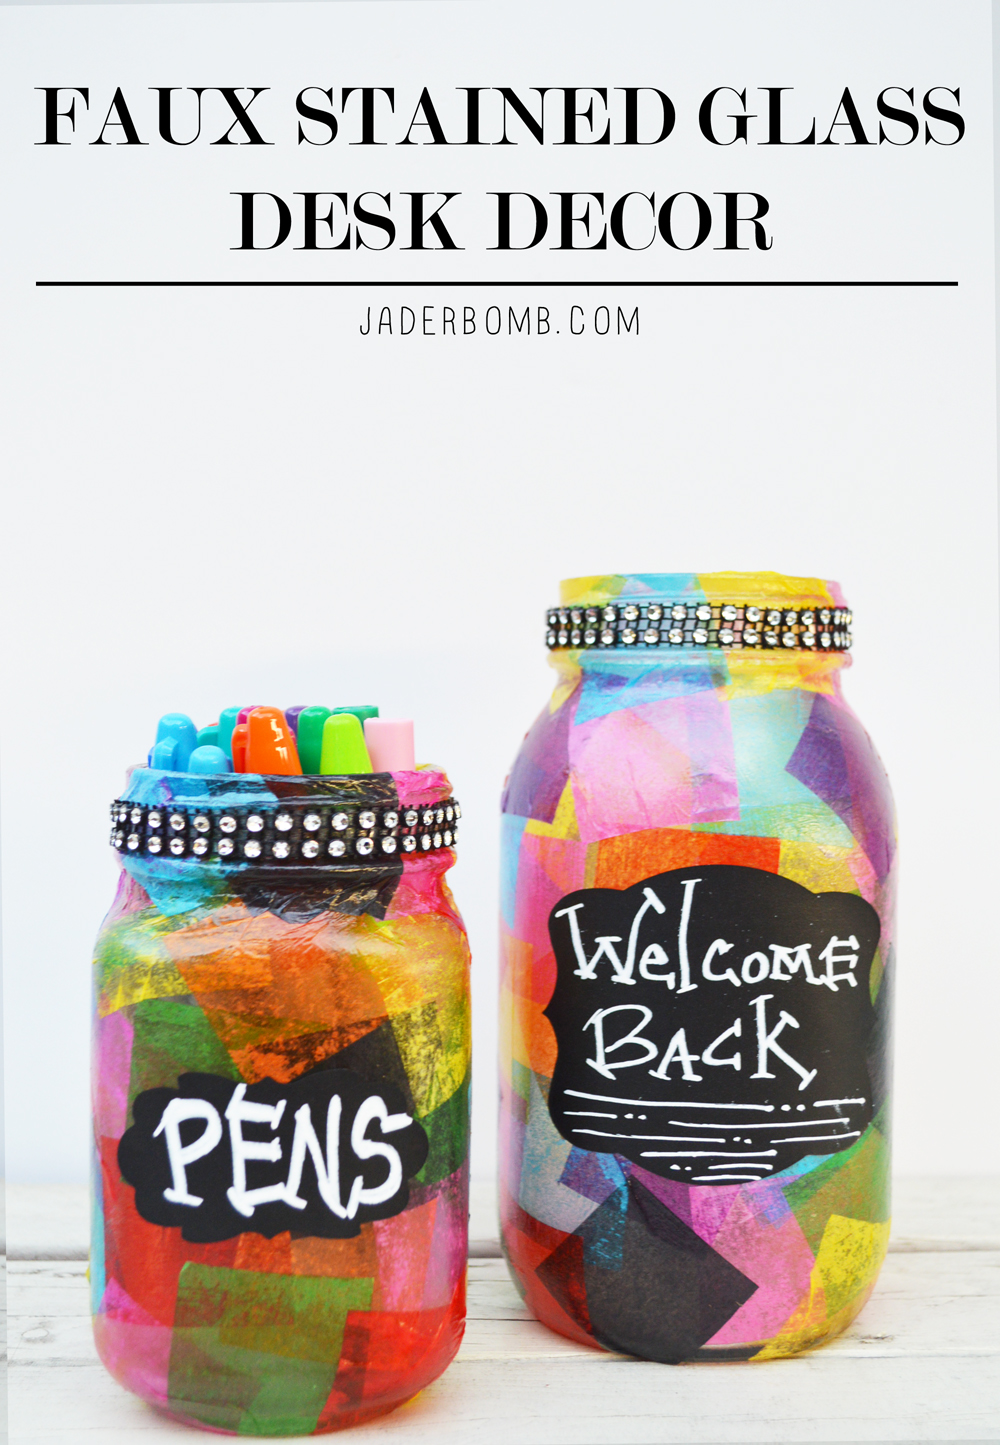
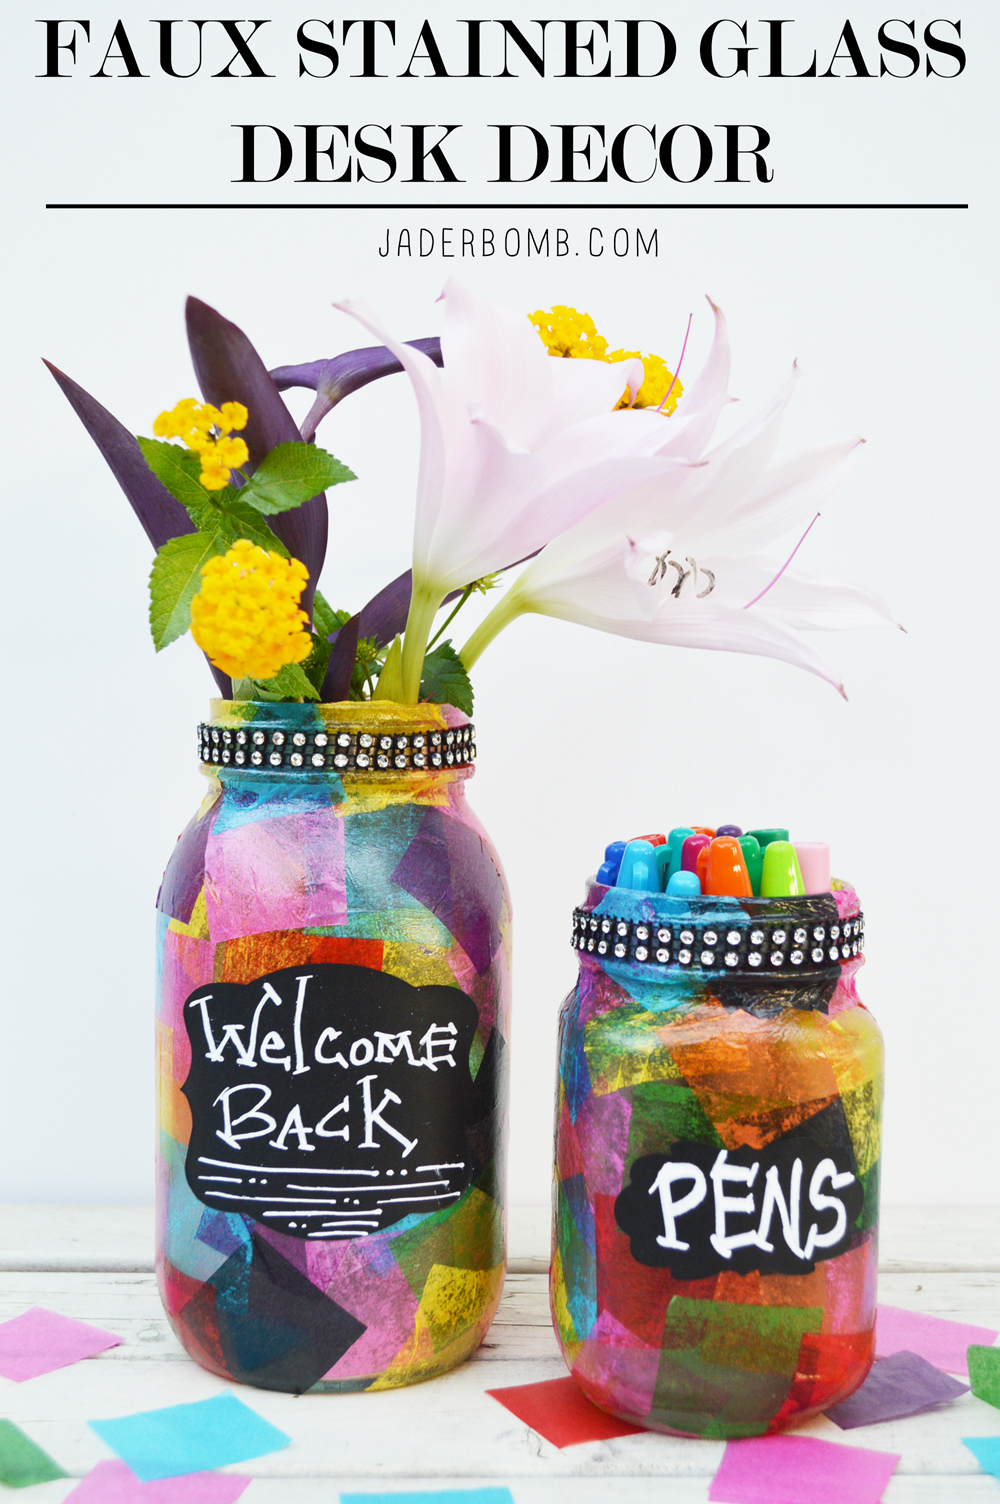 Howdy Hoo Jaderbugs! I am super stoked to bring to you another fun
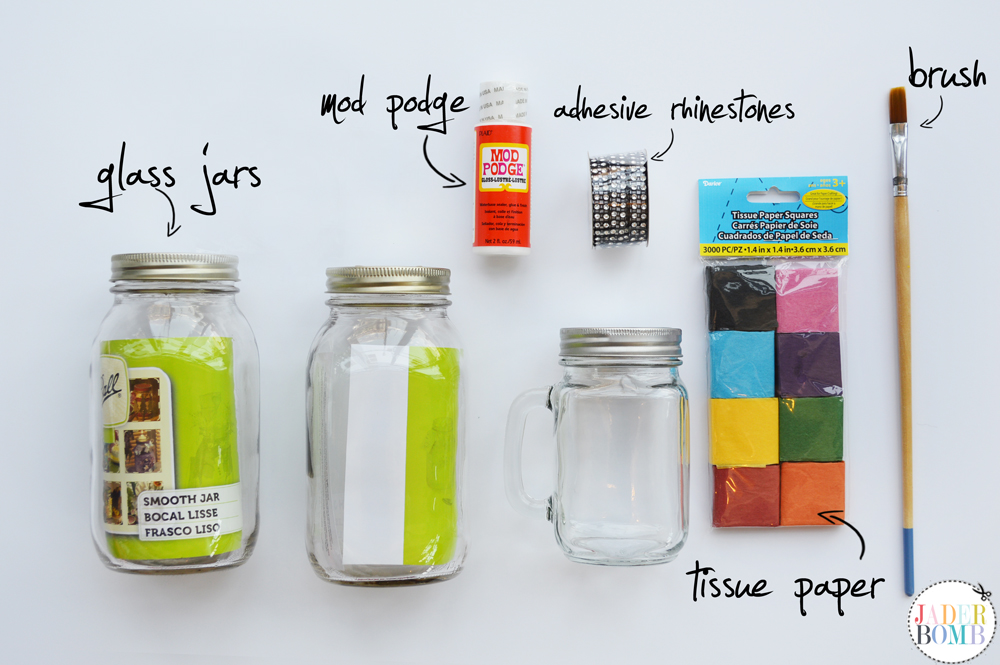
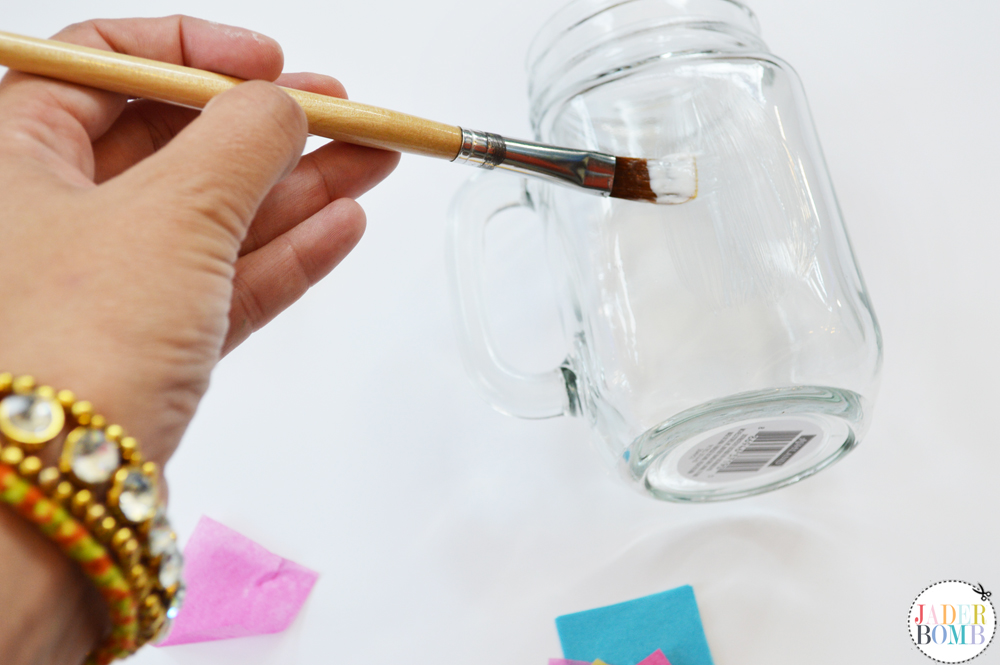
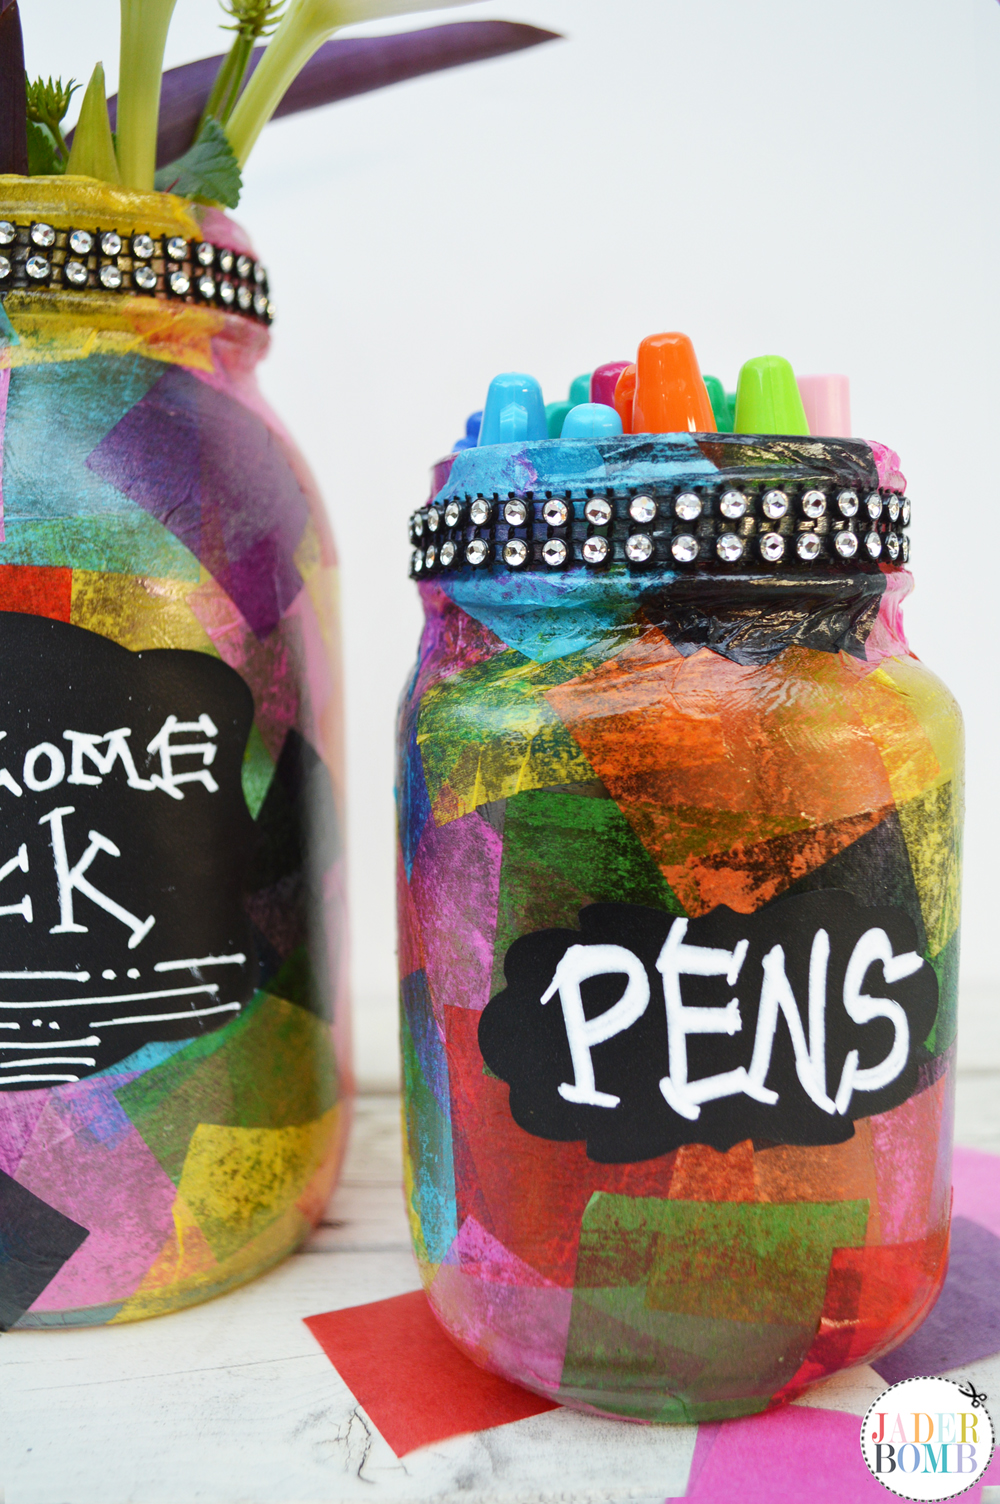
 Step 1: Apply Mod Podge directly onto glass.
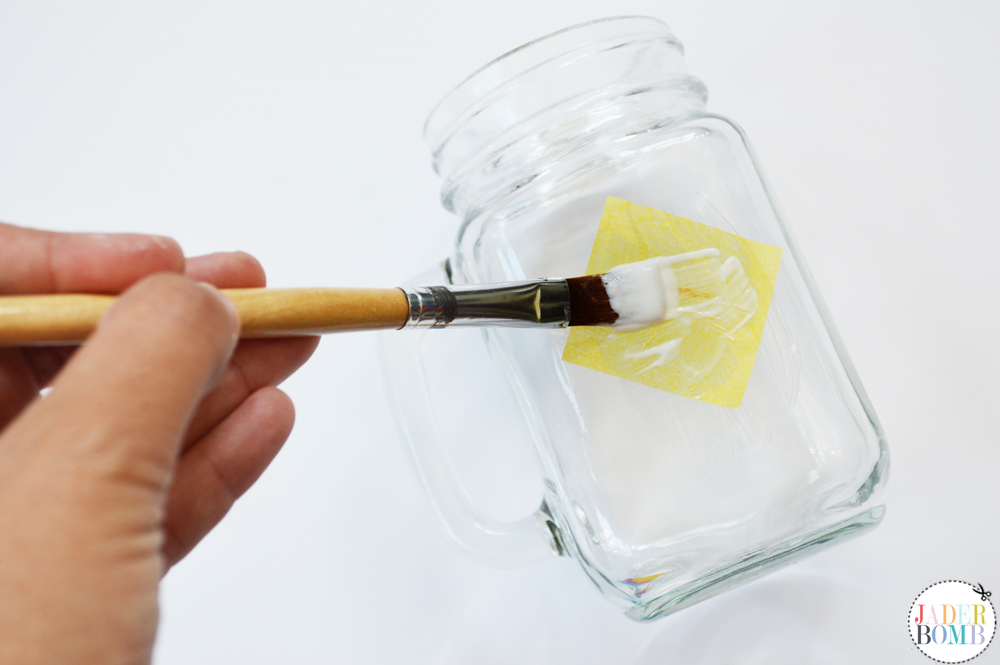
  Step 2: Place a piece of tissue paper on top of the Mod Podge then add another layer directly on top of tissue paper.
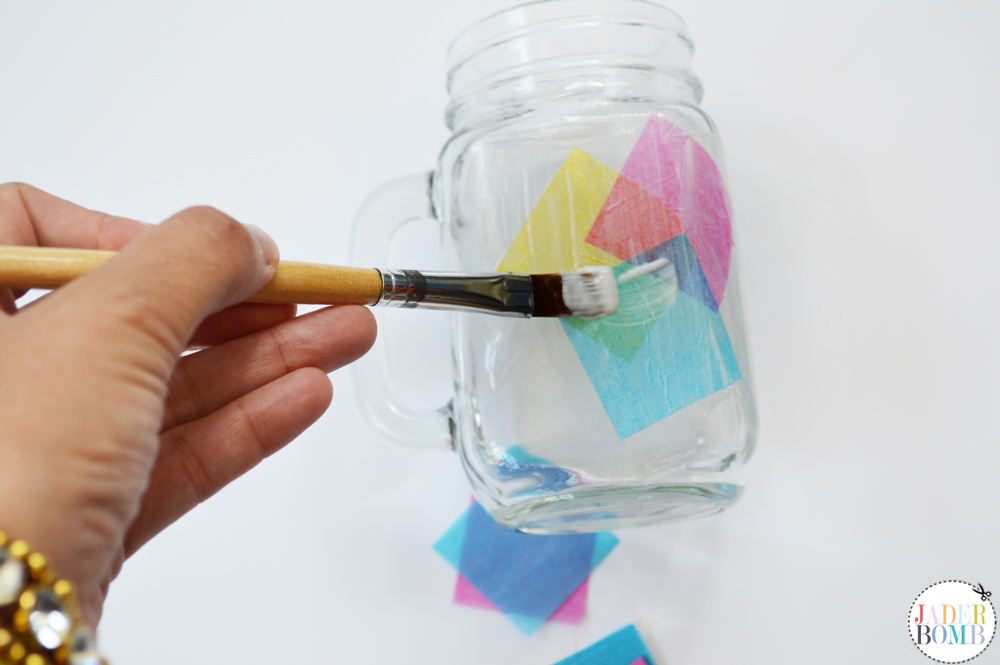
 Step 3: Start overlapping other colors on top of each other repeating the same process with Mod Podge. If you notice layering certain colors will create a brand new color. This is my favorite part!
 Step 4: Grab your adhesive rhinestones and peel off the back layer of paper.
 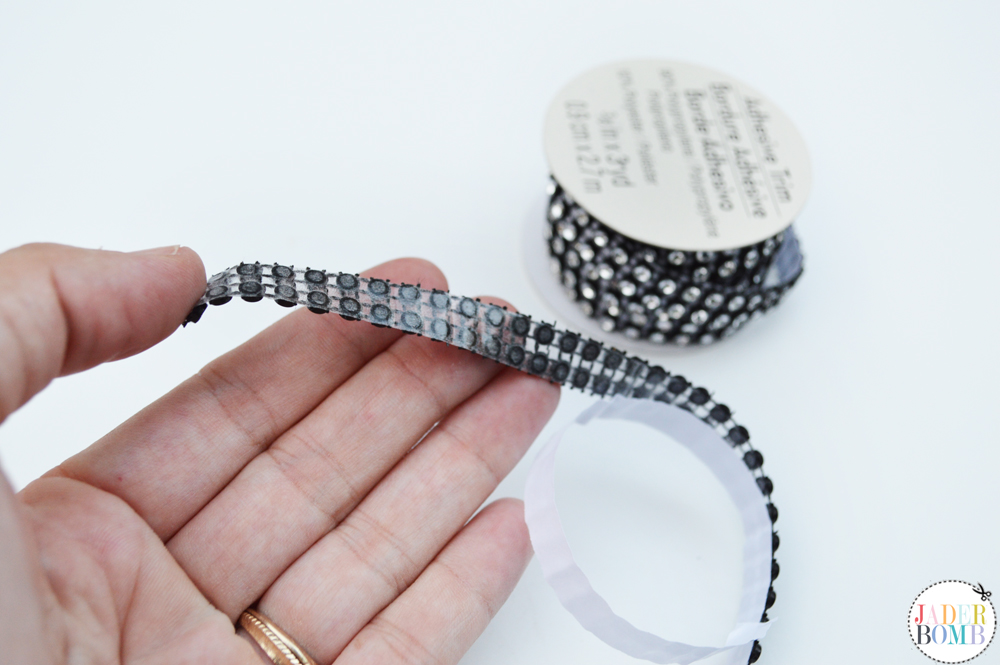 Step 5: Wrap your rhinestones around the top of glass jar.
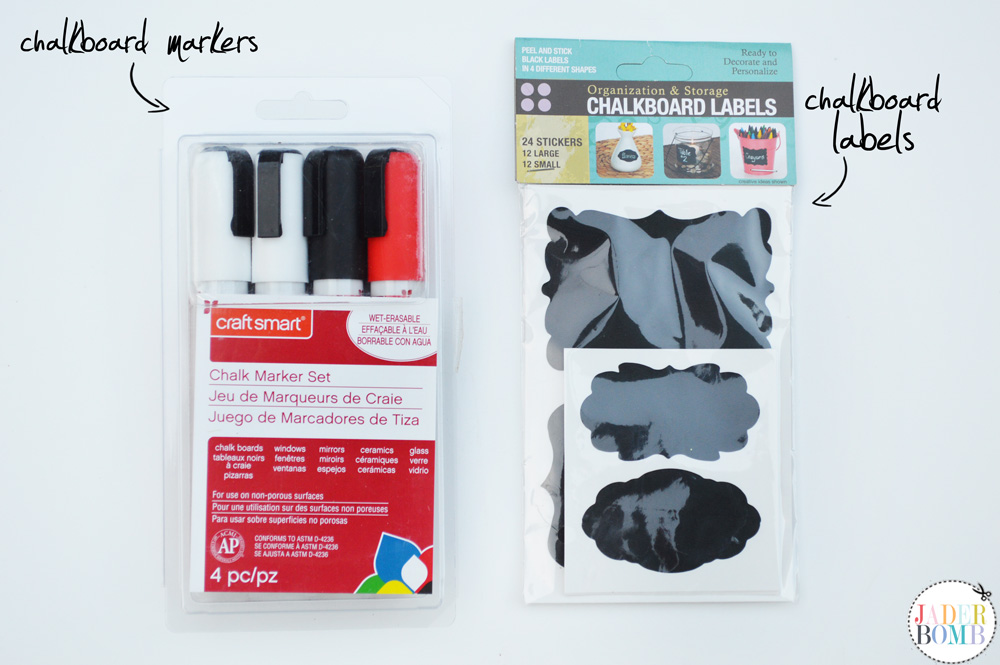
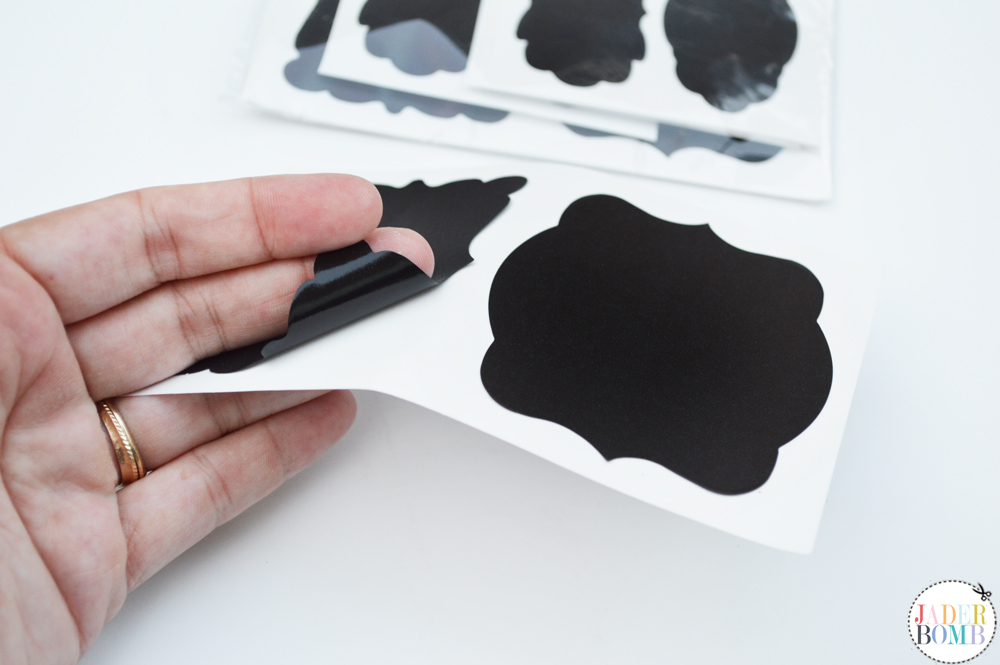
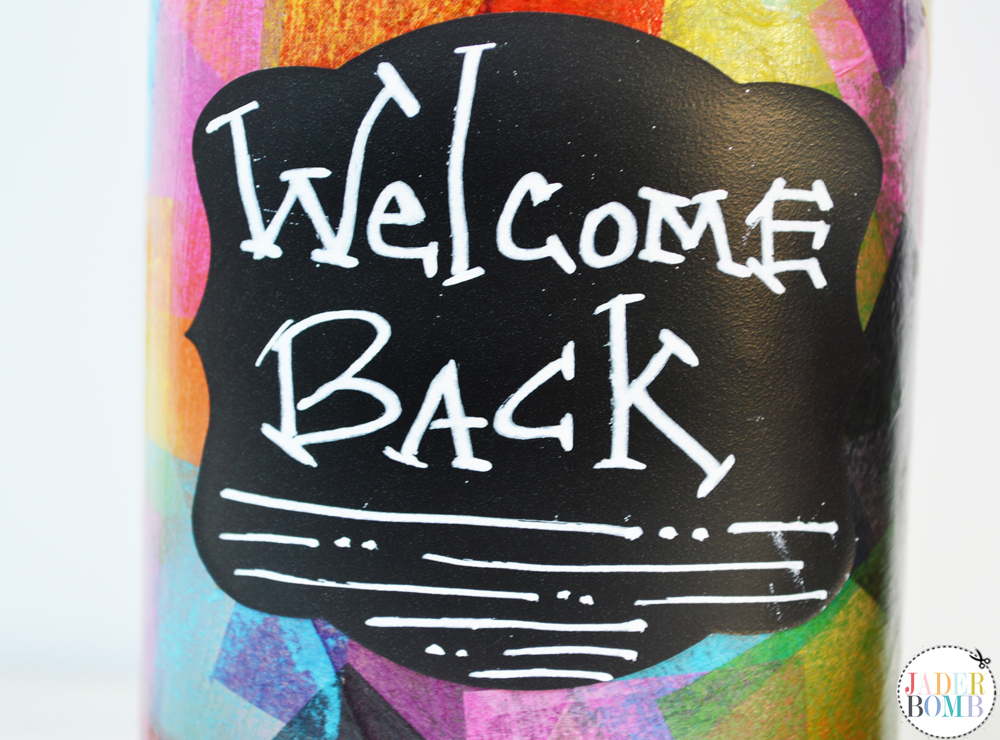
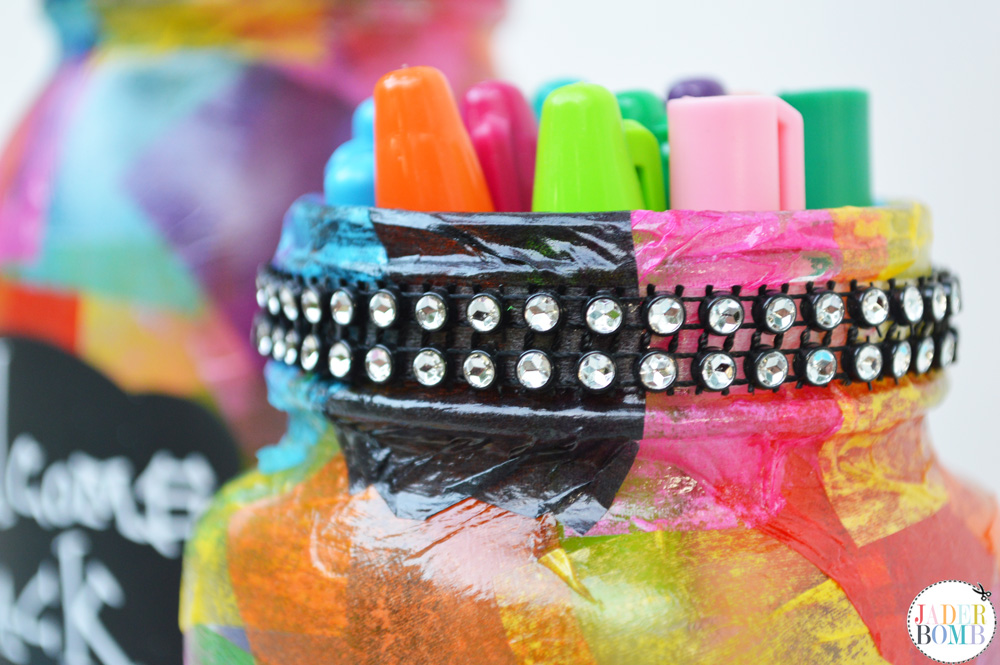 Step 6: Grab a adhesive chalkboard label and place it on your jar.
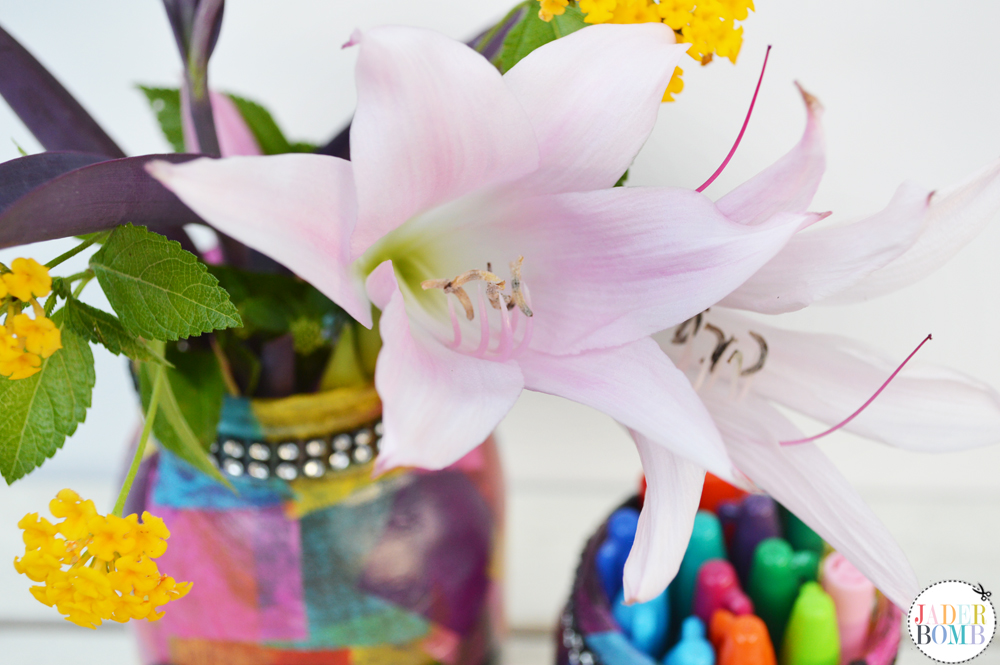
  Step 7: ENJOY!



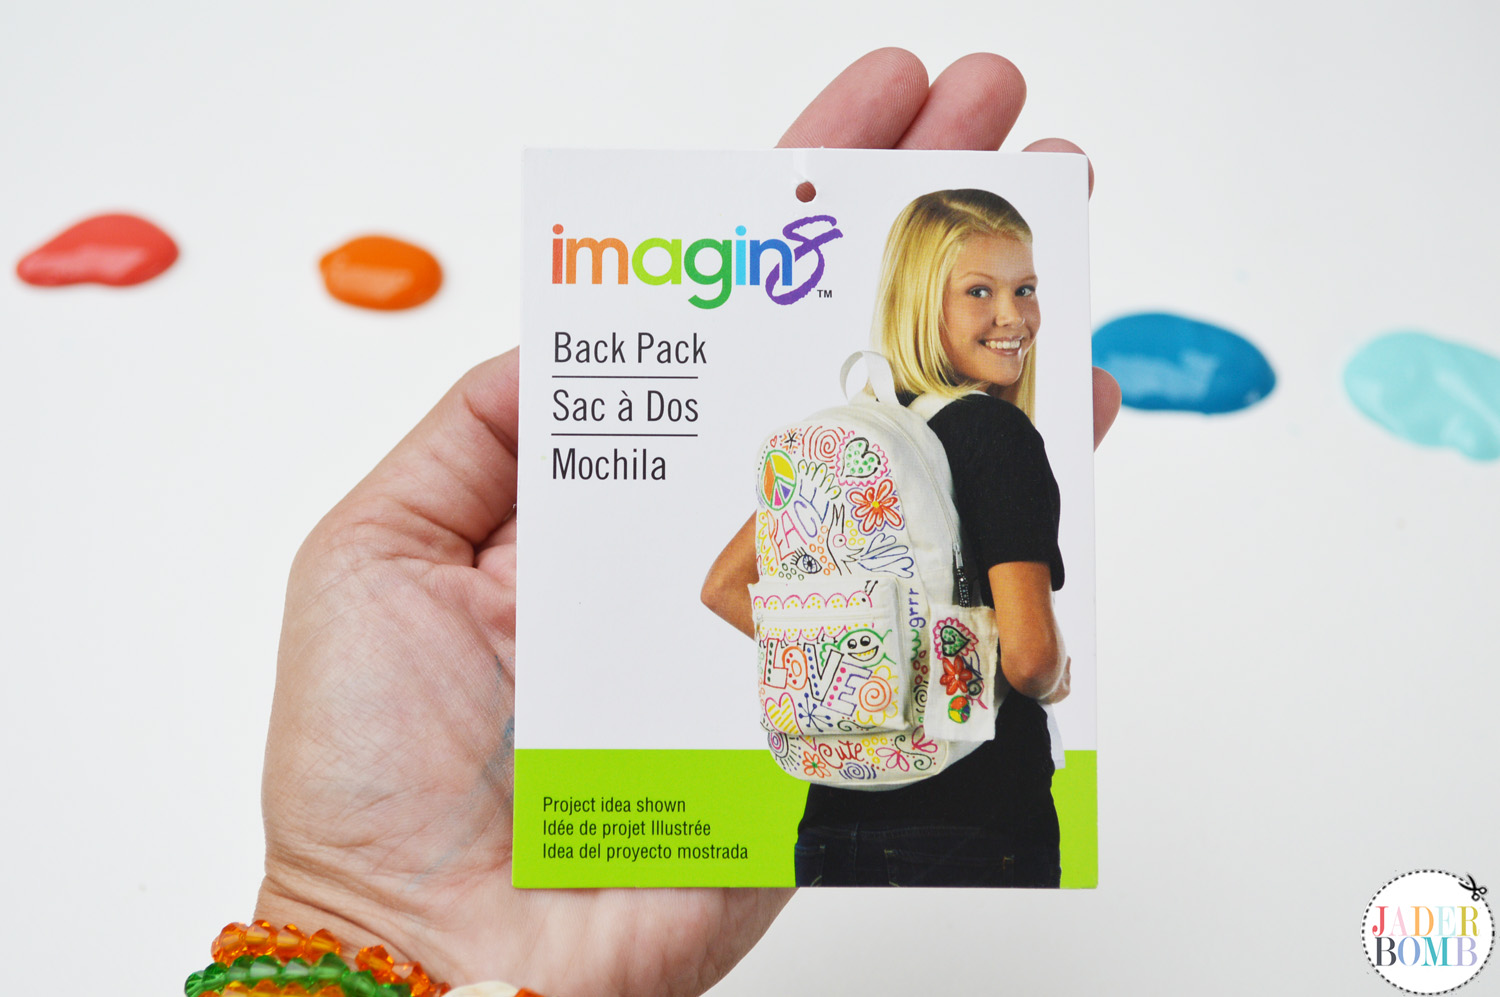
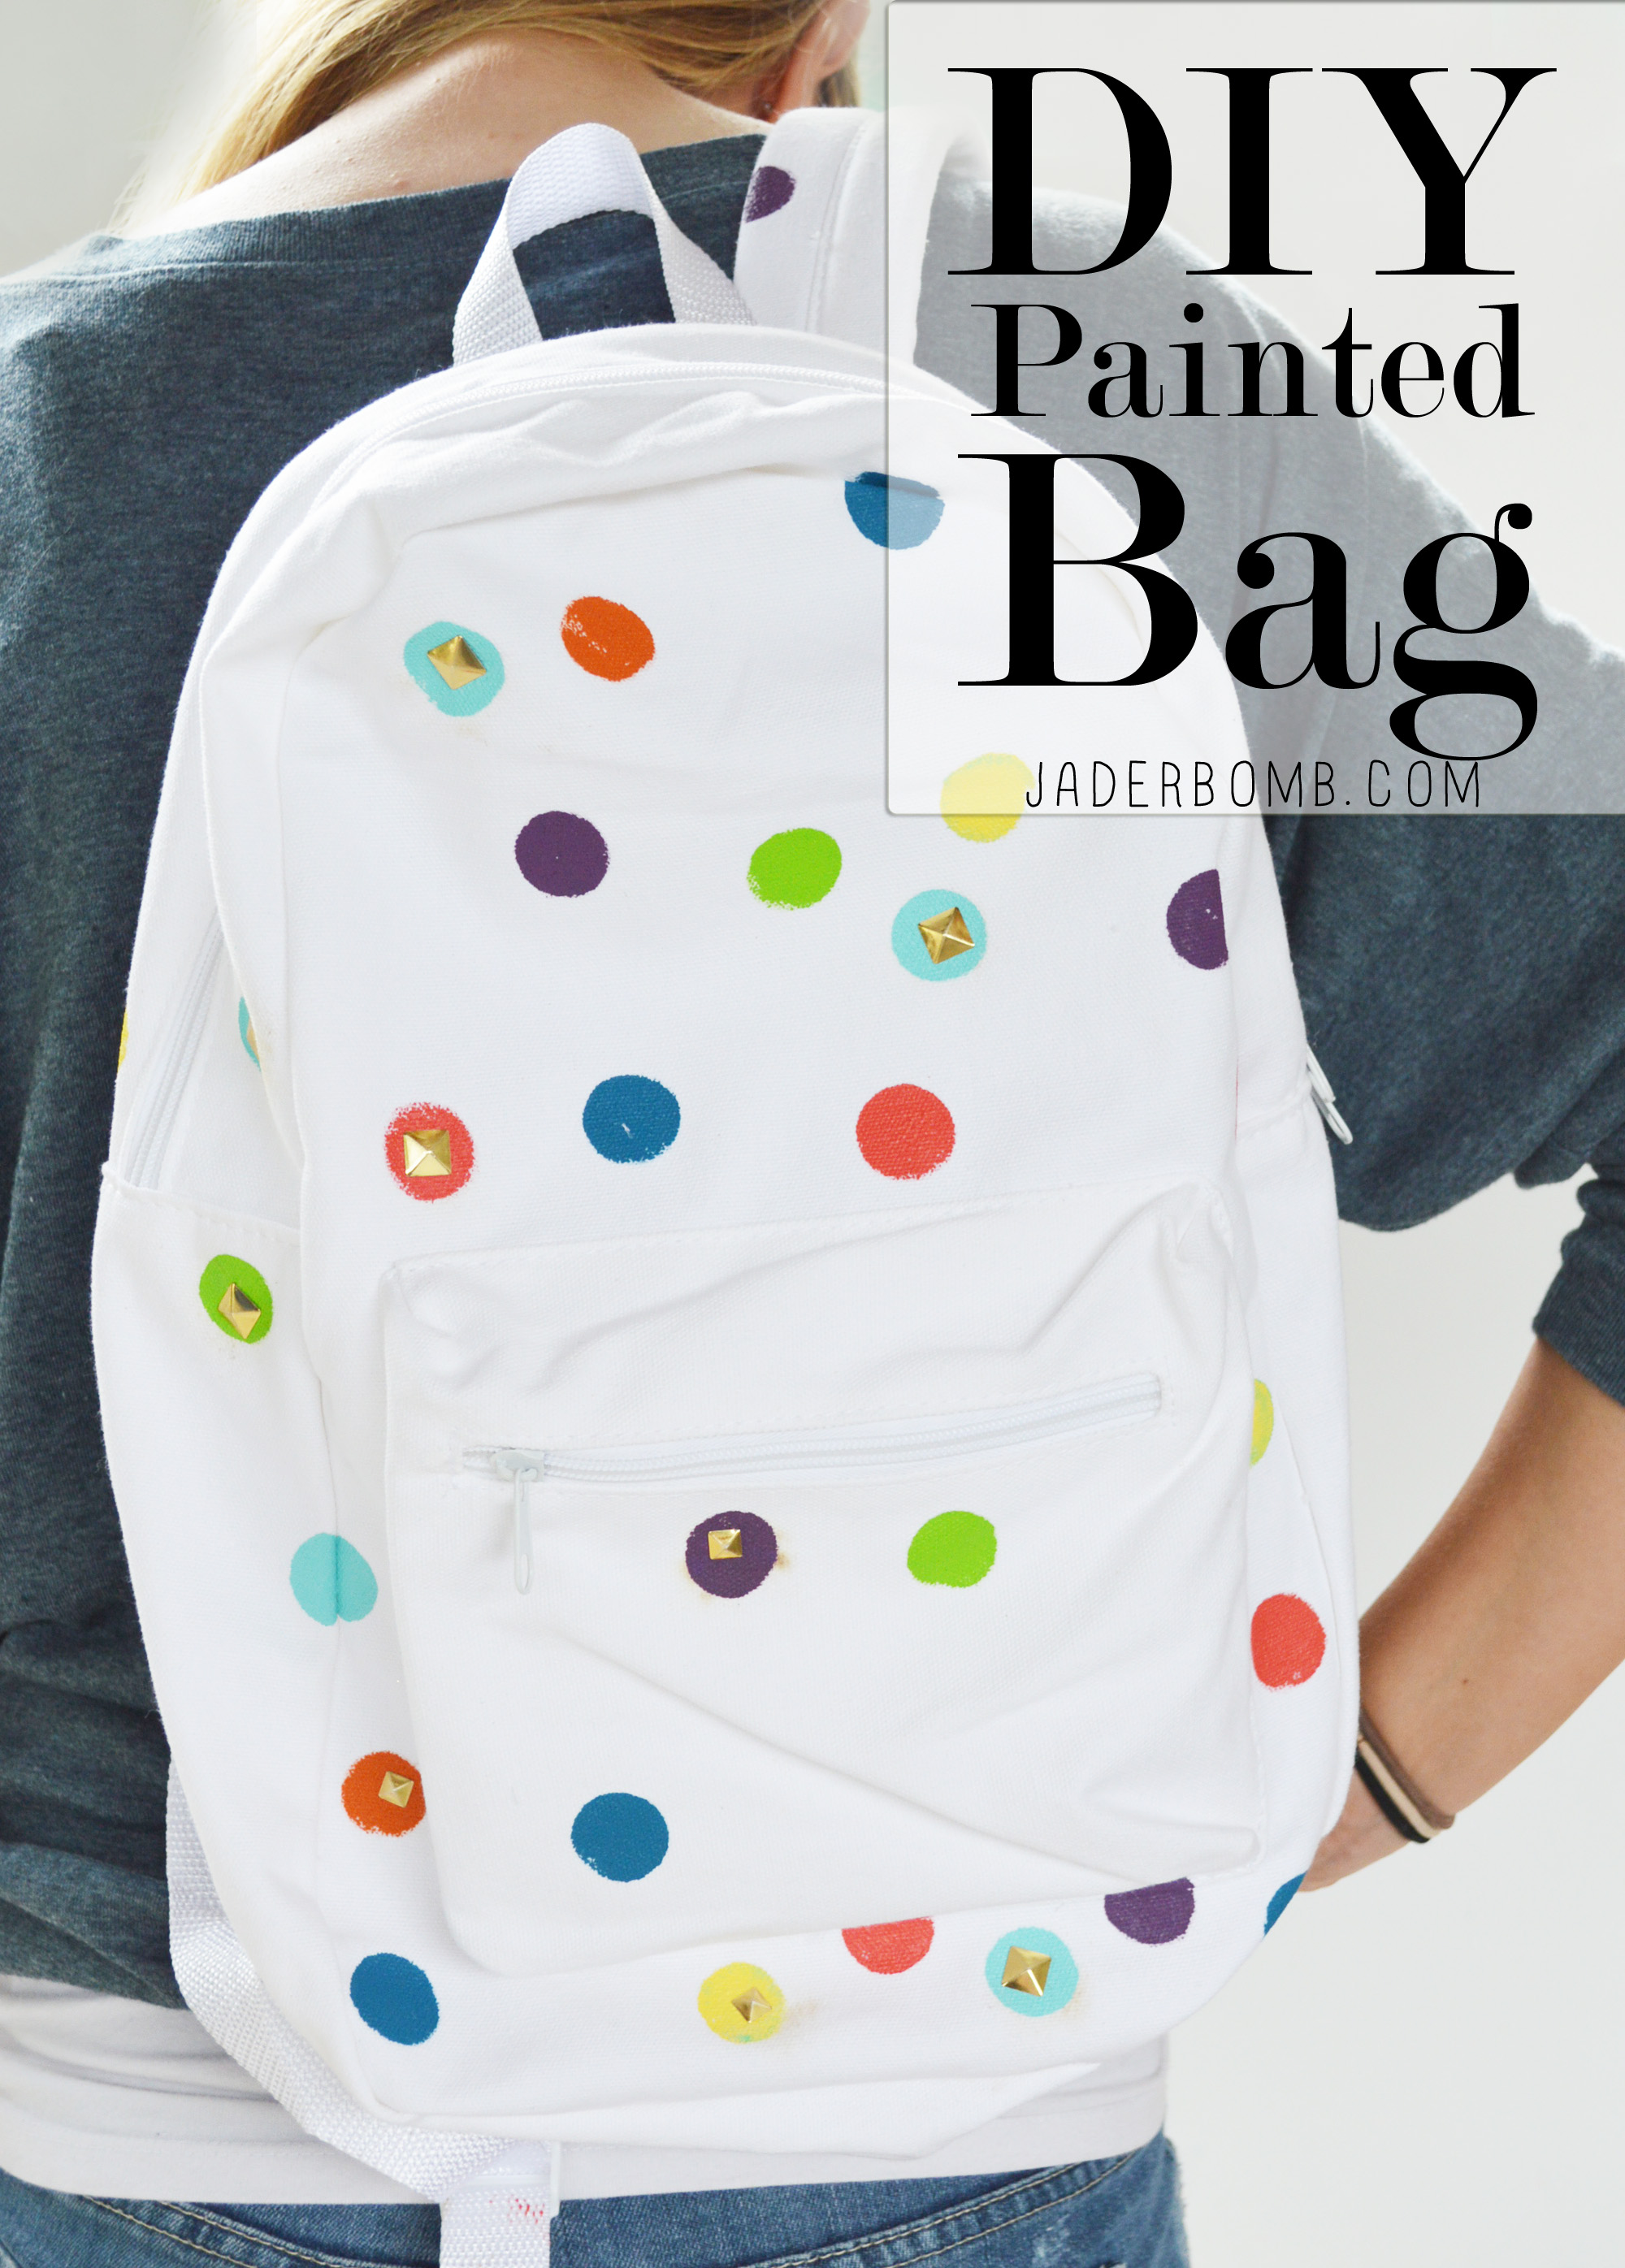
 I got these two white canvas bags from Michaels and I truly love them! I love that you can personalize them to match your own personality!
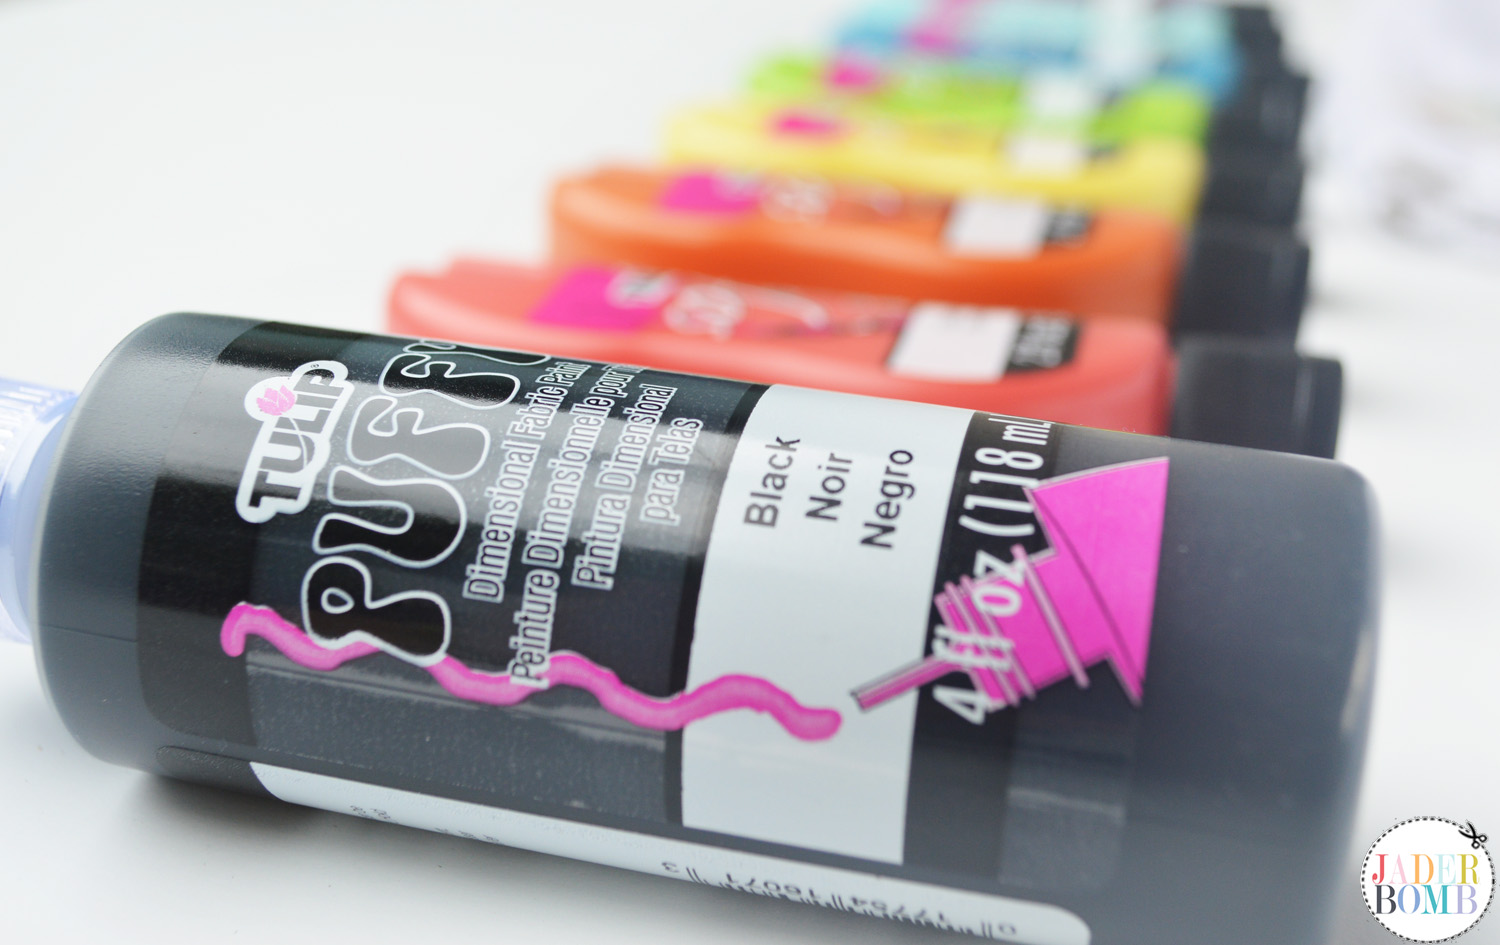
  What product goes the best with fabric? Tulip Fabric Paint. This product owns my entire crafting heart. I use it on so much and it’s the most durable product I have come across for painting on fabric.
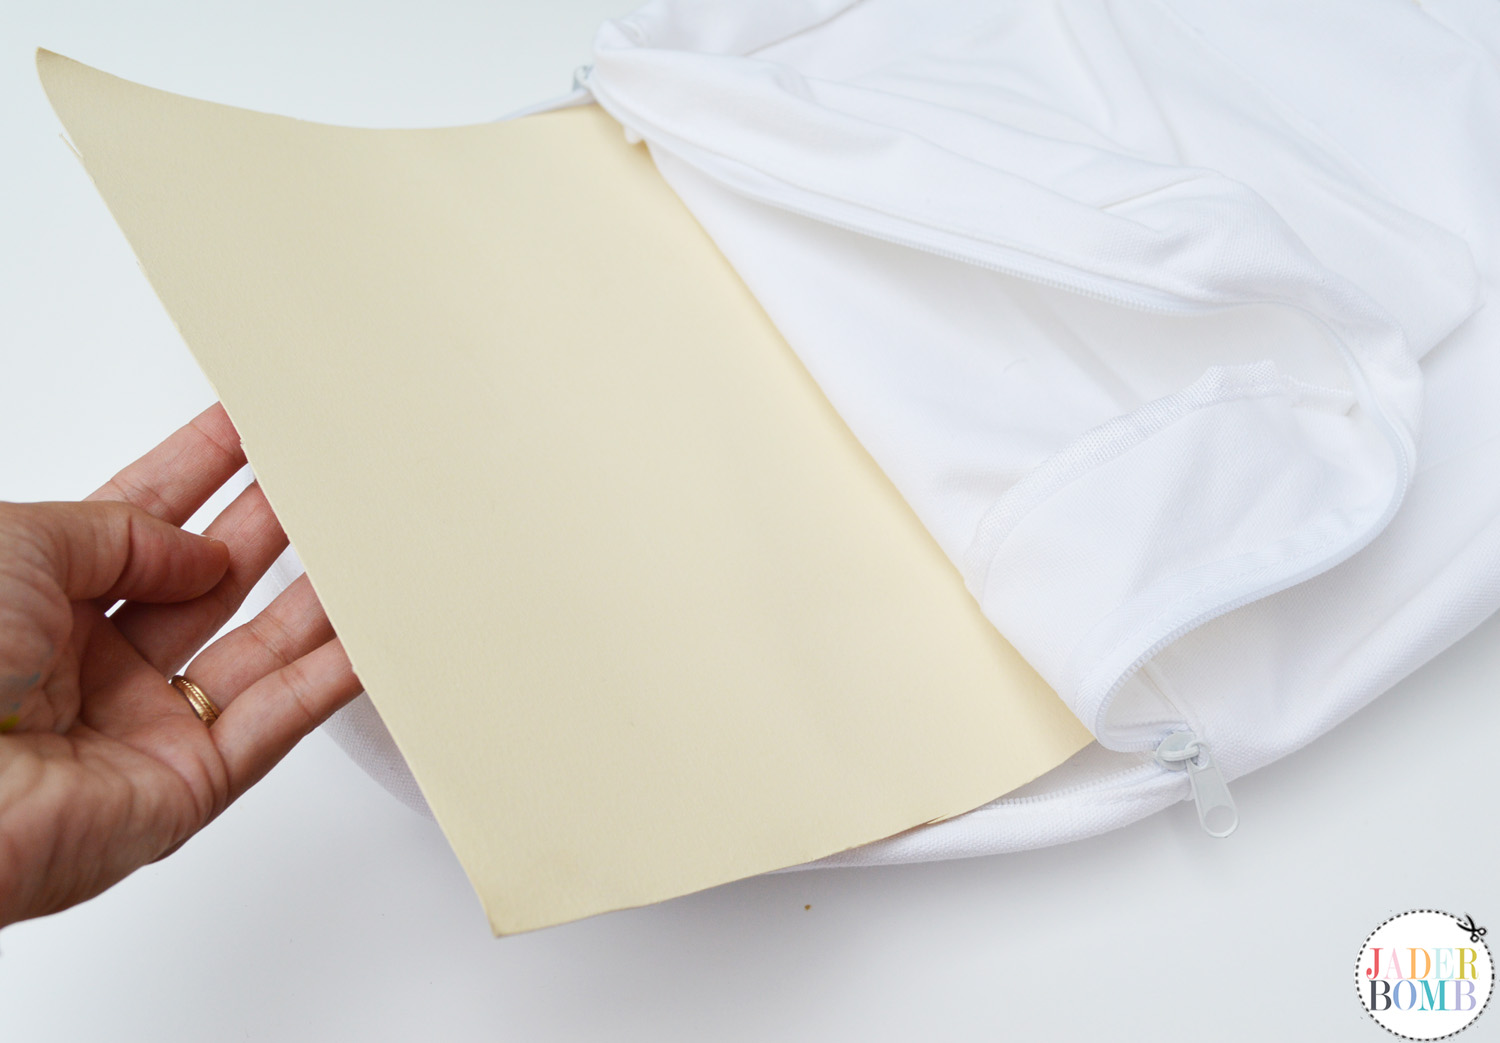
 The first thing I like to do is insert a piece of card stock or water color paper in the inside of the bag. This stops the paint from bleeding through the bag to the back side.
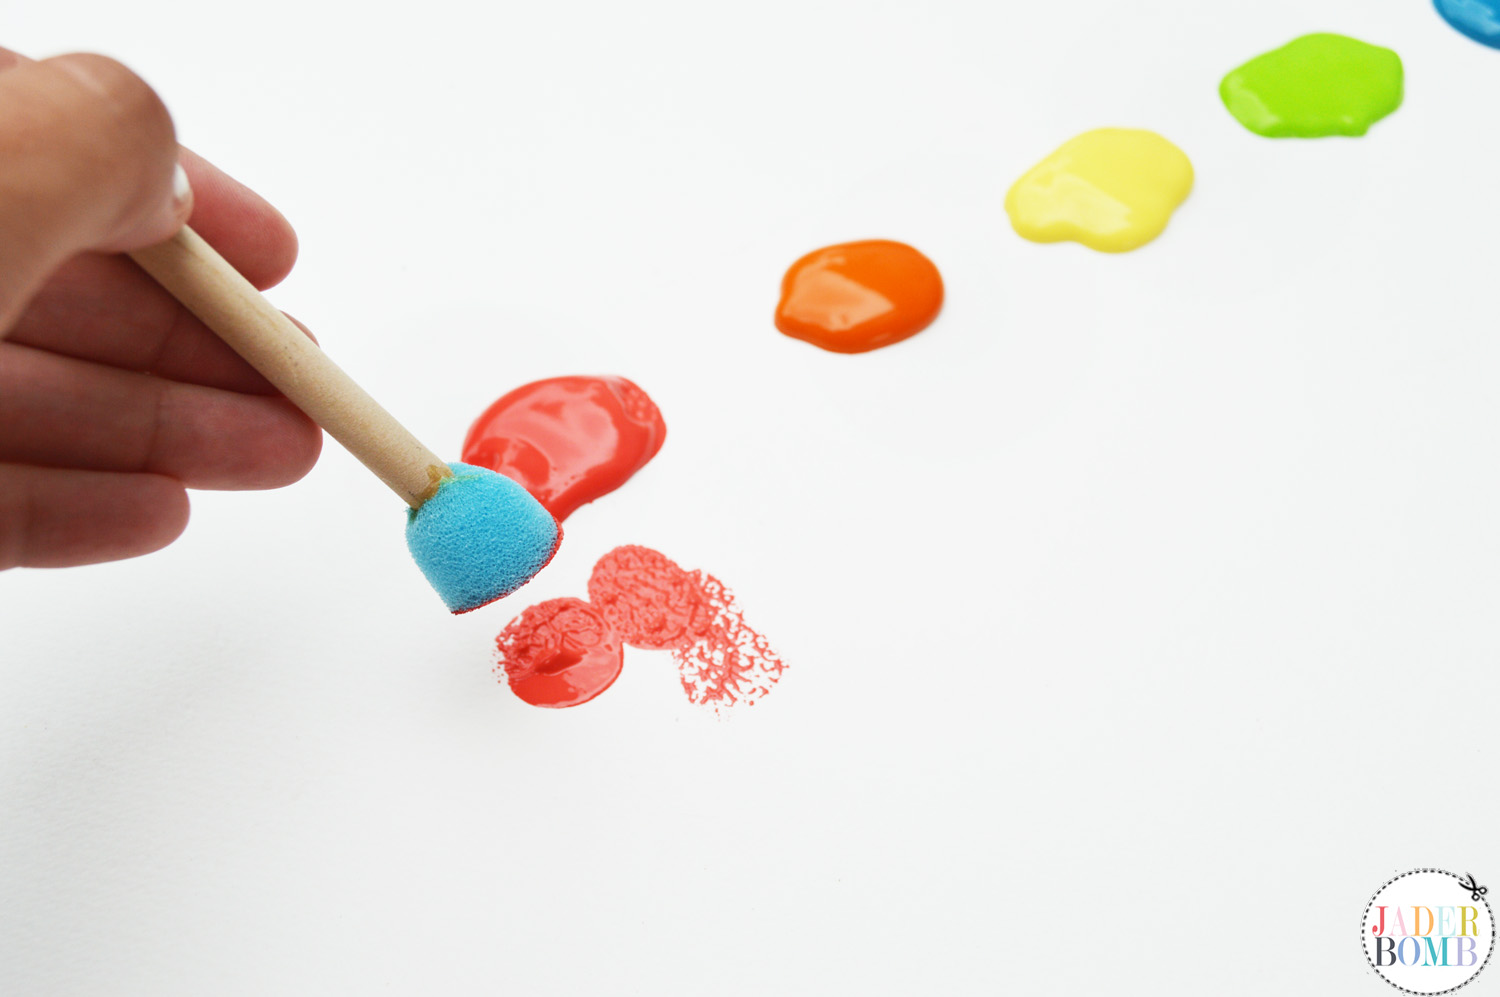 Start adding the dots onto the bag in random places. I had to add a few dabs to get a perfect circle. What helped me is once my pouncer touched the bag I sorta applied a little pressure to the pouncer and this helped push the paint out of it.
 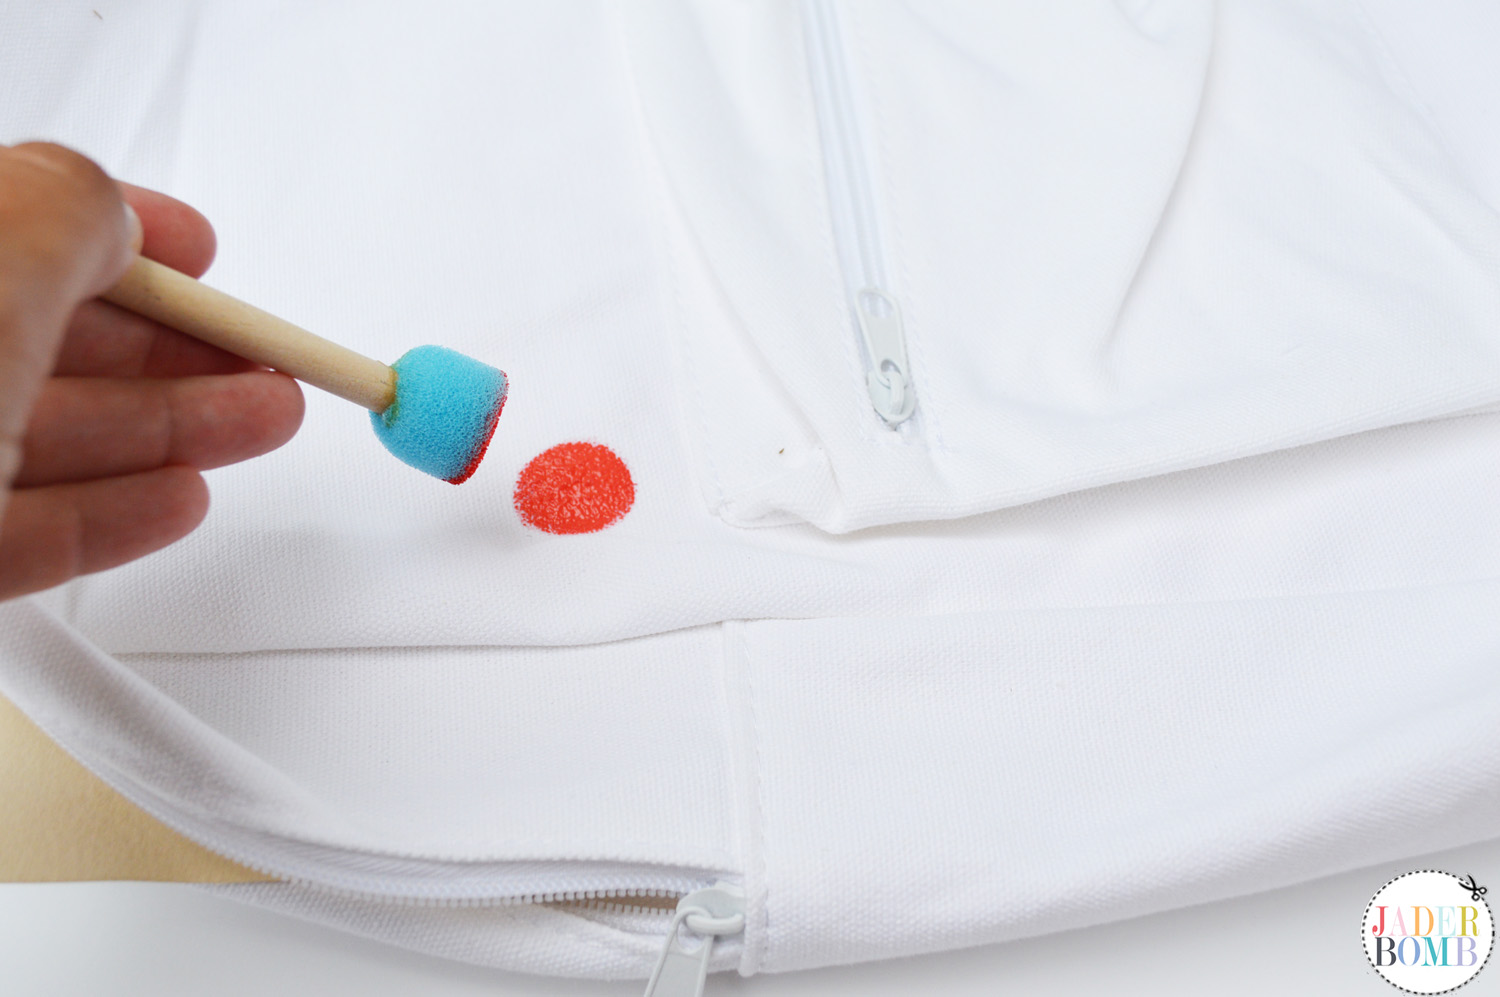 How pretty!
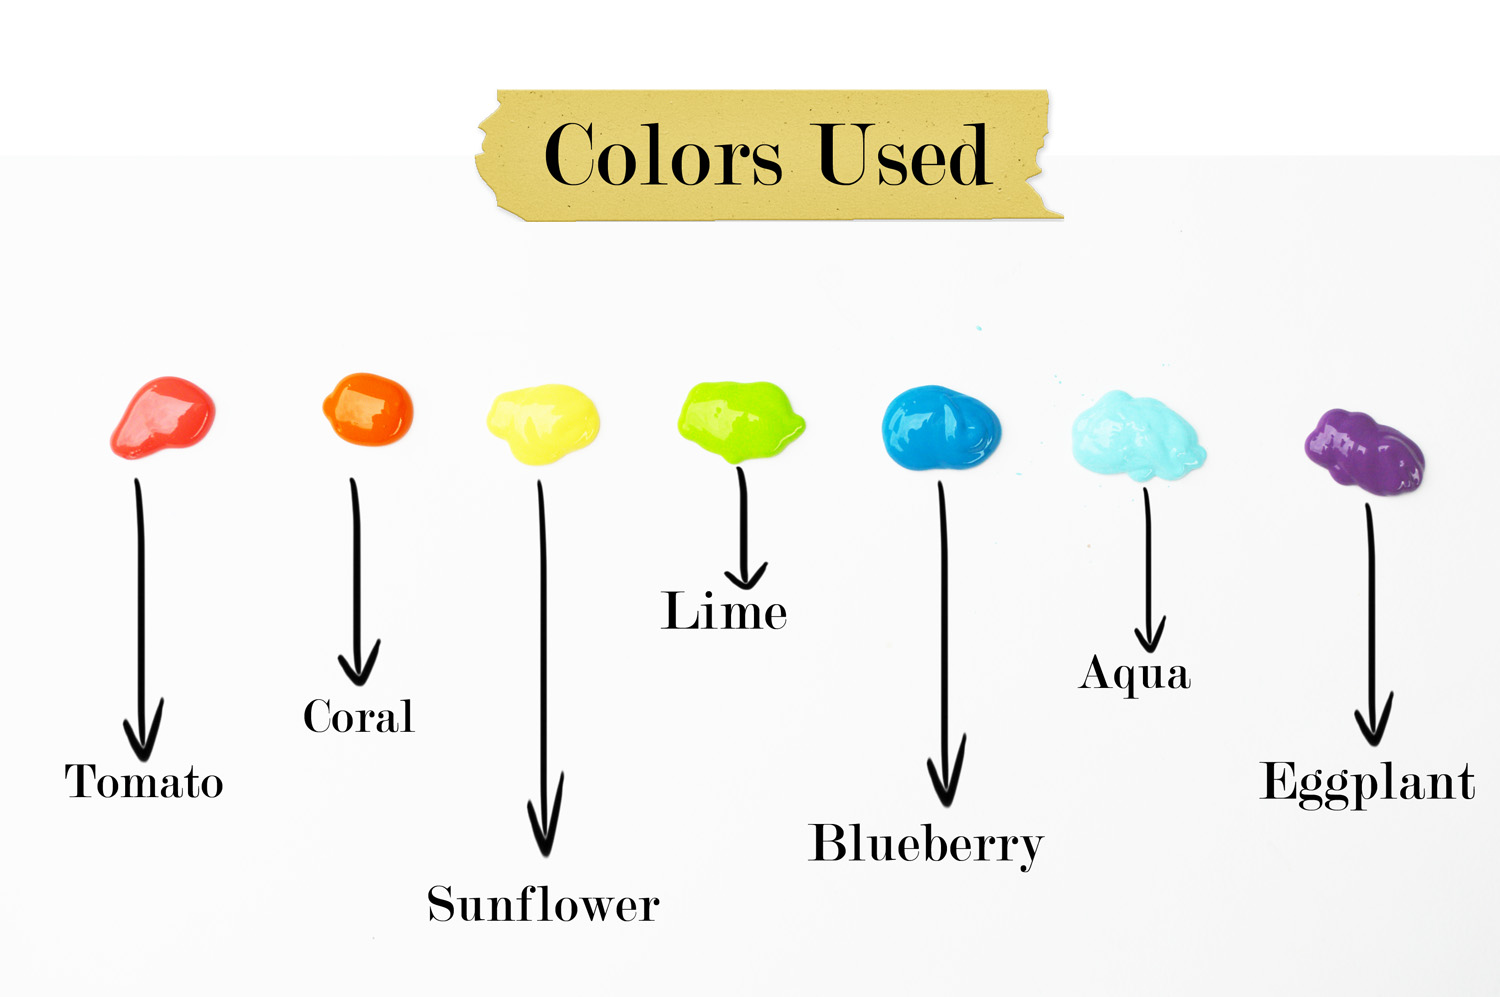
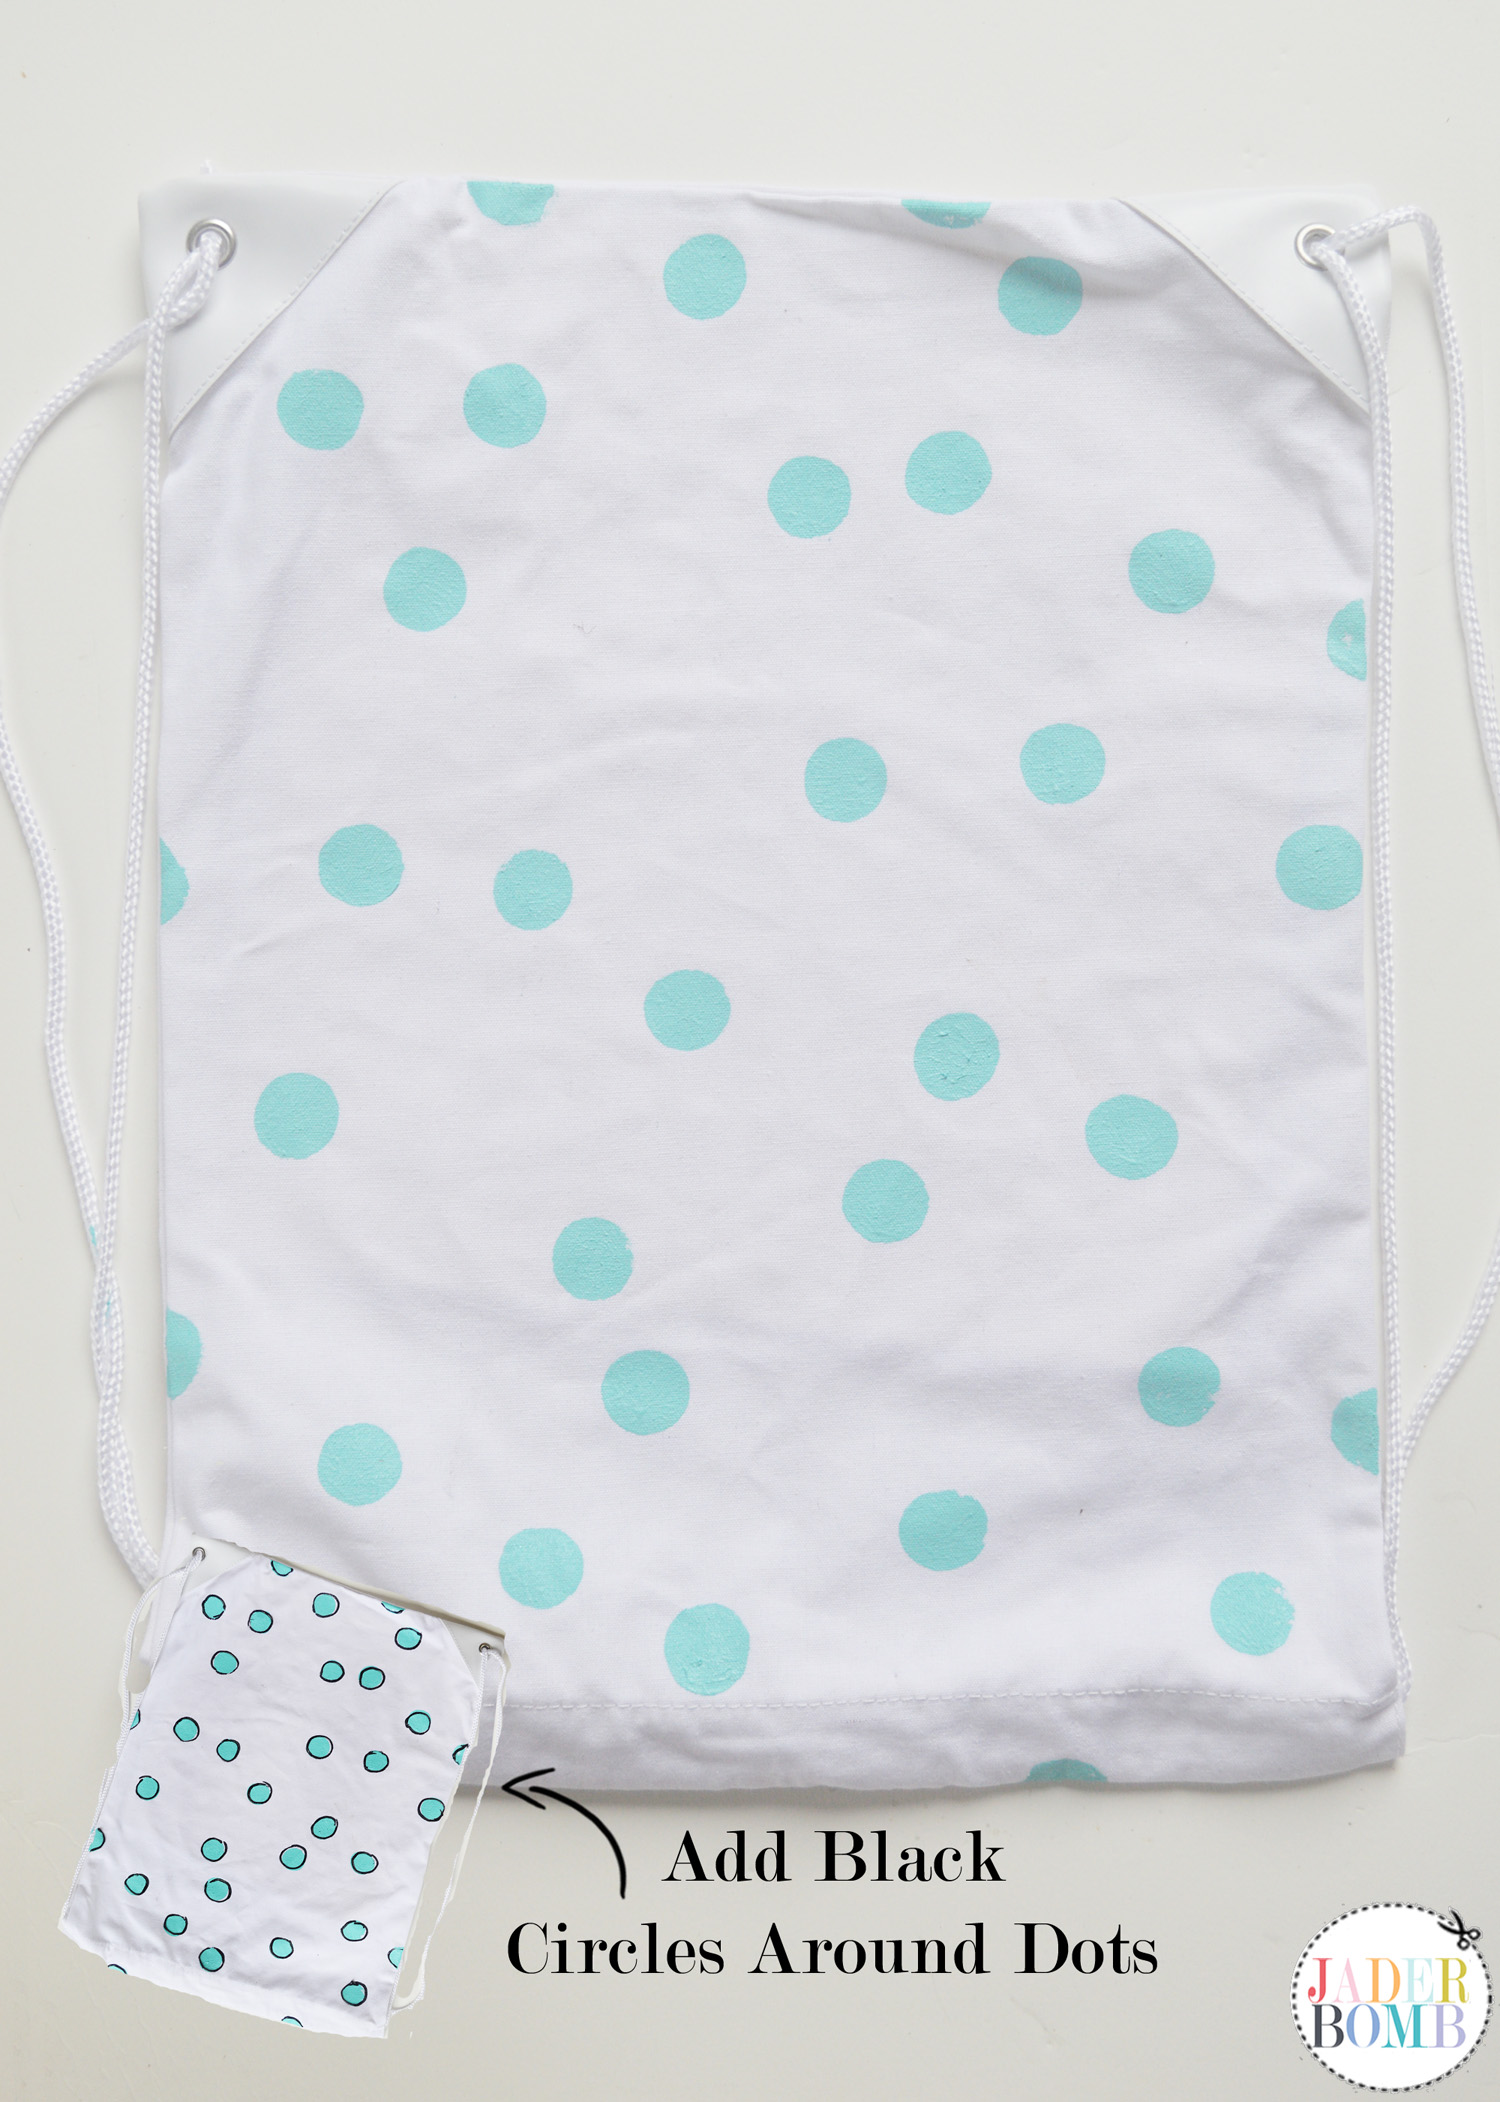
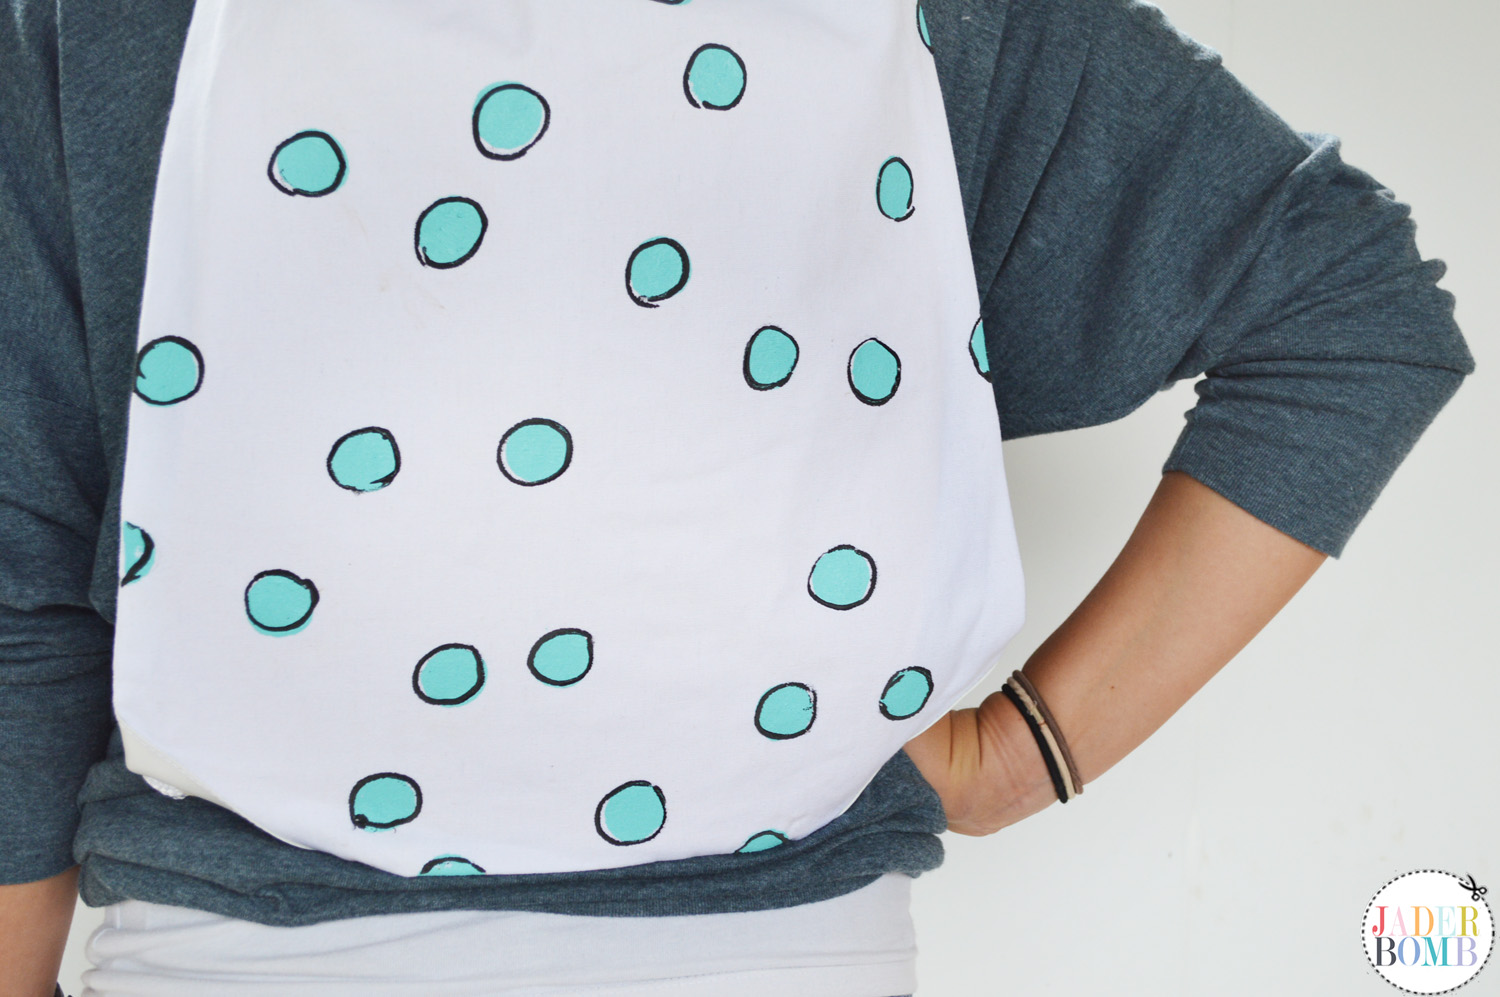
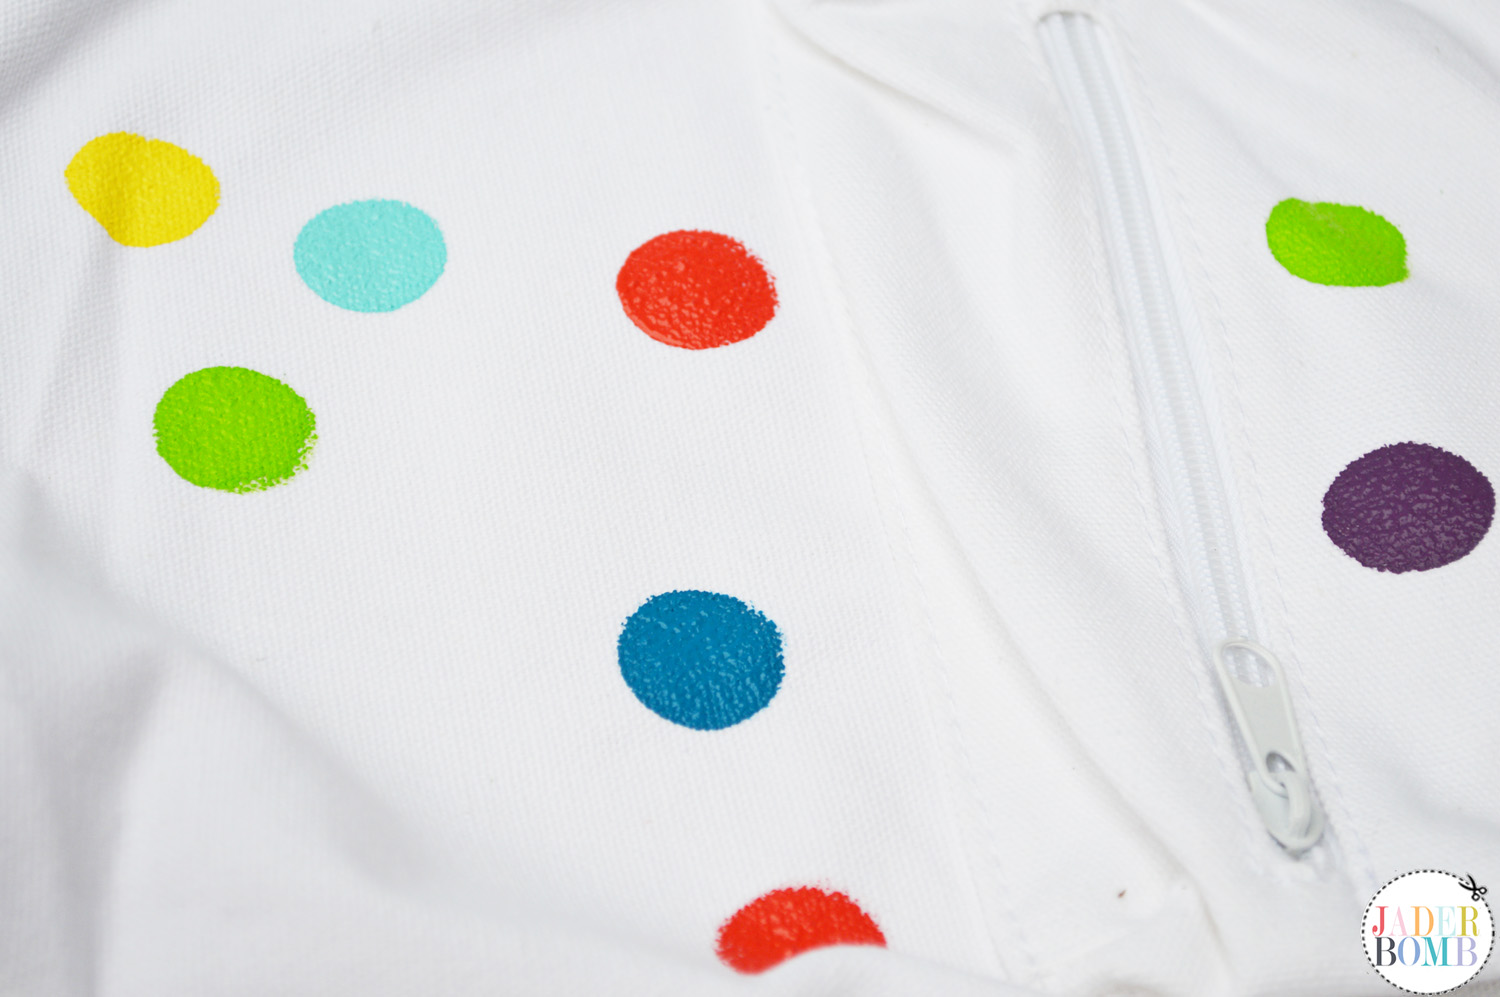 On the drawstring bag I wanted to use one color and how could I not use this Aqua color! It’s to die for. To add a little spice to the bag I added black whimsical circles around the dots. Don’t worry about these being perfect because they are supposed to be fun!
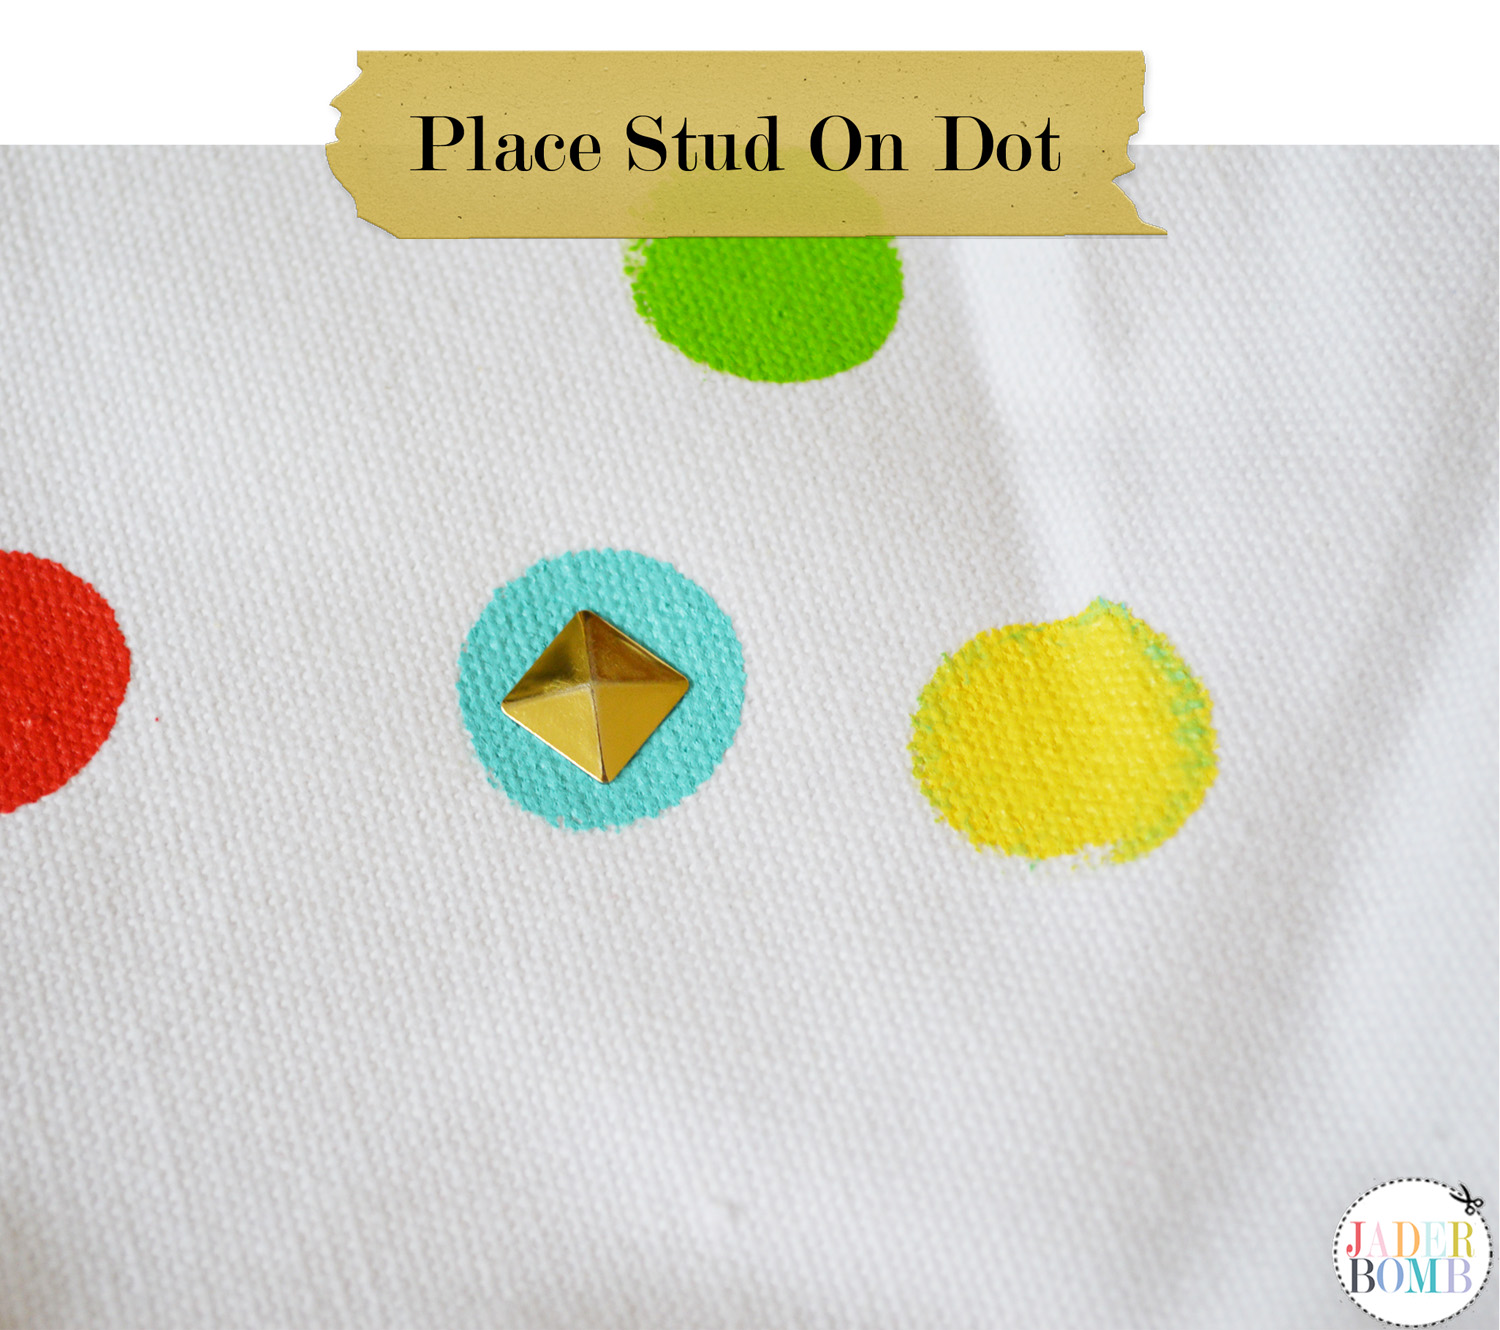
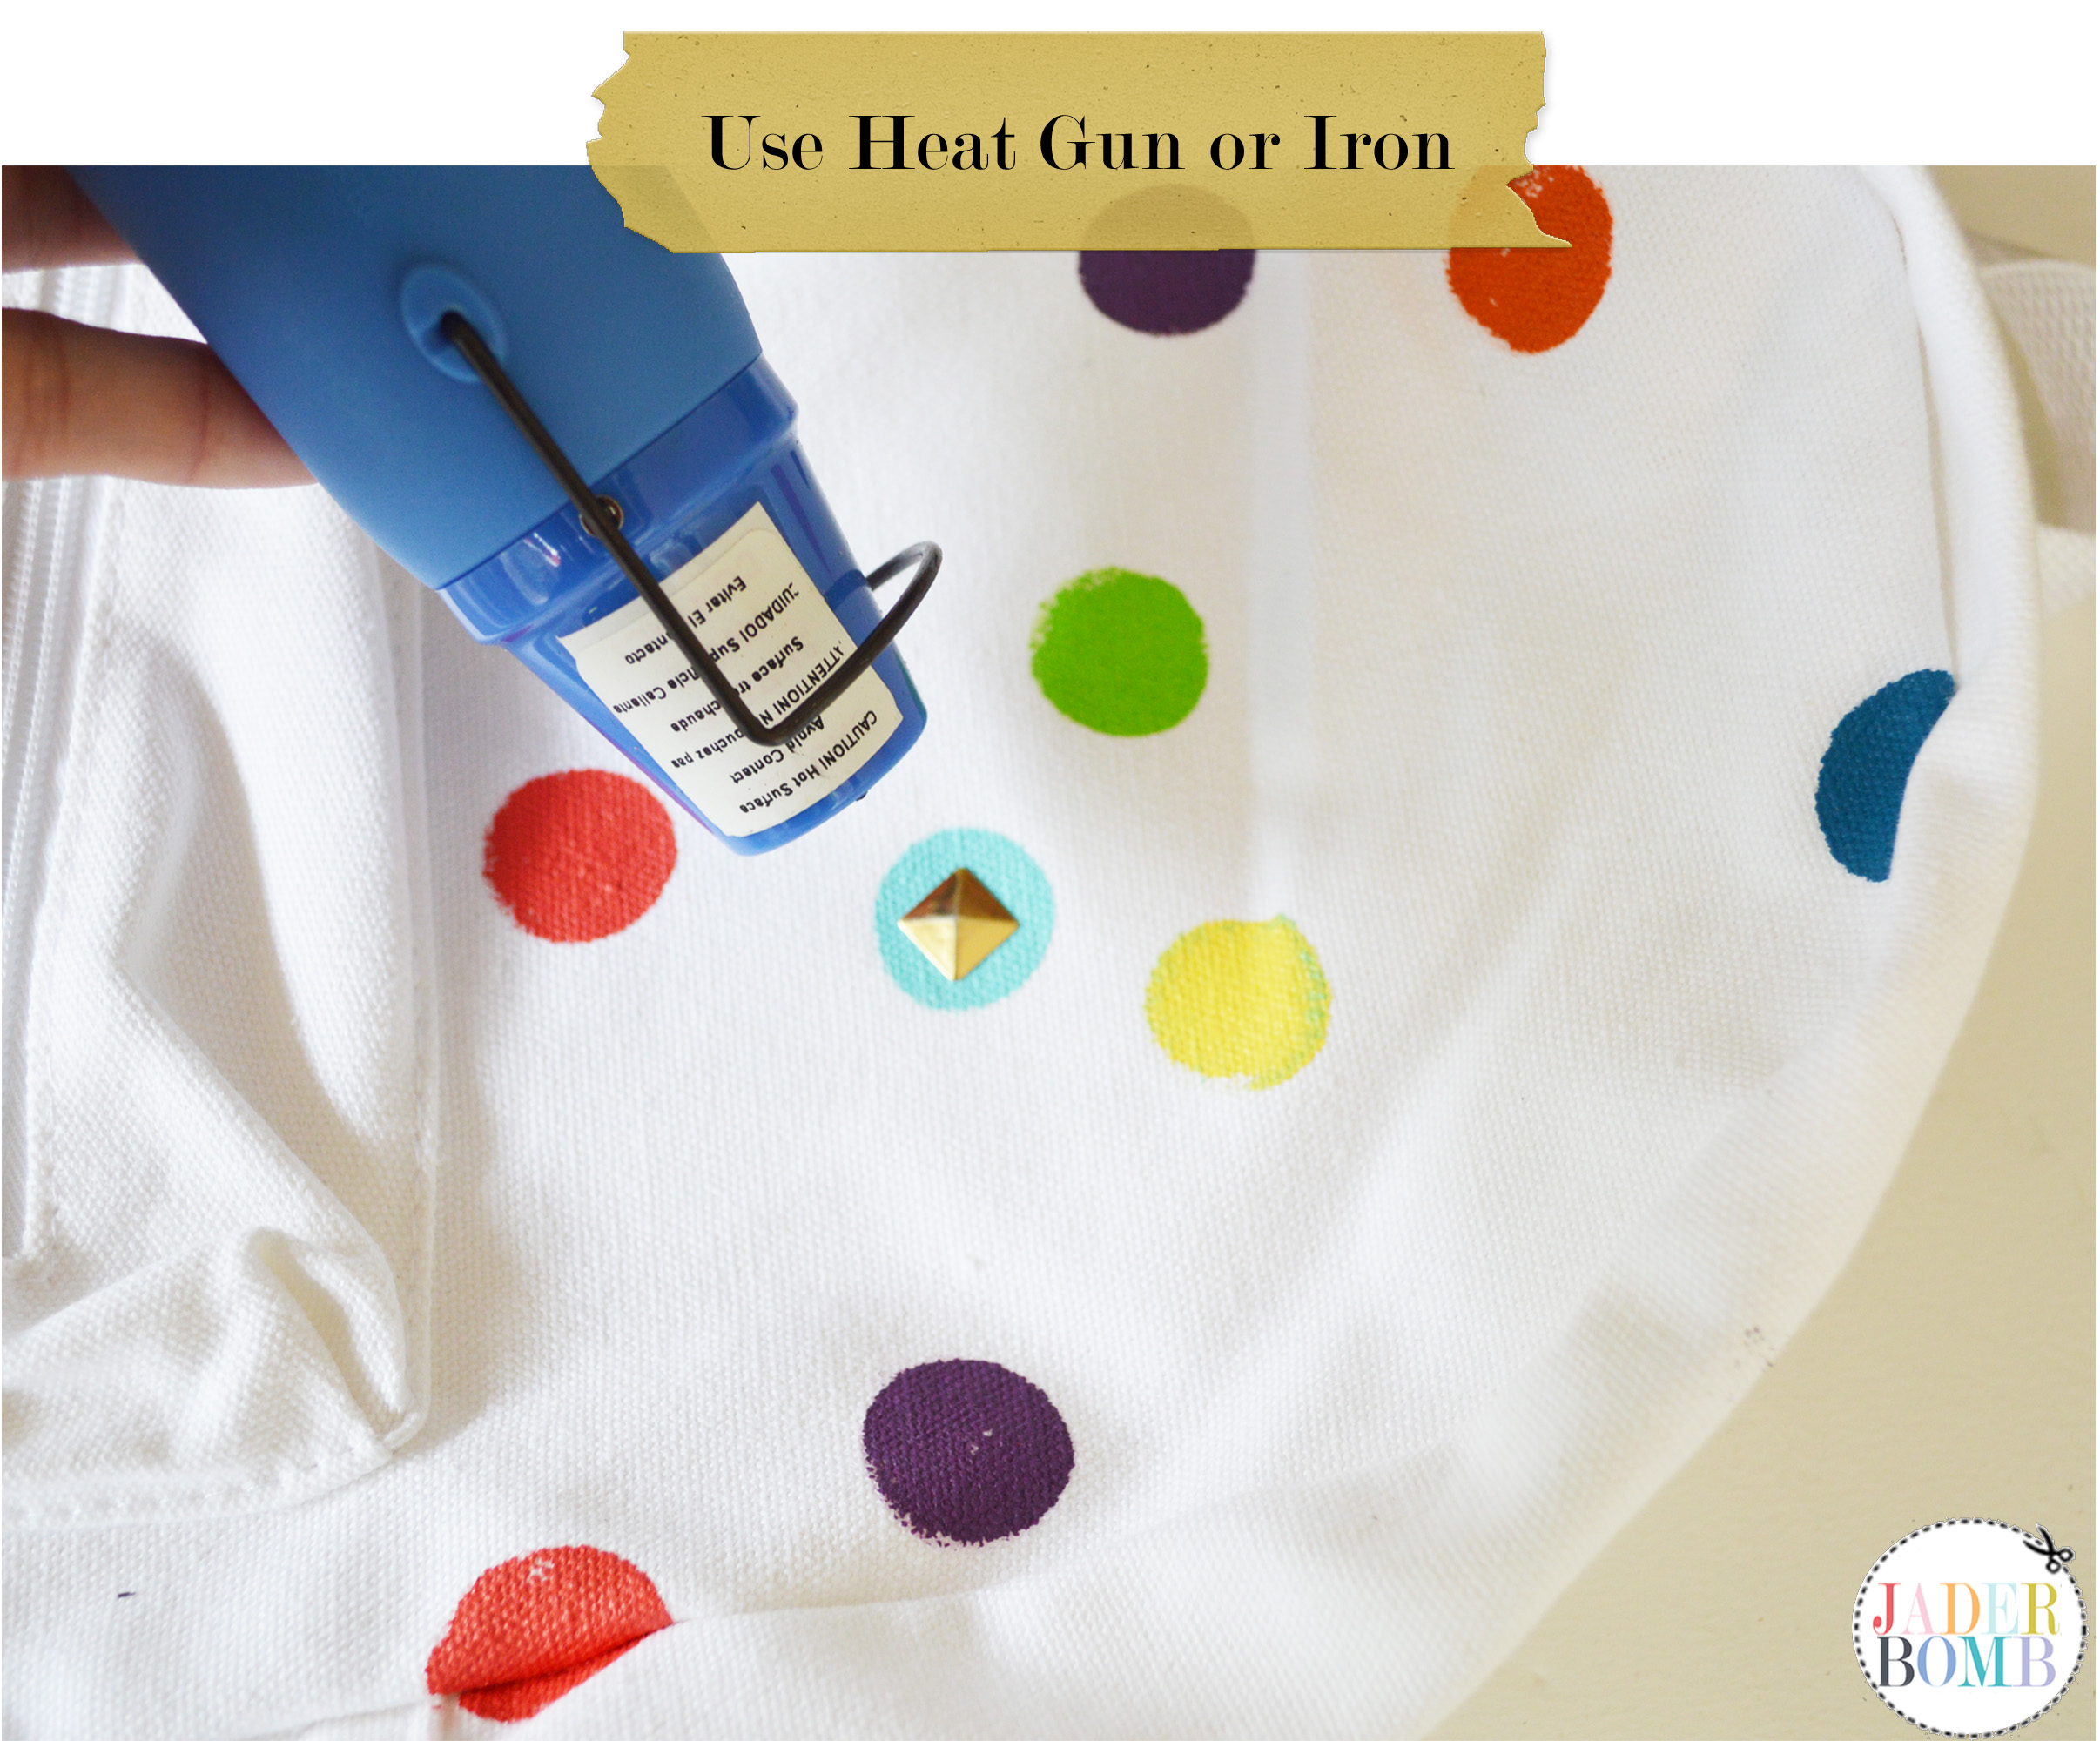 The instructions for the iron-on studs said to use an iron but I used my heat gun which I also purchased from Michaels. Place the gun a few inches away from the stud and while heating the stud I used a screw driver to hold it down to make sure the adhesive backing attached to the bag. I then opened the bag and applied heat to the stud from the back end. This is my favorite tool ever! Please do NOT touch the stud after you applied heat to it because it will indeed burn you. I have proof if you really want to see!
 Photography: